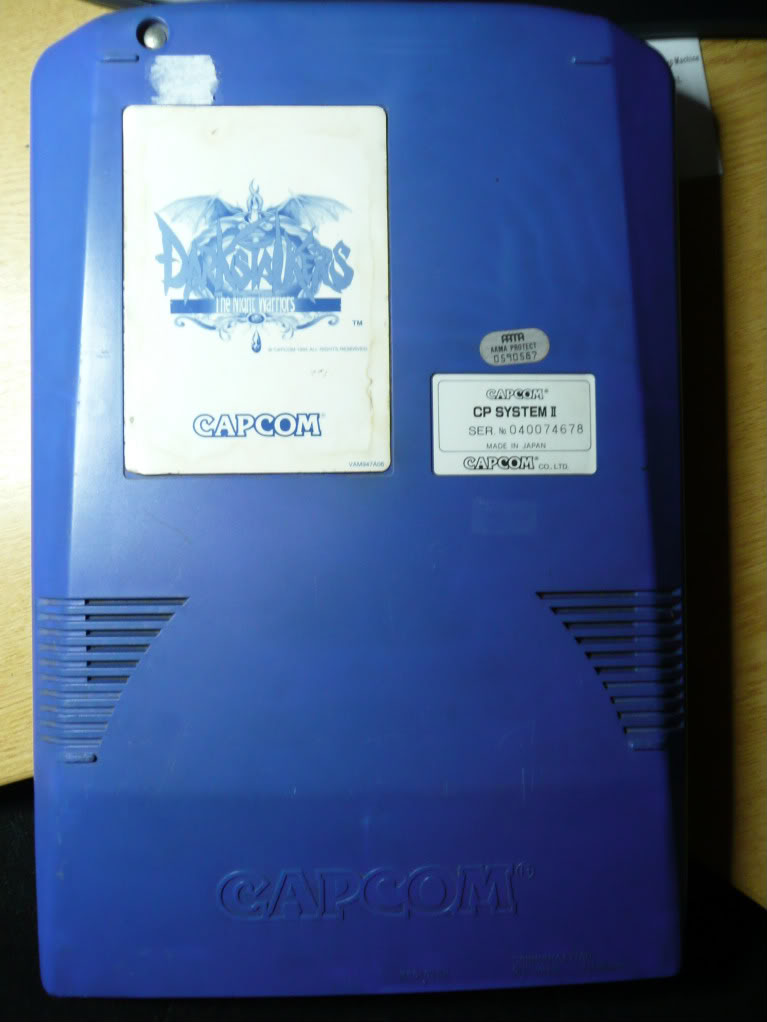
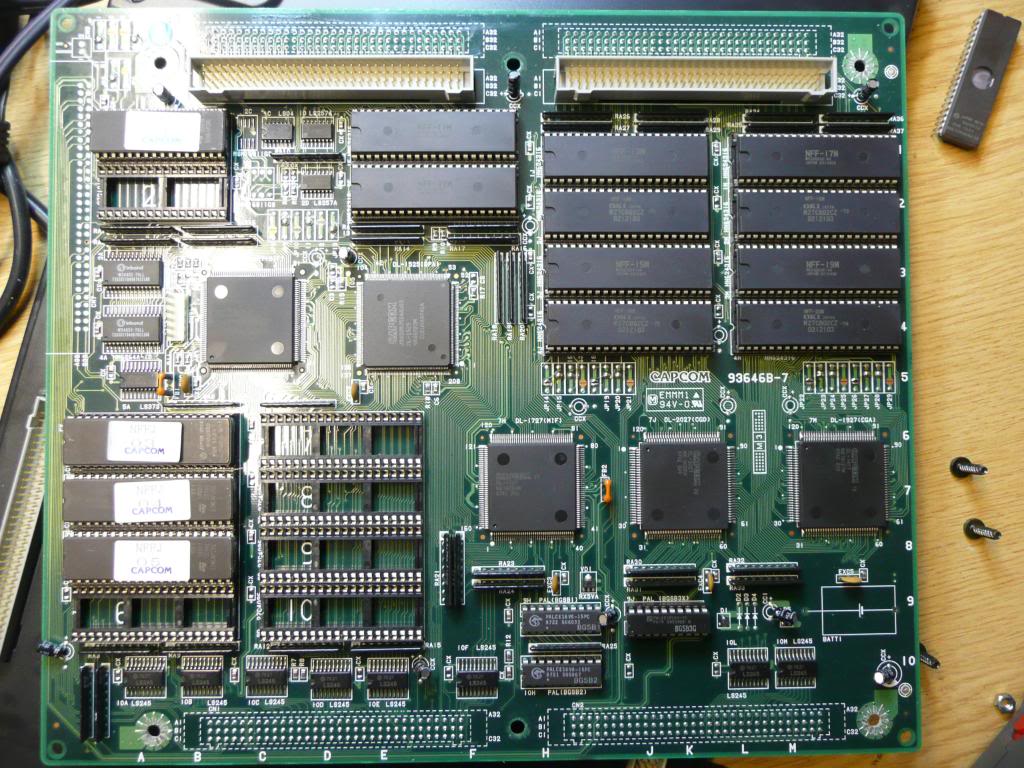
I recently bought the Dungeons & Dragons game, mainly because I wanted the Europe motherboard but its another CPS2 game to add to my collection. As I like to replace the battery on all my CPS2 games when I get them I thought it best to document it. Its a very easy process.
Open up the B board, this is the top board with the game sticker on it. It is held together with 4 x security torx screws, a screwdriver bit for these is available very cheaply.
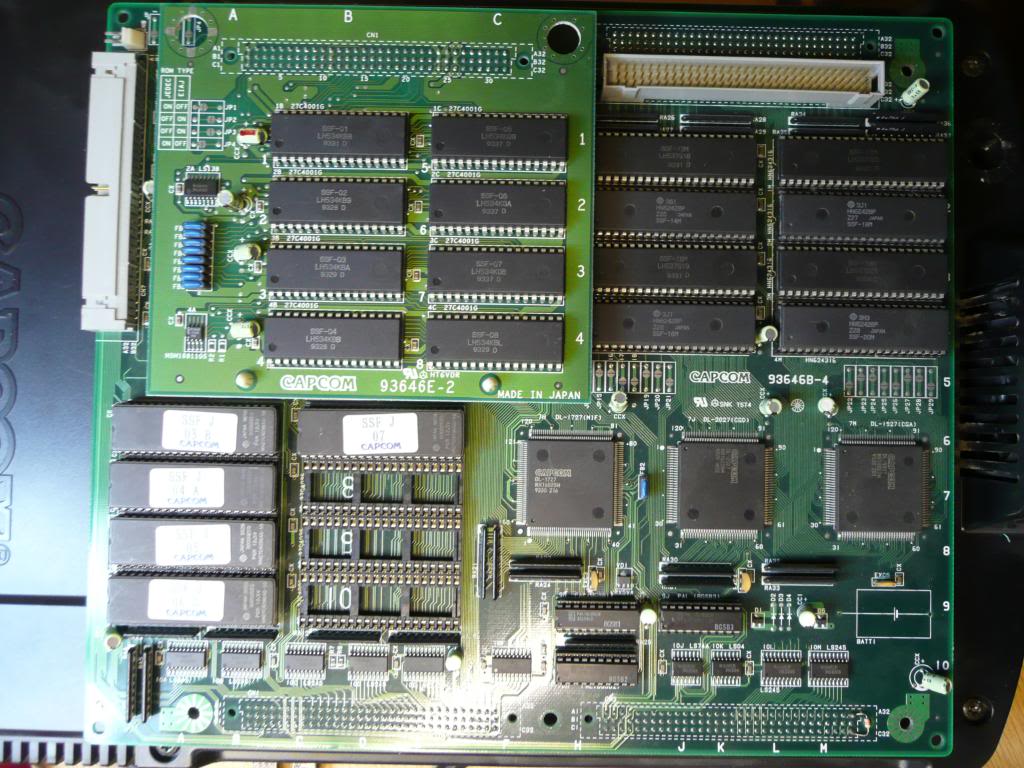
The battery is located in the bottom right hand corner of the PCB.
Remove the solder holding the battery in from the underside and remove the battery. Dont worry about the board suiciding, apparently the capacitor next to it stores enough charge for round about an hour and ive never had one fail yet.
You will need a new battery to put in its place. These are half size AA axial lithium batteries and are 3.6v. They cost around £3 or £4 each. I get mine from Cell Pack Solutions or CPC.
Make sure all the solder has been removed from the through holes as it makes is so much easier to fit a new battery and limits the risk of damage to the PCB.
Bend the legs into shape on the new battery and feed through the holes. Note that the positive (+) side of the battery goes to the left away from the nearest edge of the PCB. Solder the legs on the underside and snip the excess length off so it is flush with the solder. Make completely sure that the battery is soldered in properly and securely.
Thats pretty much it, all that’s left to do is test the board.
Its best to leave the board a couple of hours as the capacitor holding a charge from the battery will keep the board alive for an hour or so. If you have incorrectly installed the battery then the board WILL suicide soon after.
If all went well, the battery should be good for at least another 5 years. These batteries do last a lot longer but for the sake of a few quid every 5 years its not worth it IMO.
Finally, I put a label on to keep track of when the battery was replaced or to let the next owner know when it was replaced.
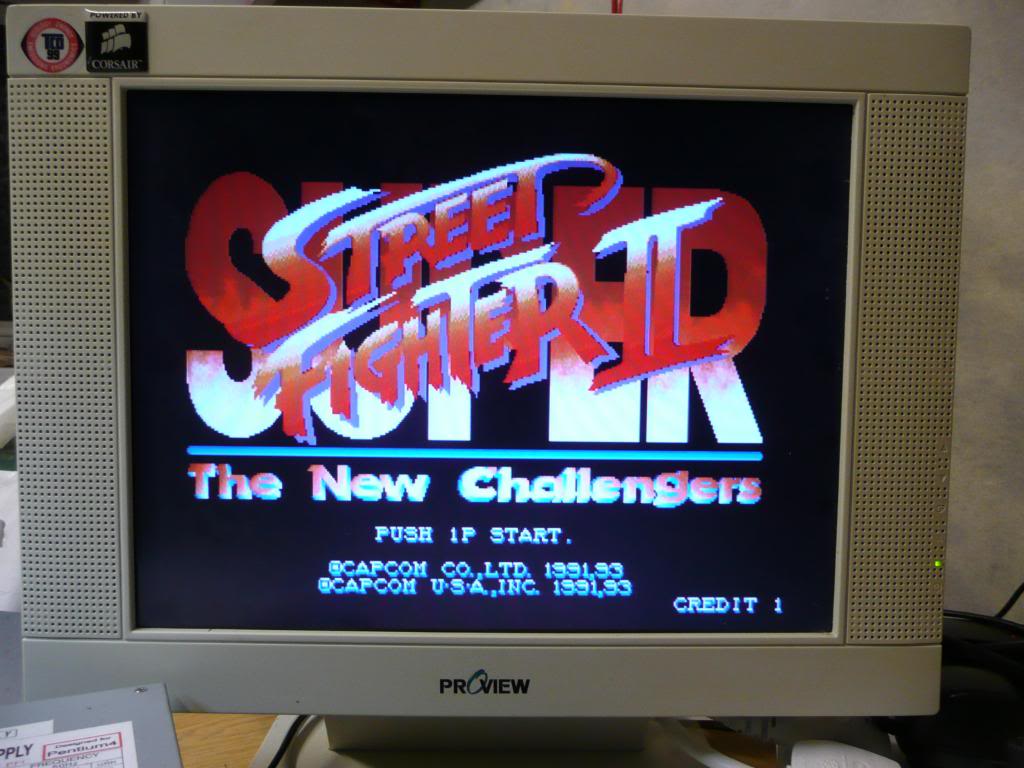
Super Street Fighter 2: The New Challengers repair log
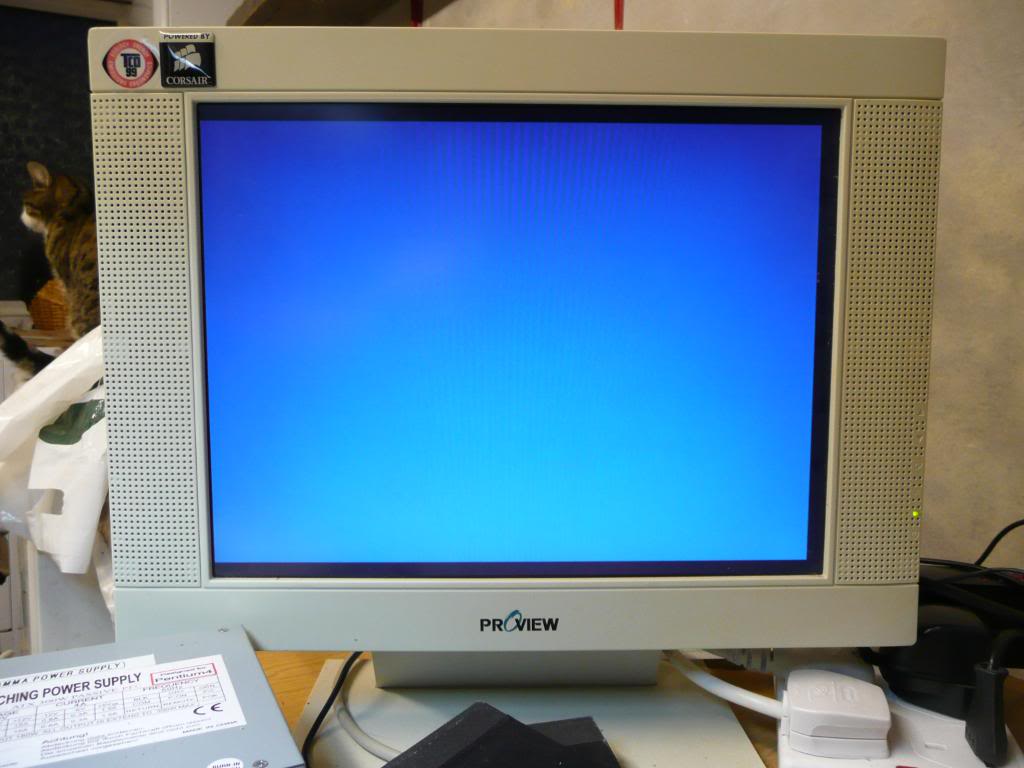
As with the 1944 board, this came from the same seller with the same fault of a solid blue screen.
and like the 1944 board also was that the battery still had 3.6v present, the difference being was that the CPS2 suicide test EPROM didnt work with this indicating that the decryption code was still present in the memory. It is possible for the decryption code to get corrupt and with no other signs of fault I took the plunge and removed the battery, this time thought I discharged the capacitor next to the battery to make certain that the RAM with the decryption code in lost all power. The suicide test EPROM now worked.
After burning 5 new 27C4096 EPROMs for sockets 3 to 7 I fired it up and all is well again.
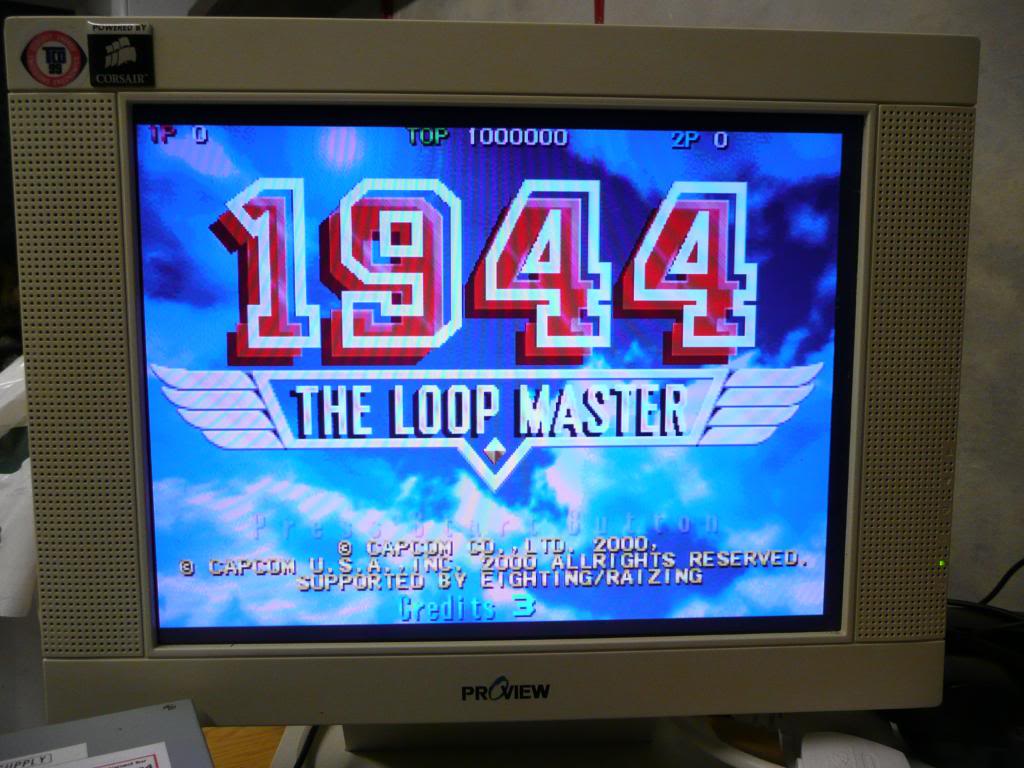
1944: The Loop Masters repair log
Bought 2 boards off ebay the other day, one was Super Street Fighter 2 The New Challengers and the other was this 1944 The Loop Masters.
Both were sold as being faulty.
When I fired this up it gave a solid blue screen.
This is a classic sign that the board has suicided so to make sure I opened it up and inserted my CPS2 test eprom (available from CPS2SHOCK site) into ROM slot number 3.
It loaded up confirming that the board had suicided.
The strange thing was that the battery was still giving out 3.6v but as this was one of two board with the same indicated fault I assume the previous owner had done something silly.
Only the EPROM in slot 3 requires replacing to phoenix this game so with that done and the battery removed I fired it up again.
I would have liked to keep it original but there is nothing I can do about that now.
Kryoflux device
I’m a big supporter of the preservation of old software and hardware and have been following the development of the Kryoflux device for quite some time. For anyone that is not aware of the Kryoflux device:
KryoFlux is an advanced software-programmable FDC (Floppy Disk Controller) system that runs on small and cheap ARM7-based devices and connects to a host PC over the ubiquitous USB connector. It reads (and in the future, will write) flux transitions from floppy disks at a very fine resolution. KryoFlux can read data with no regard for what disk format or copy protection a disk may contain, and it can also read disks originally written with different (and even varying) bit cell widths and drive speeds, with a normal fixed-speed drive.
Last week they finally released the first batch of devices for order and ordered one 5 minutes later.
It came today and its a very neat piece of hardware.
Ive not used this on anything exciting just yet, only a PC floppy disk. Im off to R3PLAY in Blackpool tomorrow so wont have much time to experiment but I shall post more info when Ive learnt how to use it properly.
Dragonball Z 2 Super Battle repair log
Had this board for nearly a year now but the game is so bad I’ve never bothered repairing it until now.
The board itself is pretty clean but the sprites had jailbars through them.
This is quite often a sign of dodgy ROM’s. Several of the MASKROM’s were socketed so I dumped them and checked them against MAME, they all checked out fine. The MASKROM’s are read as 27C160 EPROM’s.
After a little bit of probing, prodding and pulling I believed the fault to be down to the MASKROM at the top right of the board. After inspecting the board under the magnifier I located about a dozen cracked/dry joints. Went over all the solder points on the sockets with the soldering iron, replaced the ROM’s and fired it up. All the graphics were fine and no amount of board flexing could bring the fault back.