CPS2 Progear no Arashi (Conversion)

 General  Comments Off on CPS2 Progear no Arashi (Conversion)
Jan 102011
 

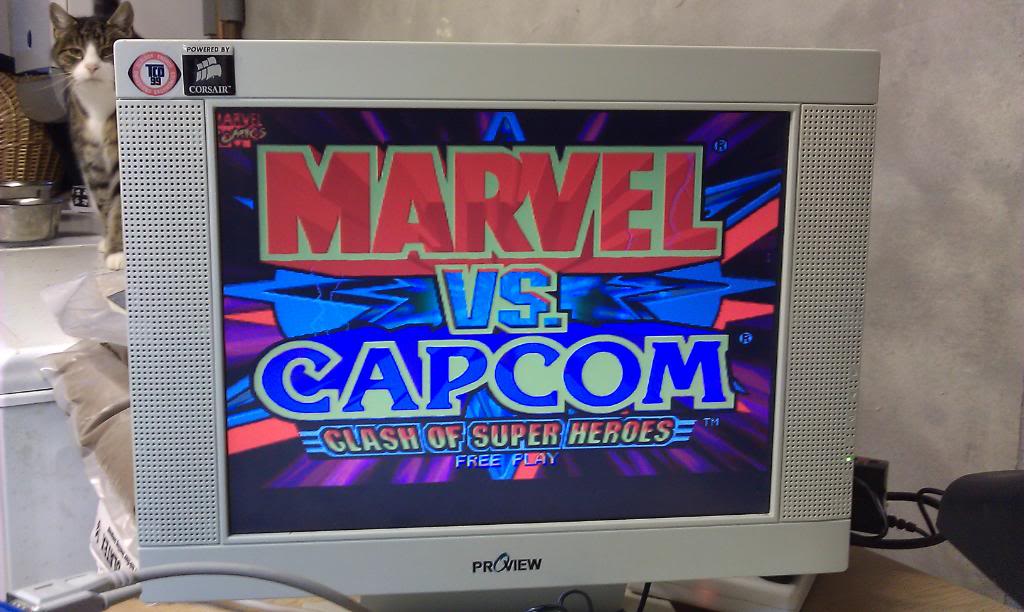
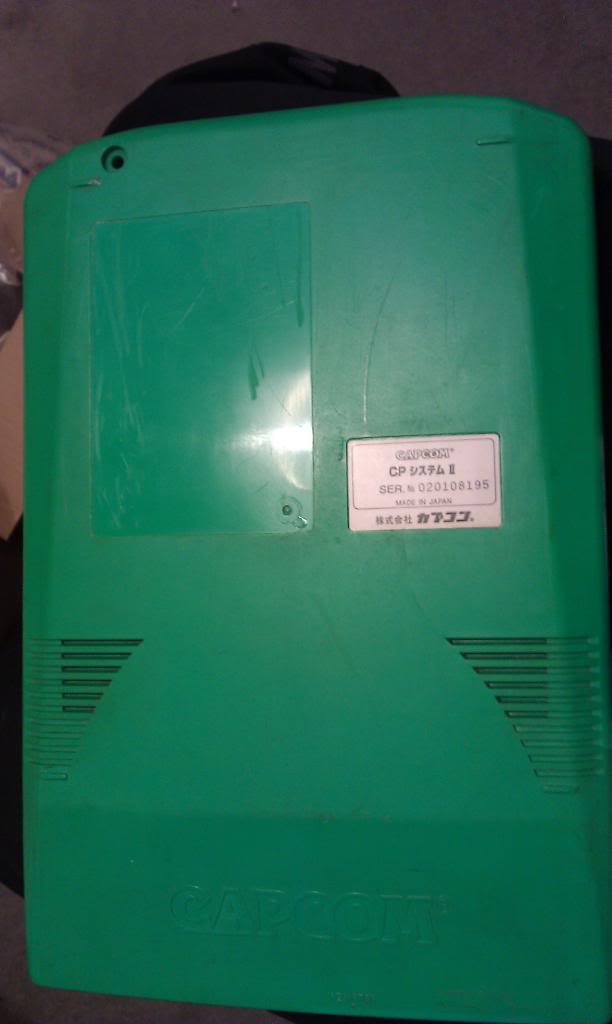
I got my hands on this very rare and expensive game today.
Although this game is a conversion and not original it still normally has a high asking price and this one was no exception!
I initially tested the board and found it wasn’t a Phoenix but it uses another set of decrypted code, this looks like it is already in MAME so I wont dump it.
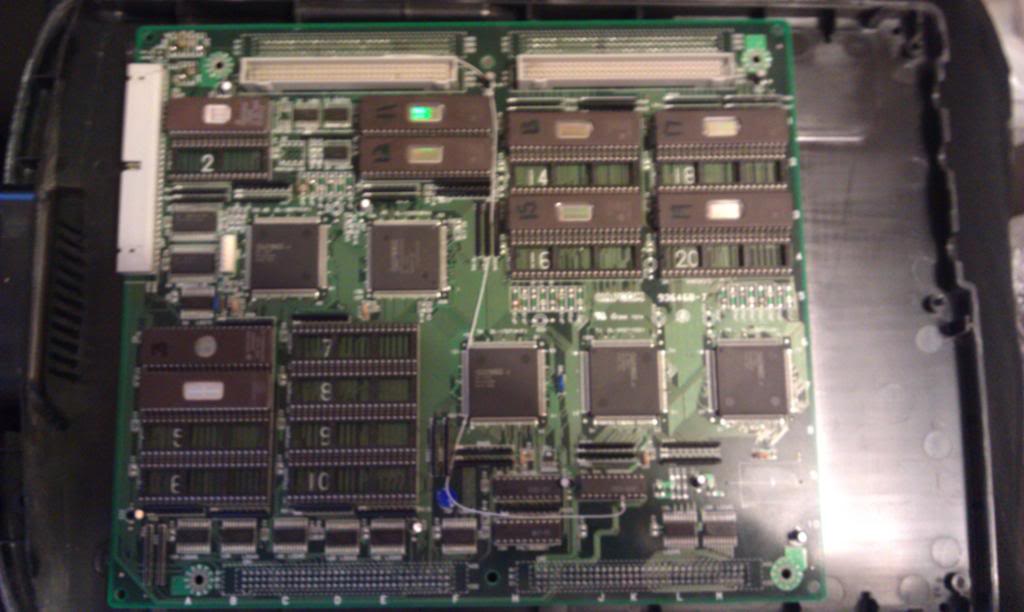
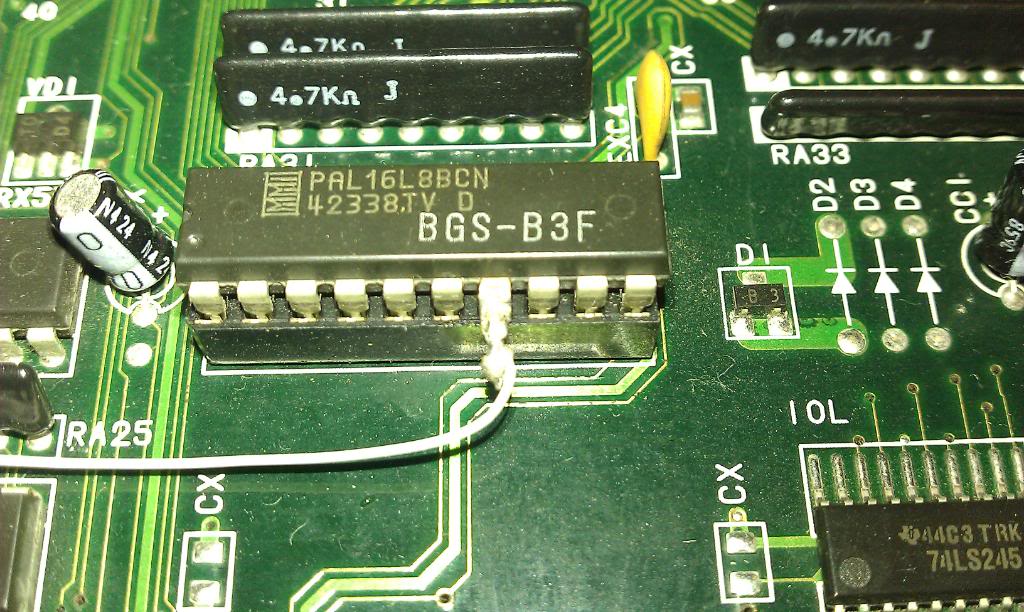
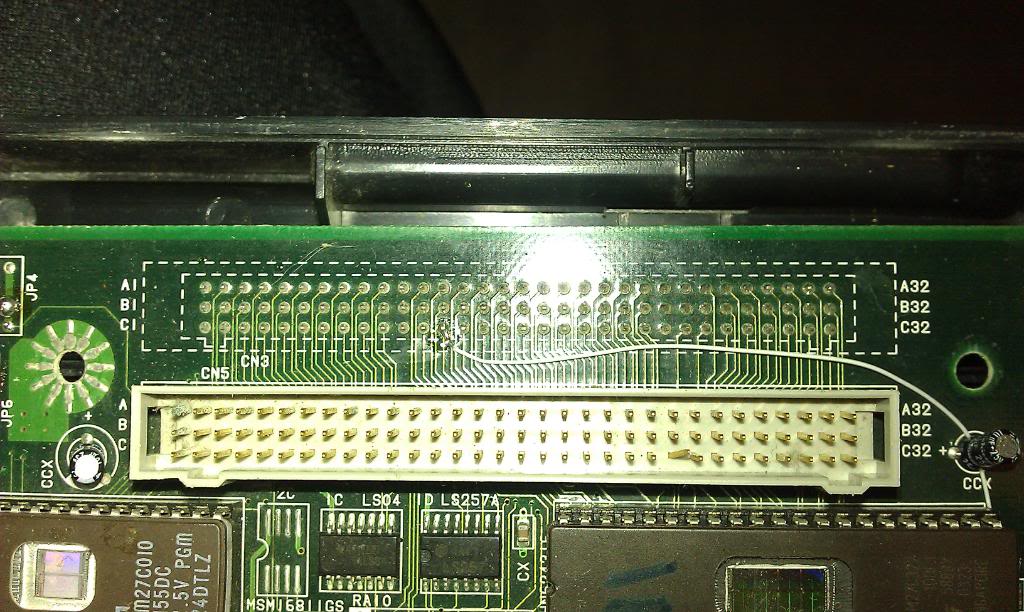
Inside, all the GFX ROM’s are now 27C322 EPROMs and there is a small wiring mod too.
(Apologies for the picture quality here)

Im not sure if this mod makes the conversion work or if it is part of a repair, I cannot see any signs of track damage so ill assume its part of the conversion.

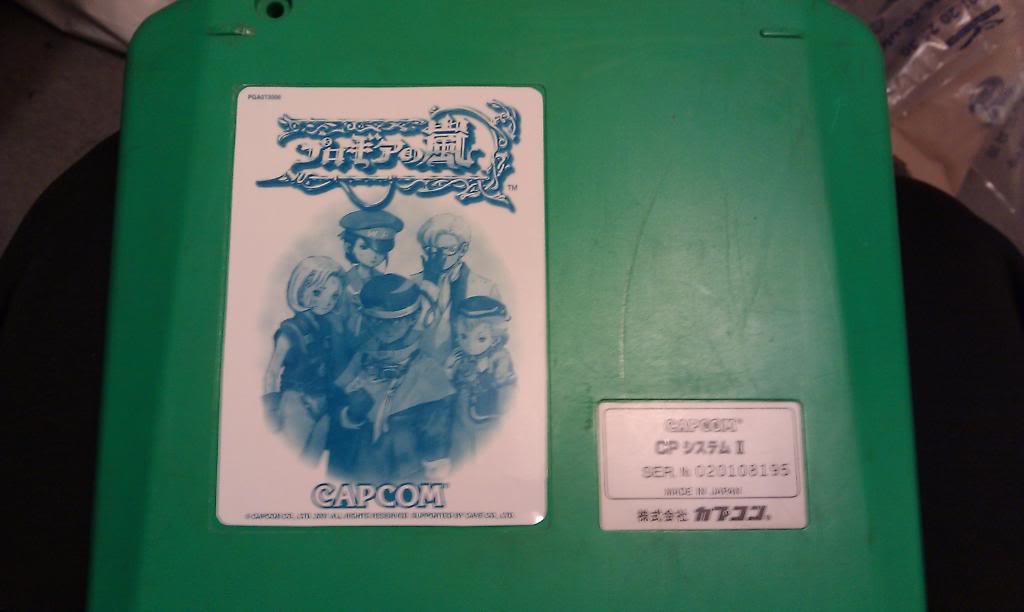
Being a conversion, the game also didn’t have a label. I have a decent scan of the label from Progear both the Asia and Jap versions so I printed one off and it now looks much better.

The game works just fine and is probably the closest I’m going to get to owning this game, a genuine Capcom release goes for a lot of money.

 Posted by at 5:31 pm

Finally…….Rainbow Islands!

 General  Comments Off on Finally…….Rainbow Islands!
Jan 032011
 

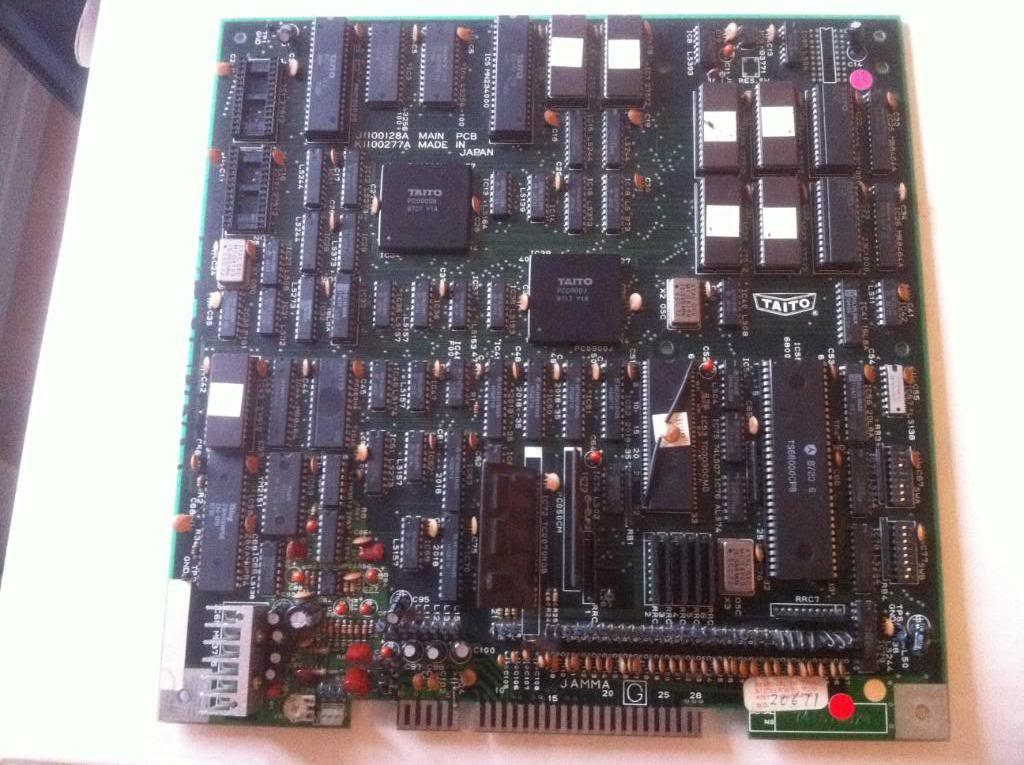
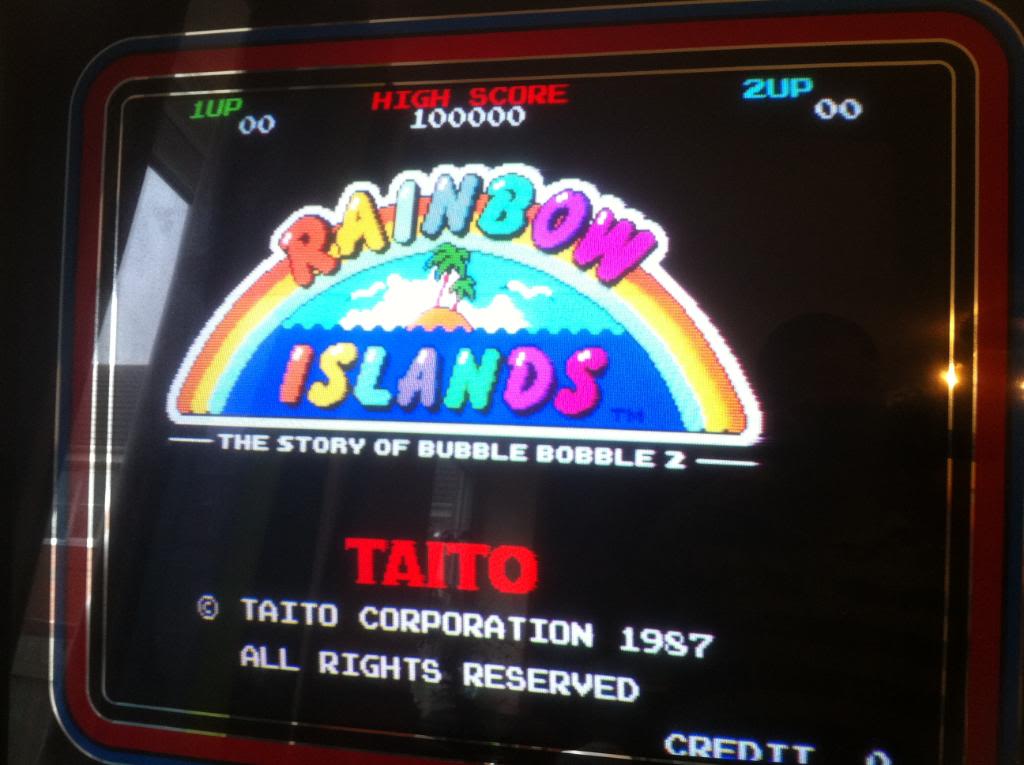
Today I found someone over at Arcade Otaku selling Rainbow Islands.
Ive been after this game for ages and now Ive finally got it and at a pretty decent price too.


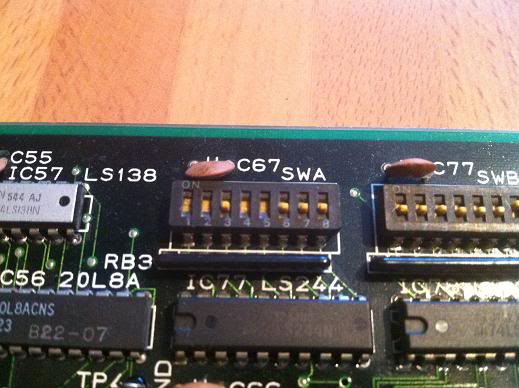
The board looks in excellent condition from the pictures and the seller tells me all is well apart from a couple of the DIP switches have broken levers, I can live with that.

Rainbow Islands
Option Switch Settings

-----------------------------------------------------------------------------
DIP Switch A Settings
1 2 3 4 5 6 7 8 Option
-----------------------------------------------------------------------------
Game Style
----------
Off Cocktail Table
On Upright

Screen
------
Off Normal*
On Upside Down

Game Mode
---------
Off Normal*
On Test

Demo Sound
----------
Off Yes*
On No

Credits per Coin
----------------
Coin Mech 1
Type 1 Type 2
---------------- ----------------
Off Off 1 Coin 1 Credit 1 Coin 1 Credit*
On Off 1 Coin 2 Credits 2 Coins 1 Credit
Off On 2 Coins 1 Credit 3 Coins 1 Credit
On On 2 Coins 3 Credits 4 Coins 1 Credit

Coin Mech 2
Type 1 Type 2
---------------- ----------------
Off Off 1 Coin 1 Credit 1 Coin 2 Credits*
On Off 1 Coin 2 Credits 1 Coins 3 Credits
Off On 2 Coins 1 Credit 1 Coins 4 Credits
On On 2 Coins 3 Credits 1 Coins 6 Credits
-----------------------------------------------------------------------------
1 2 3 4 5 6 7 8 Option
-----------------------------------------------------------------------------

-----------------------------------------------------------------------------
DIP Switch B Settings
1 2 3 4 5 6 7 8 Option
-----------------------------------------------------------------------------
Difficulty
----------
Off Off B*
On Off A
Off On C
On On D

Bonus
-----
Off 100k/1,000k*
On None

Complete Bonus
--------------
Off 1 Up*
On None

Number of Lives
---------------
Off Off 3
On Off 4
Off On 1
On On 2

Language
--------
Off Japanese*
On English

Coin Type
---------
Off Type 1*
On Type 2
-----------------------------------------------------------------------------
1 2 3 4 5 6 7 8 Option
-----------------------------------------------------------------------------

* = default settings

 Posted by at 2:47 pm

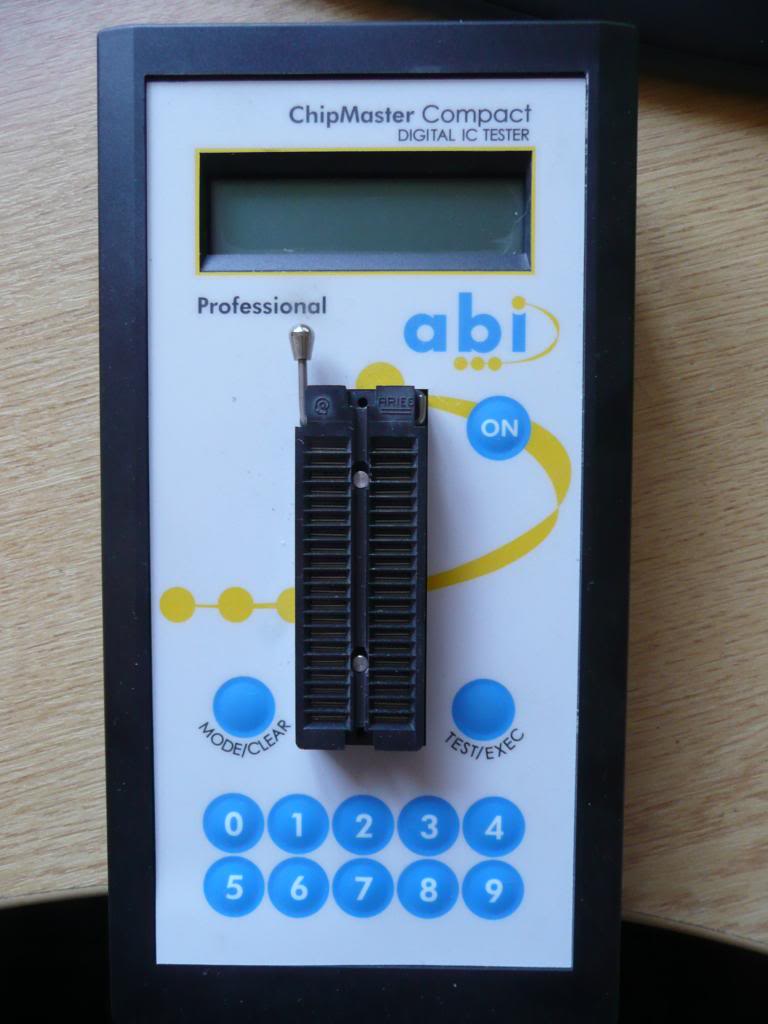
ABI Chipmaster Compact Pro

 General  Comments Off on ABI Chipmaster Compact Pro
Jan 022011


Ive been using this device for a while now but never really mentioned it.
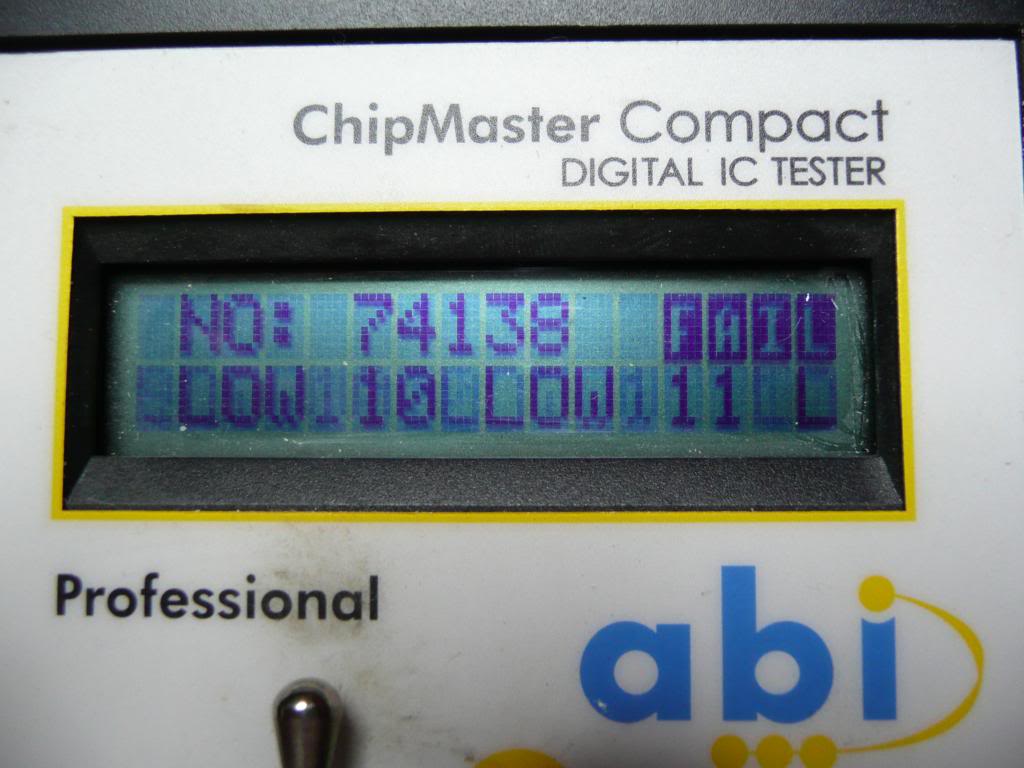
Its a very useful device used for testing digital IC’s up to 40 pin for correct logical functioning. Any discrepancy results in a FAIL result and the fault information is displayed. It can execute various test loops including repeated test until pass, repeated test until fail and permanent loop test, the device can also search for unknown devices providing they are functional.
There is an RS232 port on the device which allows software to communicate with the Chipmaster and upload new software or create new truth tables of your own.
The device can test:
54/74 CMOS and TTL IC’s
RAMs
Interface/peripheral/microprocessor and LSI IC’s

Bring able to test logic, RAM and Z80s if a massive help to me when troubleshooting arcade PCB’s.

The Chipmaster is an excellent bit of hardware but it does have a couple of annoying traits.

Firstly, the screen has a slow refresh and results in ghosting when it scrolls the fail information making it very hard to read properly.

Second, the CompactLink software to upgrade the device does not come with it and is not free. In fact it costs a few hundred pounds which I think is ridiculous considering the cost of the unit if you were to buy it from normal vendors.
I know the software also allows the user to create their own libraries but I believe it should be capable to apply the software updates from ABI for nothing.

There is a JTAG connector inside which I have been tempted to test out but I really see no point at this time.

 Posted by at 10:03 pm

Wonder Boy 3 Monster Lair bootleg

 General  Comments Off on Wonder Boy 3 Monster Lair bootleg
Dec 232010
 

I got a bootleg version of Monster Lair which is a massive 2 board set, very badly put together and didn’t play all too well. I had no interest in fixing this game up but after harvesting all the 27C512 ROM’s I found a small daughter board in between the 2 main boards that held the 68k CPU and also an Intel D8749H MCU. I desoldered the MCU and attempted to read its contents, the chip was not bit locked and I got a dump. I also started to read all of the ROM’s. There was 16 in total simply labeled from 1 to 16, unfortunately number 1 was completely dead and couldn’t get a read at all, I did manage to dump all the others though and 3 of them were not recognised in MAME, the rest were matched to Set 1 in MAME.
I did think about submitting this to MAME but without it being complete im not sure if its worth it.

UPDATE: Ive also dumped the PAL20L8 from the same daughterboard.

If anyone wants these files let me know

 Posted by at 11:30 am

Dreamcast battery change

 General, Guides  Comments Off on Dreamcast battery change
Dec 072010
 

My Dreamcast was not saving the time and date settings I was putting in which got a little annoying as its setup for dumping GD-ROMs and isnt normally connected to a display.
The battery change is very simple.
1. Remove any GD/CD ROM from the drive
2. Remove the modem/BBA
3. Remove the 4 screws, one at each corner. They are normal screws which makes a nice change.

The top should now lift off and you can now see the battery on the small PCB at the front where the controllers connect (its the blue thing on the picture below
4. Remove the small ribbon cable, it just pulls out
5. Unplug the small fan from the board
6. Remove the 4 screws holding the controller PCB down.
7. I had to remove the 2 screws holding the power supply down, lift the power supply board up which allows the front board to lift out also.

8. Desolder the old battery and clean up the 3 holes.
9. Fit a new battery. I used a rechargeable CR2032 with radial pins attached.

10. Put everything back together and fire it up. Easy

 Posted by at 8:33 pm