ABI Boardmaster 4000

 General  Comments Off on ABI Boardmaster 4000
Aug 122011
 

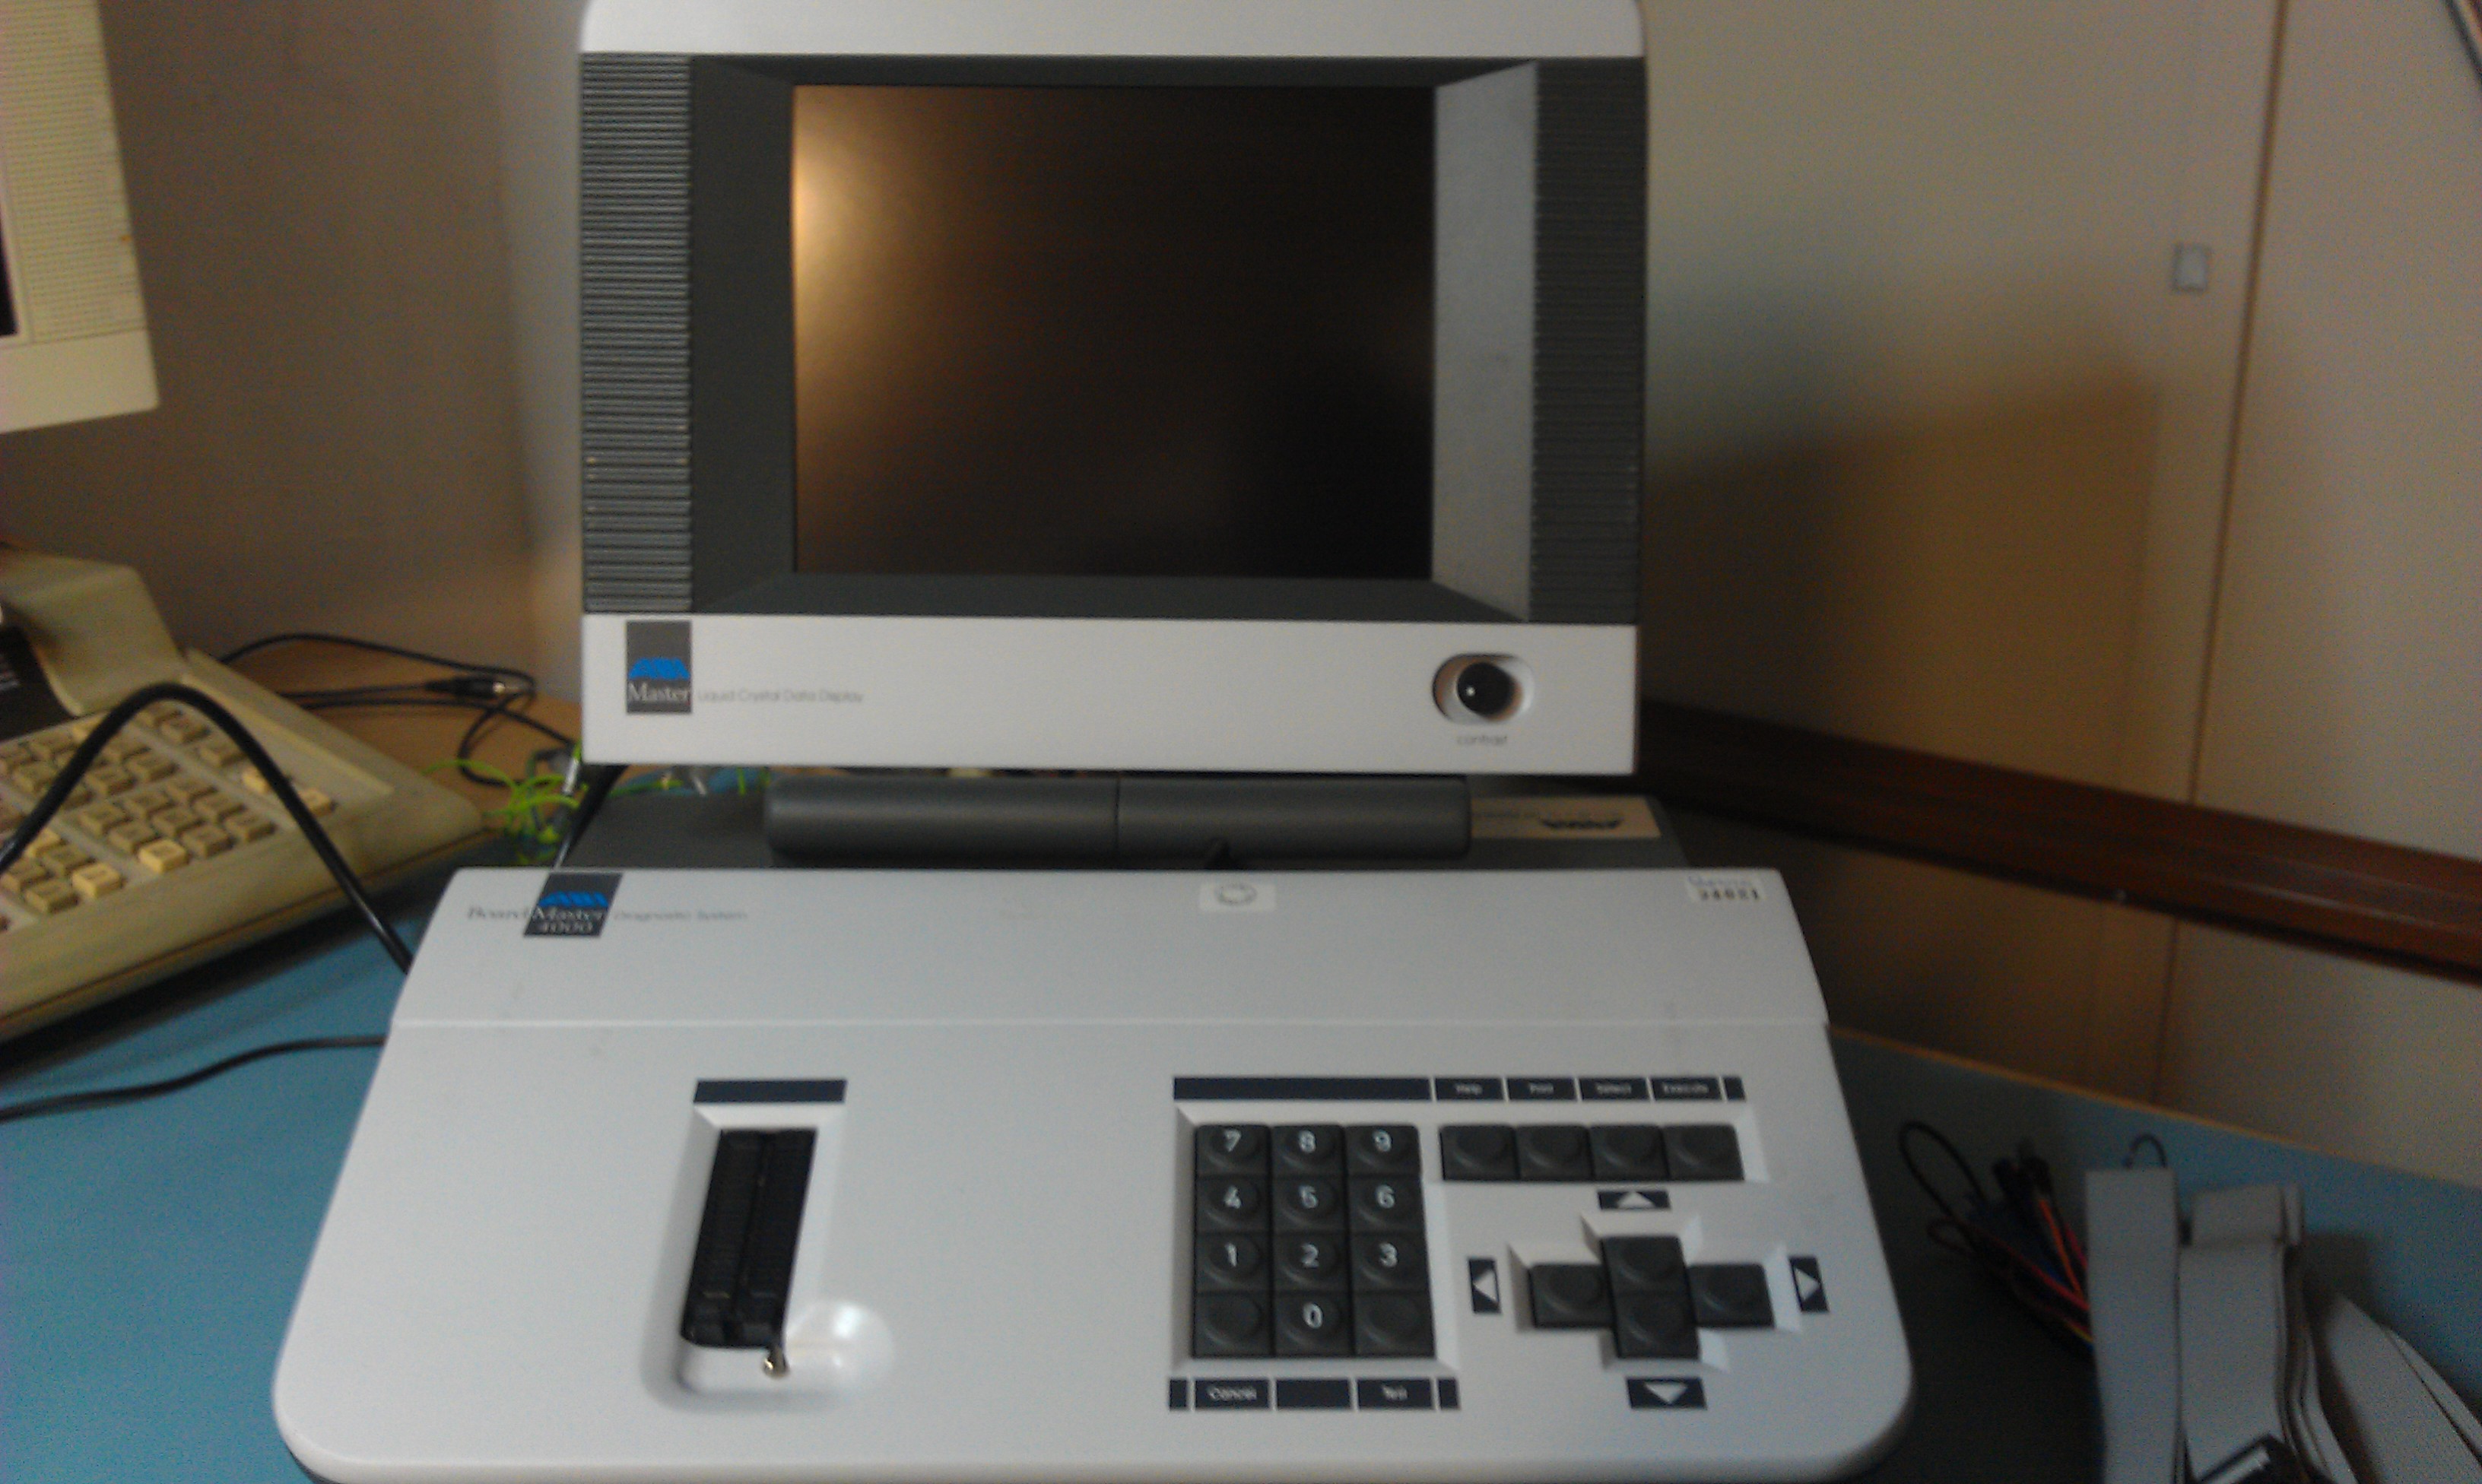
Been looking for one of these for a little while now and finally managed to get my hands on one.
While this is by no means an essential bit of test equipment, it is a massive time saver when it comes to troubleshooting TTL as it can test in-circuit.
Programs can also be written for it using the built in BASIC language and is very simple to use.

Before This got here I started looking for info on the net and to my surprise I found very little. All I found was the programmers manual and the last software revision.
As mine came with the operators manual I have scanned it in and put it up on here.

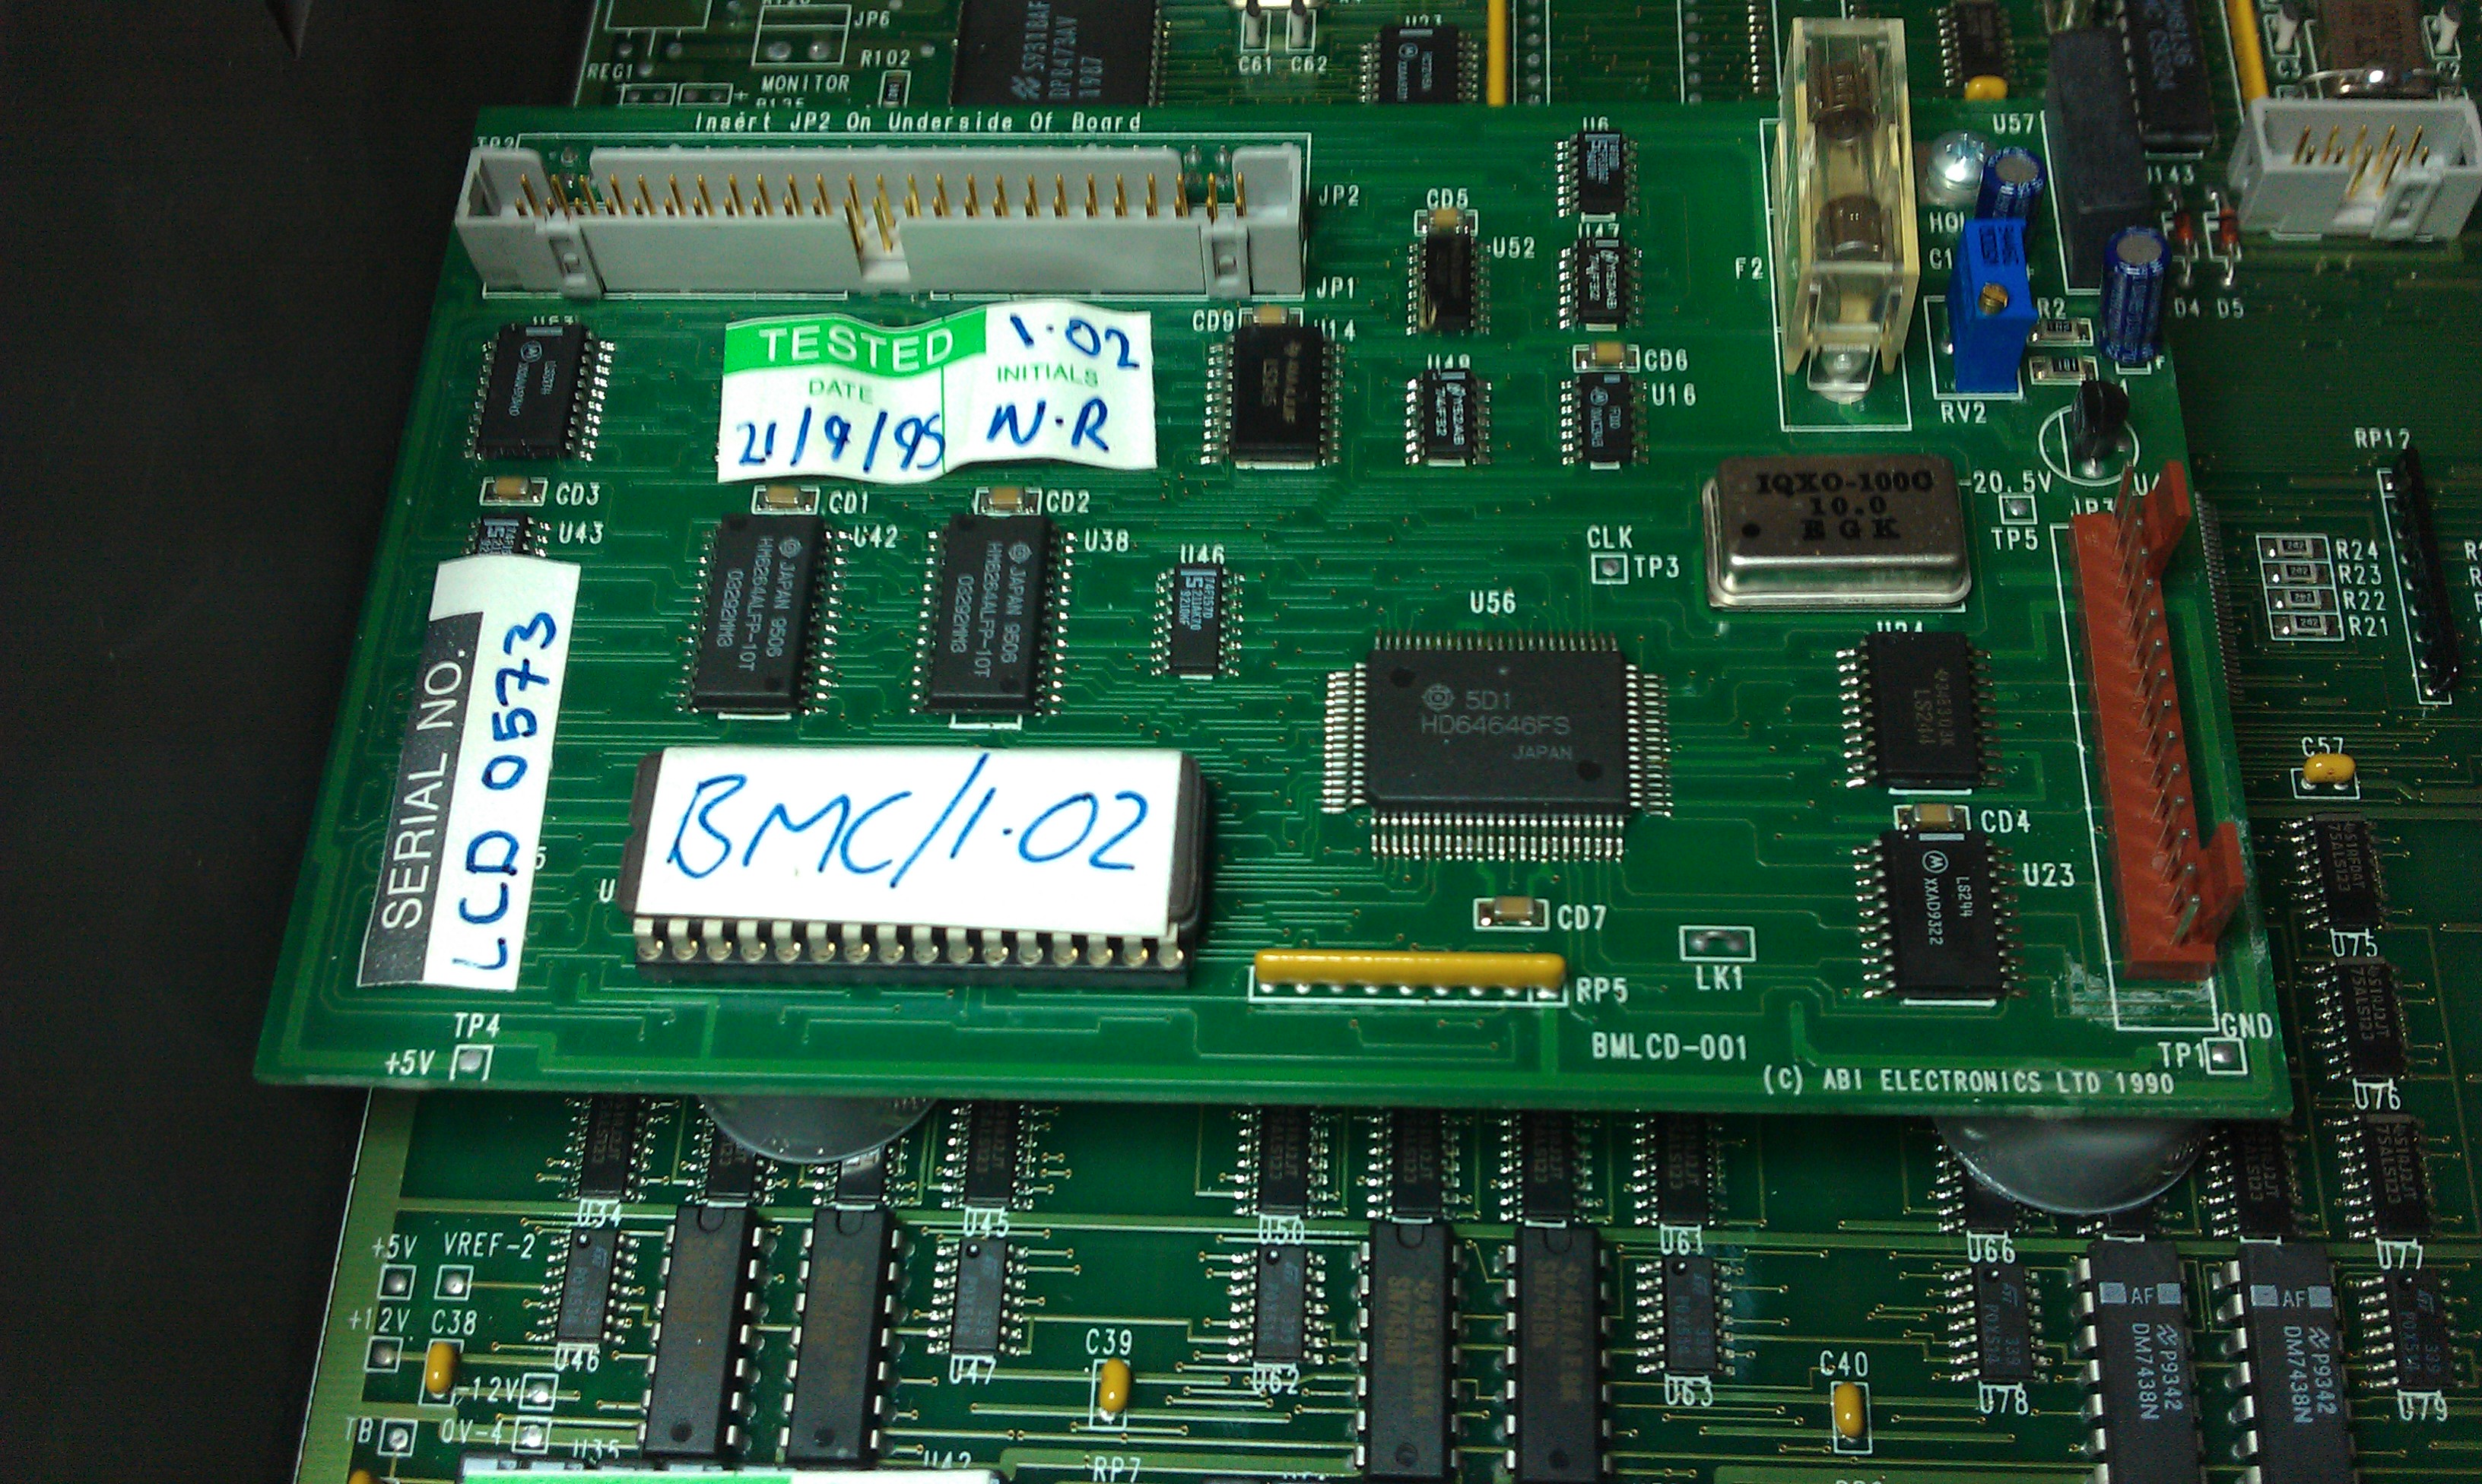
The software revision in mine was v3.00. The ones I found online were v3.10 and the changelog showed this was most likely the last revision and had several TTL test fixes so I updated mine. The files are burned on to 2 x 27c020 EPROMs. There is also a third file that is a dump of the LCD software. My version (v1.02) was the same as the one in the file.

The time and date are stored in a Timekeeper RAM in which the battery has died on mine. There is a replacement alternative but taking a look inside I dont think ill bother. It doesnt really gain me anything and cant be bothered removing the board and performing surgery.

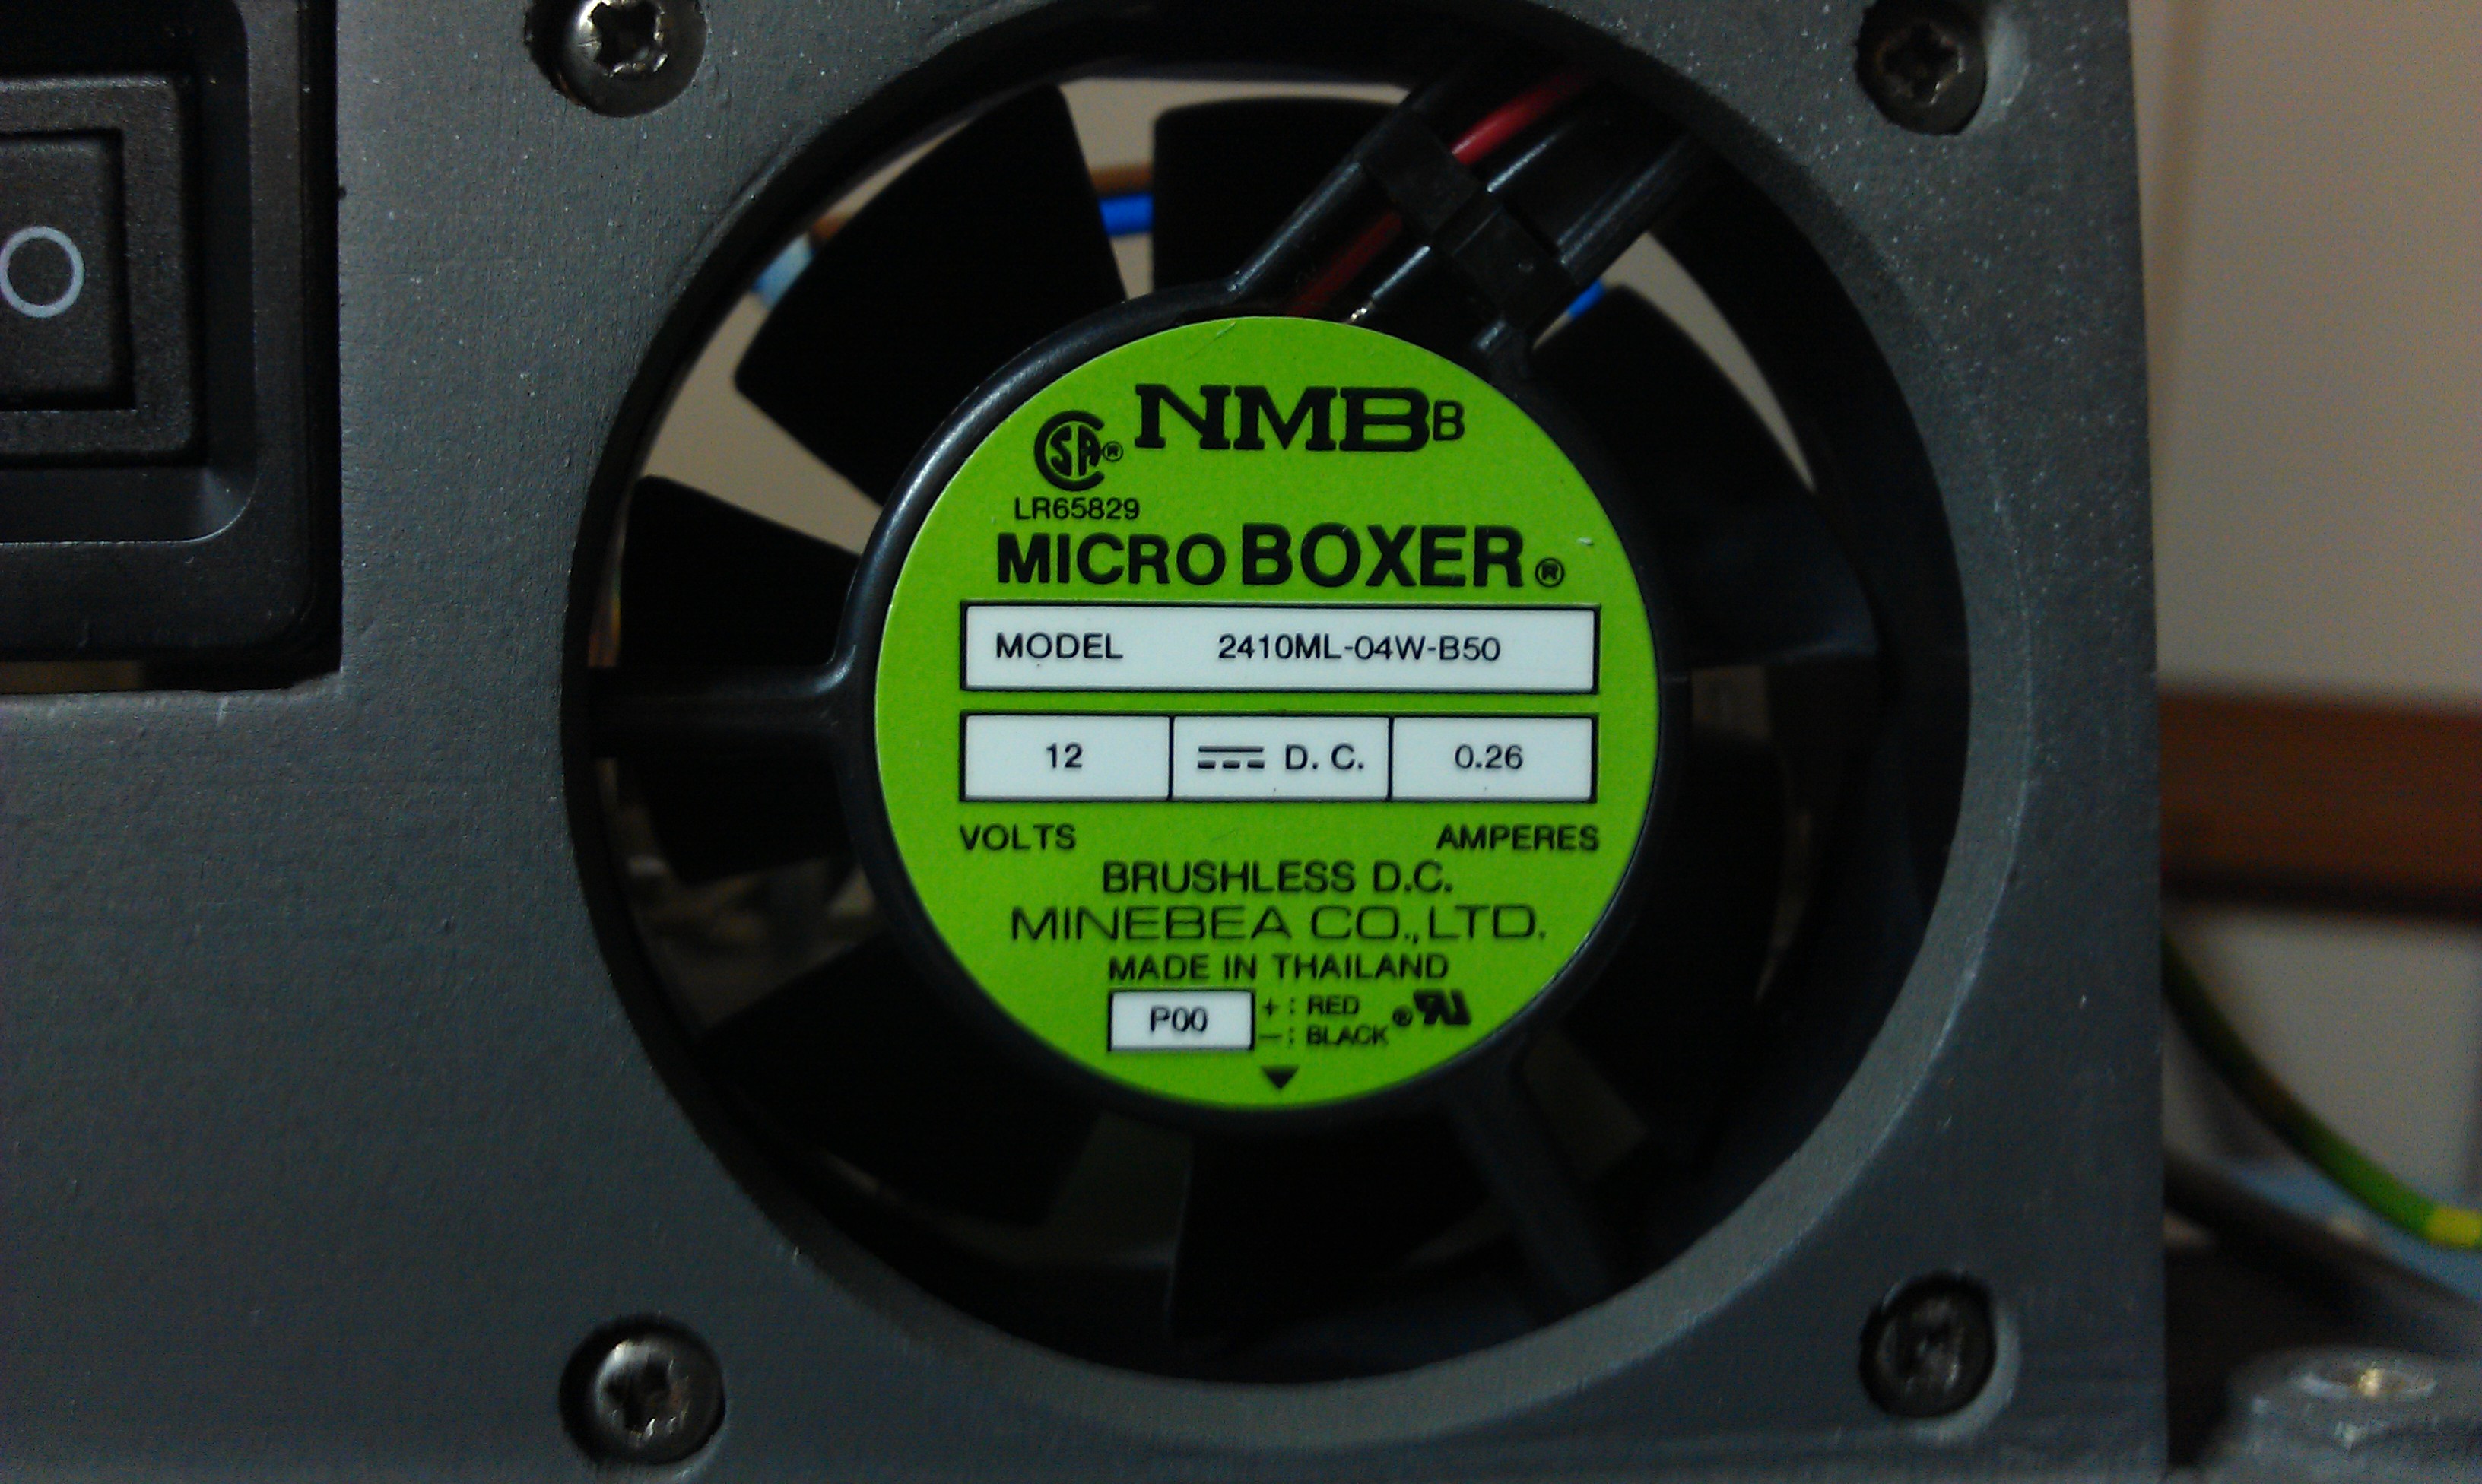
Another little problem is the built in cooling fan. It really really loud. According to the specs of the fan, it runs at about 31dB. I have now ordered a quiet fan that runs at 16dB.

Other than that, this thing is amazing and in really good condition too.

NAOMI Netbooting

 General  Comments Off on NAOMI Netbooting
Jul 232011
 

Was unsure whether or not to post this but here it is anyway but without links to any of the utilities needed. I actually own a fair amount of GD-ROM games and netbooting gives me a more convenient way of loading my games now my GD drive is dead.

As most owners of a Net DIMM will know, it is possible to load code from a PC via ethernet.
To start with there are some jumpers to change on the DIMM board to set it to network mode.
My net DIMM had version 3.03 firmware which is fine for netbooting but as my ultimate goal was to build my own compact flash booting device I need the latest firmware, 4.01.

My first problem came with the DIMM boards I have. They were not recognised by my NAOMI.
My BIOS was 21577D which is too old for network support.
A newer BIOS was needed so I burned a new 27c160 EPROM with the latest available export bios.
This let me access the DIMM module in the test menu.

In the test menu you can setup the network settings.
The device must be set to ETHER
The network IP and subnet need to be correctly set too.

My second problem came with my ethernet cable.
As I wasn’t using a router or similar, I needed a crossover cable and the one I very quickly knocked together ended up being useless.
The second one I made up worked a treat and I could then PING the system.

First job was to update that firmware.
There are 2 tools available for uploading to the DIMM.
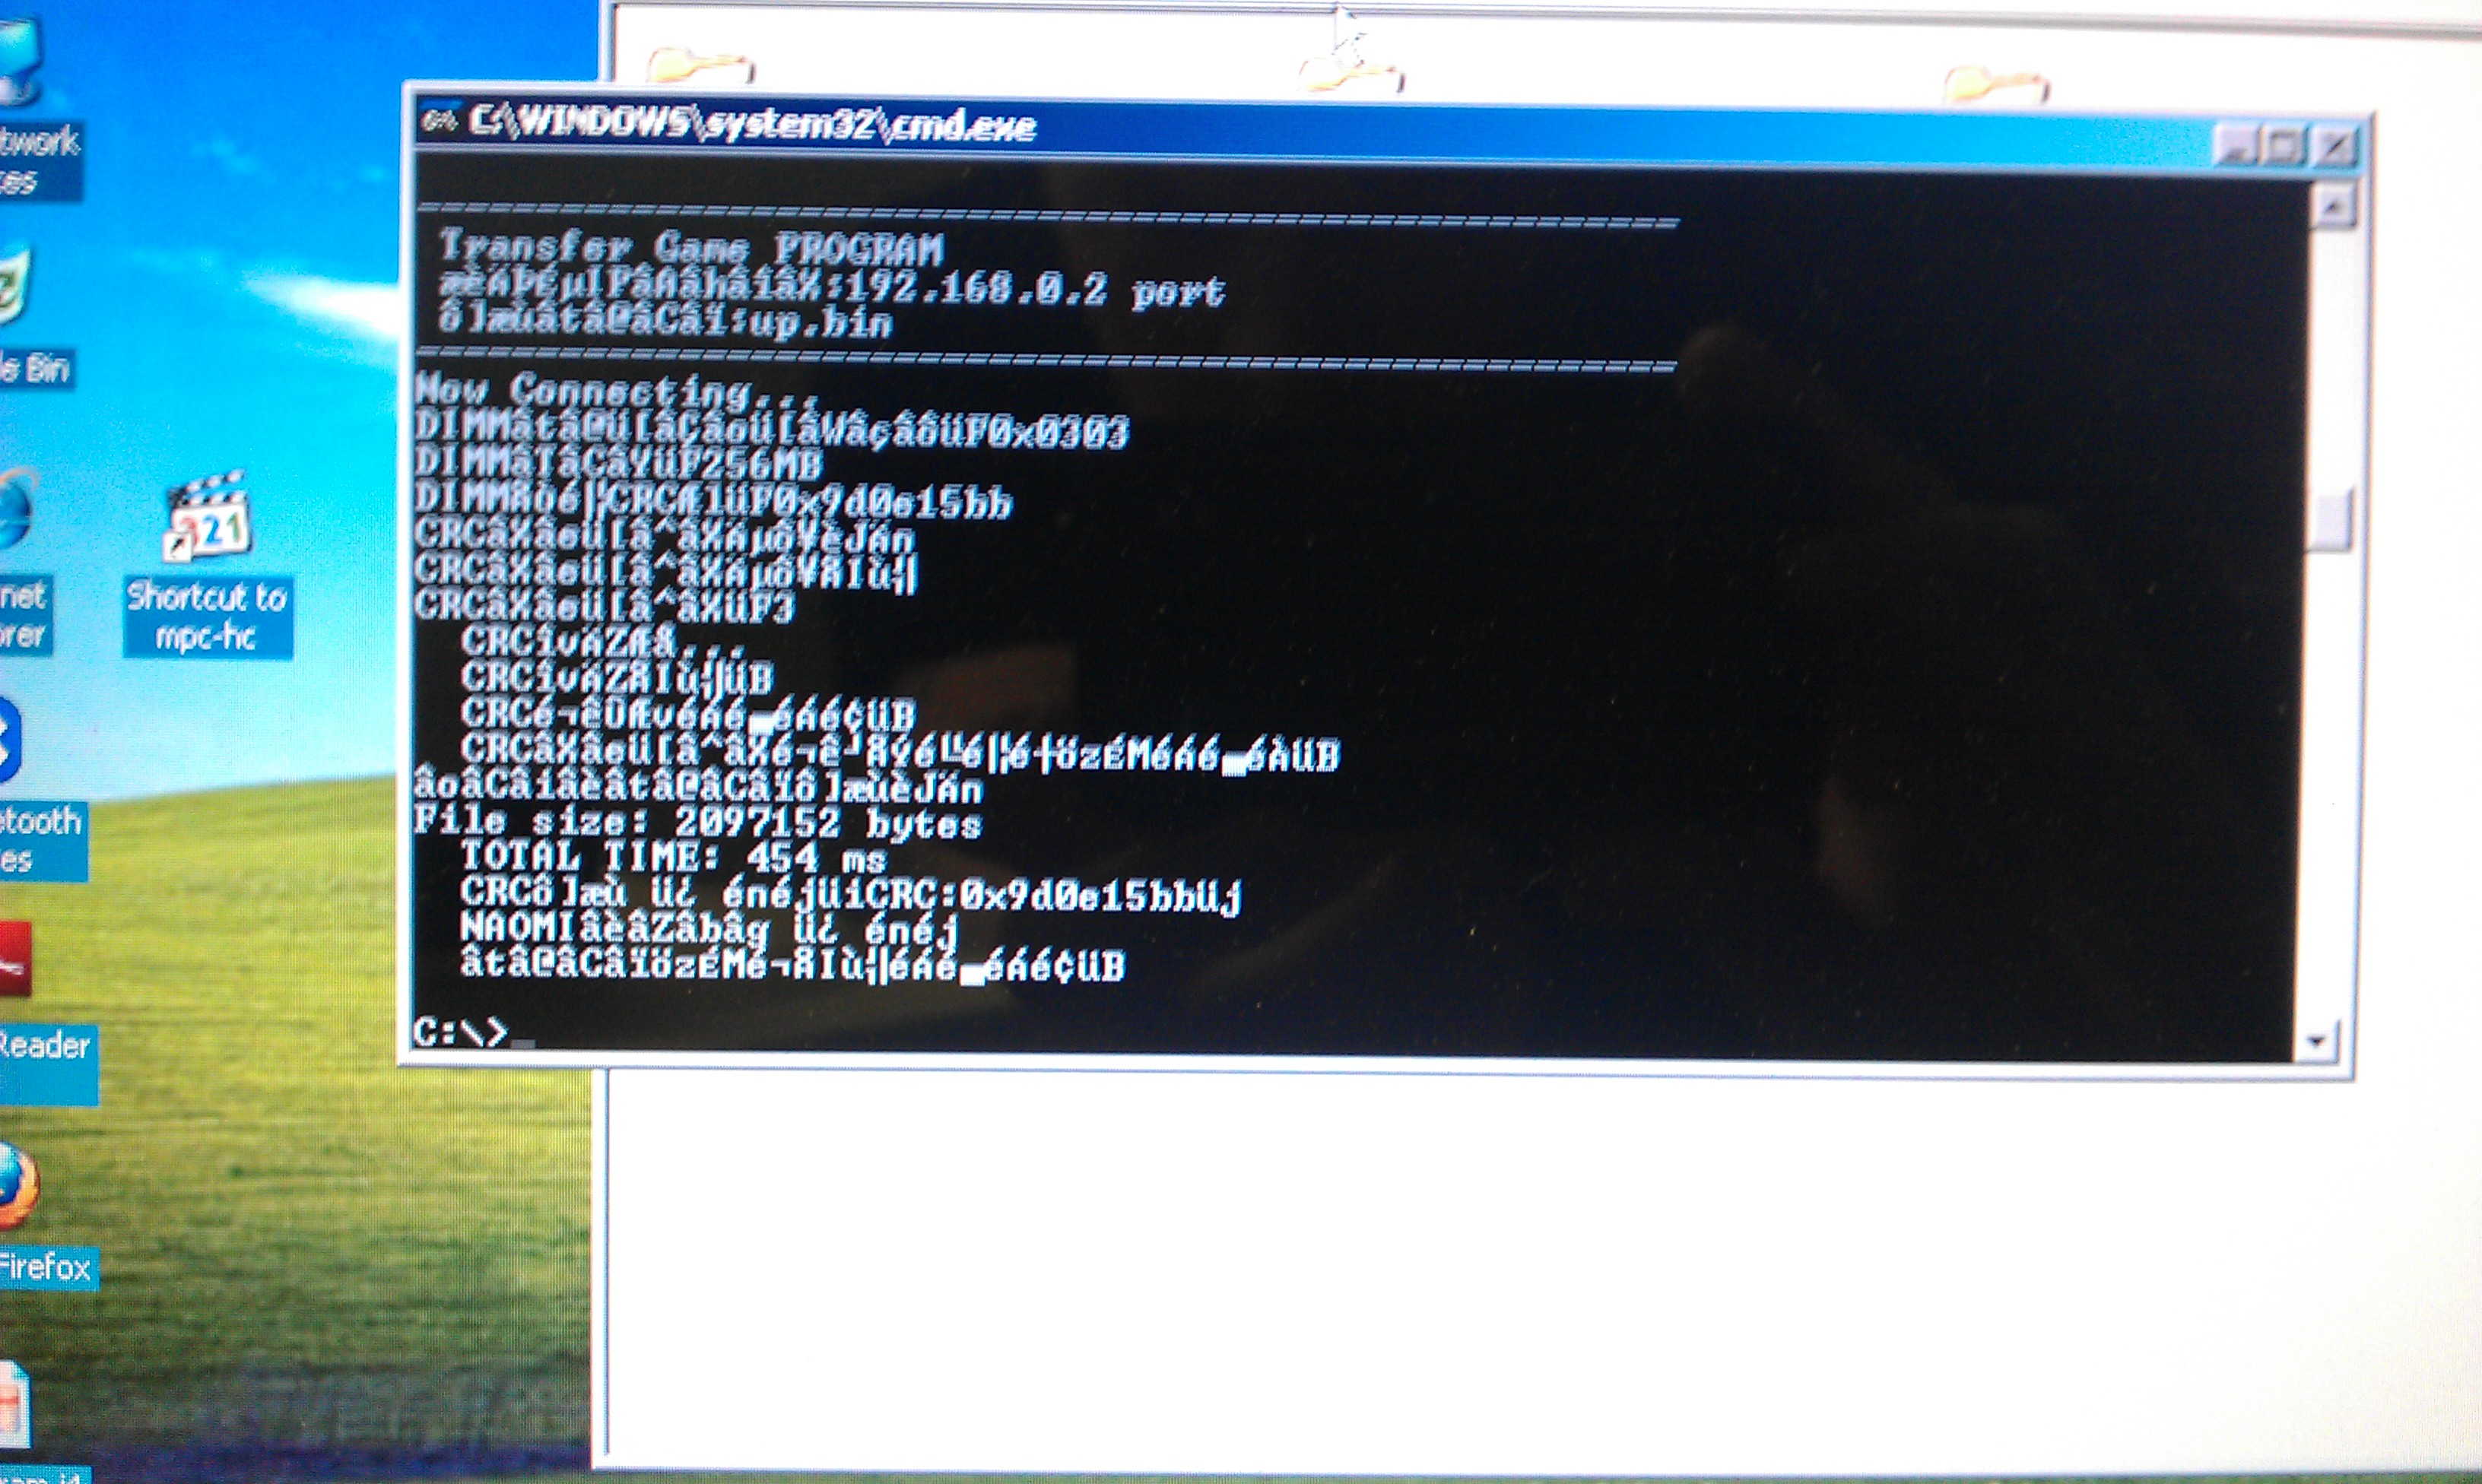
The first one is the official SEGA one called “transfergame.exe”

I had no luck at all with this program, probably because I didnt know what security net pic to use.
I had burned several different replacement pics but none seemed to work correctly.
I gave up with the official software and downloaded the very excellent triforcetools python script.
To use this you need to download all the associated Python files.
This script runs pretty much the same way as transfergame.exe in terms of usage but sets the DES key to zero so any net pic can be used.
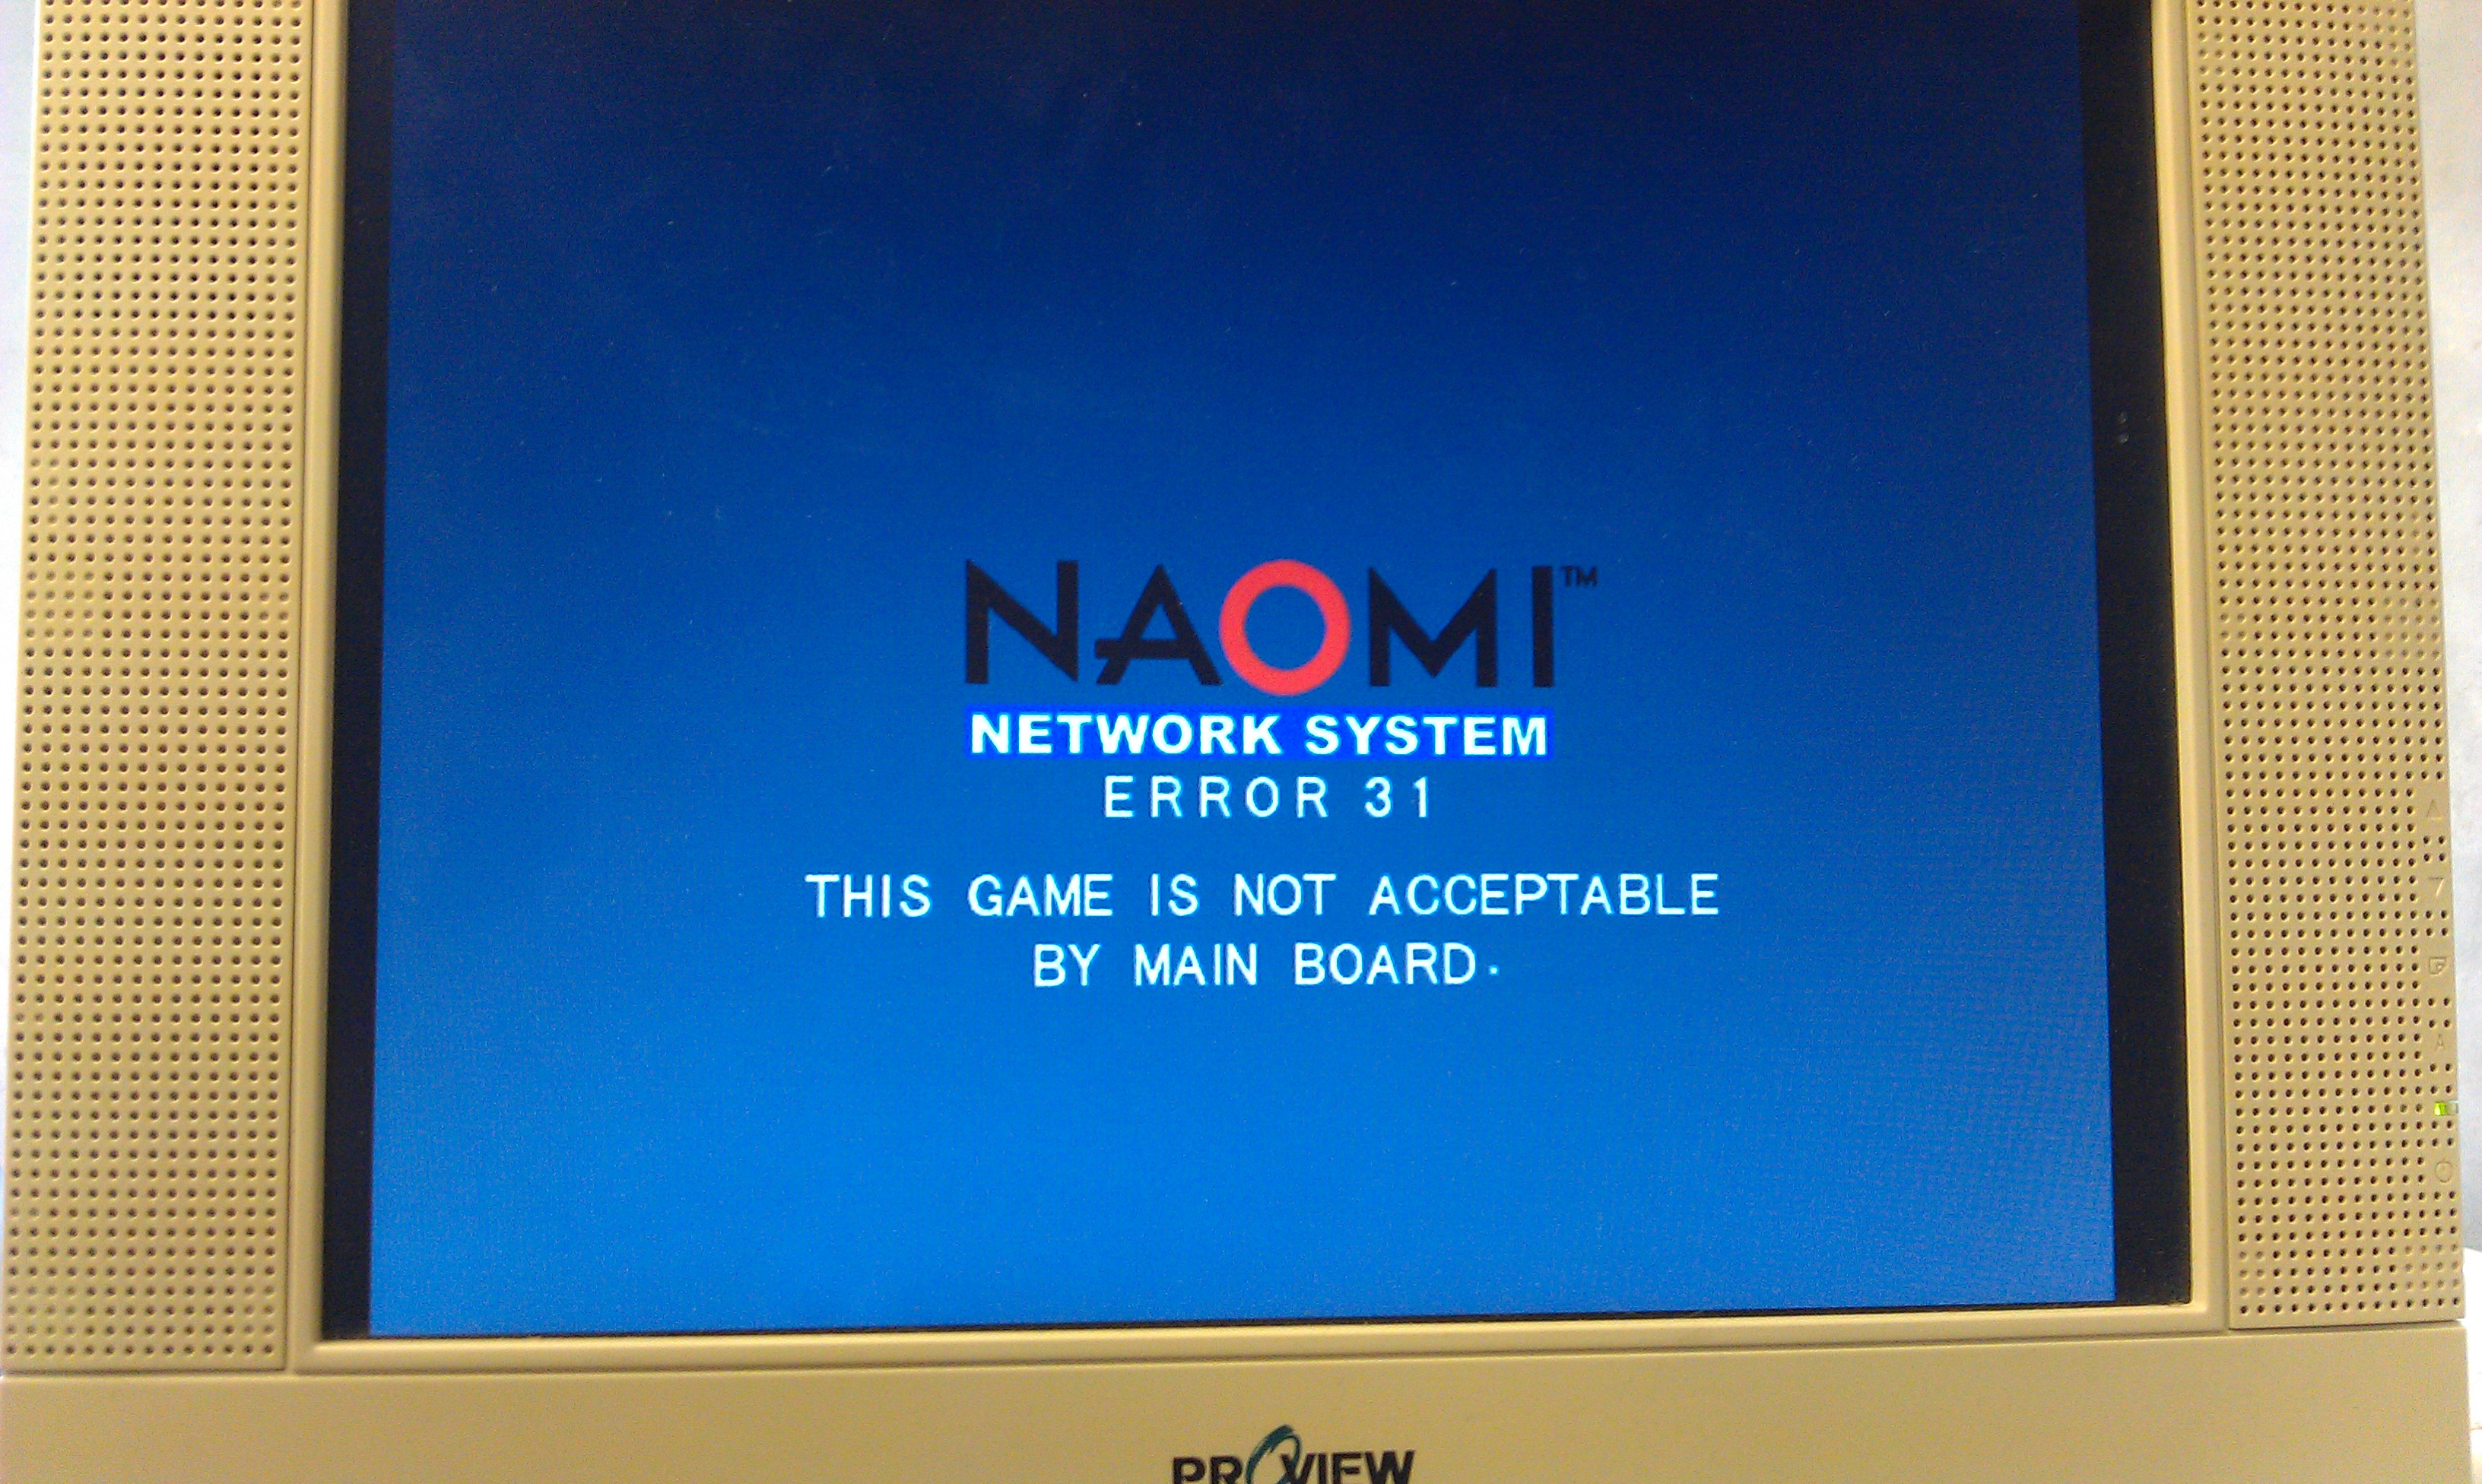
As it happens I didnt get much further with this at first as it kept giving me a Error 31.

With no ideas I gave up for a day.

Whilst doing a lot of searching around the internet I found a modified version of the python script which claimed to remove the need for any security pic to be inserted at all, and it works a treat too.

Using this I managed to upload the new firmware and update the DIMM to v4.02 (this version lets a user use any CF card and not just an official SEGA one).

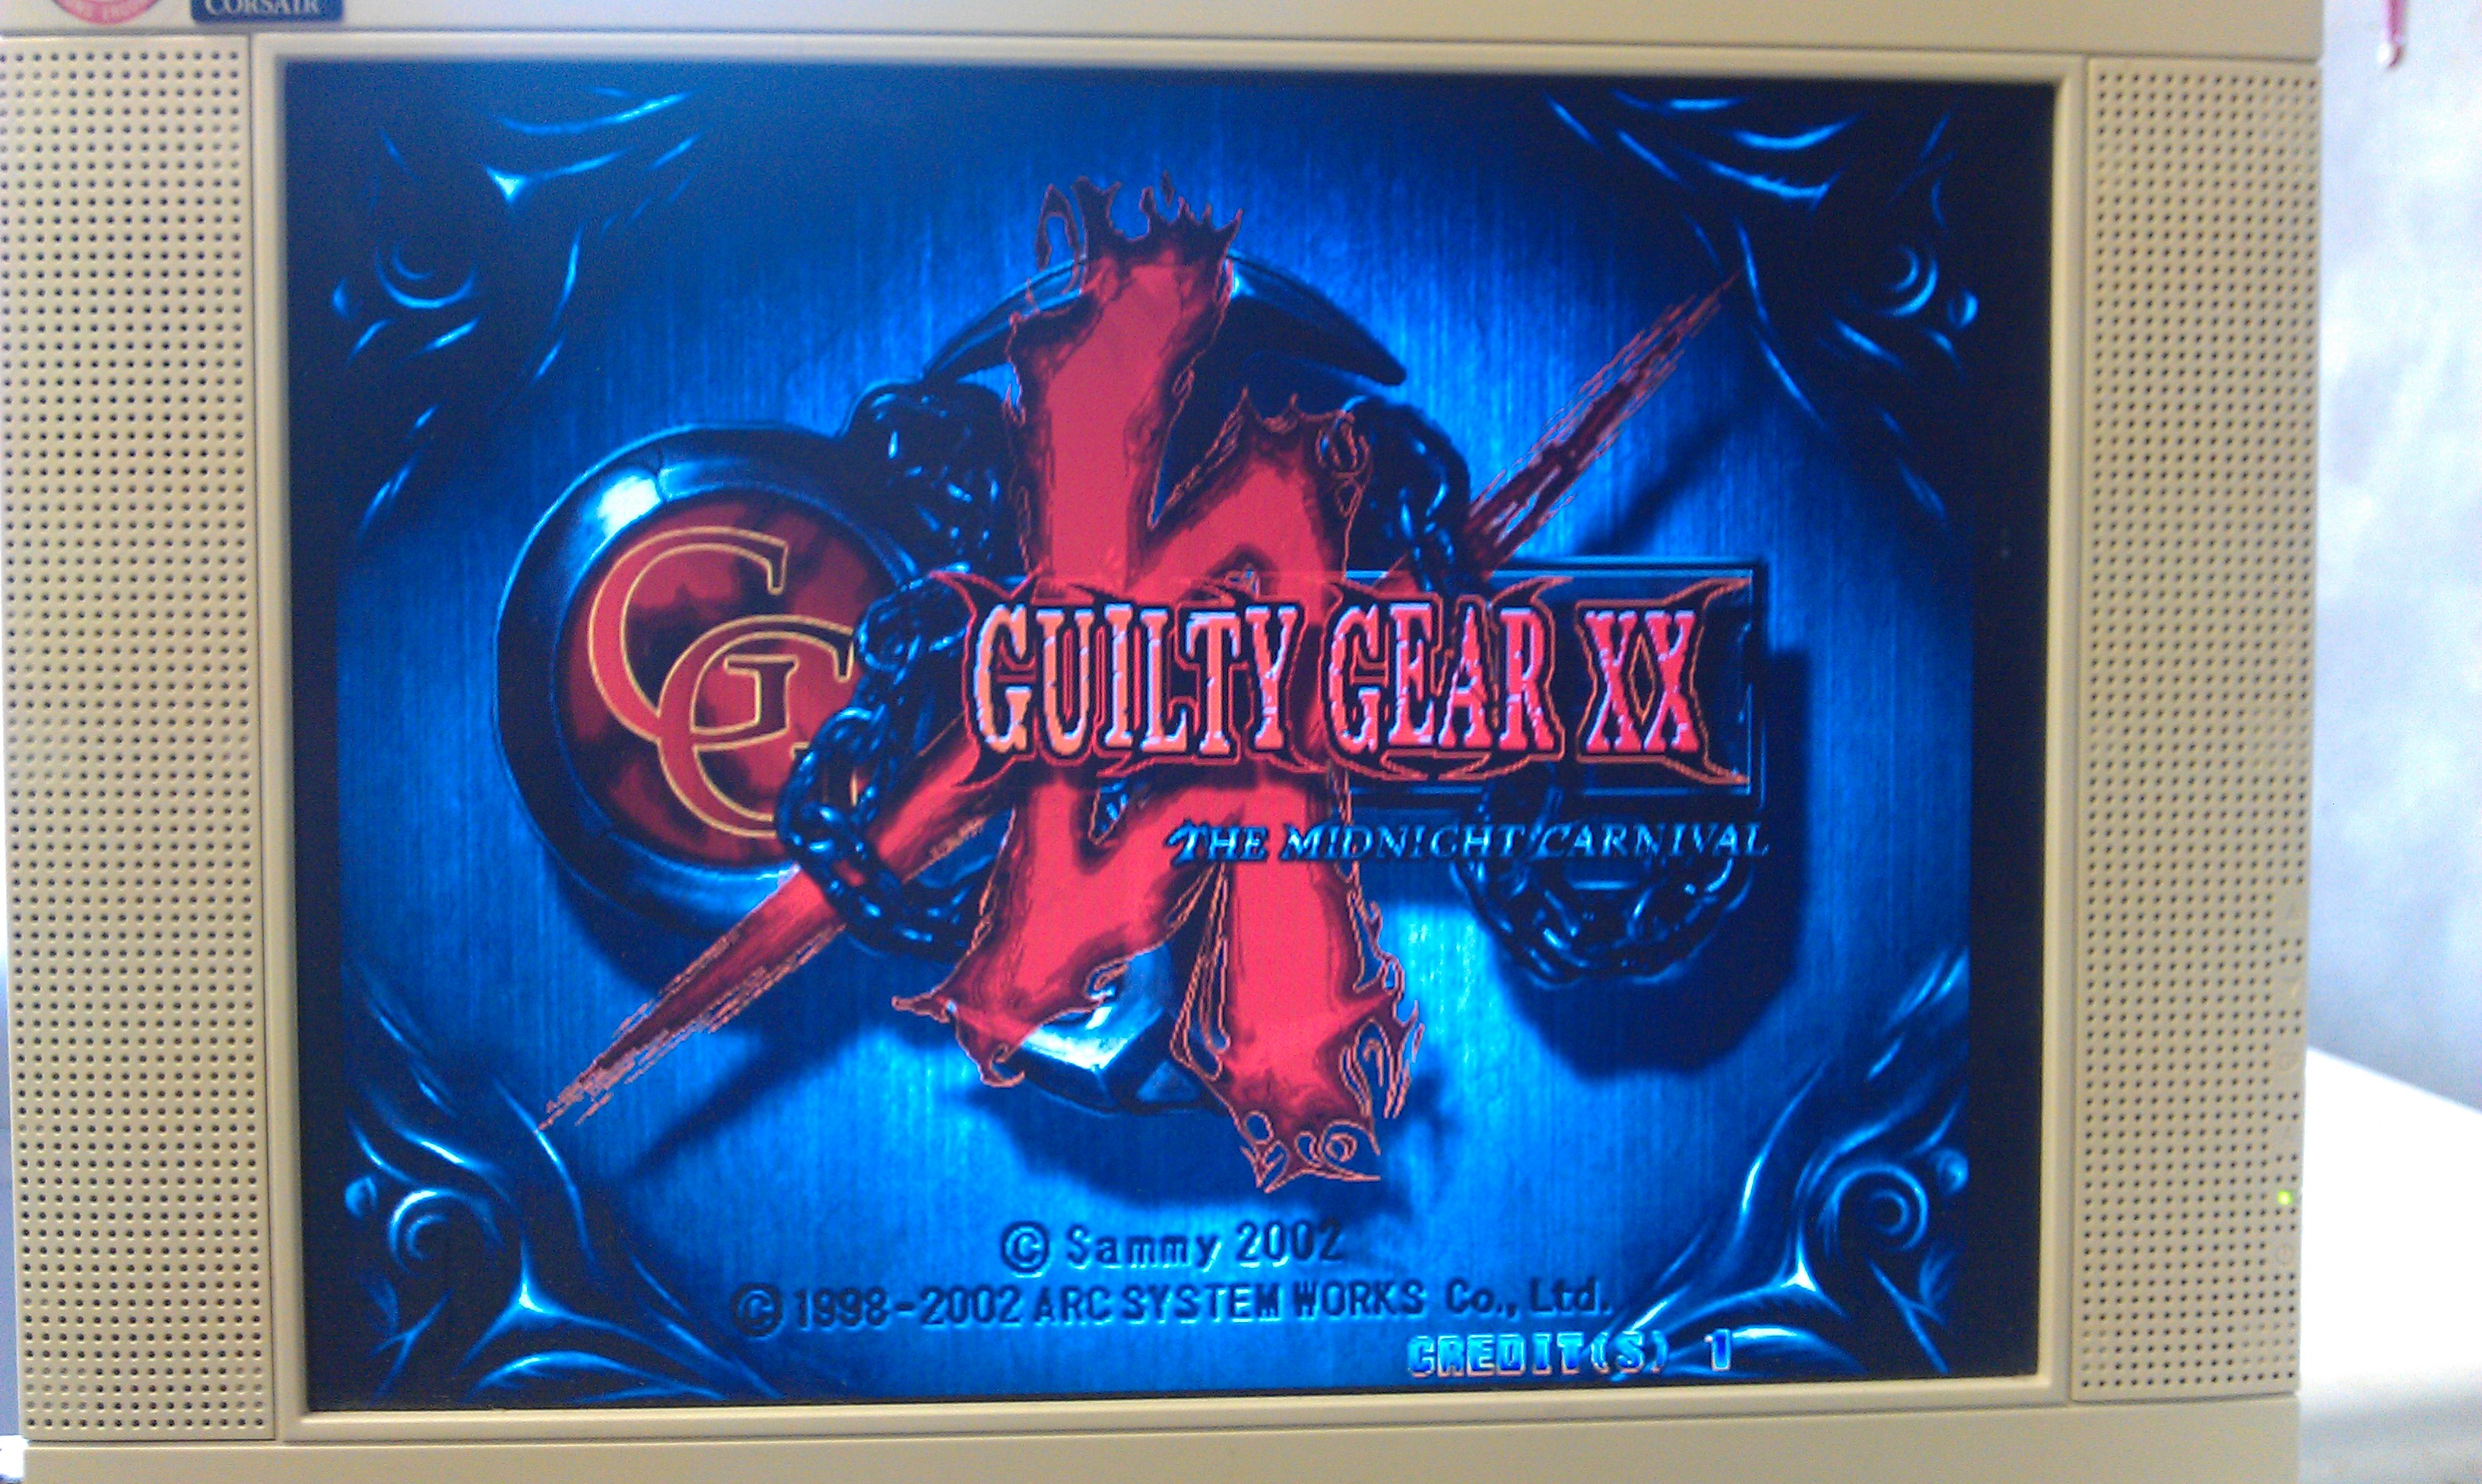
I also managed to boot Guilty Gear XX too. All works fine. Now I have this working I am starting to think I dont need to build the CF adapter but since I have all the parts needed I might as well do it.

Taito F3 region change

 General  Comments Off on Taito F3 region change
Jun 132011
 

I got a Puzzle Bobble cartridge today so I could test the F3 motherboard I got in the job lot a bit back.
The motherboard itself doesn’t do anything at all without a cartridge so I wasn’t sure if it worked or not.
The cartridge seemed to be a different region than my motherboard is but the lockout is a physical one rather than a software based one and requires cutting the posts out on the pin header sockets. With this done, the game fits and it booted up no problem.

Happy this thing works and Puzzle Bobble is really addictive.

More information on converting F3 games and boards can be found here

Commodore 64 loading devices

 General  Comments Off on Commodore 64 loading devices
May 292011
 

Ive recently got a couple of devices for loading games onto the Commodore 64.
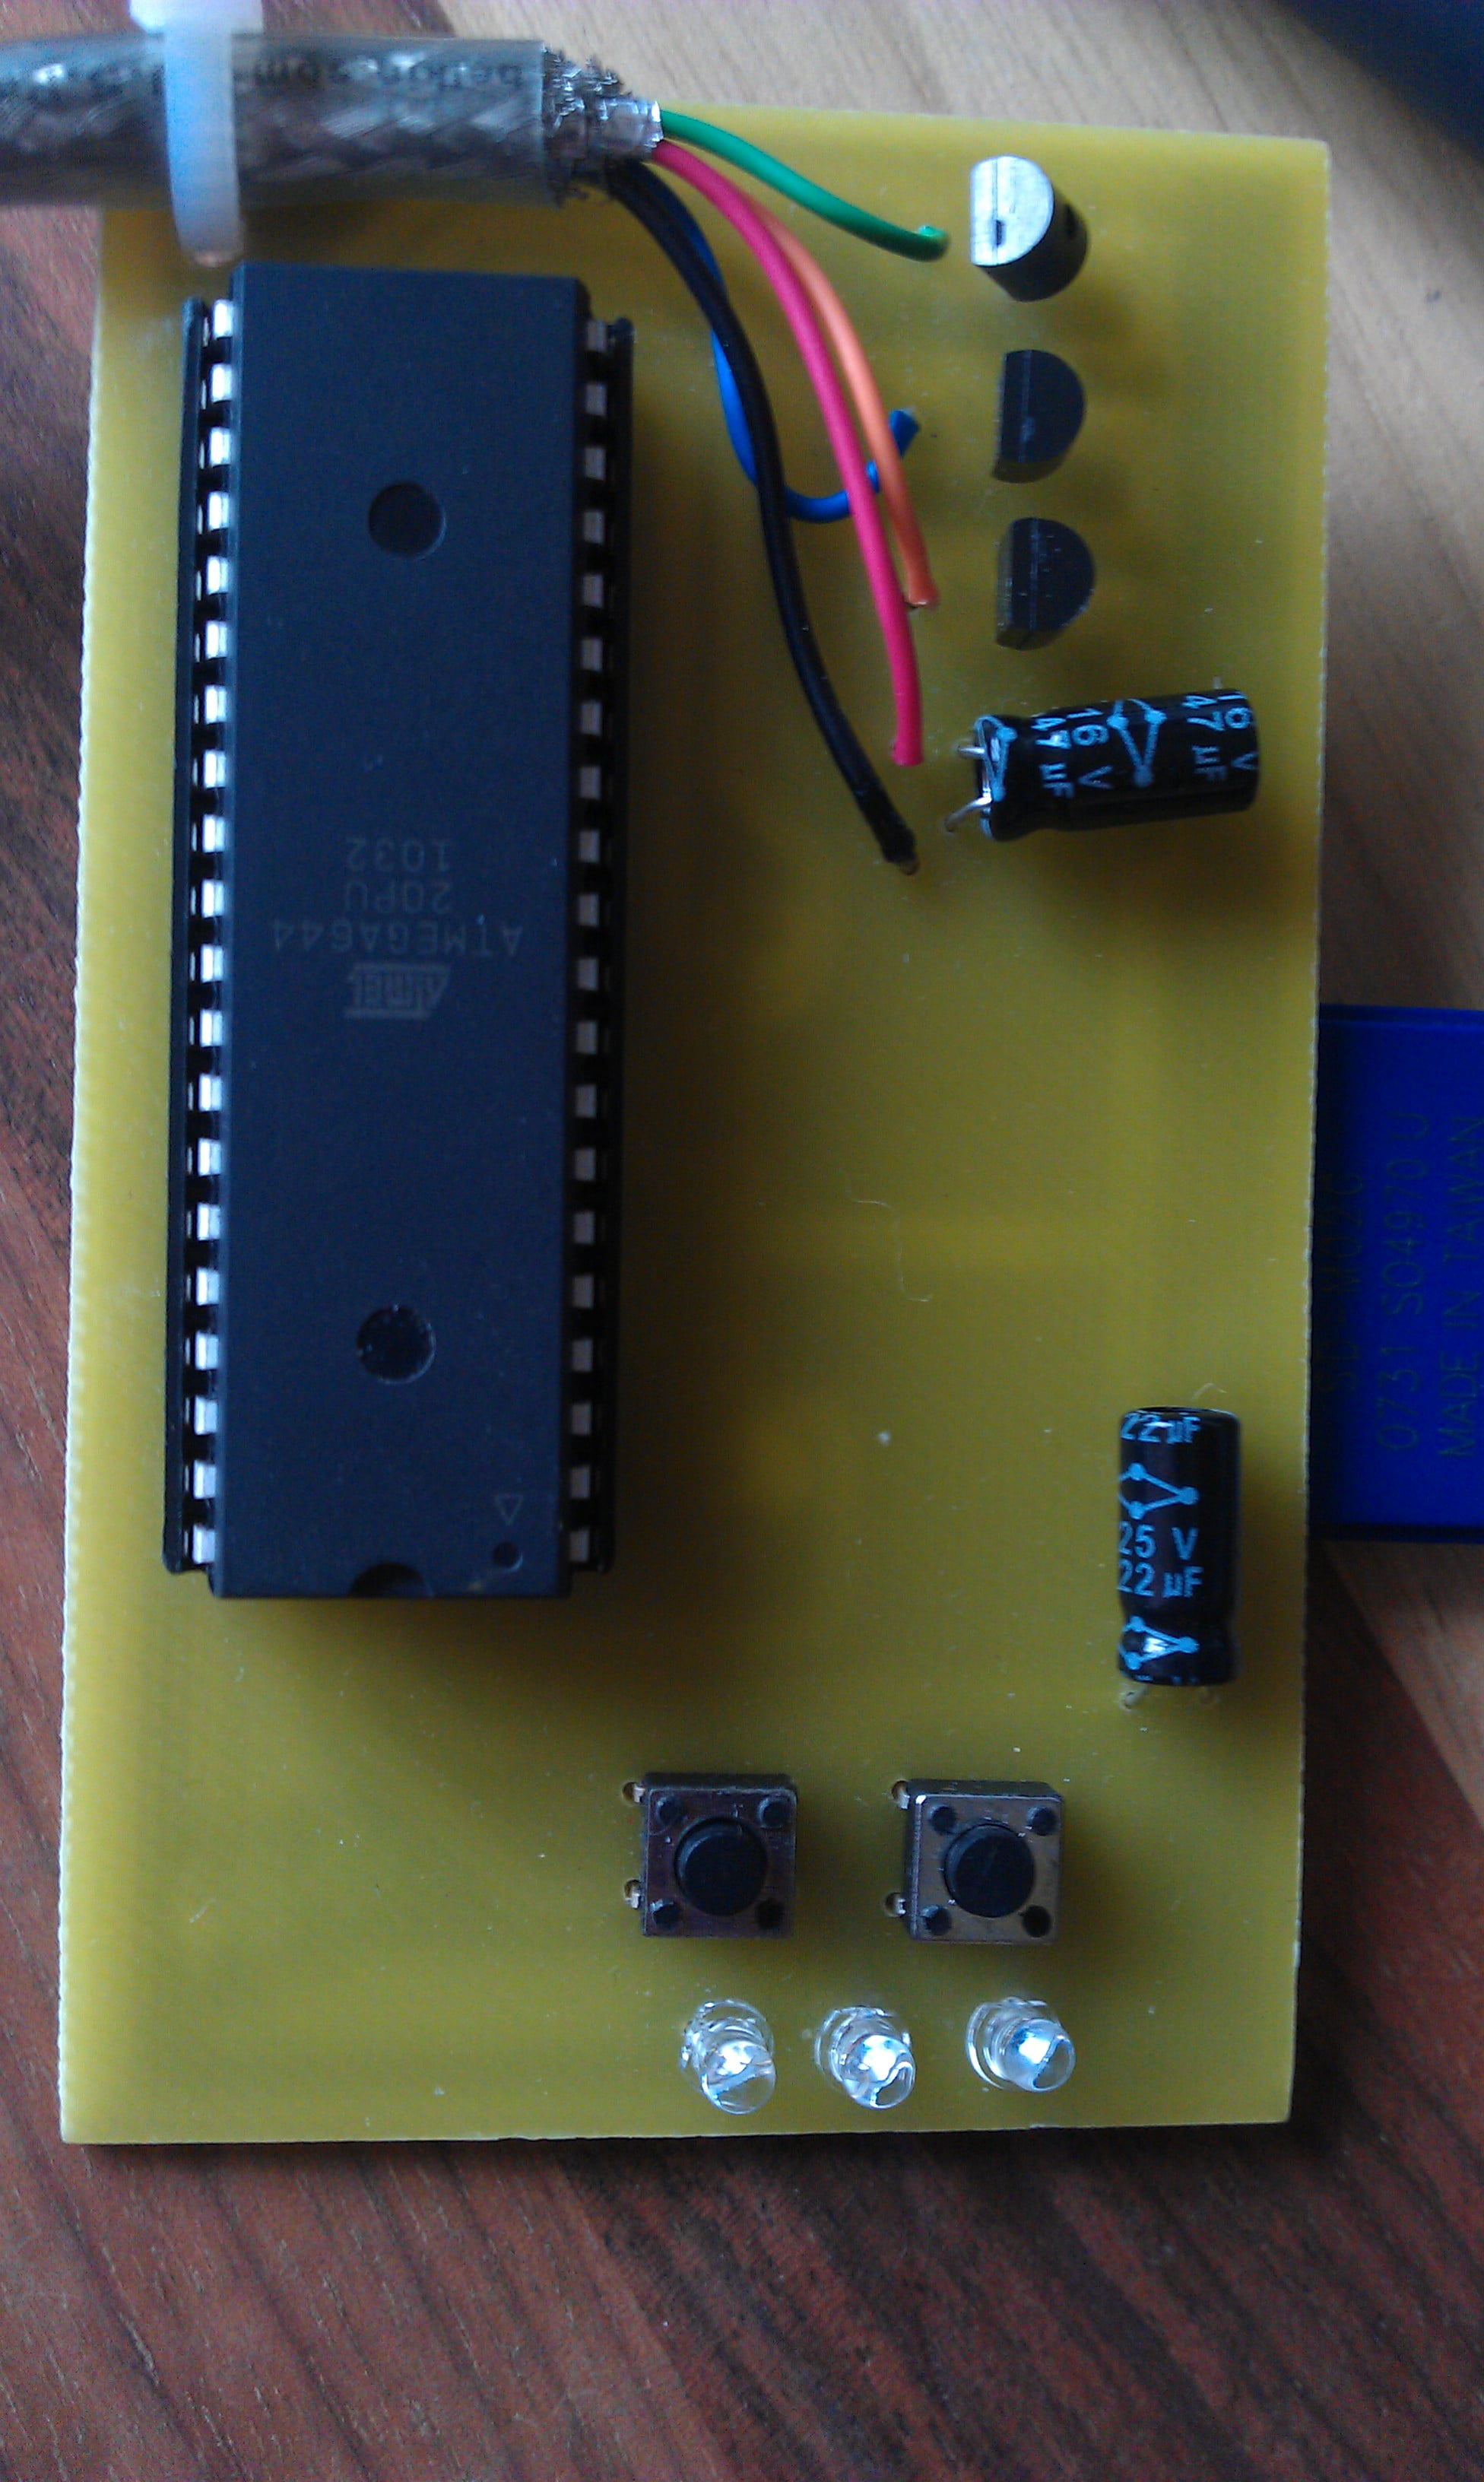
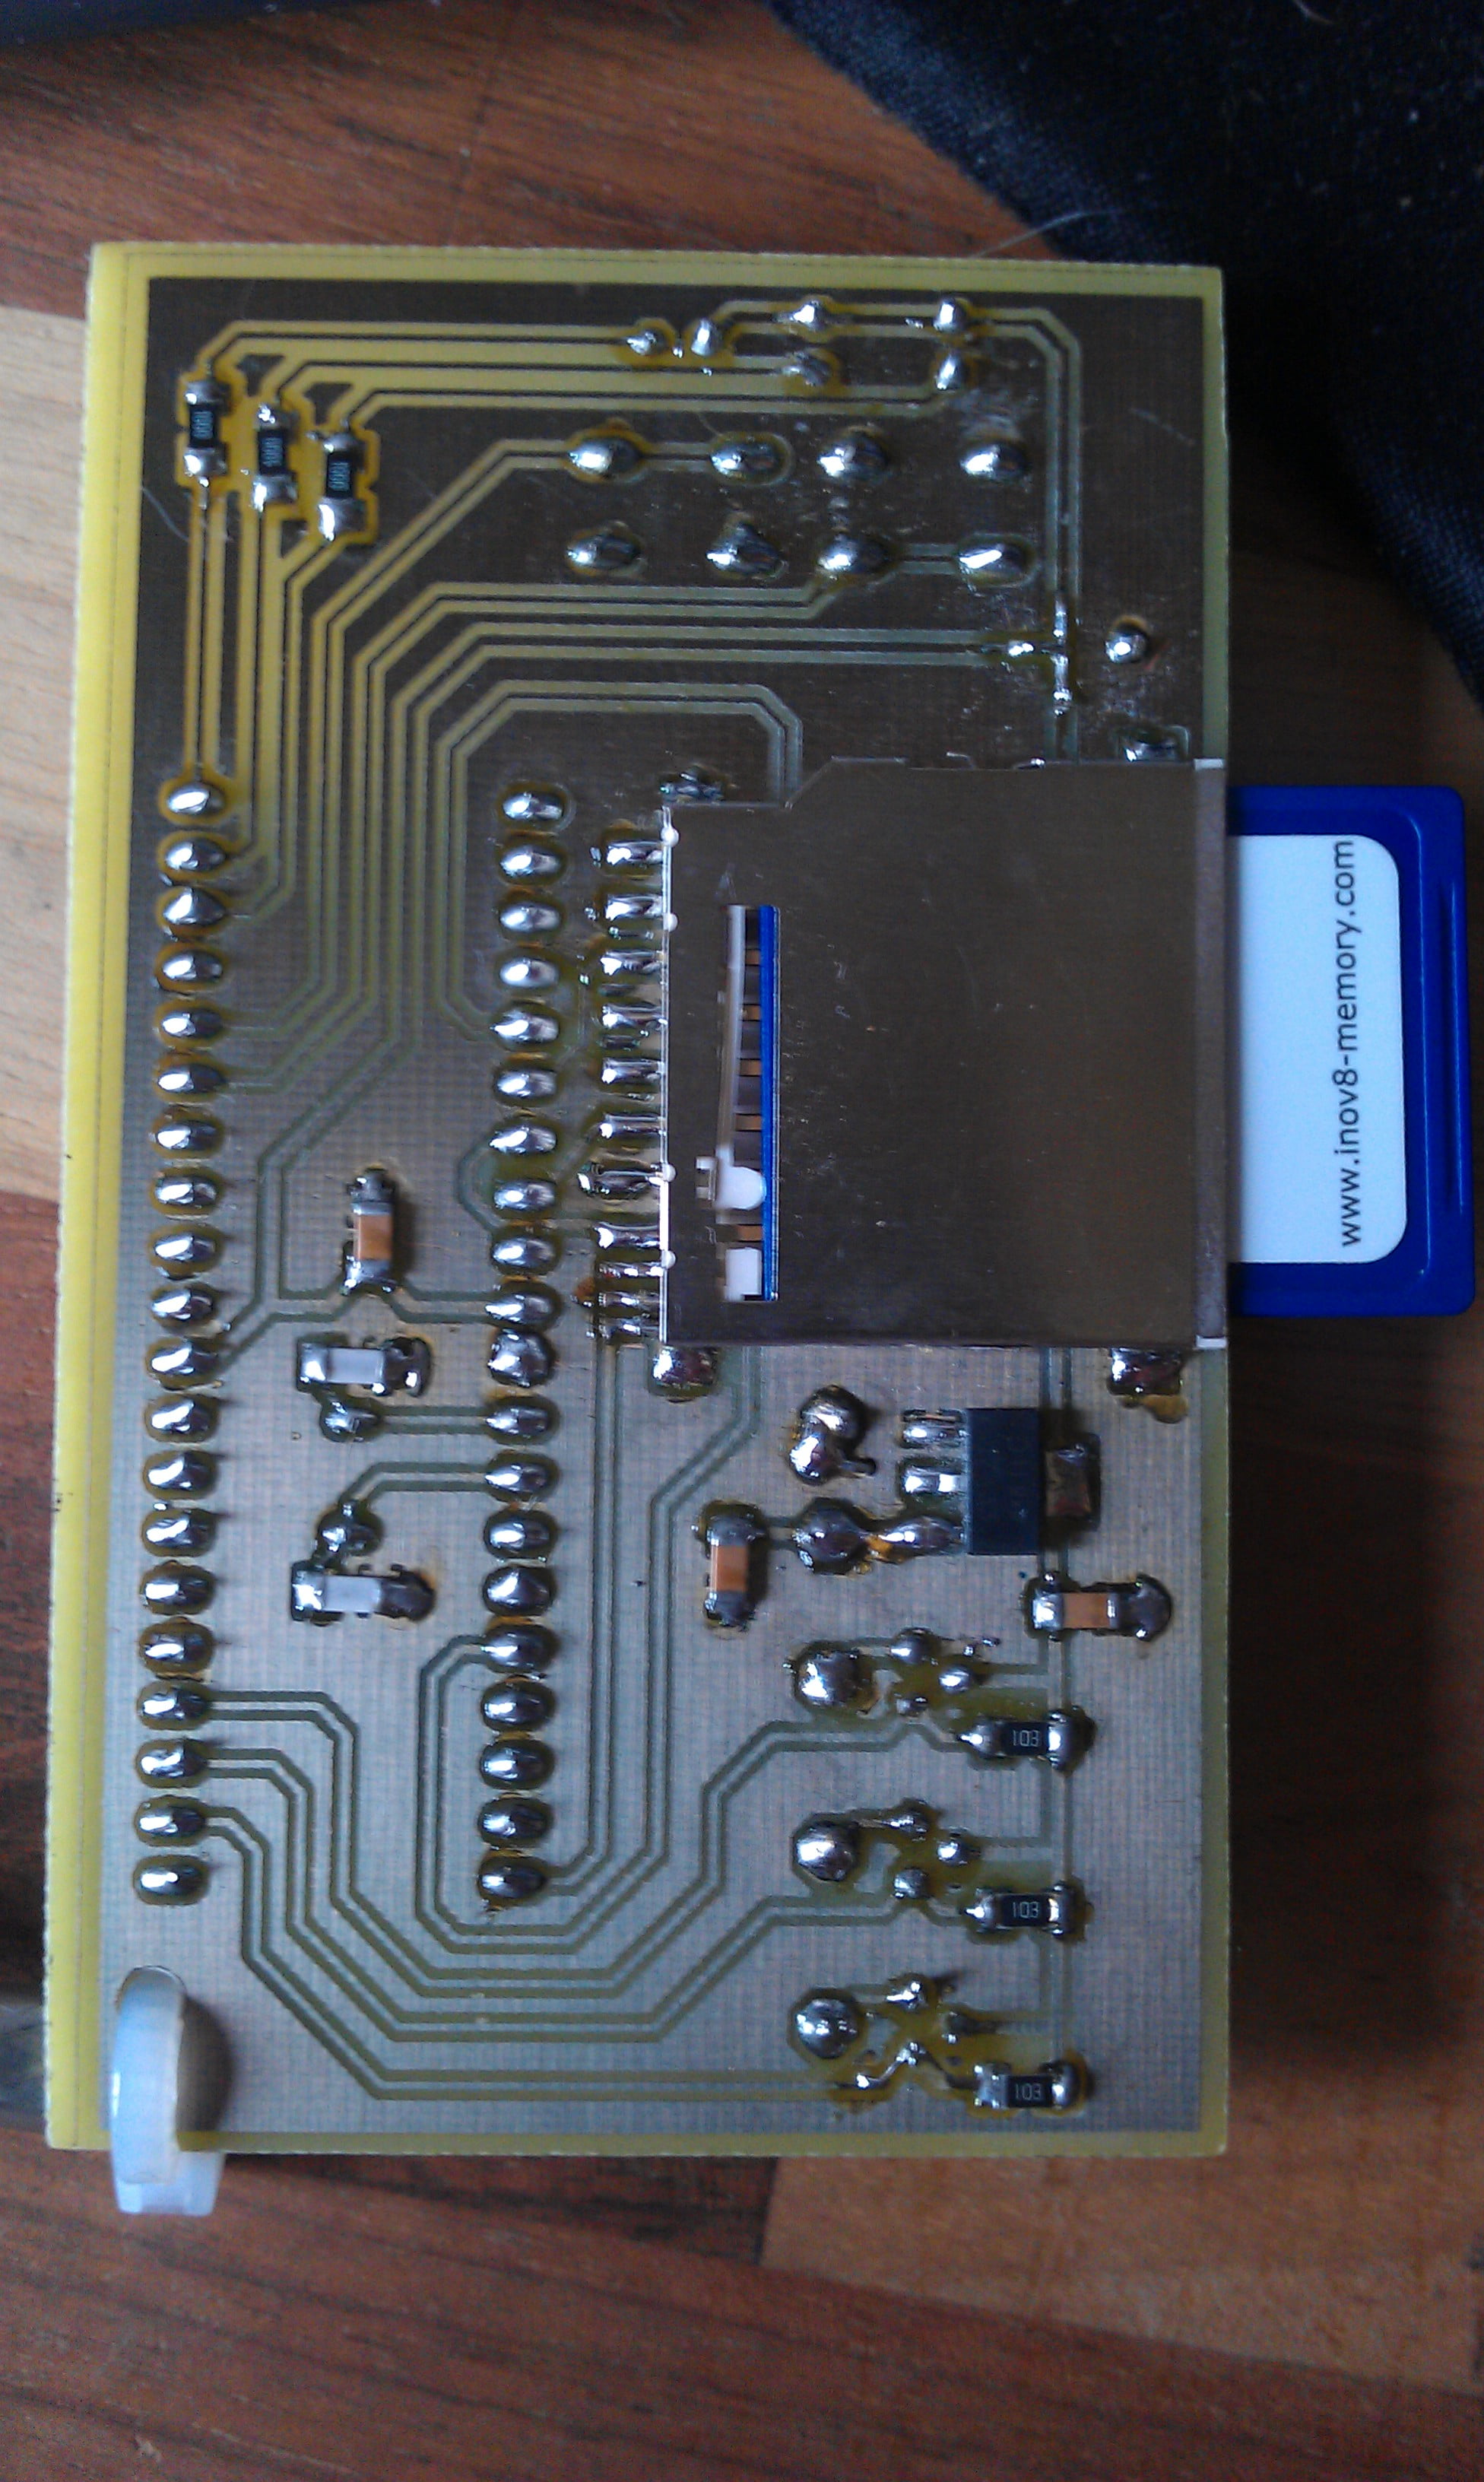
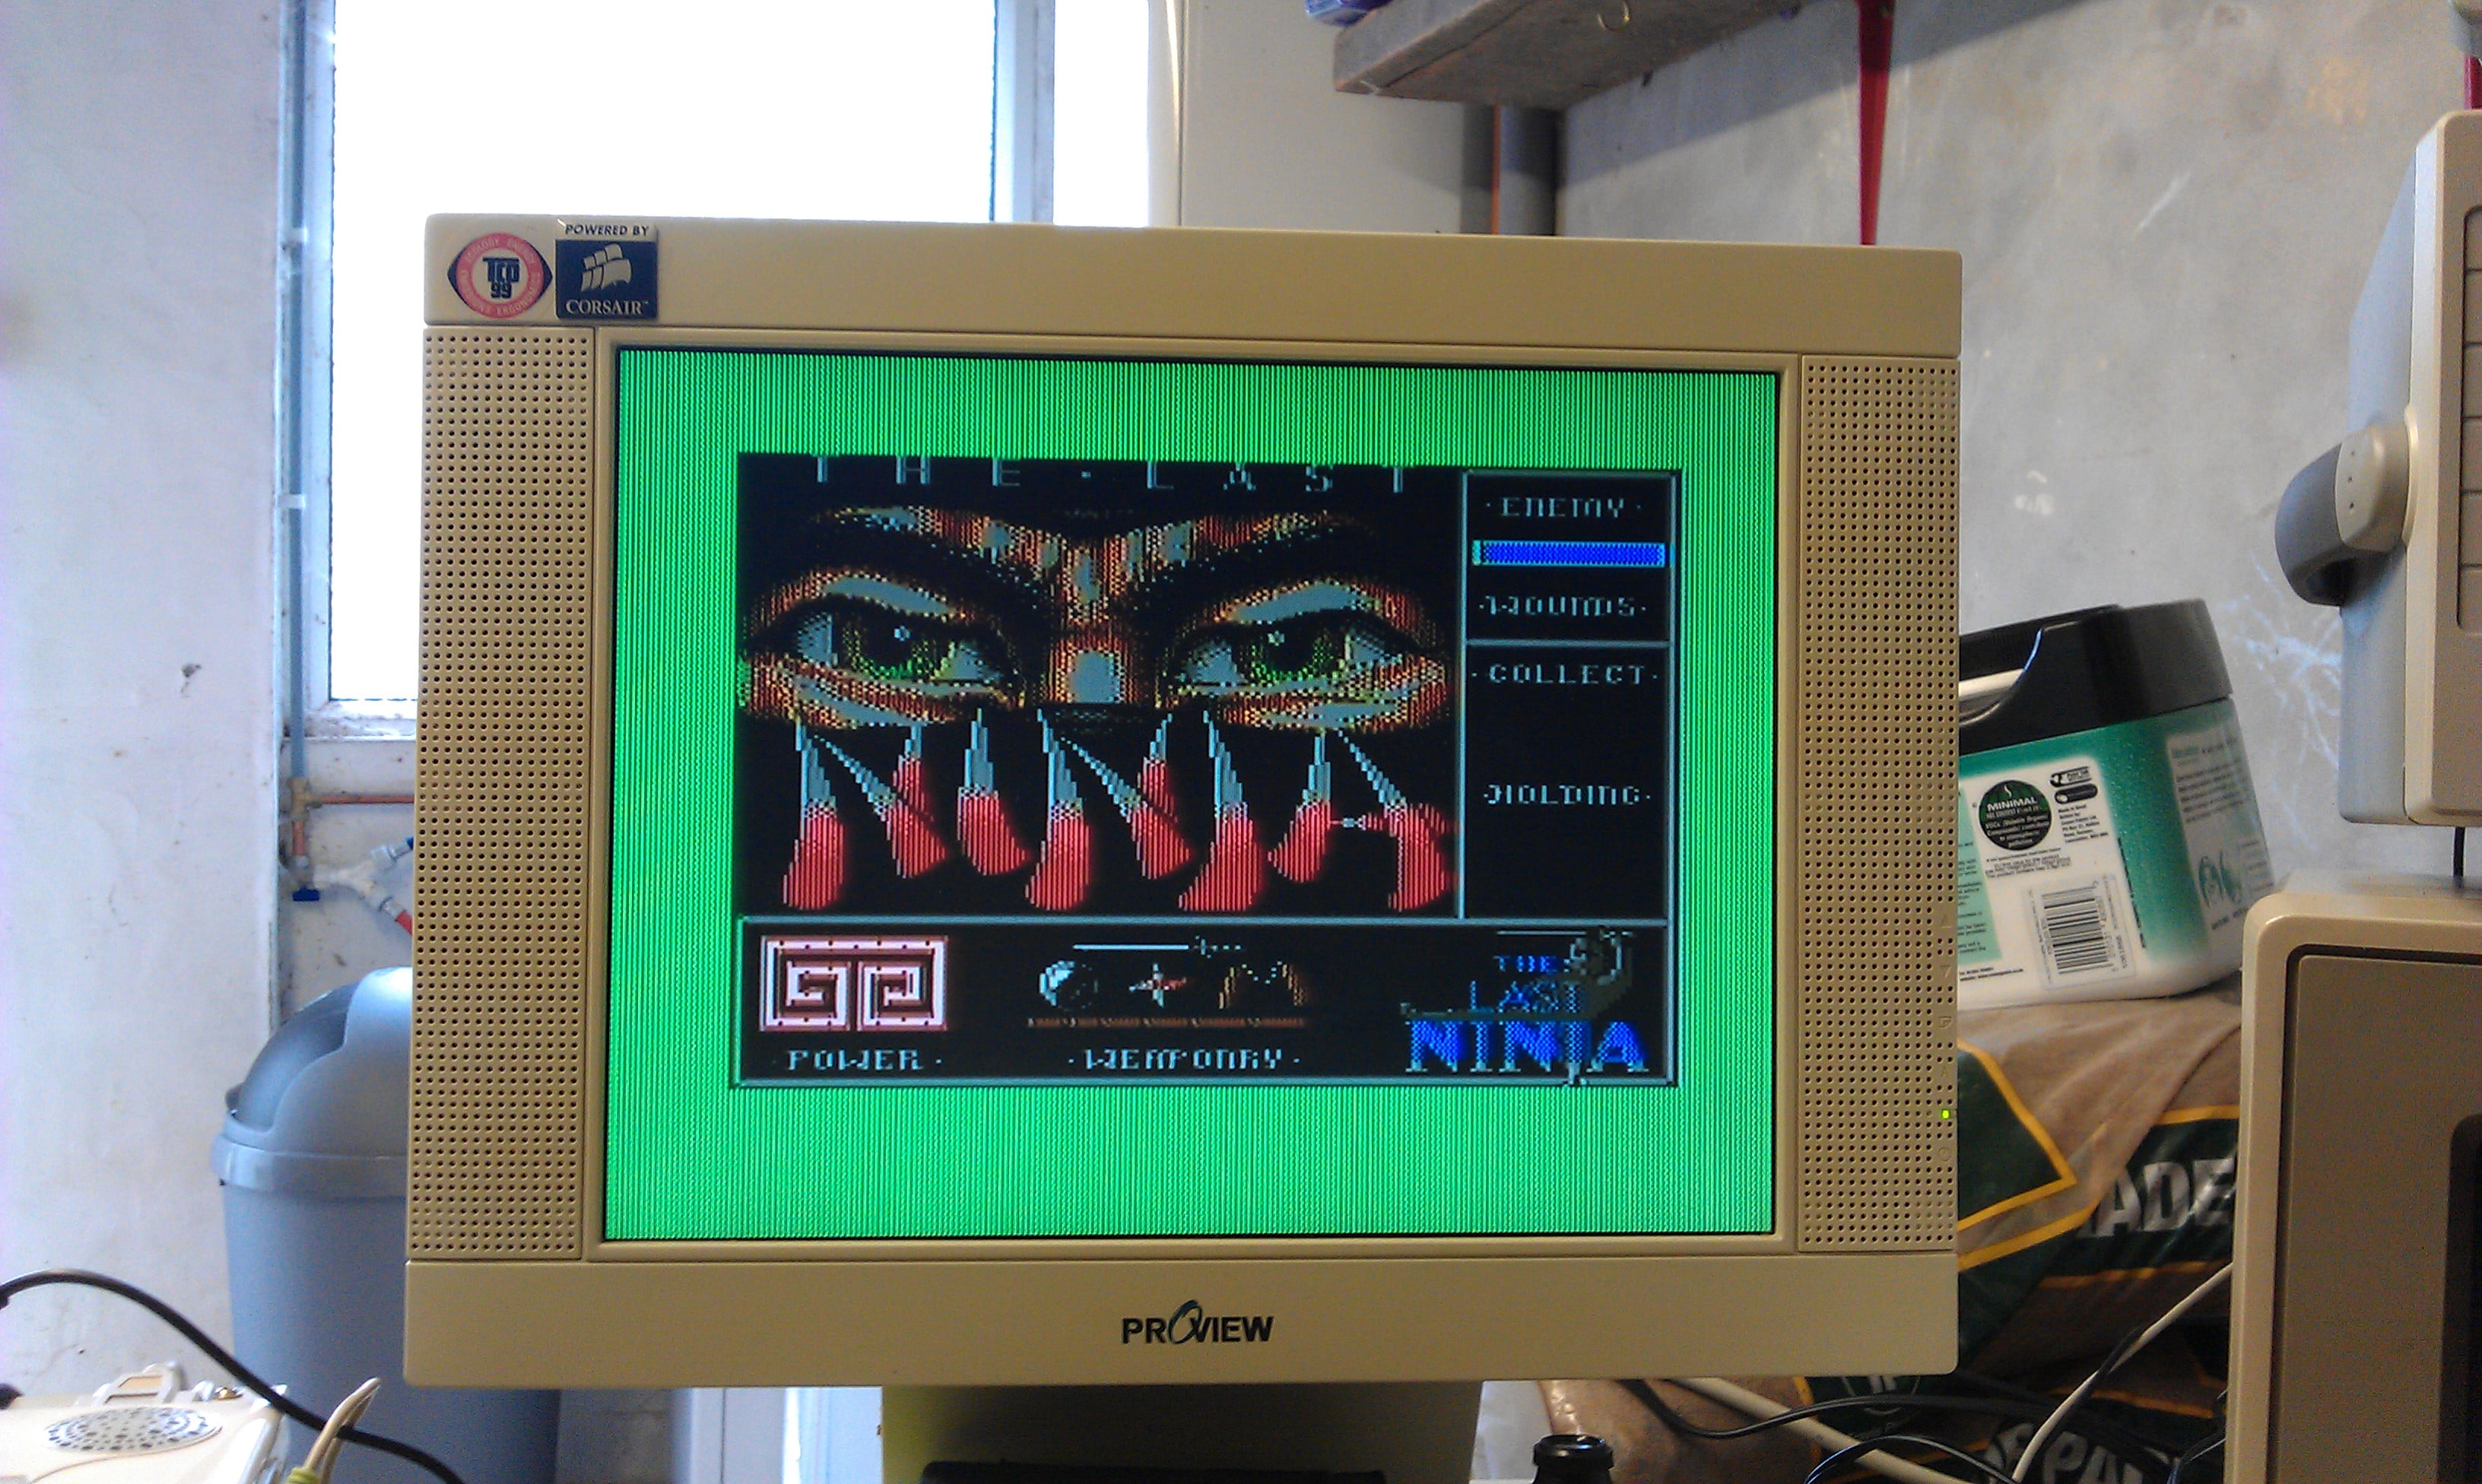
The first is an SD2IEC which allows ROMs to be loaded from an SD card. This is a homemade version (thanks go to SirMorris) but works very well. If you install JiffyDOS then loading time is as fast as it gonna get on the 64. I loaded up Last Ninja 2 in about 4 seconds!


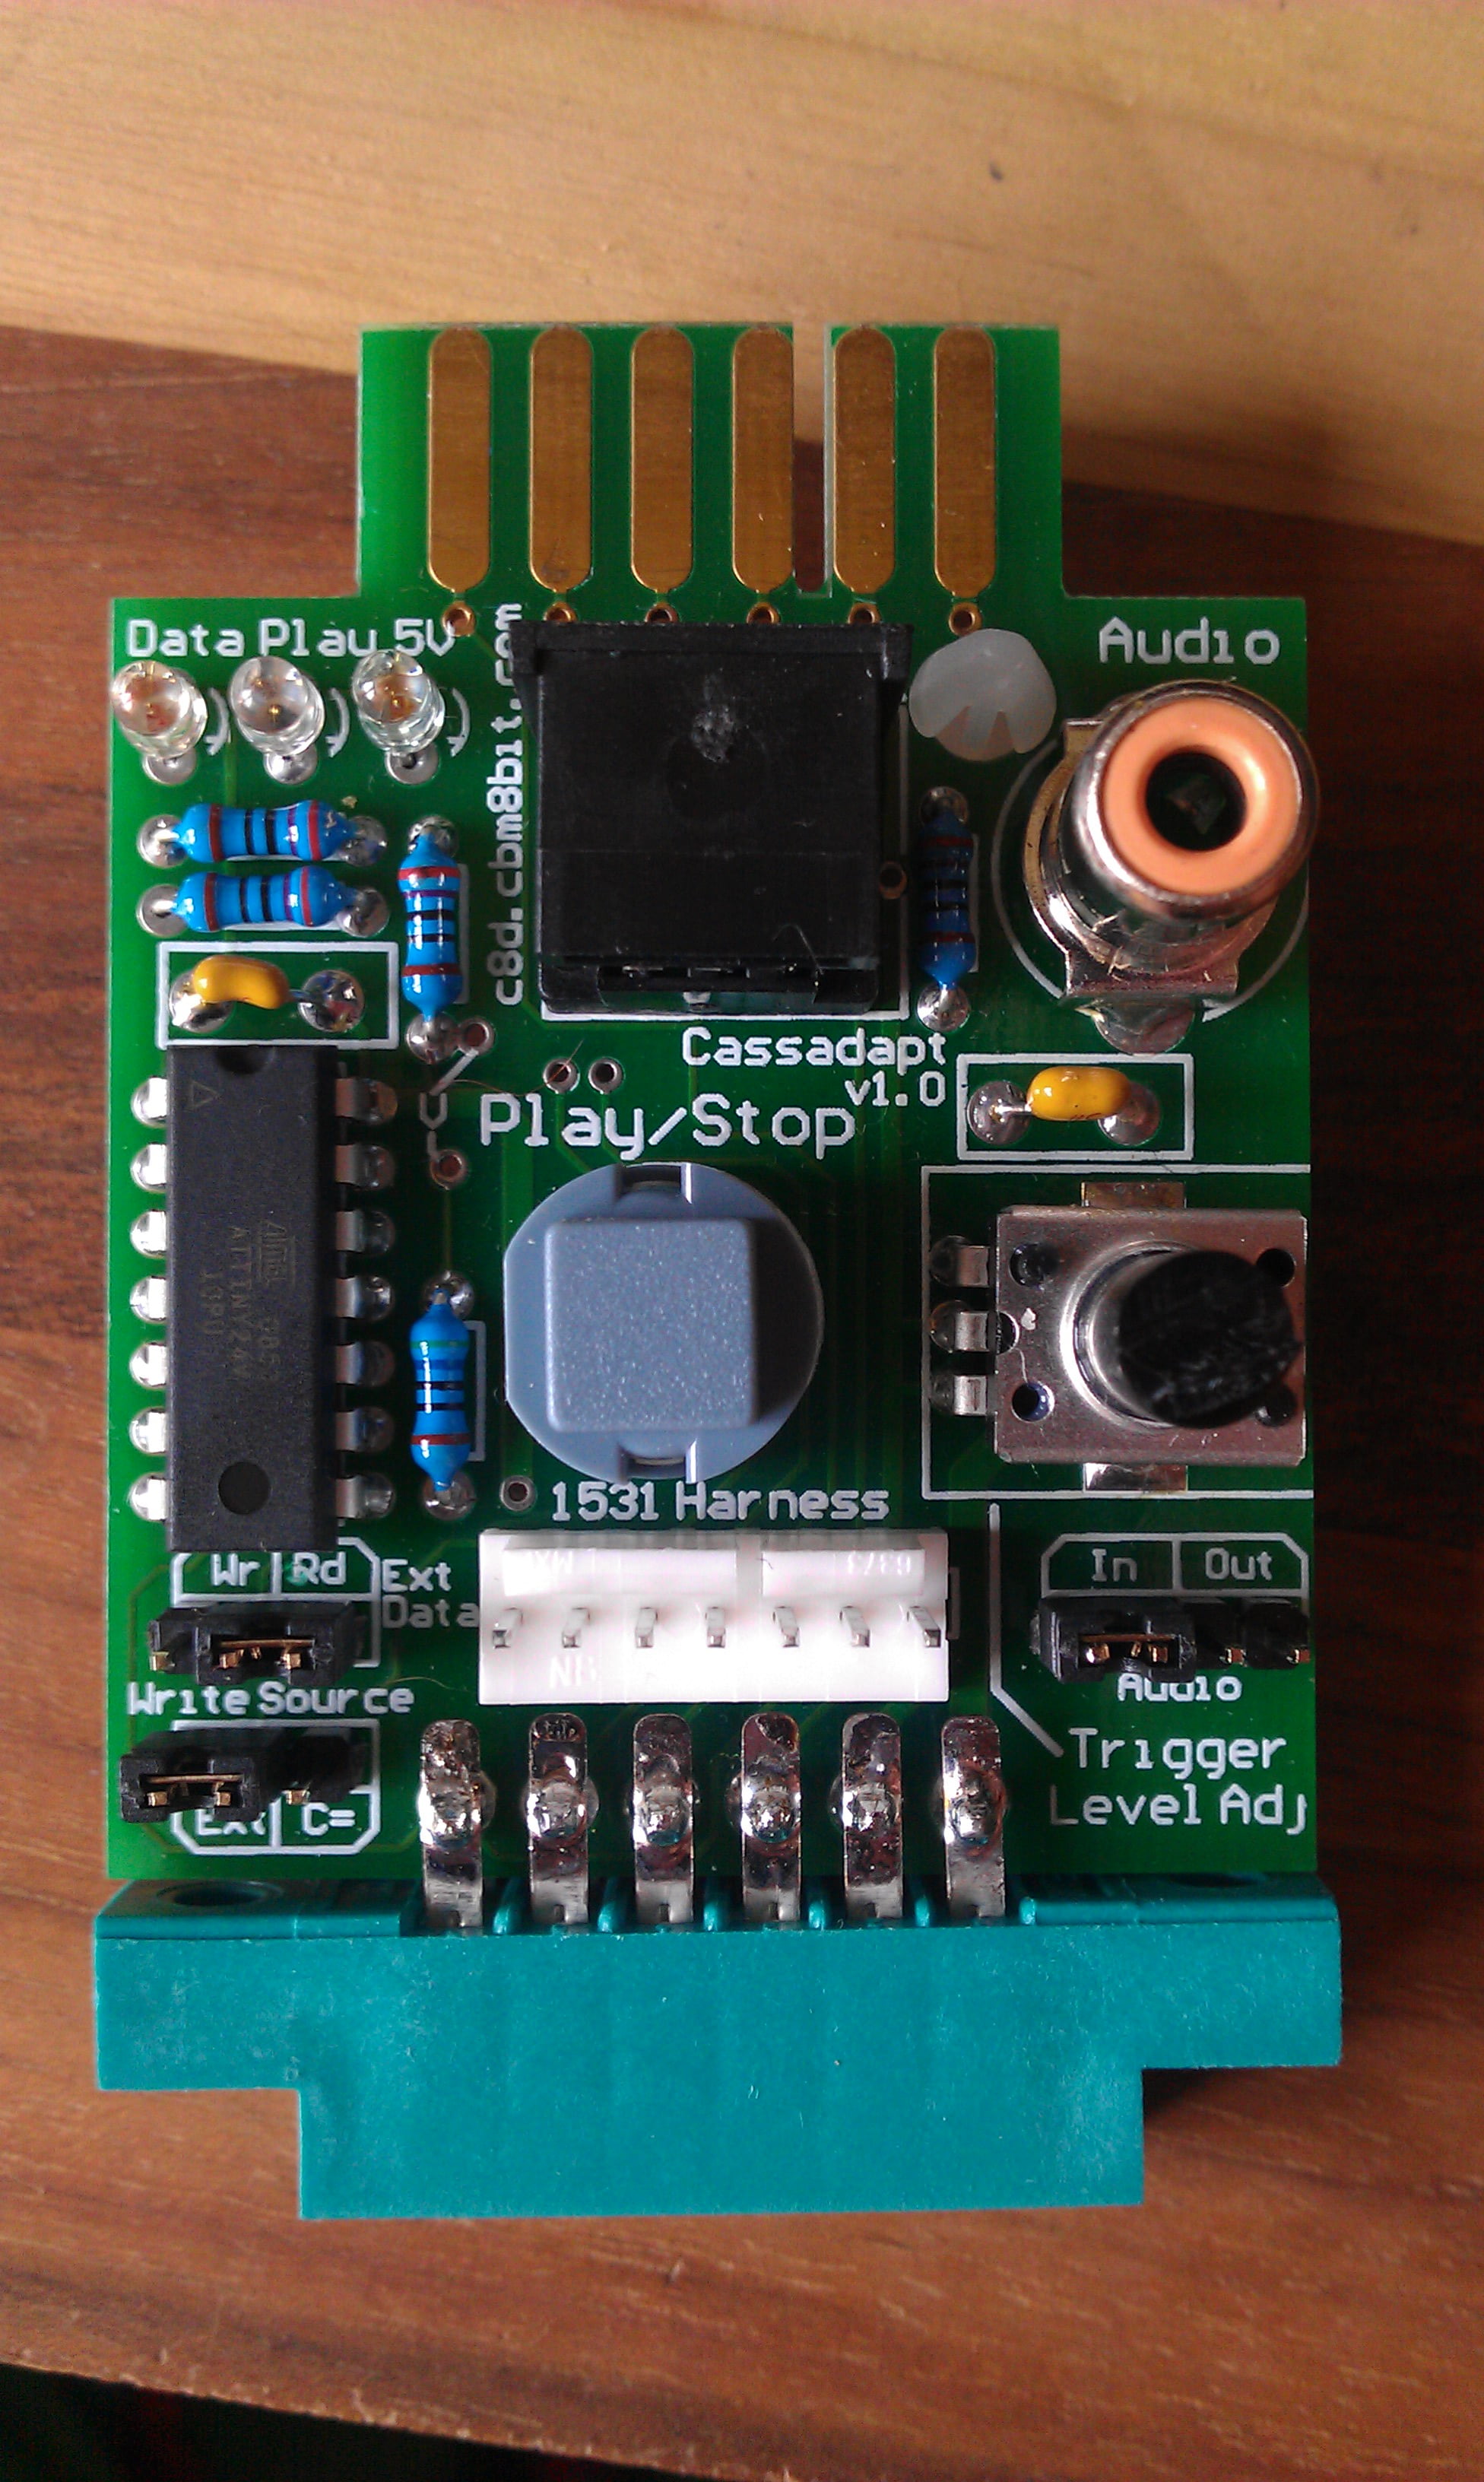
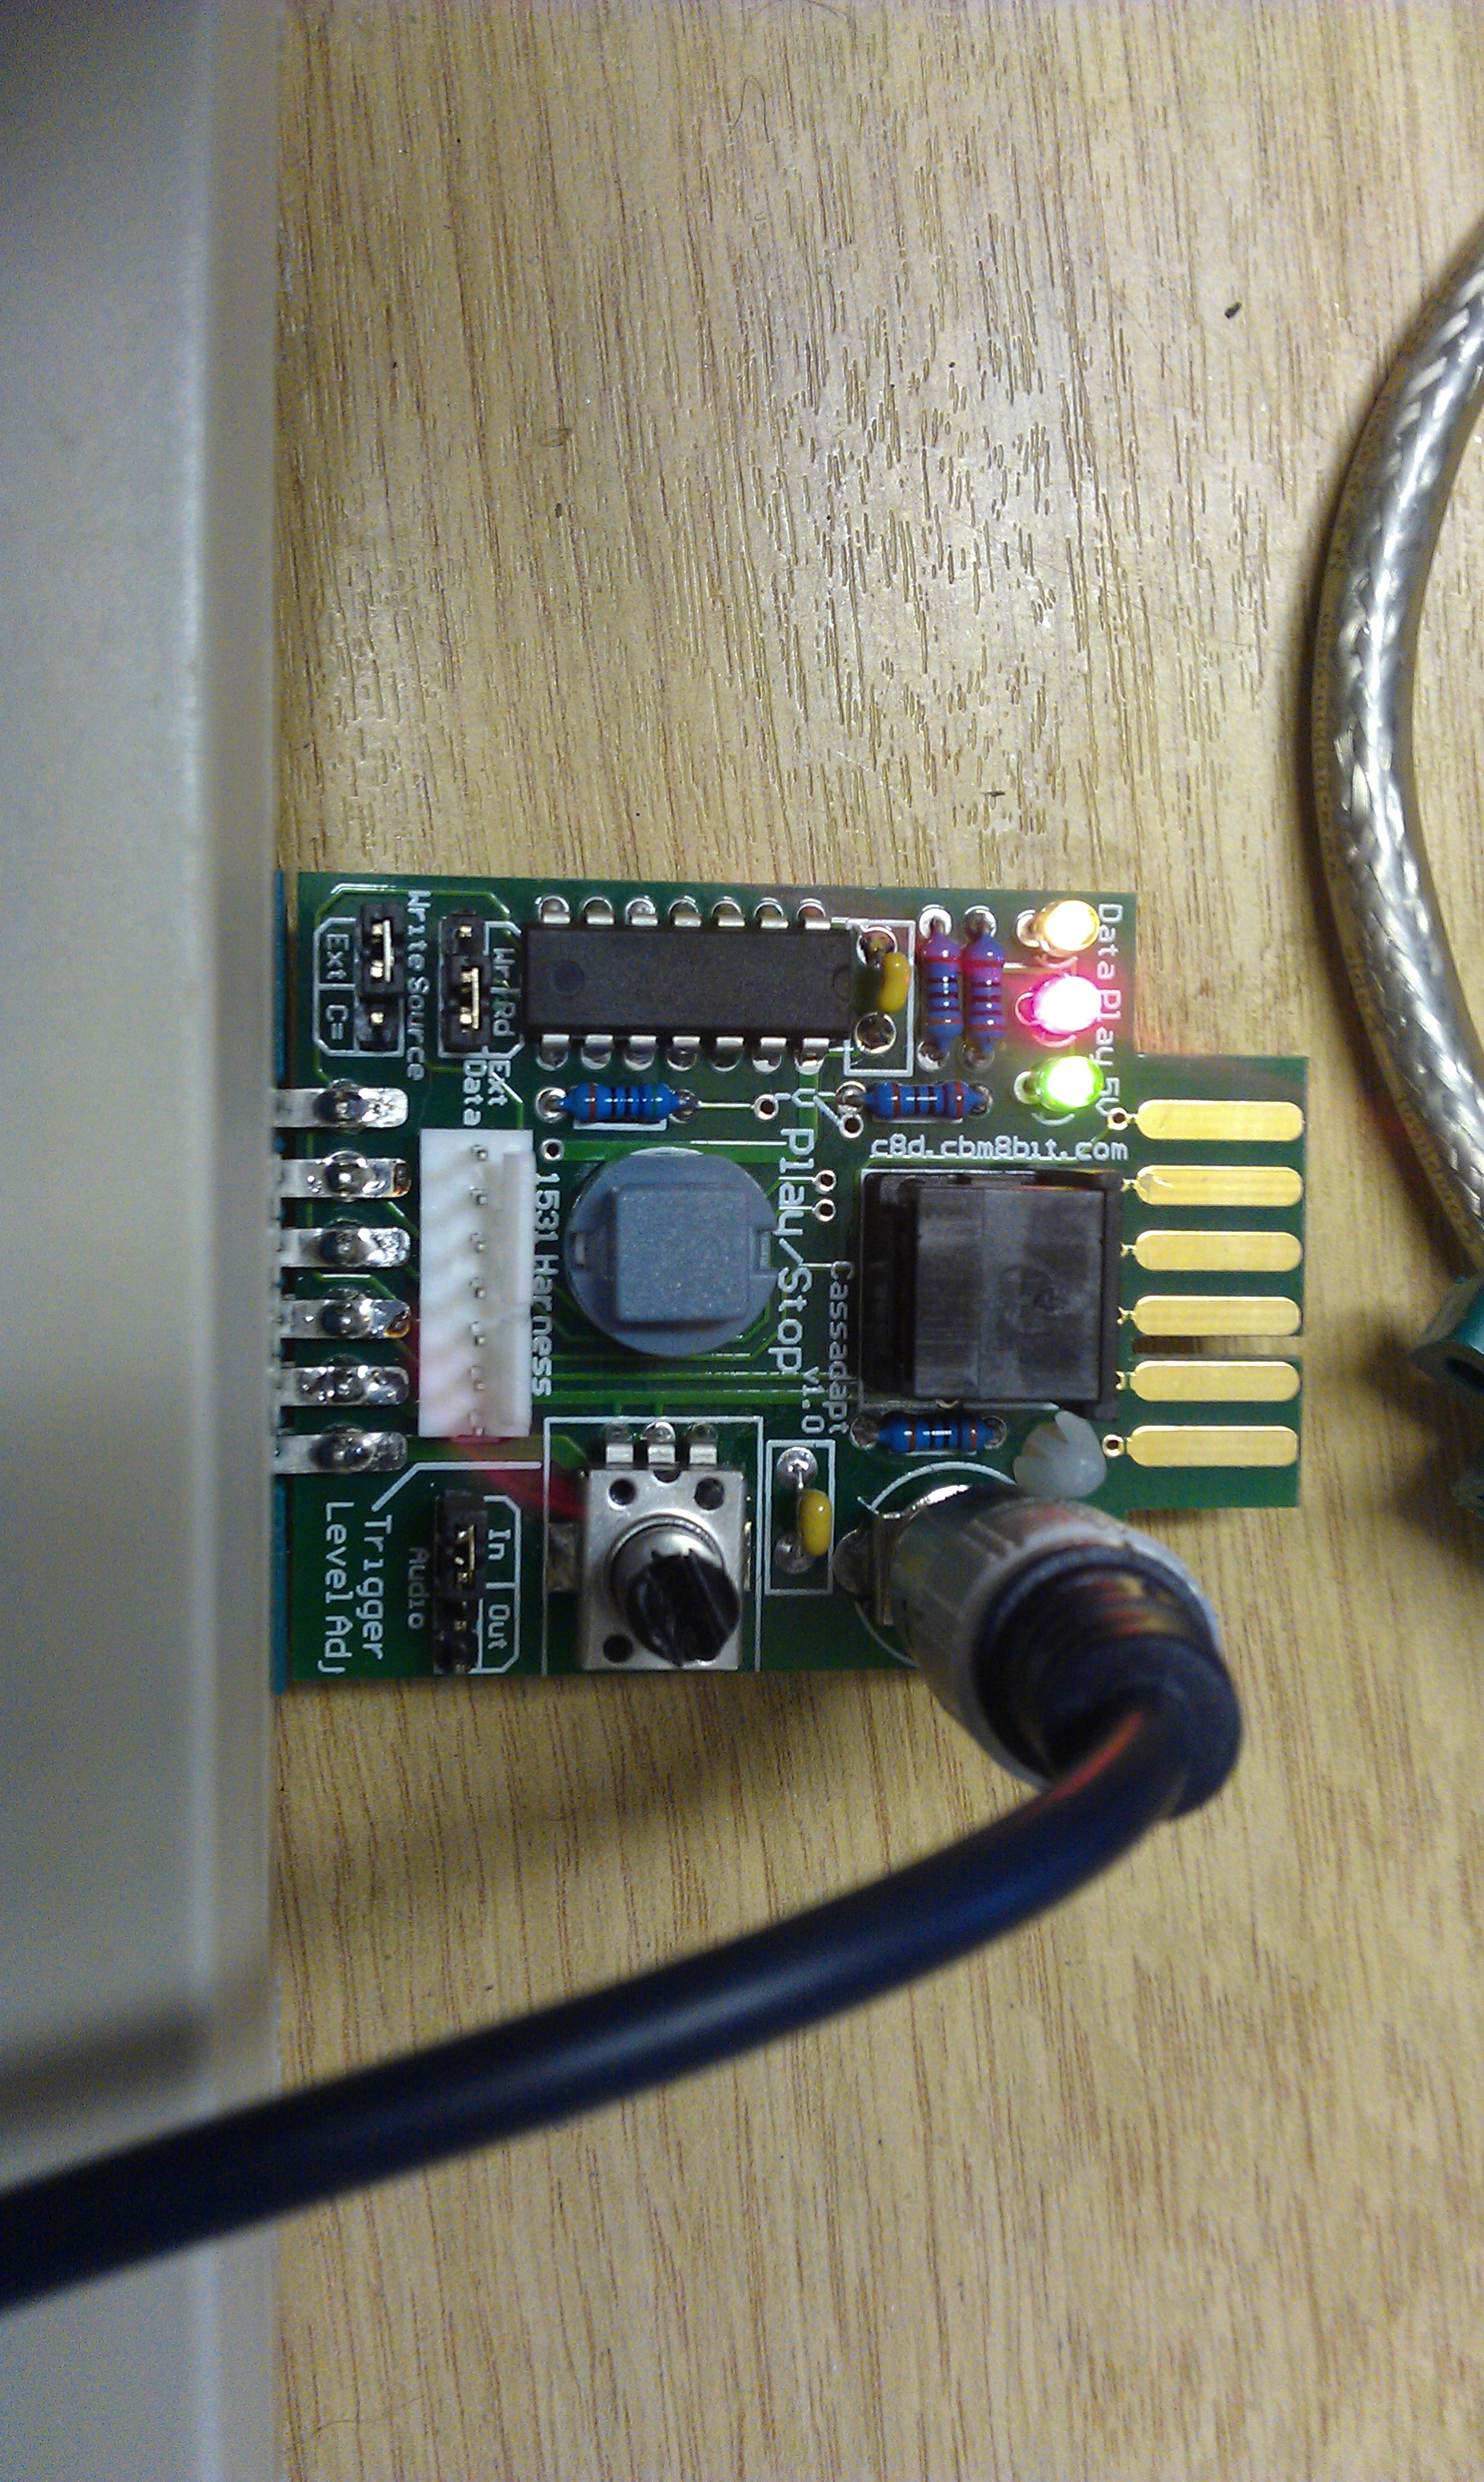
Second device is something called a Cassadapt. This allows me to load .WAV files straight into the C64 from a PC or other sound source.
Its not something many people would want as it brings back the long loading times that plagued the 64 but being a bit of a purist I happen to like some of the loading screens and music you get with some games, plus its that whole nostalgia thing too.
Its a very nice device which has the ability to copy .WAVs onto cassette using the original Commodore data cassette unit and vice versa. It even has a built in program that helps you calibrate the trigger level to obtain optimum sound levels.


I came across a small problem with JiffyDOS installed as it doesn’t support tape drives or similar, only disk based devices so I removed the 27c128 EPROM that JiffyDOS was on and fitted a 27c256 with both the C64 kernel and JiffyDOS programmed onto it and fitted a switch at the back to switch between the 2 as needed. Its a simple case of toggling pin 27 (A14) high an low to select kernels.