Kicker (Shao-lin’s Road) repair log

 PCB Repair Logs, Repair Logs  Comments Off on Kicker (Shao-lin’s Road) repair log
Apr 292014
 

Bought this PCB (among others) from Ebay as untested/not working:

IMAG0228

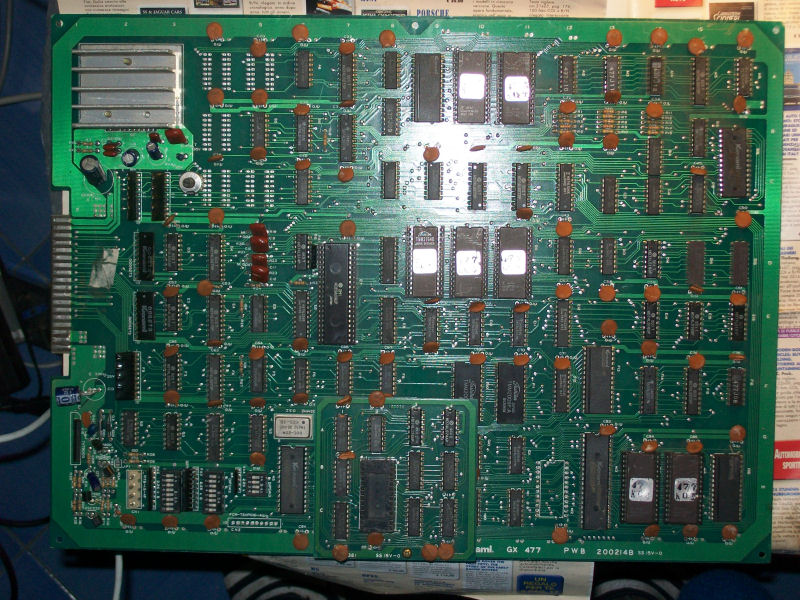
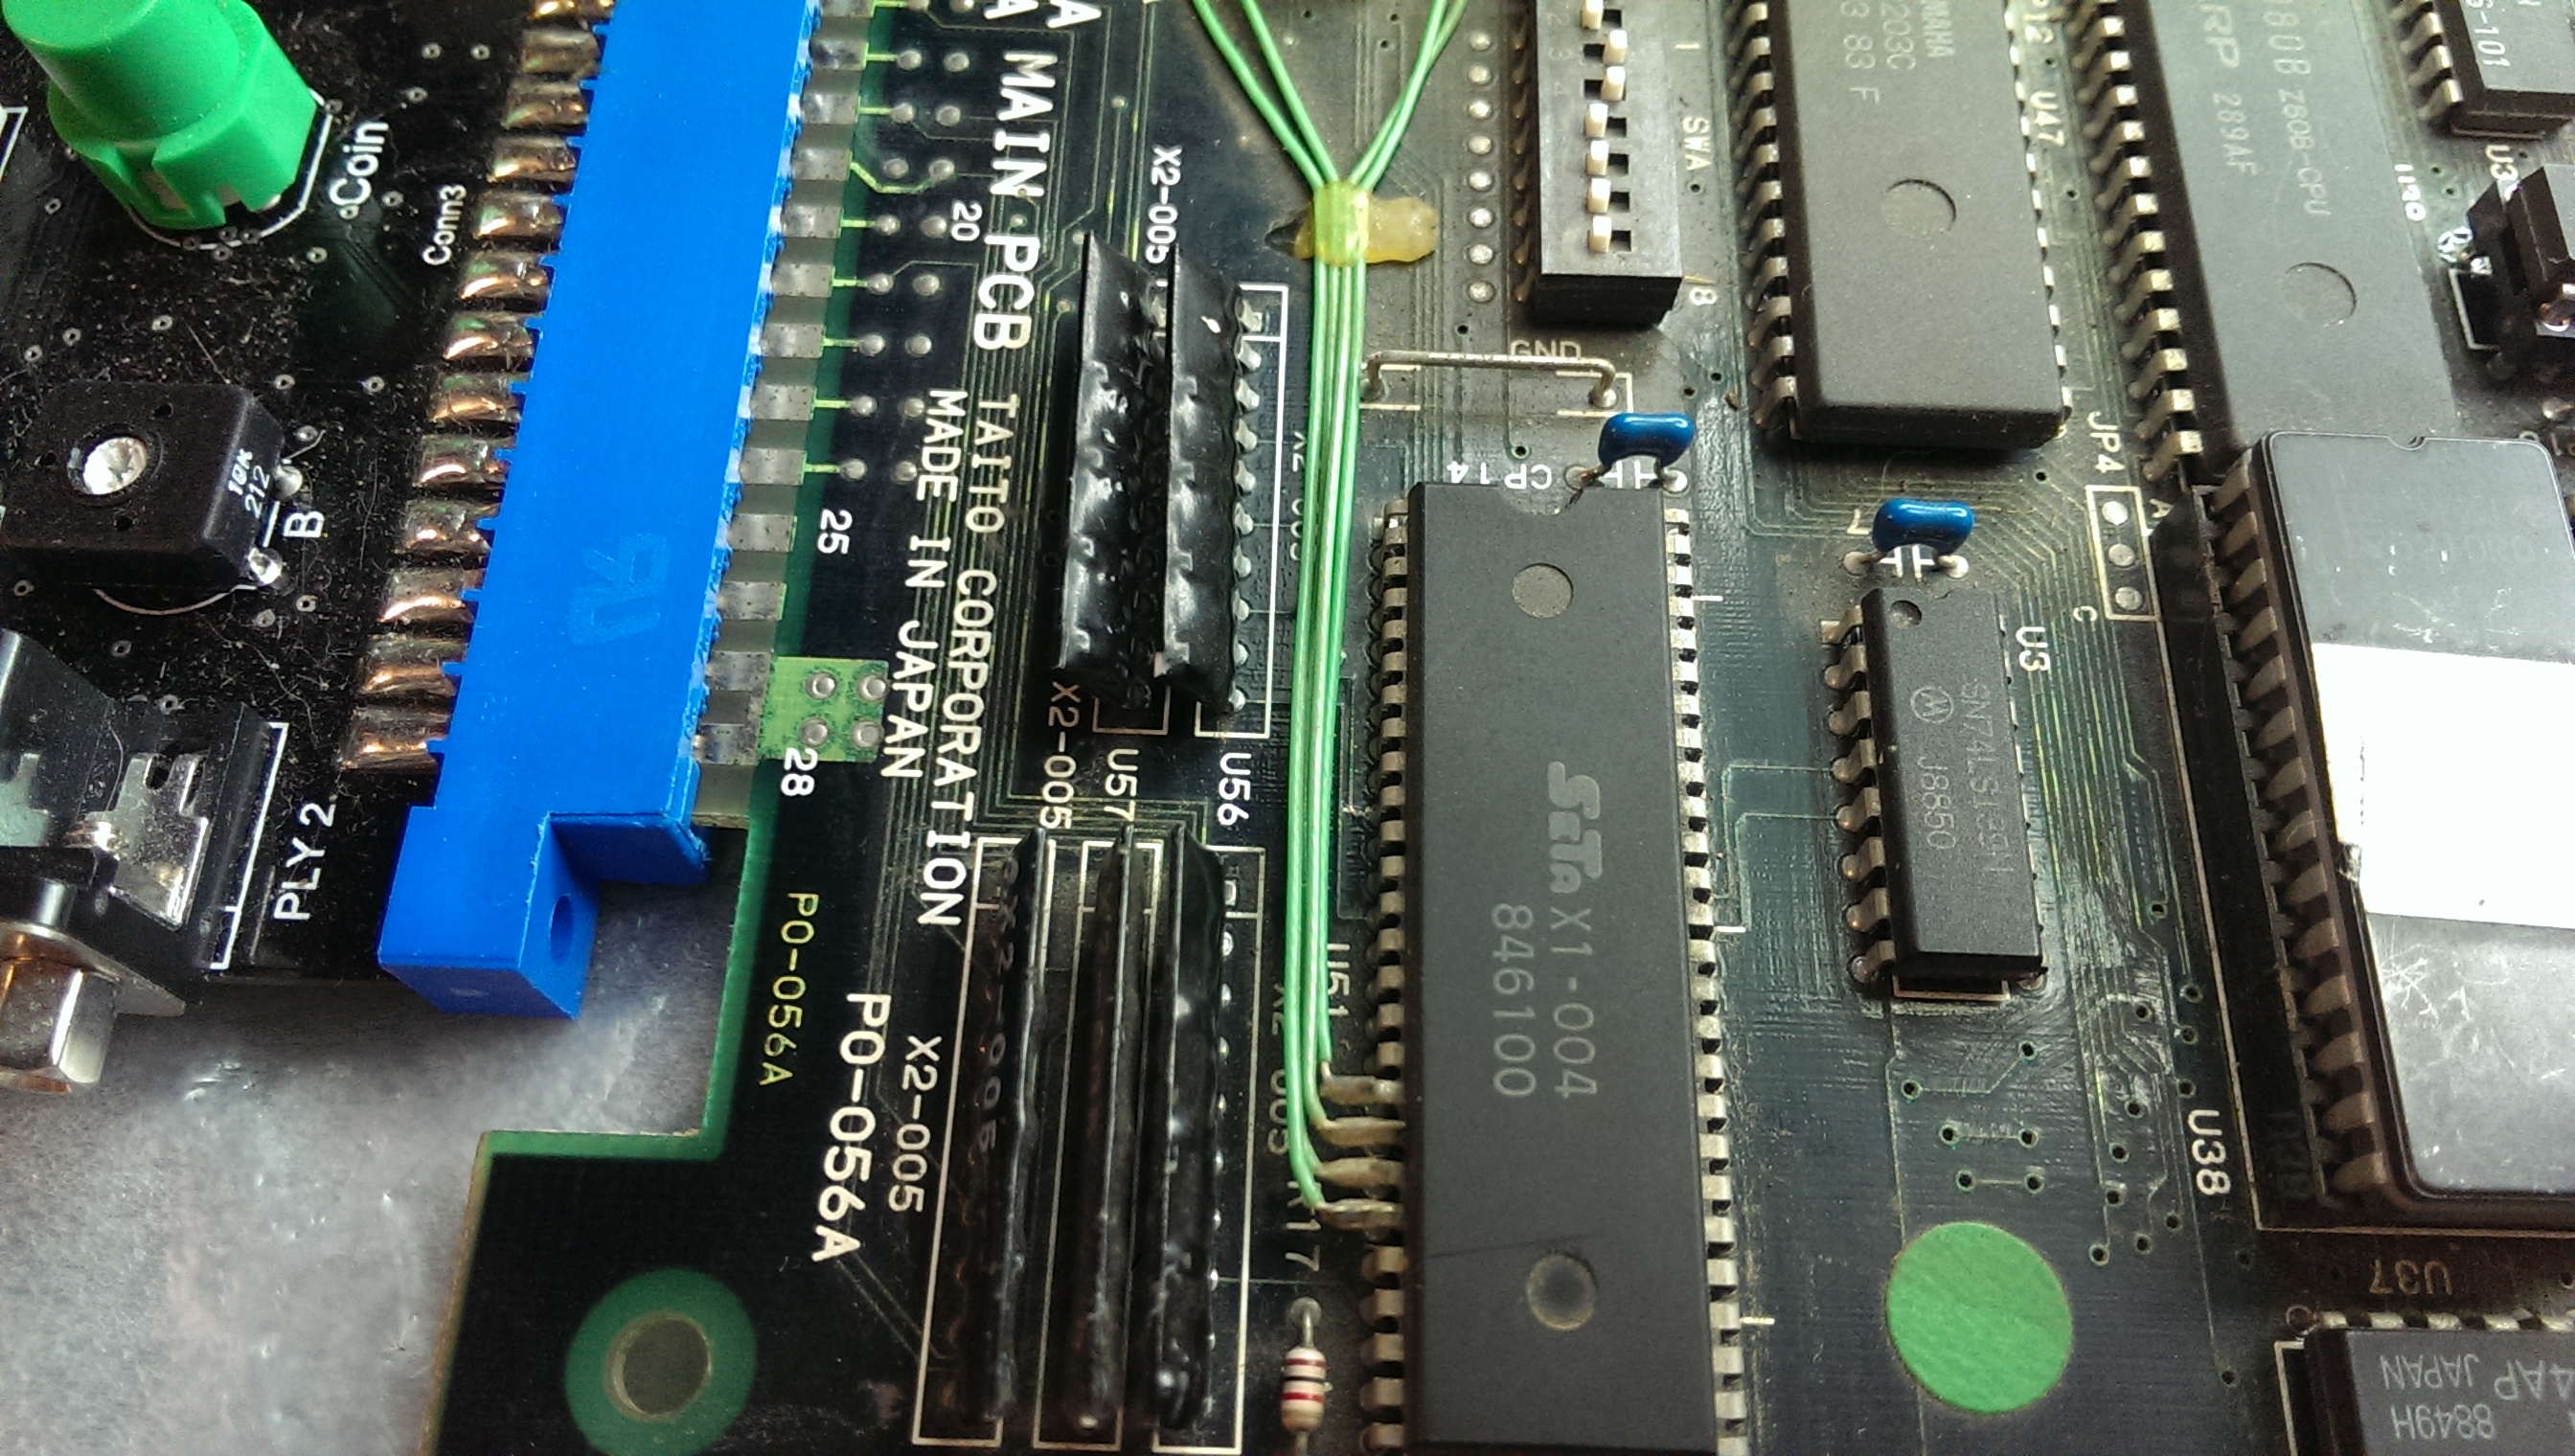
This, judging from the auction pictures and the GX477 serial, should have been an original Konami Shao-lin’s Road PCB but after dumping the EPROMs it turned to be a Kicker one (the overseas version).Anyway, before powering it up, a visual inspection revealed that one IC was missing:

IMAG0229

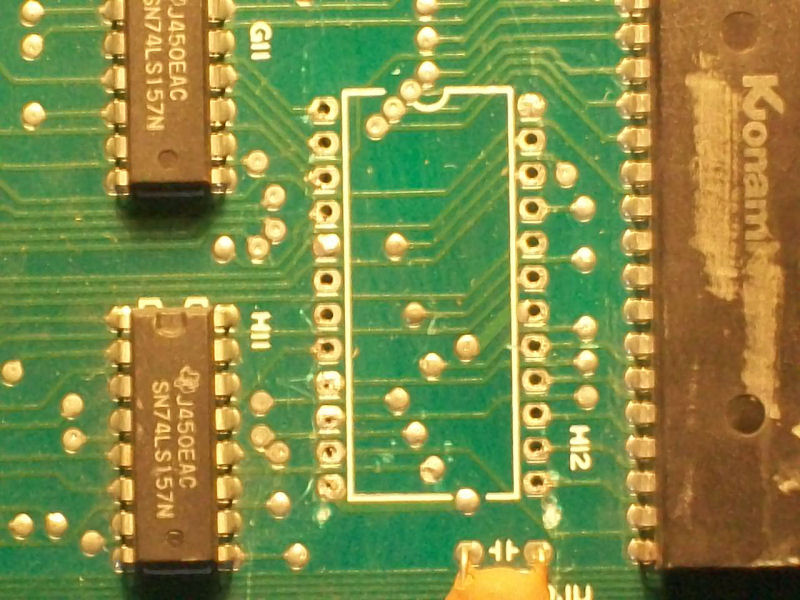
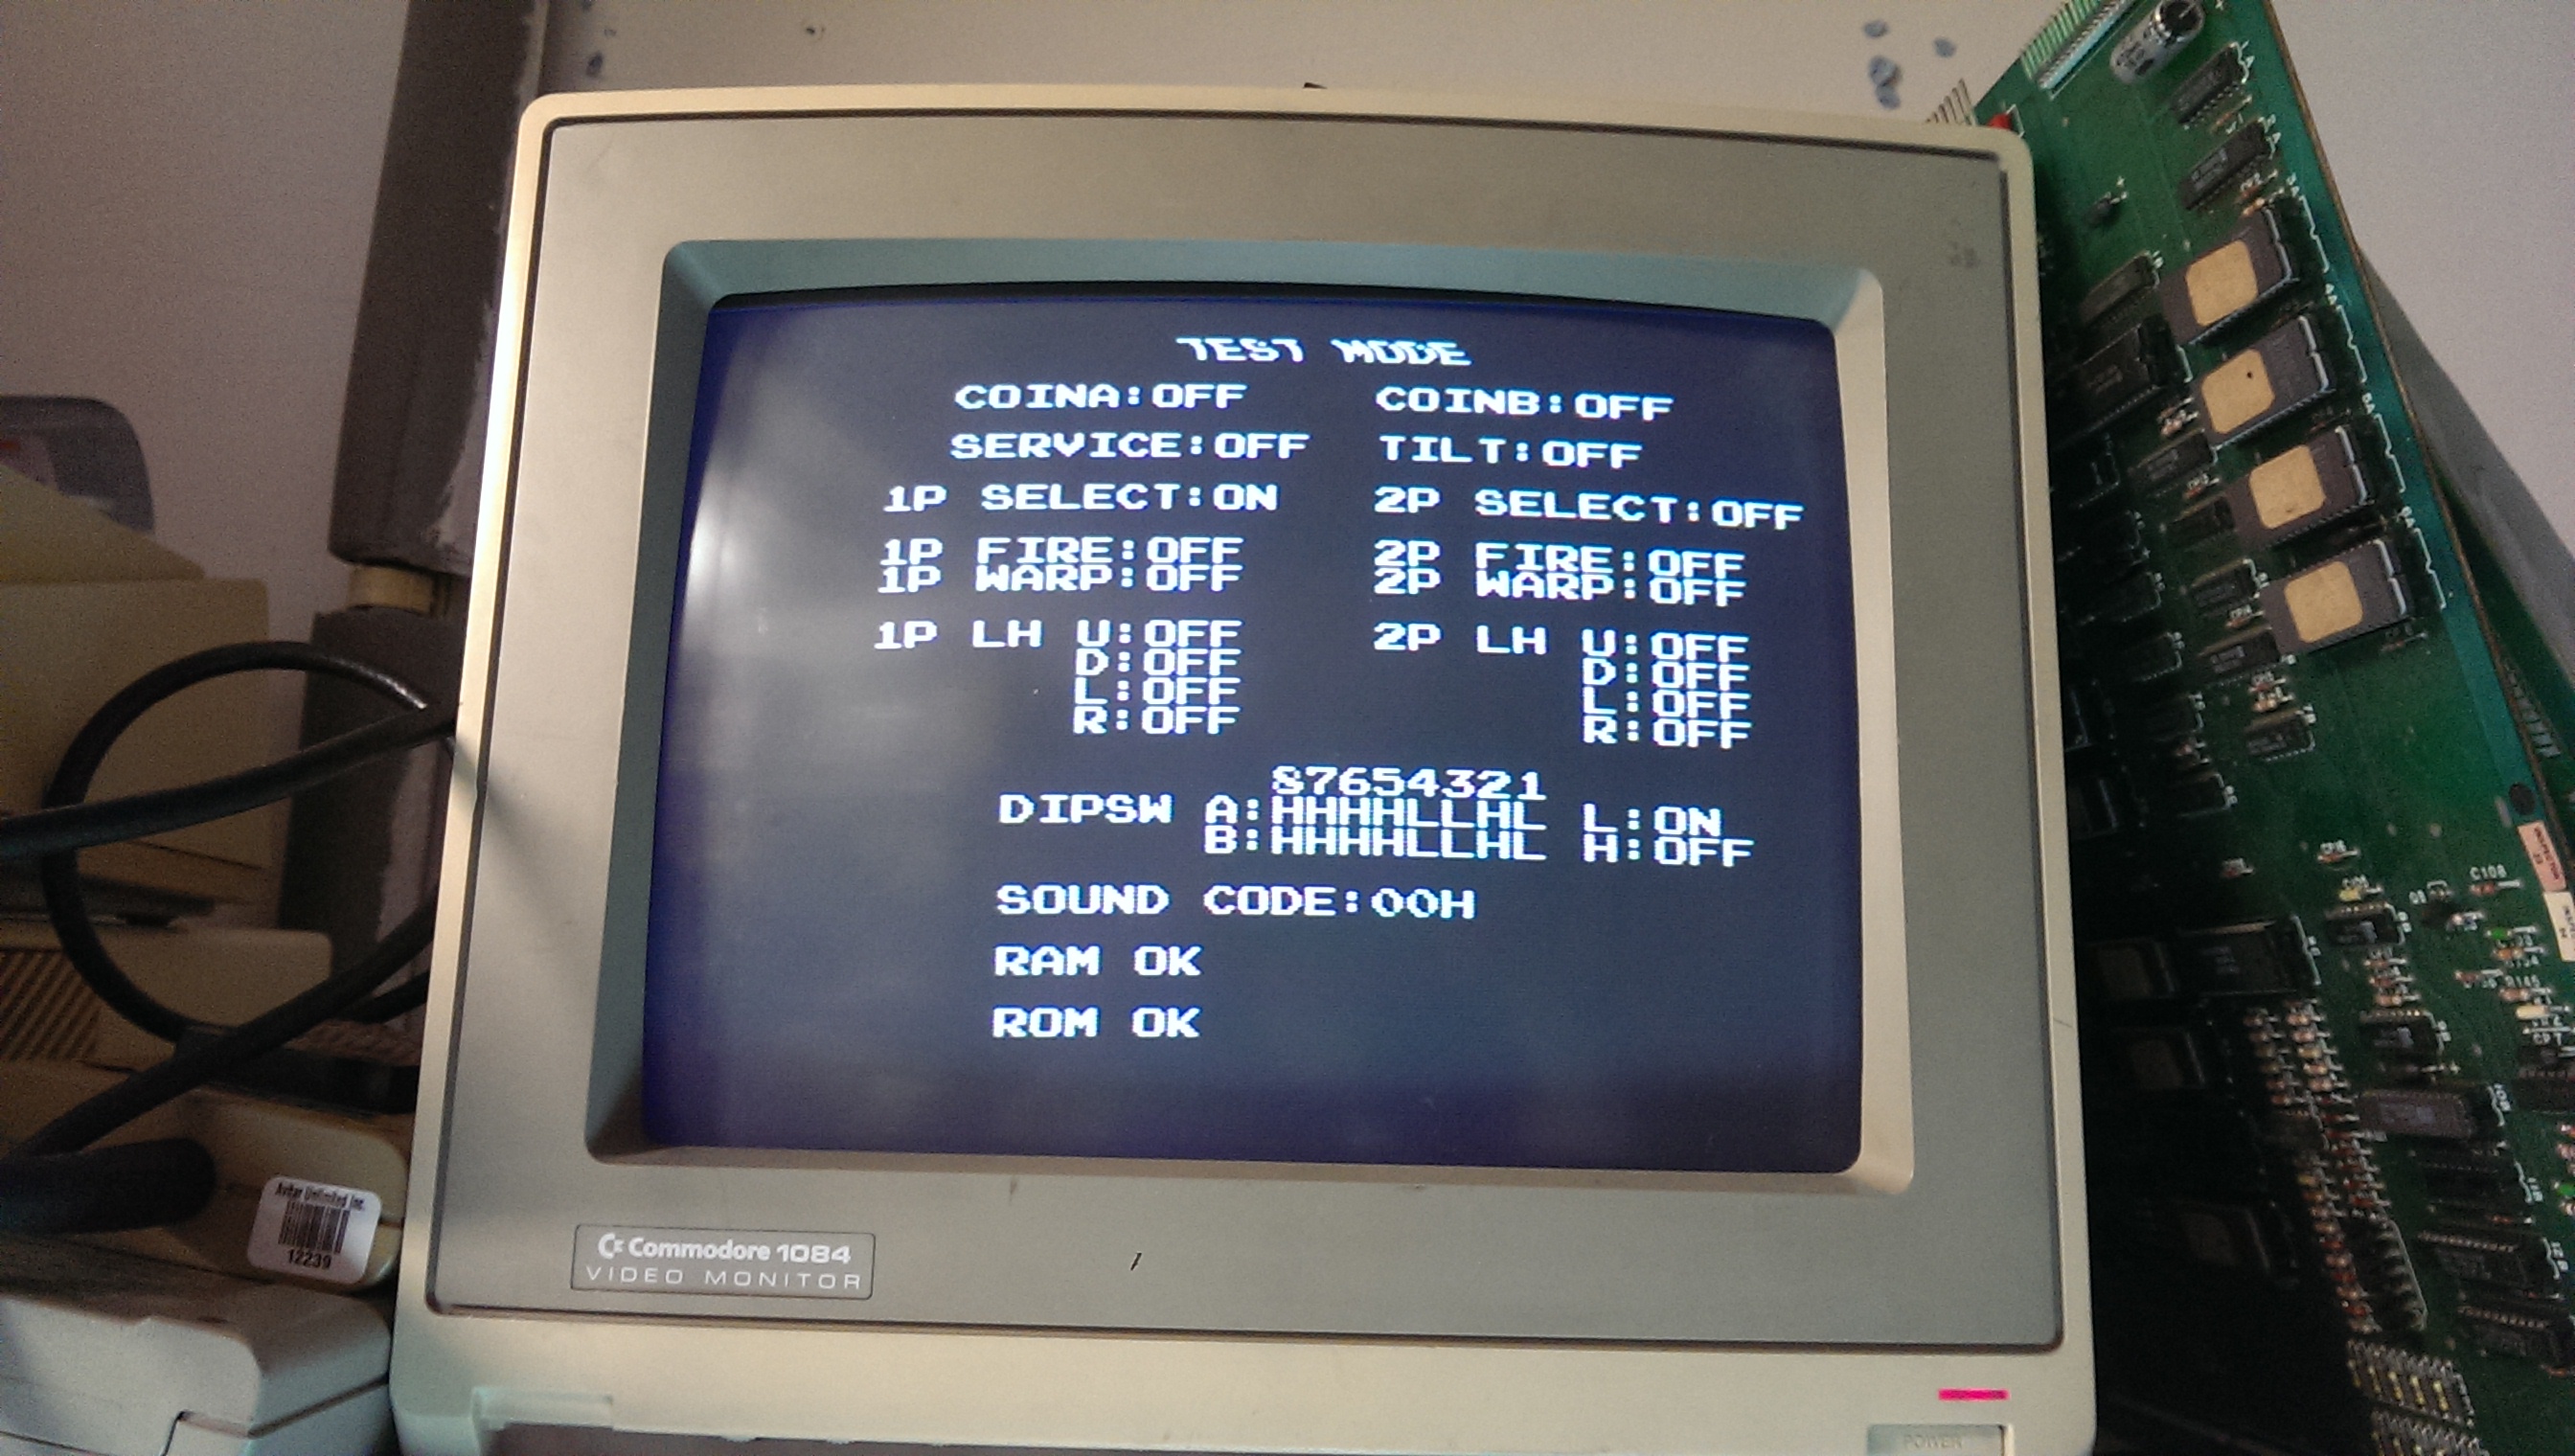
Now, in absence of any schematics, looking at some PCB pictures on the Net, I figured out the missing IC was a M58725P SRAM pin to pin compatible with a 6116 (or 2016, 2018 etc..).Fitted a socket and a 6116 SRAM, I powered up the board (it uses the Konami Classic pinout, the same used for many other Konami games) and I got this:

IMAG0231

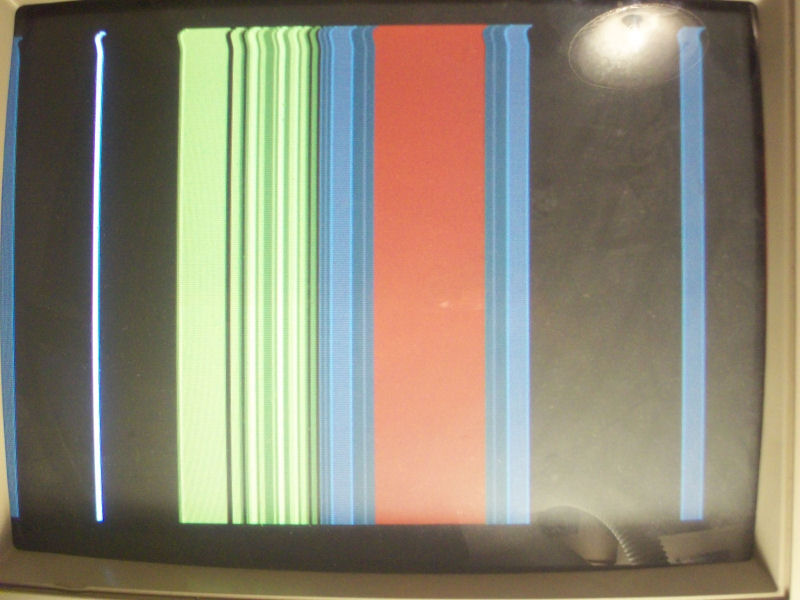
These patterns of lines were changing on the screen sign that the board was running fine , infact I could coin-up and hear all the sounds but the video had some issues related to timing signals used to draw display, I presumed.

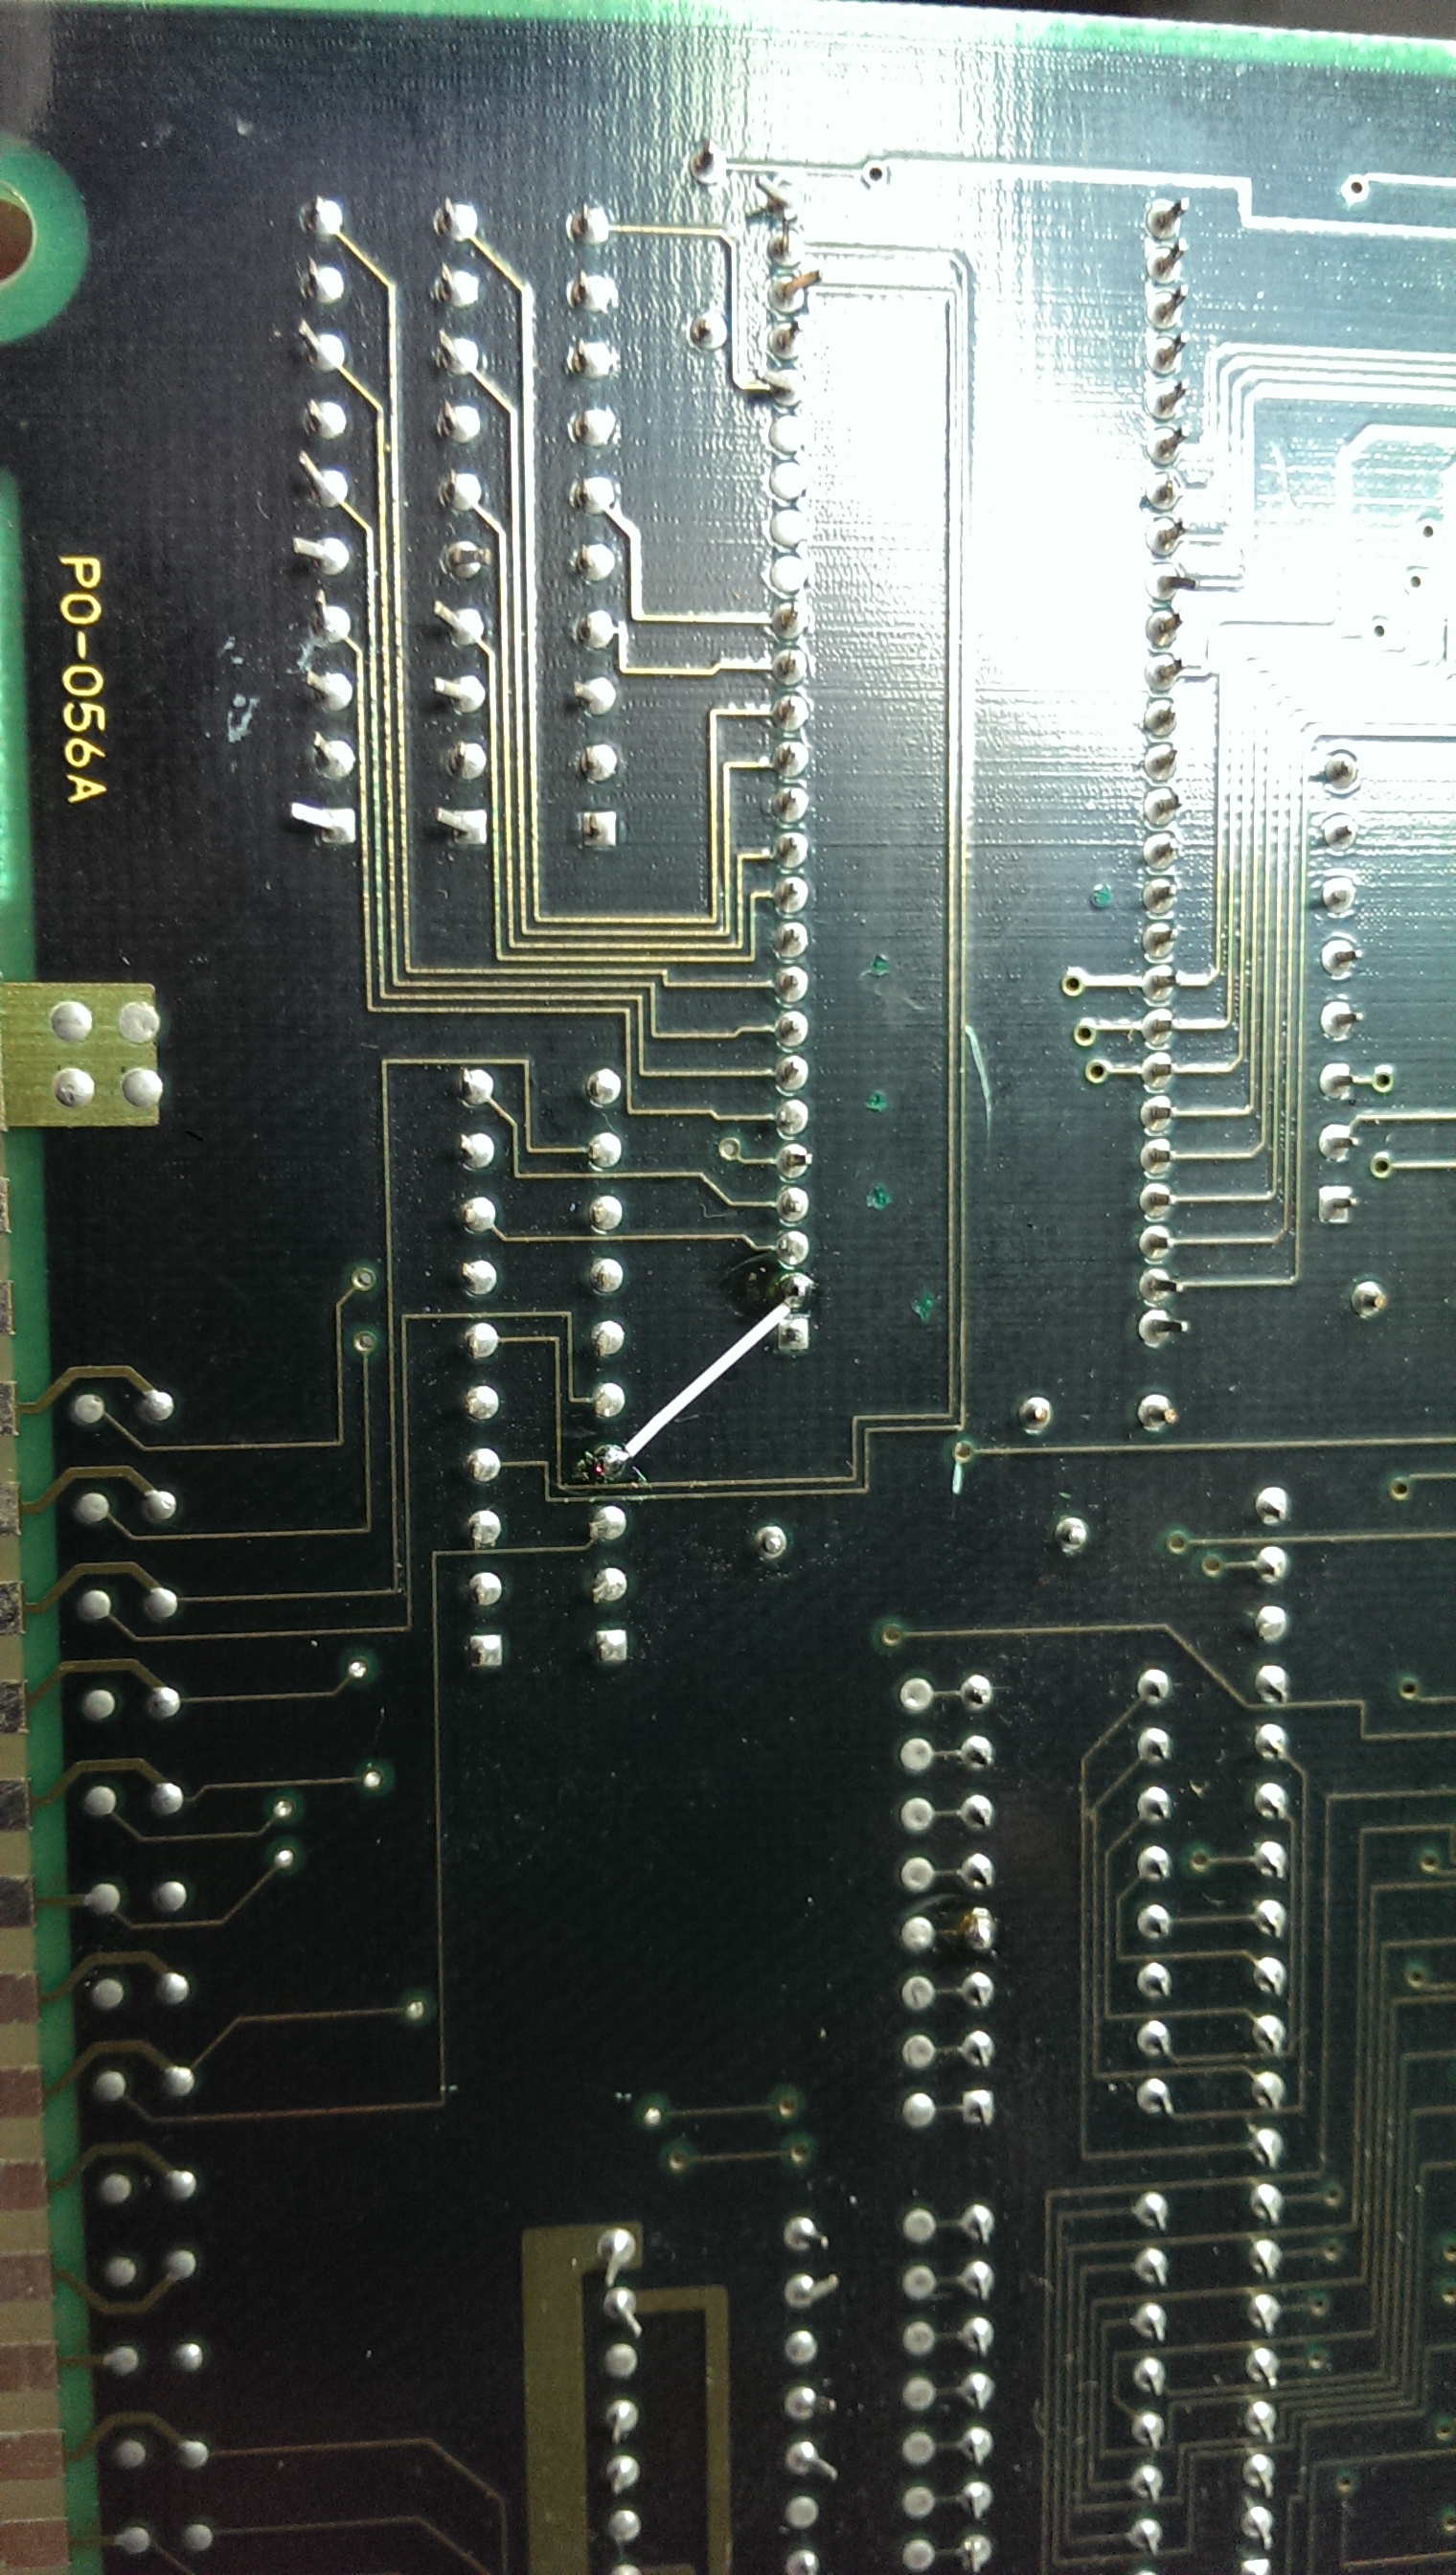
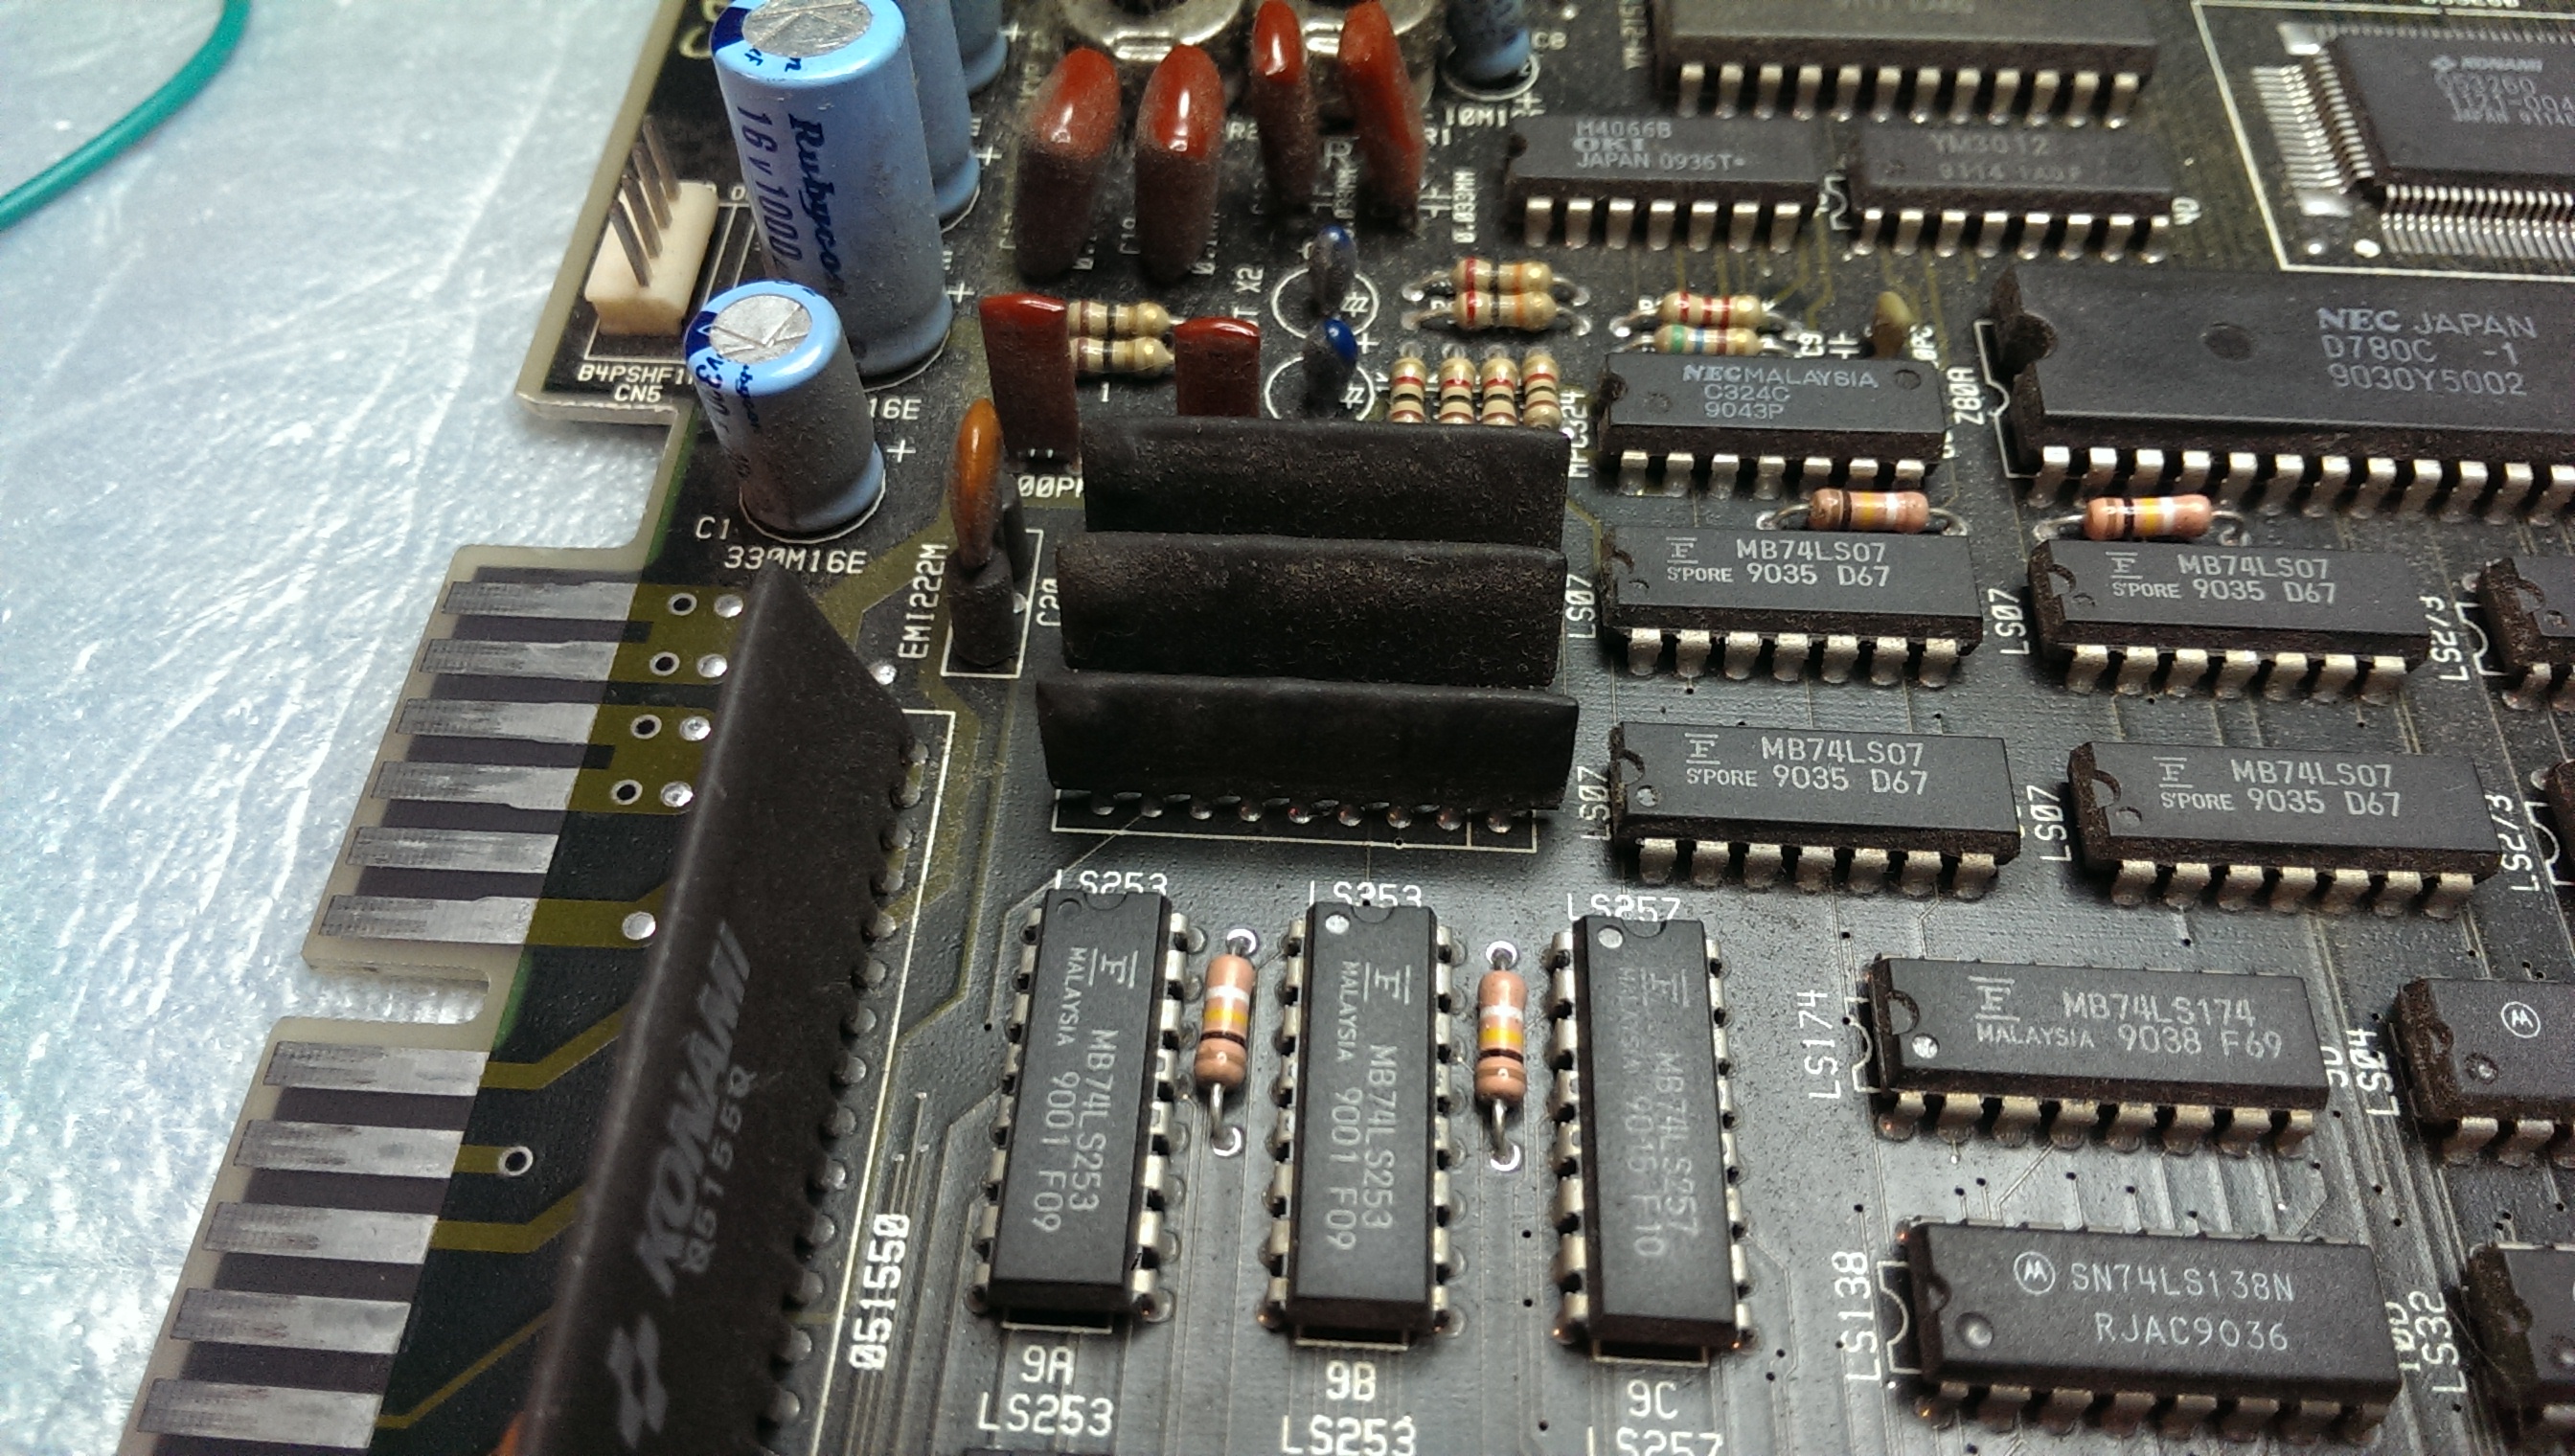
So, with the fear that one of many custom (with scratched ID) was bad, I started to test the ICs with my HP 10520A logic comparator and logic probe.All was fine until I came across a 74LS74 (location C6) whose ouputs was stuck low.Its data input pin (connected to an output of a 74LS161) had no activity at all but the near via which had to be connected to was pulsing!Infact my multimeter didn’t buzz on this and a closer look revealed this:

IMAG0032

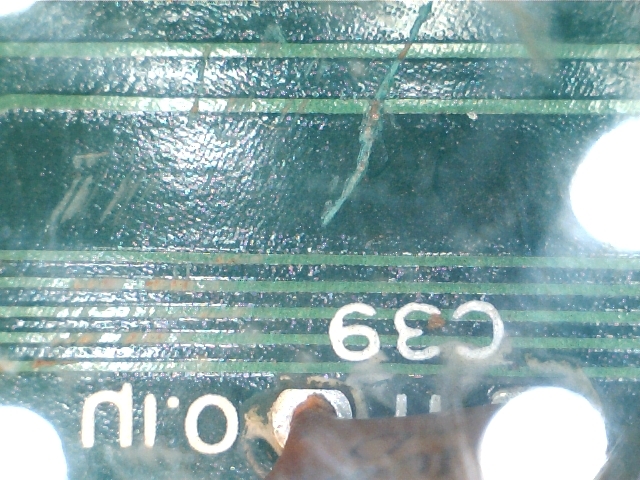
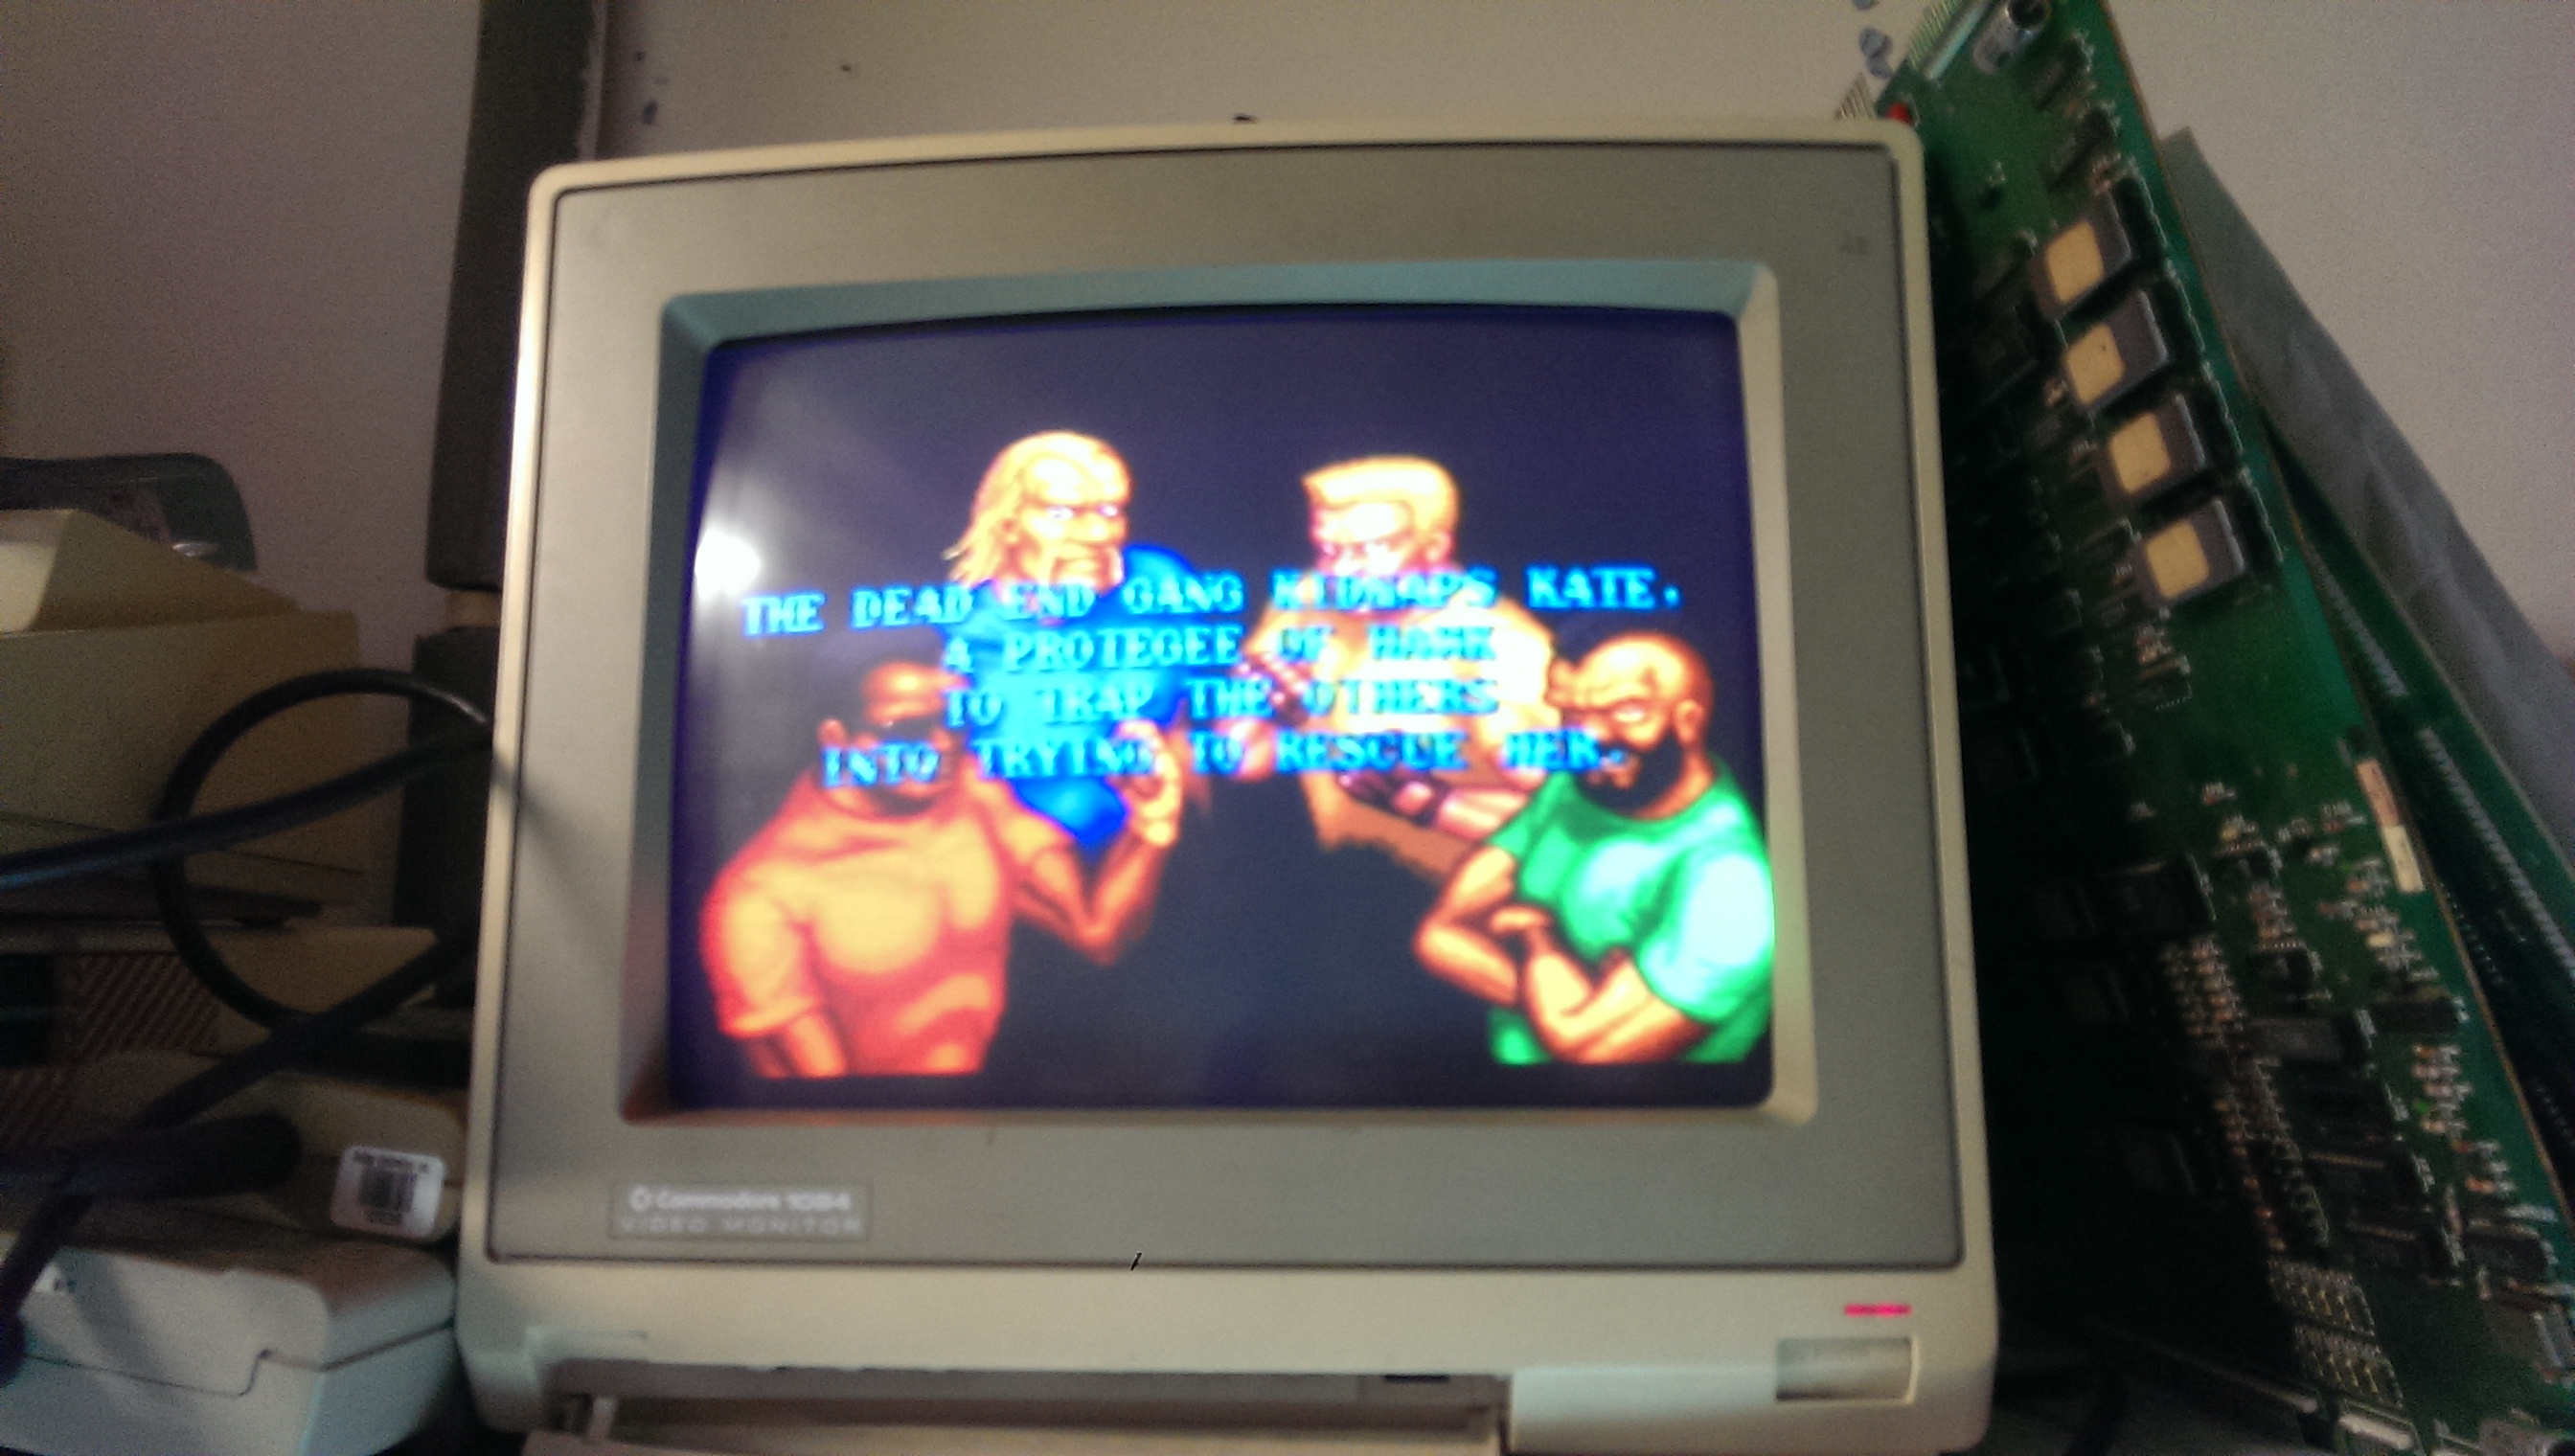
Bridged this broken track with a bit of solder, I powerer up the board again and I got:

IMAG0235

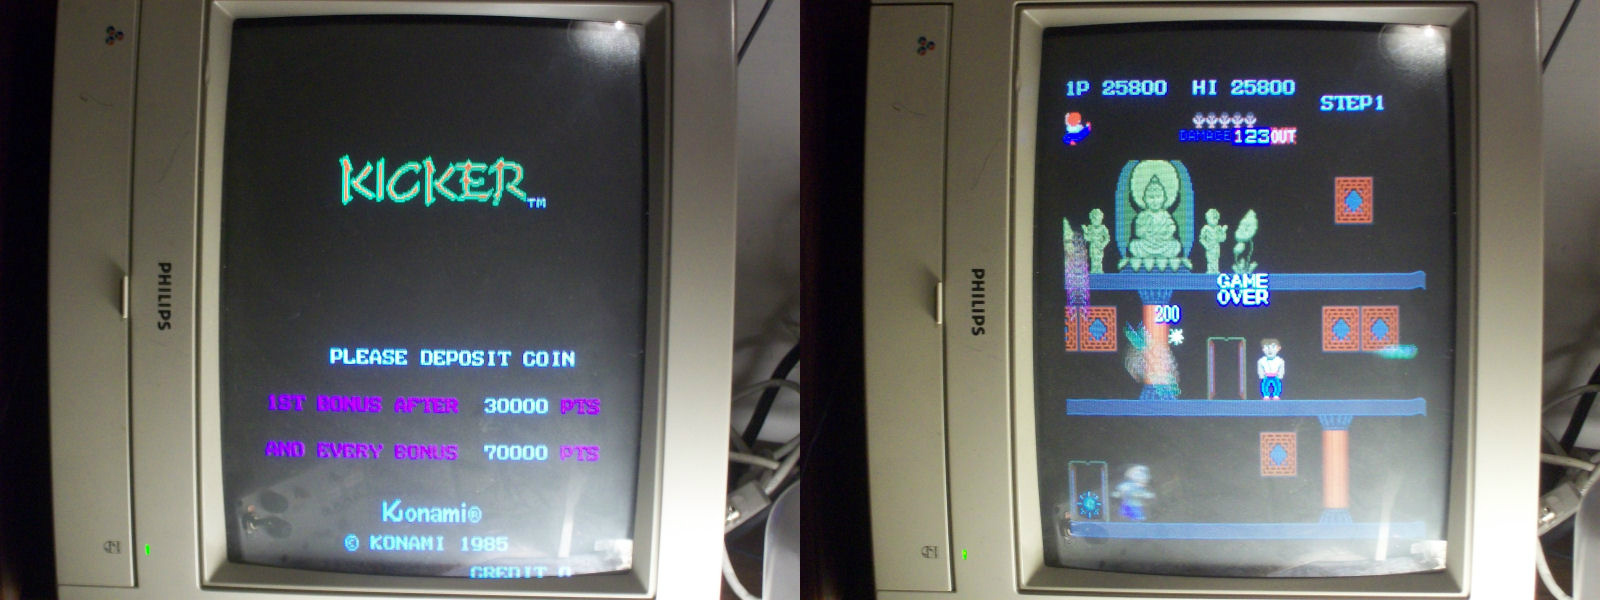
Board 100% fixed and another classic one preserved!

 Posted by at 11:44 am
Apr 132014
 

Another one of muddymusic’s PCB’s.
Everything looks fine with this one until it is coined up then the game starts automatically.
If I enabled test mode by switching switch 3 on DSWA then I could see the start button for Player 1 was stuck on.

I initially thought this was going to be a sticking point as all the inputs go to a custom chip however I found that the trace from the pull up resistor array to the custom was broken somewhere.
There were no visible breaks so it must be under the silkscreen somewhere.

Running a patch wire from pin 2 of the custom chip to the resistor array fixed the issue.

Quite a fun game it is too.

 Posted by at 10:42 am
Apr 122014
 

Got muddymusic’s Vendetta PCB. Game seems to play fine but the blue colour is missing.
Schematics are available for this game which made it simple to find the fault.
I could see all the inputs to the custom 052535 chip but the output of the SIL was constantly low.
I have a scrap Konami PCB that uses these so removed on and fitted it.
Board is now fixed

 Posted by at 9:42 pm

Spy Hunter repair log #3

 PCB Repair Logs, Repair Logs  Comments Off on Spy Hunter repair log #3
Mar 122014
 

A quick one here.
Tested a CPU board with known good video gen board and SSIO board connected.
The game had no sync but it appeared the game was running.
Sync could be a bad fault to have as its heavily dependent on the PLD’s found on this board and I have yet to reverse them.
Luckily for me I found the last stage before being outputted to the monitor was to blame. The 7404 chip @ location C4 had stuck outputs, replacing this brought the sync back and the board was fine after that.

 Posted by at 7:47 pm
Mar 092014
 

On with the second Spy Hunter repair.
On boot the game displayed a screen of garbage and just sat in watchdog.
Having a look at the ROM’s showed that the EPROM at 6D was a 27128 and it should be a 2764. I pulled this and dumped it to find only half the chip was being used. In order to use a double size EPROM the data needs to be doubled up so this wouldn’t work. I also noticed that this board had the free play ROM’s installed. This needs the EPROMs at 6D and 10D replaced so without the correct ROM’s at both 6D and 10D the game wouldn’t boot.
I installed original ROM’s but the game still did not boot.
Plugging in the Fluke I found I couldn’t get a good read of the EPROMs.
So looking at the schematics I can see the address lines are buffered
spyhunt003

Probing the 74LS244 showed that although I had inputs pulsing away all the outputs were floating.
I removed this and replaced it for a new one and the game now boots.

I had a strange fault here that for some reason I didn’t take a picture of. The game booted but certain tiles from the background were being drawn in the wrong areas, This changed on each reset but I couldn’t understand how this happened.
I pulled all the EPROMs and checked them but they were OK. I pulled the video RAM chip and tested but that was fine too. I did notice the socket for the video RAM was very dodgy
IMAG0085

I replaced this but it made no difference.
As I was struggling to understand why this happened I thought Id check out everything associated with the video RAM chip.
shunt003RAM

The 74LS245 was the first check but this was fine.
The 74LS32 at 2F however had some strange behavior going on. Some of the pins looked to be stuck HIGH but then other times they appeared fine. I pulled the chip and it failed tests.
Replacing this fixed all the graphics faults.

On to the SSIO.
There were two SSIO boards with this set, the first of which works fine so ill write about the second one instead which was not fine.
So with this SSIO attached the game is in constant watchdog.

Here is where I got stuck for a little while. I couldn’t get consistent reads of the EPROMs with the Fluke. I could dump the chips no problem and they are checked out fine. Strangely replacing these chips made the error go away.

The last issue was with the sound itself.
Some of the sounds were missing and there was a constant tone in the background. Replacing the AY-3-8910 @ F7 fixed this up.

Everything is working fine and I can now test all the inputs too.

The SSIO board does not initiate a RESET to the main board at all but as it is directly connected to the main PCB’s address and data bus it has the ability to mess things up if there is a problem in those areas.
Using the Fluke I narrowed it down to one of six chips on the data bus as I found D4 was stuck HIGH. I eventually found the 74LS244 @ E2 was to blame. Replacing this allowed the game to boot again but I had a “Timeout Error”.

 Posted by at 1:56 pm