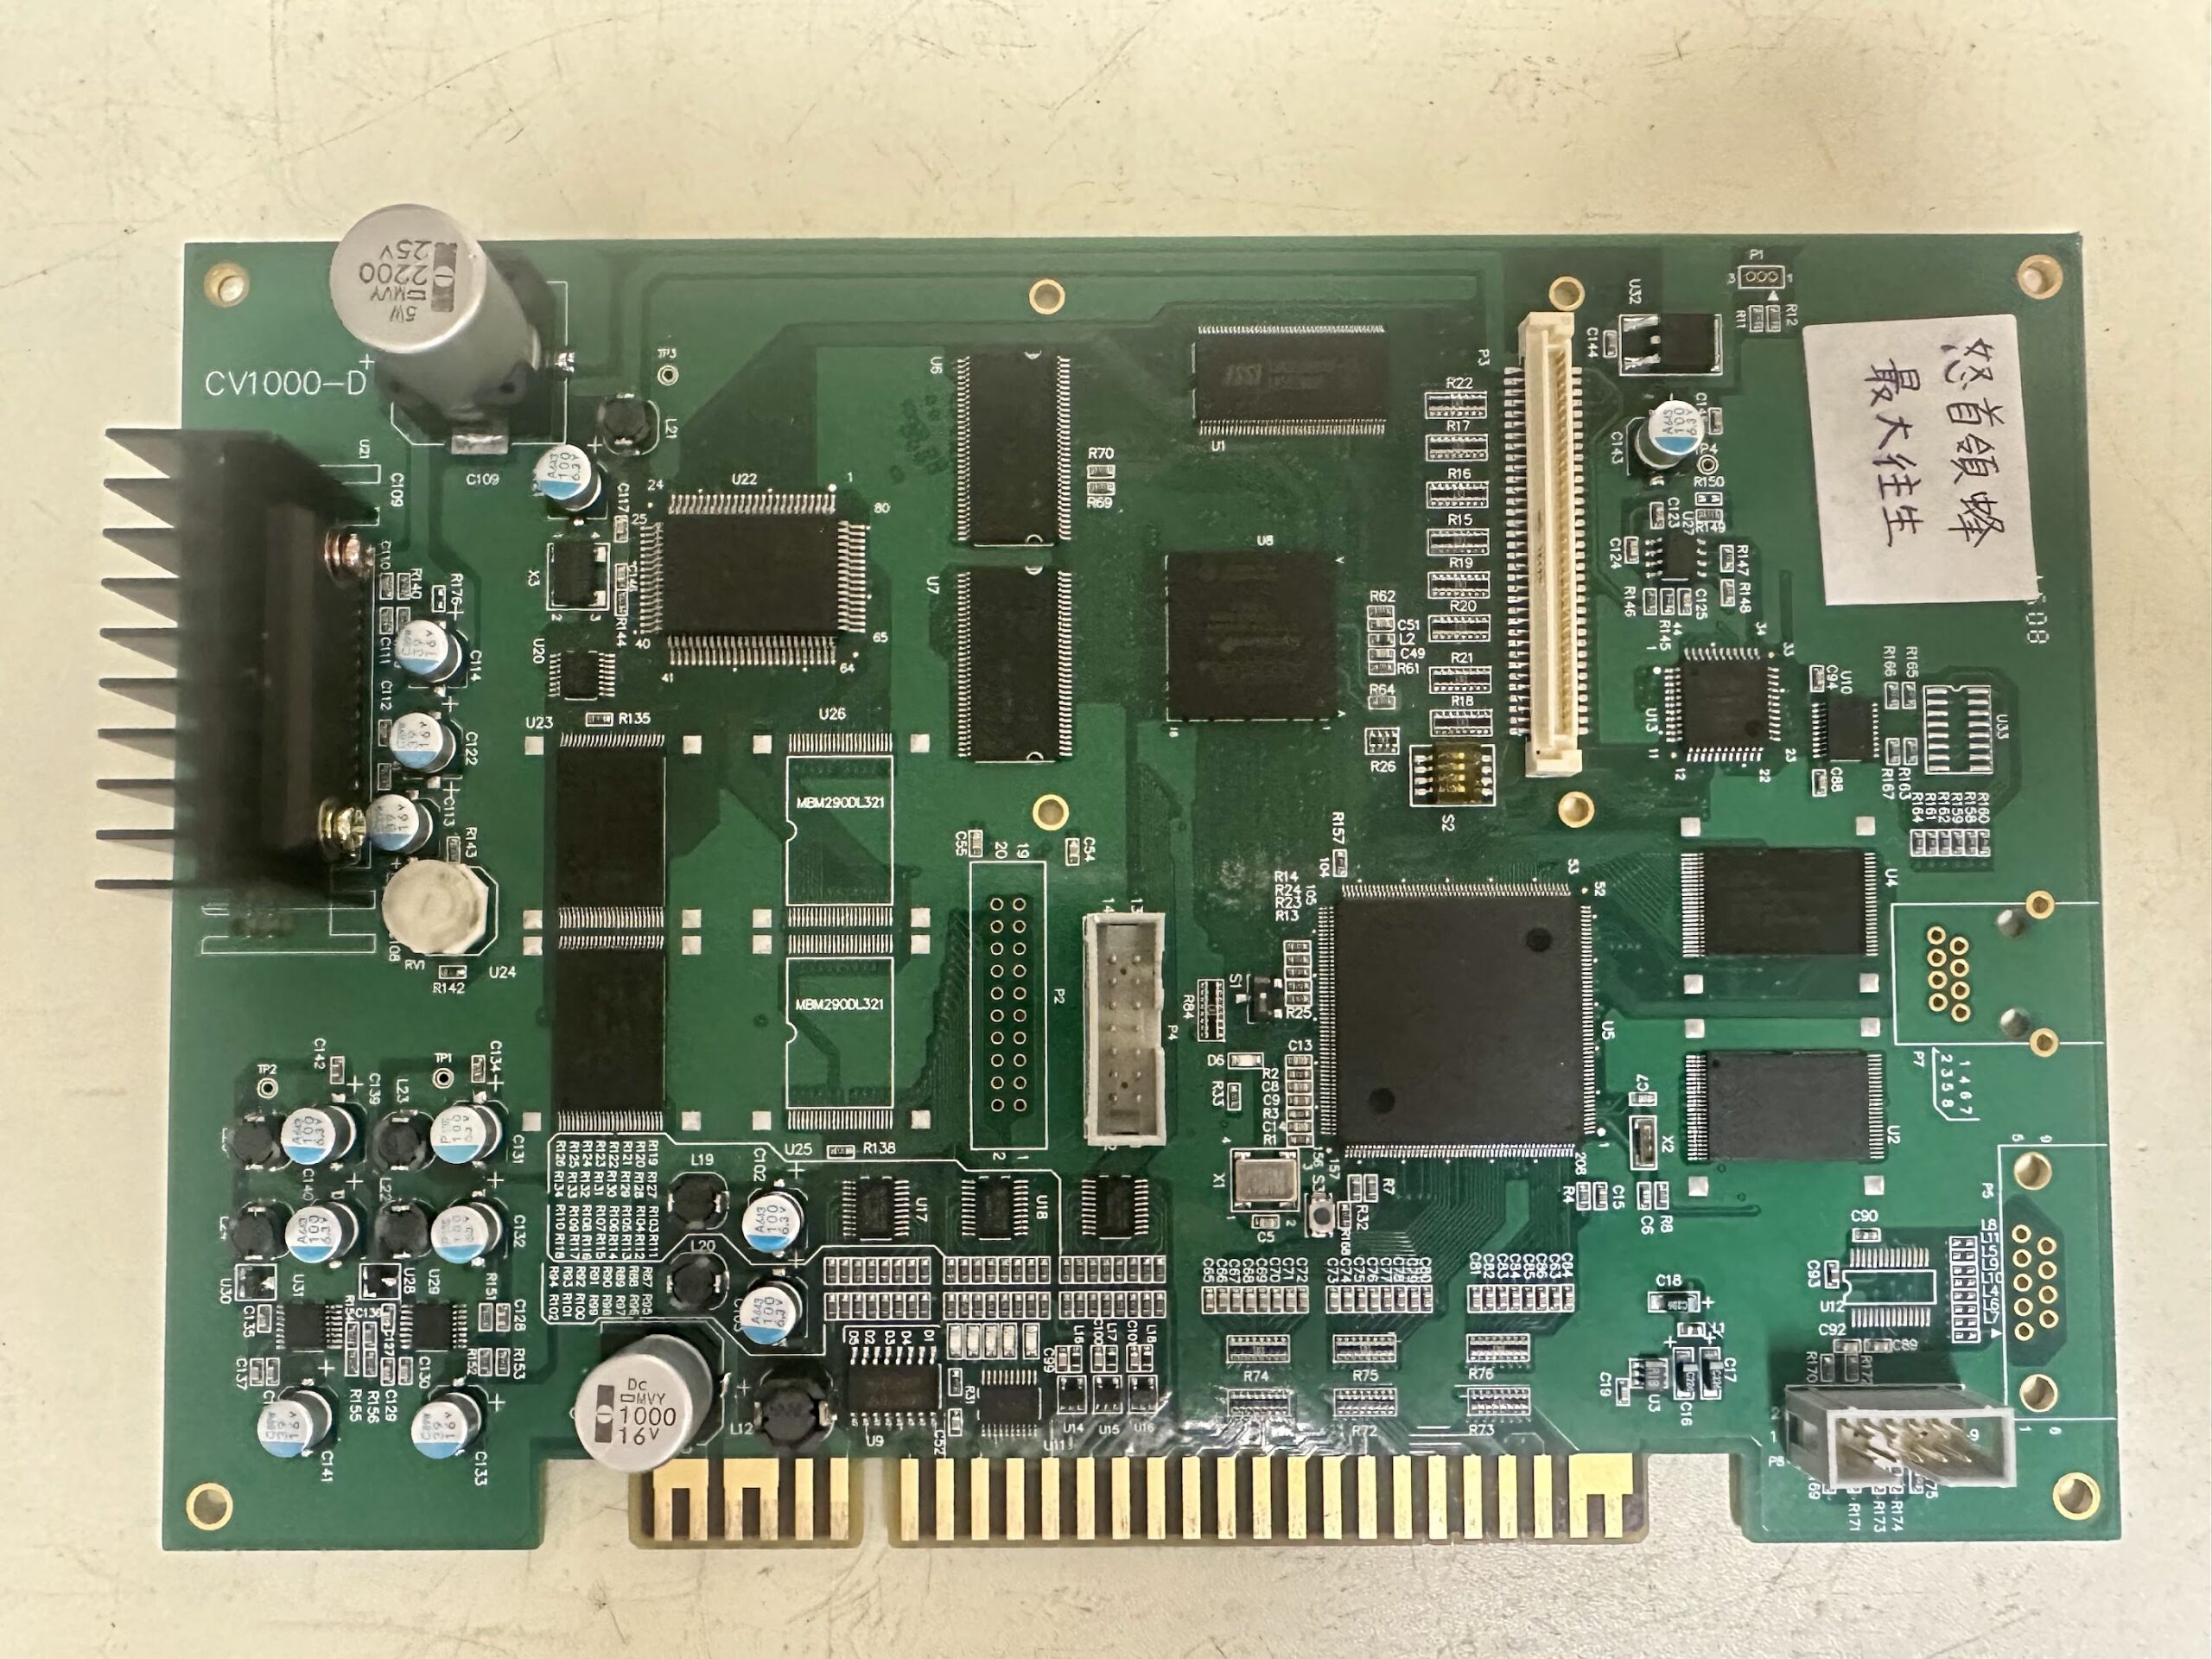
In for repair was DoDonPachi Saidaioujou, a Cave shoot-em-up running on a CV1000-D board. This board is one of the recent reproduction bootlegs that’s distinguishable from an original by having gold-plated JAMMA fingers rather than tin-plated.
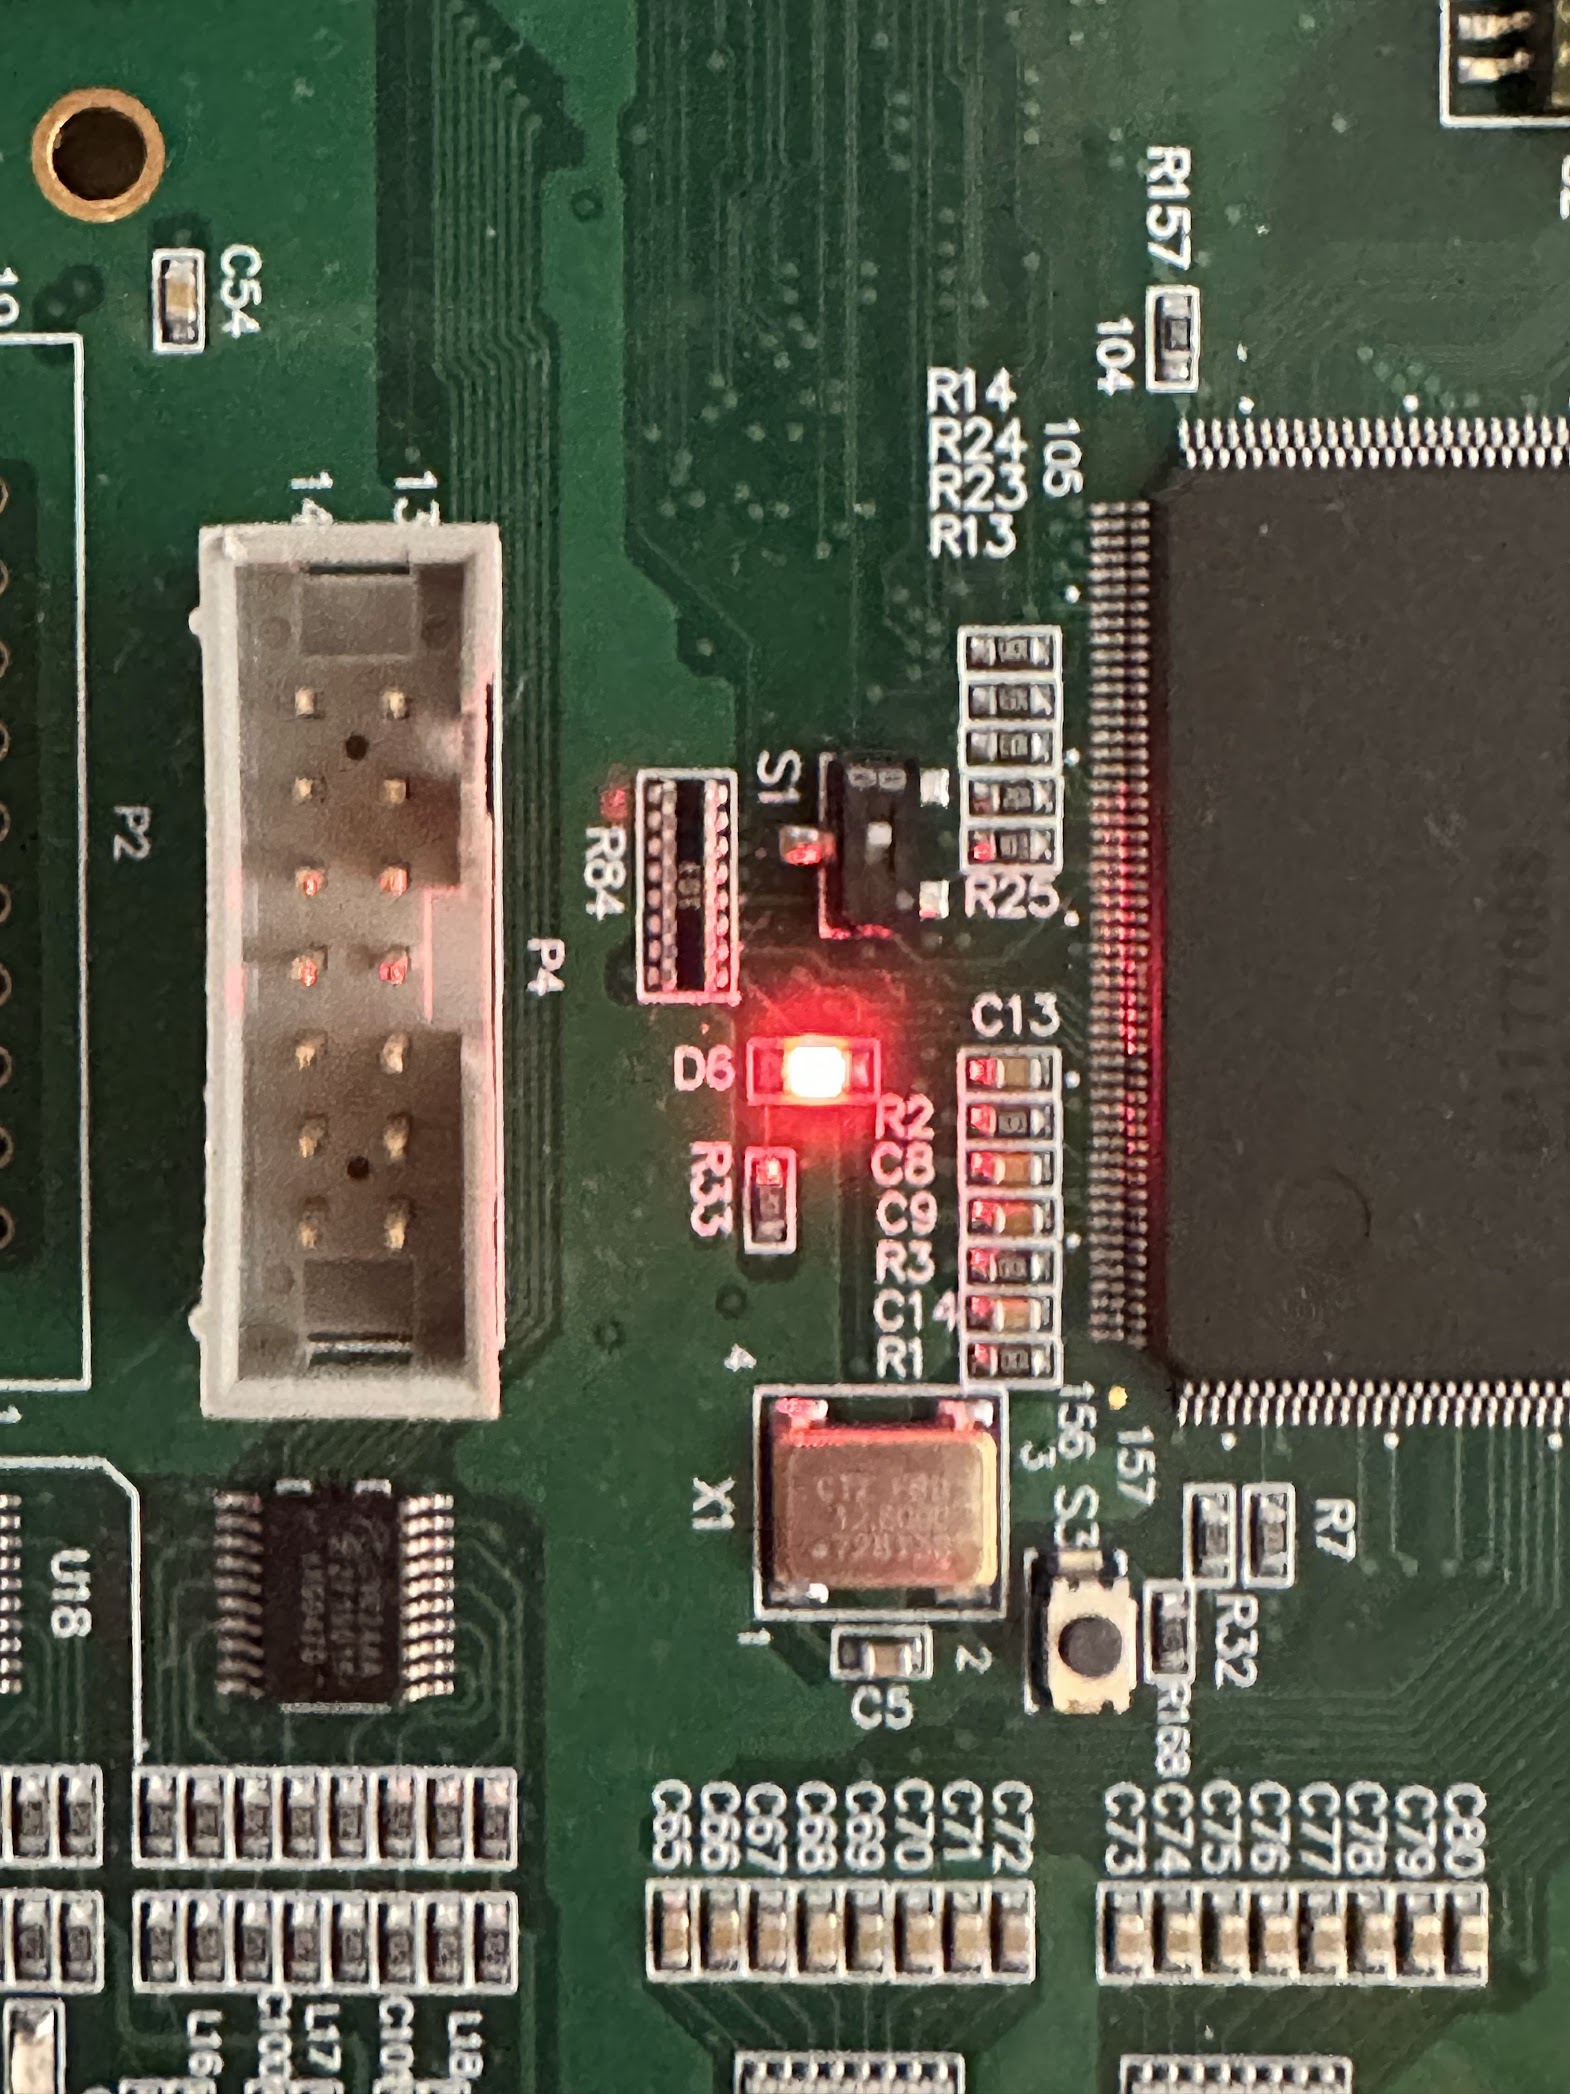
The board would not boot up at all and a D6 LED would light up.
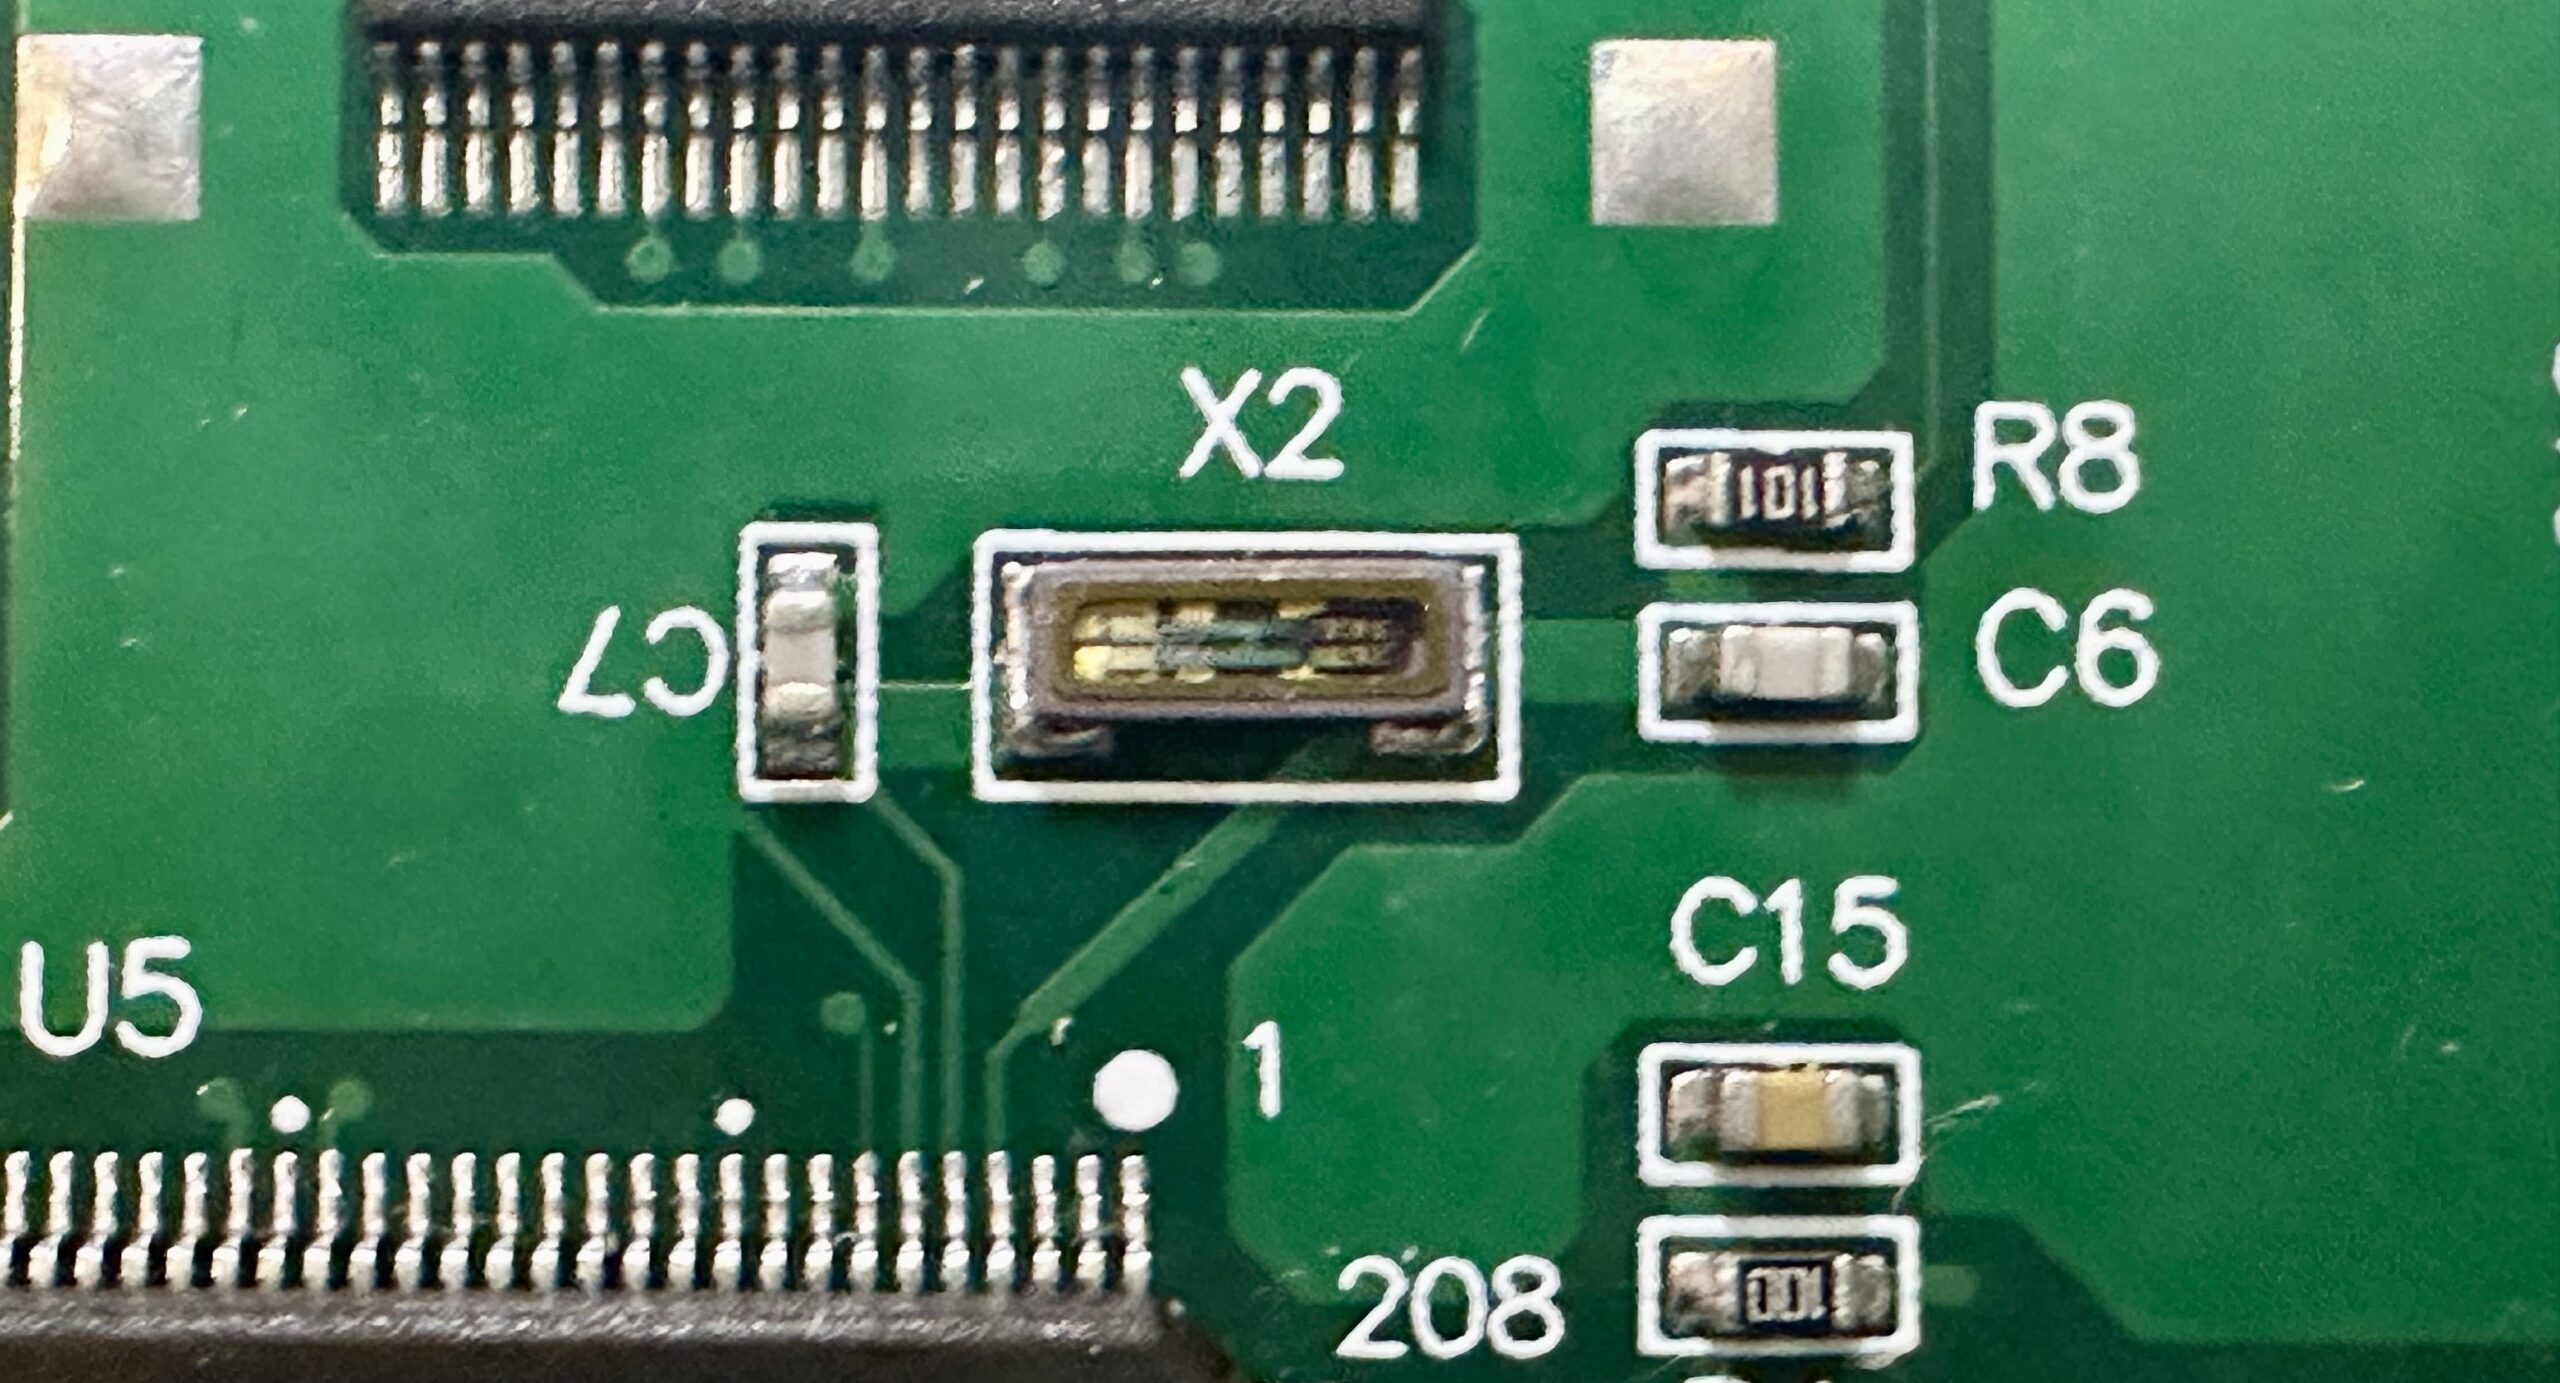
As per the CV1000 entry at the JAMMArcade.net PCB Encyclopedia, if D6 stays lit up, it indicates a problem with the clock generator located at position X2 on the board. Sure enough, the X2 part on this board is damaged – you can see right into it!
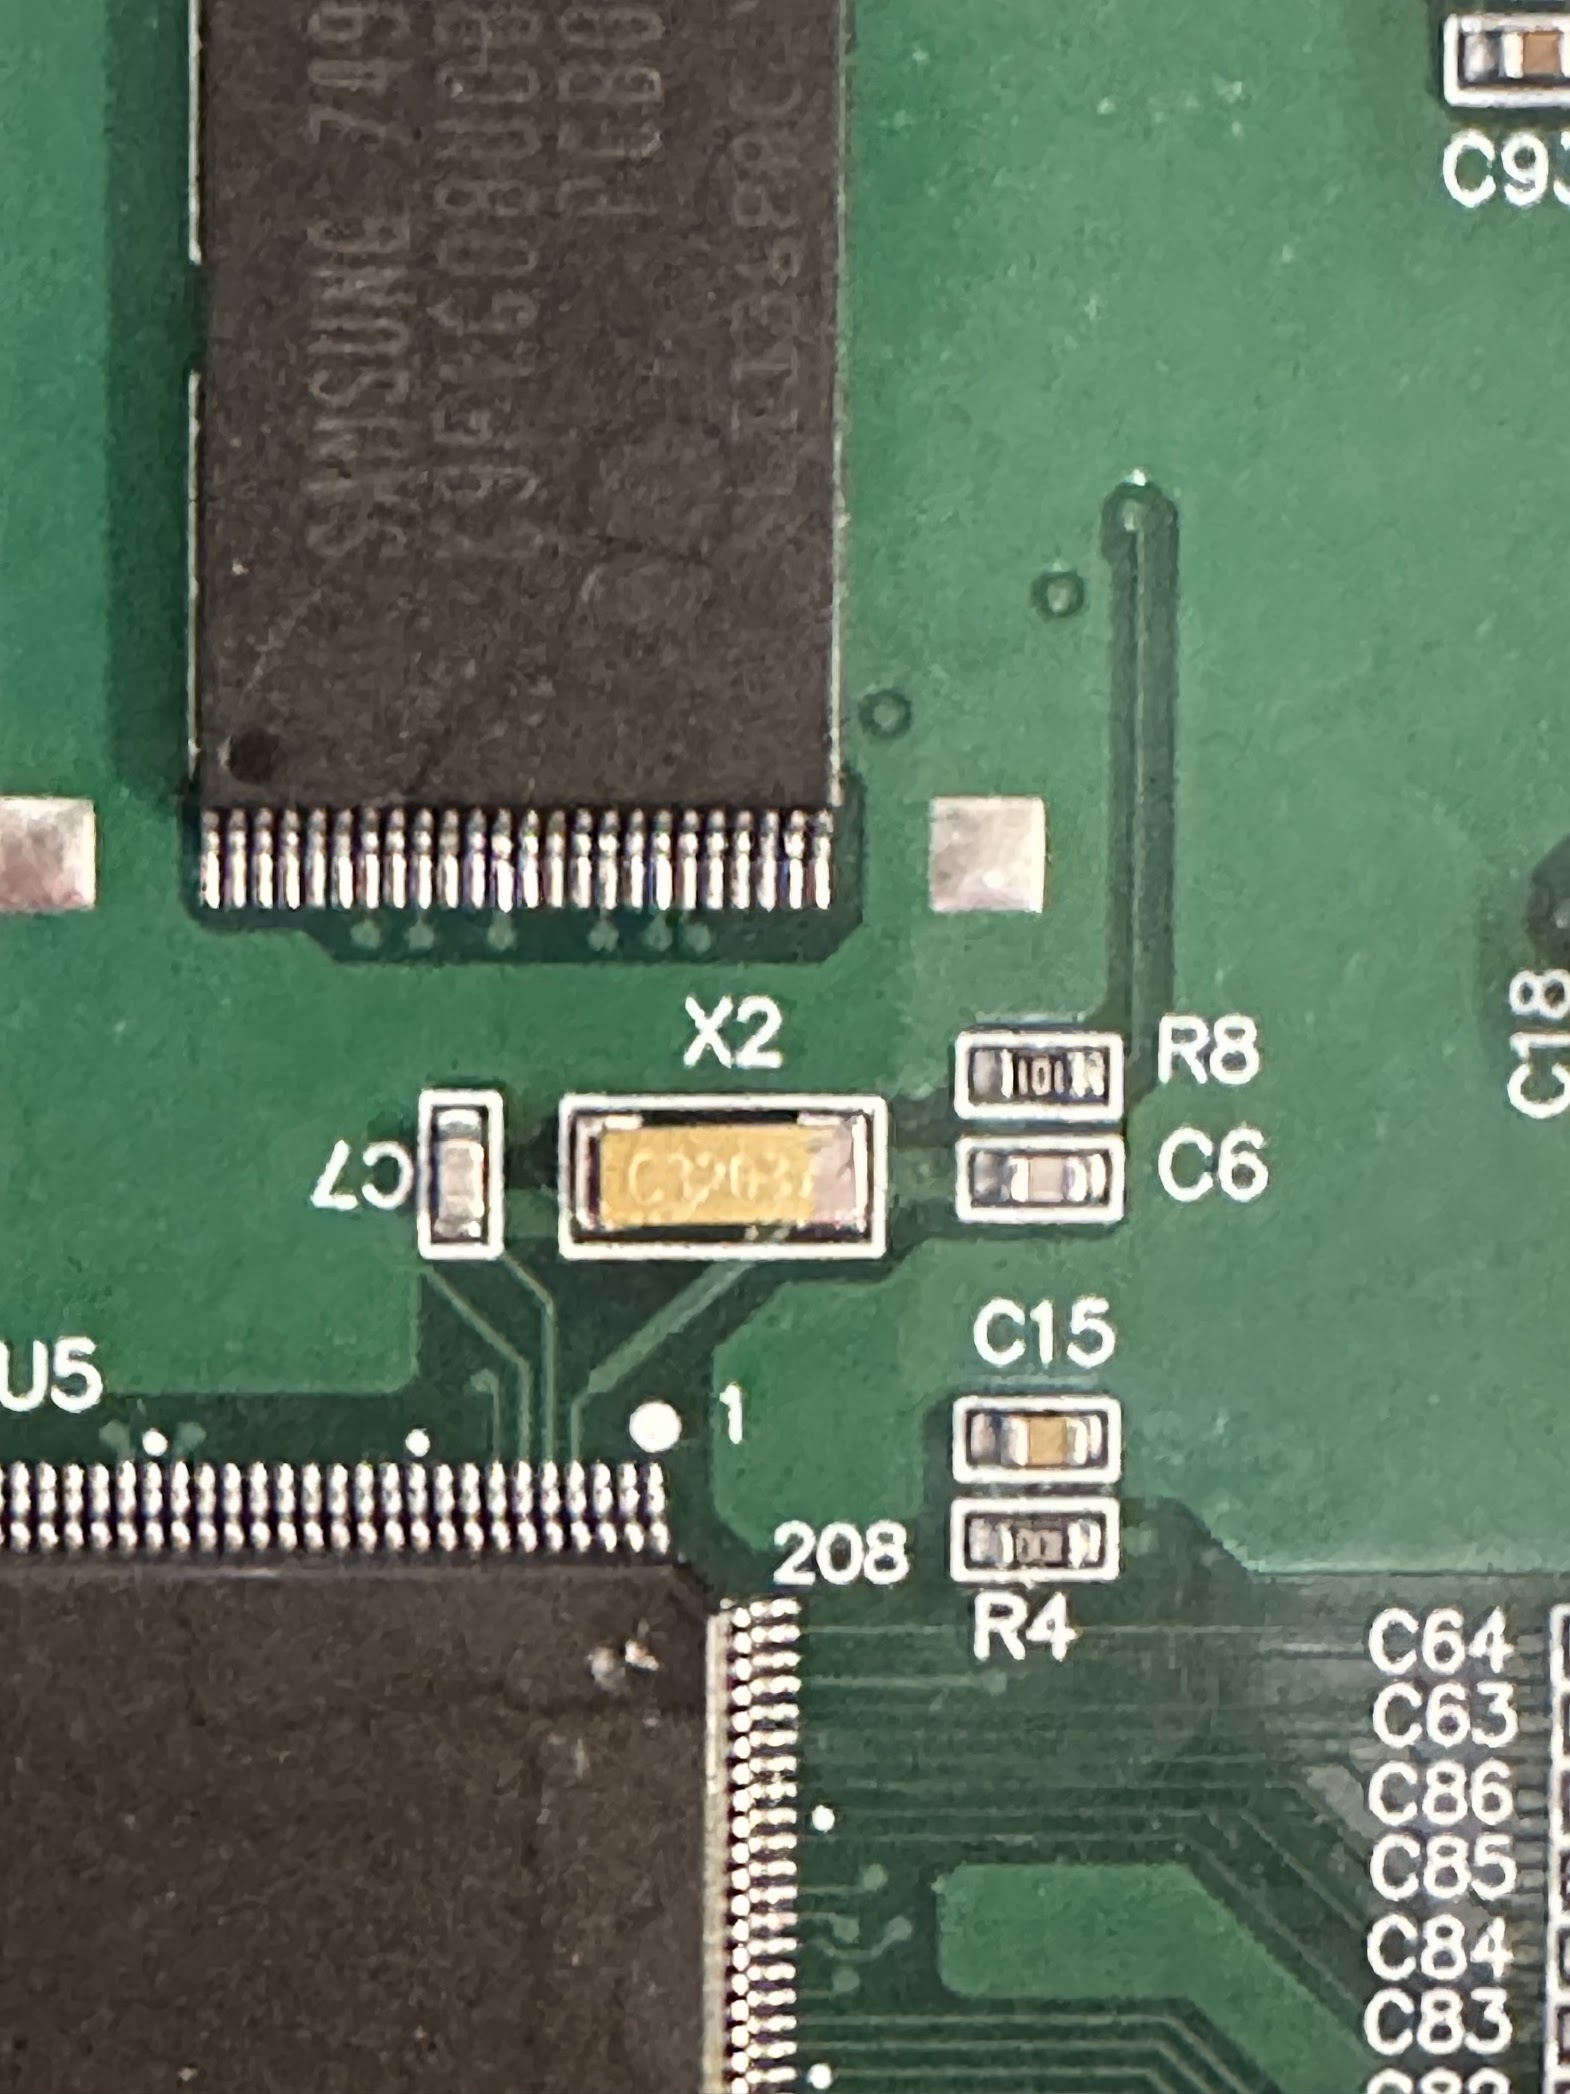
I sourced a replacement part from DigiKey. It is a 32.768 kHz crystal resonator measuring 4.9 mm X 1.8mm . Once the replacement part arrived, I used hot tweezers to remove the old crystal and then soldered the new one in.
That’s all this board needed – with the new crystal in place, the game booted up and functioned perfectly. A successful repair!
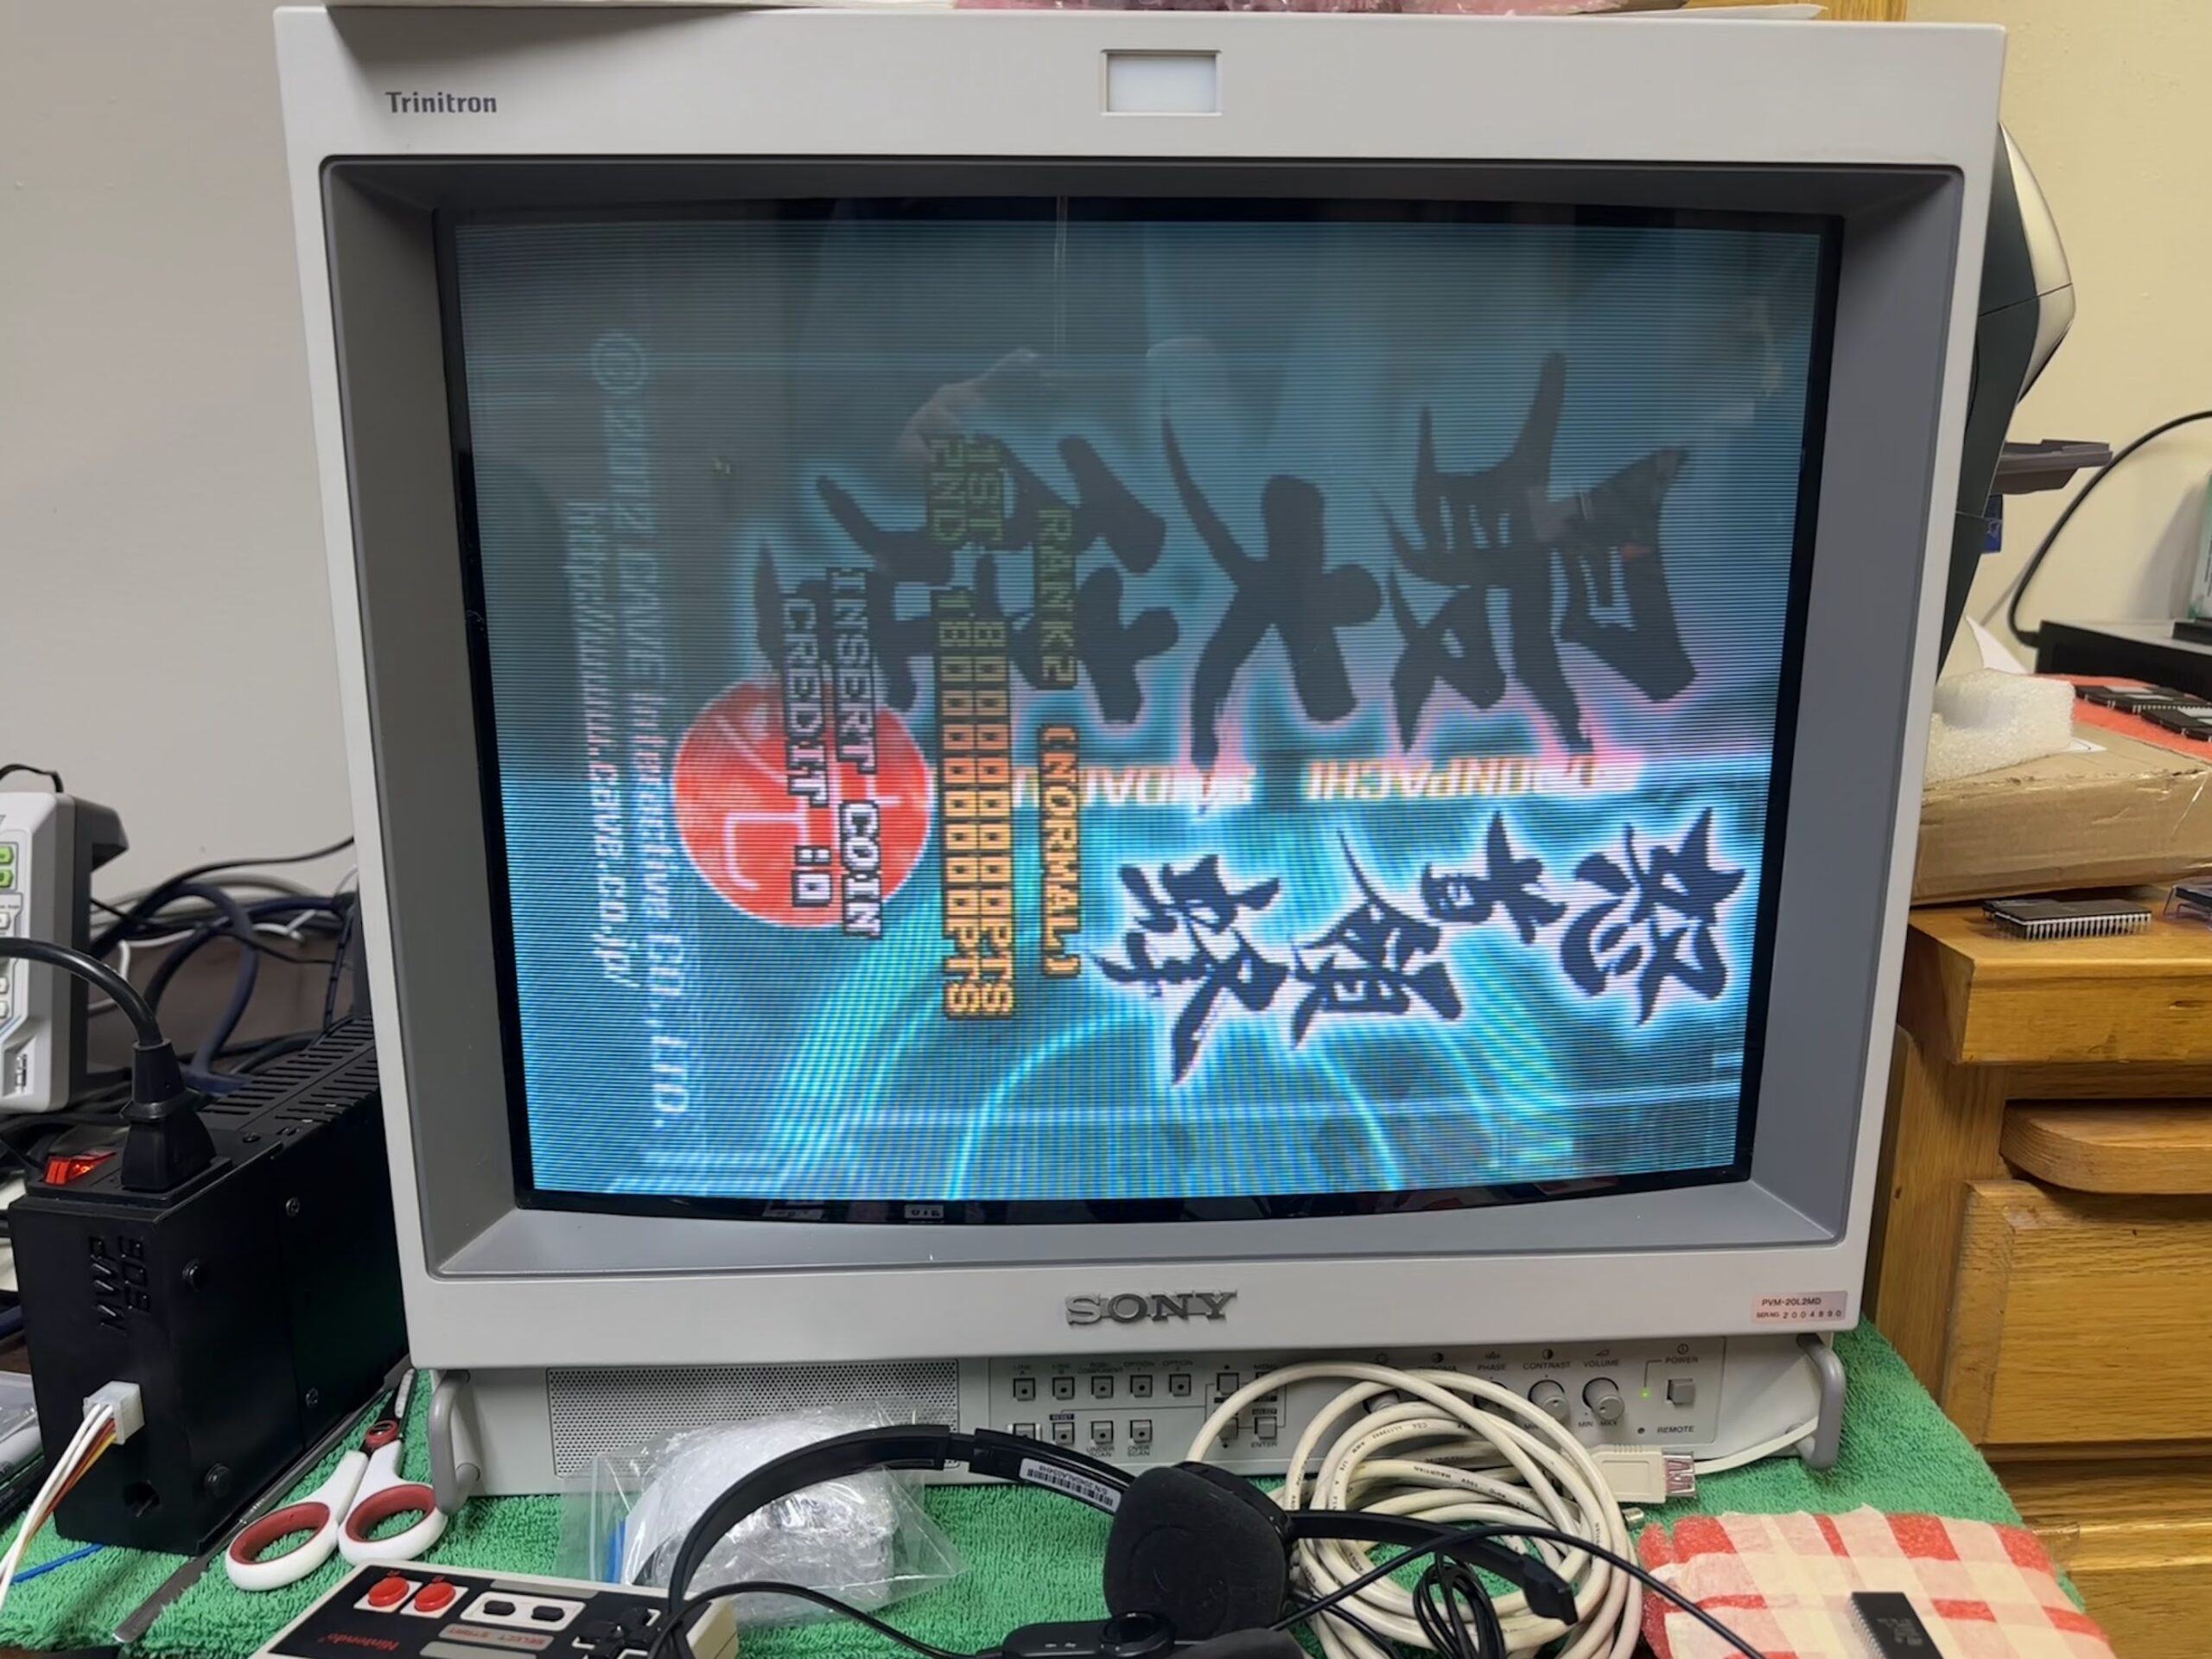
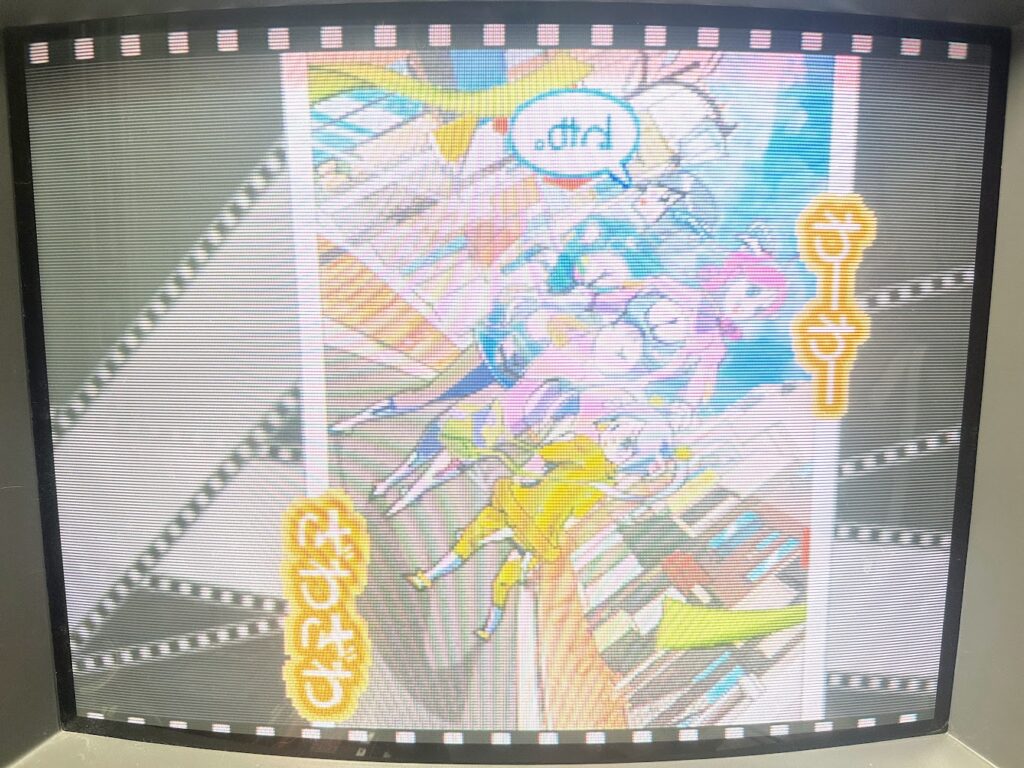
In for repair was Muchi Muchi Pork, a Cave shoot-em-up running on a CV1000-B board. The game had visual corruption showing on one of the enemies in the game:
Note that the art asset viewer is hidden in this game. Flip Switch S2 on the board to the left, and hold down the Shoot and Bomb buttons while powering on the board. Once the game boots, keep both buttons held and enter the Service Menu. Additional hidden options – including “TGA TEST” for the art asset viewer – should now appear in the Service Menu list.
Cave CV1000 boards used substandard flash storage and are rather notorious for issues with corrupt assets like this. There is further information on these failures at the CV1000 entry at the JAMMArcade.net PCB Encyclopedia.
Previously, repairing this kind of issue would require desoldering the affected flash chip from the PCB, dumping it, modifying the dump to work repaired data in around the failed block of flash, reprogramming the flash chip, and finally resoldering it back to board.
Thankfully, these days buffi has conducted extensive research and produced tools for reprogramming the CV1000 CPU and Art flash chips over JTAG – no soldering required. If the flash fault has occurred in the Art flash chip (U2), Alamone has also produced scripts that automate the difficult step of mapping good data in around the failed flash blocks. With all of these tools in hand, repairing this sort of fault without soldering over JTAG is fairly straightforward.
Note that with CV1000 the Art flash (U2) and CPU flash (U4) are accessible over JTAG while the Sound flash (U23 & U24) are not. Repairing faulty flash issues with the Sound flash thus still requires desoldering and resoldering.
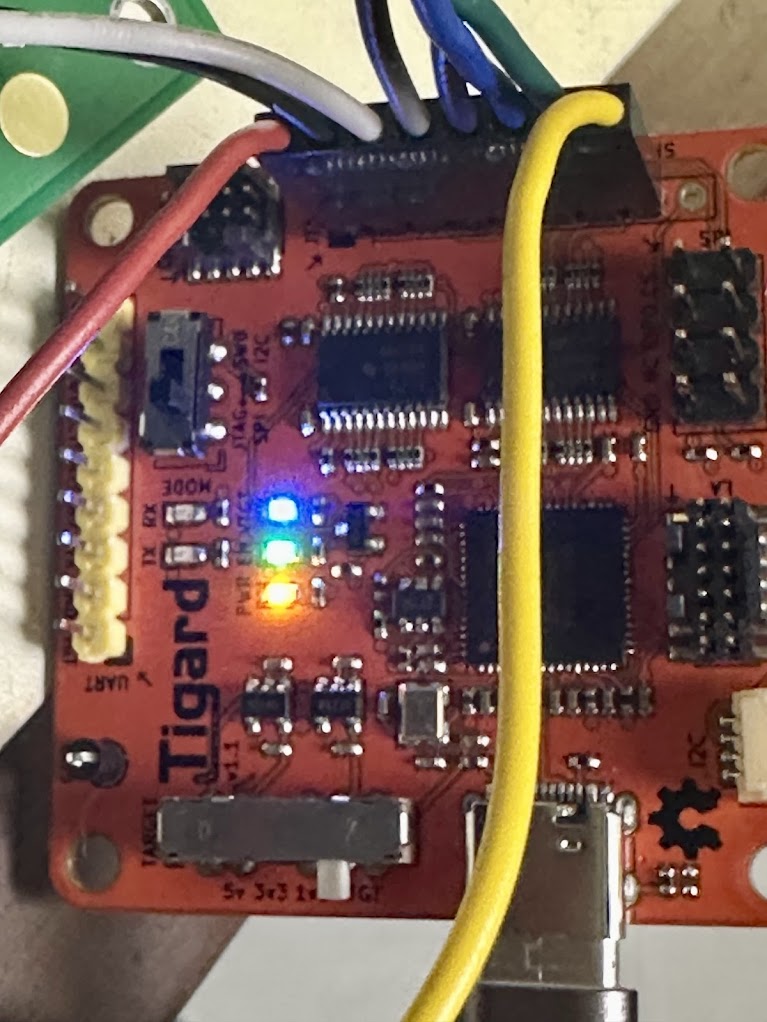
There are two kinds of USB JTAG adapters that can be used for communicating with a CV1000 board – an Altera USB Blaster or a Tigard. I went with a Tigard because it communicates with the CV1000 substantially faster than the Altera.
I’ll break down the steps I used to access this CV1000 board over JTAG.
Next, I downloaded Buffi’s JTAG Python scripts and Alamone’s U2 Compare script to the R-Pi using the web browser on the Pi. I also downloaded a clean MAME ROM of the Muchi Muchi Pork game.
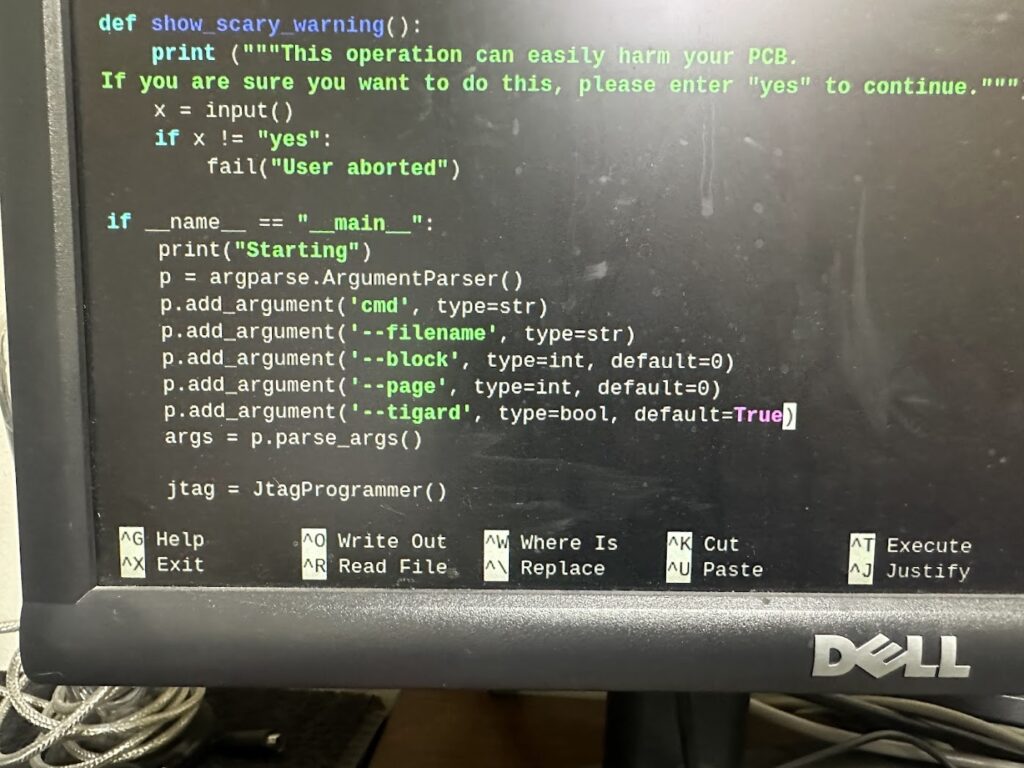
Next, as per Buffi’s instructions, I setup the JTAG libraries on the R-Pi using the Terminal commands. If you use the Tigard JTAG adapter, there is an additional step that’s missing from his documentation. Edit the K9F1G08U0M_JTAG.py file, and on Line 186, change the False to True.
sudo nano K9F1G08U0M_JTAG.py
Next, I connected the Tigard JTAG adpater to the CV1000 board, following Buffi’s pinouts in his instructions. The TRST pin should stay disconnected for now, but it will be connected after booting up the board.
As per Buffi’s instructions, the CV1000 needs to be started up in a special ASE reset hold mode. I flipped Switch S1 so the switch isn’t between the white lines. I connected a DuPont female-to-female jumper wire between Pin 14 (GND) and Pin 3 (TRST). I turned the power on and confirmed that the CV1000 turned on a green light and that the game did not boot up. Finally, I disconnected the Ground jumper wire and connected the TRST pin from the JTAG programmer.
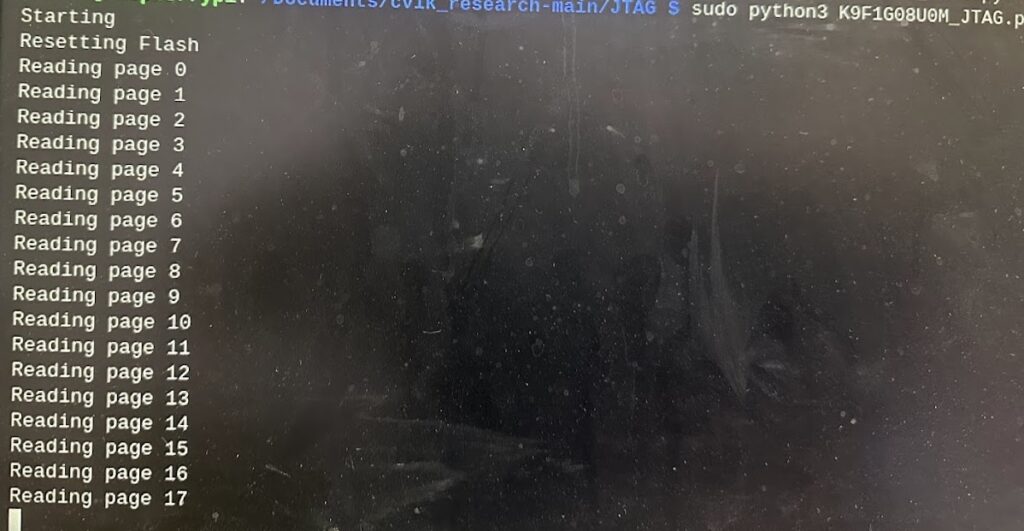
Now, with the software environment ready, the JTAG USB connected and with the CV1000 booted up into the correct mode, I would issue the following commands on the R-Pi to check the JTAG connection to the flash chips:
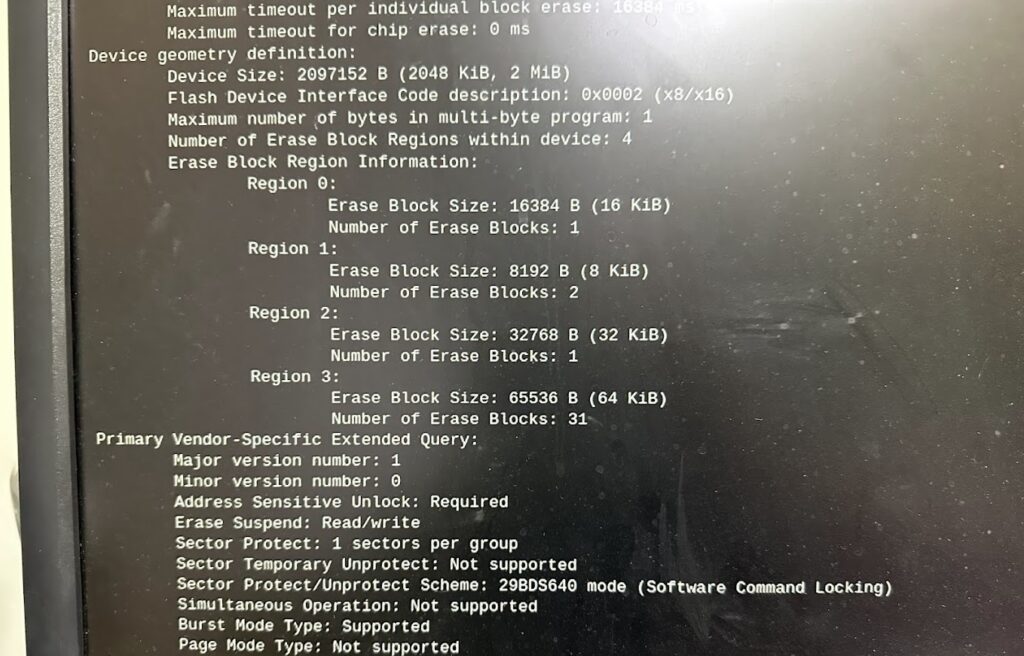
Information about the U4 CPU flash chip was displayed, so the JTAG was communicating with the R-Pi properly.
This board didn’t have any obvious problems with the U4 CPU flash, but I went ahead and dumped it anyway so that I could check it for corruption.
readmem 0 0x200000 u4.bin
Note: if this was a CV1000-D, I would have typed 0x400000 instead of 0x200000.
After a few minutes, the U4 flash was dumped. Uploading it to Hamster’s Online ROM Identification site using the R-Pi’s browser confirmed that it was a 100% match for the MAME dump of the game.
Now it was time for the real culprit – dumping the U2 Art flash. Rather than the jtag prompt, type “quit” to exit, and then use this command:
With the Tigard adapter, this operation took a few hours to complete. I understand that with the Altera adapter, it can take 3 days.
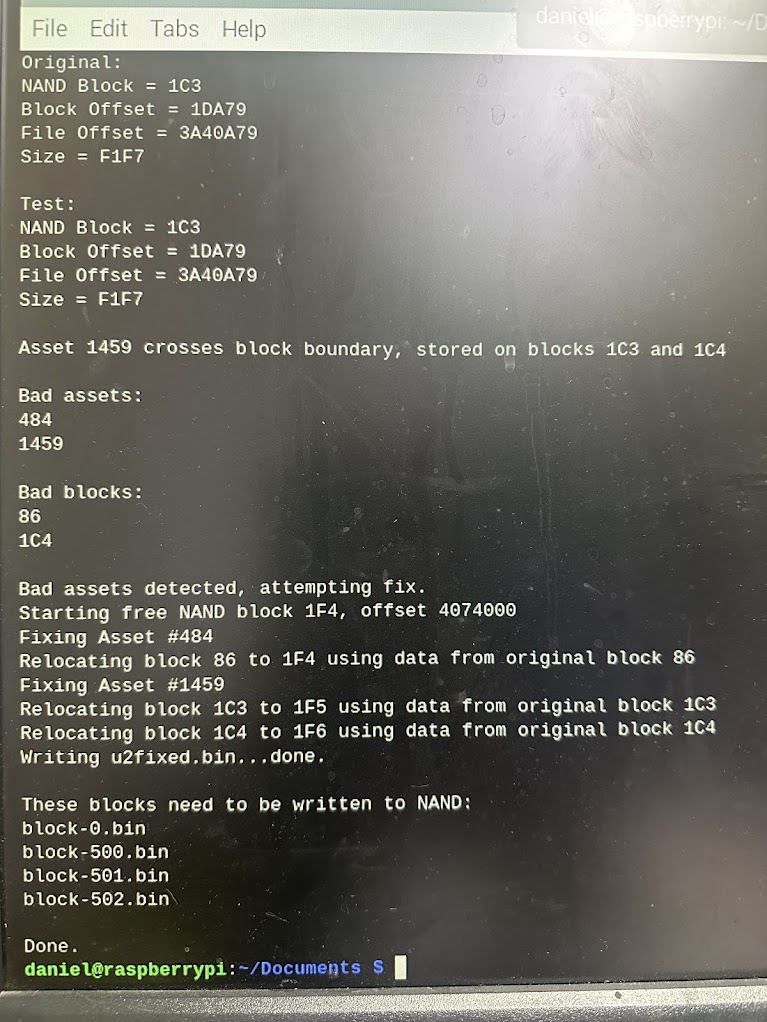
With a dump of the faulty Art flash now in hand, Alamone’s U2 Compare tool can compare it against a good dump of the art assets and generate patches around the faulty flash. I issued the following command:
sudo python3 u2compare.py u2 u2bad.bin u2fixed.bin
Here, “u2” is the filename of the good Art flash dump from MAME, “u2bad.bin” is the faulty Art flash dump from the board, and “u2fixed.bin” will be the repaired dump.
After a moment, U2 Compare finished its operations. Two bad blocks in the dump were detected, and four patch block files were generated to address them.
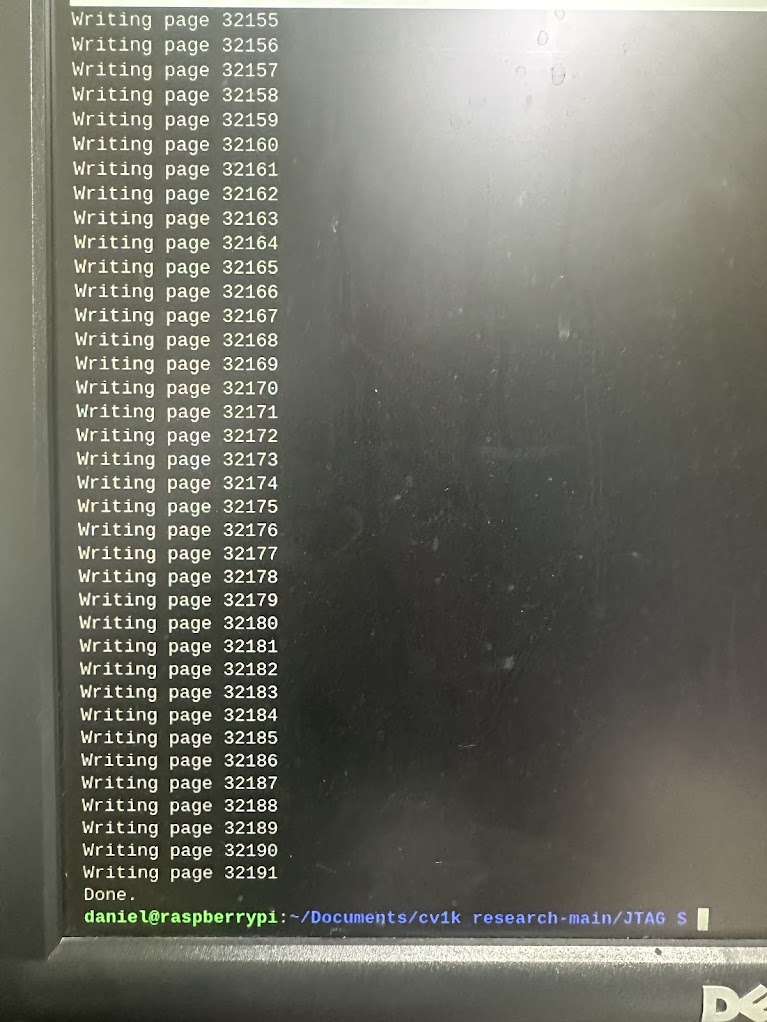
The next step is to write the four patch block files back to the Art flash on the CV1000. Buffi recommends backing up the factory Bad Block Table on the flash before any CV1000 flash writing operations, so I went ahead and did that for the Art flash with the following command:
Now it was time to disconnect JTAG and test the board. I powered down the CV1000, disconnected the JTAG wires, moved the S1 Switch back to the stock position and powered up. After the game booted, I entered the special service menu and confirmed that the corruption from before was now fixed.
For good measure, I also played through the entire game and confirmed that there was no asset corruption. The game is fixed!
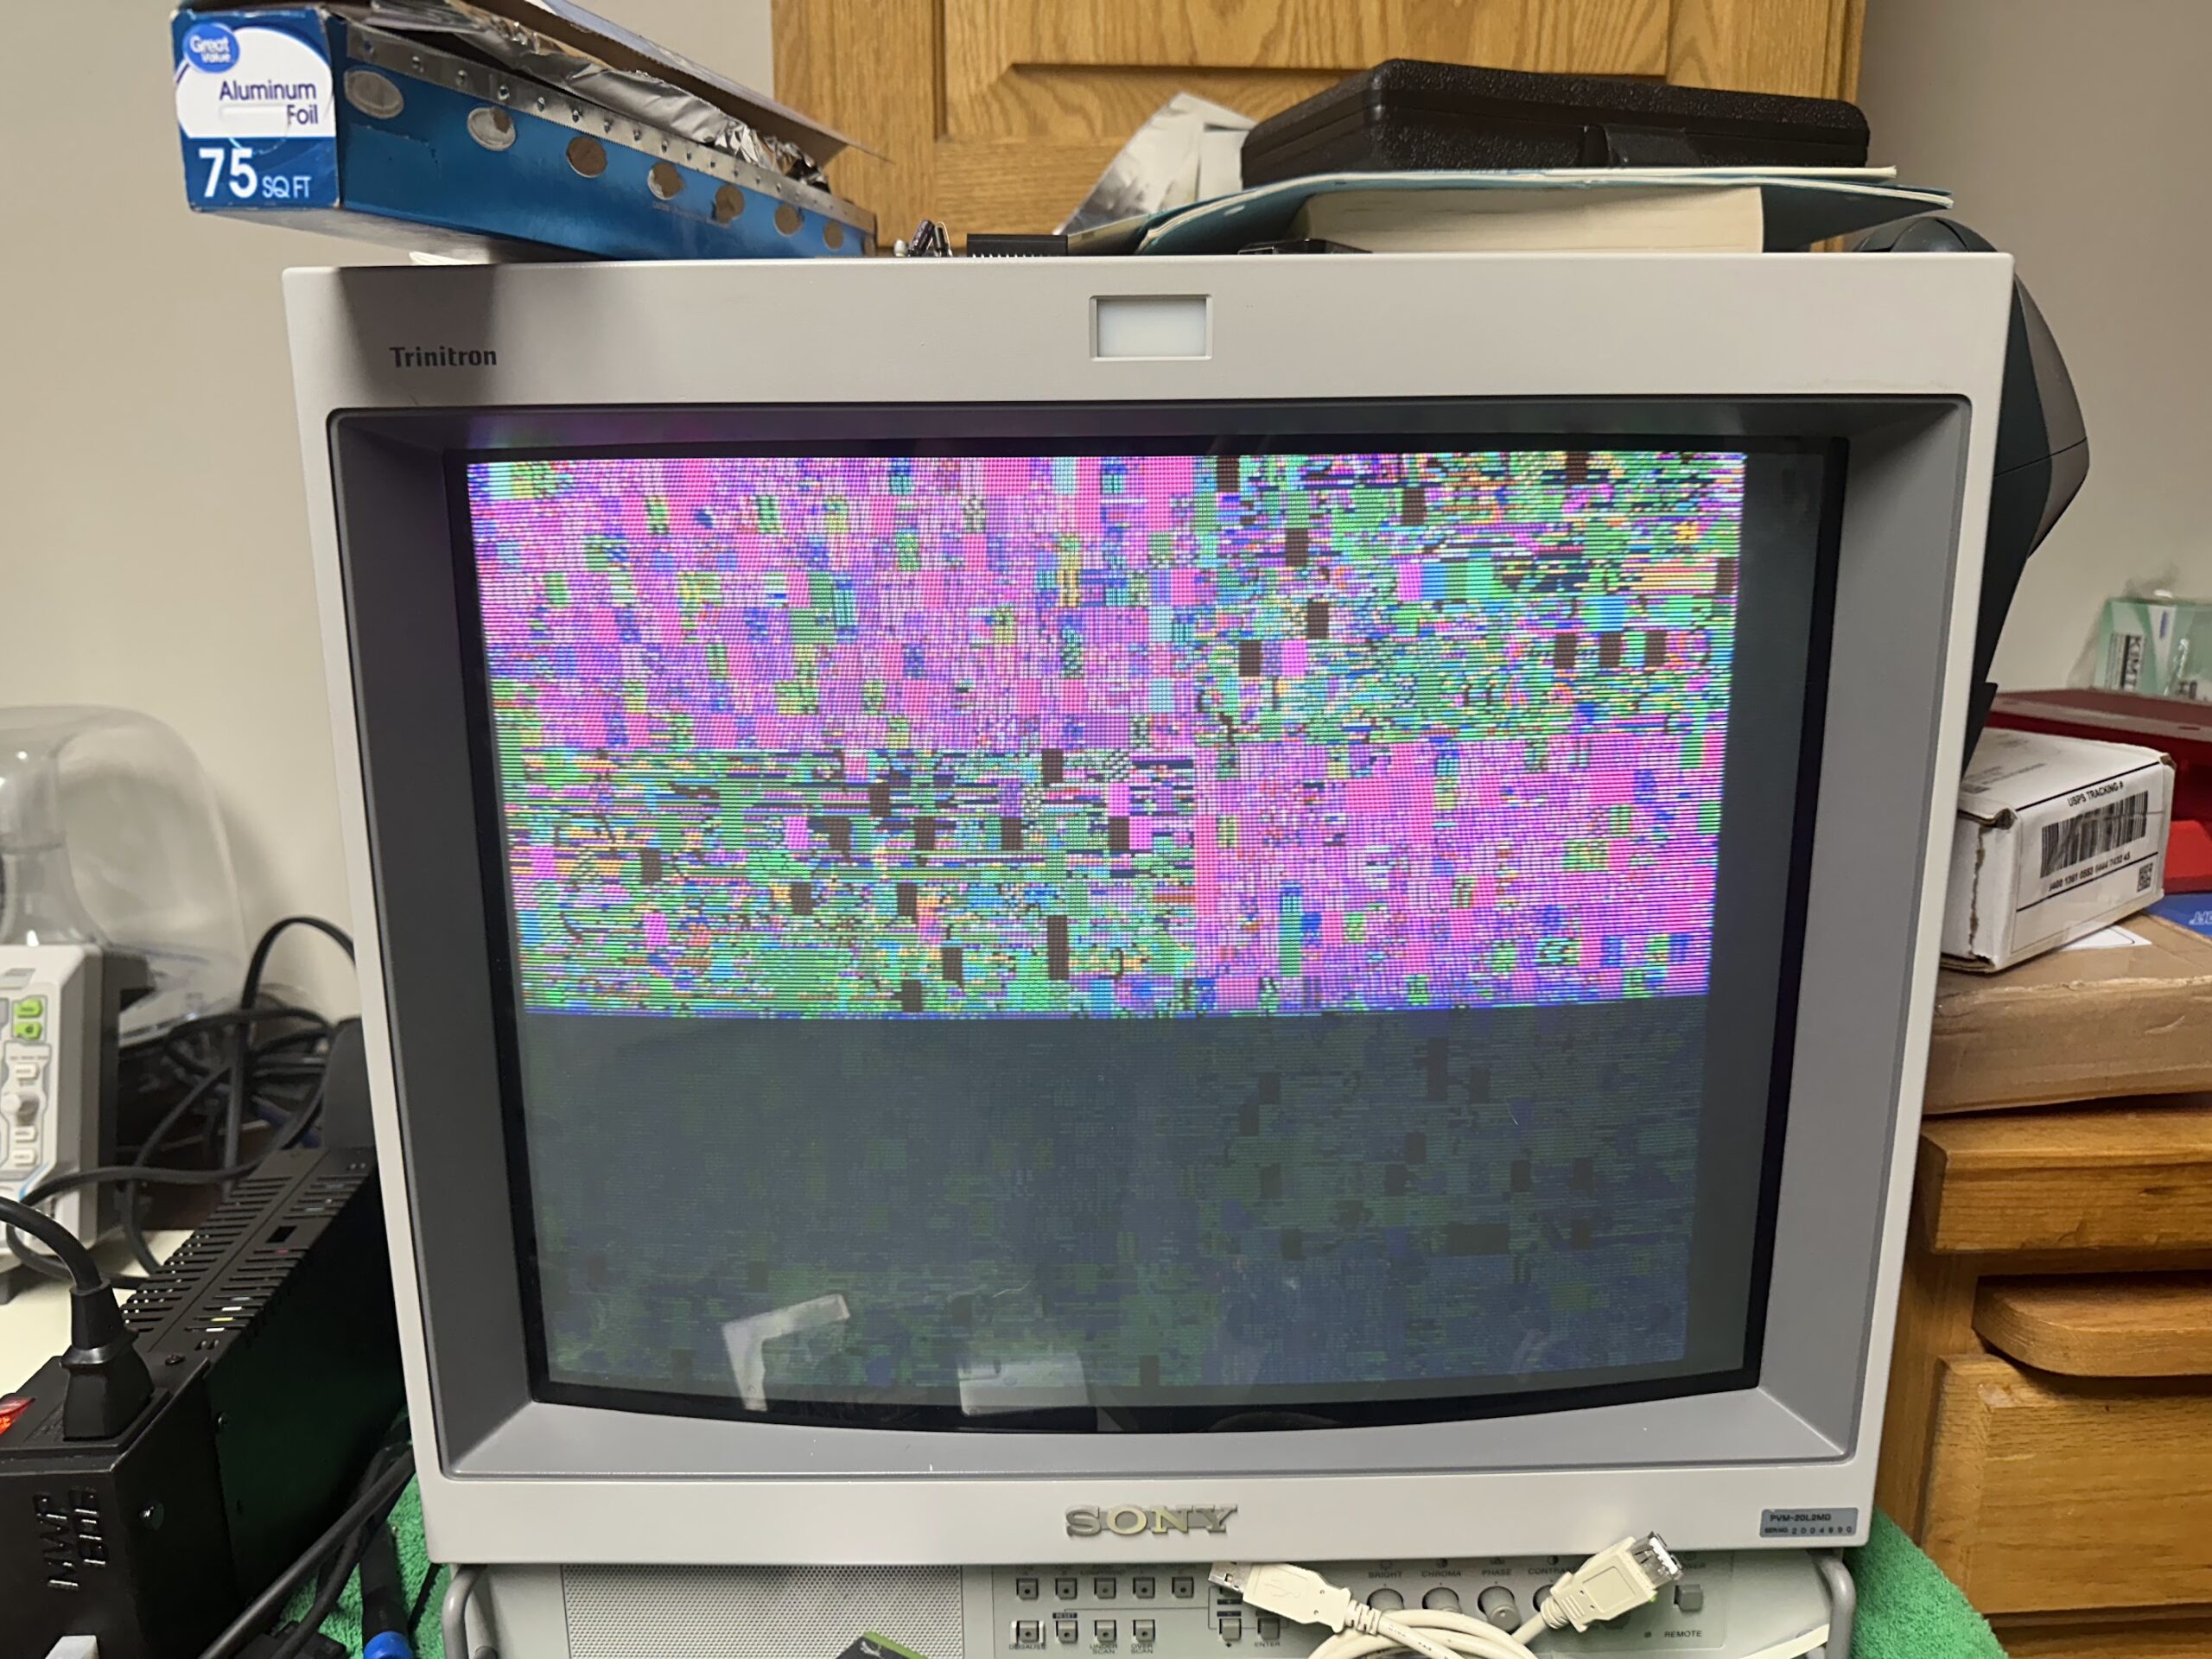
In for repair was a Spectral Vs. Generation (SVG) cartridge for the Poly Game Master platform by IGS. It was booting up to a garbled screen.
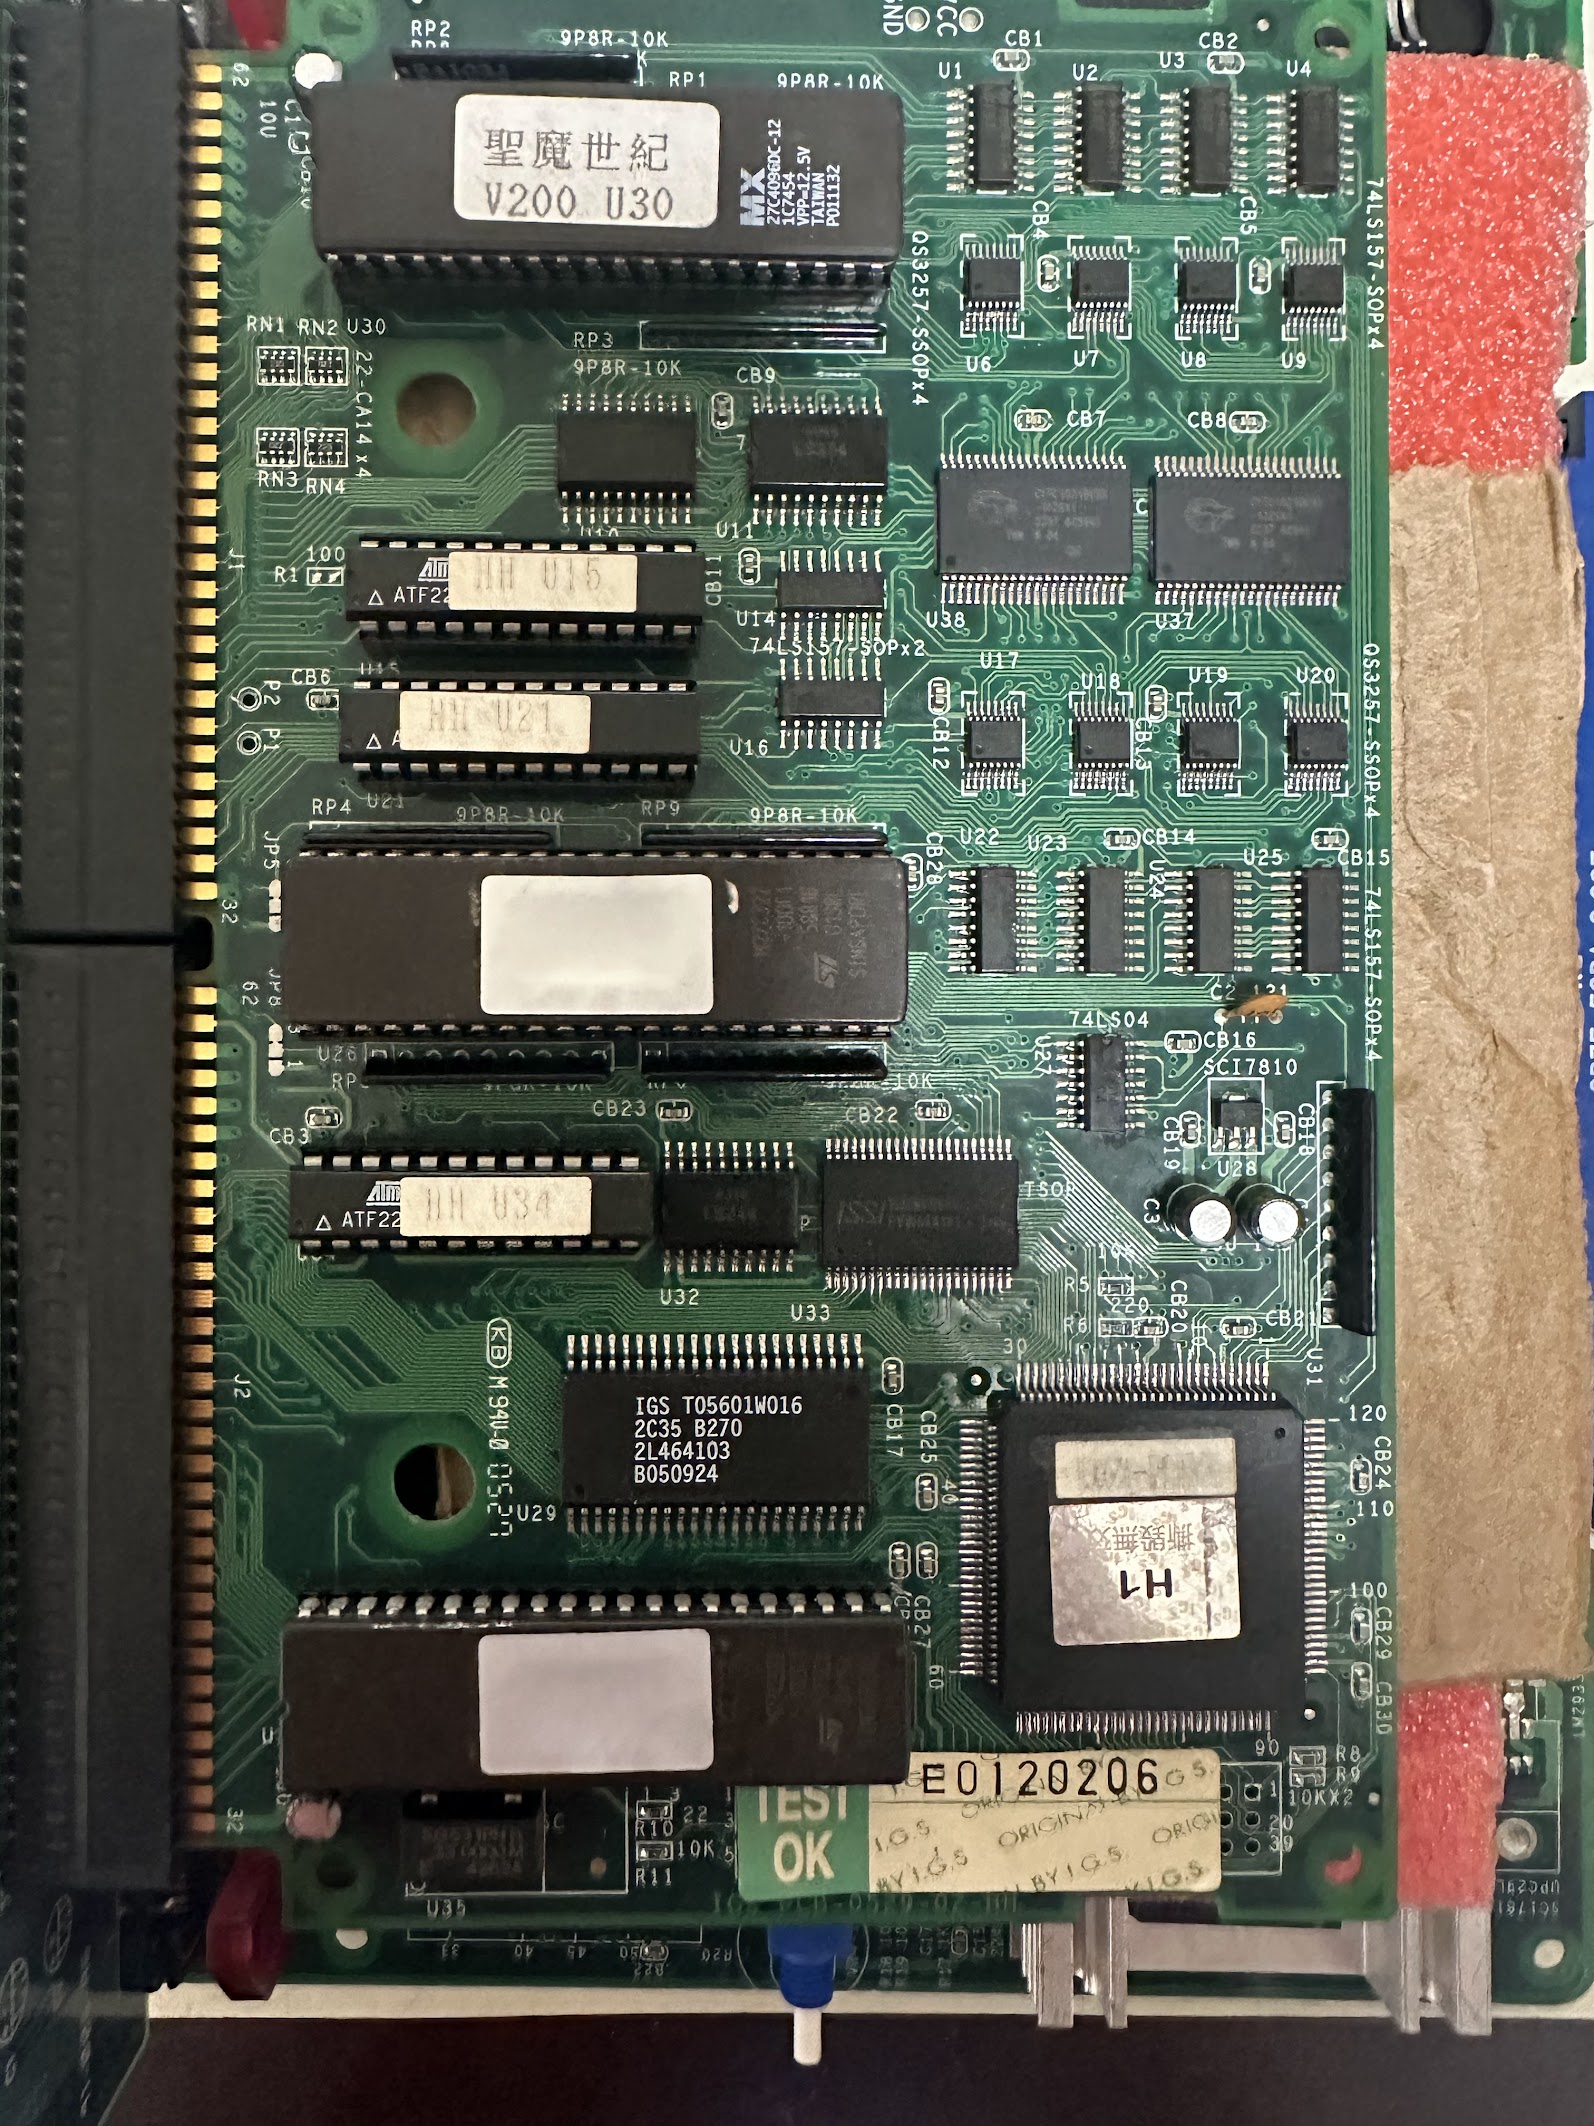
SVG was a late release for the PGM platform, and it incorporates strong anti-piracy measures that IGS didn’t have in their earlier games. The cart has an ARM CPU with an embedded ROM that both decrypts encrypted assets and processes some of the logic for the game. The game has yet to be patched to operate without the ARM CPU, and the embedded ARM ROM hasn’t been fully dumped yet with this game. If the ARM CPU fails, that’s pretty much a project killer.
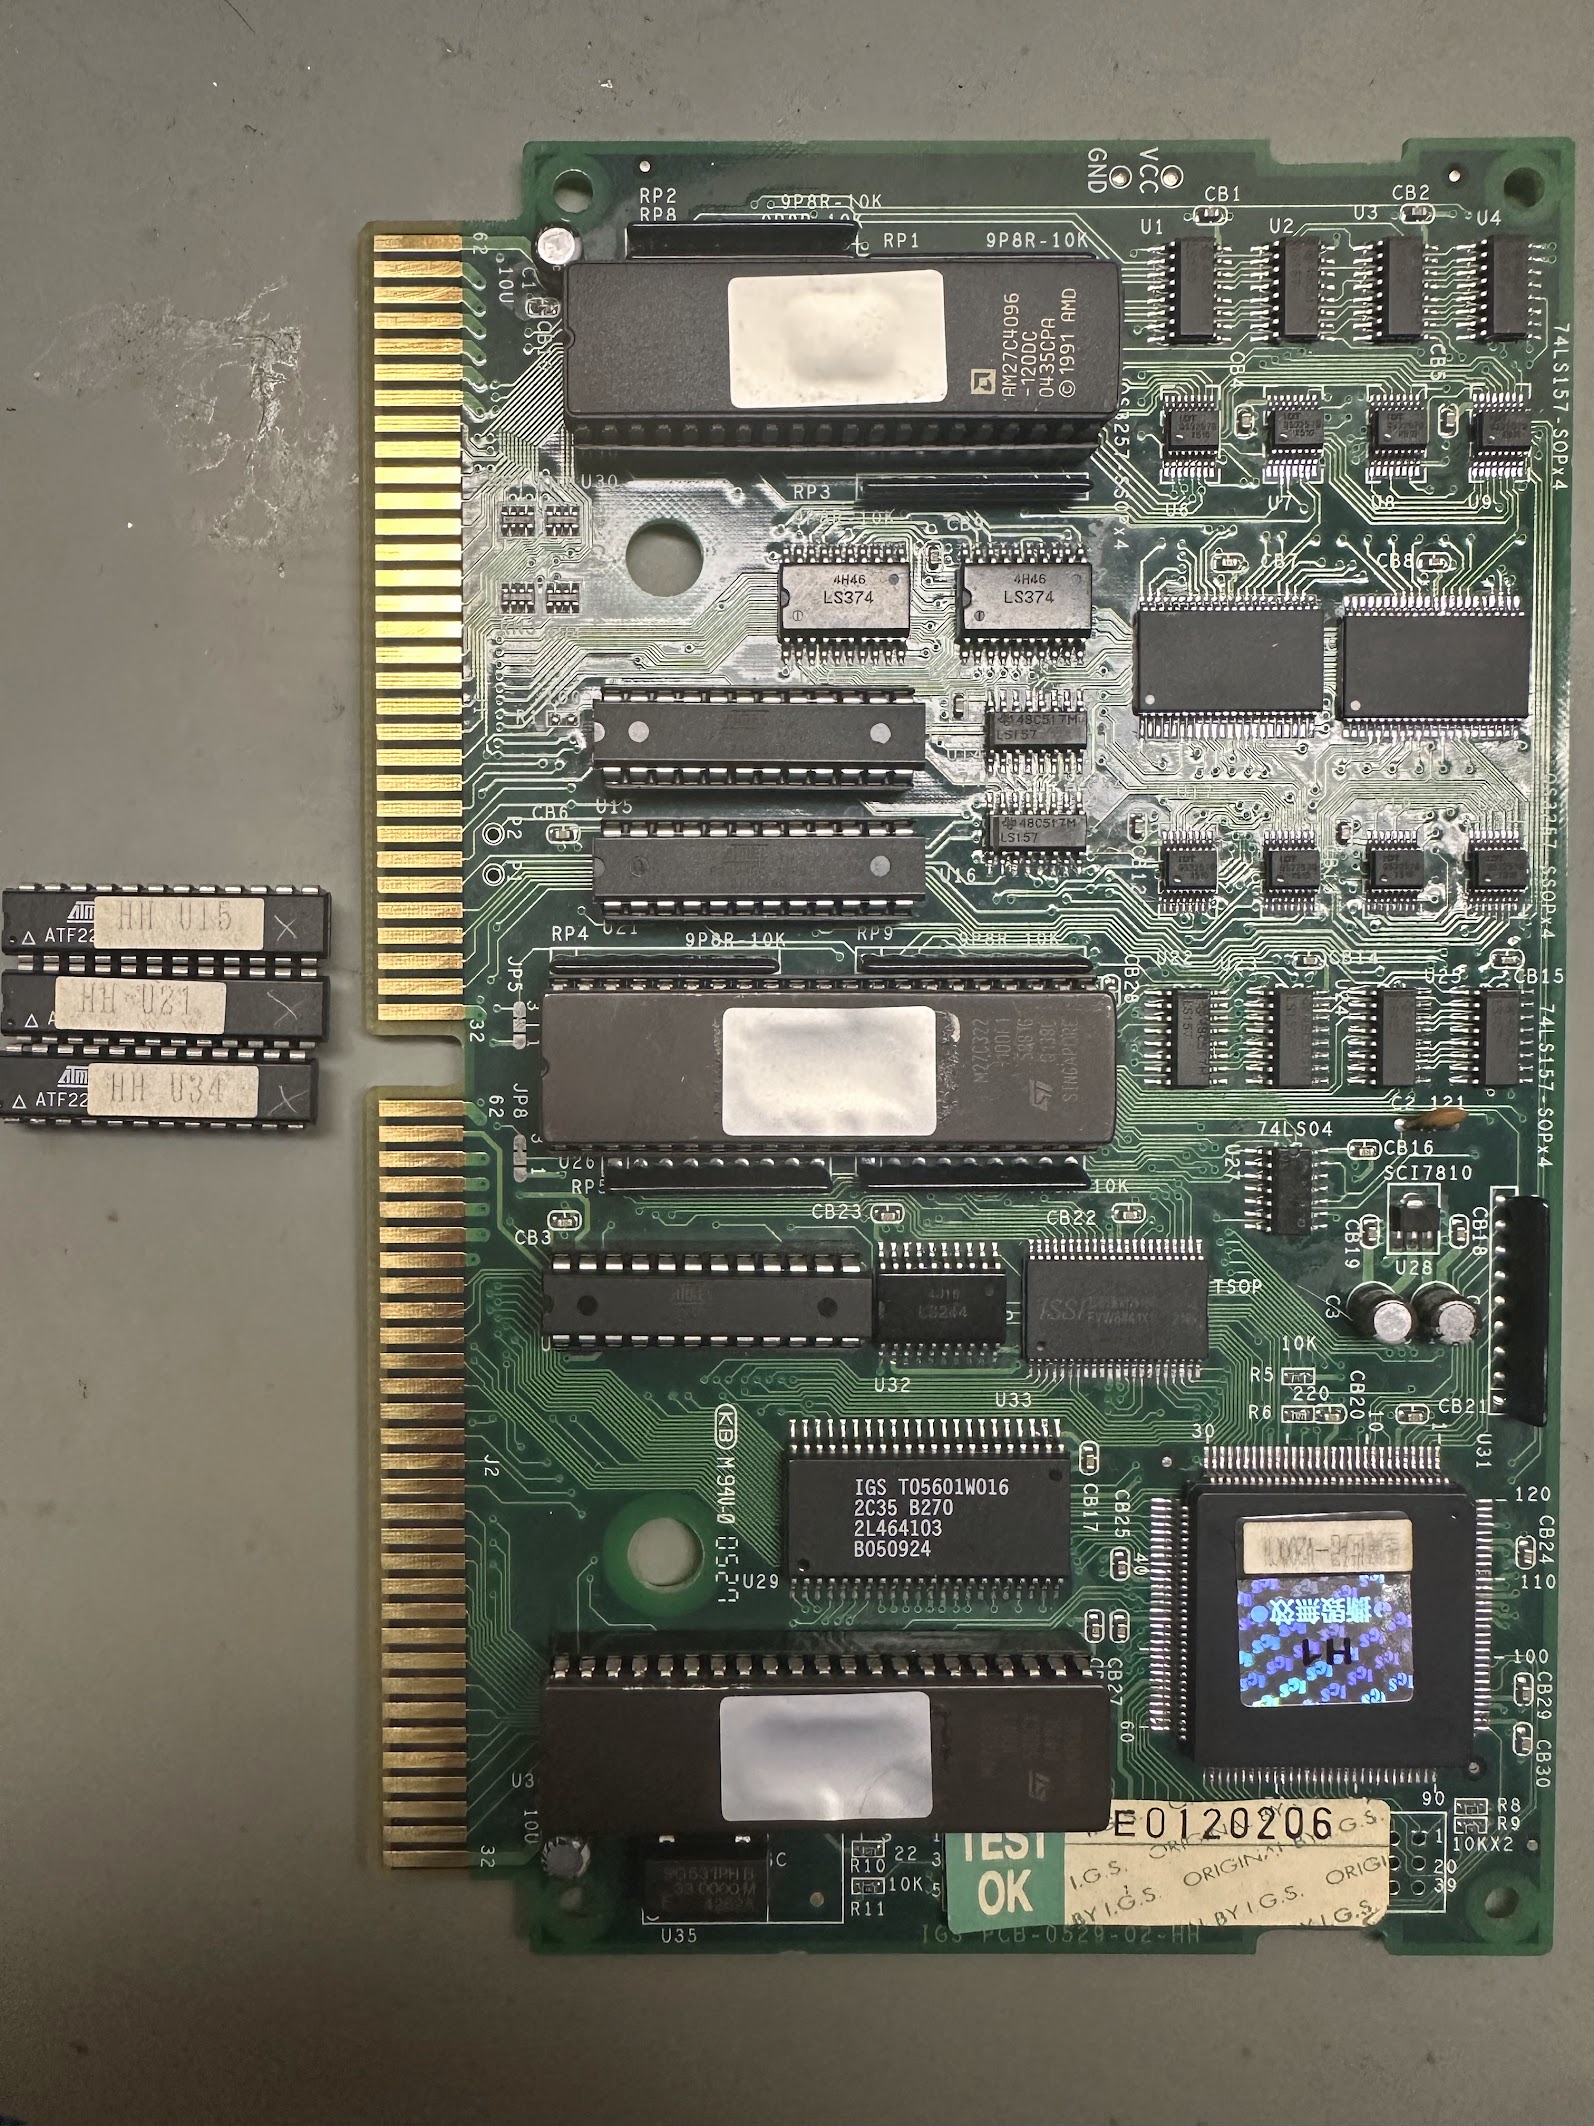
The owner of this cart also sent along a fully functional second SVG cart, and through cross-testing, I confirmed that the CHAR board of the faulty cart is fine while the CPU board is the culprit. I dumped the three EPROMs from the CPU board and while the dumps matched MAME, the good cart wouldn’t boot with the “V200 U30” EPROM installed from the faulty cart, so I programmed and installed a replacement 27C4096 EPROM for that part.
This still didn’t get the faulty cart booting so I moved on to reflowing the ARM CPU and confirming that the ARM was receiving a clock signal from the onboard crystal at U35. The cart still froze at bootup so I reached out for help on the Arcade Projects forums. On there, Fluffy helpfully suggested installing the three GAL chips from the functioning board into the faulty board – a dumb oversight on my part. 😀
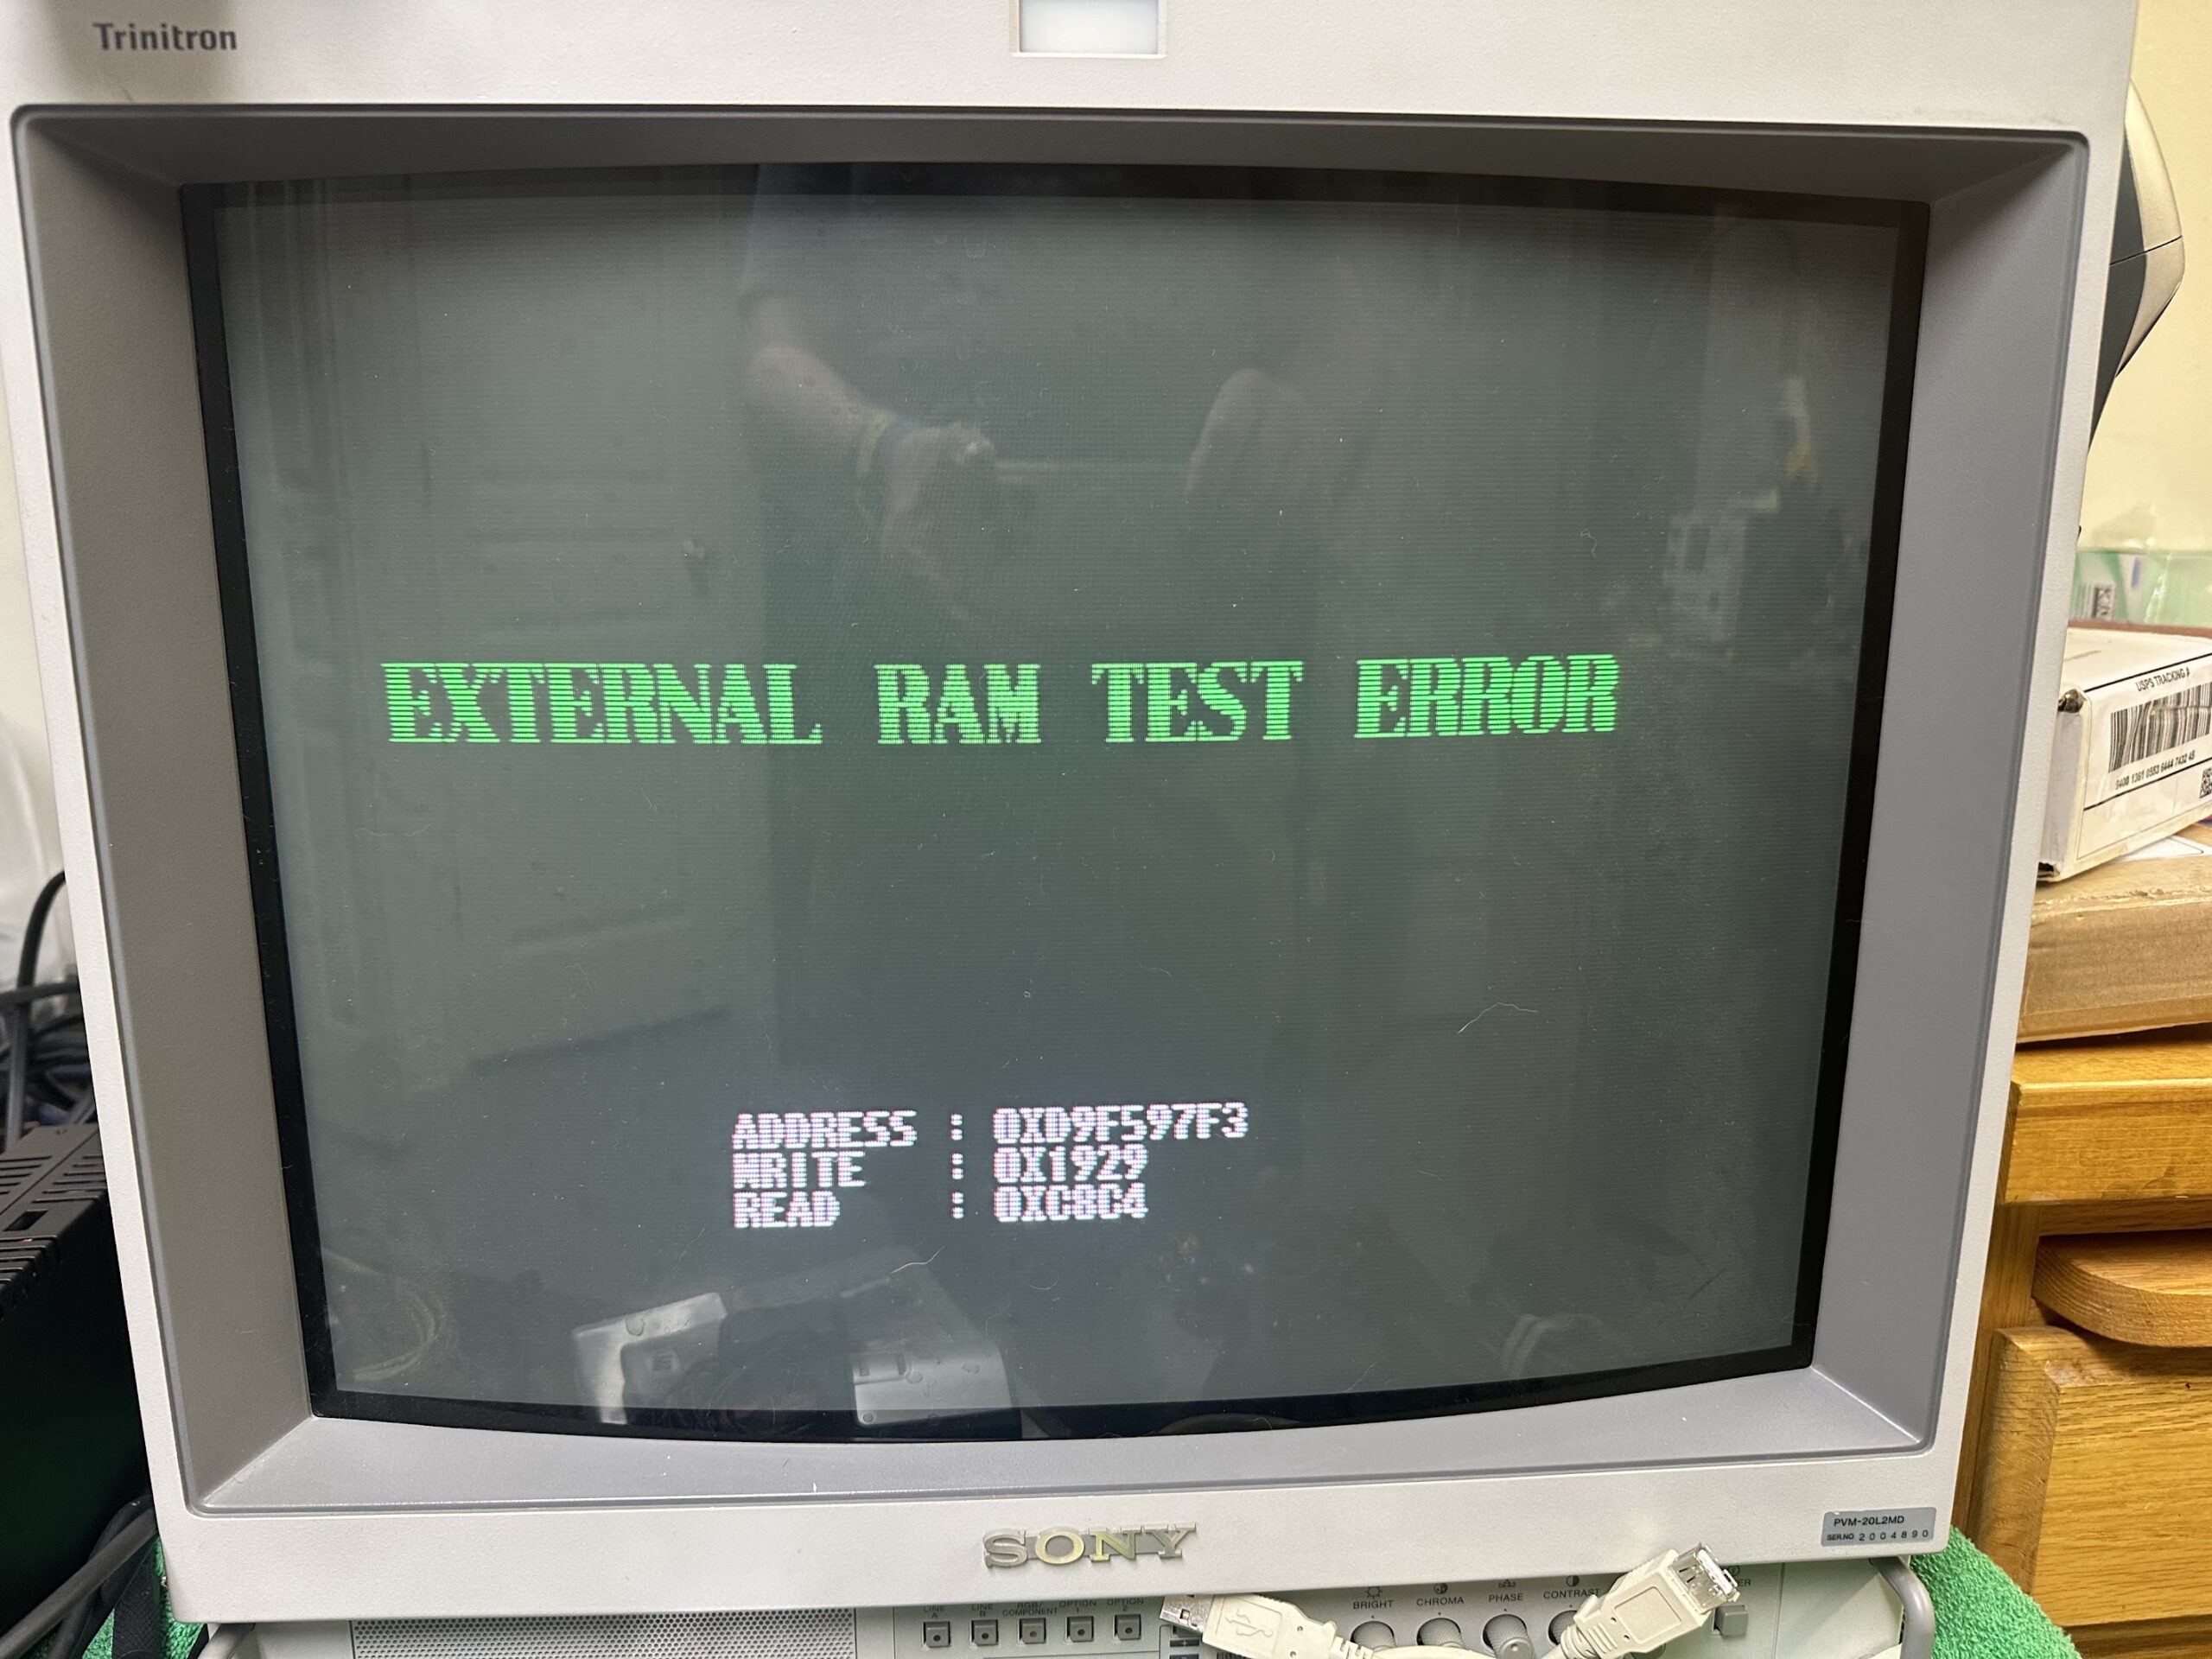
Installing the GALs from the working cart got the faulty cart booting to an EXTERNAL RAM TEST ERROR screen.
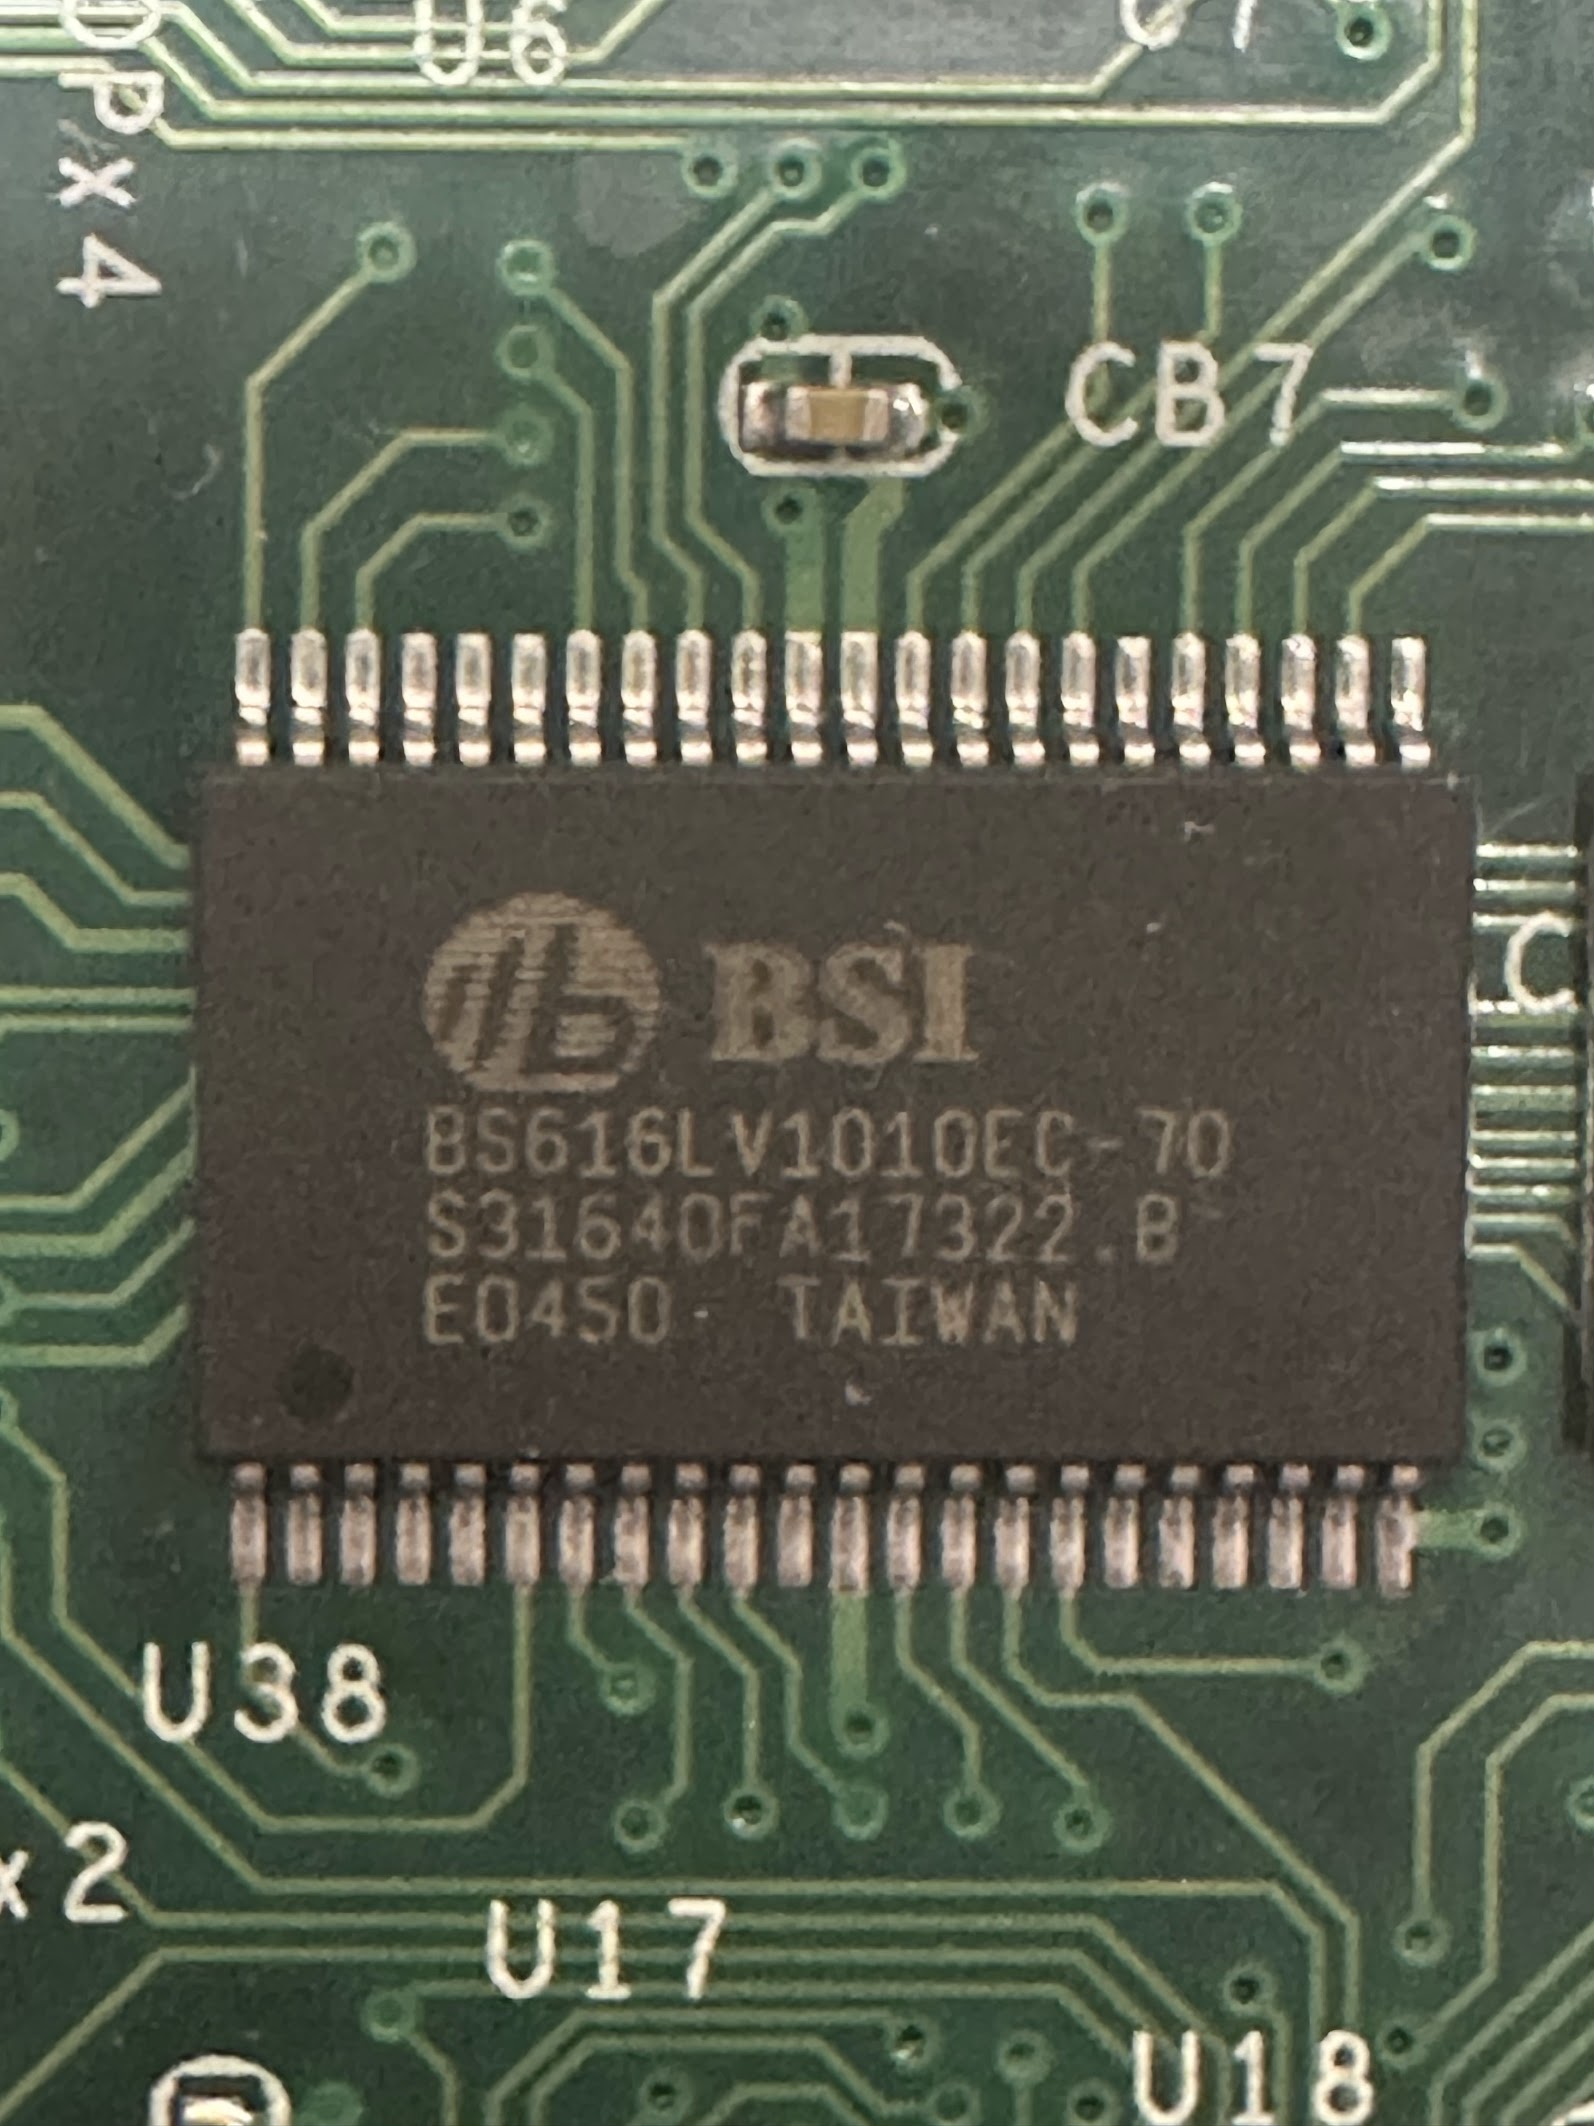
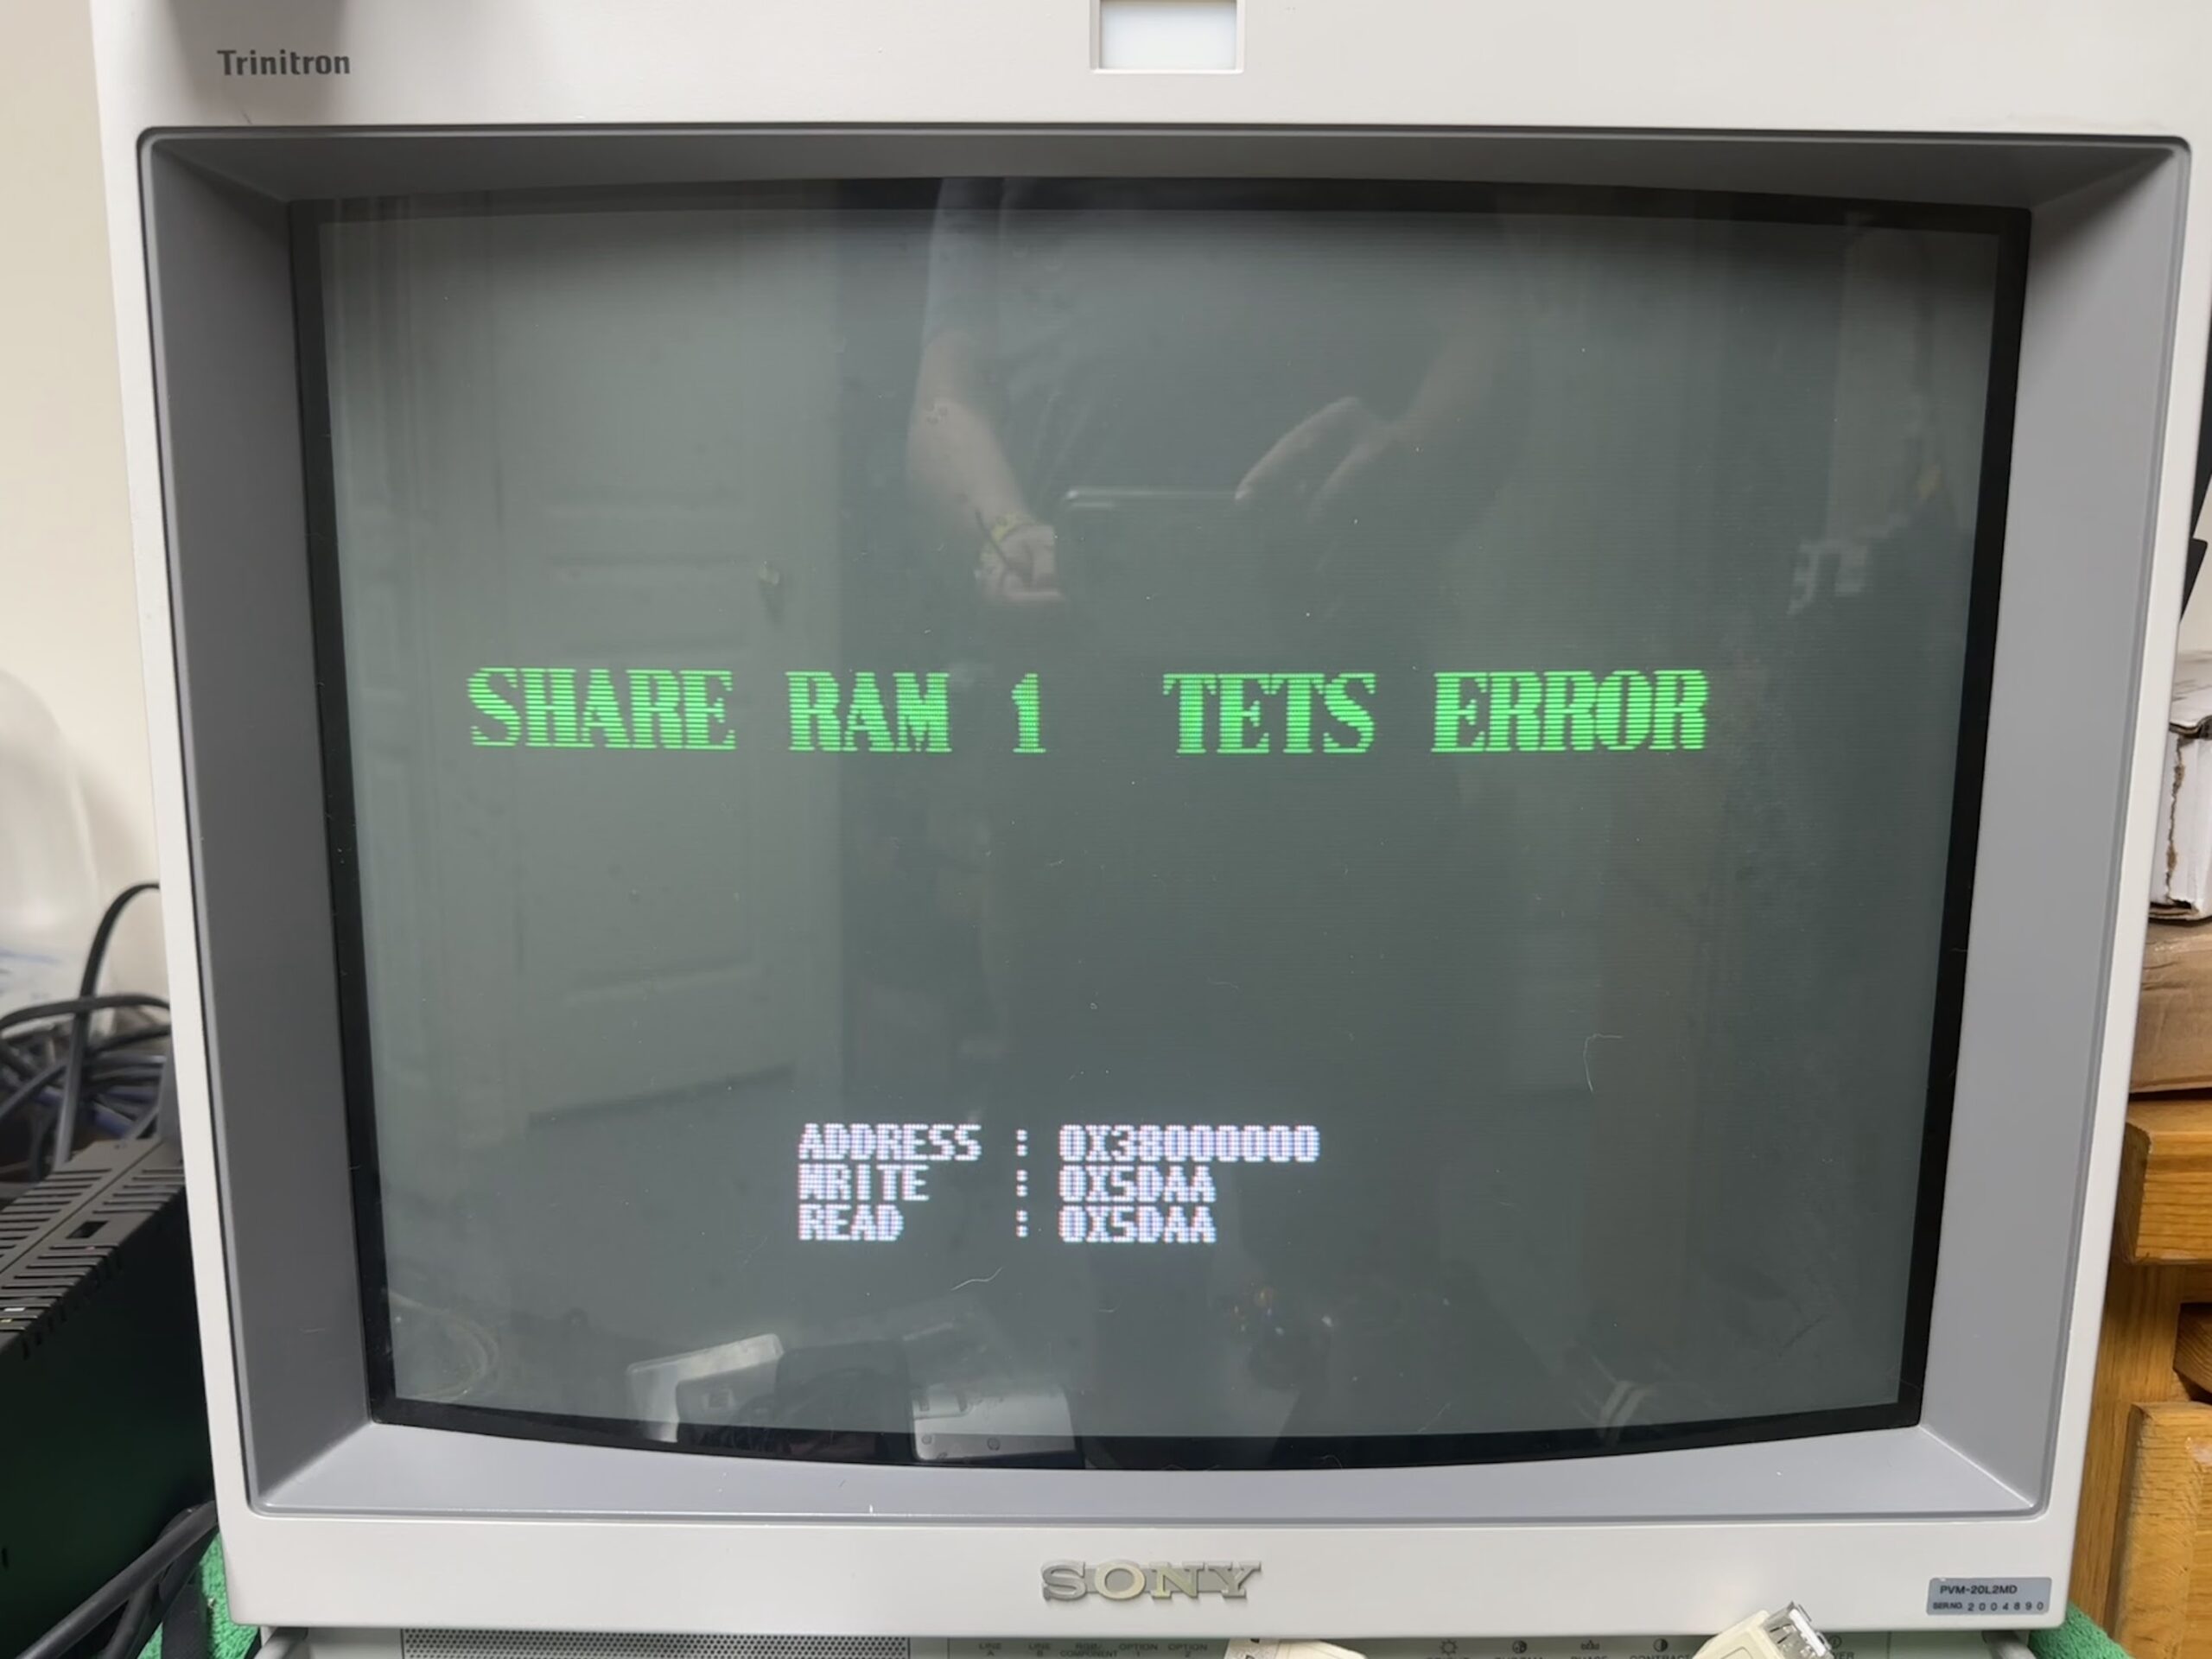
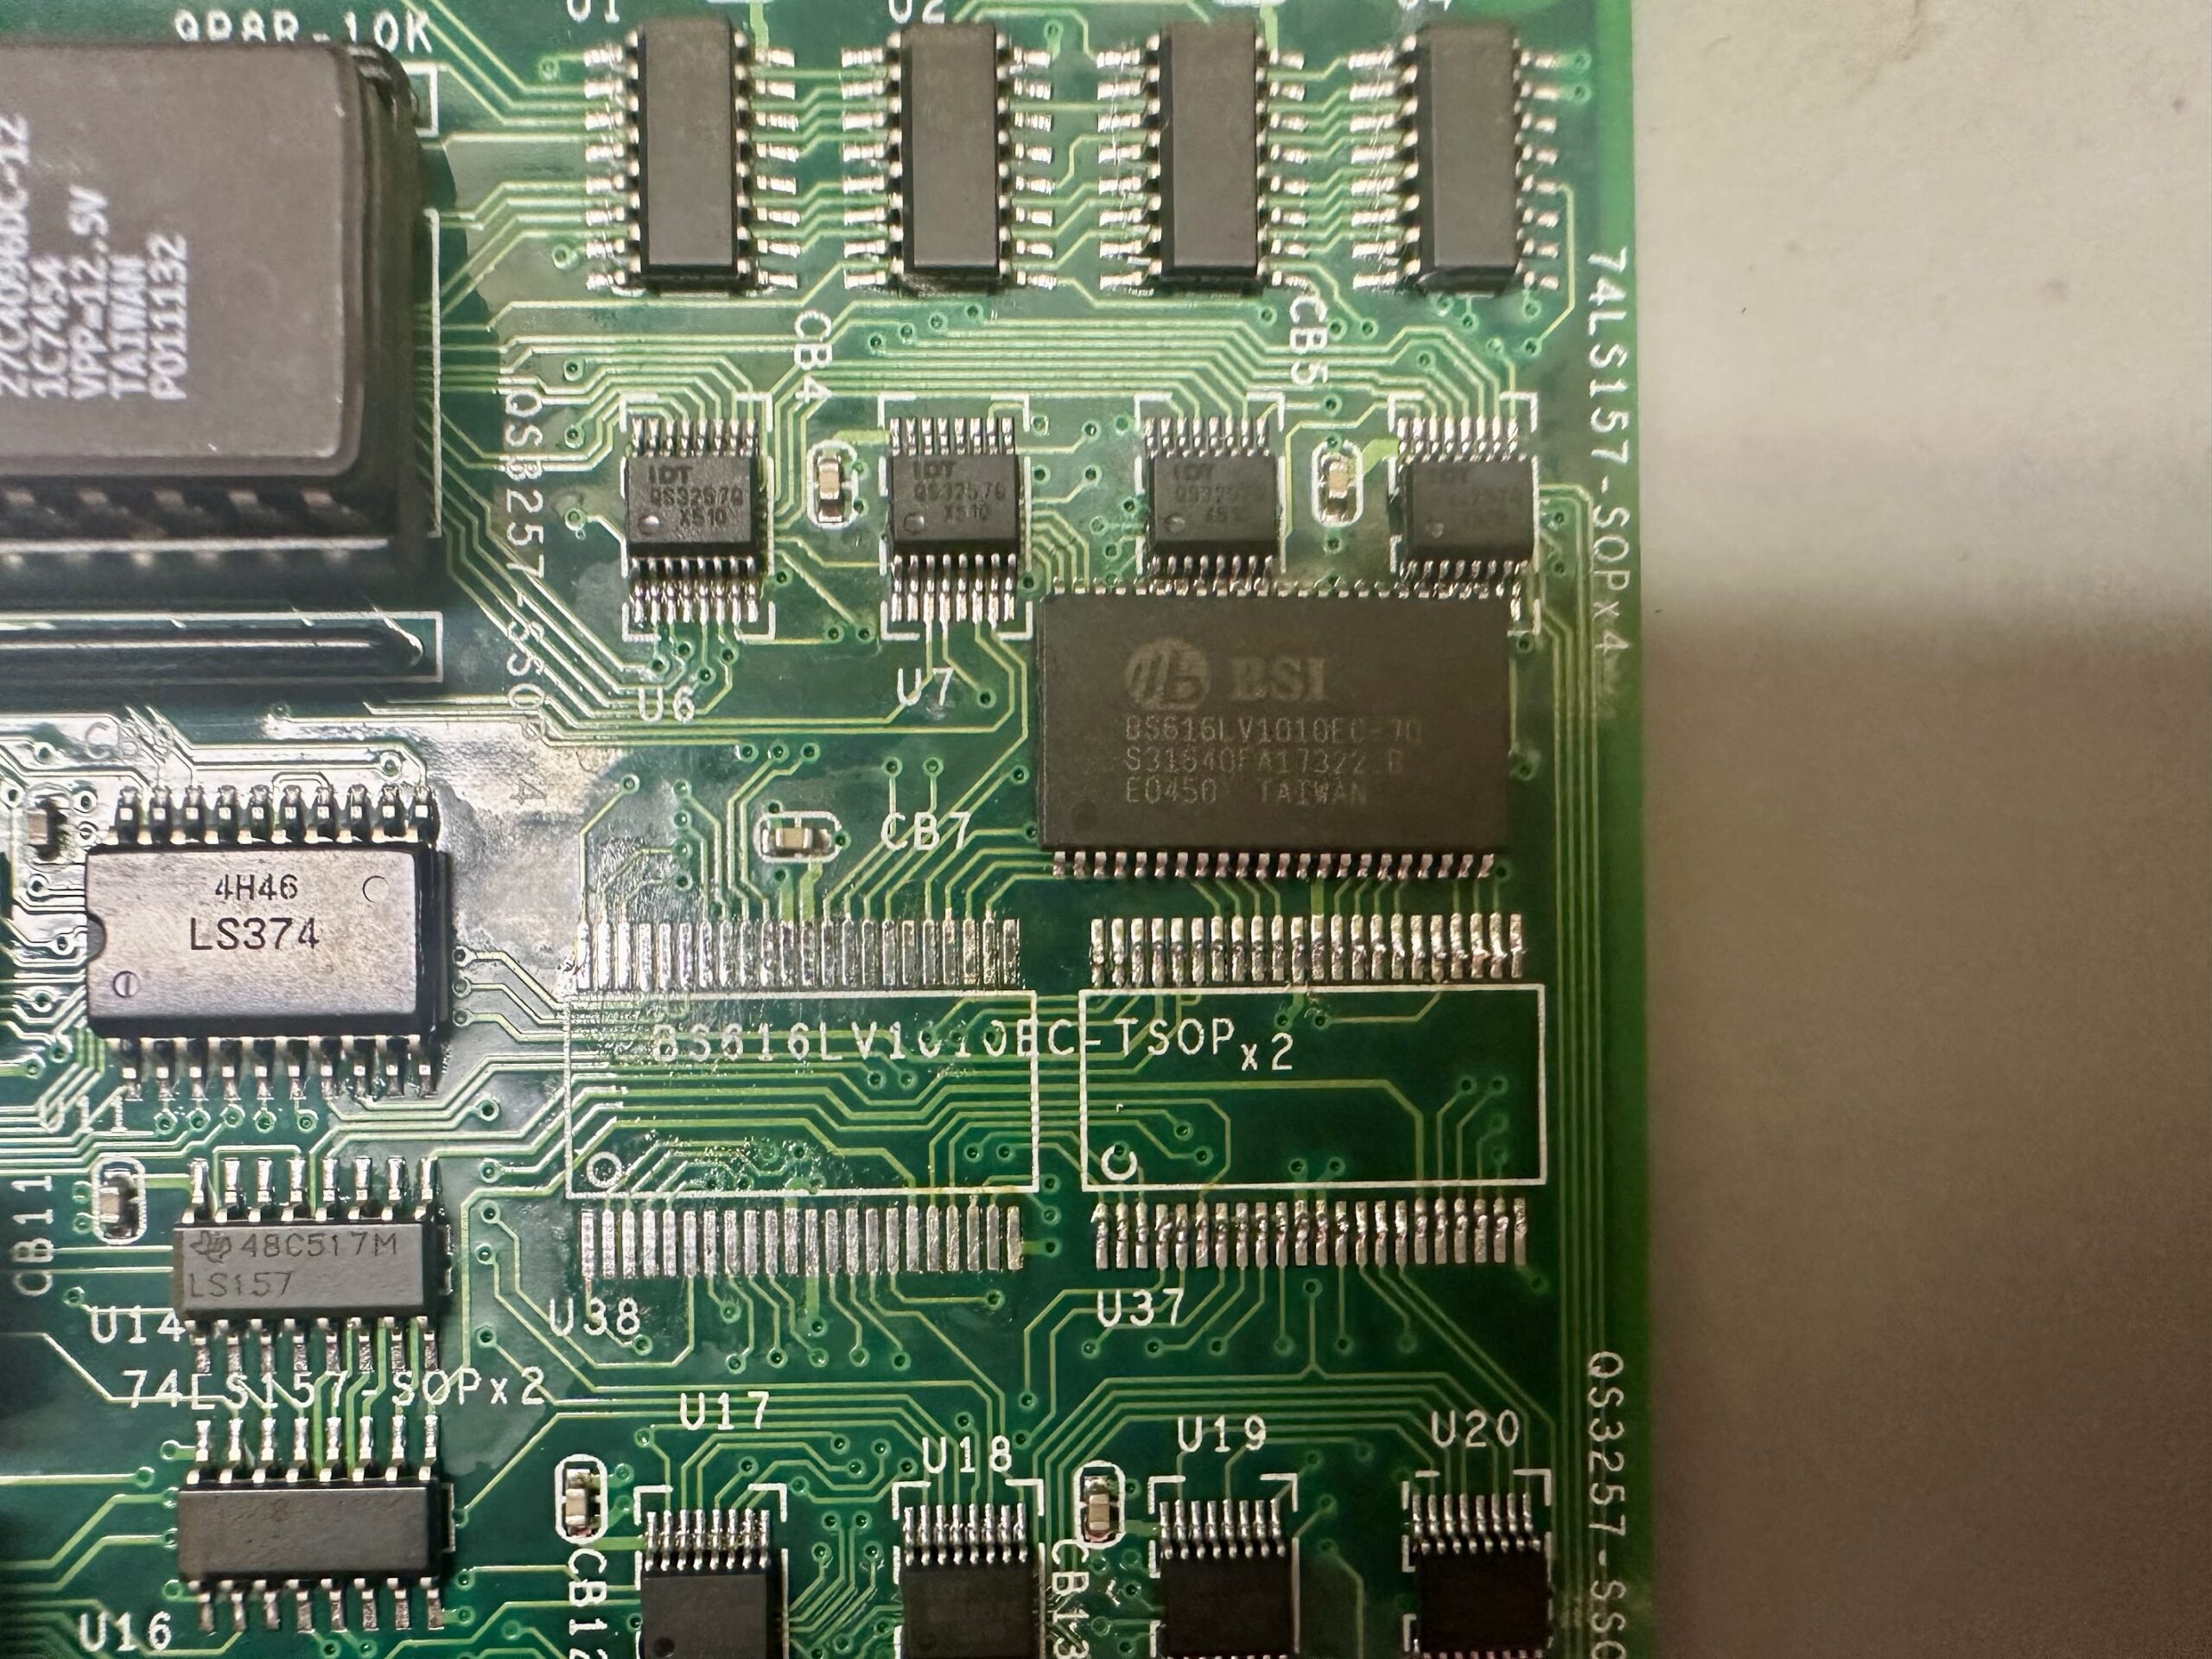
Replacing the SRAM chip located at U38 resolved this error and now a new error appeared – SHARE RAM 1 TETS (sic) ERROR.
I replaced both the SRAM chips located at U37 and U38. This resolved that error and now the cart was booting up successfully!
I still needed replacement GALs though, and the GALs for this game hadn’t yet been dumped. I reached out to Apocalypse and he graciously offered to dump the GALs for me. I shipped him the carts, he dumped the GALs and the PLD files are now available at the PLD Archive.
Now that the original good GALs were installed back in the working cart, the final step was to program fresh GALs with Apocalypse’s PLD files and swap them into the faulty cart. The faulty cart booted up fine and passed a four hour burn in test. Repair complete!
GeneralComments Off on Restored Missing Files in the “PC Software” Section
May012024
The files in the “PC Software” section of JAMMArcade.net had been lost in a WordPress hiccup some time ago. Thanks to augitesoul sharing his backup of the files with me, they have now been restored.