On with the second Spy Hunter repair.
On boot the game displayed a screen of garbage and just sat in watchdog.
Having a look at the ROM’s showed that the EPROM at 6D was a 27128 and it should be a 2764. I pulled this and dumped it to find only half the chip was being used. In order to use a double size EPROM the data needs to be doubled up so this wouldn’t work. I also noticed that this board had the free play ROM’s installed. This needs the EPROMs at 6D and 10D replaced so without the correct ROM’s at both 6D and 10D the game wouldn’t boot.
I installed original ROM’s but the game still did not boot.
Plugging in the Fluke I found I couldn’t get a good read of the EPROMs.
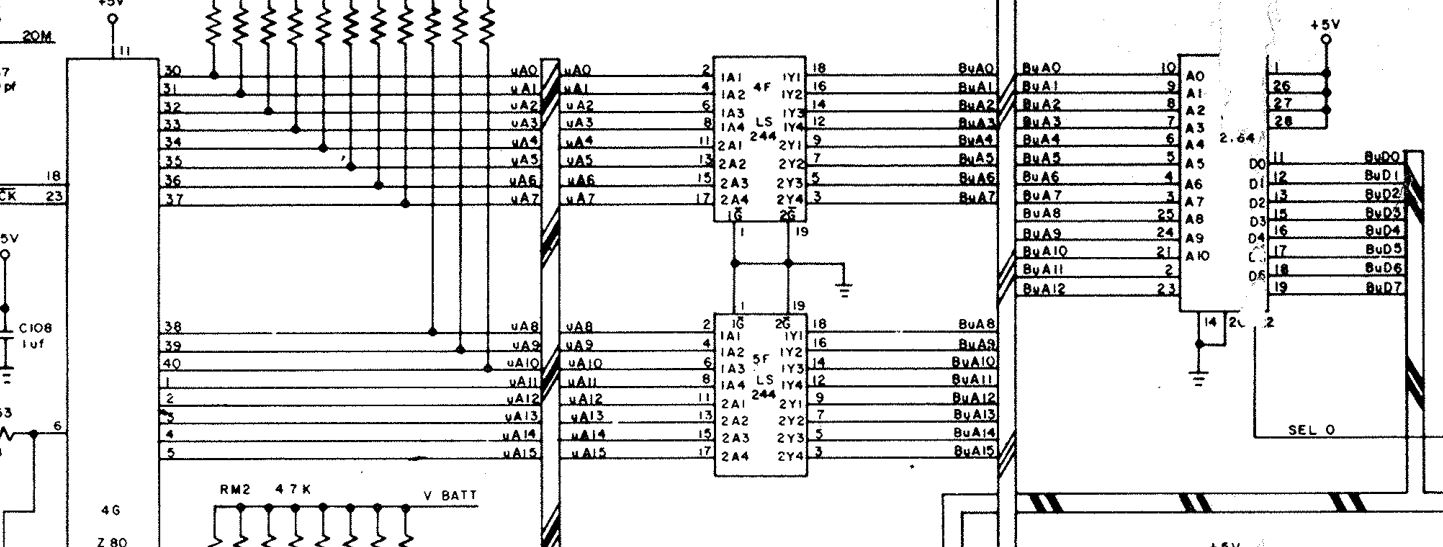
So looking at the schematics I can see the address lines are buffered

Probing the 74LS244 showed that although I had inputs pulsing away all the outputs were floating.
I removed this and replaced it for a new one and the game now boots.
I had a strange fault here that for some reason I didn’t take a picture of. The game booted but certain tiles from the background were being drawn in the wrong areas, This changed on each reset but I couldn’t understand how this happened.
I pulled all the EPROMs and checked them but they were OK. I pulled the video RAM chip and tested but that was fine too. I did notice the socket for the video RAM was very dodgy
![]()
I replaced this but it made no difference.
As I was struggling to understand why this happened I thought Id check out everything associated with the video RAM chip.

The 74LS245 was the first check but this was fine.
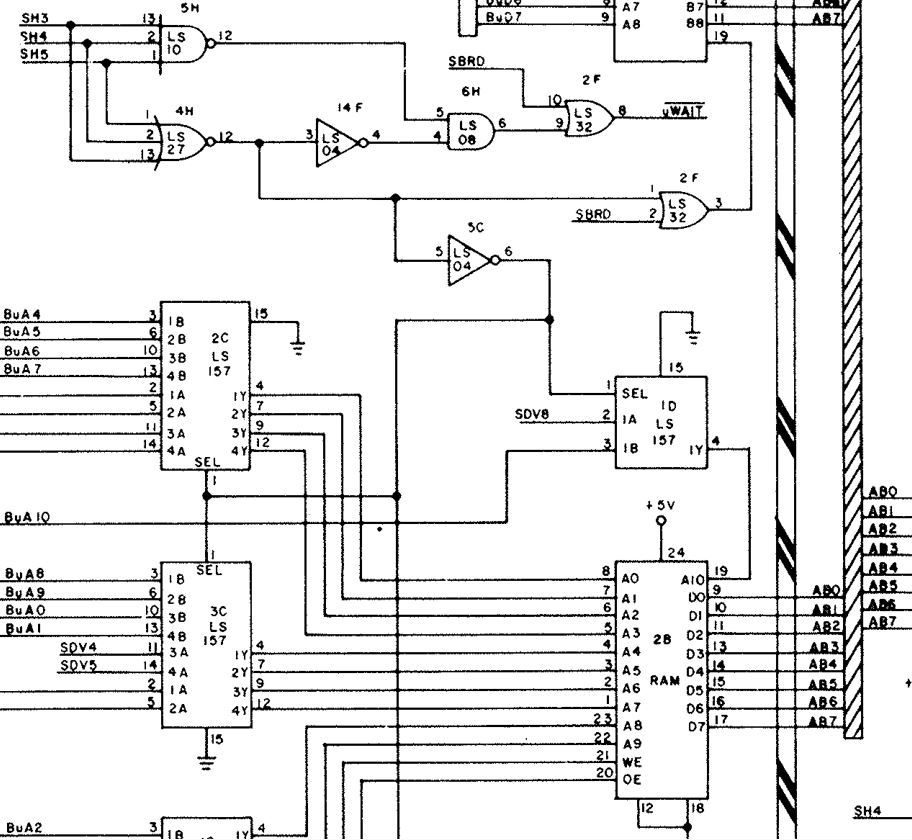
The 74LS32 at 2F however had some strange behavior going on. Some of the pins looked to be stuck HIGH but then other times they appeared fine. I pulled the chip and it failed tests.
Replacing this fixed all the graphics faults.
On to the SSIO.
There were two SSIO boards with this set, the first of which works fine so ill write about the second one instead which was not fine.
So with this SSIO attached the game is in constant watchdog.
Here is where I got stuck for a little while. I couldn’t get consistent reads of the EPROMs with the Fluke. I could dump the chips no problem and they are checked out fine. Strangely replacing these chips made the error go away.
The last issue was with the sound itself.
Some of the sounds were missing and there was a constant tone in the background. Replacing the AY-3-8910 @ F7 fixed this up.
Everything is working fine and I can now test all the inputs too.
The SSIO board does not initiate a RESET to the main board at all but as it is directly connected to the main PCB’s address and data bus it has the ability to mess things up if there is a problem in those areas.
Using the Fluke I narrowed it down to one of six chips on the data bus as I found D4 was stuck HIGH. I eventually found the 74LS244 @ E2 was to blame. Replacing this allowed the game to boot again but I had a “Timeout Error”.
3 Responses to “Spy Hunter repair log #2”
Sorry, the comment form is closed at this time.

Well done, mate!We can now consider you a Spy Hunter expert!
Still plenty to learn, mate
Brilliant work mate 🙂