PAL UpdatesComments Off on Data IO 29A & CPS1 SF2 bootleg pals added
Apr062017
I’ve been sat on these for a while but only just got around to adding them.
First are two PAL’s found on the RAM daughter board from a Data IO 29A PCB. They were unlocked so at present they are in native PAL16L8 format.
The second is unusual. It came from a Hung Hsi bootleg of Street Fighter II CE.
It goes where the BPRG1 PAL normally goes and is very similar to the original.
If you use the regular BPRG1 then the game reportedly resets and is not playable.
Thanks to Evan Korzon for supplying the chip and also for testing.
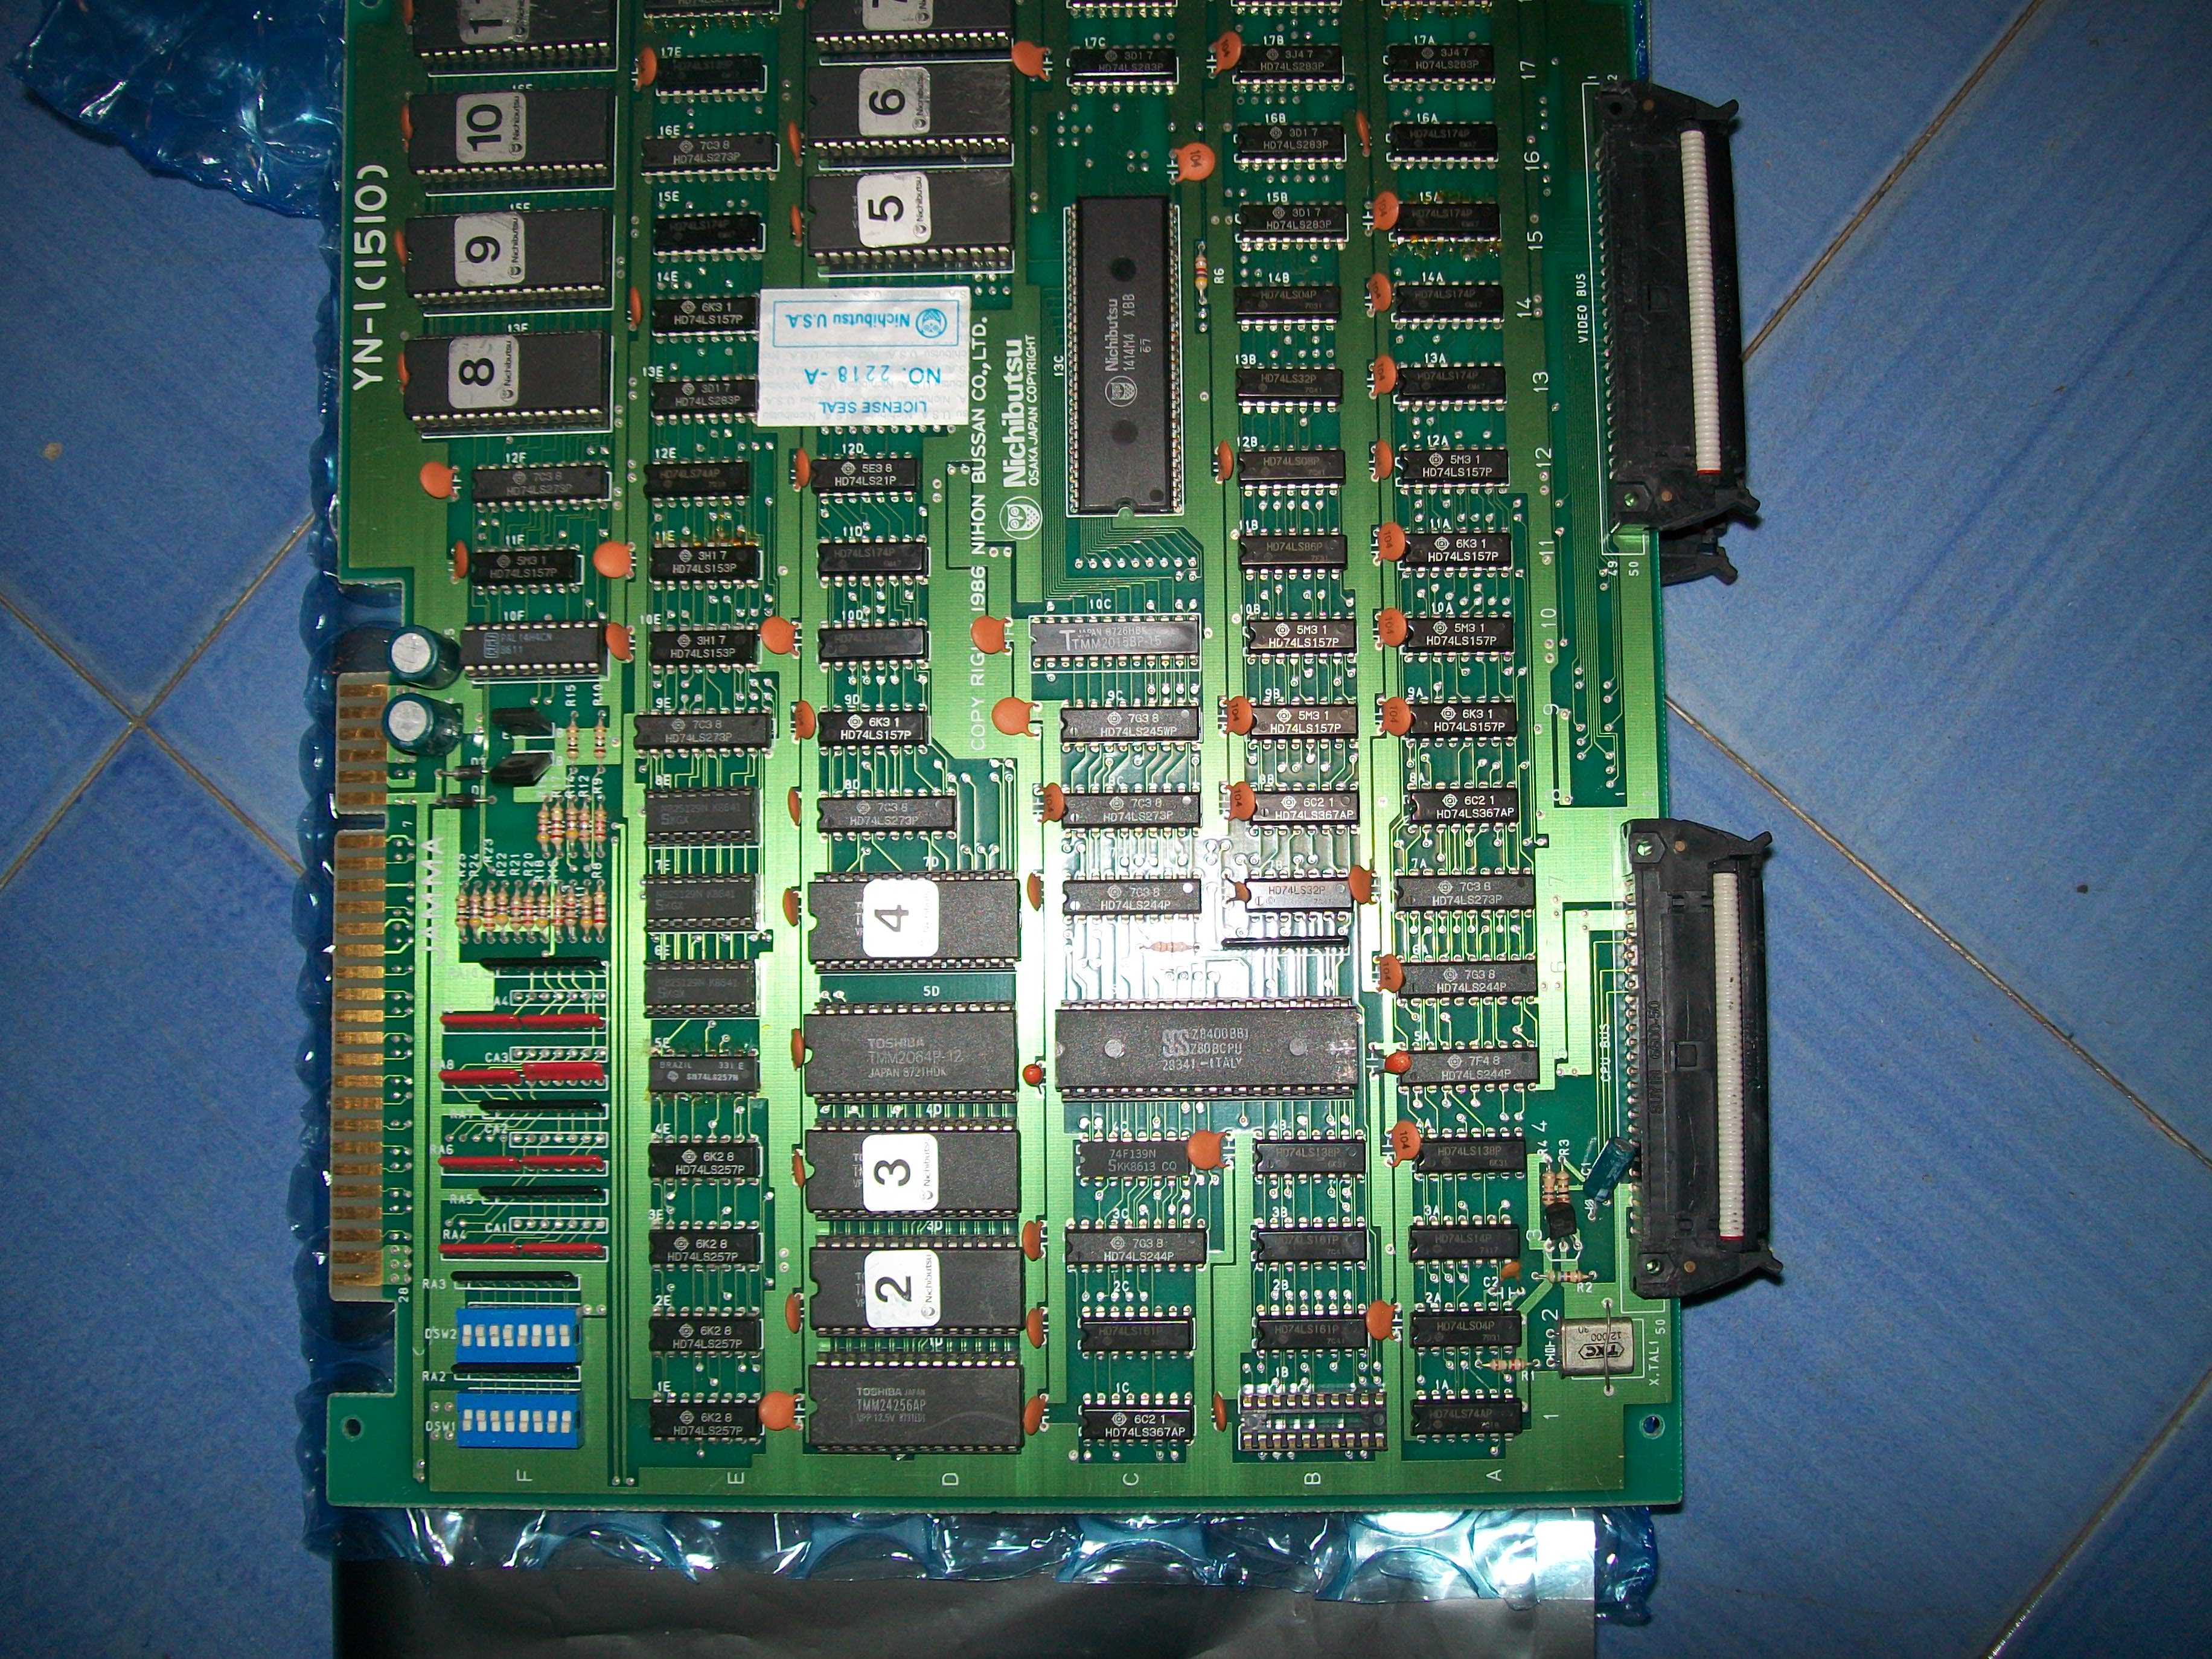
Received this original Ninja Emaki PCB (manufactured by Nichibutsu) for repair:
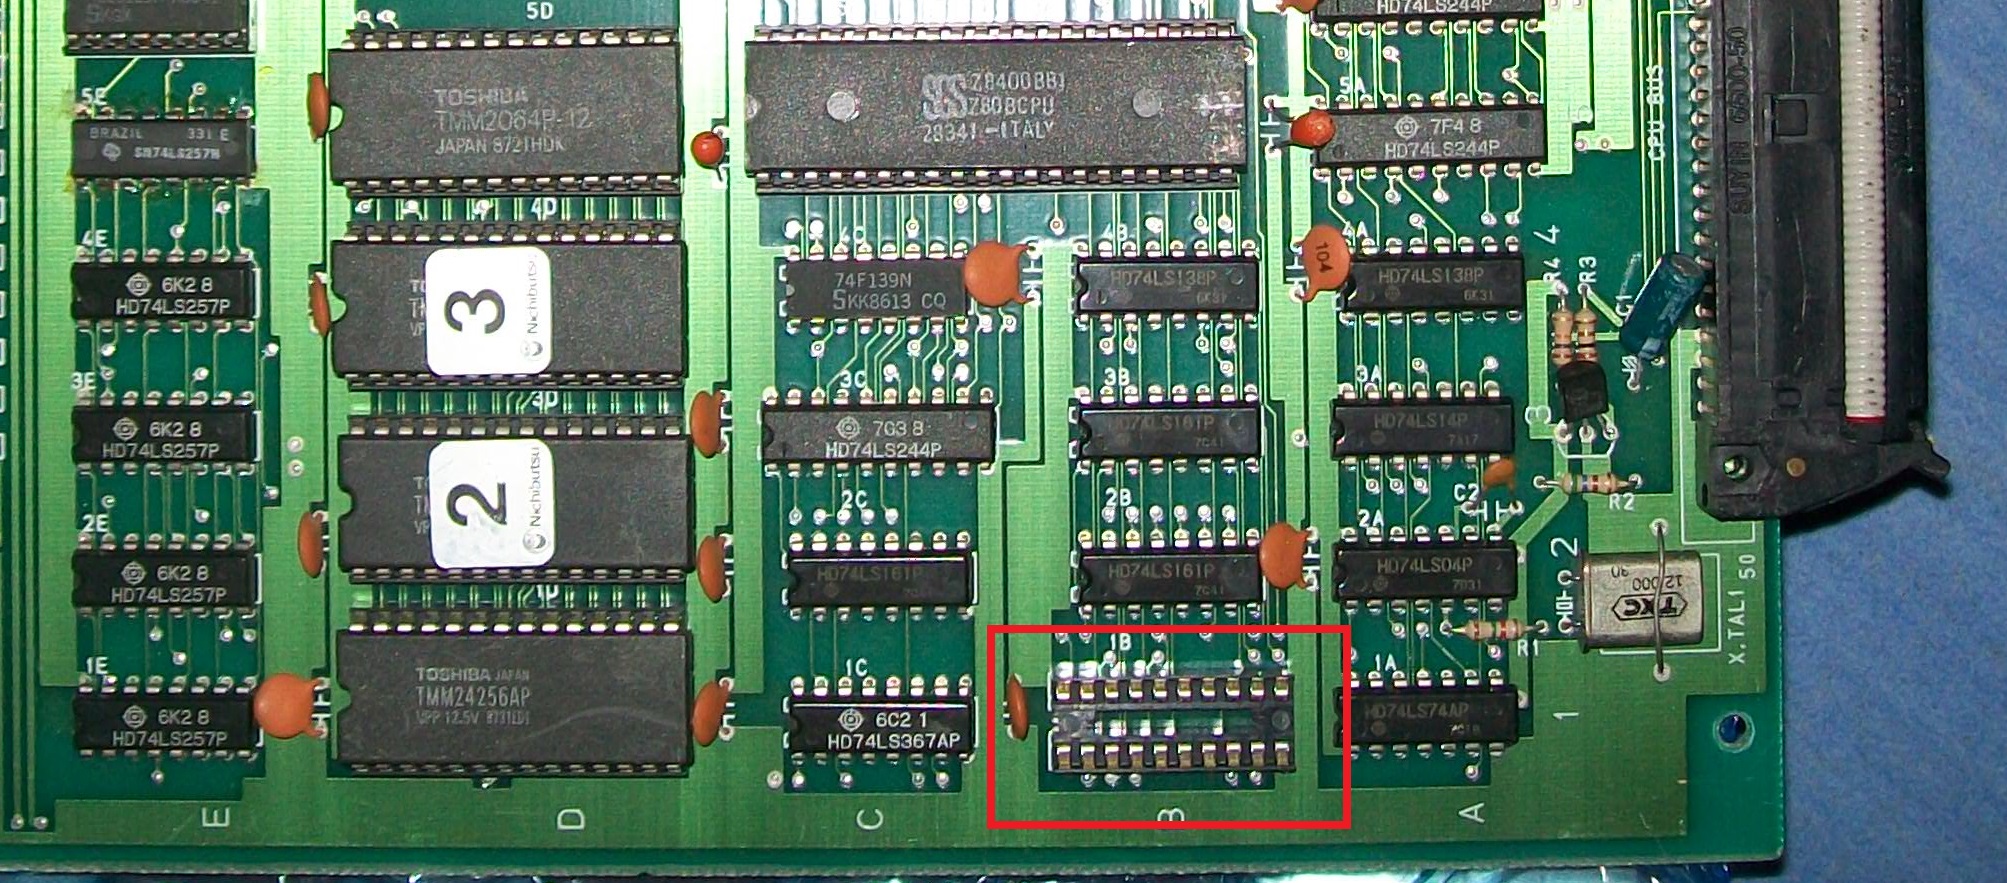
Board gave a solid black screen.After a quick visual inspection, I noticed one IC was missing from its socket @1B on CPU board:
My searches confirmed the missing IC was actually a PAL but sadly I had no access to other same PCB in order to read or reverse the device.Here bootlegs come handy since often they are perfect reproduction of the original hardware and, judging from pictures I found online, this was my case :
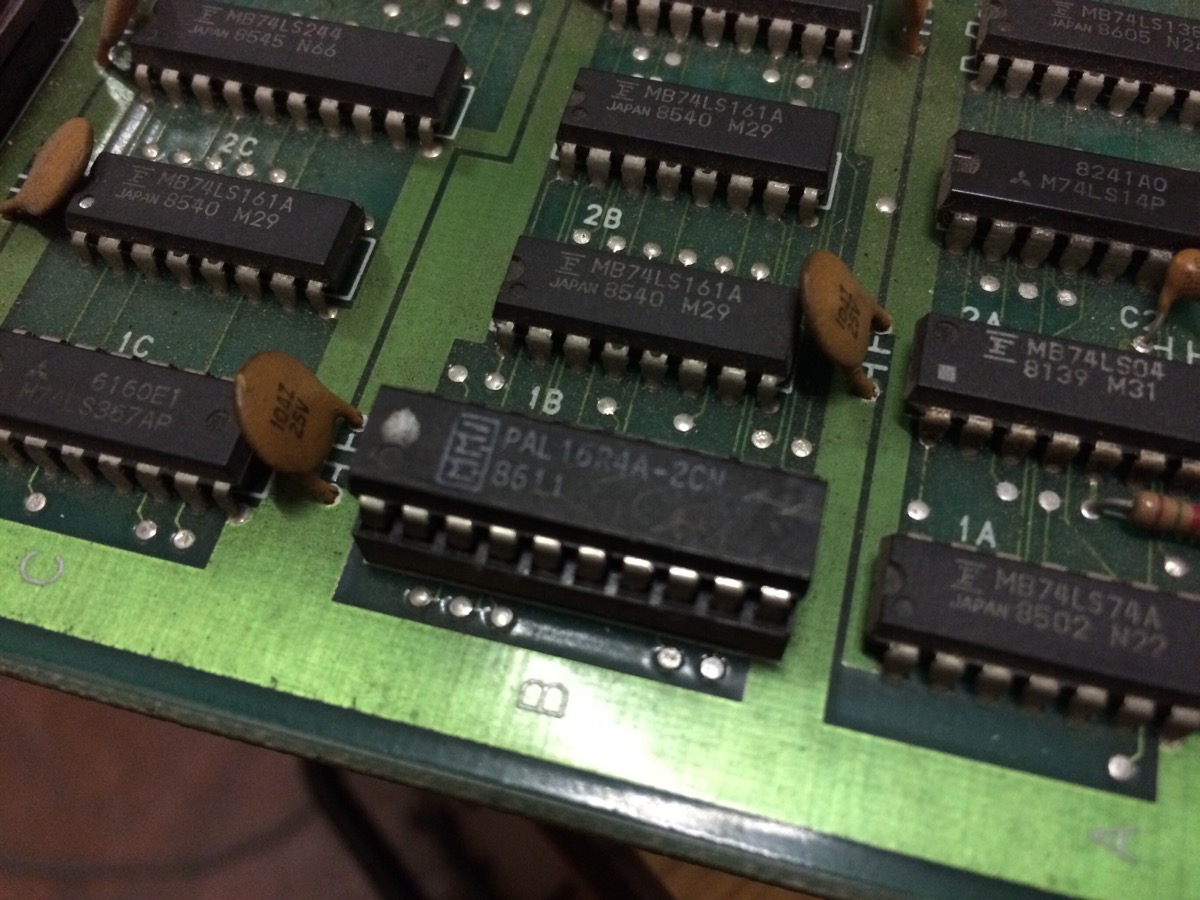
I quicky managed to find a Ninja Emaki bootleg and one received it I realized that the missing IC was a PAL16R4 so a secured registered PLD hence not readable or reproducible :
My only choice was to take this chip from the bootleg and install it on the original board.I made it and board sprang to life:
Game was playable but background were scrambled as you can see from above picture.I noticed that if I pressed or flexed the board in some points, the graphics came back in place.A closer inspection revealed some dry joints on solderside of an EPROM:
PAL UpdatesComments Off on Sonic Blast Man (US version) and Bad Lands (bootleg) PAL dumps added
Apr022017
Today we have some new PAL dumps from these PCBs:
Sonic Blast Man (US version).Dumps in native PAL16L8 (two devices) and PAL20L8 (one device) have been provided by coolmod on Dumping Union MAME mailing list.I took care of converting them to GAL fuse map and he succesfully tested them on PCB.Thanks again to him.
Bad Lands bootleg.This dump completes the set along with the ones we already have.Device was a unsecured 18CV8 which I adapted in a GAL18V10.
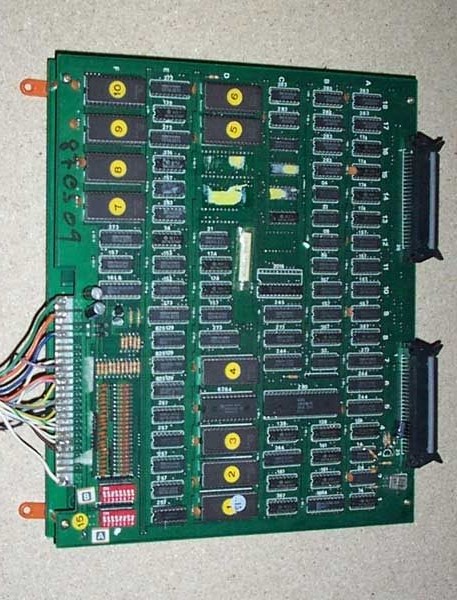
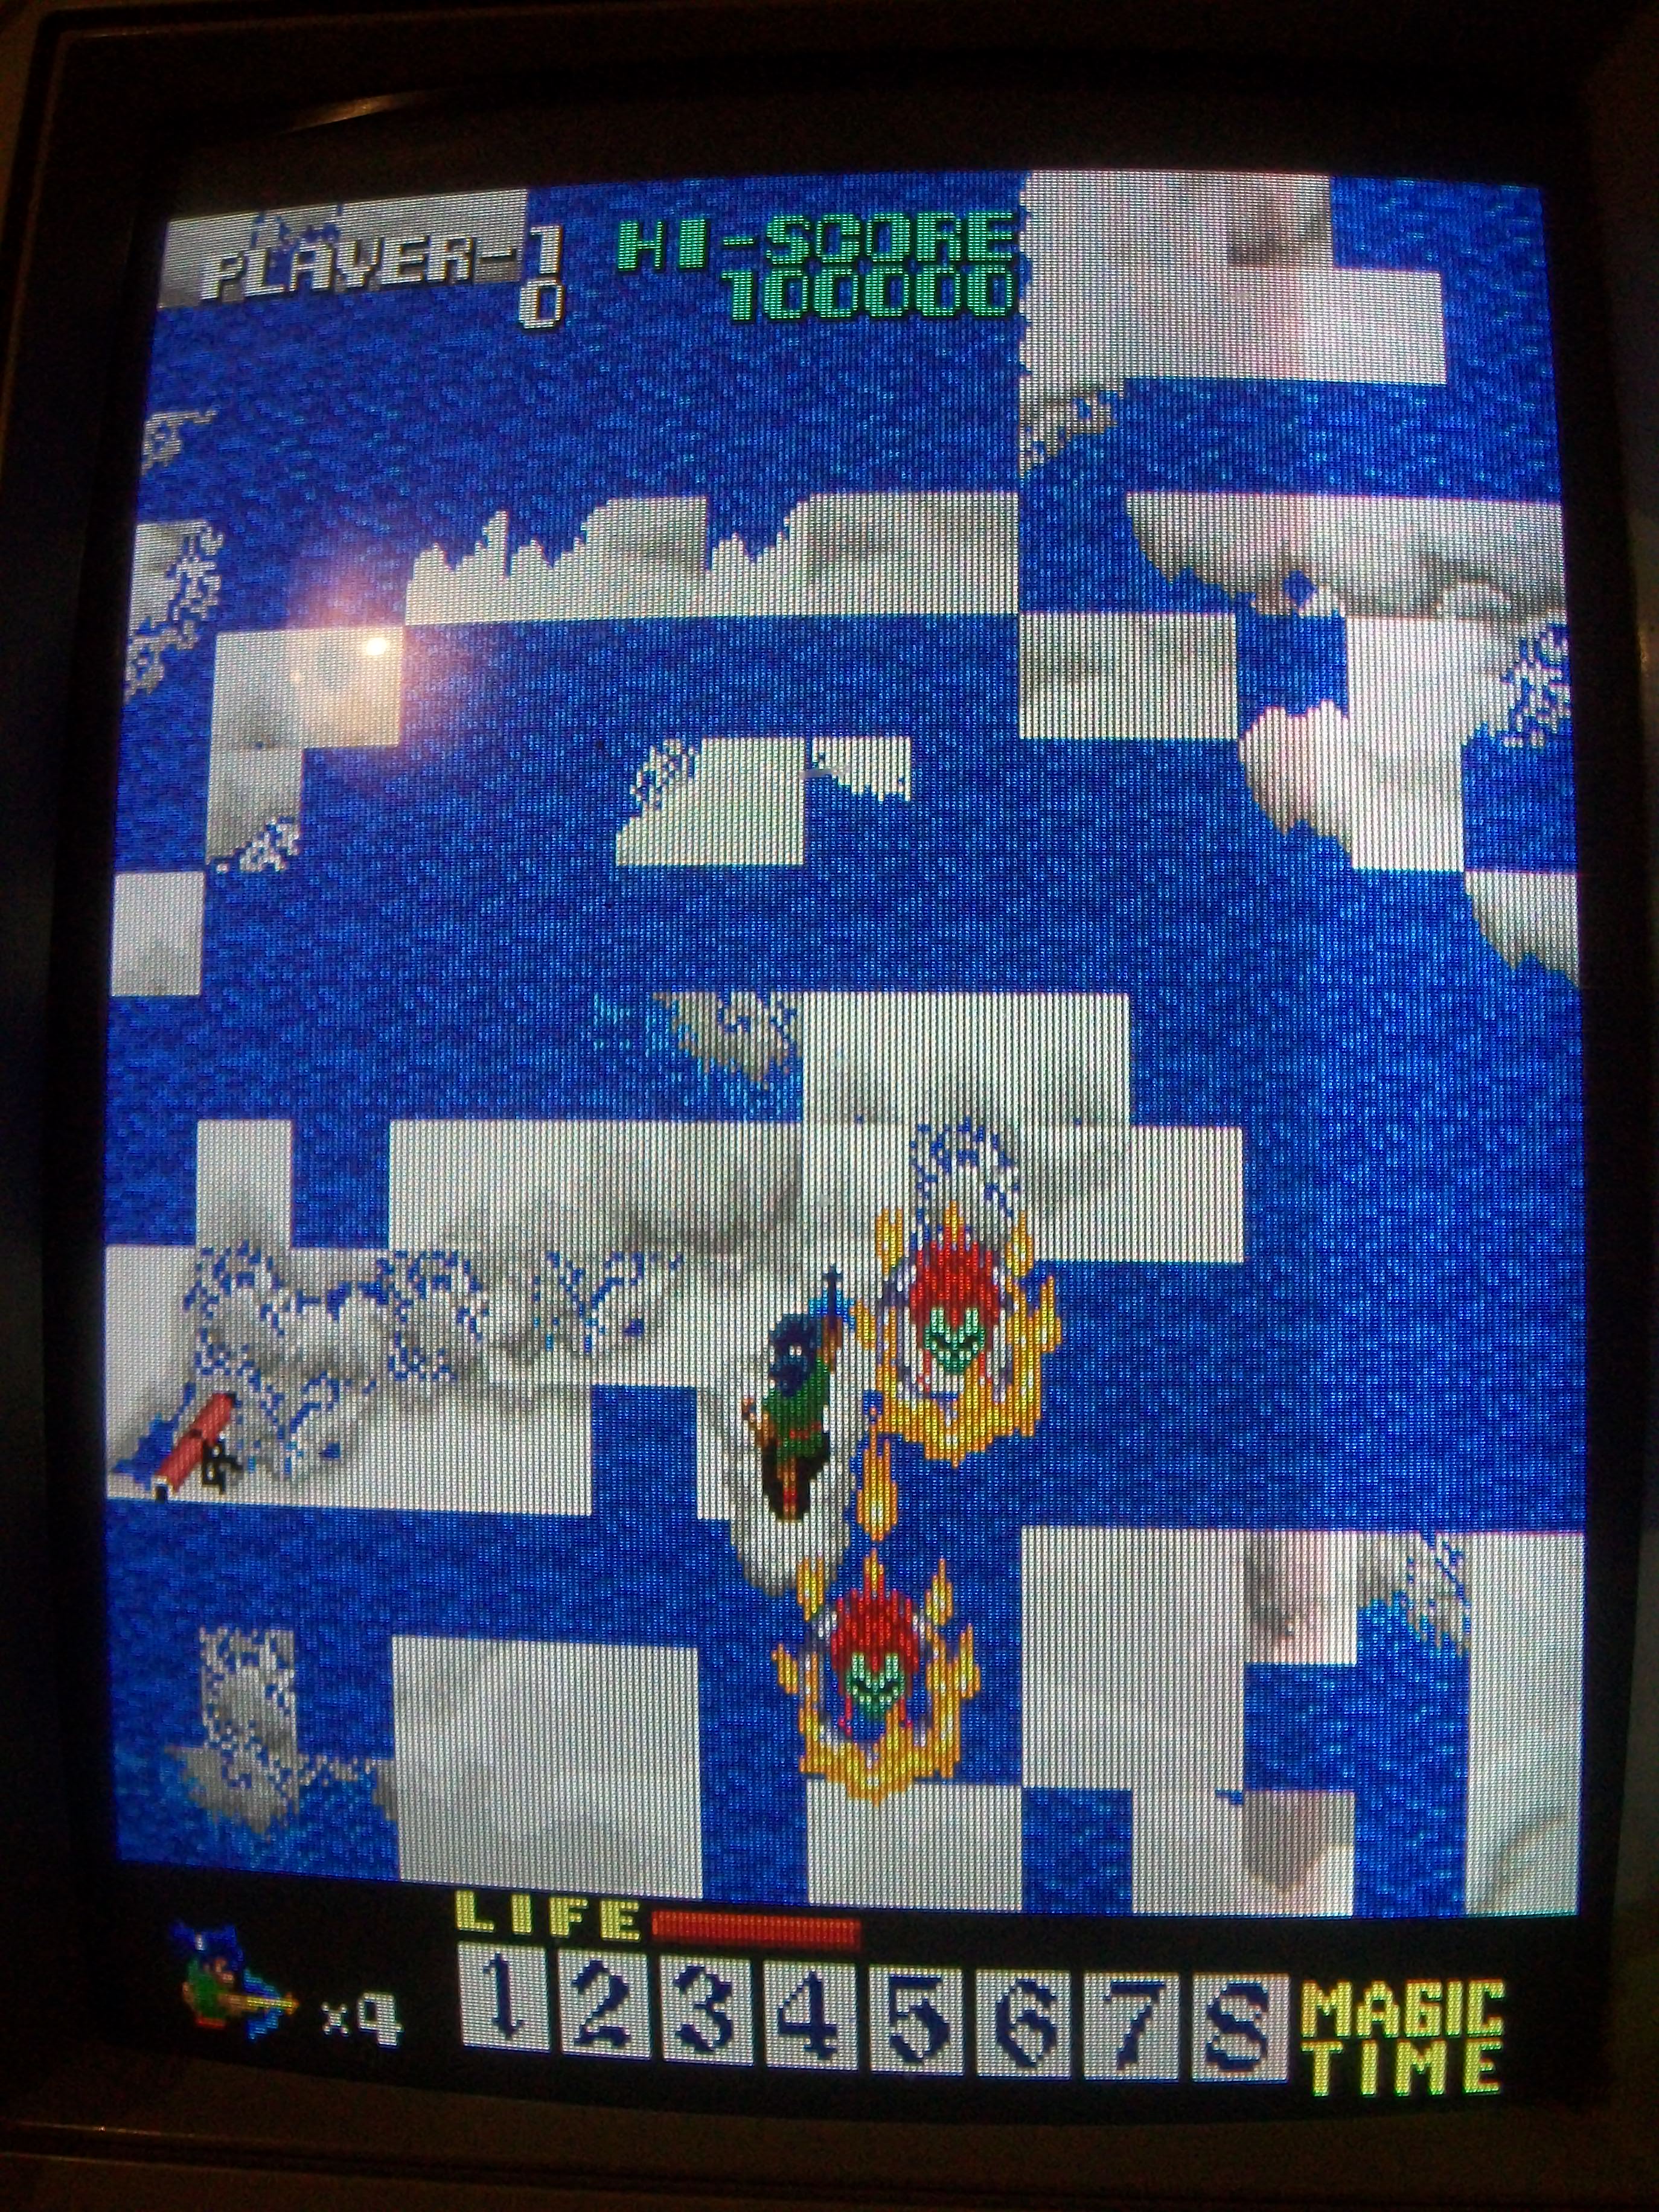
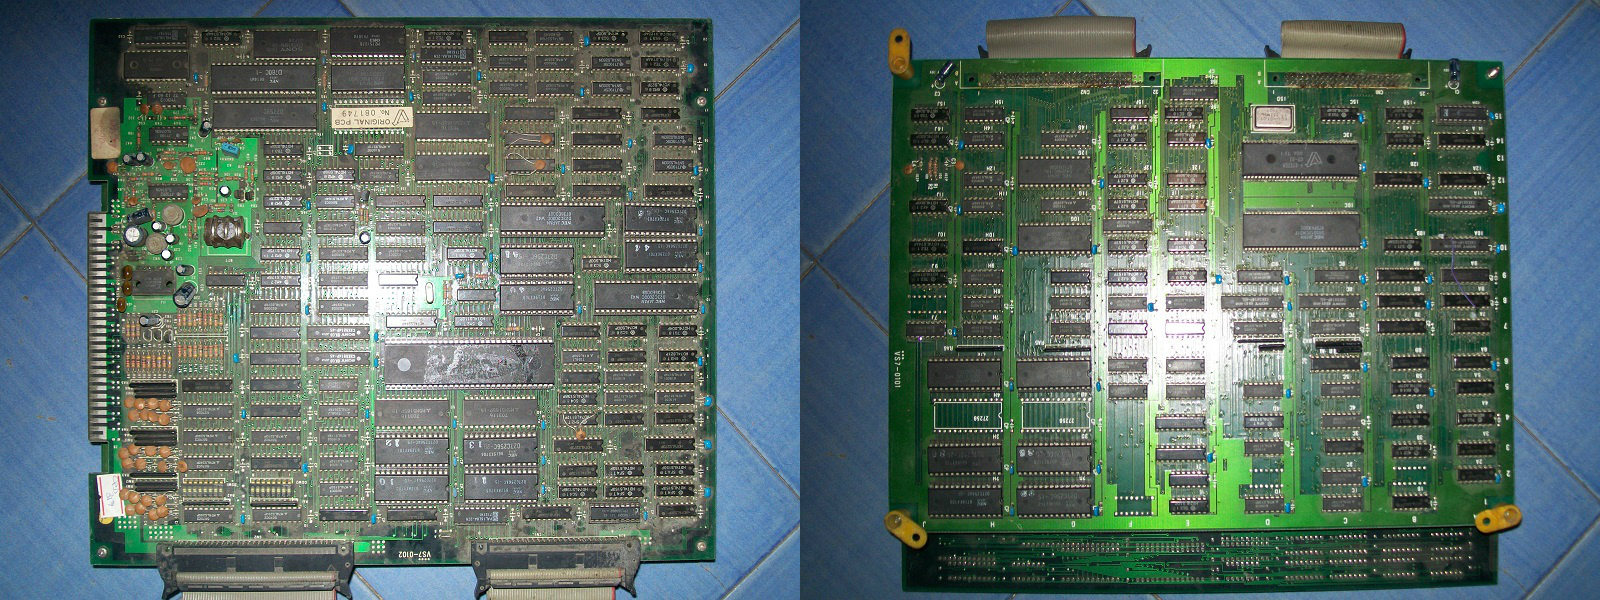
Got a Rabio Lepus (japanese release of Rabbit Punch, a cute shoot ’em up released by V-System Co. in 1987) in lot of faulty PCBs.Hardware is made of a CPU and a VIDEO board:
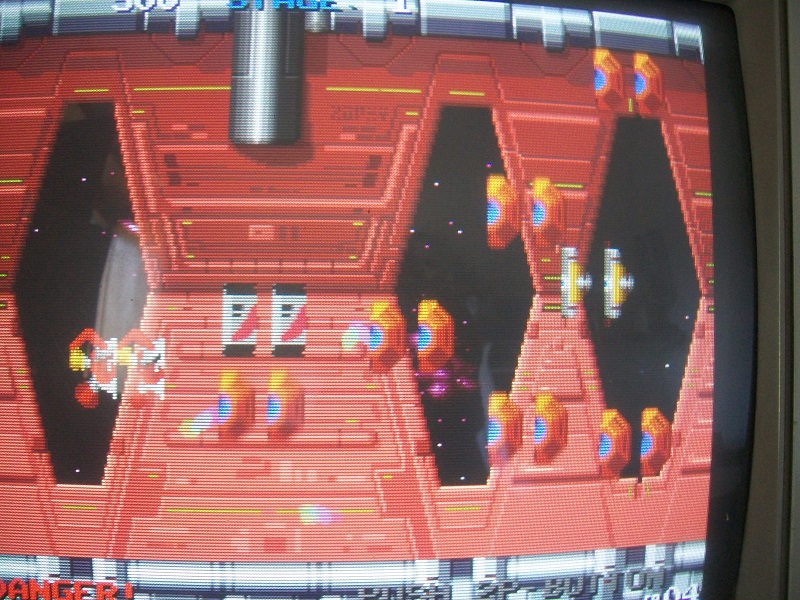
Board had a graphical issue, sprites were splitted and misplaced:
Usually this kind of problem indicates an addressing fault so wrong address are generated hence wrong data are read/written.Sprites data are stored in six devices (four 27C256 OTP ROMs and two 28 pin 1Mbit MASK ROMs)
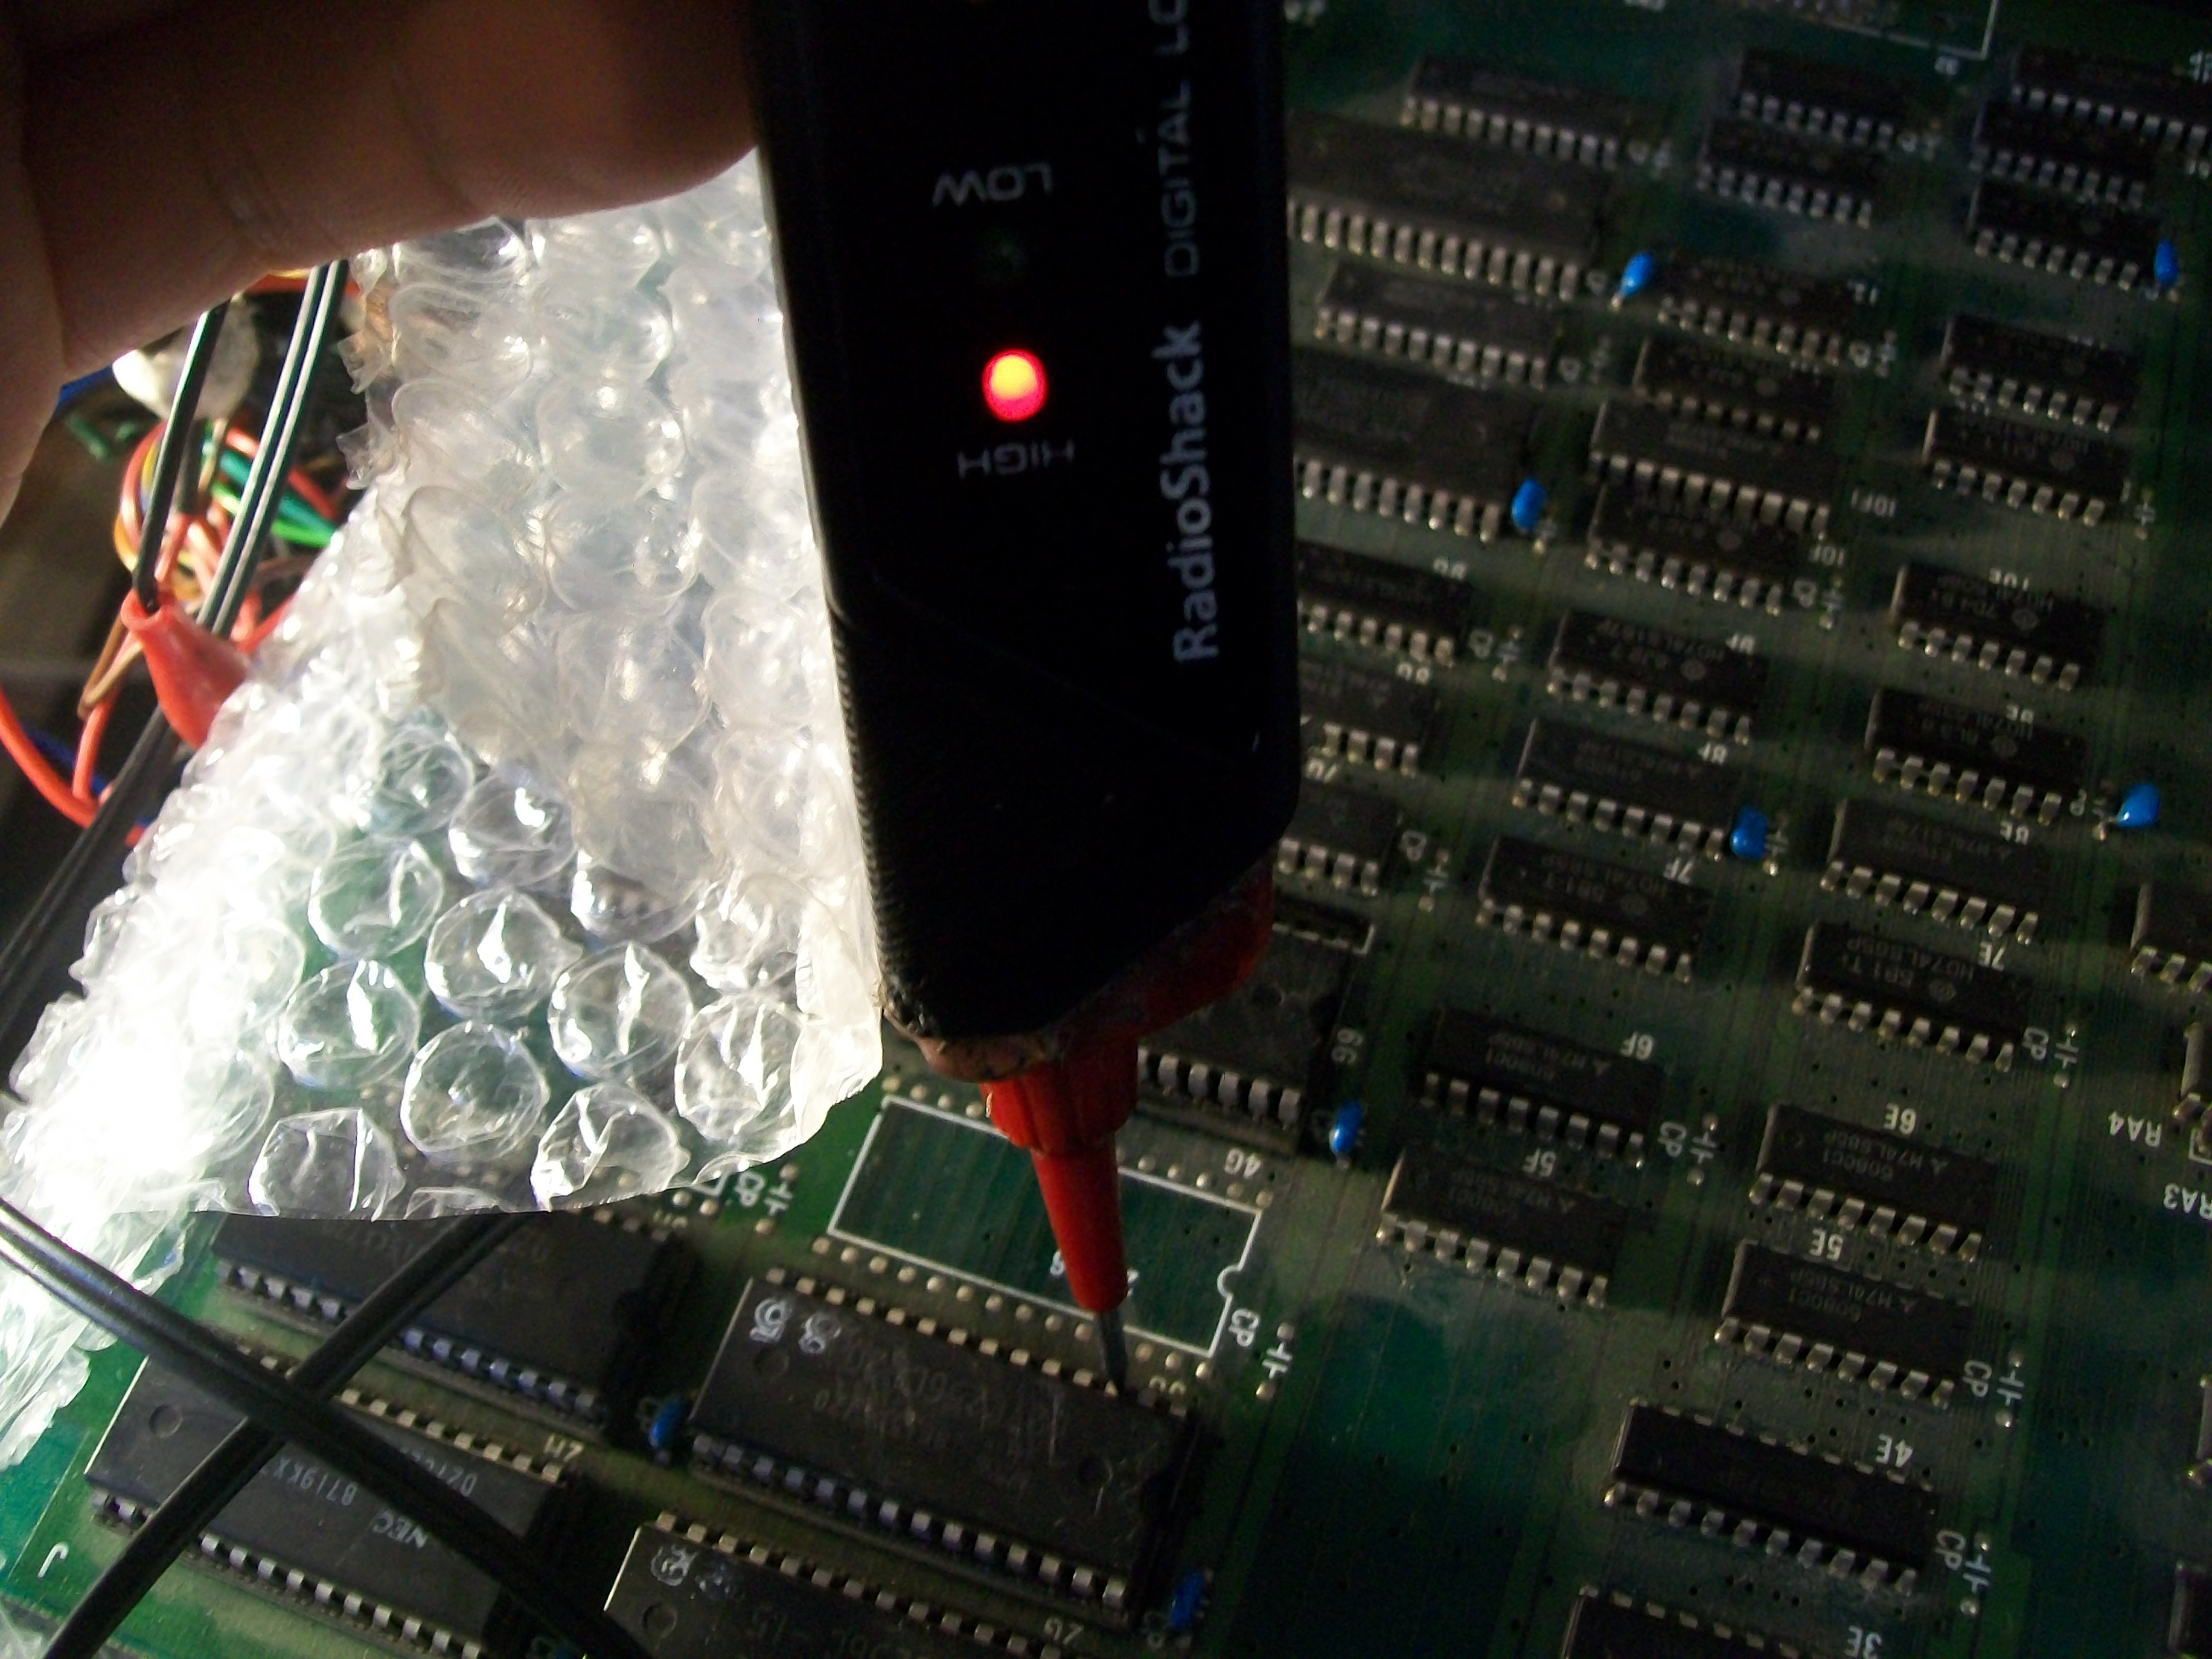
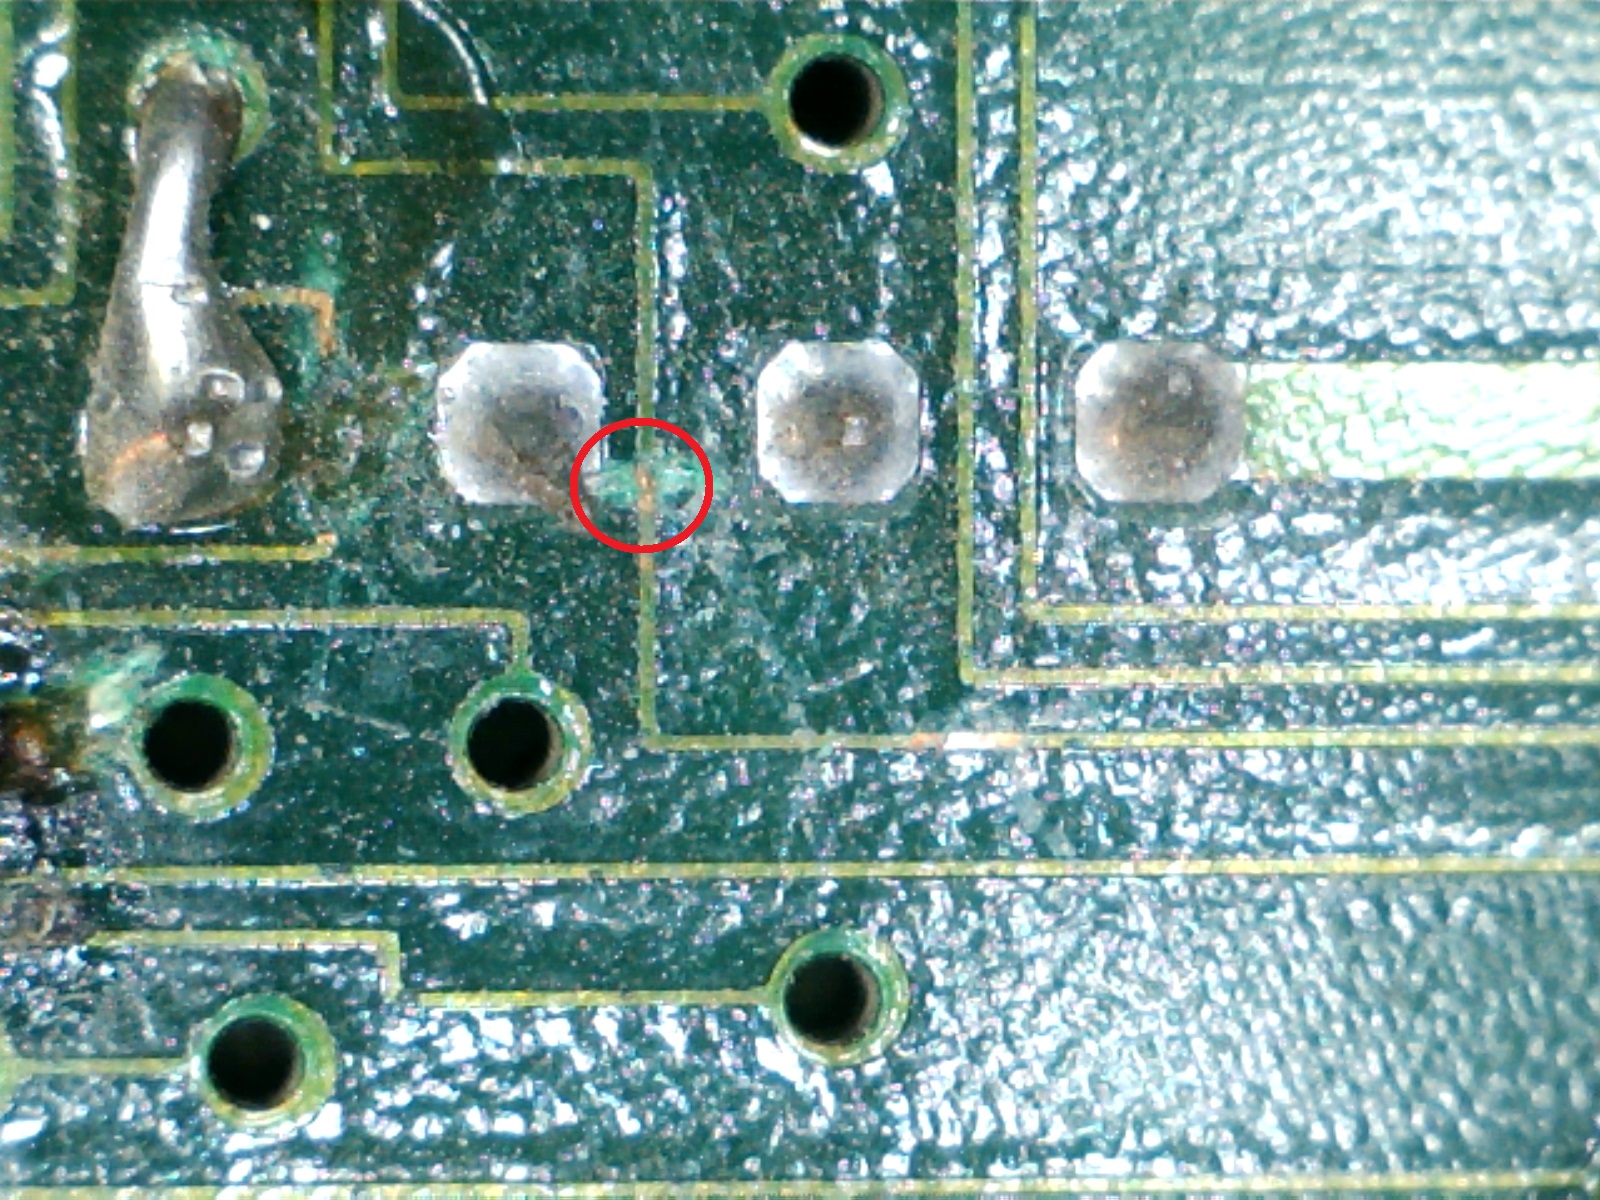
Reading them gave good dumps but the logic probe revealed that address line A7 was stuck high in all of them (address bus is shared)
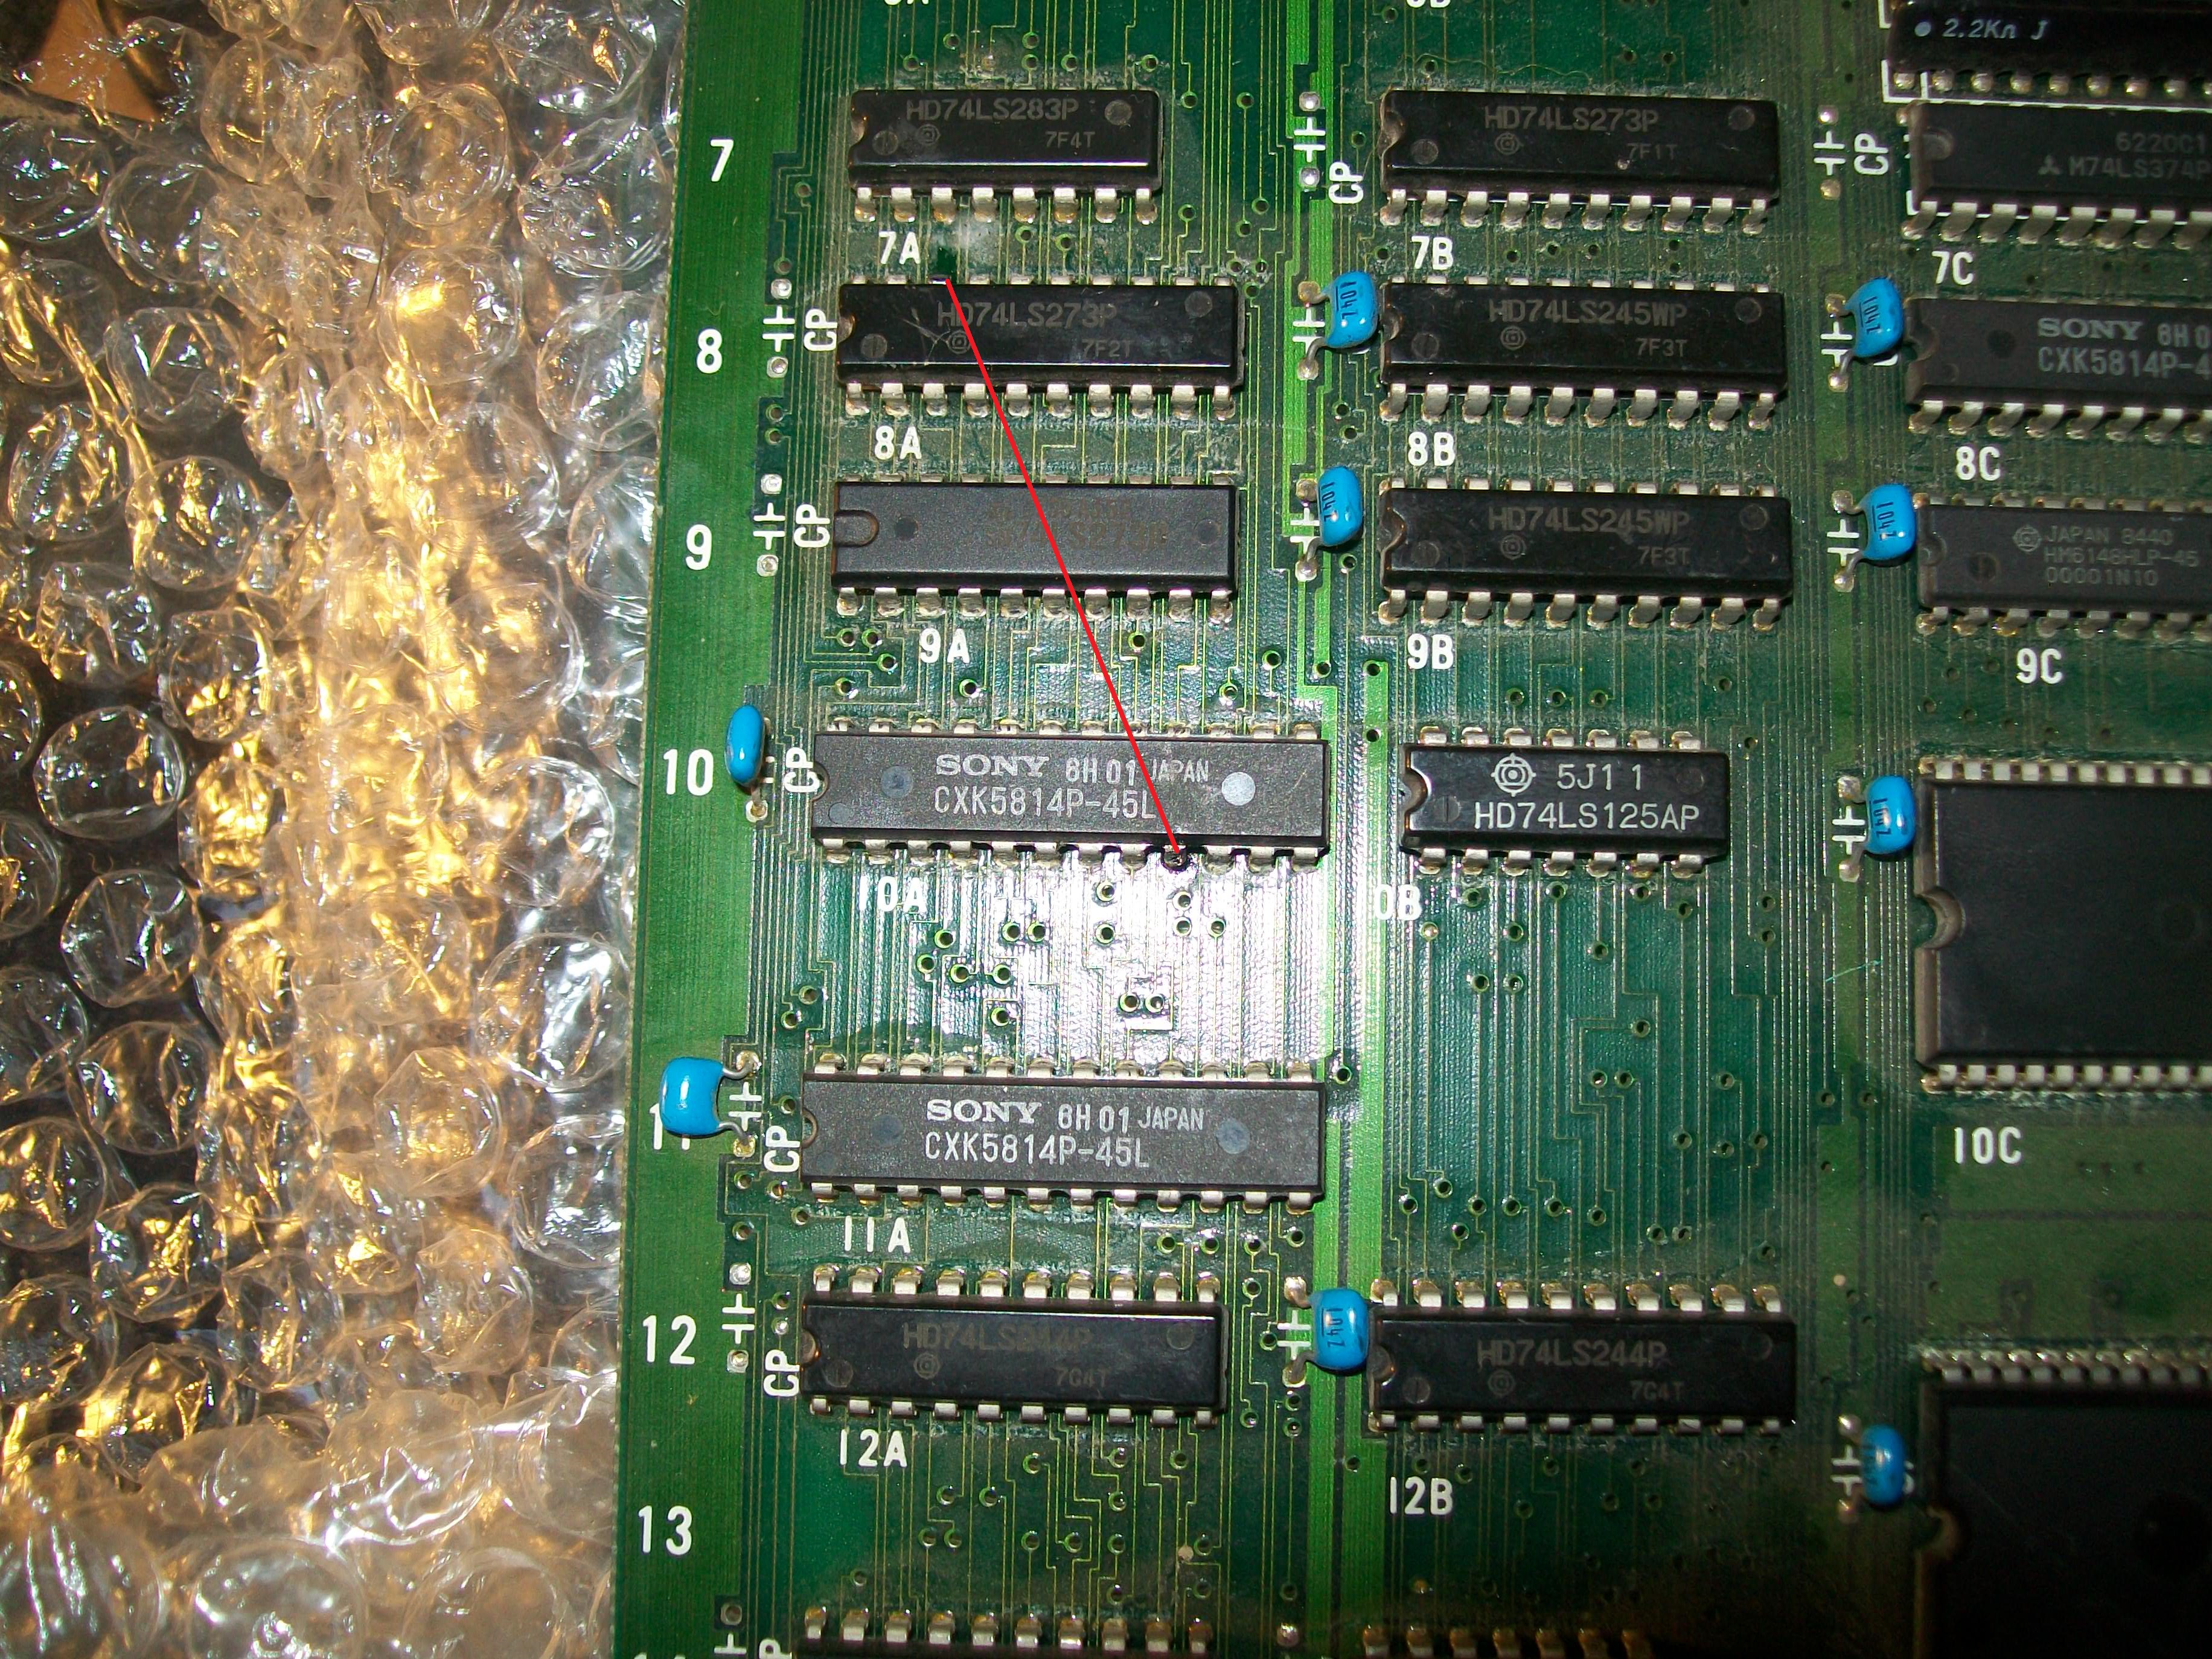
Tracing this address line back lead me to an output (pin 19) of a 74LS273 @8A, the corresponding input (pin 18) was floating.All the other outputs were active (generating the other address lines for sprite ROMs) and inputs were toggling too.Each input is connected to a data line of a near 2k x 8-bit static RAM @10A so following this logical arrangement I figured out that pin 9 (data line D0) of the RAM should have tied to pin 18 of the 74LS273 but it was not so :
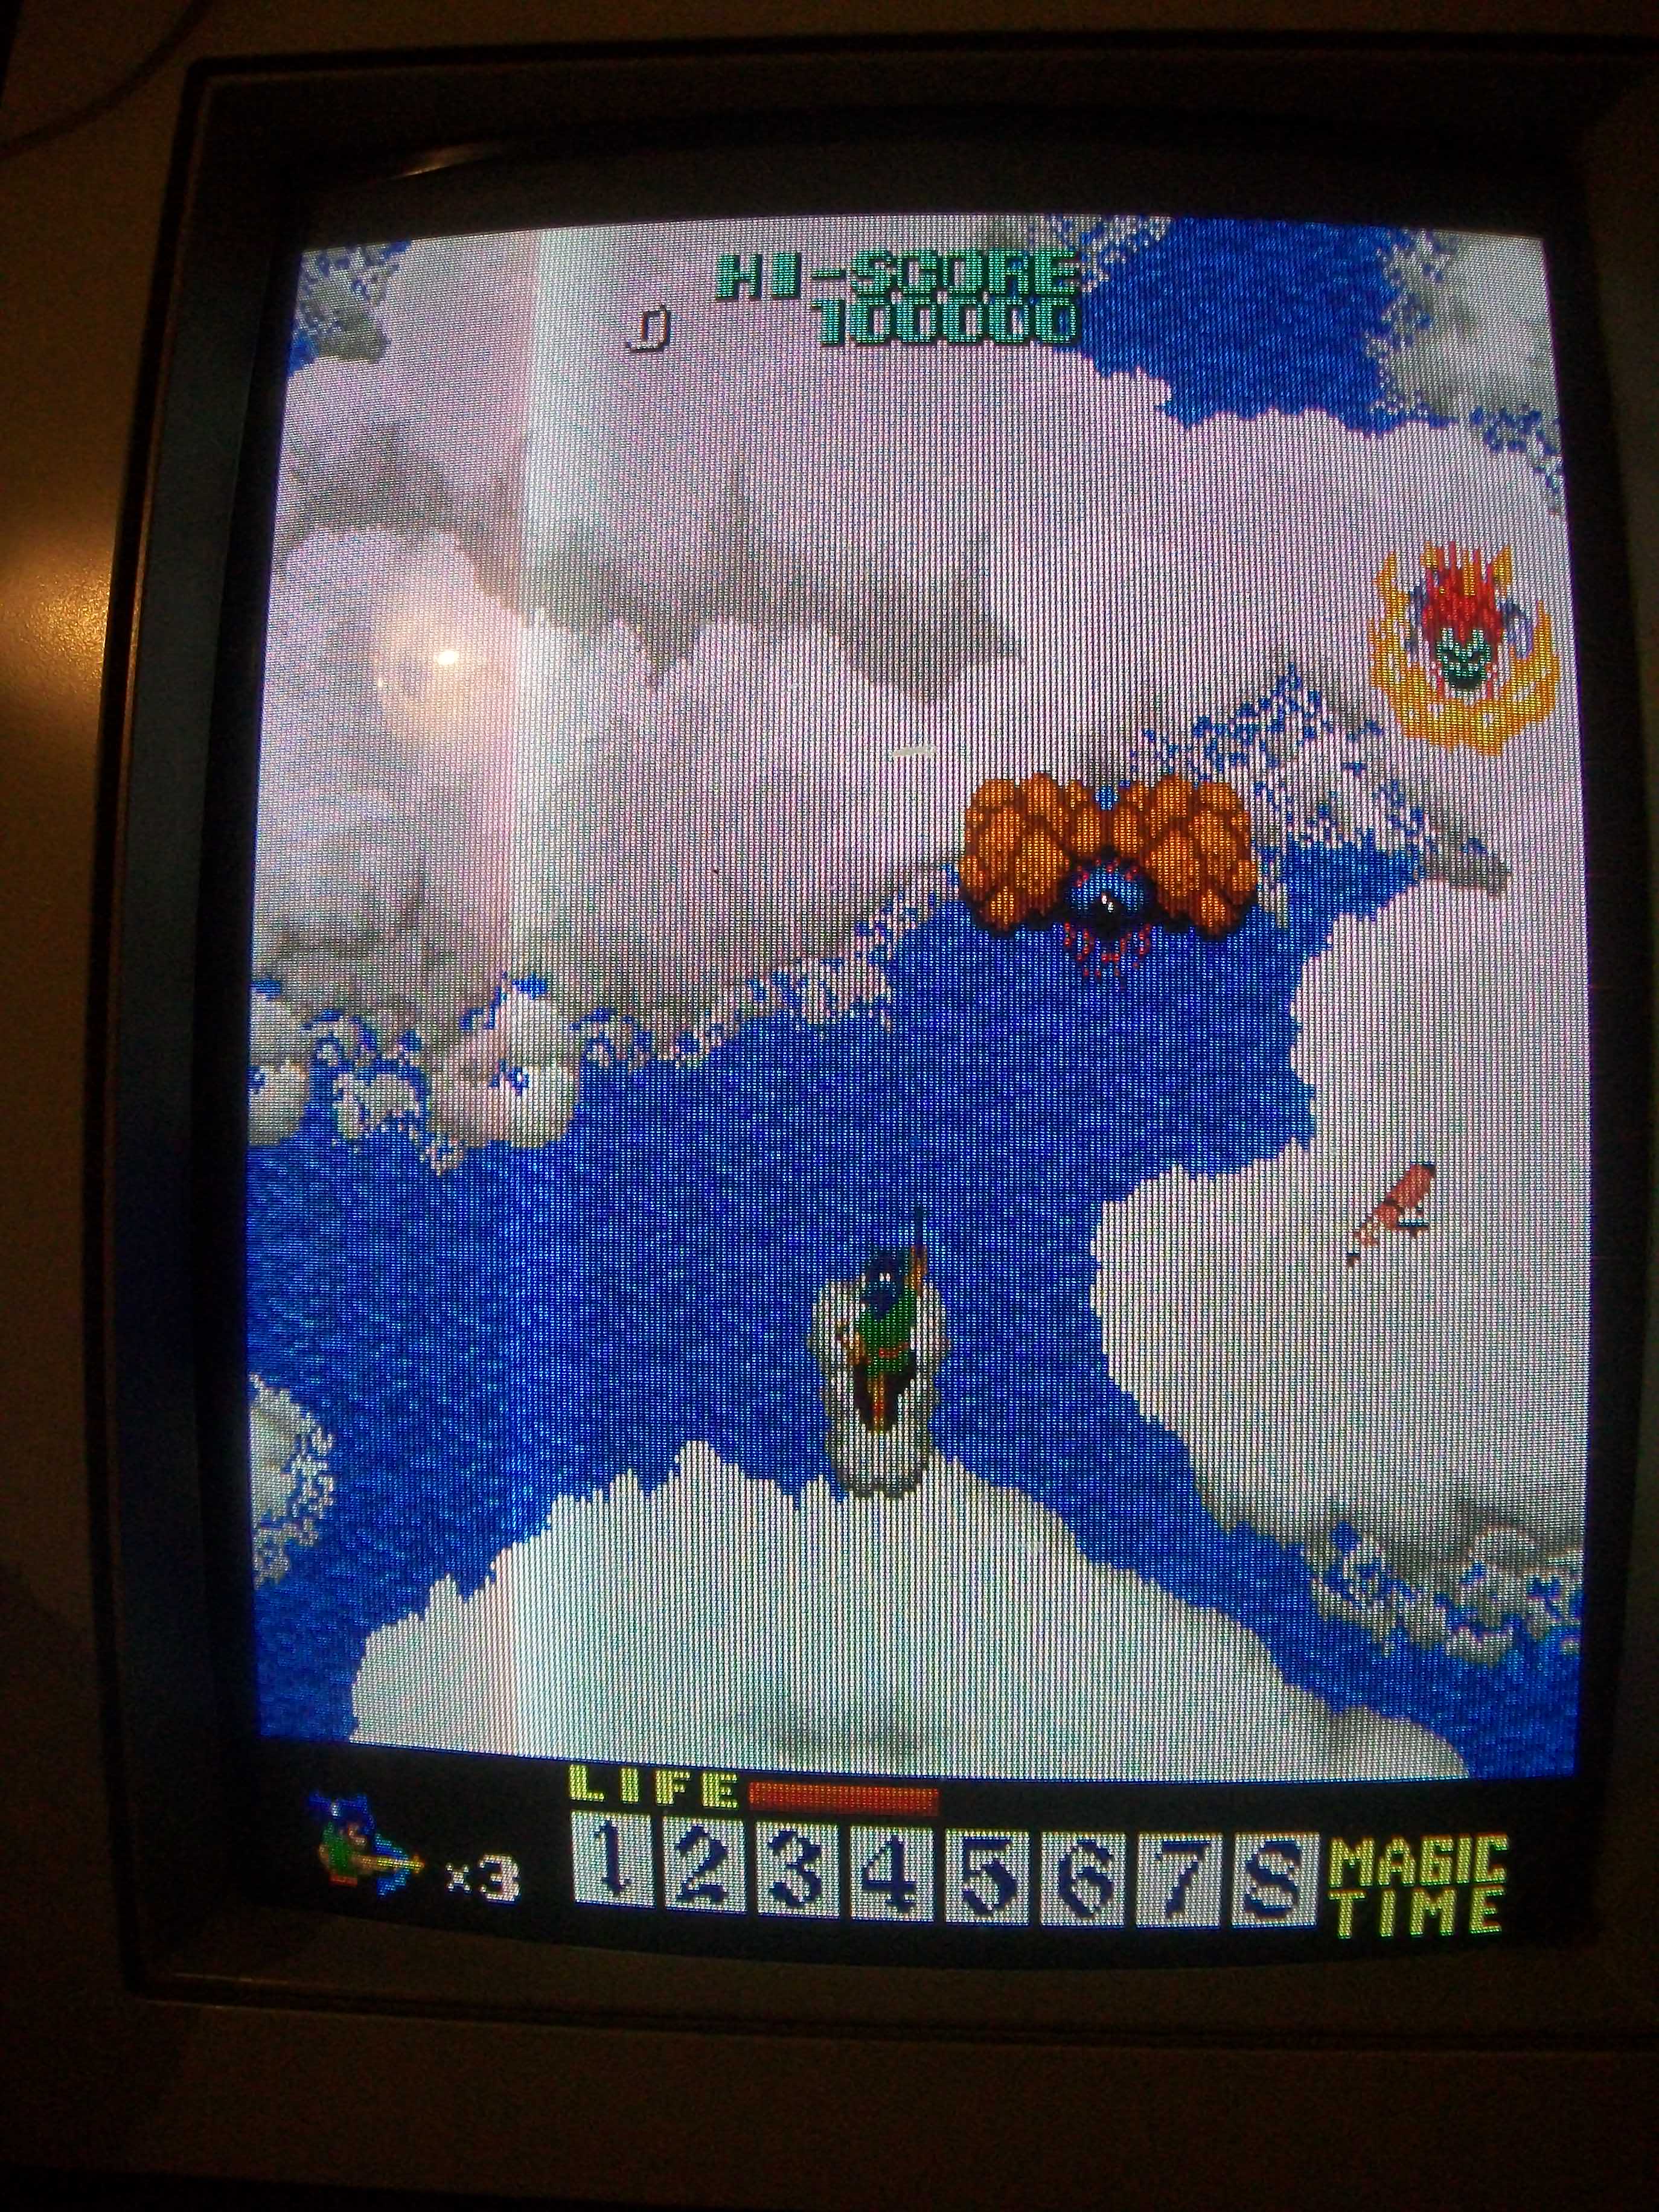
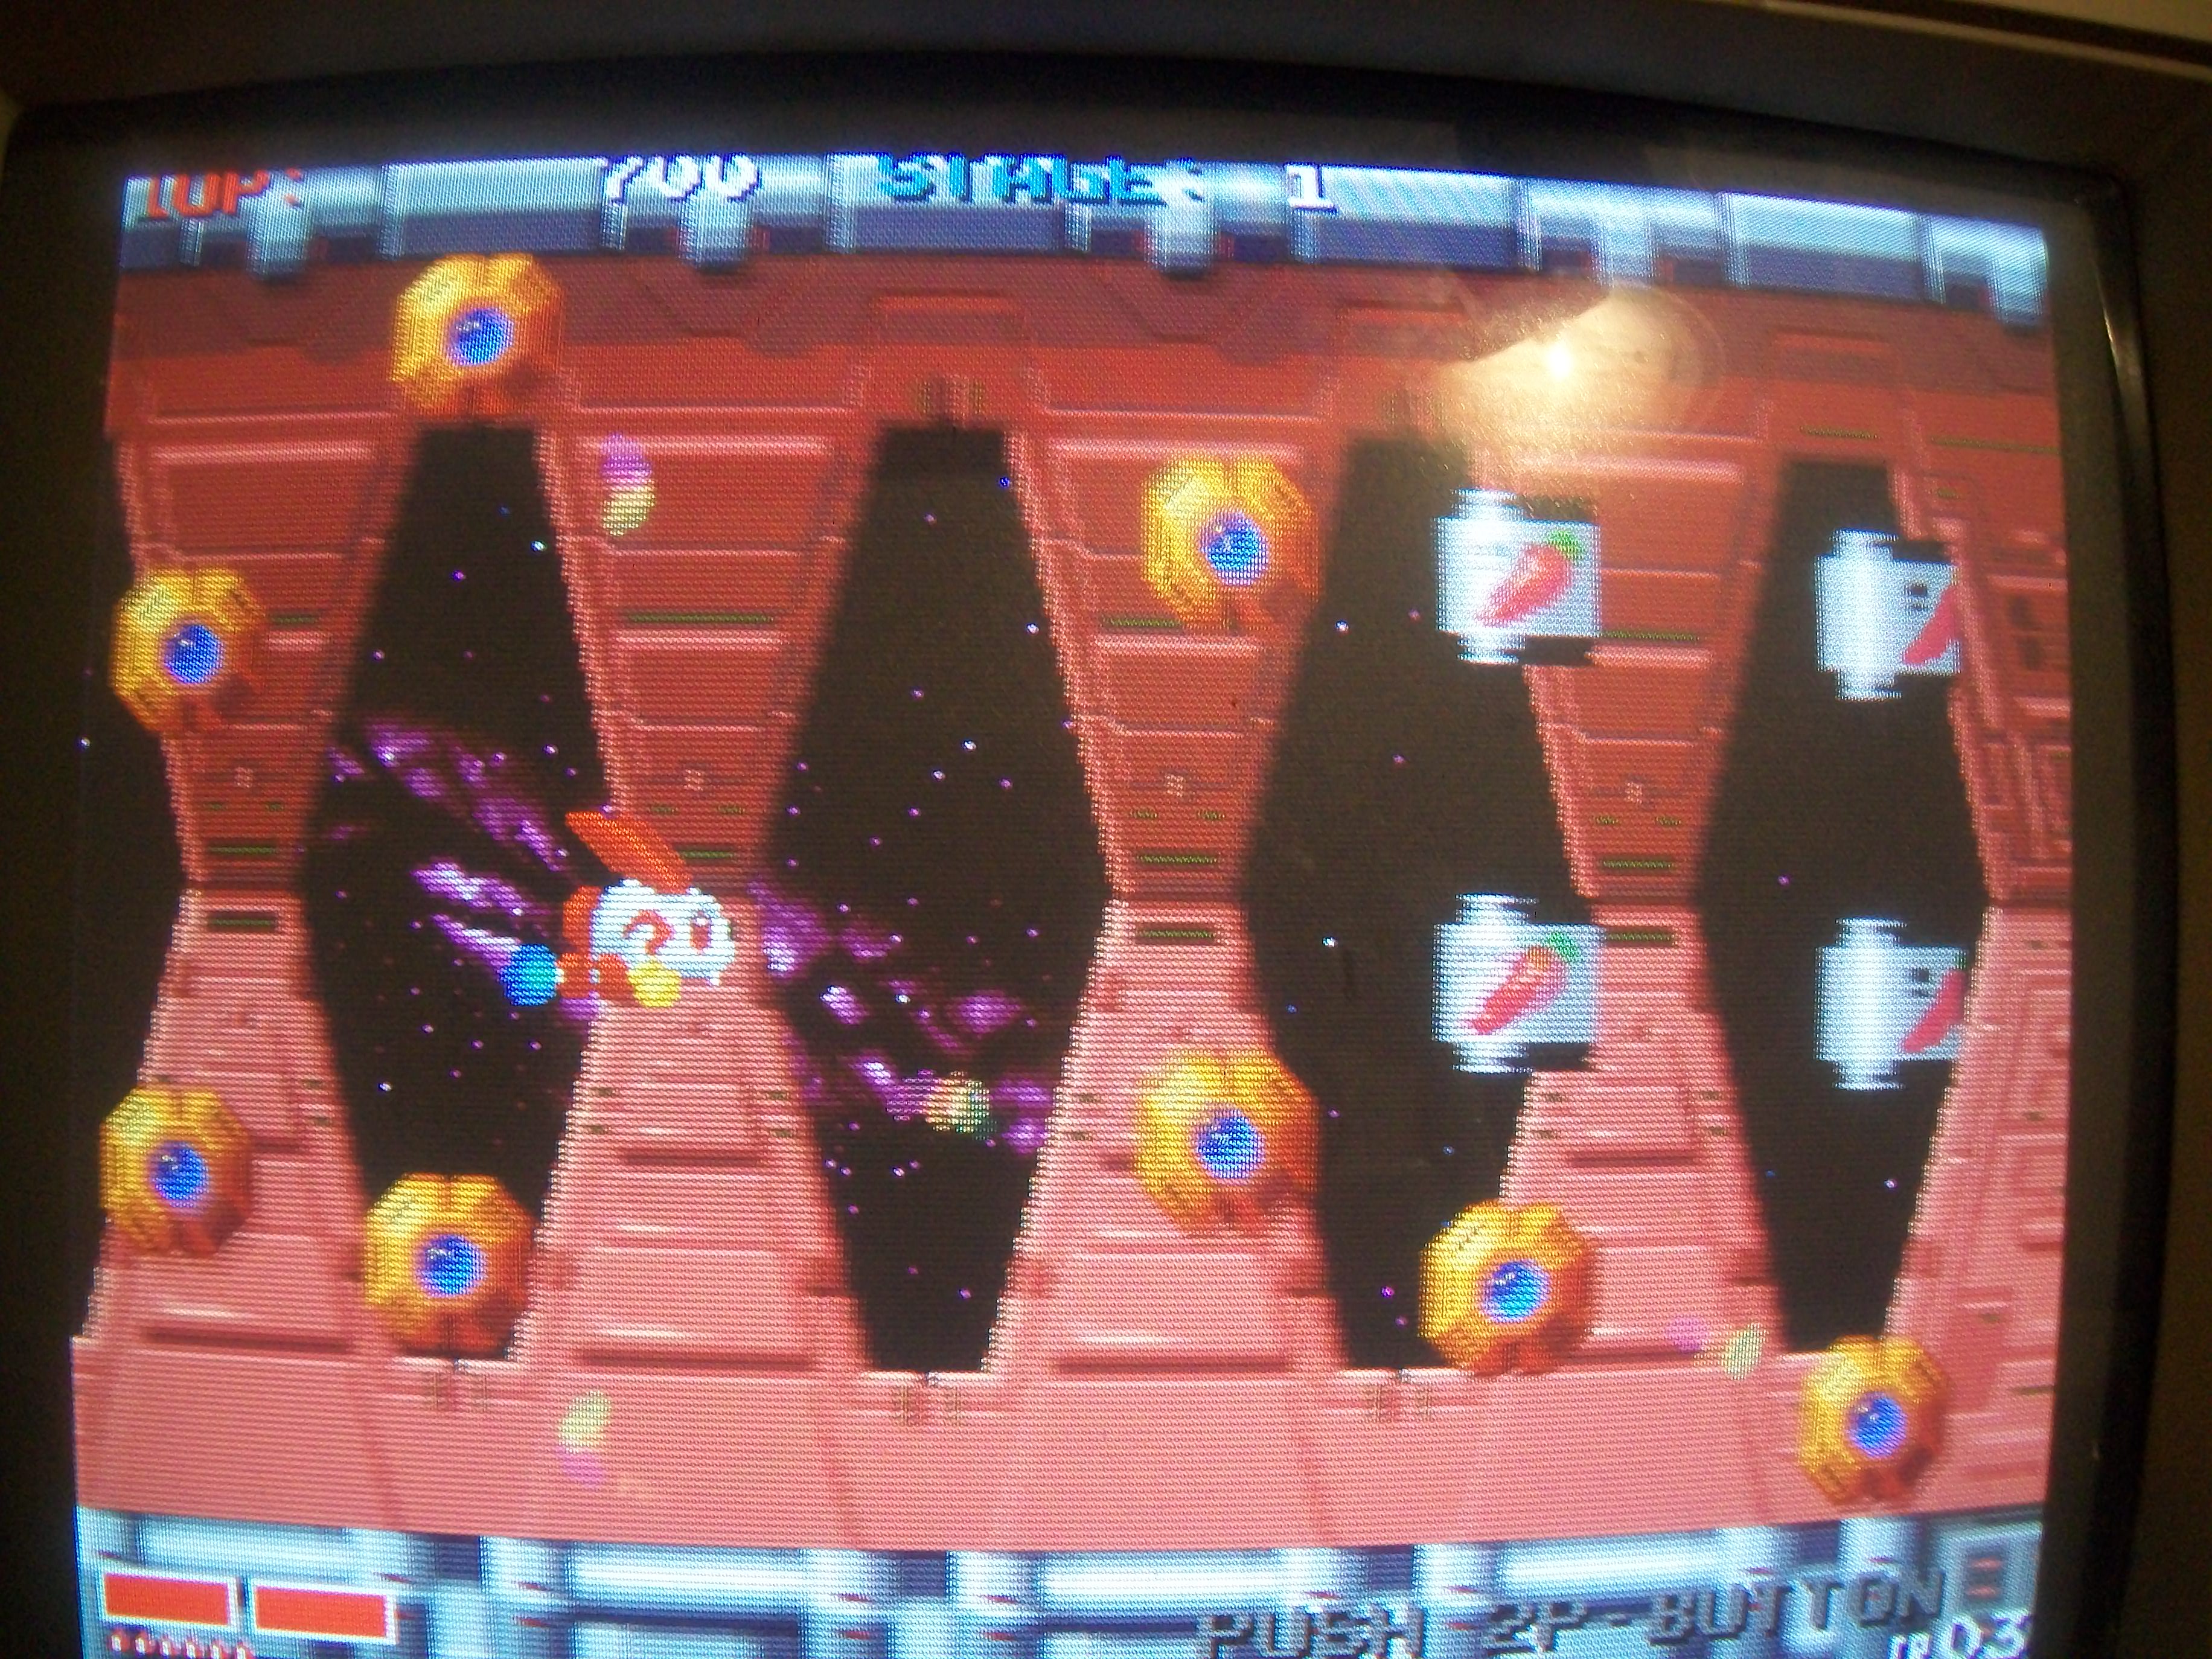
I restored the connection with a jumper wire and this fixed the issue:
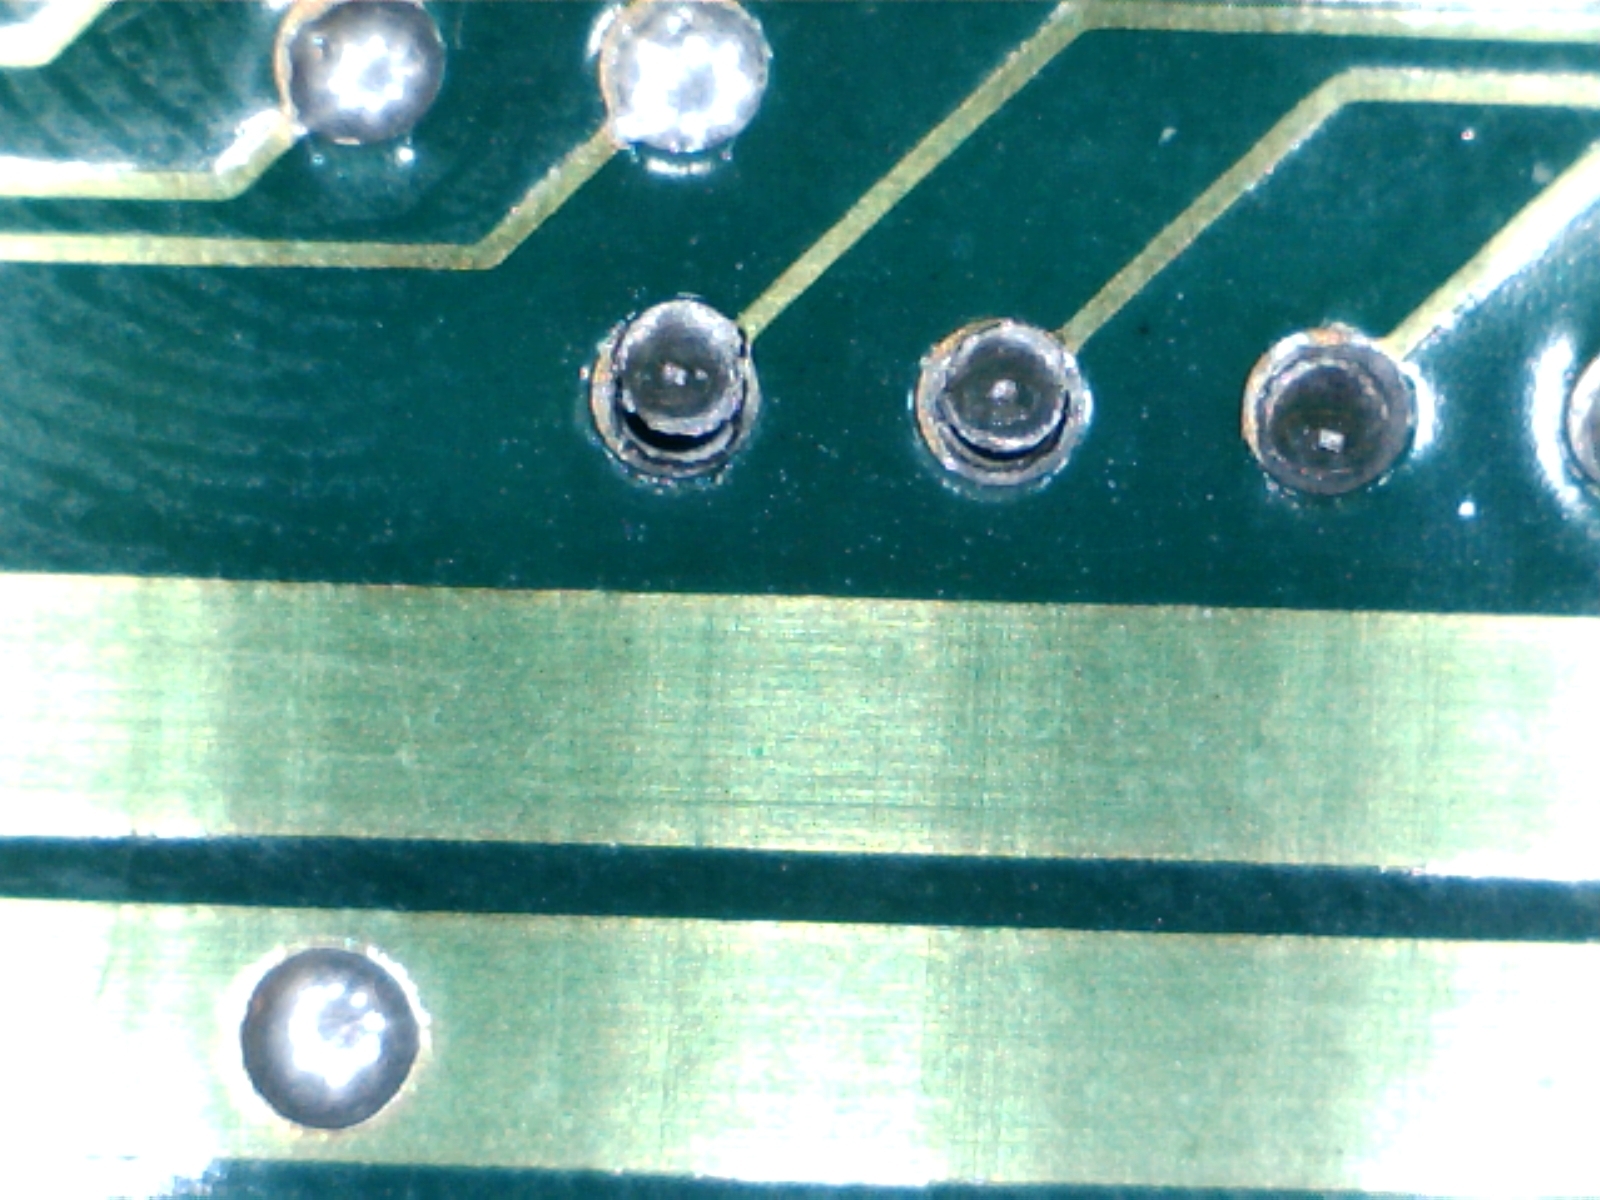
As I expected, doing a visual inspection on solderside revealed a severed trace:
PAL UpdatesComments Off on Thunder Blaster and Rabio Lepus PAL dumps added
Mar292017
Today we have some new PAL dumps from these boards:
Thunder Blaster (japanese release of Lethal Thunder, Irem M92 hardware).Devices were two secured PAL16L8 located on ‘M92-C-B’ ROM board.The one labeled ‘M92-C-2L-‘ @IC7 is present also on all other revision of M92 ROM boards although under different labels.The one labeled ‘M92-C-7H-‘@IC43 is specific to this game.256KB binary PAL dumps has been sent in by ‘robotype’ and I took care of reversing them.Lastly I re-organized all the IREM M92 dumps in the database adding notes about shared PALs and indication of ROM board hardware revision where they come from.
Rabio Lepus (japanese release of Rabbit Punch, Video Systems).Two secured devices dumped and reversed : one PAL16L8 on CPU board and one EPL16P8BP on video board.
All dumps have been successfully tested back on respective PCBs using GAL16V8 targeting devices.