There are not only arcade boards to repair in the life…but also computers (and japanese ones are really cool)!
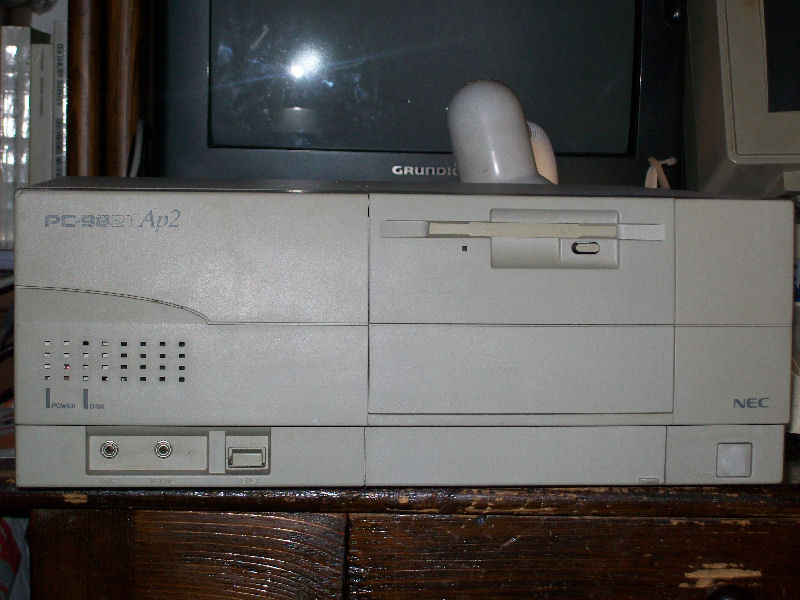
I got from Japan this ‘junk’ NEC PC-9821AP2/U8W in the mail some days ago (after a wait of two months), seller said only it was not working without going into details.
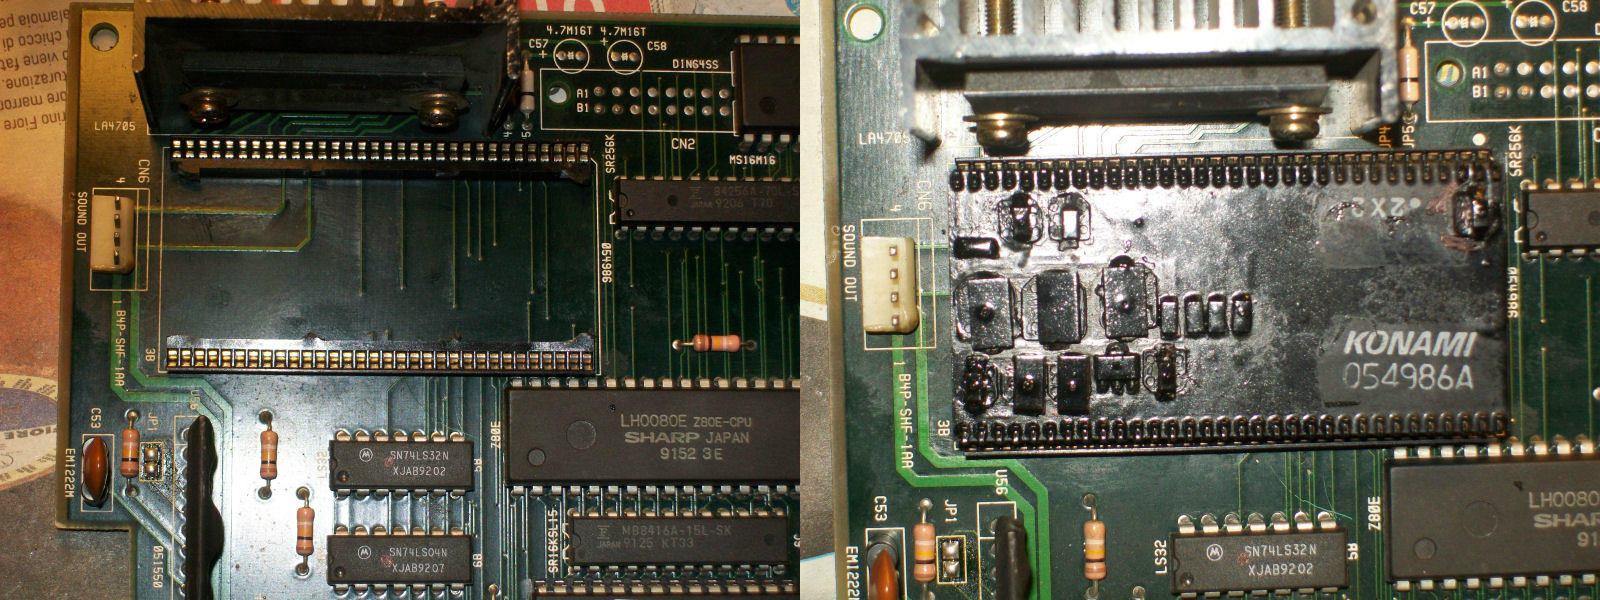
Powered it on and I got a solid black screen so was time to disassemble it.Motherboard was clean except for this:
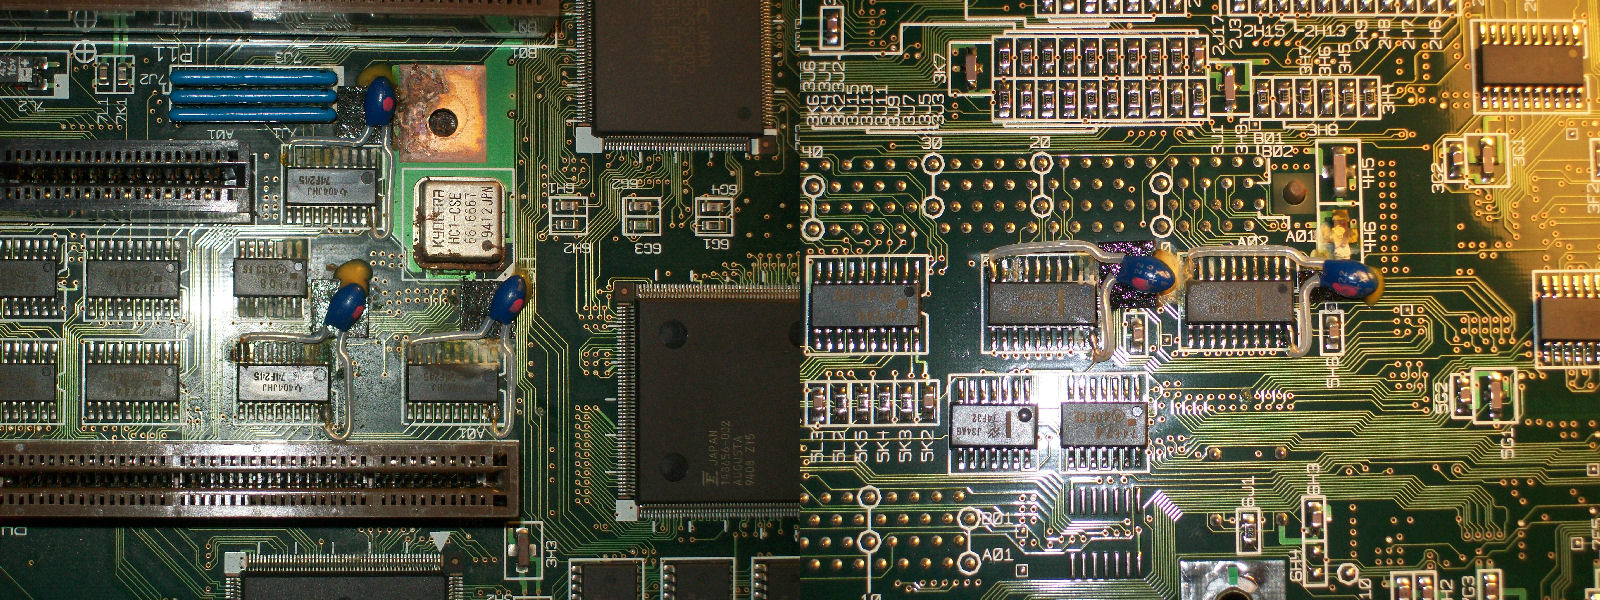
Surpringsly all electrolytic capacitors were in good state for a machine with more than 20 years old but there was sign of corrosion near five 22uF 16V tantalum capacitors which leaked spreading their dielectric on pcb.This was most likely caused by the glue used to hold them in place that turned corrosive with age.These capacitors were mounted as decoupling on five 74F245 which are used for DATA communication between DATA buses.In this hardware they were interposed between four NEC 42S4800 DRAM chips and connector of the CPU riser card.So, with these premises, I was quite sure that fault was located in this crucial part of the motherboard.After removing the leaking capacitors and cleaning the circuit, I started to probe continuity between each pin of the five 74F245 and motherboard and , following a scheme that I had prefigured, I found that PIN2 of one of these was not connected to the CPU card connector like all other so one bit was missing and the system was halted.Jumpered the two points and finally system successfully booted:
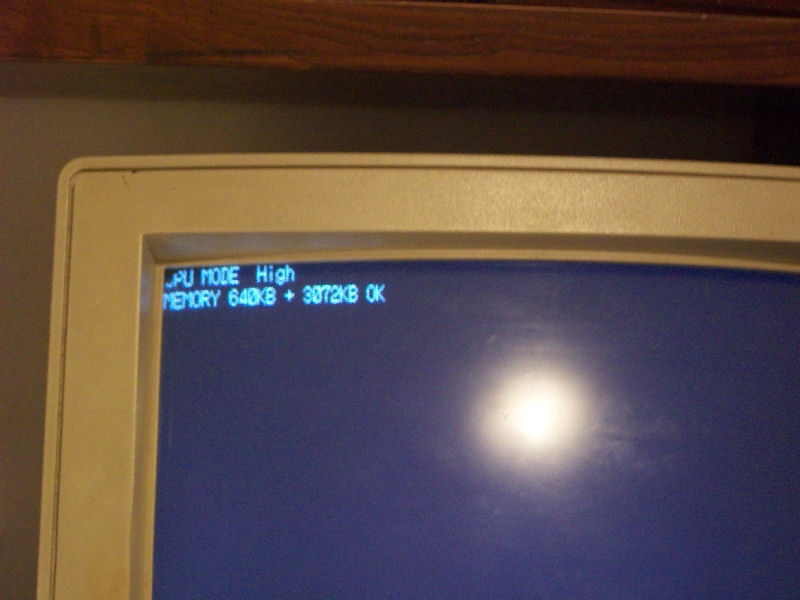
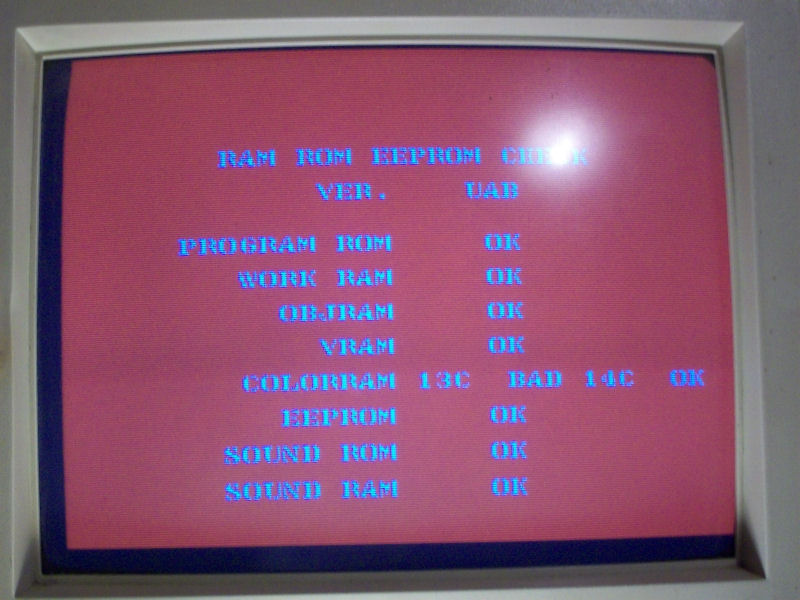
But immediately something sounded strange to me.According to its specs the PC-9821AP2/U8W model should have 5.6MB of default RAM (first 640KB are conventional memory plus 5MB of extended RAM) while, as you can see from picture above, mine had only 3.6MB so I missed 2MB of them somewhere.Also using an addon RAM card didn’t change the amount of memory.So, something else had to be wrong.Luckily I had another same PC with a good motherboard and tracing it I found that the five 74F245 had PIN1 (direction PIN which select the direction of the DATA transfer) in common while in the faulty motherboard this was only for two of the TTLs.So, due this, DATA could not be transferred from all available RAM to CPU resulting in only 3MB in total.
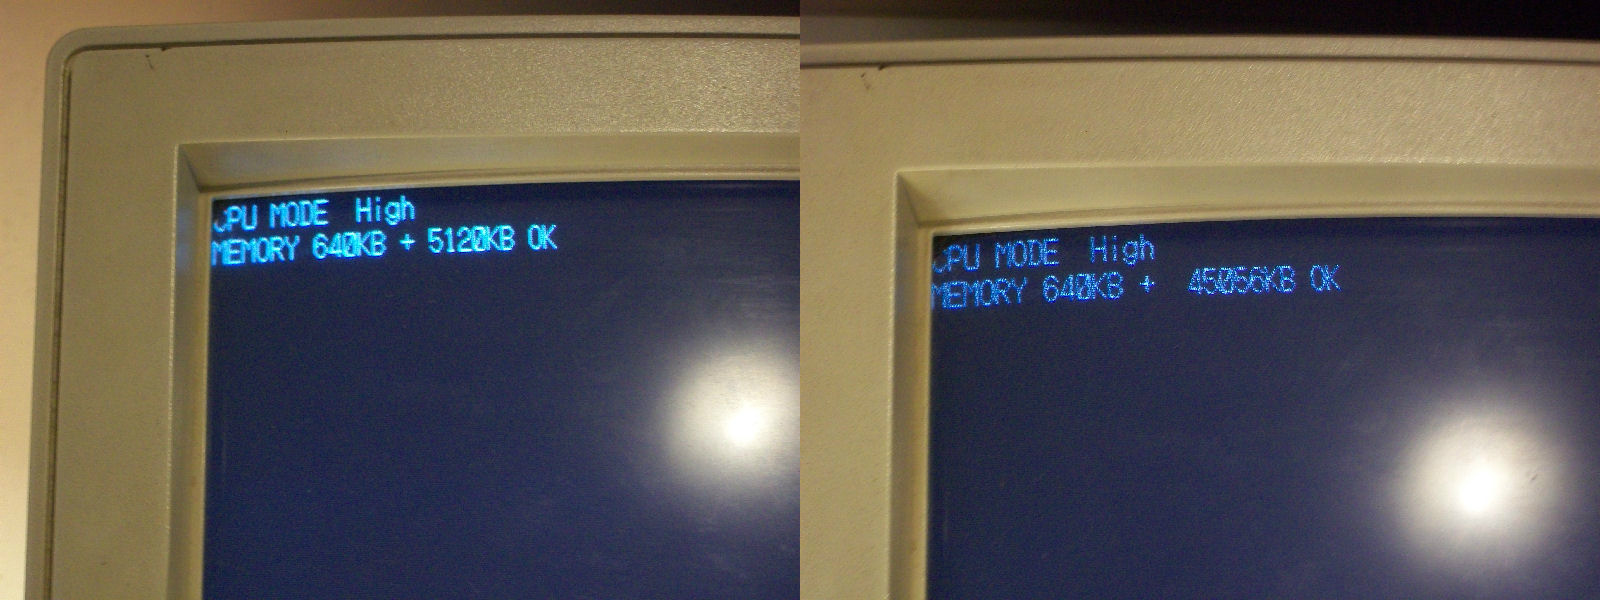
So I tied PIN1 all toghether with some AWG30 wire:

and the missing 2MB came back as well all extra memory of the addon card:
Another job done.