Sep 102015
 

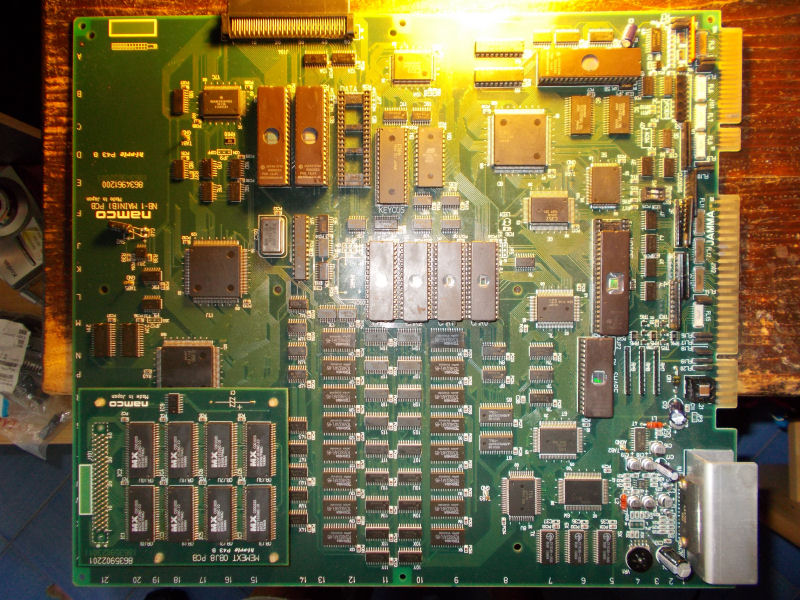
Got this NebulasRay PCB ( converted from another Namco NB-1 game) from my friend Josef for a repair:

NebulasRay_PCB

For the uninitiated the game is a vertical shoot ’em up released by Namco in the 1994.It runs on Namco NB-1 platform.Here are the specs:

  • Main CPU: Motorola 68EC020 32-bit processor @ 12.5 MHz (for the NB-1 games), 24.192 MHz (for the NB-2 games)
  • Secondary CPUs: Namco C329 with C137
  • Custom graphics chips: Namco C123, C145, C156 and C116 (for the graphic effects) with Namco C355, C187 and C347 (for the motion objects)
  • Sound CPU: Namco C351 (utilized for the NB-1 games), Namco C75 (Motorola M37702-based 16-bit) @ 16.128 MHz (utilized for the NB-2 games)
  • PCM sound chip: C352 @ 16.384 MHz that supports 8-bit linear and 8-bit muLaw PCM with four-channel output
  • Control chip: Namco C160
  • Board composition: two boards (NB-1) or single board (NB-2); an additional “gun” interface board was also utilized for Point Blank.

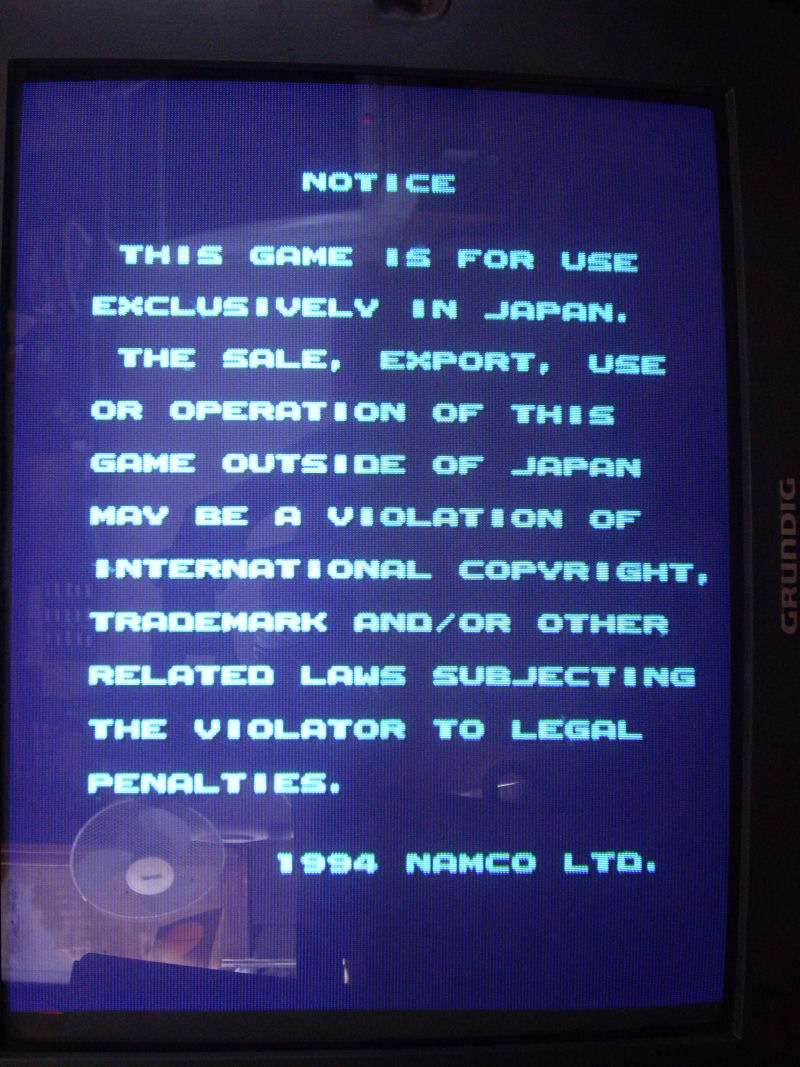
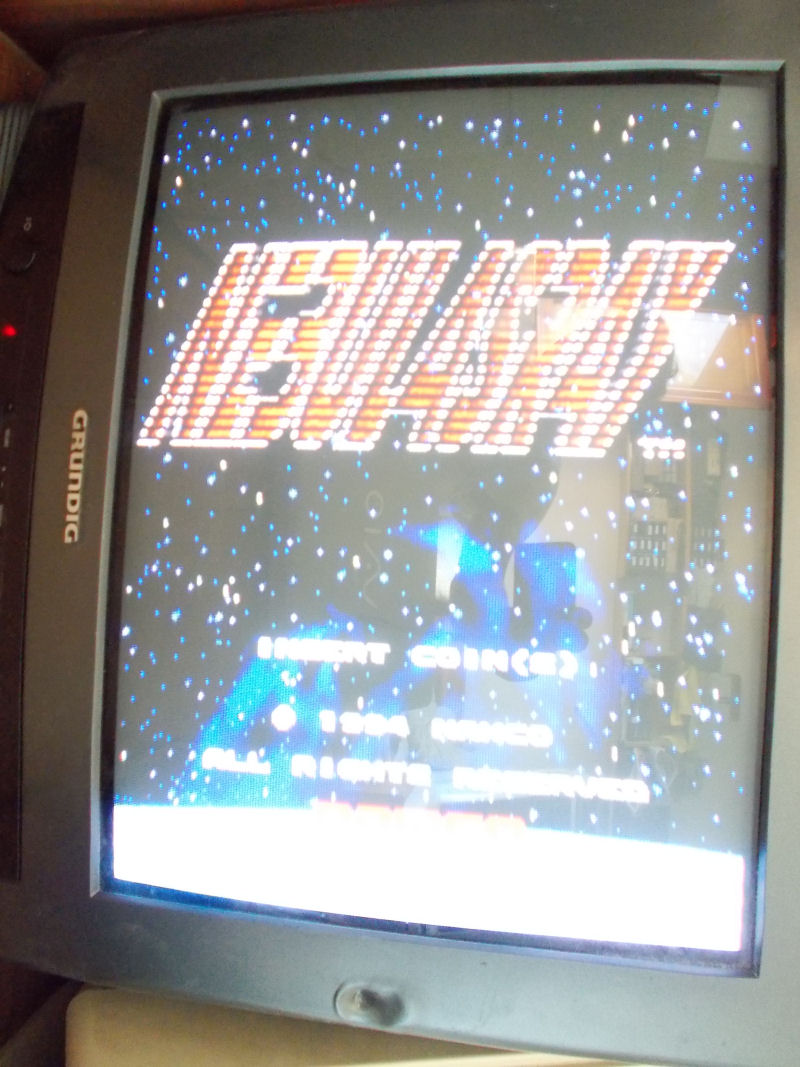
Board actually booted but didn’t pass the disclaimer screen:

disclaimer_stuck_

As said, main CPU is a 68EC020.Probing it, revelead a good activity until it got stuck on the above screen, at this point most of control lines were going to high impedance state terminating the BUS activity.So, there had to be some trouble in the main code execution but, given the hardware complexity and lack of documentation, I was pretty lost.

I started to do some tracing on PCB so I could locate the WORK RAMs ( two Toshiba TC551001 @5C and 6C):

WORK_RAM_C351_

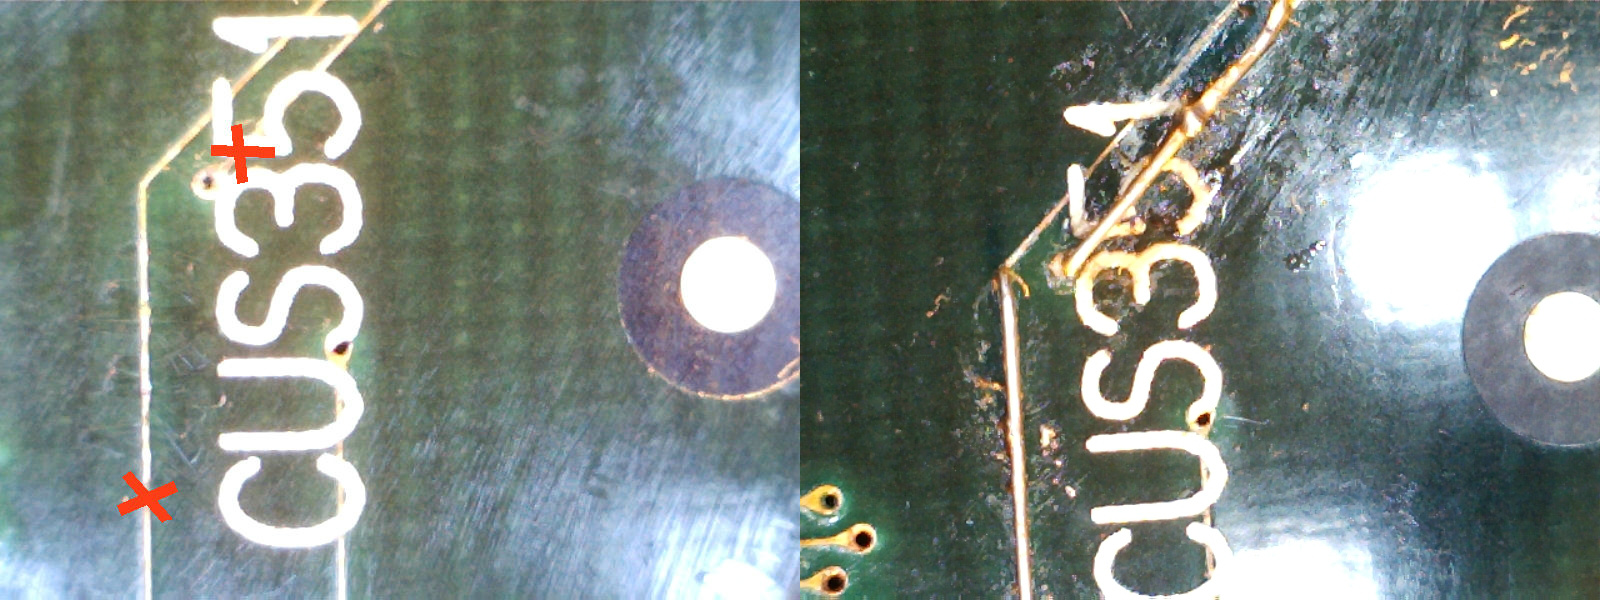
I figured out that they were not addressed directly by main CPU but through the near custom C351 (which is actually the custom sound CPU).I replaced both RAM but without luck.So, I removed the custom C351 and checking traces underneath it I found two breaks which I patched with some tiny wires:

C351_underneath

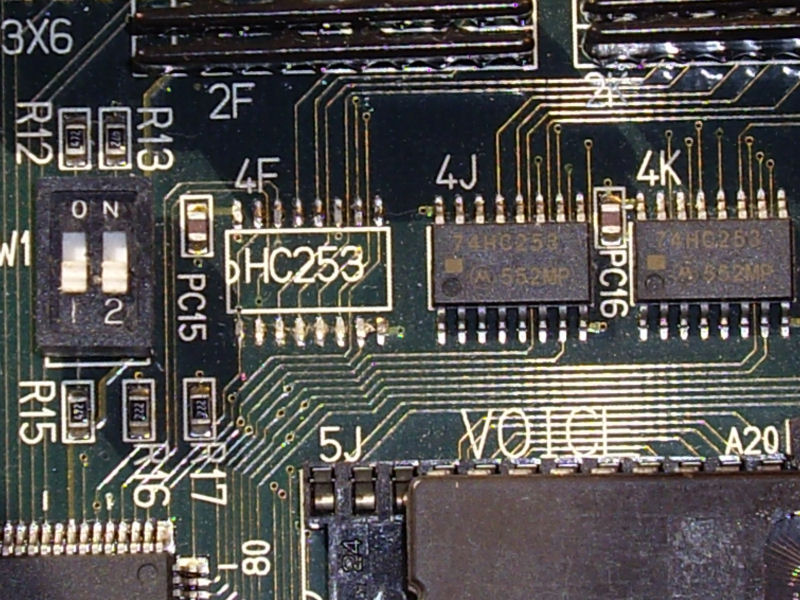
With this fix the board passed the initial disclaimer screen but went straight into test mode although dipswitches were set to off.I quickly traced this to a missing 74HC253 multiplexer @4F:

missing_74HC253@4F

Finally the board entered in game but all sprites were wrong :

wrong_sprites

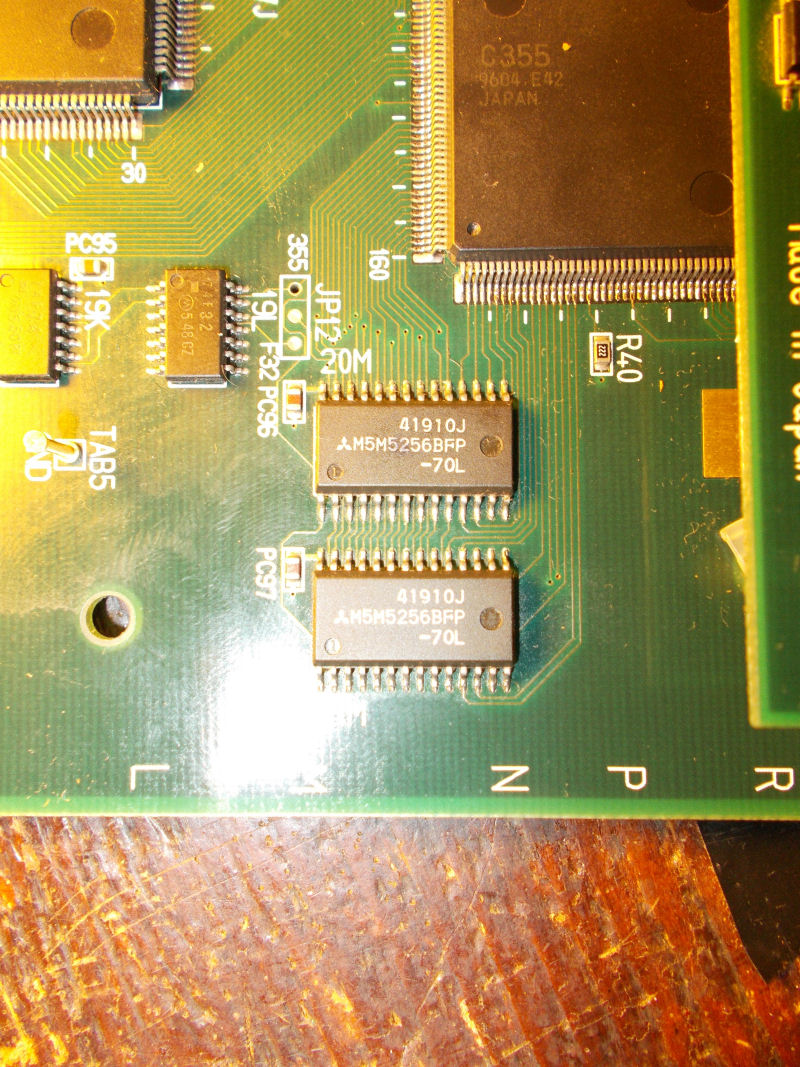
Object RAMs are two Mitsubishi M5M5256 @20M and 21M:

object_RAMs

A closer inspection revealed some loose pins that I promptly resoldered.In this way all sprites were restored except for jailbairs on some of them (like game title ):

jailbairs

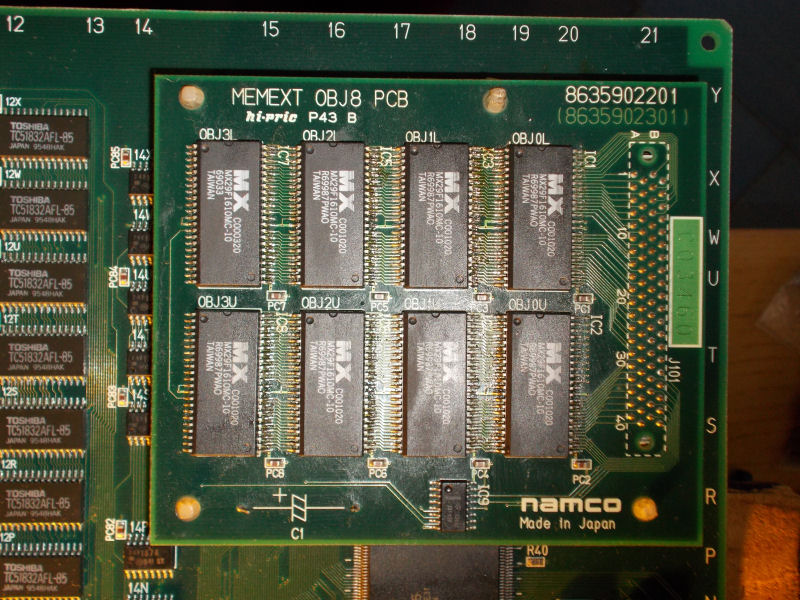
All sprites ROMs are on the small daughterboard in form of 8 MX29F1610 FLASH devices :

object_PCB

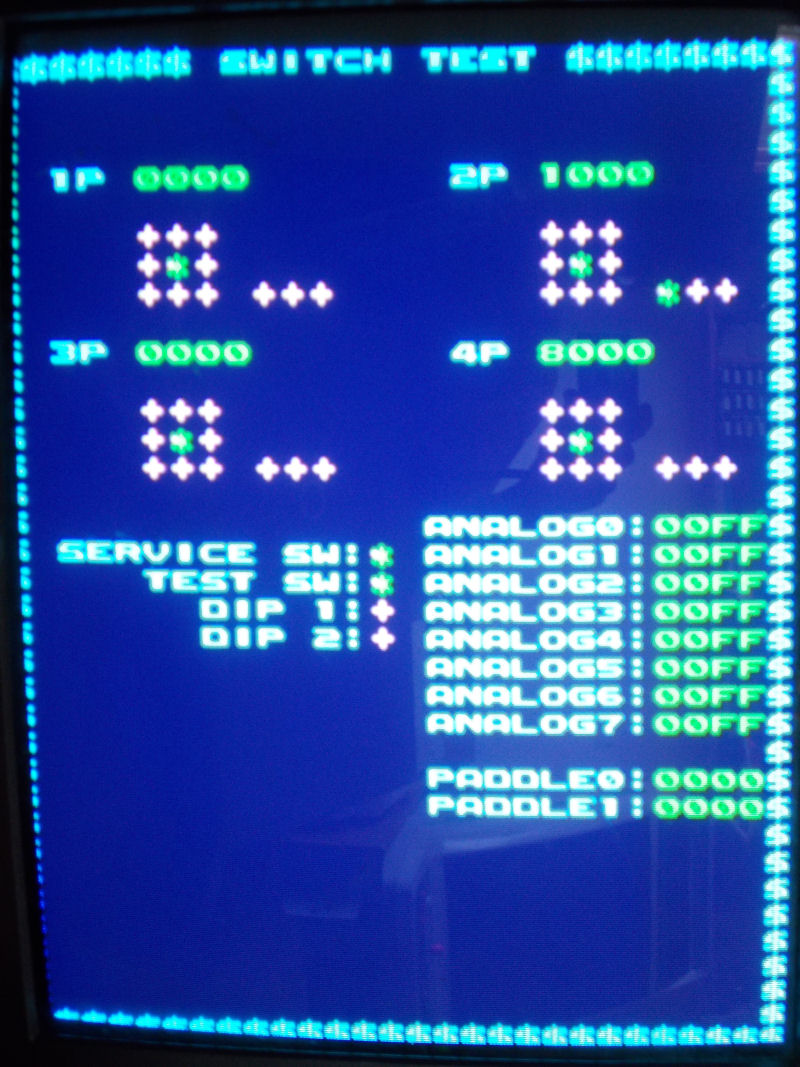
Since  the board was a converted one, they were hand soldered not in professional way (let’s say so..) so I reflowed them.Graphics and sound were perfect now but some inputs were missing or stuck like reported in switch test:

missing_stuck_inputs

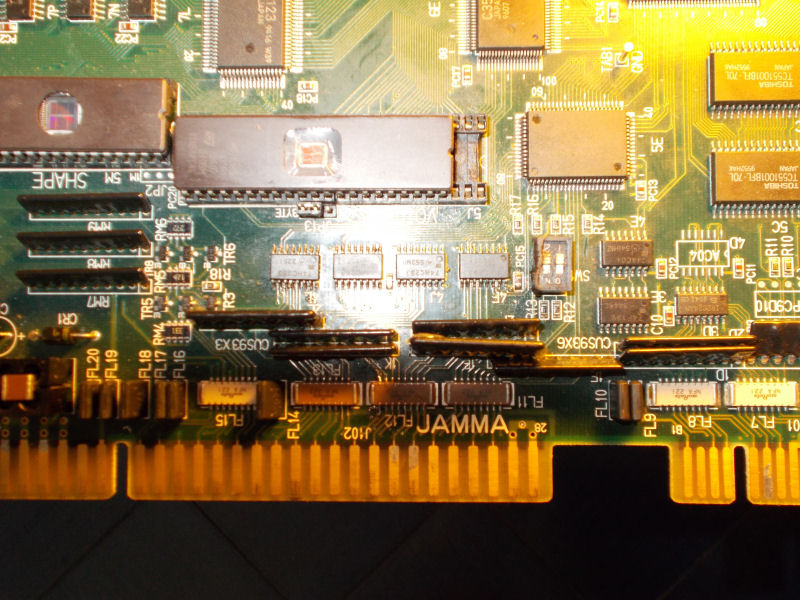
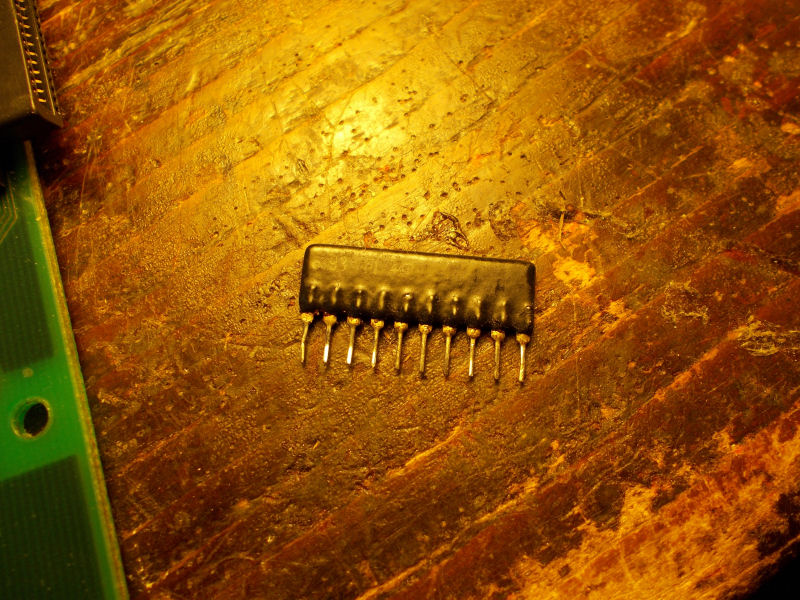
The inputs circuitry is so designed on this kind of hardware : JAMMA connector pin is connected to some EMI filter arrays , then to some custom CUS93 resistor arrays, then to some 74HC253 which combine inputs into outputs that go to the ASIC C160 (which is the I/O chip):

inputs_circuitry

After some tracing I could pinpoint the faults in two bad CUS93 resistor arrays @2L and 1F:

CUS93

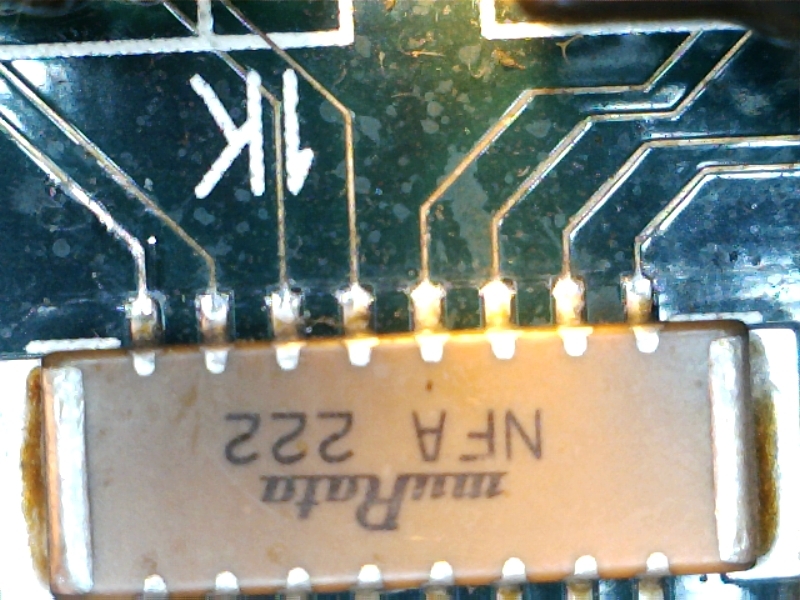
Besides, there was intermittent contact between some pins of JAMMA connector and EMI network filter array @1K:

EMI_filter_array_2

Board 100% fixed.End of (long..) job.
 Posted by at 11:30 pm

New PAL dumps added

 PAL Updates  Comments Off on New PAL dumps added
Sep 052015
 

Today we have some new PLD dumps.

‘coolmod’ dumps the original PAL ‘VA63B’ @1 on his Varth (US revision B) CPS1 PCB.This dump replaces the handcrafted one made by Shoestring some time ago.

Andreas sent dumps from a Blood Brothers original PCB from TAD Corp.
They are made from 5 unprotected PLDs (GAL16V8 and PAL16L8) except protected U0242, U034 and U076.Dumps are untested because of a missing custom chip.

Thanks to both.

I dumped the three PLDs from a Macross Plus PCB.Original devices were three GAL16V8B, they were unsecured so I could read them with my EPROM programmer.

 Posted by at 5:32 pm
Sep 042015
 

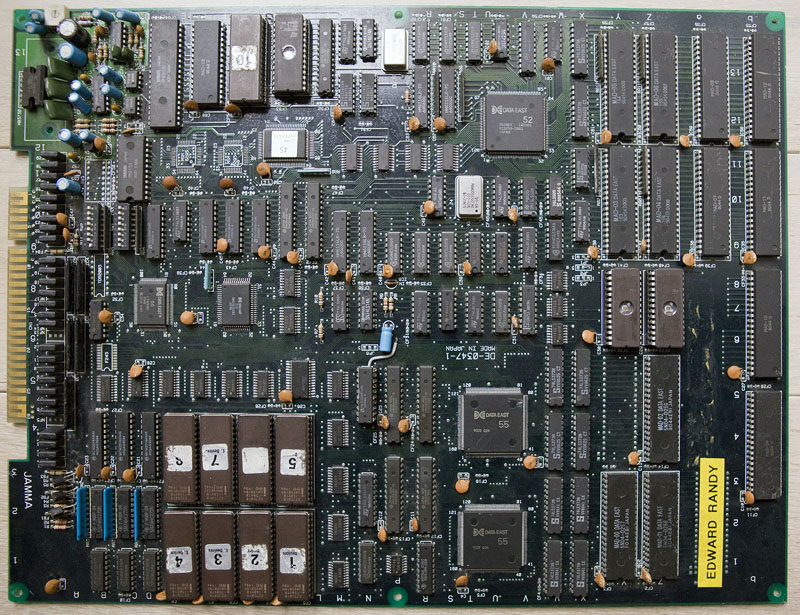
I got an Edward Randy with a black screen (but partial sound).

After a few checks with my scope, I quickly found a PAL @ location N5 with no signals on all of its outputs (BUT signals on its inputs).

edrandy1

As PALs from this game are not available yet online, I looked for other games that possibly shared the same hardware/system in order to try using a similar PAL.

And yes, that system is listed as “Data East Caveman Ninja Hardware” in MAME and some of these games got their PALs dumped. It was the case of Caveman Ninja and Robocop 2 that shares an almost identical PCB layout than Edward Randy (there are only a few differences in the GFX ROMs part).

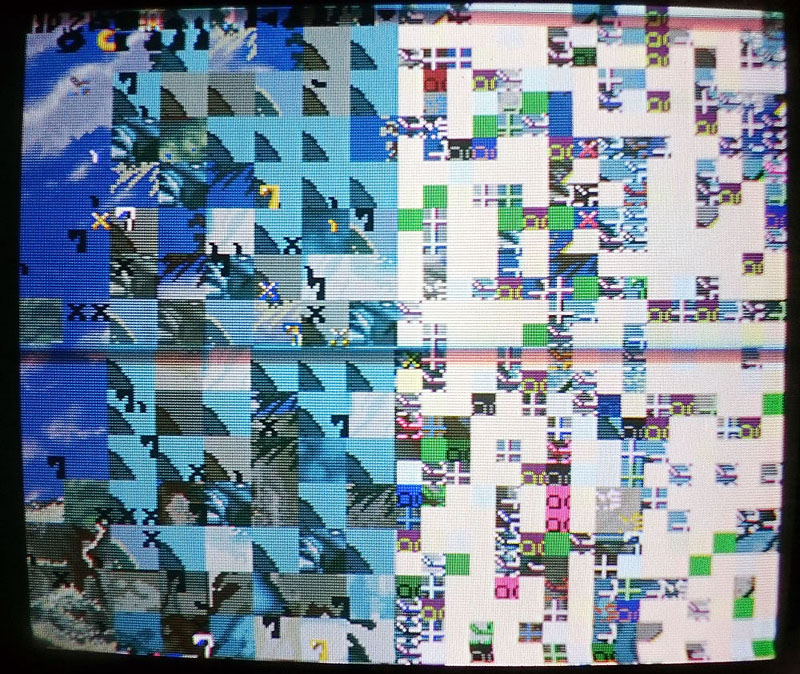
So I burned the PAL at location N5 from Robocop 2 and plugged it on my Ed Randy board and here is what I got:

edrandy4

Well, at that time I was thinking it was due to an incompatibility between Robocop 2 and Edward Randy PALs and I temporarily gave up, waiting to get a dump from a working Edward Randy to be sure…

Then Shoestring confirmed me Caveman Ninja and Robocop 2 PALs @ N5 were strictly identical. It leaded him to believe that perhaps they are all common to each other and maybe there is a different problem with my board, which pushed me to have a look back at my board for possible other faulty chips. And he did well…

I started looking for other issues on the PCB and noticed that bending the board made the garbled graphics changing, even making them better looking at some point.
So I suspected the two SMC Data East customs labeled “55” having bad solder joints and reflowed the solder on them.

It then went way better. I had clean backgrounds in game, full intro with clean texts and pictures, title and Data East logo appearing (didn’t have all of that before) but no sprites in game. I noticed a square on the bottom-right corner that seemed containing garbled parts of sprites.

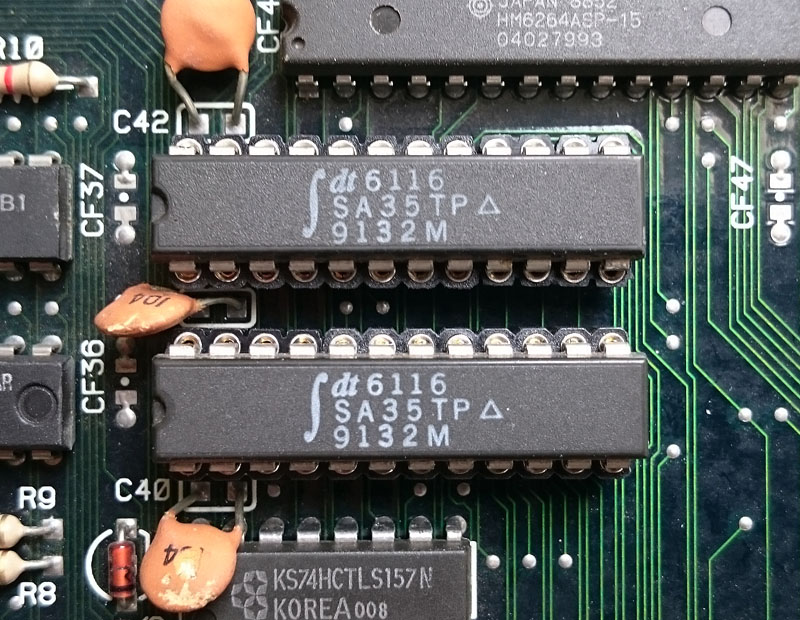
I then managed to find where the sprites part was located on the board and found two 6116 RAMs @ locations N9 and M9 that had suspicious signals on their data lines (pulsing but weakly and at low voltage). Piggybacking a known good working compatible RAM made parts of garbled sprites randomly appearing on screen.

I then desoldered one of the two RAMs (at location N9). With no big surprise it was tested bad on my programmer. I soldered a socket and put a new RAM in place. There was still no sprites but the garbled square on the bottom-right corner was not there anymore. Data lines on the new RAM were looking pretty much better though with strong pulses at 5V. The RAM located at M9 still showed weak outputs so I replaced it with another good known RAM:

edrandy6

Then sprites magically appeared !

edrandy5

Only one thing was remaining: the voice generating chips (2x OKI M6295) were missing so I replaced them and got the sound fully working.

I played the game several times since that and it is working perfectly.

Lethal Enforcers 2 repair log

 PCB Repair Logs, Repair Logs  Comments Off on Lethal Enforcers 2 repair log
Sep 032015
 

Got this board as fully working

Foto 30-08-15 09 30 31

I immediately noticed some problems on the sprites


Foto 31-08-15 18 15 10

Transparent objects and shadows were solid and some sprites had glitches

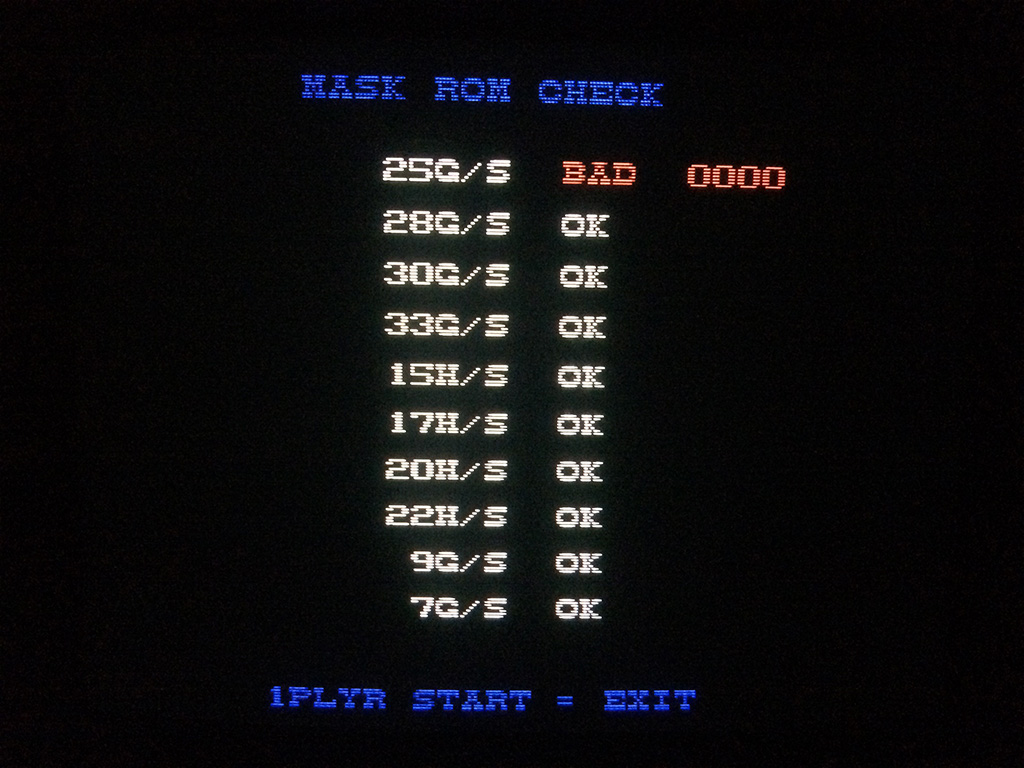
Konami maskroms are known to be unreliable so I ran immediately the maskrom test reveling that rom @25g was faulty.

Foto 31-08-15 18 18 23


Before desoldering I checked also the custom underneath which sometims has pins lifted but it was good.

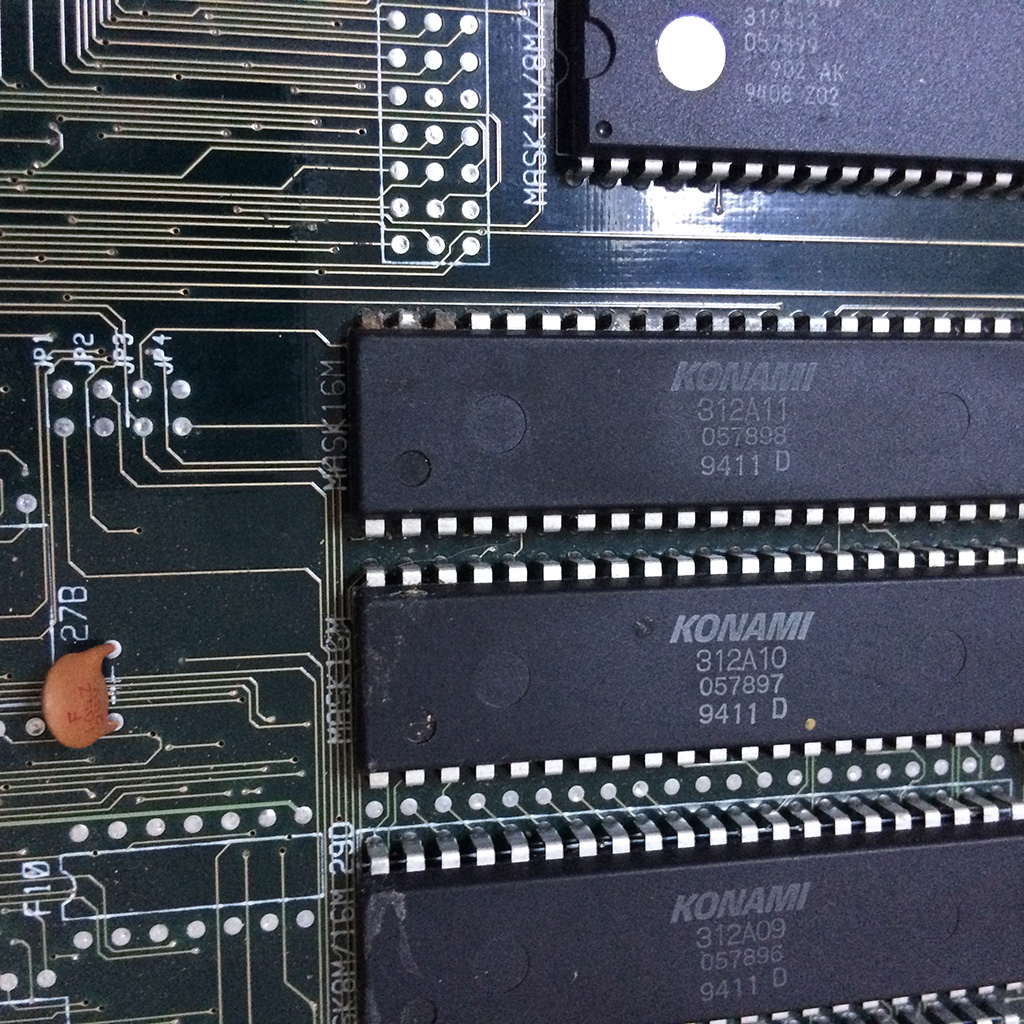
Upon a close inspection I saw some rust on 3 pins of the maskrom @25g which in my opinion could be the reason of the fault

Foto 31-08-15 18 10 14


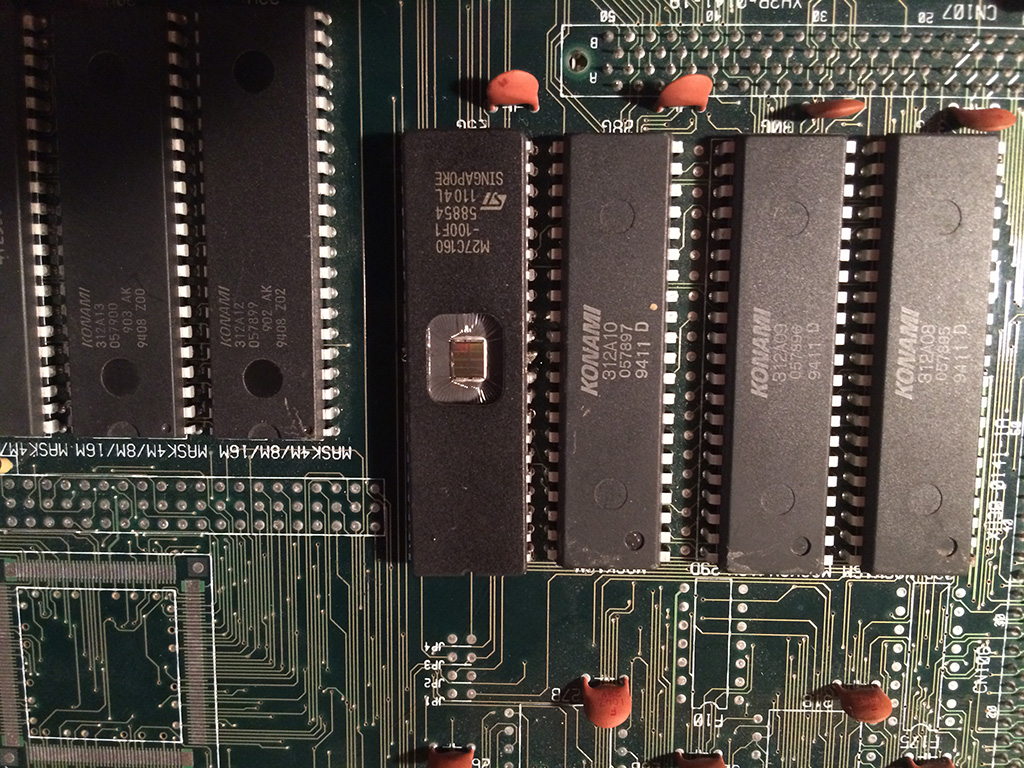
Therefore I decided to desolder it and resolder a 27c160 programmed with the correct file


Foto 03-09-15 22 48 03


Board 100% fixed

Real Break – Billiard Accademy repair log

 PCB Repair Logs, Repair Logs  Comments Off on Real Break – Billiard Accademy repair log
Aug 302015
 

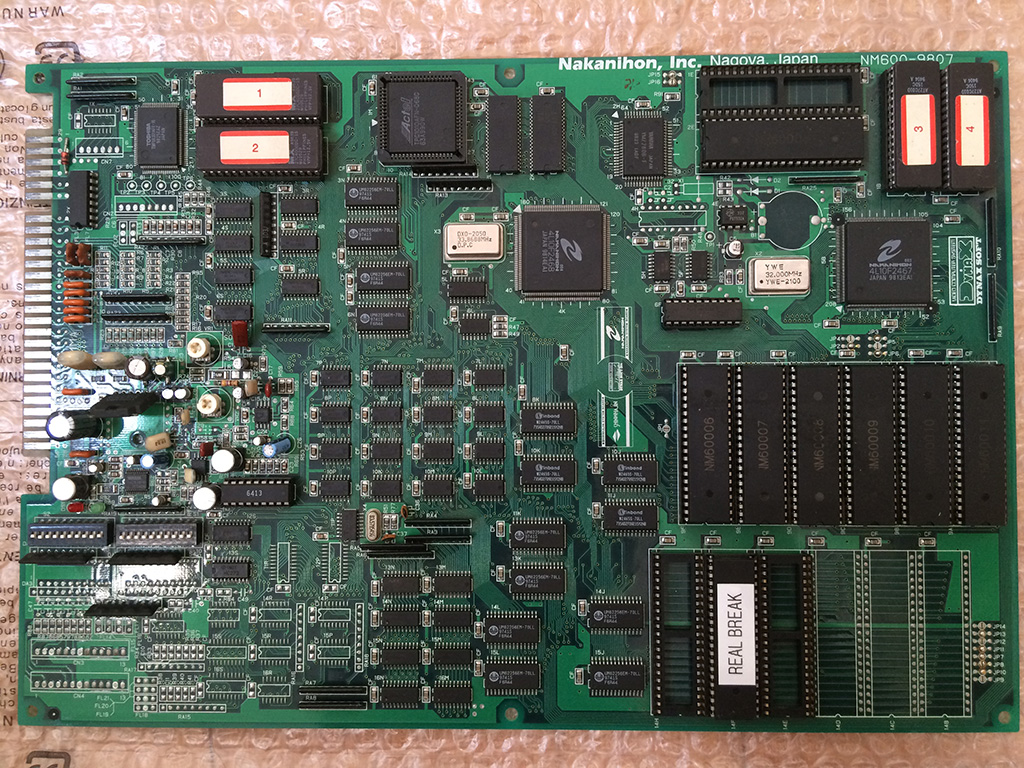
Bought this board as fully working for 30 euros but turned out it had a problem on the audio.

Foto 30-08-15 09 26 59

All the music and sound effects were totally disturbed and garbled.

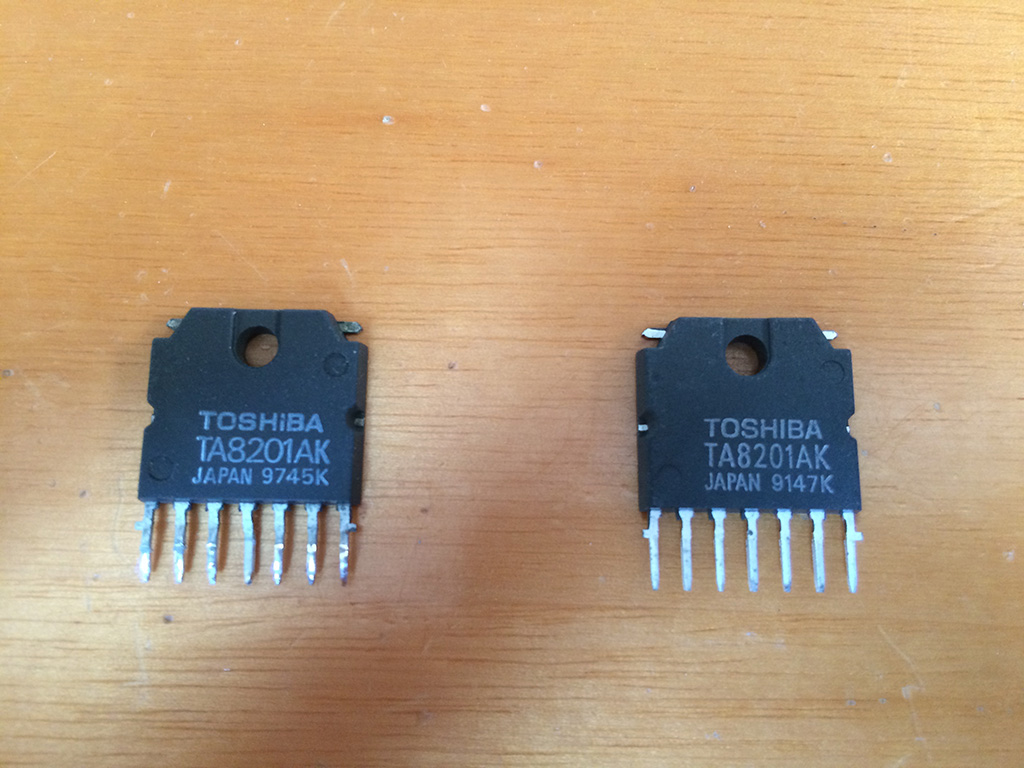
The TA8201AK amplifier was becoming so hot that you could smell it burning.

The pcb has a lot of smd capacitors that are reknown to be unreliable but I noticed that two of them were already changed with normal ones.

I was sure that it was the amplifier shorted internally because in some occasions my 2A fuse was blown so I bought from ebay a cheap one for 4 euros.

Foto 30-08-15 09 27 34

On the left side the original one dated 1997, on the right the one bought on ebay, dated 1991 😉

After soldering the new one, the problem remained.

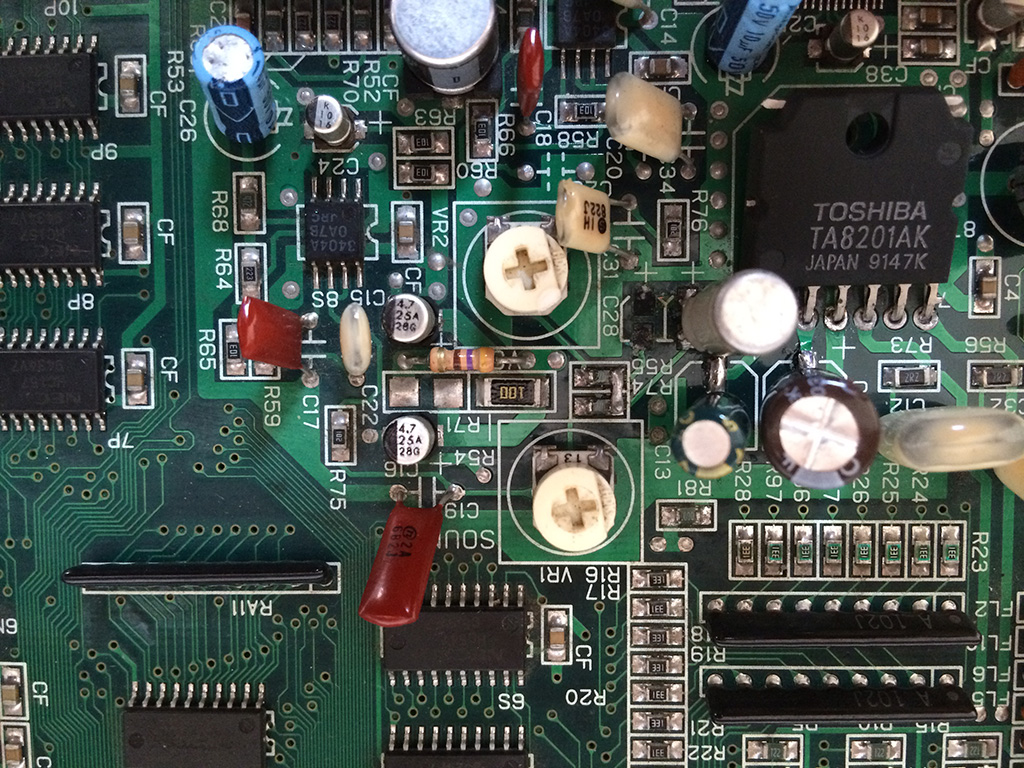
This time I decided to go for more professional approach and downloaded the datasheet and checked all the caps and resistances according to the sample circuit.

To make a long story short, the two tiny caps (C28 and C29, one for the sound sfx and one for the music) connected to the input of the amp were somewhat faulty and leaking under the body.

Foto 30-08-15 10 46 45

After desoldering both of them , I noticed they were1nF each and not compliant to the suggested one of the datasheet which should be 4,7uF.

I decided to install only one cap of 4,7uF and shorted the resistances R55 and R74 to mix the sounds before the cap.

This solved completely the issues and got very clean sound with the amplifier running with a reasonable temperature.