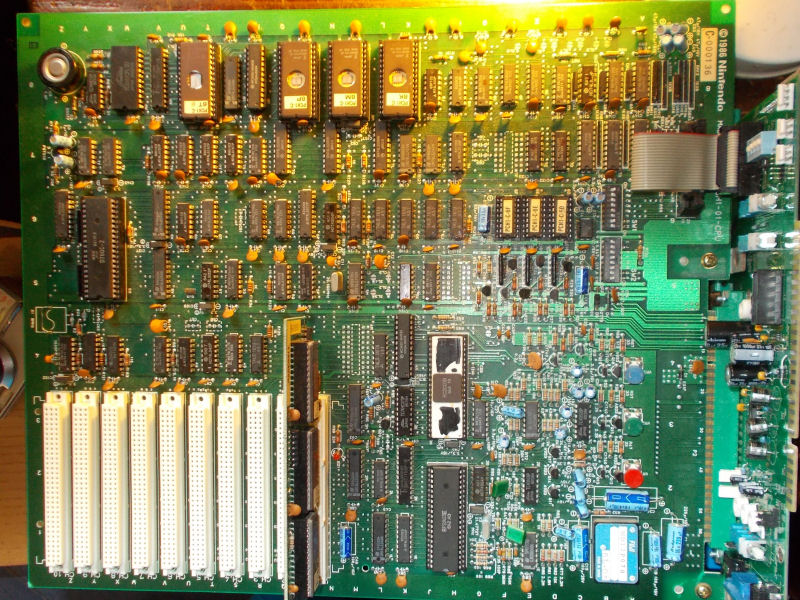
I got this Ghox PCB from my friend ‘robotype’ for a repair:

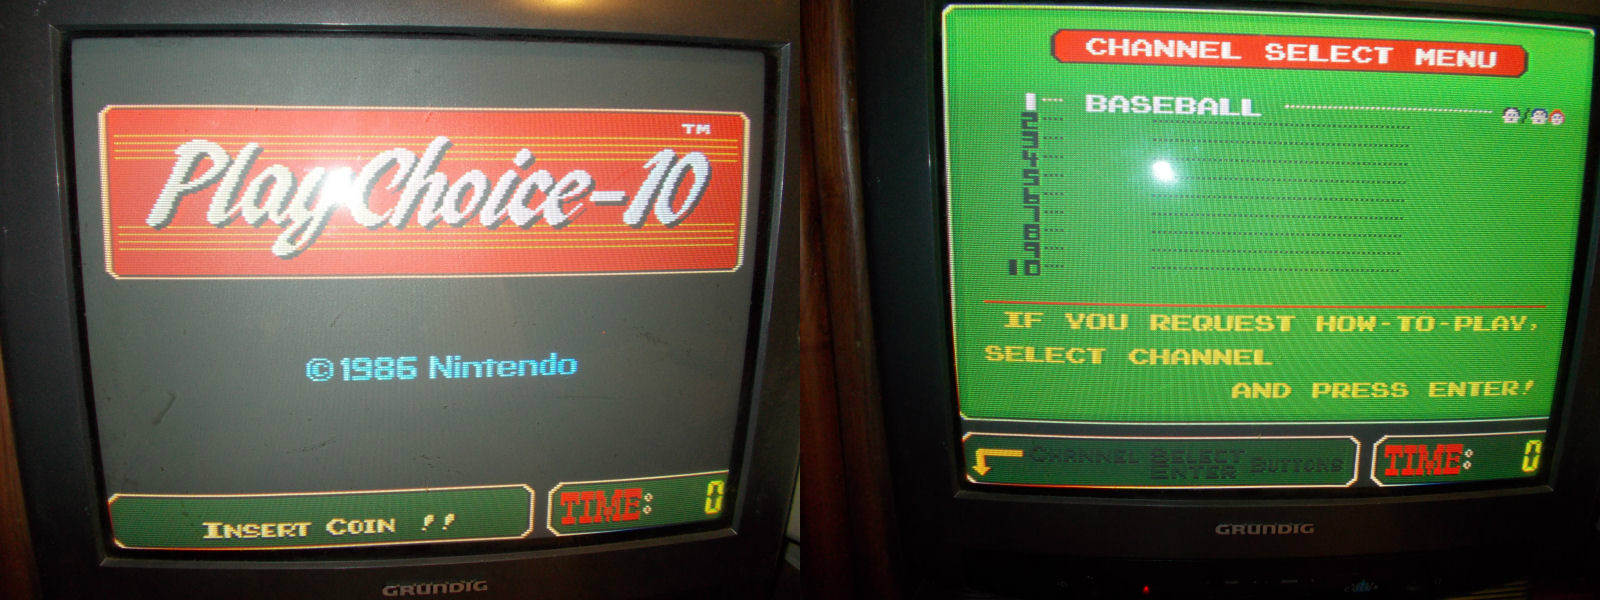
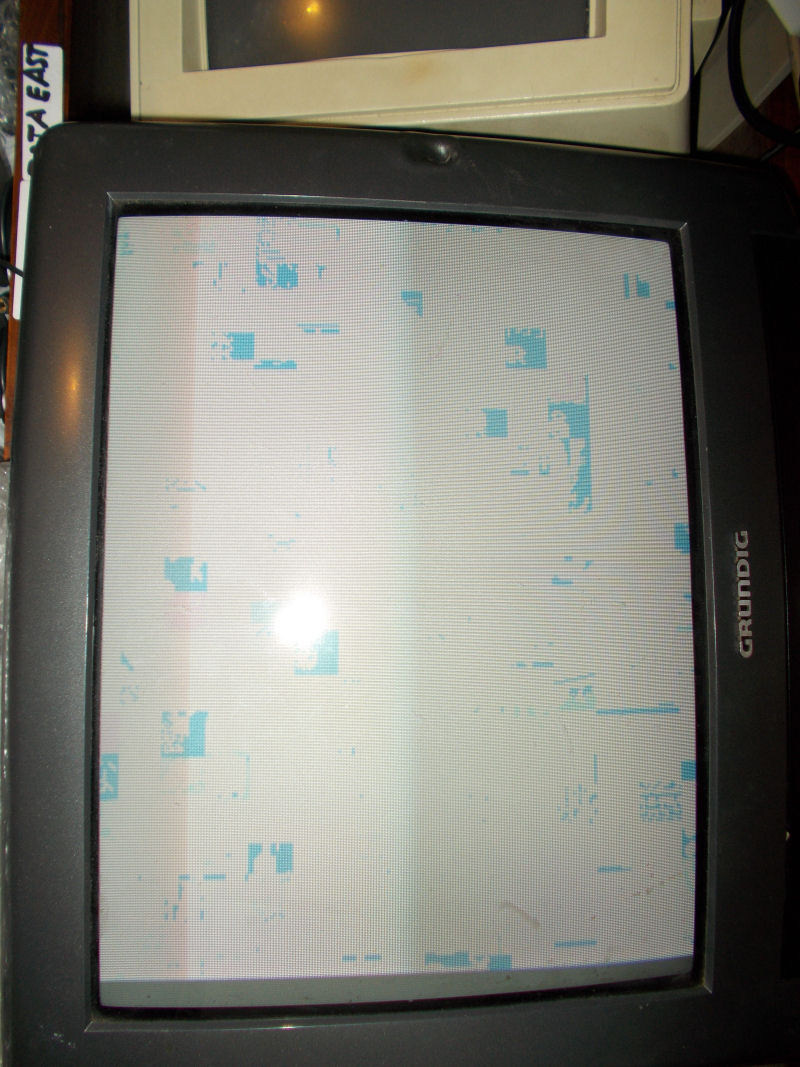
On the power up I was greeted by this static screen:
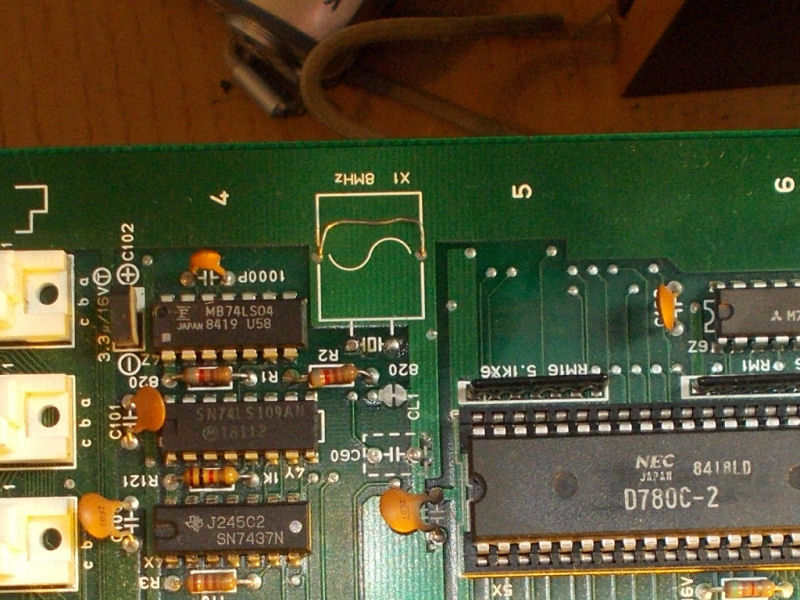
Address/data bus of 68000 main CPU was inactive.As usual I went to loot at MAME source (that is a bit like a bible for us repairers) and I found this interesting comment:
// Ghox 68K reads data from MCU shared RAM and writes it to main RAM.
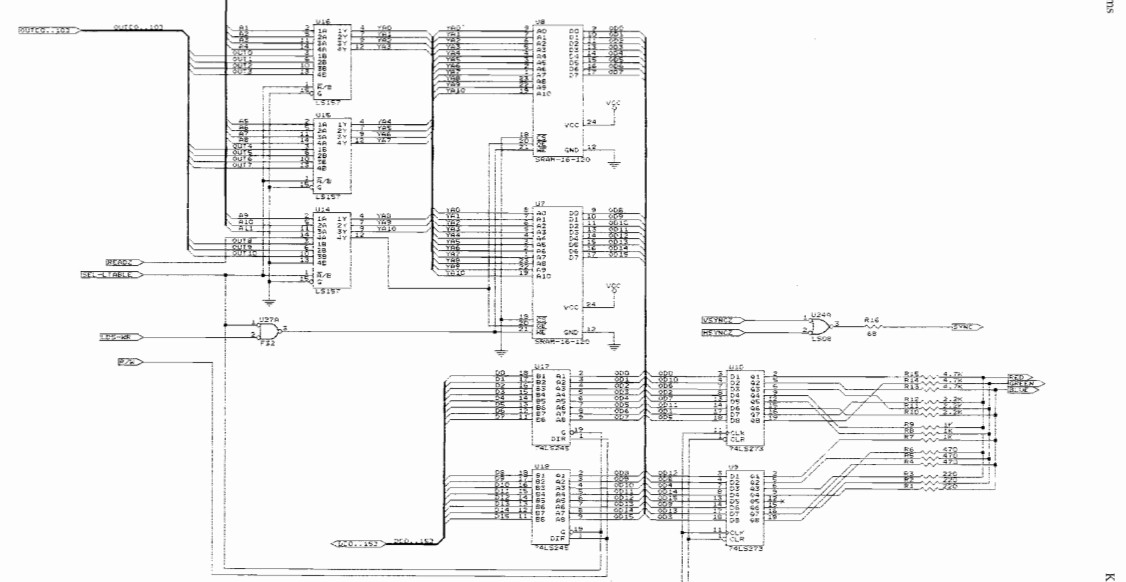
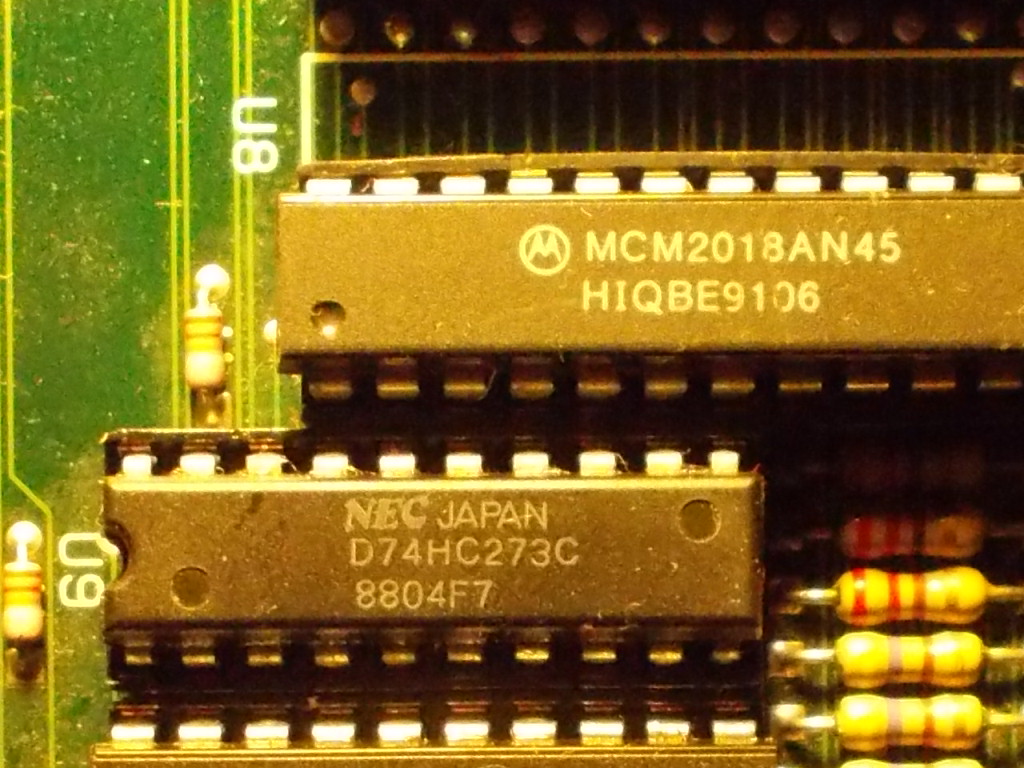
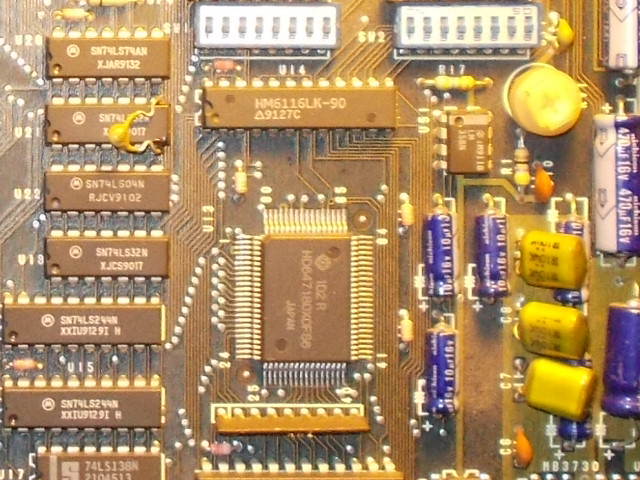
I could identify the HD647180 MCU RAM in a 6116 @U14 :
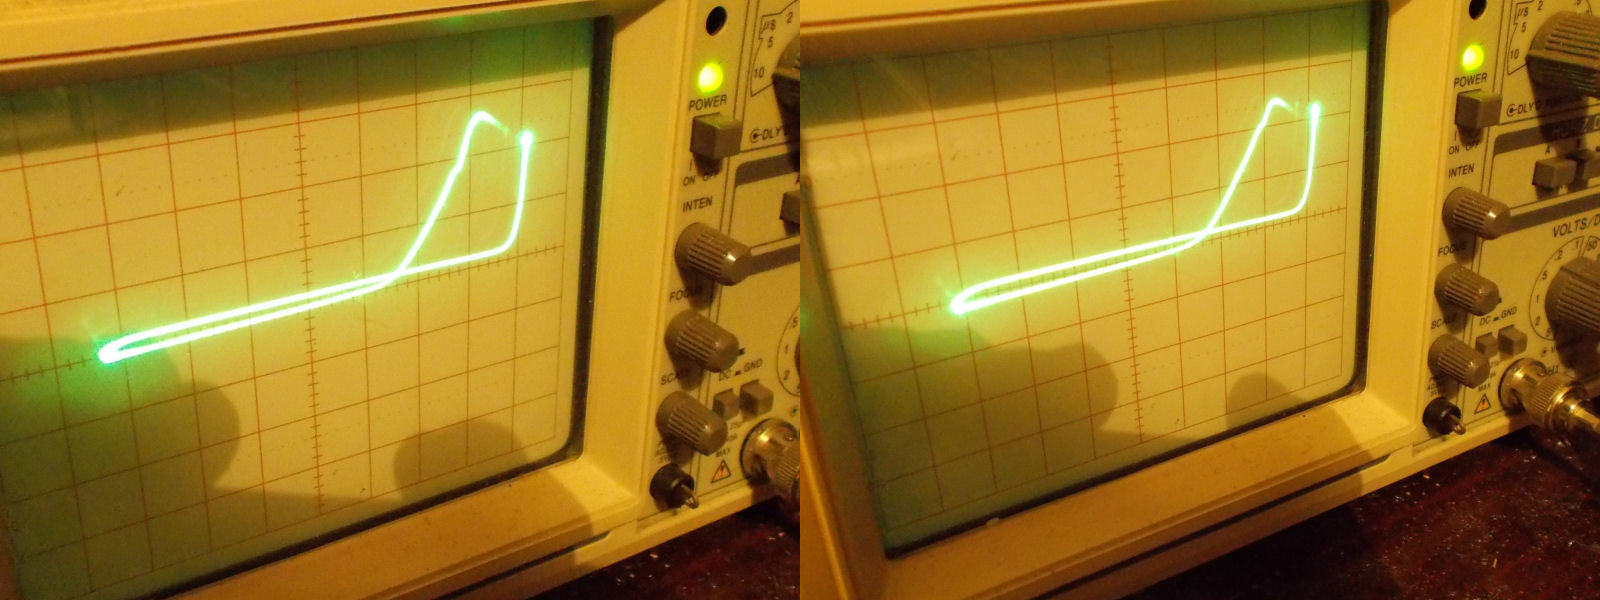
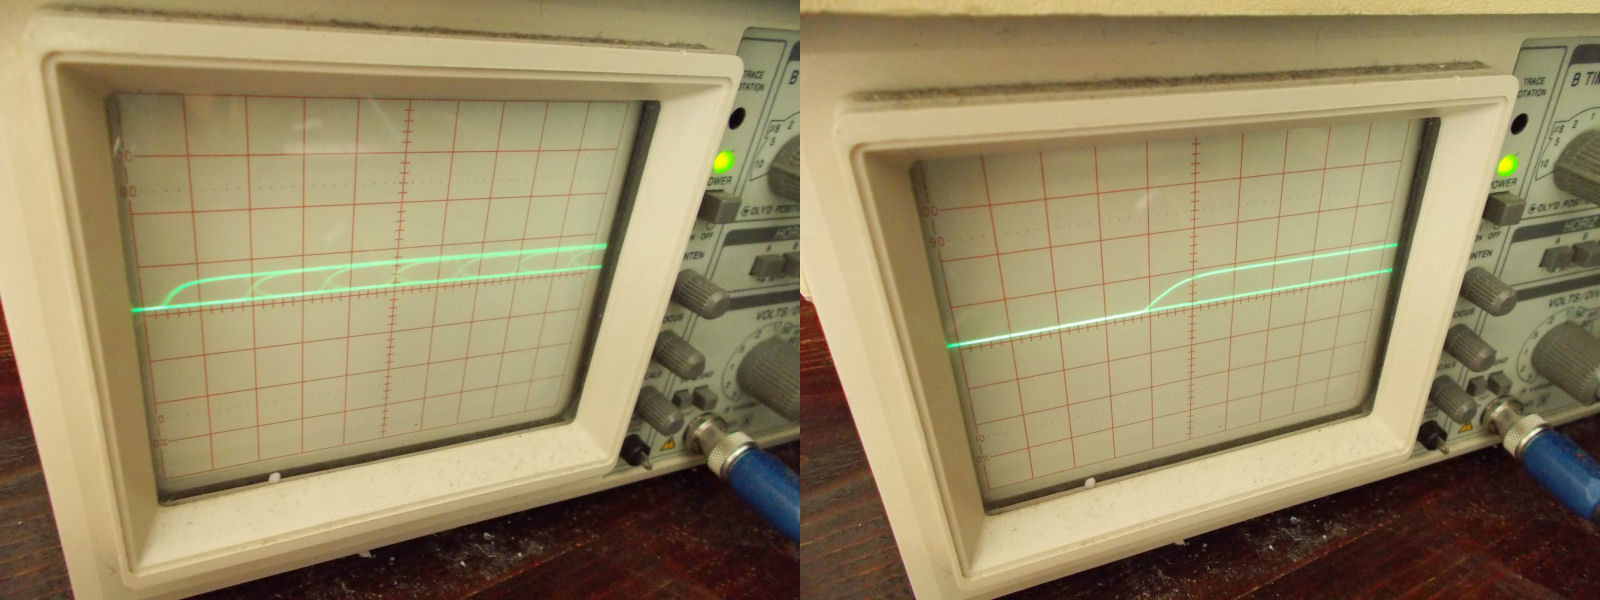
So I went to probe it with my analog oscilloscope and found weak signal on some address lines (good one on left picture, bad on right) :
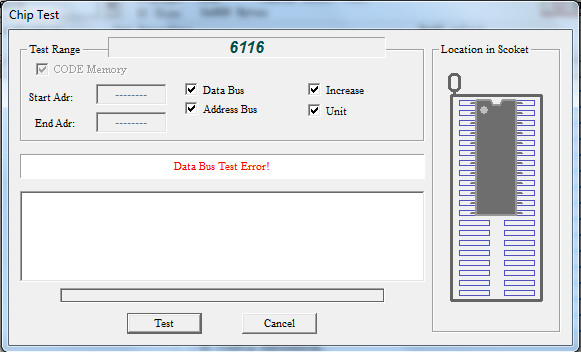
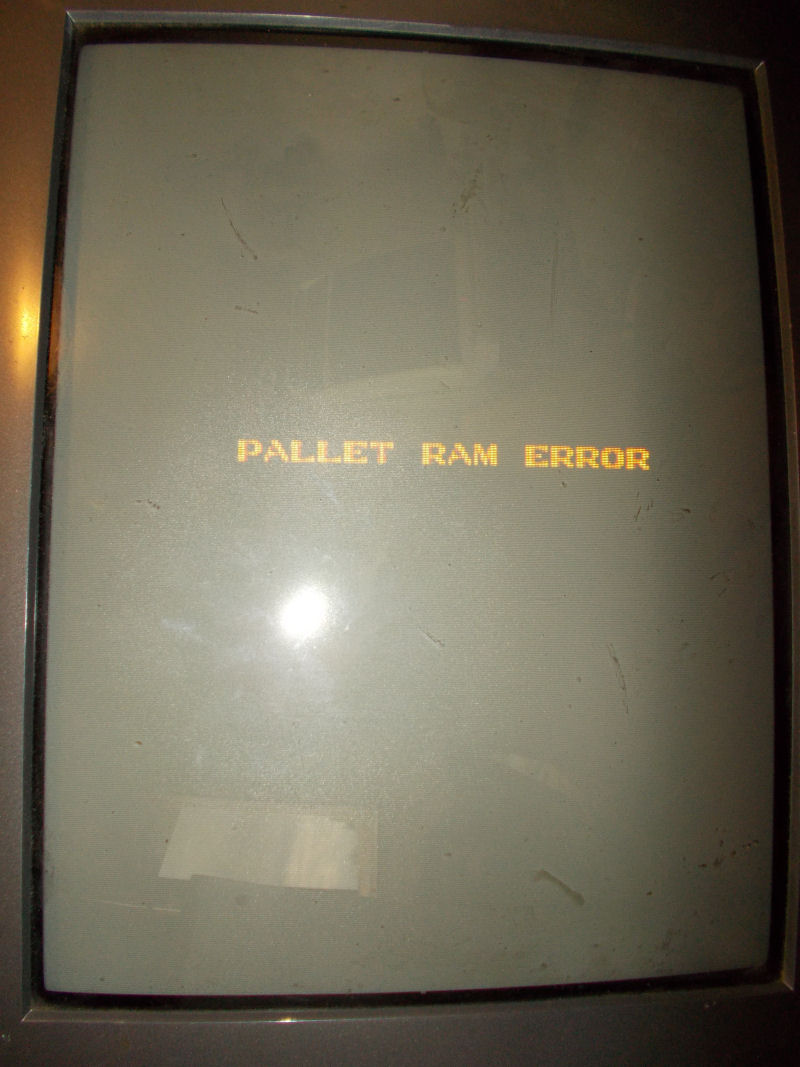
I piggbacked this RAM and board booted showing this error message:
After replaced the MCU RAM (which actually failed the out-of-circuit test), I traced the palette RAMs in two 6116 chips @U41 and U42 :
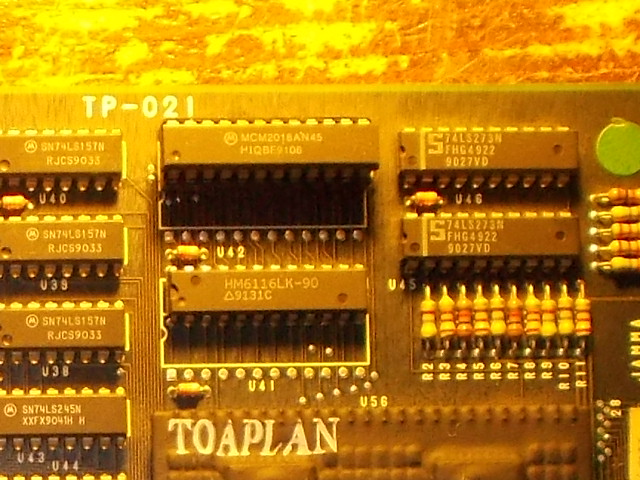
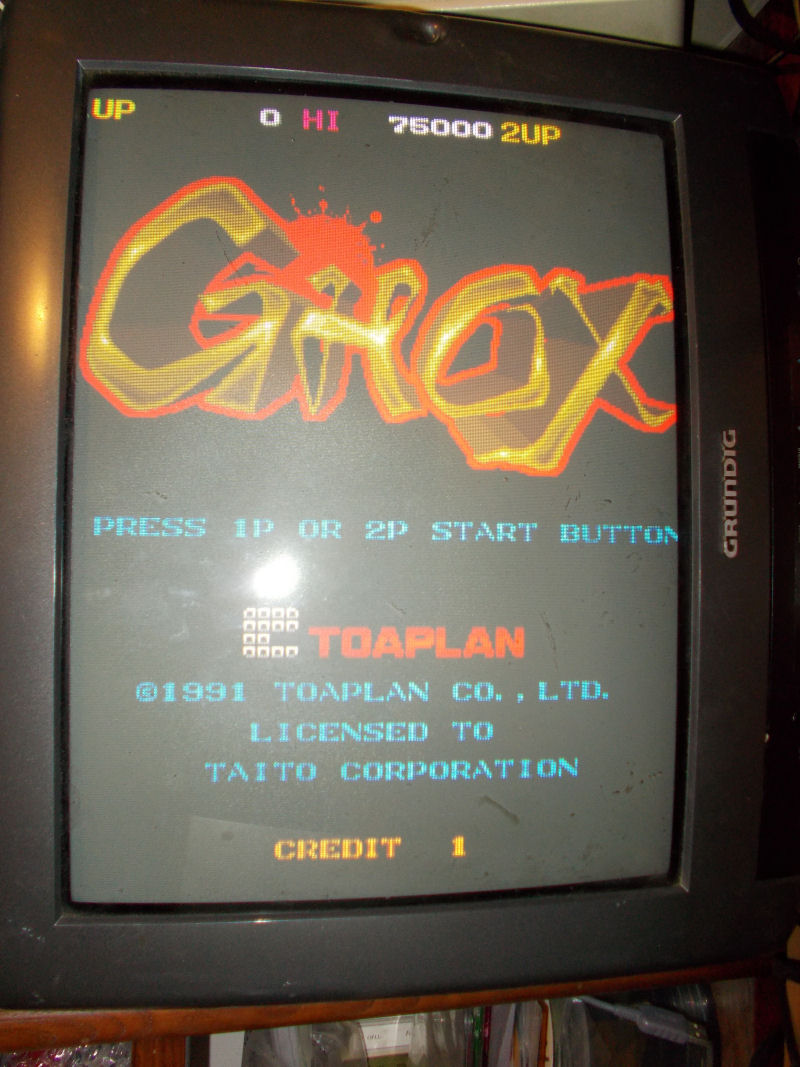
One of them had already been replaced so I went to piggyback the other one @U41 and board successfully booted:
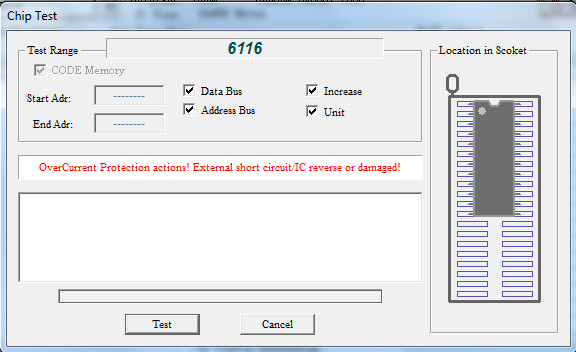
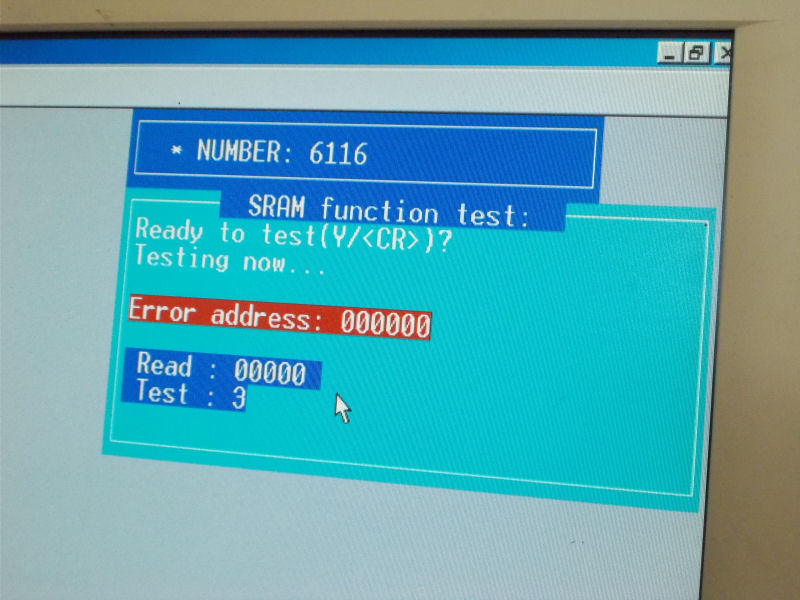
Obviously the chip failed miserably the test on my programmer:
End of job.