Got this fairly cheap from eBay.
Didn’t really know what I was getting but was described as have a chip missing. How bad can it be??
Answer: Very bad.
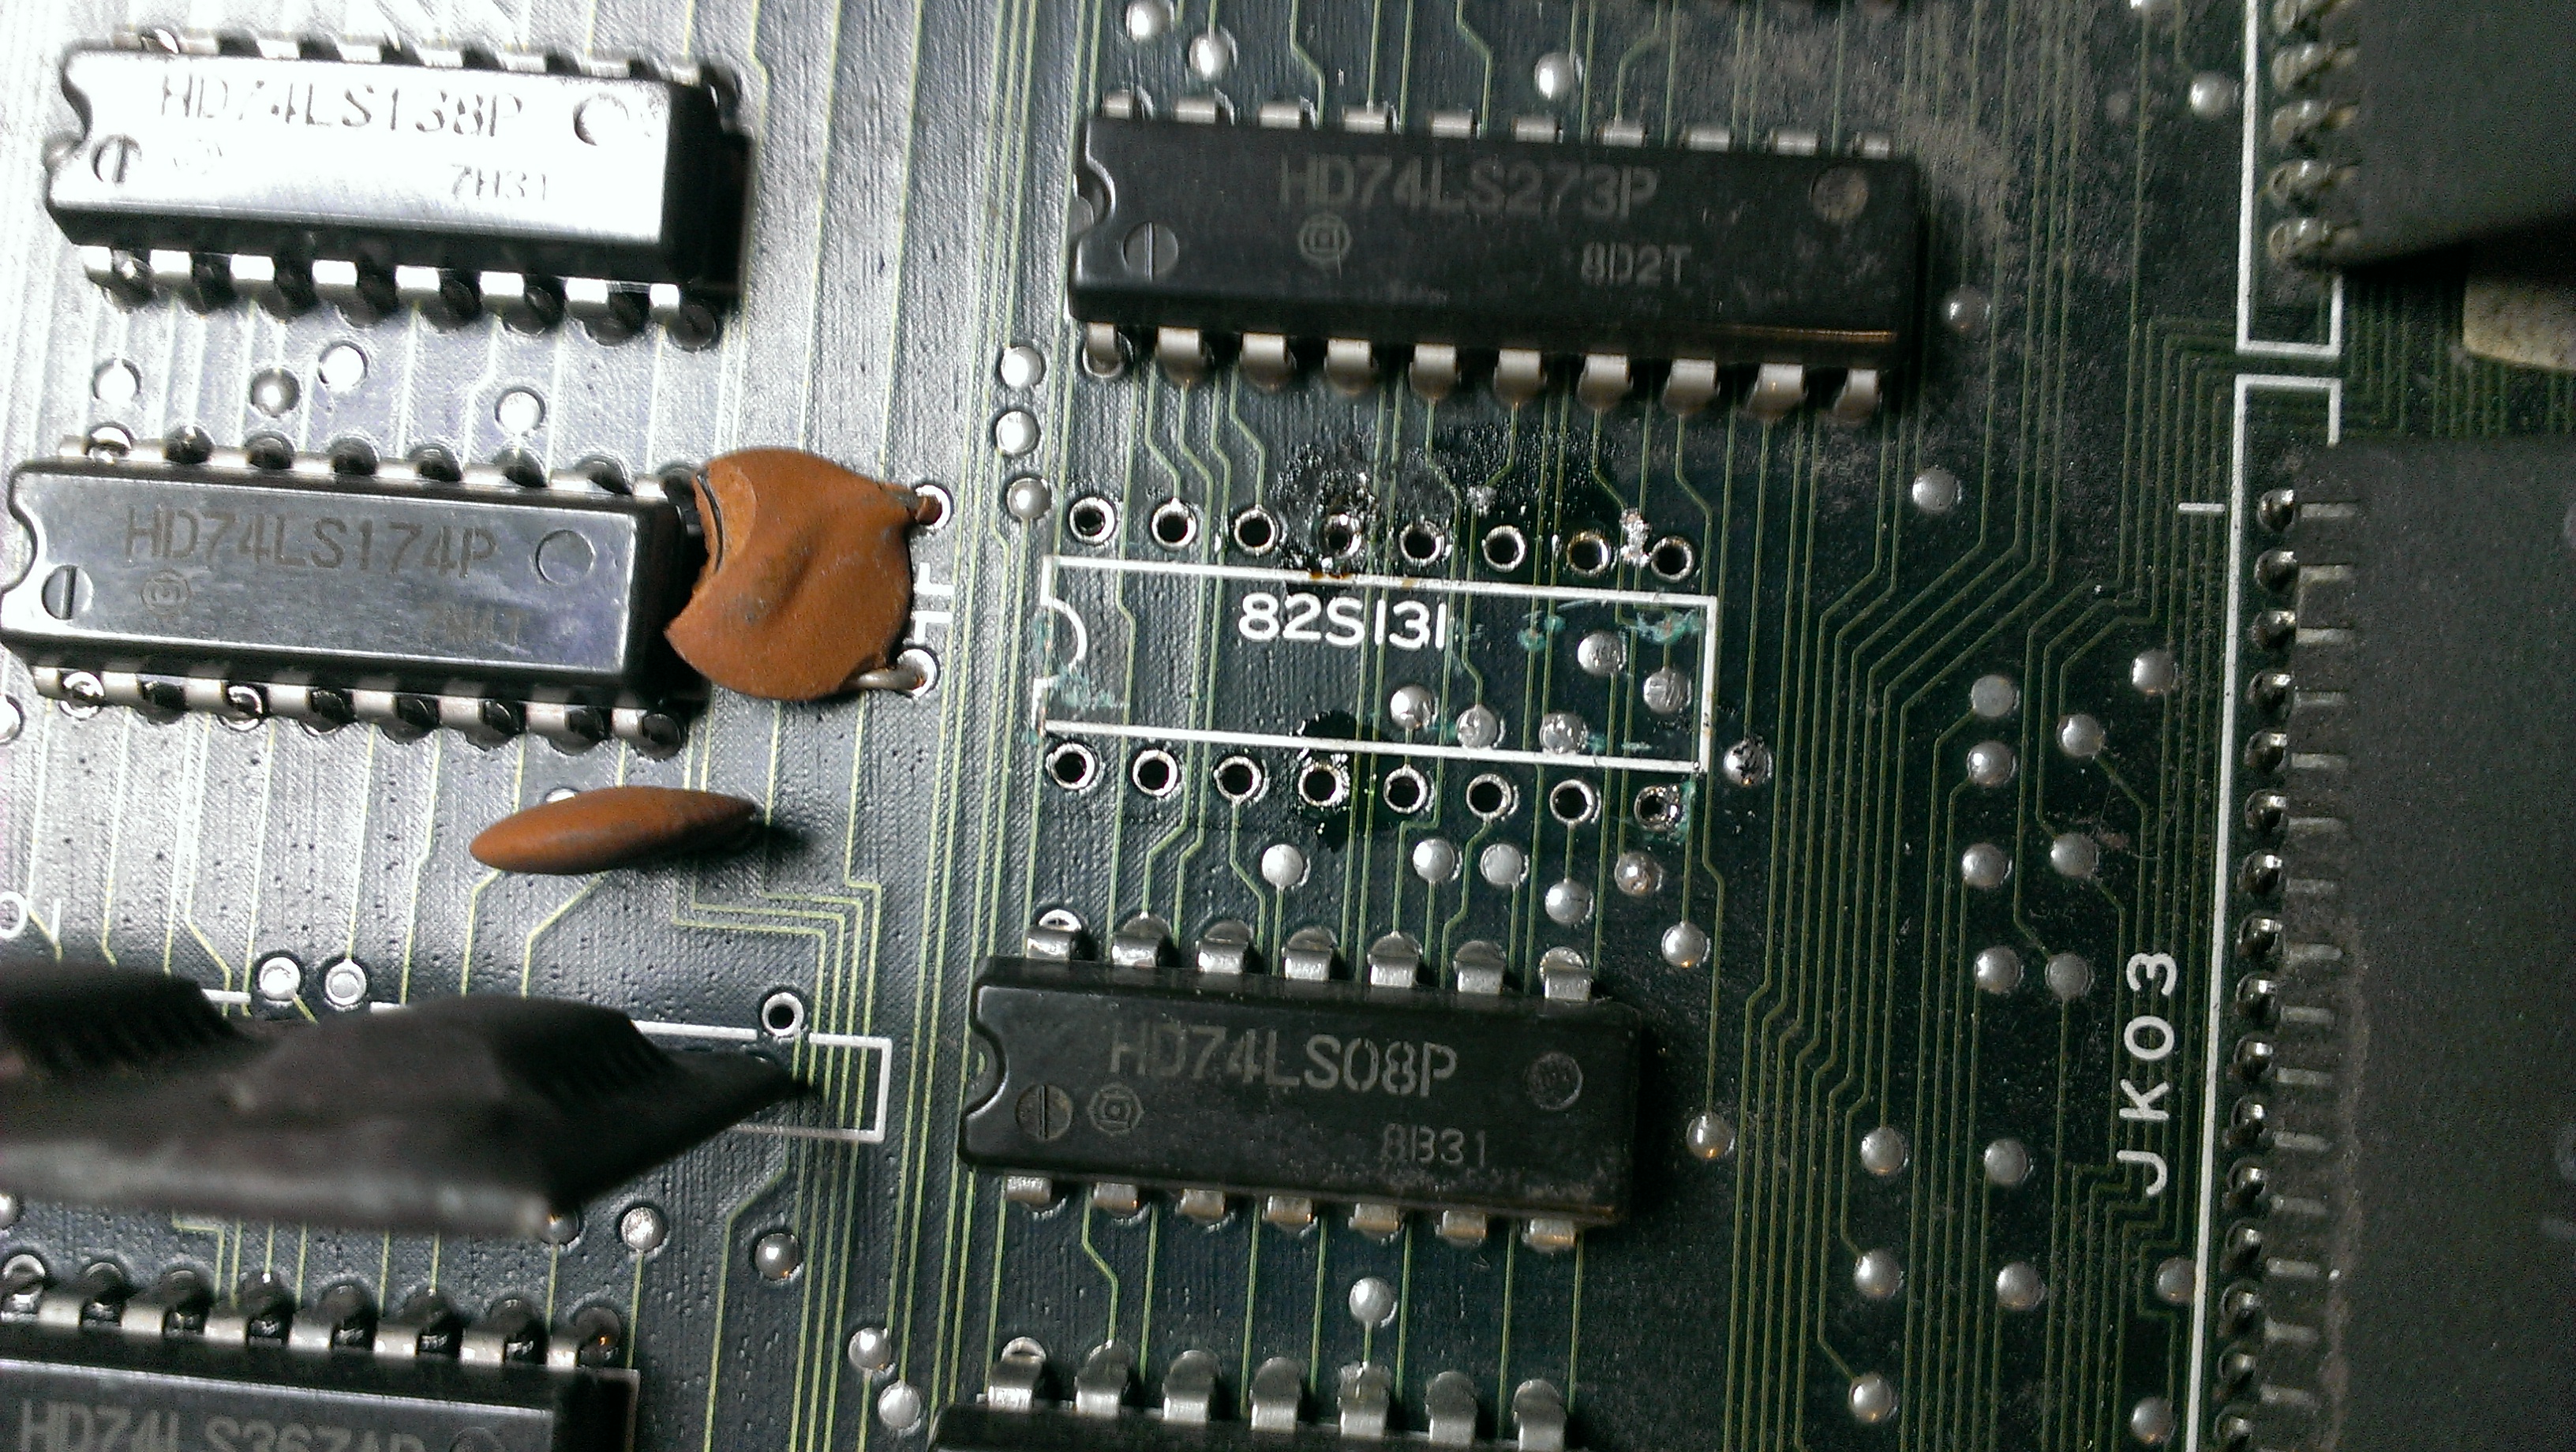
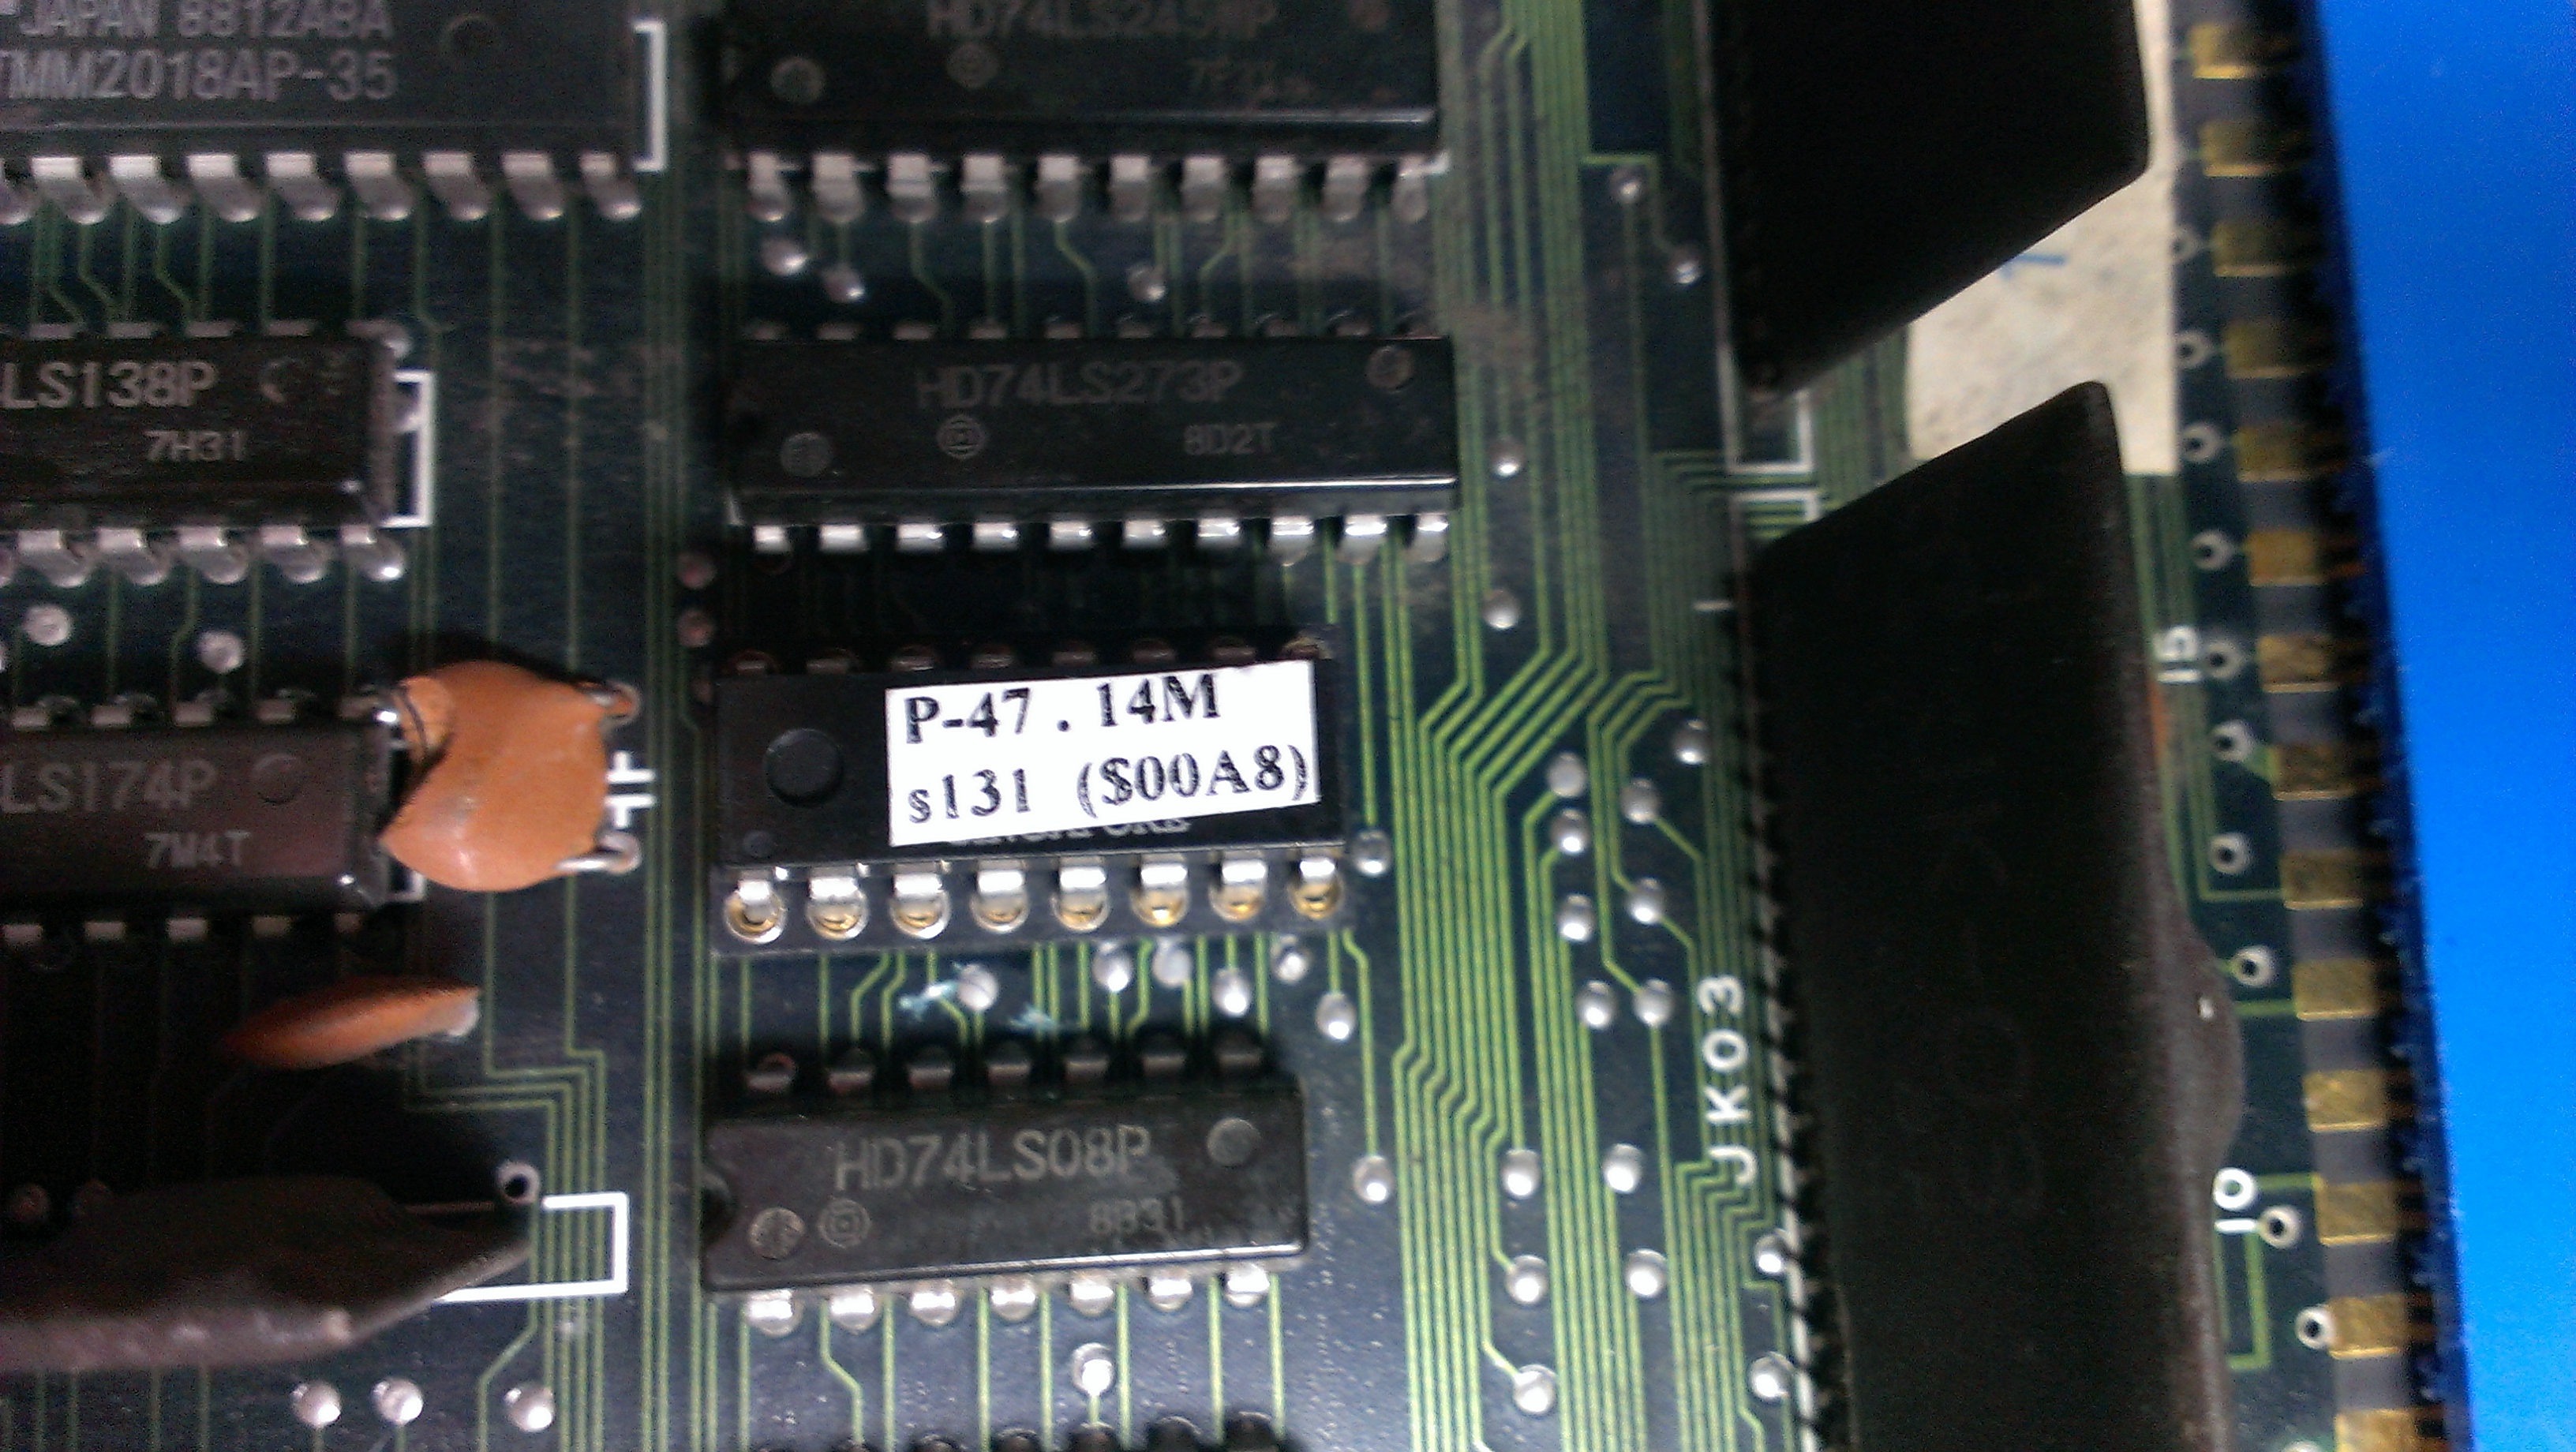
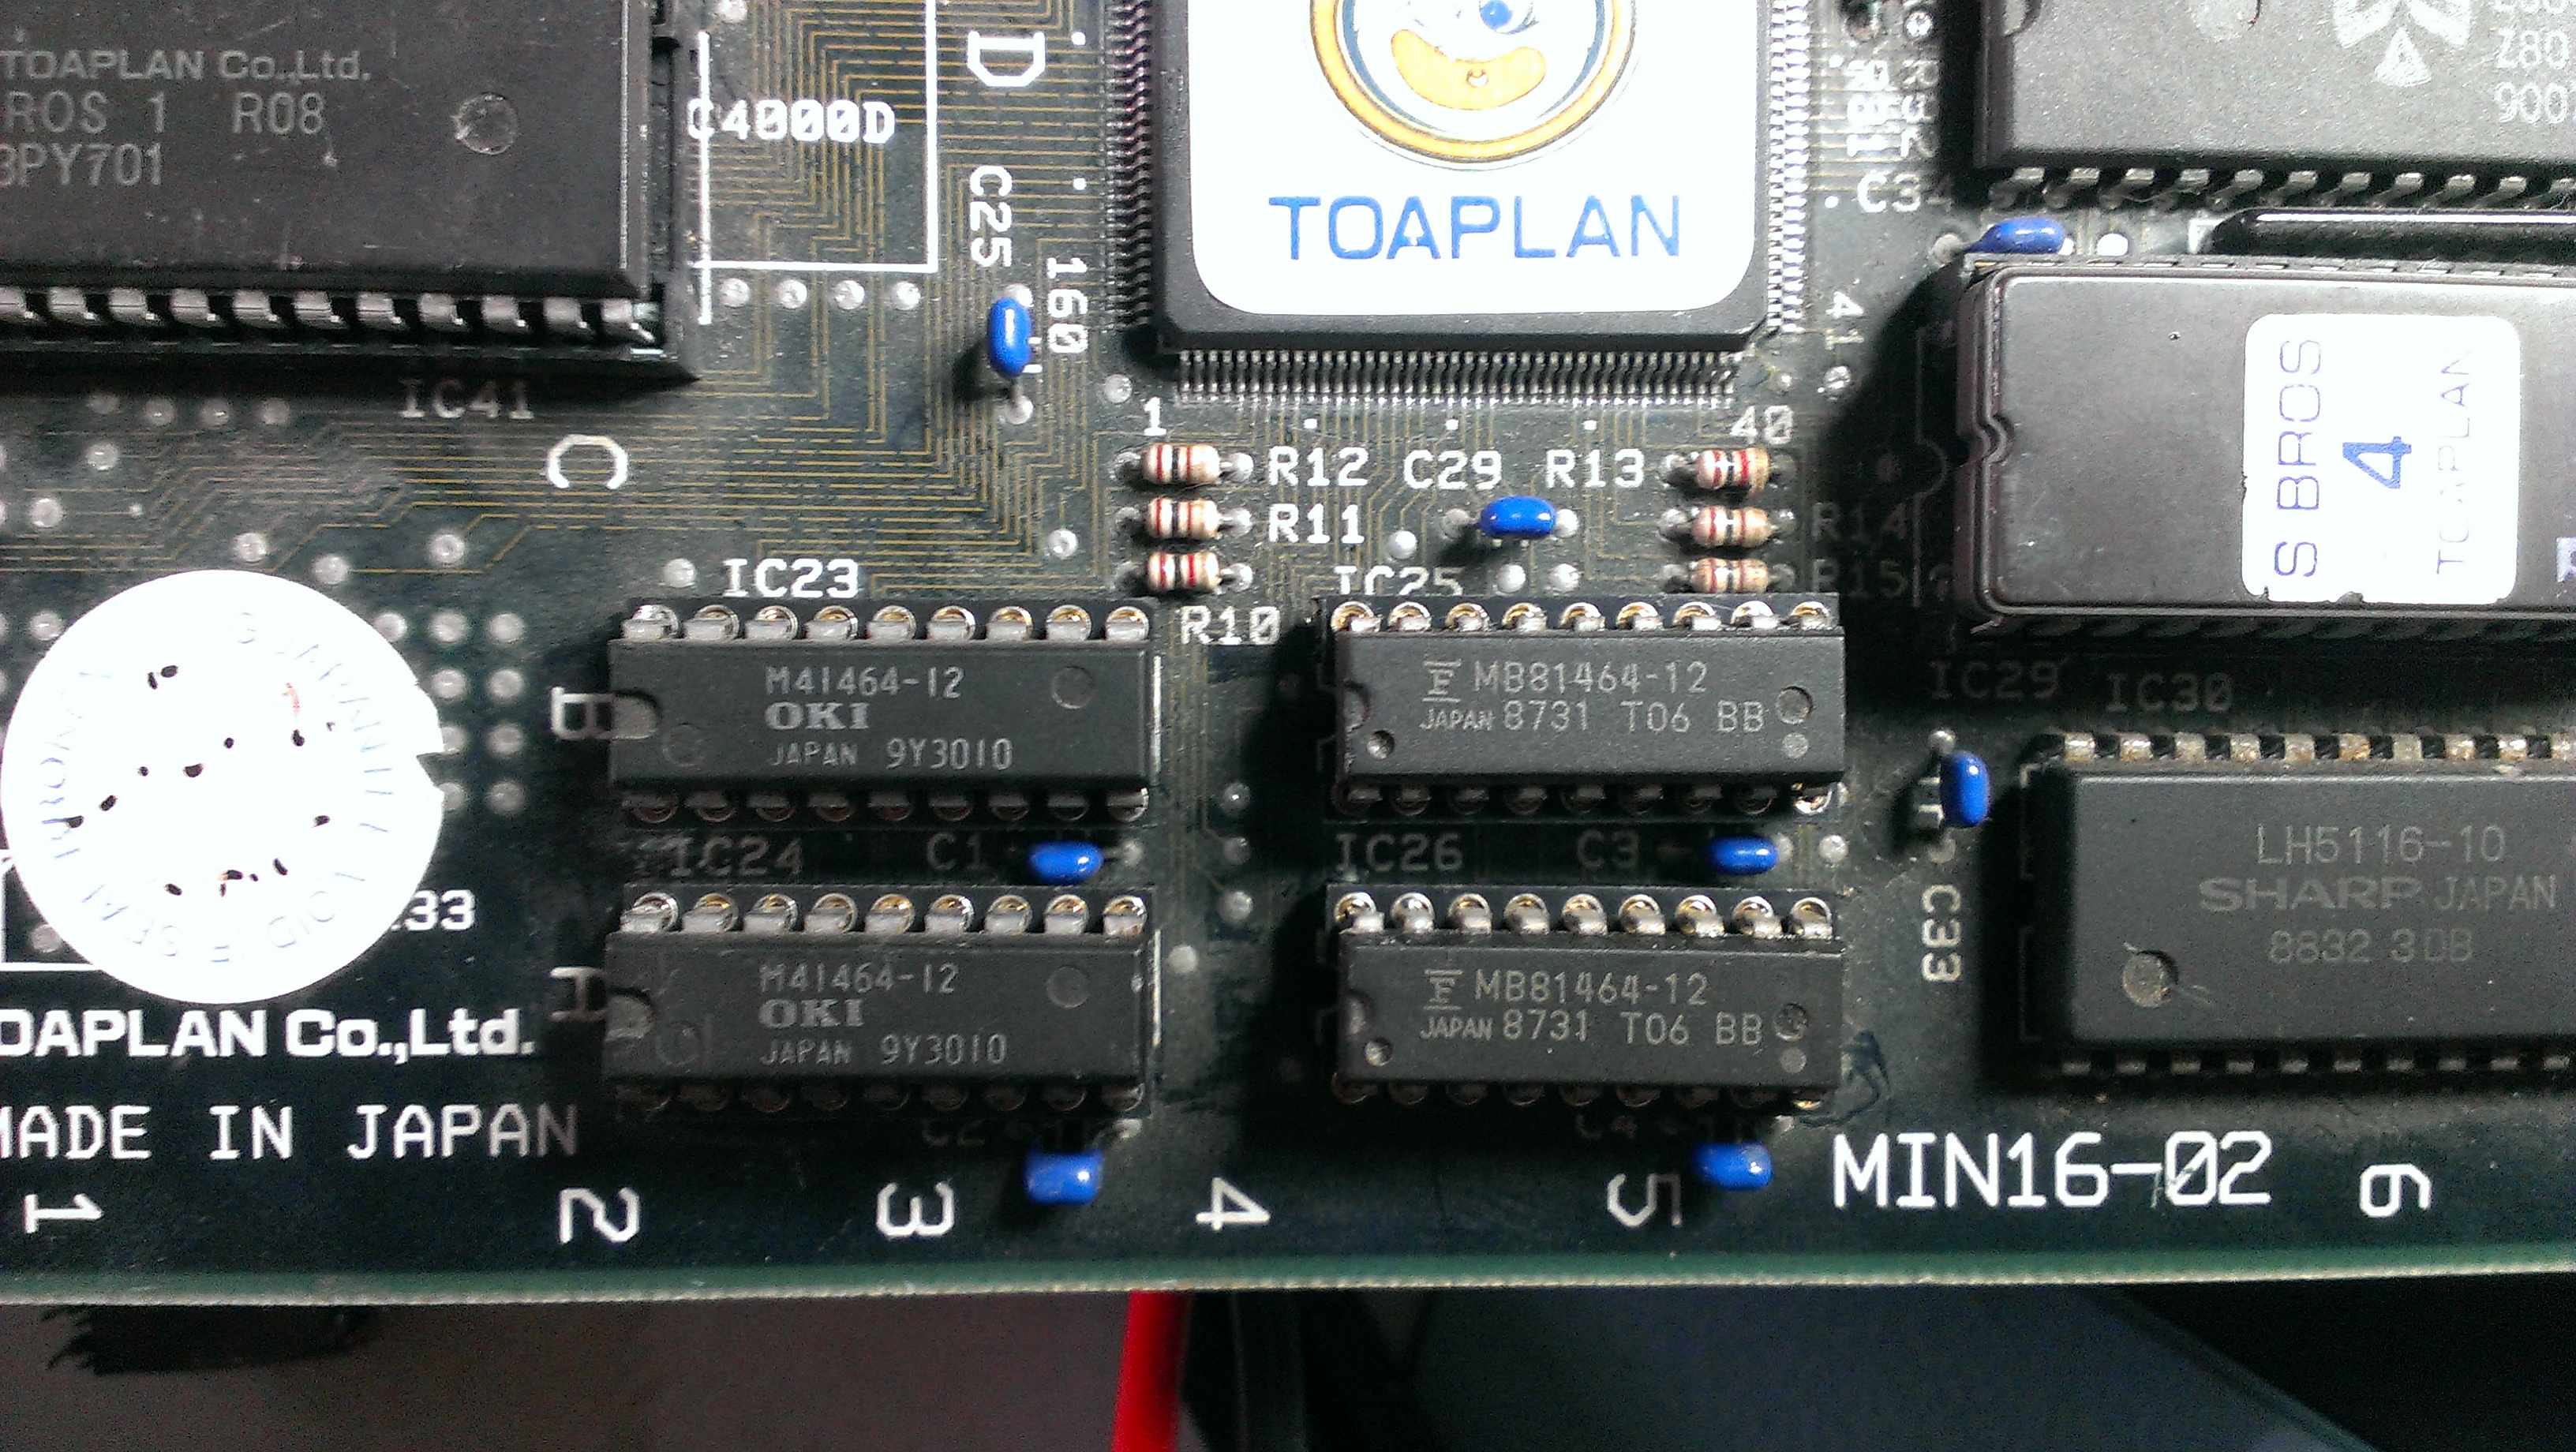
On getting the board and doing my visual inspection I quickly located the missing chip.

Yes that’s right, an 82S131 PROM. NOTE: the above picture was taken AFTER cleaning up. The chip was forcibly removed and had several legs still remaining in the board. It was also a mess underneath.
Now as my programmer supports this chip I wasn’t too concerned but after paying over the odds eBay prices several times trying to find one that was actually blank only to find they were all used it became clear that I wasn’t going to obtain one easily.
Enter Steph at HobbyRoms. My savior. In a little over a week I had the new chip in hand and already programmed with the correct data too.
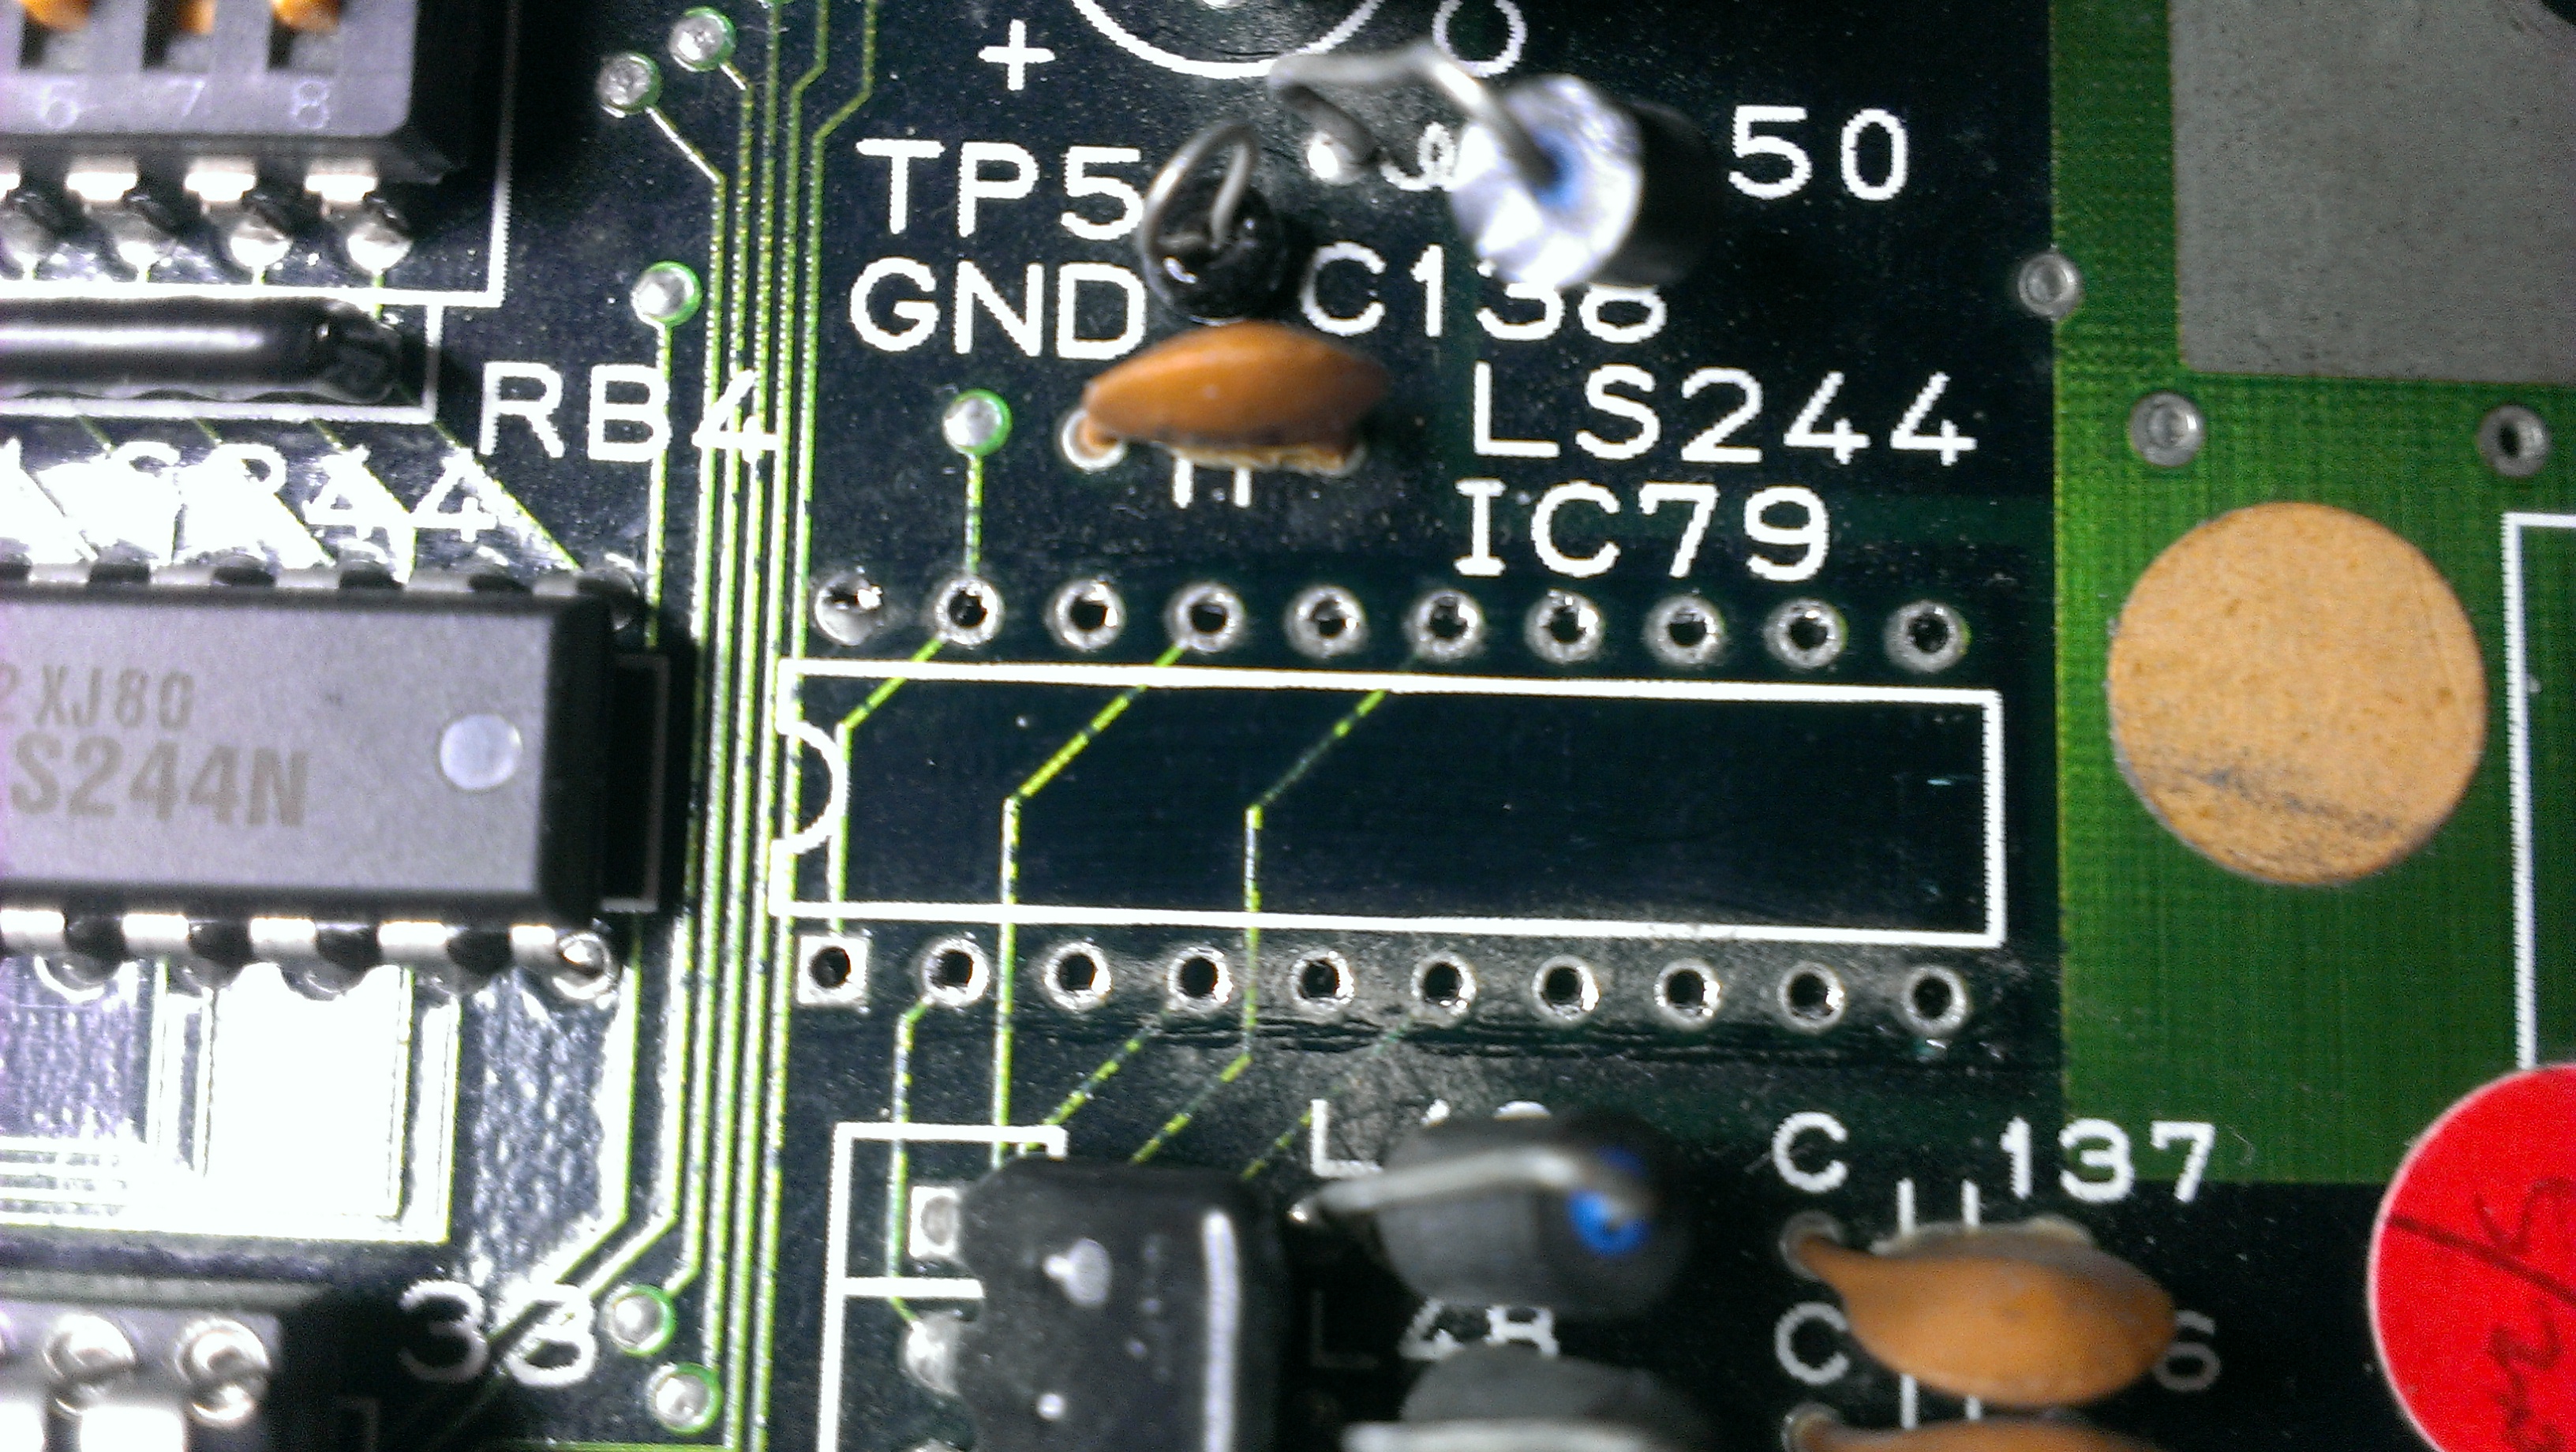
Back to the visual inspection. There was a bit of damage to several changes underneath that would obviously need cleaned up and patched.
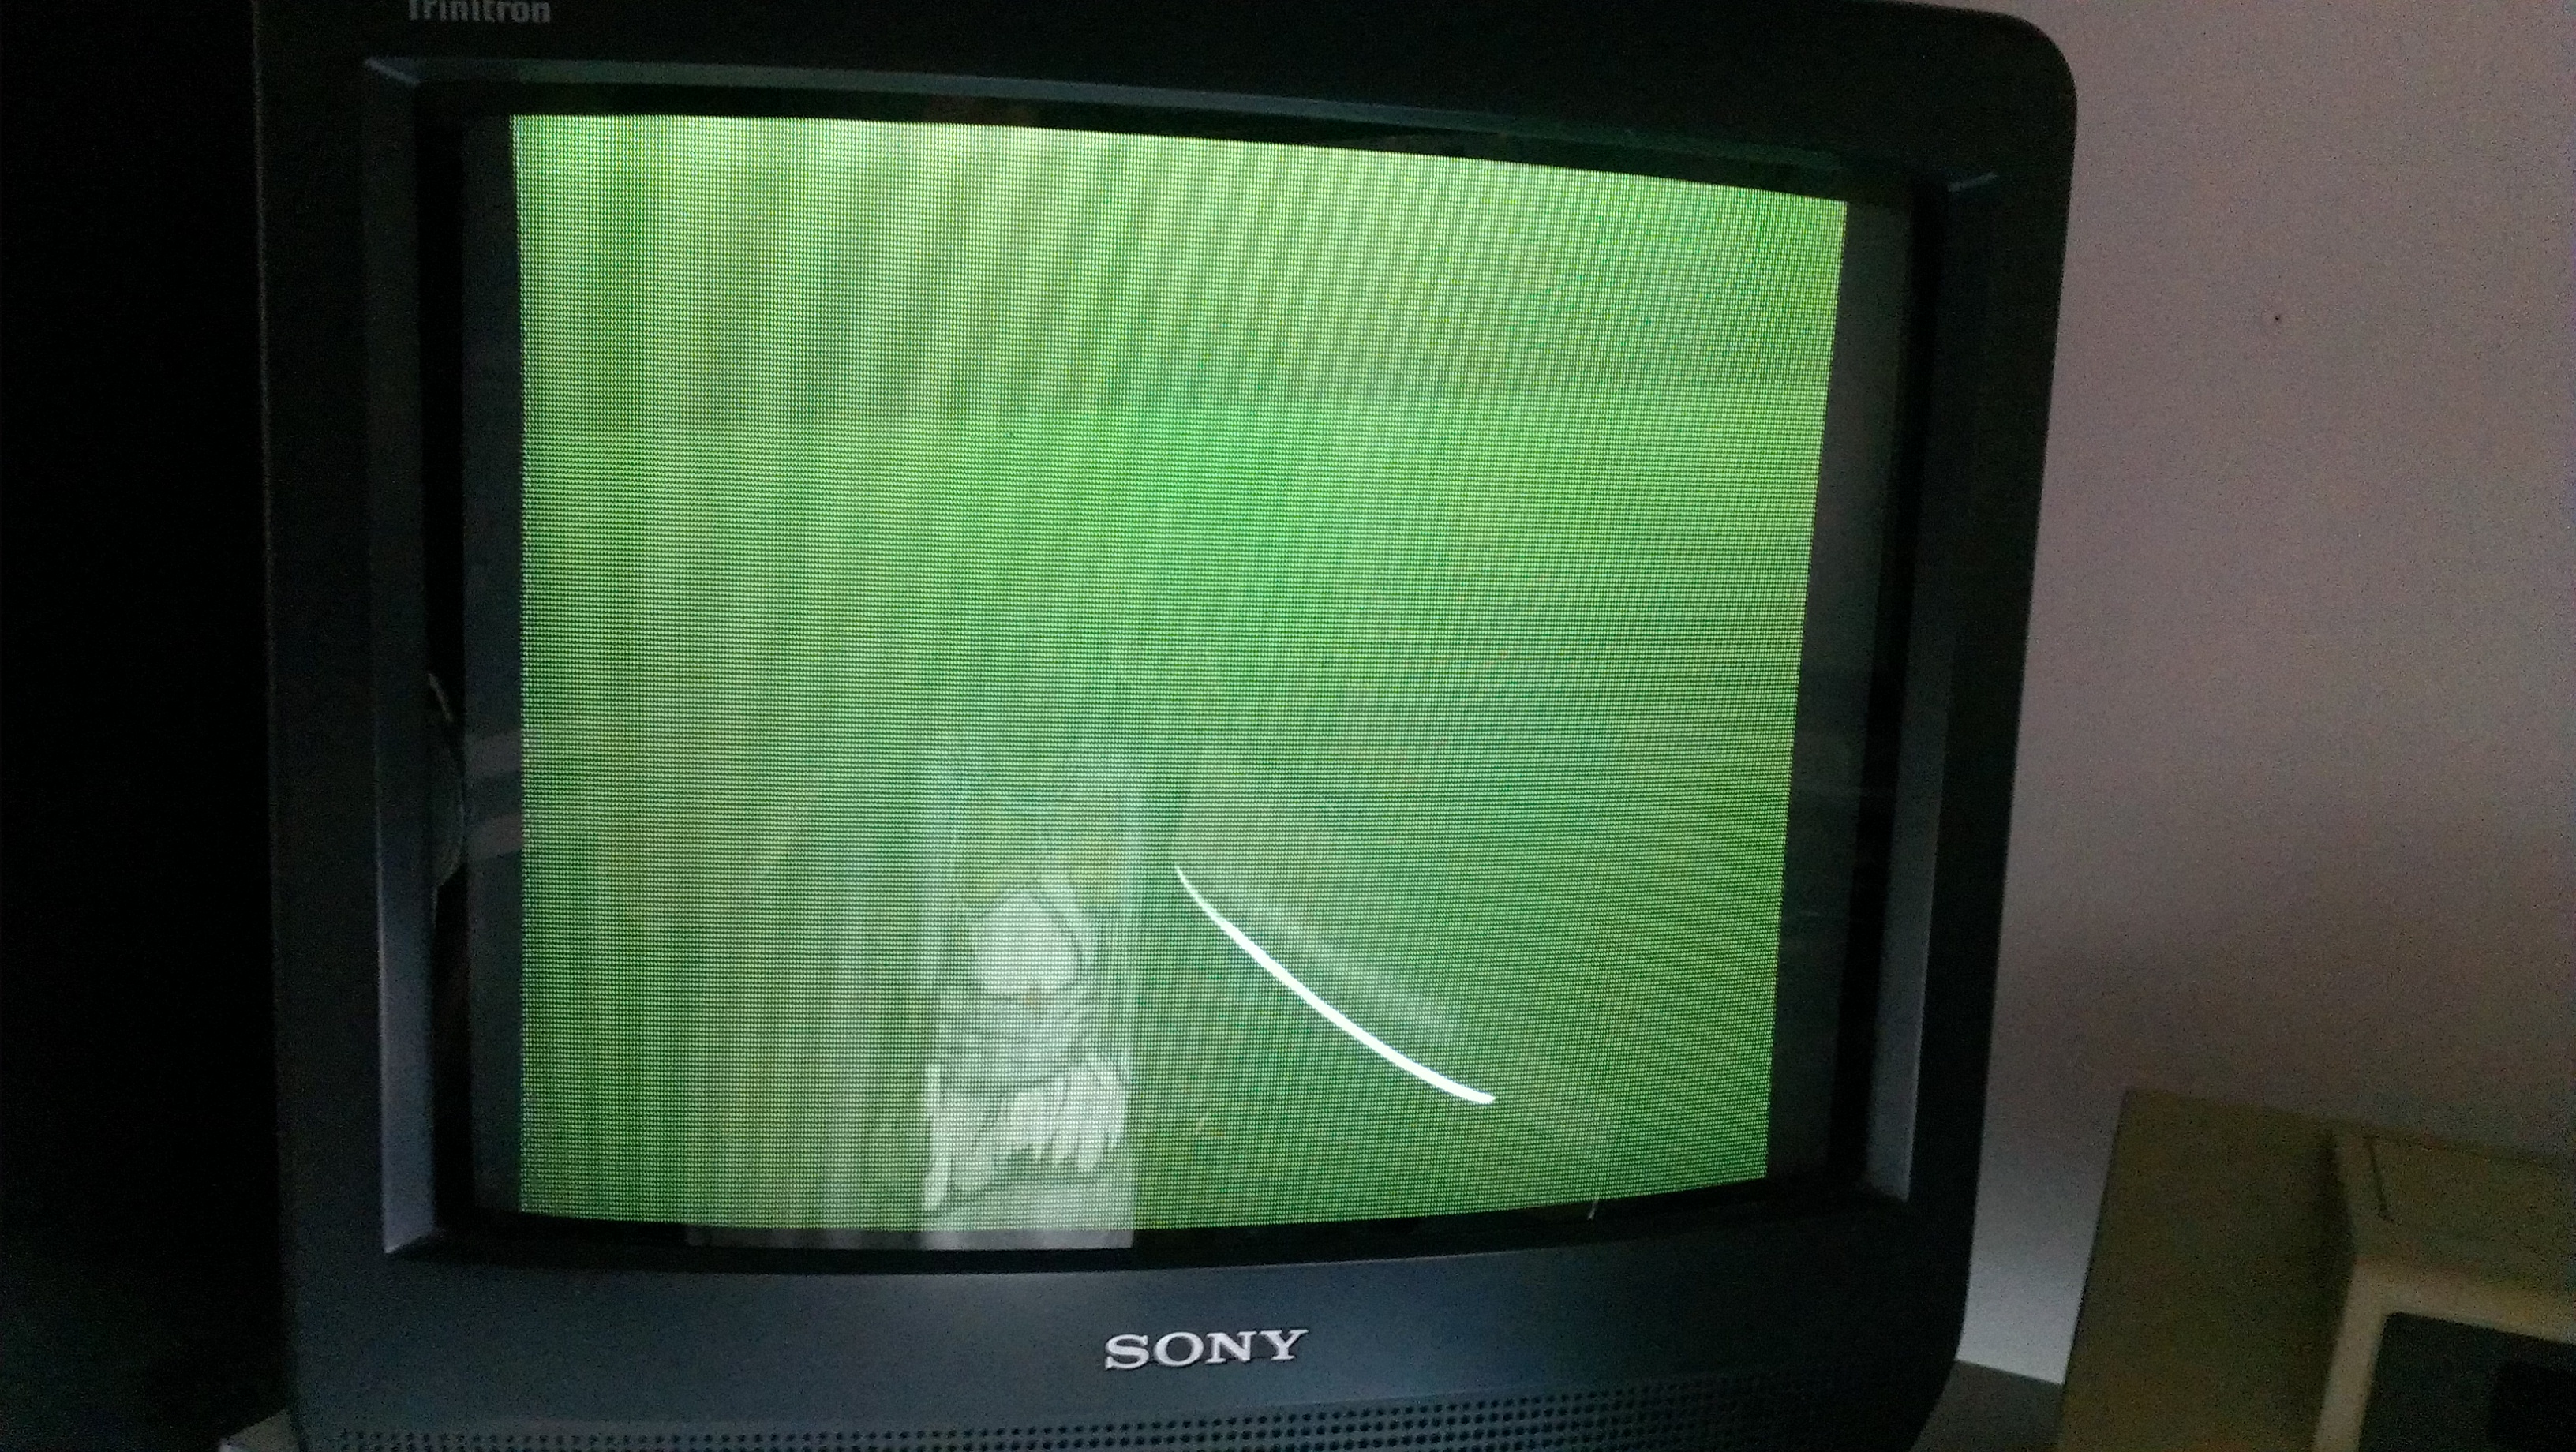
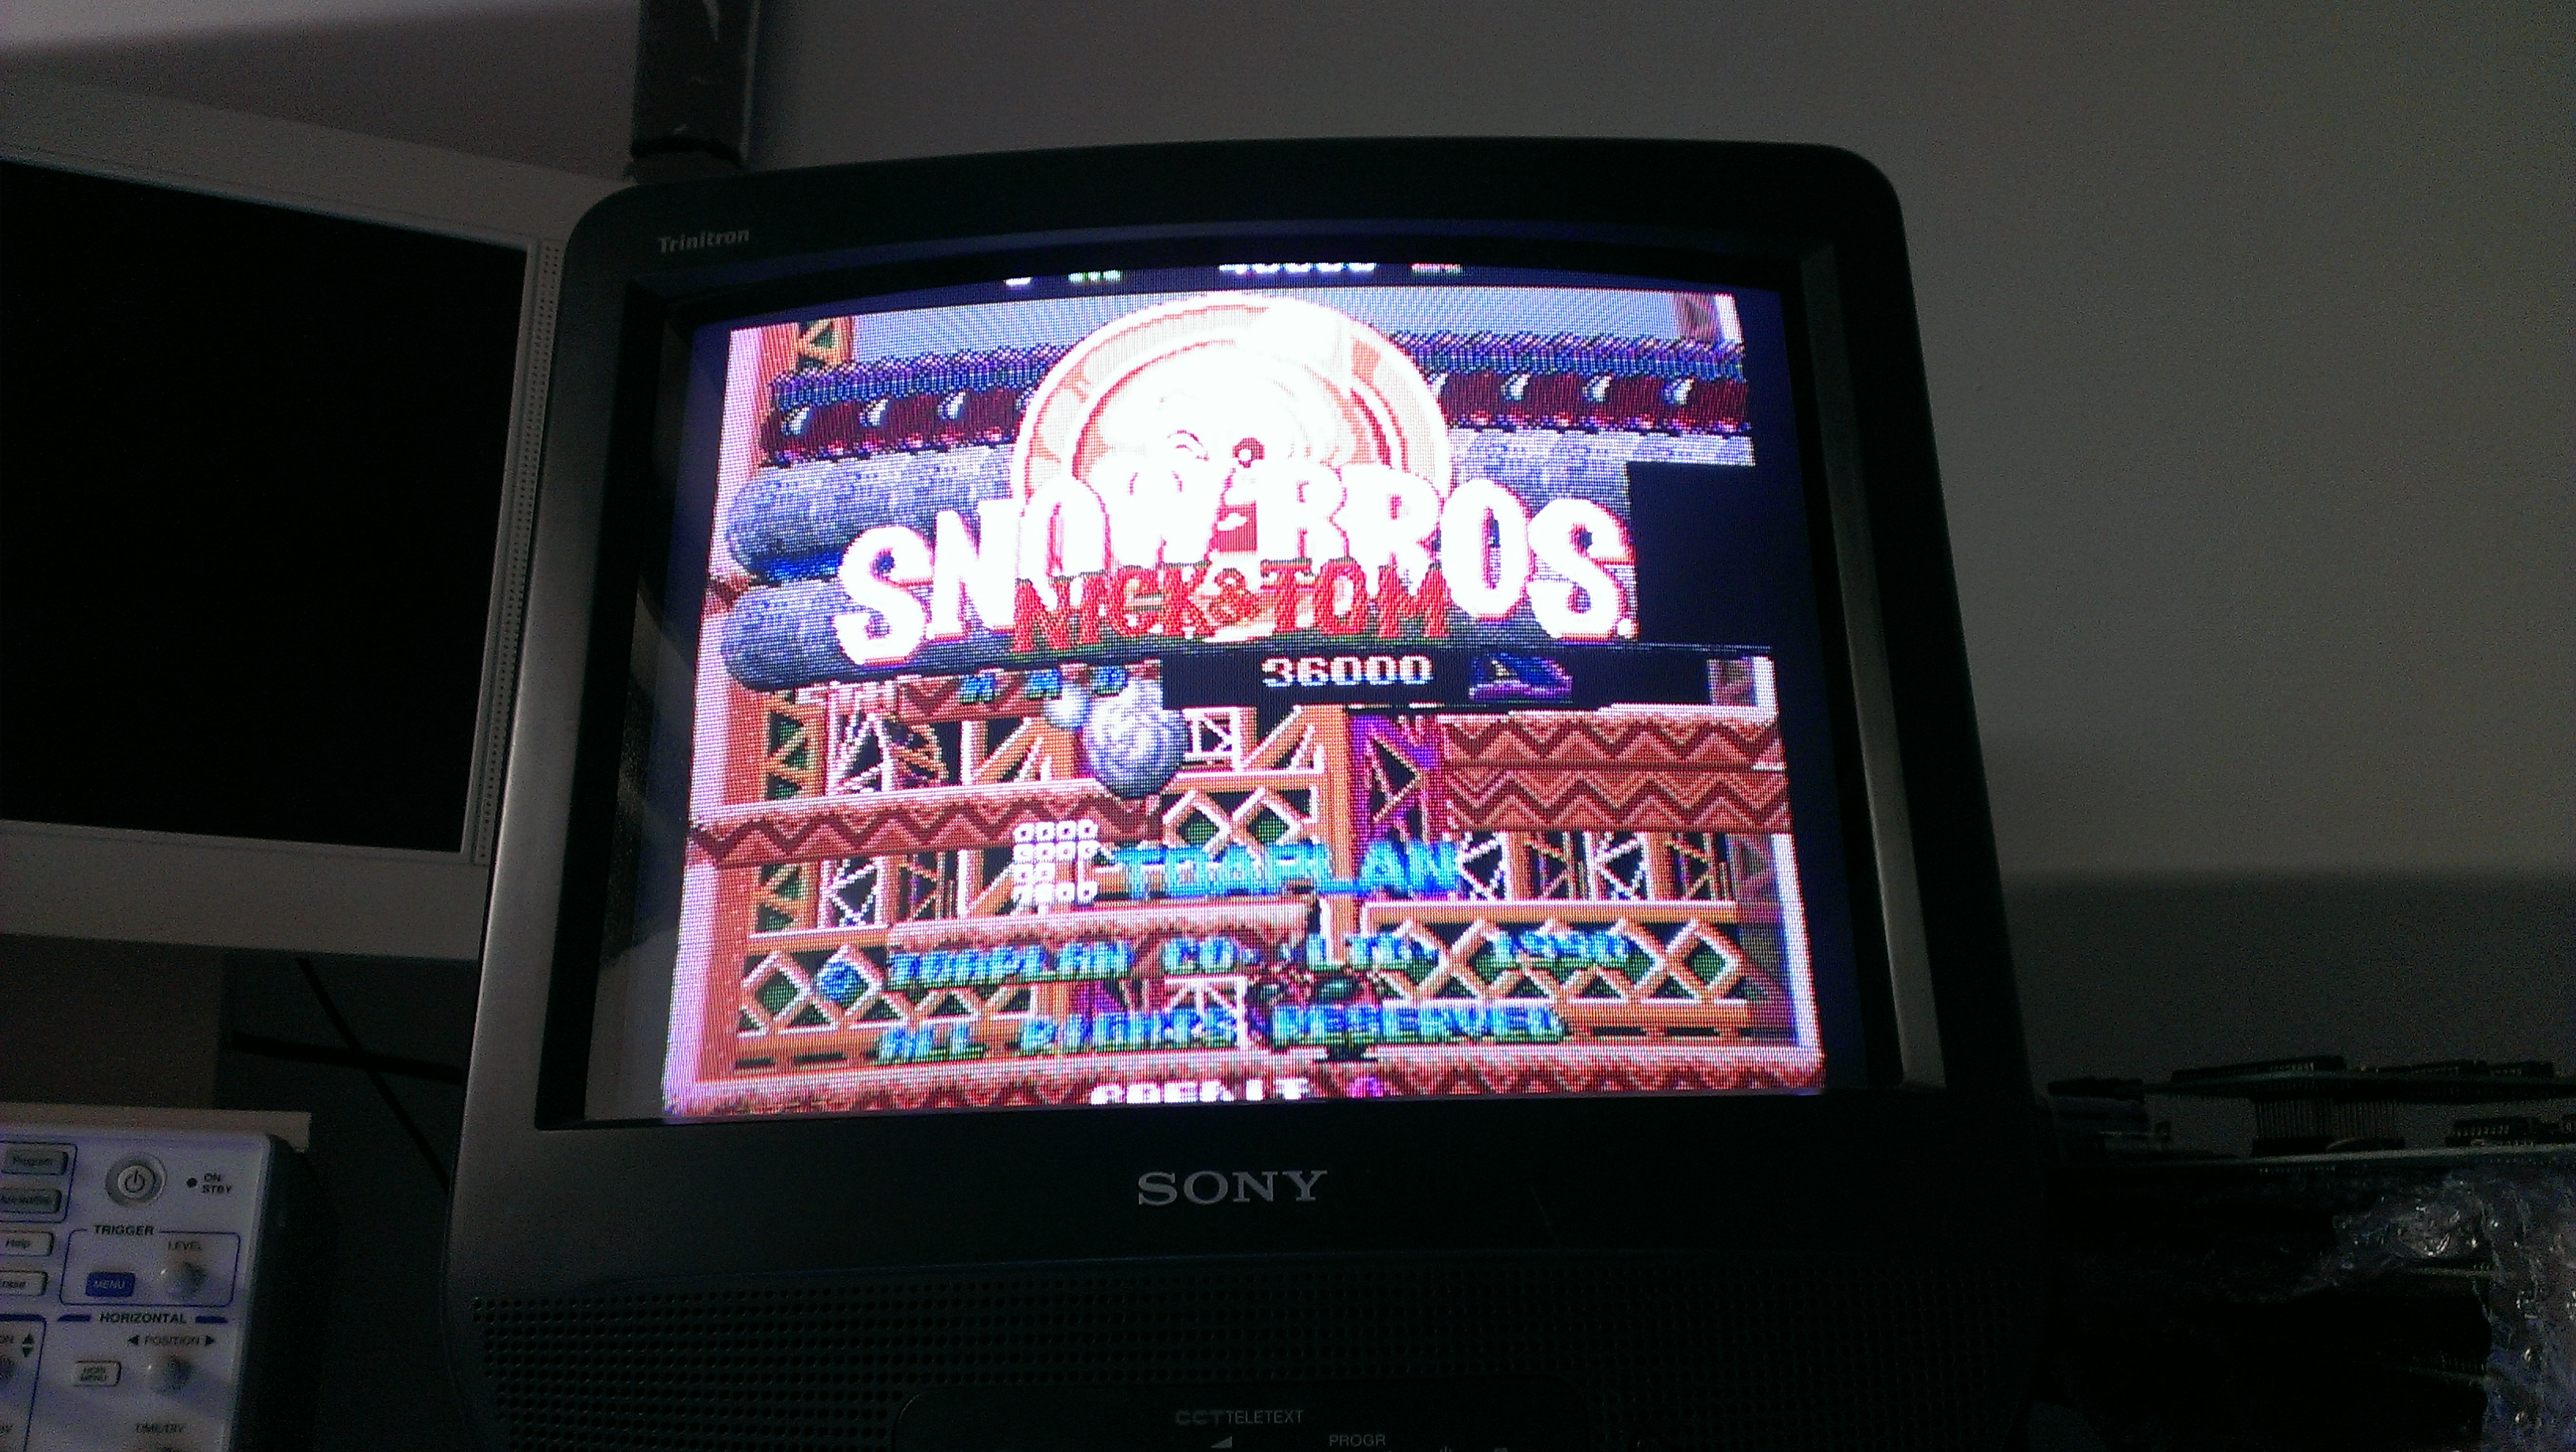
I fitted the new PROM and patched the 3 broken lines and fired it up to test.
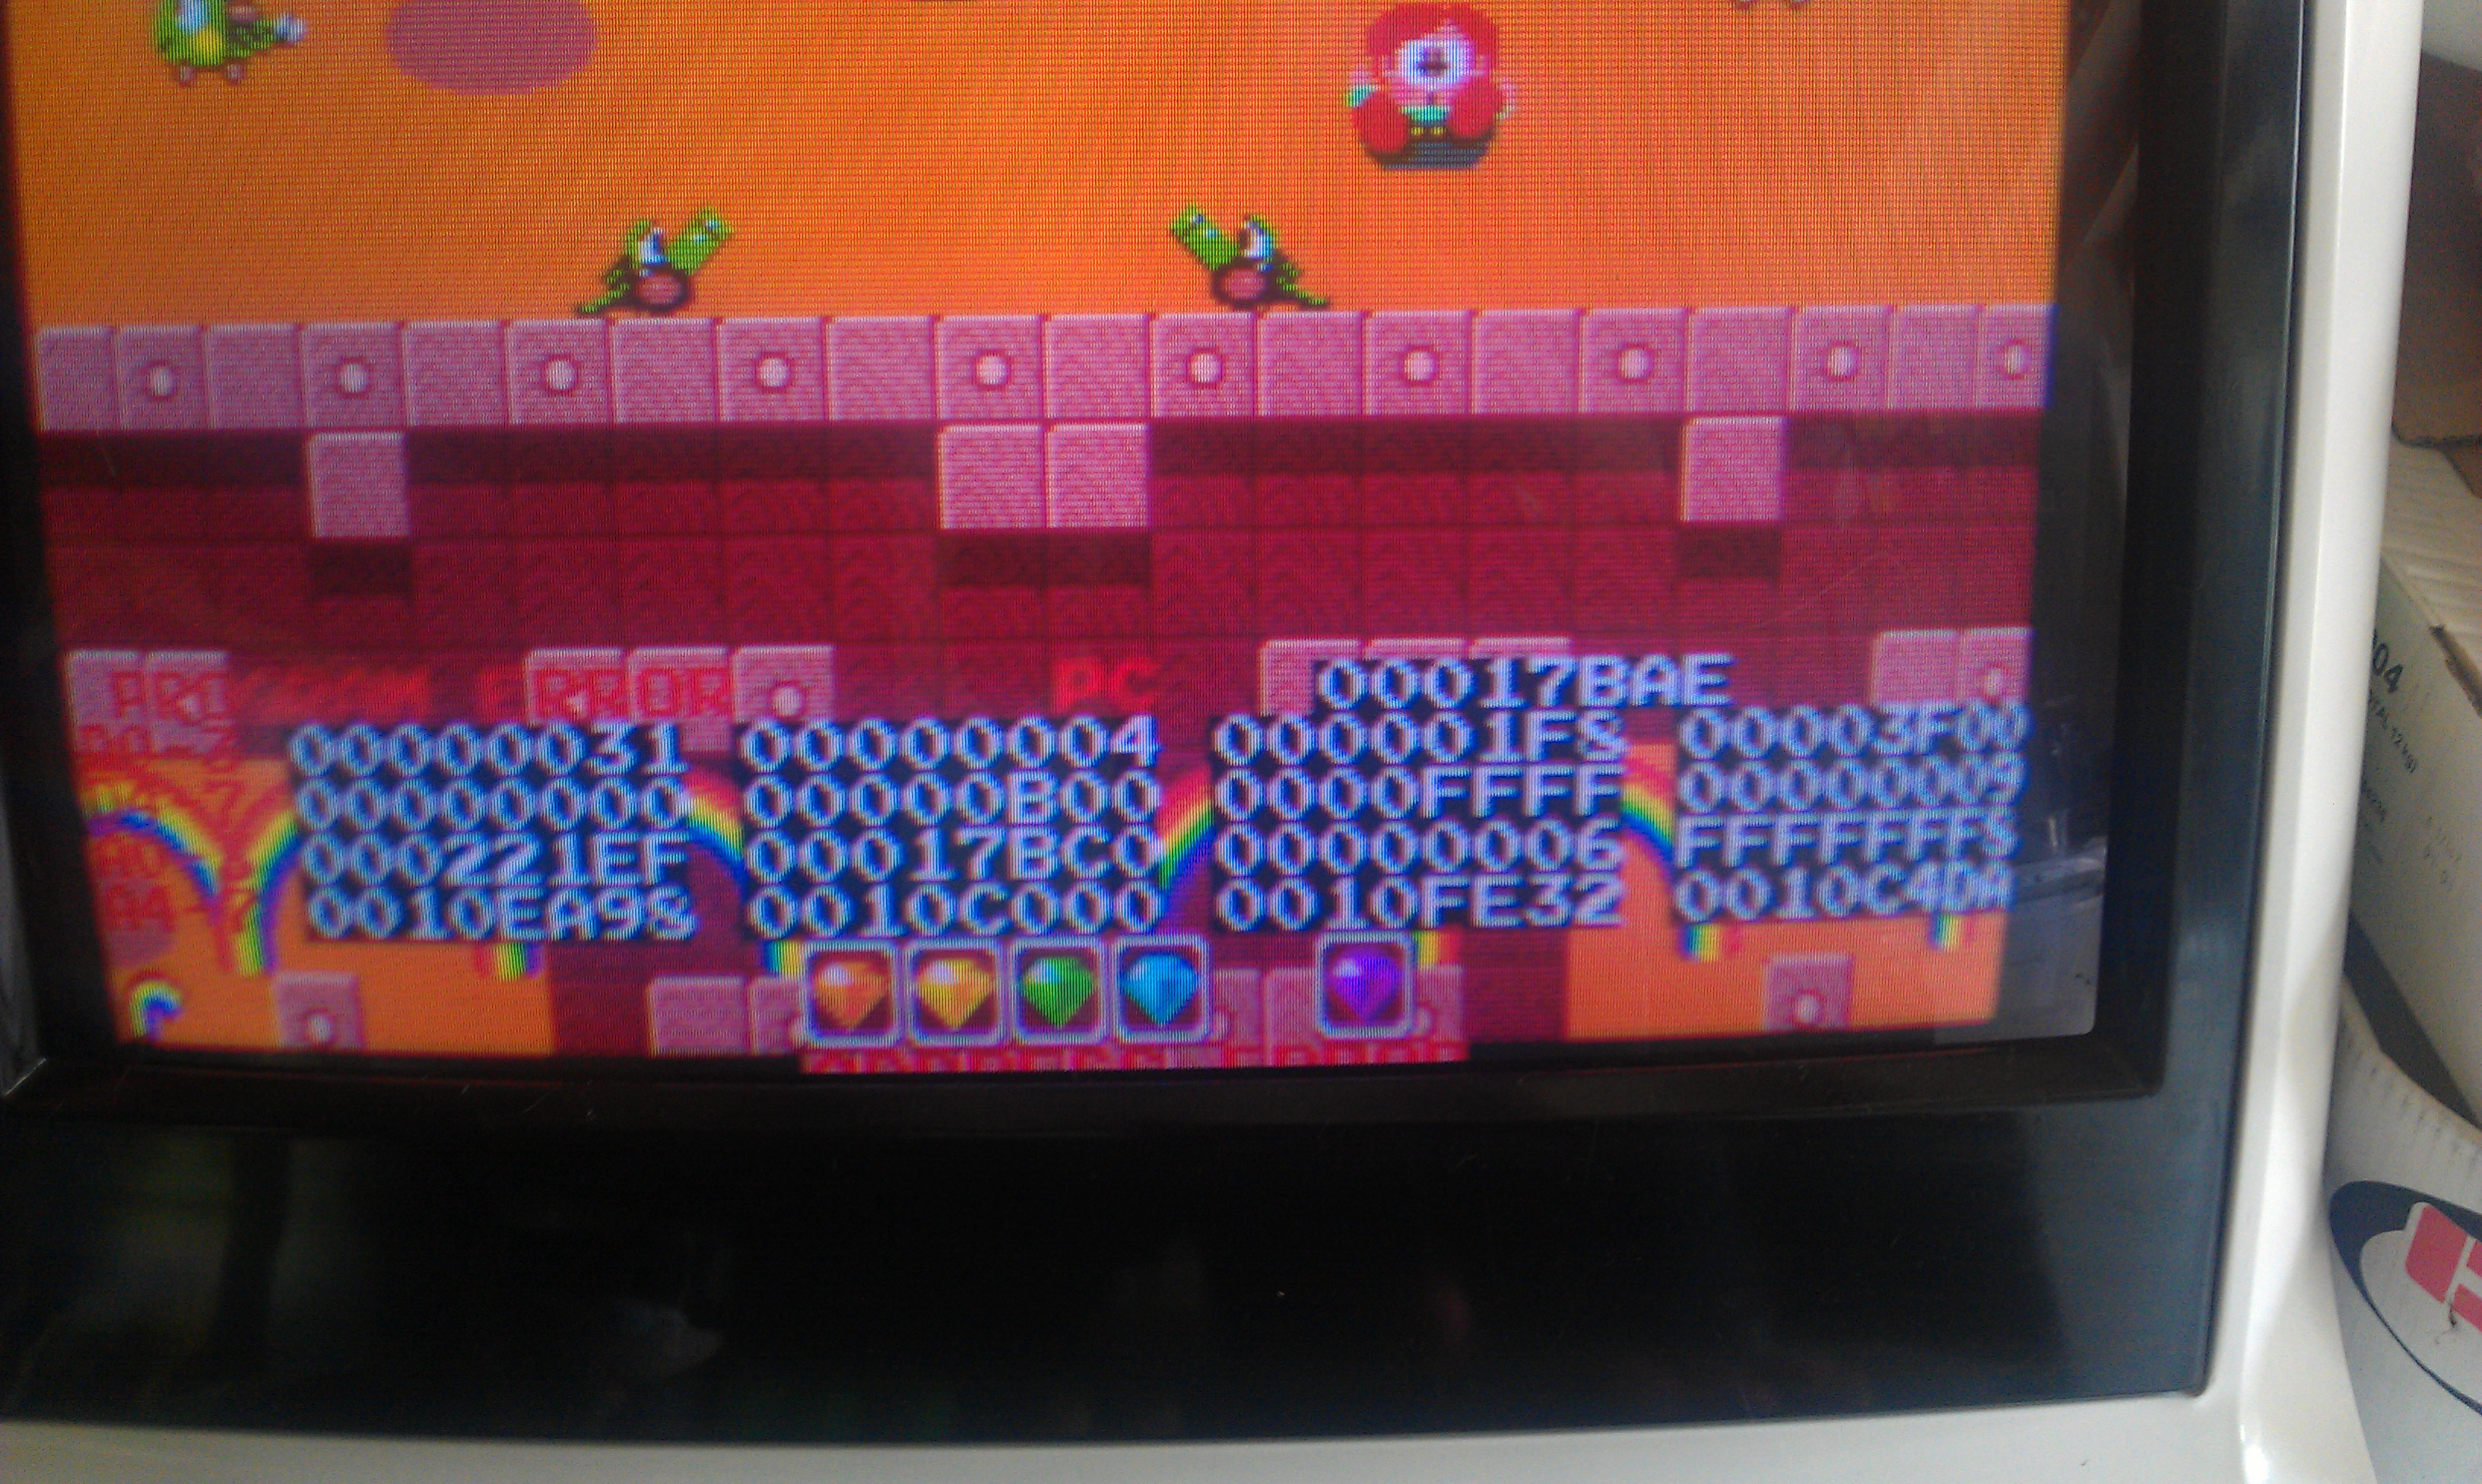
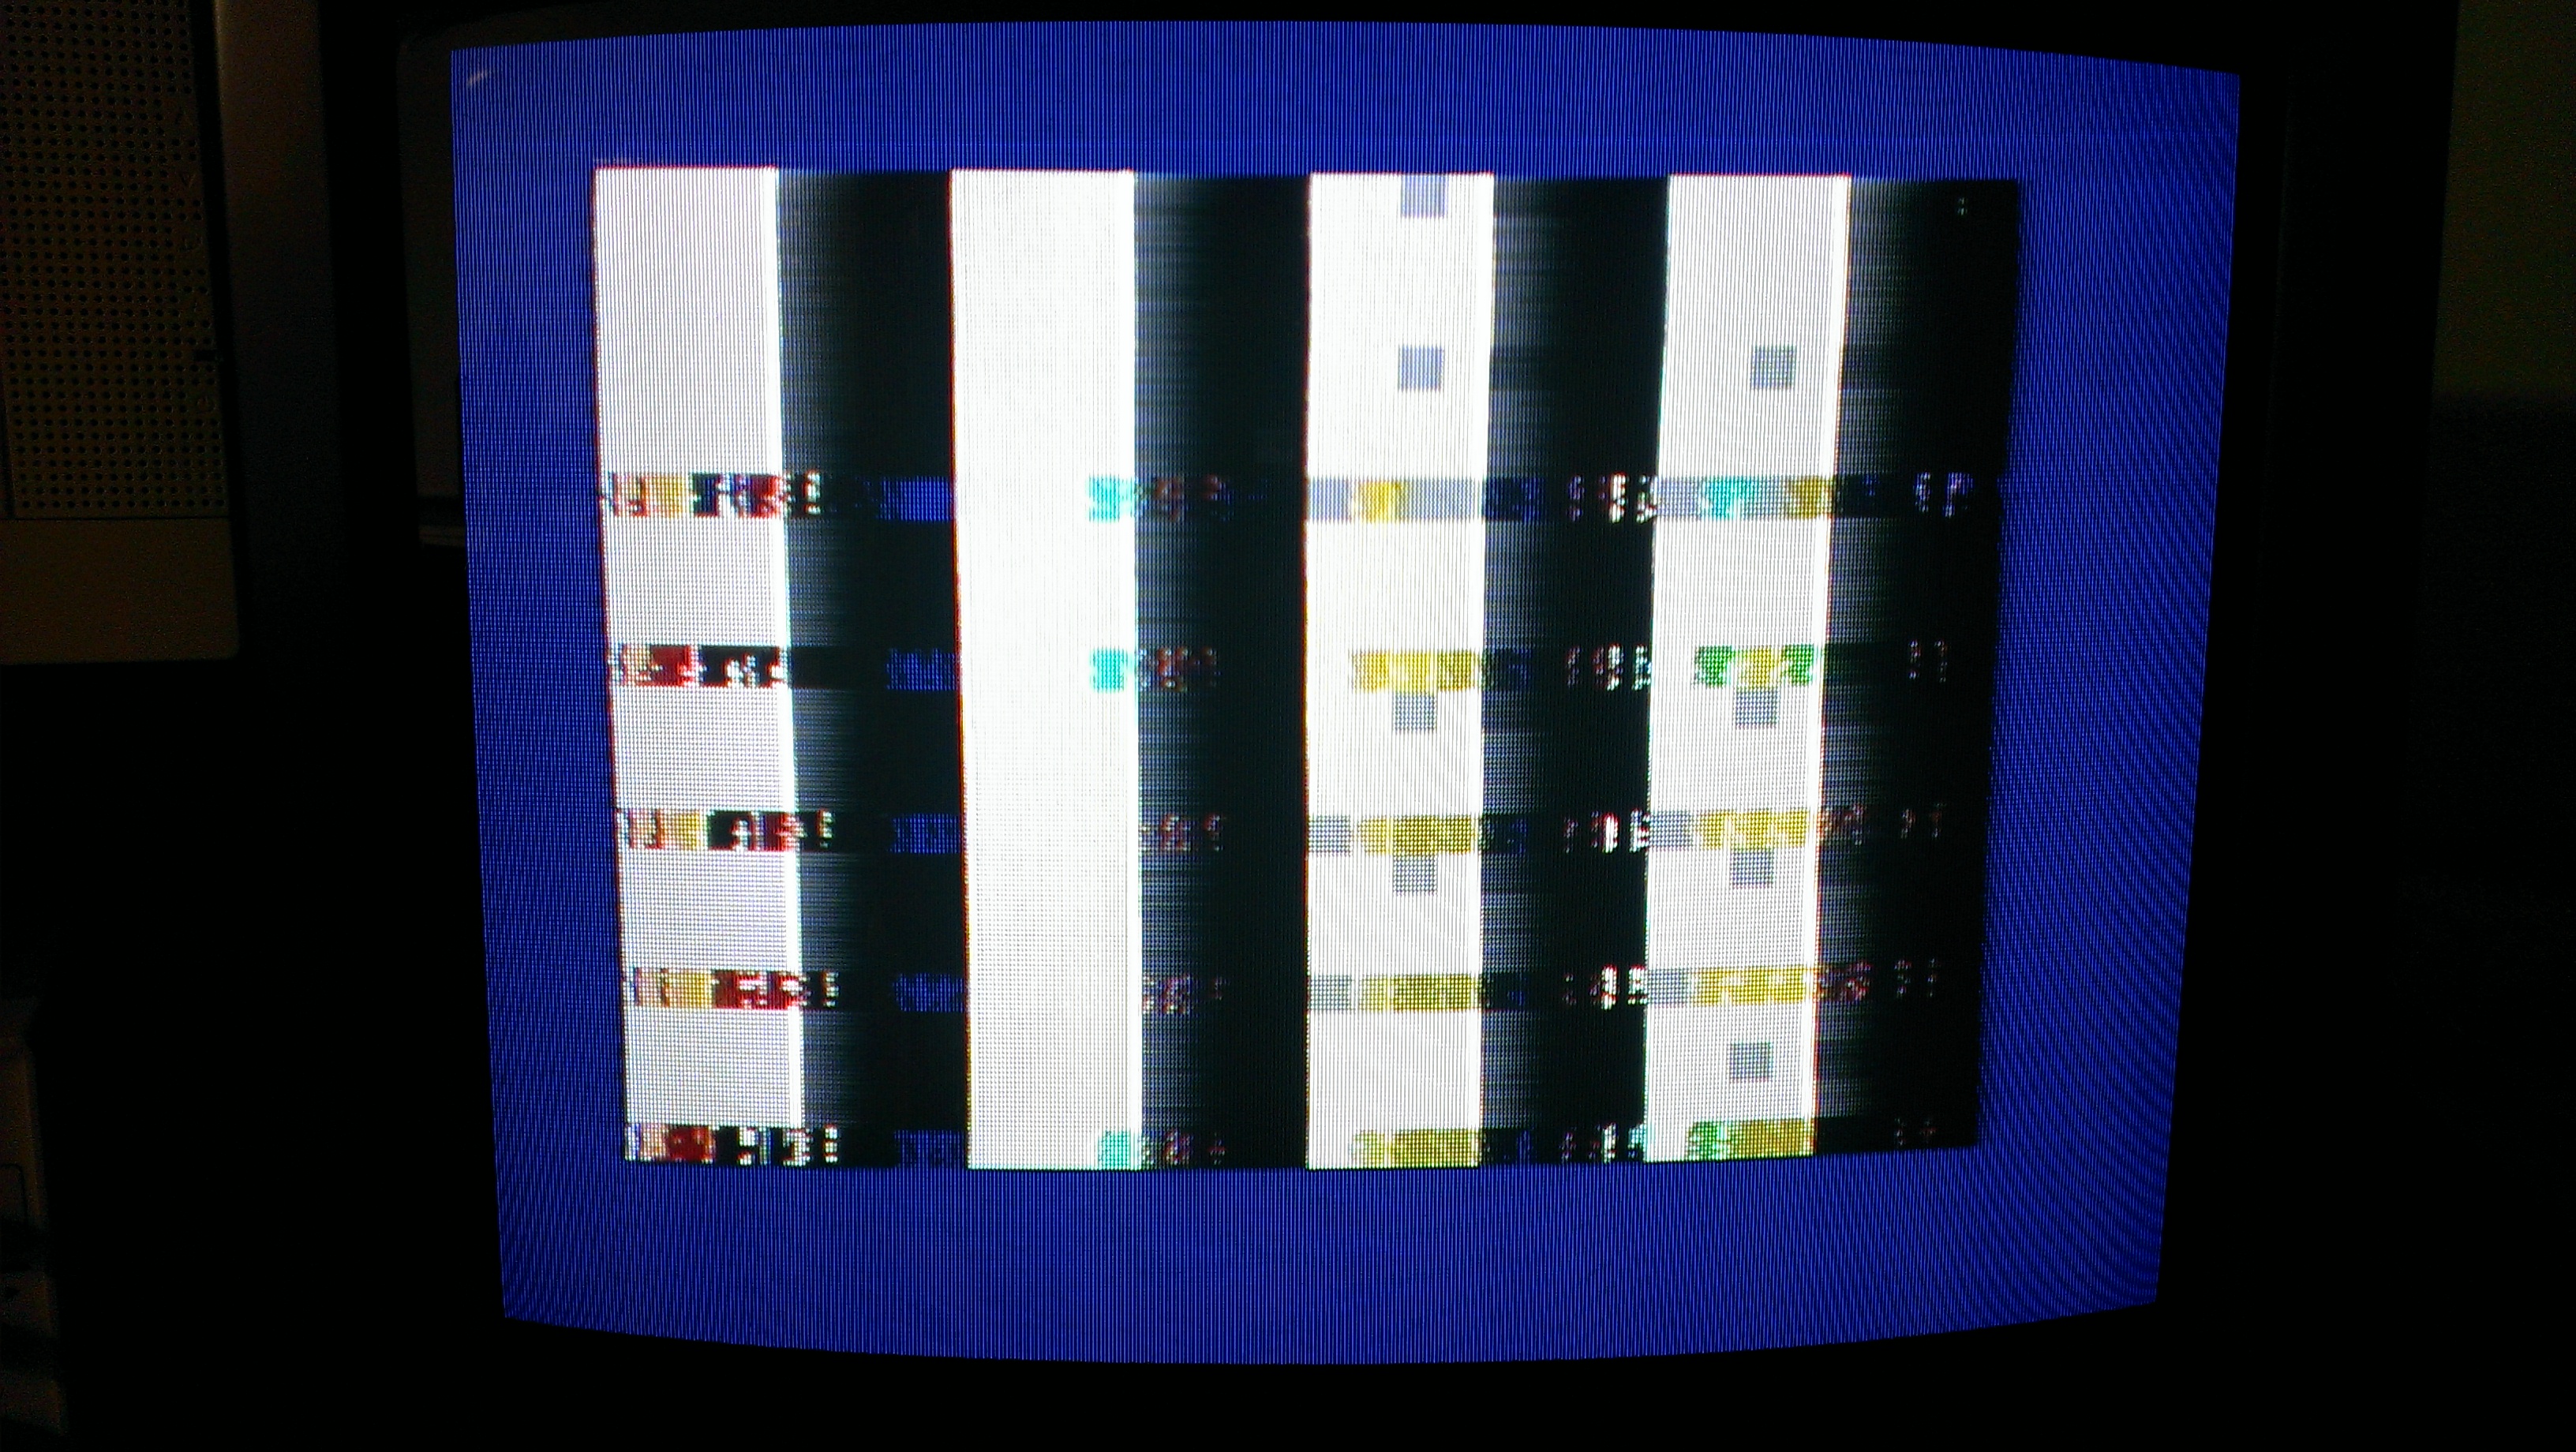
A green screen. All was not lost at this point as the game could be coined up and played blind.
I probed the newly installed PROM and found the chip enable pin was not connected to anything. This pin is grounded (enabled) constantly and it looks as though it picks this ground up via a ground plane in the middle of the PCB. As this was one of the holes that was badly damaged from the old chip removal I found it had not made a good enough contact when I installed a new socket. A lot of solder later and that has now been sorted.
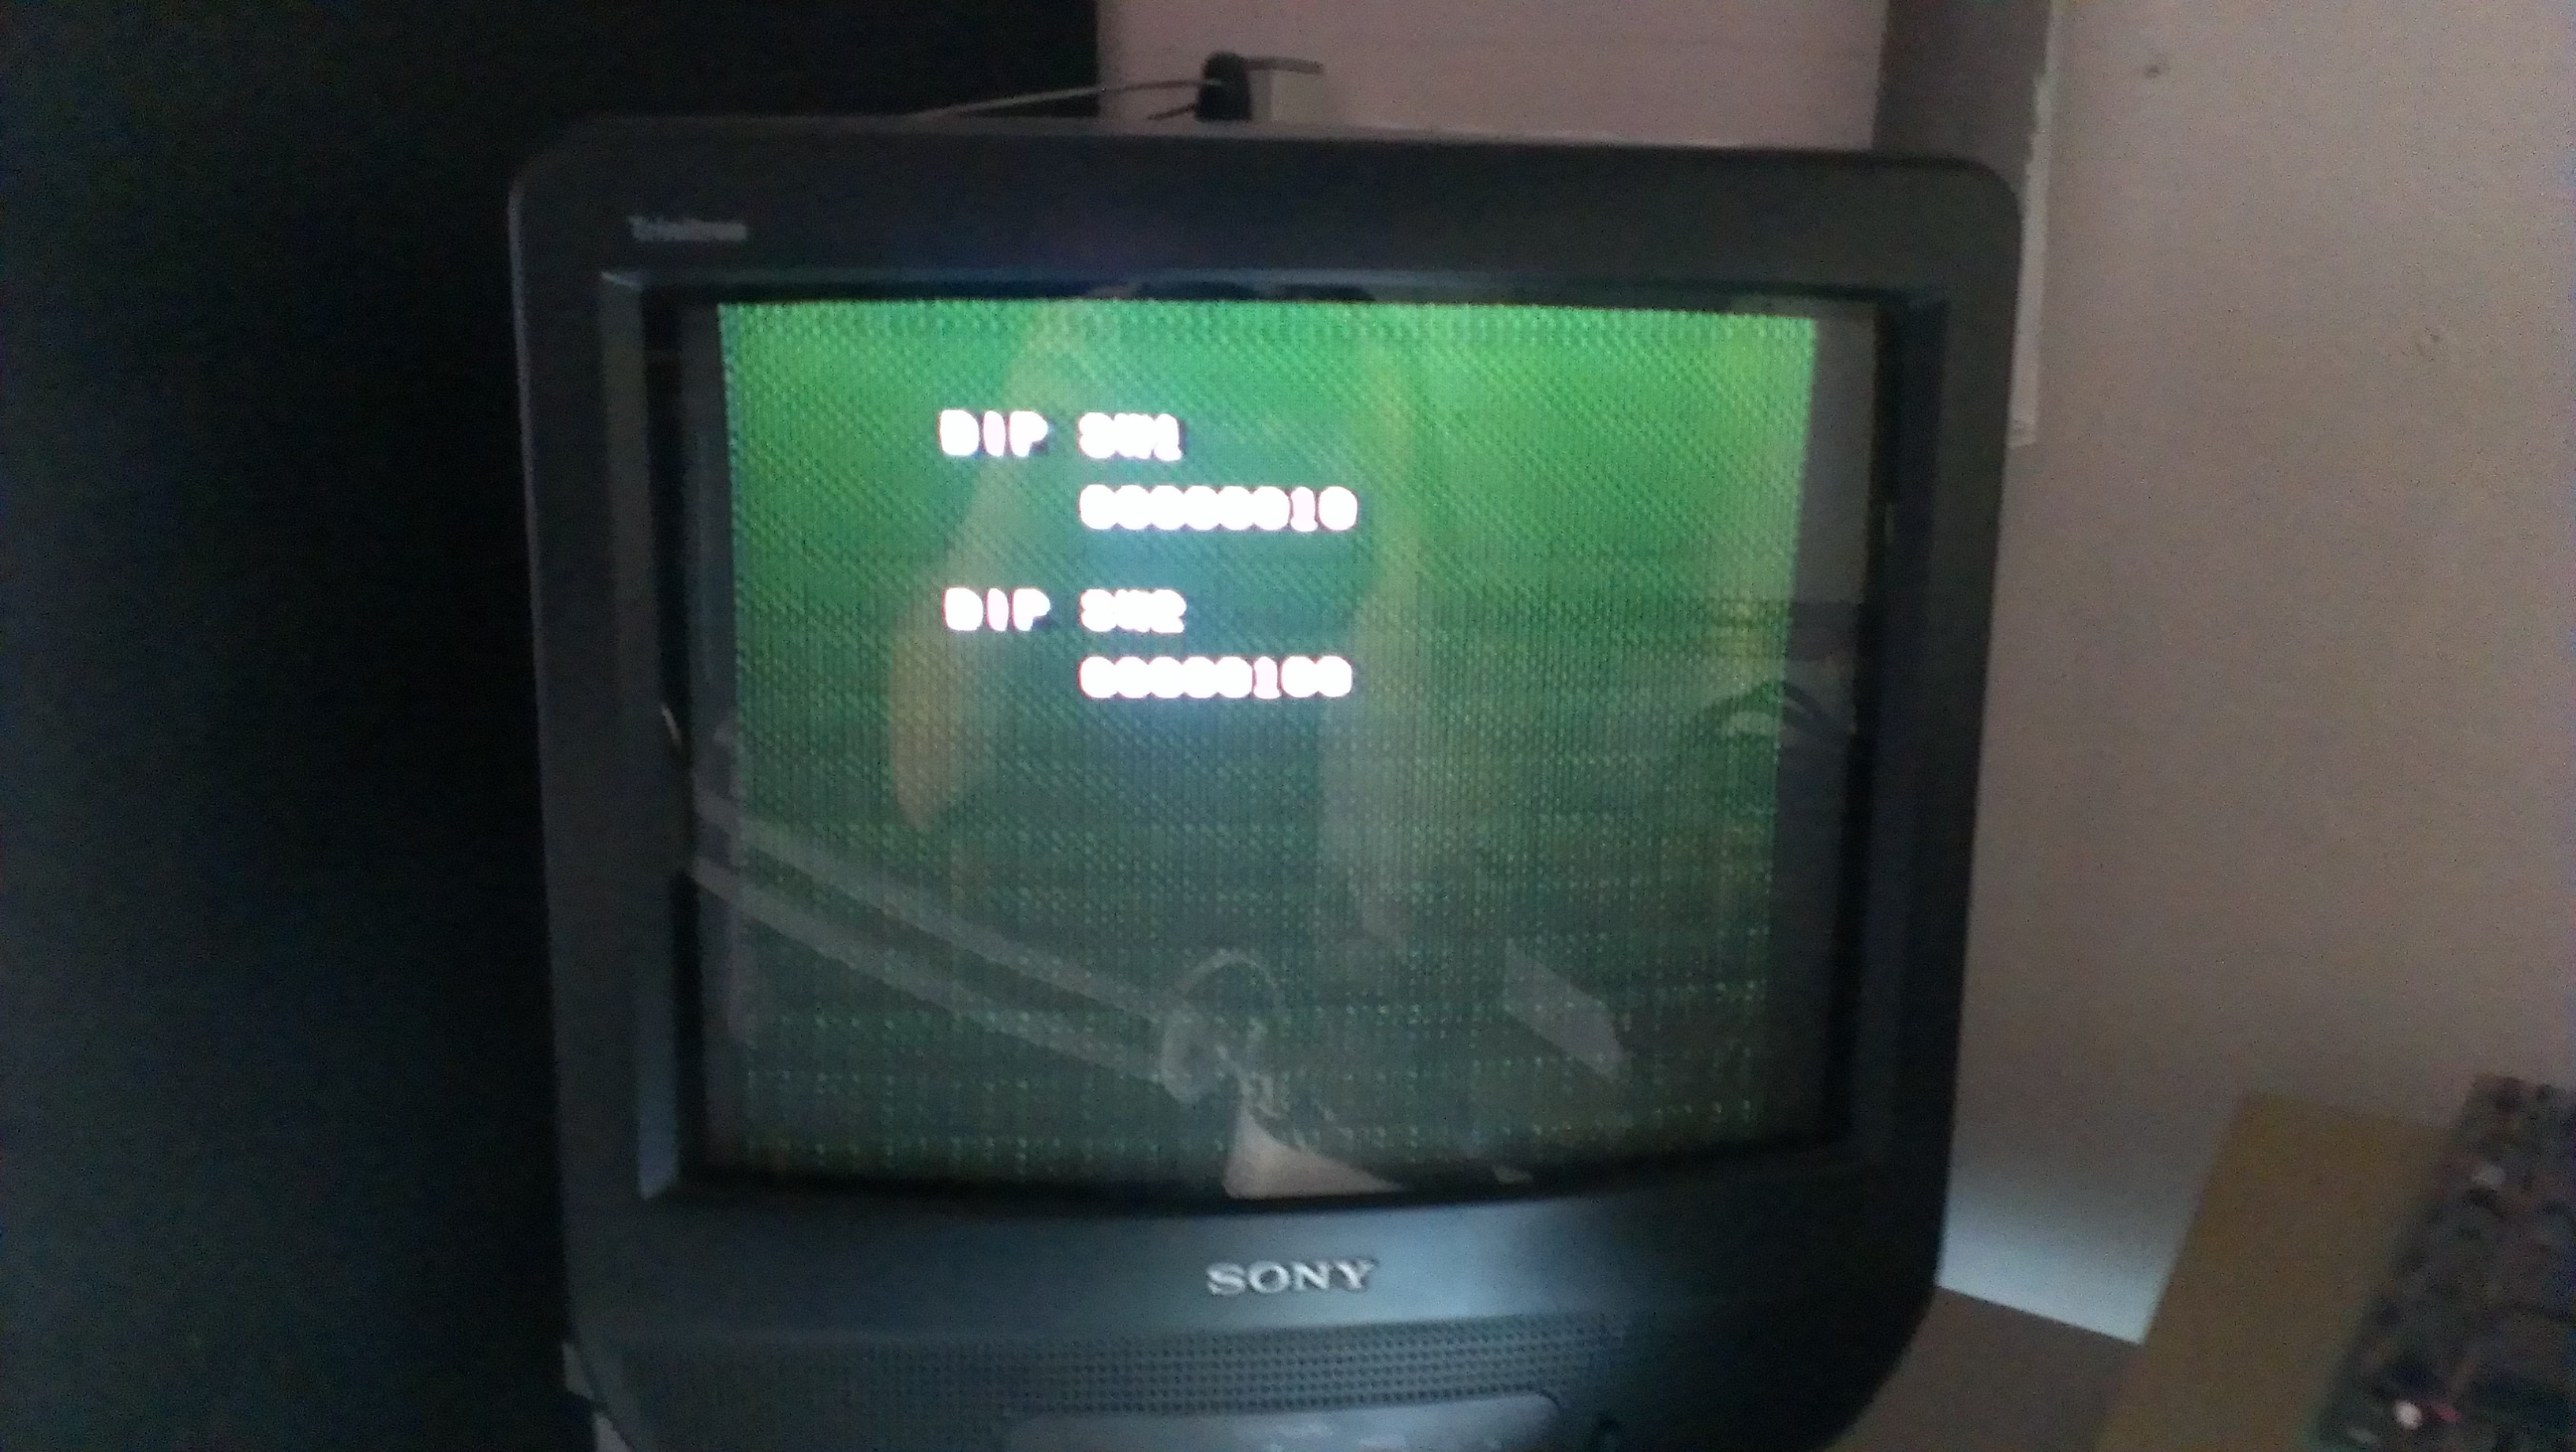
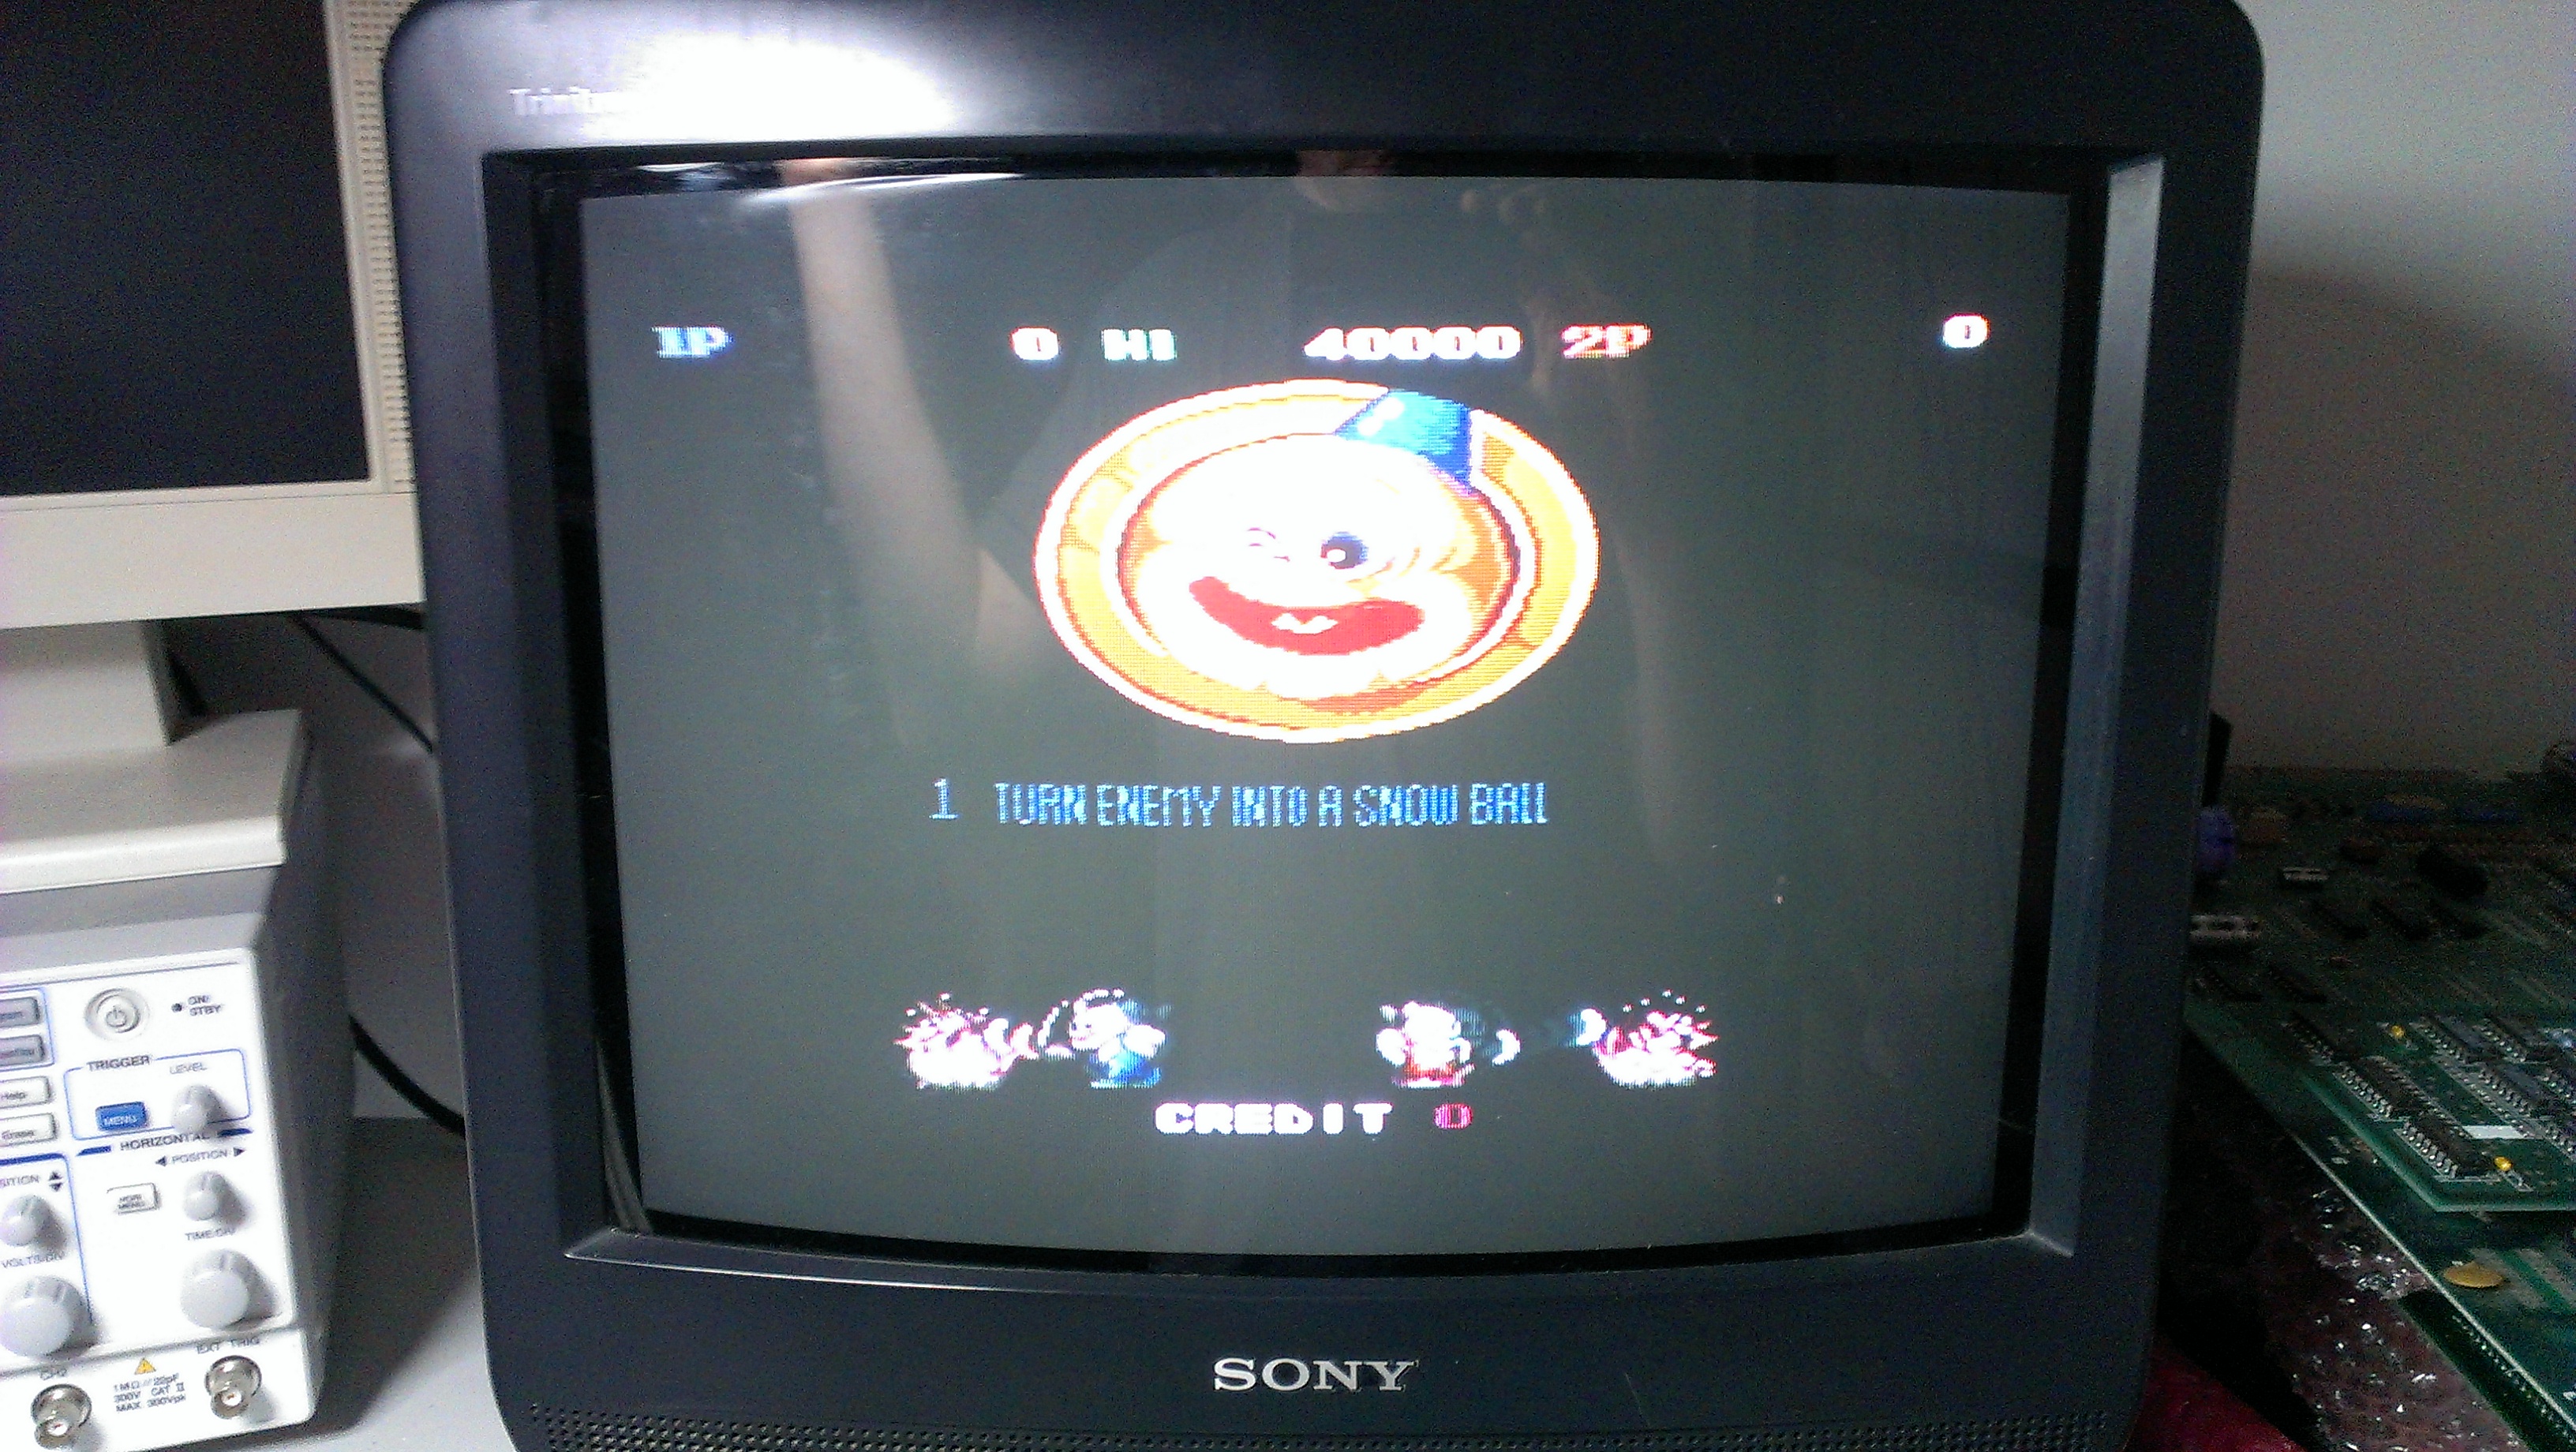
Fired it up for another test.
Getting better but not quite there.
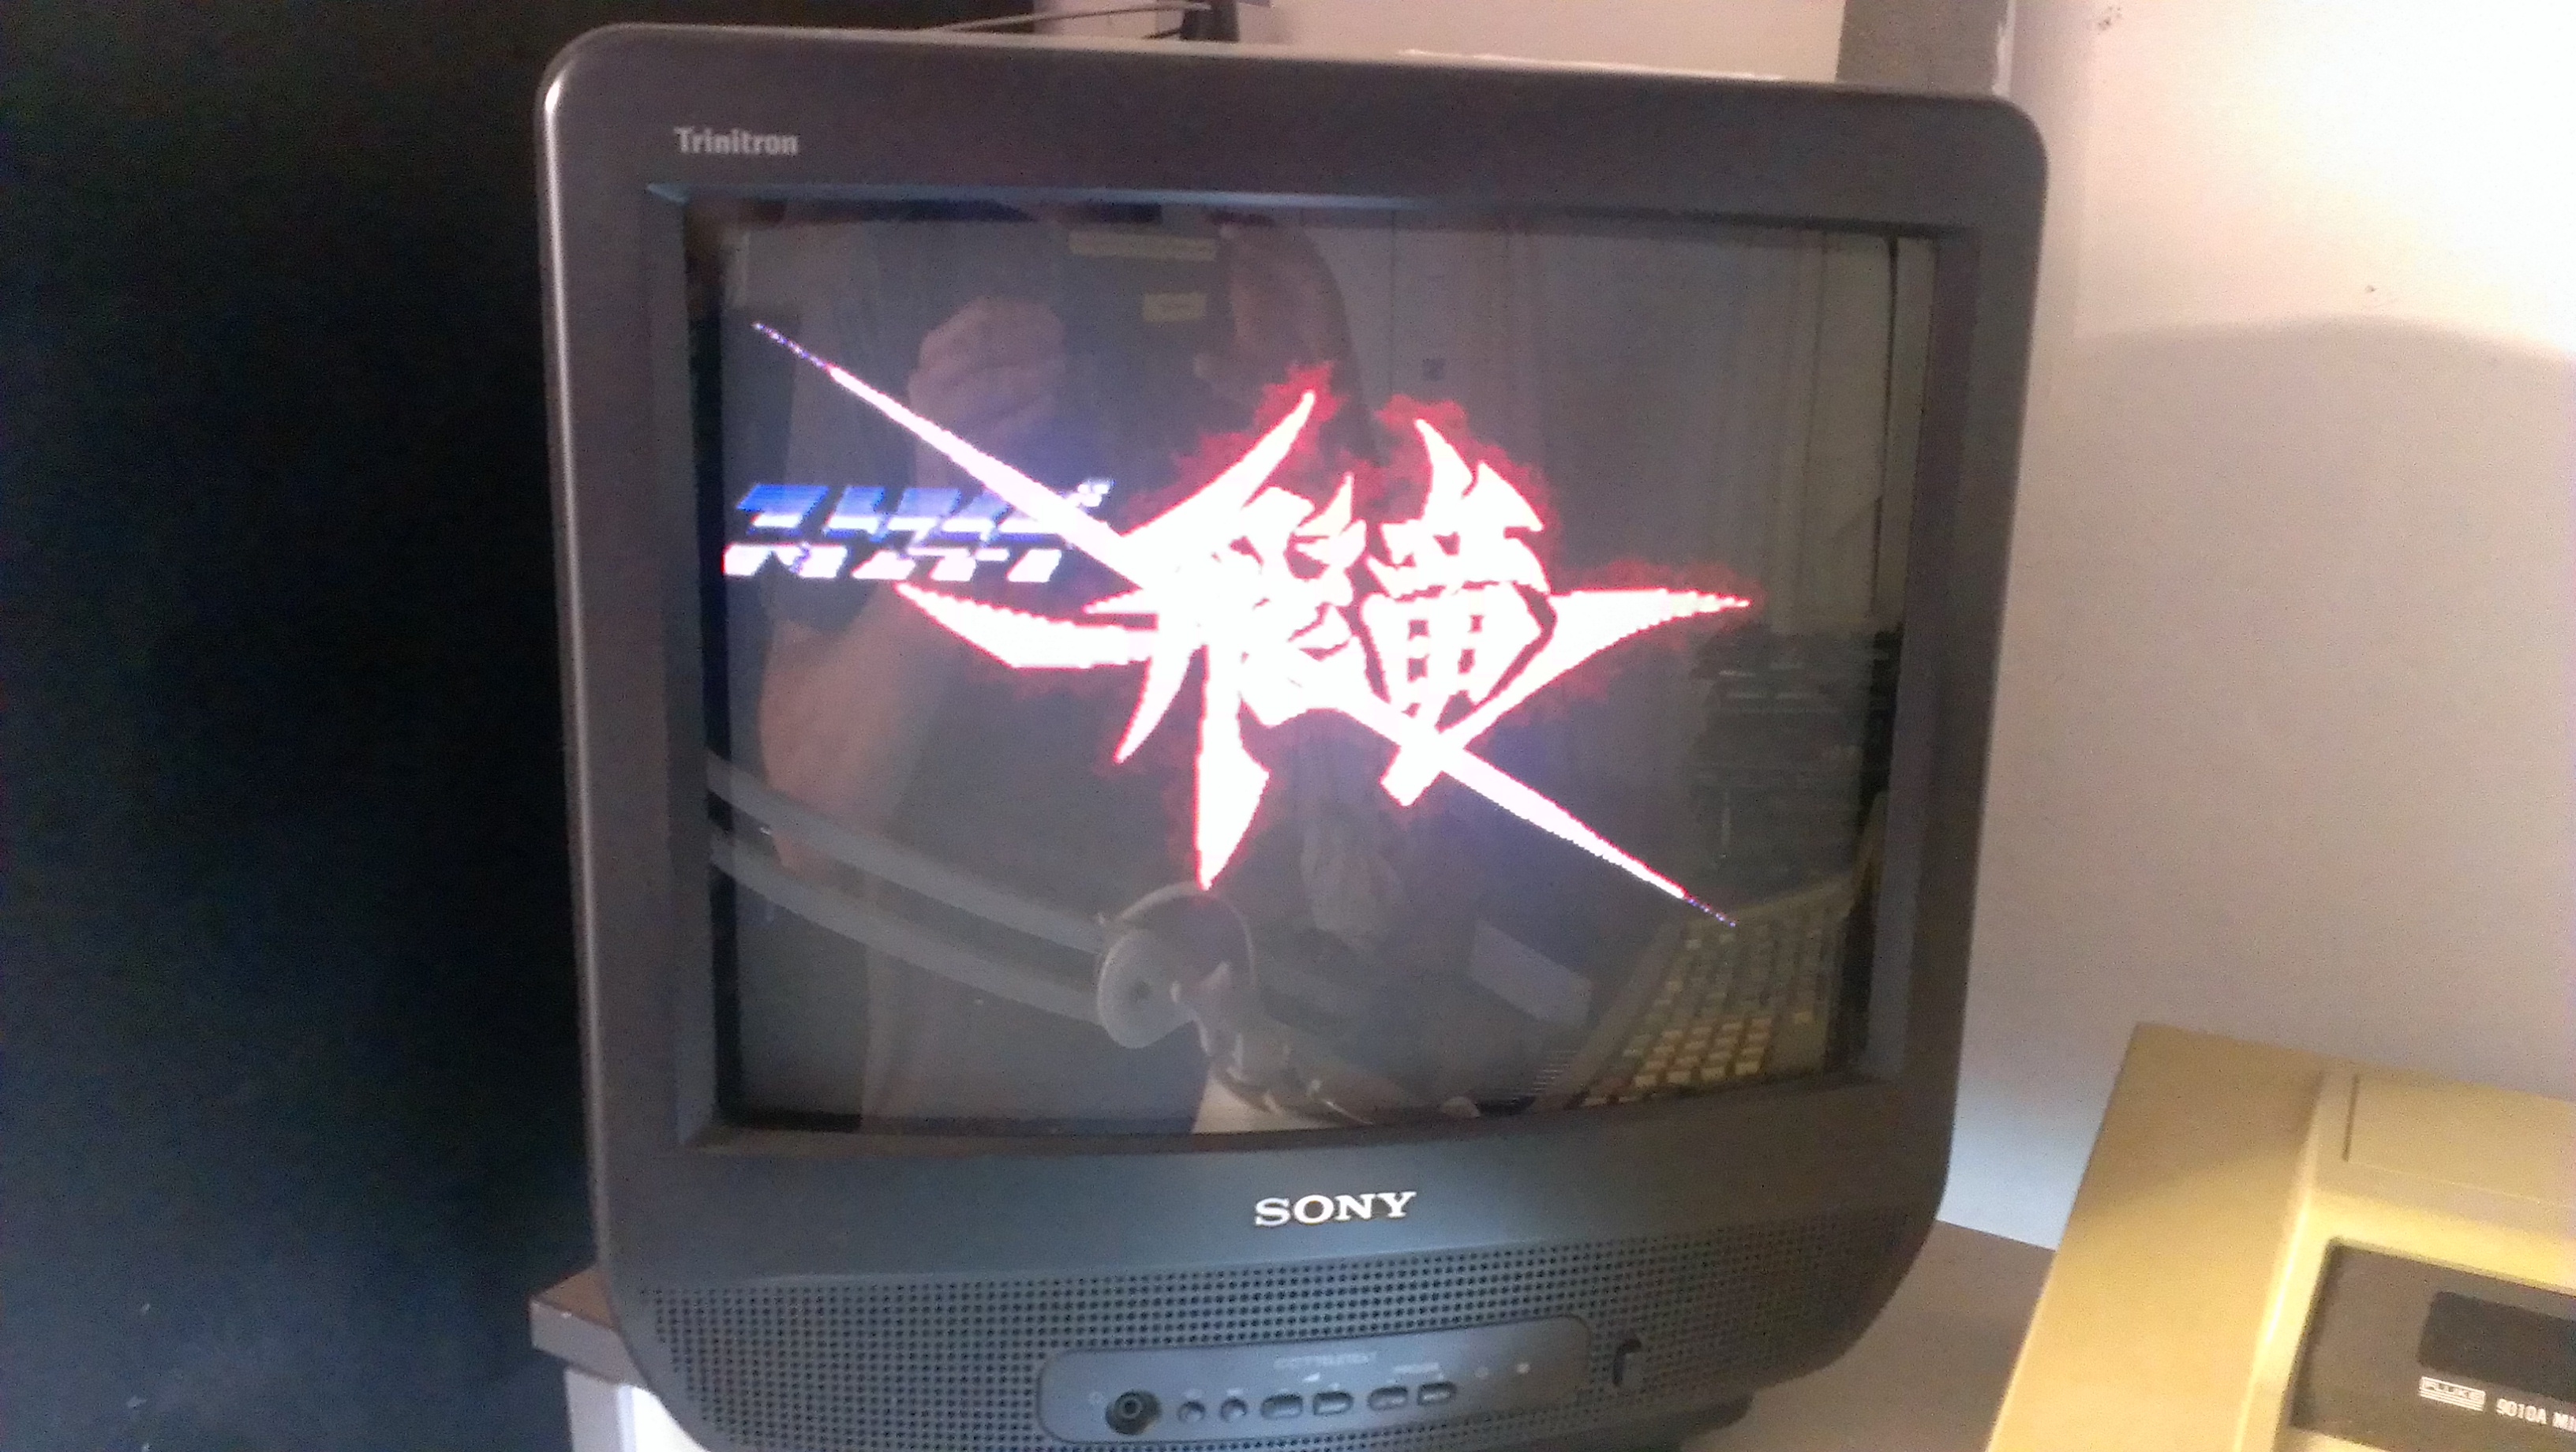
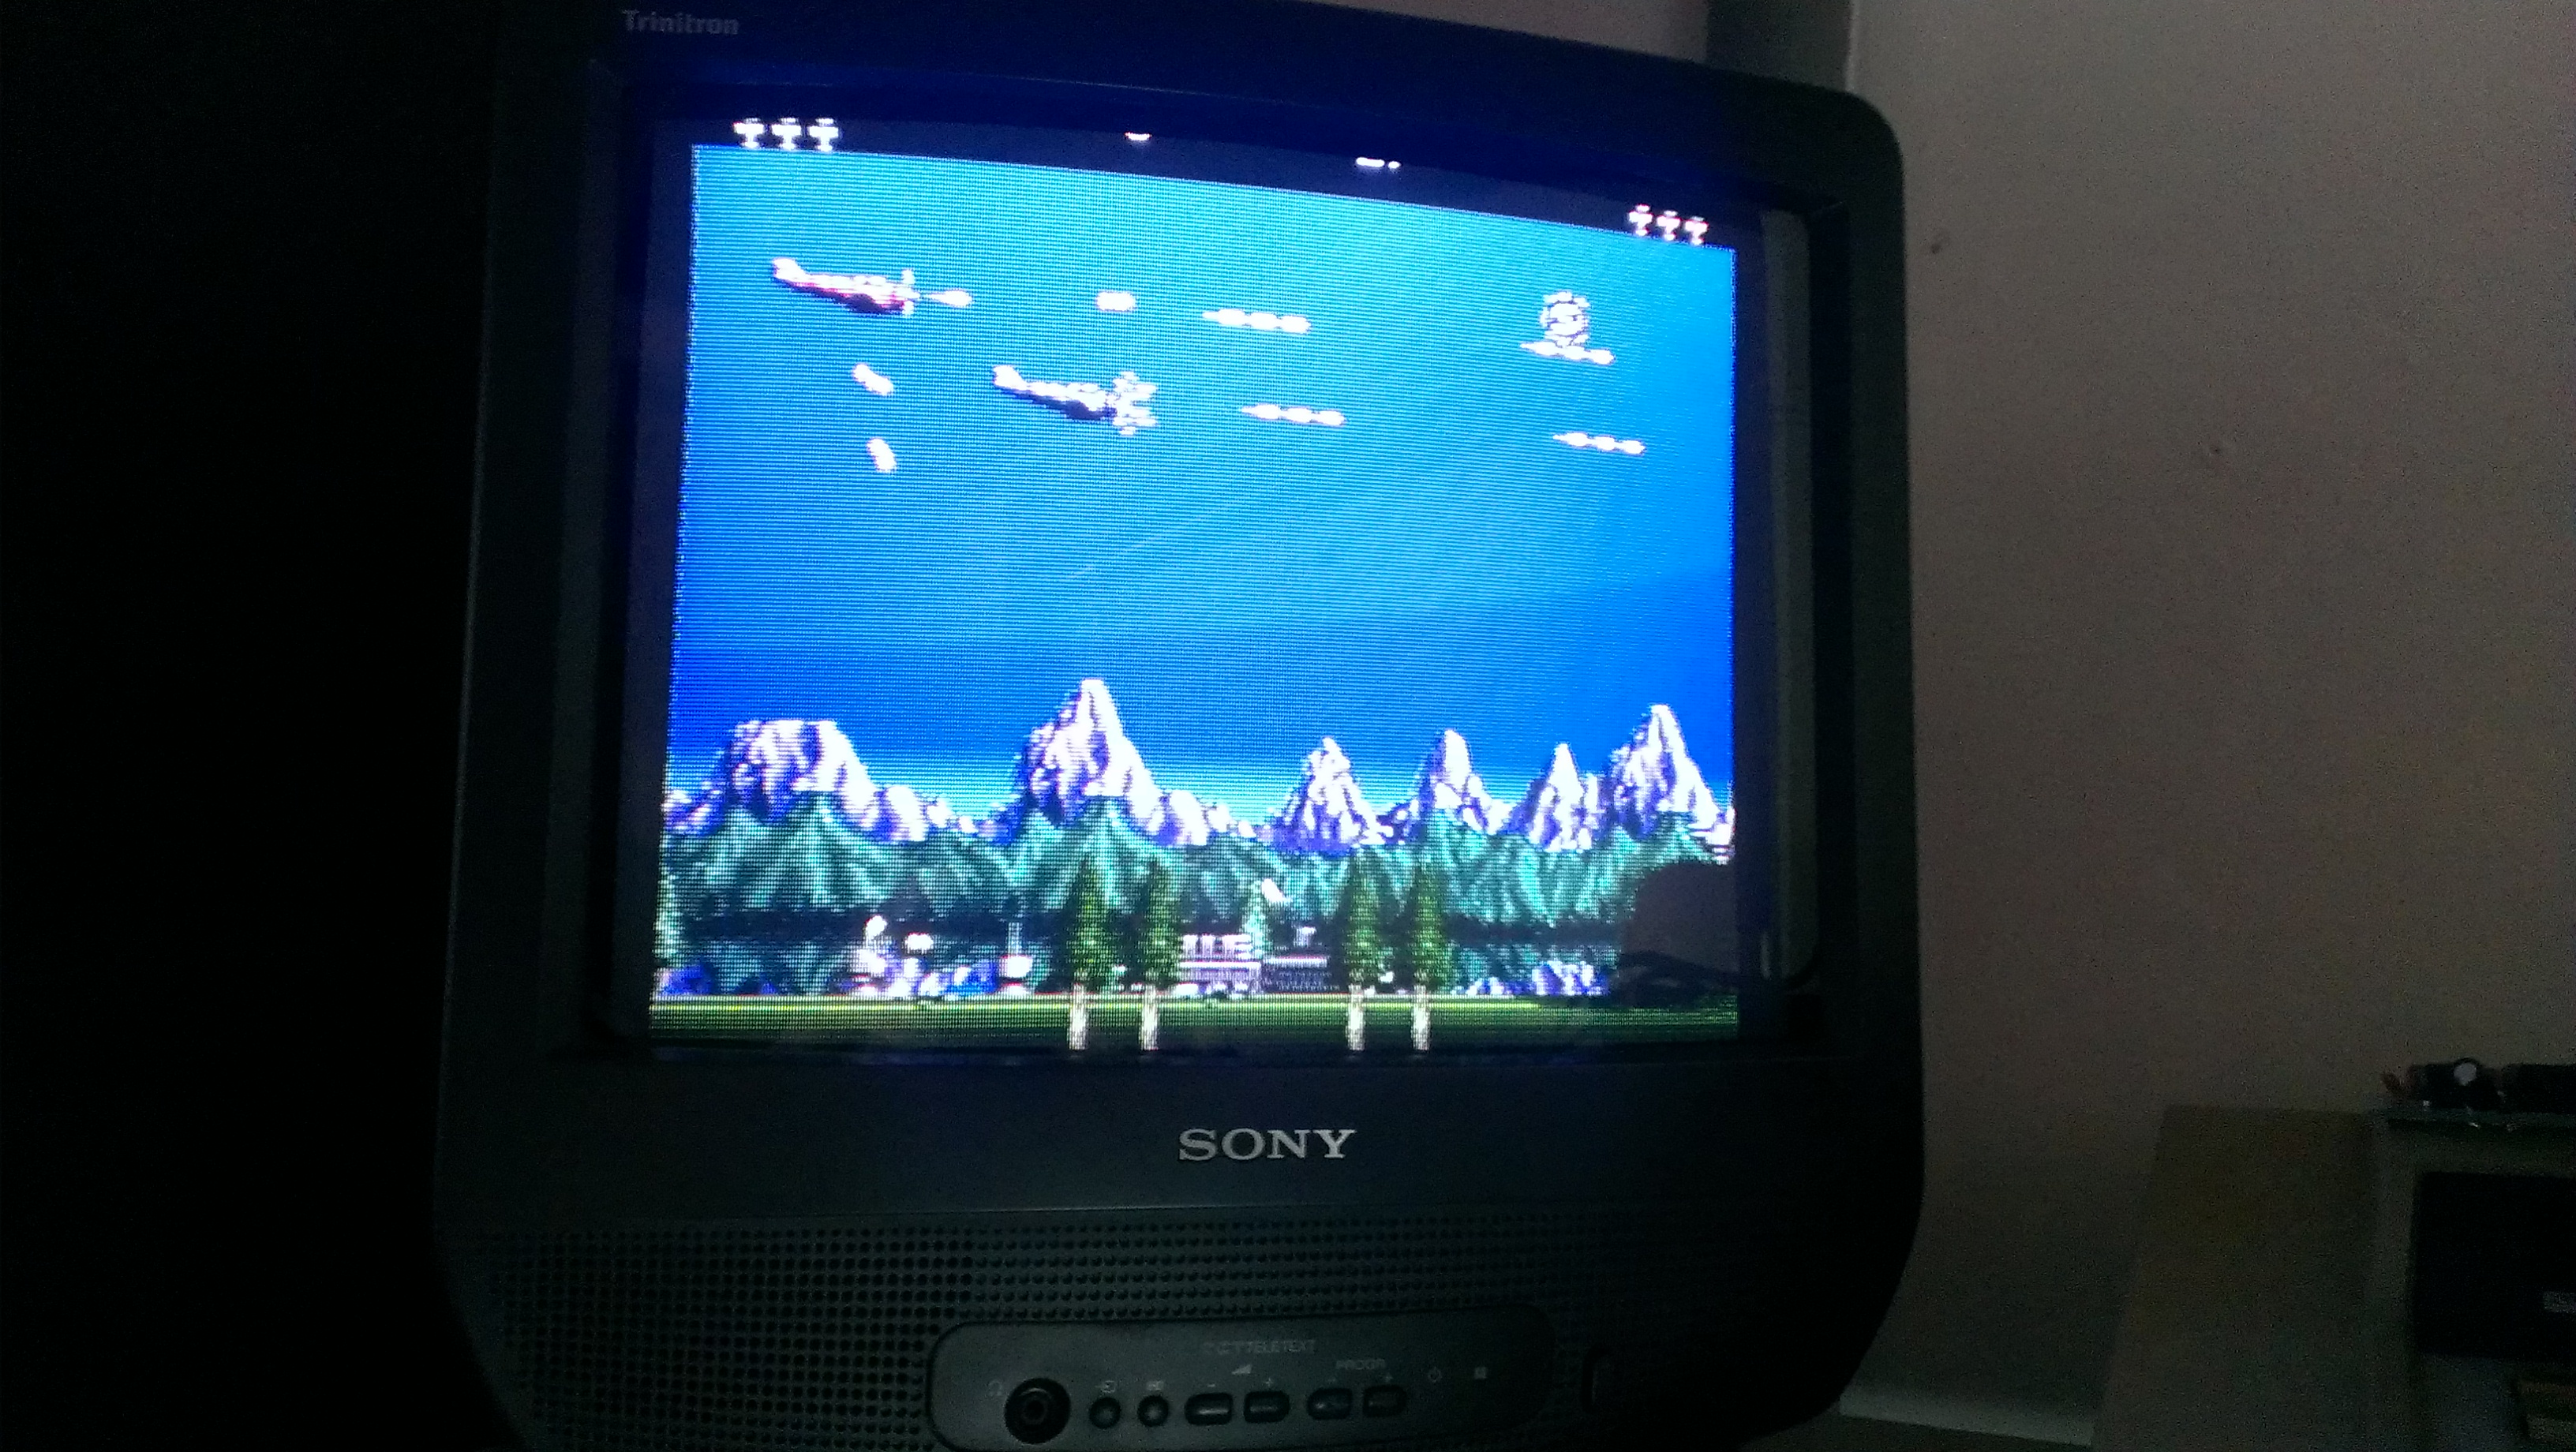
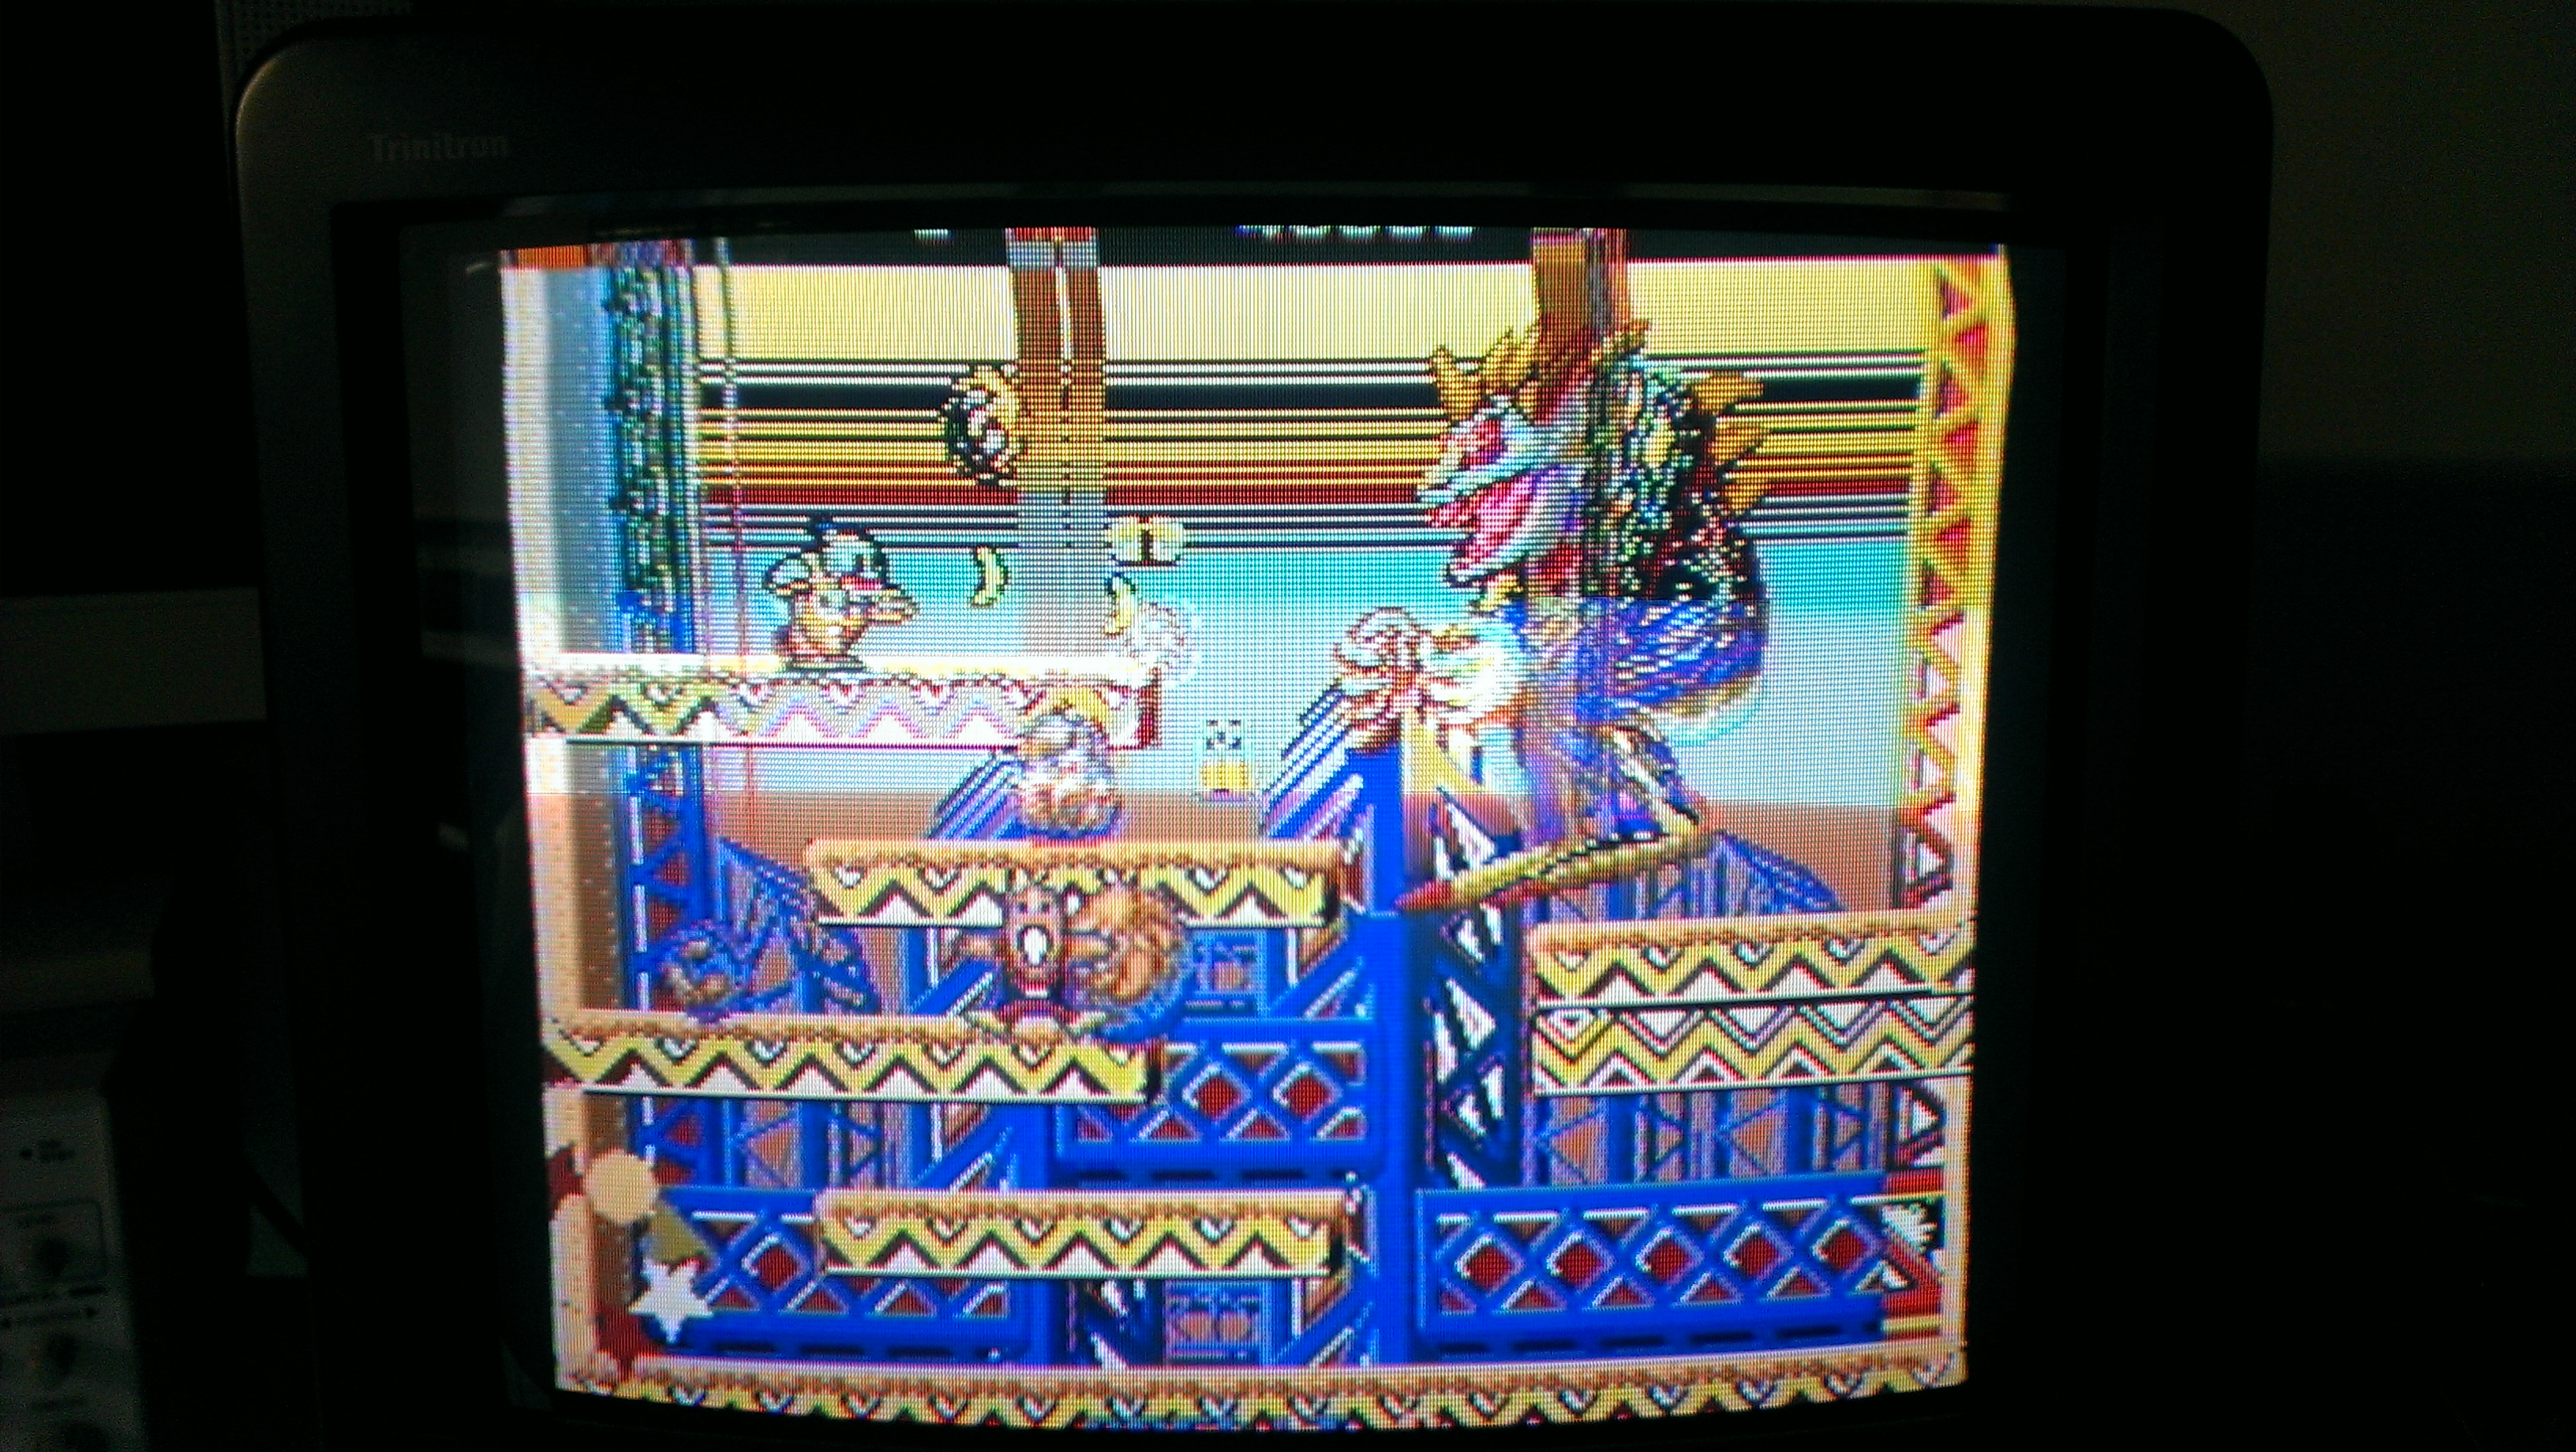
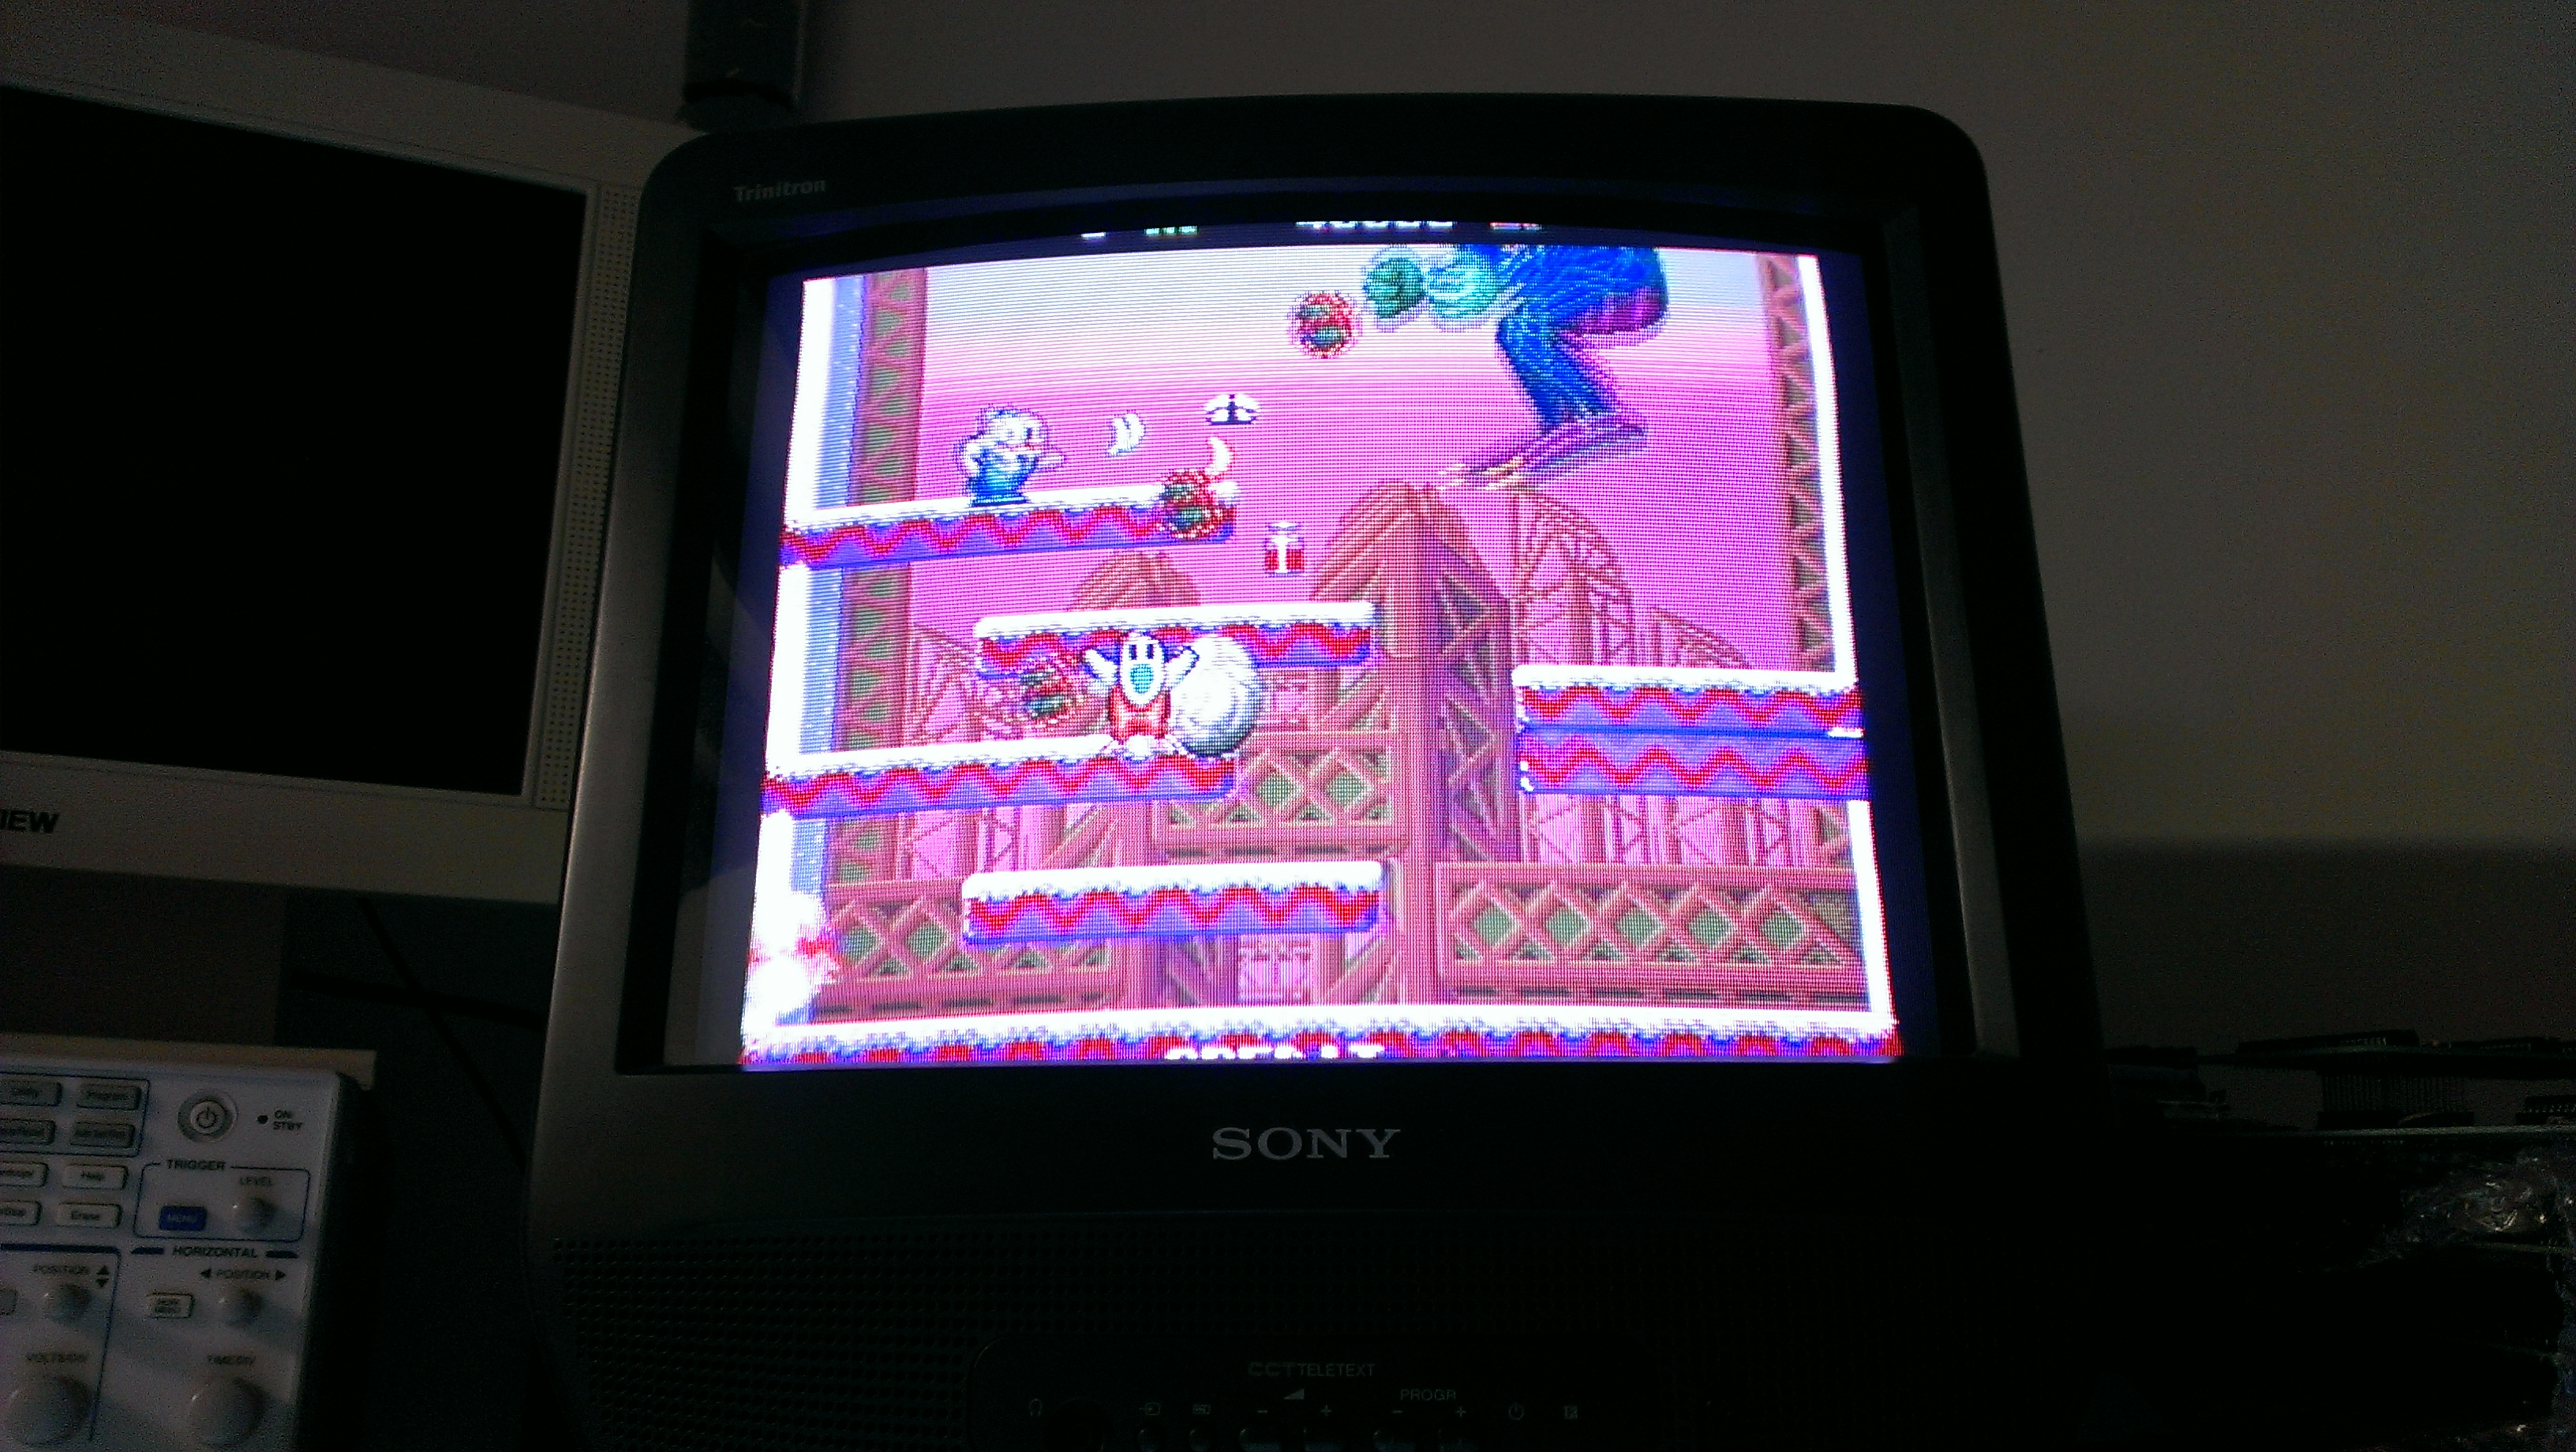
Whilst probing around the patches I made I found an additional 2 pads that were unconnected that I originally missed. Patching these fixed all issues and the game is fully playable.
I actually really like this game and think its very good for its age. As an added bonus it was also an undumped version so its now added to MAME.
Massive thanks to Steph at HobbyRoms. Without his help this board probably wouldn’t have been fixed.
I would also like to add a note to any sellers of bipolar devices on eBay. At least put in a little effort to check your goods before selling at an inflated price. I get the impression most of them don’t even know what they are selling.