Porchy

Pin Toggle “Shield”

 Arduino  Comments Off on Pin Toggle “Shield”
May 312014
 

The pin toggle PCB I made finally came and im quite pleased with it. I had to make a couple of changes in software to accommodate an error I made but that’s the beauty of having full control via software.

It works well but I wish I had added a reset switch on top and also wish I had given access to a couple of the other IO pins across the top because right now I have to add a link you switch between 20/24 pin devices.
Maybe ill make a revision 2 sometime but I have no real need to do so.

 Posted by at 9:37 pm

Taito F3 cartridge & Juno First bootleg PALs added

 PAL Updates  Comments Off on Taito F3 cartridge & Juno First bootleg PALs added
May 252014
 

I loaned a couple of cartridges from muddymusic recently.
The F3 carts have a few different PAL chips in them and I have dumped and tested all present in the carts I have. All the chips were unlocked.
I already had a couple of F3 PAL dumps from Twin Cobra 2 thanks to Kevin Eshbach. I have also changed his PAL dumps from game specific to general “Taito F3 cartridge”.

MM also sent me a load of Juno First boards to look at. The original boards use a custom 6809 CPU that uses encrypted opcodes. The bootleg boards use a regular 6809 CPU but have 2 PAL chips to implement the encryption.
There is also a PAL10L8 chip present on the original board (marking are scratched off but is present on schematics), I havent tested yet but I think this will be compatible with the one from the bootleg.
None of the Juno First PALs are tested as the board sets all have issues.

Thanks to muddymusic for lending me his stuff.

 Posted by at 2:56 pm

Dumping Gameking cartridges

 Arduino  Comments Off on Dumping Gameking cartridges
May 182014
 

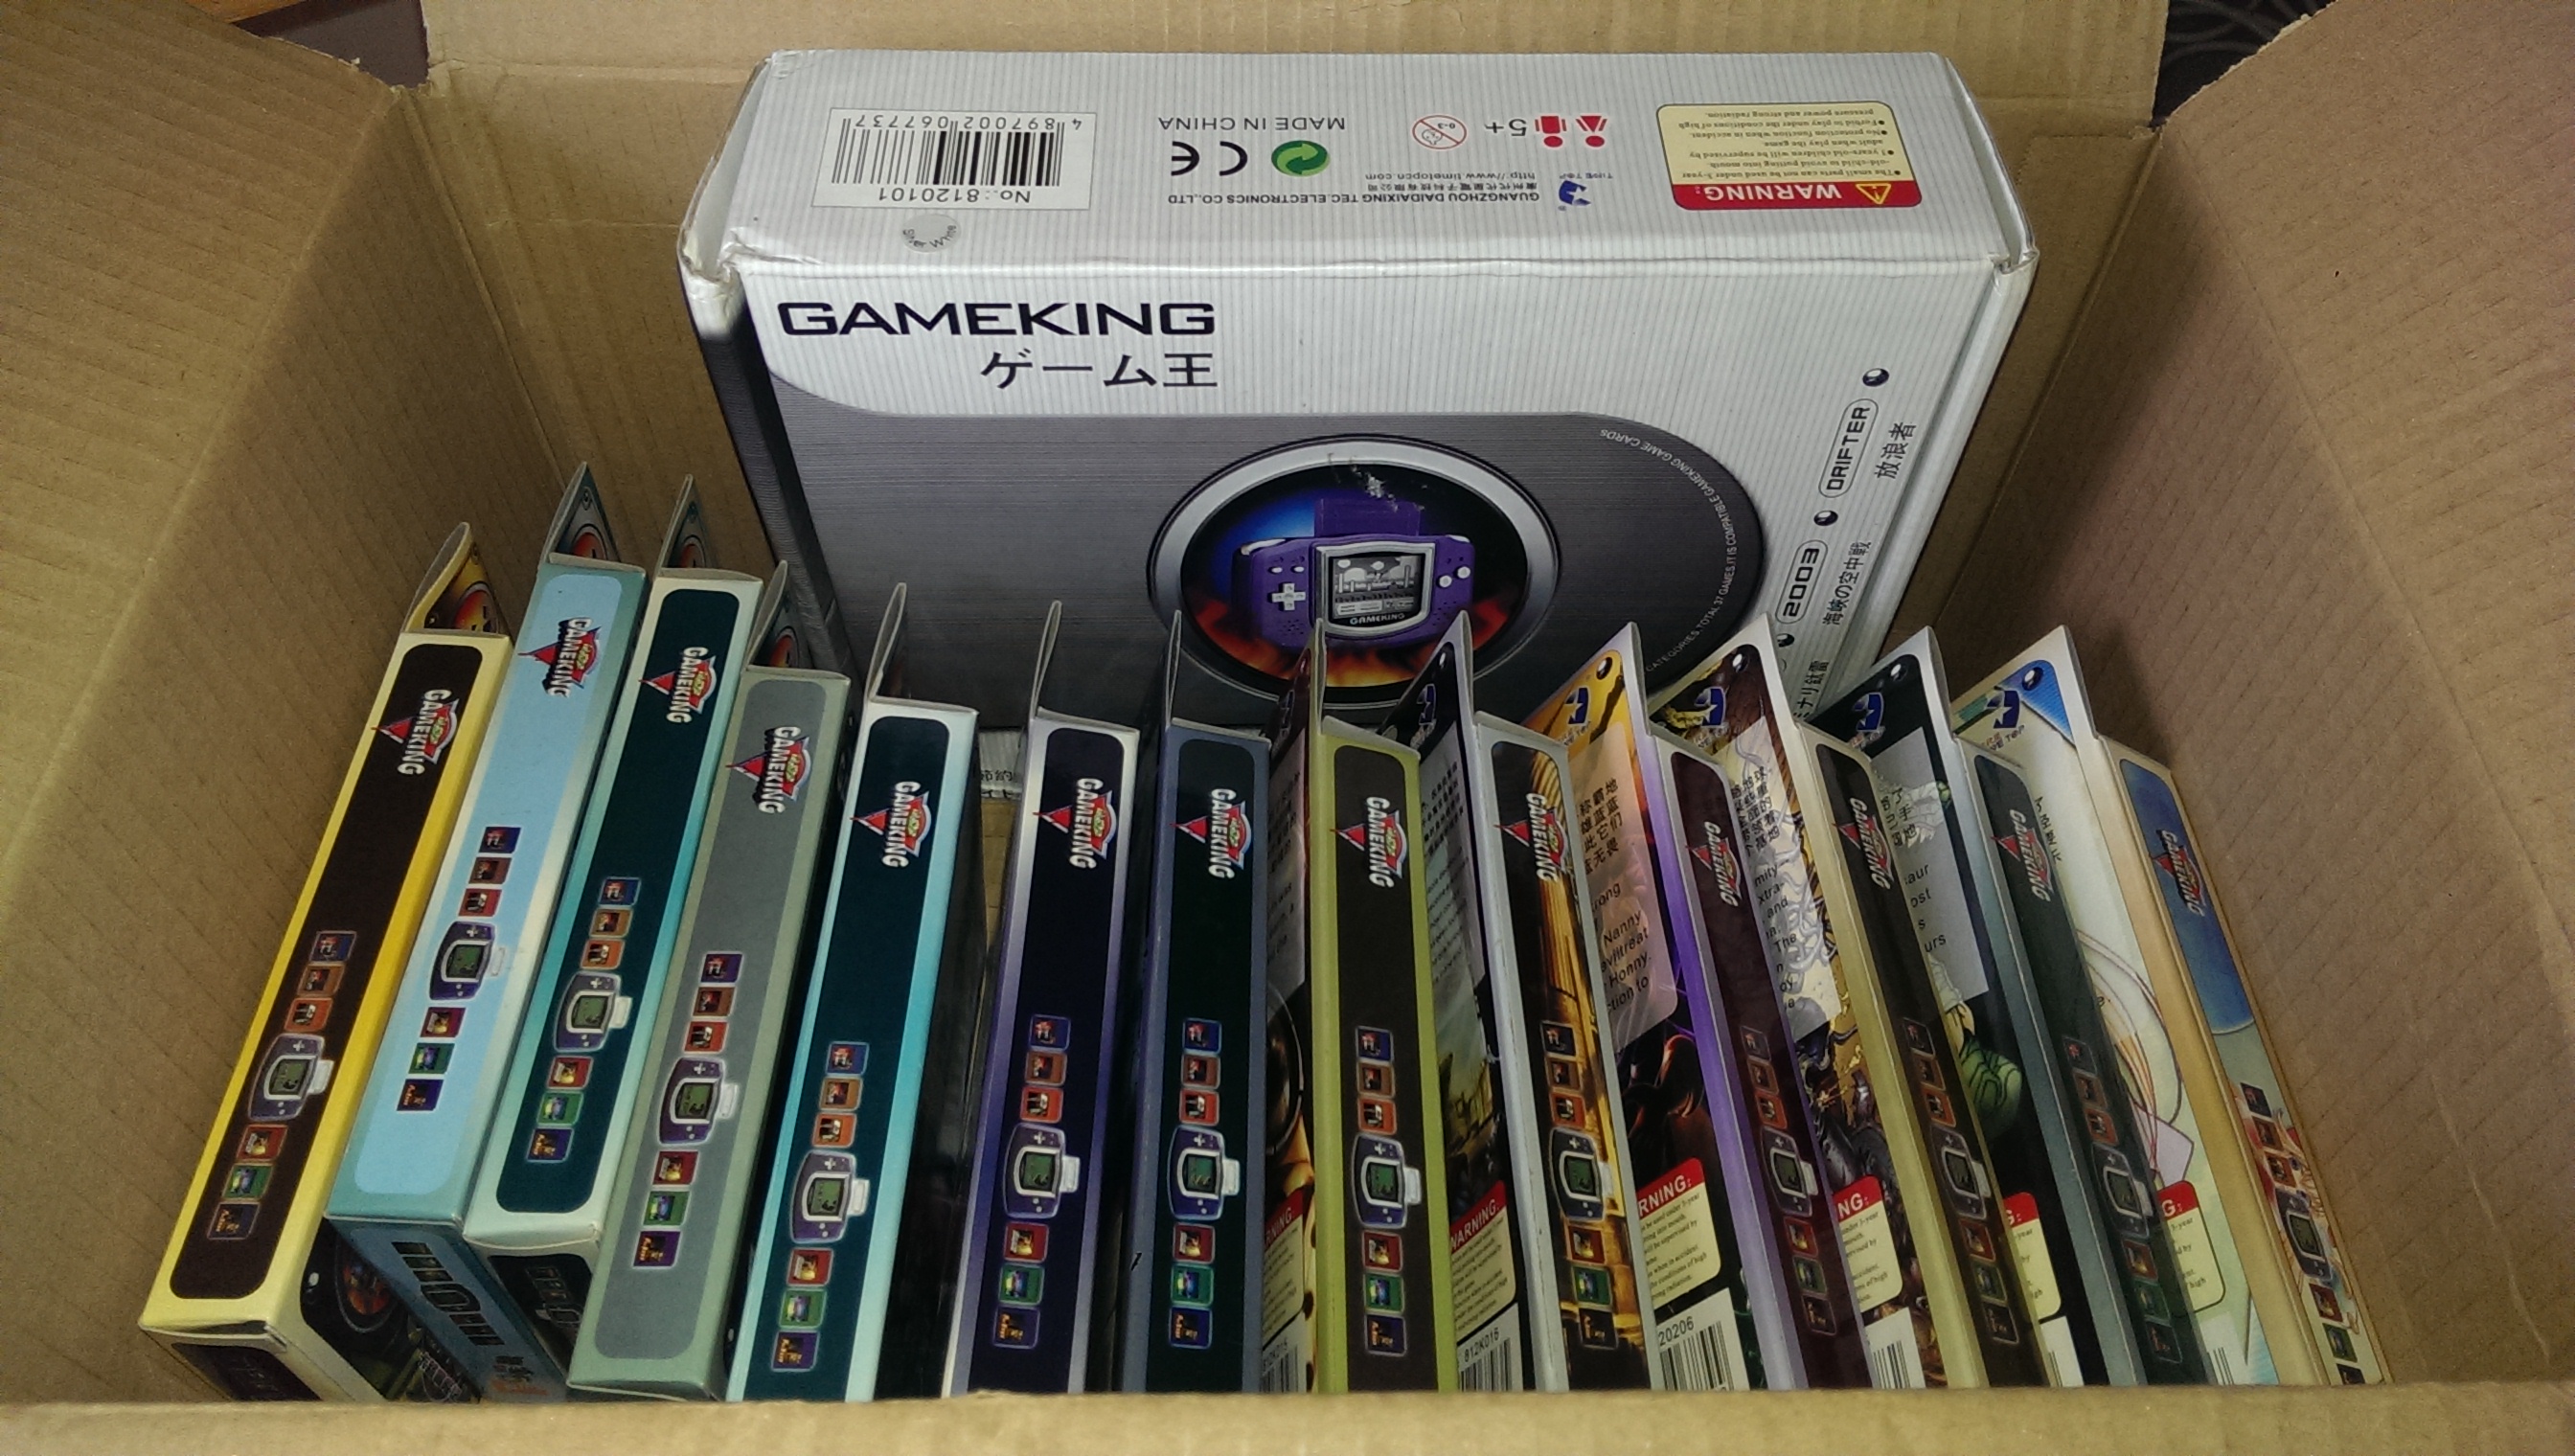
Got my hands on a Gameking with 13 games recently.
The Gameking is a bad handheld device from the East and all the games are a ripoff of something already released.

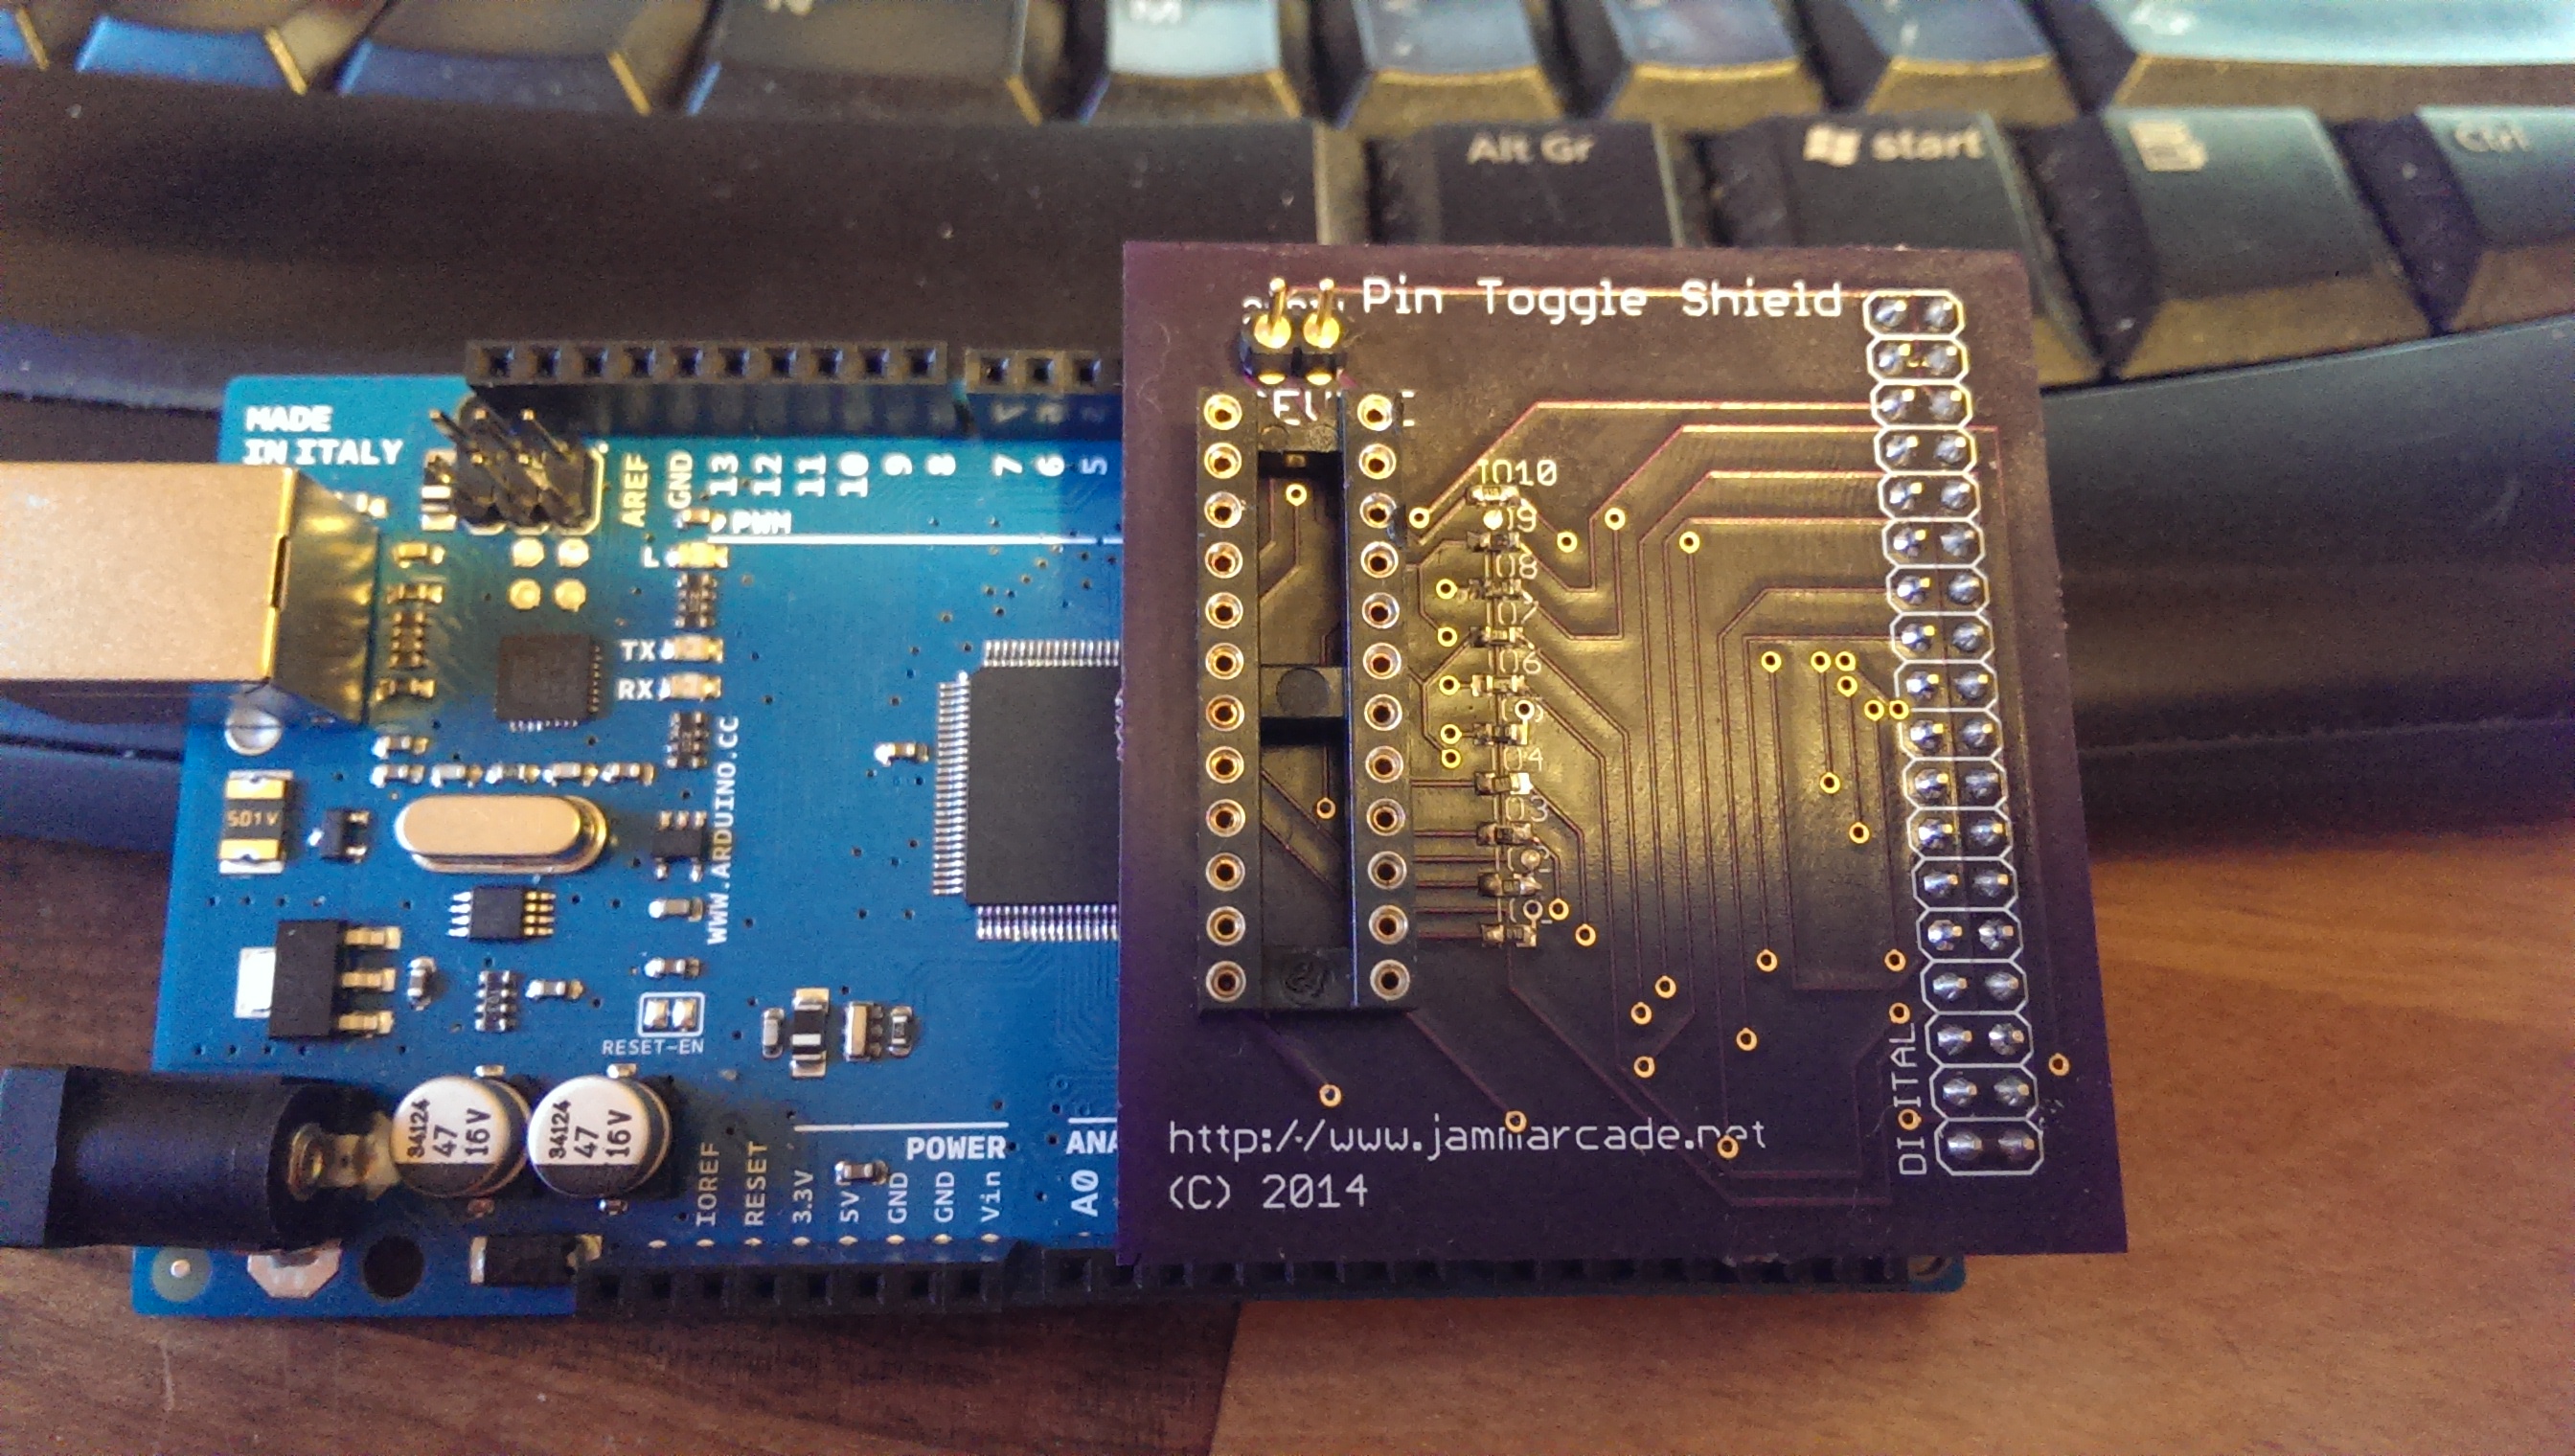
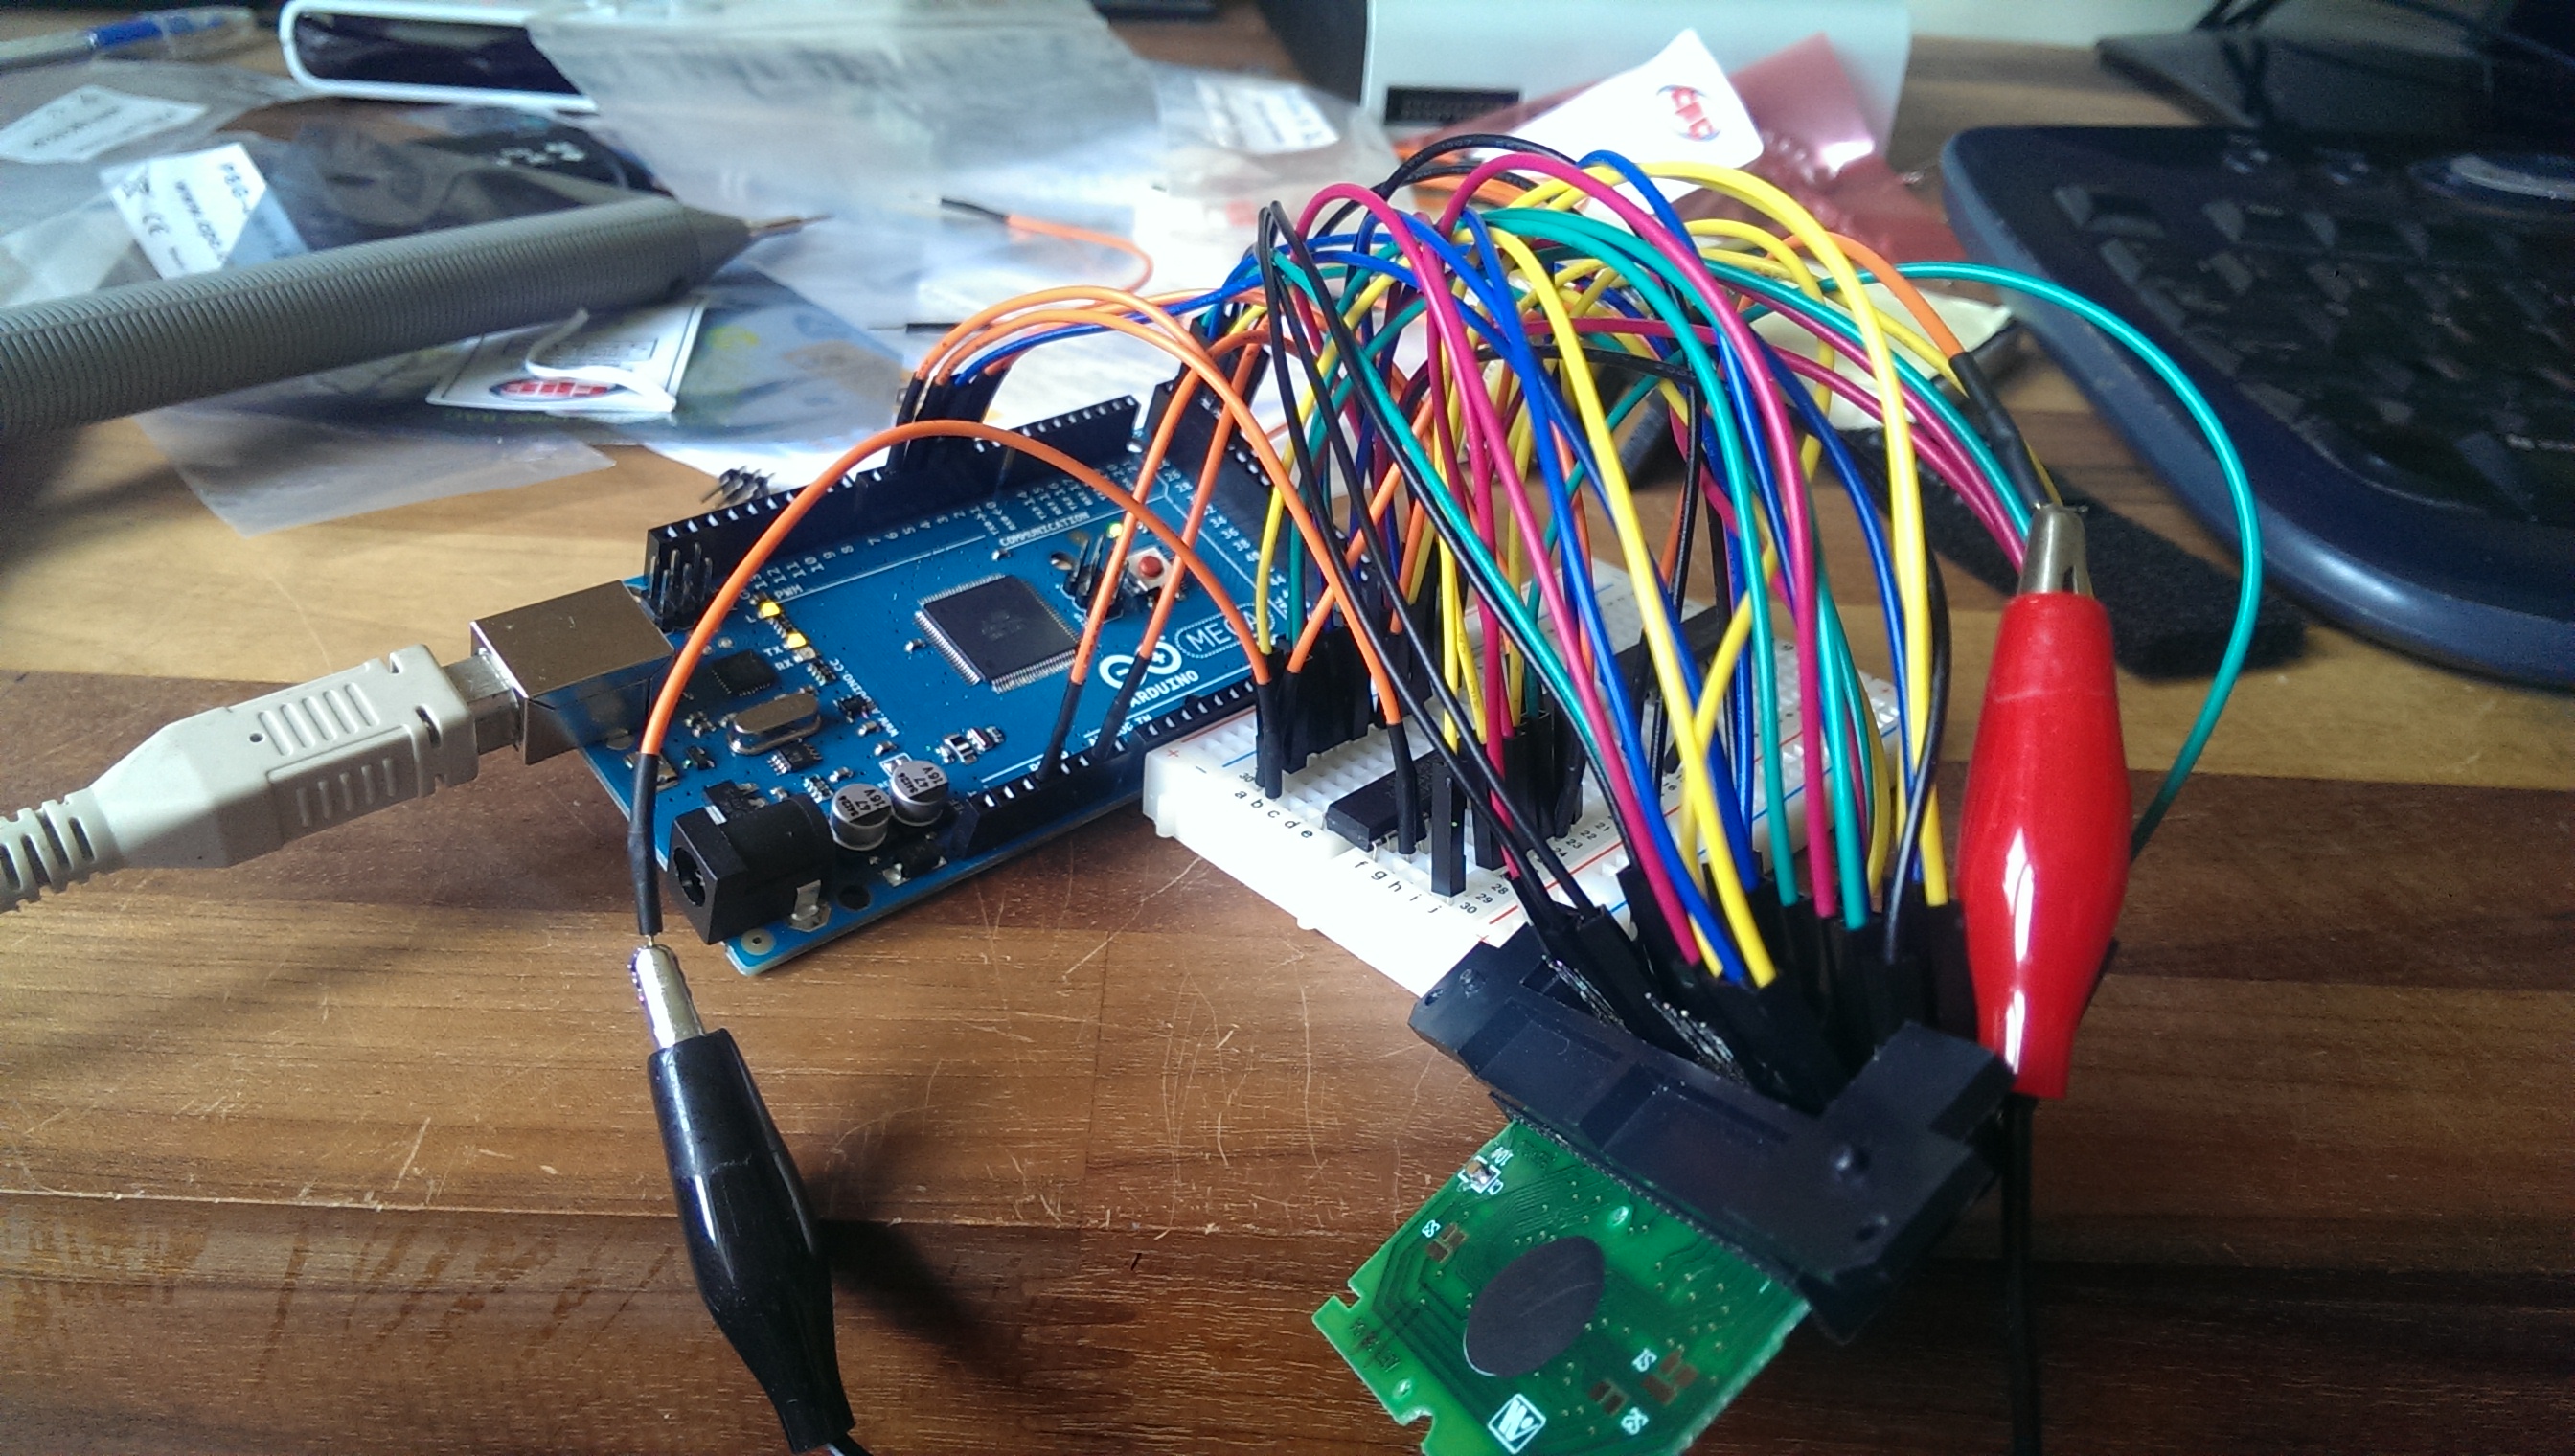
This little project represents the first attempt at I made at dumping a ROM using the Arduino.
It’s also the first time I used the 74HC4040 to generate the addresses. I used these binary counters because they offer 12 outputs and it only uses 2 outputs from the Arduino. They are also tolerant of both 3.3v and 5v so interfacing with different voltage chips is a lot easier.

On with the dumping.
There is a guy called Brian Provinciano that once had a website that contained a lot of nice information about the Gameking. Fortunately it can still be found here

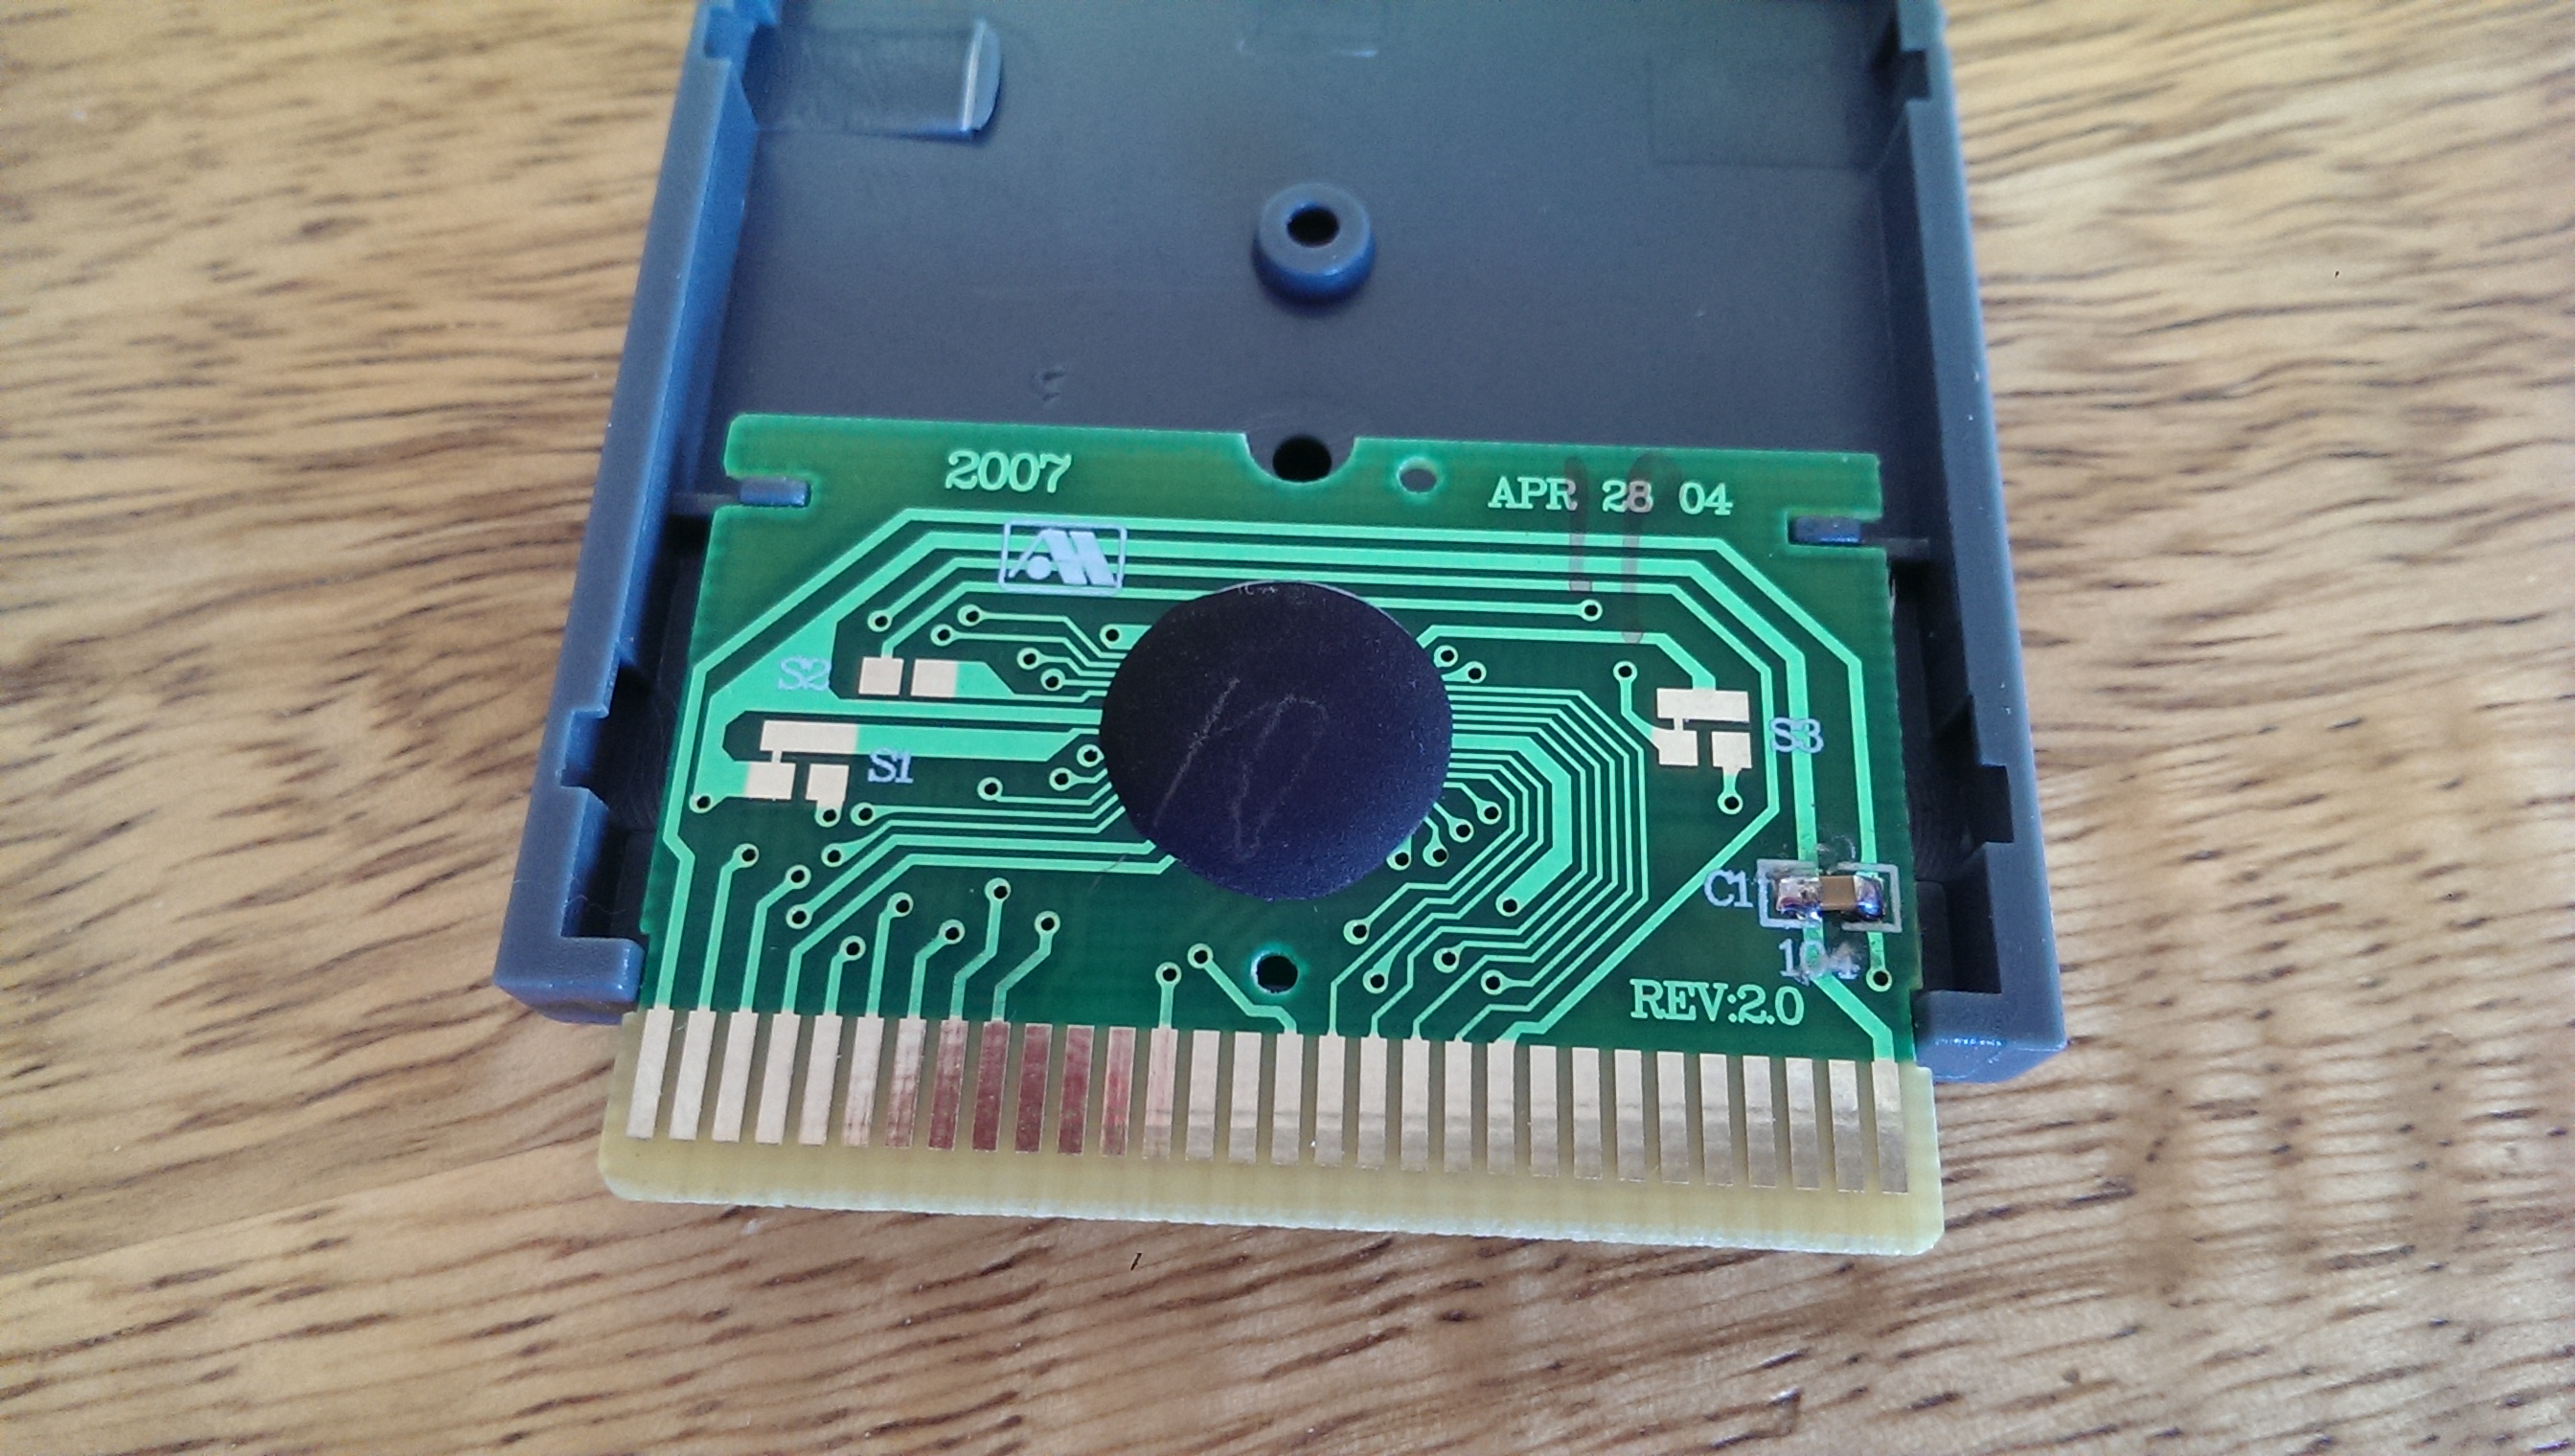
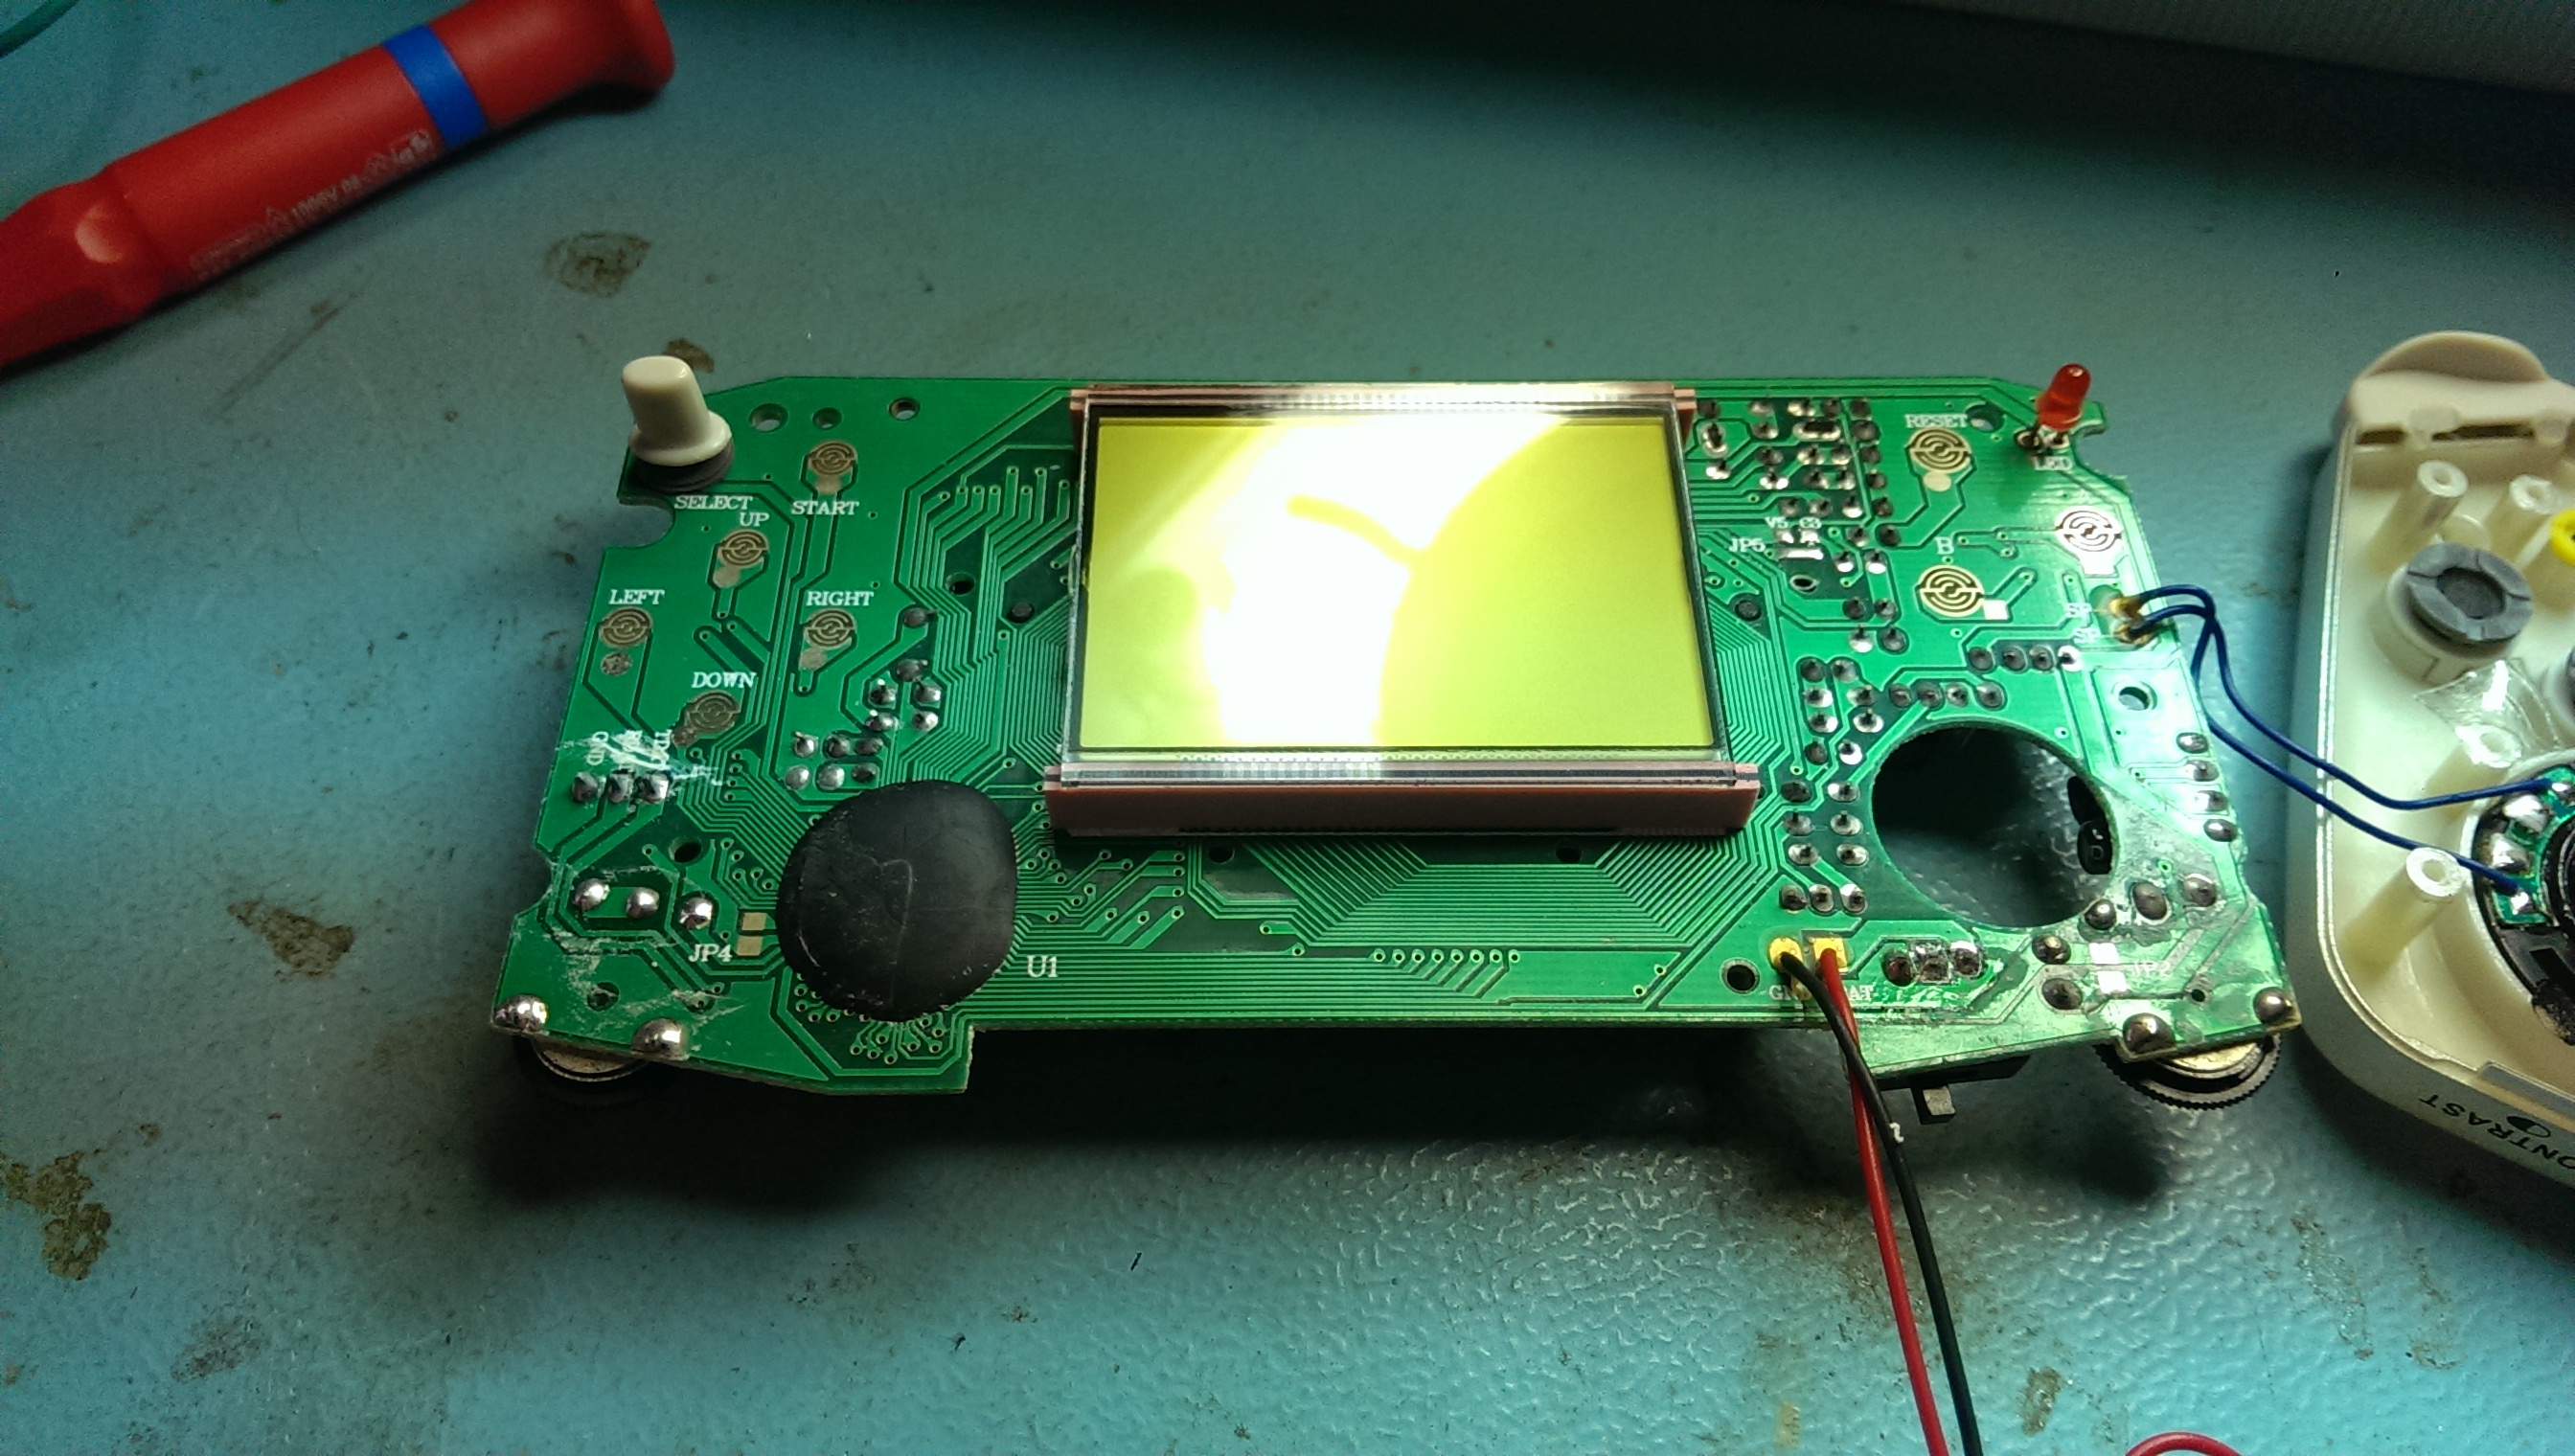
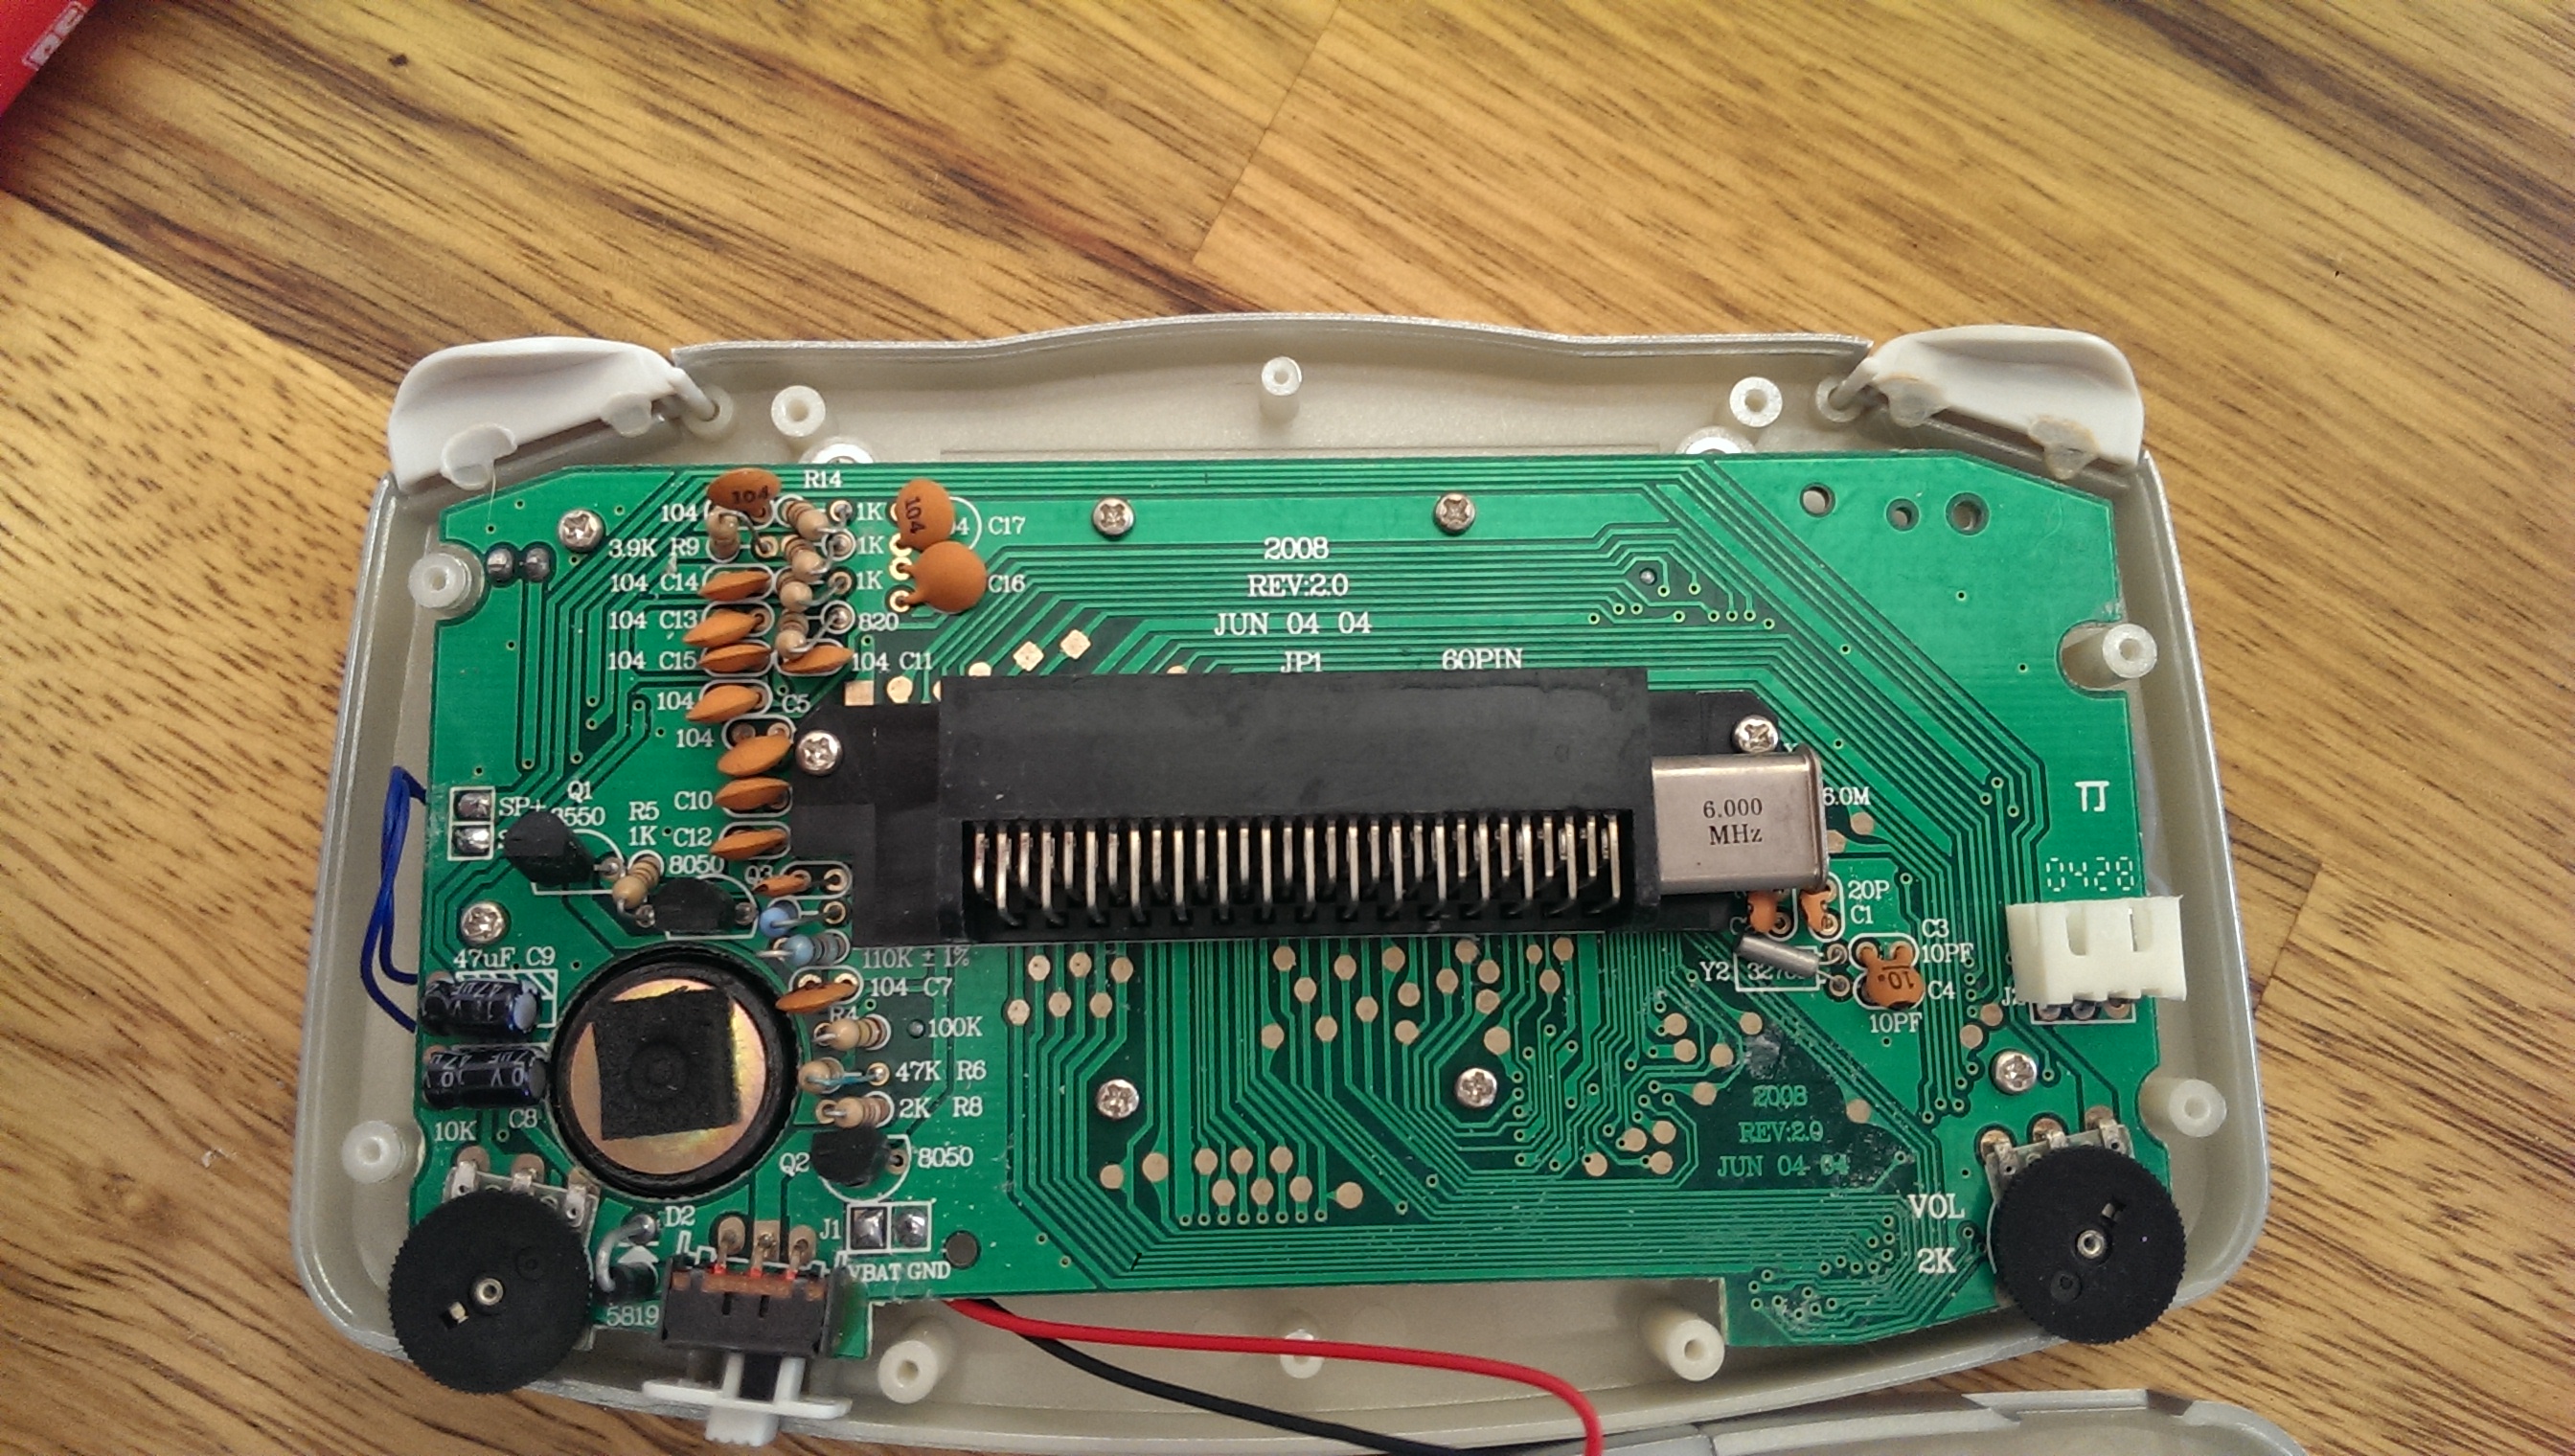
So armed with the pinout this should be easy right? Nope. The physical cartridge pinout is a 2×30 pin affair and I could not find one. Nothing left to do but desolder the original cartridge connector from the Gameking unit itself.

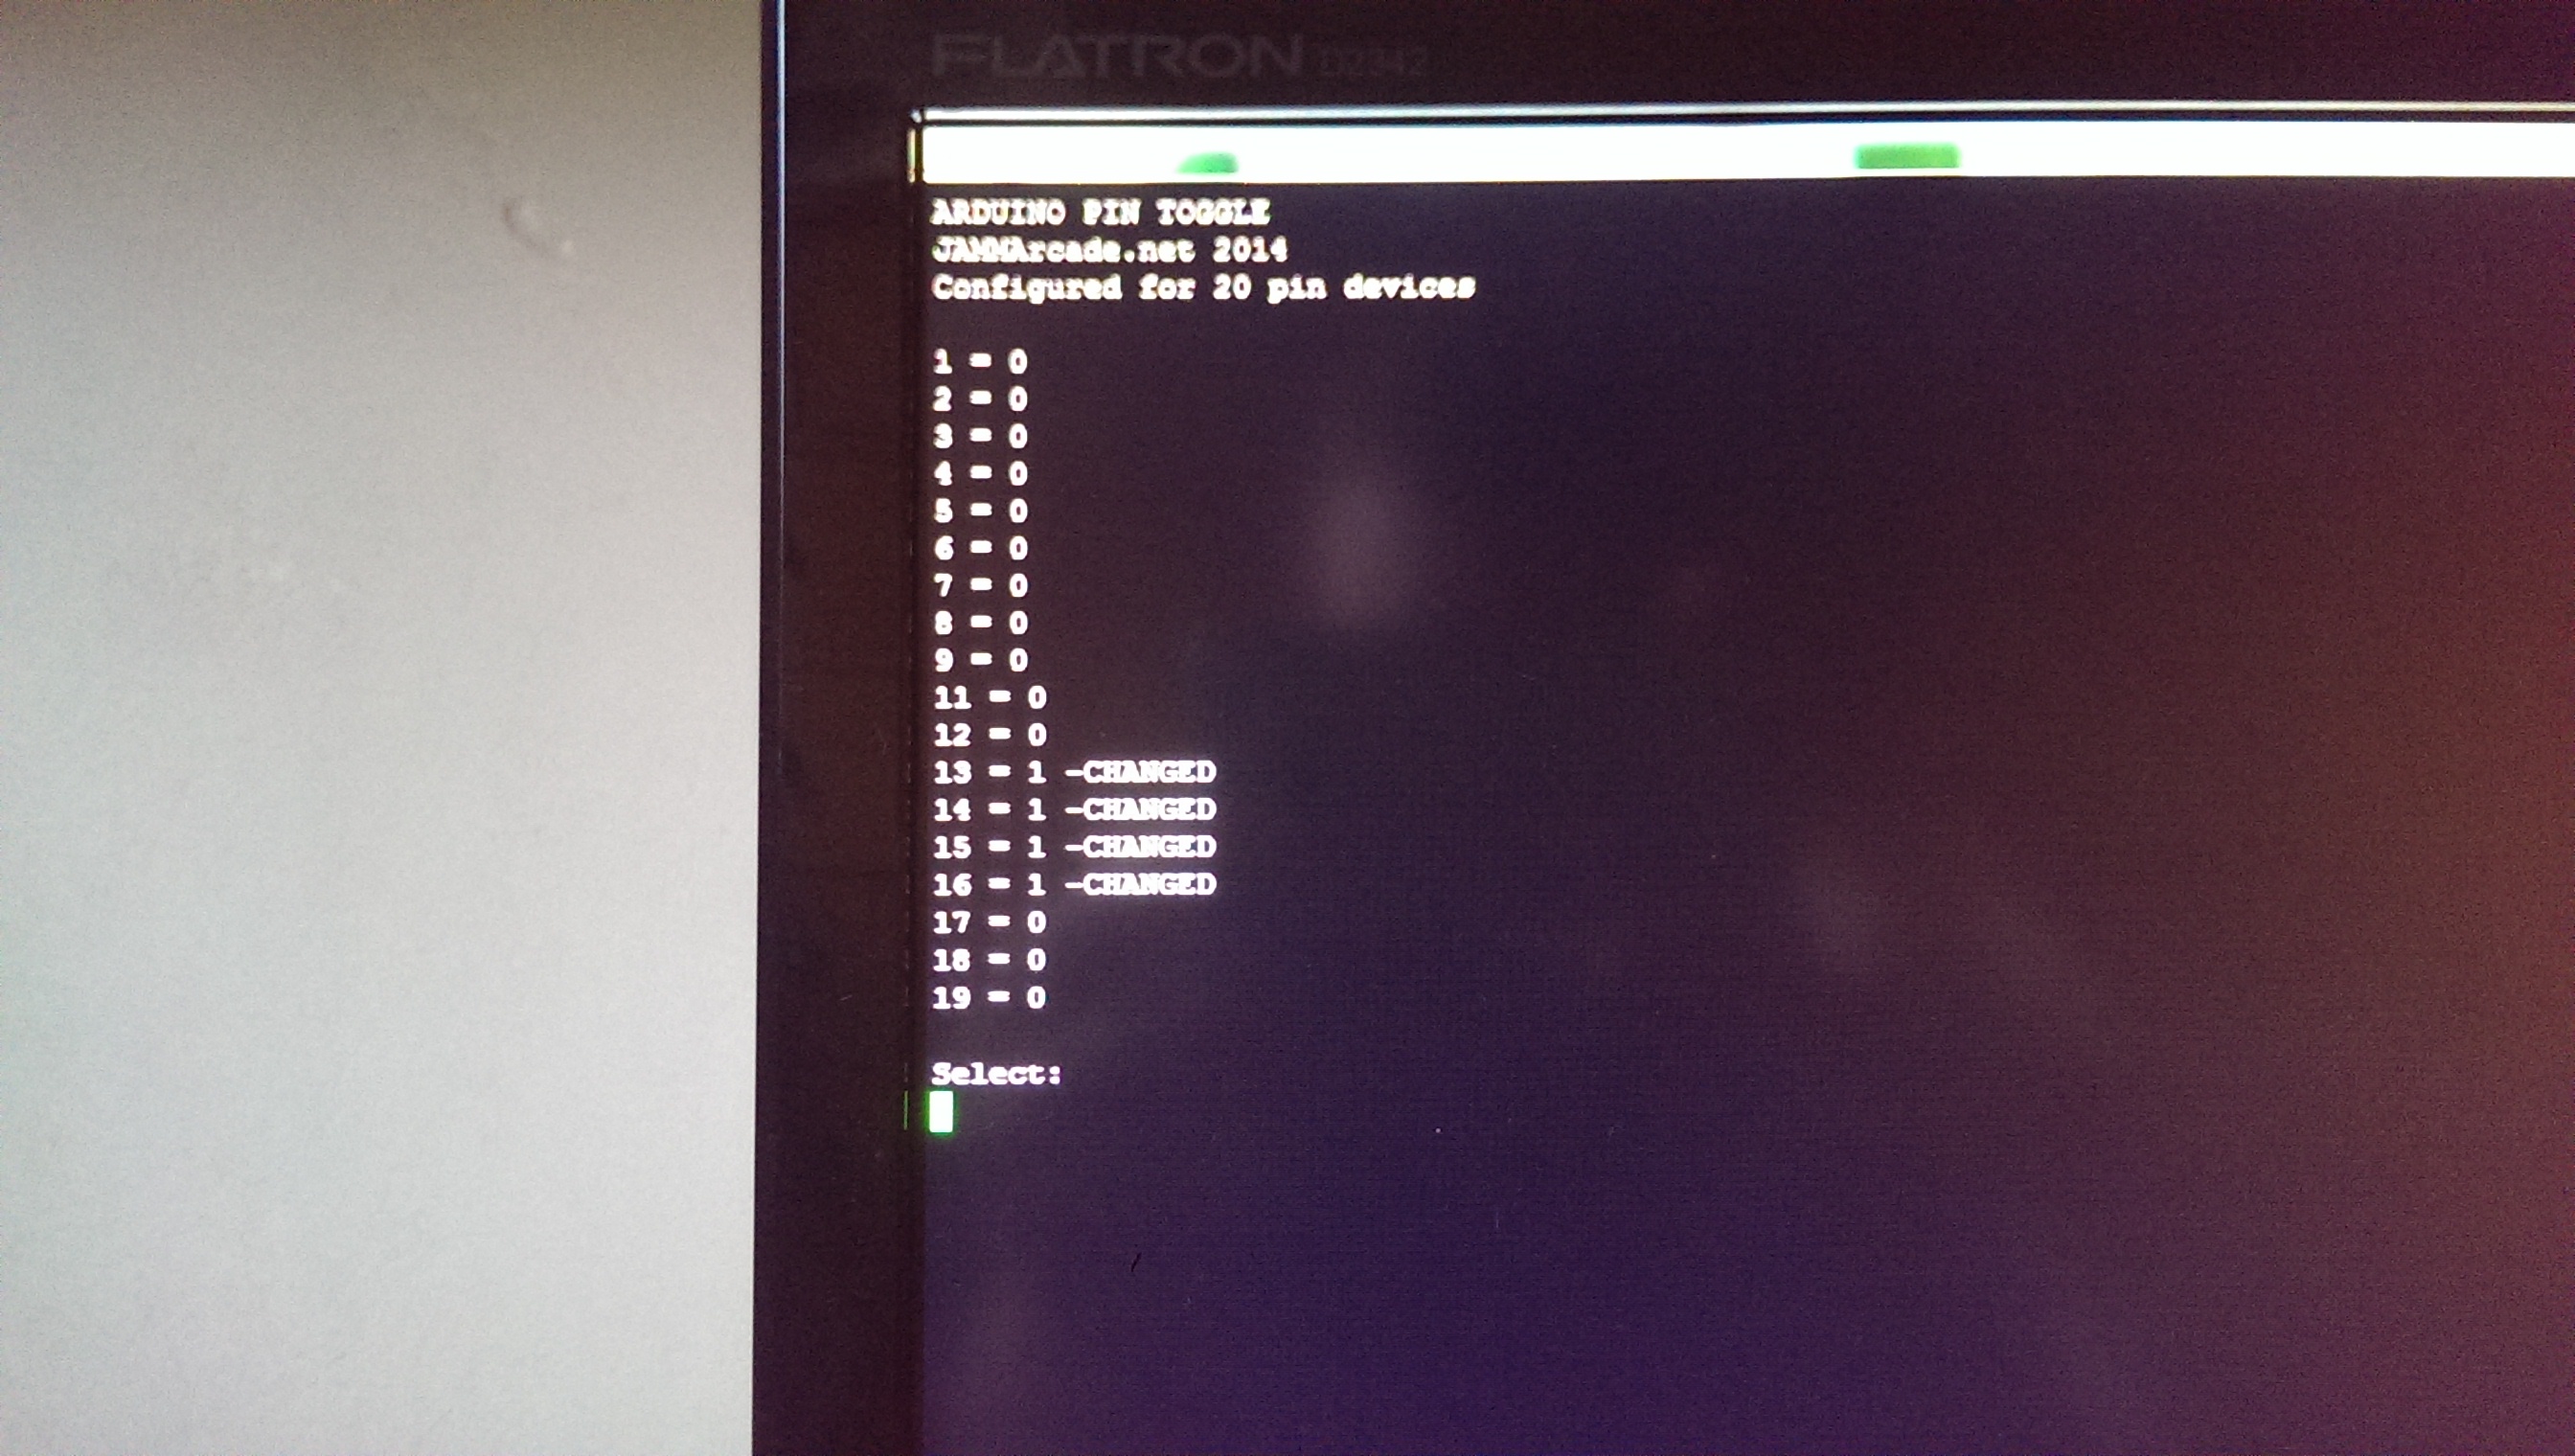
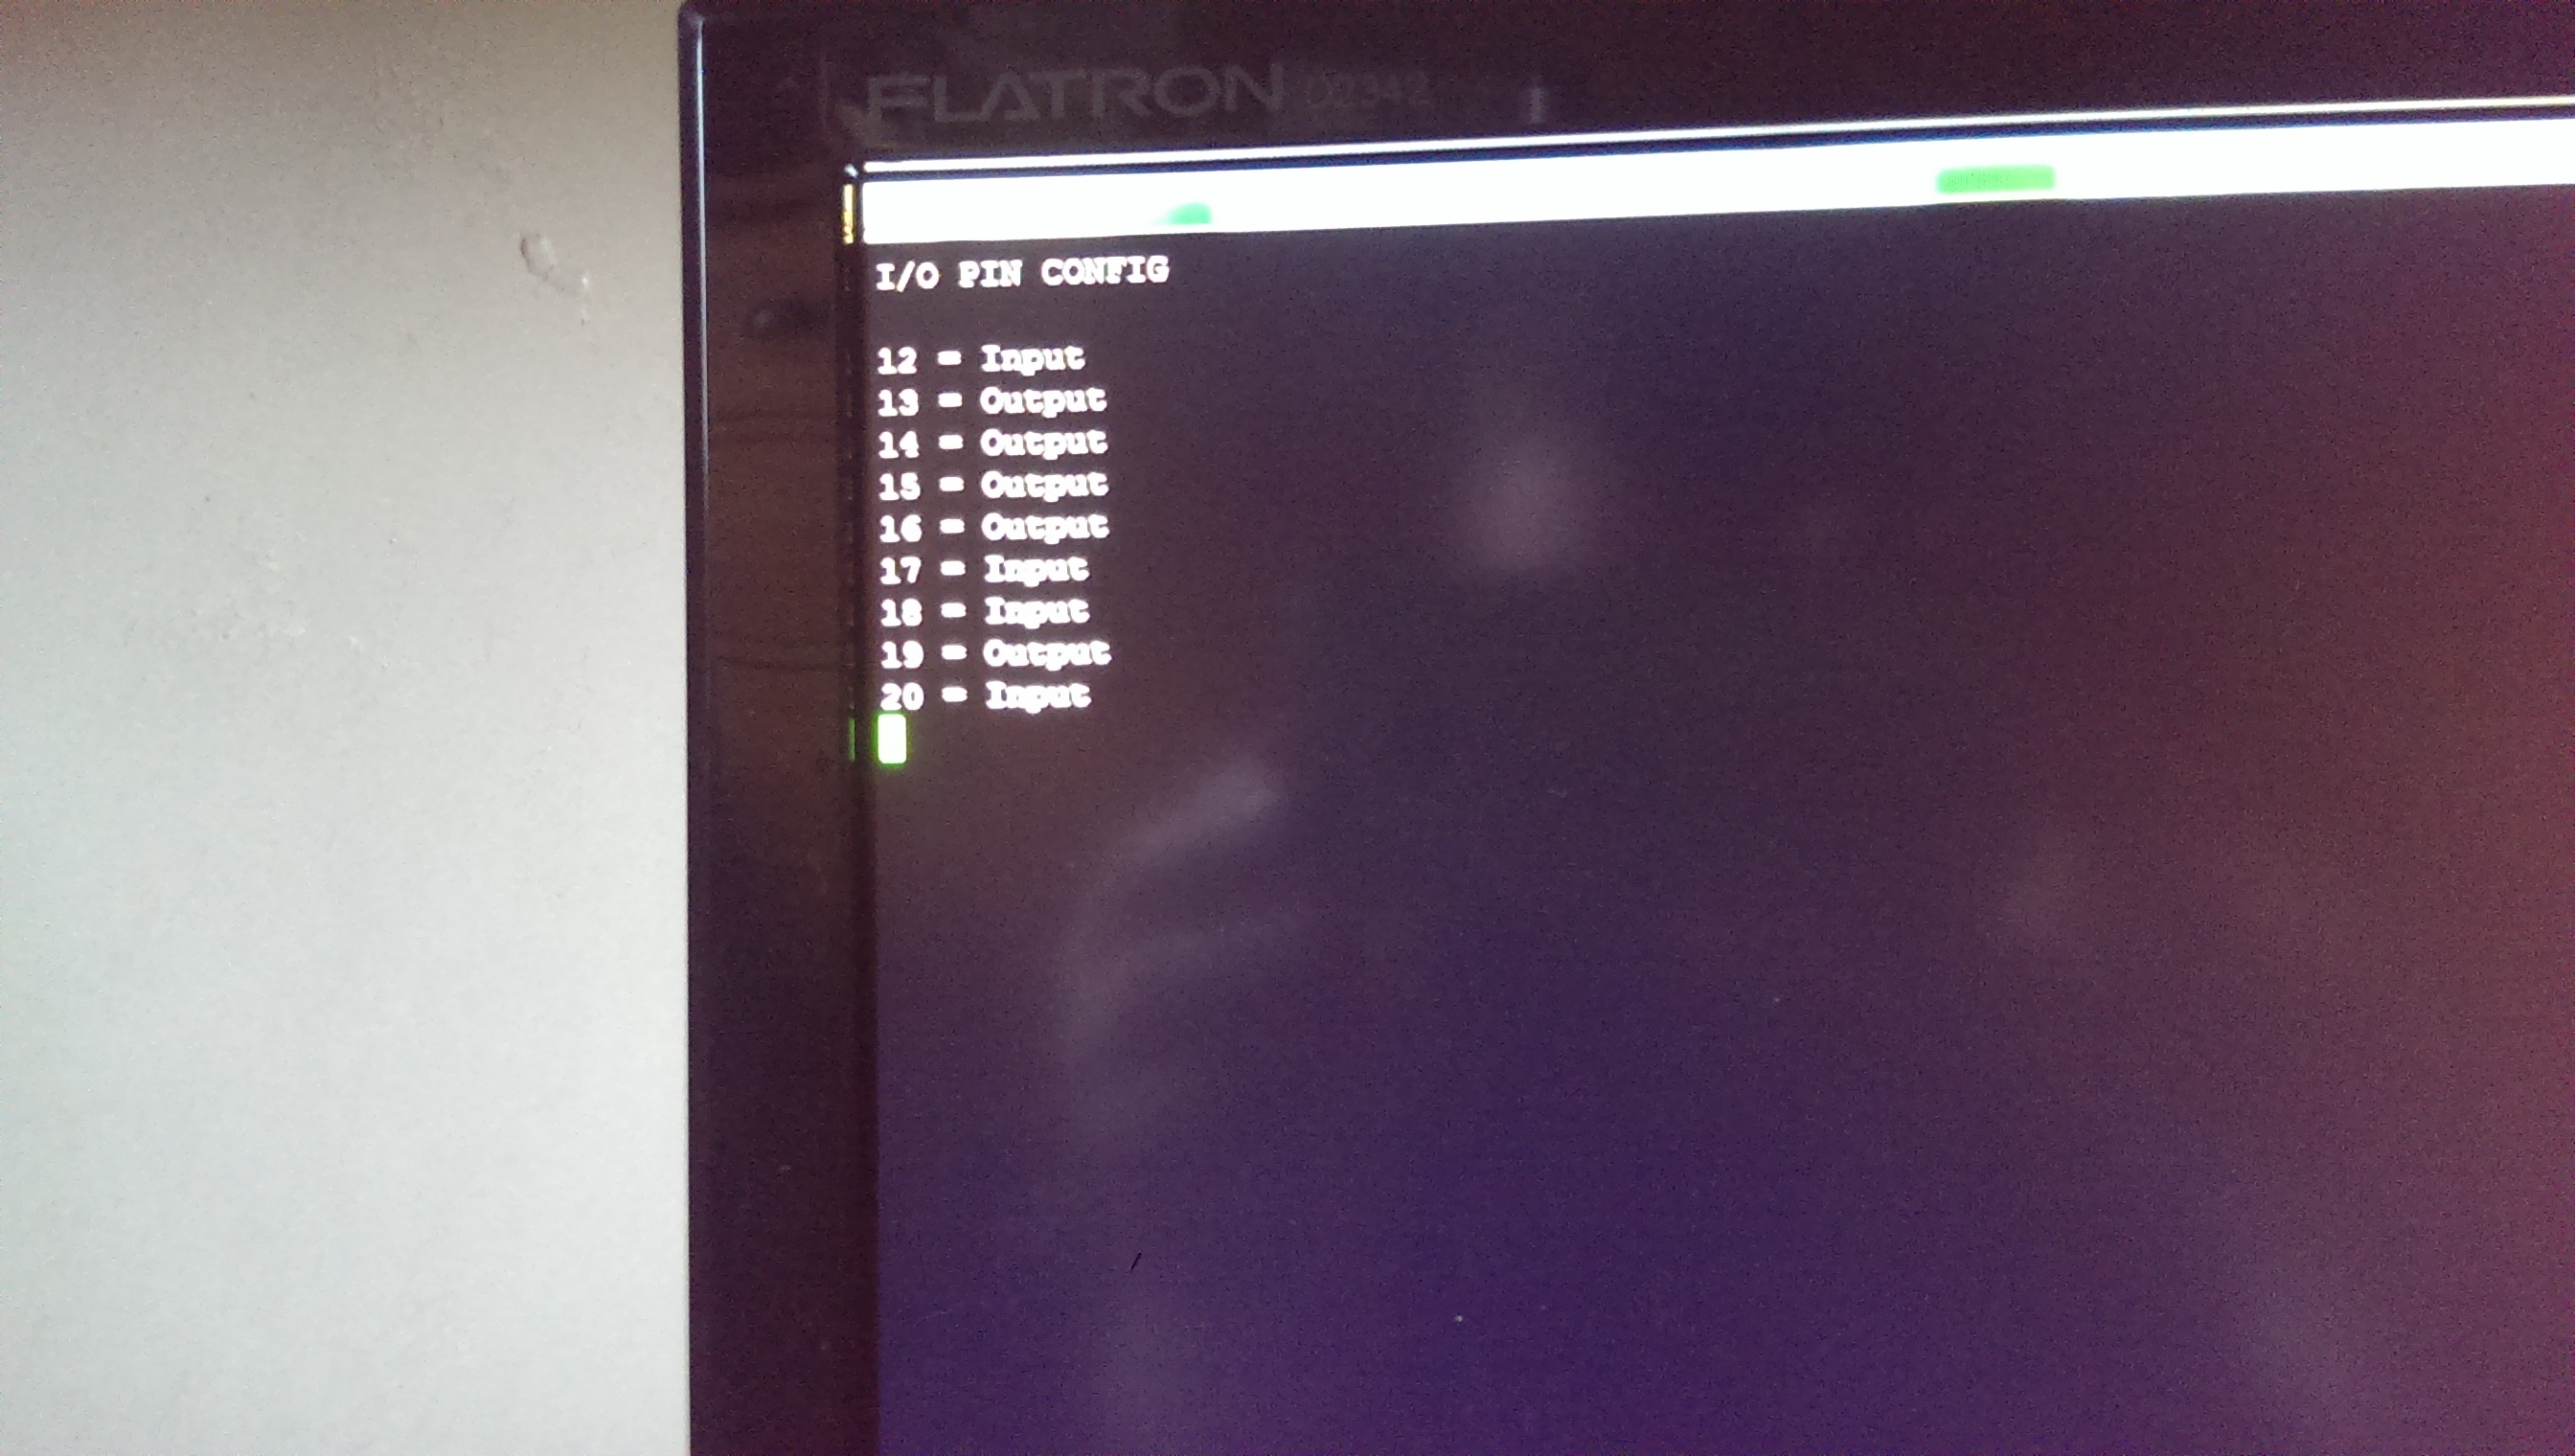
So now I have everything I need. Time to hook this thing up and test it out.

I had each byte spit out to the serial port and then used my makerom.exe program to create a binary file the log file.
The end result looks pretty decent. I can see the header of the file.

I can also see all the game graphics using Brian’s editing tool available from the link above.
Unfortunately that’s as far as I can go with it for now as there are no emulators available. There is one for the NDS but its worthless in terms on usage.

This was a great project that was pretty easy to build.

May 102014
 

Quite often I need to be able to manually toggle the input pins on a PAL chip so I can observe its behavior. Ive needed to use this method to reverse several registered devices and also the Amstrad 6128 HAL chip that used latches.
Up till now Ive either used a program written on the Boardmaster 4000 or an old circuit board I made up with switches and LED’s.

I recently got my hands on an Arduino MEGA 2560 which is a really nice bit of kit so as my first project I thought I would implement my pin toggler on this device.
After several days of learning Ive finally arrived at something im happy with using.

Right now its all on a proto board but I have just finished making a “shield” for this.

Its controlled via the terminal window (I use Putty) and also gives its output via the same terminal. It also detects the configuration of all the programmable I/O’s and sets up accordingly.

The code also fully supports switching between 20 and 24 pin devices so it just needs a link to determine which device you are using.
Its a simple concept but took a surprising amount of coding to implement.
Loving the Arduino and will be looking at doing a lot more with it in the future.

 Posted by at 8:39 pm

Twin Eagle repair log

 PCB Repair Logs, Repair Logs  Comments Off on Twin Eagle repair log
May 012014
 

Another of muddymusic’s boards here.
This one had graphics issues around the sprites.

Looking as the MAME source you can see that the sprites are held in the MASKROMs marked UA2-3, 4, 5 & 6.
Probing all the pins on these chips revealed that pin 25 on three of these chips was floating. These are 23C2001 MASKROM’s which a datasheet is easily available for.

The last ROM had a signal at this pin and the other three are all linked off it so there is a break somewhere on this trace. I patched this line and tested.
Almost there but still a little issue around the text.

A bit more probing found that pin 11 (A1) of ROM UA2-4 was also missing. Again I patched this from the adjacent ROM and tested.


All appears to be working now.

 Posted by at 8:11 pm