Today saw Ace’ test the Vigilante PLD dumps we have.
These were previously untested and from an unknown source so its good to actually have these tested now.
Extra label detail was also added.
Thanks to Ace’ for tested and letting us know.
Today saw Ace’ test the Vigilante PLD dumps we have.
These were previously untested and from an unknown source so its good to actually have these tested now.
Extra label detail was also added.
Thanks to Ace’ for tested and letting us know.
Some time ago Caius made a post regarding a cheap alternative to the very expensive curve tracer equipment called ‘Octopus’.
I’ve always meant too build one of these myself but never did get around to it.
Recently I came across this website where a guy called Jason Jones has designed a USB powered curve tracer circuit.
All the files required to build one yourself have been released on github here
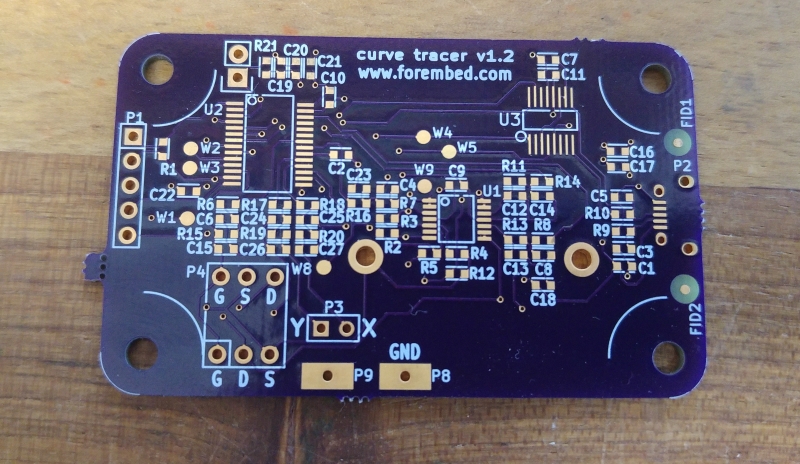
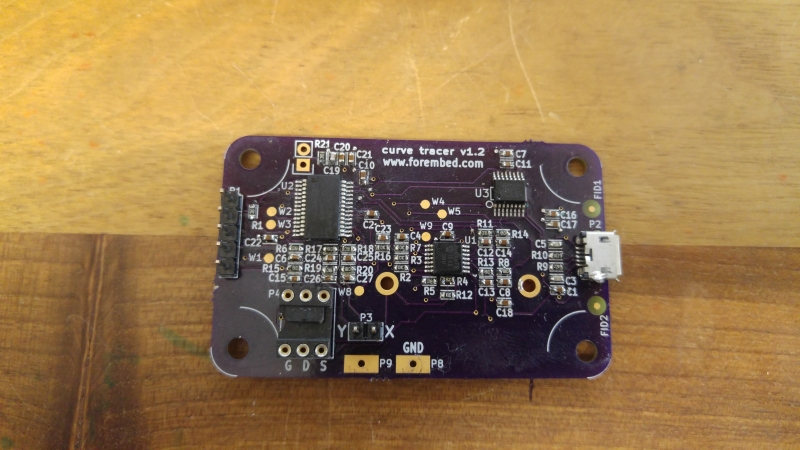
Its easy enough to put together. I used a Pickit 3 to program the PIC in circuit which was painless enough once I had the .hex file sent to me by Jason as I couldnt work my way around the new MPLAB software. The header allows the Pickit 3 to plug straight on. I did have to power the circuit via USB as well while programming as my Pickit complained the voltage was too low if I used the Pickit itself to power it.
Jason has also made PC software in Python to remove the need to have an oscilloscope which works well enough but you can easily use a scope and works very well using my Rigol DS1054 scope.
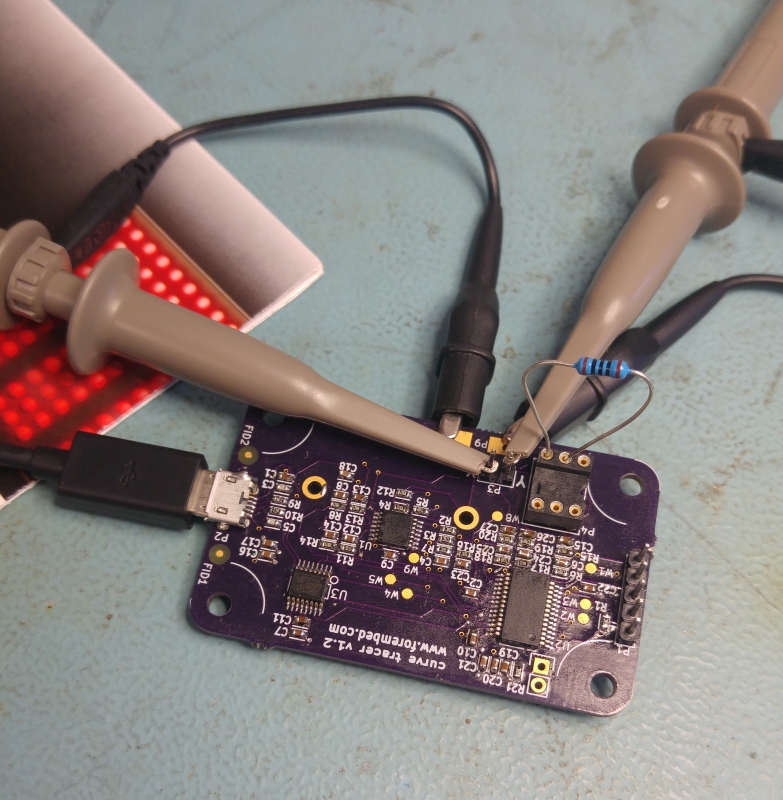
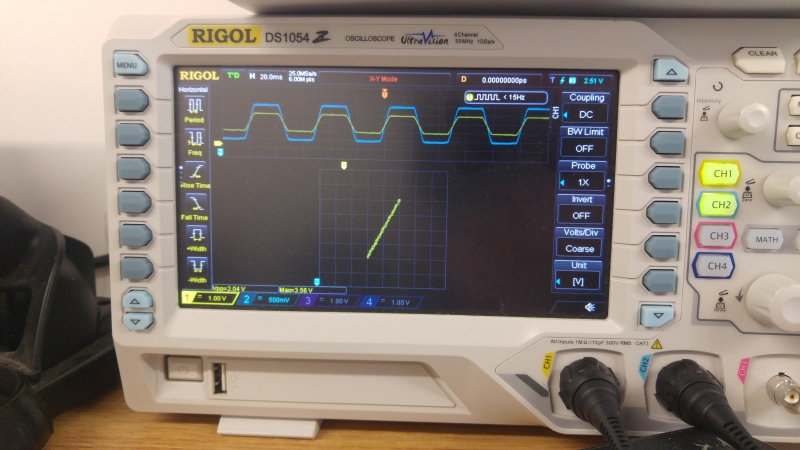
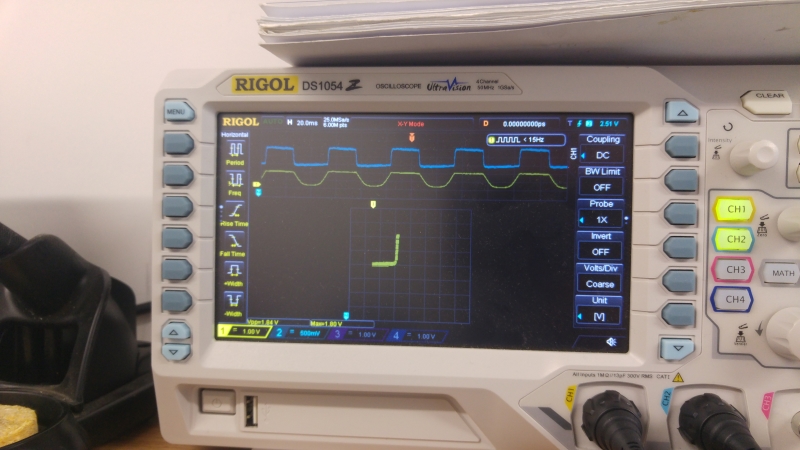
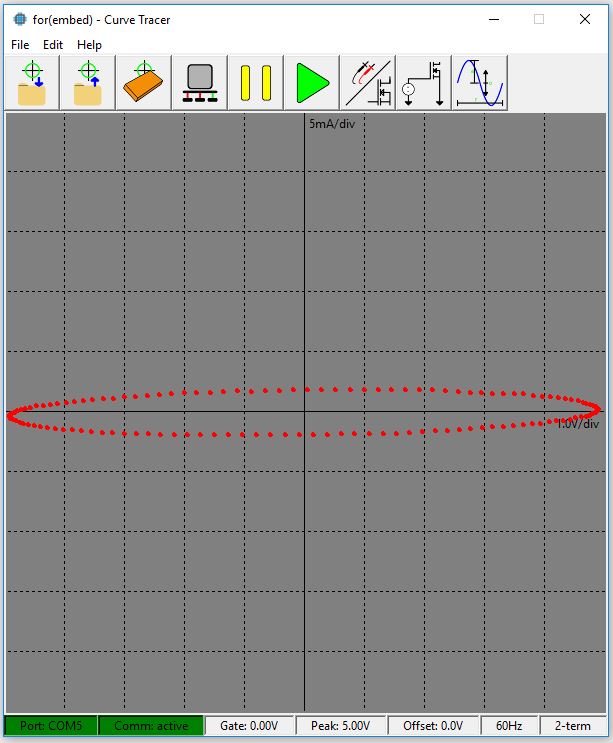
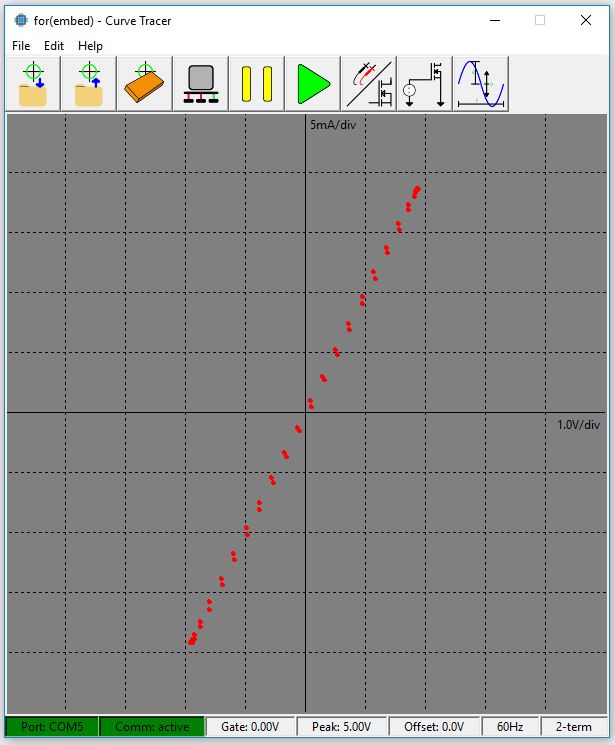
Im very happy to have this in my ever growing collection of test equipment.
Thanks very much to Jason Jones for the project and for the help with the firmware.
Maybe this isn’t the typical repair log but it has a couple of pictures here showing what can happen.
I was actually given this by a reader of the site and he wanted to donate something by way of thanks. He told me it had some issues playing the cartridges and suspected the ZIF connector that the NES is infamous for.
As you can see its boxed and in really nice condition.
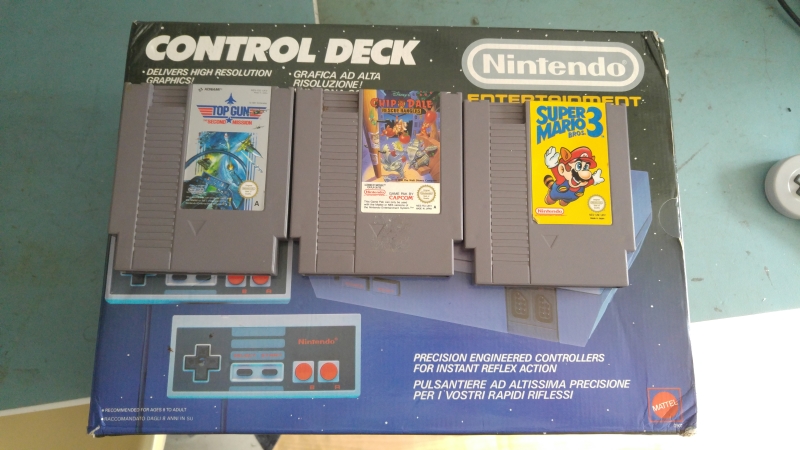
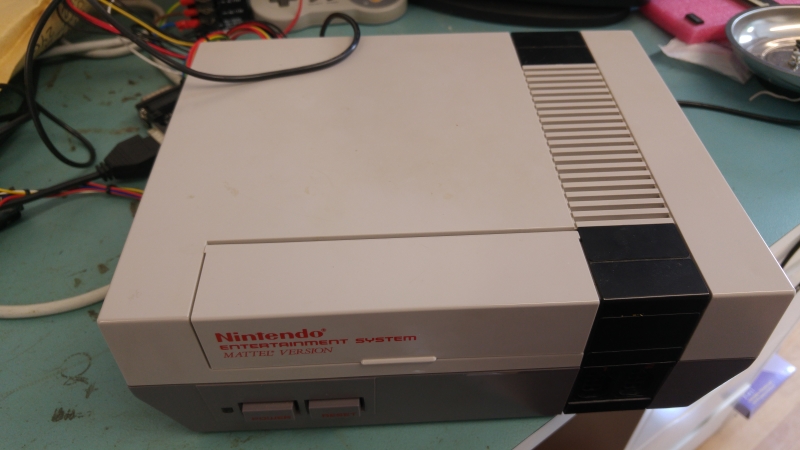
I powered up the console testing the games that came with it.
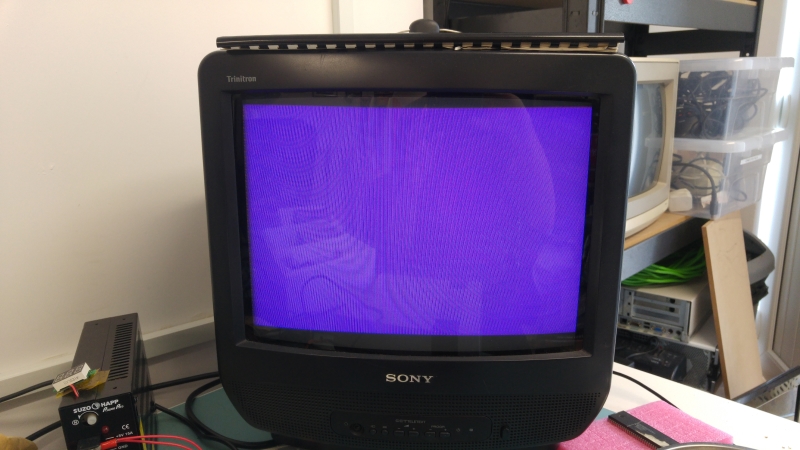
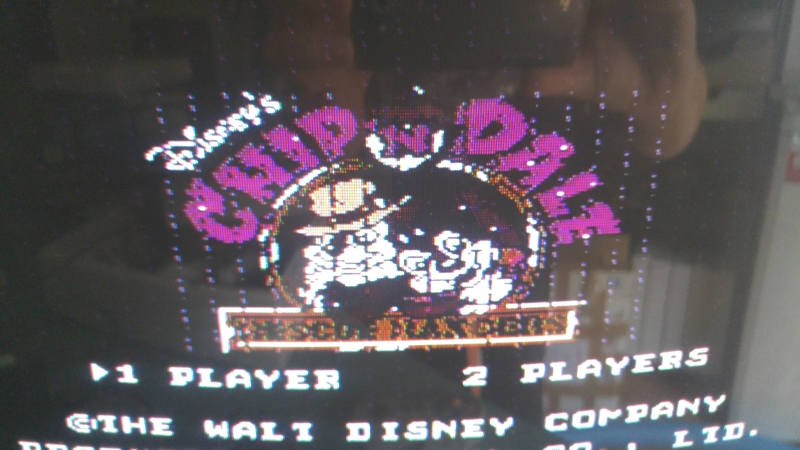
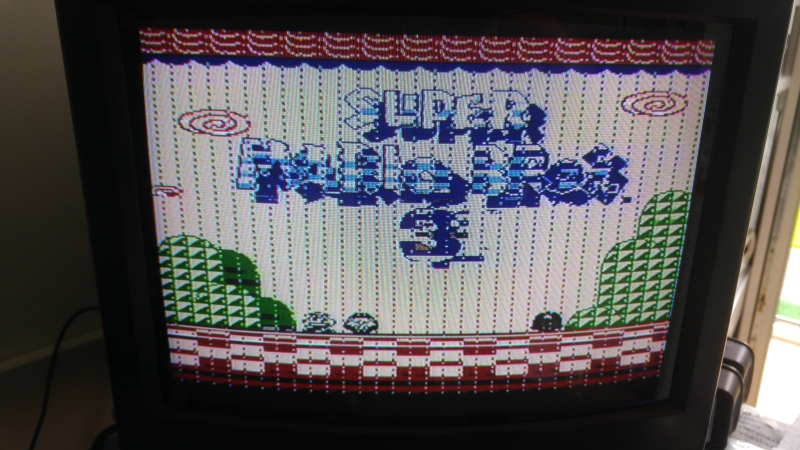
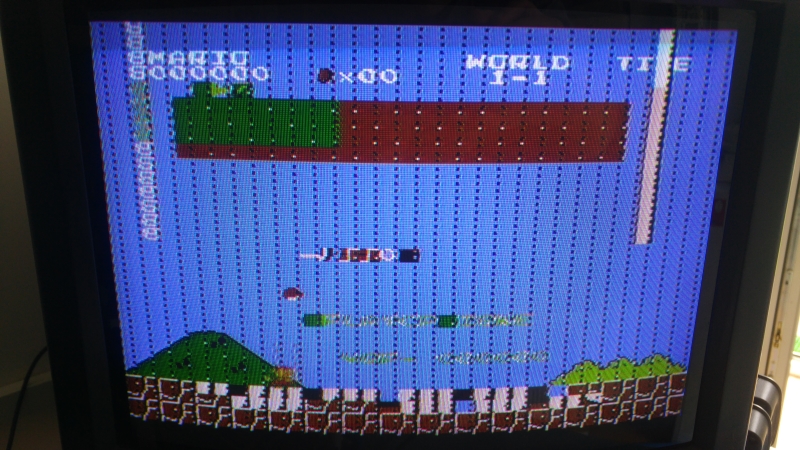
You can see jailbars on most of the pictures. Occasionally the game didn’t boot at all and when they did the sound was a low static noise.
Id already ordered a new connector in anticipation.
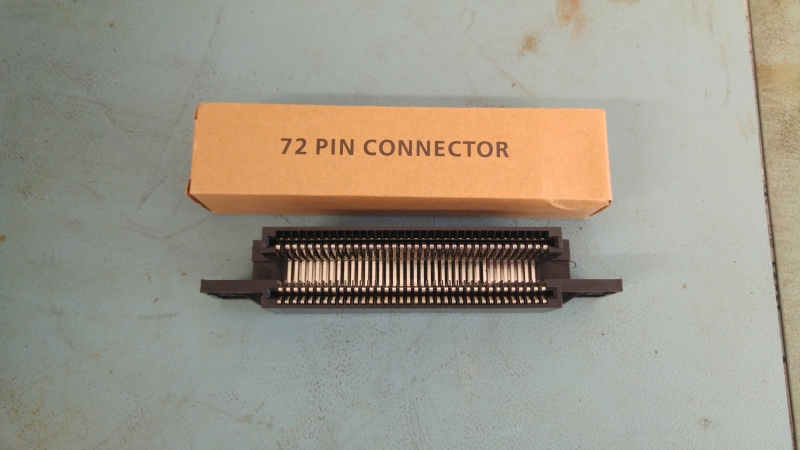
I did originally attempt to bend the pins on the original connector back but it made no difference and a couple looked too far gone so it went in the bin.
There are countless guides online for taking apart the NES and replacing the connector so I wont really go into it on here.
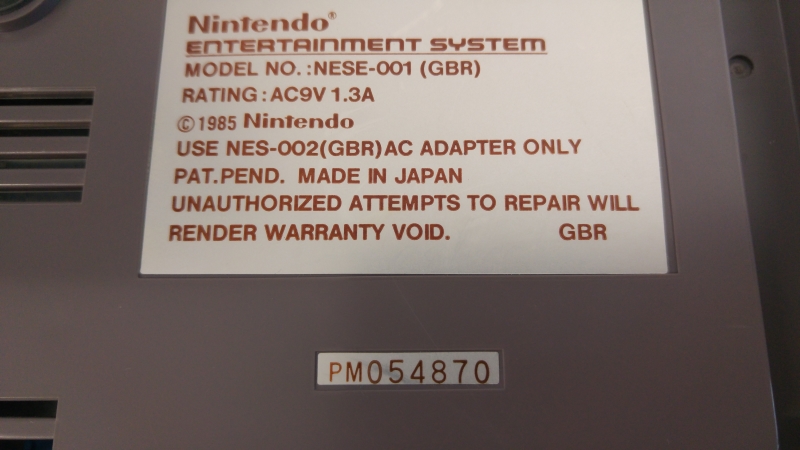
There goes the warranty!
With the connector fitted I now get this. Its currently playing through RF so excuse the poor picture.
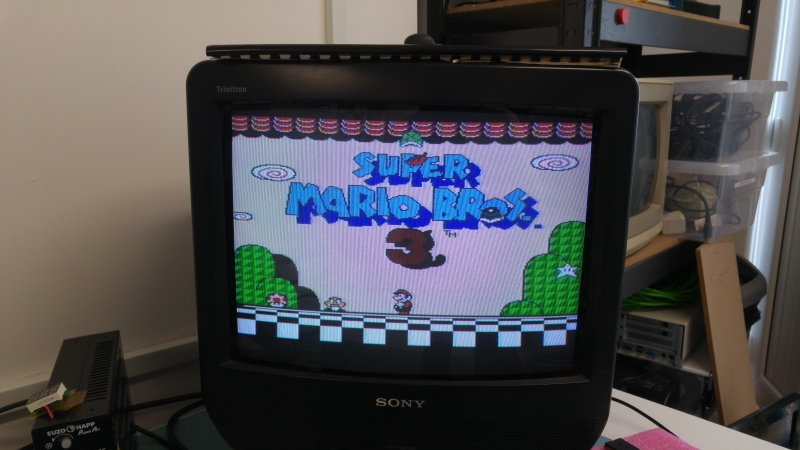
I never really had a NES before so being able to play Mario 3 is going to be a treat.
Thank you very much to Kieron for this wonderful donation.
Today I got an interesting programmer unit.
Its made by a UK company called Lloyd Research and doesnt seem to be active anymore although their website is still up and running.
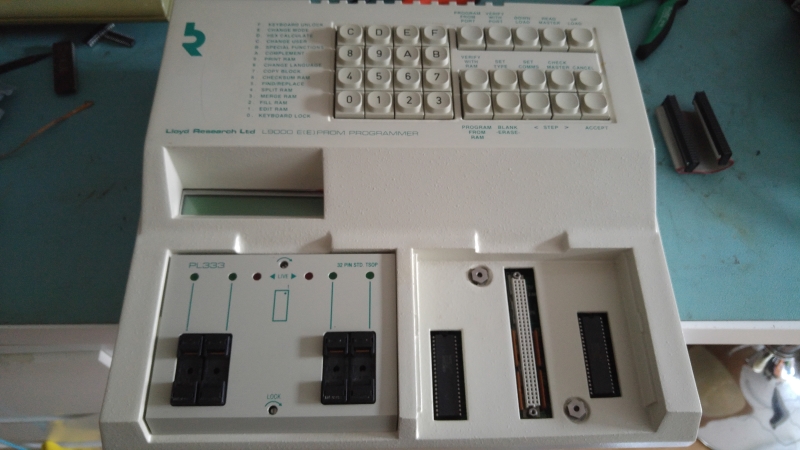
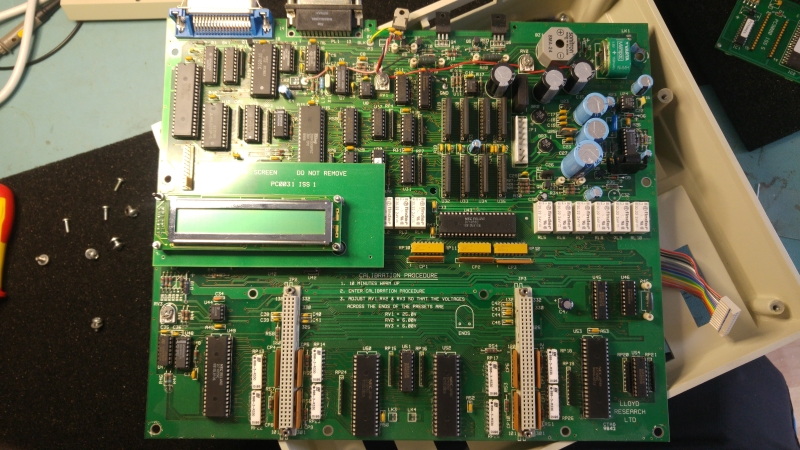
There is very little about these online, only one website came up in my searches with any kind of information and thats Baddinsbits.
I contacted the owner of this site and he kindly scanned in the manual for this programmer and sent it to me (manual can now be found in the downloads).
I dumped my firmware which seems to be one of the later versions, possibly from 2004.
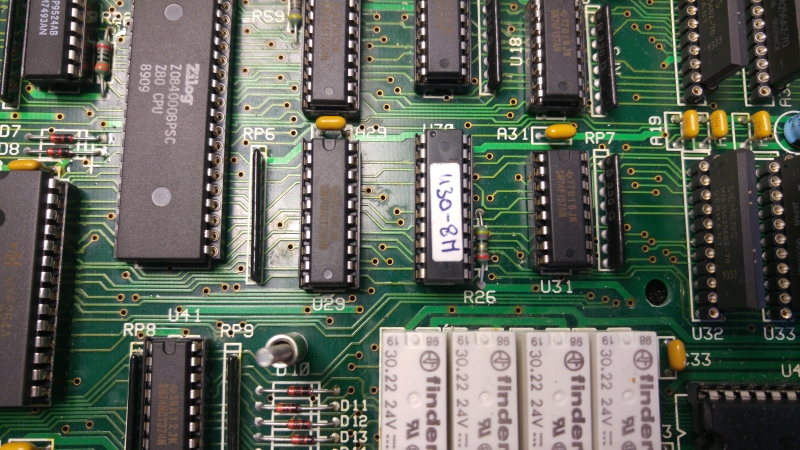
I also went ahead and dumped the PAL’s from inside. There is one located on the EPROM PCB, two located under the LCD screen and one located next to the RAM. The one next to the RAM was locked which makes sense as I believe RAM upgrades were sold as optional extras. Anyway I managed to glitch this PALCE device and read out its contents. This is from the 8Mbit version.
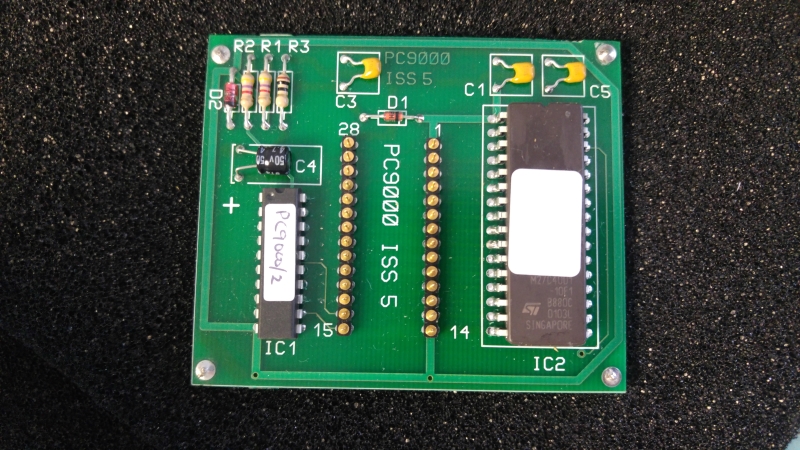
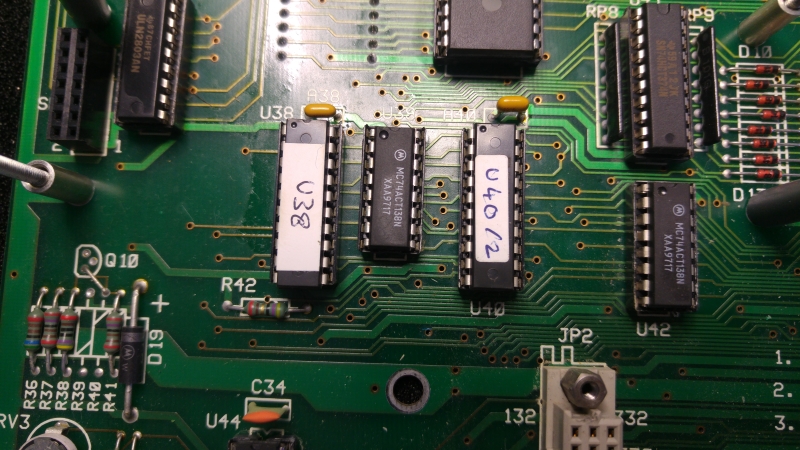
If anyone has any other files, information or dumps they can give me please get in touch.
Big thanks to Baddin for the manual and the conversation.
The hardware of this matches Part II but it has the multigame add-on fitted.
Not worked on a Space Invaders board before and needed to make up a loom so I could properly test.
The owner says the ship is constantly pulling to the left and there is a sound effect playing over and over all the time.
On powering up I did indeed find these problems. Look at the video, the in game play shows me moving the ship to the right but when I release the controls it moves back far left on its own.
You can also hear the constant tone repeating over and over.
First of all I went looking for the control issue.
The schematics are available however they aren’t too great in places. Fortunately they were good enough to save me a lot of time.
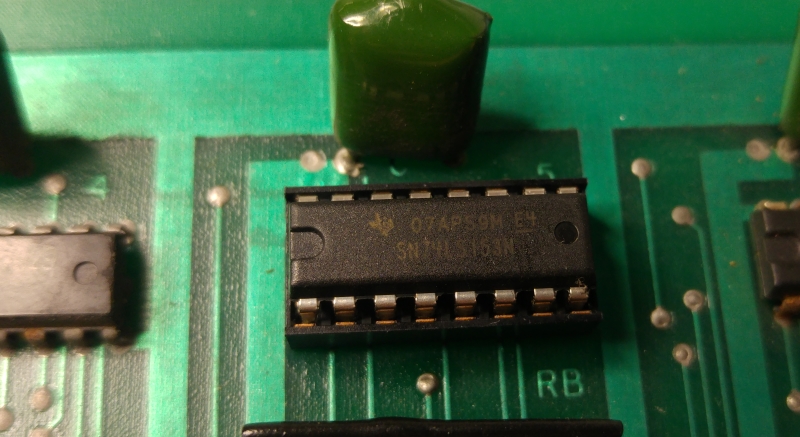
Here you can see where the player 1 left comes in. It goes through an inverting buffer and into a 74153 chip at location 5. The output on pin 9 is the one we are concerned with
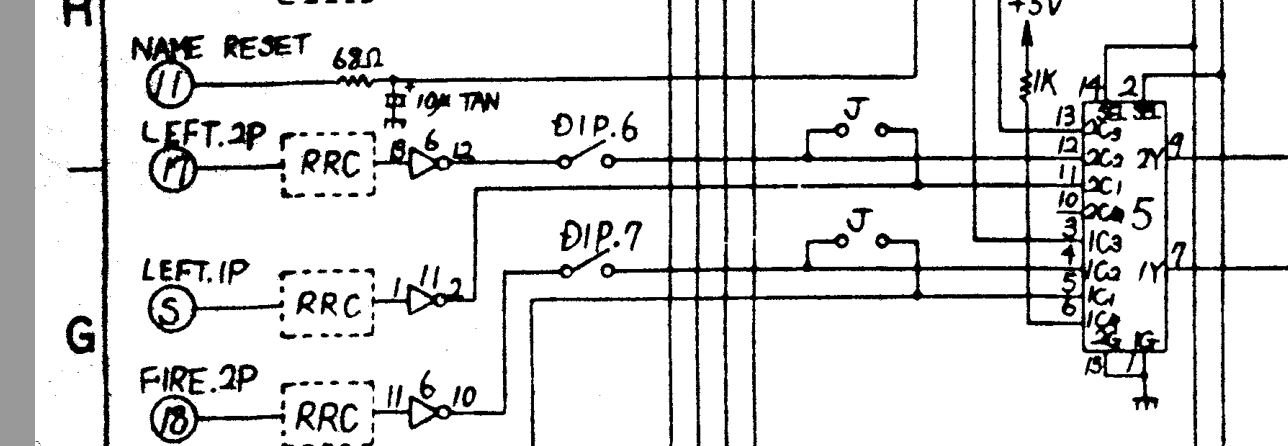
From my logic probe I could see that this output is stuck when it should be active. Testing this out of circuit confirmed it.
This fixed the control issue .
Now on to the sound fault.
Space Invaders hardware made this quite easy as each sound effect has its own volume control. By turning the pots down I could pinpoint which sound was stuck on and work back from there.
VR7 was the pot associated with this sound and according to the manual this is the sound of the “UFO HIT”.
Looking at the schematics again and working backwards we can see it goes back to buffer chip 7417 at location 18 and before that it comes from a 74174 at location 14.
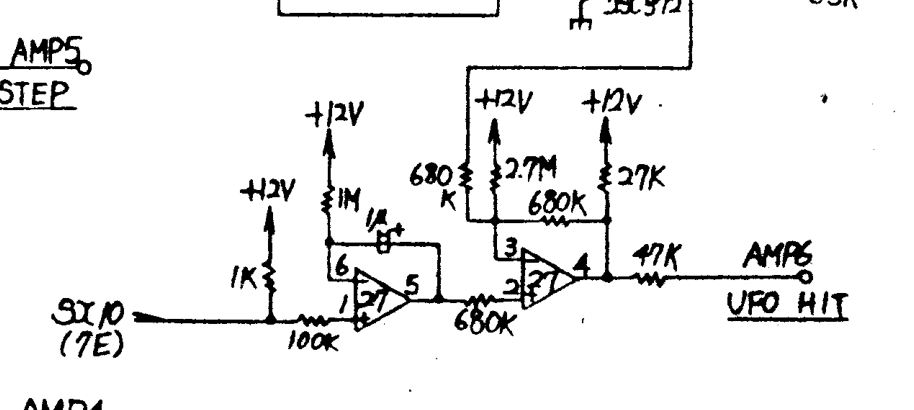
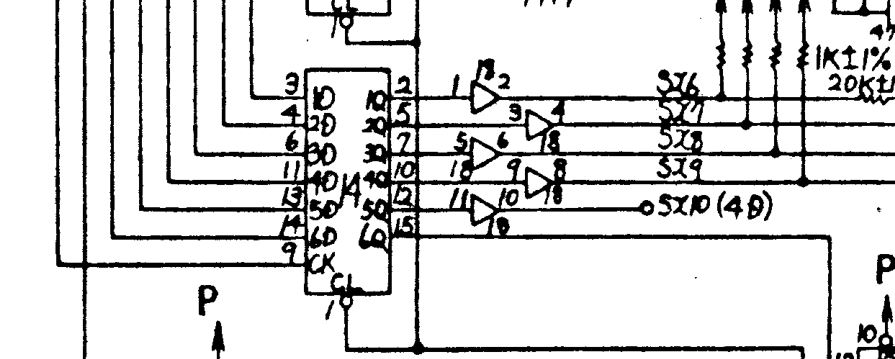
The outputs from the 74174 looked good but all the outputs from the 7417 buffer were stuck HIGH.
I removed the chip and once again it failed when testing out of circuit but now I had problem. I dont have any 7417 chips and I no longer have scrap PCB’s lying around.
The sadness was short lived as a quick google search revealed a 74LS07 chip can be used as a replacement and the difference between the two is the 7407 is rated for 30v where the 7417 is rated for 15v.
Anyway, replacing this with a 74LS07 worked and the sounds are all OK.
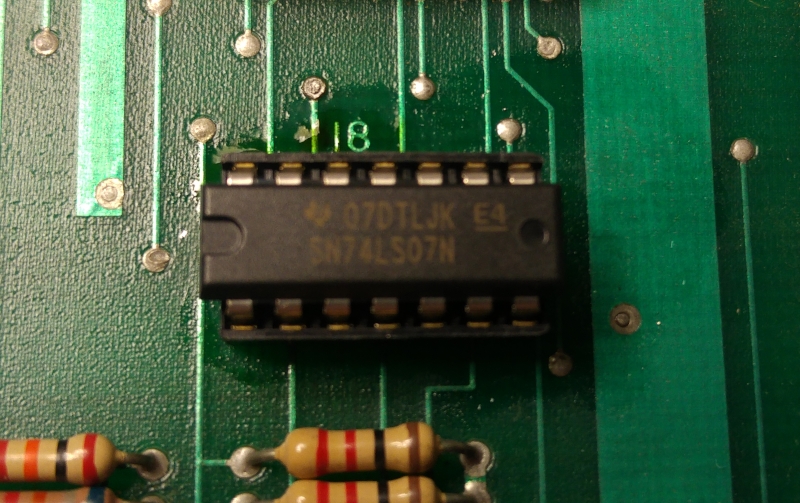
The video shows the controls now working and the lack of annoying sound. I did actually test the UFO HIT sound in game and it was working fine.
Job Done.