PCB Repair Logs, Repair LogsComments Off on Lei Shen Zhuan Thunder Deity Biography (Chinese hack of Battle Garegga) repair log
Mar292015
First of all, my apologies for the kilometric title but this seems be the correct one according to MAME which has emulated this game after my dumps 🙂
A friend of mine sent me this Battle Garegga bootleg PCB for a repair :
saying it had bad sound.Infact it was scratchy and noisy:
Besides, sometimes it muted completely.Regarding this last issue, I traced it to a bad YM2151 FM (actually a rebadged version marked ‘PD2001’) sound synthesis chip, once replaced it I got no more mutings.As for noisy sound, connecting the analog output (PIN12) of the YM3012 DAC (a ‘KA3002’ rebadged chip also here) to an external amplifier revealed that sound came out distorted.
Had Muddymusic’s Stun Runner PCB for a long long time awaiting repair.
I put off looking at it because of how test bench unfriendly it would be to setup.
I did have most of the original loom to use but the audio section also used 13v AC and a test bench typically doesn’t have that.
I ordered a small 240v – 12v transformer and eventually set to work in hooking this thing up.
After half a day of messing around I had what I thought was a Stun Runner test rig.
While I had all the connections going to the right places and things like that I soon realised that the speakers I were using in now way suitable to check the sound and also my test bench monitors seem to be getting really picky about what they display properly.
In the end I settled for a black and white picture but I wasn’t too worried as the fault I was looking for was audio related.
The fault was that in game the music didn’t play and the engine tone played at a constant tone.
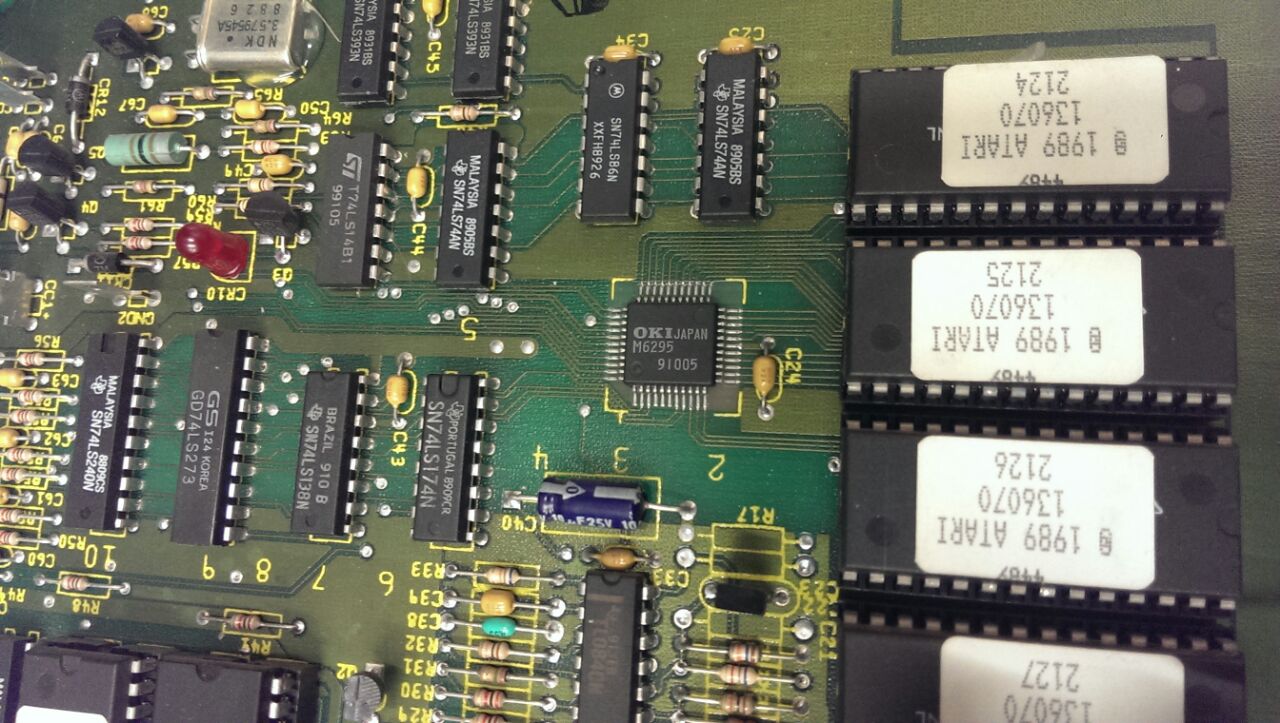
With my almost useless setup I could hear exactly this. I did a quick heat check with my finger on the audio PCB to check if any of the chips were getting hot and to my surprise all the sounds and music came back when I prodded the M6295.
I powered down and reflowed the chip and all was working again.
I soak tested it as best I could and called it a day.
Muddymusic has now got it back and has confirmed the sounds and music are now good.
Text references 8C instead of 19E when sub-cpu EPROM fails checksum.
Fixed output to reference 19E.
11/04/2015
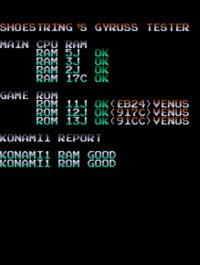
Support for Venus set added.
Bug fix – Addresses issue when 13J reports bad and prints NG twice, CPU gets lost and crashes game.
10/04/2015
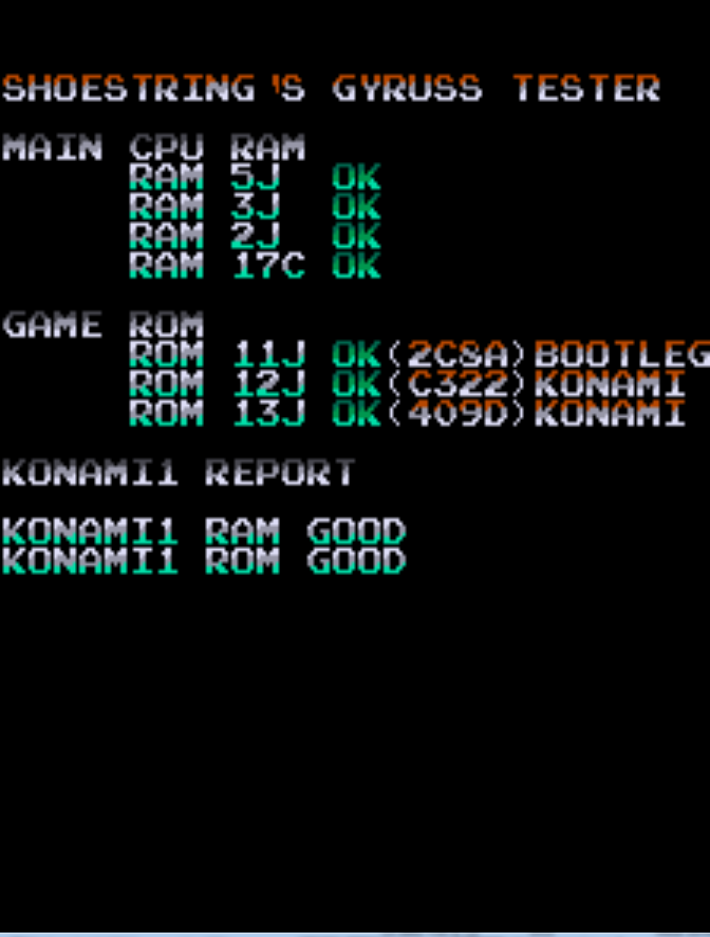
Support added for bootleg ROM from the gyrussb set.
Single ROM labelled “1” at 11J. Other two ROMs are from the original Konami set.
See downloads for update.
4/4/2015
Bug: Sometimes index starts at 5 or some other random value when entering SFX TEST for the first time after power-up. The sound index is written/read to/from $9000 for cycling through 100 possible combinations.
Fix: Cleared this part of RAM before using it.
28/3/2015
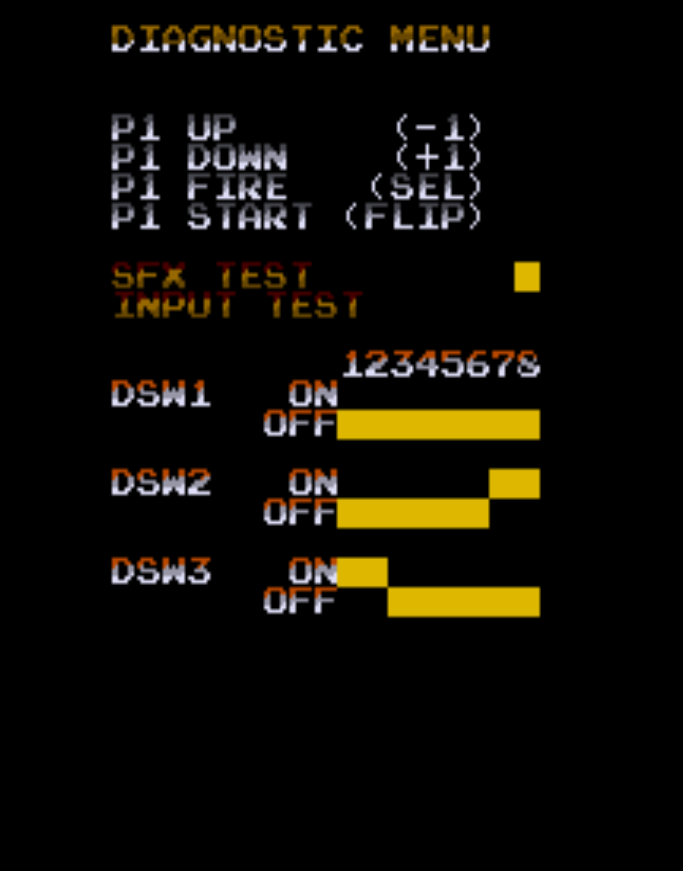
1. Added flip to test cocktail mode.
2. Summary added to menu screen of dip switch settings
3. Added routines to check the stack ram @ 3J before moving on to further tests. Since the stack is used to perform further HW testing, execution is now suspended if a stack error is detected with an associated error message.
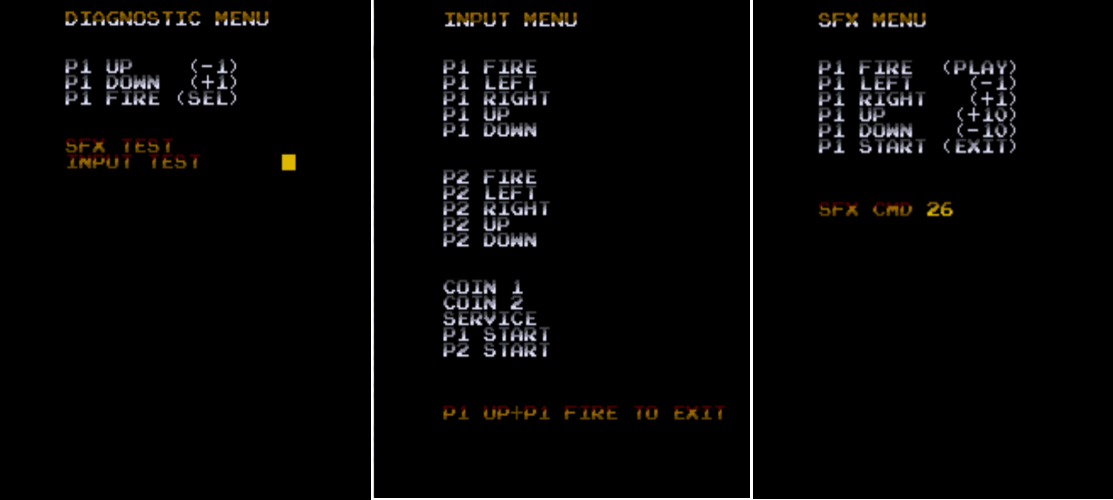
4. Diagnostic mode added via dip 2 of DSW3. Allows for testing sounds and inputs.
See downloads for update.
26/03/2015
Minor update.
1. Re-wrote much of the code up until where it verifies the work RAM. Purged CPU instructions that rely on the reliability of the the stack which is set to 0x9800 in the work RAM. ( work RAM is verified as good first before using the stack )
2. Background is set to yellow instead of black if video RAM at 5J is bad. This is to assist in troubleshooting. A sound effect is also played when 5J is detected as bad to add redundancy in case none of the light brown colour shows up on the screen.
3. Fixed the boot to As issue. When 13J is pulled it now reports as bad. This was fixed by addressing the issues resolved in 1.
Bugs
* When GY5 is pulled “KONAMI1 NOT RESPONDING” is displayed with no additional information. An additional message should be added to point out a problem with either the CPU, ROM or RAM on the 6809 side. The above is also reproduced by removing the 42 pin custom CPU. Random sprites are also present.
To do: Fix above mentioned bugs.
See downloads for the latest version
03/2015
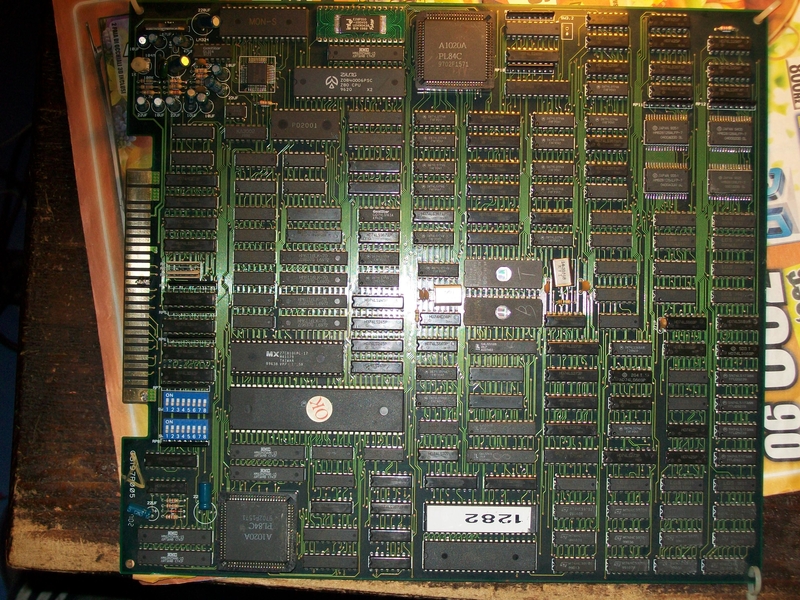
Gyruss Test & Diagnostics ROM.
The 27C64 EPROM installs at 14J on the CPU board. It performs a series of RAM & ROM tests to identify any problems & will attempt to boot the game once tests are completed regardless of failures found. The EPROM can stay in the socket and it does not interfere with the game in any way once the game starts.
Use at your own risk if you’re using the highscore kit, this will delete your scores as it will performs a series of writes to the NVRAM.
I would like to thank cmonkey & DarrenF on KLOV for providing valuable information & help regarding the hardware. I would also like to thank the MAME team for their great work on the emulator and the Gyruss driver, without these cool debugging features in MAME development of this ROM would not have been possible.
cmonkey needed a replacement 315-5224 chip for his Outrun board.
We have a bunch of PLD dumps from an Outrun board but they are untested and are from an unknown source.
The original 315-5224 is a PLS153 and cmonkey needed it in a GAL16V8 in order to replace it.
The equations themselves aren’t too complex and would fit nicely into a GAL16V8 as the extra IO pins on a PLS153 are actually configured as inputs which makes it pin compatible.
Equations:

PIN 13: /ROM_CE = /MREQ & RFSH & RAM_CS & DACS

PIN 14: /RAM_CS = A11 & A12 & A13 & A14 & A15 & /MREQ & RFSH

PIN 15: /YM_CS = /A6 & /A7 & /IOREQ & M1

PIN 16: /DACS = /A11 & A12 & A13 & A14 & A15 & /MREQ & RFSH

PIN 19: /ZCS = A6 & /A7 & /IOREQ & RFSH
The problem came with needing to use the feedback from pin 16 in order for it to work.
When compiling equations for a GAL16V8 you need to specify what mode you want to use it in. There are three modes a GAL can be used in.
1. Simple
2. Complex
3. Registered
The PLS153 cannot be used as a registered device so we cannot use this mode.
‘Complex’ cannot be used as we need to use pin 12 as an input and pin 12 does not provide any feedback in this mode.
‘Simple’ mode is what we need to use but in this mode pins 15 and 16 cannot provide feedback which is exactly what we are wanting.
Looking at the equations and the schematics we can see that pins 17 and 18 are actually unused. These pins can also provide feedback in ‘simple’ mode.
The workaround for a GAL16V8 is to copy the equations for /o16 and add them to /017 then change the equations for /o13 to use feedback from o17 instead of o16, like this:
Equations:

PIN 13: /ROM_CE = /MREQ & RFSH & RAM_CS & DACS2

PIN 14: /RAM_CS = A11 & A12 & A13 & A14 & A15 & /MREQ & RFSH

PIN 15: /YM_CS = /A6 & /A7 & /IOREQ & M1

PIN 16: /DACS1 = /A11 & A12 & A13 & A14 & A15 & /MREQ & RFSH

PIN 17: /DACS2 = /A11 & A12 & A13 & A14 & A15 & /MREQ & RFSH

PIN 19: /ZCS = A6 & /A7 & /IOREQ & RFSH
cmonkey has confirmed this works on his Outrun PCB.
Although this worked well I was not happy with the workaround. The resolution turned out to be simple.
If I took the newly programmed GAL chip and re-dumped it using Charles MacDonald’s hardware I got a list of valid equations that did not rely on the use of feedback at all.
Since the equations were few, it had no problems in fitting into a GAL16V8 and so I ended up with something that left those two unused pins free which is good because cmonkey has a use in mind for them.