Recently the floppy drive on my Fluke 9100 became unusable and I feared the worst. I’ve tried once before to get the HxC floppy drive emulator to work with this but I never managed and to be honest I’ve never delved into floppy drives at all so I was a bit clueless.
I found THIS site while looking for information and at first I skimmed over the details and didn’t really take any of it in. That was a big mistake as it provided all the information I needed to get this up and running.
The only thing I needed to do on the hardware side of things was to cut pin 14 of the floppy cable and connect the Fluke 9100 side to GND.
Everything else is all software.
In the HxC Floppy Emulator software you need to apply these settings

Save the config file to the SD card.
Then “Load” the .TD0 files that are available from HERE or HERE.
The HxC software can deal with these files without any issue so once you have loaded one go ahead and “Export” it to your SD card using the indexing naming scheme
Disk 1 = DSKA0000.HFE
Disk 2 = DSKA0001.HFE
etc
I have the first dip set to ON on the HxC device.
Once that’s all done you can fire up the Fluke and use your SD card to load.
My Fluke doesn’t have an SCSI controller hence it has no hard drive fitted so it is vital I have a working floppy drive.
Once you have the OS loaded up from the floppy drive you may need to change the way the system loads the user disks.
If your system is configured to be a 9100 then user disks are defaulted to load from the hard disk.
If your system is configured to be a 9105 the user disks are attempted to be loaded from the second floppy disk drive.
The HxC floppy replacement can apparently be configured to emulate two drives but I cannot for the life of me get it to work so this is necessary for me.
When loaded you will be met with this message
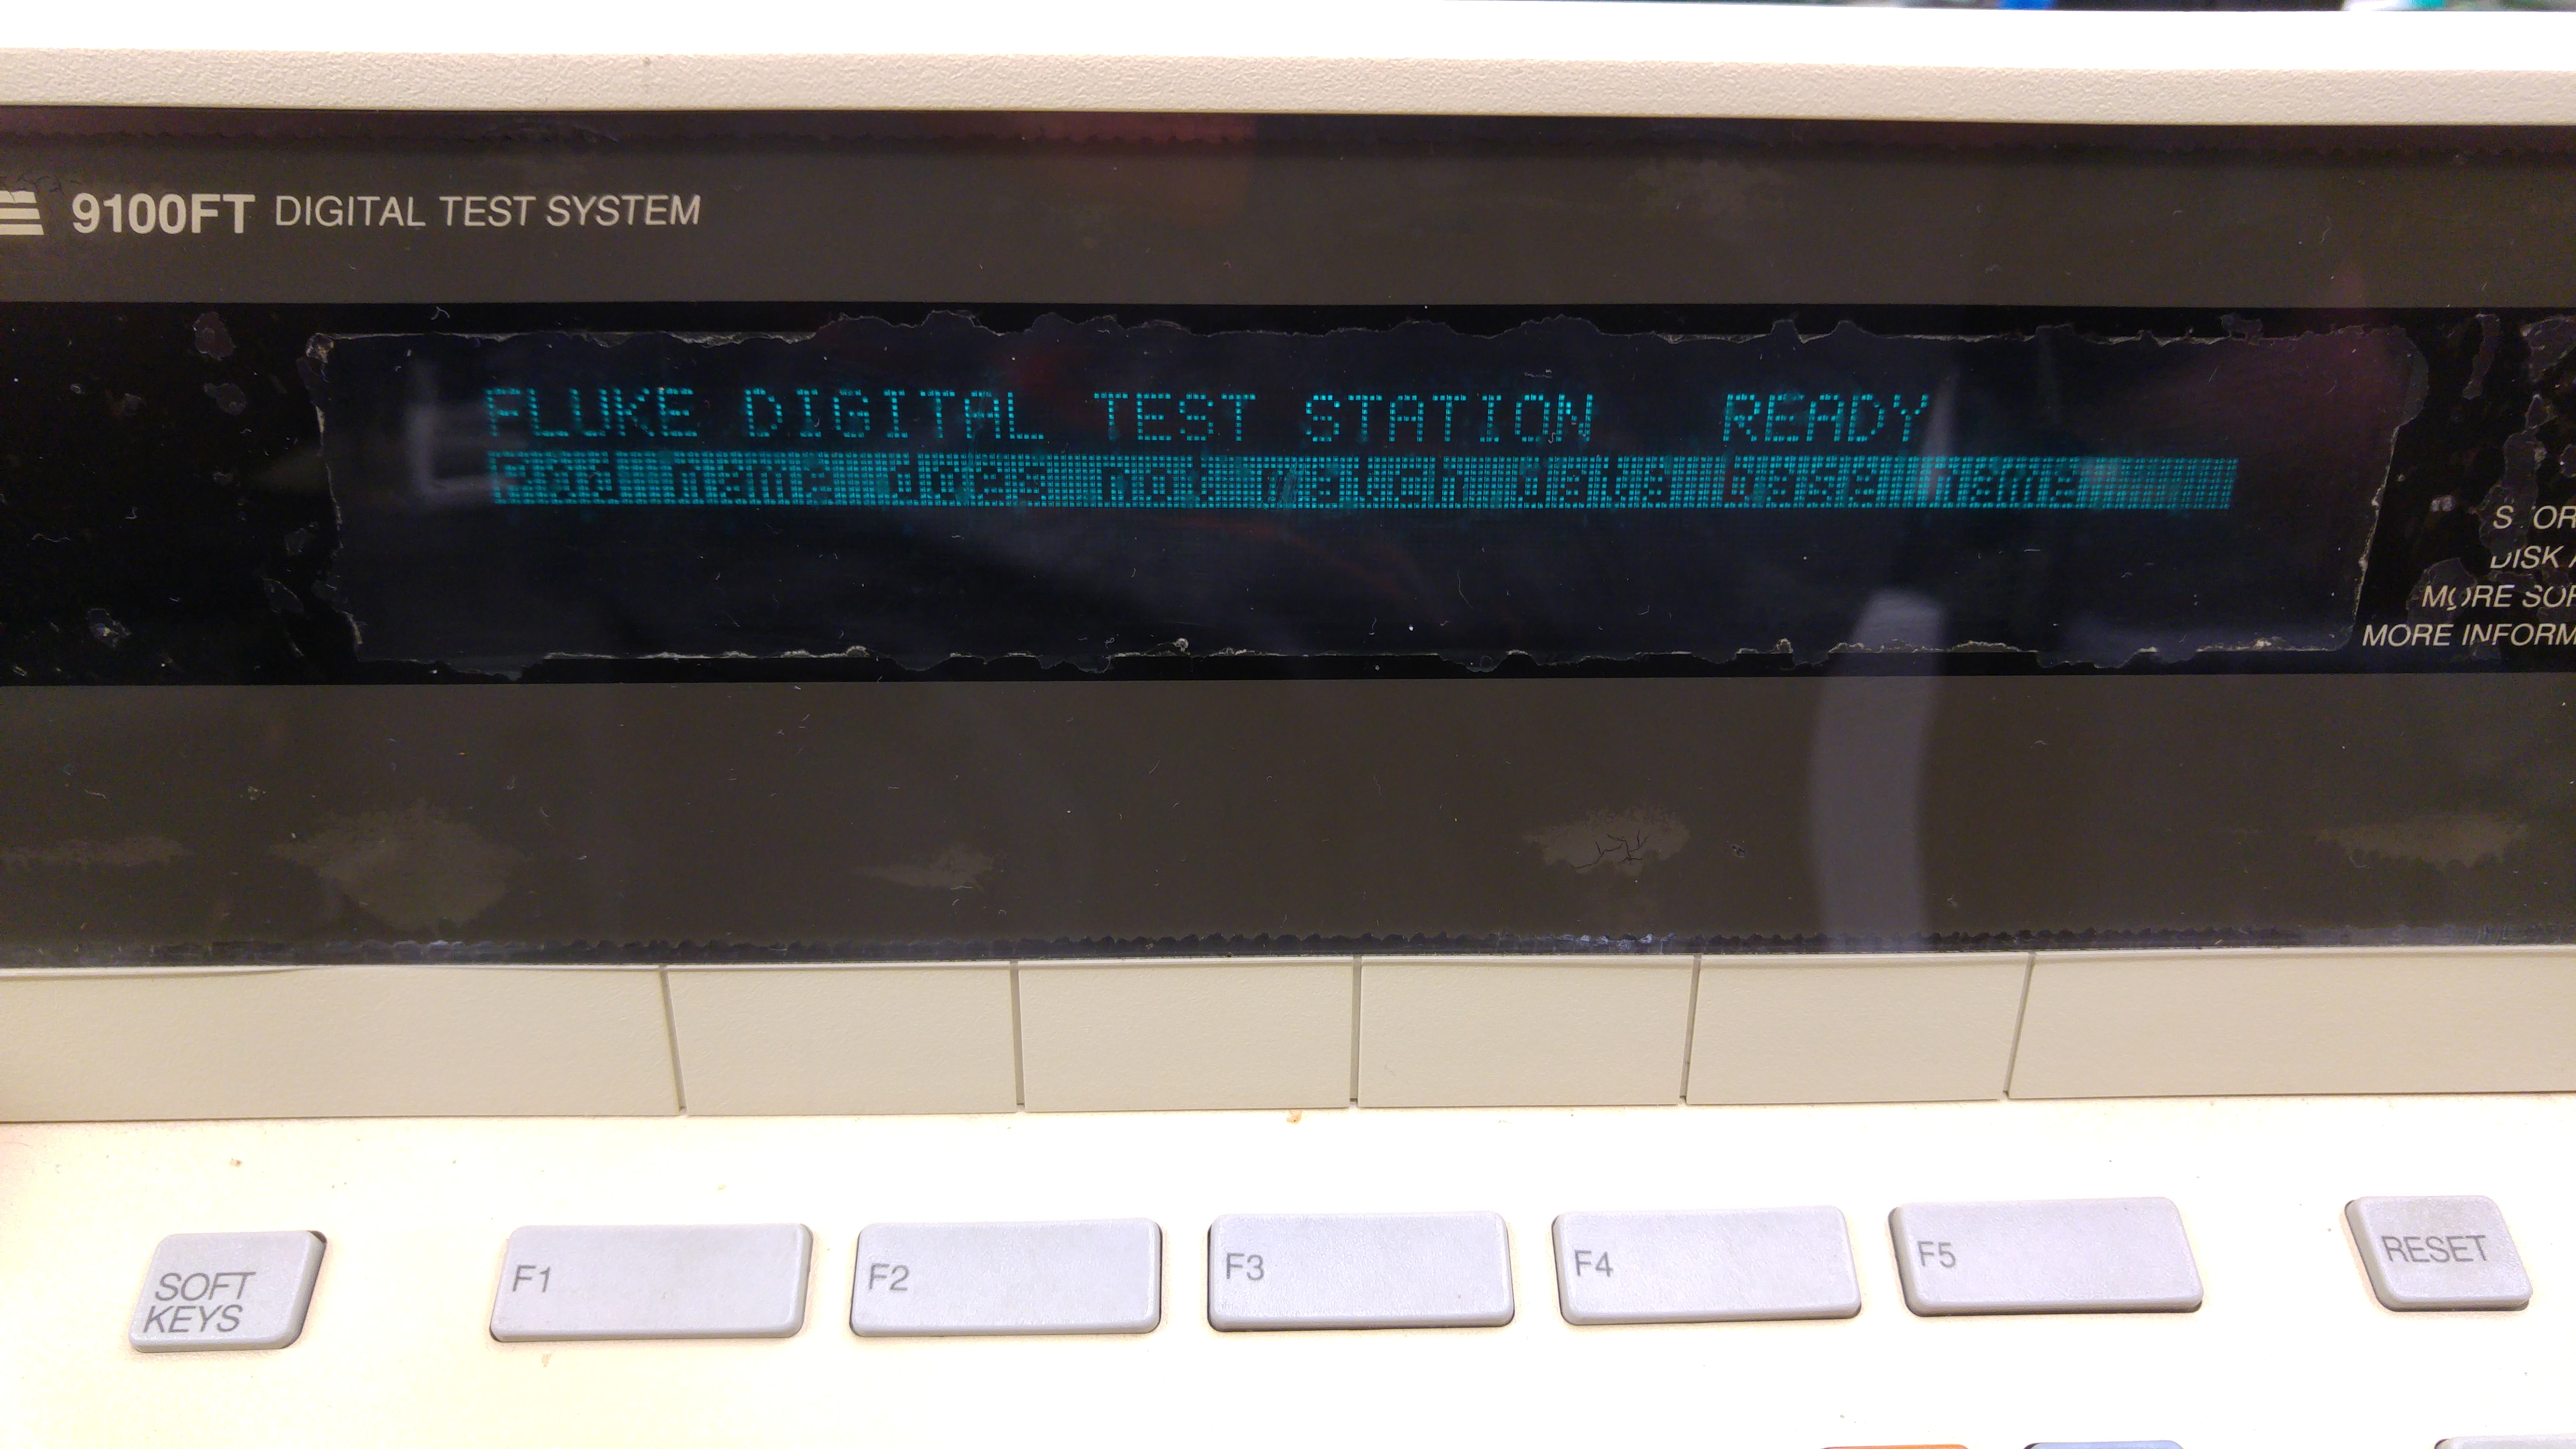
Press the ‘SETUP’ button
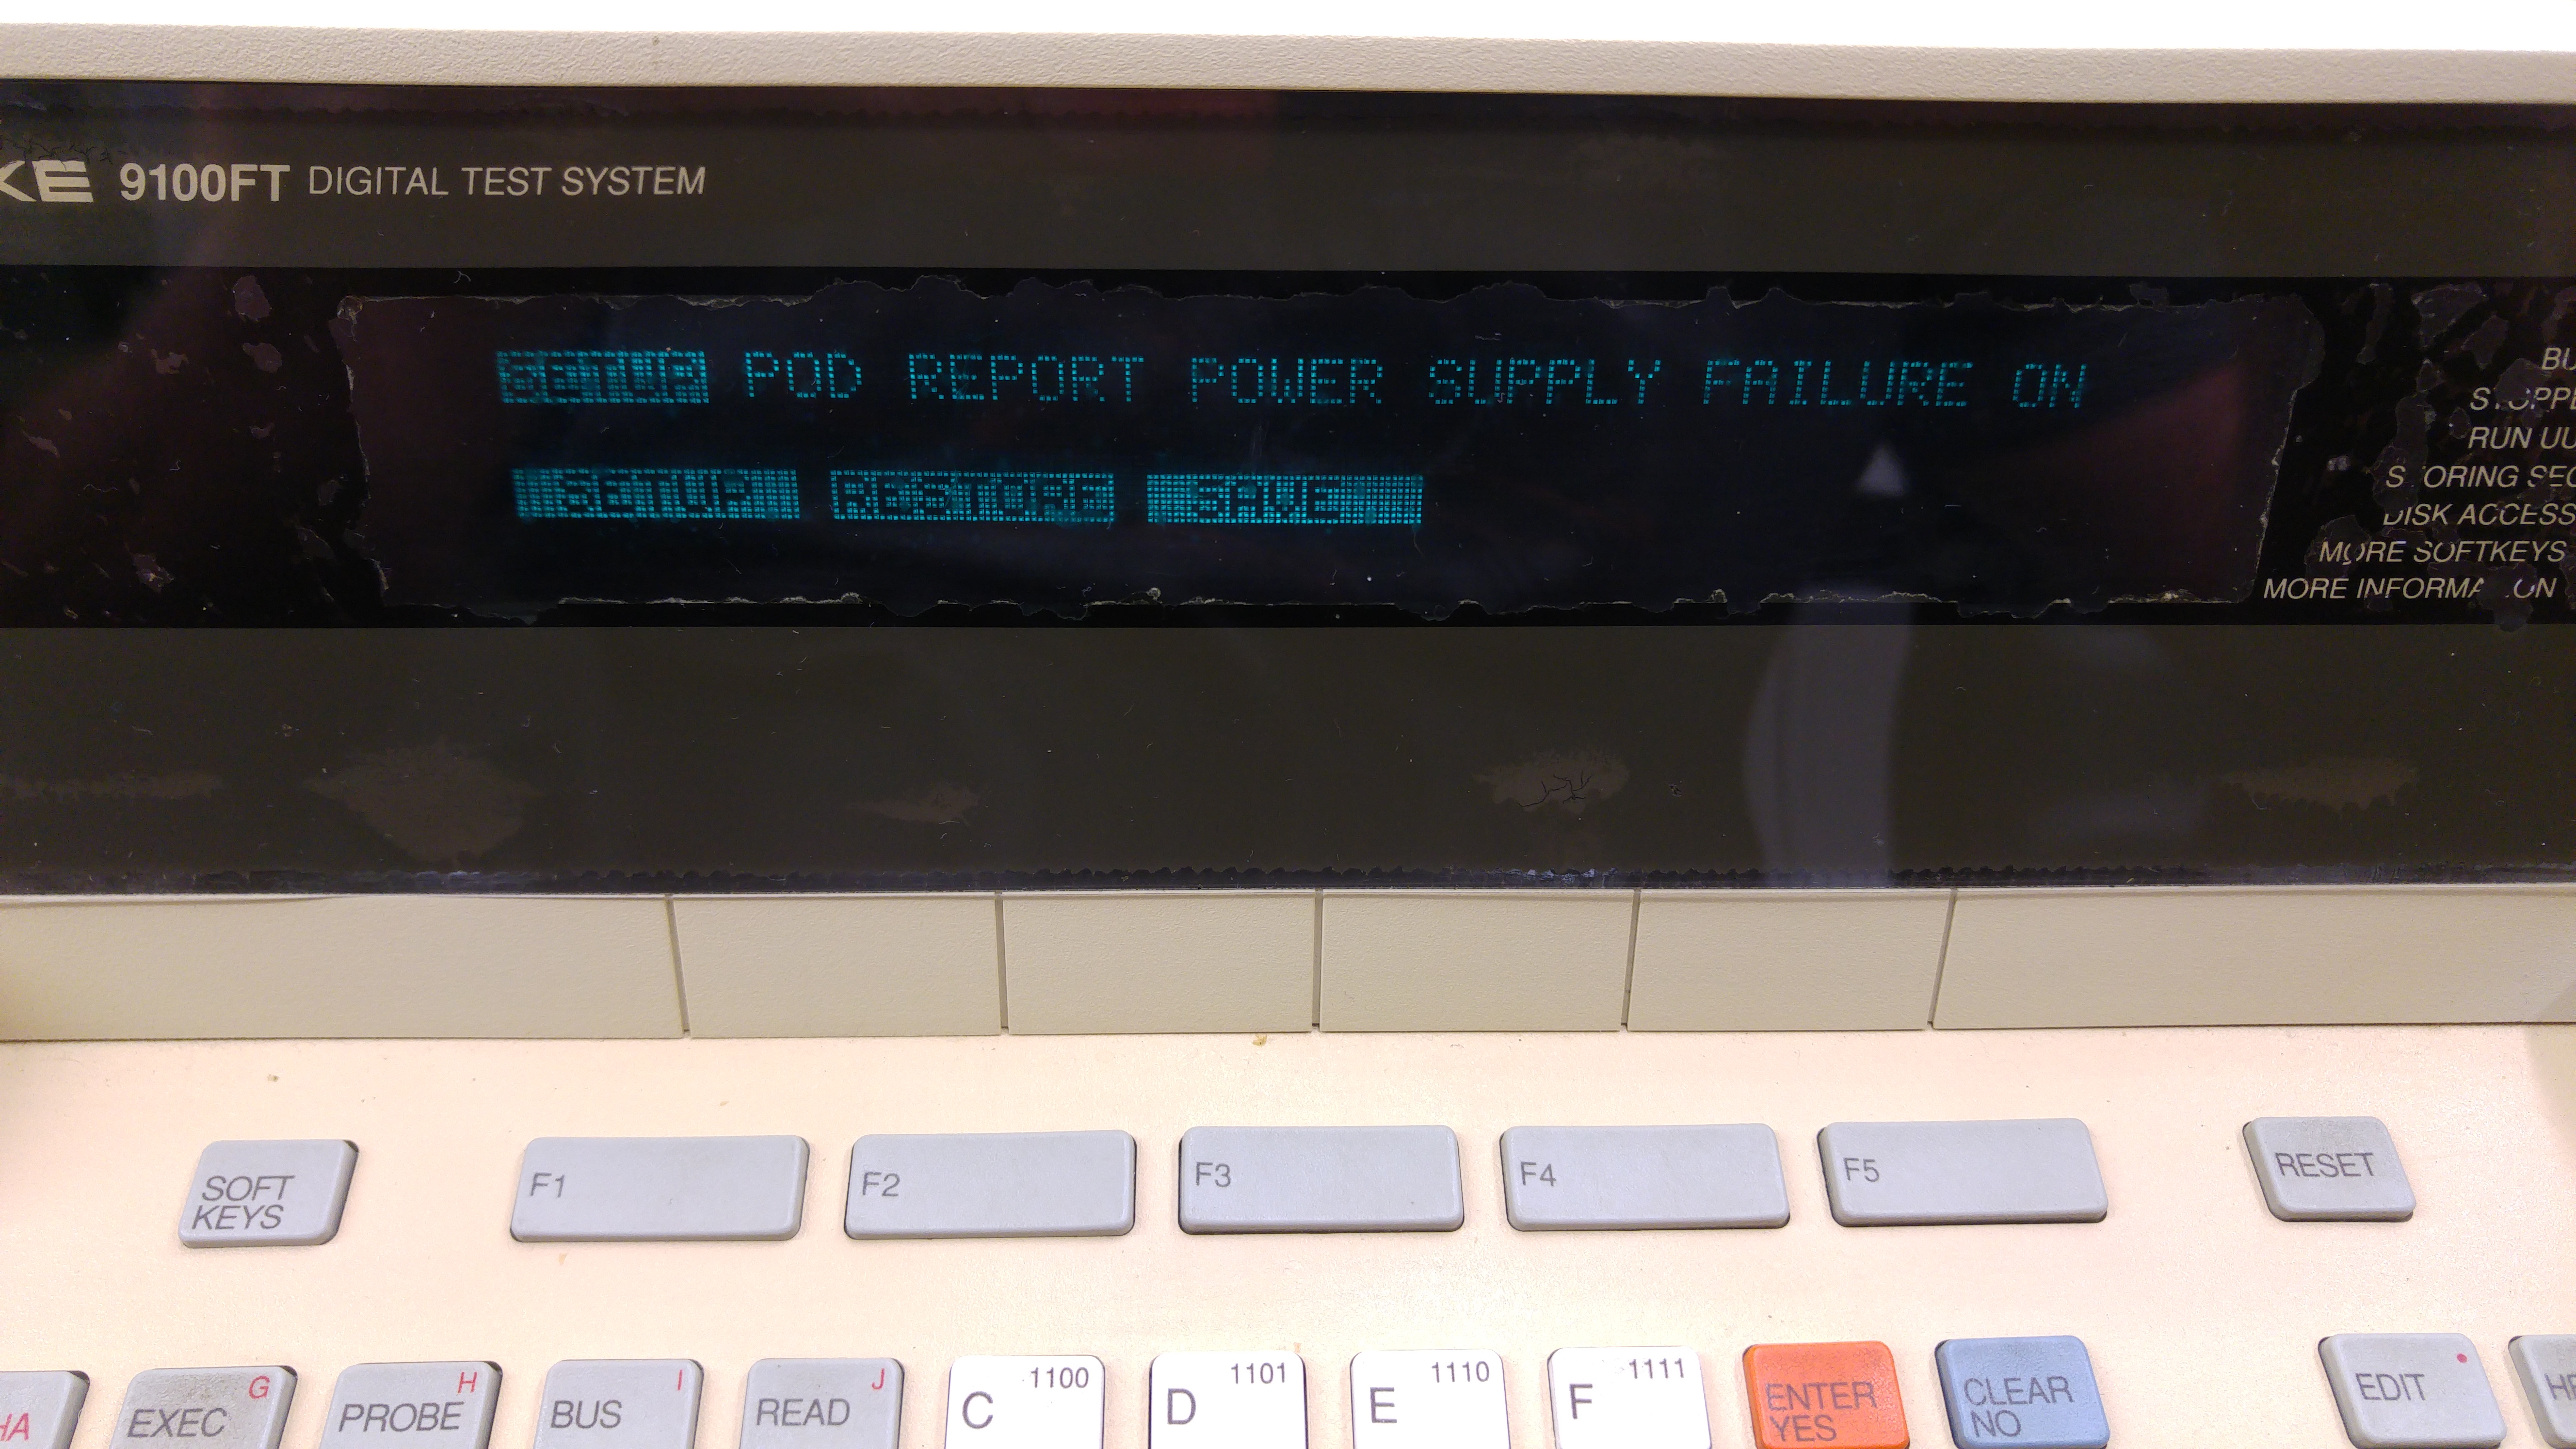
Move RIGHT to highlight ‘POD’
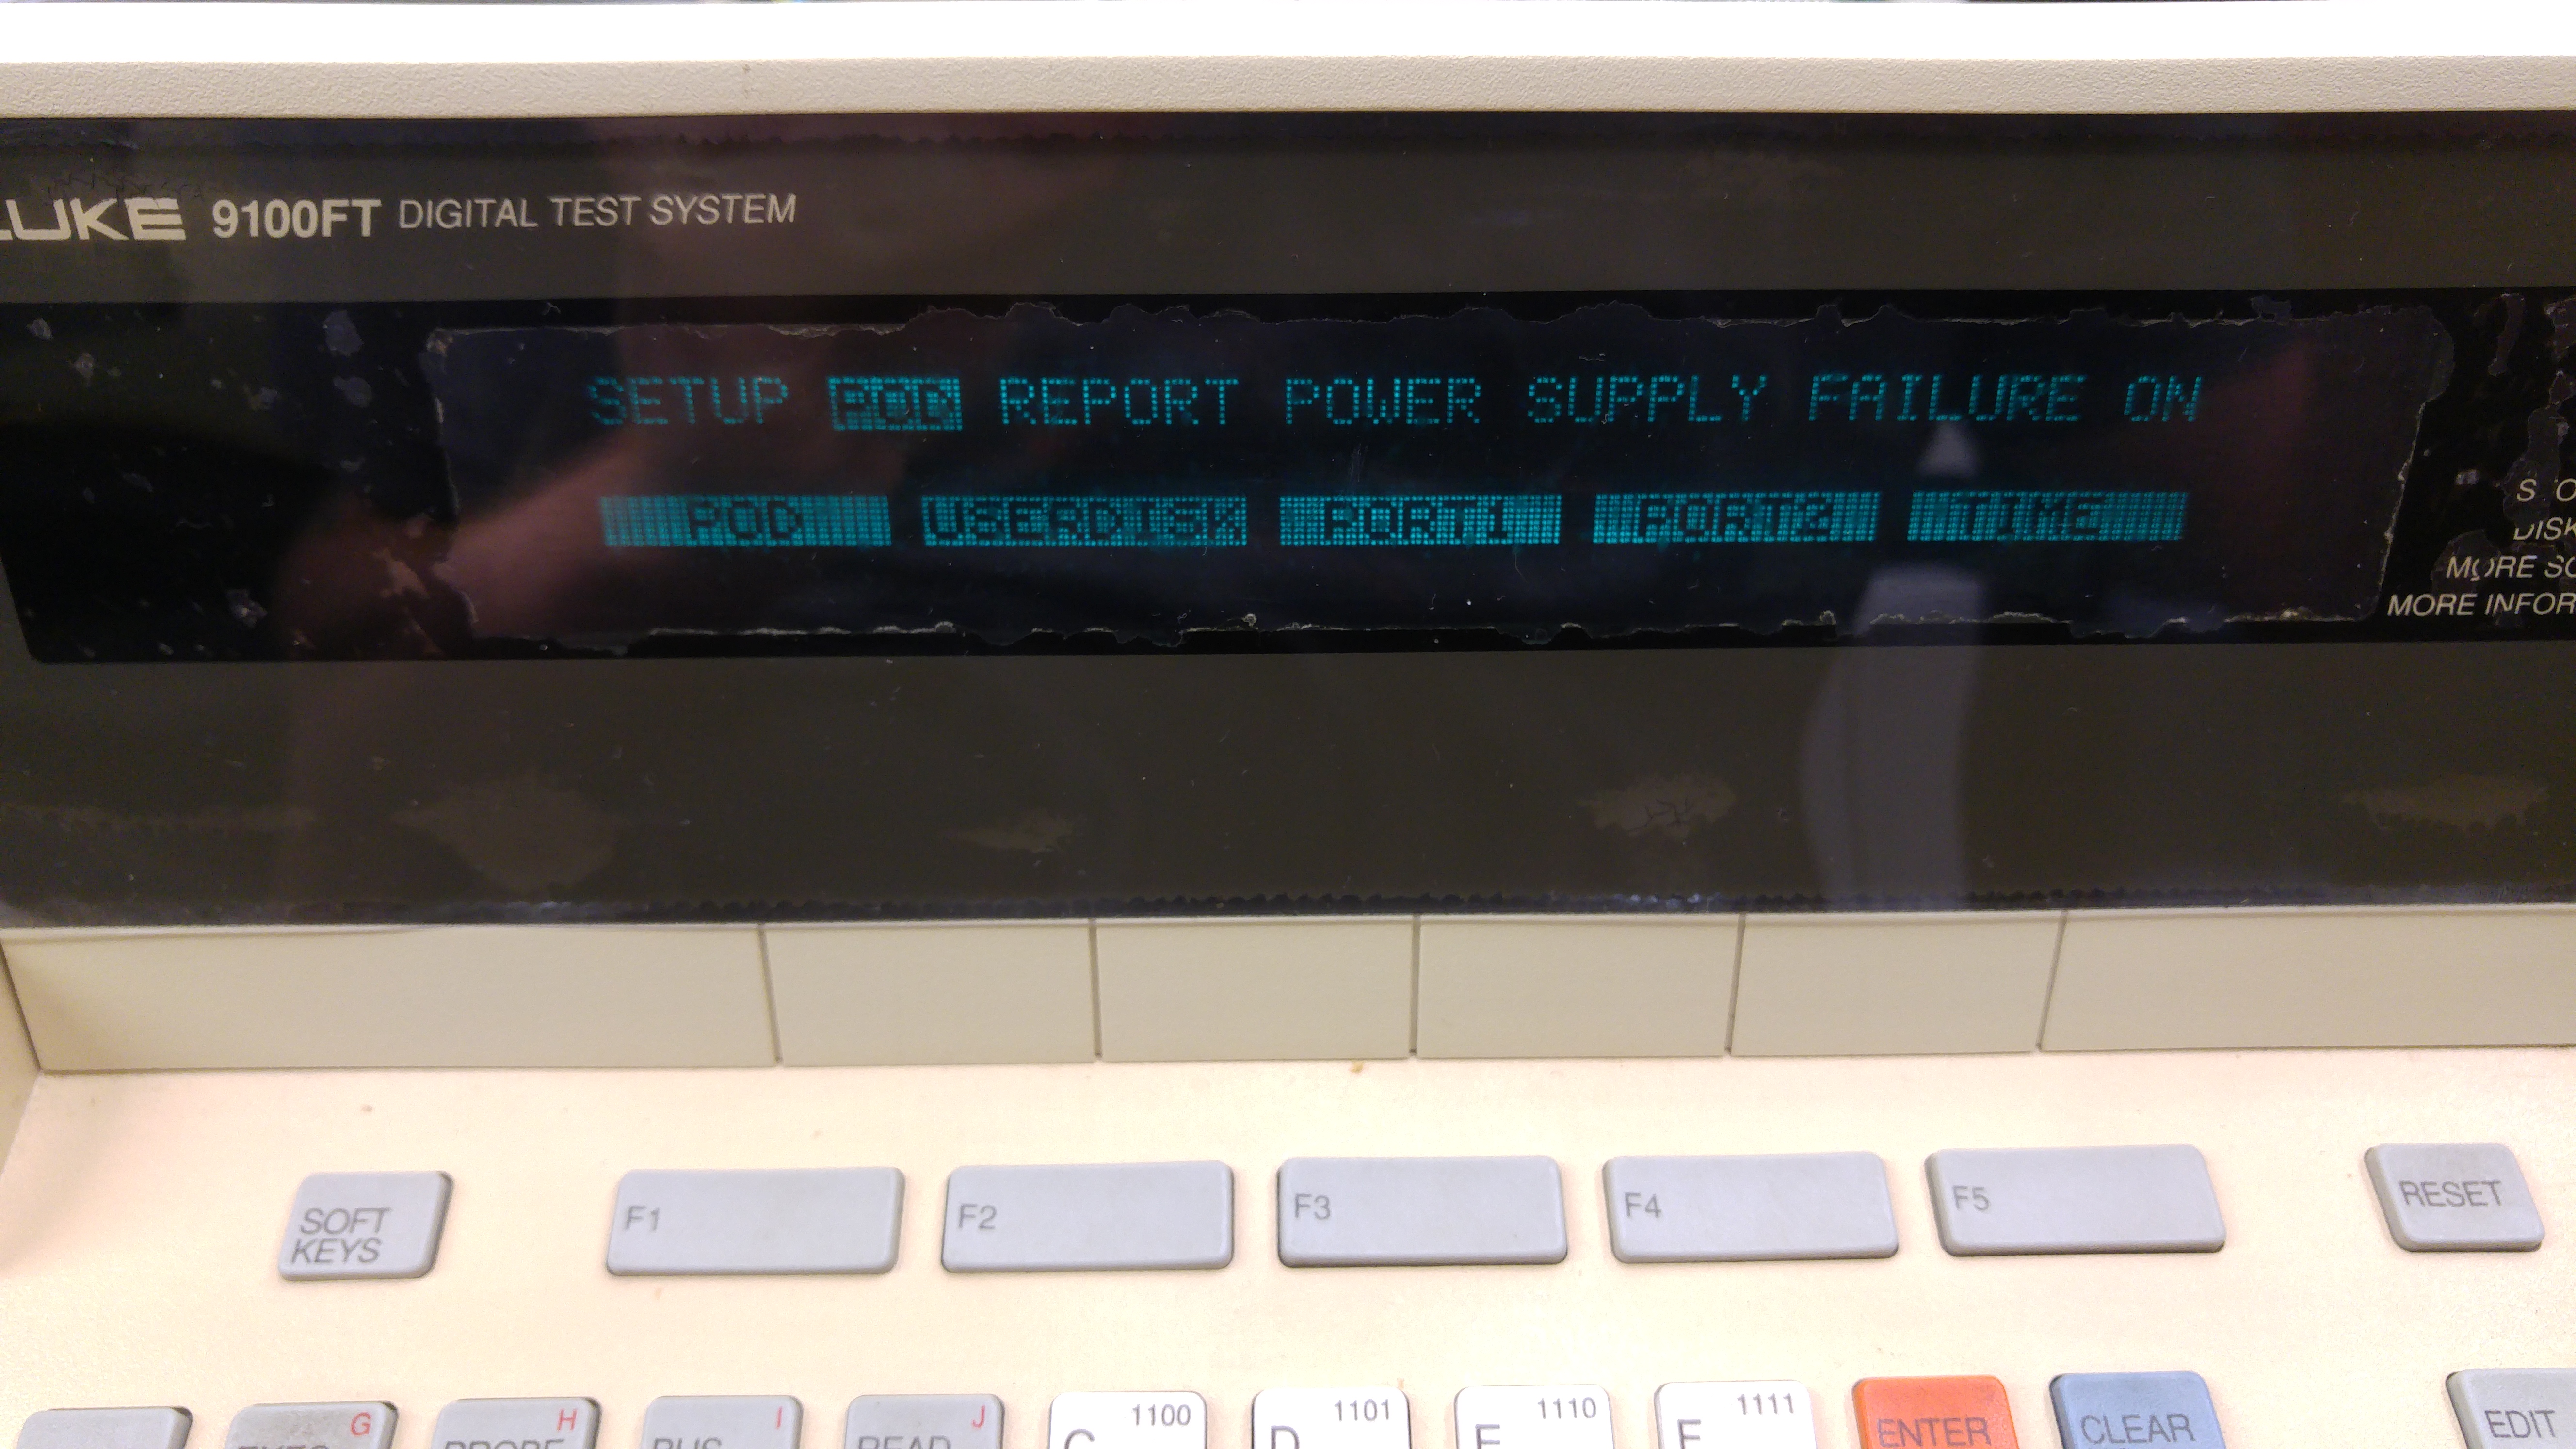
Press F2 (‘USERDISK’) then select ‘DR1’. This is the first floppy drive.
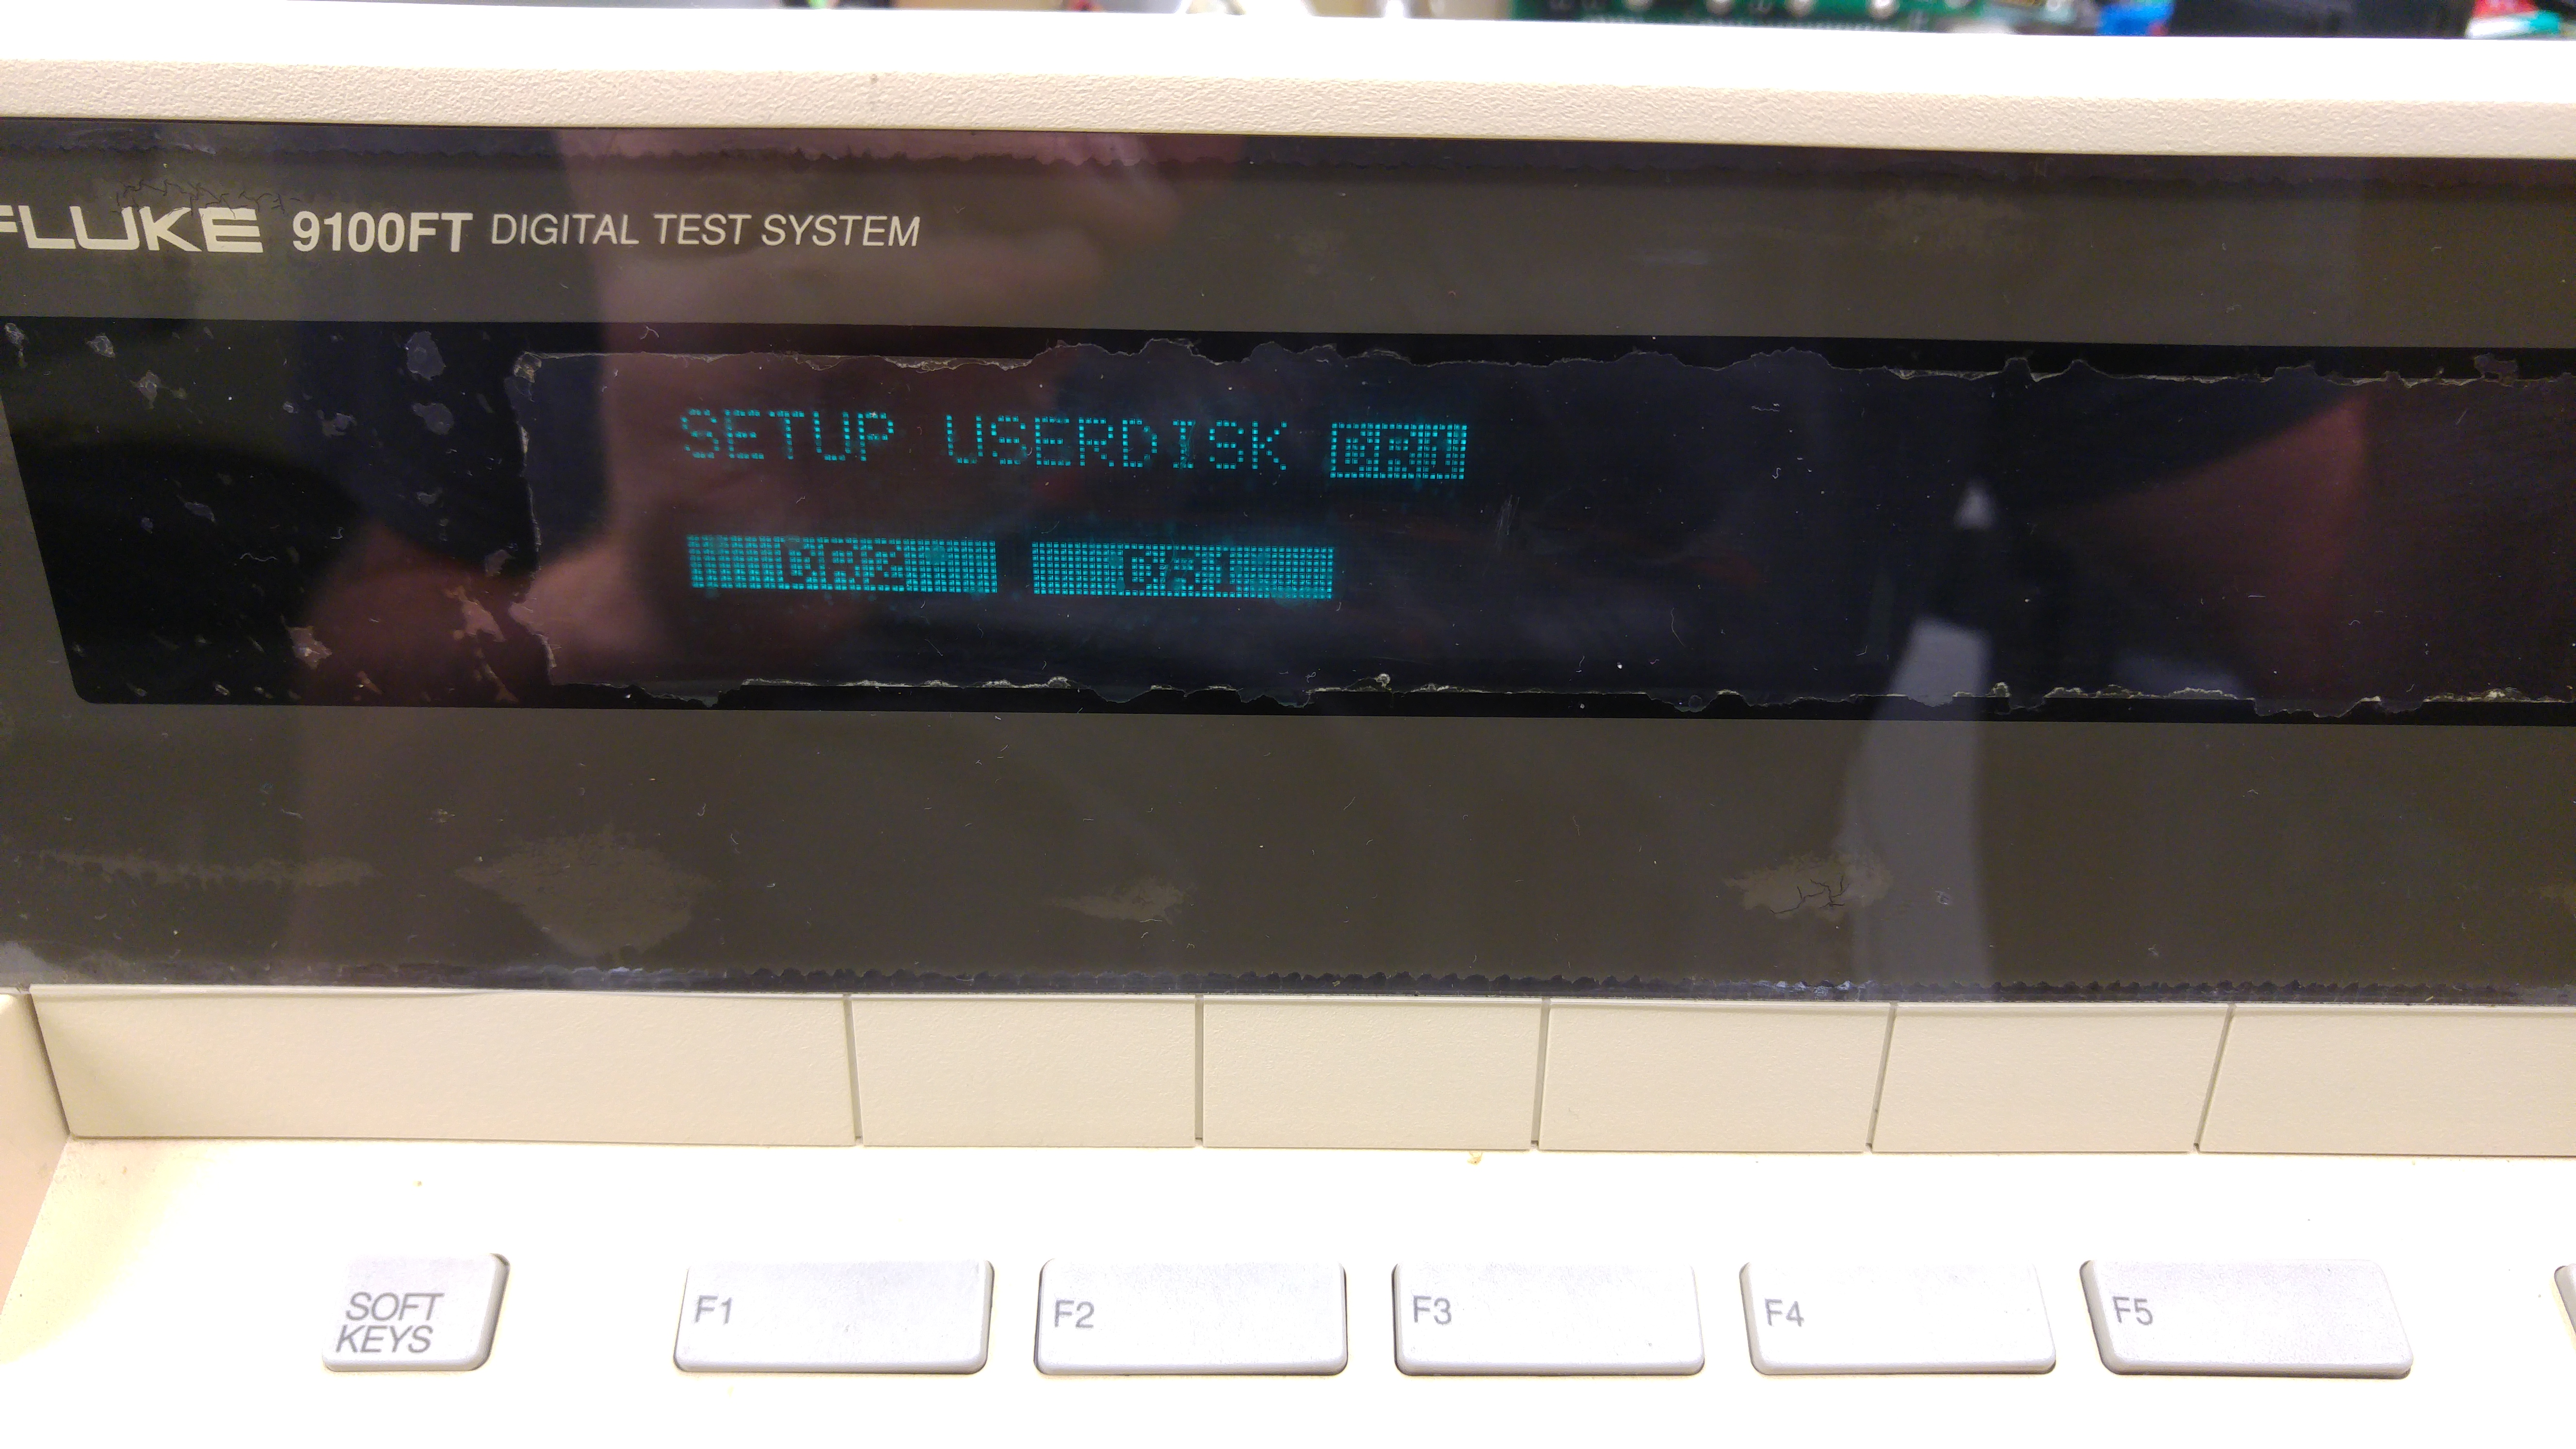
Go back to the initial ‘SETUP’ menu and select ‘POD’ again
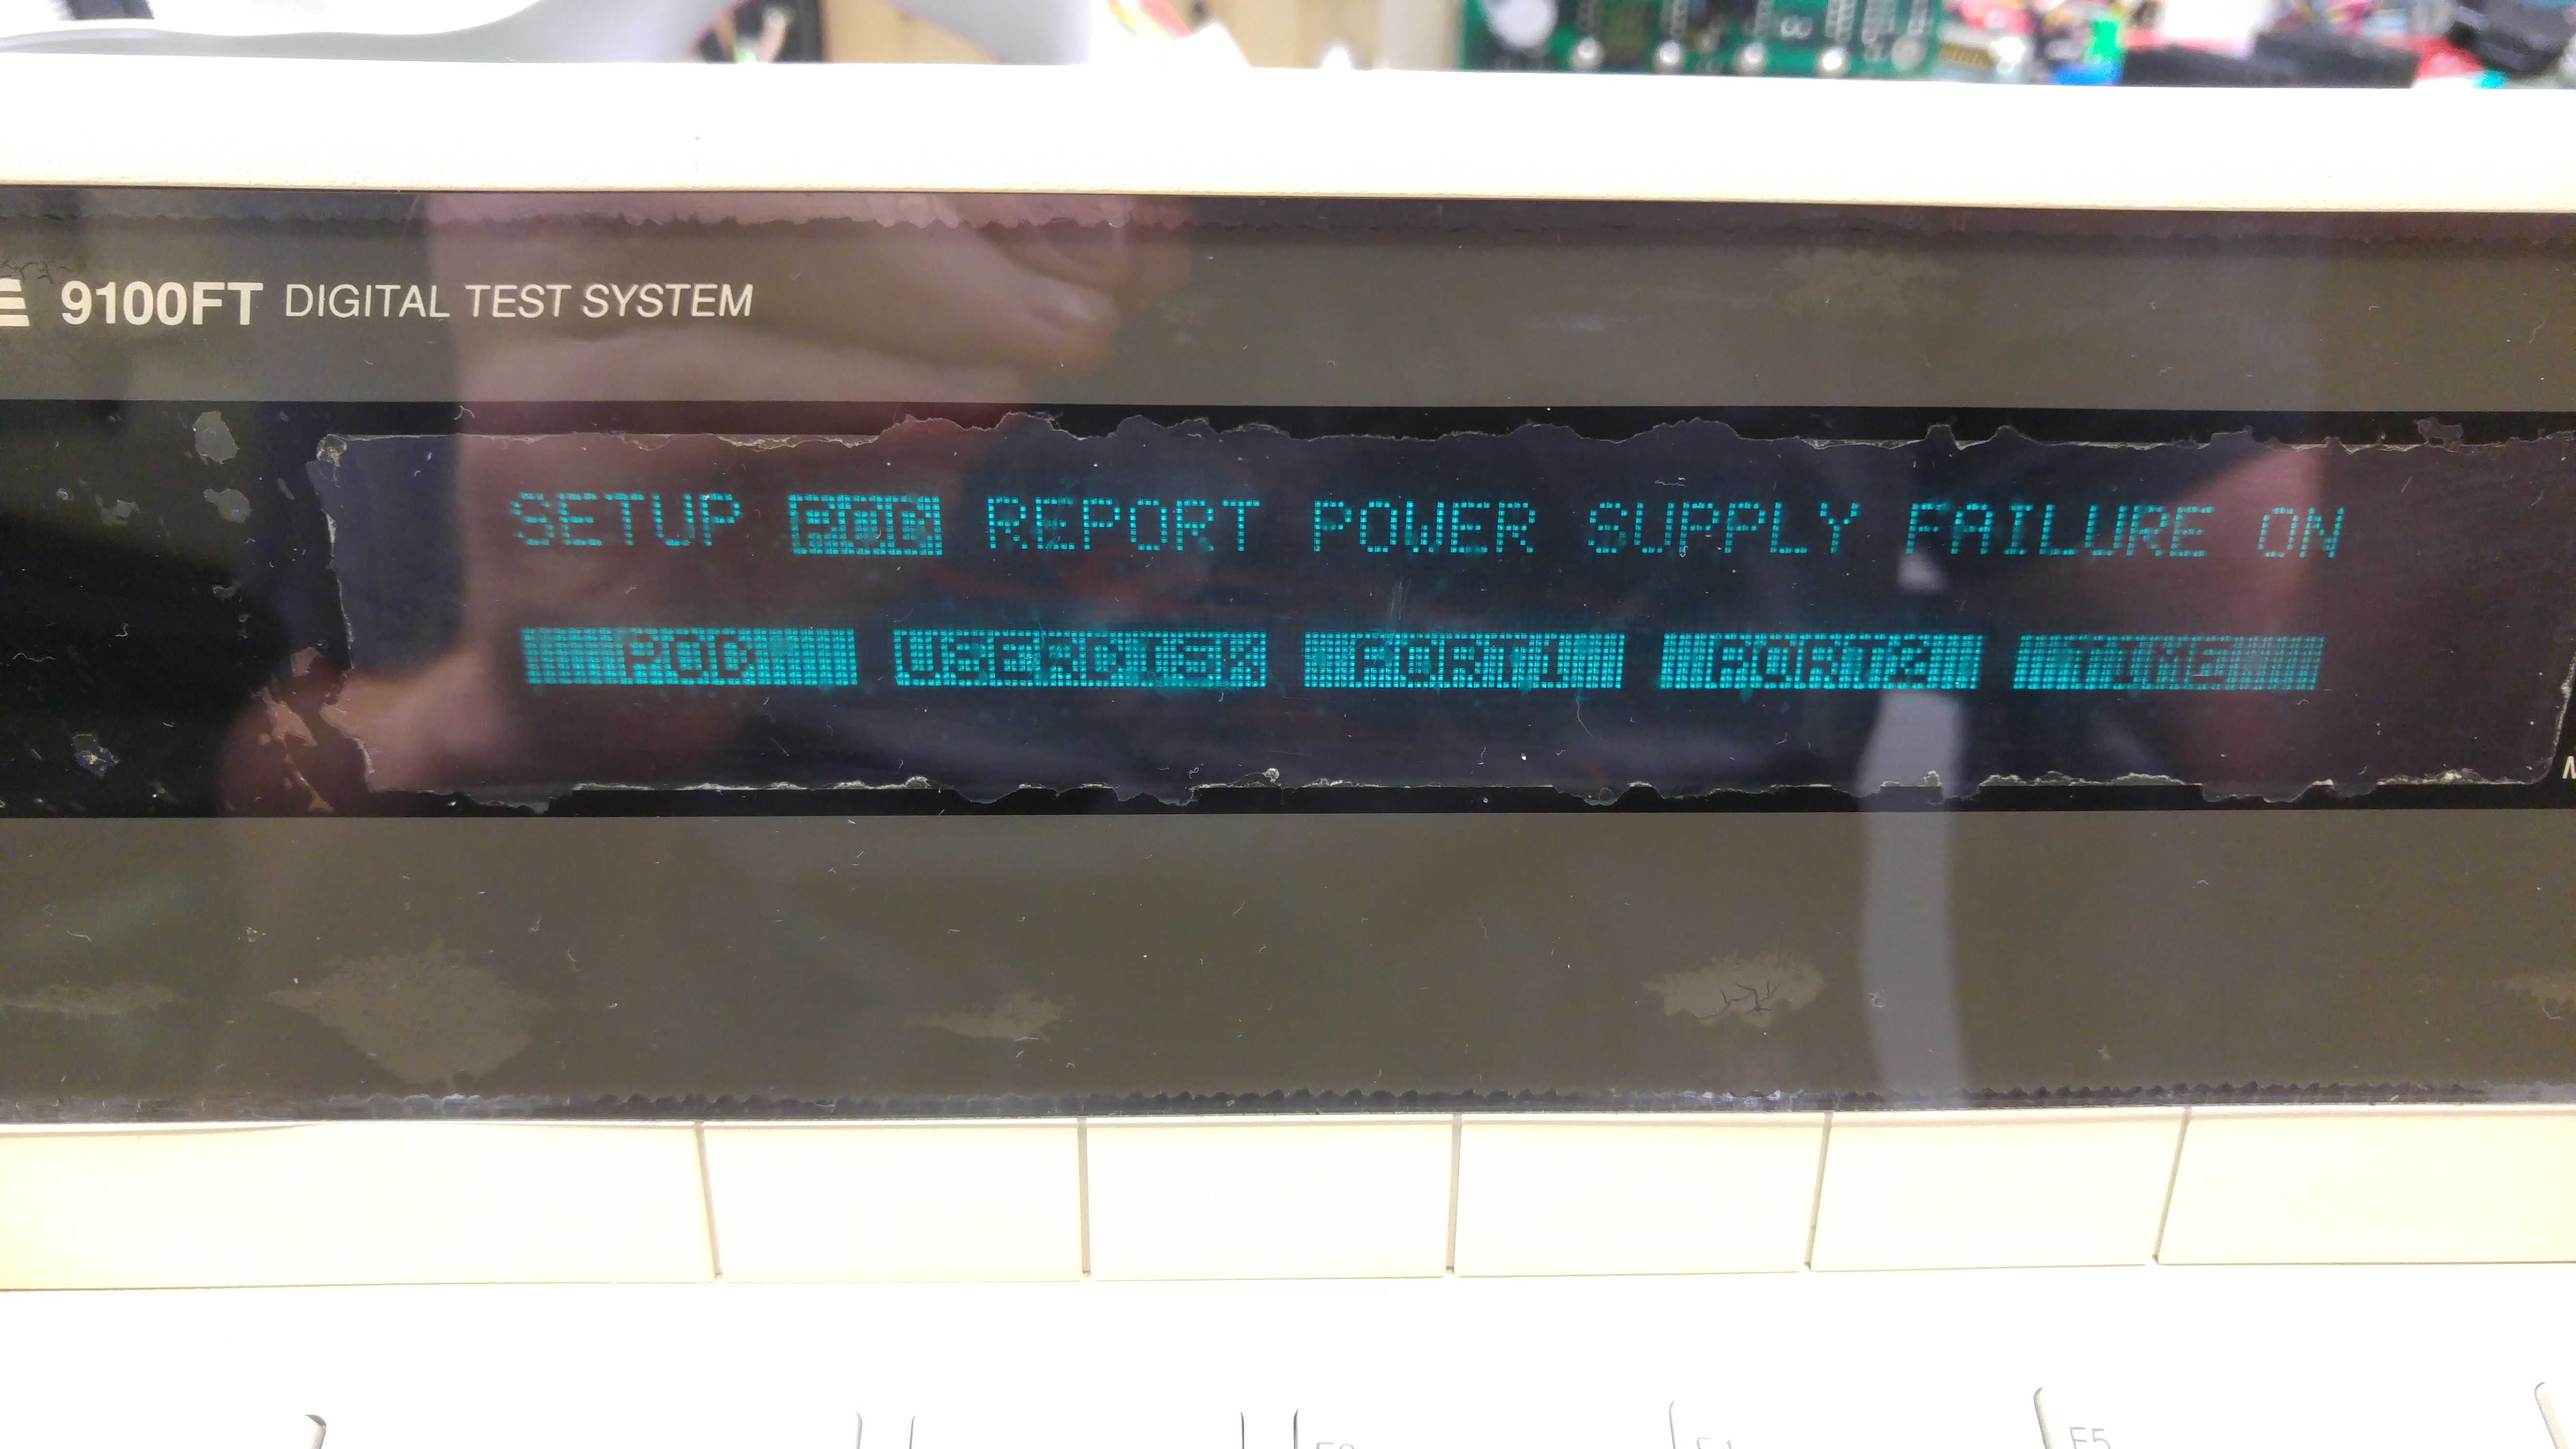
Then press the ‘SOFT KEYS’ button and some more options will appear
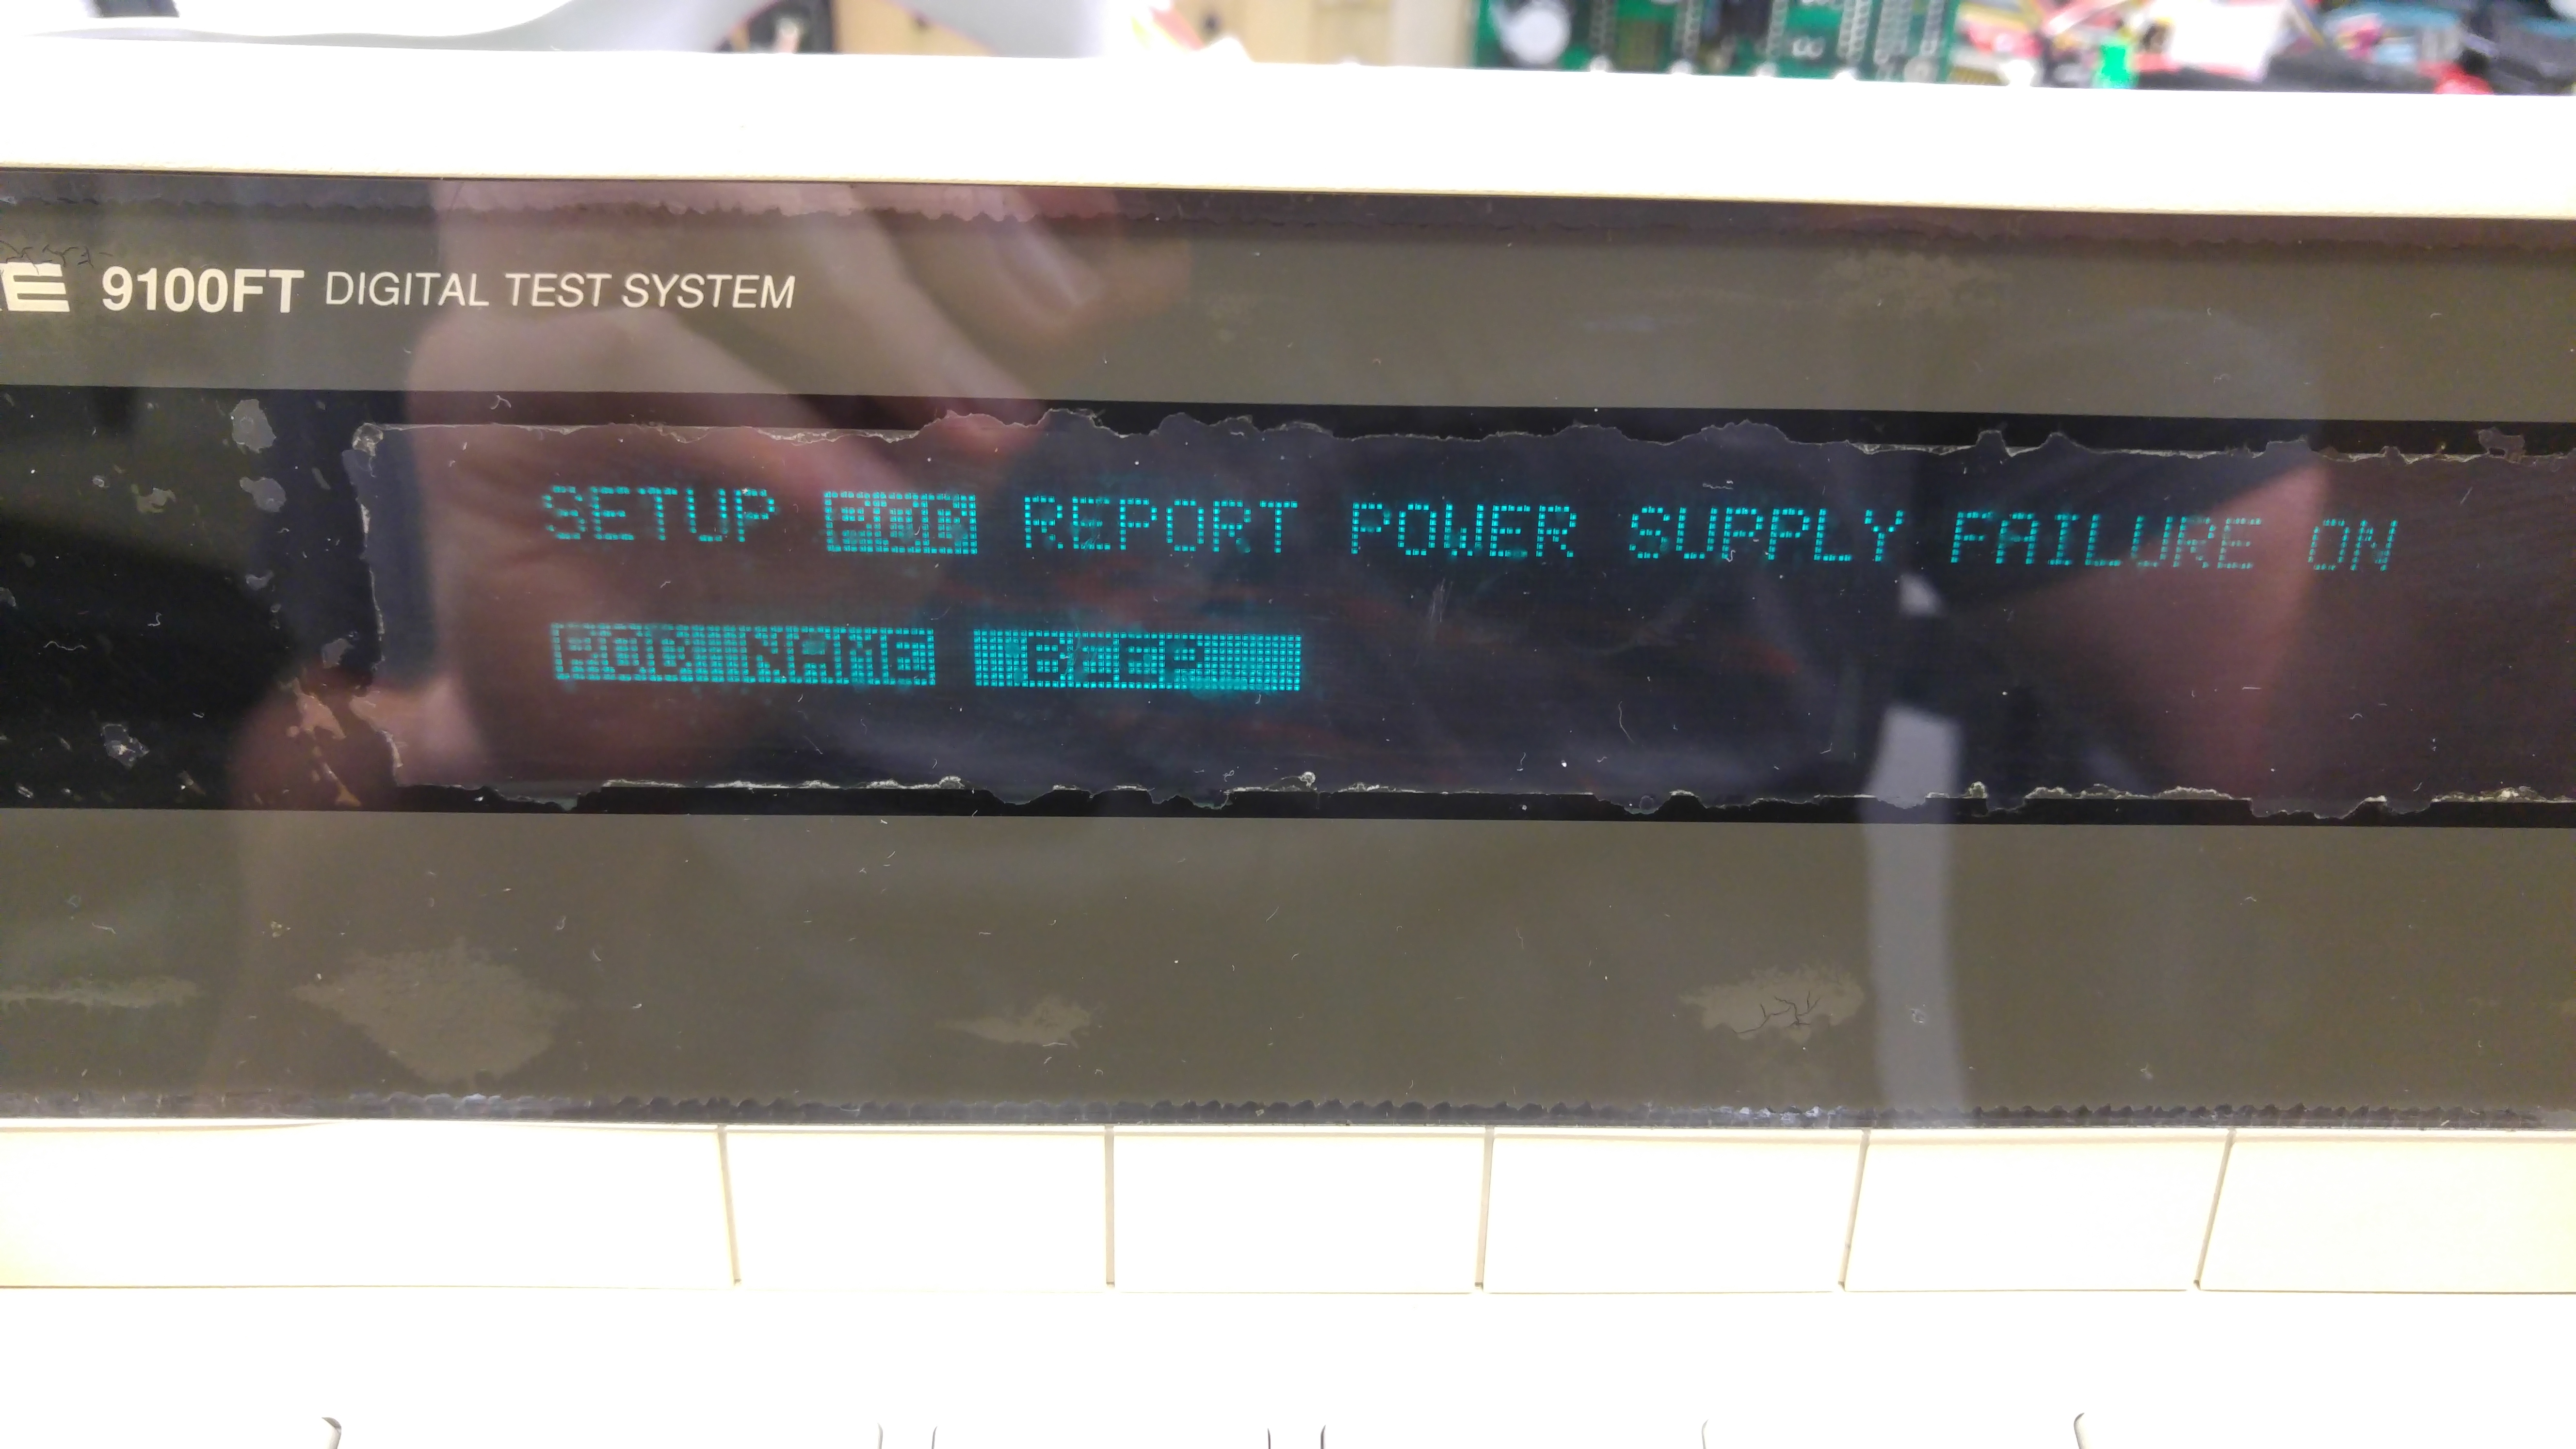
Select ‘PODNAME’ and you will get this (Z80 pod is used here)
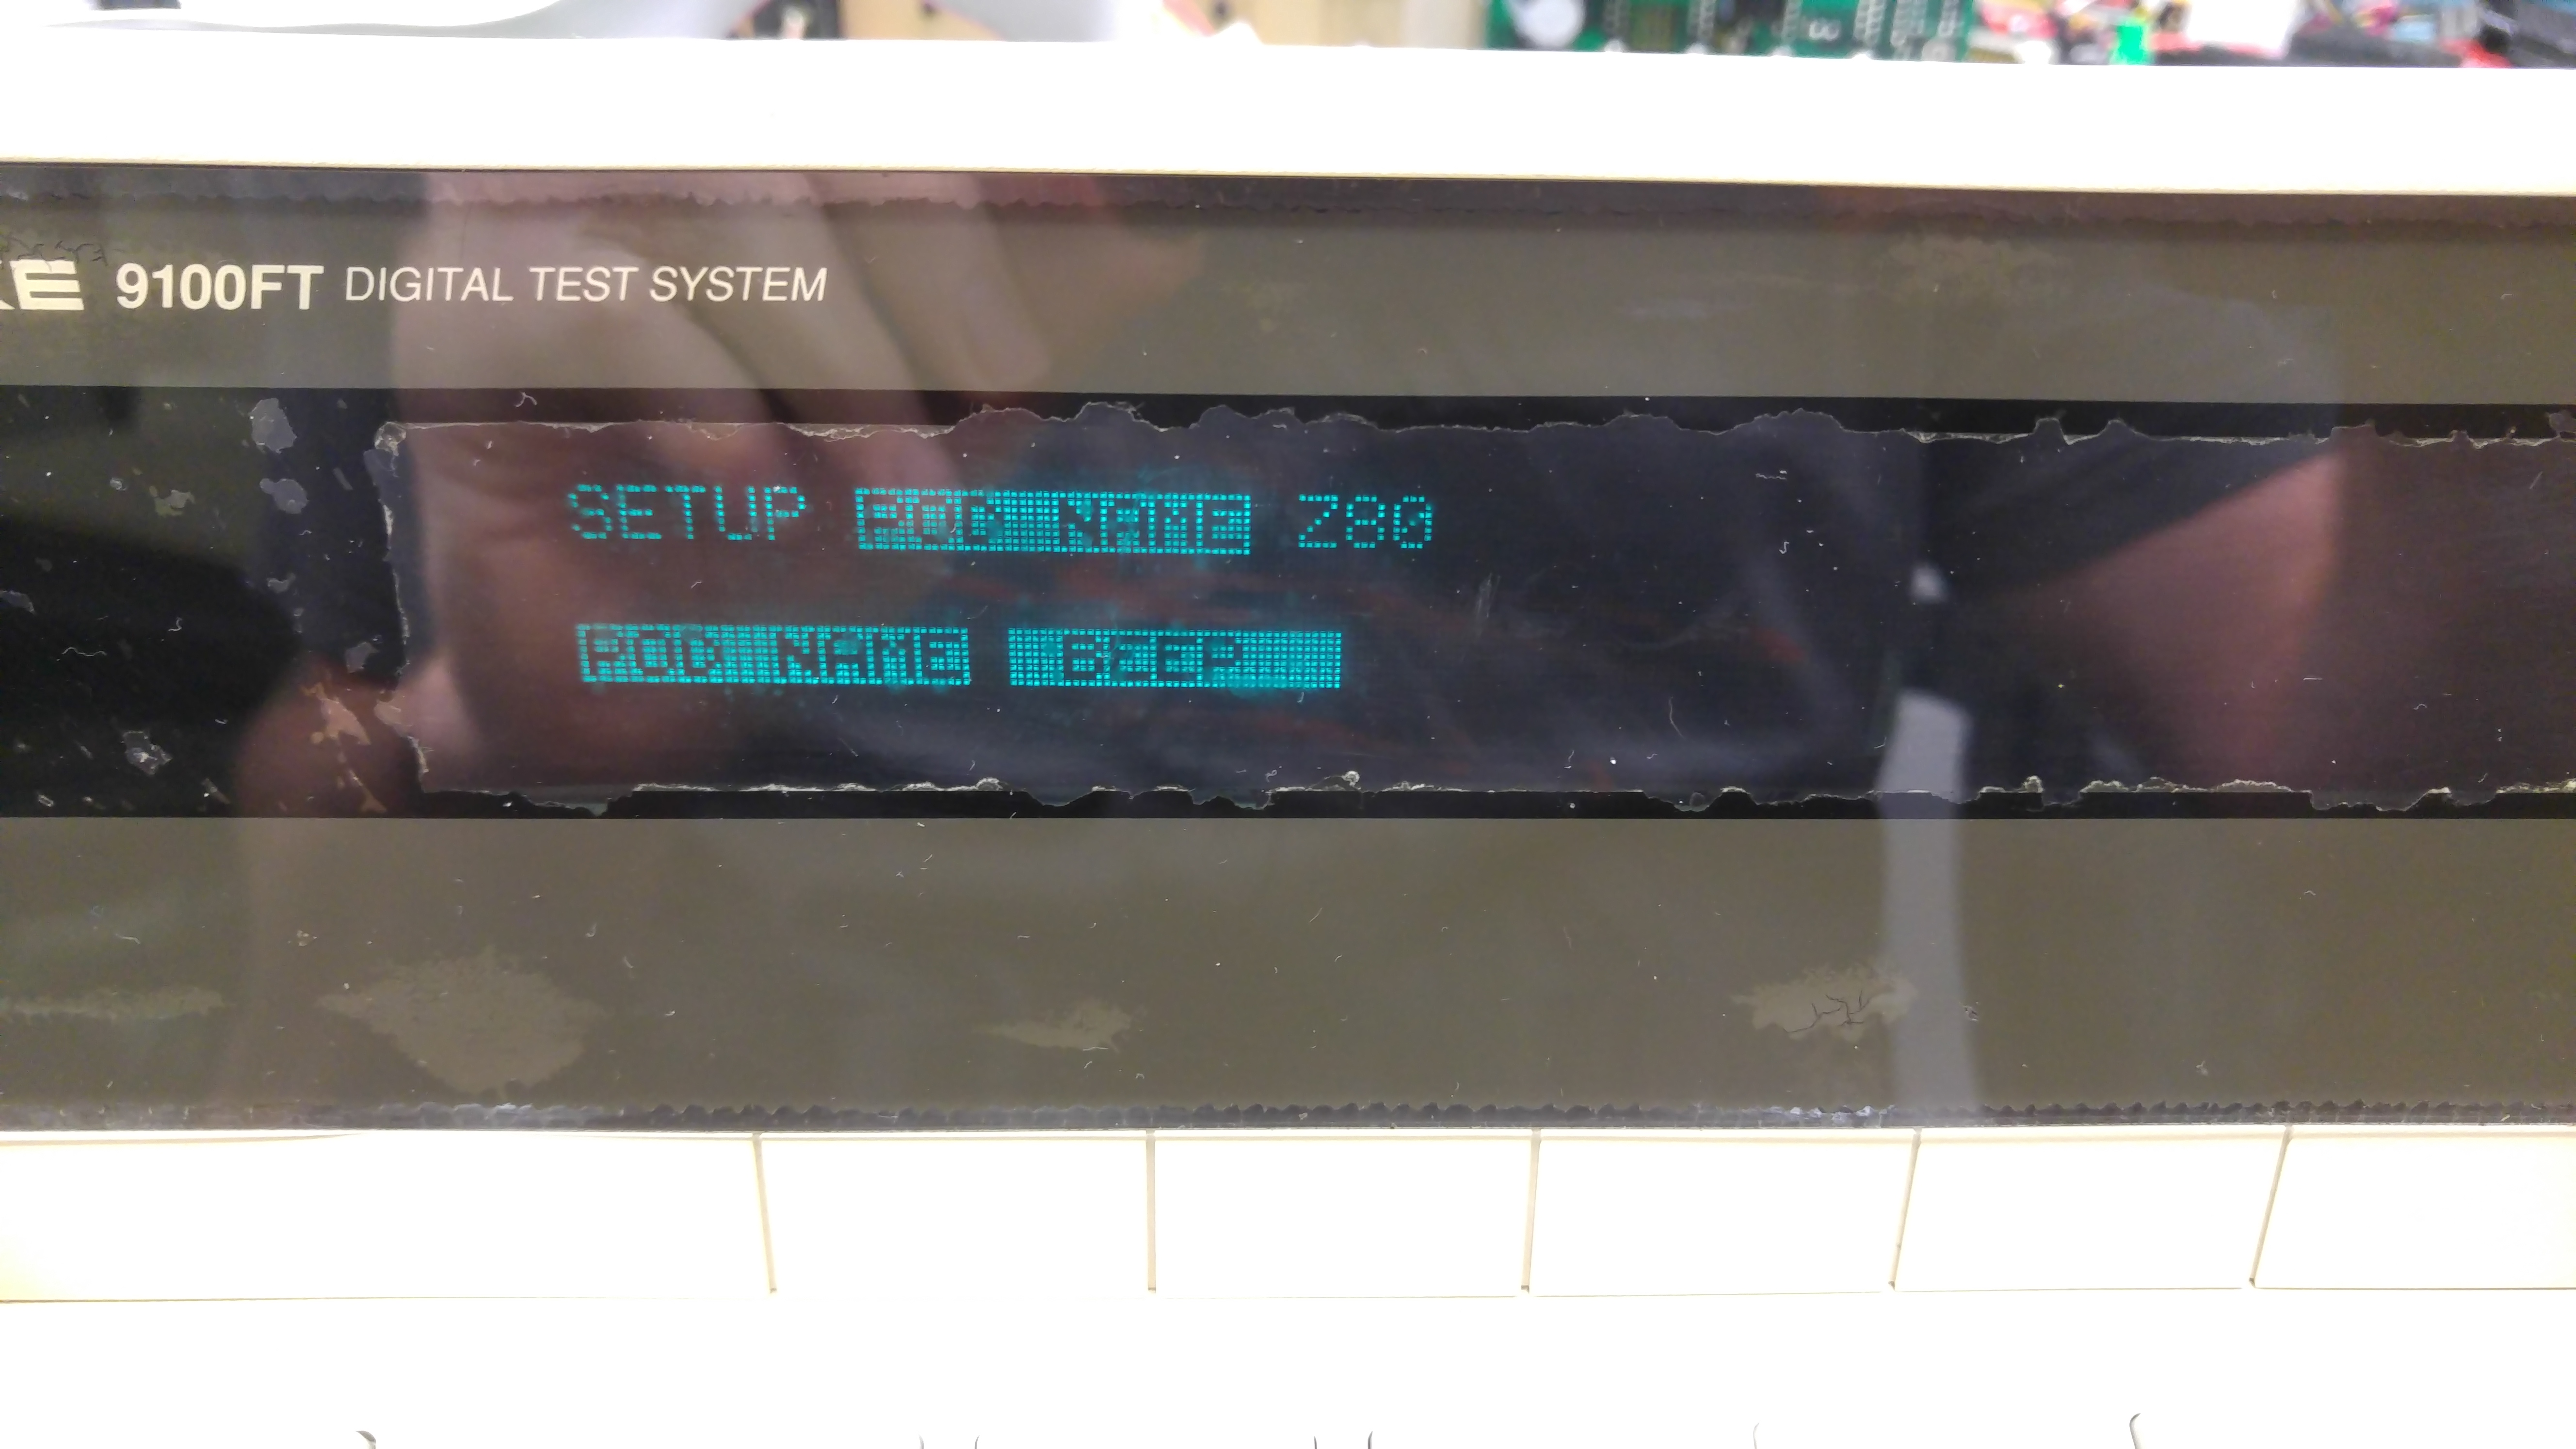
Make sure you have the correct disk image selected on the HxC then press the ‘ENTER/YES’ key.
If all goes well the floppy will read and you will be presented with a new message (its different depending on POD type fitted)
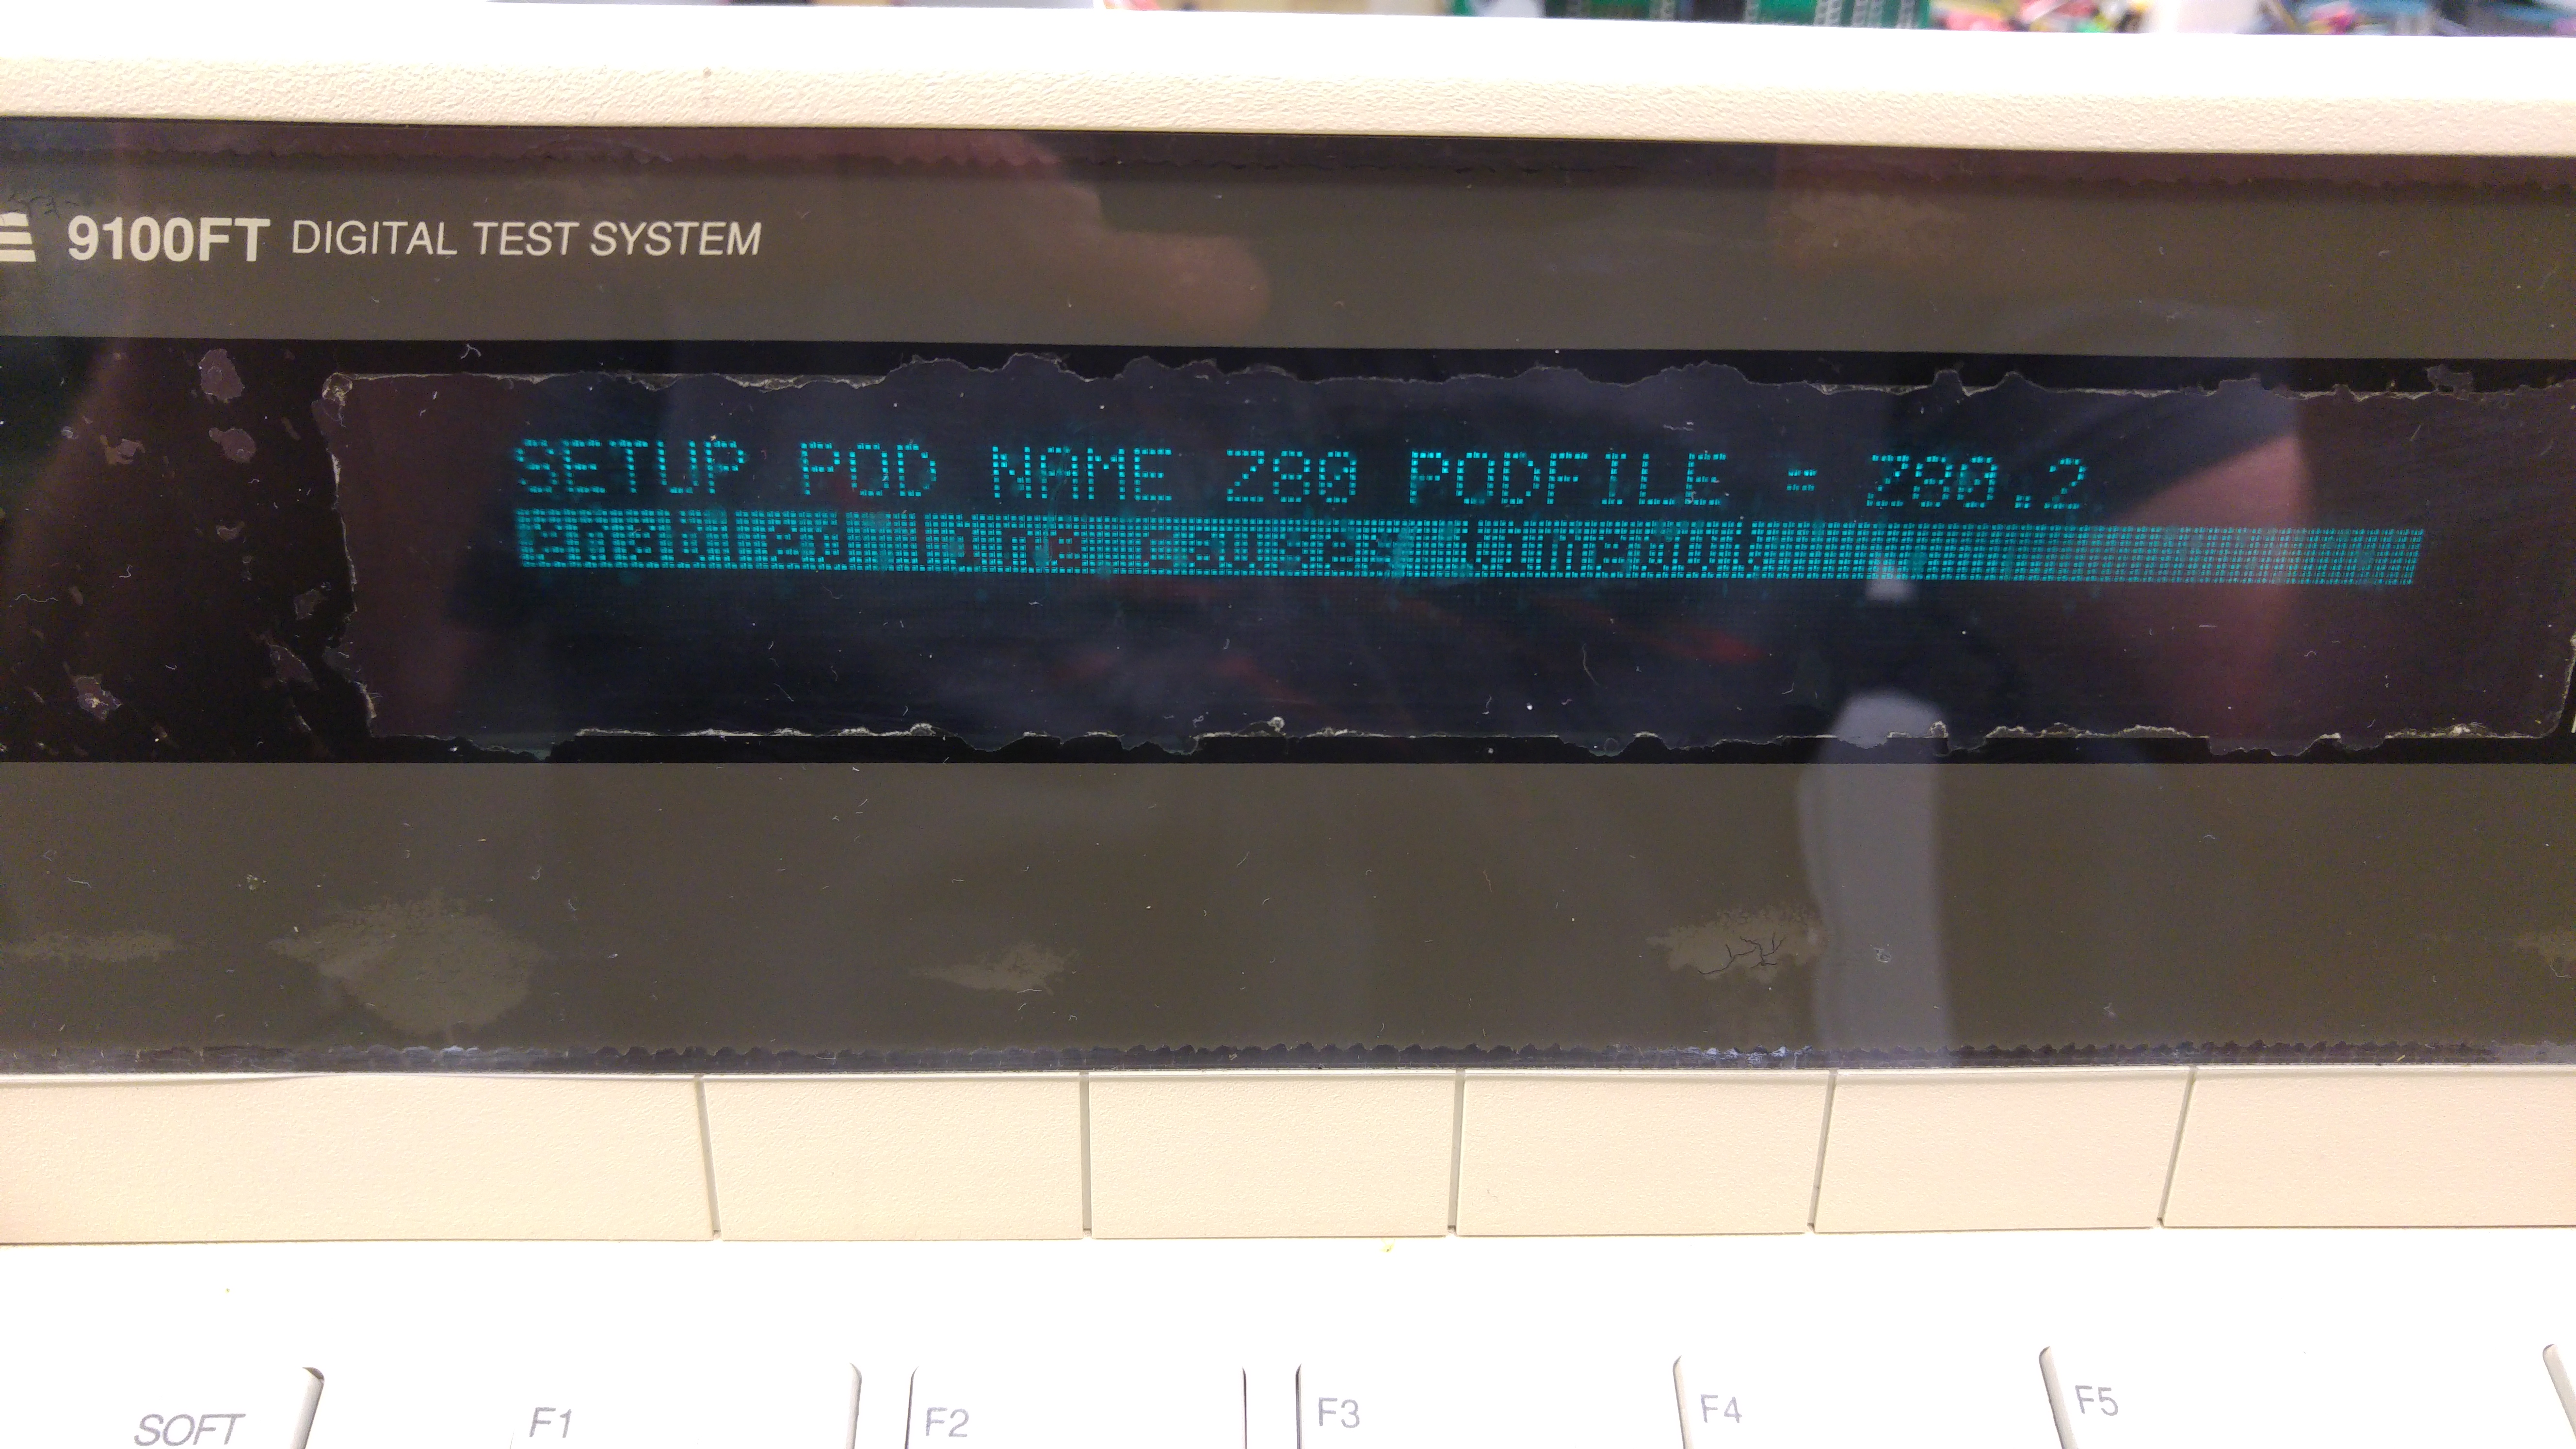
Now the POD is available to use.
NOTE: If you press the ‘RESET’ button on the keypad at anytime then it will revert back to DR2.

Sorry, the comment form is closed at this time.