Jun 012018
 

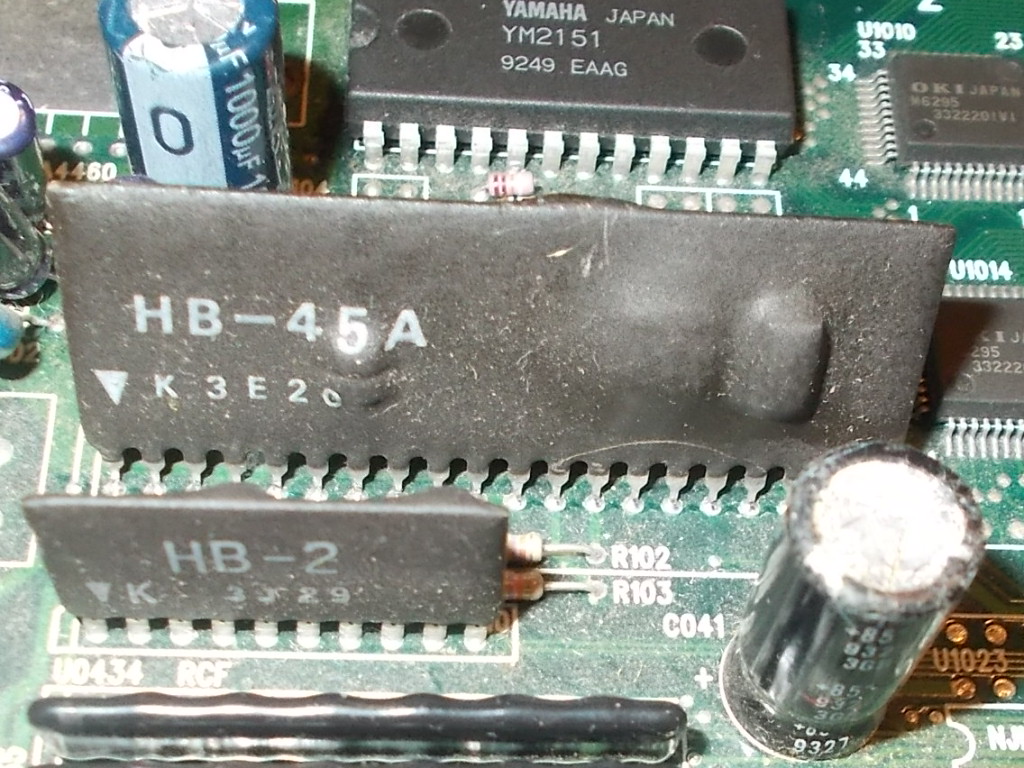
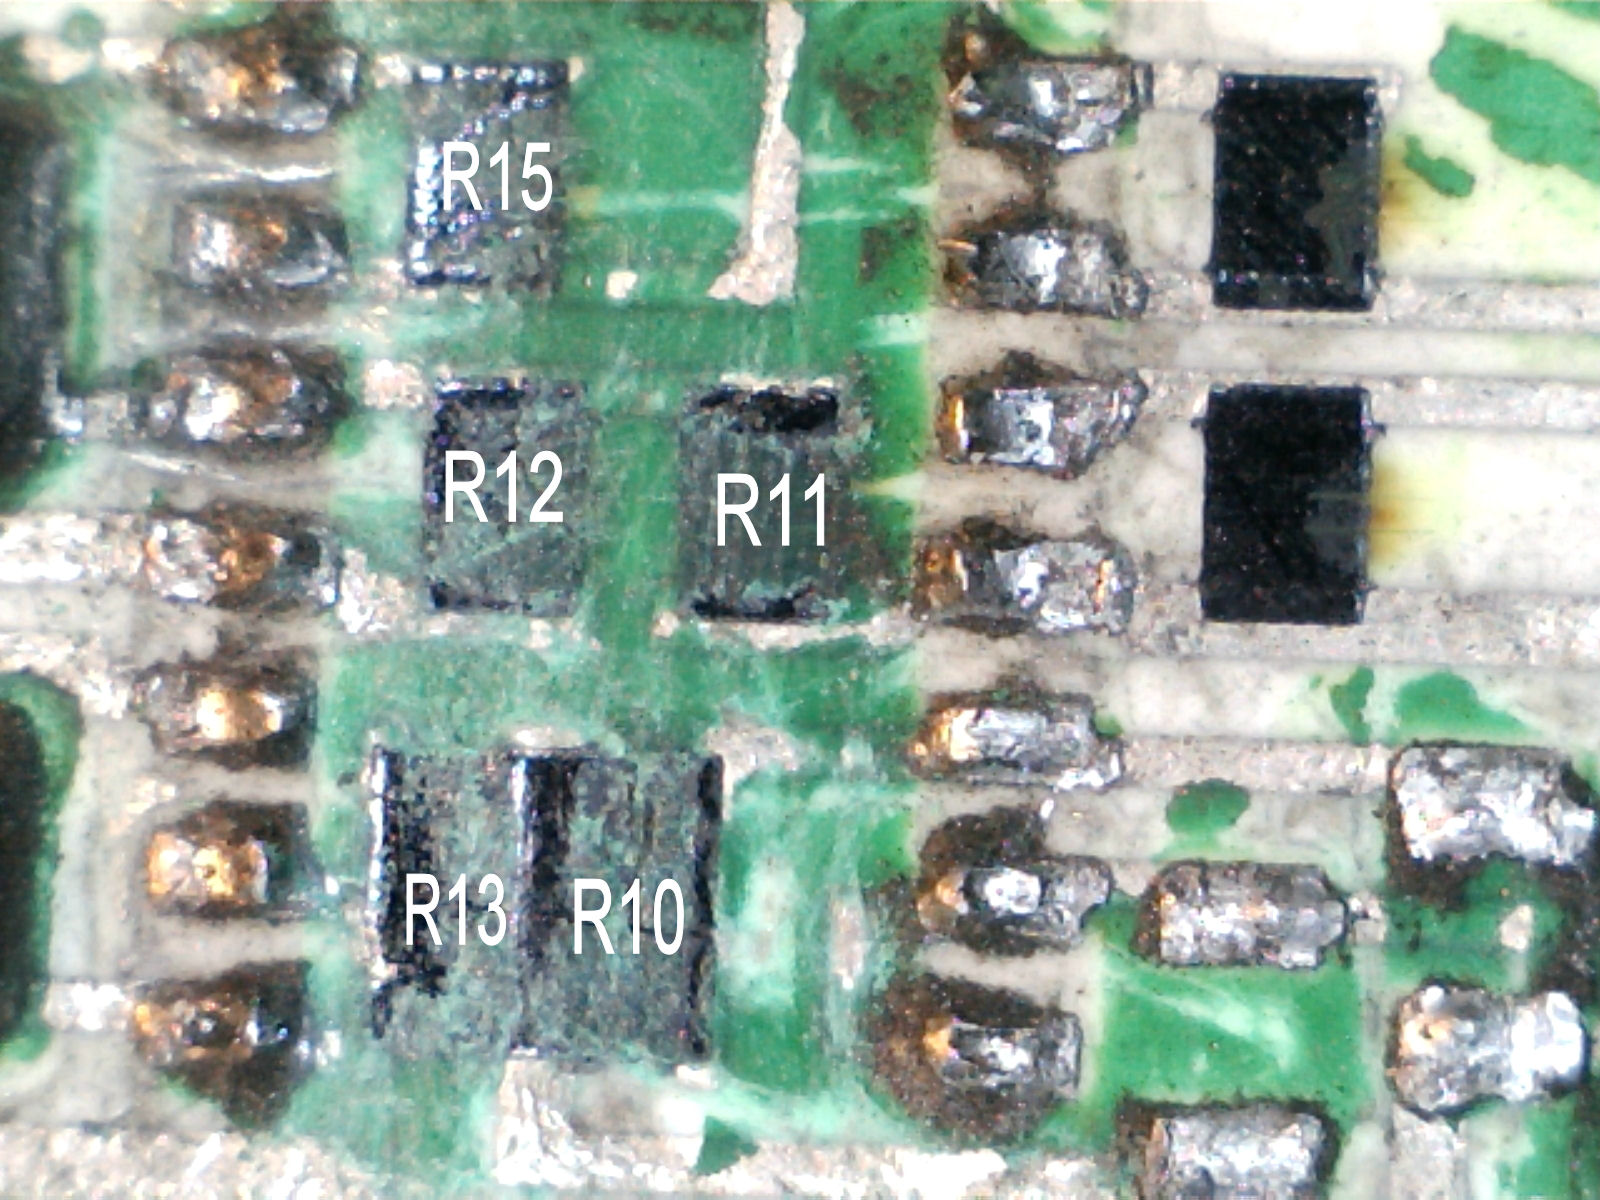
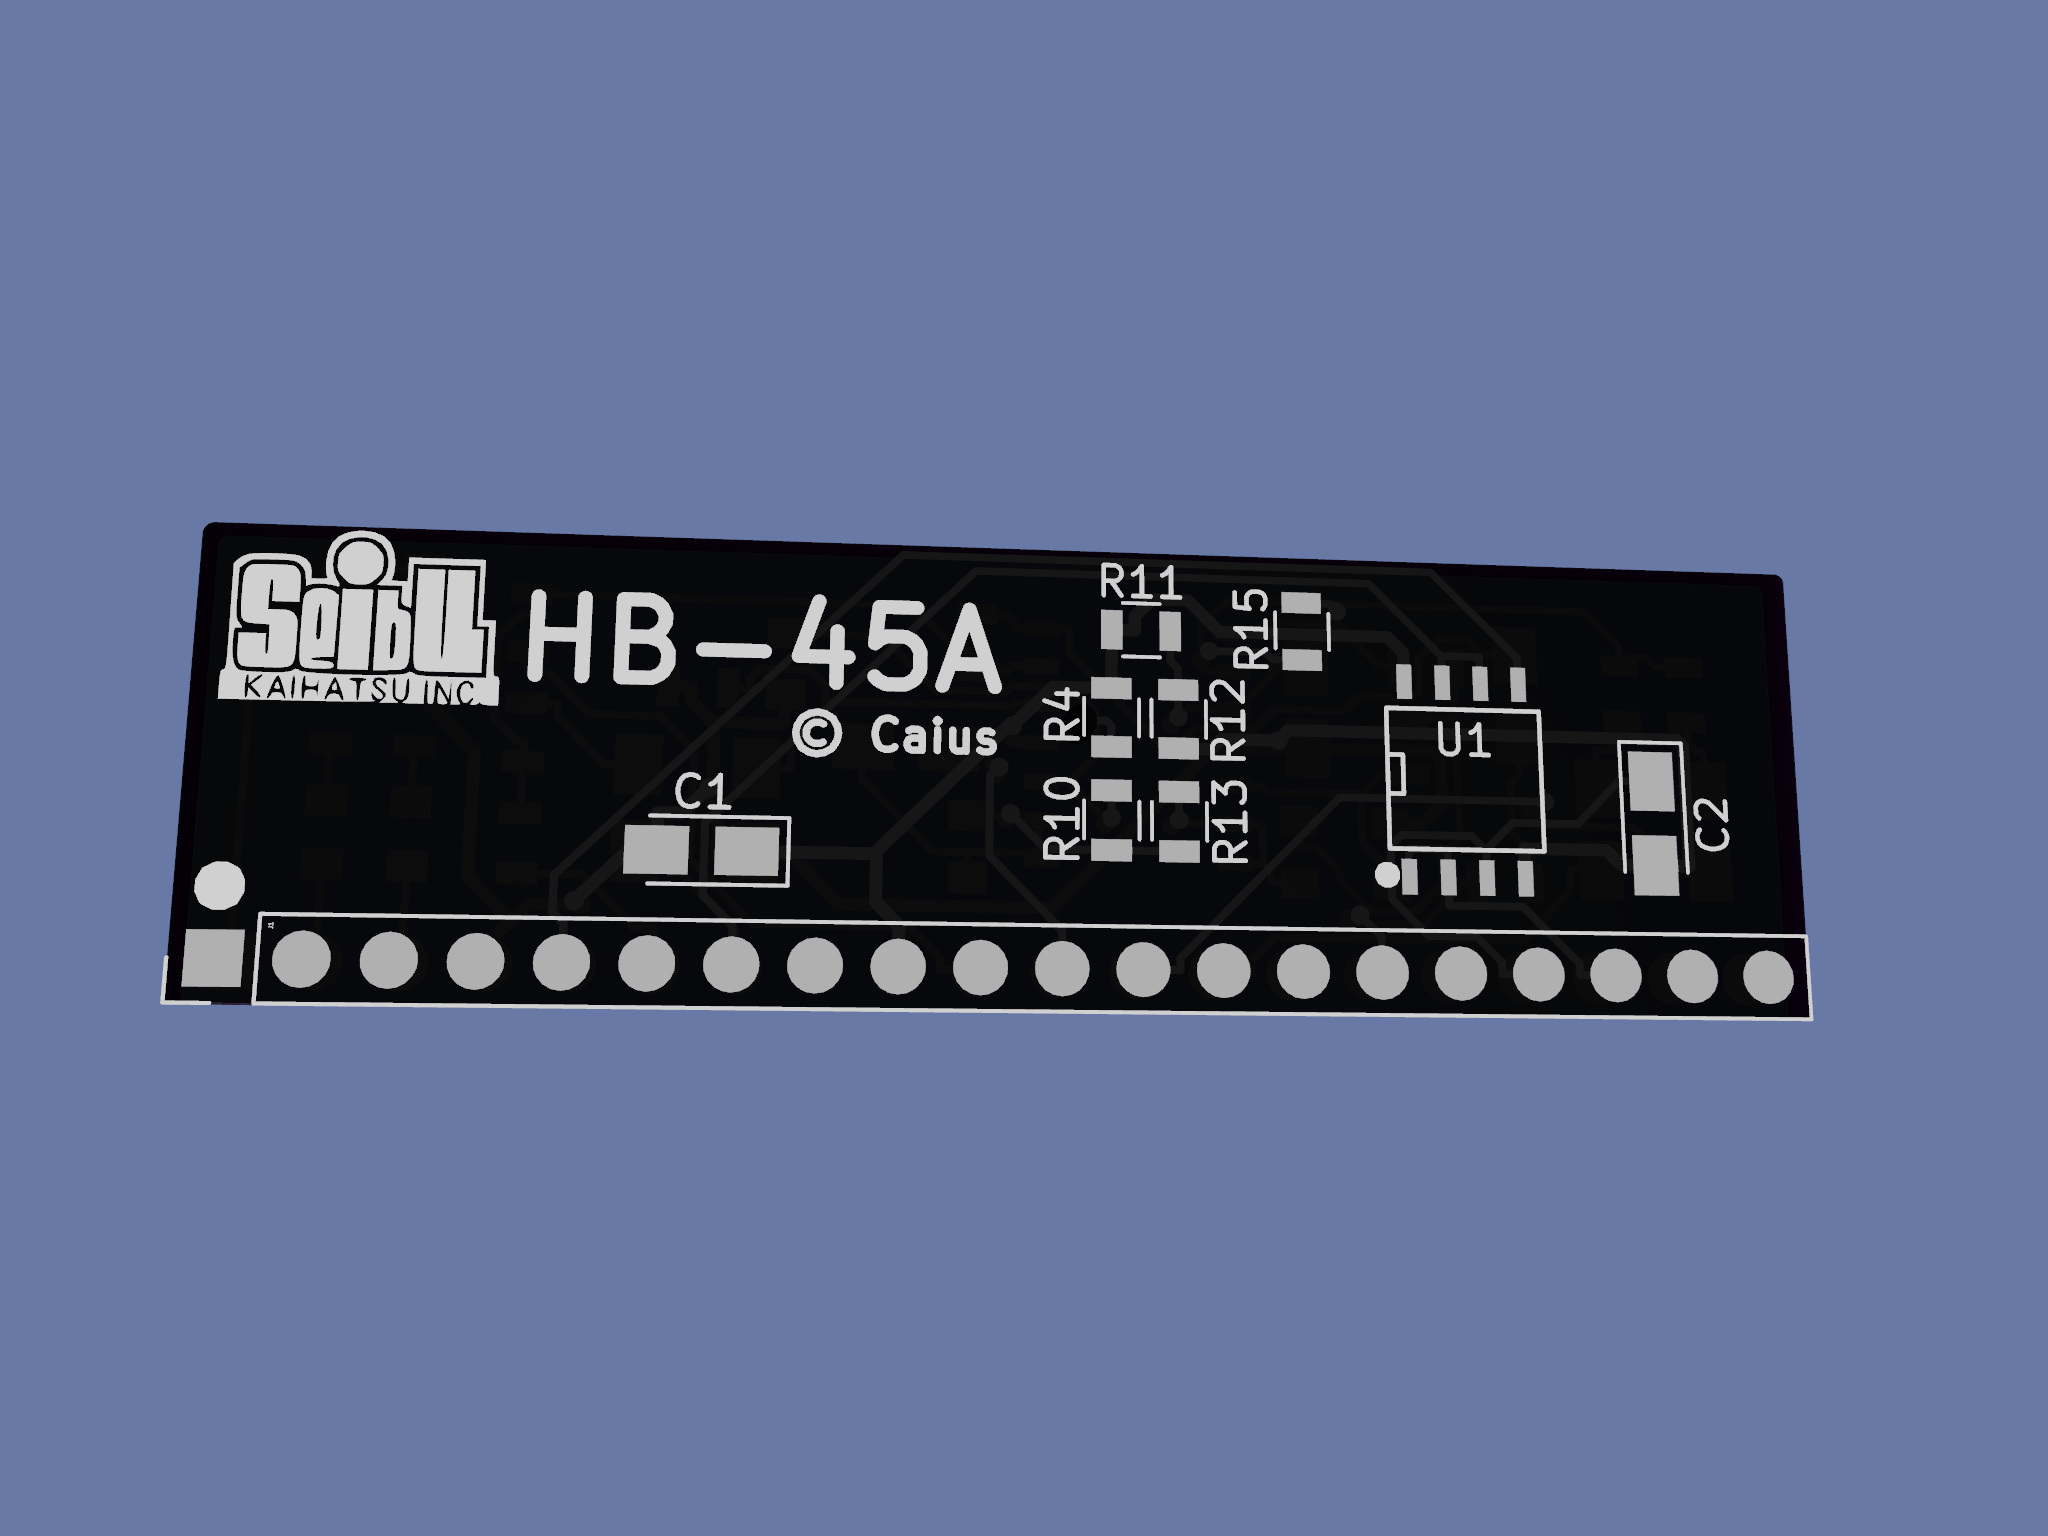
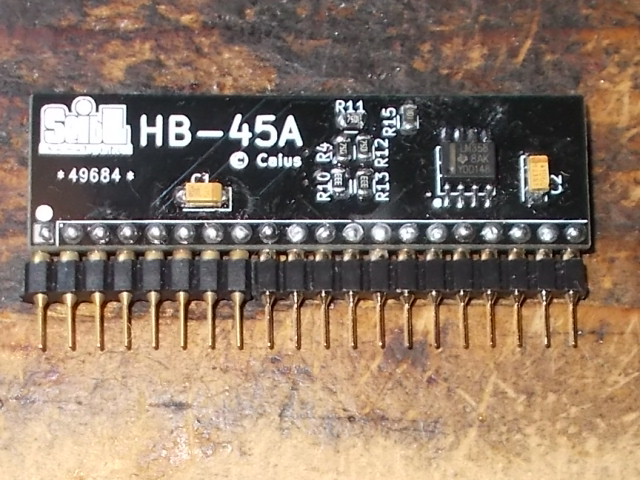
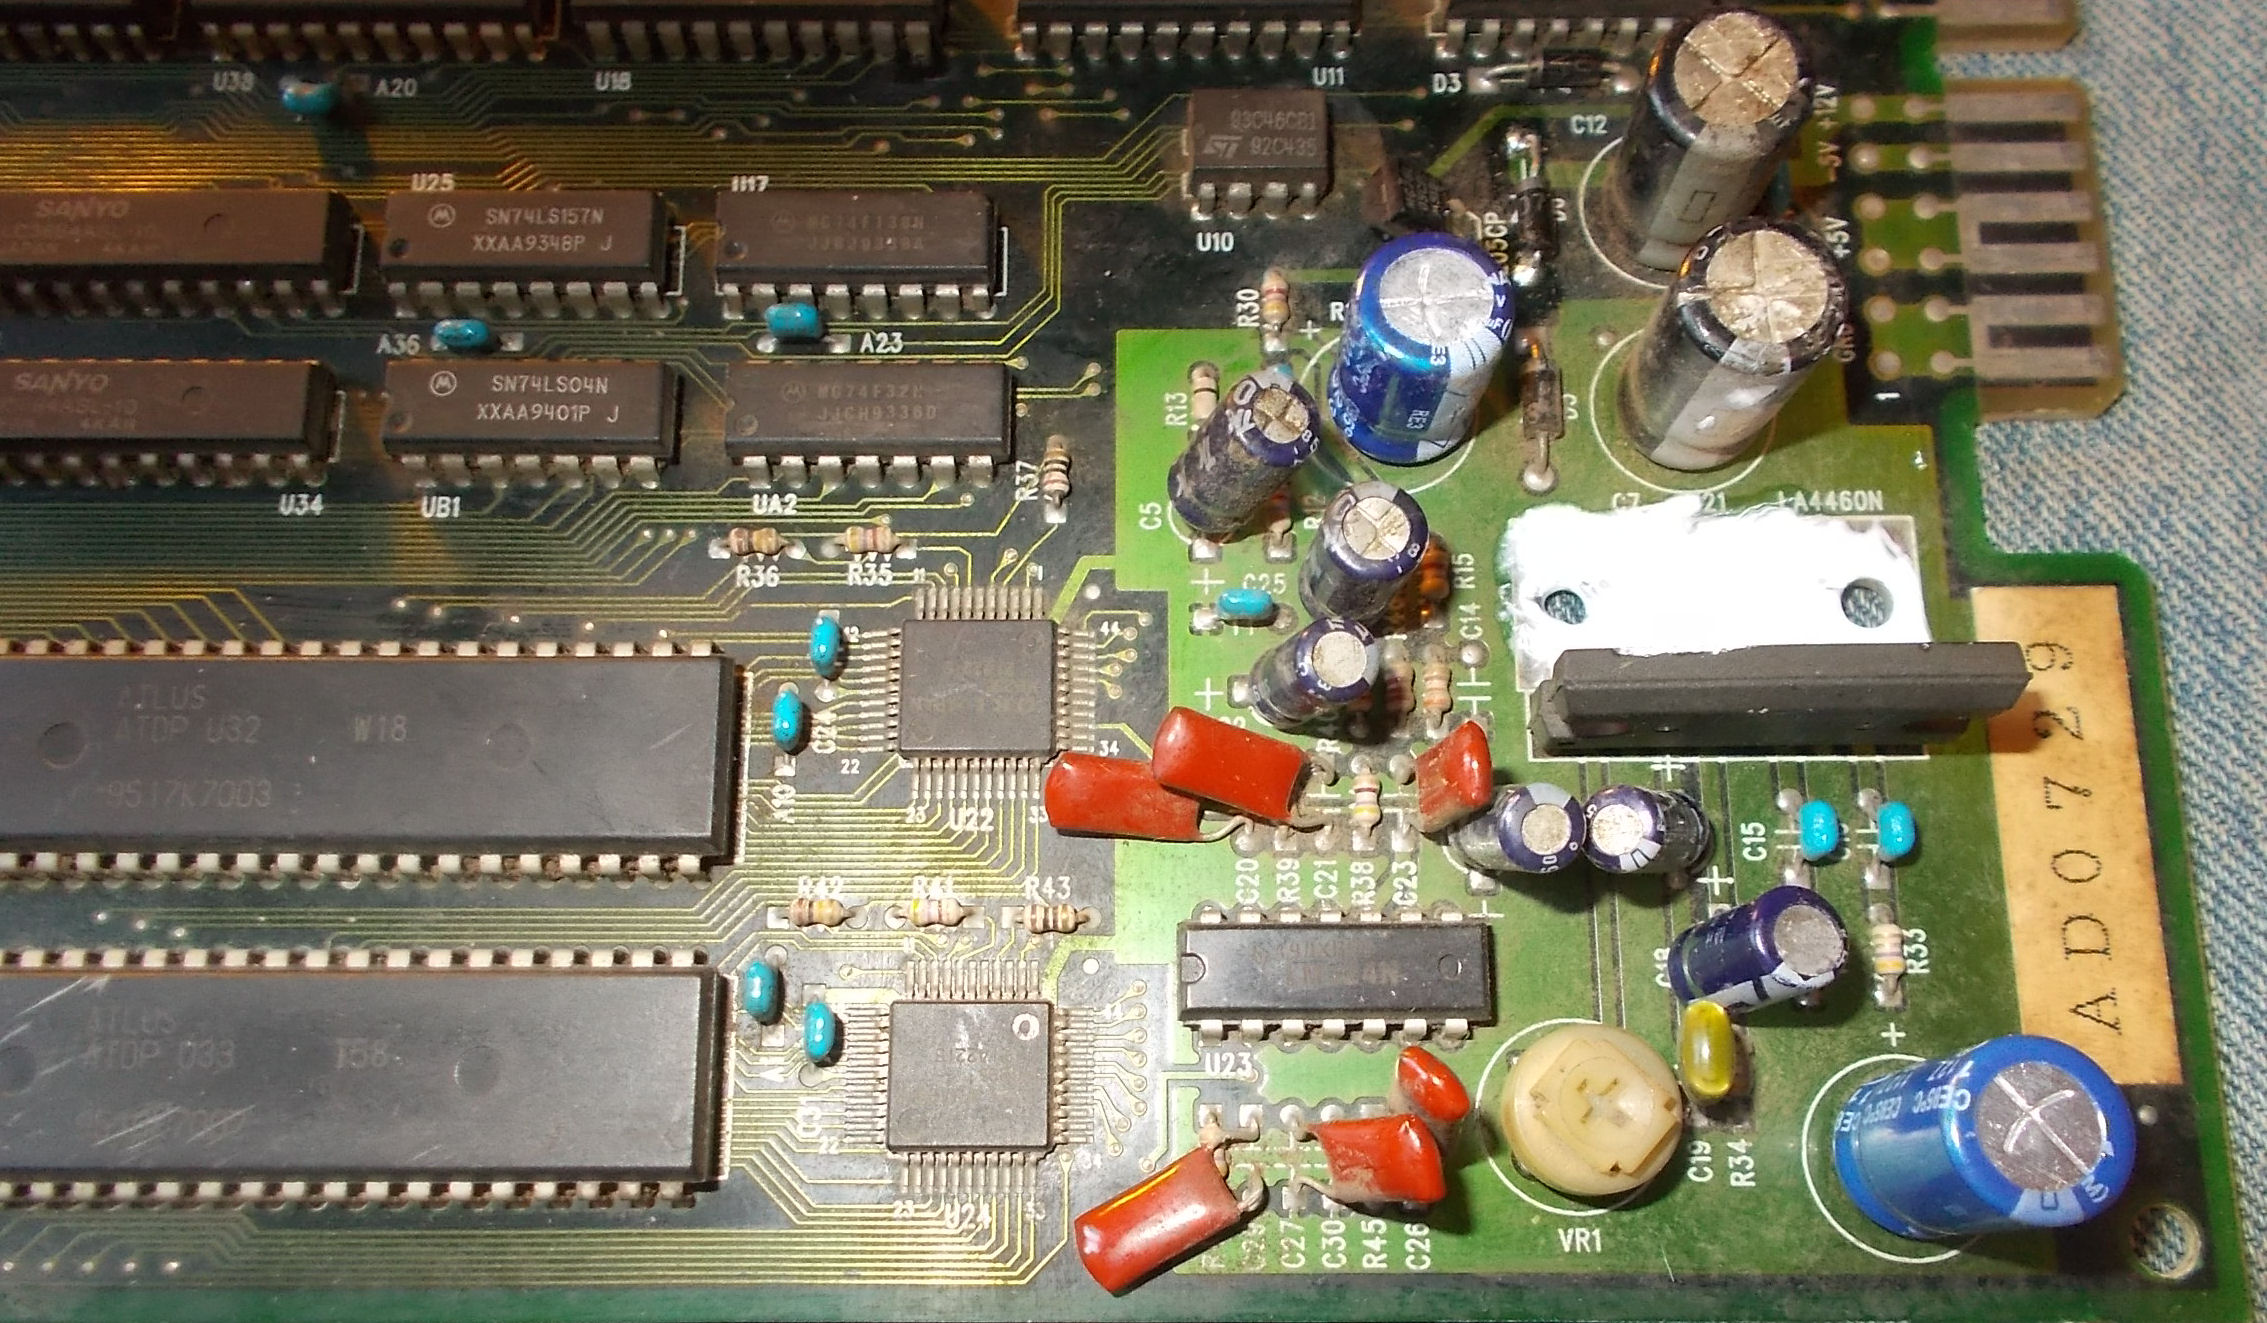
I recently borrowed this Arkanoid PCB from NES4Life. I wanted it as part of a project to recreate the 28 pin custom chip that found on this, Darius and probably a couple of other Taito games of the same era.
He kindly loaned me this but knew it had issues so I agreed to look at this one rather than poke around on one of his workers.

First up the game would not boot, just watchdogged.
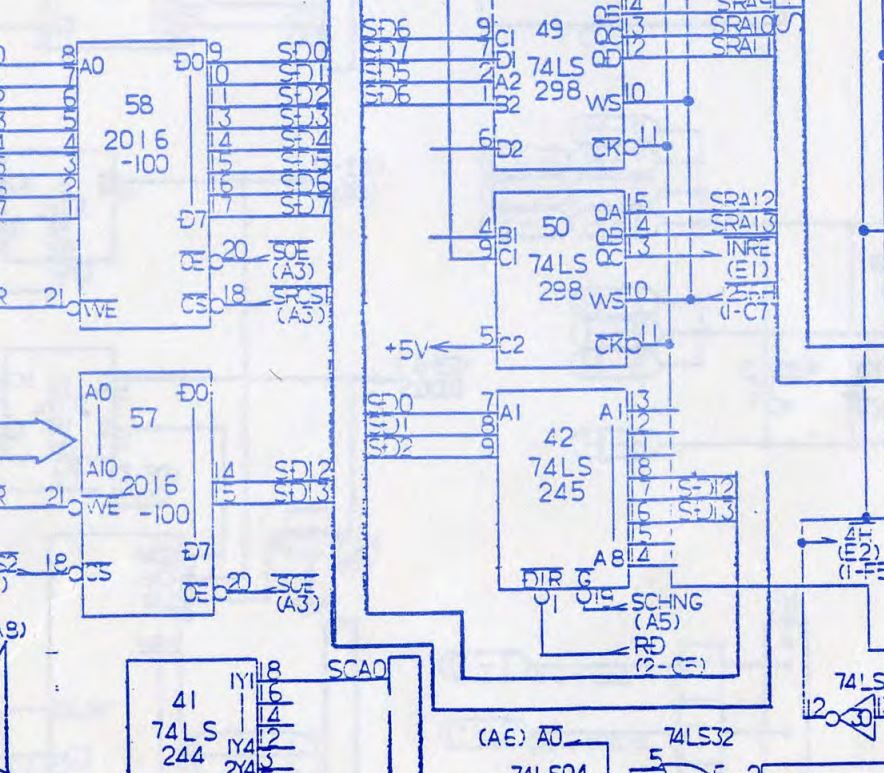
Using the schematics available in the download section I could easily track down a stuck bit on the data bus.

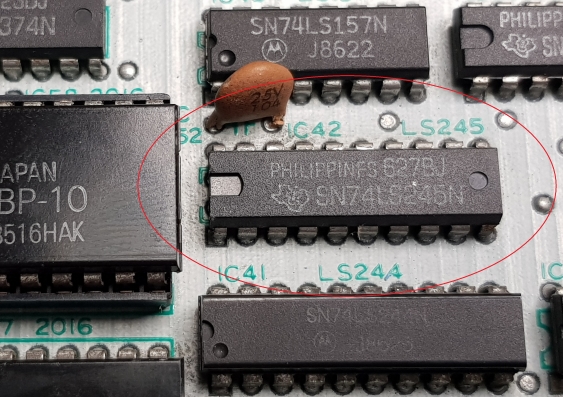
IC42 was to blame for this. Replacing it let the game boot but with all new issues.

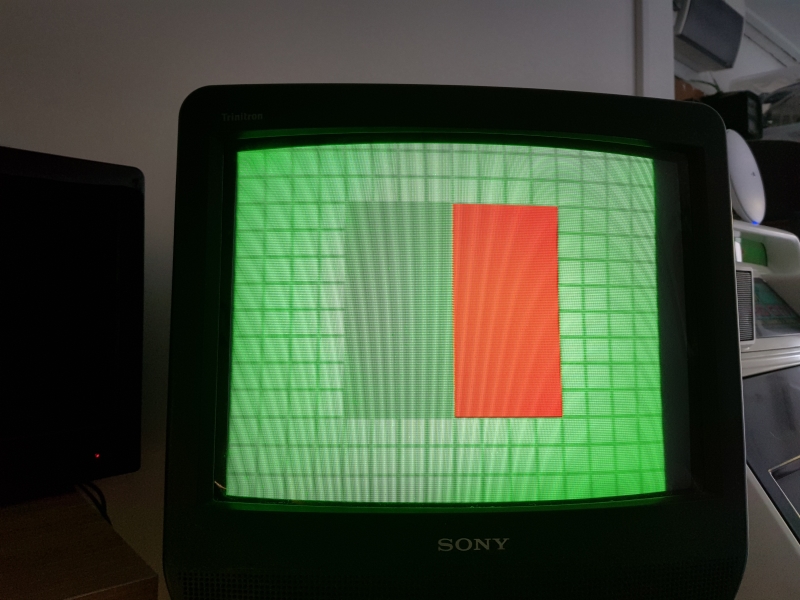
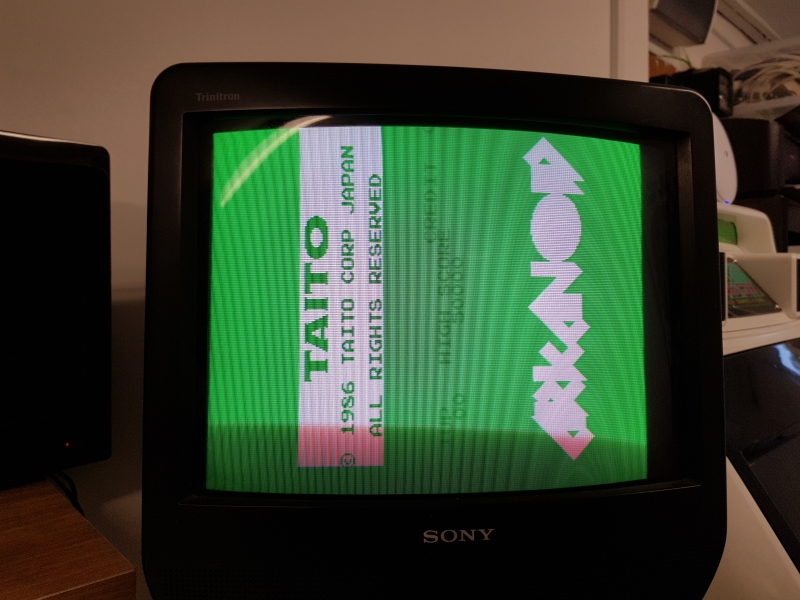
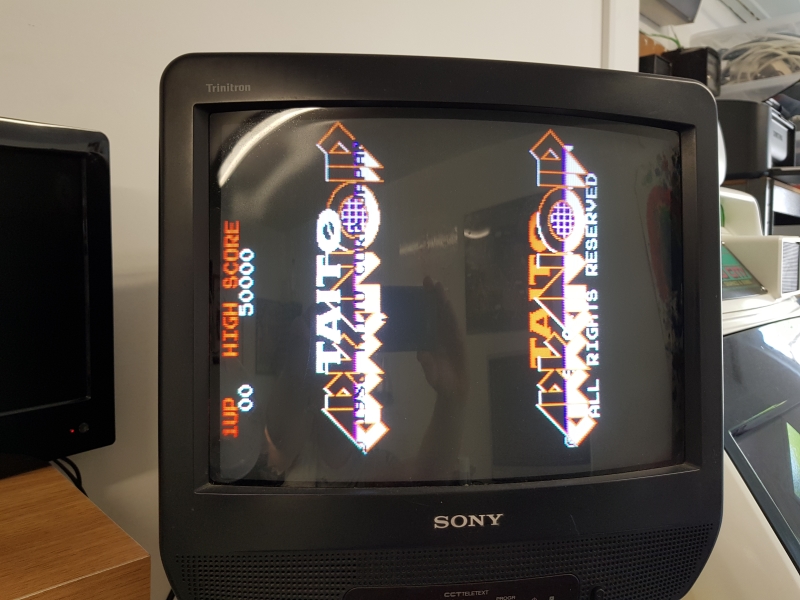
You can see the game has booted straight into test mode and the colours are messed up.
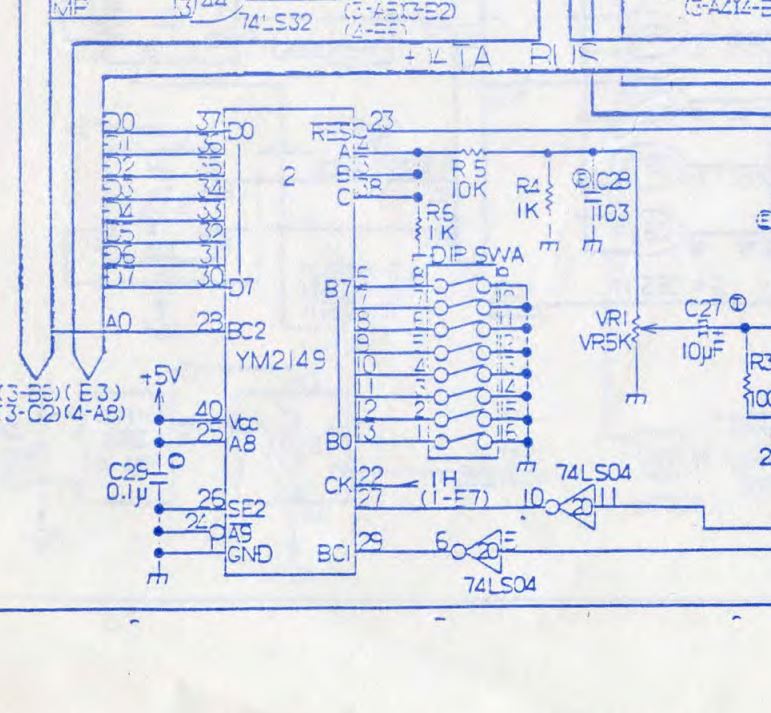
One of the DIP switches is for test mode and the DIP’s are handled by the YM2149 chip. Looking at the databus when this chip is supposed to be active showed all data bits stuck.
Replacing this chip let the game boot.

Colours are still messed up so lets look into that. I chose to start at the 3 colour PROM’s

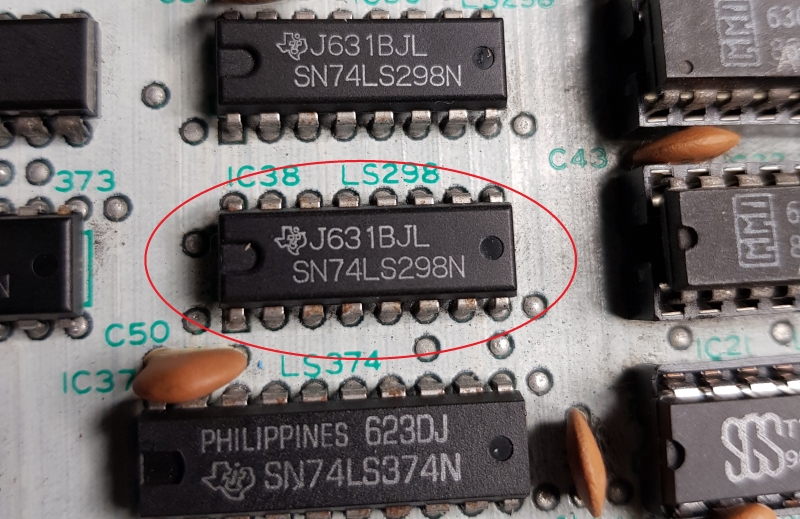
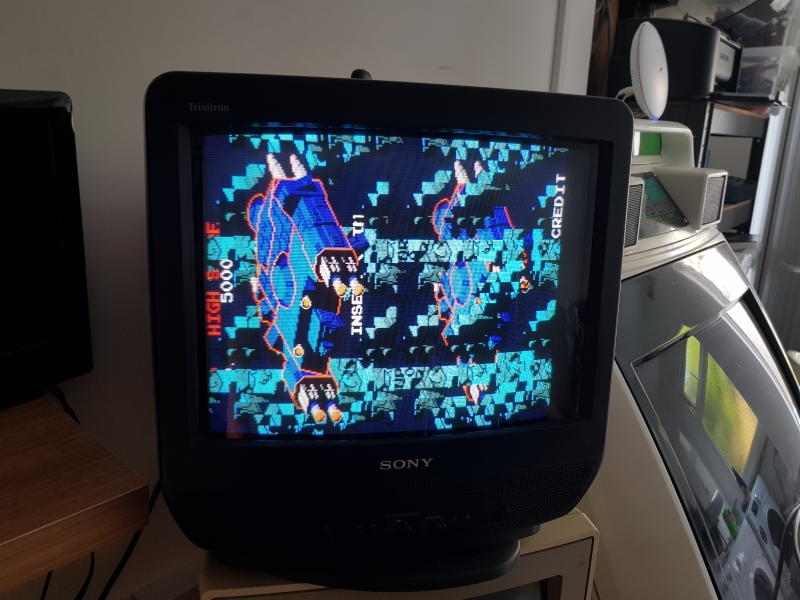
Probing the address pins revealed most were floating. Going backwards we come to a 74LS298 at location IC38. Replacing this then gave me this:


You can see now the screen is doubled up.
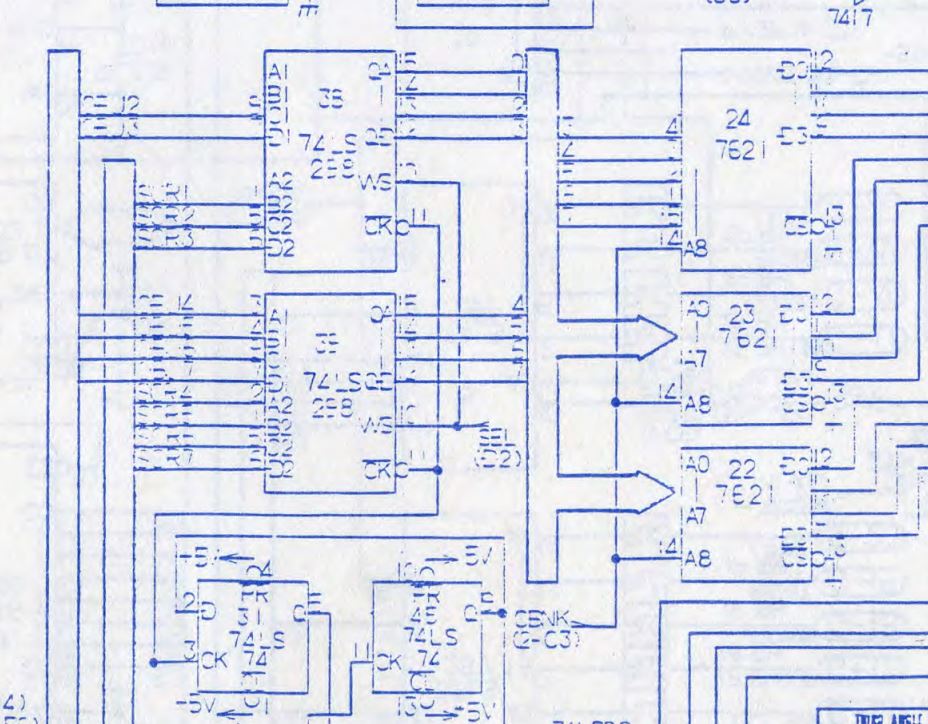
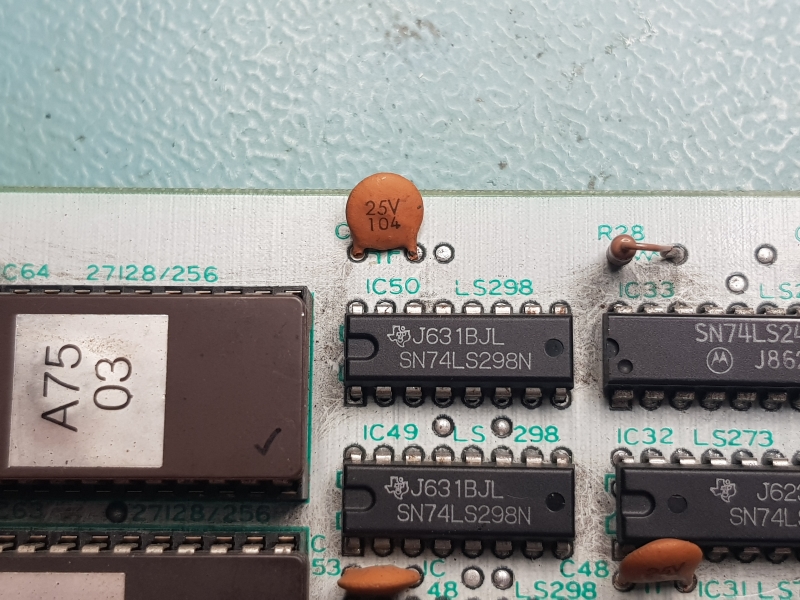
The graphics are contained within 3 EPROM’s. These EPROM’s are all addressed by 74LS298 chips before outputting their data to the custom bit shifters.
Checking these 298’s showed some stuck output pins on IC50.

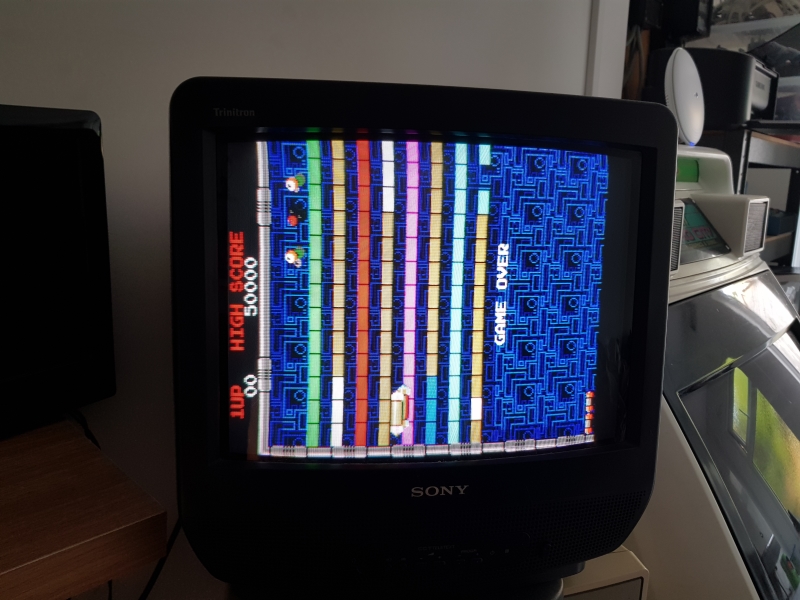
Replacing this gave me a more normal screen but the bat sprite is being drawn half way up the screen and is doubled up.

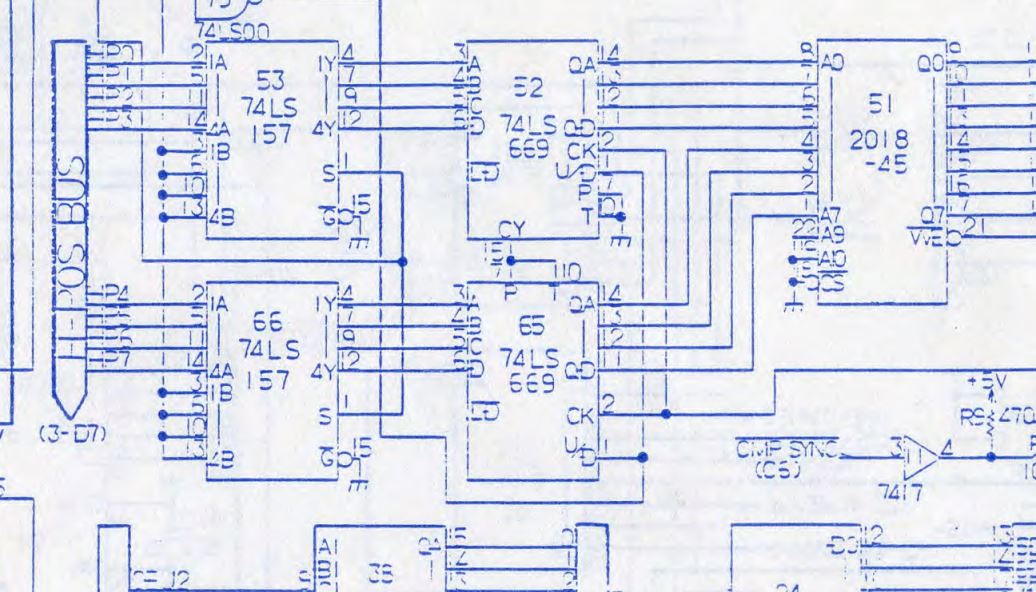
Horizontal position has its own bus on the schematics

I confirmed the operation of the 74LS157’s first so moved onto the 74LS669’s. I’ve not dealt with these before and had none to hand either but I was fairly certain id narrowed it down to IC65 so I ordered some new ones up, desoldered the old one and tested it. Thankfully it failed.

Got the new chips a couple of days later and fitted.

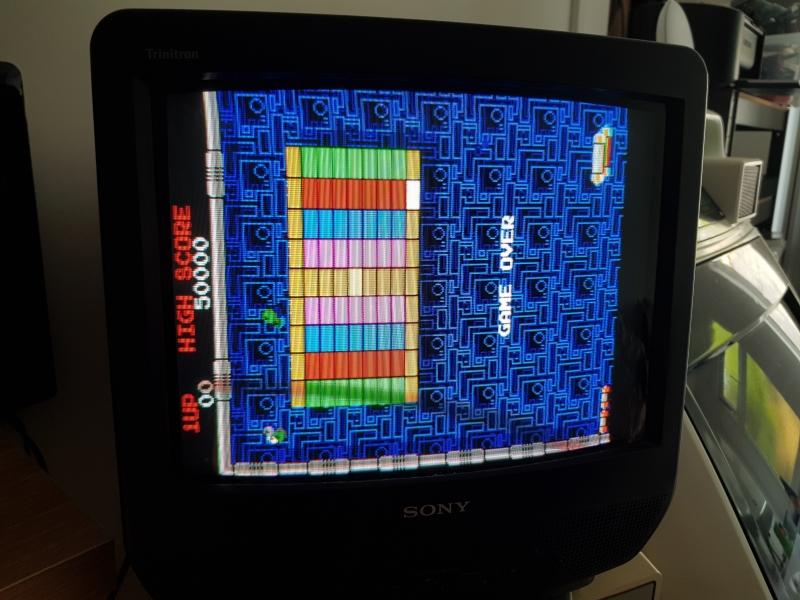
Just the double bat issue to go.
The schematics also have a bus identified as OBJ which Im taking stands for Object. It made sense to me that the issue was somewhere along the same path as the previous positioning fault so armed with my best guess going from schematics I carried on following the path first of all checking the other 74LS669. This appeared to be OK and the RAM didn’t have any unusual looking signals on so I carried on. After these there is a 74LS374 on the OBJ bus. Probing the outputs of this found a single stuck bit. Replacing this gave me a seemingly fully operation game.
I cannot check the spinner inputs but all the sounds, DIP’s and regular inputs are working.

 Posted by at 7:44 pm

Toaplan (Knuckle Bash – FixEight) double repair log

 PCB Repair Logs  Comments Off on Toaplan (Knuckle Bash – FixEight) double repair log
May 252018
 

I’ve been sent from Germany some faulty PCBs for repair.There were among them two PCBs manufactured by Toaplan :

  • Knuckle Bash


  • Fixeight:

The first was throwing a “A VRAM ERR” message on boot:

The video RAMs (VRAM stands for this) are two 8k x 8-bit static RAM located @42 and U51:

They are accessed by the QFP ASIC marked ‘GP9001’ which is the graphics controller of the system:

For first I did a visual inspection of it and found some pins not really firm (common issue on QFP with this fine pitch)

I reflowed them but this didn’t led to any improvement so I moved to check the VIDEO RAM ICs and found weak signal on data lines:

I pulled both RAMs, only the one @U42 failed the out-of-circuit testing:

The board successfully booted into game now but the colors were wrong, they were “bleeding”:

This is another common issue on this board so I knew where to look exactly.The data bits from the two 6116 (2K x 8-bit) palette SRAMs are latched by two 74HC273:

Probing with a scope the 74HC273 @U9 revealed weak signal on outputs (inputs on the left of the below snapshot, outputs on the right)

I pulled the IC:

It actually passed the out-of-circuit testing on all my programmers so I think IC was not really bad but it had altered voltage thresholds.Anyway, I replaced it and this fixed the board completely.


Now the FixEight troubleshooting.

Board gave me a steady black screen.This board uses the GP9001 graphic controller too:

Found some lifted pins on it:

I reflowed them as well as replaced the main program code 4Mbit EPROM since it had some rebuilt pins that gave me trouble when dumping it:

But still no boot.But I noticed that pressing  the PAL16V8 @U51 :

produced a couple of different RAM error messages on screen:

Solderside of the PAL socket had some dry joints:

So I replaced it and finally the board initialized but it quickly went straight into SERVICE mode and then reset in an endless loop :


From a still image I noticed that some inputs were stuck in I/O check:

The inputs are handled by the custom ‘HK-1000’, you can find more info about it in a past article from mine:

Toaplan ‘HK-1000’ reproduction

On my PCB a replacement board had been used in place of the original part:

Some inputs of a 74LS240 on this replacement board were shorted to ground.Instead of repairing it, I opted for a reproduction of mine (the blue jumper wire was already there to patch a trace previoulsy broken during the removal of the original ‘HK-1000’)

Finally the board booted into game with no further issues.Toplan double repair log accomplished.

 Posted by at 9:24 pm

Psycho Soldier repair log

 PCB Repair Logs  Comments Off on Psycho Soldier repair log
May 242018
 

Received from USA this Psycho Soldier PCB:

It was labeled as ‘DEAD’:

And it was so, all I got was a steady black screen but this was not a suprise to me since the boardset (a three stack one) was fully populated by Fujitsu TTLs.First thing I checked was the presence of clock on CPUs, it was missing on both main and sub Z80 (but present on sound one)

I traced the signal from CPU board back to a 74LS367 @10A on bottom board:

Input pin 6 was properly receiving the 16MHz clock from the nearby oscillator but output pin 7 was floating:

As expected the TTL obviously failed the out-of-circuit testing:

Board sprang to life but colors were mostly incorrect and also sprites wrong and garbled during moviments :

I focused my troubleshooting on the bottom board as it contains sprites and background data and circuitry :

For first I checked the EPROMs, some of them were oxidized and corroded:

Afer some cleaning I dumped them, they were all good.So I fired up my logic comparator to test TTLs in circuit and found a couple of them with floating outputs (that’s the way Fujitsu TTLs are used to fail)

This restored the correct sprites :

But colors were still wrong.This was confirmed also in SERVICE mode, none of the them were correctly displayed:

The RGB lookup tables are stored in three 1k x 4-bit bipolar PROMs (Fujitsu MB7122 used here)

Probing the devices revealed that two address line were stuck high, I traced them back to a nearby 74LS174 @1M whose inputs were missing.These came from the outputs of a 75LS153 @1P-The TTL didn’t look very good with rust and corrosion on its pins:

The scope confirmed that both outputs had no valid voltage logic levels:

I pulled it:

Obviously it failed the out-of-circuit testing:

Colors were finally good and game played fine but I noticed there were some horizontal lines on left of the screen during scolling (see from seconds 25 of the below video)

At first glance I thought it was a fault but then I’ve been told by the owner and my friend Corrado that it’s actually a bug of the PCB.MAME Testers site confirmed it too:

https://mametesters.org/view.php?id=2910

I was about to close this repair when during testing suddenly the board failed again.Colors went bad again and lastly most of graphics disappeared:

The affected area was again the colors circuitry.The 74LS174 @1M which was previously tested as good showed floating outputs :

It failed when tested out-of-circuit:

At this point I took the chance to replace all other Fujitsu TTLs in this area :

Some passed the out-of-circuit test but two 74LS153 failed miserably:

Hard work always pays off and finally I could restore this board in all its glory (game was the first to use a fully digitized, full-length vocal sountrack)

 Posted by at 8:58 pm

Darius II (dual screen) and Power Spikes (bootleg) PAL dumps added

 PAL Updates  Comments Off on Darius II (dual screen) and Power Spikes (bootleg) PAL dumps added
May 172018
 

We have new PAL dumps from the following PCBs:


  • Darius II (dual screen)

‘coolmod’ sent in dumps from two PAL20L8.Board is faulty so we are unable test GAL replacements but we assume dumps are good since devices were unsecured.Thanks to him.


  • Power Spikes (bootleg)

I dumped a secured GAL20V8 and successfully reversed its equations onto a GAL22V10.

 Posted by at 10:49 pm

Robocop repair log #3

 PCB Repair Logs  Comments Off on Robocop repair log #3
May 162018
 

I got this Data East Robocop pcb from a friend that was totally dead.

I had more Data East pcb’s around so I could test the bottom ROM board with one of those CPU boards and it was also not working. So I started pushing the EPROMs in their sockets and after that the game booted up.

So now I tested the ROM board with it’s original CPU board and game booted but the screen was almost completely black apart from some graphical elements like the energy bar.

After visually going over the CPU board I found that one of the custom ASIC L7B0072 had a crack in the center of it.

I had a broken Midnight Resistance board (not the previous repair) that had this ASIC, so I opted to transplant it over to the Robocop board.

I noticed that the top of the ASIC had a brownish discoloration, but I didn’t know if it was toast or not, so I desoldered it with my hot air station and soldered it onto the Robocop board.

Confirmed that there were no shorted pins on the ASIC and booted the game, but unfortunately the transplant did not help. Some graphics appeared, but mostly scrambled characters and when coining up and pushing start, the game reset. (forgot to take a picture)

After having a conversation with caius (thanks again for all your advice) we opted to do another transplant but with a better looking ASIC.

Redid the procedure, hot air station to remove the ASICs and then soldering again and lo and behold, the game has good looking graphics once again 🙂

But I quickly noticed that there were no audio at all. Using my audioprobe I found that there were music been generated by the YM3014 at 4M and FX from the YM3014 at 3M and then going to the OP-AMP 3403 at 4N

Nothing came out of the 3403, so I eventually found that there were no +12V input on pin 4 of the 3403. Checked the JAMMA edge and found a broken track. I guess that the operator had some form of voltage measuring device and somehow broke the track at some point. I soldered a little metal wire to bridge the gap and booted the game again.

Now audio could be heard for a short second and then silence again.

I eventually found a shorted capacitor at 

After replacing the capacitor the audio was loud and clear again. Job done 🙂