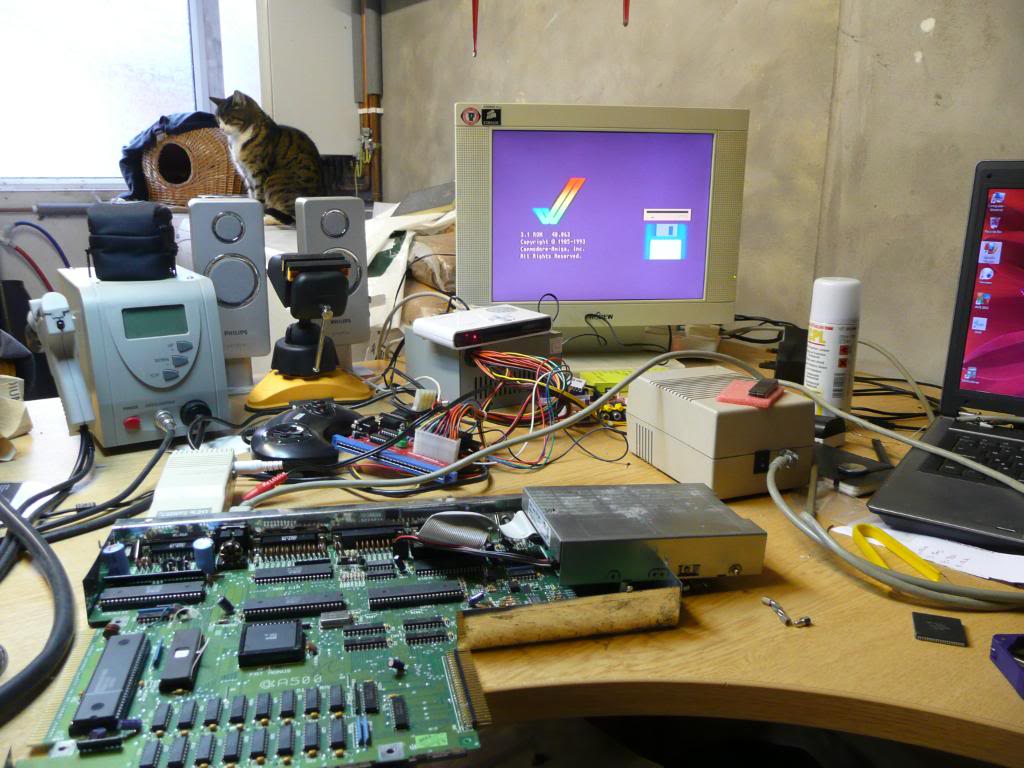
I fixed up an Amiga 500 (not plus) today and wanted to install a newer ROM. I burned v2.04 and v3.1 onto 27C400 EPROMs and installed. I was greeted with a red crash screen which usually means there is a problem with the ROM code/chip.
On a Revision 5 motherboard (which is what Ive got) pin 1 of the ROM is not connected but pin 1 on a 27C400 is address line 17 and should connect to address line 18 of the 68k CPU, which is pin 31 of the ROM socket. Also the ROM needs to be set to WORD mode. The selector pin for this is pin 31 on the 27C400.
To make this all work we need to lift out pin 31 of the 27C400 and solder a link between this pin and pin 21, this gives us a permanent HIGH which sets it to WORD mode.
Finally, solder a jumper from pin 1 of the EPROM to pin 31 of the socket.
This should now boot up without problem
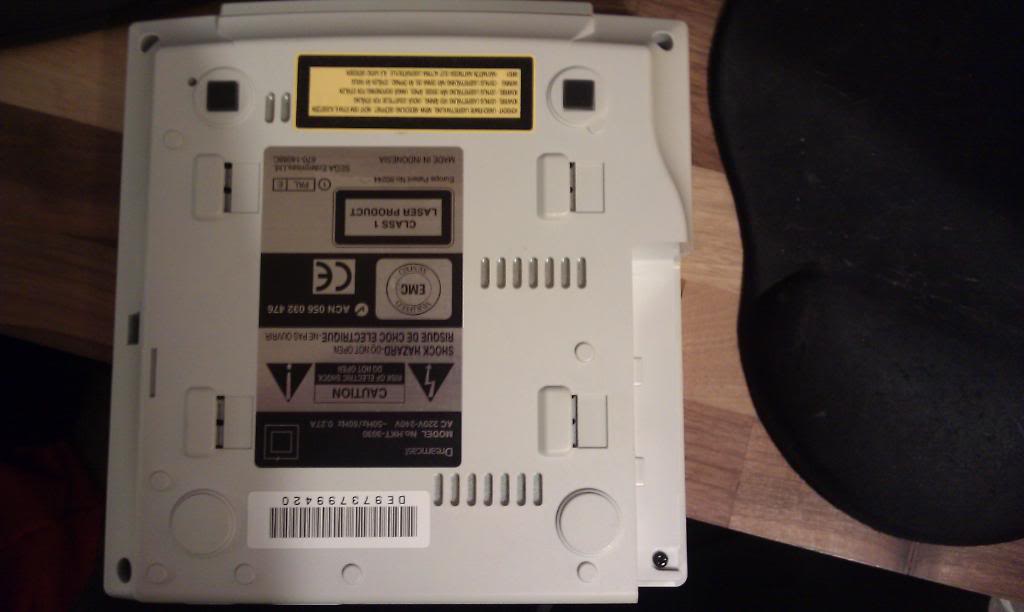
My Dreamcast was not saving the time and date settings I was putting in which got a little annoying as its setup for dumping GD-ROMs and isnt normally connected to a display.
The battery change is very simple.
1. Remove any GD/CD ROM from the drive
2. Remove the modem/BBA
3. Remove the 4 screws, one at each corner. They are normal screws which makes a nice change.
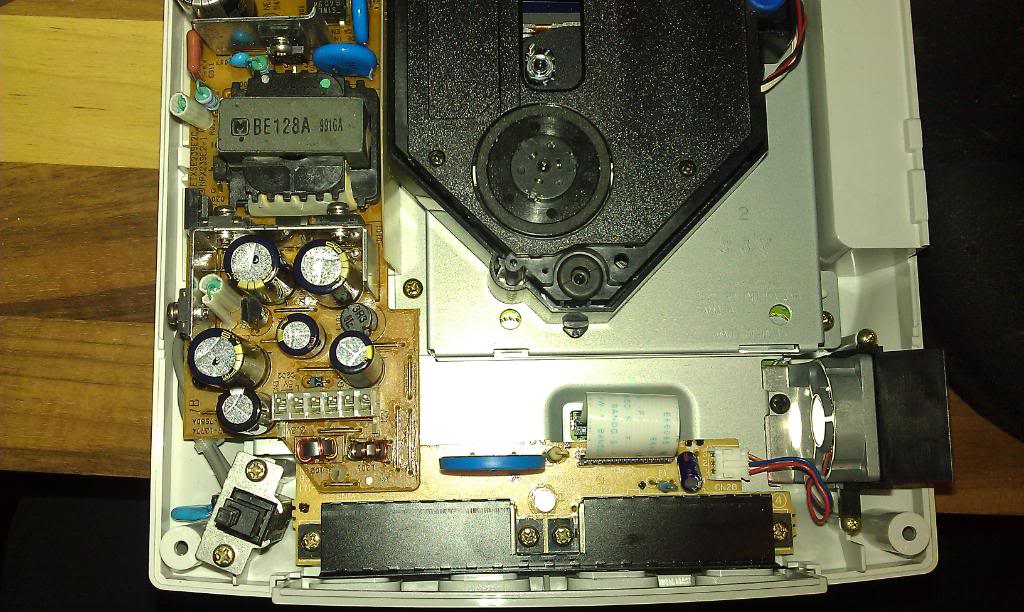
The top should now lift off and you can now see the battery on the small PCB at the front where the controllers connect (its the blue thing on the picture below
4. Remove the small ribbon cable, it just pulls out
5. Unplug the small fan from the board
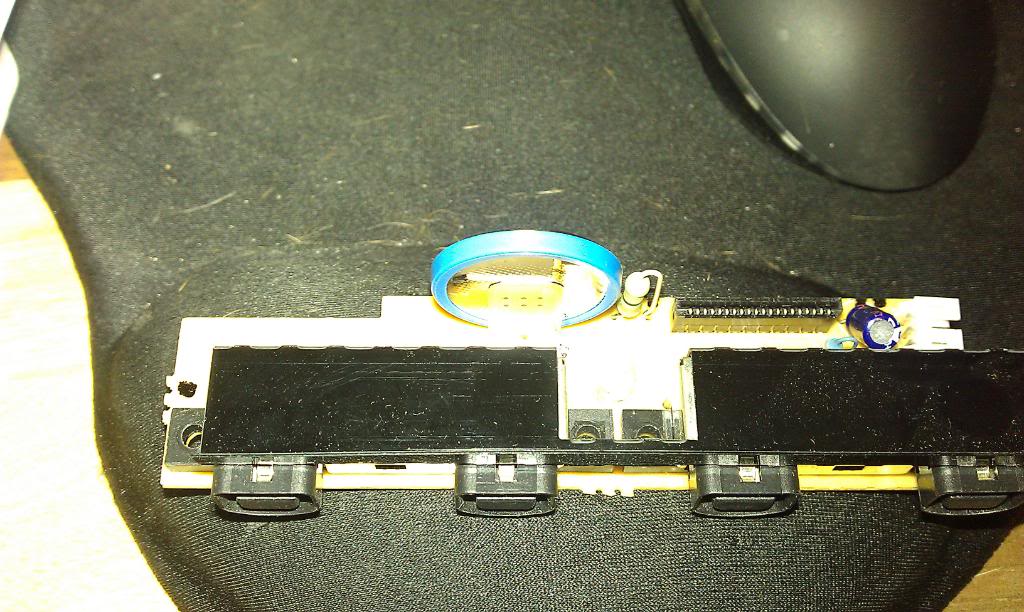
6. Remove the 4 screws holding the controller PCB down.
7. I had to remove the 2 screws holding the power supply down, lift the power supply board up which allows the front board to lift out also.
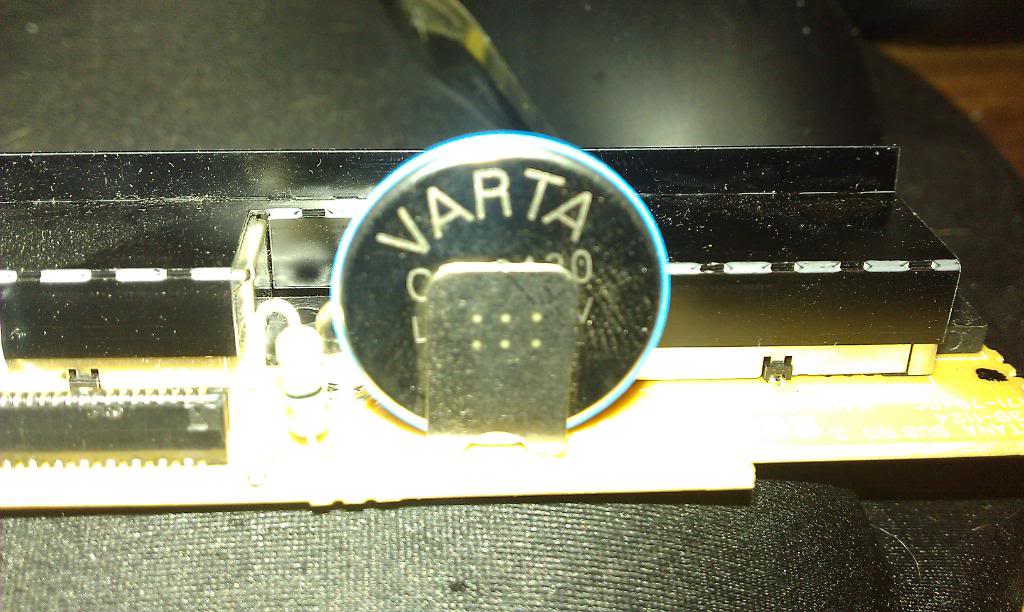
8. Desolder the old battery and clean up the 3 holes.
9. Fit a new battery. I used a rechargeable CR2032 with radial pins attached.
10. Put everything back together and fire it up. Easy
Vogatek Megadrive controller PIC Mod
I use a Vogatek supergun for my JAMMA test rig which accepts Megadrive joypads as the inputs and is controller via the PICs onboard. The problem with this is that if there is no controller inserted into one or both of these ports then it activates random button presses causing all sorts of unwanted actions to happen. After a bit of research and searching the net I found a link from a guy who has made an update for these PICs.
I have not been able to get in touch with the guy that made this but it is excellent and I am putting it up on here for anyone that may find it useful. If the original author wants me to remove this then please let me know, or just let me know who you are anyway as a big thanks is in order to you.
Just erase the currently installed PICs and replace program the attached .HEX file to it.
With this mod the A button is required to be pressed before any other button will register, this stops the random button presses from happening.
Also, with a tiny 2 wire mod to the board you can coin up from the controller by pressing START and C. All information is included within the ZIP file.
All credit goes to Matt-MCJDesign for these files, I am merely hosting them.
Supergun Controller Mod
Golden Axe repair log #2
My Golden Axe (set 1, World, FD1094 317-0110) had suicided.
I have a copy of the decrypted ROMs from Sega Resurrection. I pulled the two EPROMs from locations A1 and A2 on the top board (27C2001), erased and reprogrammed them and also fitted a standard 68k CPU in place of the custom block.
My Golden Axe board is alive once more and now have no worries about that suicide battery anymore.
Dataman-48pro2
My new programmer arrived today.
This things does everything I could ever want including EPROM/EEPROM/Serial EEPROM/Flash/Nand Flash/NV RAM/PLD/MCU MPU/PROM. It also covers IC testing, RAM testing and some special devices that Ive never heard of such as clock synthesizers. It supports over 53000 devices and the software is updated every month.