funkycochise has confirmed the above Wonderboy III set to be working.
Thanks to both Dion for providing these files and to funkycochise for testing them and letting me know.

funkycochise has confirmed the above Wonderboy III set to be working.
Thanks to both Dion for providing these files and to funkycochise for testing them and letting me know.
muddymusic dumped the PAL from his U.S Navy CPS1 board and has tested it. It is marked as CA22B.
Ive also got a Jumping board from muddymusic’s which I am currently working on. There is a PAL20L8 chip that does the address decoding for the CPU which is now dumped. At this point Ive not tested it as the board set is in bits but I will test as soon as I can. The device is also unlocked so im pretty confident the dump will be OK.
channelmaniac has tested the Altered Beast (317-0069) set as working.
Thanks to Channelmaniac for this.
A lot of these sets still need testing so please let us know if you have tested any.
Thanks
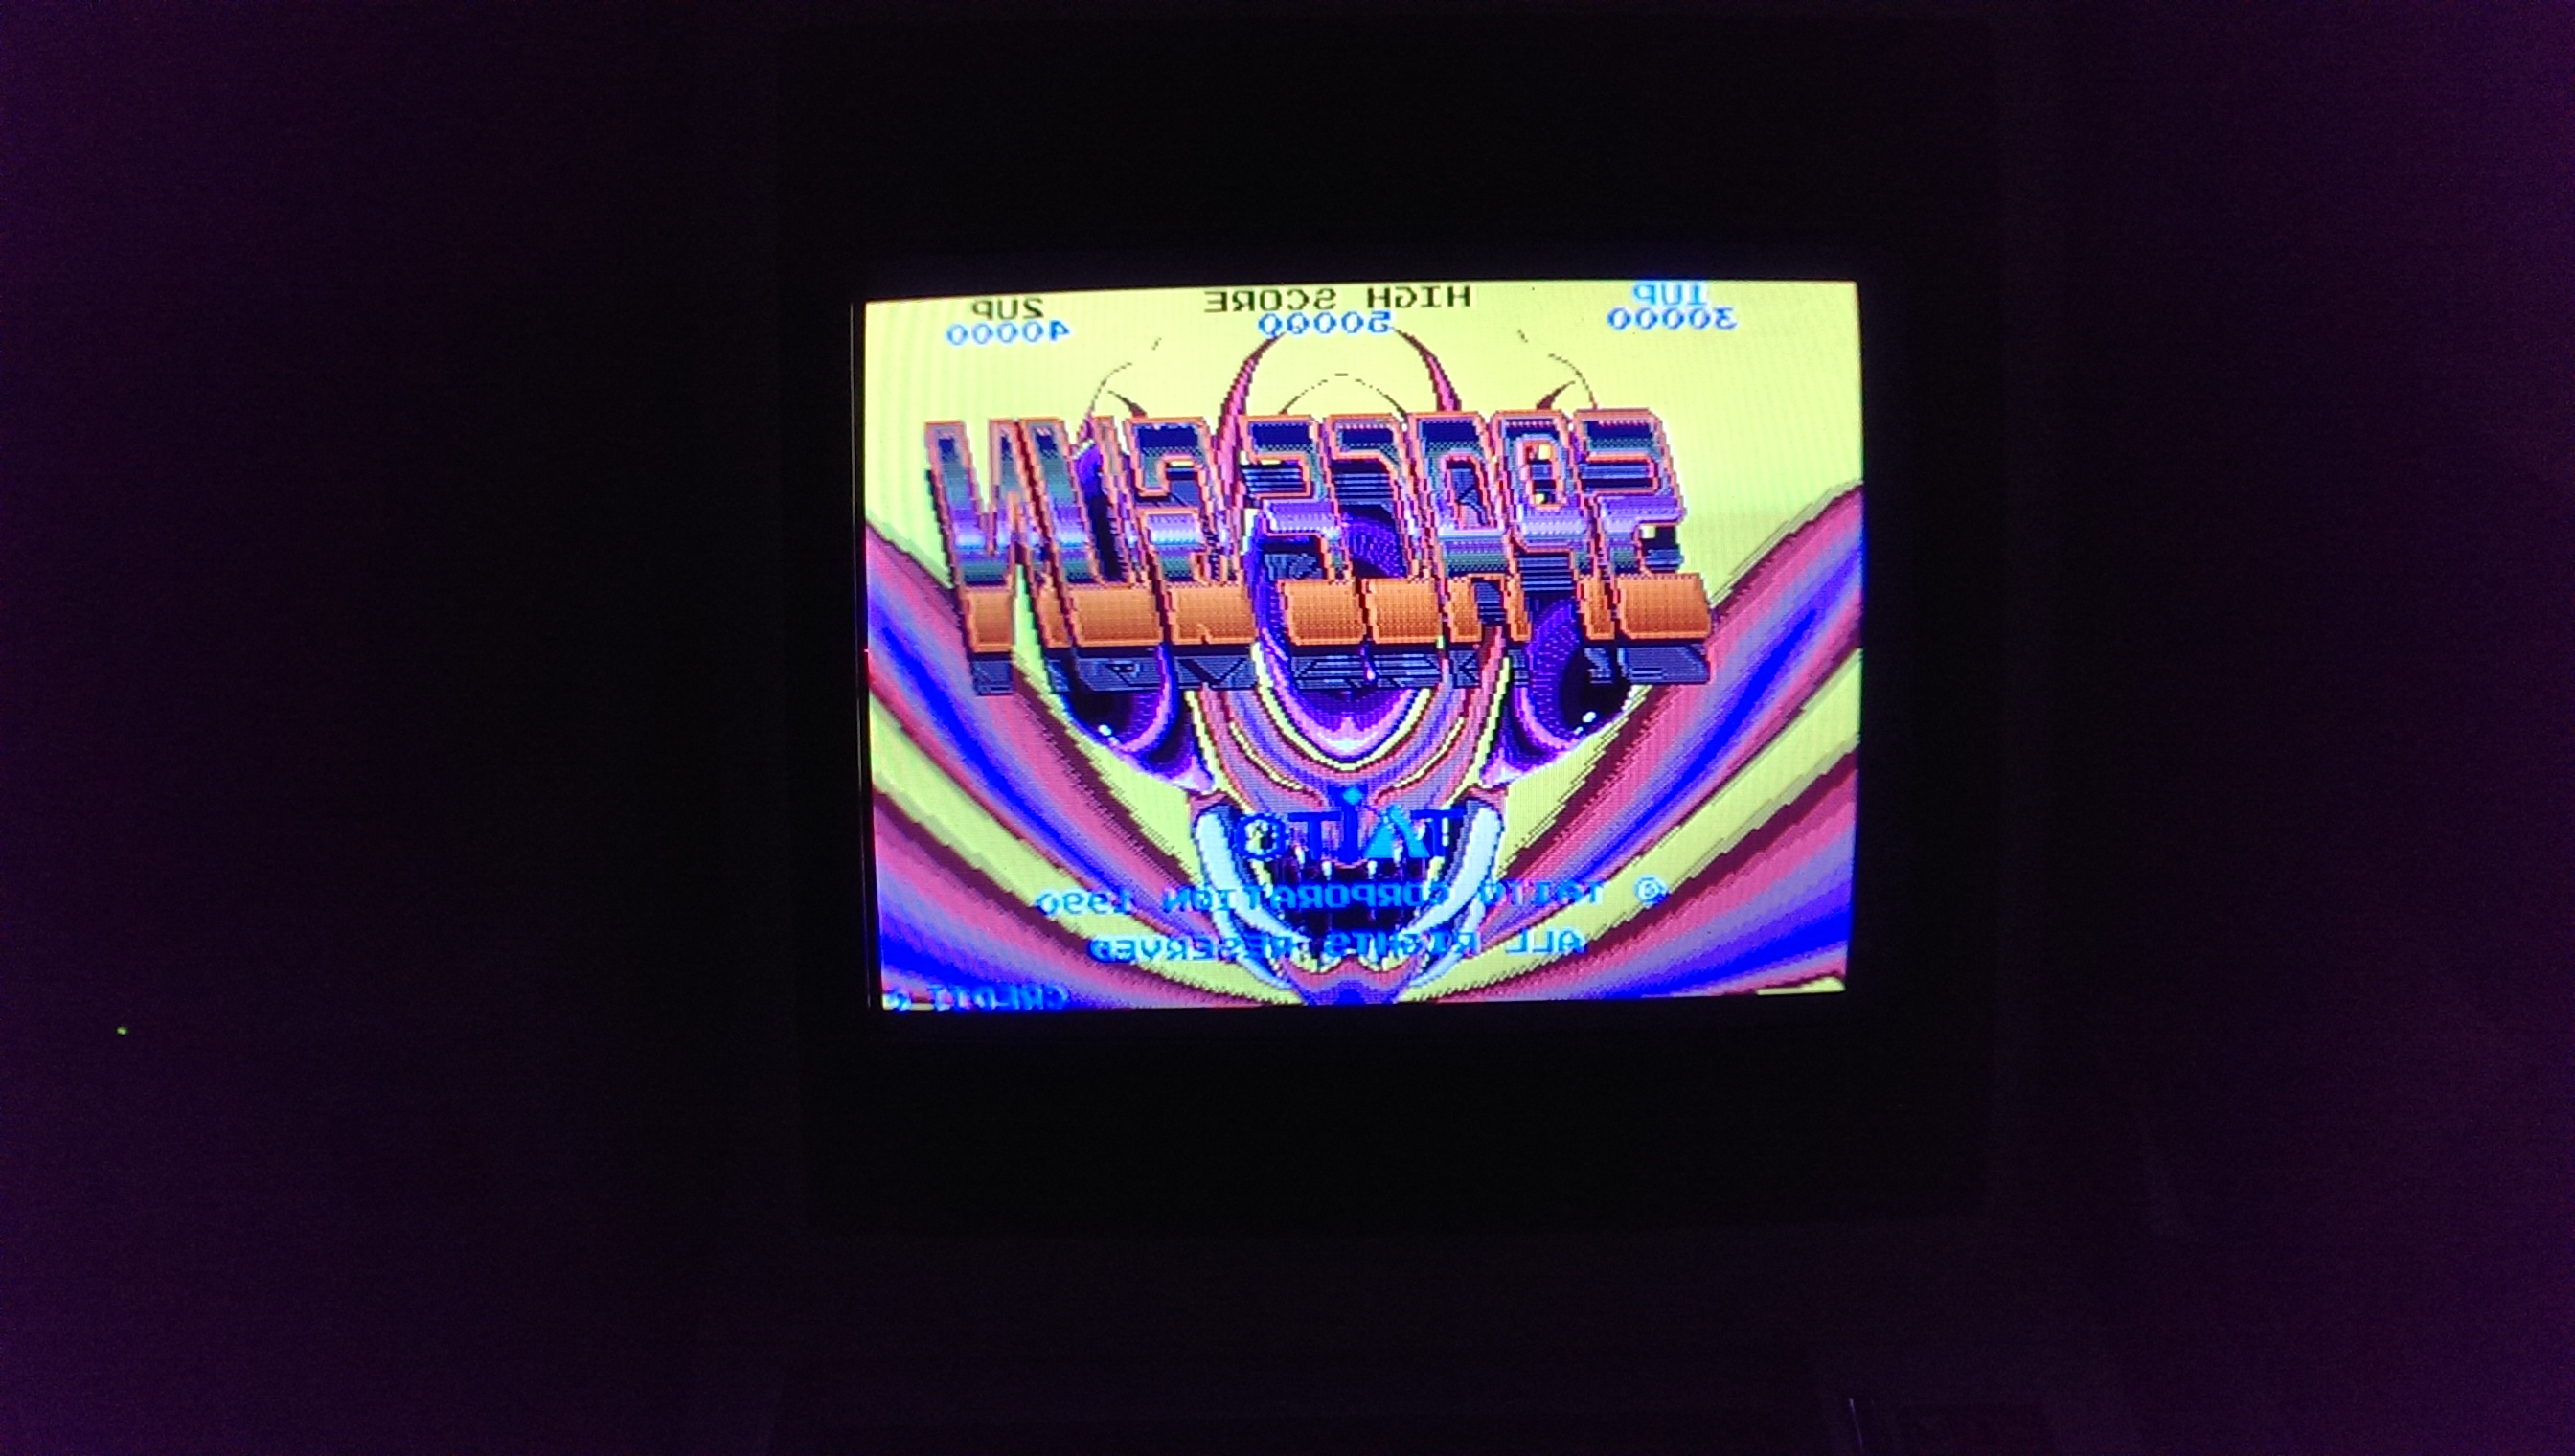
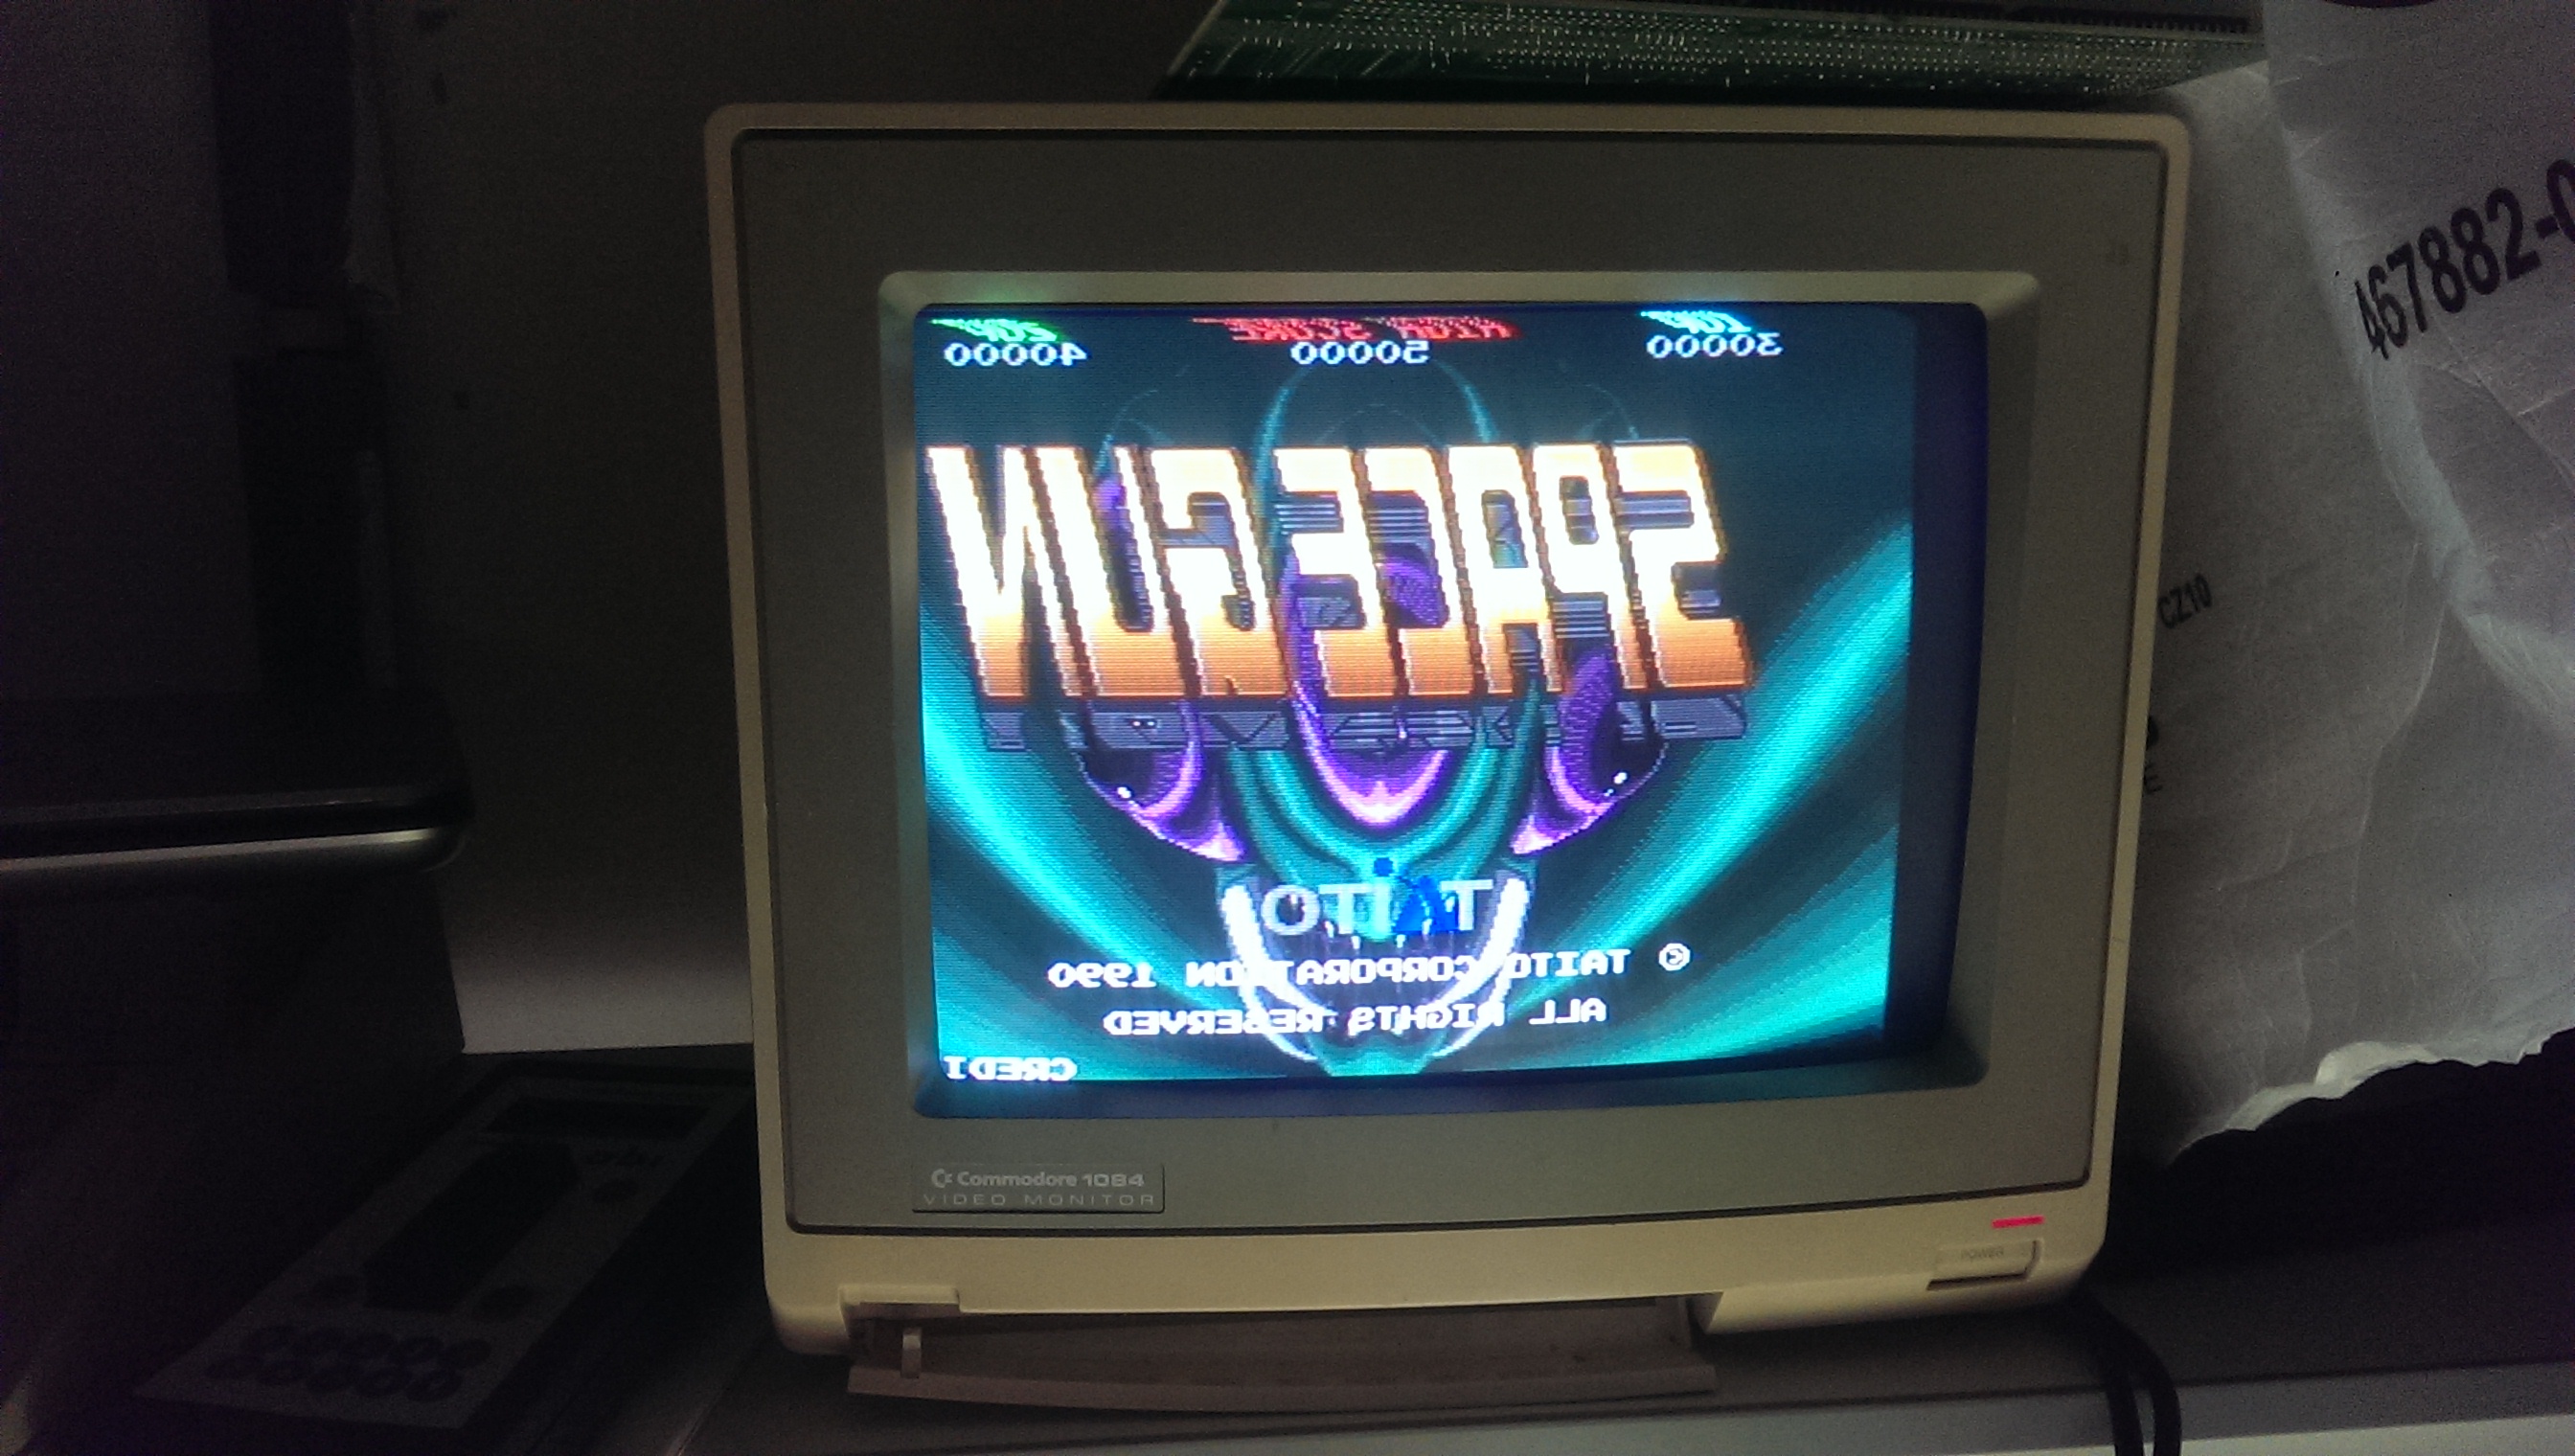
To start with this game wouldn’t boot at all.
The board has had one of its big surface mount custom chips replaced in the past and apart from one lifted track that has been patched out, the swap was very neat.
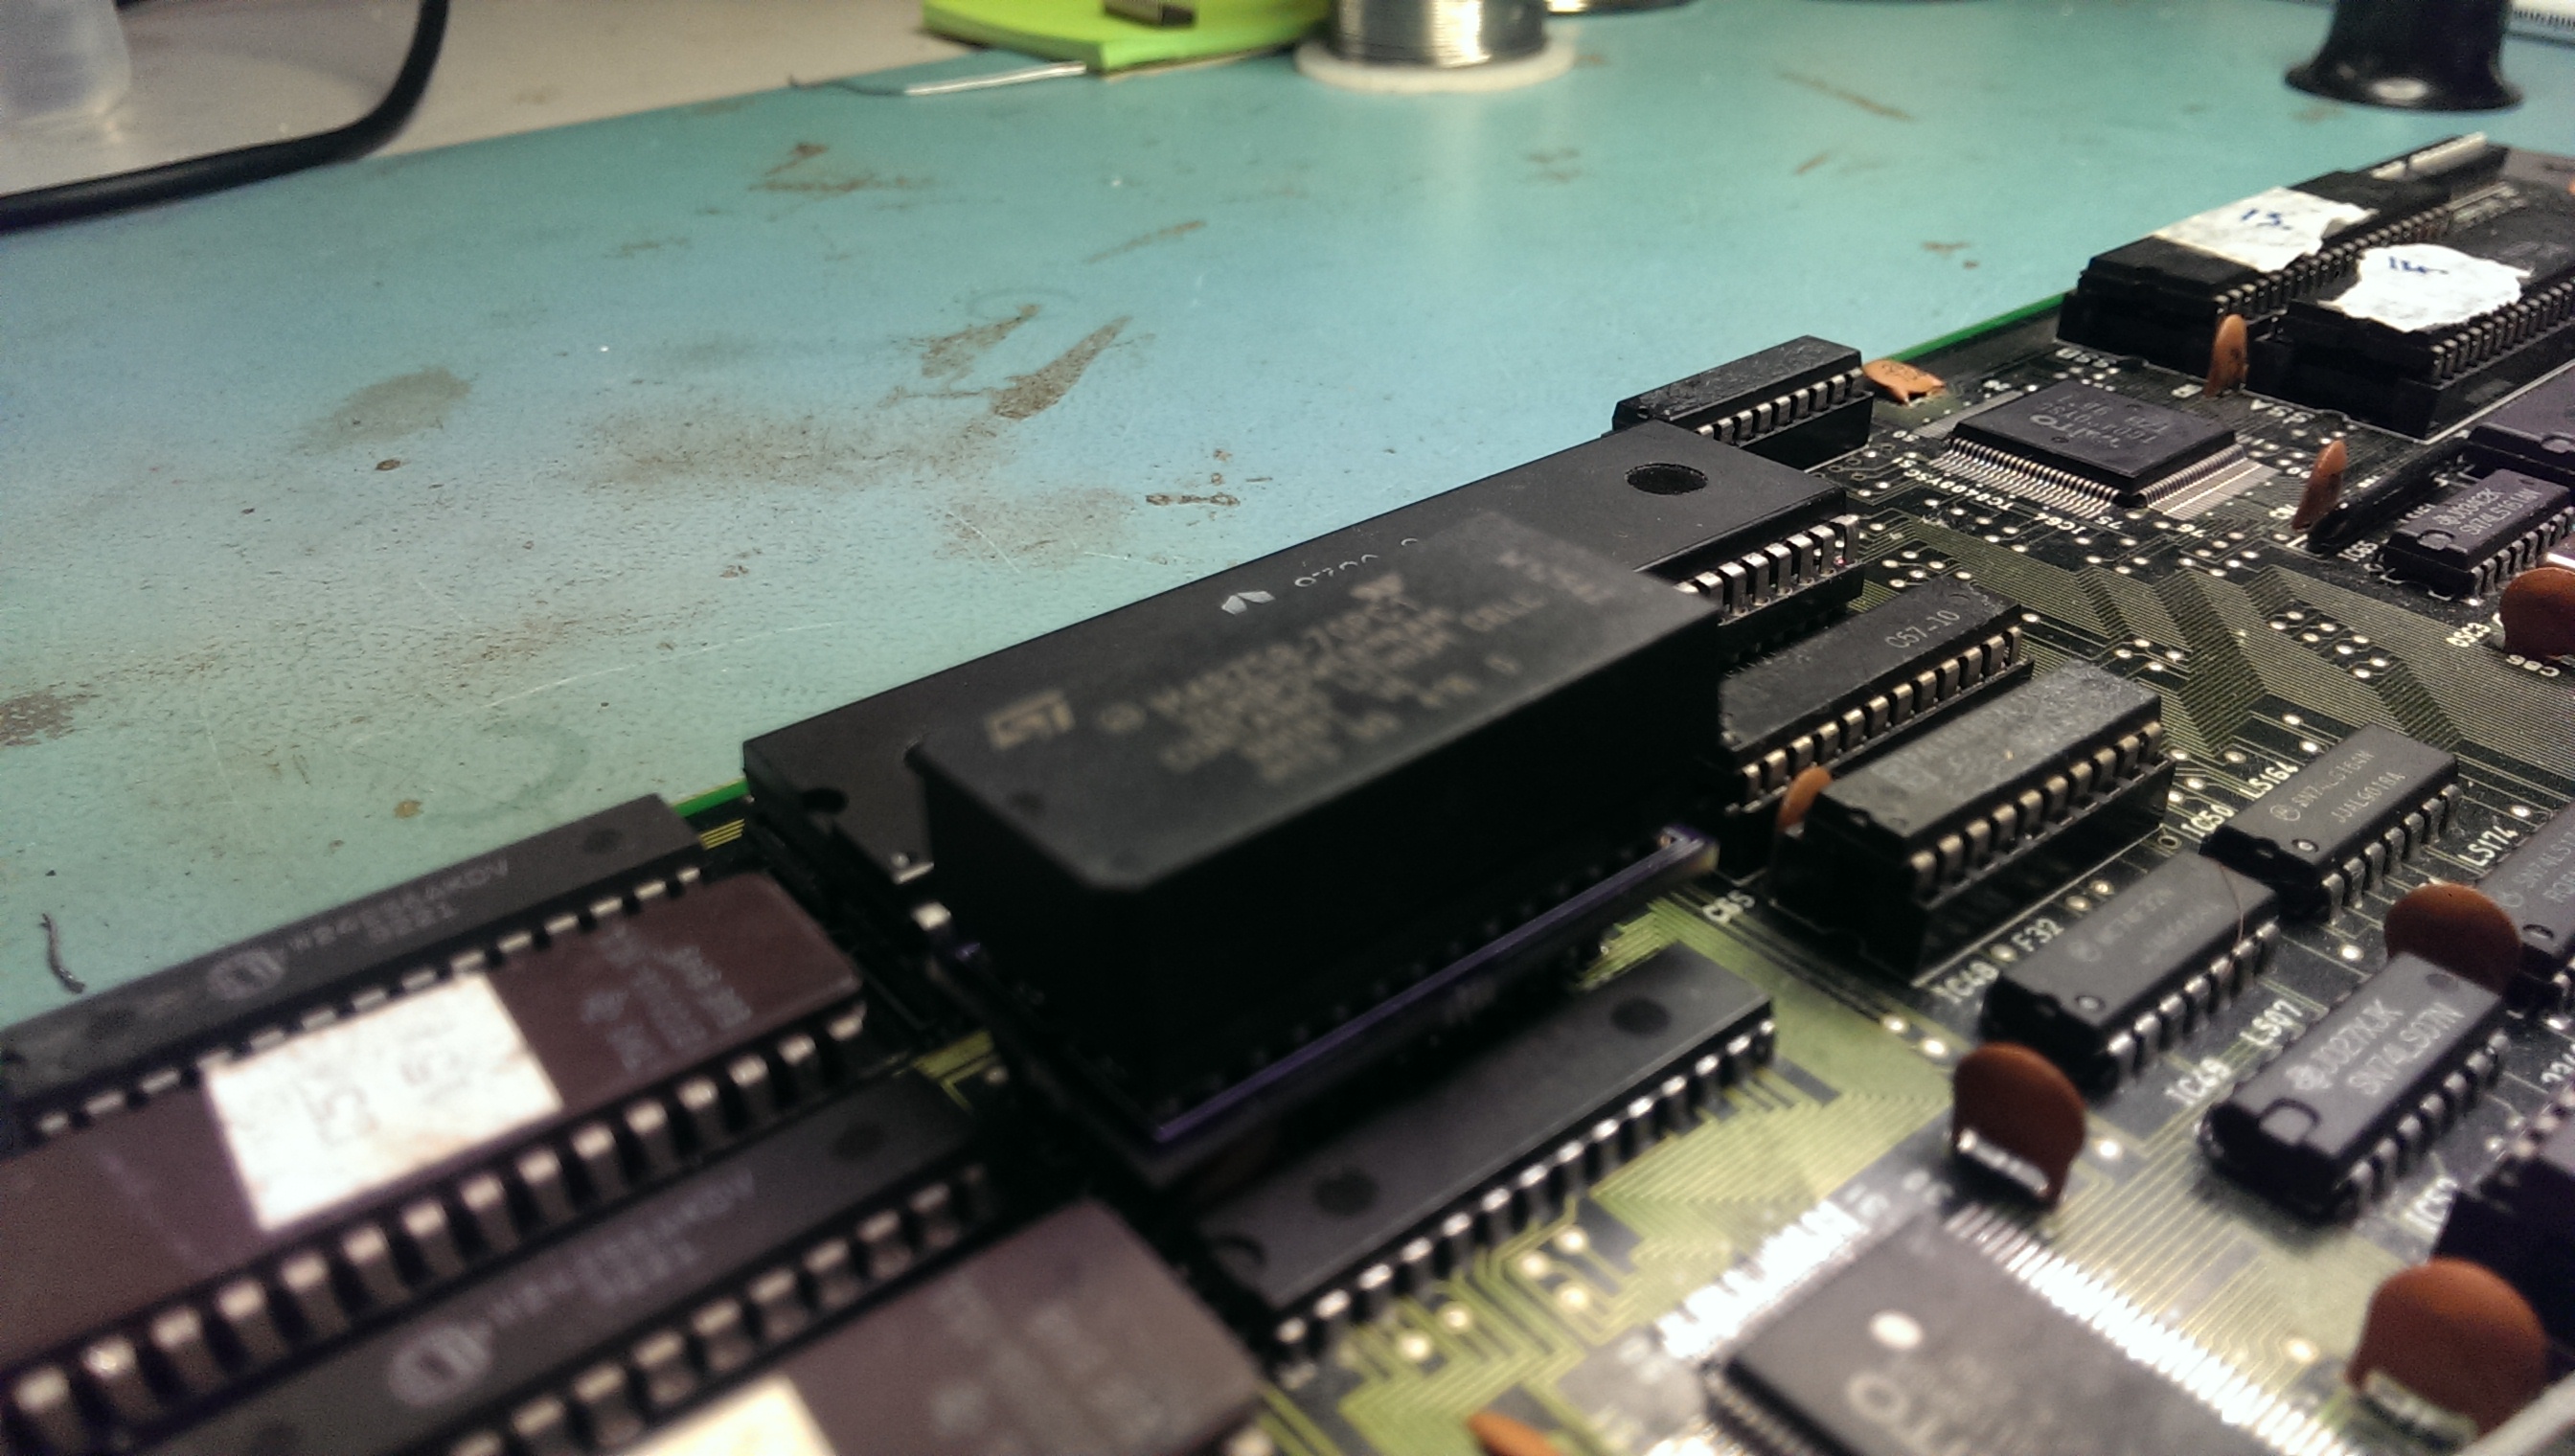
First job was to desolder the sub CPU and fit the Fluke to see what was going on.
I found a broken link between the ROMs and D4 of the CPU. I patched this and did a ROM check.
The ROM address space lies between 0x0-0x3ffff.
The Fluke 9010 signature for this is 8A4F
This was correct but the game still refused to boot.
Checked the RAM. This lies between addresses 0x20C000-0x20FFFF
Both of these failed and both were replaced.
Ram checks now pass but the game still does not boot.
Next I tested the shared RAM.
This lies between 0x210000-0x21FFFF
This passed up until address 0x21FFFE where I couldn’t write to the address at all.
I haven’t figured out why but I’m starting to think this is normal as the code writes to this address space separately but never reads from it. Maybe some kind of watchdog reset or something?
As the game still did not boot I opted to desolder the main CPU and fit the Fluke there.
Found another broken track between the main CPU and one of the ROM’s (I forgot which one as this repair has taken ages).
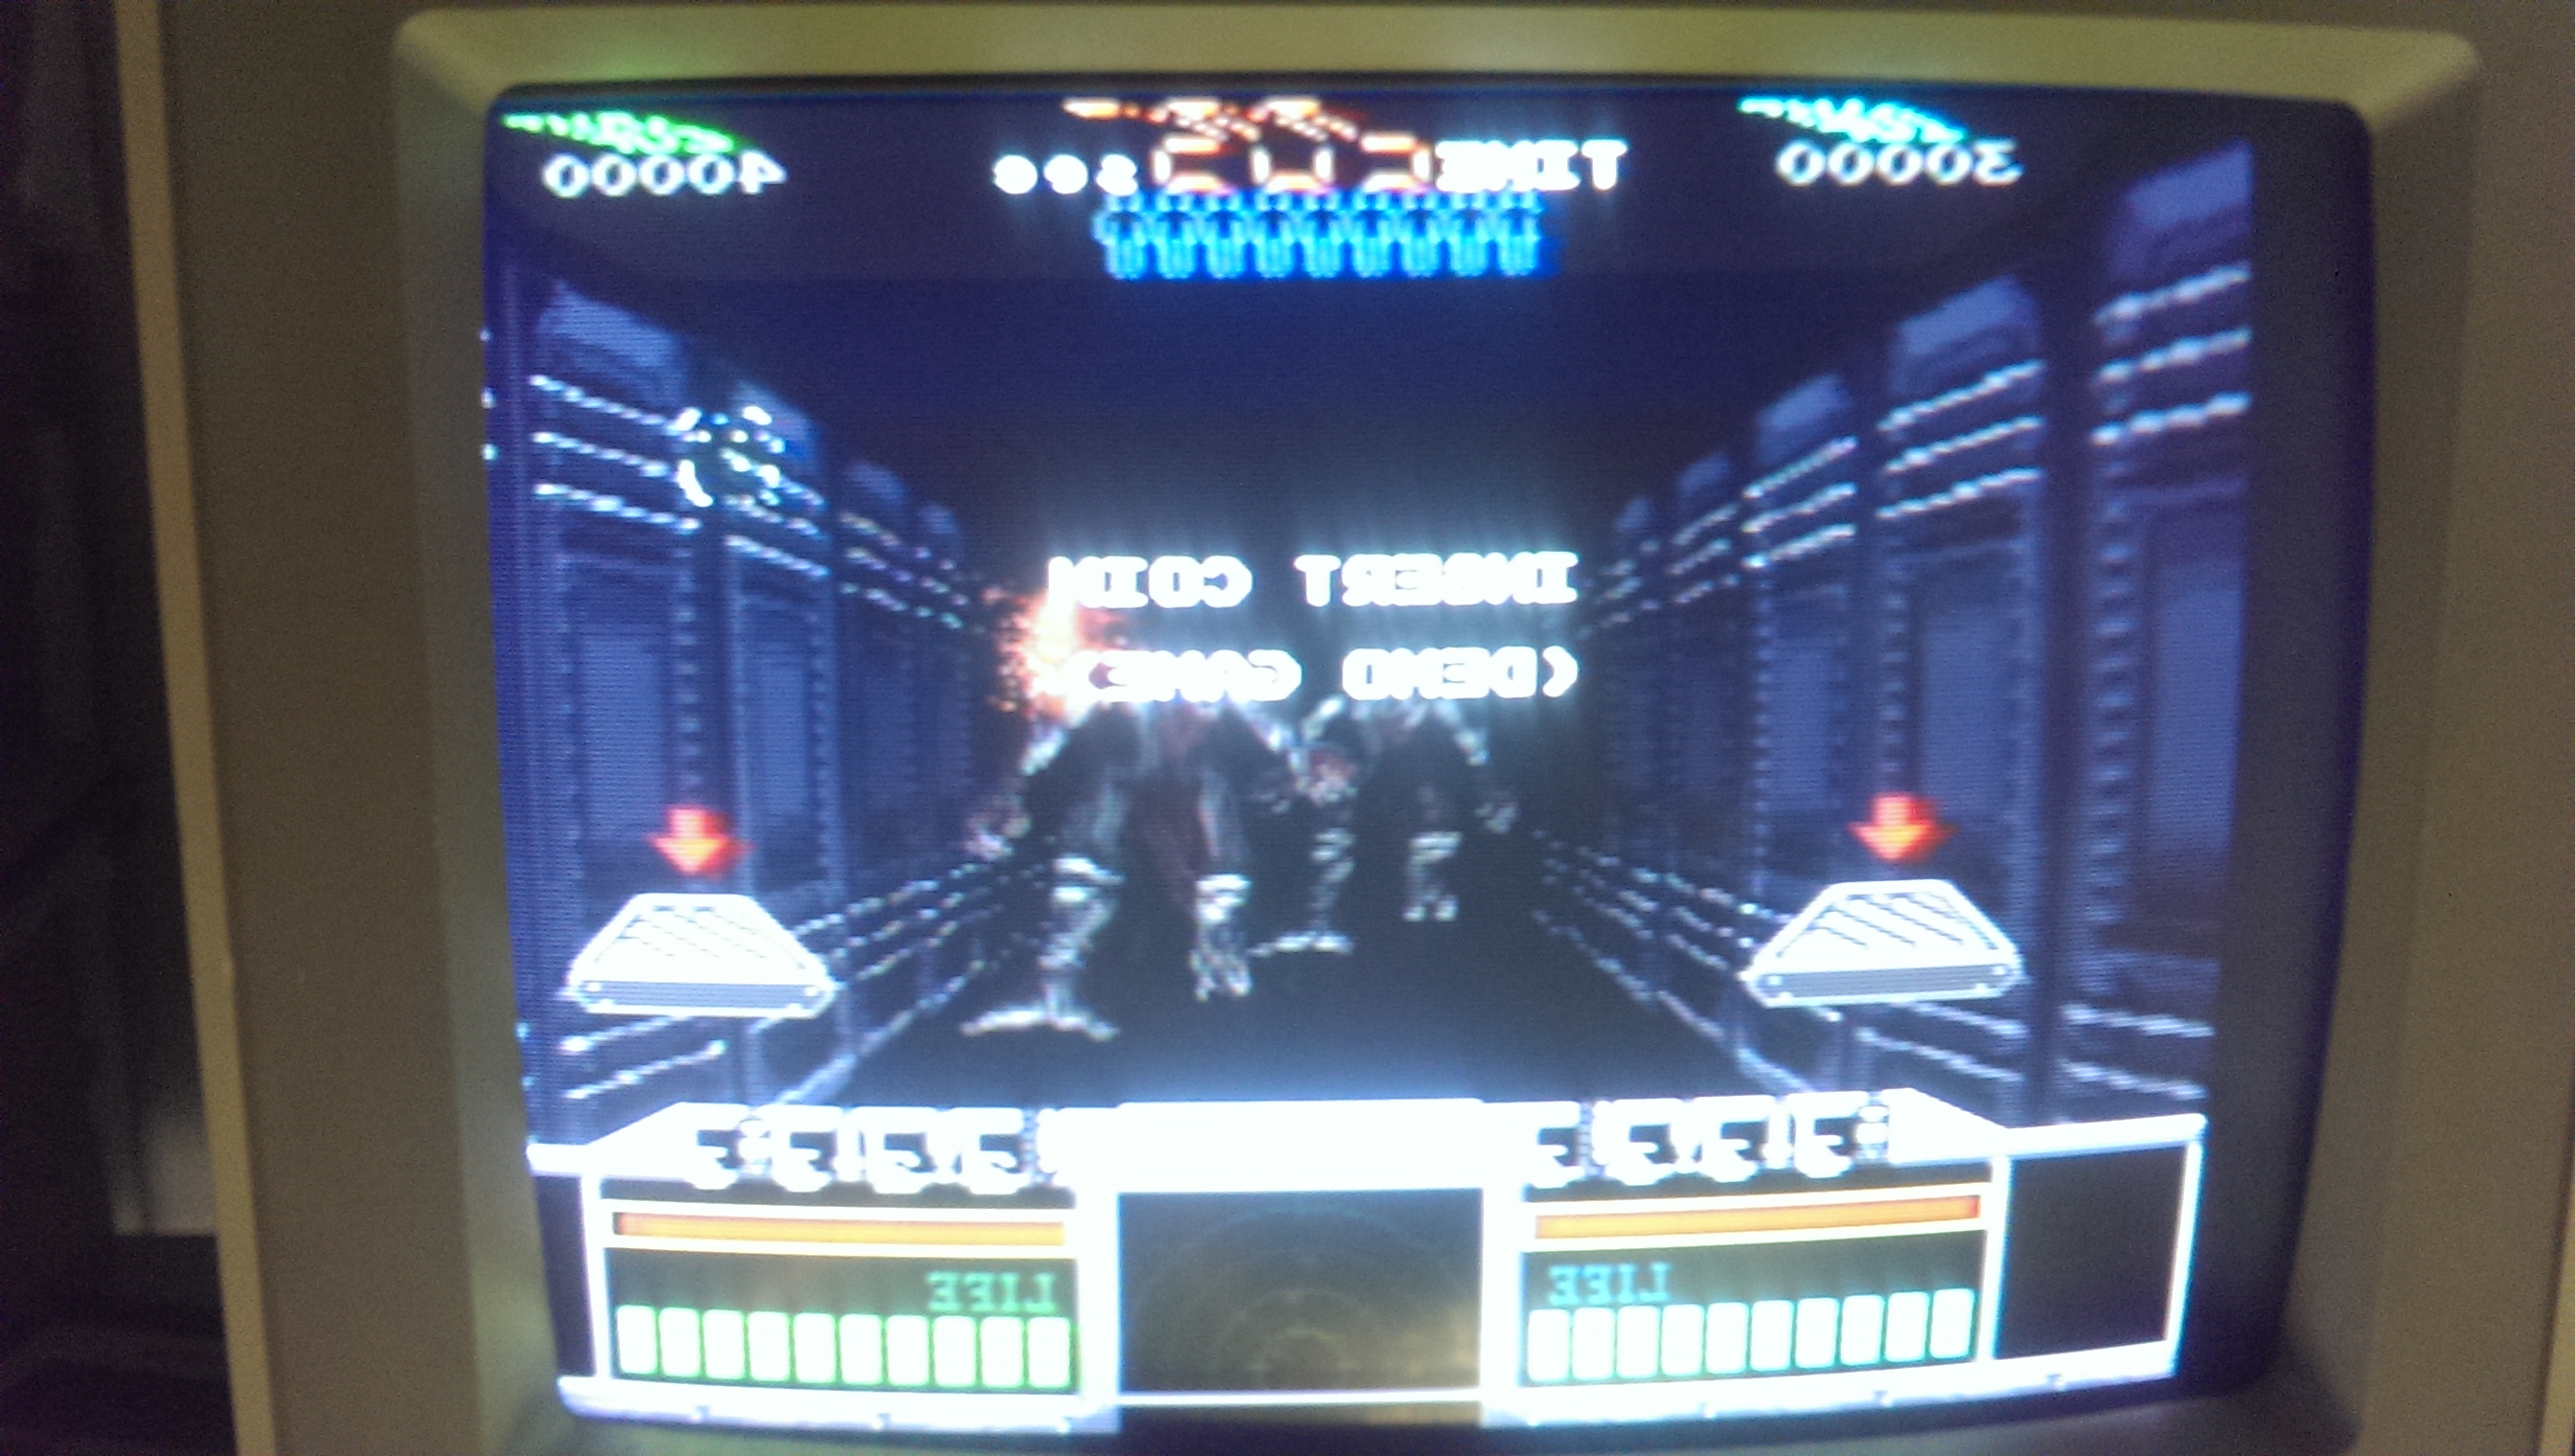
I patched this out and the game now boots but there is a faint output on screen. Further probing with the scope revealed a dead TC0070 RGB custom chip.
I replaced this and now got a booting game but with wrong colours.
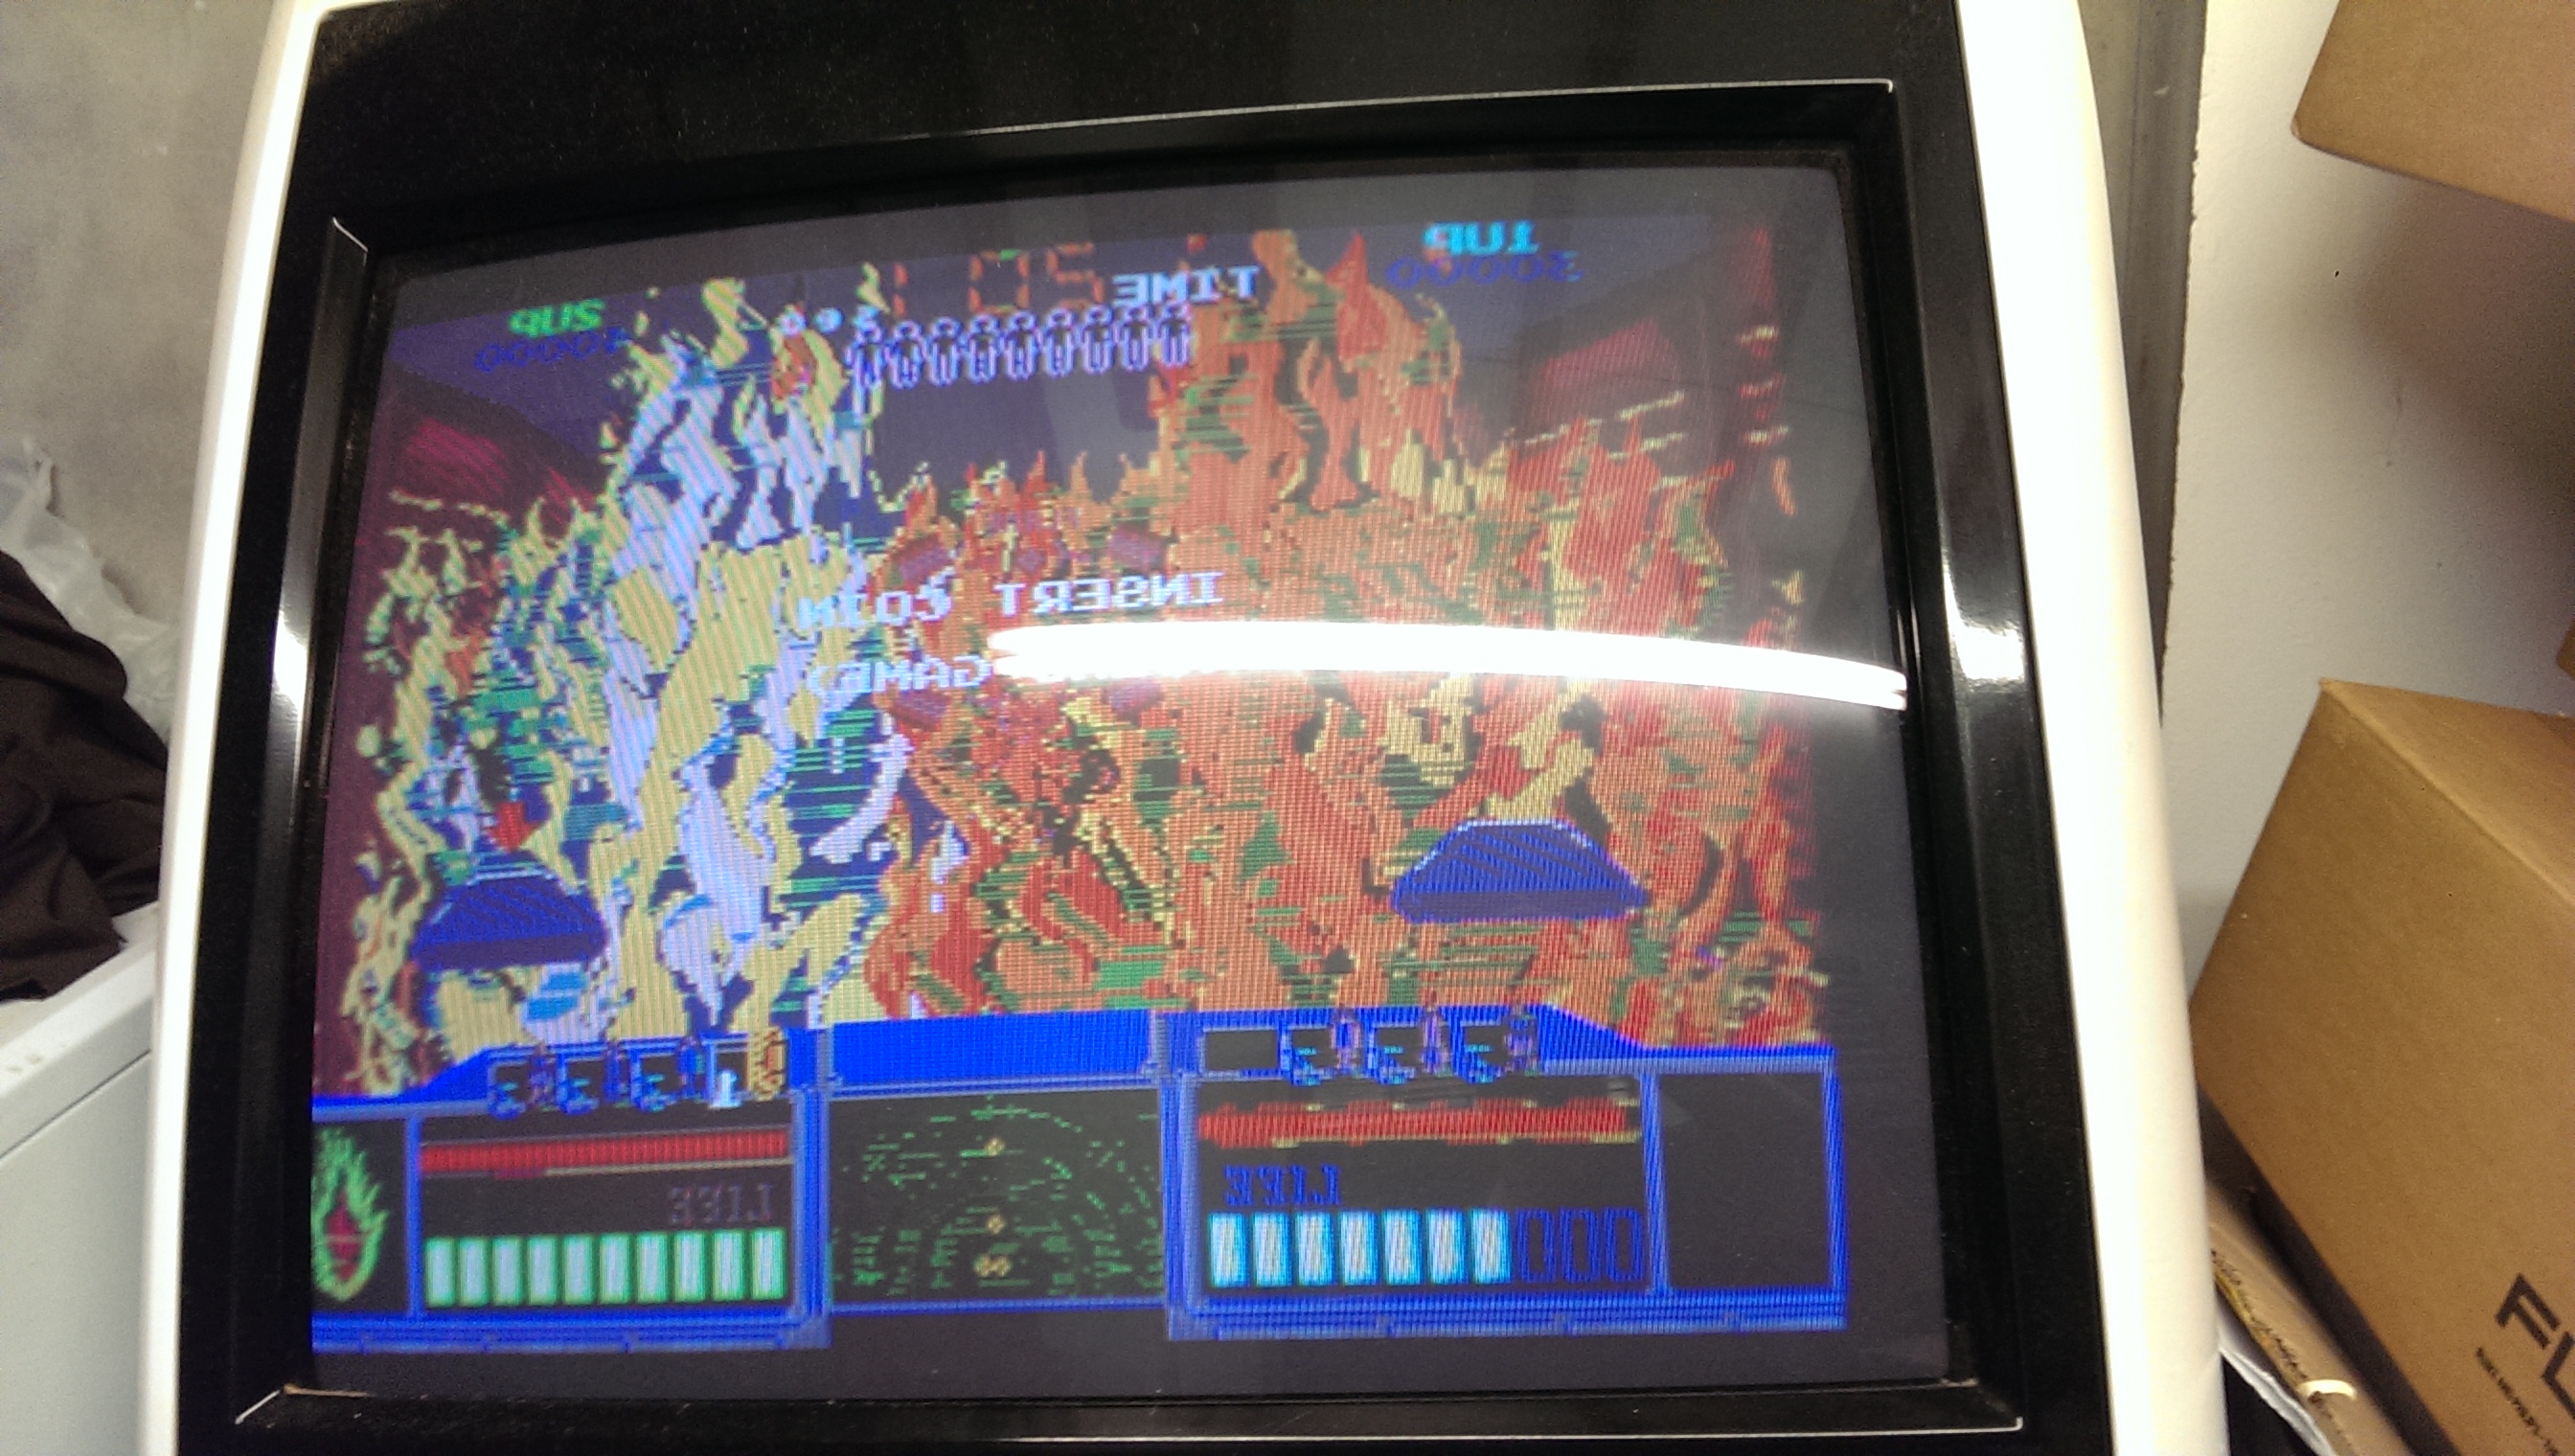
This had me stumped for a while as there are a lot of custom chips on this board and any one of them could be a suspect as they all feed into and out of each other.
I opted for a different approach to normal and made up a small converter PCB that let me use 0.6″ chips in place of 0.3″ chips. This allowed me to use an NVRAM chip in place of the palette RAM.

So with this in place I let the game boot to the title screen and powered off. With the contents stored in the NVRAM I was able to dump it and repeat the operation for the second palette RAM and interleave the dumps together. No I had this I could compare it to what MAME has at the same point. This allowed me to see if the data being written was actually correct or not.
Here is what I got on my first attempt and what I should have got.


As you can hopefully see, bits 4 and 6 are wrong here so I took a closer look at the custom chip TC0110PCR that feeds the RAM chips.
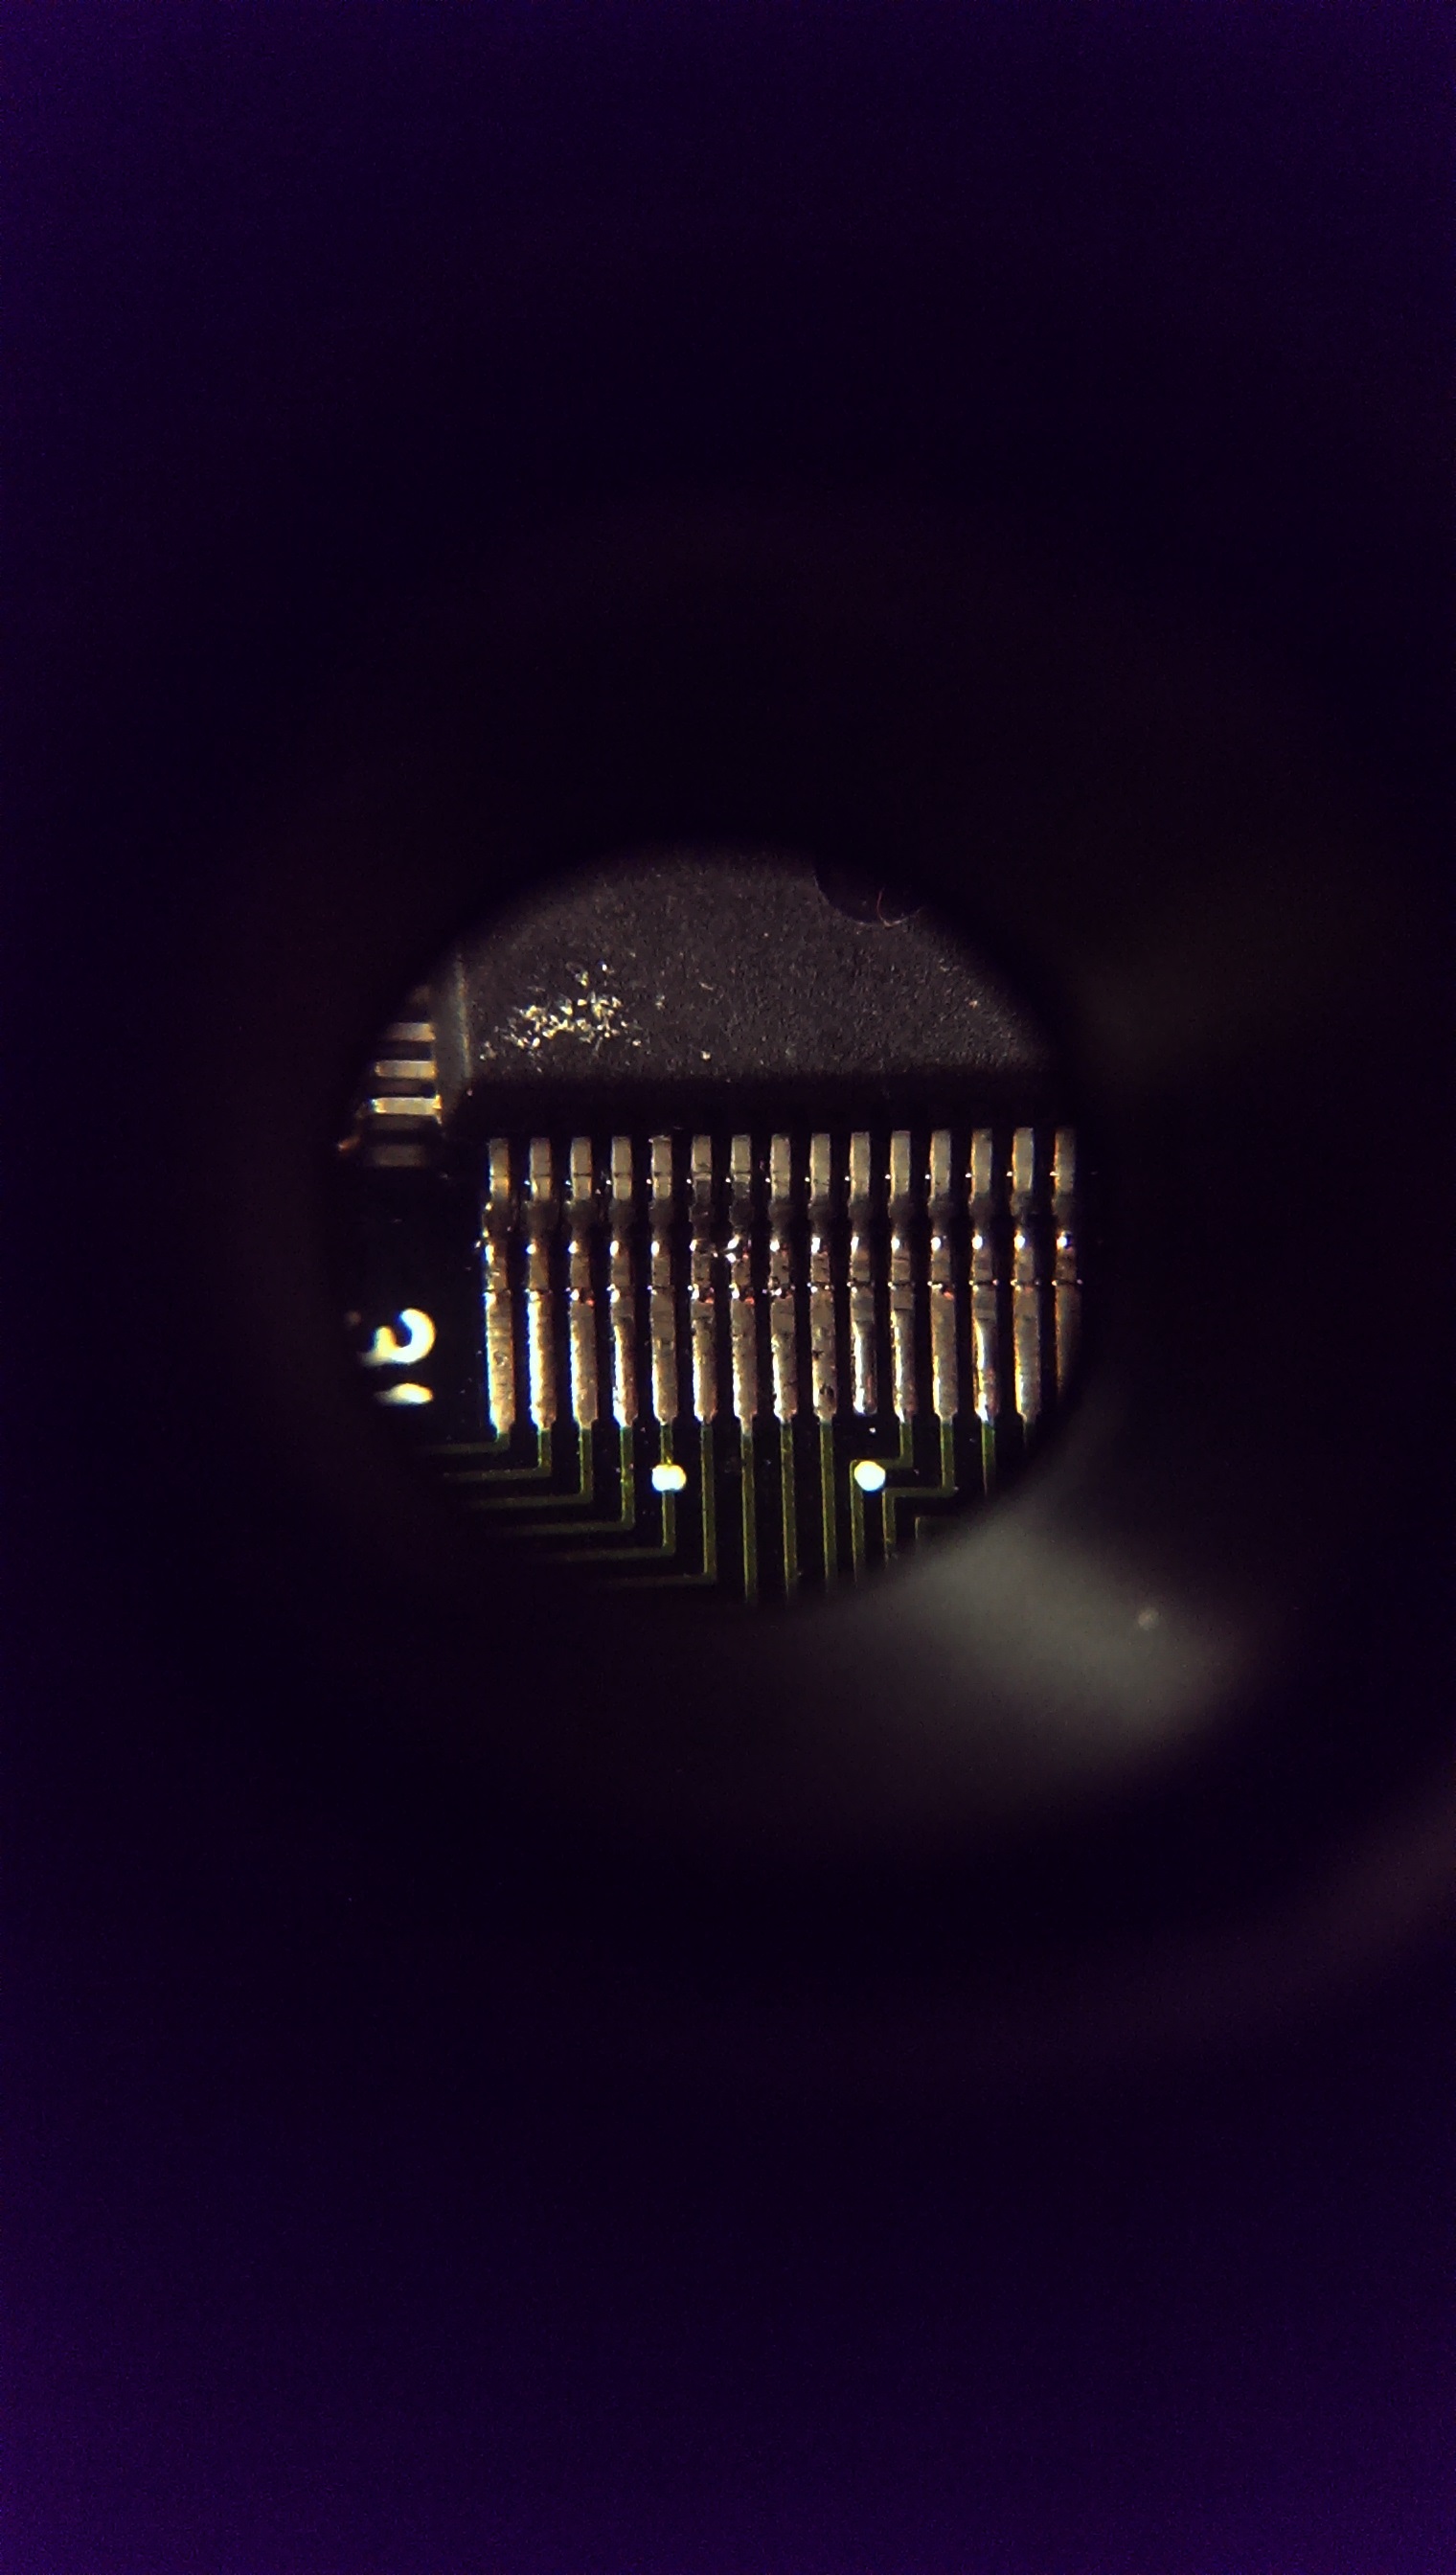
There was the smallest bridge of solder across D6 and D7. Removing this gave me the colours back.
Everything else appears to be working so I am glad this is now sorted.
Elgen has dumped and tested the PAL chip found on both Gunbird and Sengoku blade.
The one found on Gunbird is marked 3020 and the one found on Sengoku Blade is marked 4040 but they are identical.
Thanks to Elgen for this.