I was recently sent an Asteroids PCB which I had previously bought back from the dead, the PCB had developed distorted vectors but still running.
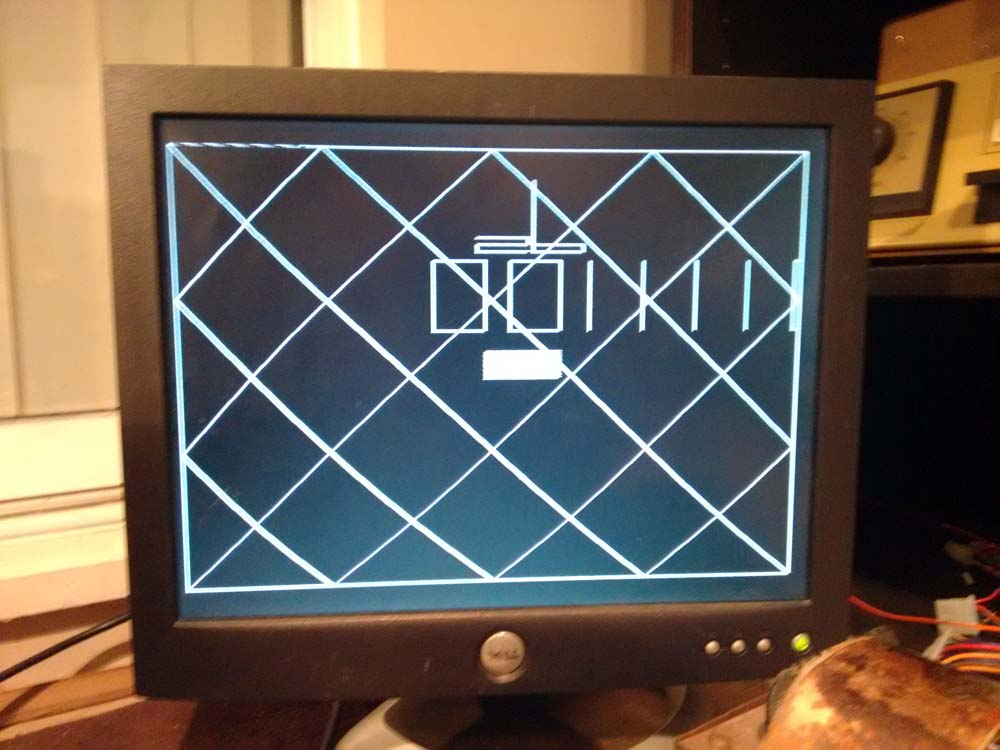
Here is what the TEST screen looked like, the actual diamond shape was perfect but text was oversized and distorted;
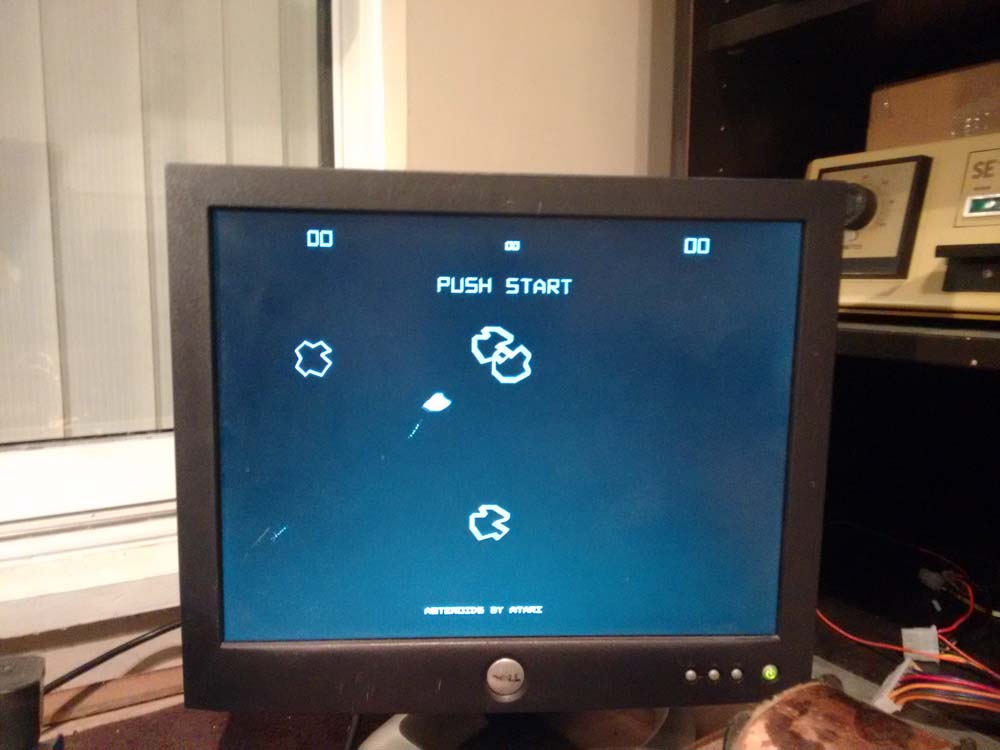
The actual GAME mode looked worse;
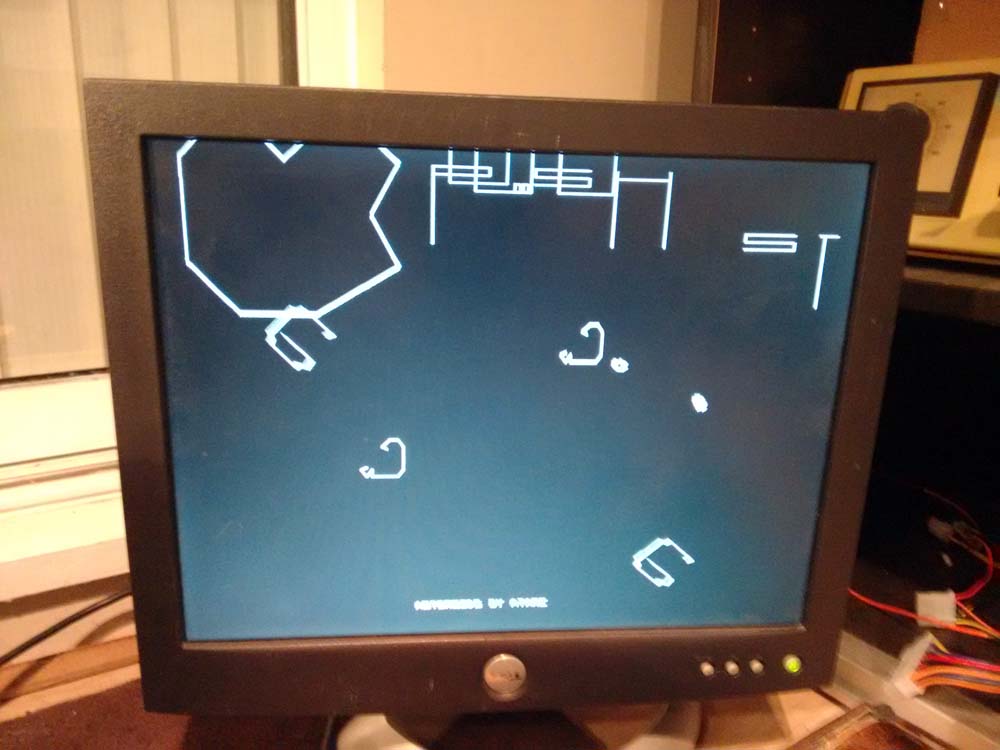
Check out the giant asteroid!
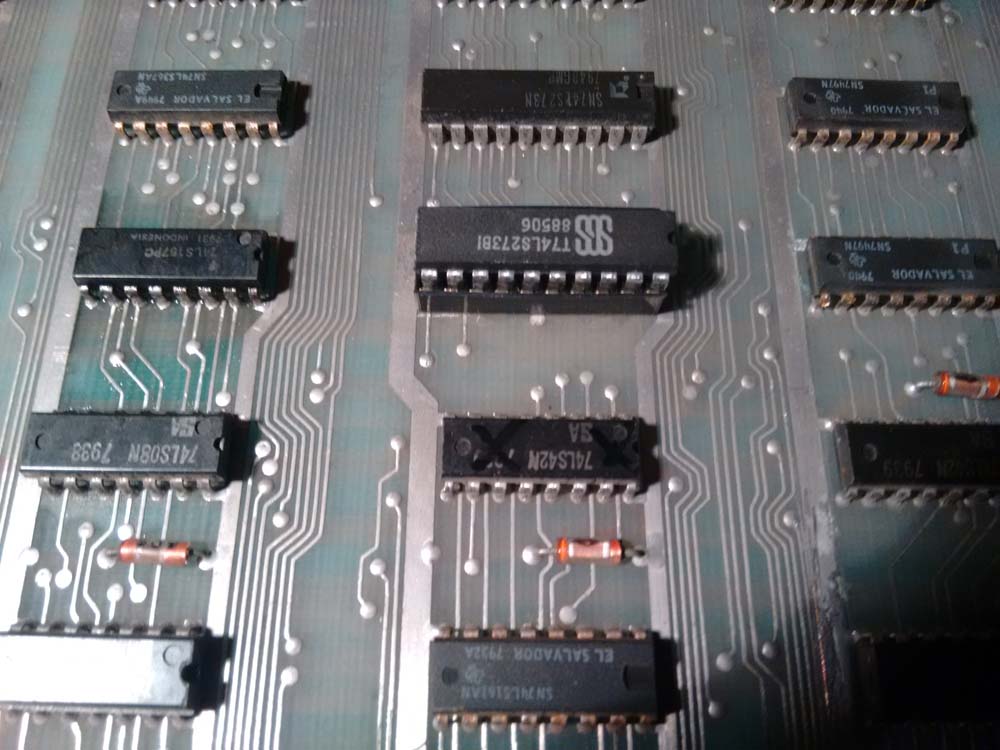
I knew the problem was in the Vector State Machine (VSM) area, specifically the area which is responsible for handling object vectors, so I looked there first.
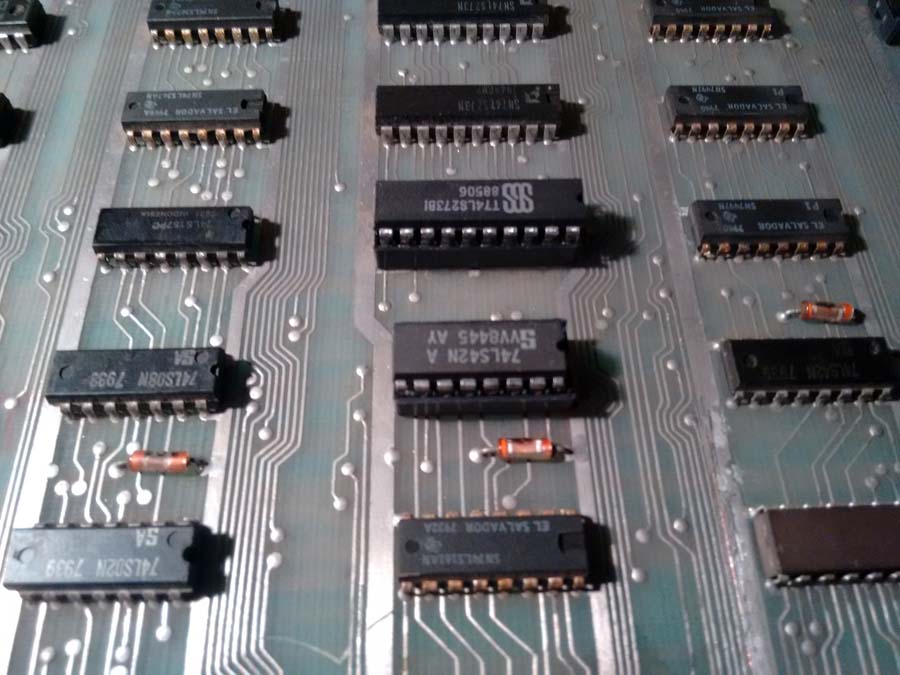
It was not long until I found a decoder (LS42) at 7E which seemed to have some pins stuck LO;
I desoldered the decoder;

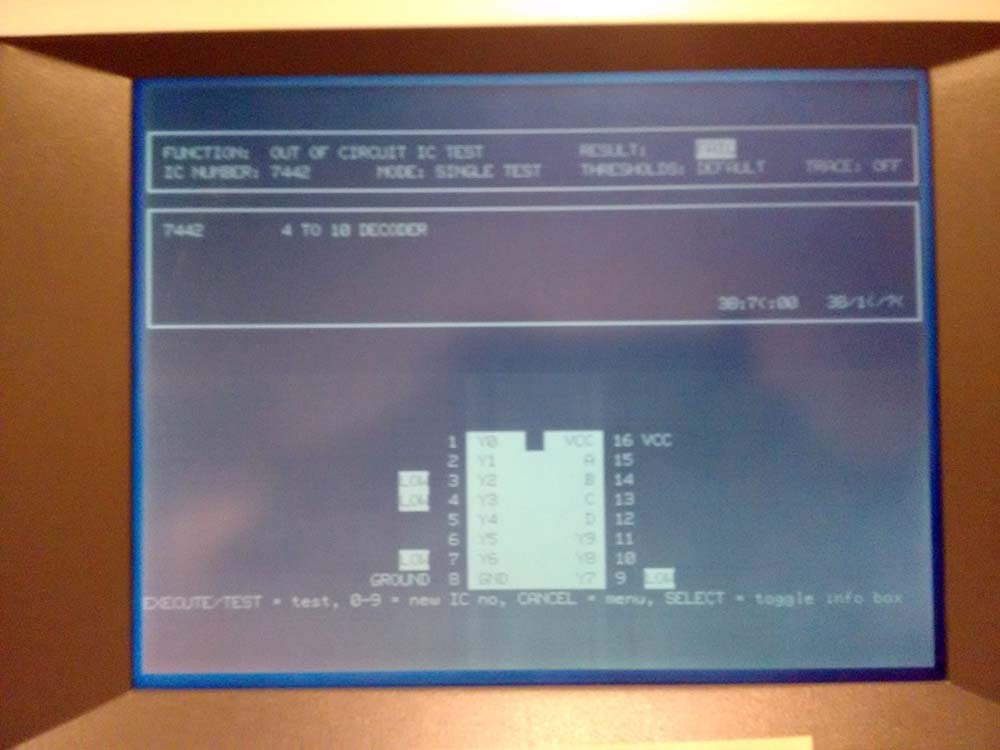
I tested the decoder in my IC tester;
I then socketed and replaced with a fresh decoder;
Asteroids now fully working;