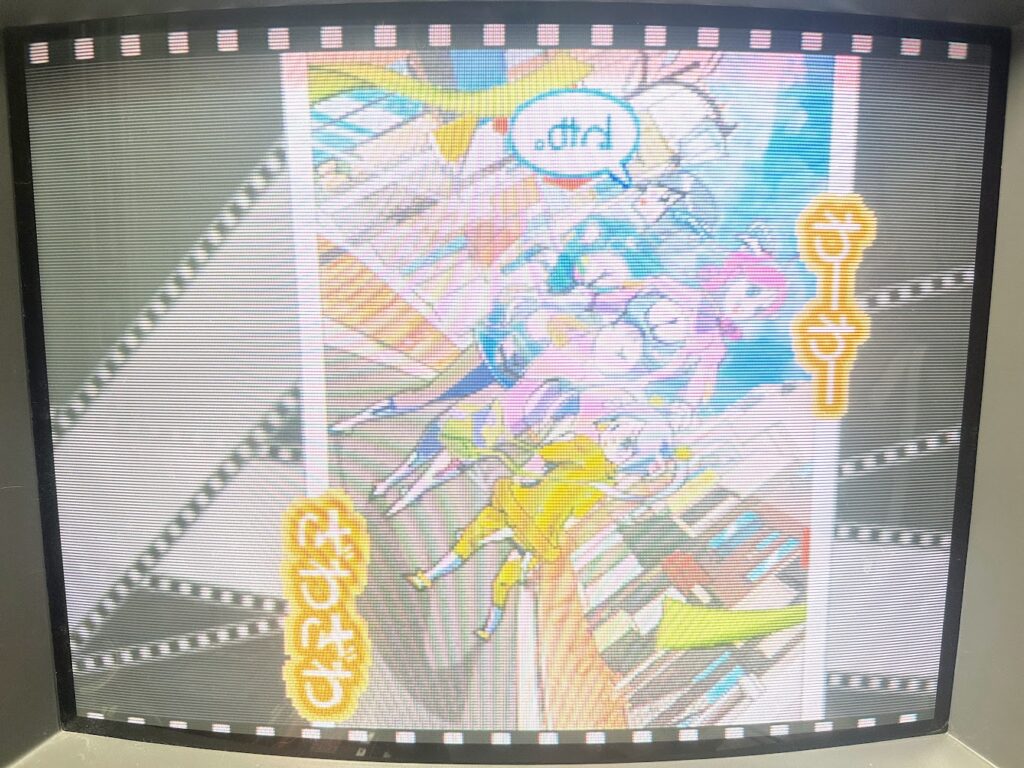
In for repair was Muchi Muchi Pork, a Cave shoot-em-up running on a CV1000-B board. The game had visual corruption showing on one of the enemies in the game:
Note that the art asset viewer is hidden in this game. Flip Switch S2 on the board to the left, and hold down the Shoot and Bomb buttons while powering on the board. Once the game boots, keep both buttons held and enter the Service Menu. Additional hidden options – including “TGA TEST” for the art asset viewer – should now appear in the Service Menu list.
Cave CV1000 boards used substandard flash storage and are rather notorious for issues with corrupt assets like this. There is further information on these failures at the CV1000 entry at the JAMMArcade.net PCB Encyclopedia.
Previously, repairing this kind of issue would require desoldering the affected flash chip from the PCB, dumping it, modifying the dump to work repaired data in around the failed block of flash, reprogramming the flash chip, and finally resoldering it back to board.
Thankfully, these days buffi has conducted extensive research and produced tools for reprogramming the CV1000 CPU and Art flash chips over JTAG – no soldering required. If the flash fault has occurred in the Art flash chip (U2), Alamone has also produced scripts that automate the difficult step of mapping good data in around the failed flash blocks. With all of these tools in hand, repairing this sort of fault without soldering over JTAG is fairly straightforward.
Note that with CV1000 the Art flash (U2) and CPU flash (U4) are accessible over JTAG while the Sound flash (U23 & U24) are not. Repairing faulty flash issues with the Sound flash thus still requires desoldering and resoldering.
There are two kinds of USB JTAG adapters that can be used for communicating with a CV1000 board – an Altera USB Blaster or a Tigard. I went with a Tigard because it communicates with the CV1000 substantially faster than the Altera.
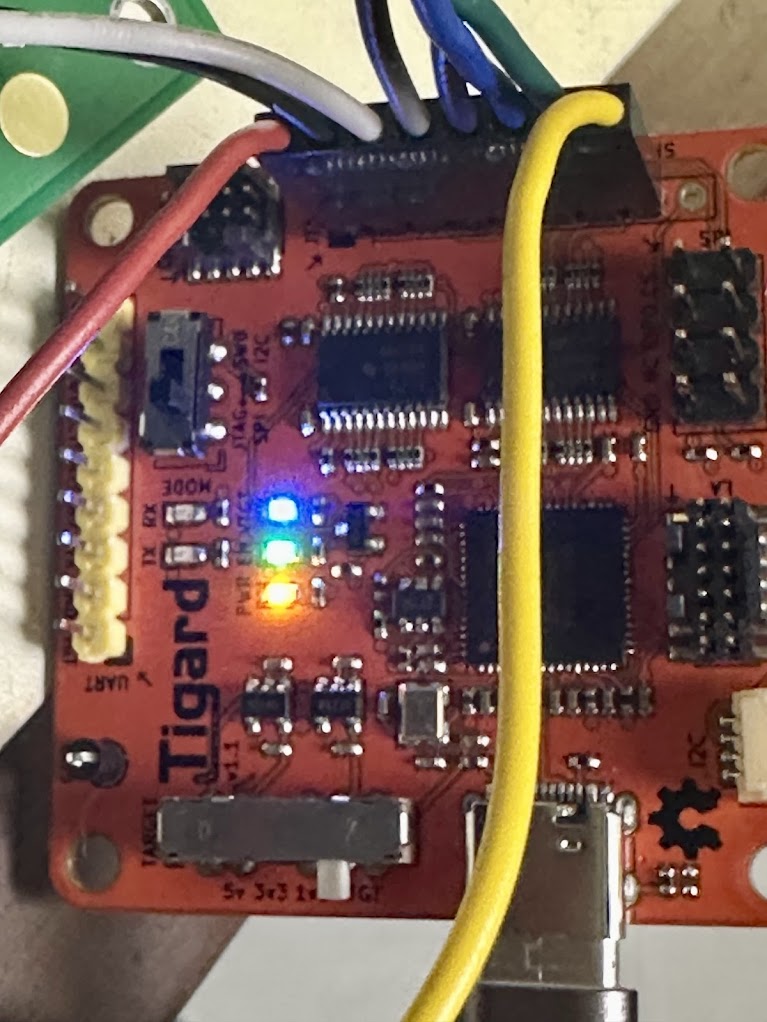
I’ll break down the steps I used to access this CV1000 board over JTAG.
First, I setup a Raspberry Pi 3 (any Raspberry Pi model should do) with a standard install of Raspbian using the imager available on the Raspberry Pi website.
Next, I downloaded Buffi’s JTAG Python scripts and Alamone’s U2 Compare script to the R-Pi using the web browser on the Pi. I also downloaded a clean MAME ROM of the Muchi Muchi Pork game.
Next, as per Buffi’s instructions, I setup the JTAG libraries on the R-Pi using the Terminal commands. If you use the Tigard JTAG adapter, there is an additional step that’s missing from his documentation. Edit the K9F1G08U0M_JTAG.py file, and on Line 186, change the False to True.
sudo nano K9F1G08U0M_JTAG.py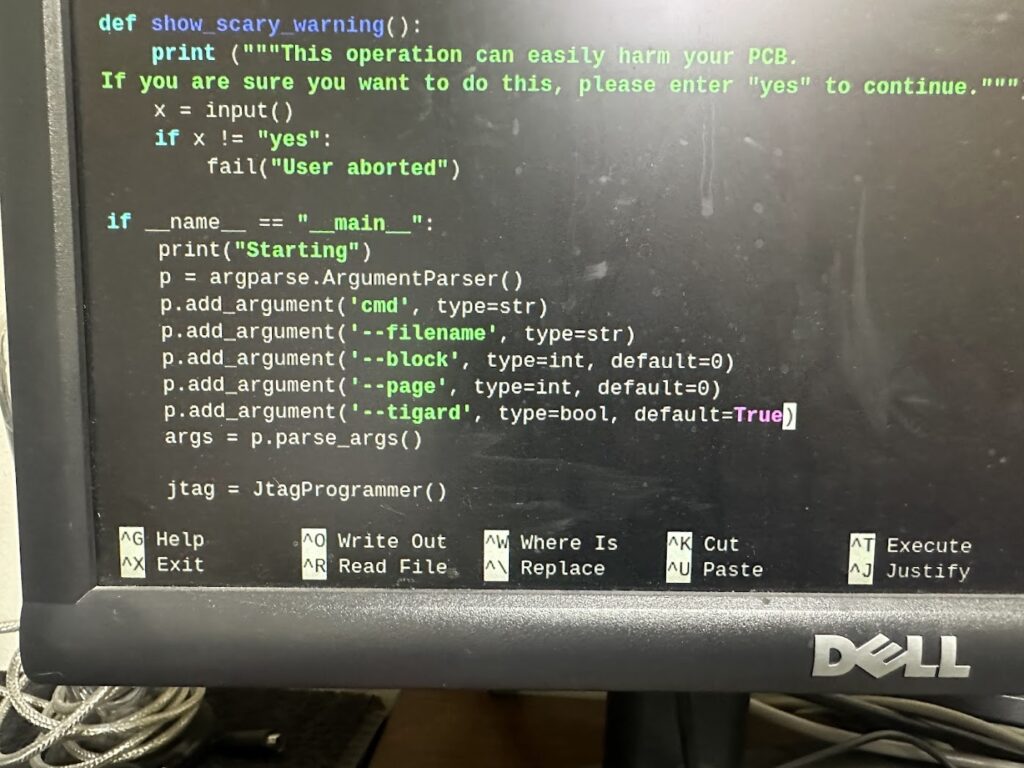
Next, I connected the Tigard JTAG adpater to the CV1000 board, following Buffi’s pinouts in his instructions. The TRST pin should stay disconnected for now, but it will be connected after booting up the board.
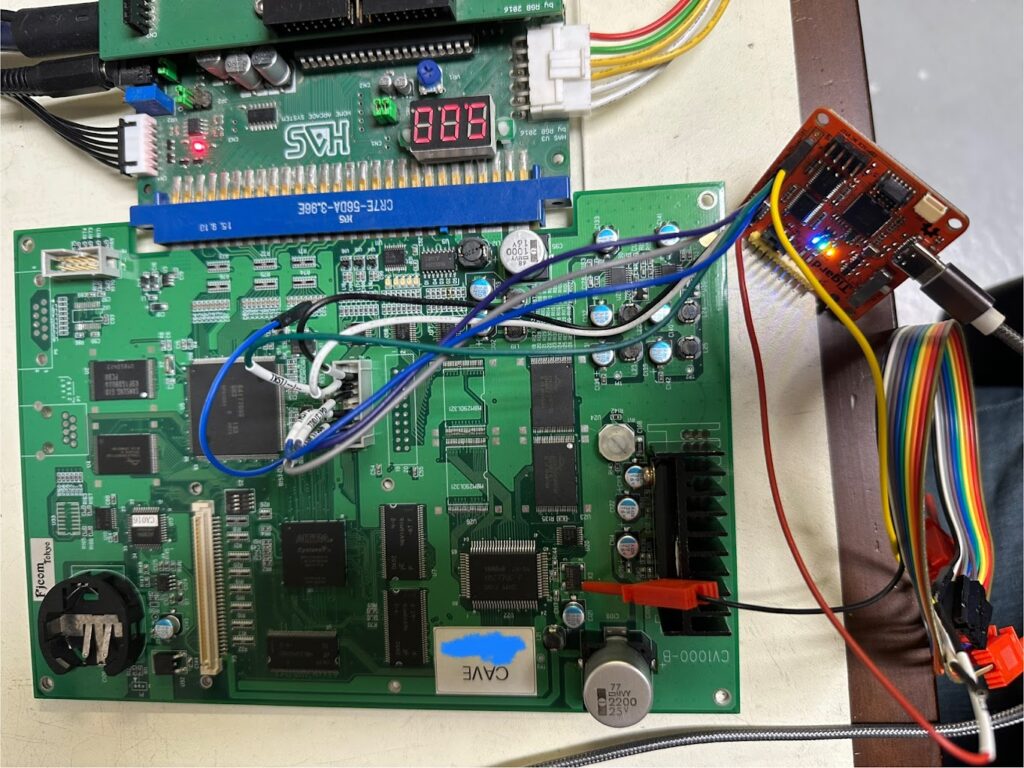
As per Buffi’s instructions, the CV1000 needs to be started up in a special ASE reset hold mode. I flipped Switch S1 so the switch isn’t between the white lines. I connected a DuPont female-to-female jumper wire between Pin 14 (GND) and Pin 3 (TRST). I turned the power on and confirmed that the CV1000 turned on a green light and that the game did not boot up. Finally, I disconnected the Ground jumper wire and connected the TRST pin from the JTAG programmer.
Now, with the software environment ready, the JTAG USB connected and with the CV1000 booted up into the correct mode, I would issue the following commands on the R-Pi to check the JTAG connection to the flash chips:
sudo jtag
cable ft2232 vid=0x403 pid=0x6010 interface=1
detect
detectflash 0
Information about the U4 CPU flash chip was displayed, so the JTAG was communicating with the R-Pi properly.
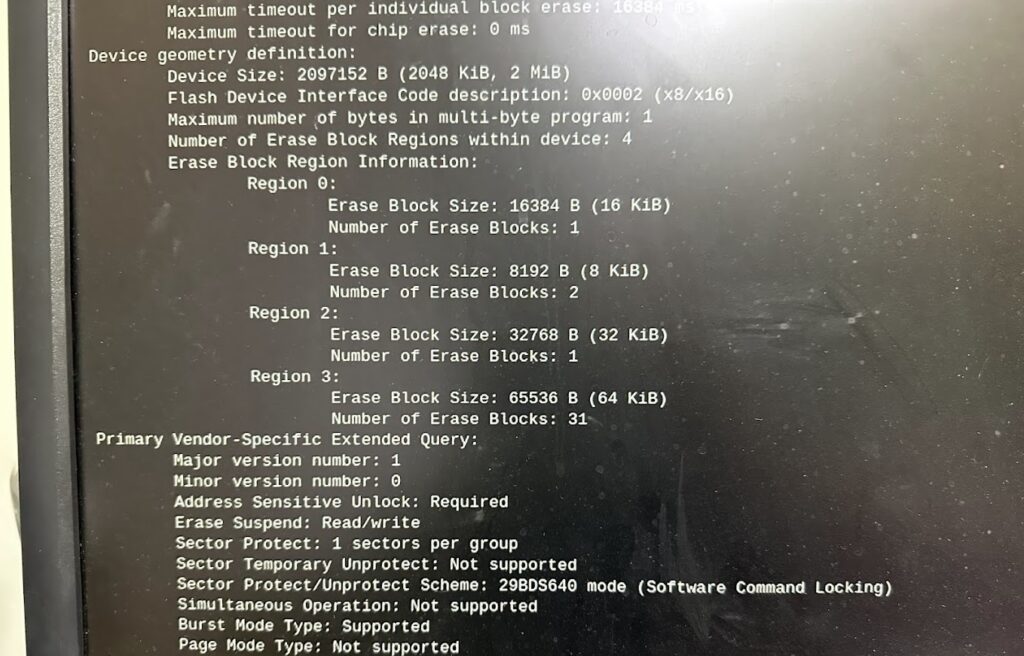
This board didn’t have any obvious problems with the U4 CPU flash, but I went ahead and dumped it anyway so that I could check it for corruption.
readmem 0 0x200000 u4.binNote: if this was a CV1000-D, I would have typed 0x400000 instead of 0x200000.

After a few minutes, the U4 flash was dumped. Uploading it to Hamster’s Online ROM Identification site using the R-Pi’s browser confirmed that it was a 100% match for the MAME dump of the game.
Now it was time for the real culprit – dumping the U2 Art flash. Rather than the jtag prompt, type “quit” to exit, and then use this command:
sudo python3 K9F1G08U0M_JTAG.py read_all --filename=u2bad.binWith the Tigard adapter, this operation took a few hours to complete. I understand that with the Altera adapter, it can take 3 days.
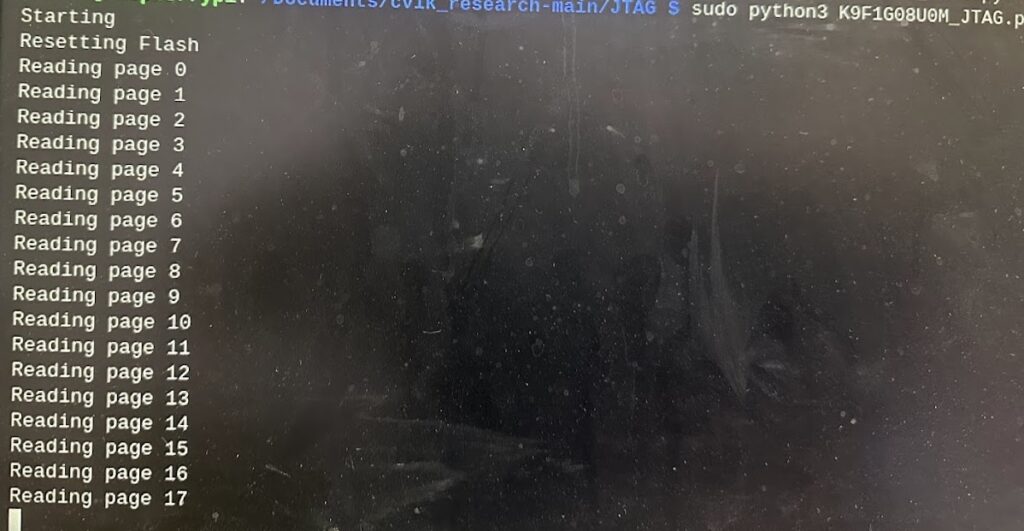
With a dump of the faulty Art flash now in hand, Alamone’s U2 Compare tool can compare it against a good dump of the art assets and generate patches around the faulty flash. I issued the following command:
sudo python3 u2compare.py u2 u2bad.bin u2fixed.binHere, “u2” is the filename of the good Art flash dump from MAME, “u2bad.bin” is the faulty Art flash dump from the board, and “u2fixed.bin” will be the repaired dump.
After a moment, U2 Compare finished its operations. Two bad blocks in the dump were detected, and four patch block files were generated to address them.
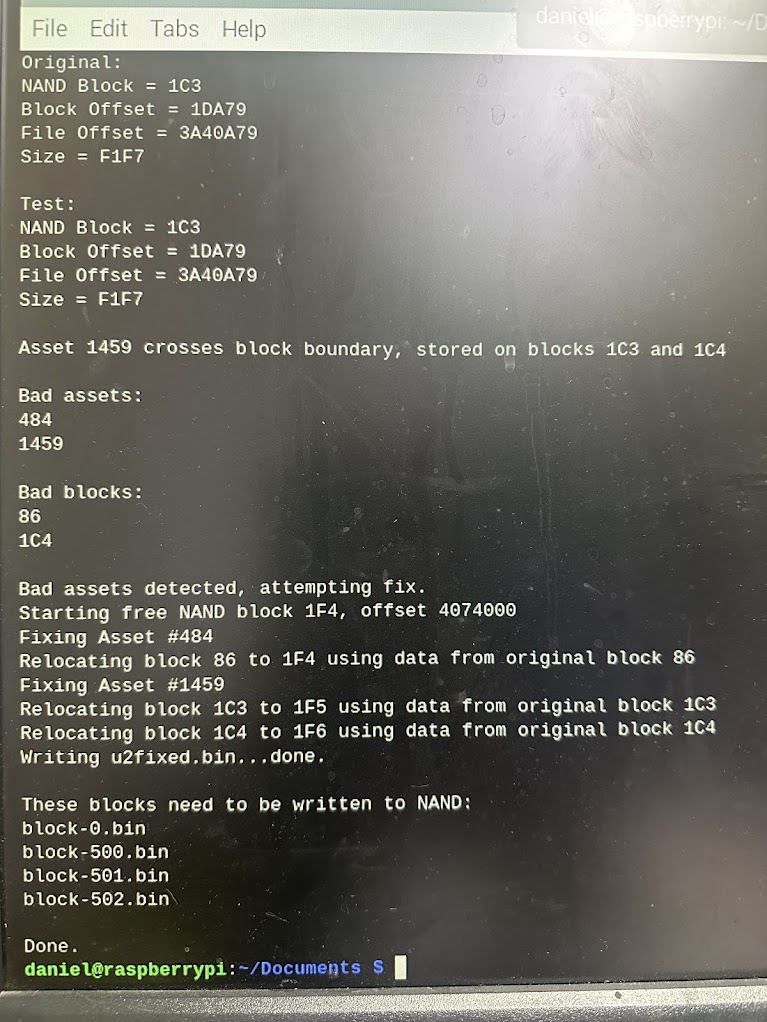
The next step is to write the four patch block files back to the Art flash on the CV1000. Buffi recommends backing up the factory Bad Block Table on the flash before any CV1000 flash writing operations, so I went ahead and did that for the Art flash with the following command:
sudo python3 K9F1G08U0M_JTAG.py read_page --page=0 --filename=u2_page0.dmpAnd then I wrote the four patch files to the Art flash by issuing each of these commands one at a time:
sudo python3 K9F1G08U0M_JTAG.py write_block --block 0 --filename block-0.bin
sudo python3 K9F1G08U0M_JTAG.py write_block --block 500 --filename block-500.bin
sudo python3 K9F1G08U0M_JTAG.py write_block --block 501 --filename block-501.bin
sudo python3 K9F1G08U0M_JTAG.py write_block --block 502 --filename block-502.bin

Now it was time to disconnect JTAG and test the board. I powered down the CV1000, disconnected the JTAG wires, moved the S1 Switch back to the stock position and powered up. After the game booted, I entered the special service menu and confirmed that the corruption from before was now fixed.
For good measure, I also played through the entire game and confirmed that there was no asset corruption. The game is fixed!

Sorry, the comment form is closed at this time.