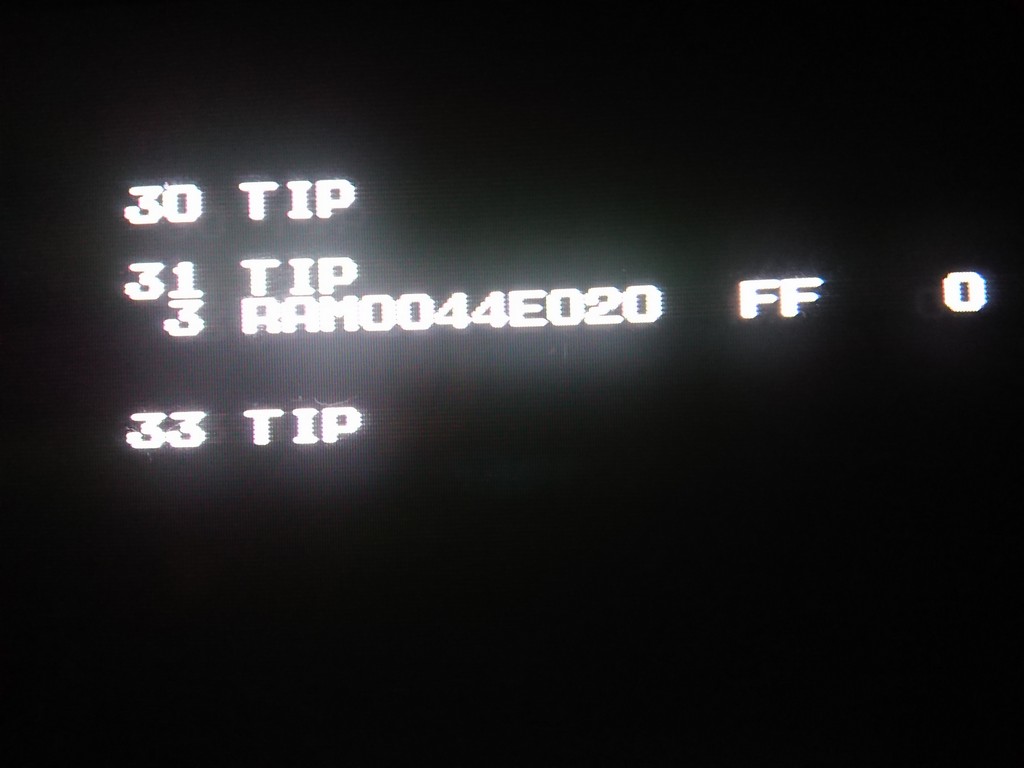
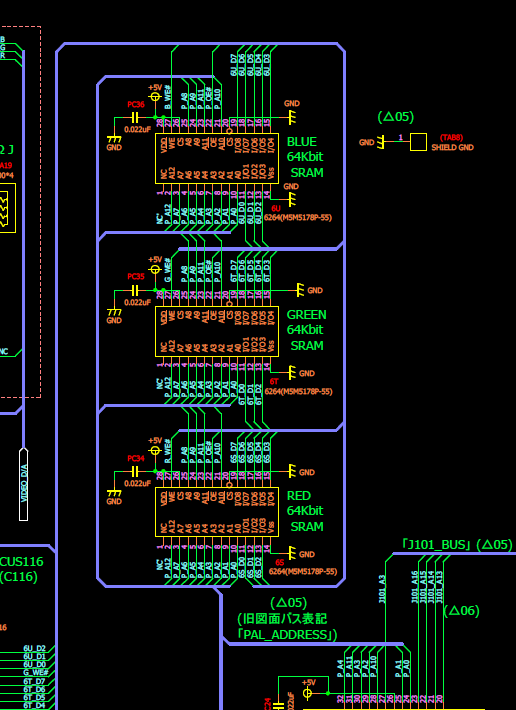
Using Mame source code with the memory map I could narrow down that RAM0044Eo20 was the colour BLUE ram
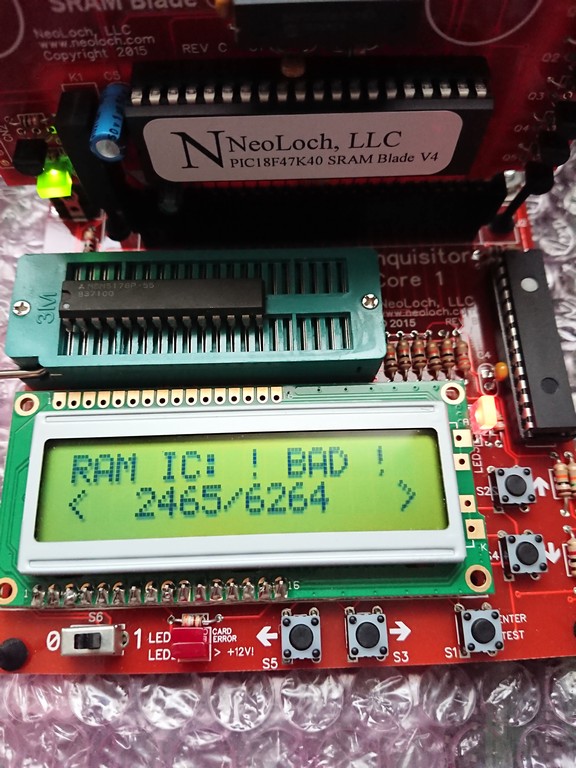
Desoldering it I could confirm it was bad
After replacing it I still got:
30TIP, 31TIP and 33TIP error
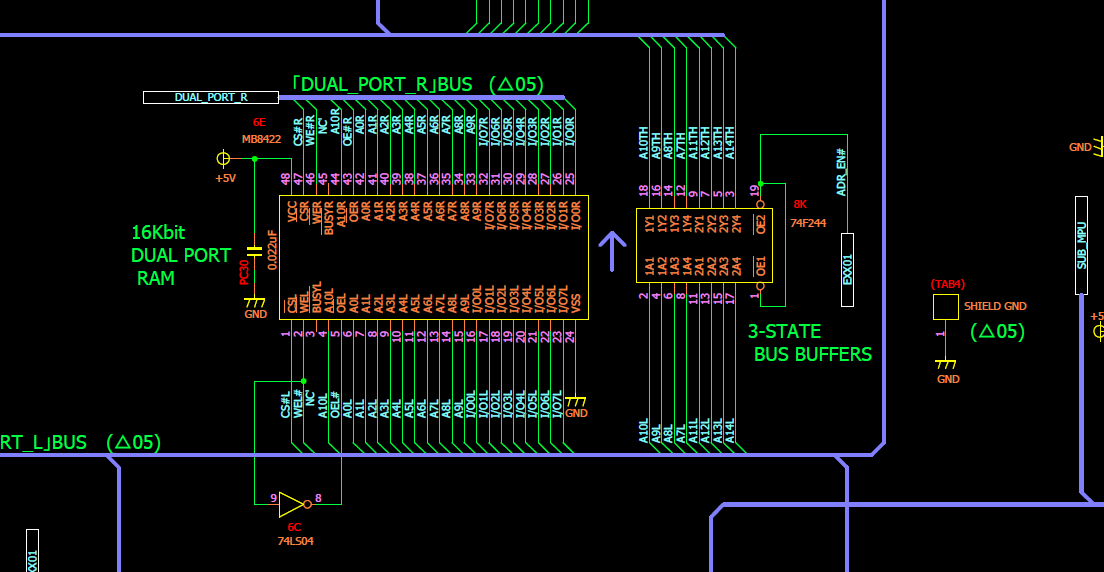
After discussing with Charles MacDonald he pointed me to the DUAL PORT RAM.
It checks if the last entry in RAM (460FFF) is zero, if so that’s an error (should be non-zero)
Then it checks if 460FF contains byte 6B, if it doesn’t that’s an error too
I started to probe around the dual port ram
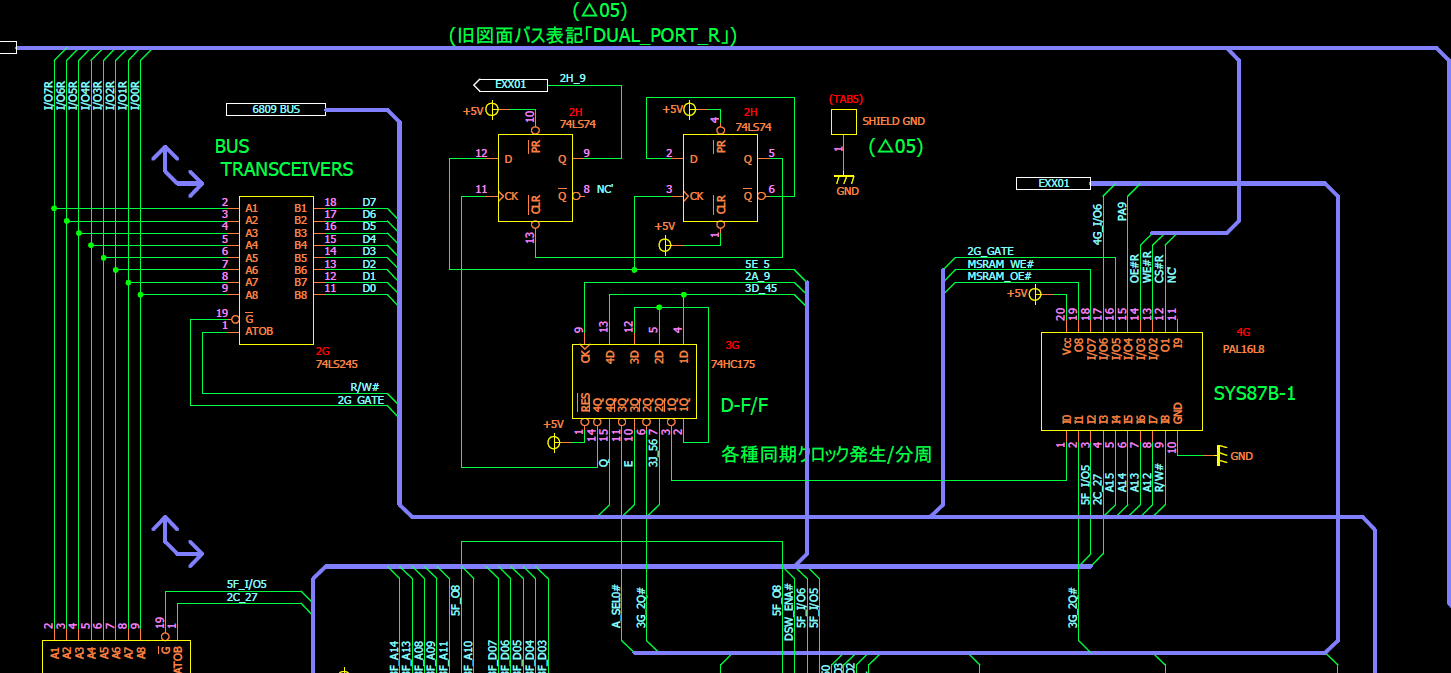
Until I found a stuck bit on the Left side of the Dual port ram which came from a 74HC175.
After changing it, the game booted but still with TIP33 error which could be erased by pushing the start button.
TIP33 is the error related to the EEPROM which is not inizialized correctly or contain some corrupted data. Normally you inizialize it only one time but everytime
started the pcb, I got this error and offcourse all the dipswitch settings couldn’t be saved correctly.
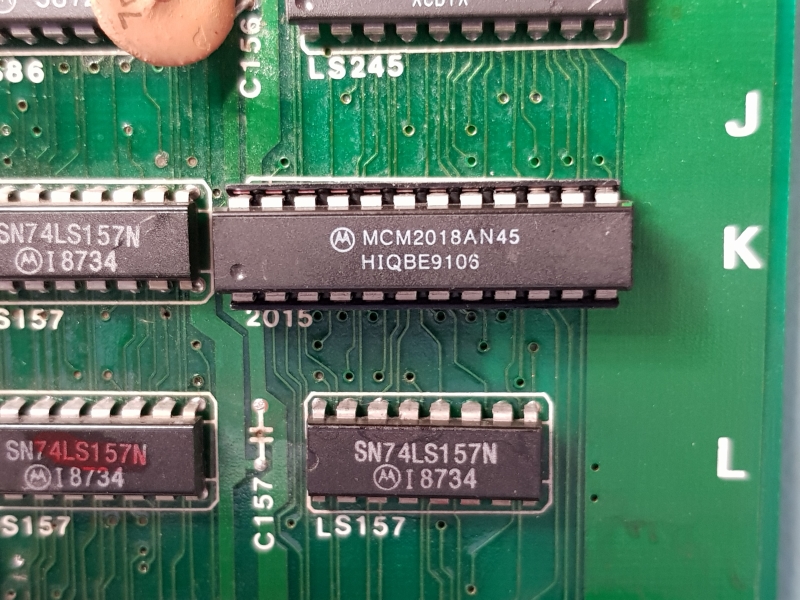
To cut a long story short, some smart guy changed the original EEPROM with a normal 8k SRAM!
I took a spare from a faulty final lap 3 and I could finally fix 100% the game
Although this is a bootleg it follows the original PCB closely.
Couple of easy fixes on this one.
First a character issue and second a sound issue.
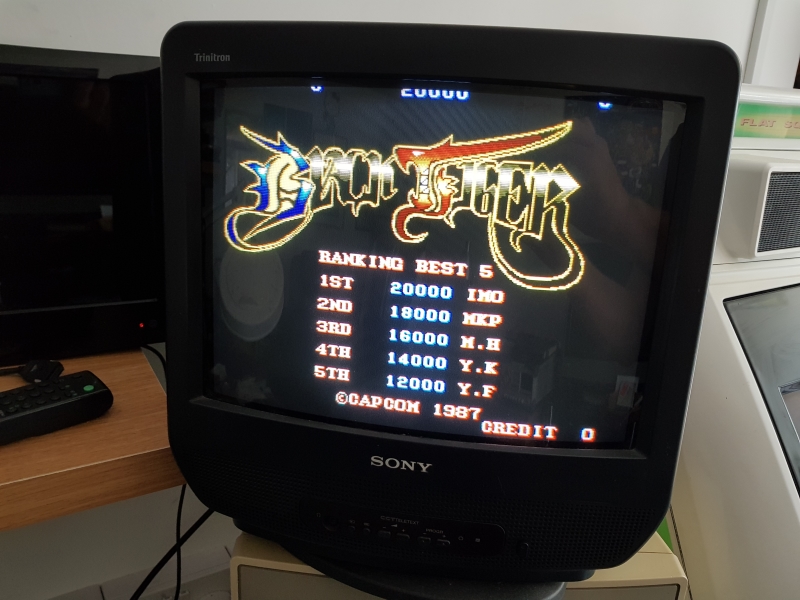
As you can see in the video above, the screen is filled with “A”s and none of the text is correct
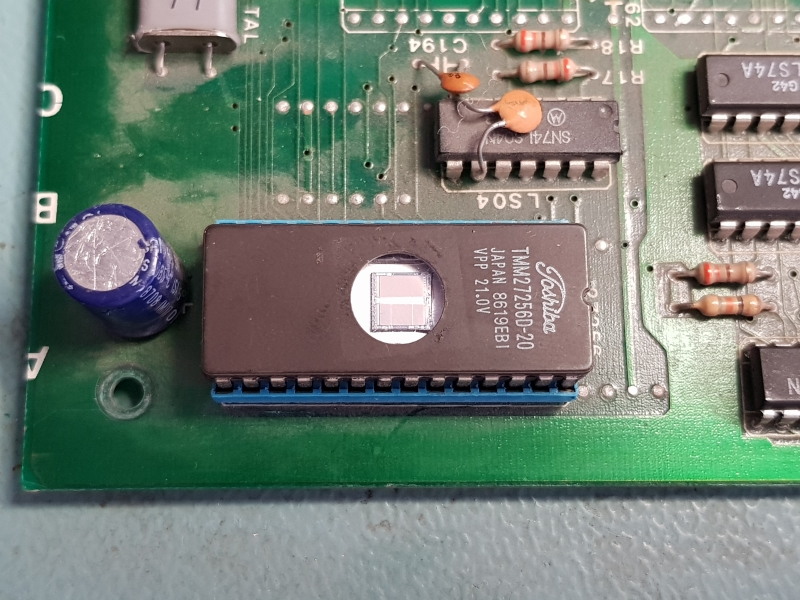
There is a seperate EPROM used for characters on this game.
Pulling this and reading back with my programmer yielded a valid dump for Black Tiger.
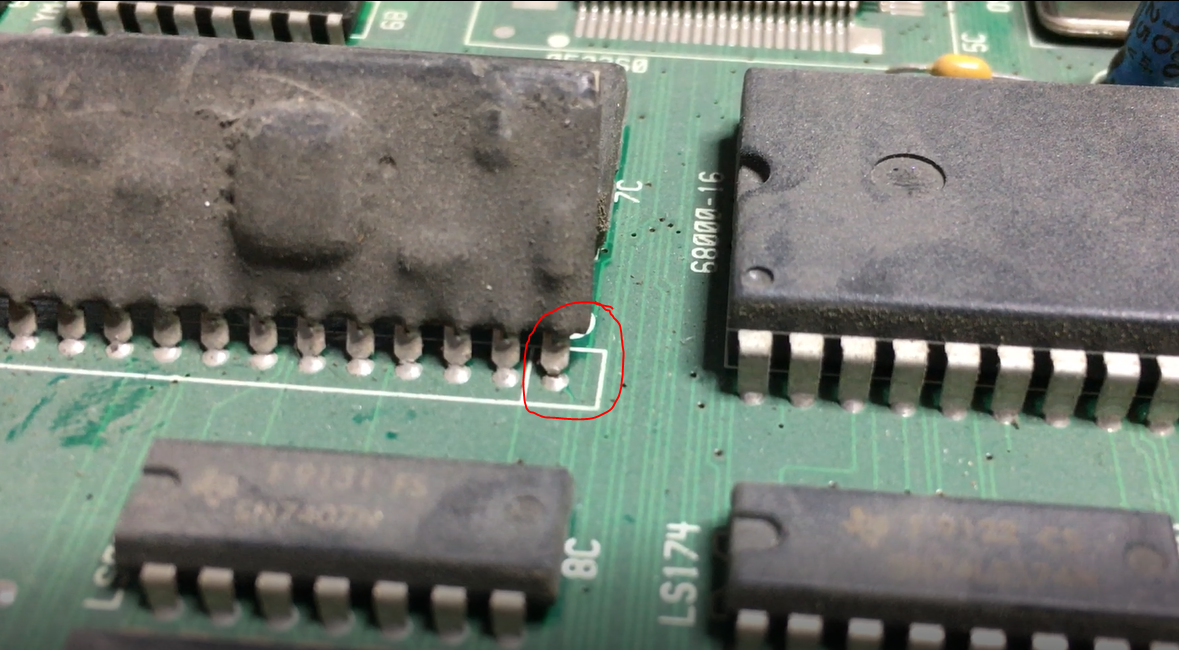
Checking the adjacent associated 74LS273’s and 74LS245 showed I had at least one pin floating.
I traced this back to a nearby TMM2016 which had D7 floating.
Replacing this fixed the screen
The sound issue was even easier. The sound program EPROM was completely smashed. Replacing it fixed the issue.
Was asked by a friend to repair his Sunset Riders.
When starting up the PCB, it was stuck in something resembling a watchdog fault.
But I’ve been working on Sunset Riders before and this didn’t seem like an ordinary watchdog. I felt that it went a little bit longer in the startup sequence before crashing.
The board was a bit dirty but I started with the usual:
Checking CPU signals like clock, reset and halt
Verifying the program ROMs
Checking the program RAM for odd signals
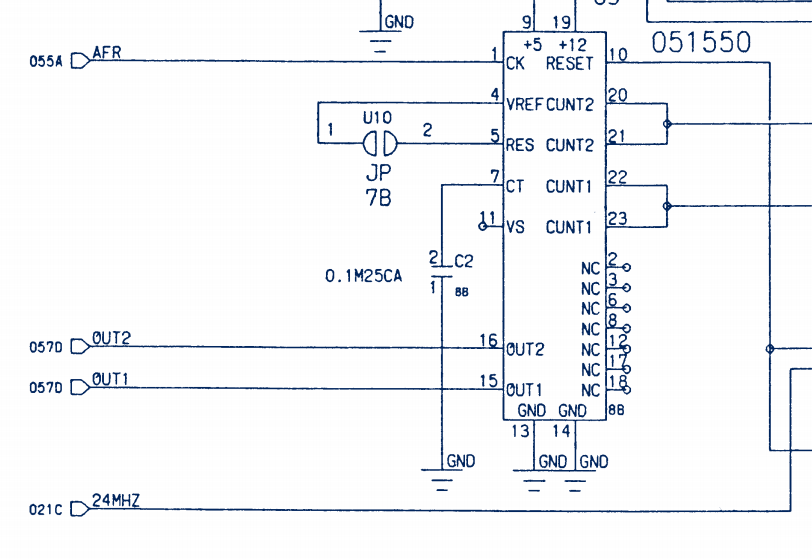
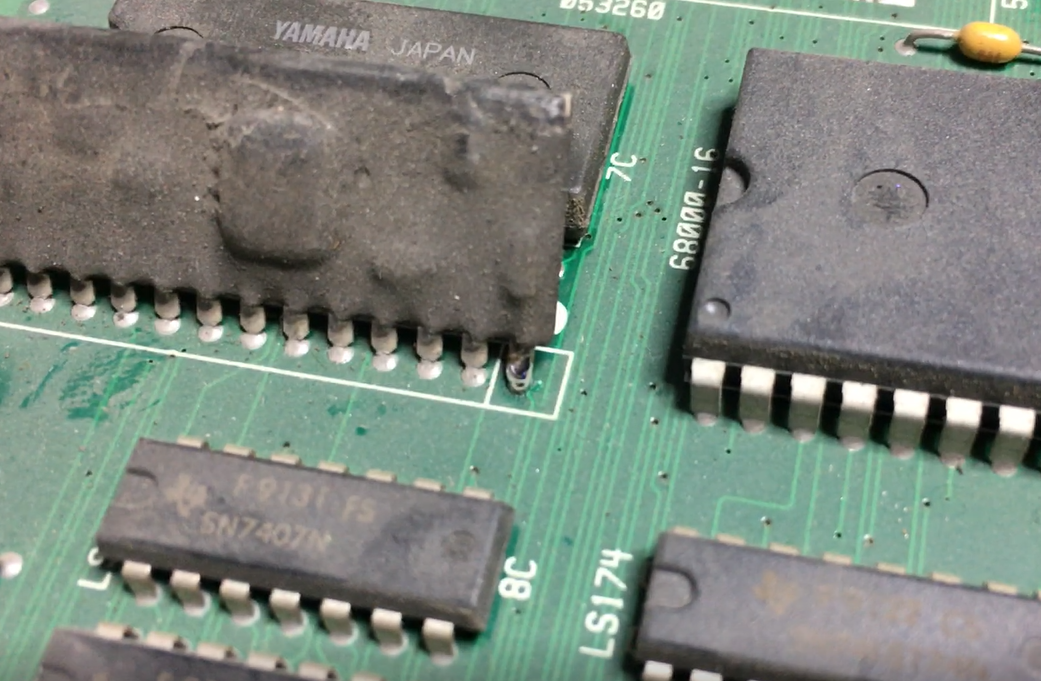
All looked ok, but then I found this at the 051550 reset signal generator.
Pin 1 on the 051550 looked like a cold solder joint.
Pin 1 is the clock signal input pin on this IC and without that input, I can understand that the game doesn’t boot up properly. Gave that pin a dab of solder
ROM_REGION( 0x040000, “layer2”, 0 ) /* Text / Character Layer */
ROM_LOAD( “text.u58”, 0x000000, 0x040000, CRC(5dba06e7) SHA1(f9dab7f6c732a683fddb4cae090a875b3962332b) )
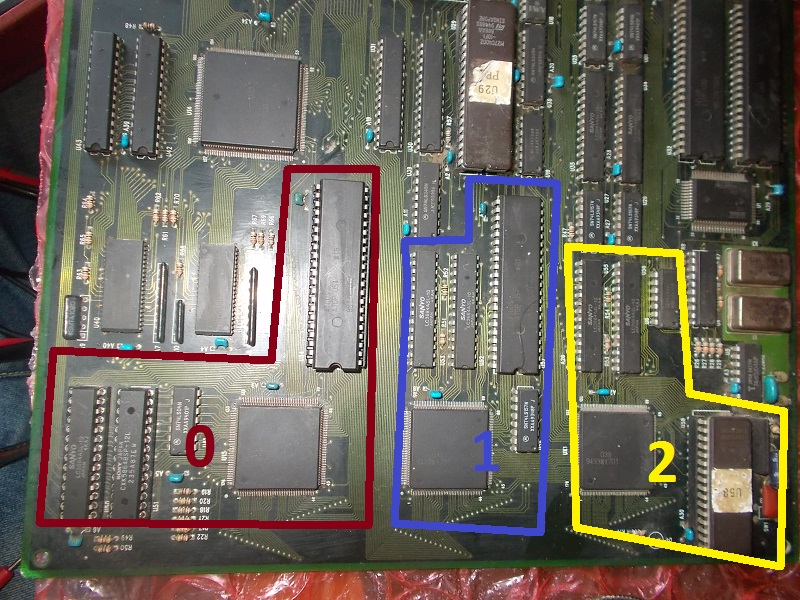
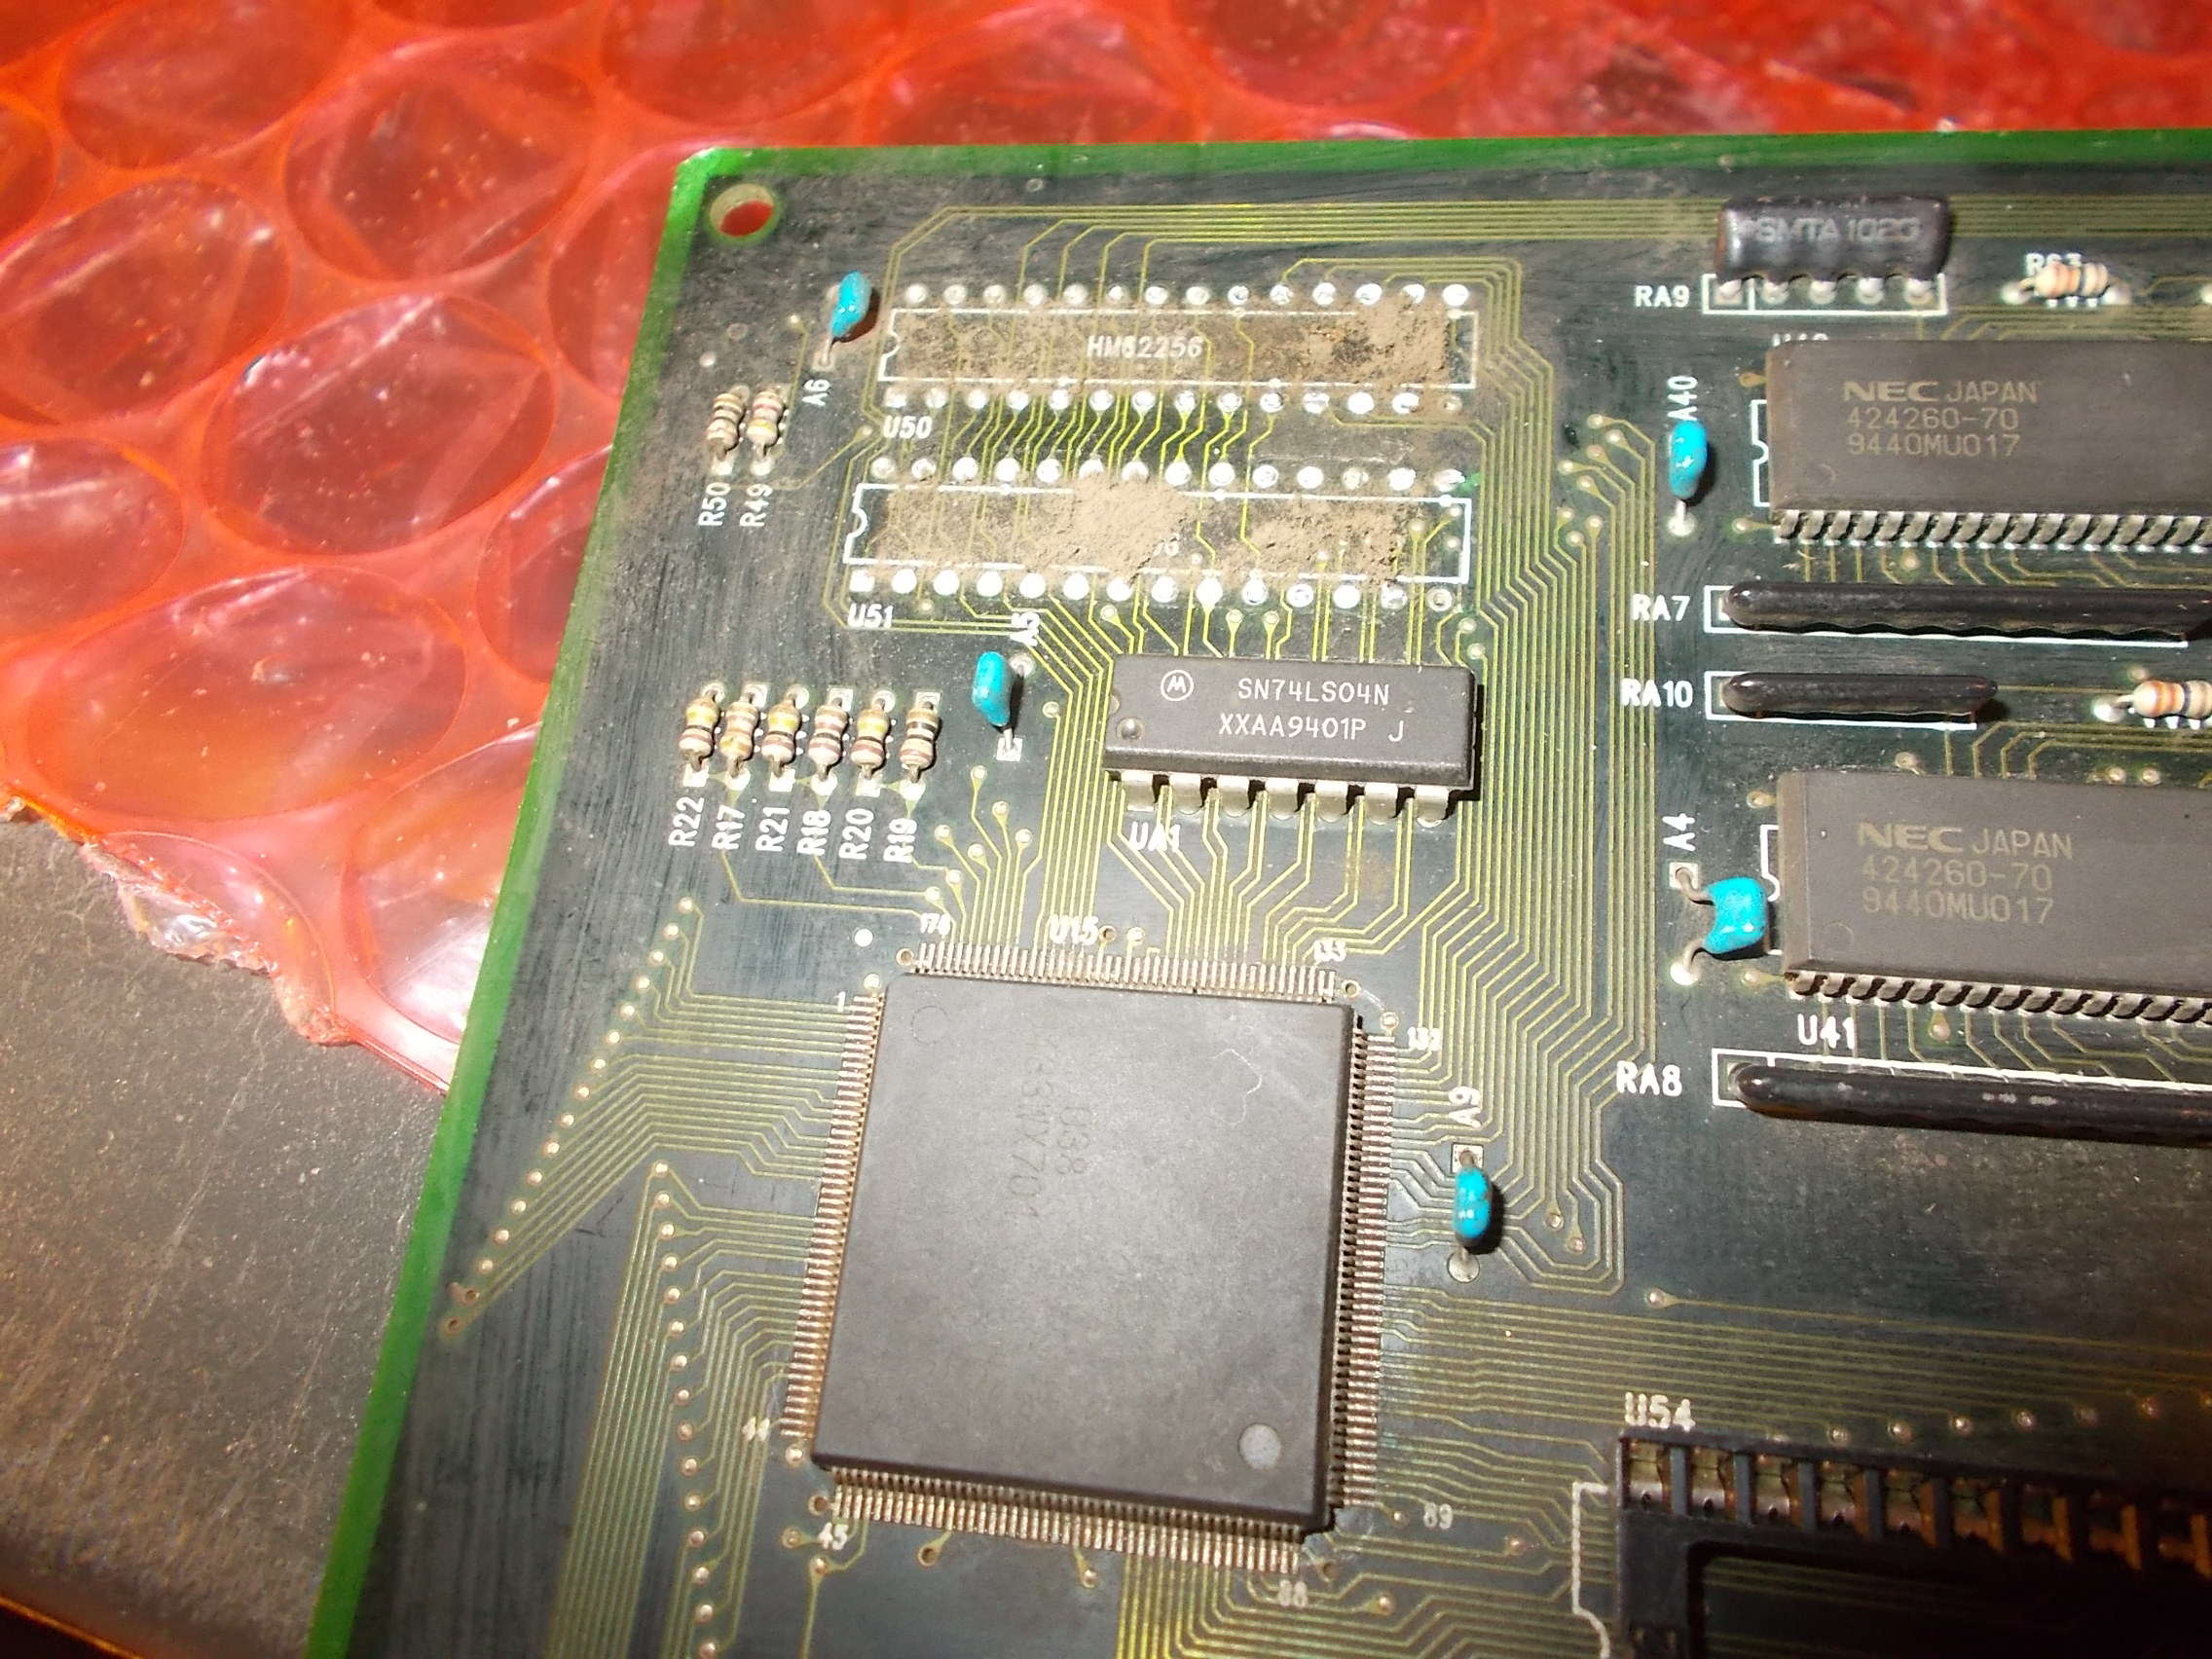
I translated this info on hardware and figured out the relevant circuit of each layer:
Each circuit consists in a QFP custom ASIC (maked ’38’) which addresses an 8Mbit MASK ROM (or a 2Mbit EPROM for the text layer) reading back data that then are written to two 8K x 8-bit static RAMs.After succesfully checked connection between ASIC, ROM and RAMs my suspicions fell on the 8k x 8-bit SRAMs, they were all manufactured by Sanyo so in my experience not a great guarantee of reliability.Probing the ones @U50 and U51 (which lie in the ‘layer 0’ circuit) revealed weak or stuck signals on many data lines:
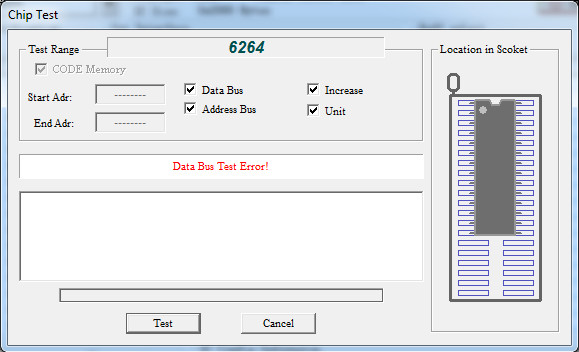
I removed both:
Actually only the one @U51 failed the out-of-circuit testing:
Now all graphics were visibile.Backgrounds and sprites were fine but text was corrupted throwing garbage over the screen :
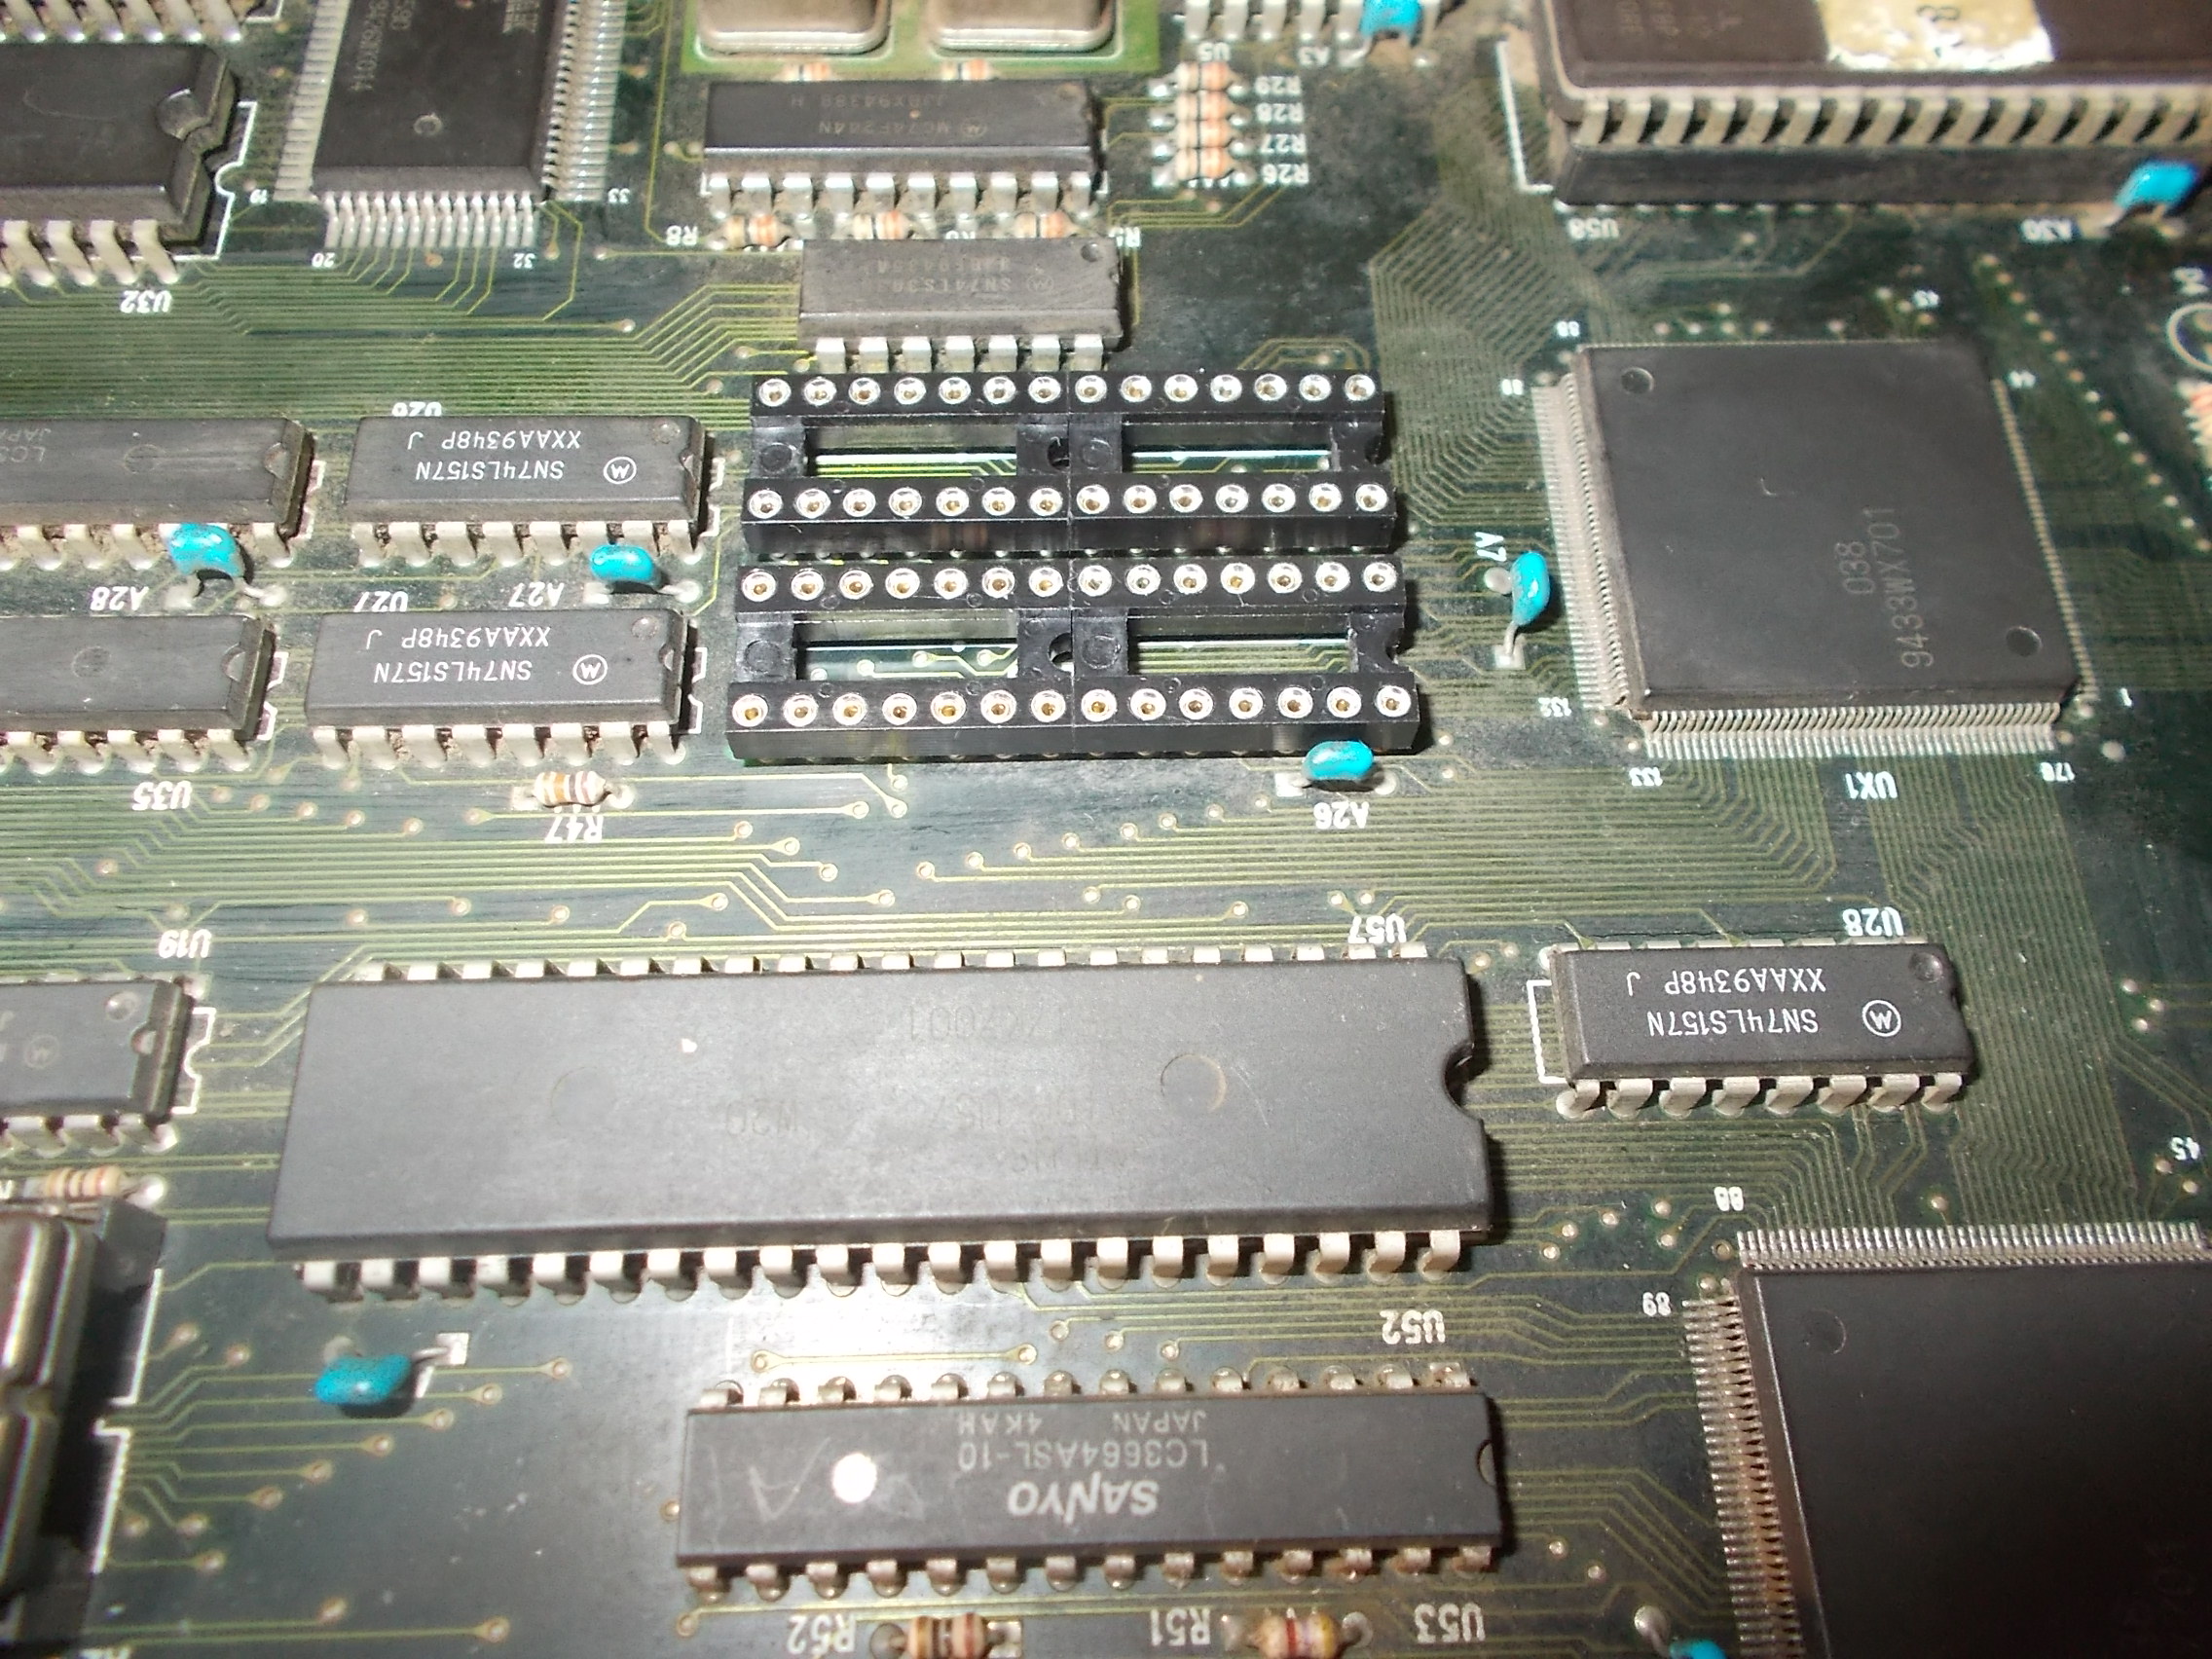
The ‘layer 2’ identified in MAME source as ‘ Text / Character Layer’ was obvioulsy the involved one.Checking the two Sanyo 8K x 8-bit SRAMs @U55 and U56 revealed again weak signals on data lines:
I removed them and installed machine sockets:
Actually both RAM chips successfully passed the out-of-circuit testing of my different programmers.Anyway, replacing them fixed completely the graphics:
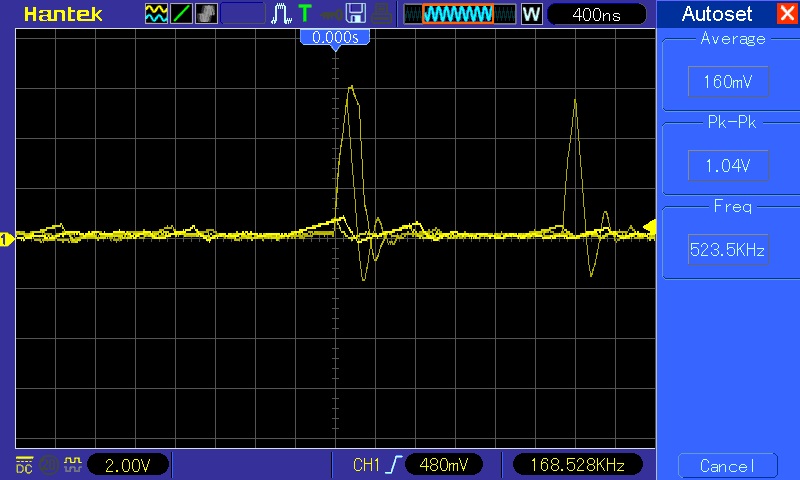
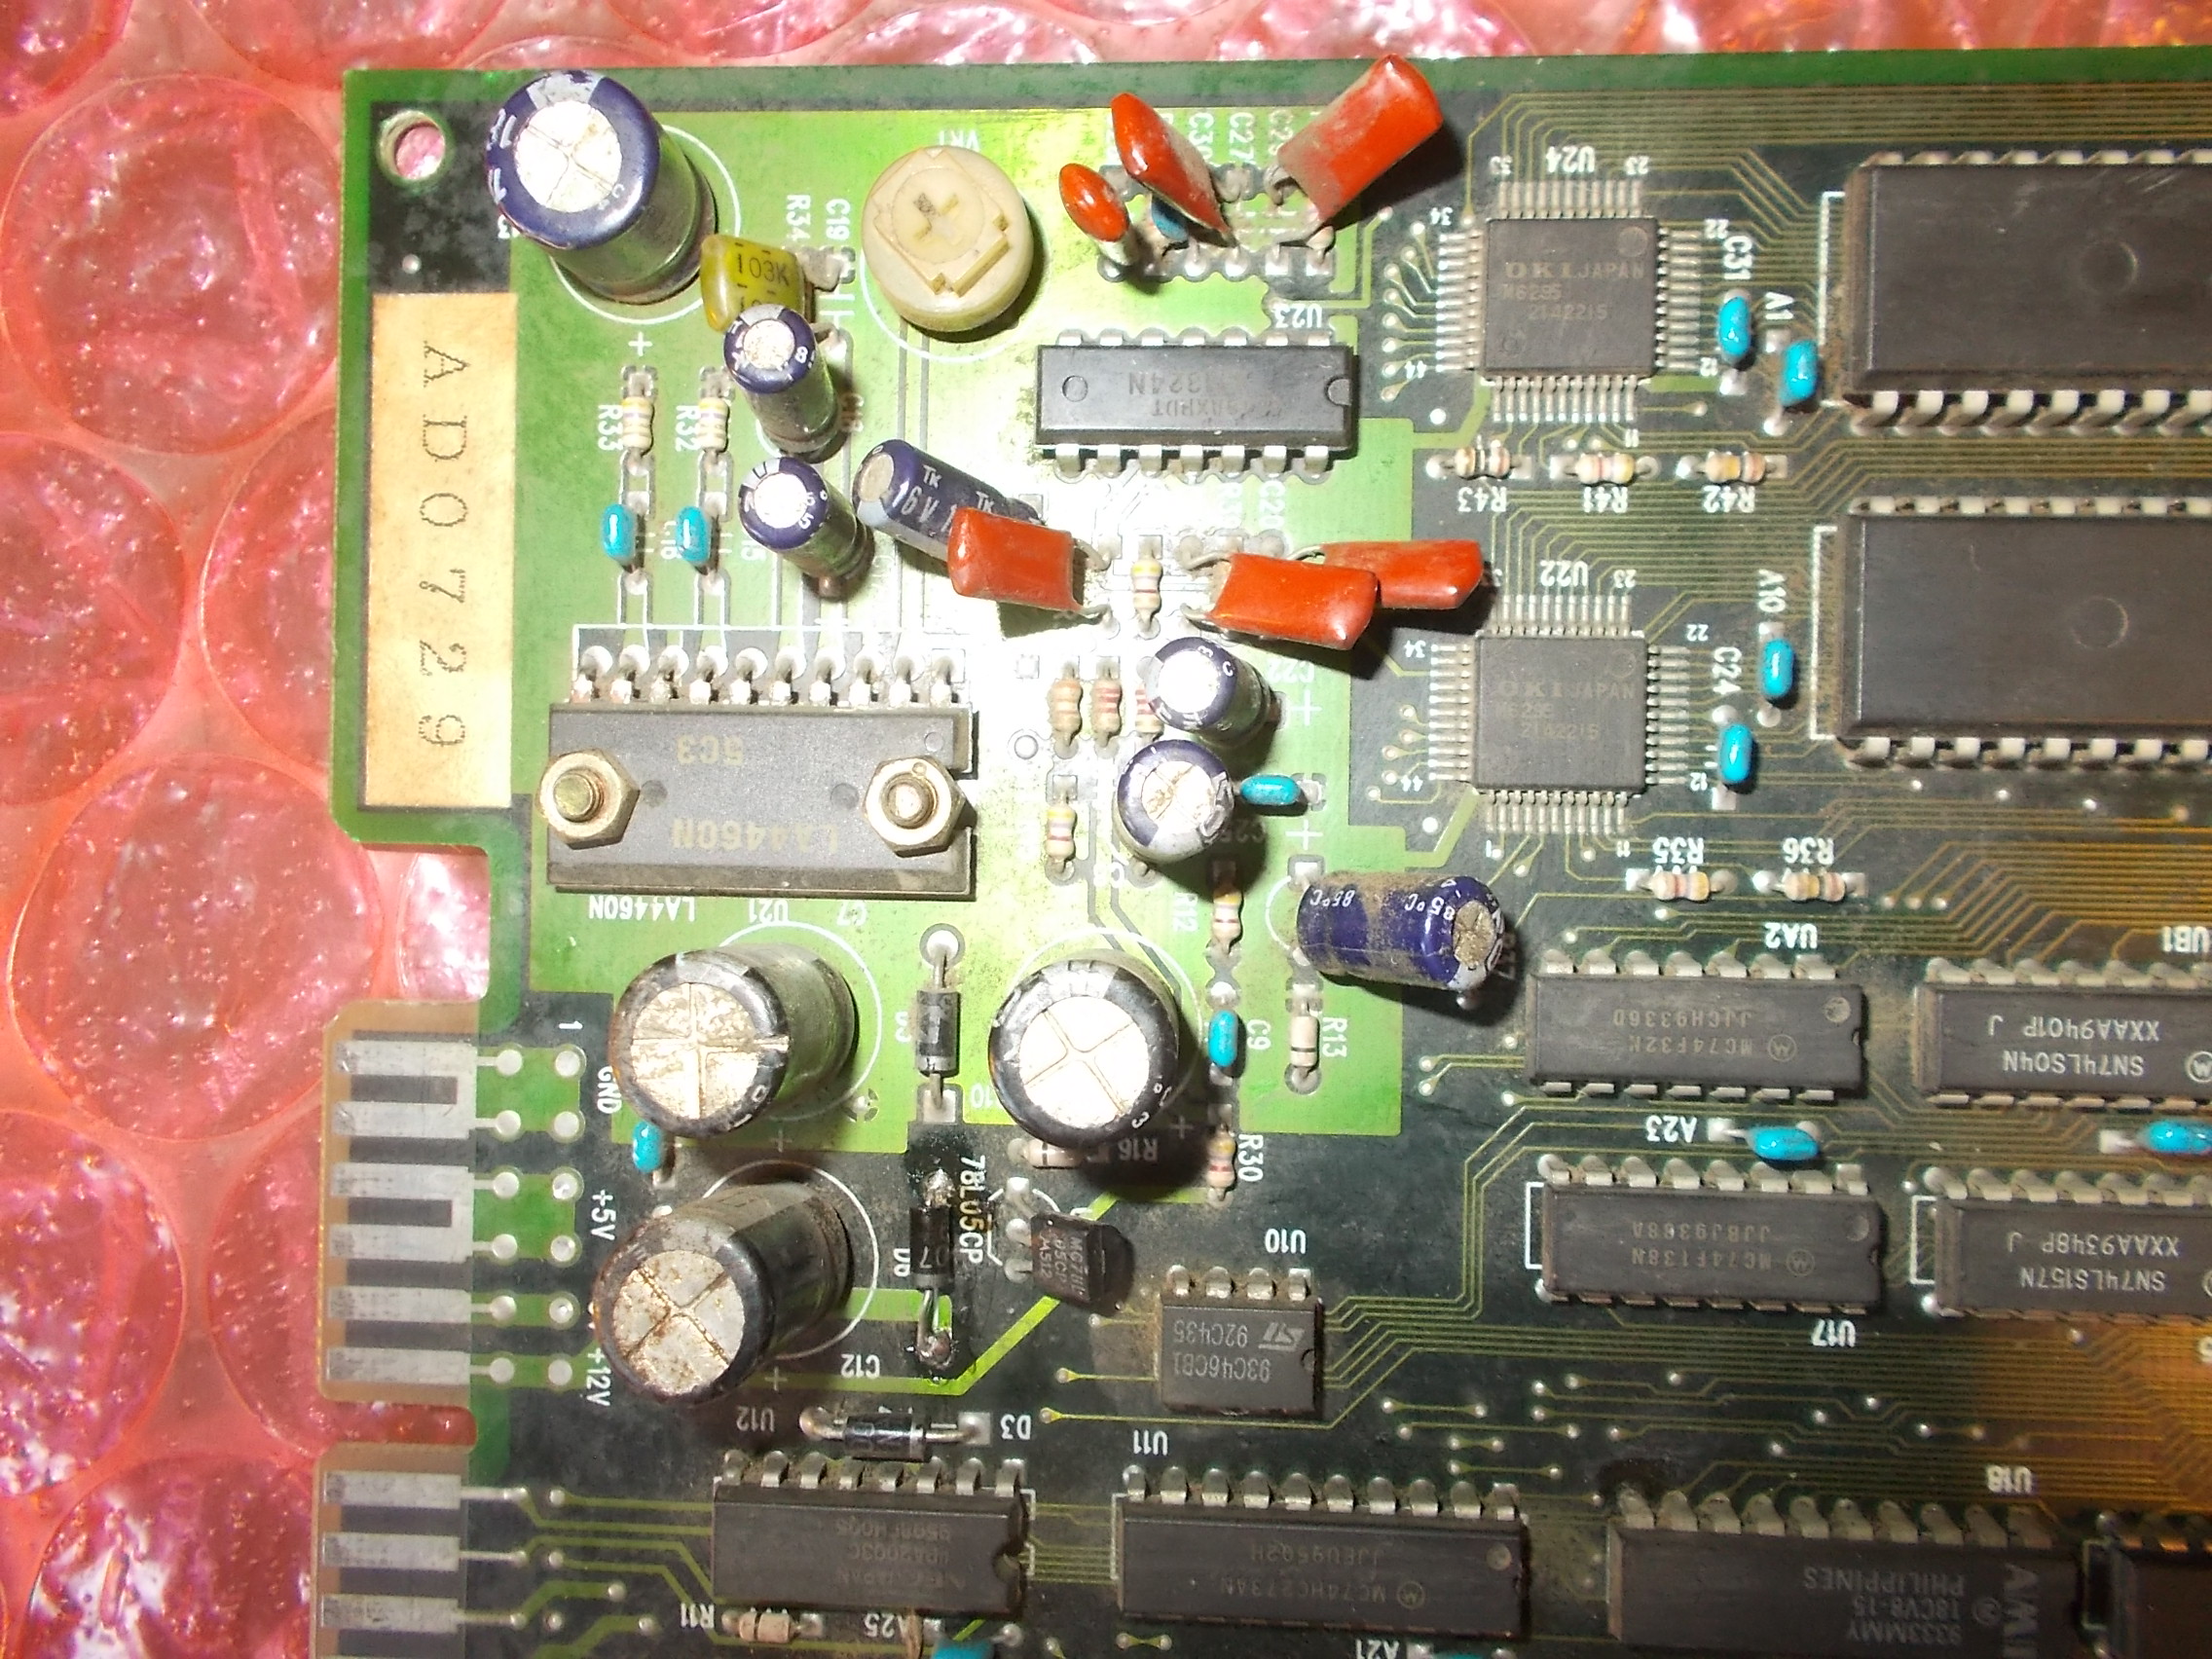
But sound was horribly scratchy and corrupted as you can hear in the above video.Here it comes again to help my audio probe for checking the relevant circutit:
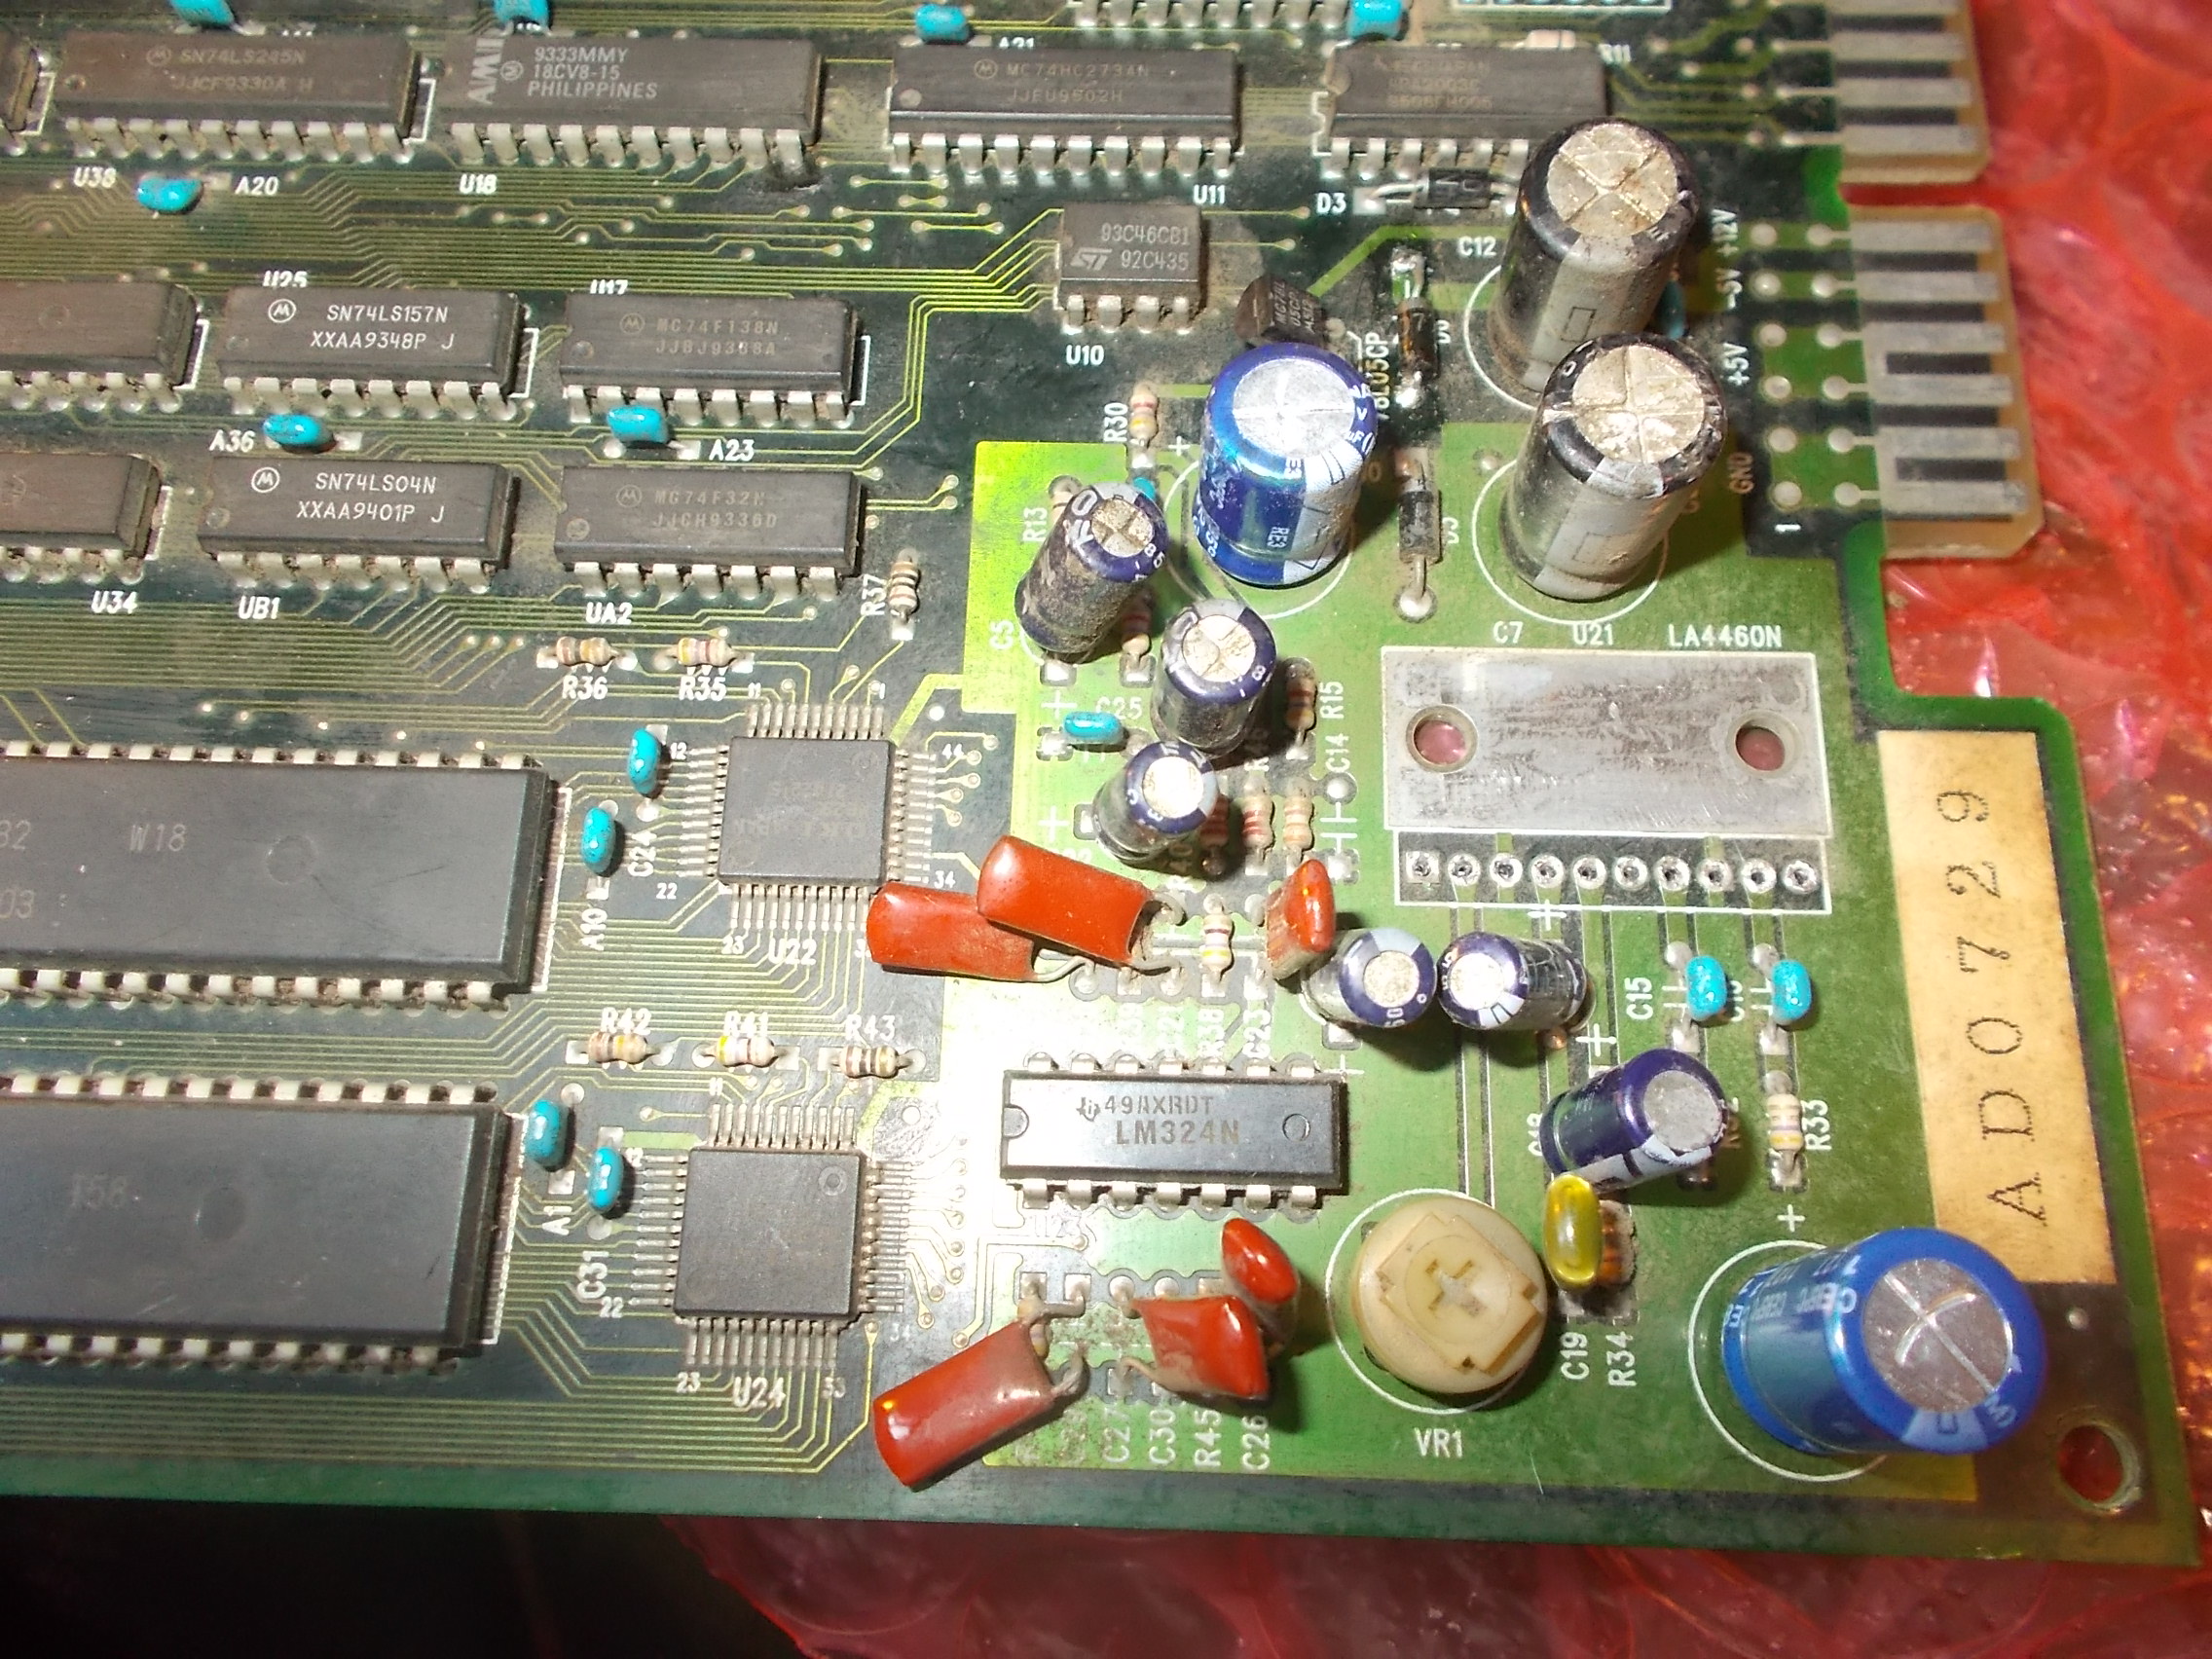
“Listening” to various points revealed the sound was clear on the analog output of the two OKI MSM6295 and still good on outputs of the LM324 OP-AMP and input of the LA4460 amplifer.It was fine too on one output (pin 7) of the LA4460 amplifier:
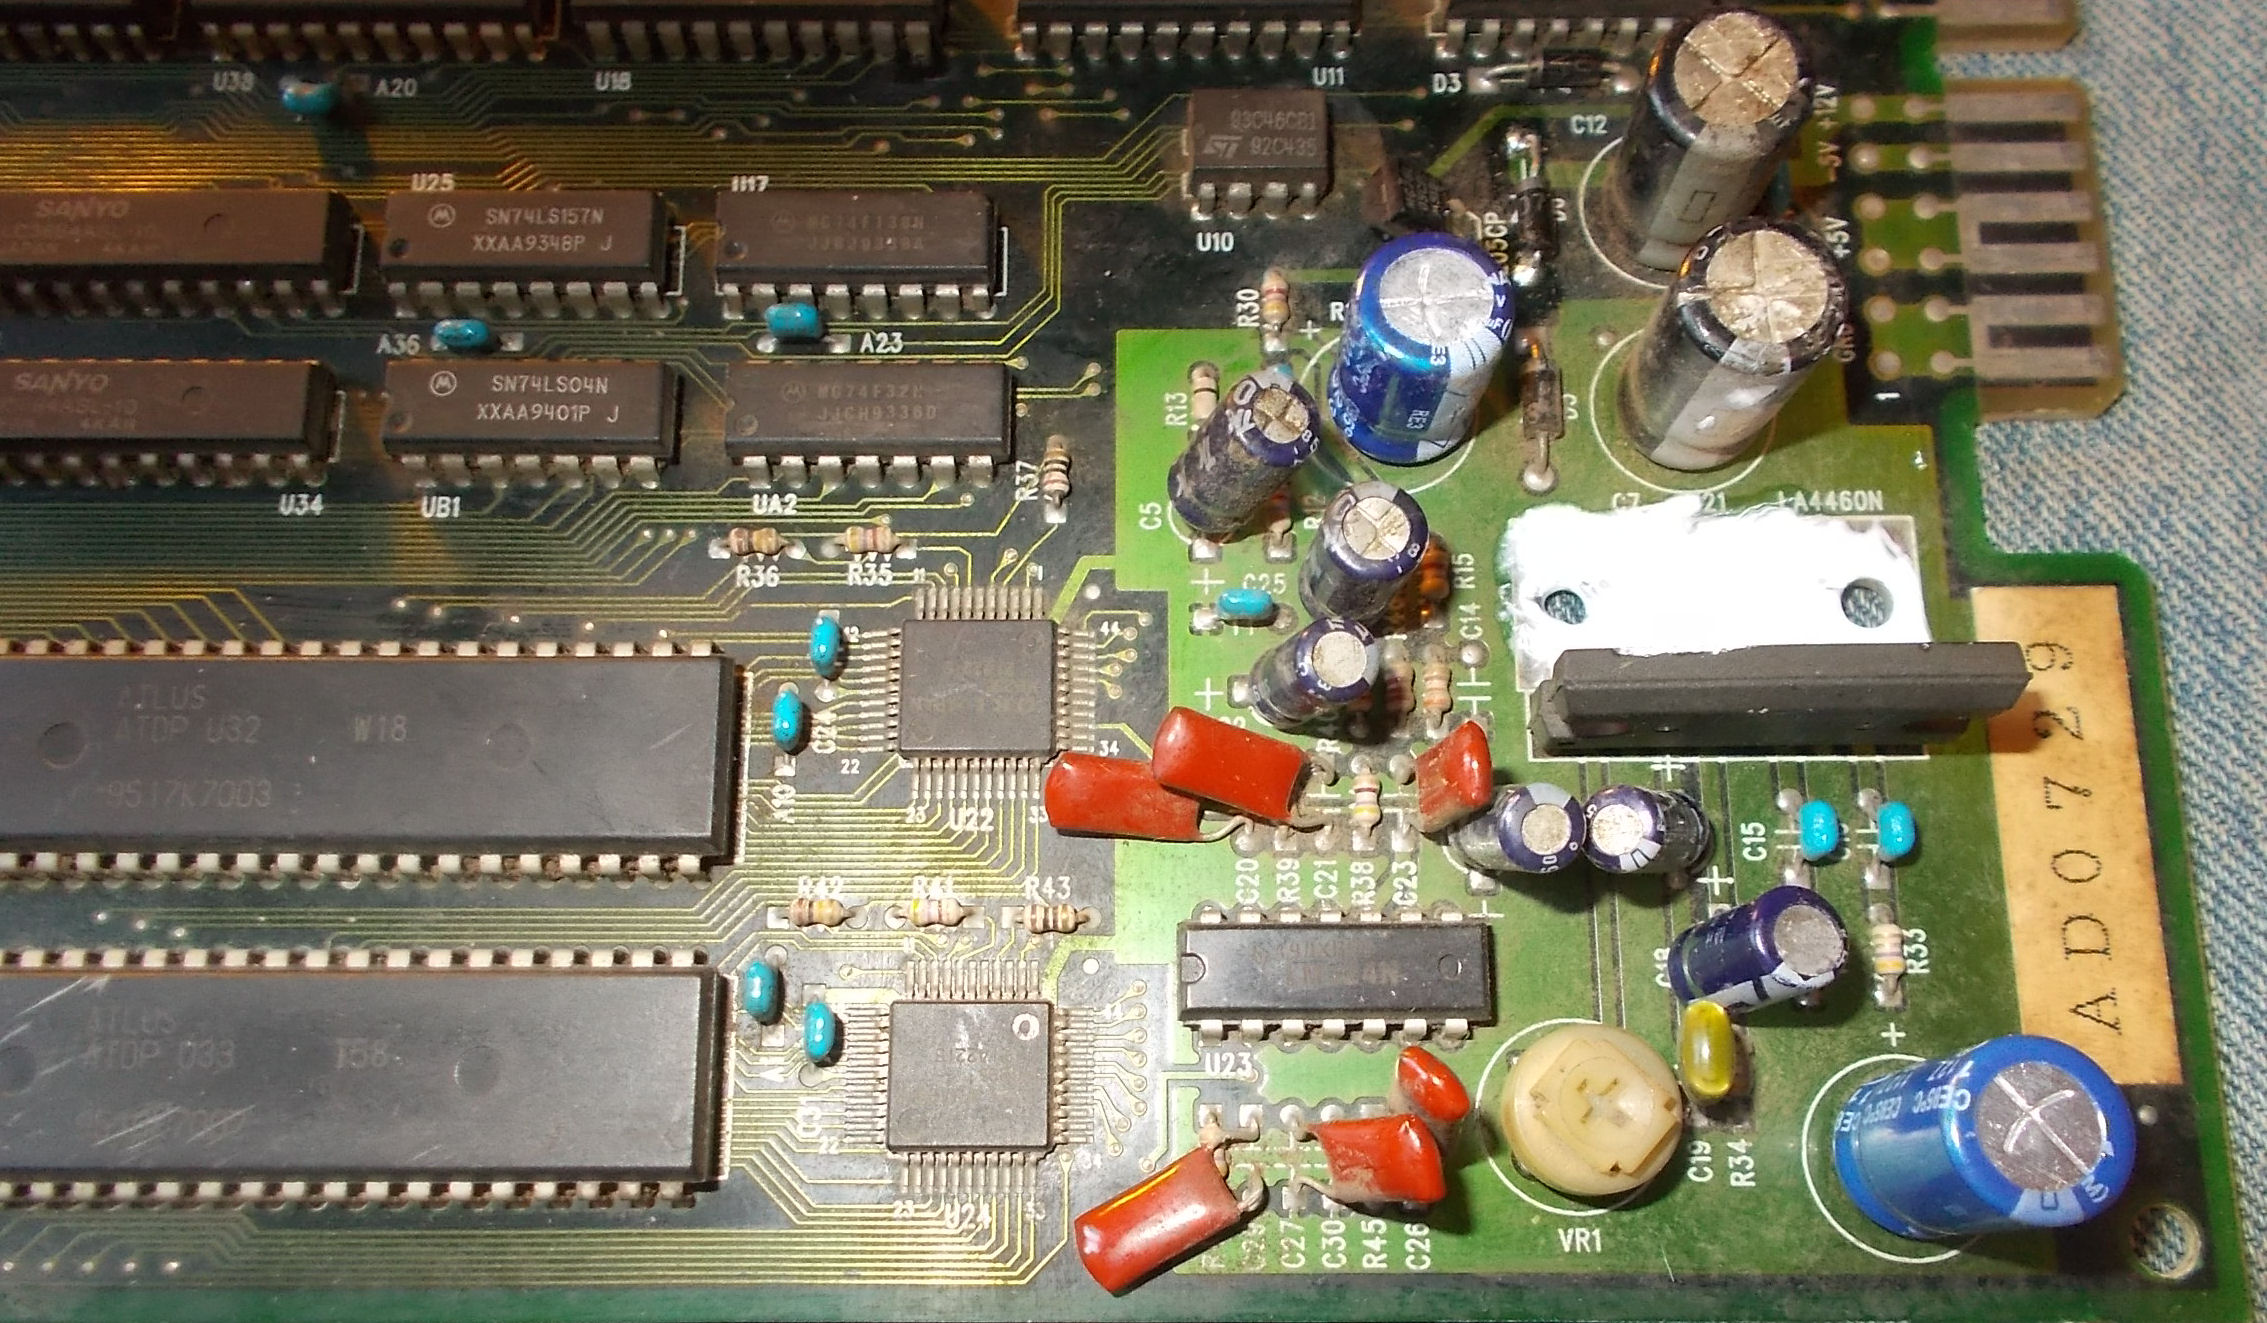
But corrupted on the other output (pin 9)
I ruled out all electrolytic capacitors checking them in-circuit with my ESR meter (bad ones can affect sound in this way) so I decided to remove the LA4460 amplifer:
Put back a good one and some thermal compound for a better heat dissipation:
This restored a crystal-clear sound.Mission DonPachi accomplished!
I recently borrowed this Arkanoid PCB from NES4Life. I wanted it as part of a project to recreate the 28 pin custom chip that found on this, Darius and probably a couple of other Taito games of the same era.
He kindly loaned me this but knew it had issues so I agreed to look at this one rather than poke around on one of his workers.
First up the game would not boot, just watchdogged.
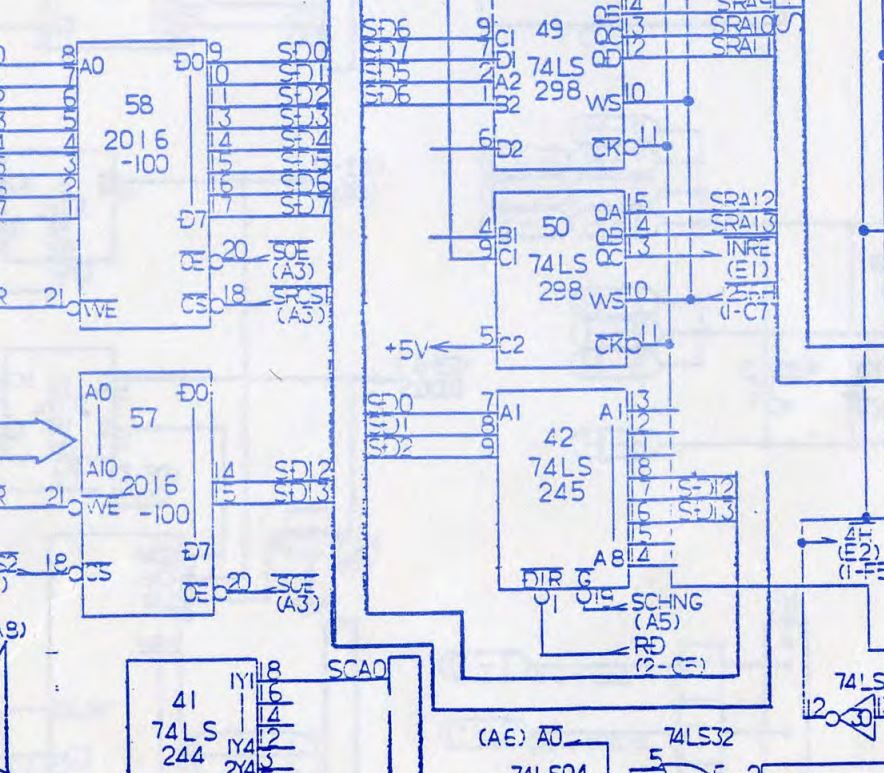
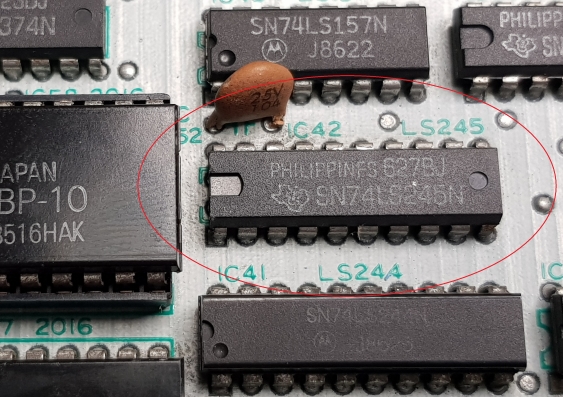
Using the schematics available in the download section I could easily track down a stuck bit on the data bus.
IC42 was to blame for this. Replacing it let the game boot but with all new issues.
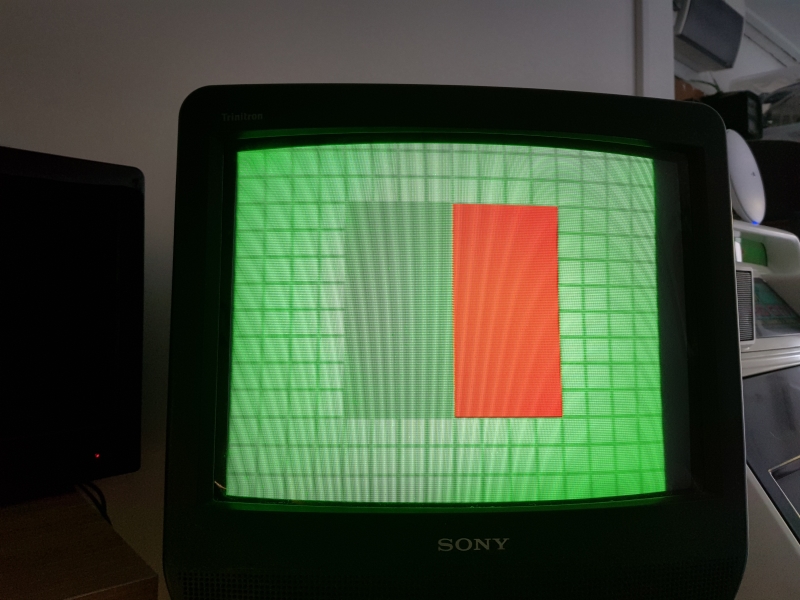
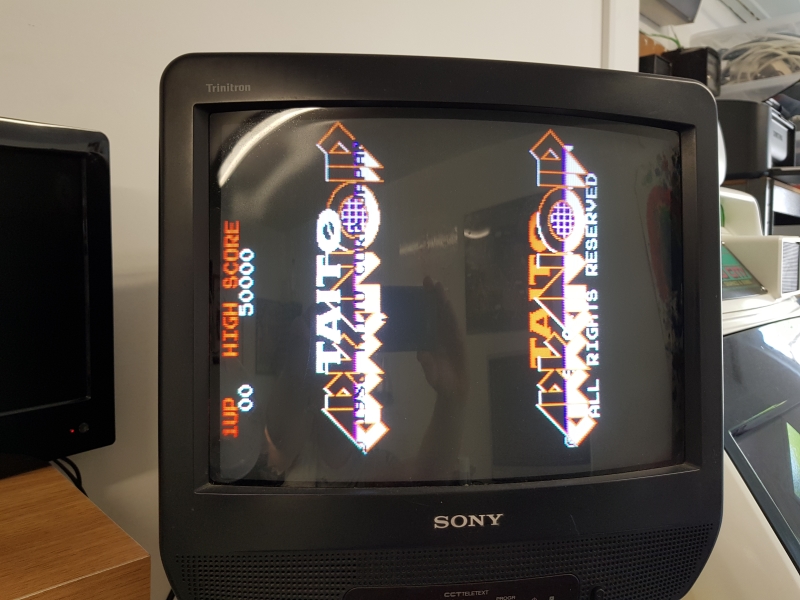
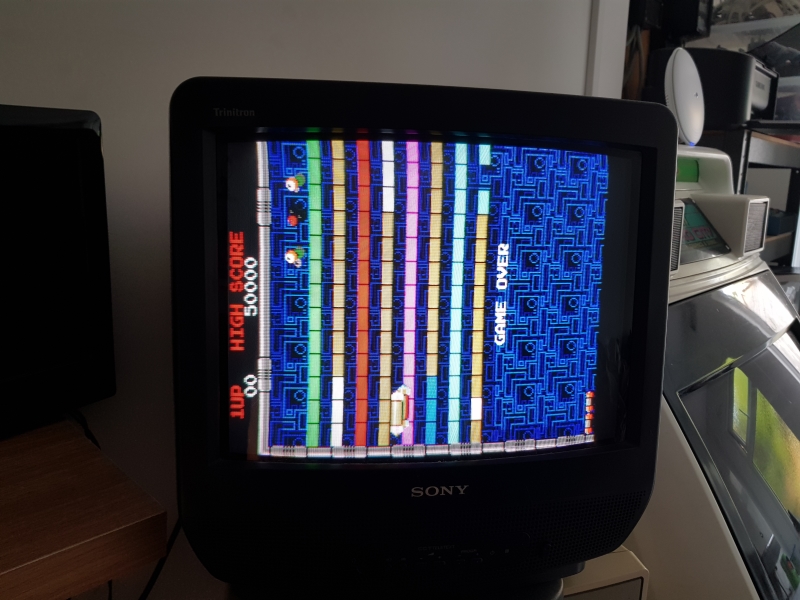
You can see the game has booted straight into test mode and the colours are messed up.
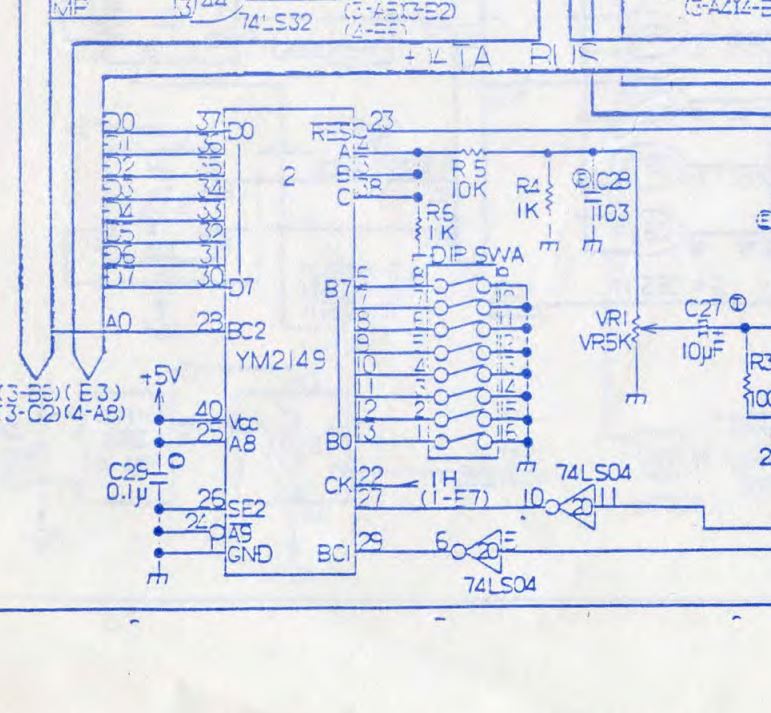
One of the DIP switches is for test mode and the DIP’s are handled by the YM2149 chip. Looking at the databus when this chip is supposed to be active showed all data bits stuck.
Replacing this chip let the game boot.
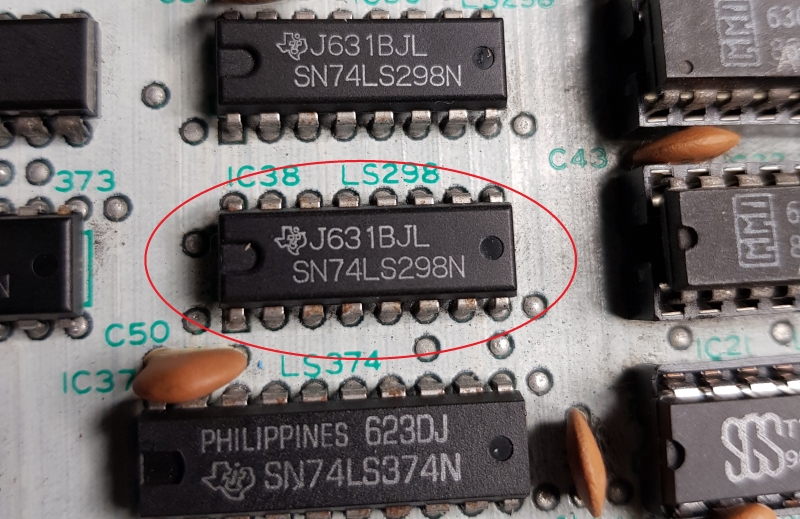
Colours are still messed up so lets look into that. I chose to start at the 3 colour PROM’s
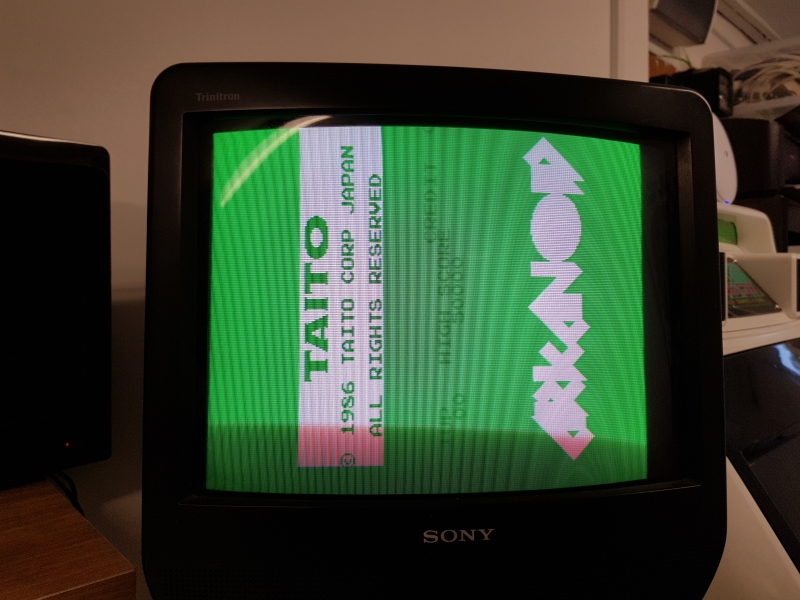
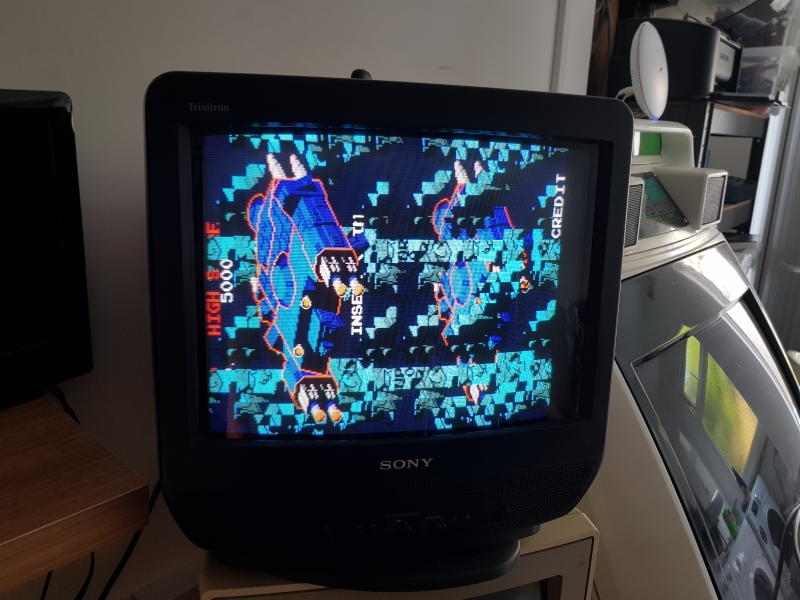
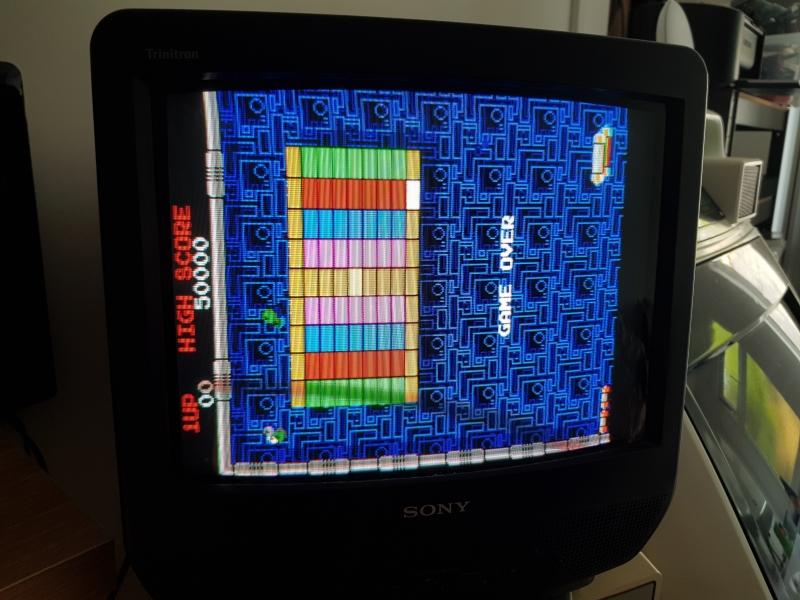
Probing the address pins revealed most were floating. Going backwards we come to a 74LS298 at location IC38. Replacing this then gave me this:
You can see now the screen is doubled up.
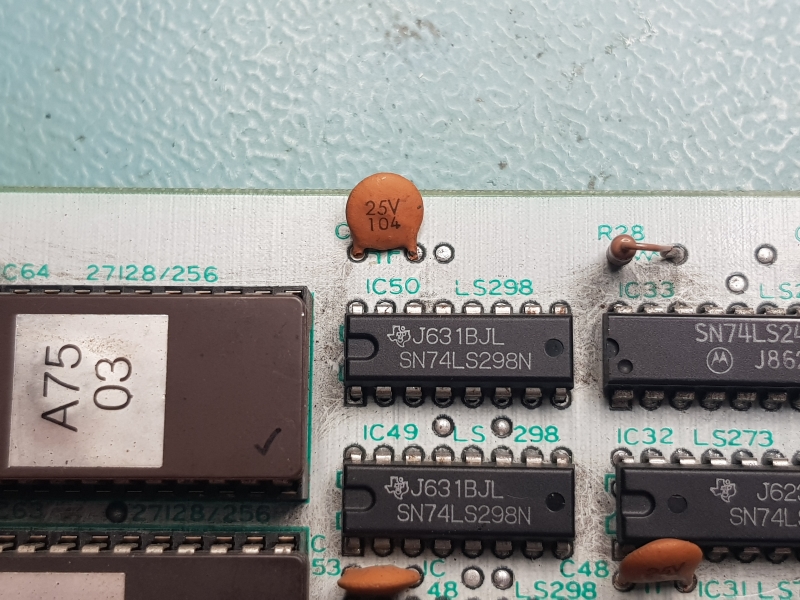
The graphics are contained within 3 EPROM’s. These EPROM’s are all addressed by 74LS298 chips before outputting their data to the custom bit shifters.
Checking these 298’s showed some stuck output pins on IC50.
Replacing this gave me a more normal screen but the bat sprite is being drawn half way up the screen and is doubled up.
Horizontal position has its own bus on the schematics
I confirmed the operation of the 74LS157’s first so moved onto the 74LS669’s. I’ve not dealt with these before and had none to hand either but I was fairly certain id narrowed it down to IC65 so I ordered some new ones up, desoldered the old one and tested it. Thankfully it failed.
Got the new chips a couple of days later and fitted.
Just the double bat issue to go.
The schematics also have a bus identified as OBJ which Im taking stands for Object. It made sense to me that the issue was somewhere along the same path as the previous positioning fault so armed with my best guess going from schematics I carried on following the path first of all checking the other 74LS669. This appeared to be OK and the RAM didn’t have any unusual looking signals on so I carried on. After these there is a 74LS374 on the OBJ bus. Probing the outputs of this found a single stuck bit. Replacing this gave me a seemingly fully operation game.
I cannot check the spinner inputs but all the sounds, DIP’s and regular inputs are working.