P.O.W. – Prisoners of War repair log

 PCB Repair Logs  Comments Off on P.O.W. – Prisoners of War repair log
Sep 292016
 

Got this P.O.W. – Prisoners of War PCB since a long time, bought in a lot of faulty boards from USA :

100_8798

Board was marked by a piece of tape with the words “SPRITE ERROR”.When I first powered the board up, picture could not sync properly on the Philips CM883-II monitor of my supergun (but it did on my Astro City):

I found a workaround by replacing the 100 Ohm resistor connected in series with the SYNC pin of edge connector with a 10 Ohm one.So the sprite error materialized :

As usual I did my visual inspection and found a severed trace on the solderside (involved in the sprites RAM data bus).Patching it cleared the error so game finally booted showing this issue :

100_8729

I noticed that if I shorted some address/data lines of a row of eight 2018 RAMs, further lines were displayed so this was the part of circuit involved.

100_8733_

I went to probe each RAM with my scope and found some irregular activity on data lines of the chip @9K, here is a comparison with a good signal (on the left of the below picture)

data_line_compare

Time to desolder the chip:

100_8946

The out-of-circuit test failed :

20189k_failed

A good RAM chip fixed completely the game.


 Posted by at 9:34 pm

Blood Bros. repair log

 PCB Repair Logs  Comments Off on Blood Bros. repair log
Sep 162016
 

Got this original Blood Bros. among a lot of untested PCBs:

100_8799

For the uninitiated Blood Bros. was released by Tad Corporation in the 1990 and can be considered the sequel of Cabal since it shares the same gameplay.

When I powered up my board, I didn’t noticed anything abnormal but once started a game the background GFX were flashing until they completely disappeared leaving black this part of screen :

Board uses some customs  ASIC to generate GFX.Studying a bit the hardware I figured out that the  one marked ‘SEI0200 TC110G21AF’ 8QFP100)  addresses the  background/foreground 42 pin MASK ROM through some 74LS273 and processes directly its data :

bg_circuit

Piggybacking a programmed 27C800 (equivalent to the 42 pin MASK ROM) had no effect.Since there were no other involved component I was pretty sure the ASIC was bad.Having a Raiden II as donor board I decided to replace this custom:

100_8804

After some work the donor part was in place:

100e8813

Powered up the board again and all the background GFX were back.Board 100% fixed.

 Posted by at 12:00 am
Sep 112016
 

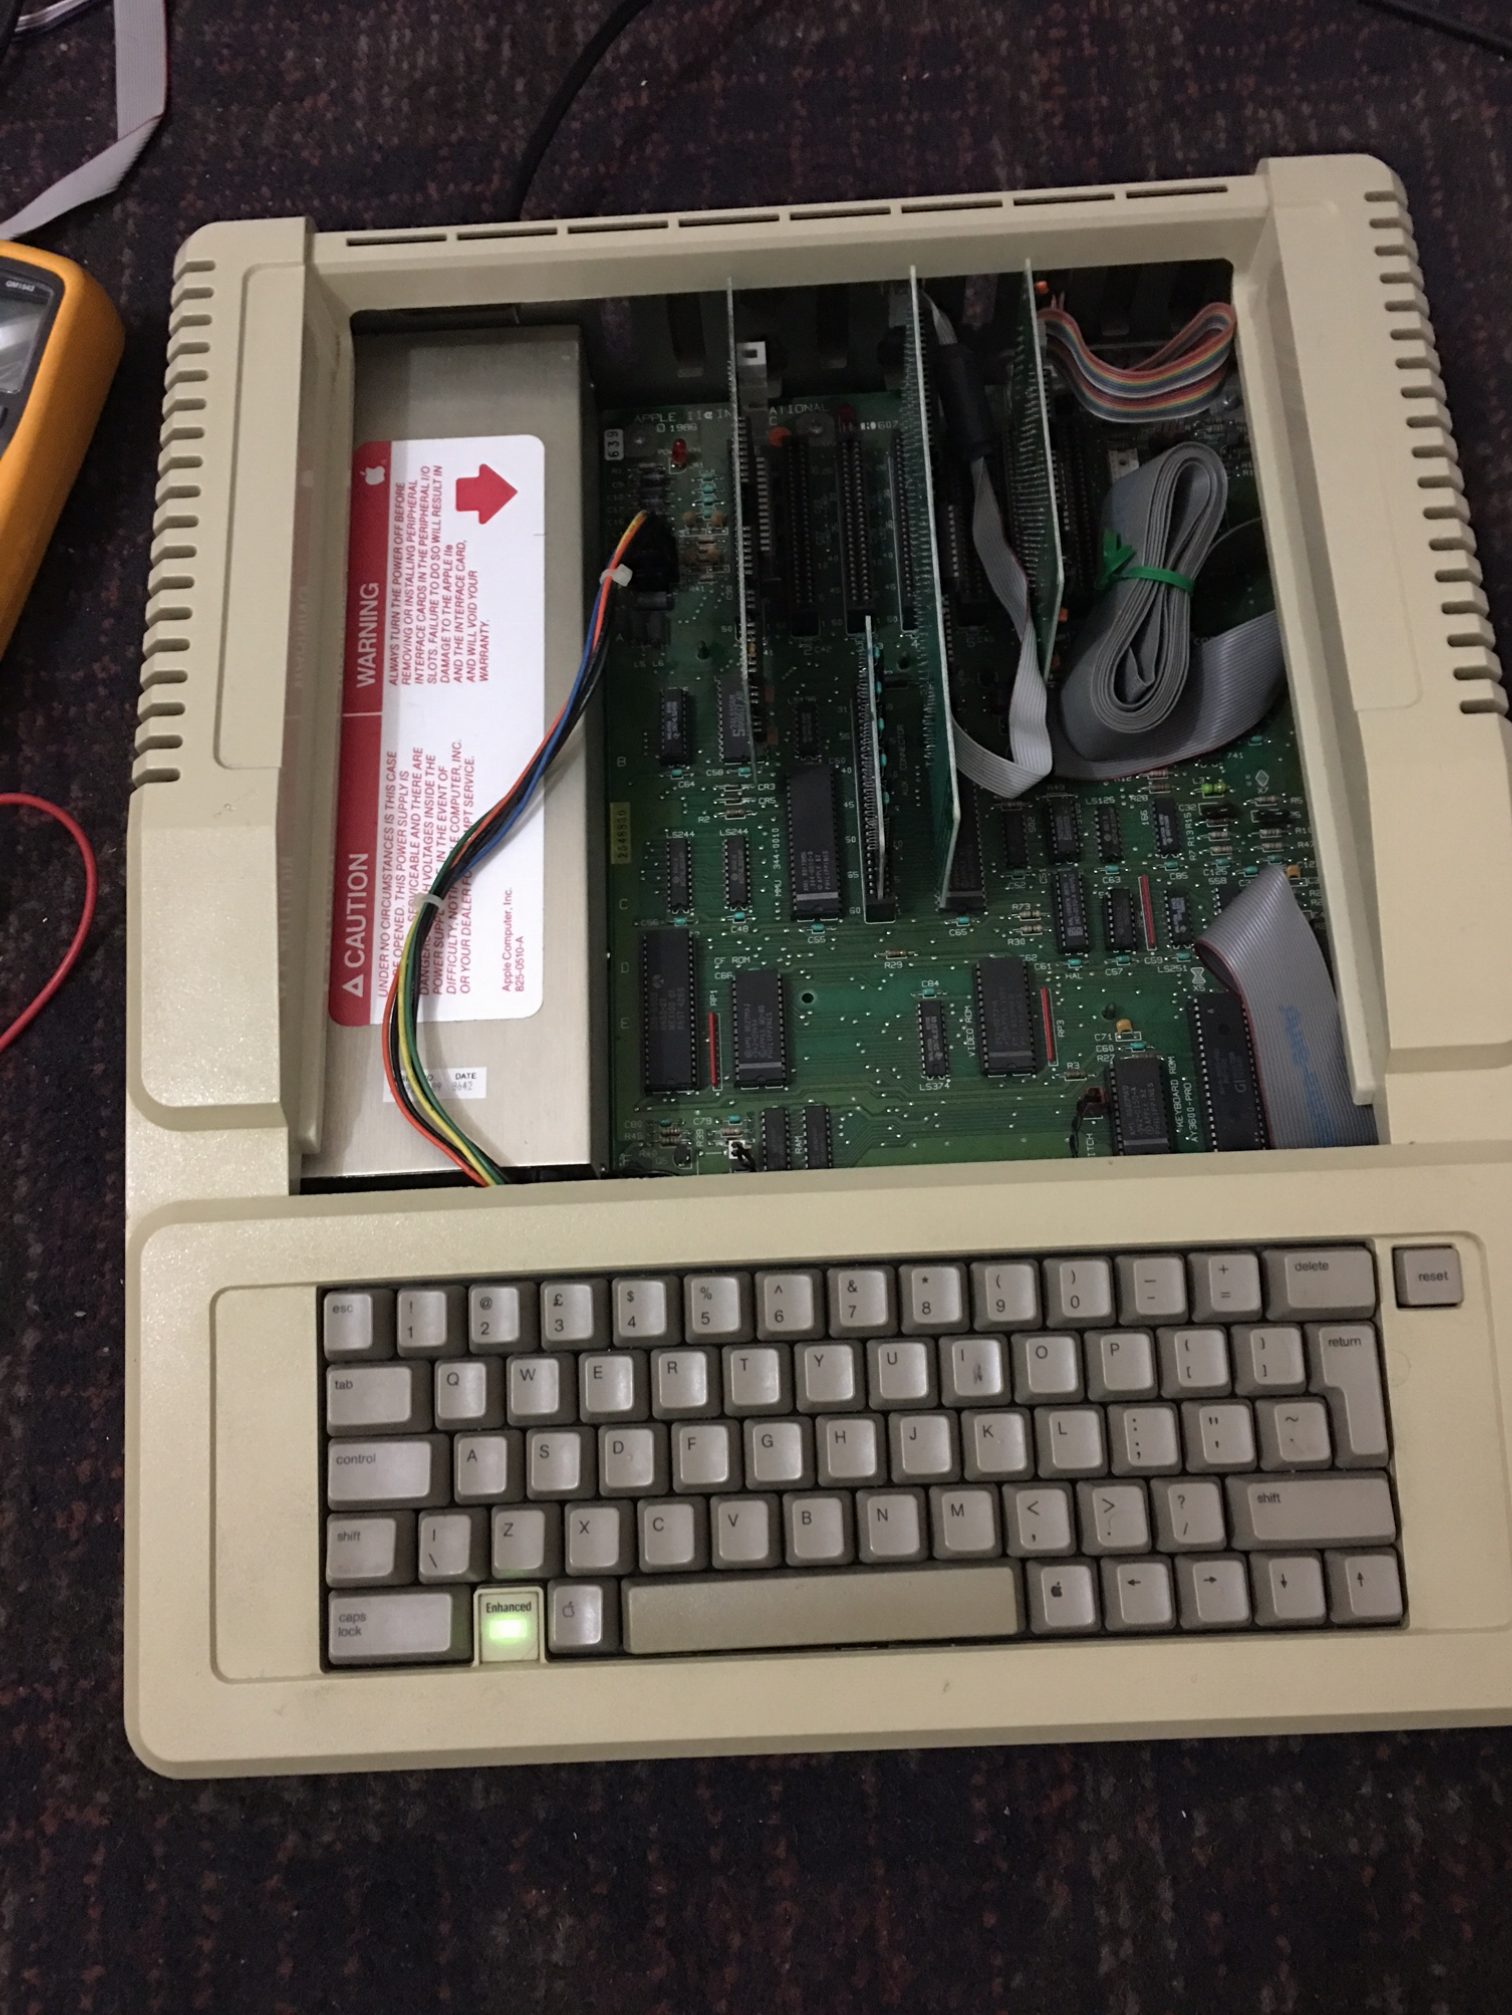
I recently picked up an Apple //e enhanced computer to repair and to relive some memories. Due to the machine’s age ( especially because of the power supply )  I was mindful not to power up the machine and risk damage to the logic board.

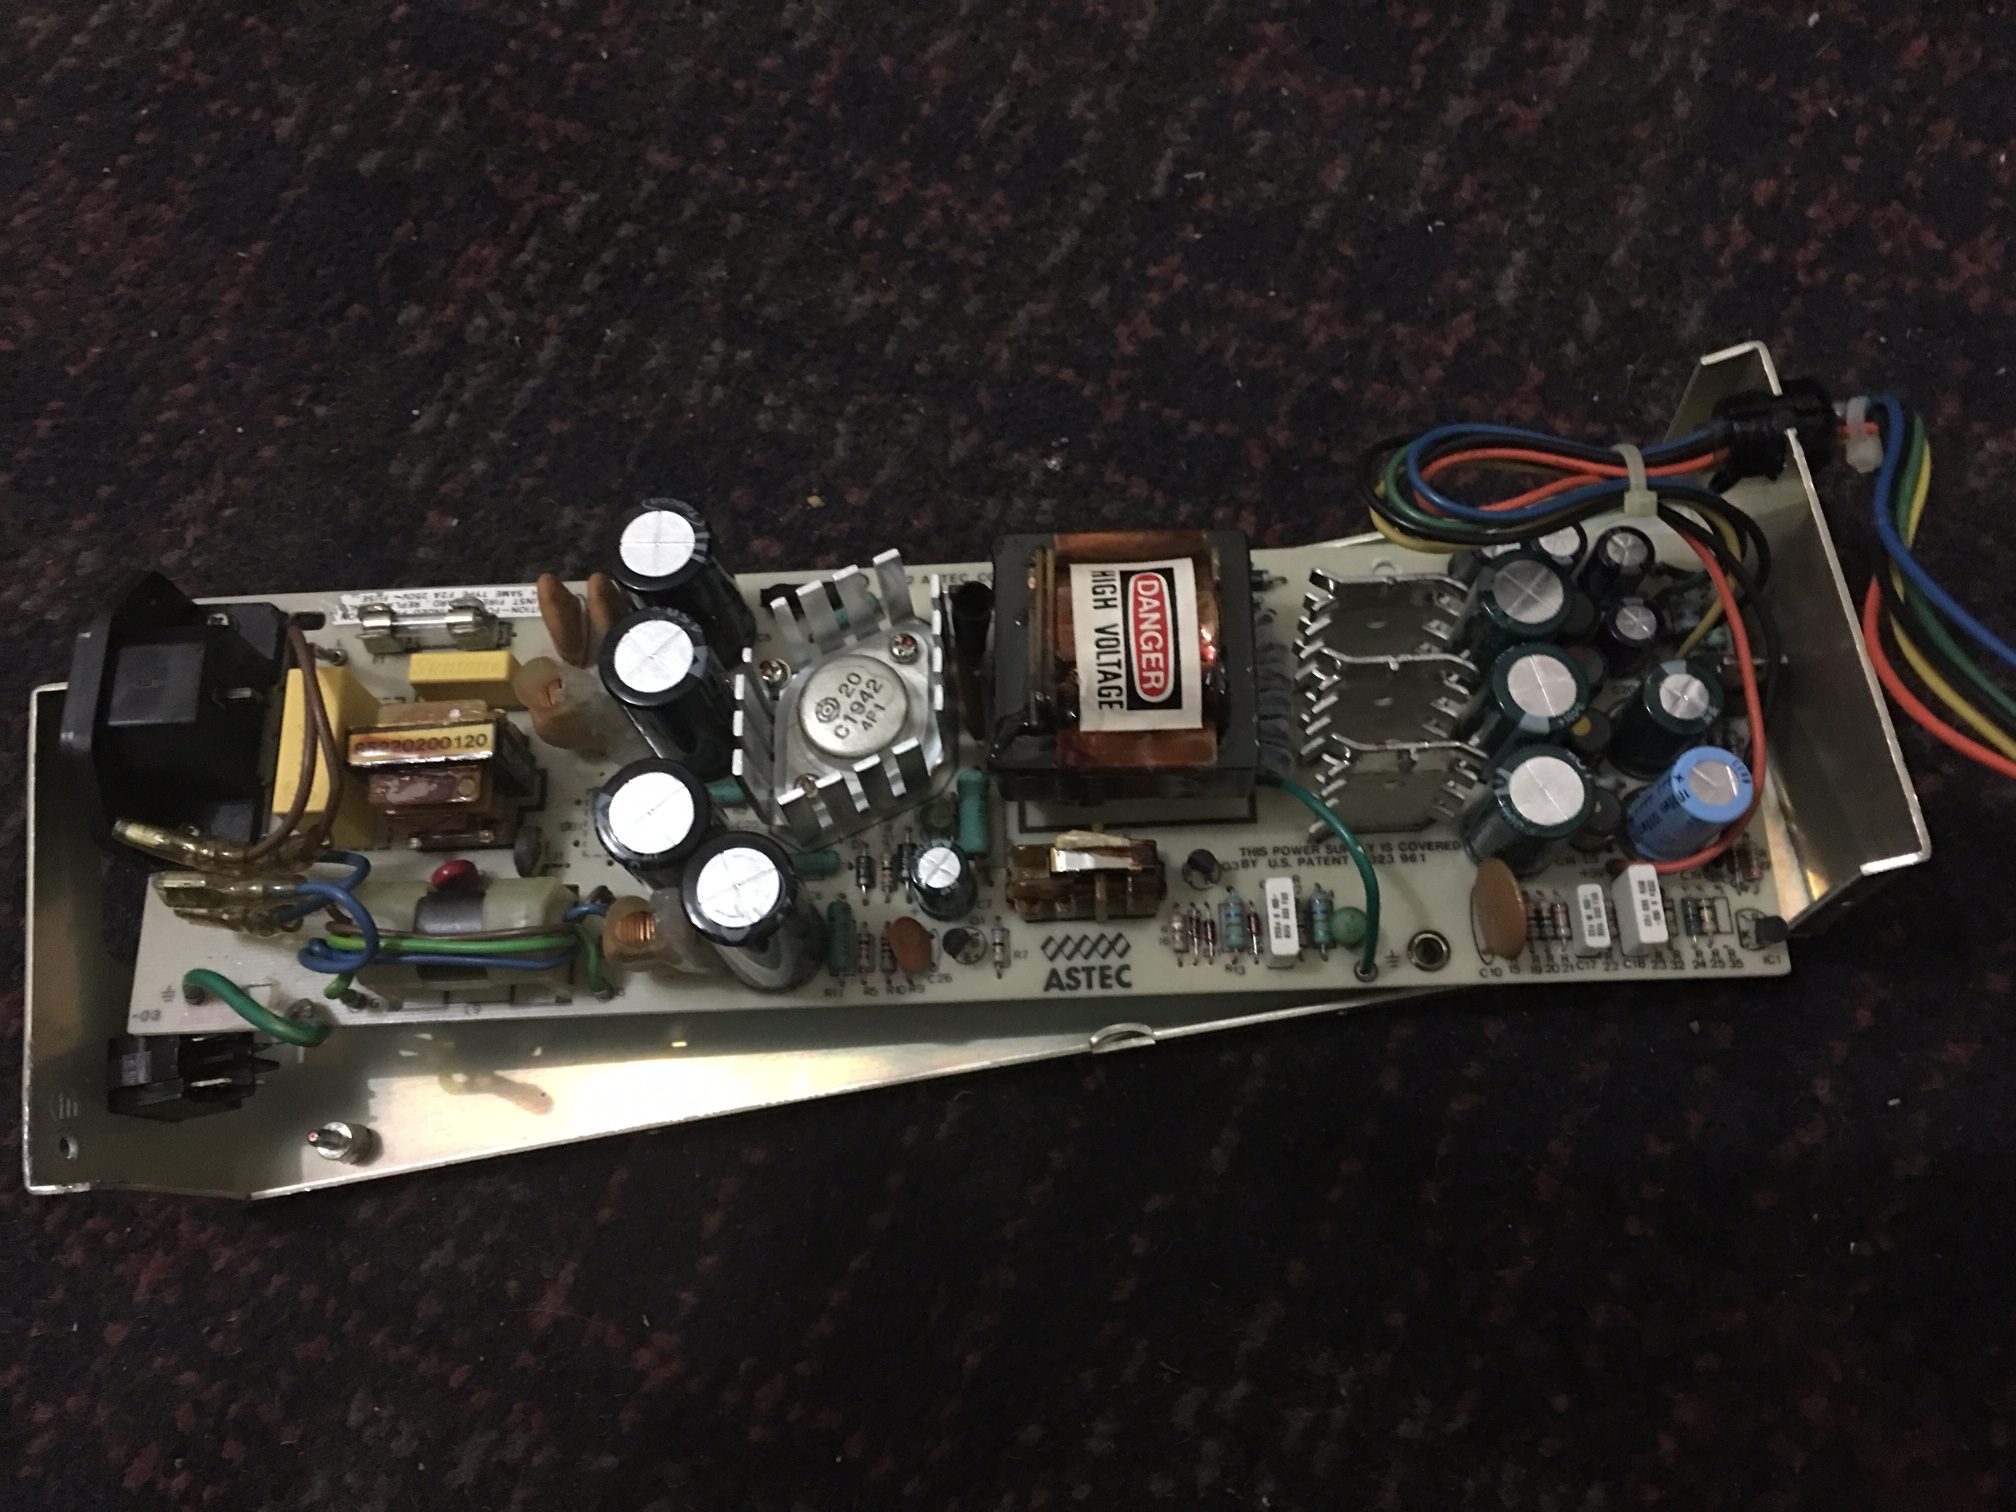
I disassembled the power supply and wasn’t at all surprised at what I saw based on what I’ve read, there was no way I was powering this thing on and taking any chances although this was a very high quality power supply compared to power supplies of the same era. This is an astec AA11042C, this version is rated 240v and there were actually two different types available in the Apple ii line. I checked the fuse which looked fine and tested OK with my DMM.

I then removed all electrolytic capacitors and recapped the entire board including the two Rifa filter caps which can fail spectacularly and spill brown coloured goo everywhere. Some capacitors revealed scorch marks on the PCB after removal. The 47uf 250v capacitors from the high voltage side looked fine but were way off spec.

2 bad electrolytic capacitors pulled from the low voltage/output side

image13


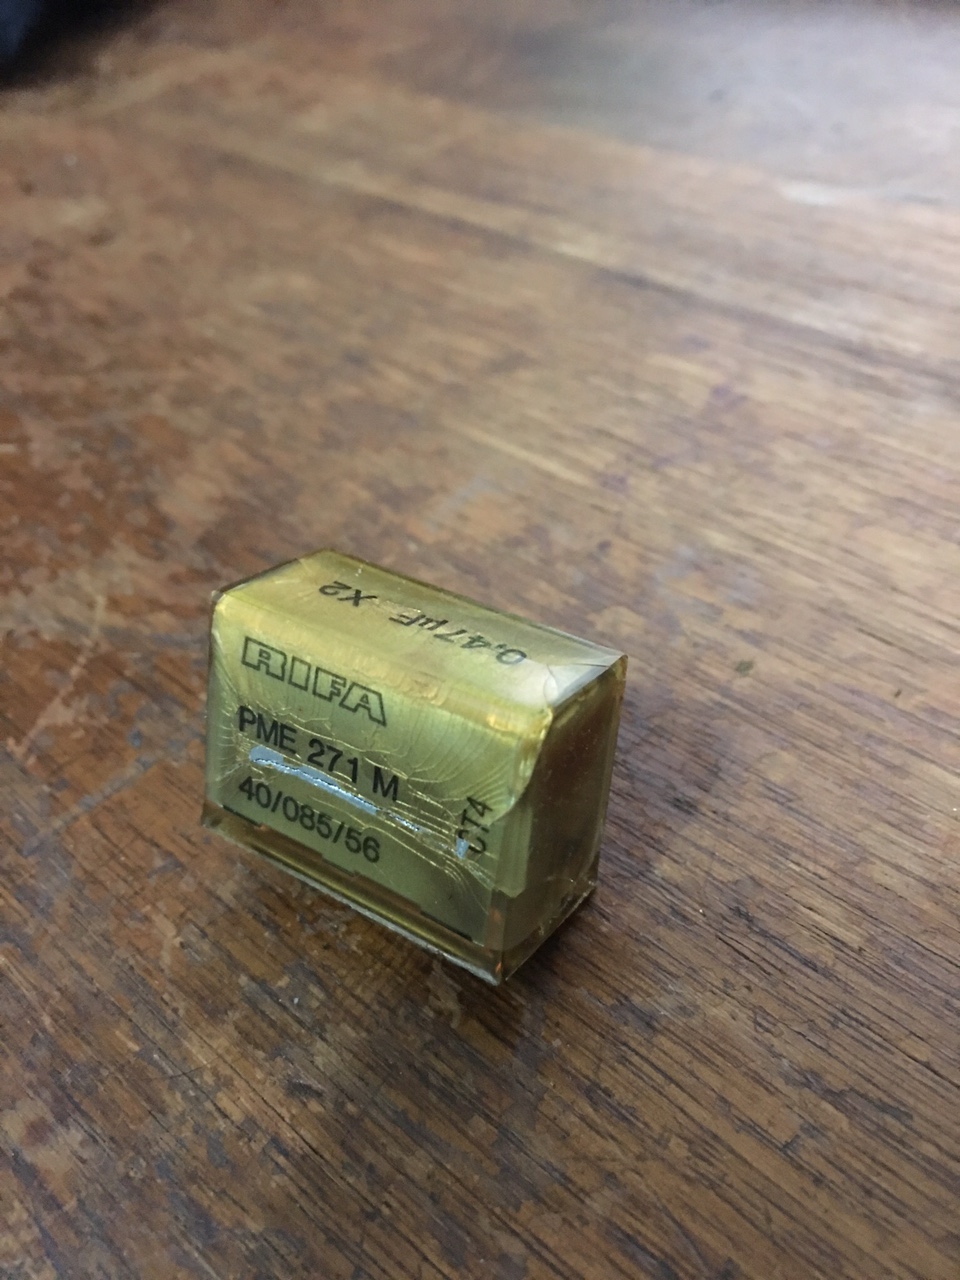
A Rifa filter cap. ( Note the cracks! )

Apparently moisture gets inside the cracks and the cap explodes. Not taking any chances, it has to go.

image12

Astec rebuilt with brand new electrolytics & filter caps.

I ended up installing two filter caps made by Suntan, this brand doesn’t have the best reputation in the world but I can swap those for higher quality caps once I get the unit functioning. These were all I could find ( the yellow rectangular looking things near the inductor) and I was so desperate.


image4

I tested the power supply but quickly found out that like all switching supplies, nothing will happen without a proper load or with a short. With the power supply connected to the Apple, nothing happened which was good in a way because I didn’t see any smoke. If I were taking my chances in the same way with an Atari or Commodore power supply then things might have turned out a little different 🙂

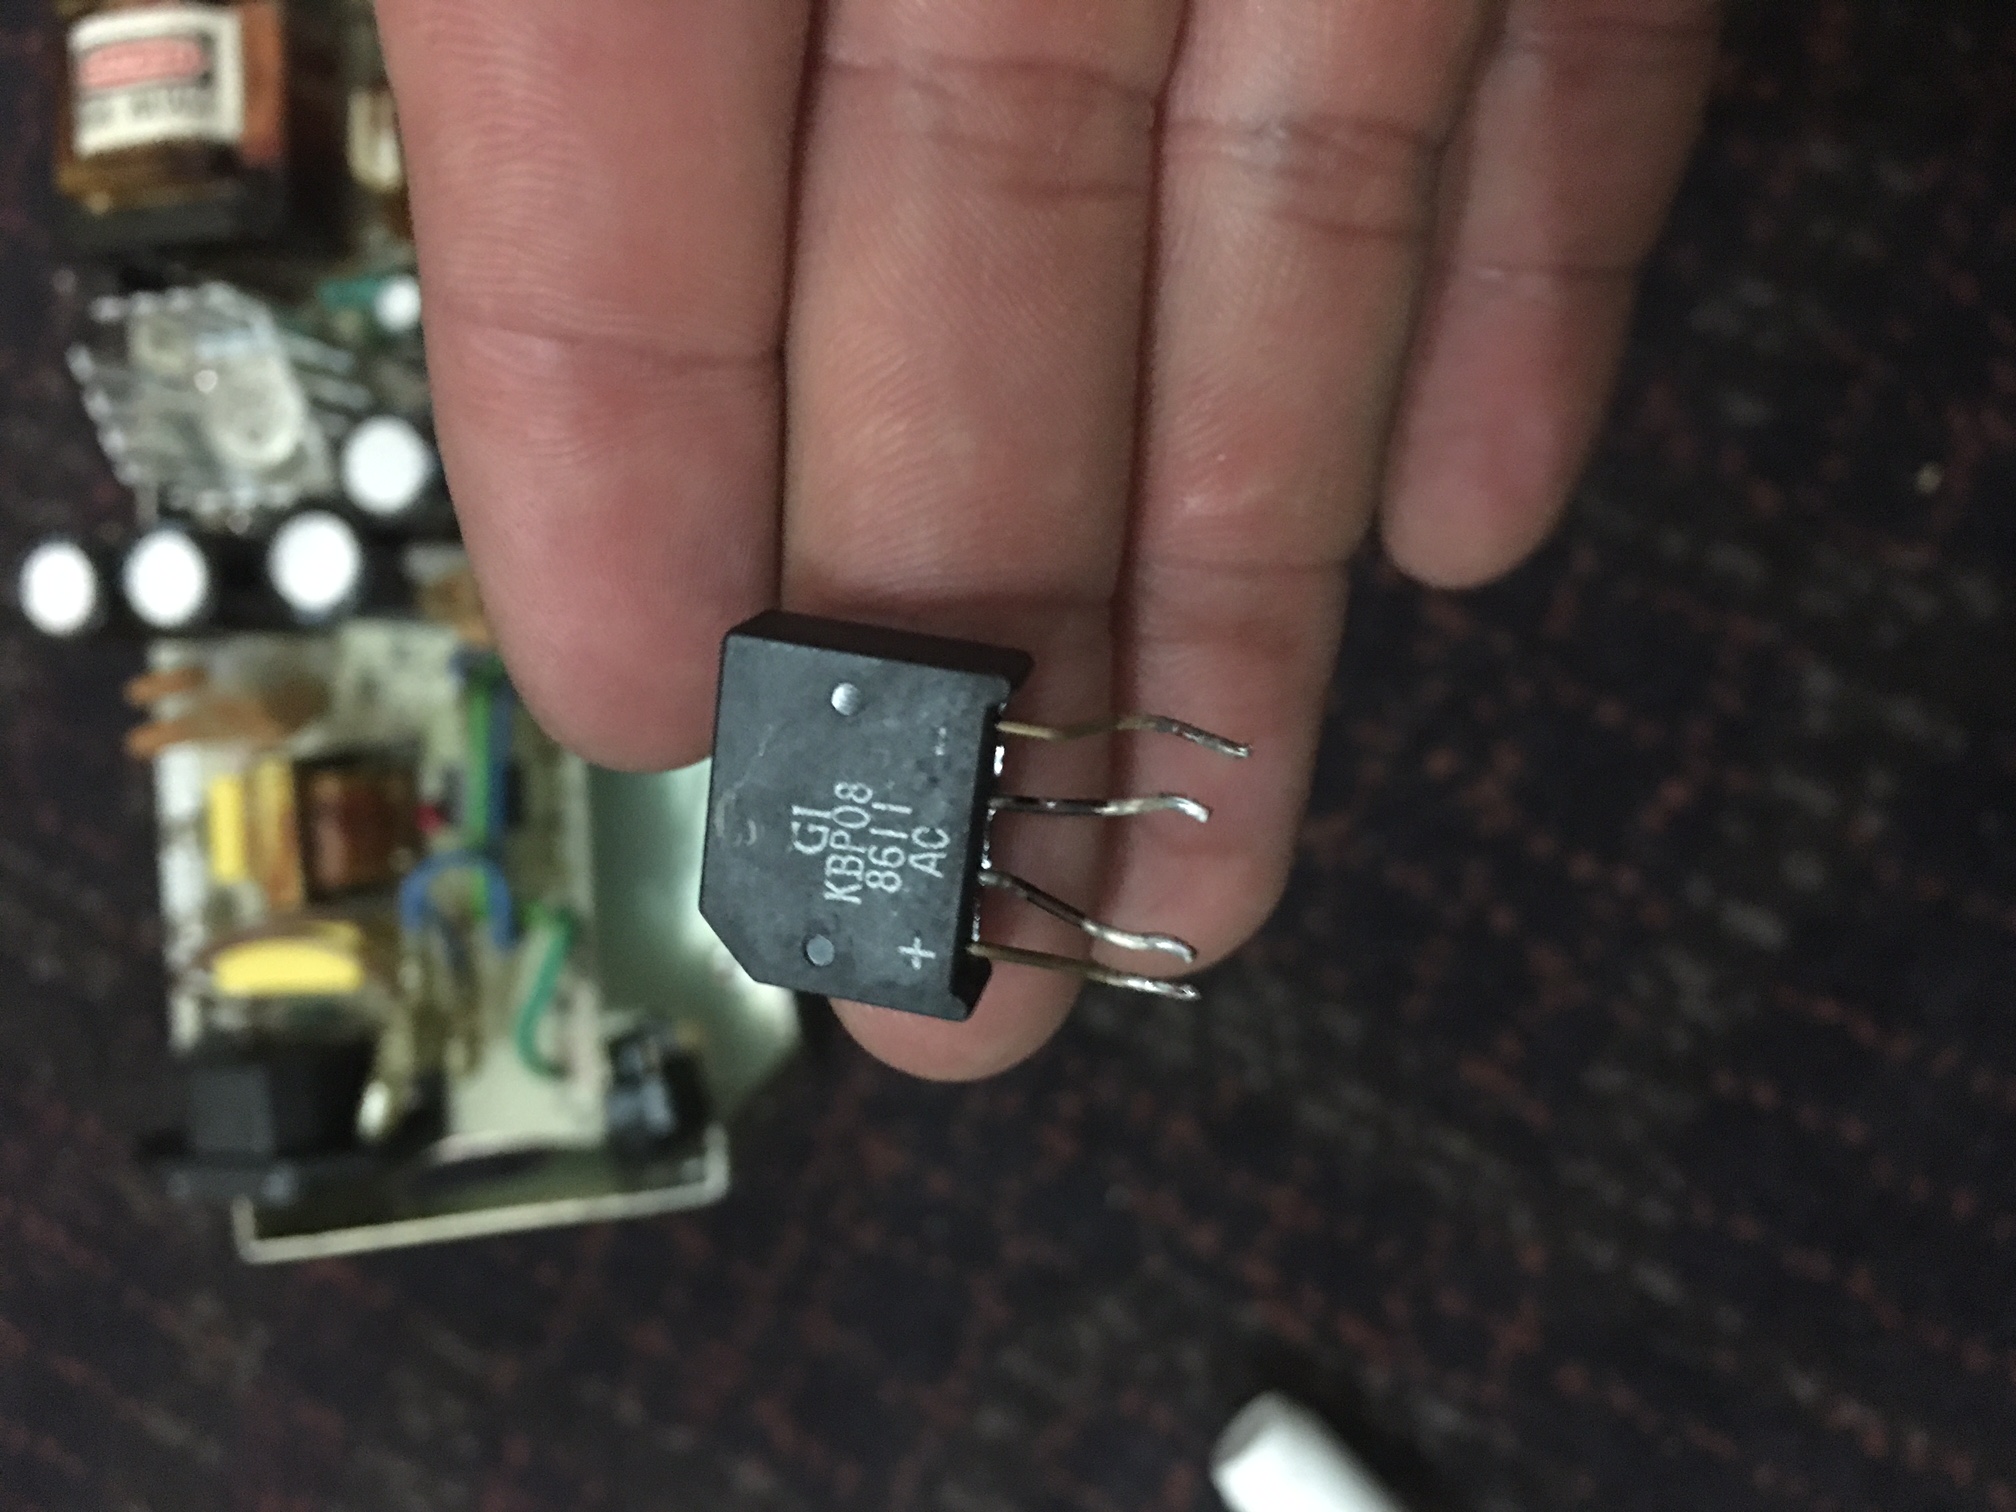
There were no voltages present on the logic board of the Apple //e. This prompted me to look deeper. The bridge rectifier ( @ DB1 ) looked a little cooked or oxidized even though it tested good with my DMM, the issue wasn’t there but I replaced it anyway.

Scorched or oxidized bridge rectifier ?

image5

I then started reading a comprehensive troubleshooting guide in the following PDF document.

https://www.applefritter.com/files/Apple2e_Repair_SAMS1985.pdf

I ended up removing a bunch of small transistors, the large power transistor,diodes and re-installed them after they checked out fine. I replaced the SCR ( silicon controlled rectifier ) at scr1 as I have no means to test it. The scr1 shutdown transistor at Q4 tested good. This area is also known as the crowbar circuit which disables the power supply if there’s an over-voltage or a surge, this protects any downstream components like the sensitive stuff in your computer from damage.

I was stumped at this point as none of the above actions solved my problem.

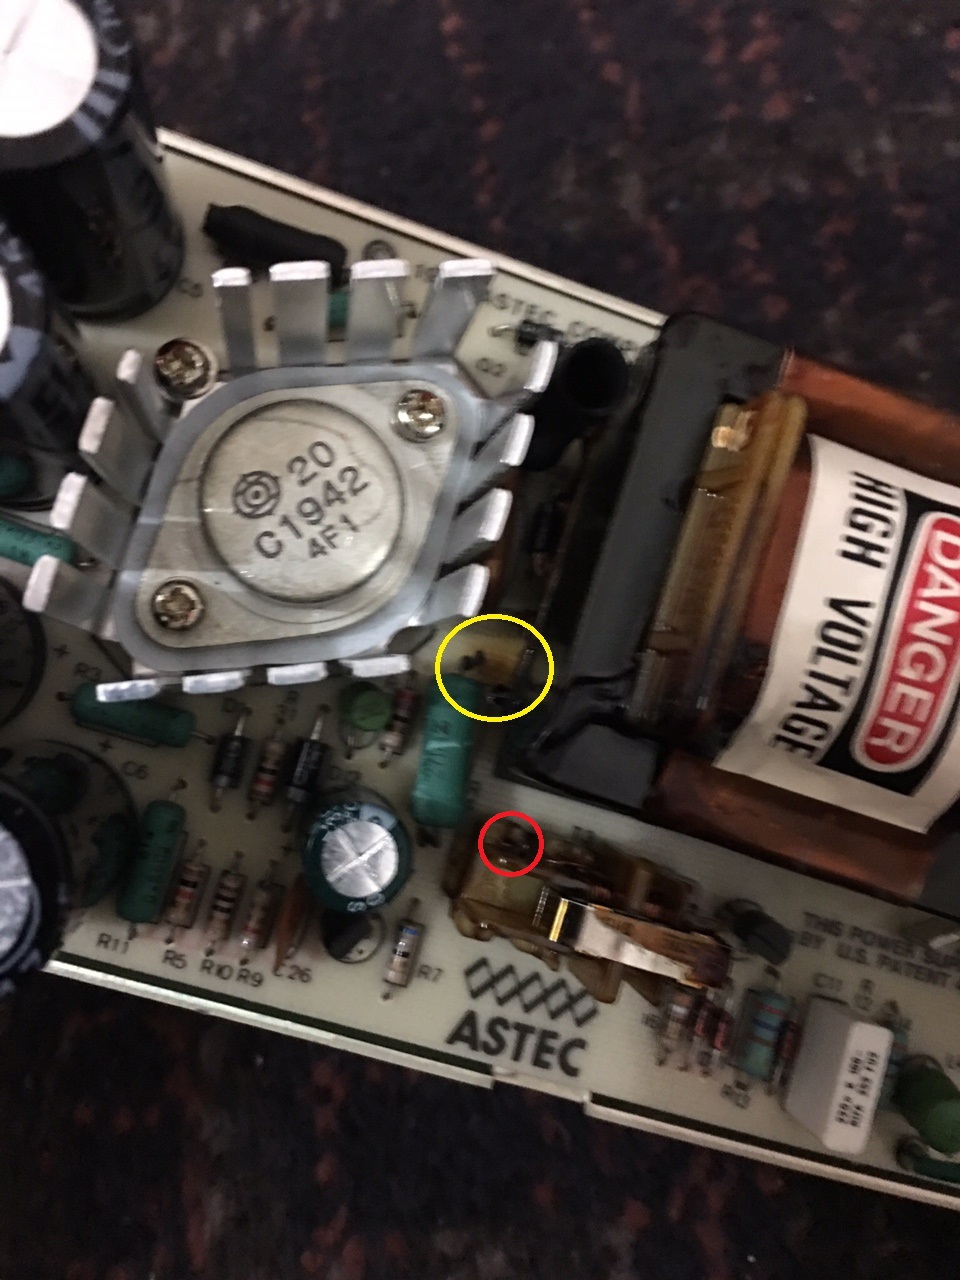
I took another closer look at the PCB and found this burn mark circled in yellow. I removed the 2w resistor which still measured 27 ohms out of the circuit. I re-installed it as it was good.

image15

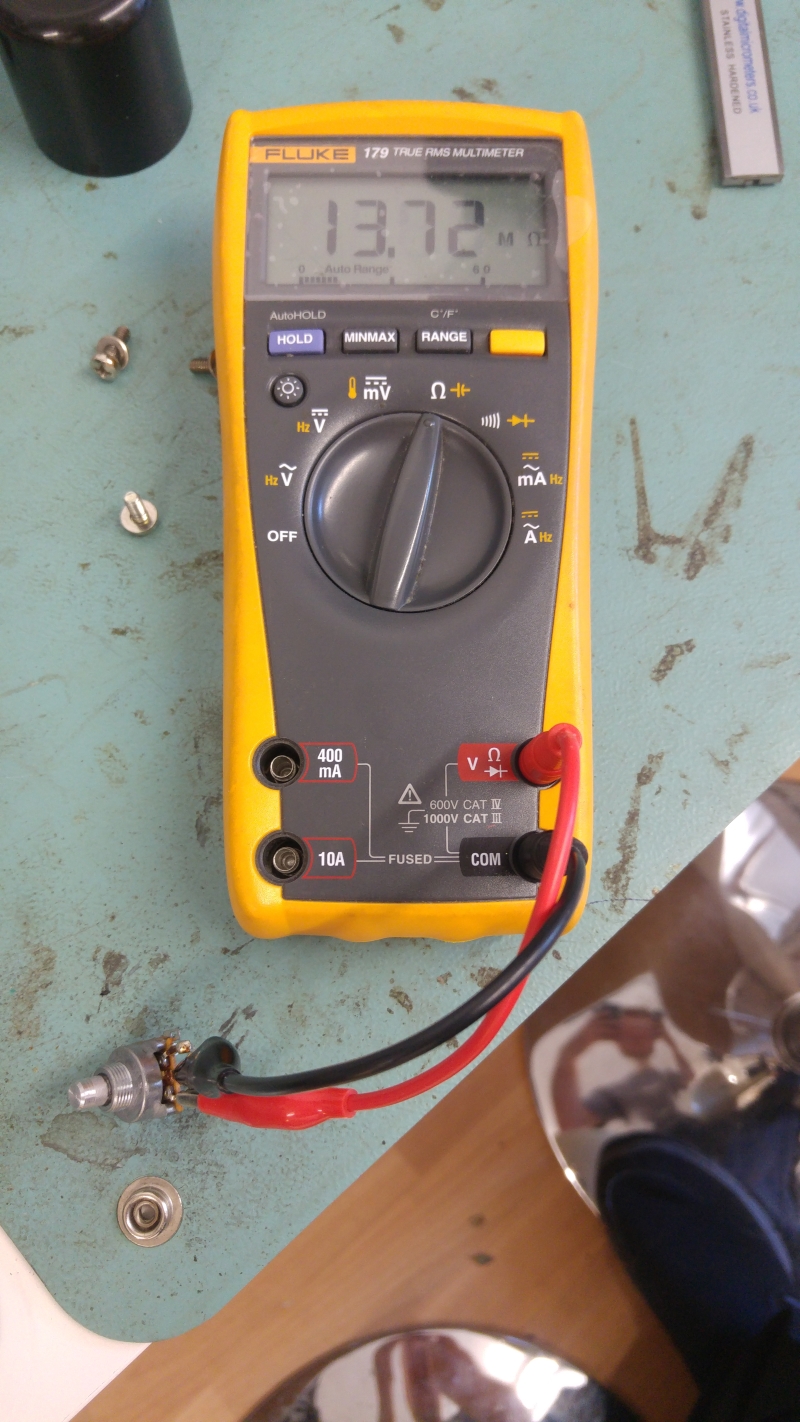
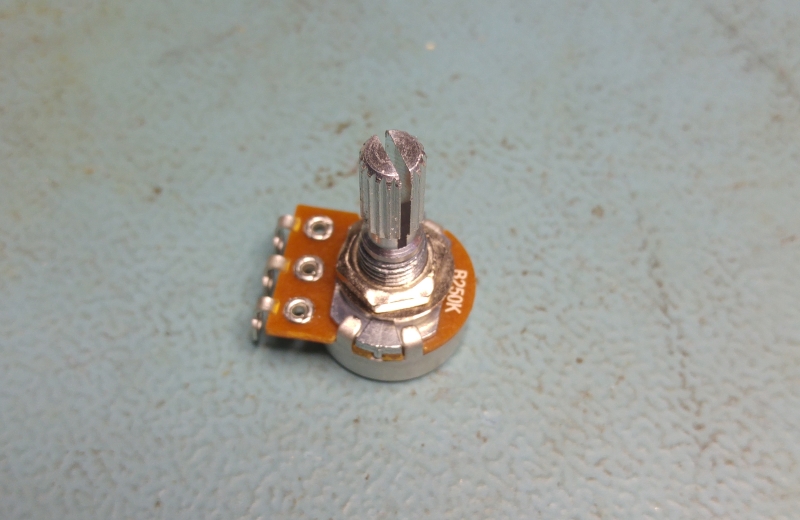
The above link to the document also mentions to check the windings on transformer T2 and T3 ( PWM control isolator )  for continuity. I remove the smaller transformer ( pictured above, adjacent to the astec silkscreen logo on the pcb ) thinking that I’m wasting my time with this but check for continuity anyway.

There are 6 pins on the bottom of the T3 which are soldered to the PCB. There appears to be 3 separate sets of windings but 1 set of windings had no continuity between two of its associated pins. I found a small break in the winding at the bottom of the transformer ( circled in red ) and soldered it to its corresponding pin. If the break was anywhere else then there would be no way of repairing it, I just got lucky I guess.

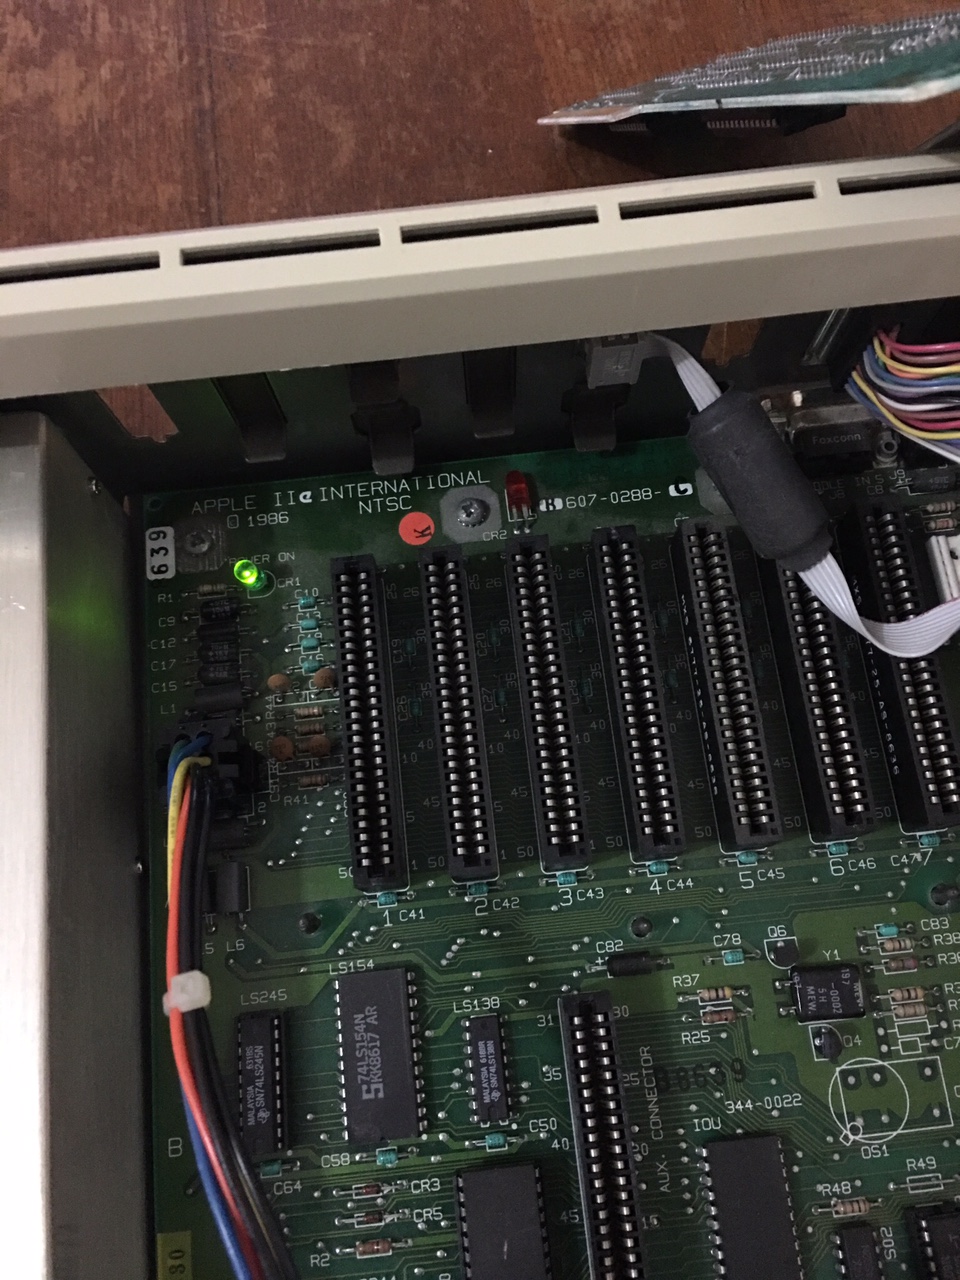
I re-assemble the power supply and apply power to the computer and presto. The internal speaker beeps at me and the kb power led illuminates. Failures within transformers are relatively rare but I have just proven to myself that its more likely to happen than I originally thought.

image1


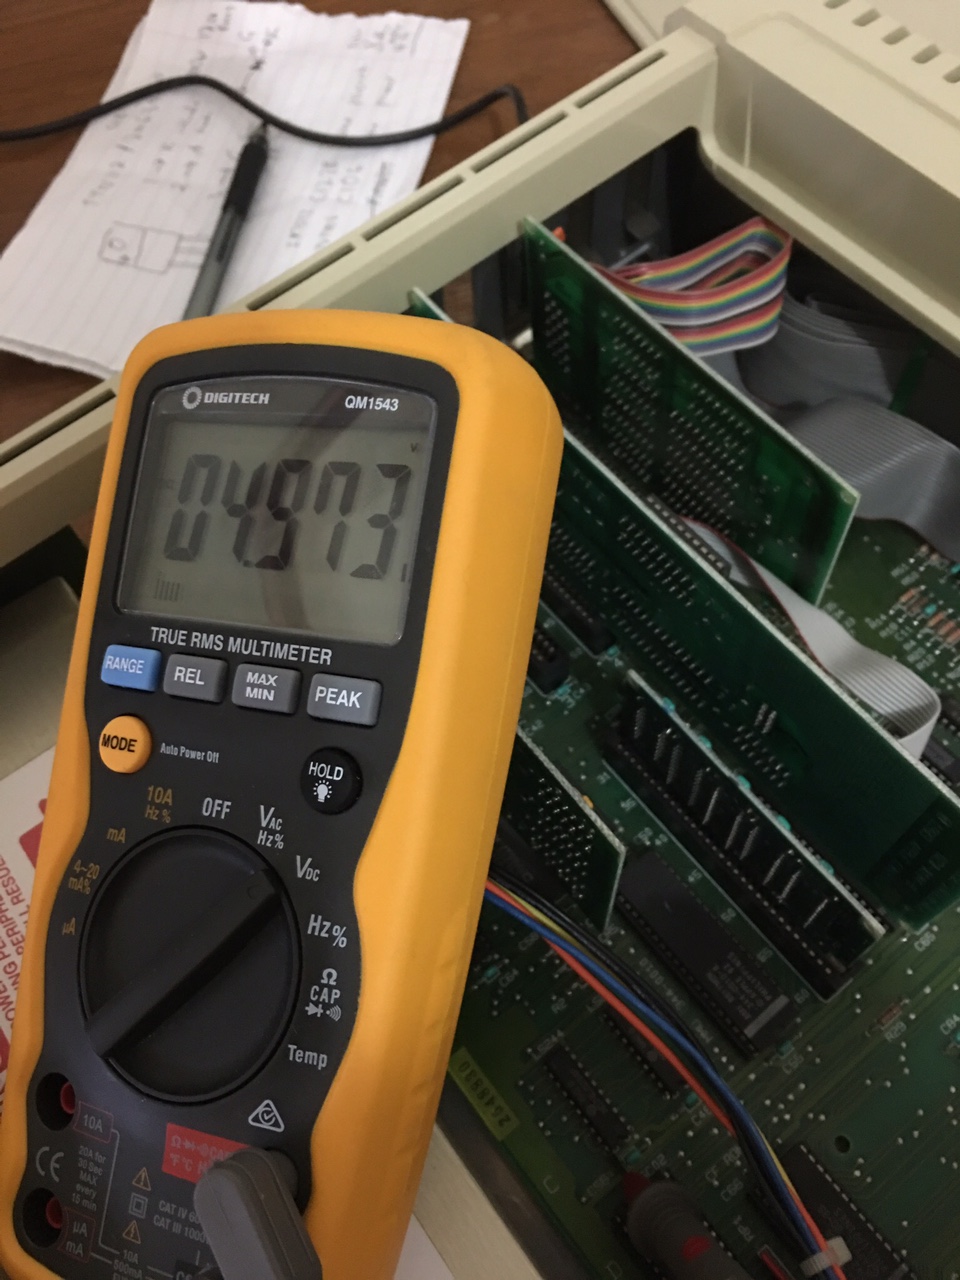
Taking some measurements ( -12v, -5v, 5v & 12v ).

4.97 volts DC, looks good to me!

image2

The red led on the logic board is busted, so I replace it with the only one I have on hand and it’s green.

image7


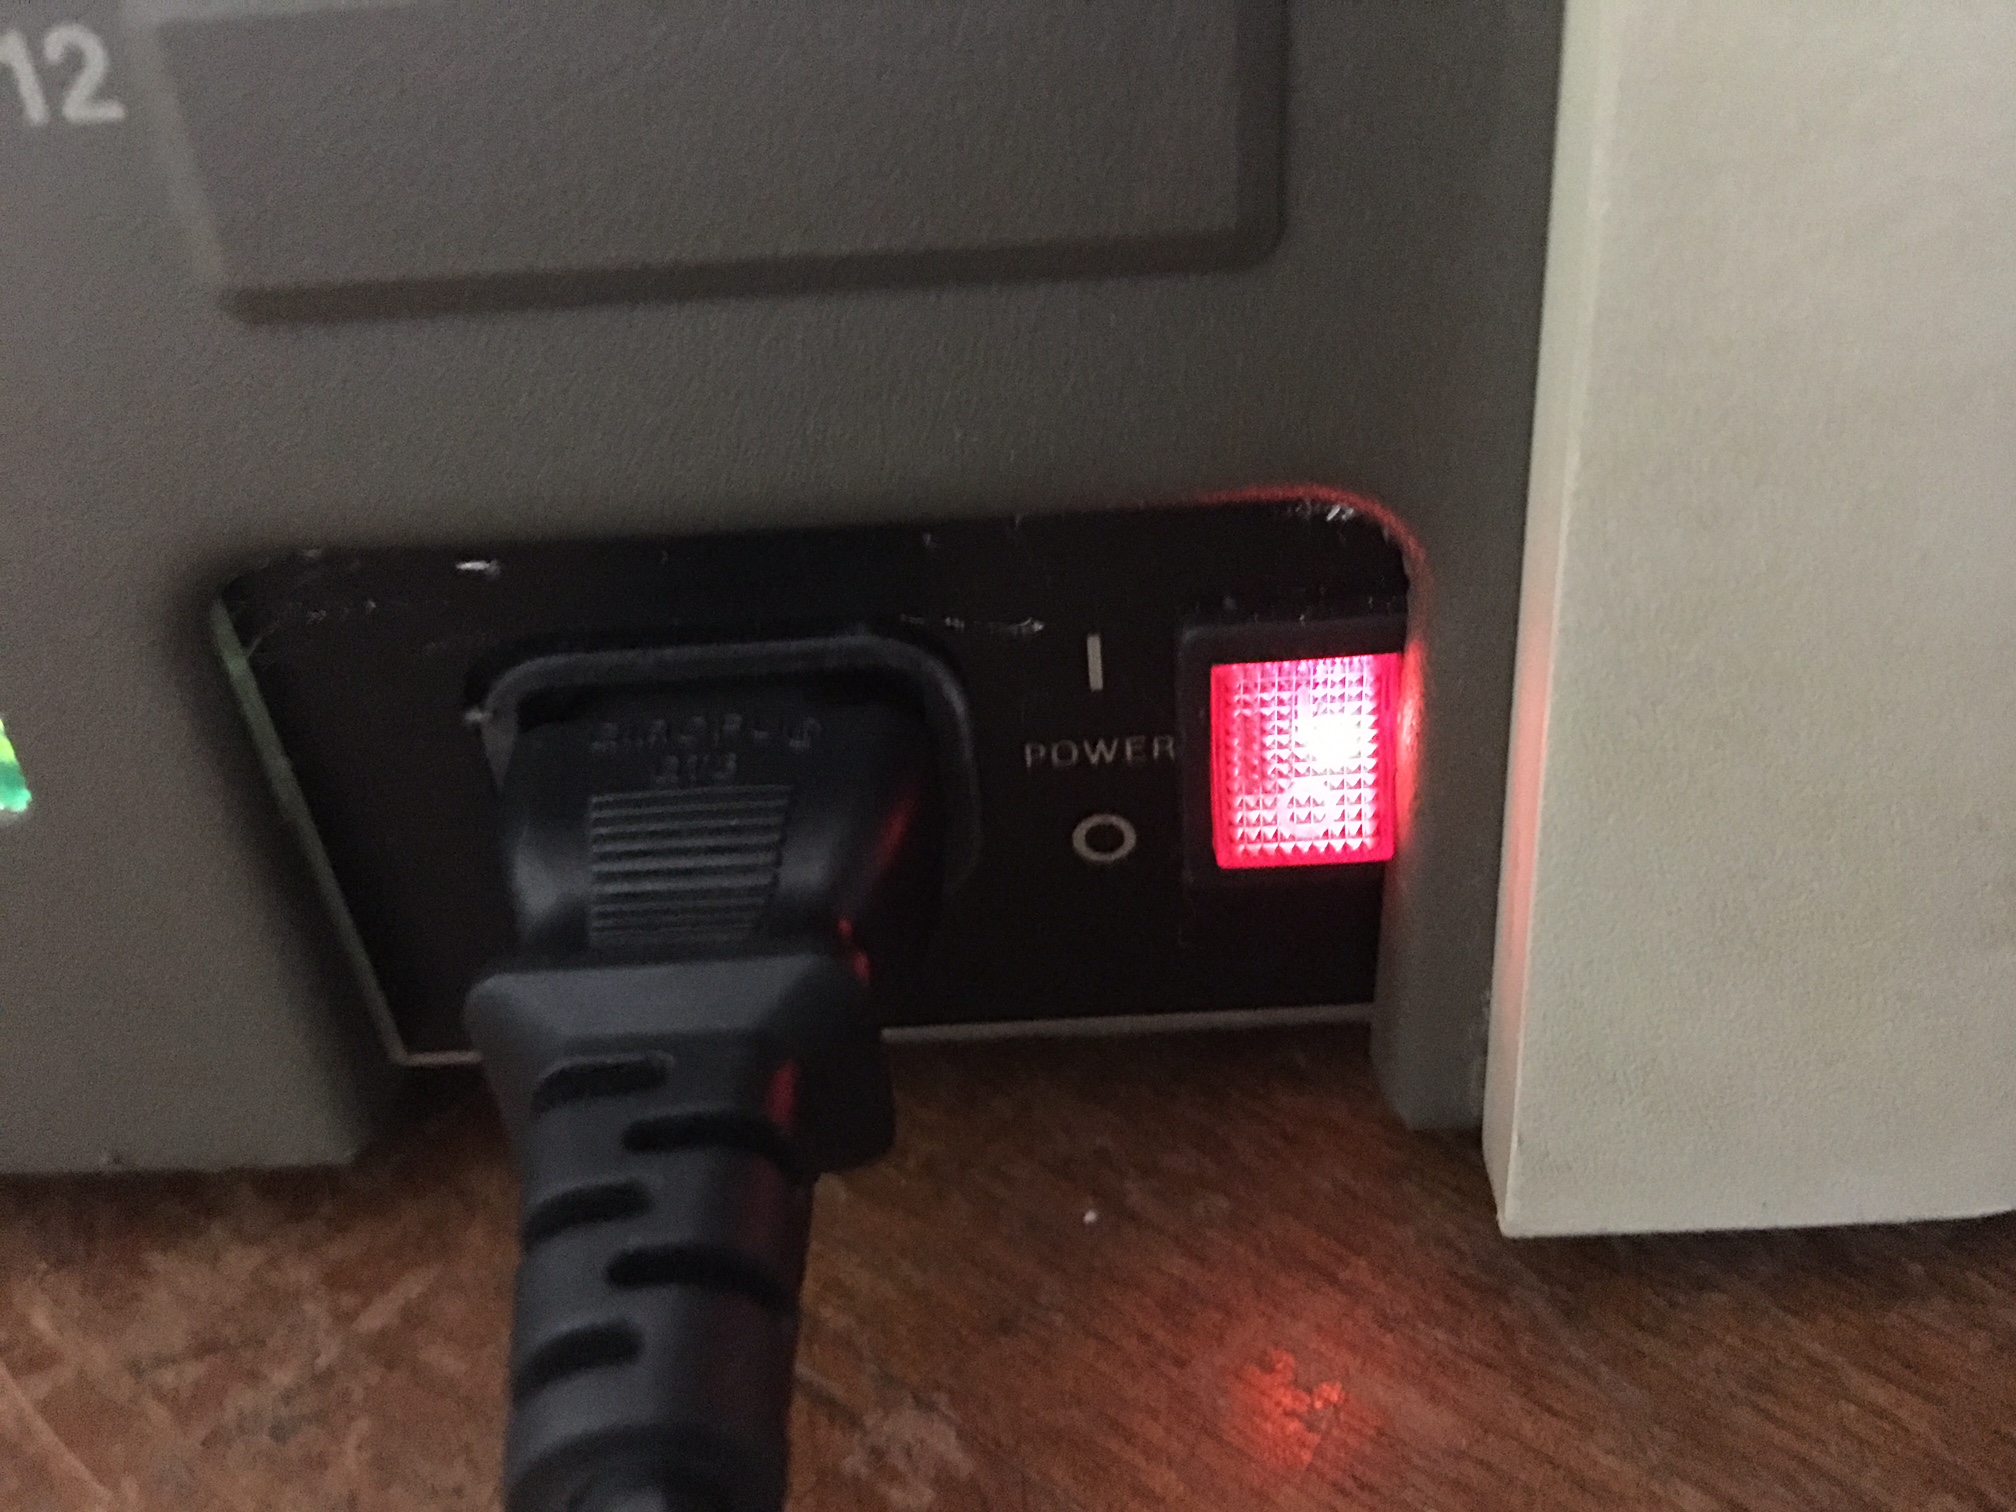
I also accidentally broke off one of the terminals on the a/c switch due to too much tinkering so I replaced it with one that illuminates. I like it better than the old one.

image8

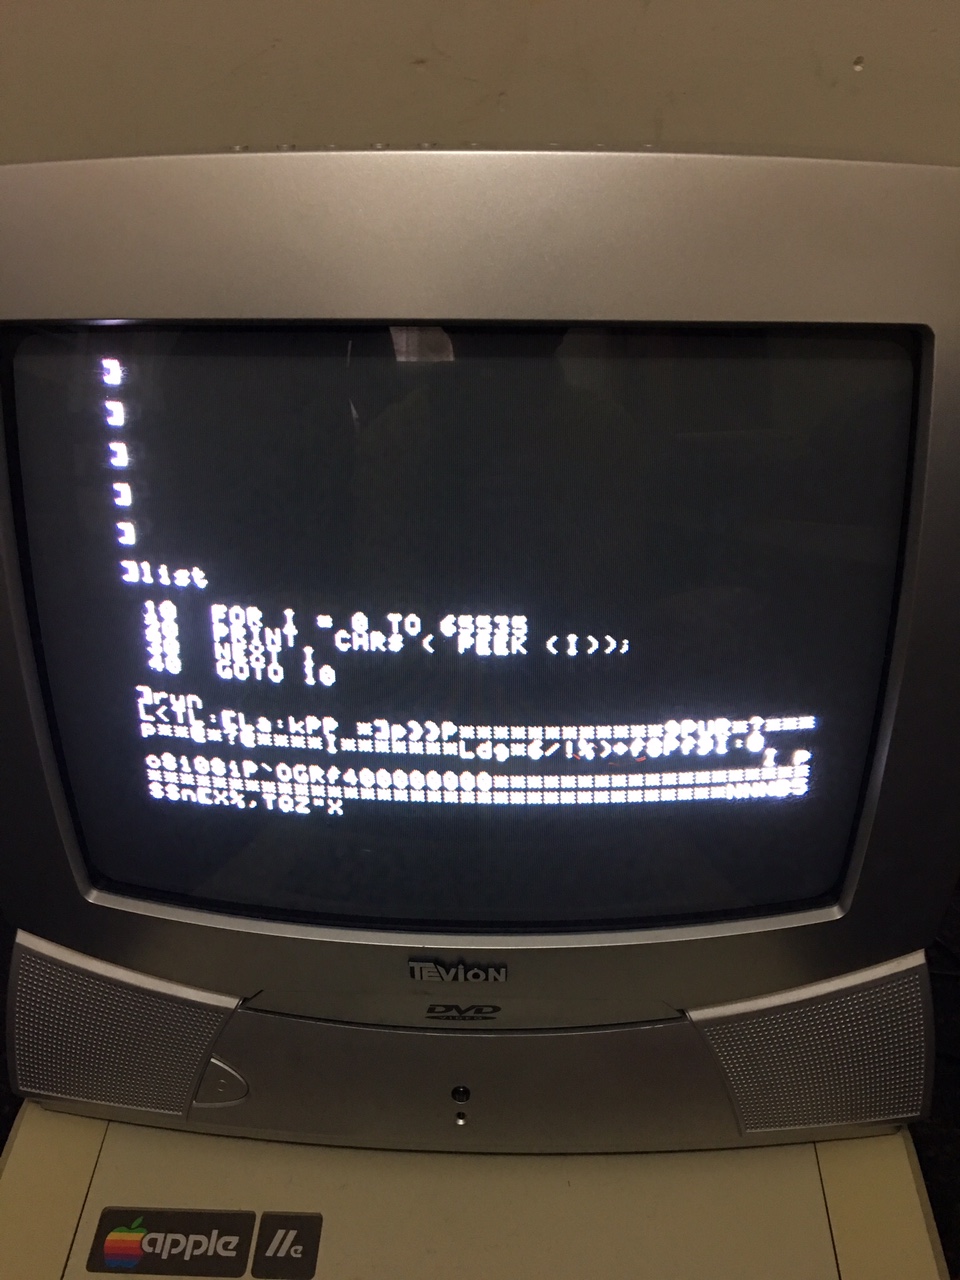
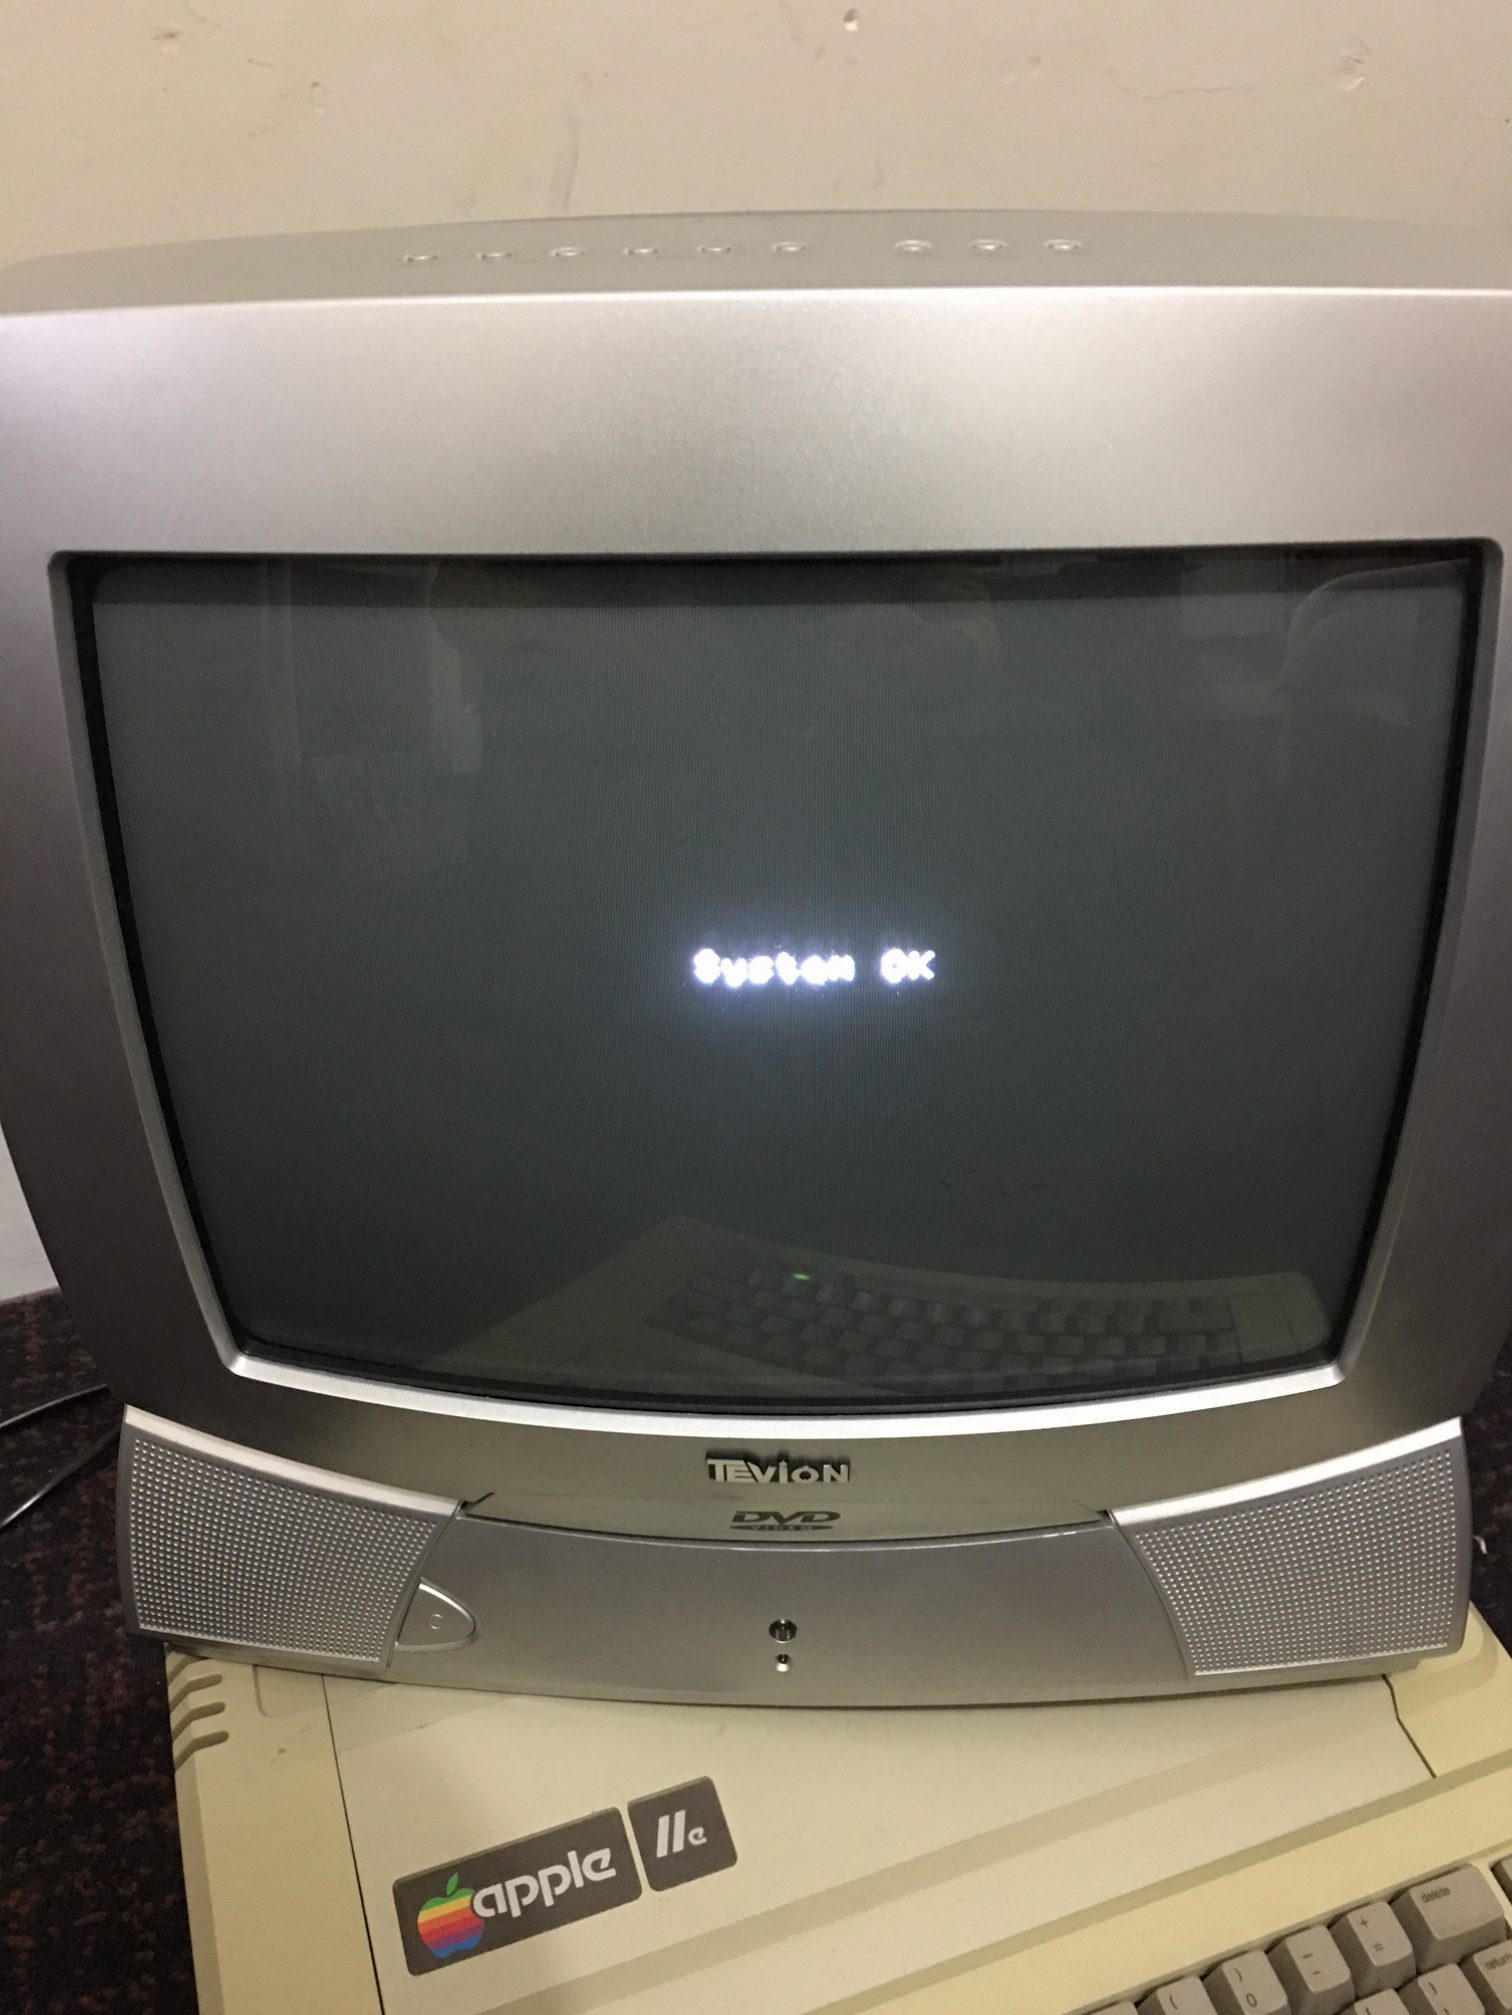
A backup CRT TV hooked up.

image11


Passes self diagnostic tests

system-ok

That’s pretty much the end of this repair. I do have some issues with the keyboard which are fairly trivial and I’ll address that later when time permits.


References:

1. Apple 2e 6502 Computer Repair Information – SAMS COMPUTERFACTS

https://www.applefritter.com/files/Apple2e_Repair_SAMS1985.pdf

Nintendo Entertainment System (NES) repair log

 Console Repair Logs, Repair Logs  Comments Off on Nintendo Entertainment System (NES) repair log
Aug 282016
 

Maybe this isn’t the typical repair log but it has a couple of pictures here showing what can happen.
I was actually given this by a reader of the site and he wanted to donate something by way of thanks. He told me it had some issues playing the cartridges and suspected the ZIF connector that the NES is infamous for.
As you can see its boxed and in really nice condition.
nex_box
nes

I powered up the console testing the games that came with it.
nex_fault1
cad_fault
smb3_fault
smb_fault

You can see jailbars on most of the pictures. Occasionally the game didn’t boot at all and when they did the sound was a low static noise.

Id already ordered a new connector in anticipation.
nes_connector

I did originally attempt to bend the pins on the original connector back but it made no difference and a couple looked too far gone so it went in the bin.
There are countless guides online for taking apart the NES and replacing the connector so I wont really go into it on here.

There goes the warranty!
nex_warranty

With the connector fitted I now get this. Its currently playing through RF so excuse the poor picture.
smb3_fix

I never really had a NES before so being able to play Mario 3 is going to be a treat.
Thank you very much to Kieron for this wonderful donation.

 Posted by at 11:36 am

Space Invaders (Taito) 3-Layer repair log #2

 PCB Repair Logs, Repair Logs  Comments Off on Space Invaders (Taito) 3-Layer repair log #2
Aug 252016
 

The hardware of this matches Part II but it has the multigame add-on fitted.
Not worked on a Space Invaders board before and needed to make up a loom so I could properly test.
The owner says the ship is constantly pulling to the left and there is a sound effect playing over and over all the time.

On powering up I did indeed find these problems. Look at the video, the in game play shows me moving the ship to the right but when I release the controls it moves back far left on its own.
You can also hear the constant tone repeating over and over.

First of all I went looking for the control issue.
The schematics are available however they aren’t too great in places. Fortunately they were good enough to save me a lot of time.
Here you can see where the player 1 left comes in. It goes through an inverting buffer and into a 74153 chip at location 5. The output on pin 9 is the one we are concerned with
si-left1-schem

From my logic probe I could see that this output is stuck when it should be active. Testing this out of circuit confirmed it.
This fixed the control issue .
20160825_192615

Now on to the sound fault.
Space Invaders hardware made this quite easy as each sound effect has its own volume control. By turning the pots down I could pinpoint which sound was stuck on and work back from there.
VR7 was the pot associated with this sound and according to the manual this is the sound of the “UFO HIT”.
Looking at the schematics again and working backwards we can see it goes back to buffer chip 7417 at location 18 and before that it comes from a 74174 at location 14.
si-ufohit-schem
si-18schem

The outputs from the 74174 looked good but all the outputs from the 7417 buffer were stuck HIGH.
I removed the chip and once again it failed when testing out of circuit but now I had problem. I dont have any 7417 chips and I no longer have scrap PCB’s lying around.
The sadness was short lived as a quick google search revealed a 74LS07 chip can be used as a replacement and the difference between the two is the 7407 is rated for 30v where the 7417 is rated for 15v.
Anyway, replacing this with a 74LS07 worked and the sounds are all OK.
20160825_192607

The video shows the controls now working and the lack of annoying sound. I did actually test the UFO HIT sound in game and it was working fine.

Job Done.

 Posted by at 8:23 pm