Aug 272014
 

Game was dead on power up.
Pressing down on the crystal brought clocks back. Resoldering the crystal didn’t help so there must have been a break internal to the unit. I ordered a spare 18.432MHz crystal oscillator and waited for it to arrive.

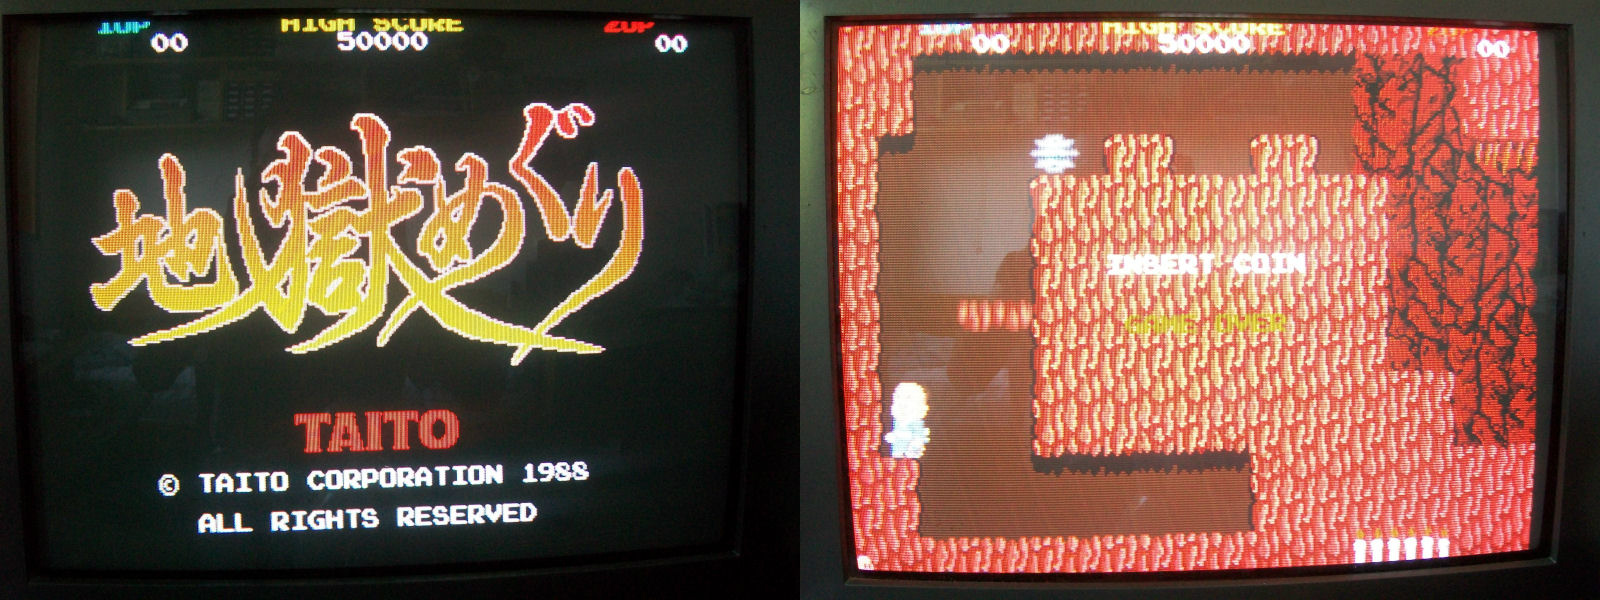
The new crystal arrived and fitting it brought the main clock back however my monitor screamed at me.
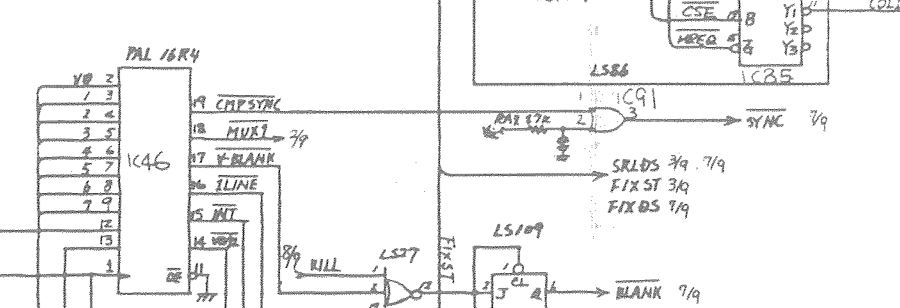
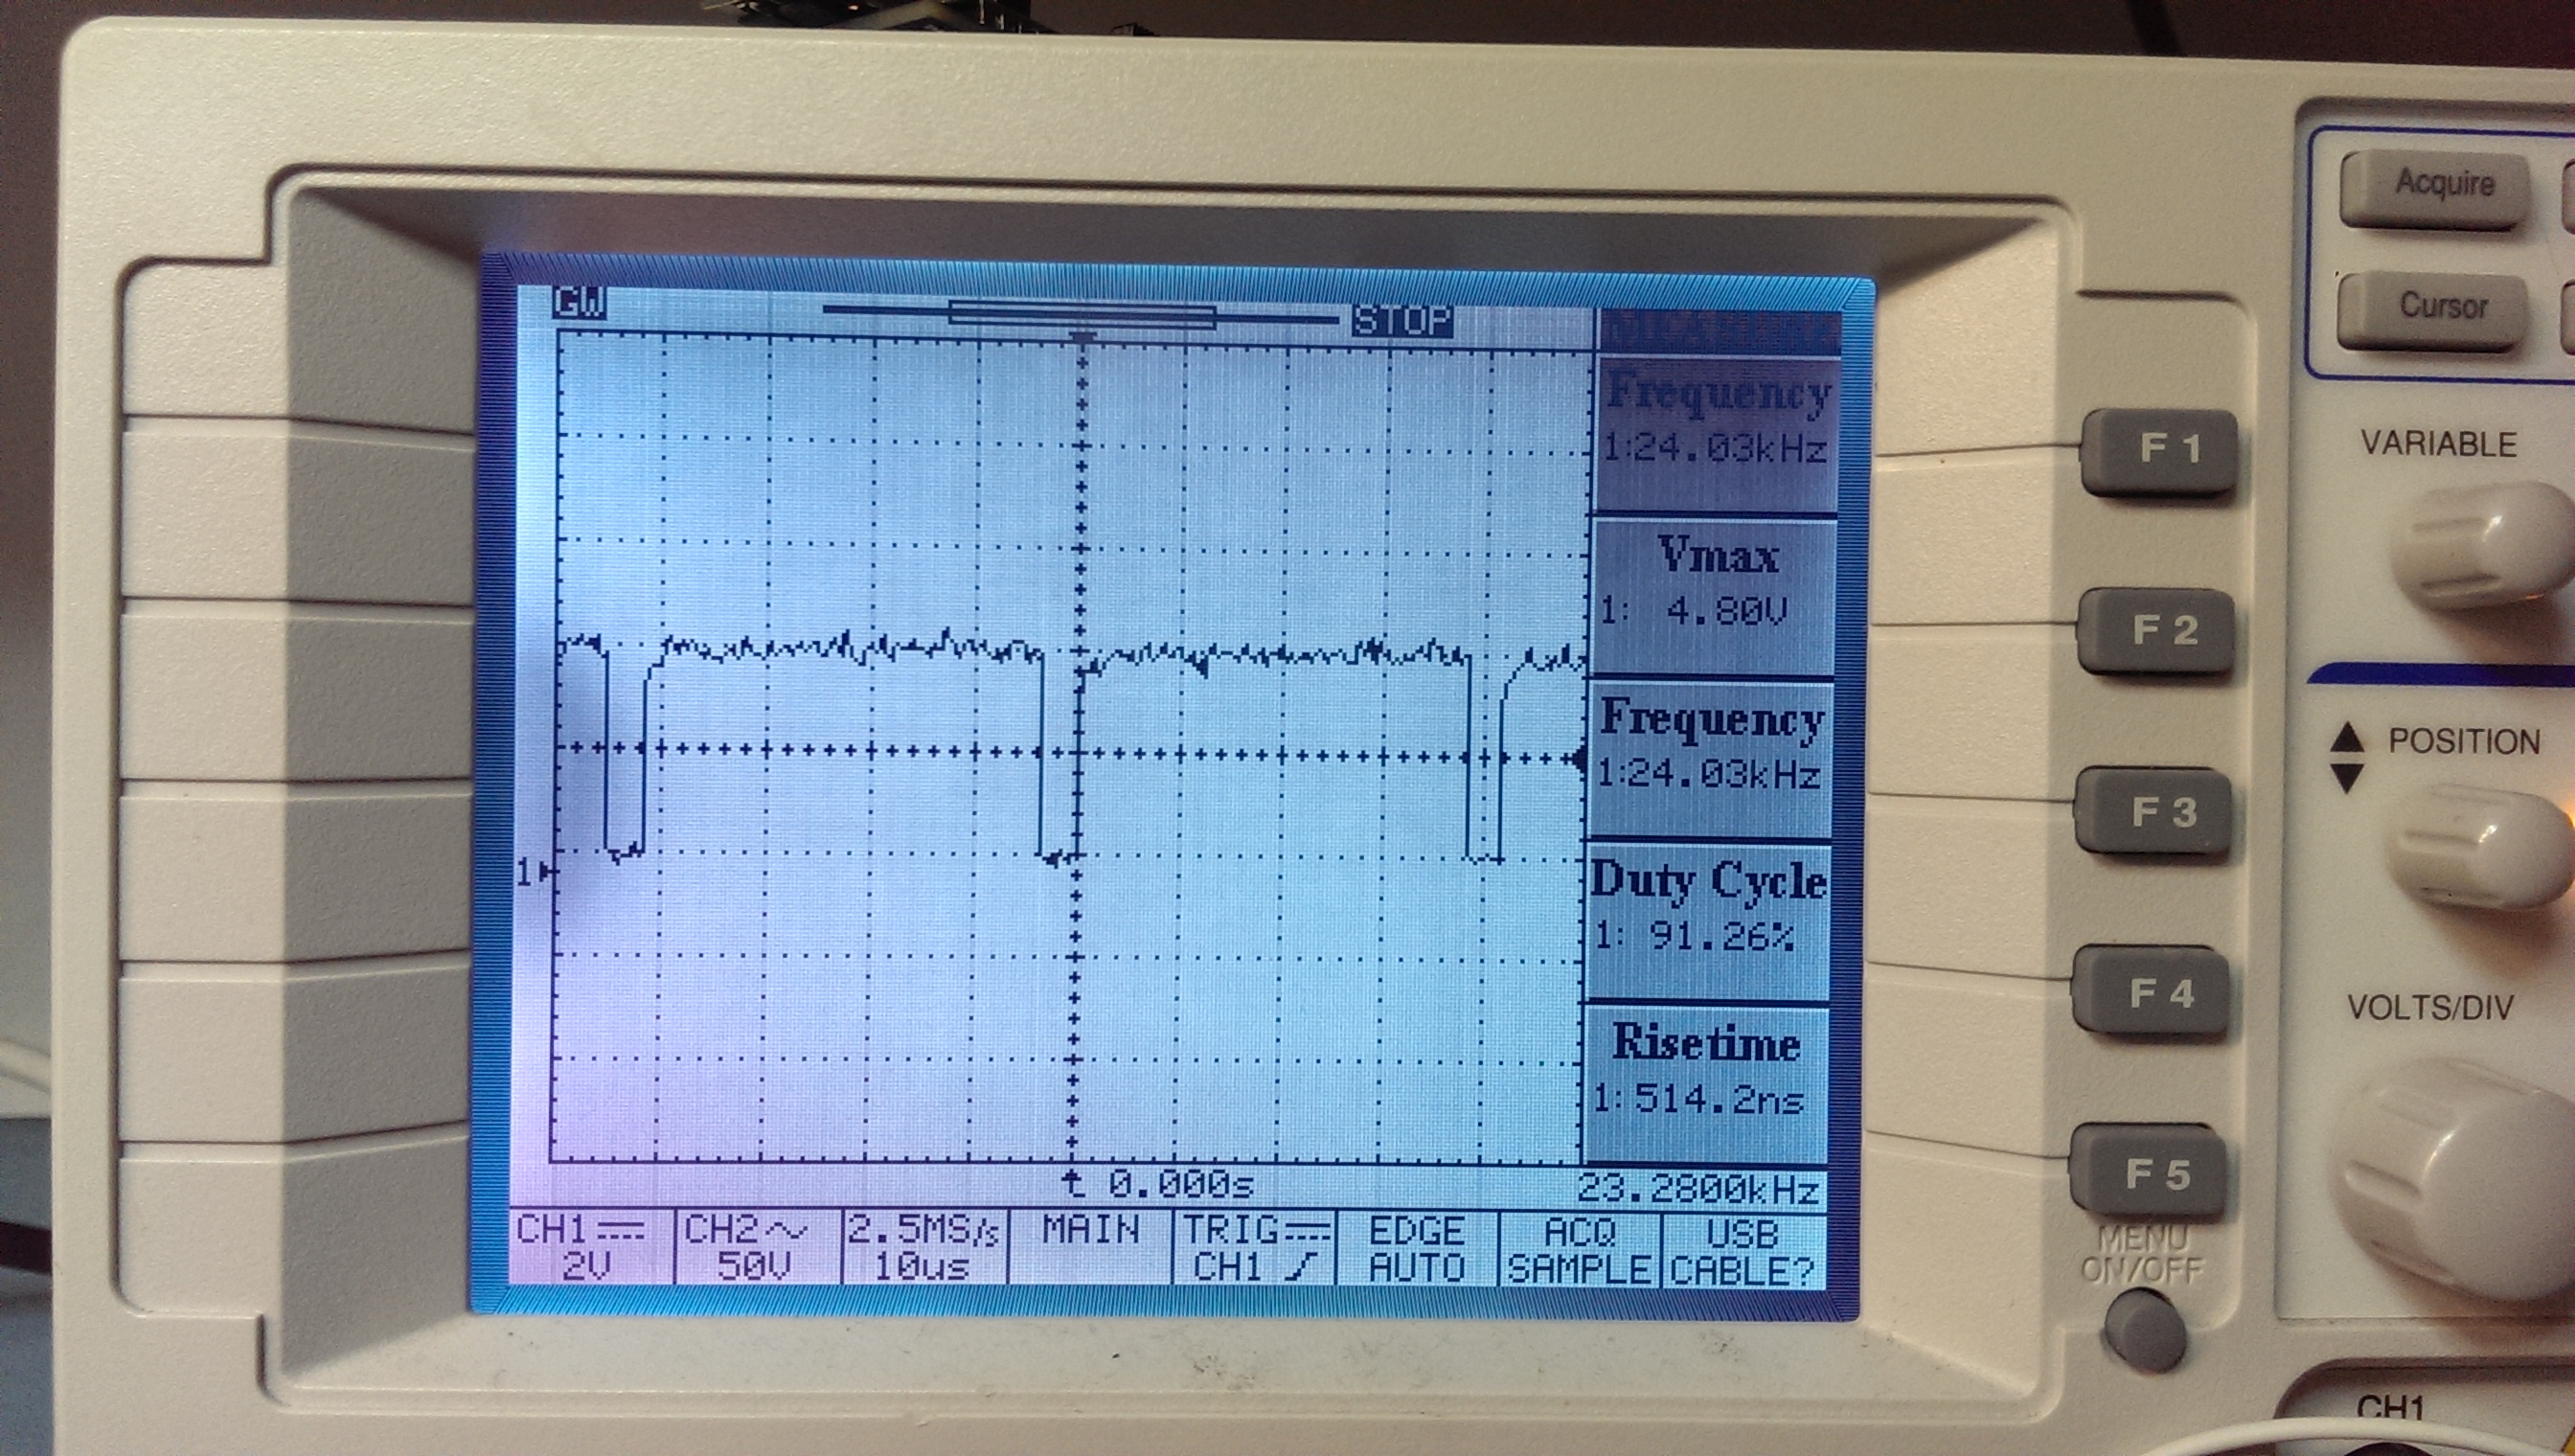
Checking the output from the 082 custom chip on the scope revealed that the SYNC signal was around 24kHz.
wrongkhz

I originally thought the 082 was at fault as id seen so many of them go wrong before but after sleeping on it I started to think this unlikely. At this point I asked for a bit of help from forum user cmonkey. He knows a lot about Konami hardware and has provided a lot of insight to me in the past.
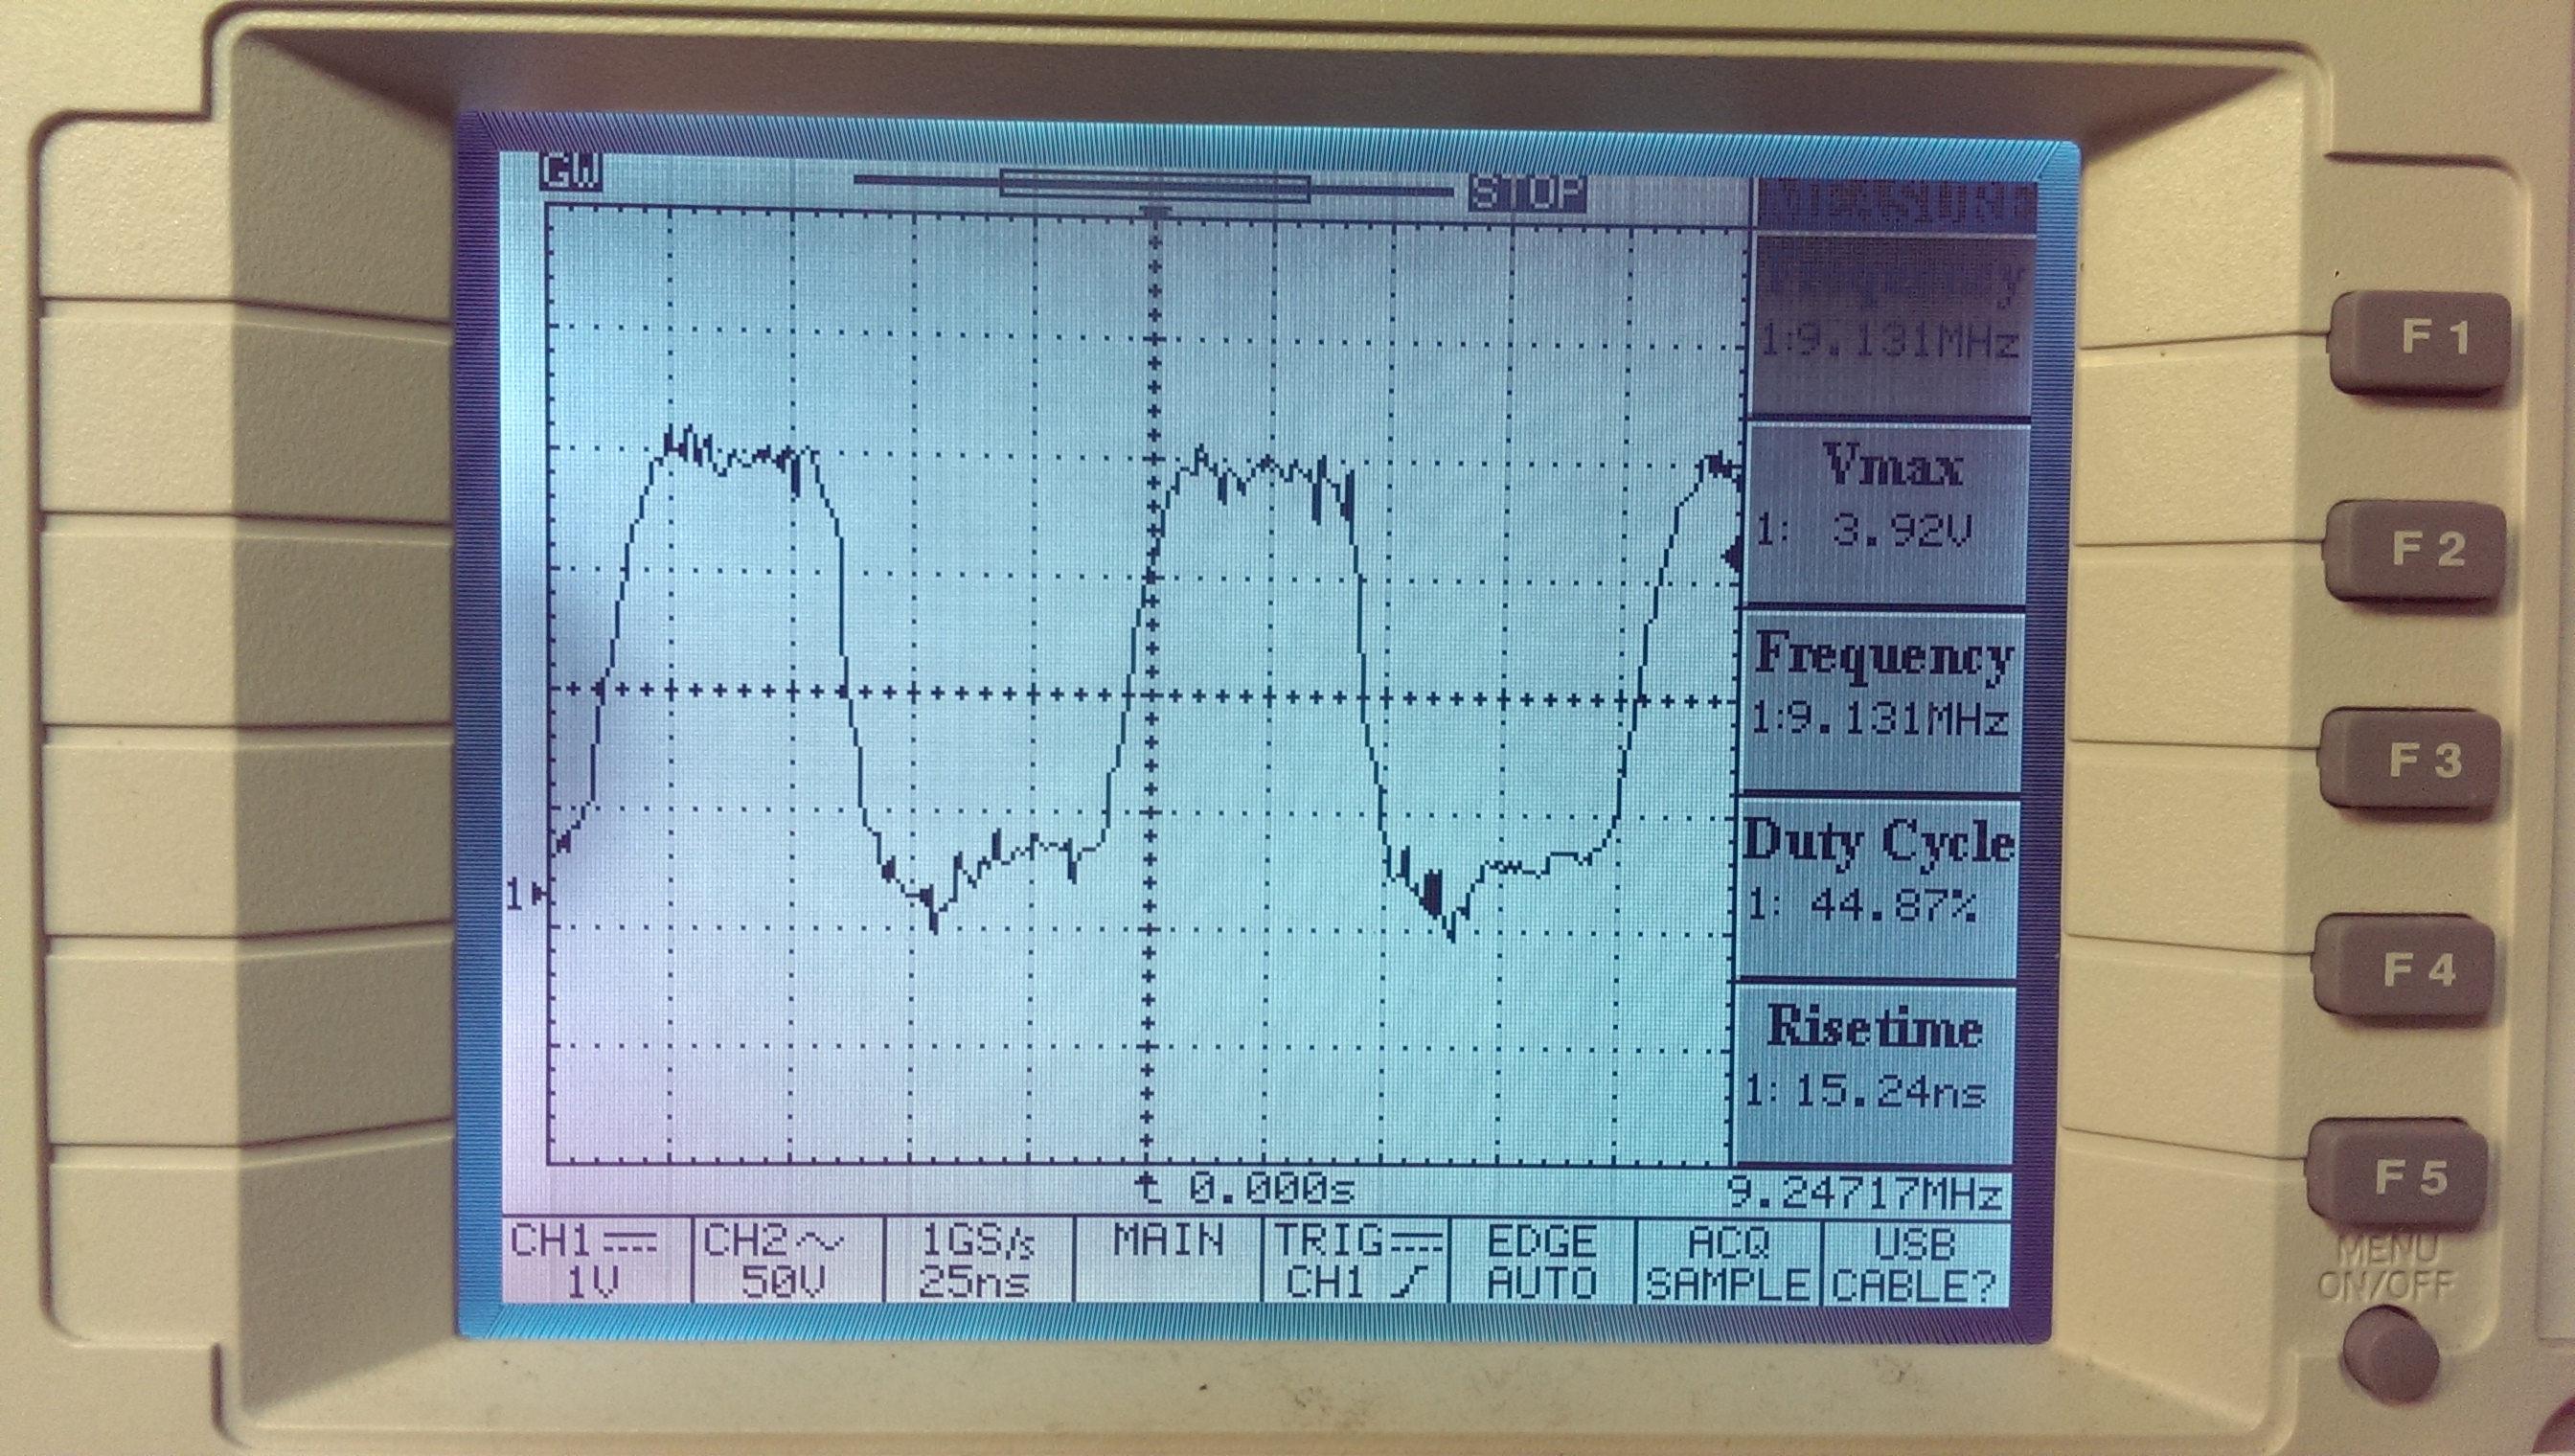
He very generously took some measurements off his Gyruss PCB and it confirmed that the clock input going to the 082 was too high on my board. It should be 6.14MHz into pin 13 and I was getting around 9.14MHz.
wrongkhz2

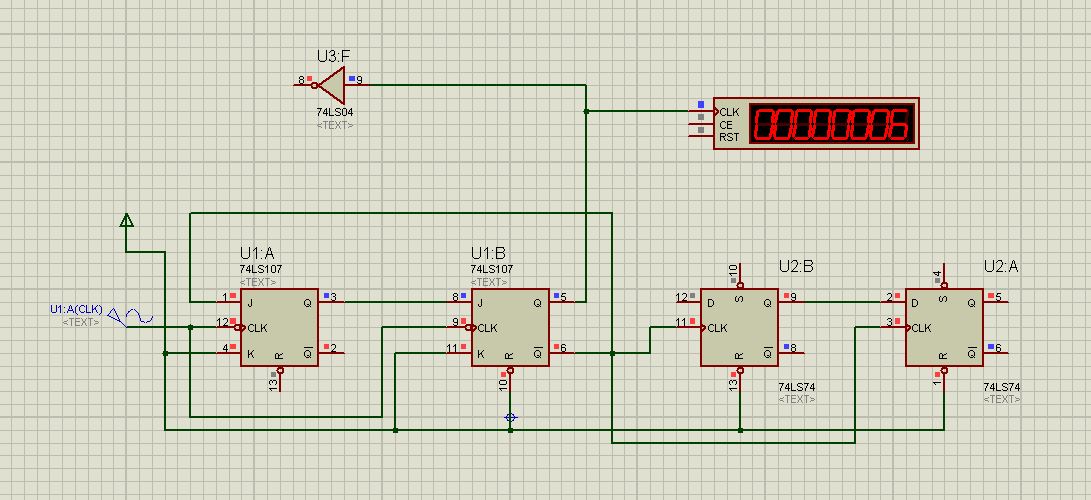
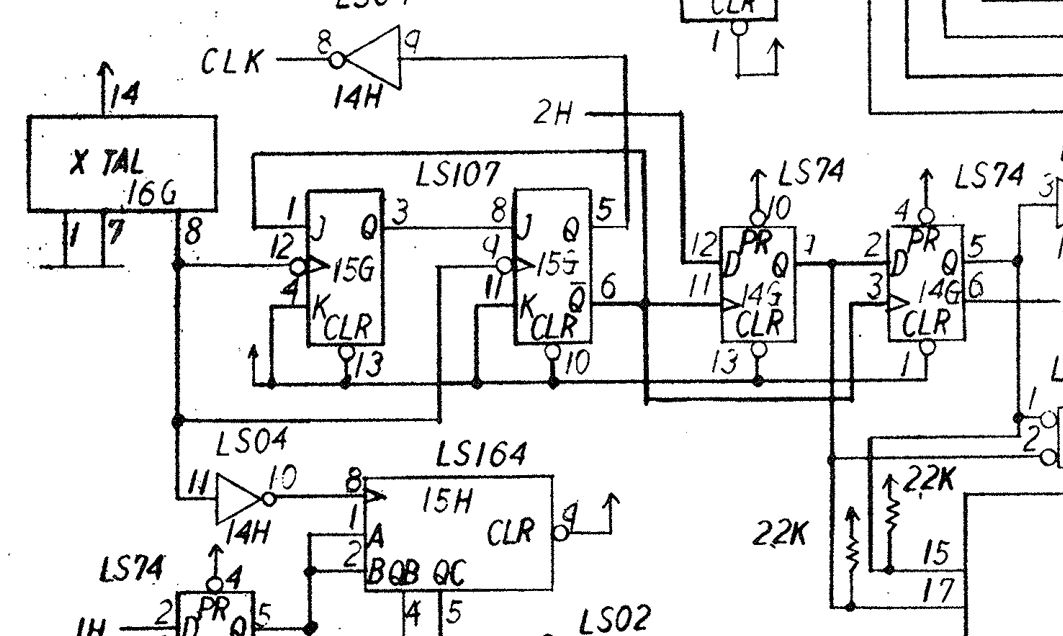
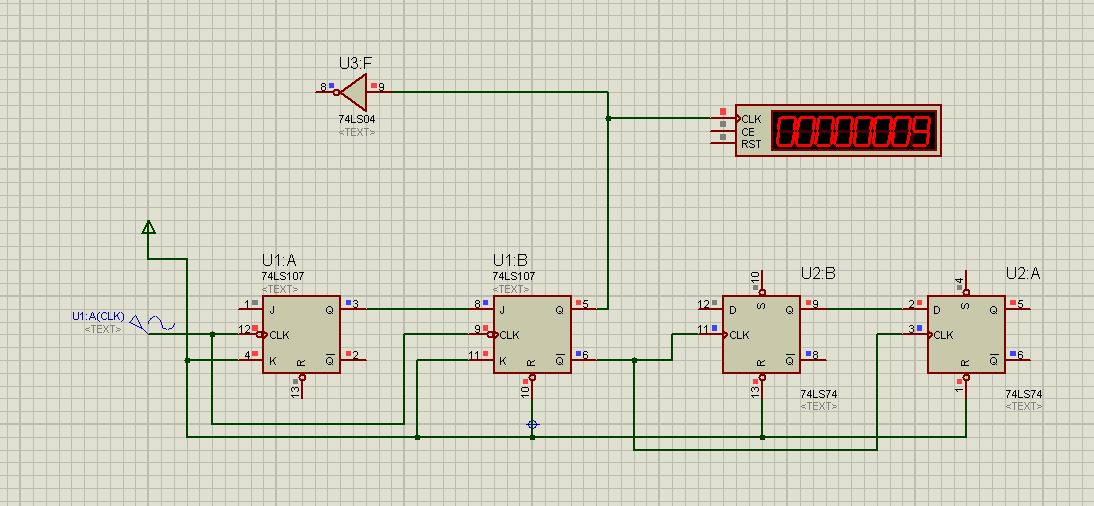
At this point I thought I would do a bit of circuit simulation and drew out the clock generation circuit in PSpice.
cc-sim1

This is how the circuit should be.
ccharlie-clock

As you can see from the simulation I have around 6MHz.
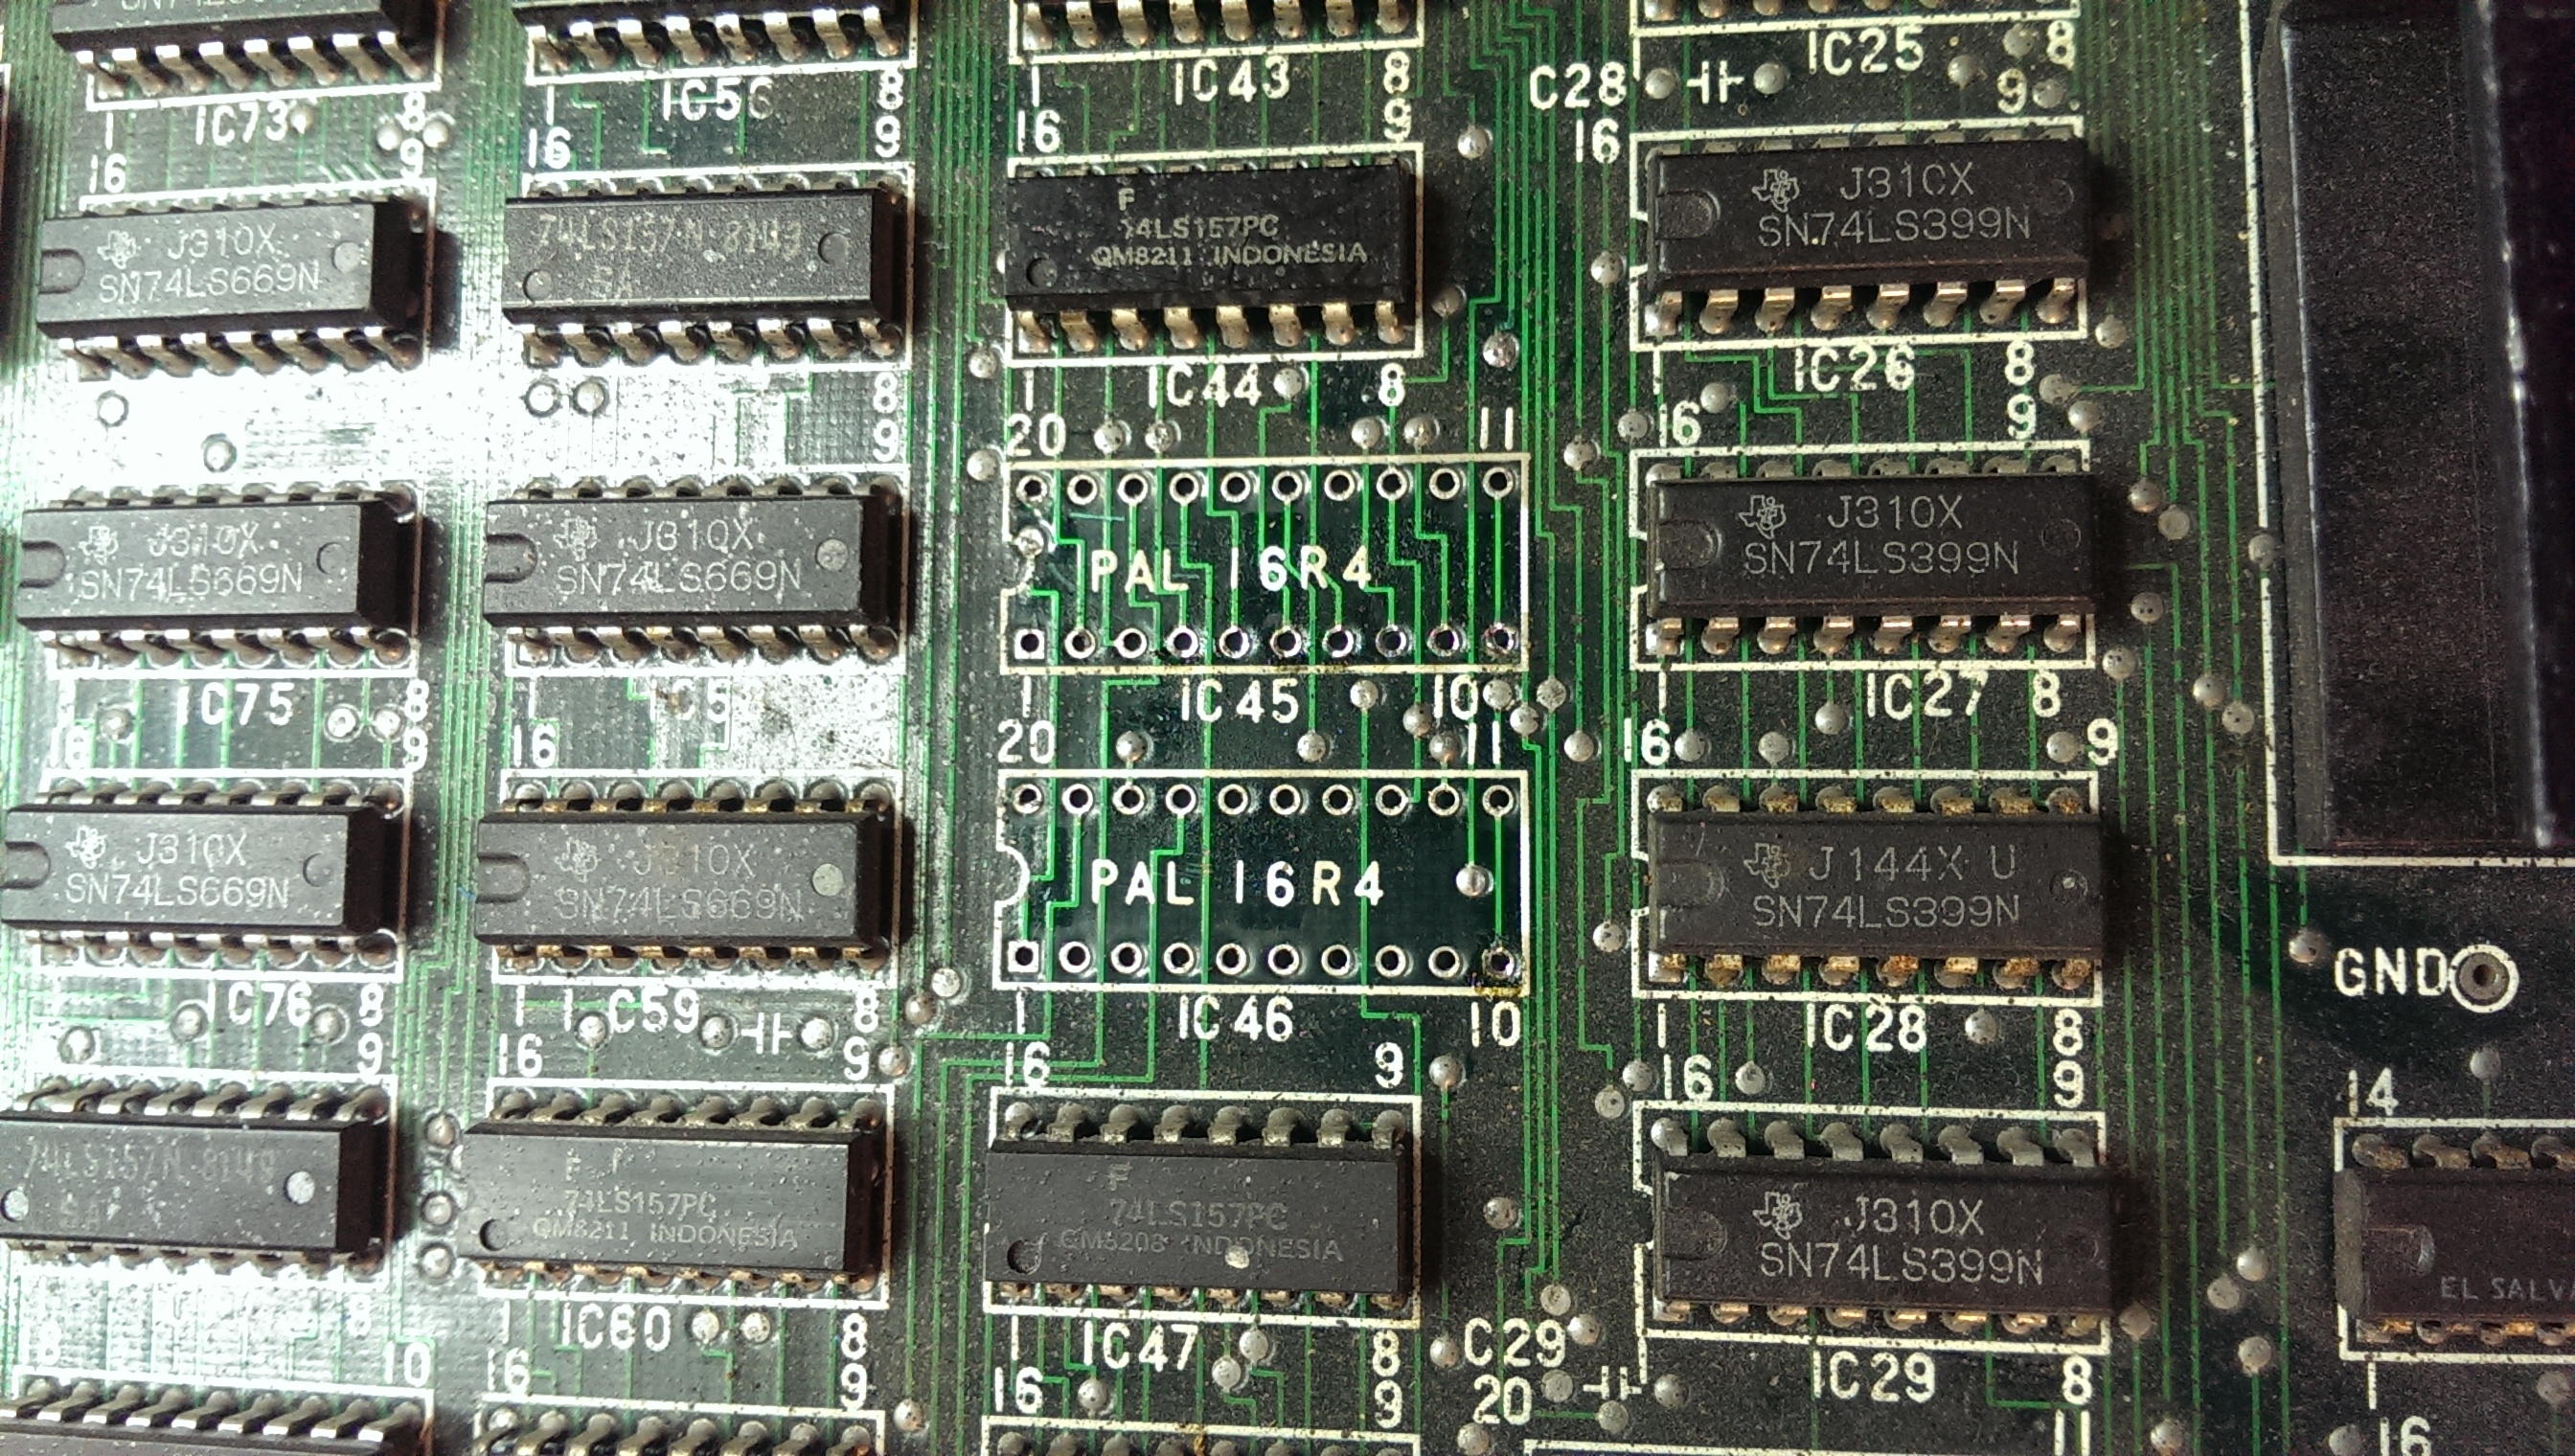
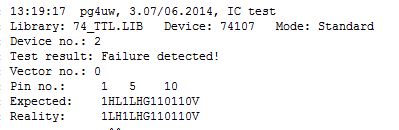
Probing around this PCB however revealed that pin 1 of the 74LS107 was dead. Removing this line from the simulation revealed this:
cc-sim2

Exactly what I was wanting to see.
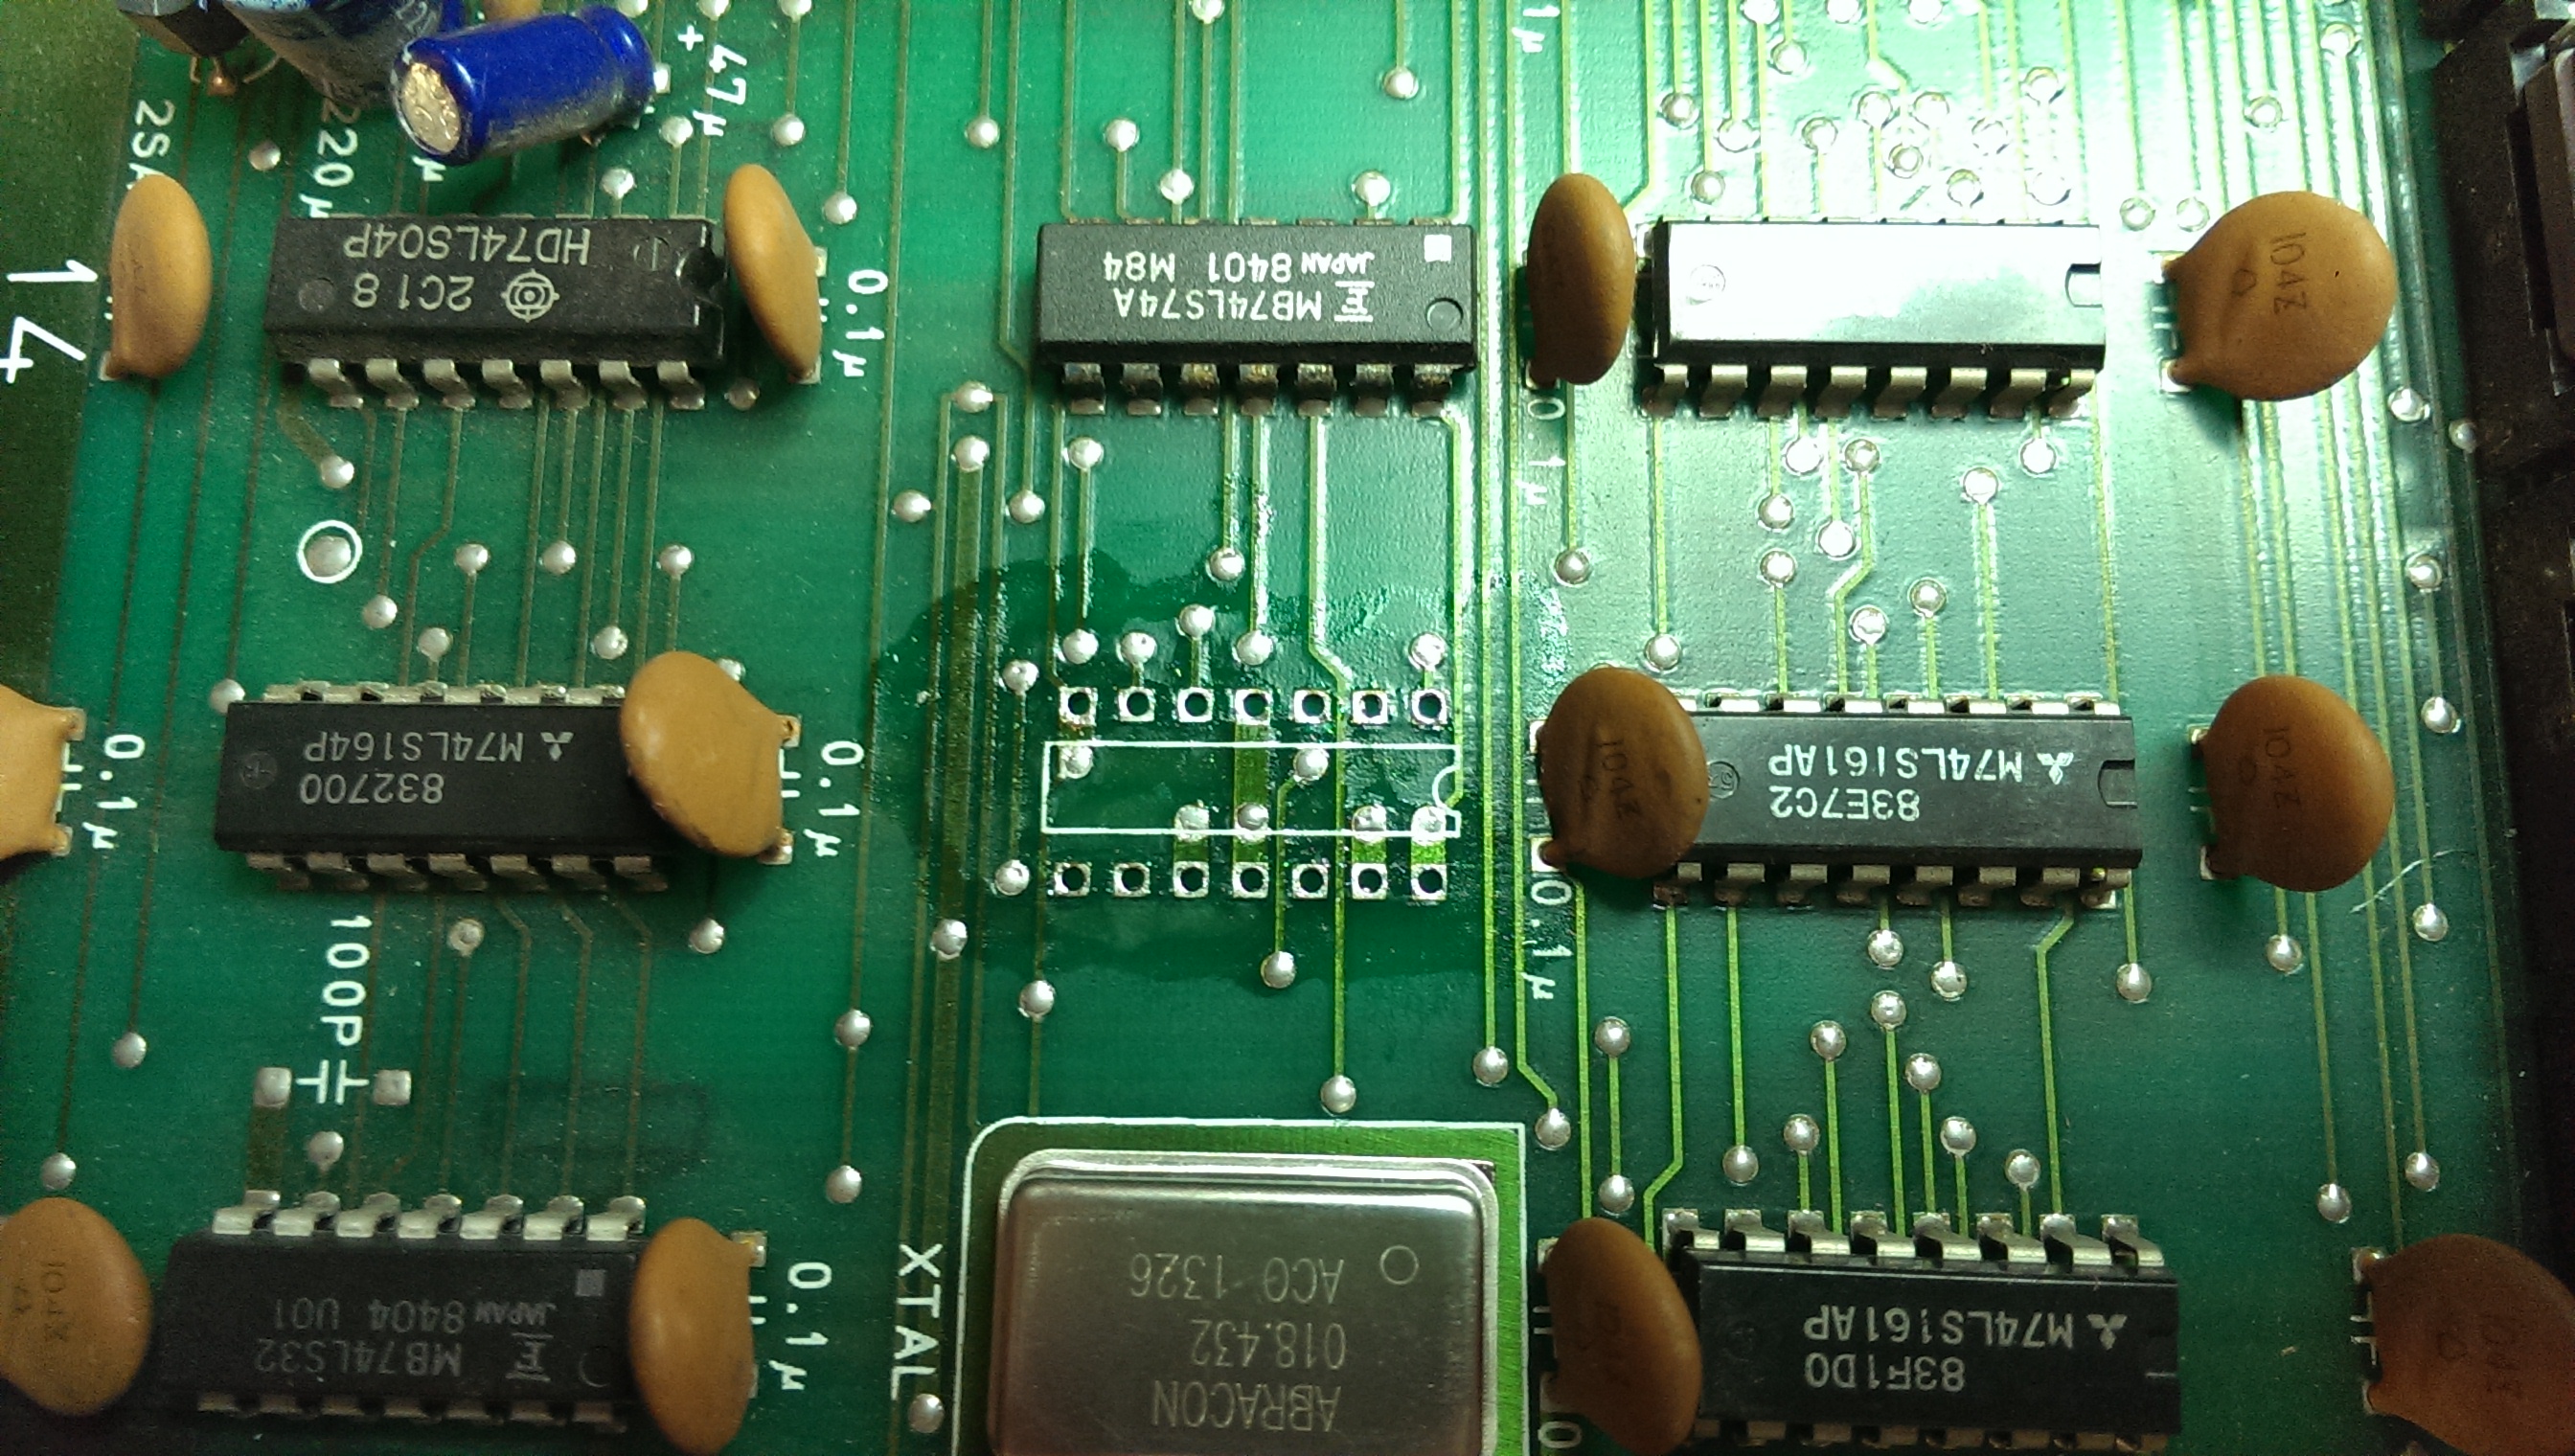
I removed the LS107 and tested it. It failed as expected.
cc-107fail

I found one on a scrap board. This brought everything back to life.
ls107

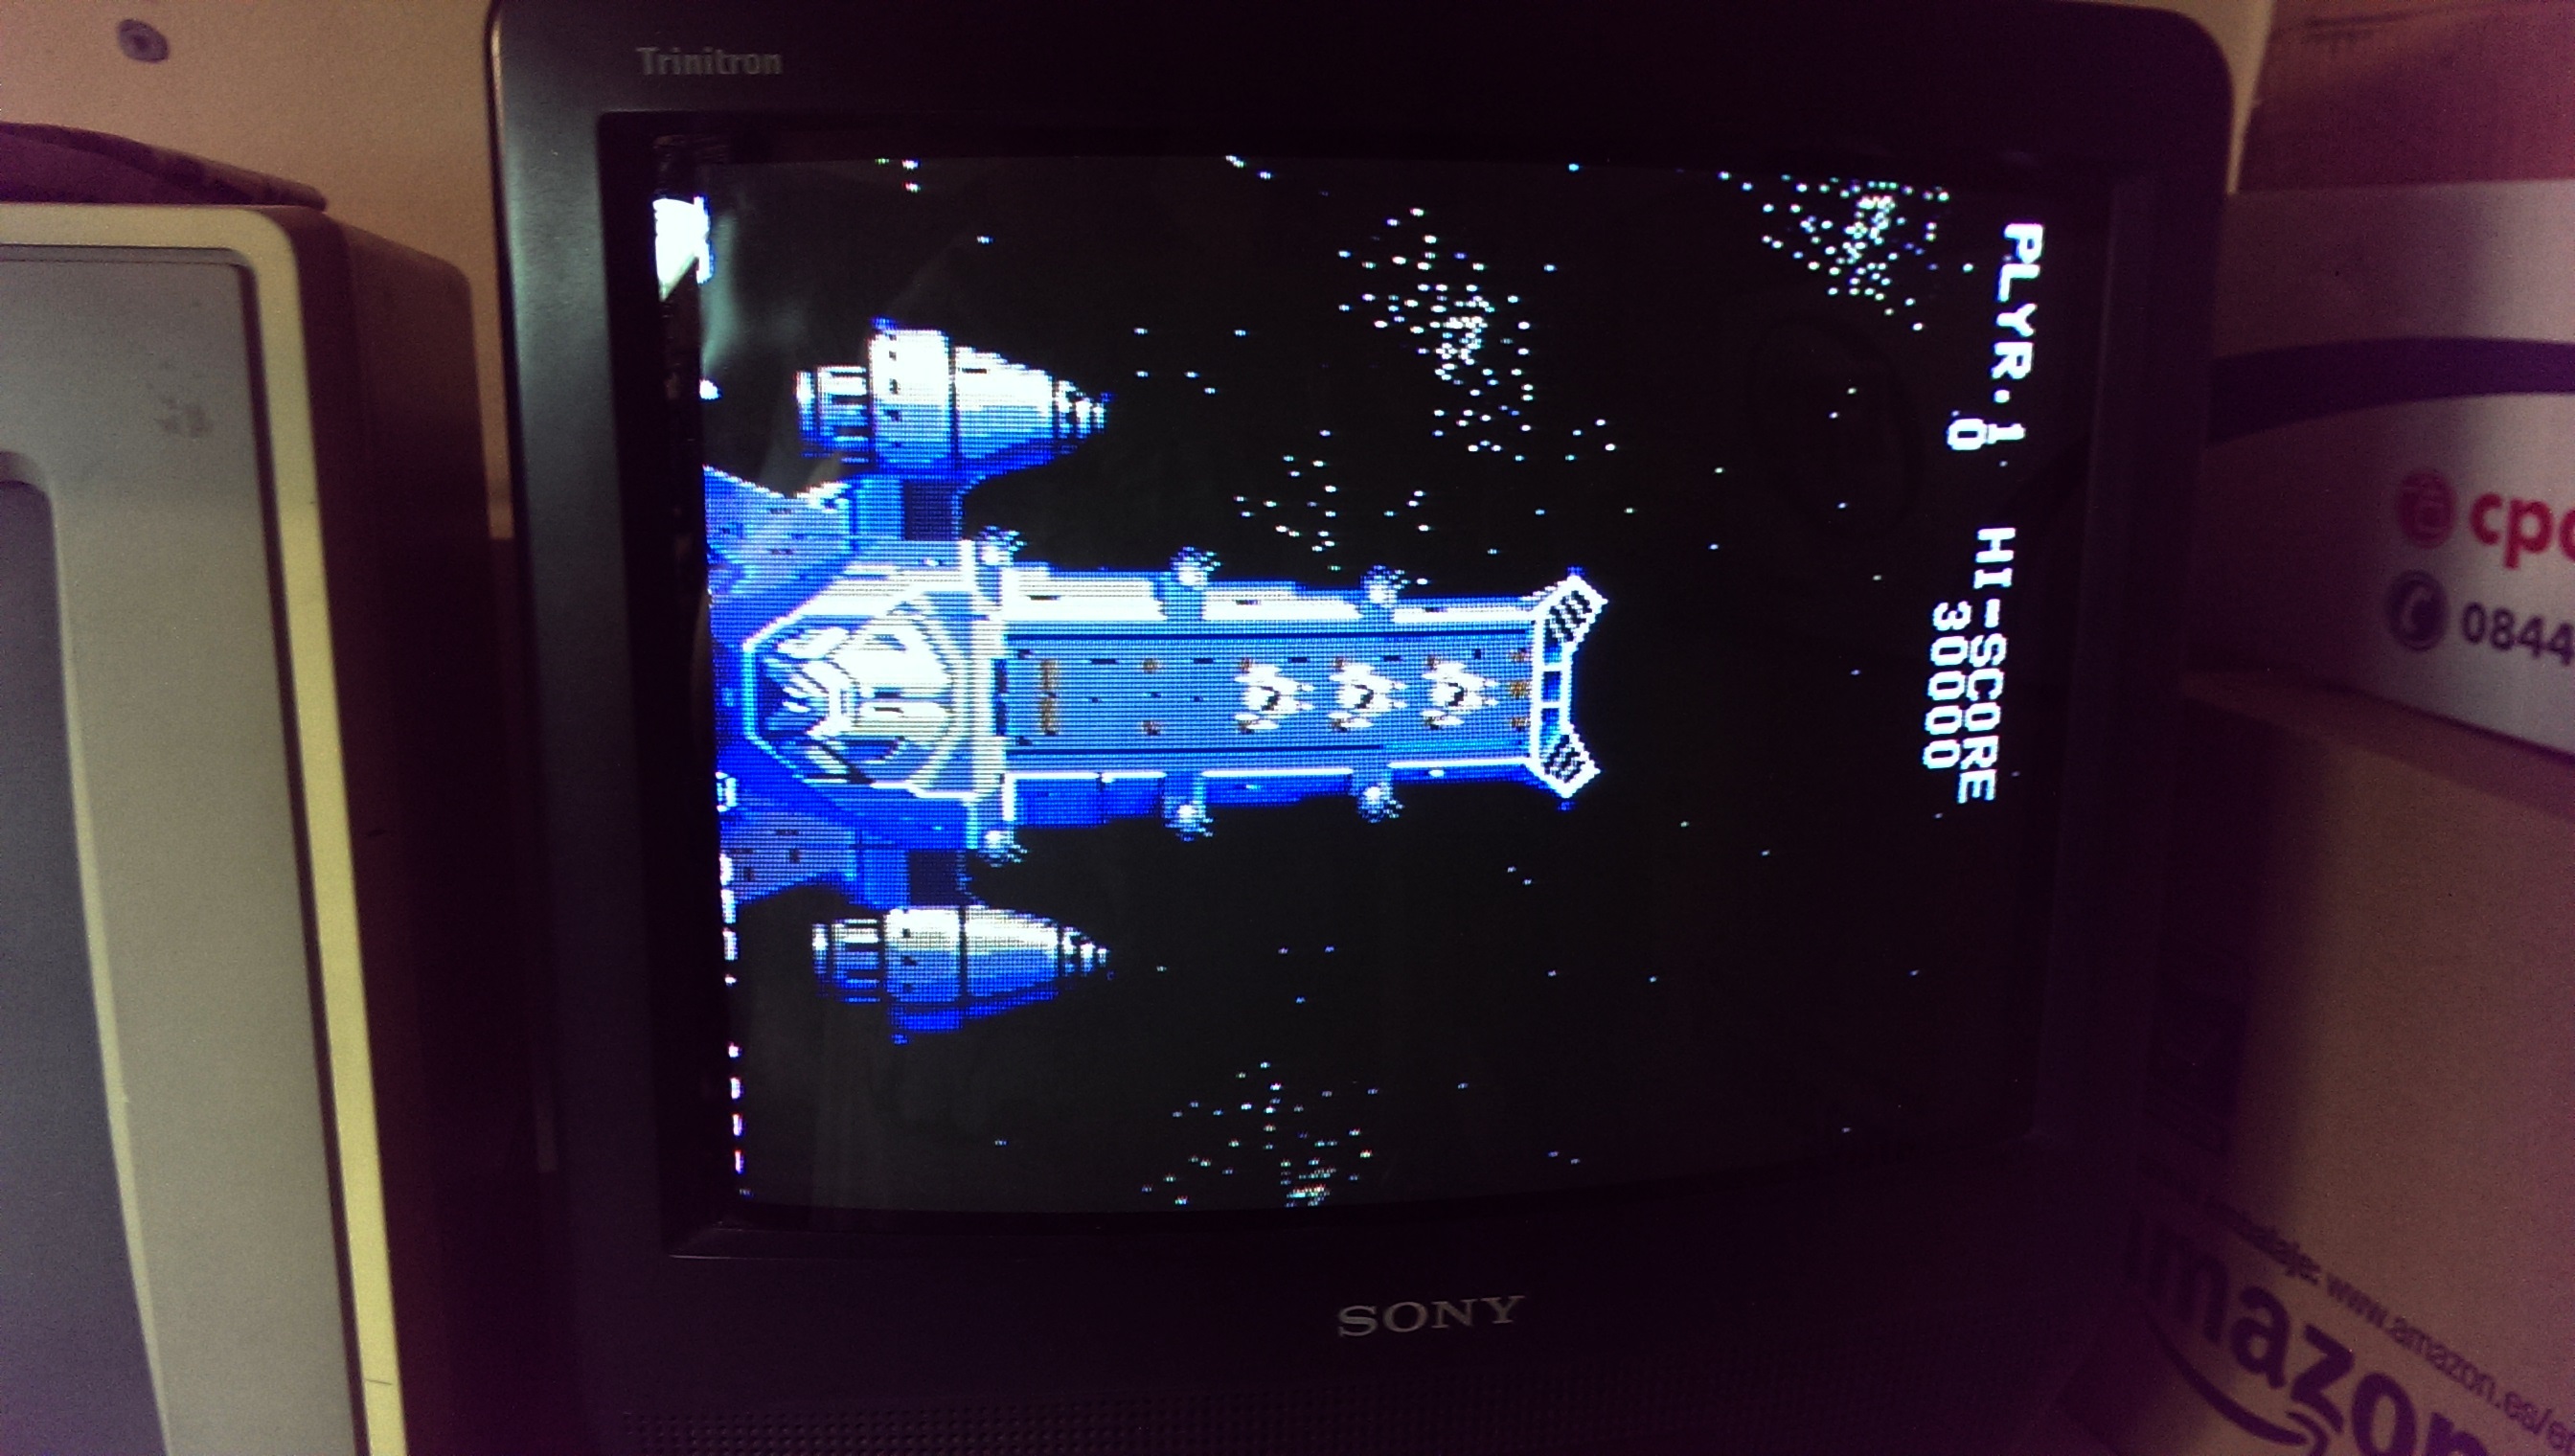
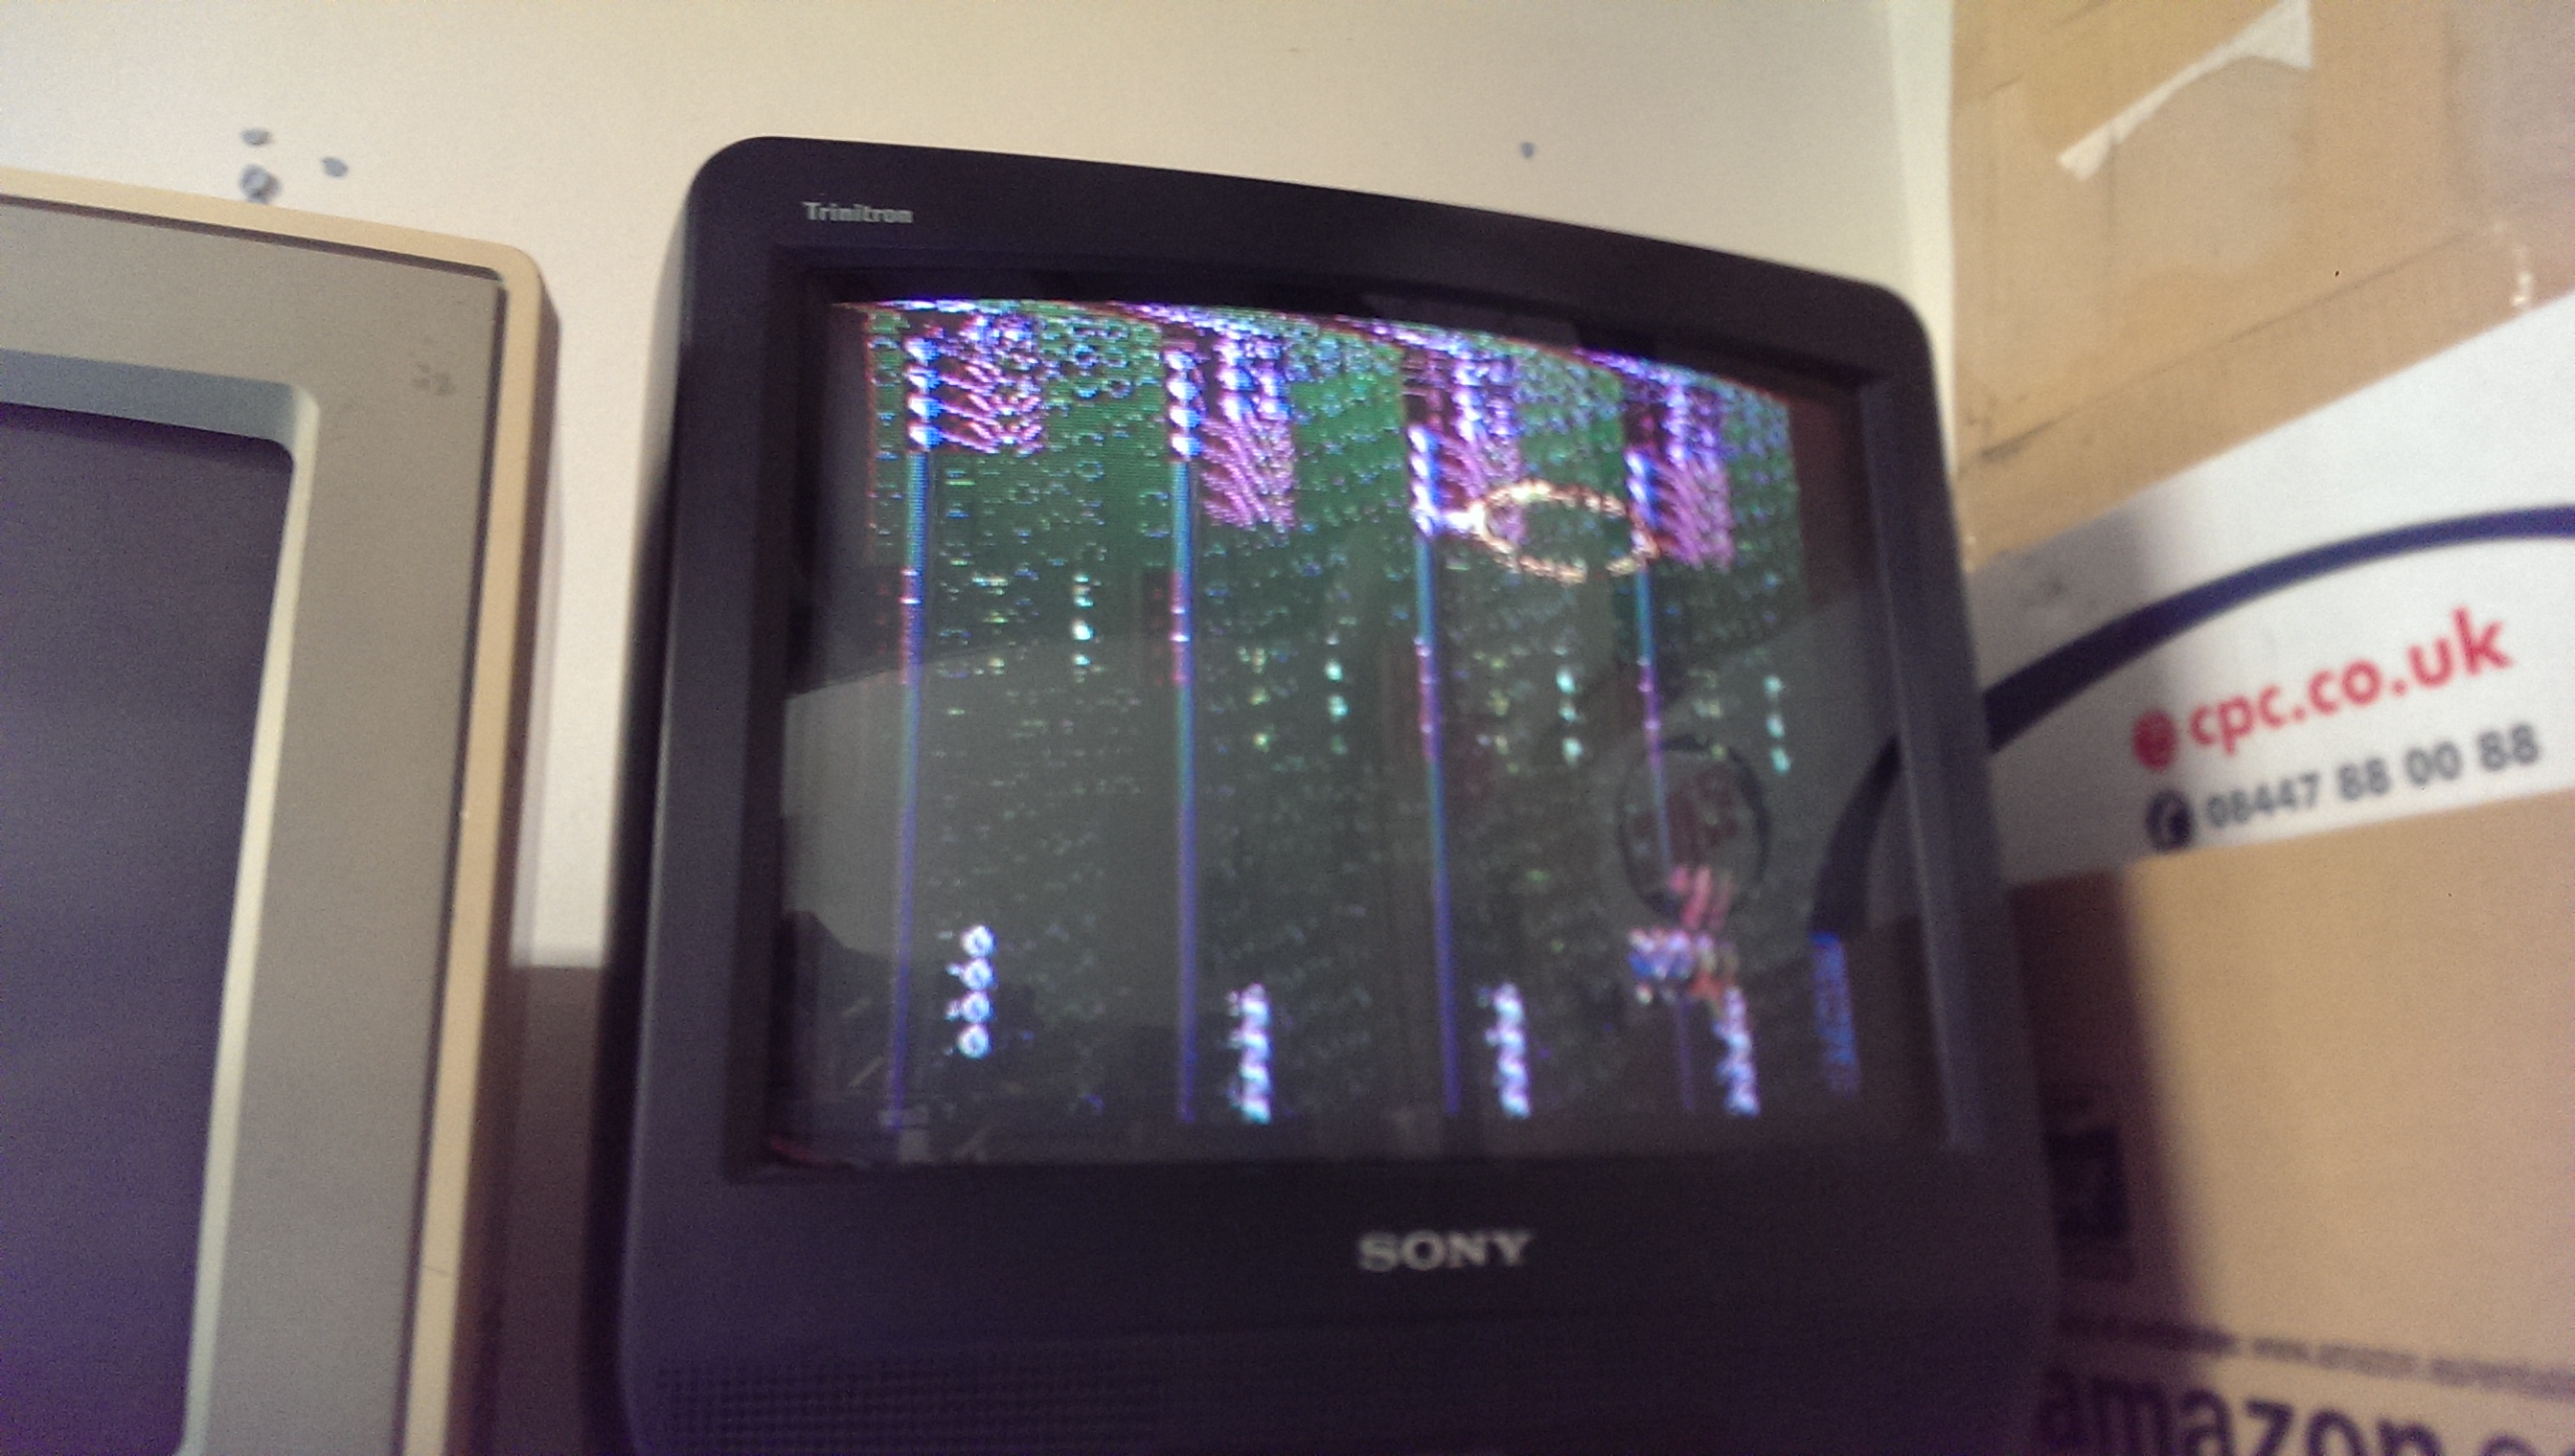
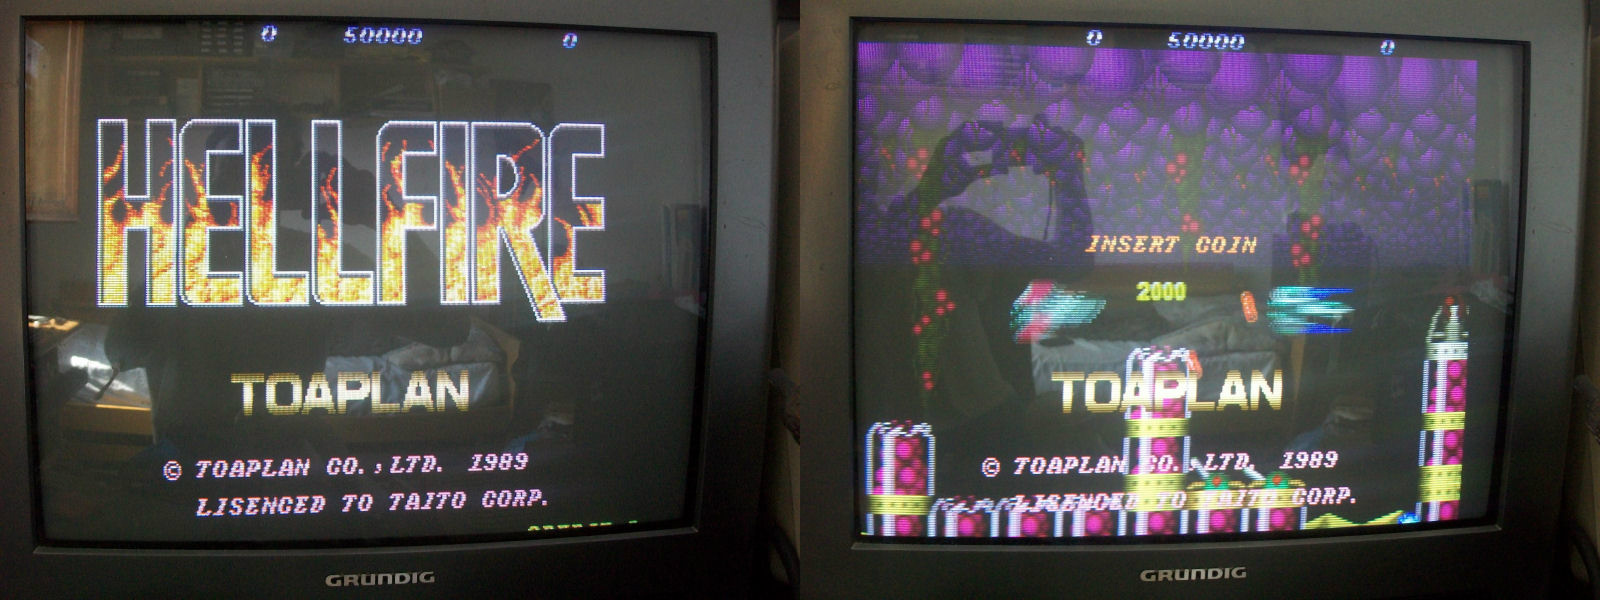
Powering the board up initially gave me a static screen of 0’s. This is what you normally see during the start of the POST. Ill get back to this issue later.
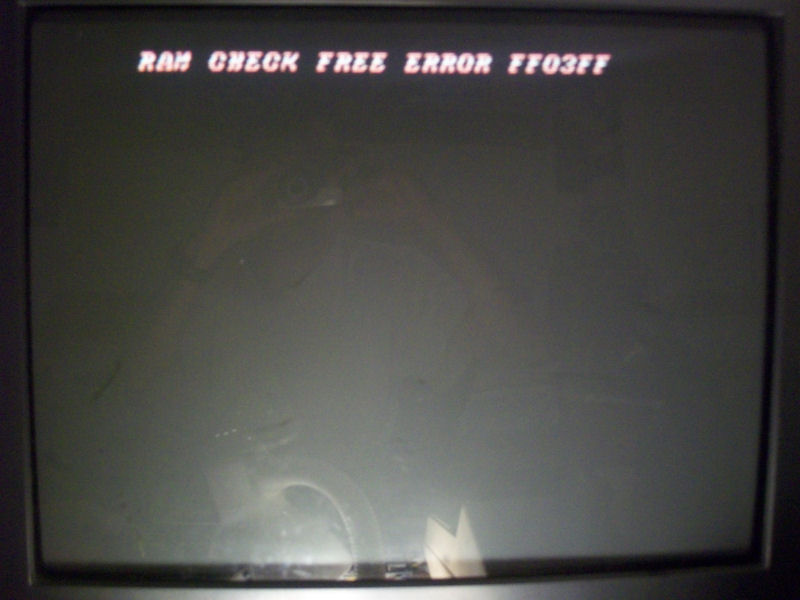
Powering down and back up again gave me this:
rightclock

Using MAME I confirmed the Video RAM area was to blame.
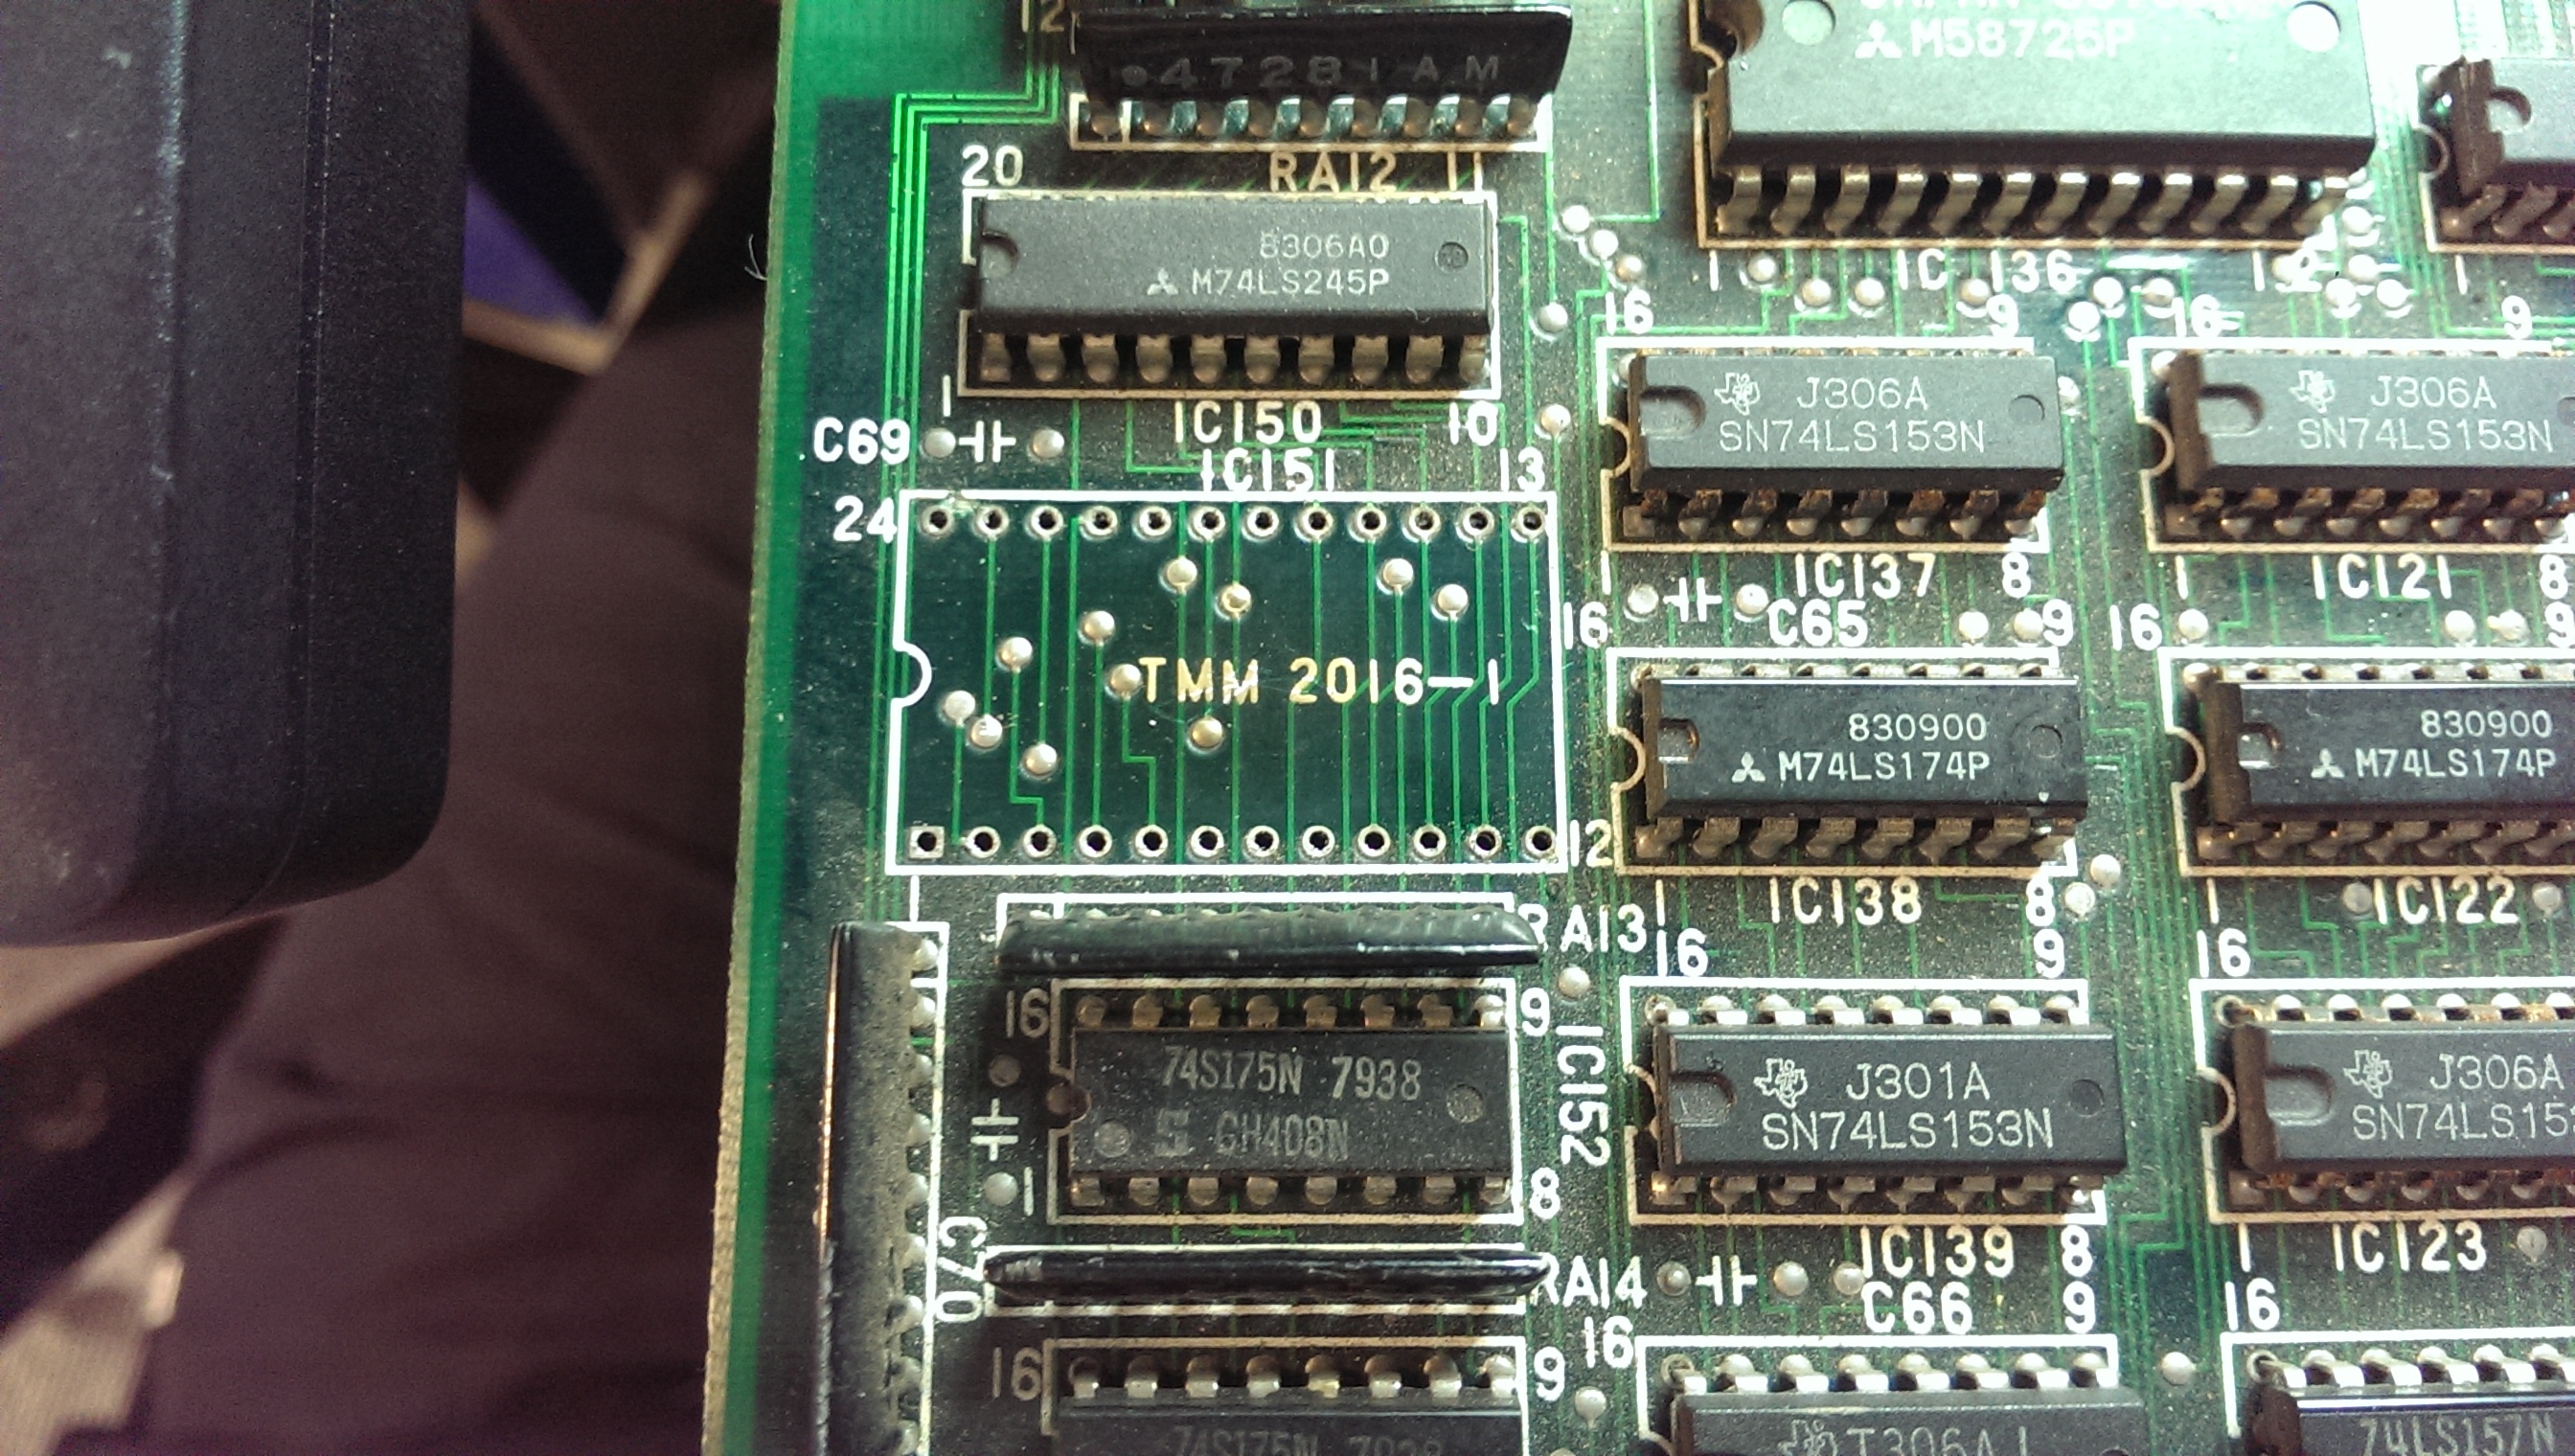
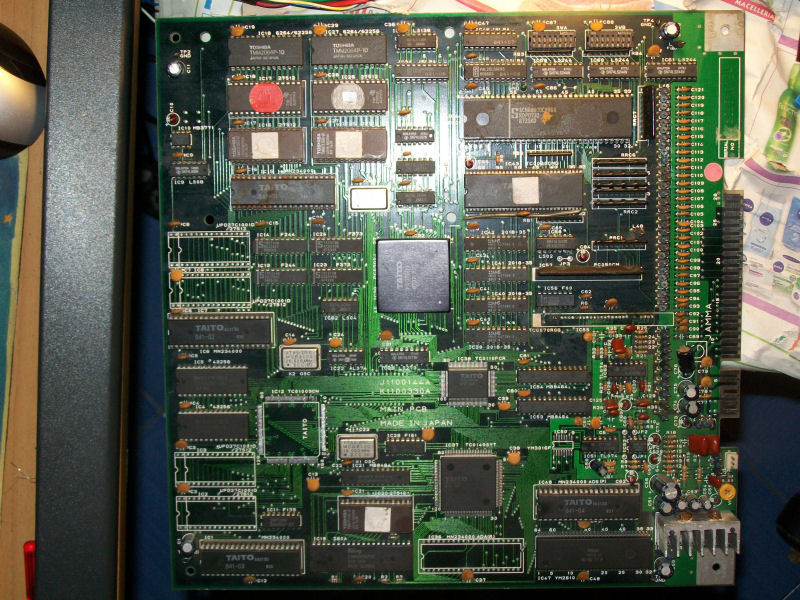
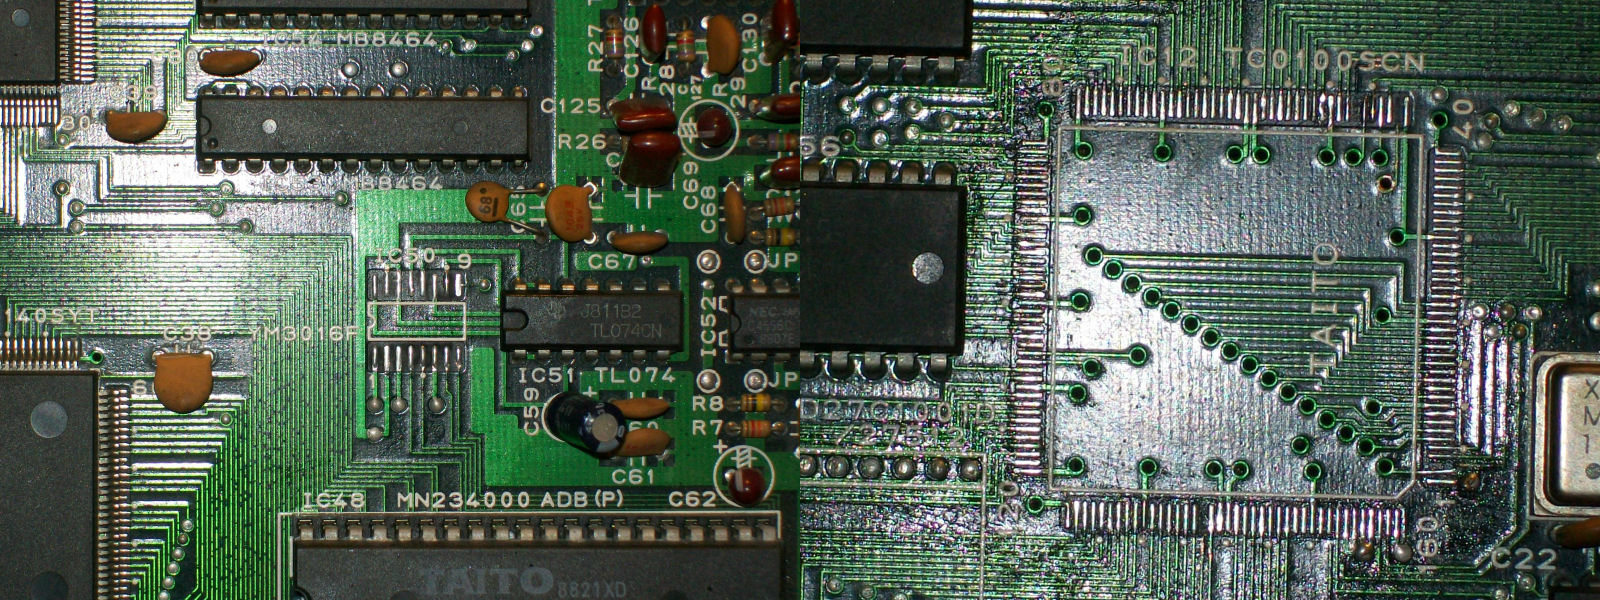
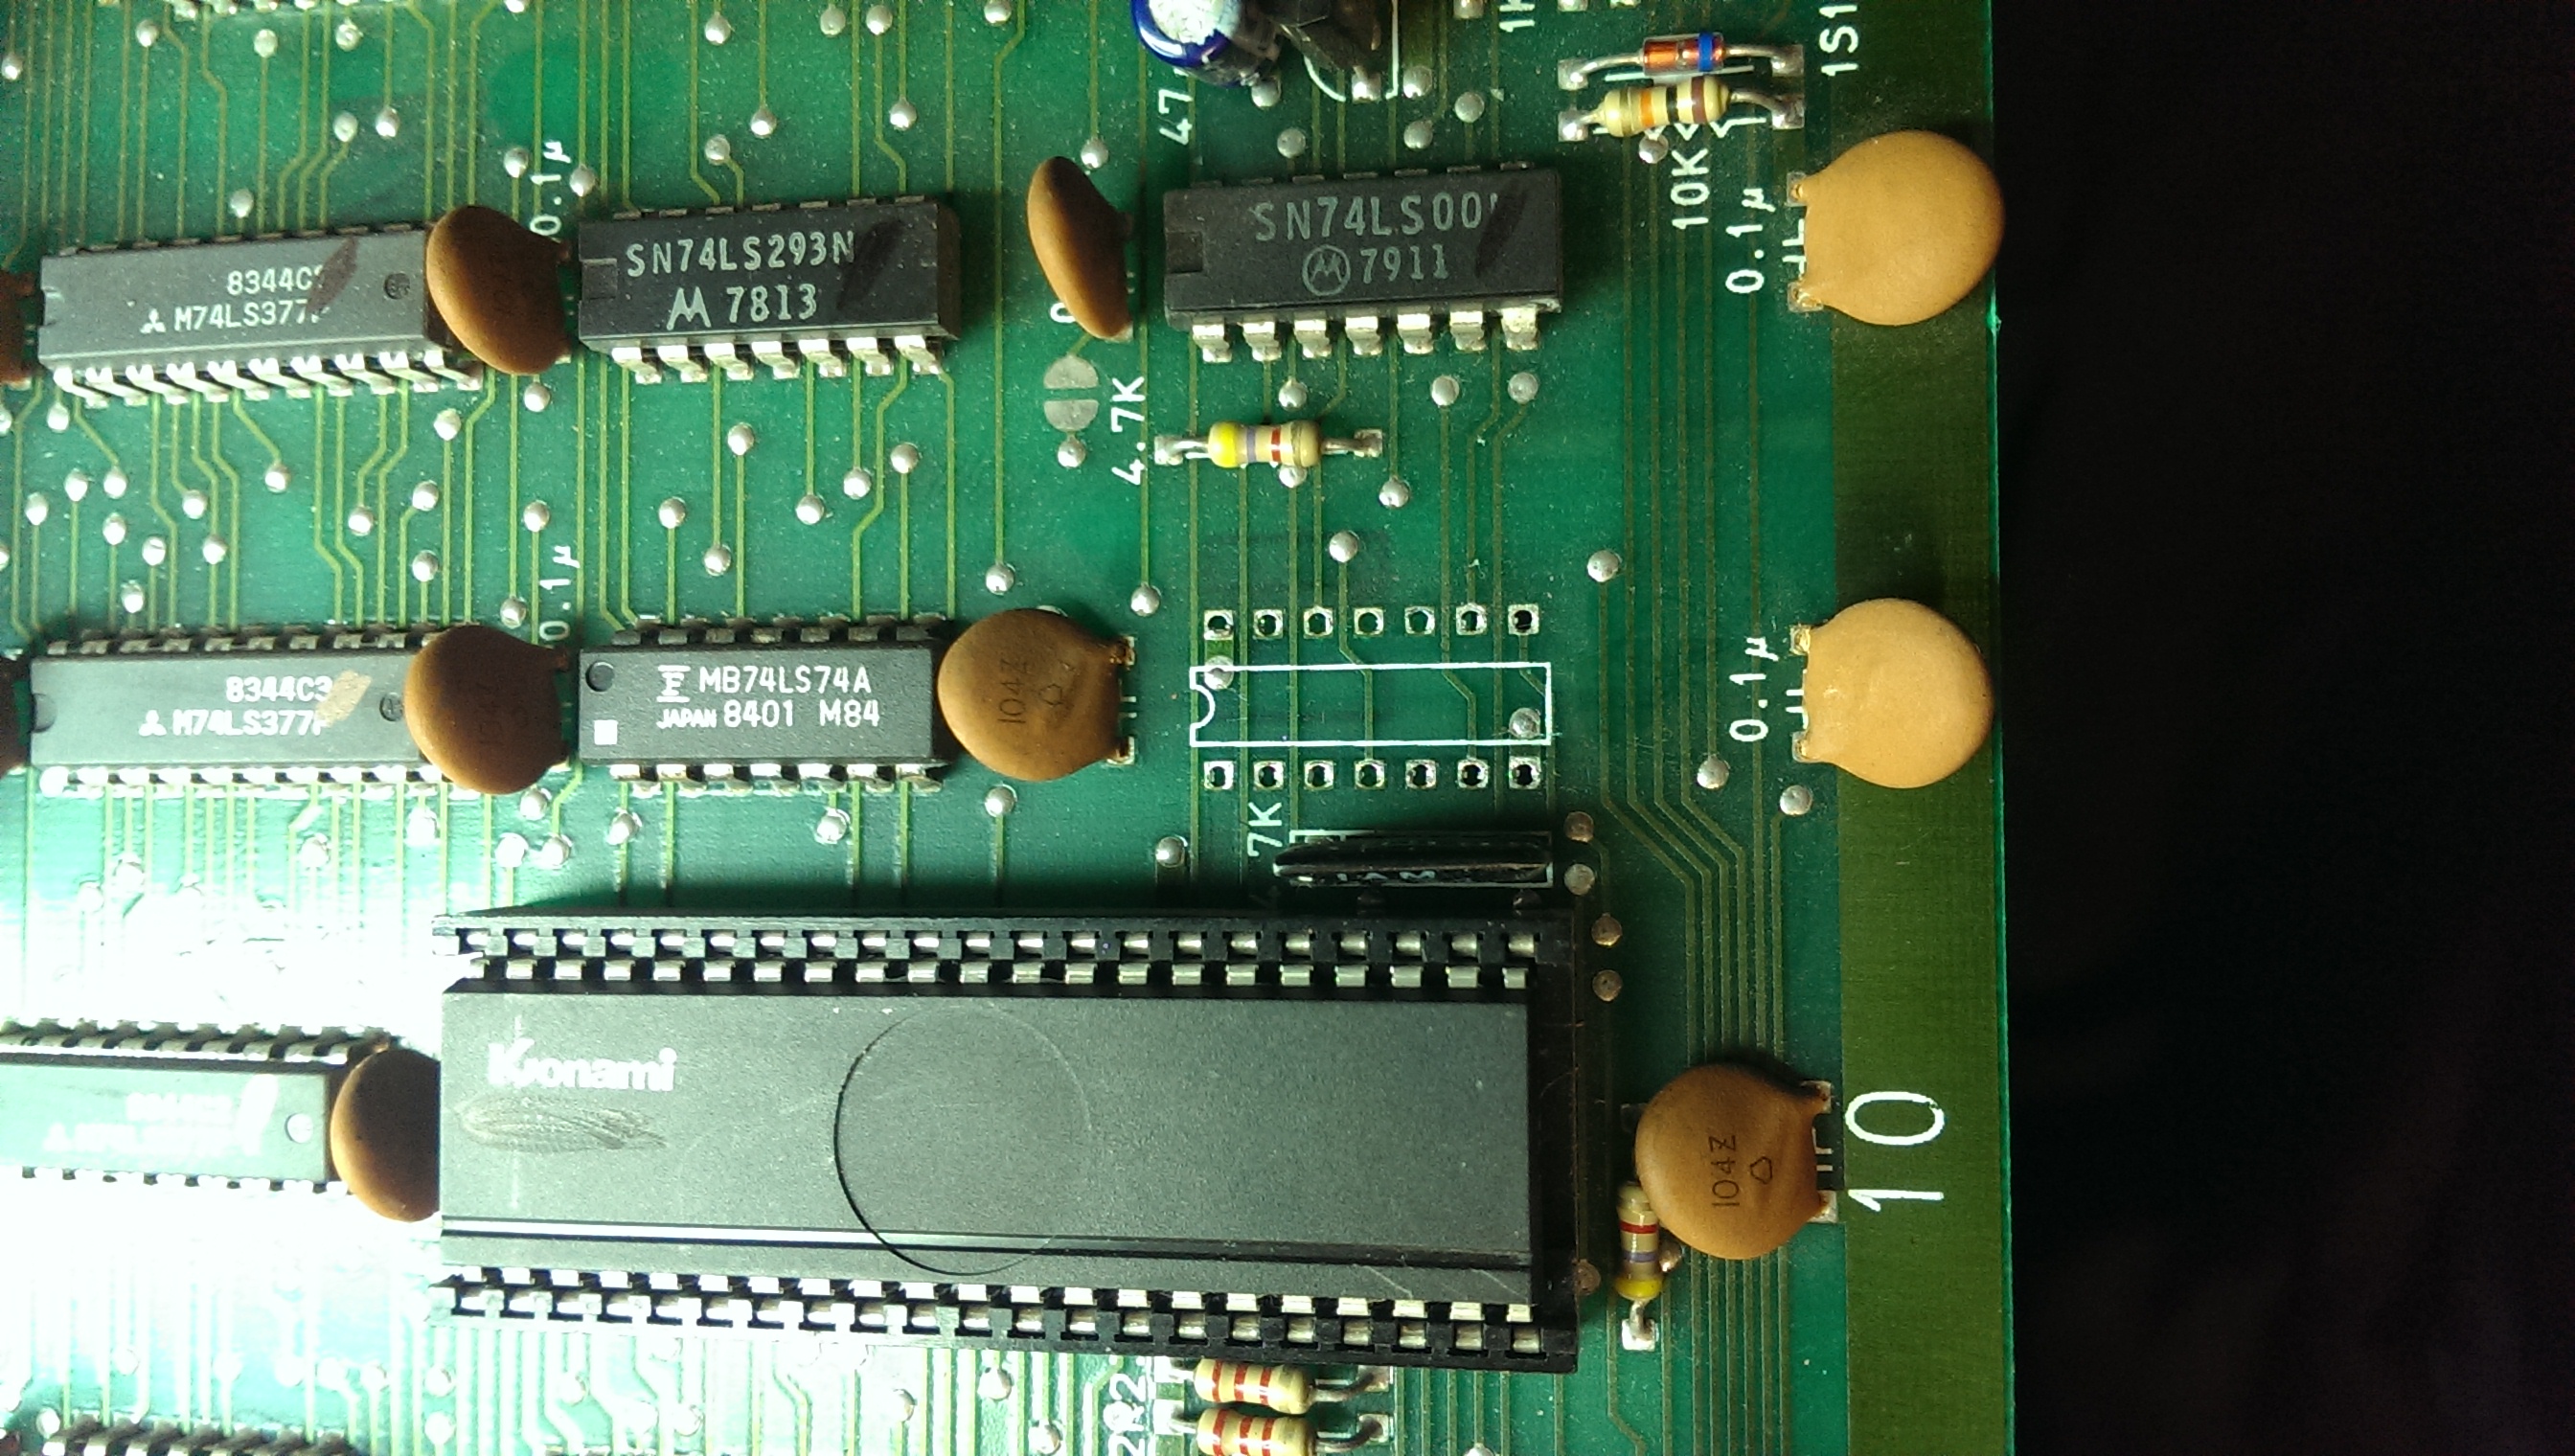
Checking the address lines on the 8128 RAM at location 3E revealed 4 dead lines. I traced these back to 74LS157 at location 5E. Replacing this brought back the graphics.
almost

There is still a small graphics issue at this point which I struggled to find and also the intermittent power up problem I mentioned earlier so thought I would move on to the other issue of the controls not working.

Neither of the coin inputs work.
Back to the schematics, I can see where the signal comes in and taking some measurements shows there is something wrong as I’m getting around 1v at pin 6 of the chip at 3F.
There is very little to this part of the circuit and the resistor array looked good so I desoldered the 74LS253 and it failed all tests. Replacing this brought the controls back.

So back to my remaining problems.
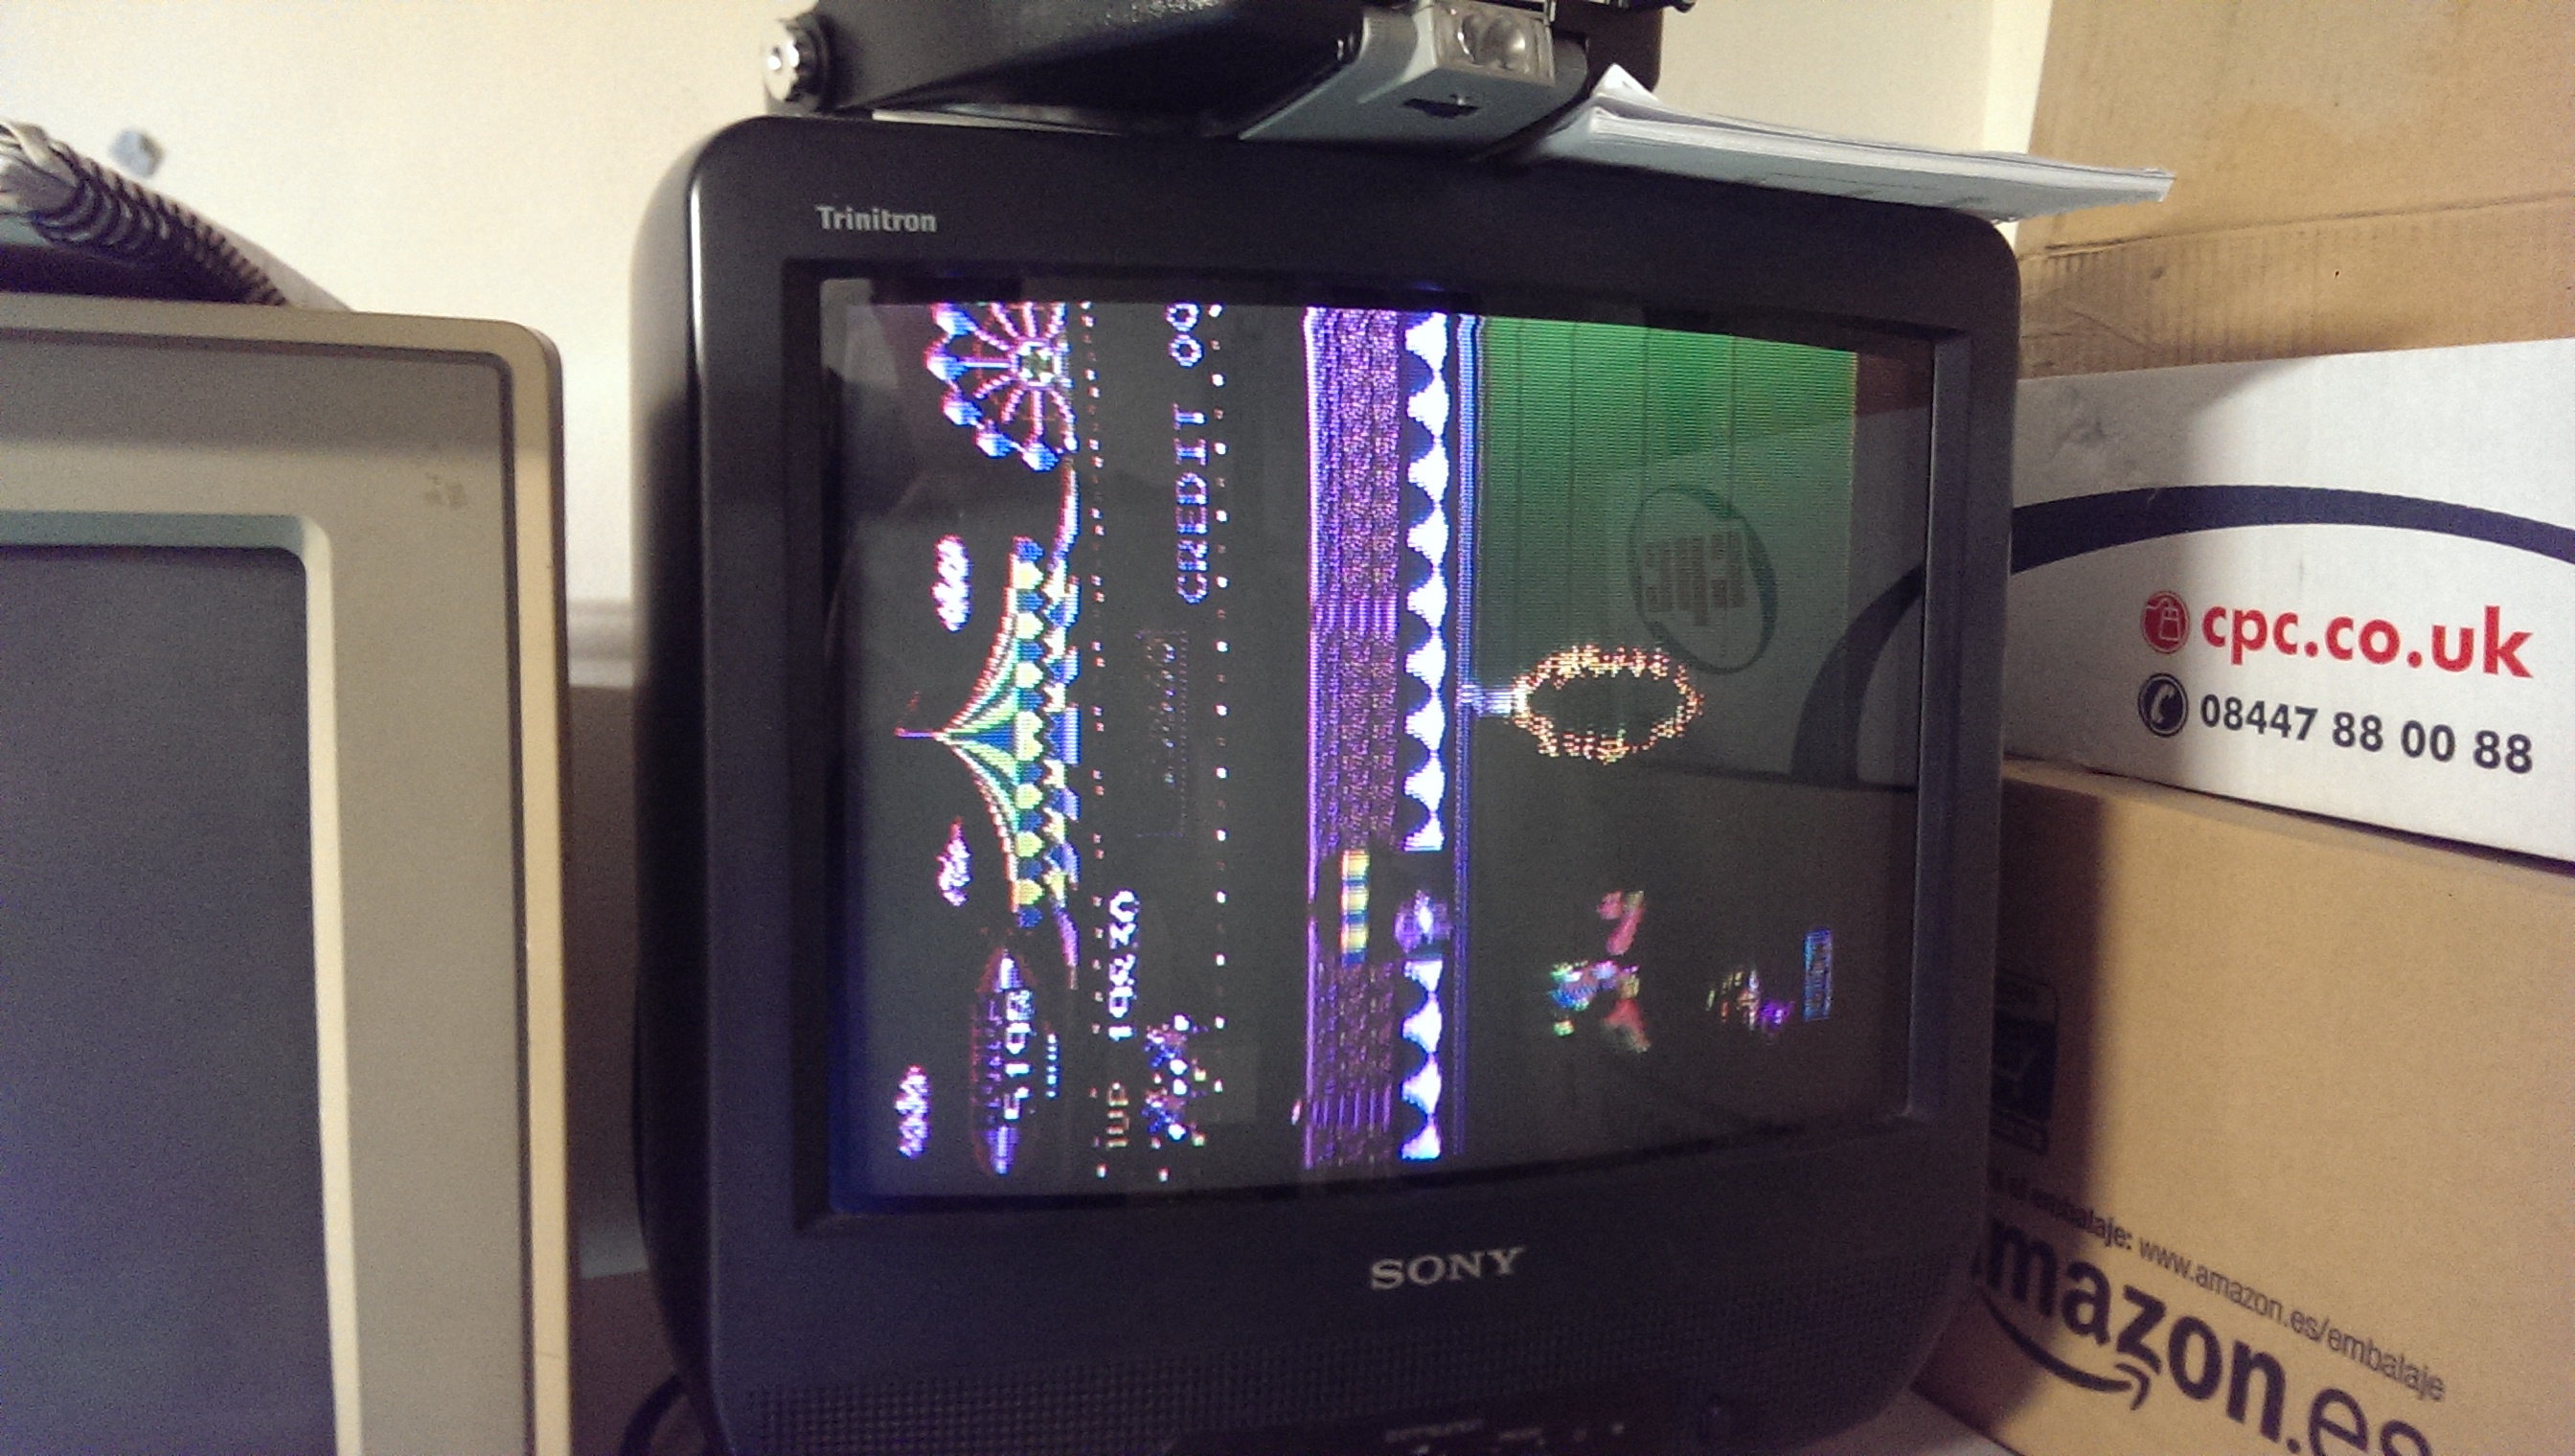
First, the graphics issue. Its hard to describe but on the parts of the screen where the coloured dots cycle round this also affected half of the 8×8 tile above it.
IMAG0820

As it only affected half the tile I eventually came to the conclusion it was a timing issue. This led me right back to the beginning where the reset circuit lies.
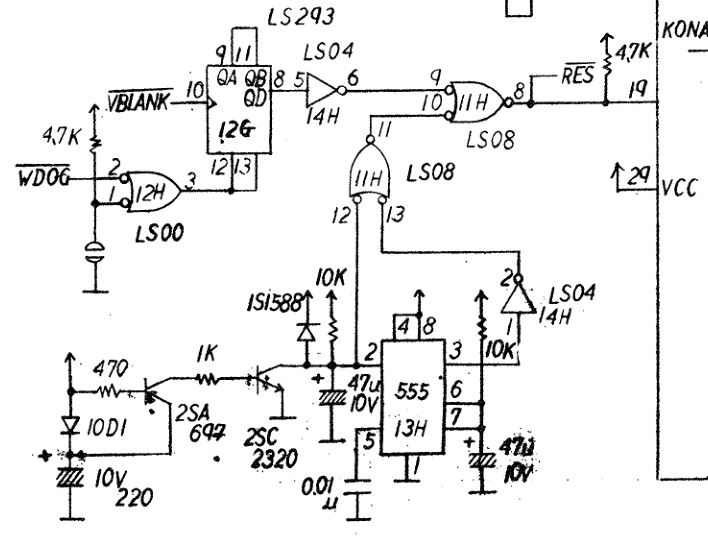
The power on reset is generated by a 555 timer which goes through a bit of logic and eventually out to the rest of the board as a /RES signal.
cc-reset

This signal comes out on pin 8 of a 74LS08 AND gate. Working back I found I had no output on pin 11 at all. I desoldered this chip and replaced it.
IMAG0816

It fixed the reset problem but also fixed the graphics problems too
IMAG0821

I guess it could have been caused by a timing issue after all?

This board looked is VERY good condition and, looking at the edge connector, it cant have been powered up more than a handful of times so its interesting to see that all these problems were present.
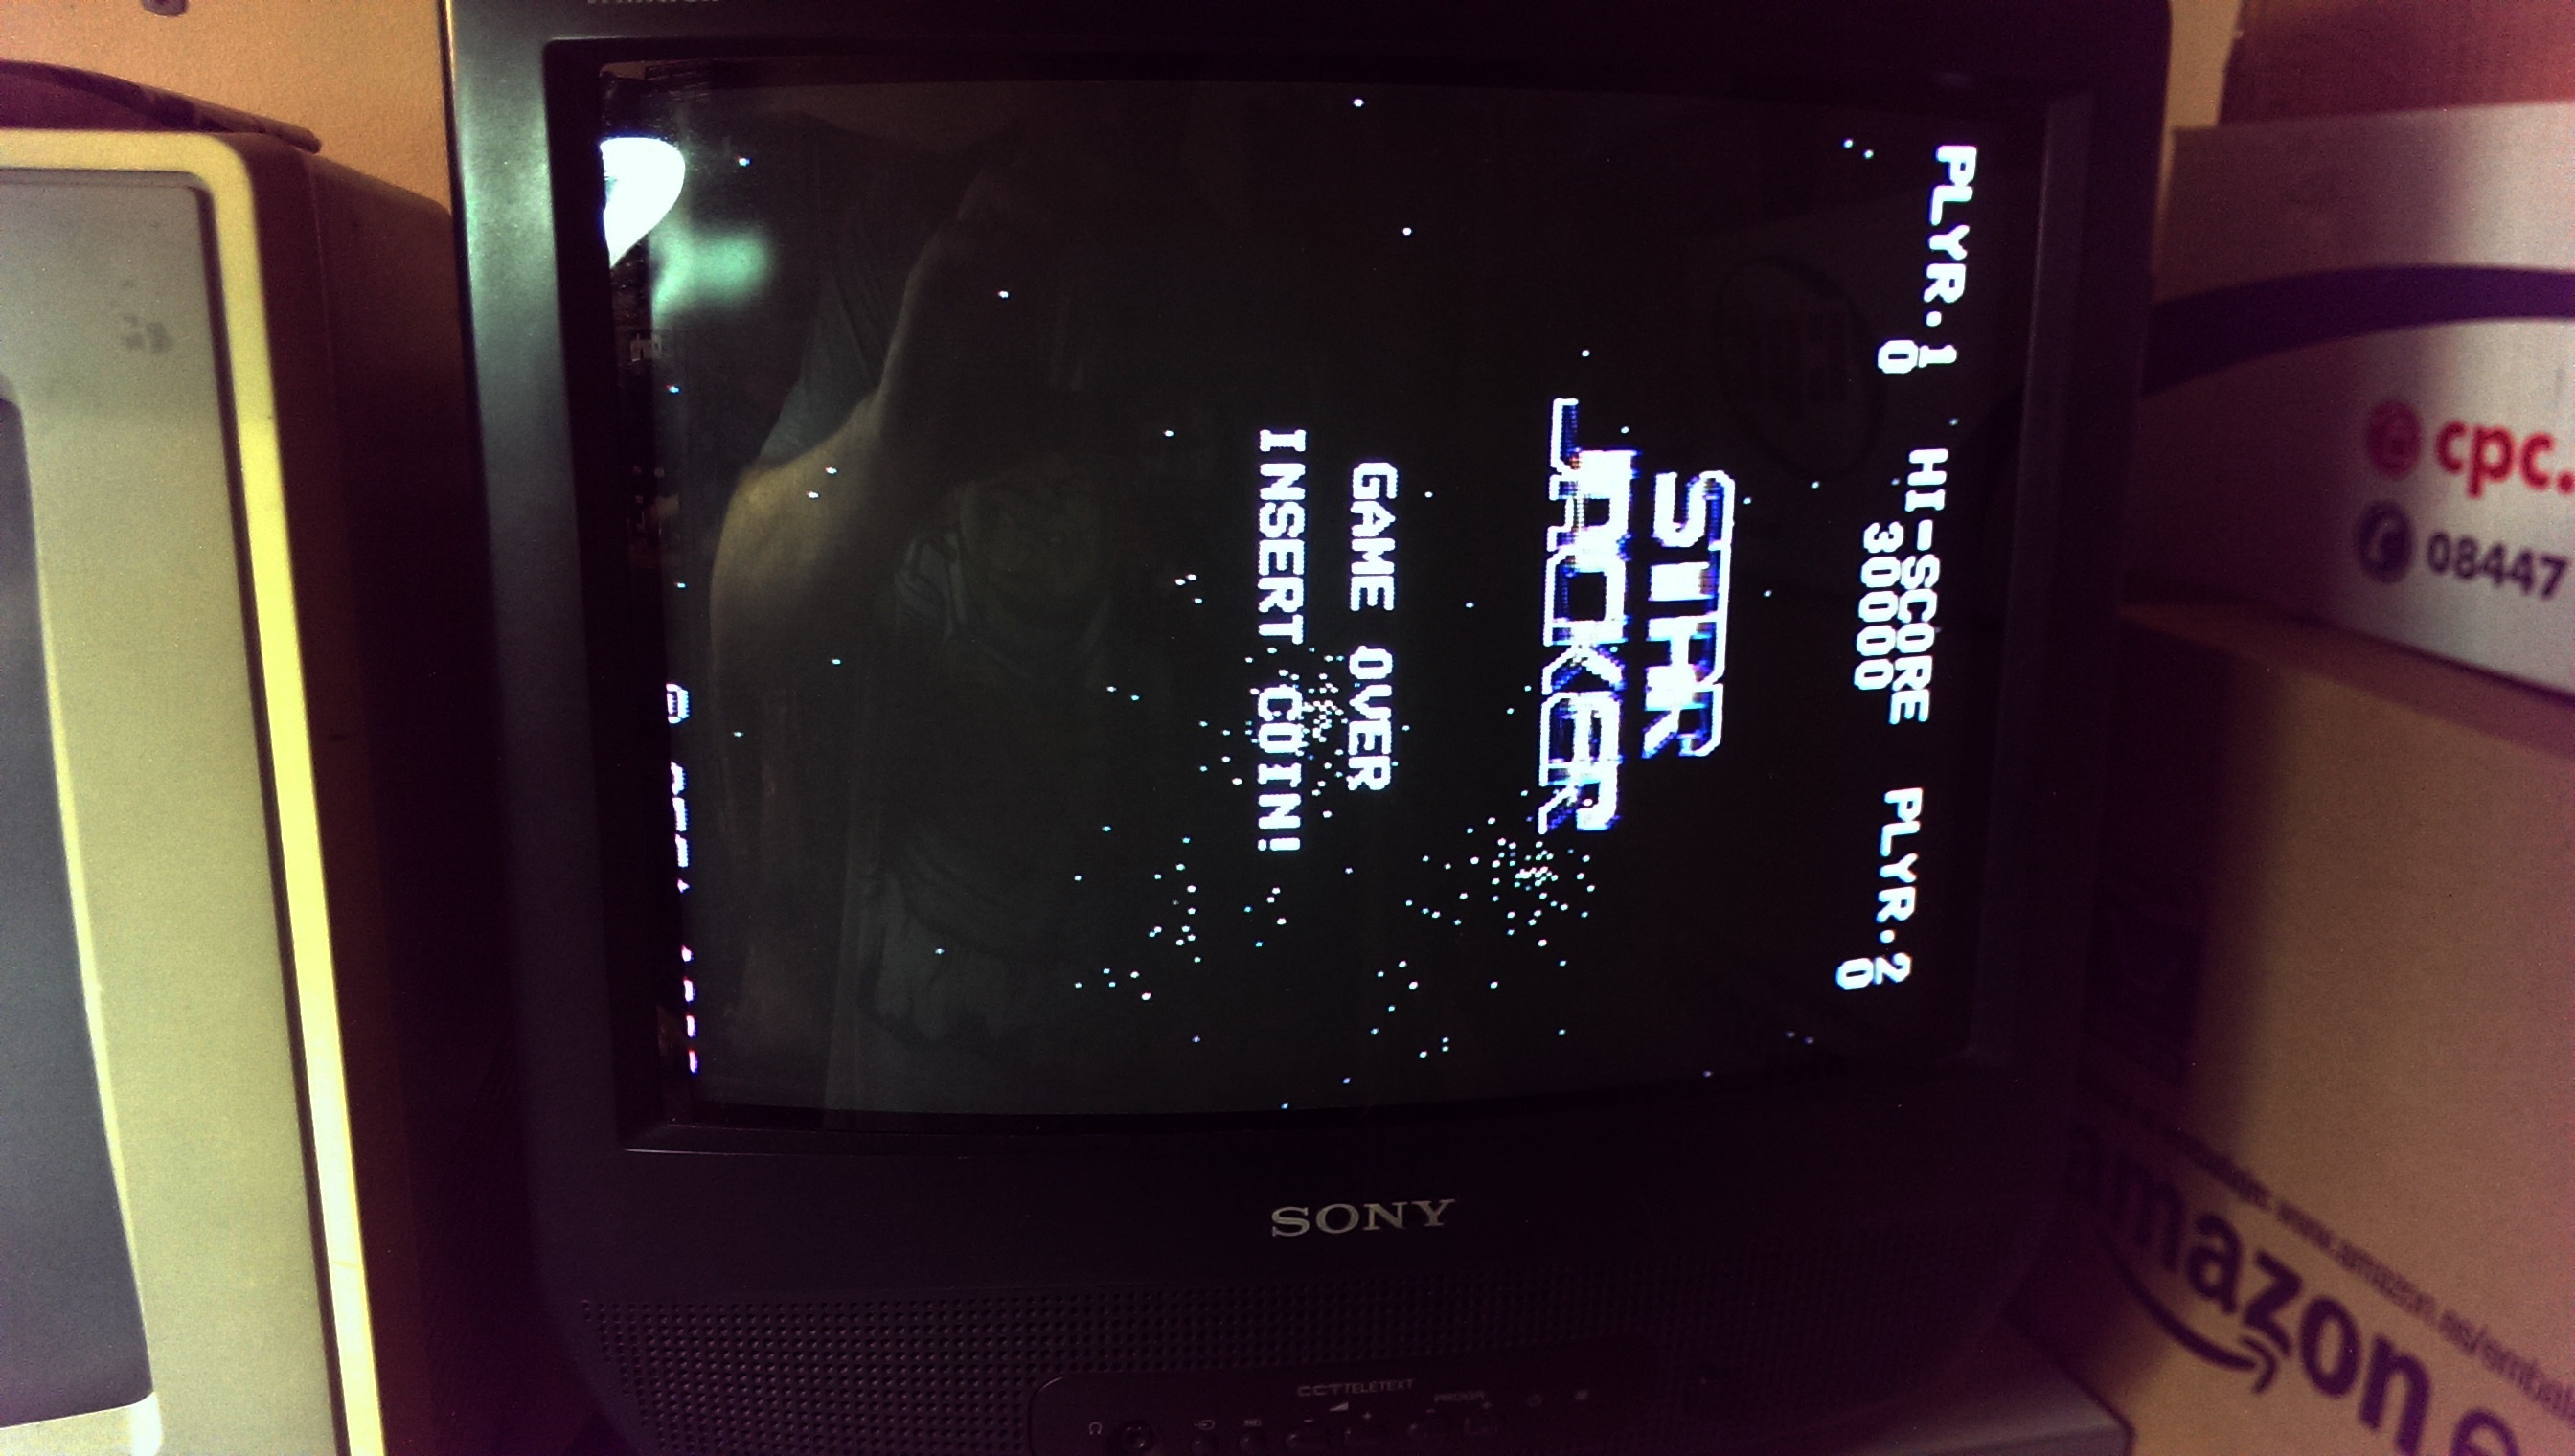
Very pleased I got this fixed.

Hellfire repair log #1

 PCB Repair Logs, Repair Logs  Comments Off on Hellfire repair log #1
Aug 232014
 

As usually I got this Hellfire PCB from ebay quite cheap.The game itself is an old school horizontal shoot ’em up manifactured from Toaplan.At first sight the PCB was clean except for some corrosion in the bottom right corner.

Hellfire_PCB

Once powered it on I was greeted by this screen:

Hellfire_error

Looking at MAME memory map I found no trace of this specific offset which is at end of 68000 addressable memory (this CPU can address up to 16 MBytes).So I decide to start over again and  give a deeper look at the PCB, in particular to the mentioned corroded area.I found that some pins of the ASIC marked “FCU BG1” were lifted.According to MAME source this chip handle the tiles generation and this would (partially, since device is not mapped in this memory region) explains the RAM error.

I tried a reflow but pins were so much corroded that I could not get a good soldering so I opted for a transplant with another same ASIC from a scrap Hellfire PCB but before doing this I cleaned the area from oxide and corrosion exposing the ASIC pads very well.This was the result:

FCU_BG1

Confident I powered the board on and :

Hellfire_fixed

100%  fixed!

 Posted by at 9:49 am
Aug 132014
 

I got two Silent Dragon PCBs recently.I never heard about this beat ’em up manufactured by Taito and a quick look at MAME lead me to try a first repair of this cool game.

Board was in quite good shape (a little bit dusty though..)

Silent_Dragon_PCB

When powered it on I got a steady black screen but I could hear all the sounds and also put credits in.So I started to press and flex the board and all the graphics were restored on screen when I touched the area around the TC0180VCU ASIC.So I decided to reflow the ASIC (some pins were really lifted) which ,according to MAME source, controls the video and decode graphics:

TC0180VCU_Taito_ASIC

I was quite sure that I succeeded but I was wrong since the board still played blind.Crearly there was a loose contact somewhere so I started my visual investigation on solderside.There were no broken traces but I came across this:

pin_short

Two pins made contact between them and precisely the VCC pin of a 74LS245 @IC26 and pin 1 (input) of a 74LS04 @IC27.Pin 2 (output) of this 74LS04 was connected to /OE pin of the four GFX MASK ROMs and this explained why there were no graphics at all.After removing the short,I finally could enjoy also with my eyes this game.

Silent_Dragon_fixed

Now time to dump the two PALs on it! 🙂

 Posted by at 10:08 pm

Captain America and the Avengers repair log

 PCB Repair Logs, Repair Logs  Comments Off on Captain America and the Avengers repair log
Aug 122014
 

My friend Silvio kindly donated me a couple of faulty boards, this ‘Captain America and the Avengers’ was one of them:

Captain_America_PCB

I was expecting some boot troubles but when I fired up it I got this:

Captain_America_issue

All was OK except for sprites that were all missing.Since I already worked in the past on similar Data East hardware I knew that sprites are generated by some ASIC, in particular the one marked  ‘DATA EAST 52’:

DATA_EAST_52_ASIC

Infact, when I firmly pressed this ASIC, sprites were restored.Proving the tightness of the individual pins with a needle as I usually do confirmed that some pins were lifted.So time was to do a reflow of this chip and this was enough to fix the board completely.

Captain_America_fixed

Thanks again, Silvio!


 Posted by at 10:43 pm
Aug 112014
 

I got this board always from Ebay sold as faulty:

Superman_PCB

When I first powered up it I got a solid black screen.Probing the CPU I noticed some strange activity on 68000 address/data lines and watchdog was indeed active.So I piggybacked the two 62256 work RAMs @U1 and U4 and  I got this:

work_RAM_error

Despite the message error,this was a good sign of life so I desoldered the two RAMs and I found them really bad:

62256_testing

Replaced them but still black screen and watchdog active.So, I noticed there were other two RAMs connected to 68000 CPU but not directly but through two 74LS245 and enable pin of these were stuck high.I traced back it to an output of a 74HC4075 so I started to test it with logic probe and while I was probing it suddendly the PCB succesfully booted to title screen:

Superman_title

I can’t really explain this but now the PCB is now working perfectly every time I power it on and this is the most important thing.See you next repair!


 Posted by at 6:38 pm