cpsystem3

Gradius II: Gofer no Yabou repair log #2 – Missing Drums

 PCB Repair Logs, Repair Logs  Comments Off on Gradius II: Gofer no Yabou repair log #2 – Missing Drums
Dec 292016
 

I received a very nice condition Gradius II: Gofer no Yabou pcb from my good friend Robotype. It was sold to me as faulty, described as “the drums are missing from the audio”. The game showed up, and YUP, the drums are certainly missing!

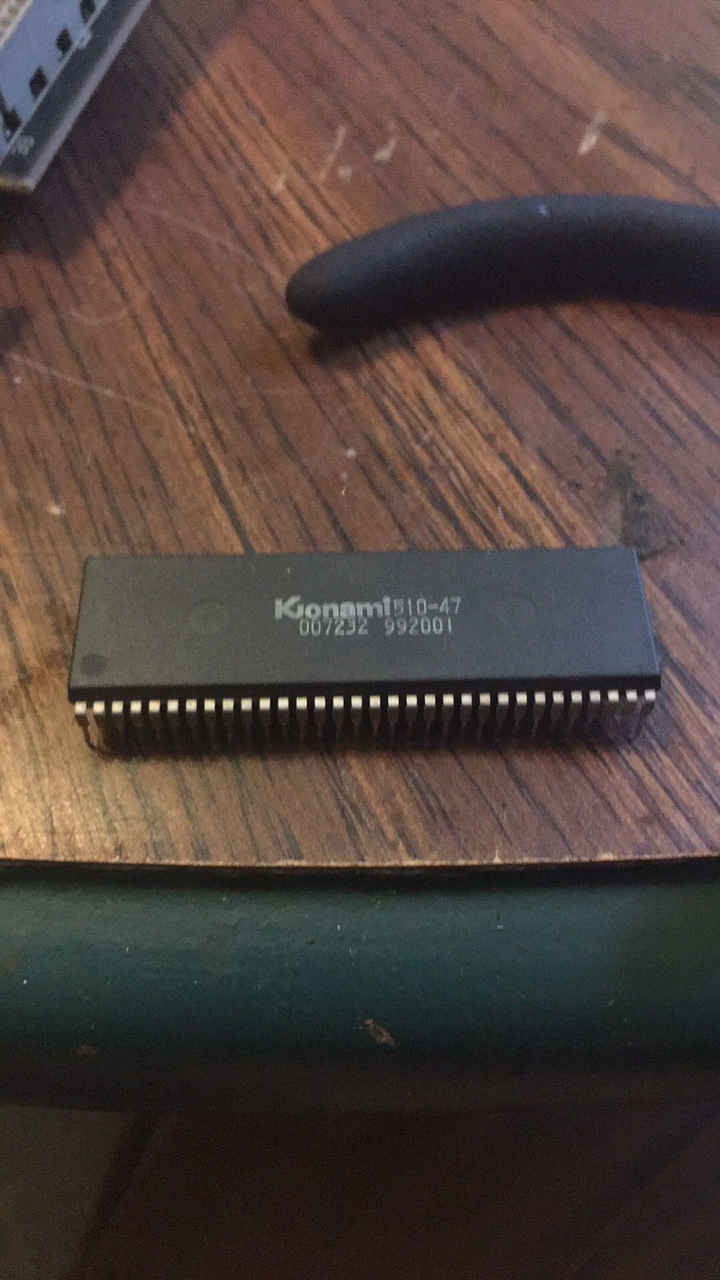
This was an ESPECIALLY odd fault. In my experience, the Background Music and Samples either work or they do not work. I have never seen working, but instruments missing! I started with the logical audio failure points… YM2151  FM synthesizer (tested OK), YM3012 Digital Analogue converter (tested OK) and finally the UPC324 Op Amps (also tested OK). With all of the major audio failure points checking out OK, I decided it was time to try a more aggressive strategy. I turned to the mame source, and determined Konami Custom ‘007232’ is responsible for audio generation. This seemed like a good starting point… luckily for me, my scrap X-Men PCB had this IC present. Time to remove and swap the IC!

SUCCESS! The newly fitted ‘007232’ custom Konami Audio IC did the trick, the drum line is fully restored and the BGM is back in all of its awesome glory. Job done!

SEGA ST-V repair log #2

 PCB Repair Logs, Repair Logs  Comments Off on SEGA ST-V repair log #2
Dec 292016
 

I’ve had the same Sega ST-V motherboard in my collection for quite some time now. Randomly one day, the board booted up with completely scratchy / static audio. At first I suspected the capacitors since the fault developed in my possession, however they were not the culprit. I put the board in storage to return to it another day.

Fast forward a few months, my friend Jassen pinged me asking if I could look at his ST-V. He described his board was having scratchy audio (same fault my board is exhibiting). To my surprise, Jassen informed me he contacted Ken @ irepairsega.com, and was advised that the TDA138 DAC Audio IC was likely the culprit. We all know Ken is a GOD when it comes to Sega repairs, so this information was likely spot on…

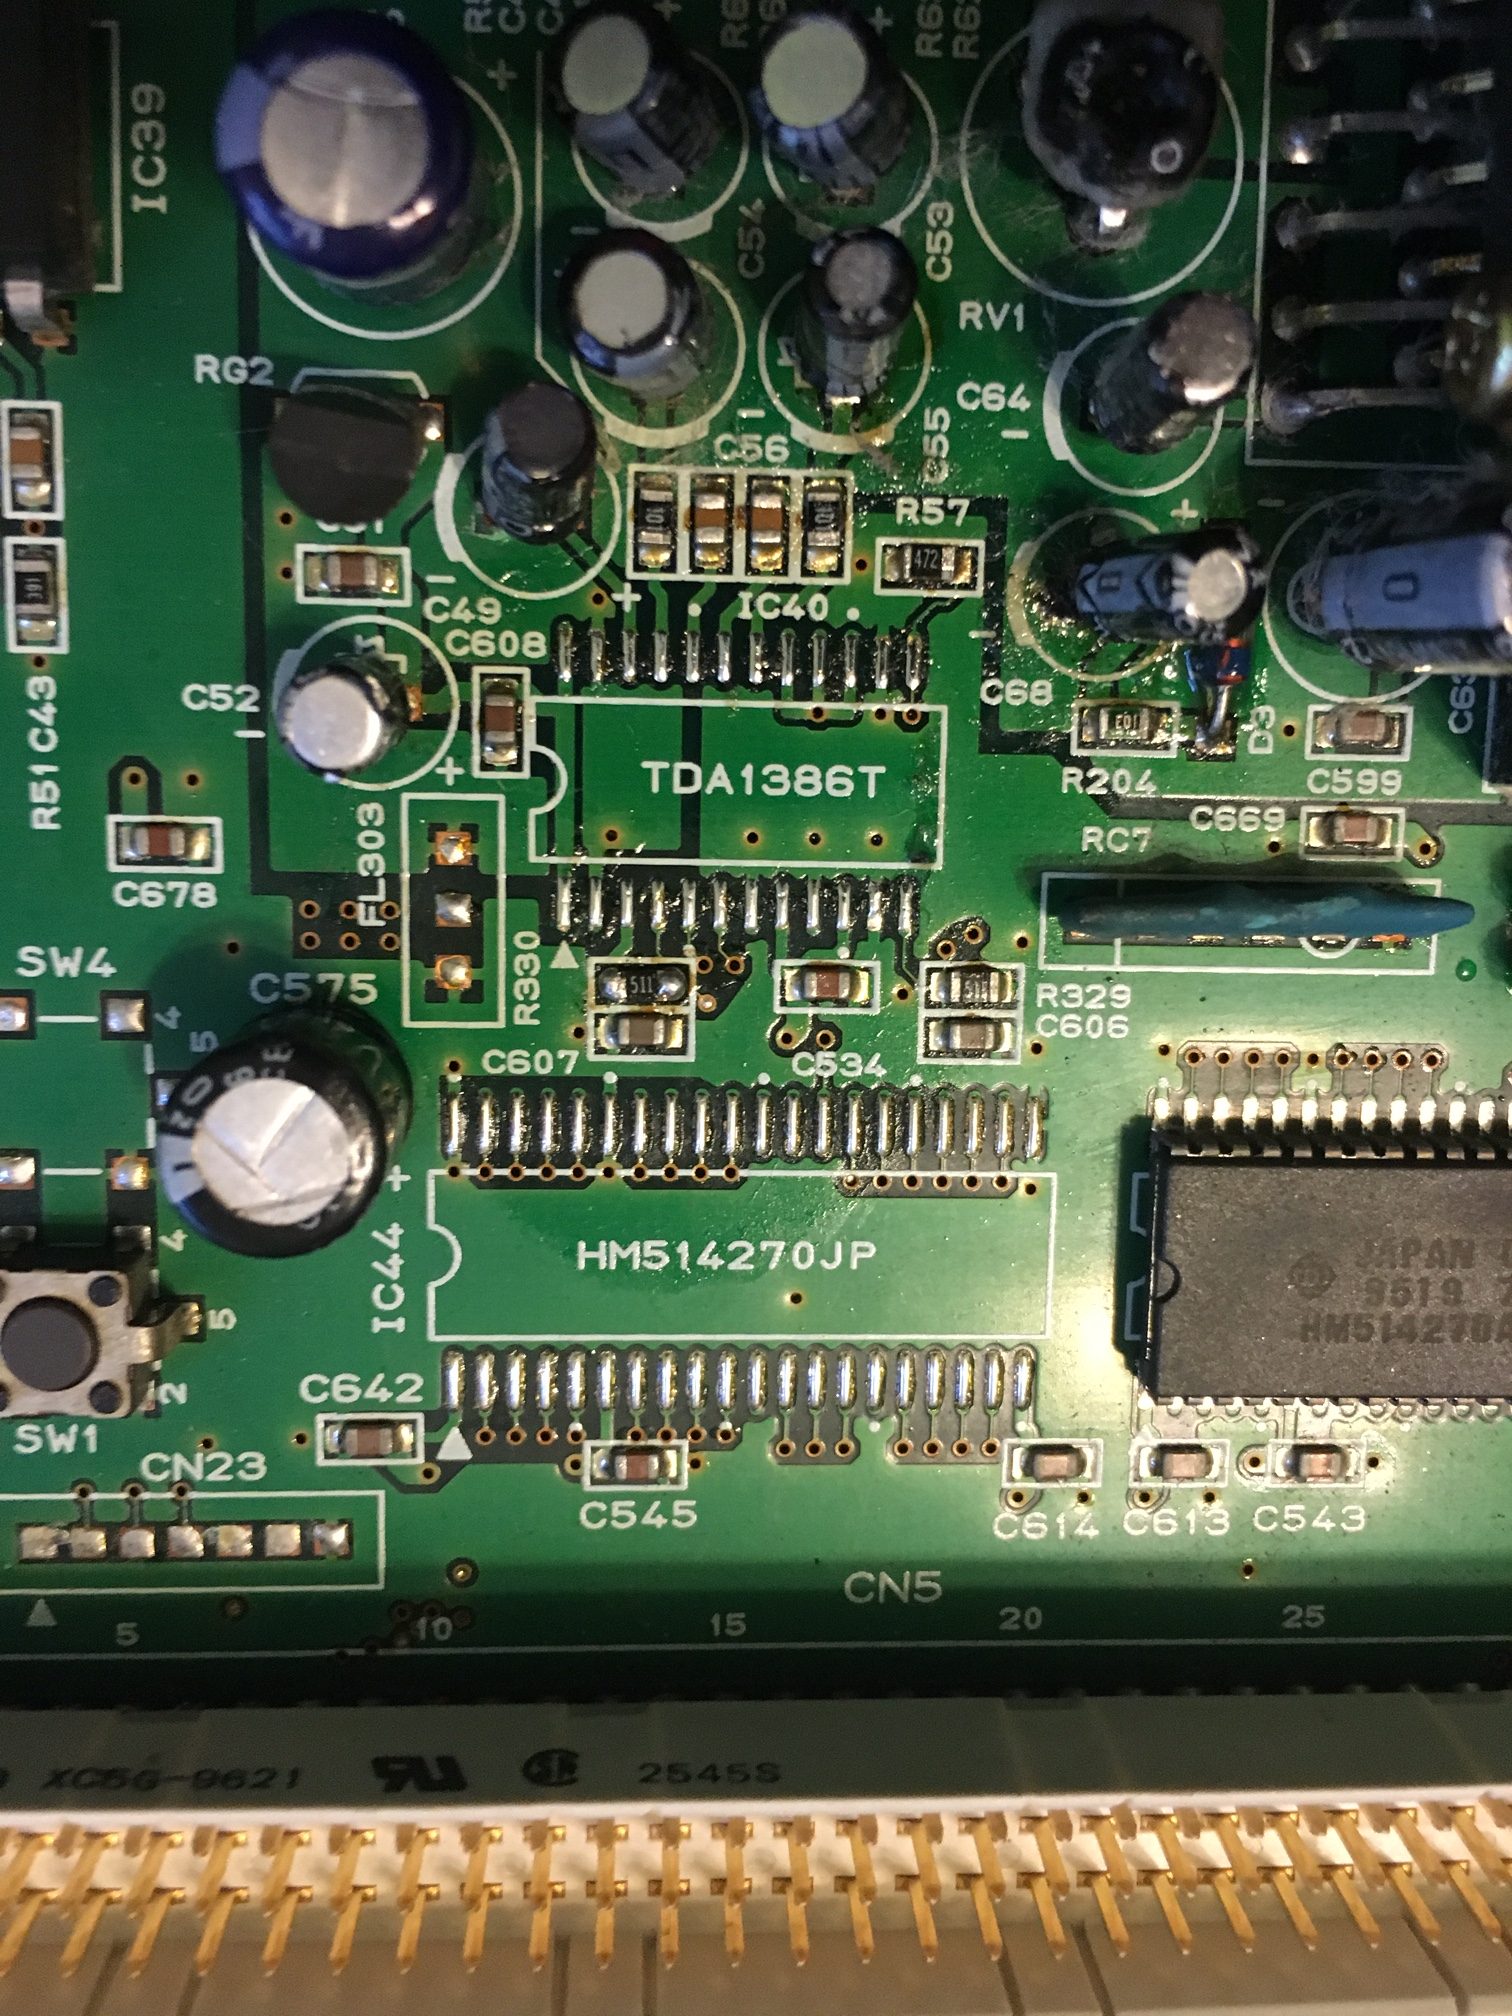
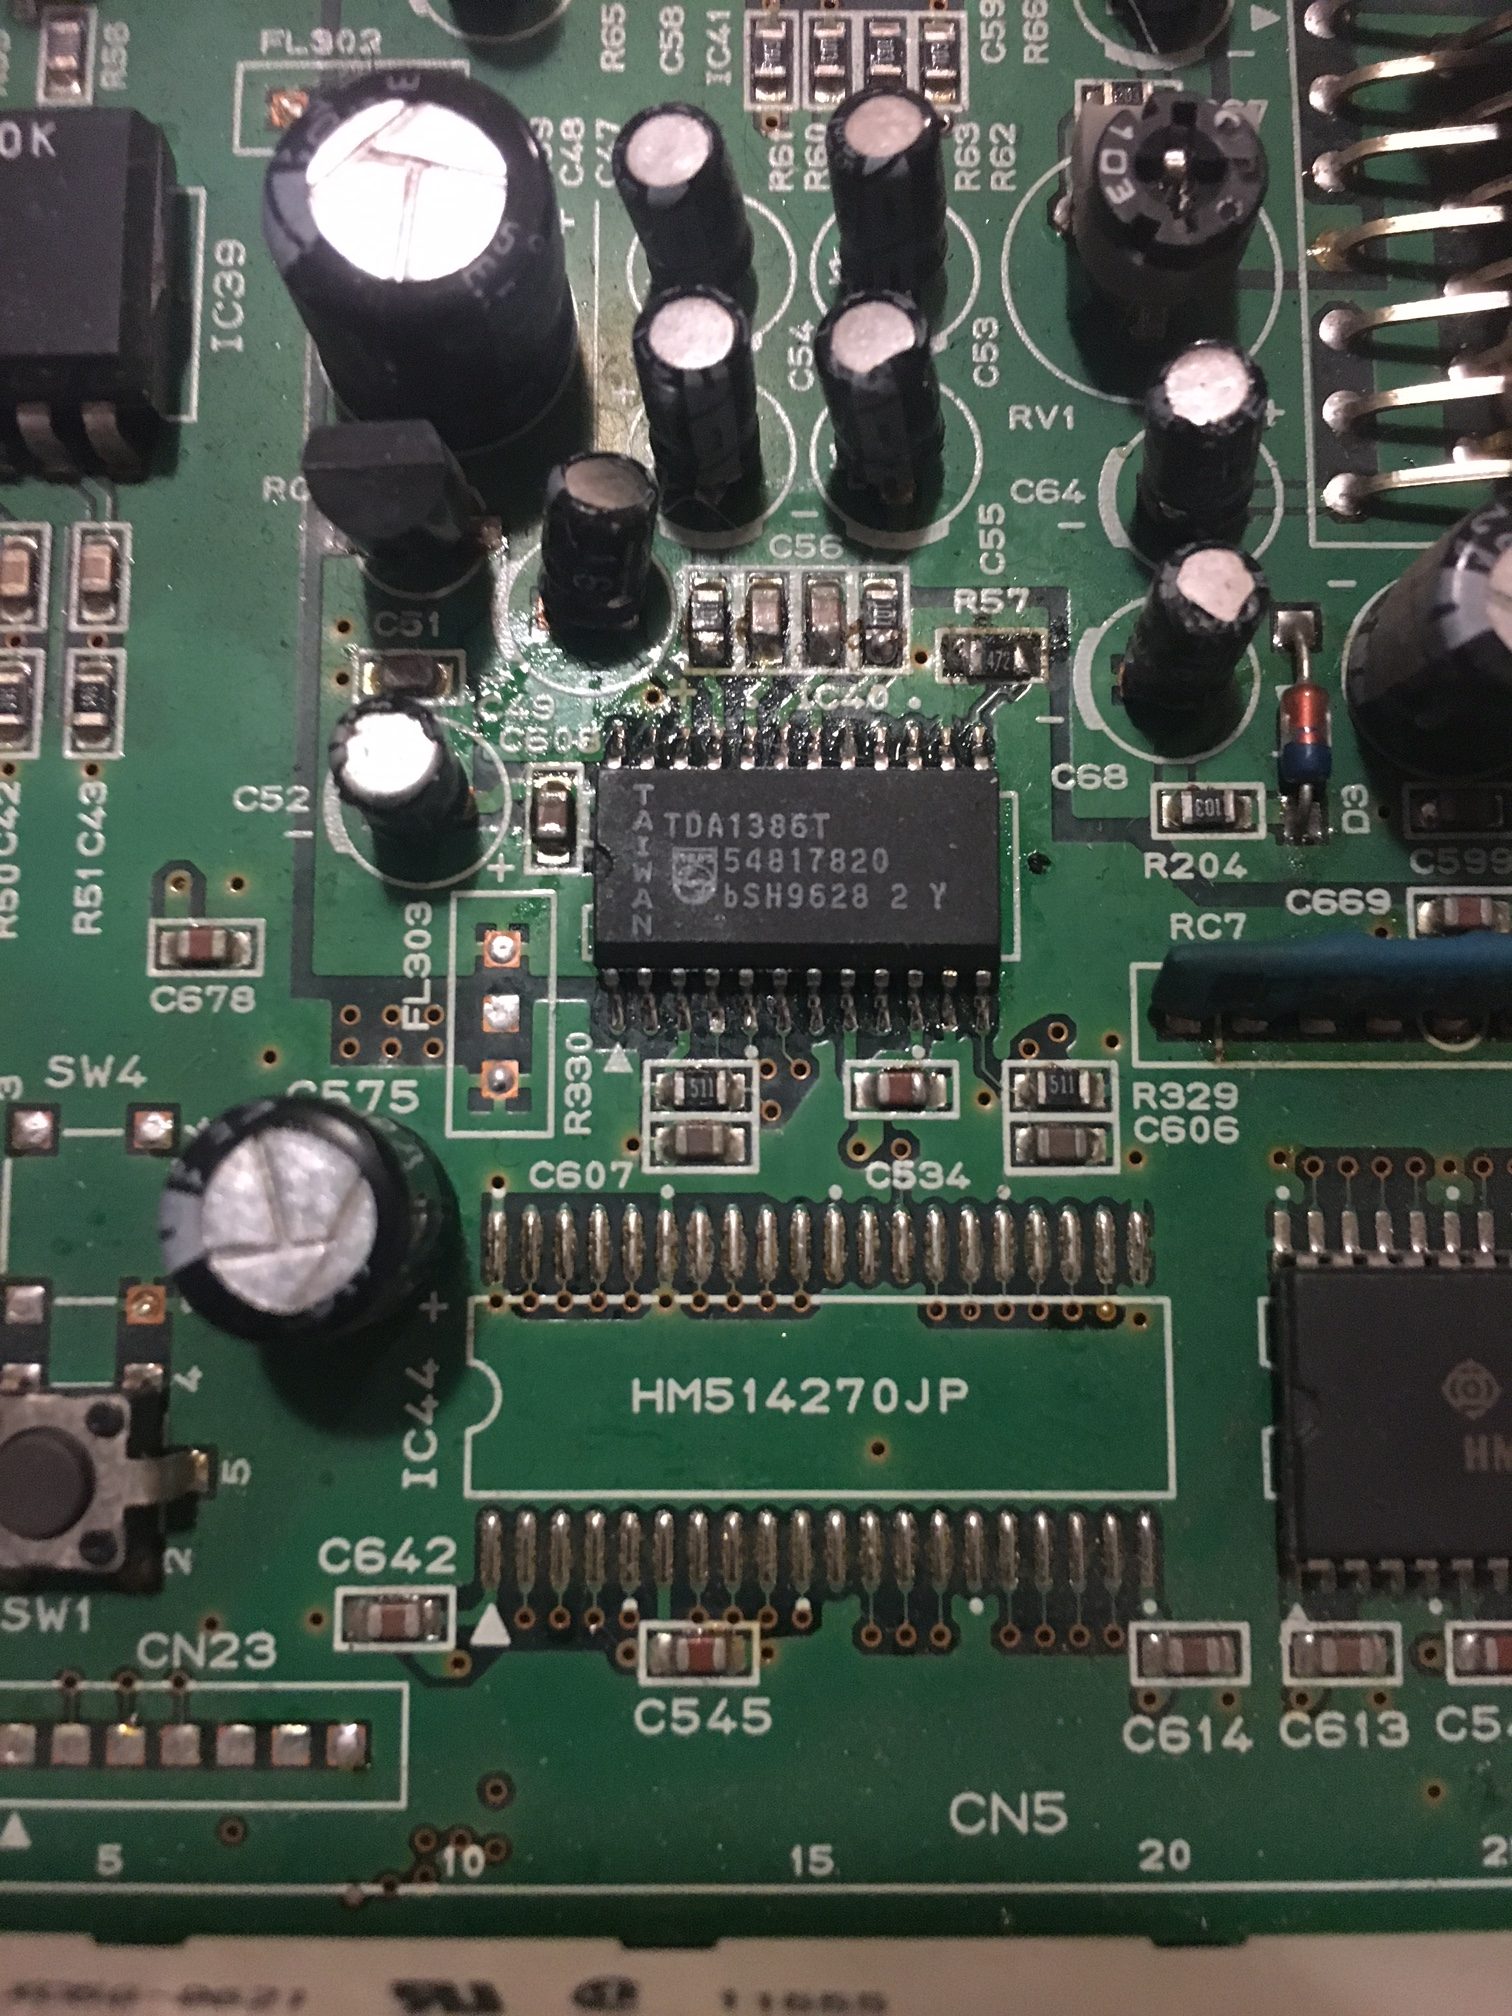
We ordered a couple of IC’s (one for each ST-V). Once they arrived from China, I pulled out the hot air gun and went to work:


I successfully installed the DAC’s (one on each ST-V motherboard):


SUCCESS! The scratchy samples are now completely gone (on both boards), and the audio is nice again. Being that I repaired two boards with the exact same fault at the same time, if you experience and ST-V with bad audio, start with the DAC!

The Simpsons repair log #2

 PCB Repair Logs, Repair Logs  Comments Off on The Simpsons repair log #2
Dec 292016
 

Let me preface this by saying I’ve been really lazy about blogging my repairs this year. I found some free time today and decided now is a good time to post some of my accomplishments. All of the following repairs were performed through out 2016, but not documented until now. Enjoy!

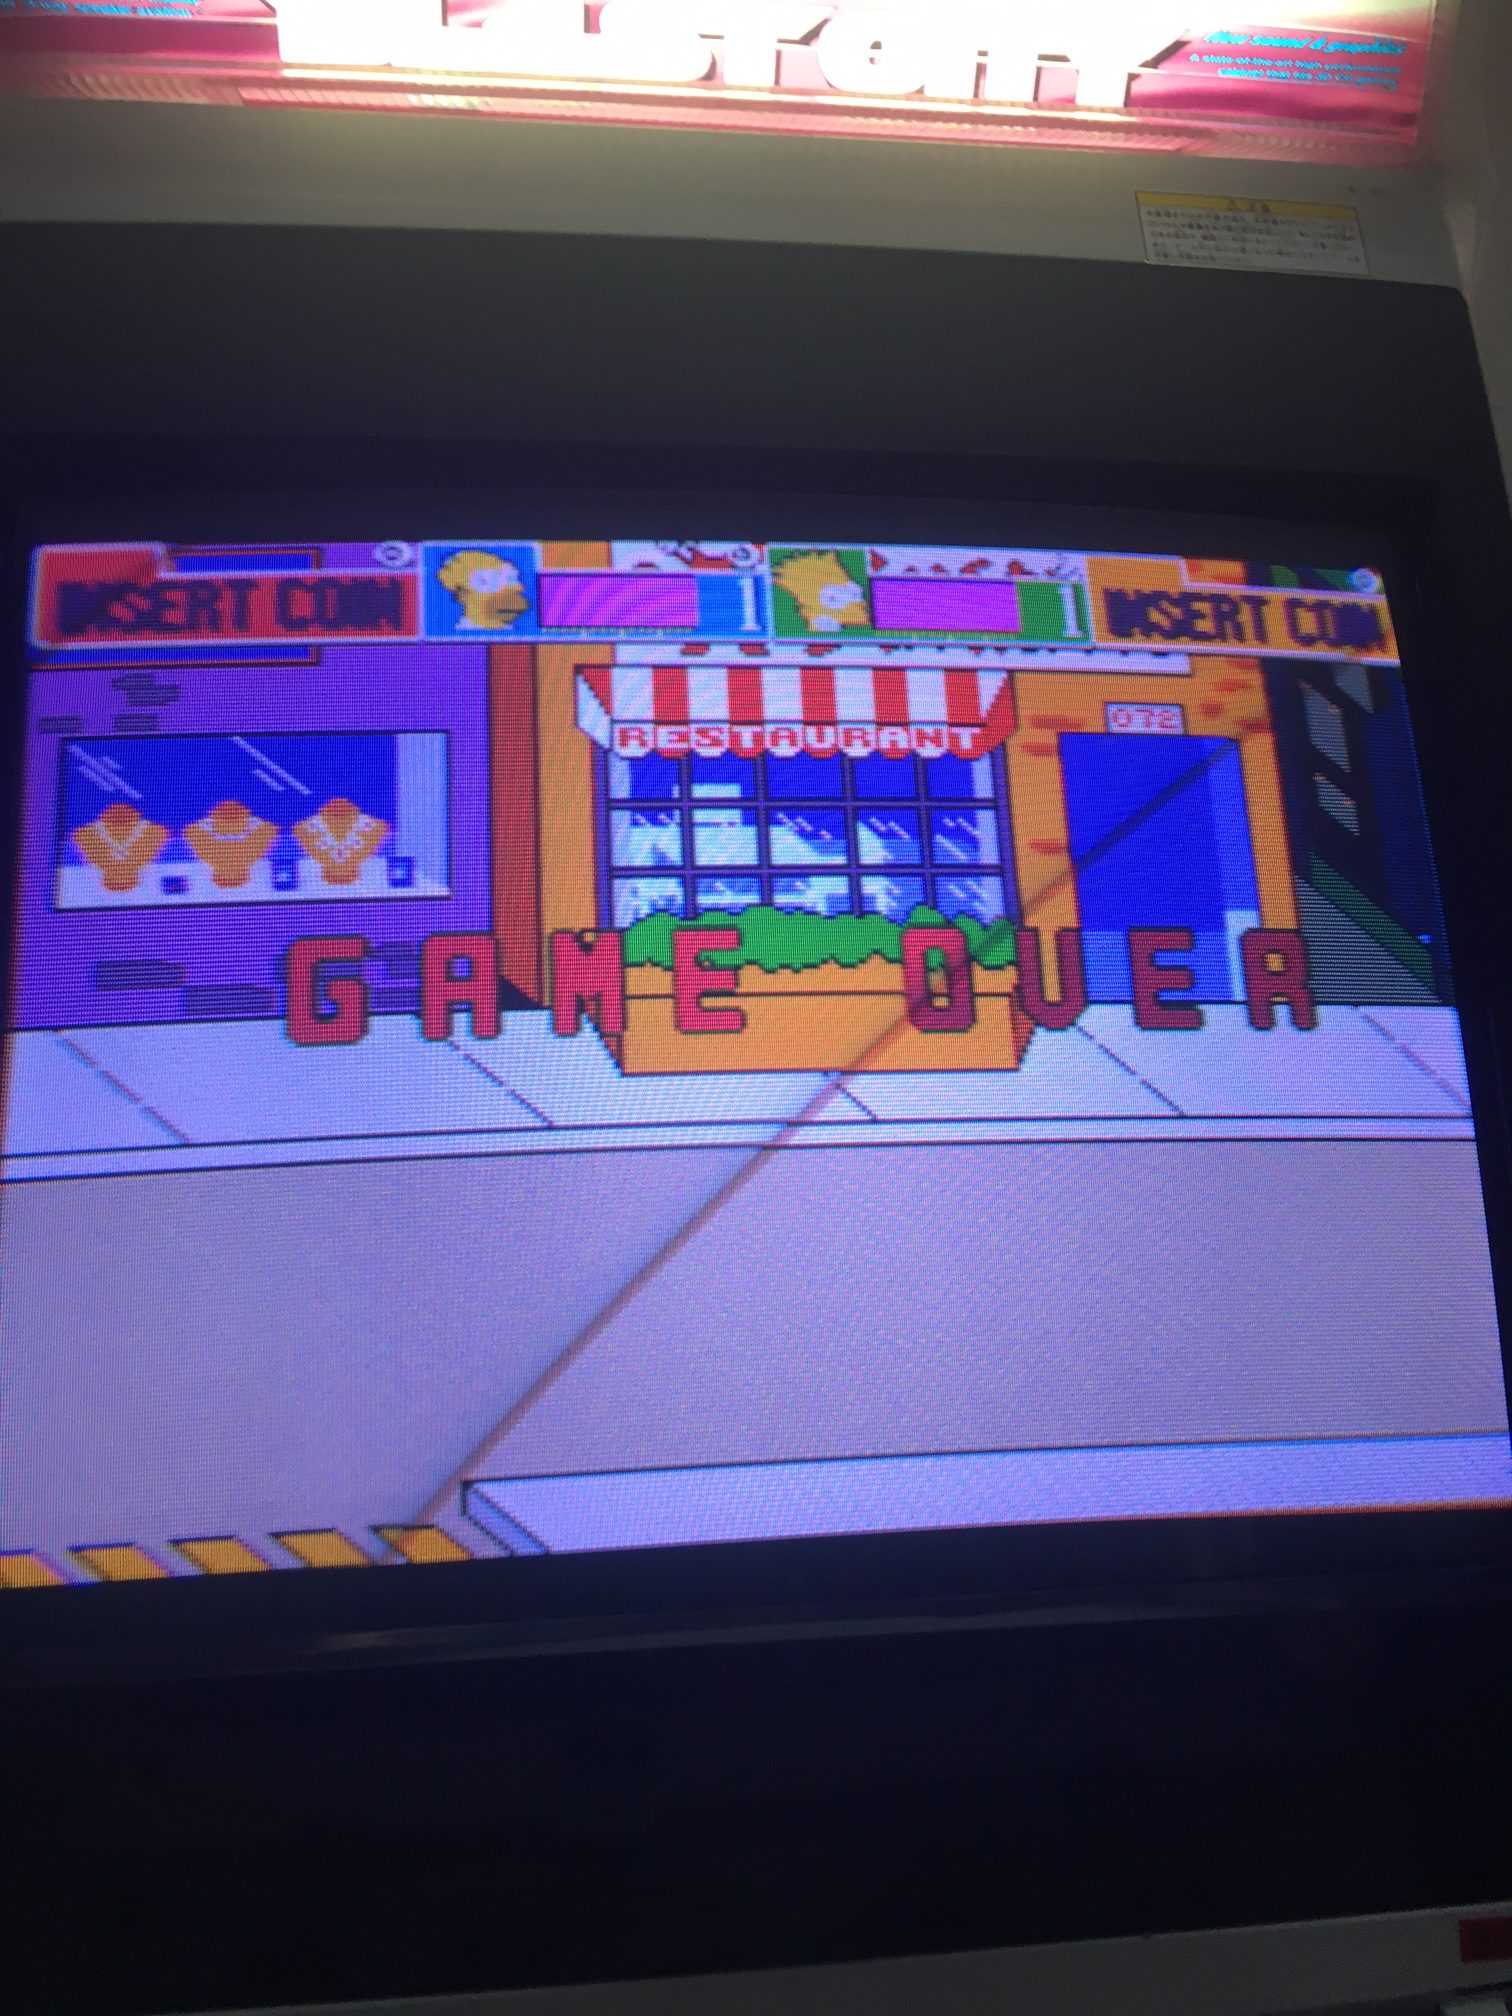
I received a faulty Simpsons PCB off of ebay for a reasonably good price. It was sold simply as not working with the faults not described. Upon receiving the board, I observed it was in very good condition and a worthwhile repair candidate. When I fired t up, the graphics were REALLY bad! As you can see, the backgrounds and most of the sprites are missing:

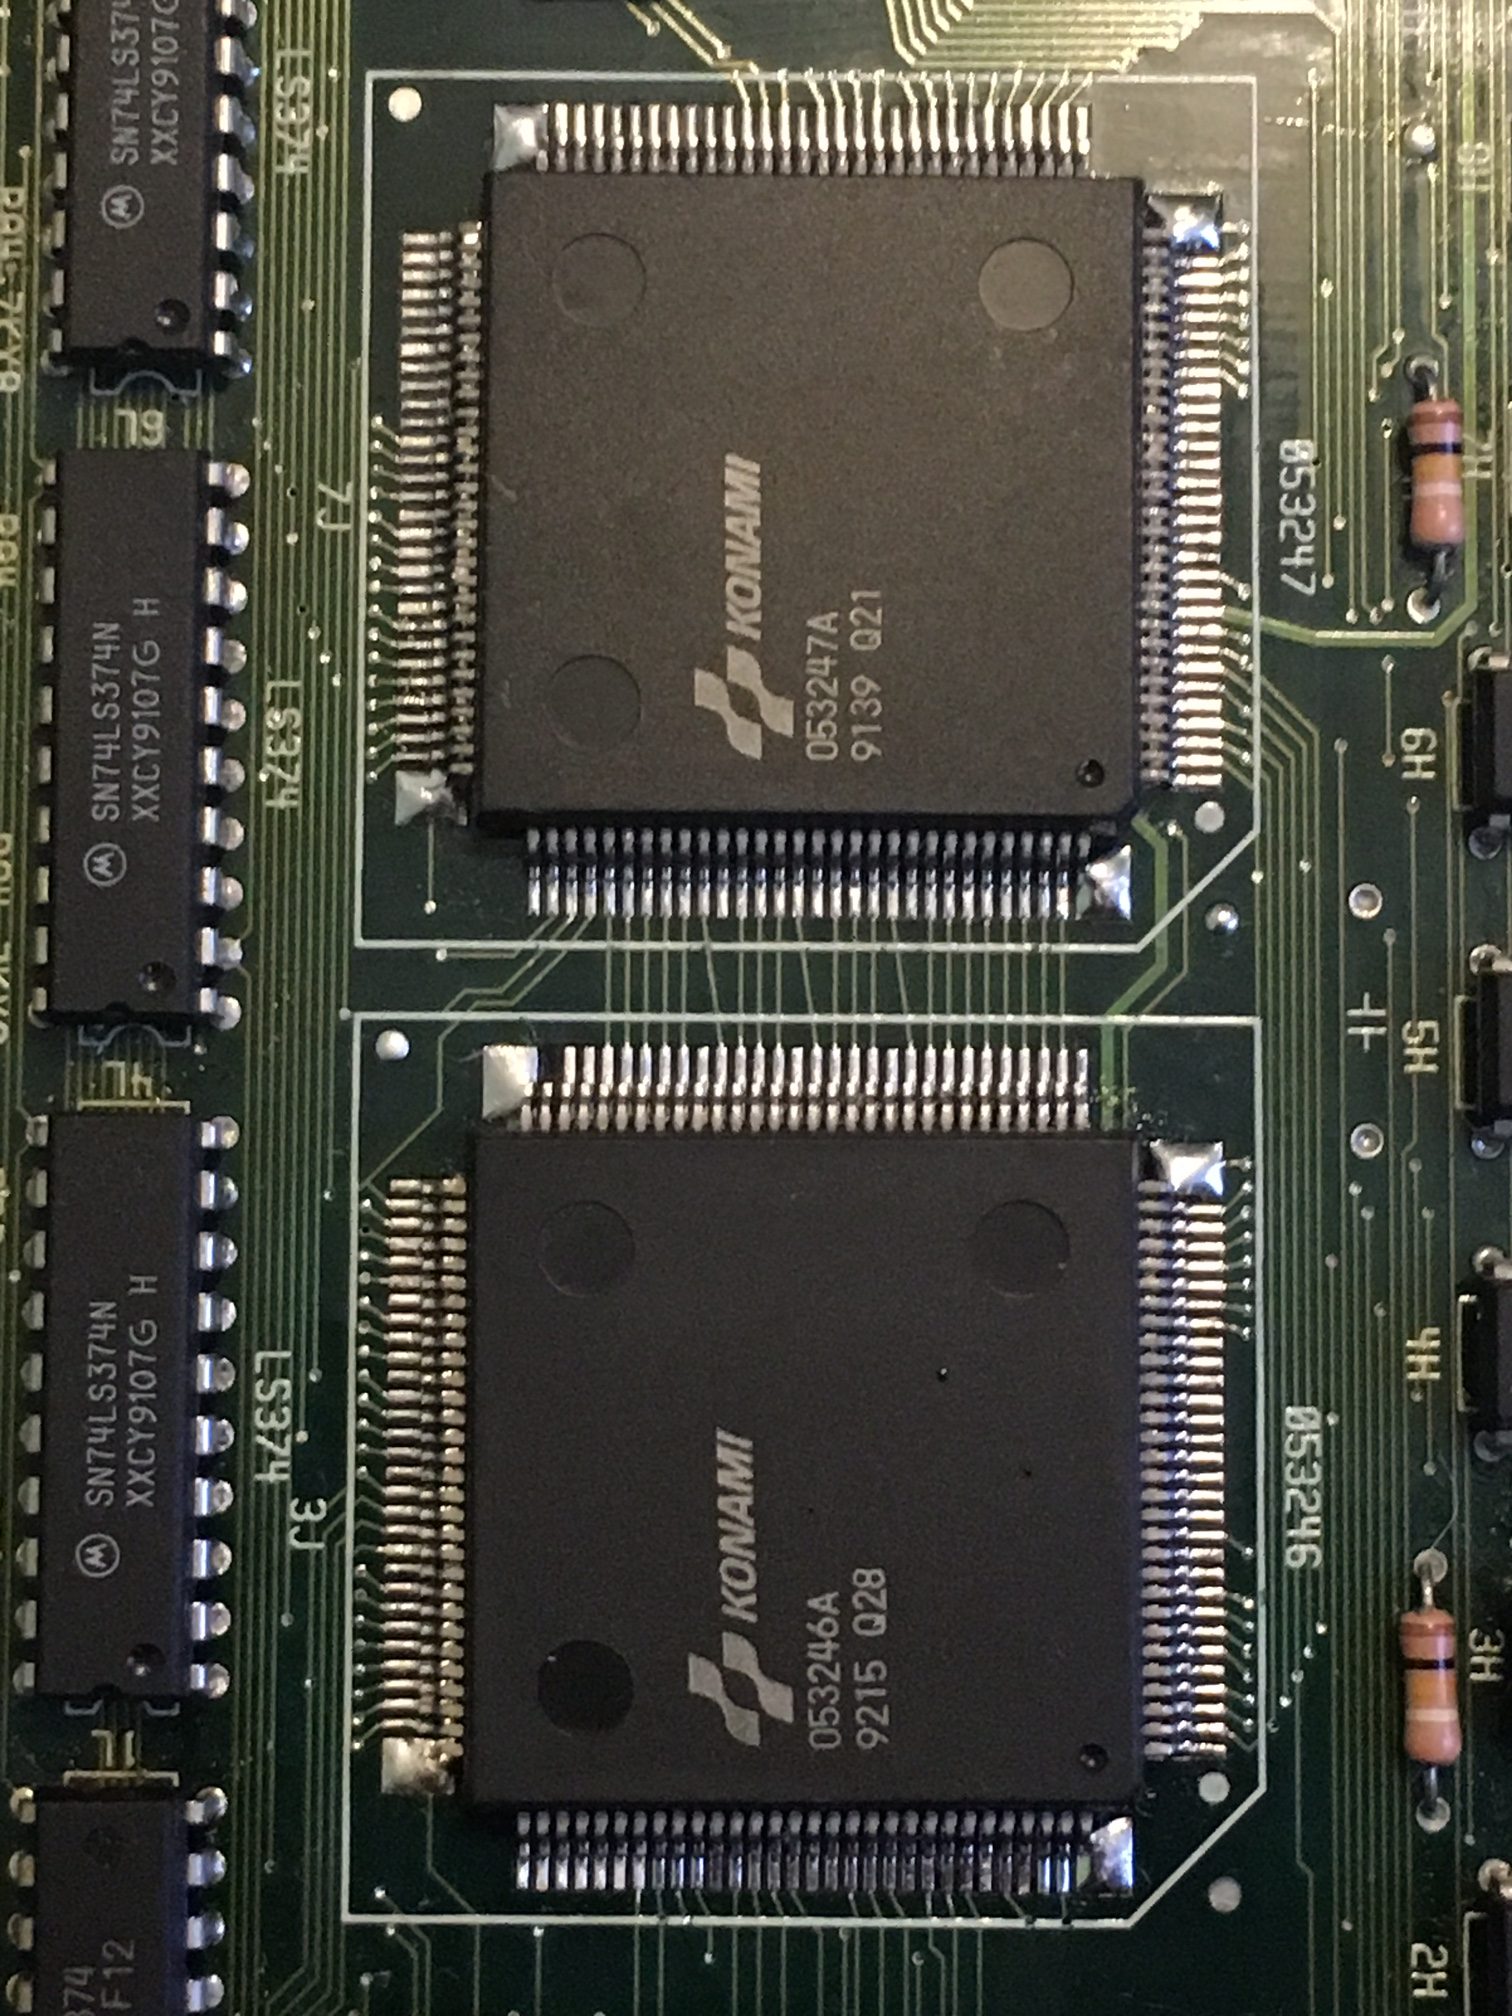
I was able to run the rom test and self test, all IC’s reported as good (so I was confident there is not a ram or rom issue at hand). I turned to the mame source code to better understand what each of the Konami Hybrid IC’s are responsible for in the graphics section. I learned that 053247 and 053246 are responsible for sprite generation, and decided they would be a good starting point. Fortunately I had a dead XMen parts-PCB with both of these Custom IC’s present. I started by swapping 053246 with the donor from XMen. As you can see below, we’re getting better! But its still not fixed… Backgrounds are rendering but the sprites are now missing.


I decided to move on to the 053247 IC, and attempt swapping that next. I learned that these IC’s work in tandem, and if one is bad, there’s a chance the other is also bad.

With both IC’s changed from the donor Xmen board, all graphics are restored!!!


Repair complete, game now plays 100%. I don’t dare imagine the abuse this PCB received that took out BOTH custom IC’s, but I’m glad its ready to play on. Another gem saved from the scrap bin!

Jan 072016
 

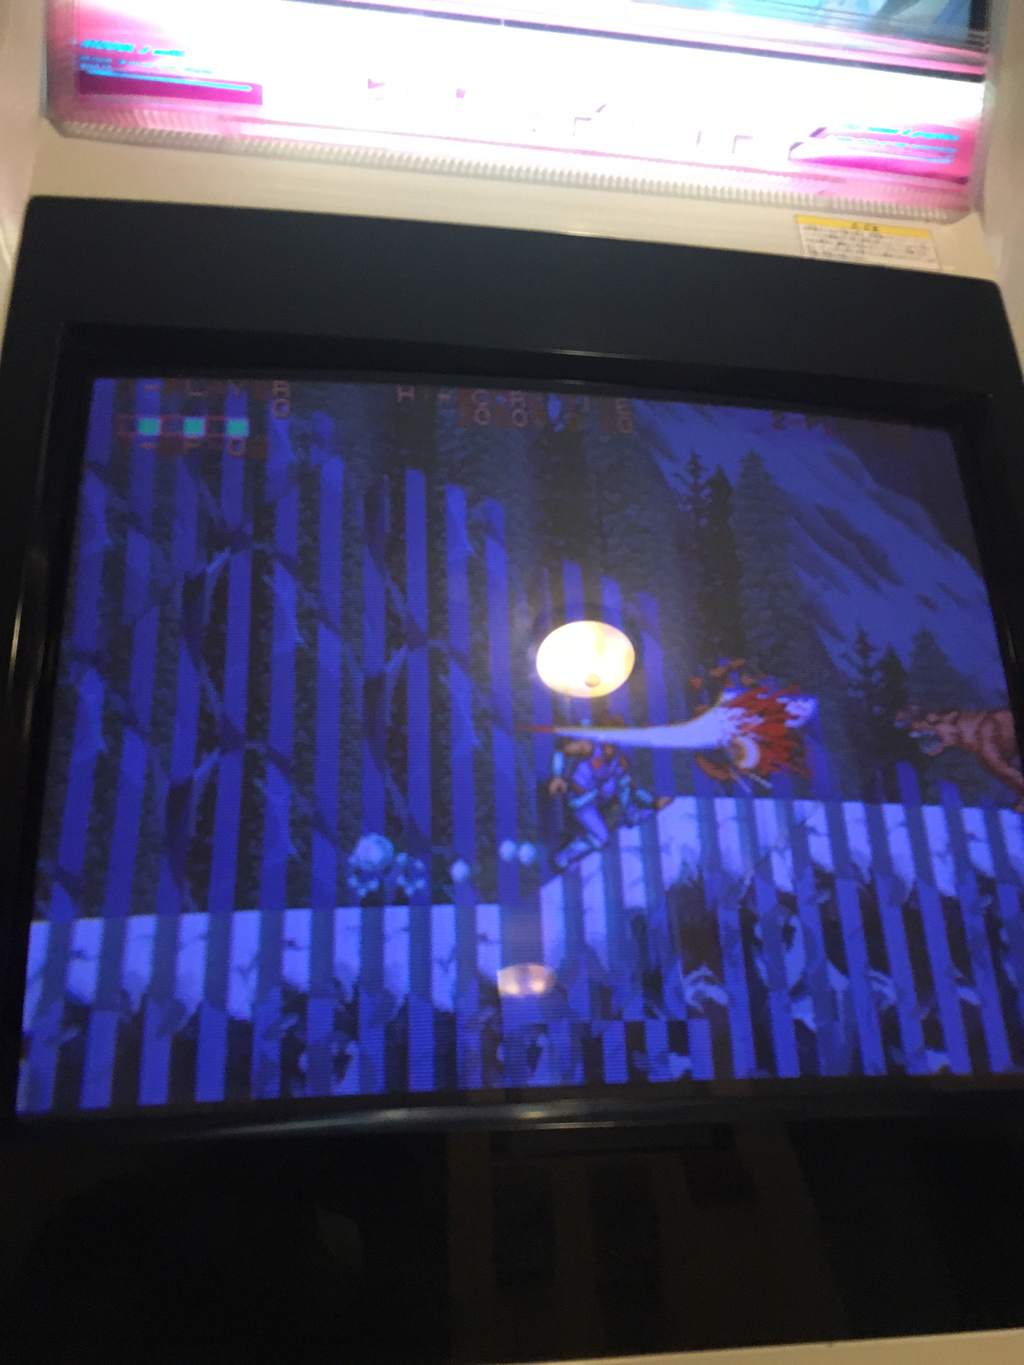
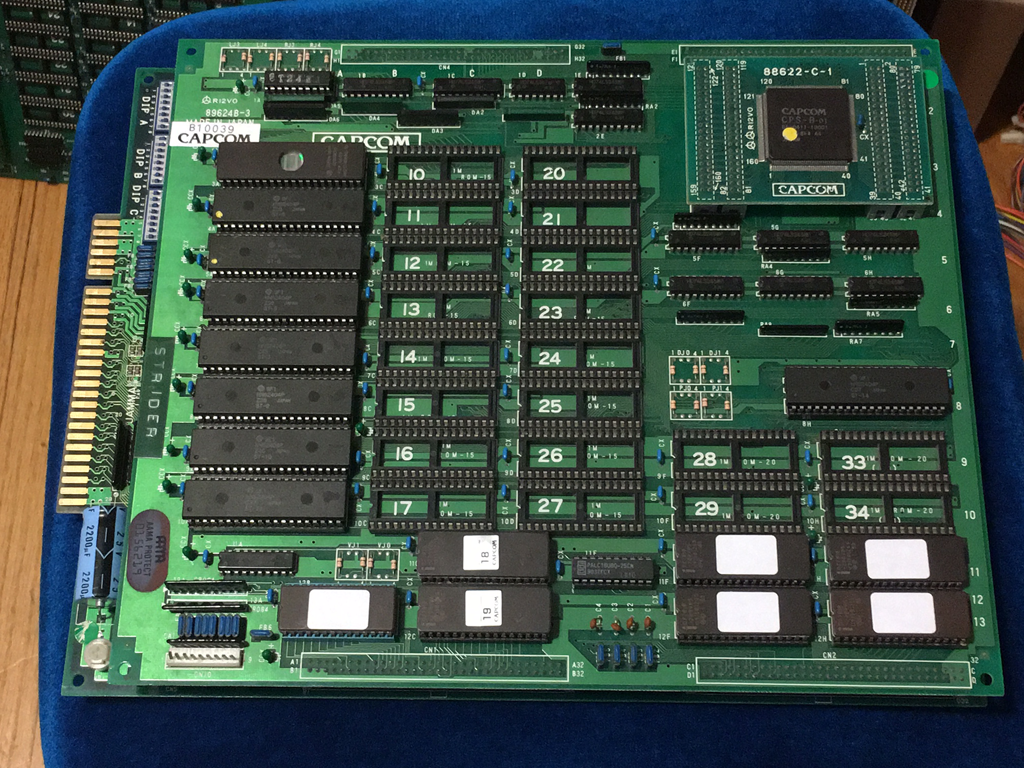
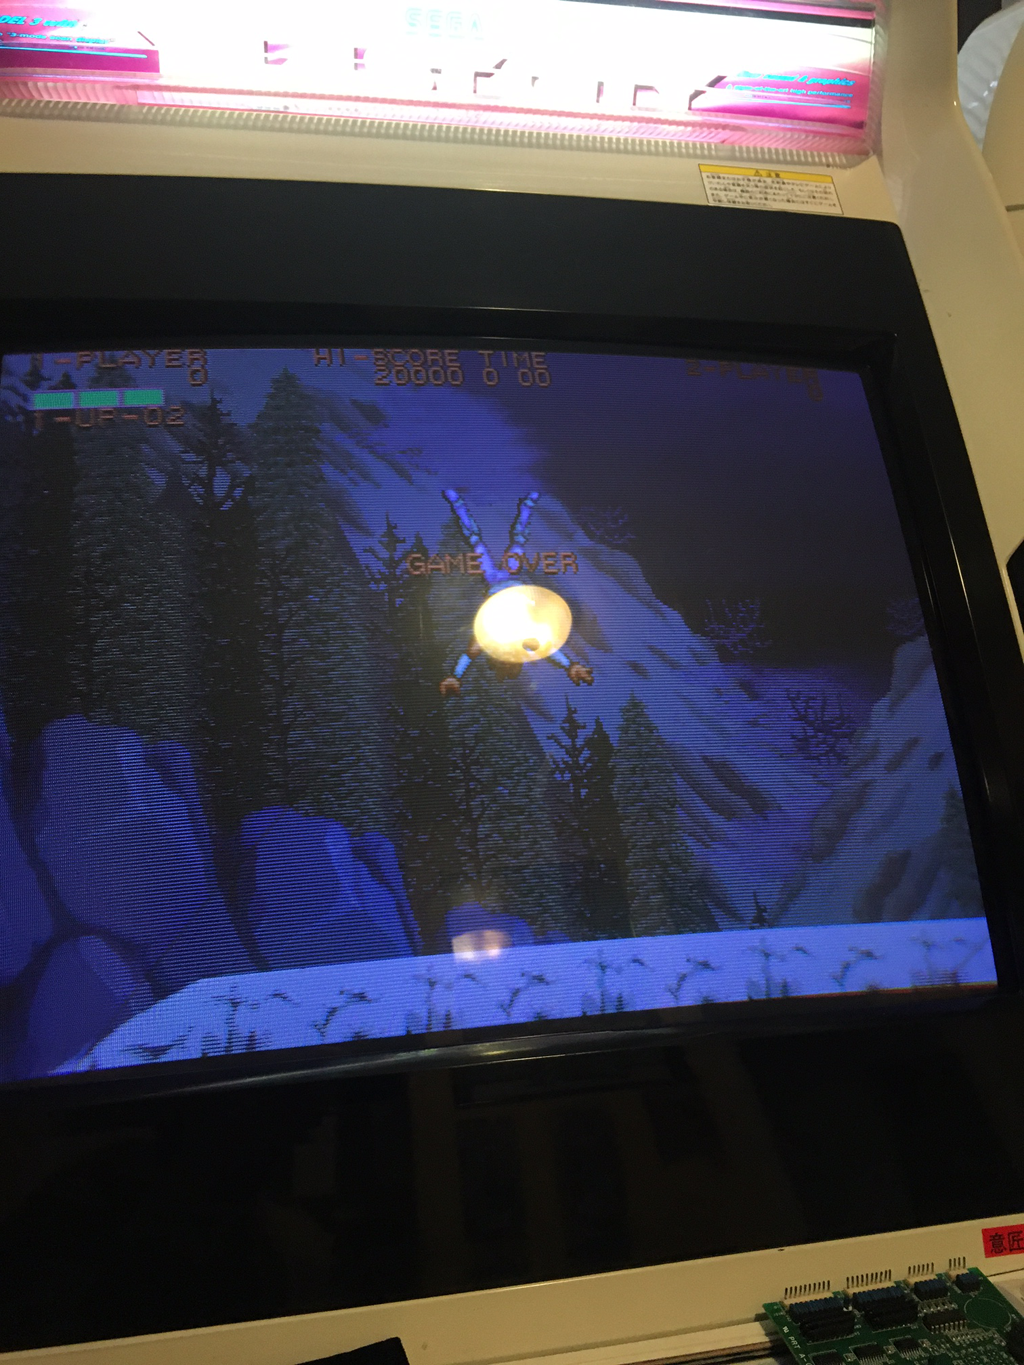
I received a CPS1 Strider for my personal collection (B and C board only) from my friend Roger this week. The board was sold as not-working, and when I fired it up, it was sure enough not working:
strider1

As you can see above, there were heavy jail bars present in the background sprites. Experience with CPS1 hardware told me one of three things was going on – bad C board, bad mask roms or bad/corroded sockets. The C board is the B-01 PPU variety, which is functionally equivalent to the B-21 PPU. Since I have known working B-21 boards on hand, this was an easy starting point. Swapping the board did not have any effect, so I knew it was either the mask roms or the sockets at fault.

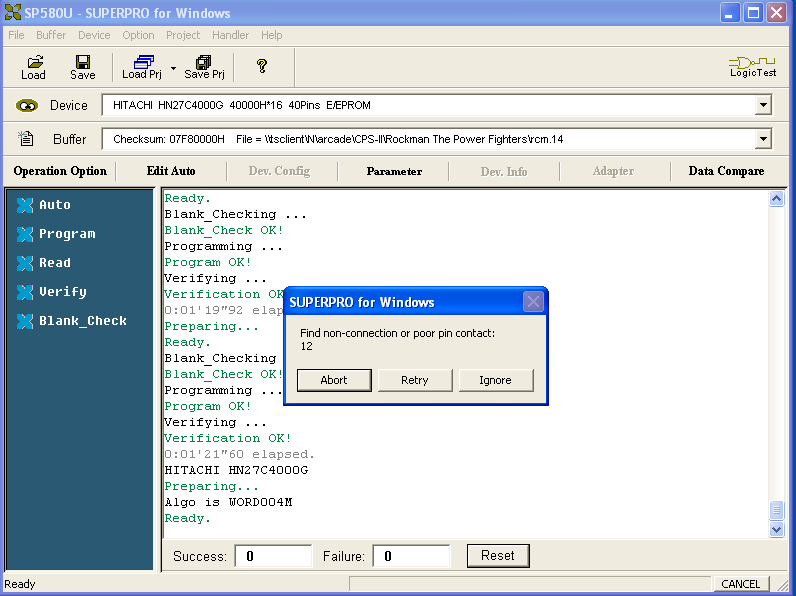
In order to verify the mask roms, I removed them from my board, and set my Superpro 580u programmer to HN27c4000g (which are pin for pin compatible the HN6204P mask roms capcom used). Strider is a very strange board in that the etched rom numbers DO NOT match with the PCB. I turned to mame source code to determine which rom file correlated to which mask rom. Sure enough, the FIRST rom I tried to verify complained about Pin 12 not having connectivity. Some times when you read mask roms as eproms, there are pins internally disconnected, and that is OK. This was not one of those times. I referenced the HN27c4000g datasheet to determine that Pin 12 was actually for Address 0. This address line is 100% required for the rom to function.
strider2

Today happened to be my lucky day. I had ONE and only ONE 27c4000g eprom on hand. Burned the mame binary to the rom, popped it in Strider, and the game was back in action!
strider3
strider4

I played a few games, did not observe any other abnormalities. I wish all repairs could be this easy! Another great Capcom game has been preserved!

Jan 072016
 

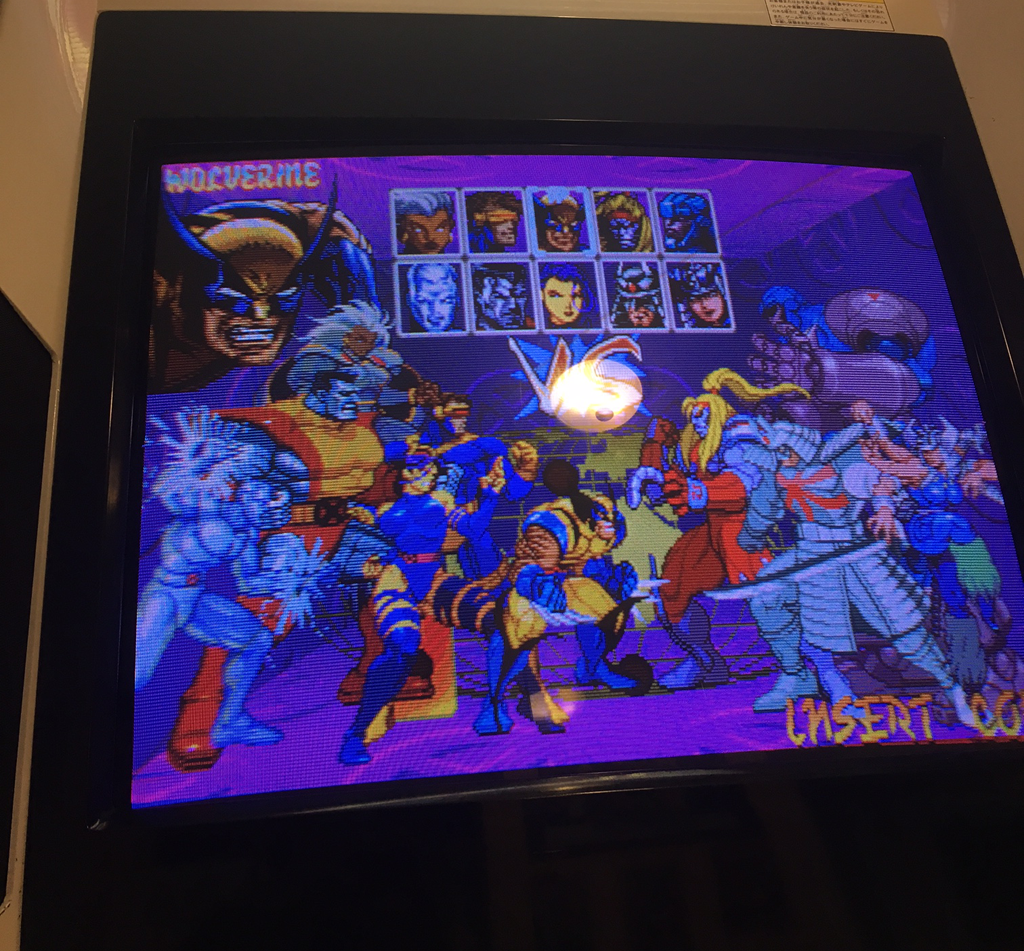
I bought a really trashy copy of Xmen Children of the Atom off of eBay out of sheer curiosity. The auction’s description indicated that the B board was bad, and had caused the previous owner’s power supply fuse to blow. WHOAH! Sounds like more than just the normal suicide issue most “dead” CPS-2 boards have. I decided to take a gamble and won the auction for a whopping $8.

Upon arrival, I opened the PCB and was greeted by an old abandoned mud-wasp nest. GROSS! I gave the PCB and shell a good bath to get all of the nest remnants off of it. At a first glance, outside of being dirty, the PCB looked to be OK. The original battery was still in place, and read 0.0v (thankfully it did not leak). Clearly this board had suicided. I decided to try out Razoola’s suicide tester in rom socket 3 (very handy). When I booted up the game, I could hear the 1st track of the audio playing (a good sign), however the diagnostics that should display were COMPLETELY blank. I had an entirely black screen.

At this point I decided it was worth while to try the decrypted Xmen program roms on my PCB, just to see if I got any signs of life out of the B board. After installing the Team Avalaunch decrypted rom set, the game would boot, eventually show the “mild animated violence screen”. After displaying that screen, the CPS2 would hang, reboot and repeat. No other sprites or text would display outside of the animated violence screen and it would not progress past that portion of the demo loop.

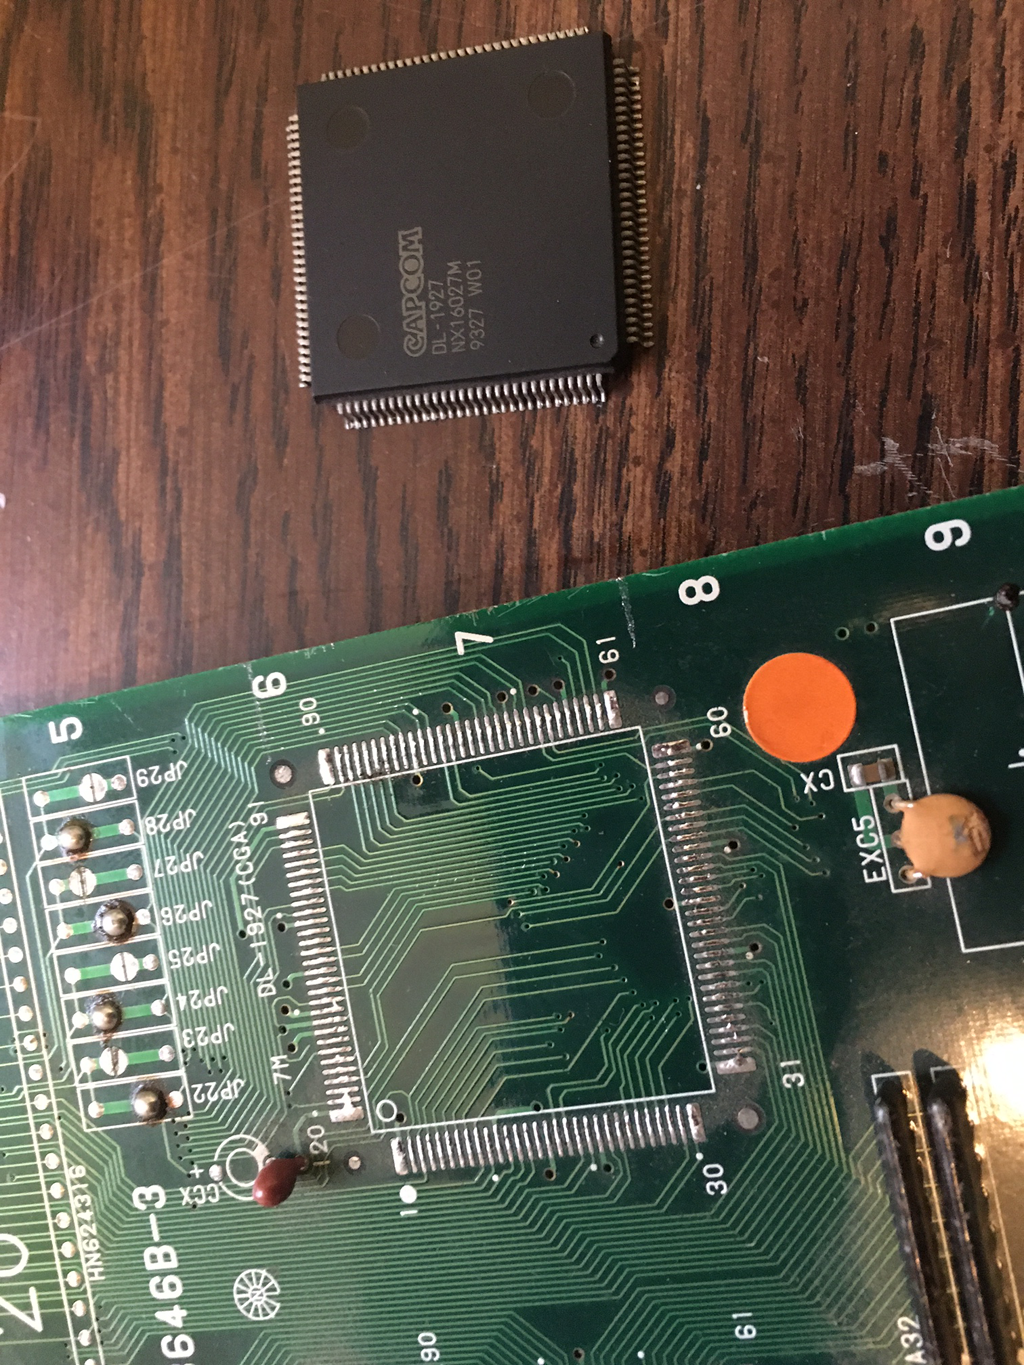
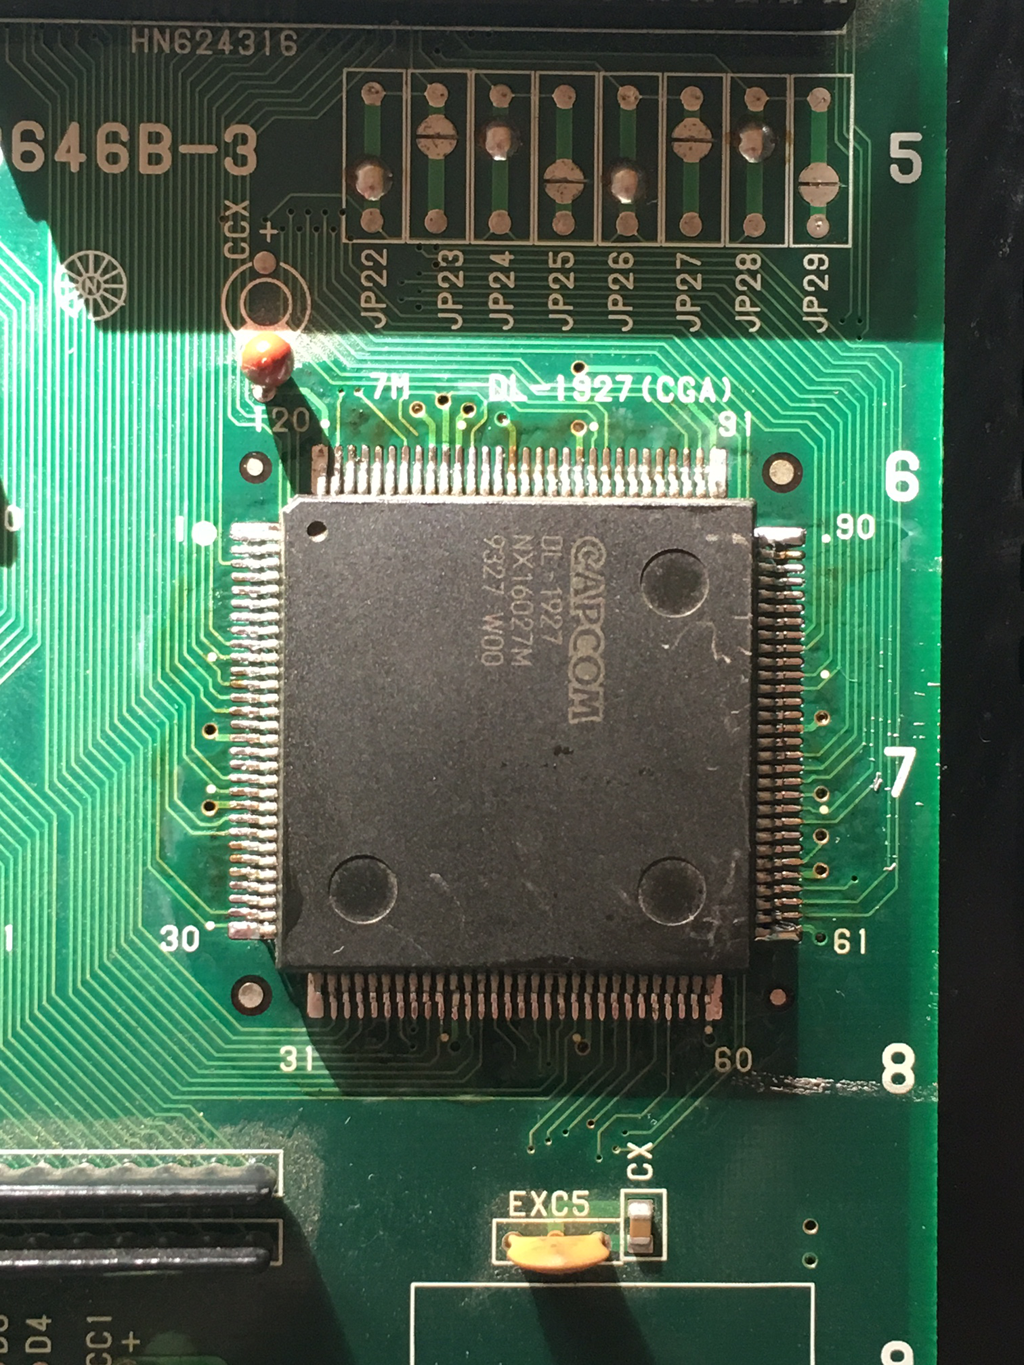
I took the board into direct sunlight to see if I could find any discreetly burned components. Sure enough, the diode at position D1 was burned clear in half. Replacing it did not have any effect on my symptoms, however it did give me a clue that a major power fault had occurred on the board. Previous experience with the CPS2 told me that the issue was more than likely due to a bad custom capcom IC. Also from previous experimenting and experience, I know the custom Capcom IC DL 1927 (CGA) at position 7M is partially responsible for graphics generation. Since that was pretty close to the burned diode, this became my prime suspect.

I pulled a parts CPS2 B board out, and decided to attempt swapping the QFP120 DL 1927 IC.
xmen1
xmen2

MUCH to my surprise, after swapping the IC and verifying there were no bridges or floating pins, Xmen fired RIGHT UP. All graphics restored. Not bad for an $8 eBay pickup 🙂
xmen3

In retrospect, I think the original owner may have put the Jamma edge connector on slightly misaligned, and sent 12v down the 5v power rail, taking out diode D1 and the QFP at 7M. Another great Capcom game has been preserved!