Caius

Feb 062019
 

Some days ago I wanted to test some RAM chips from an arcade PCB using my B&K Precision 560A tester :
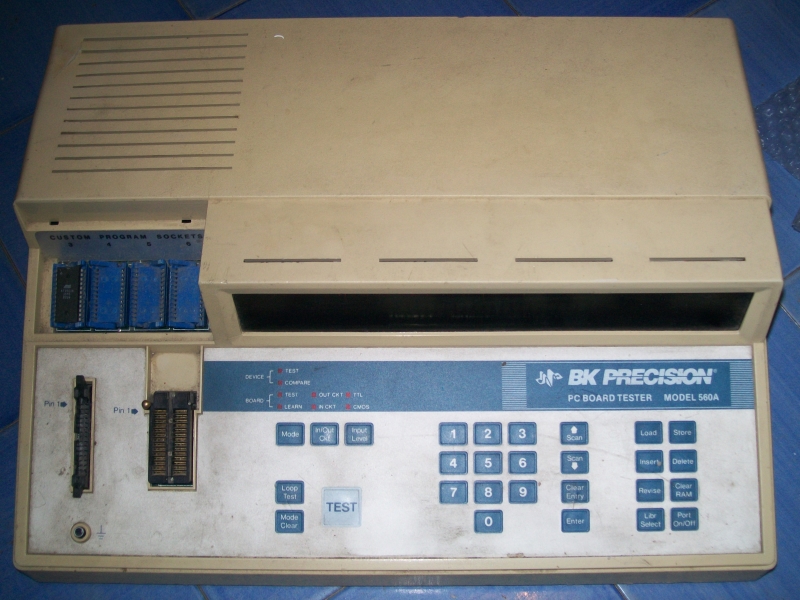
B&K precision 560A IC tester

For the uninitiated this piece of equipment allow you to do out-of-circuit and in-circuit testing of many ICs like TTLs,RAMs and ROMs thanks to an extensive internal IC library.I often use it during my repairs but in that day it suddenly died, no sign of life, nothing came up on display when I powered it up.For first I checked the main fuse and it was good so I decided to open the unit:
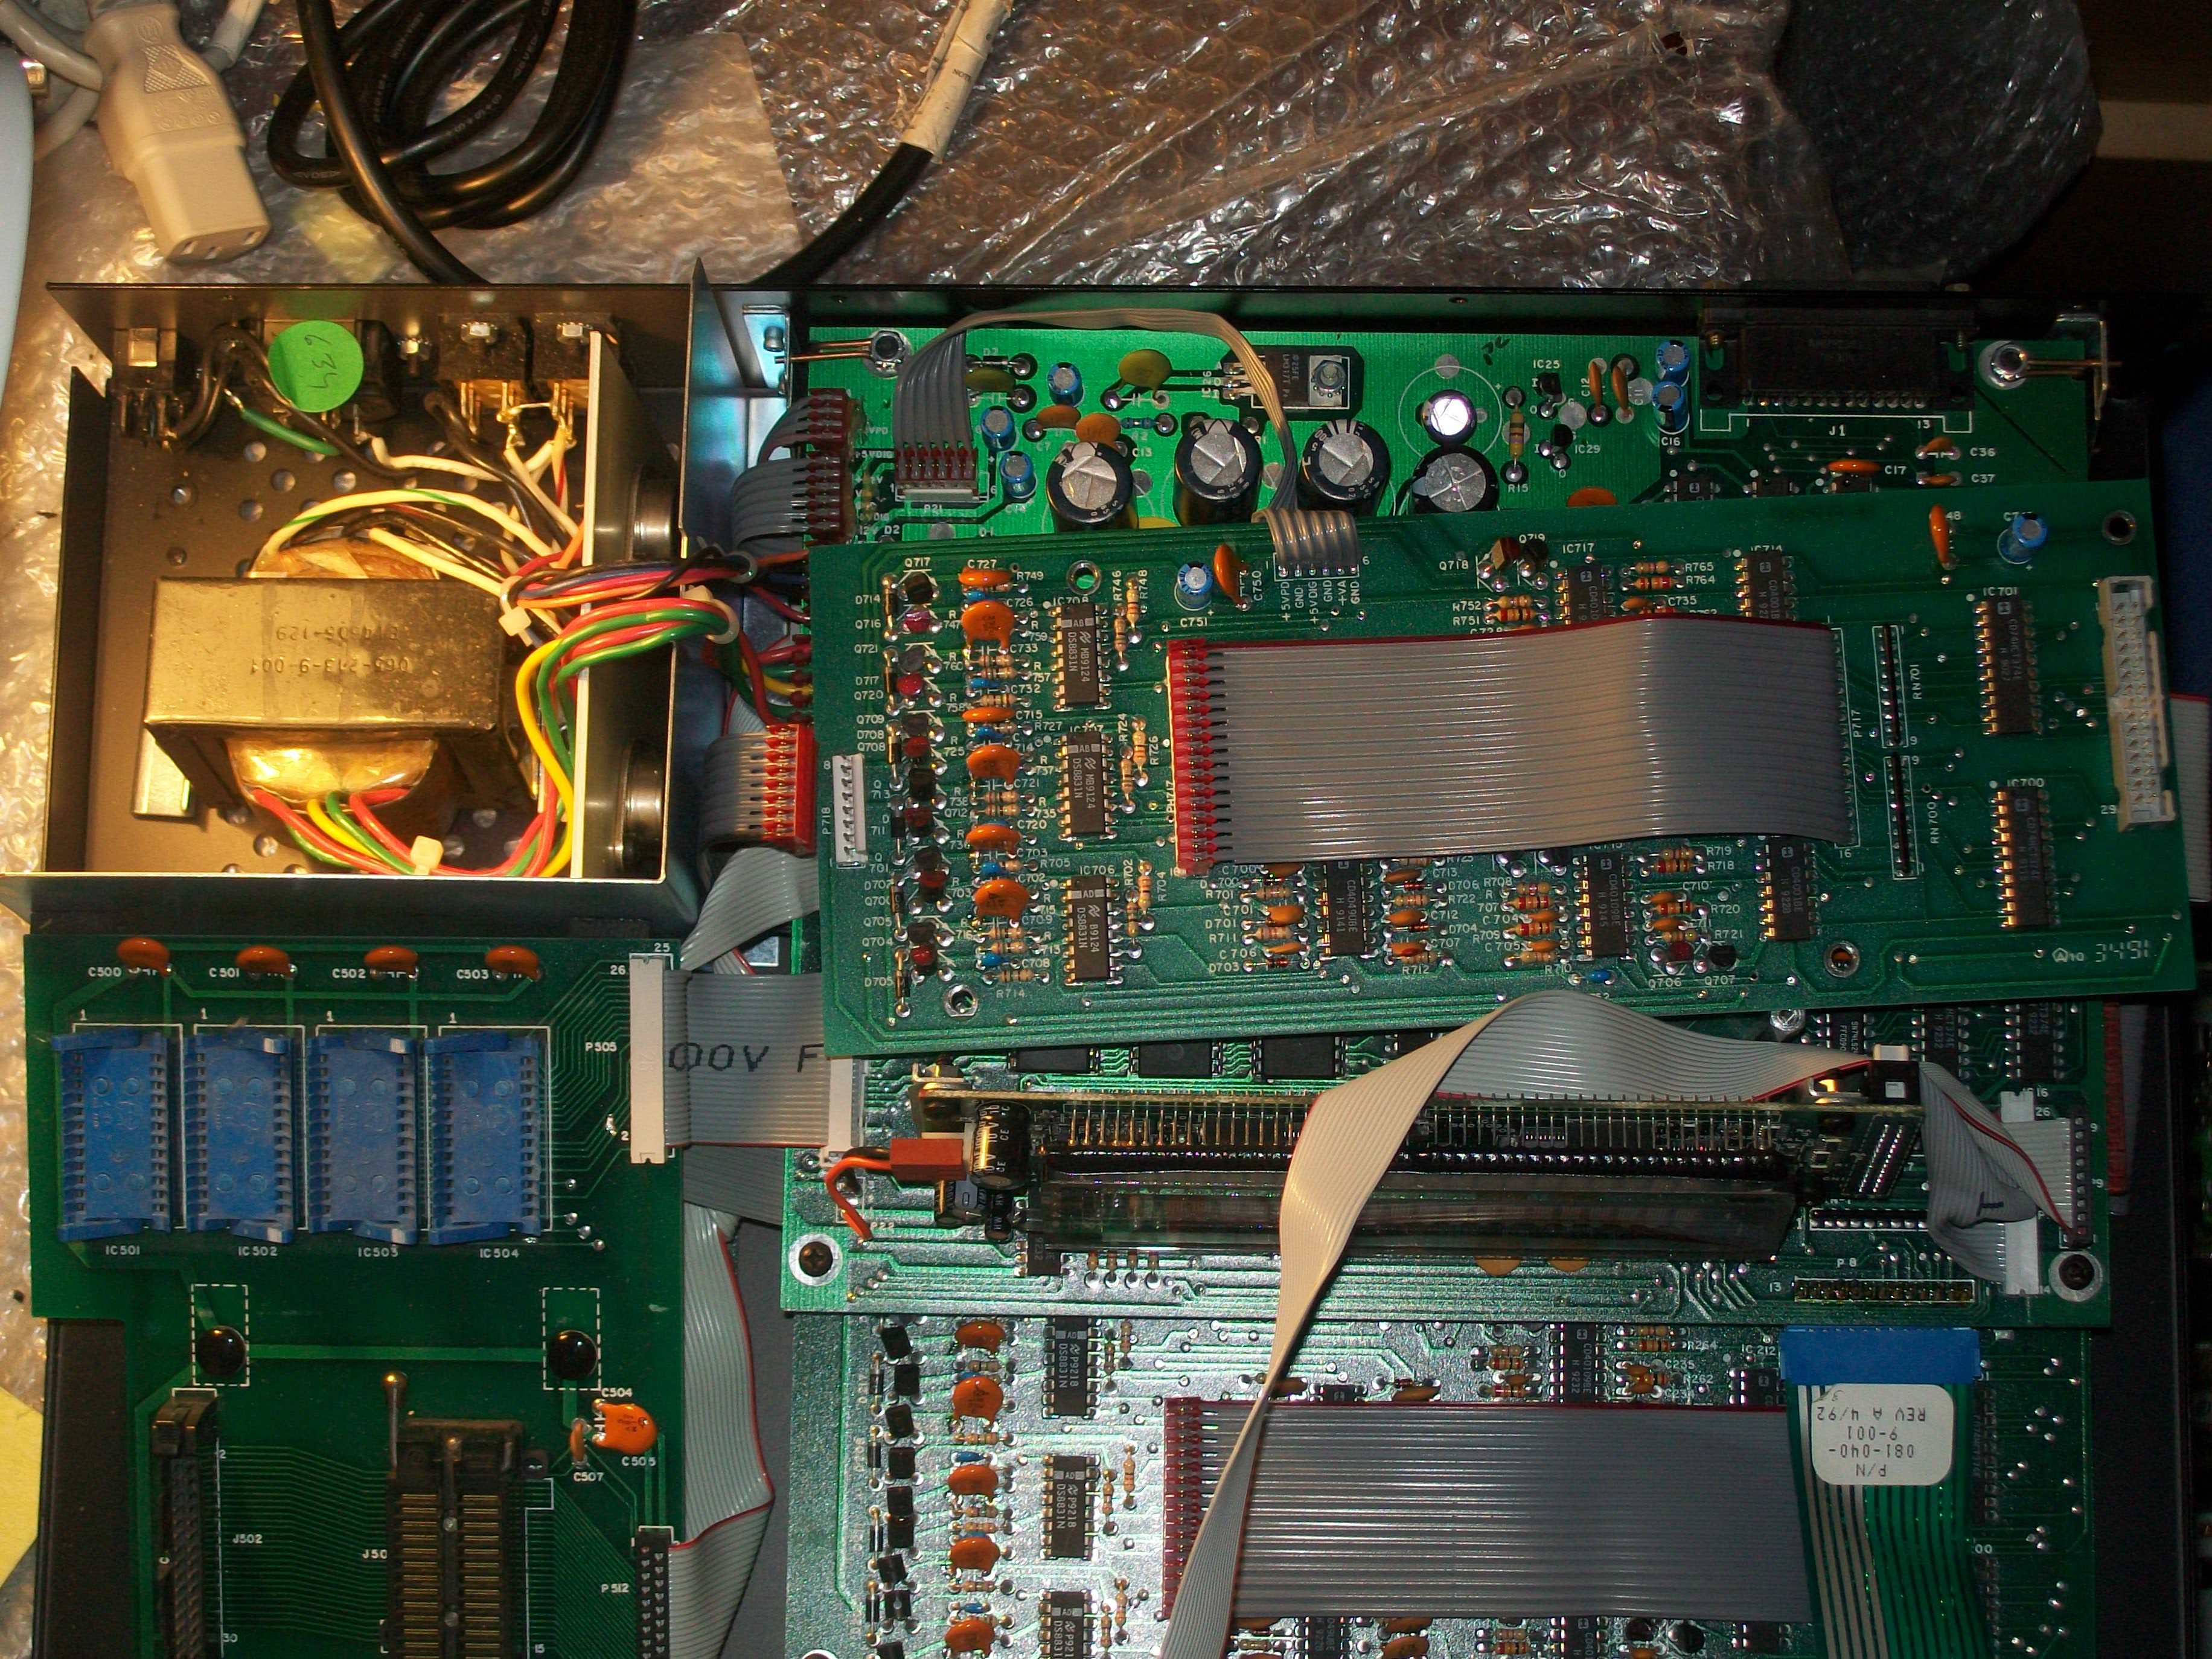
Its internals

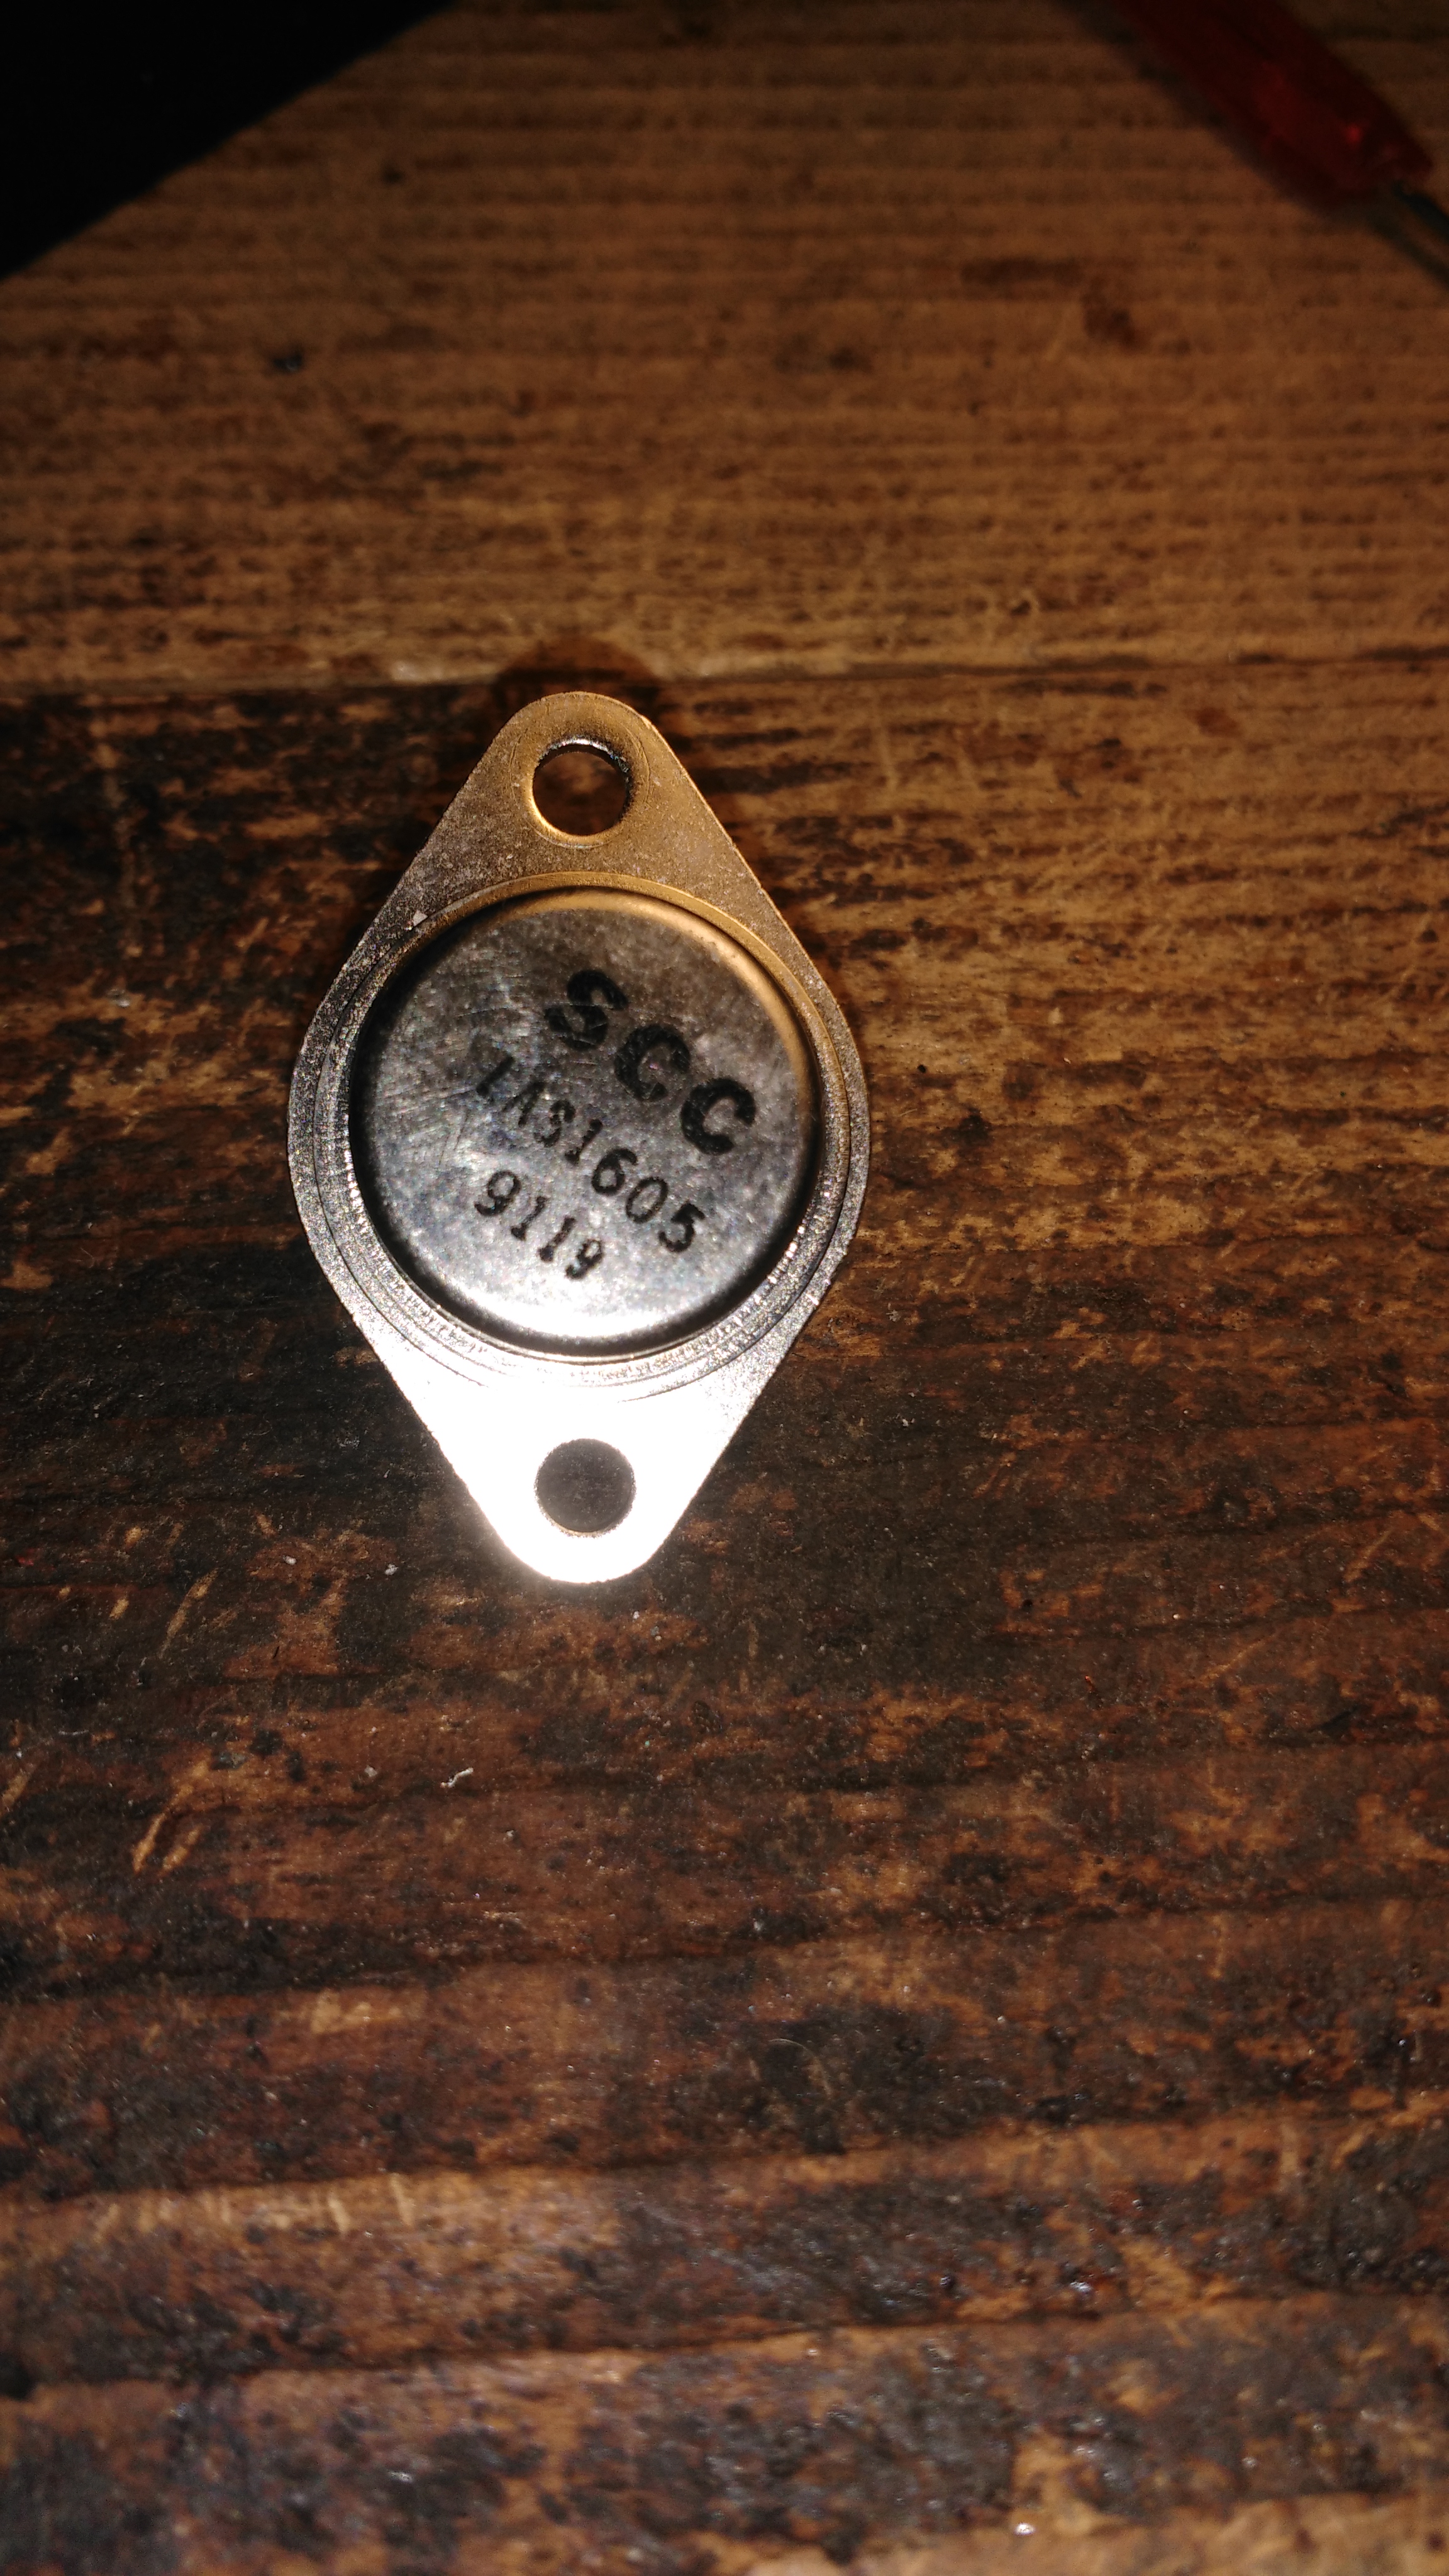
Having no schematics I started my troubleshooting from upstream checking the big transformer just after the AC input, voltages were present on its secondary coil.Following the path I figured out the AC voltages are rectified by a circuit on one of the PCBs.In particular the rectified +12V is then regulated by a couple of ‘LAS1605’ fixed +5V voltage regulators (in TO-3 package) mounted on a big heatsink for providing +5V to the circuitries on the other boards:

Two LAS1605 fixed +5V voltage regulators in TO-3 package

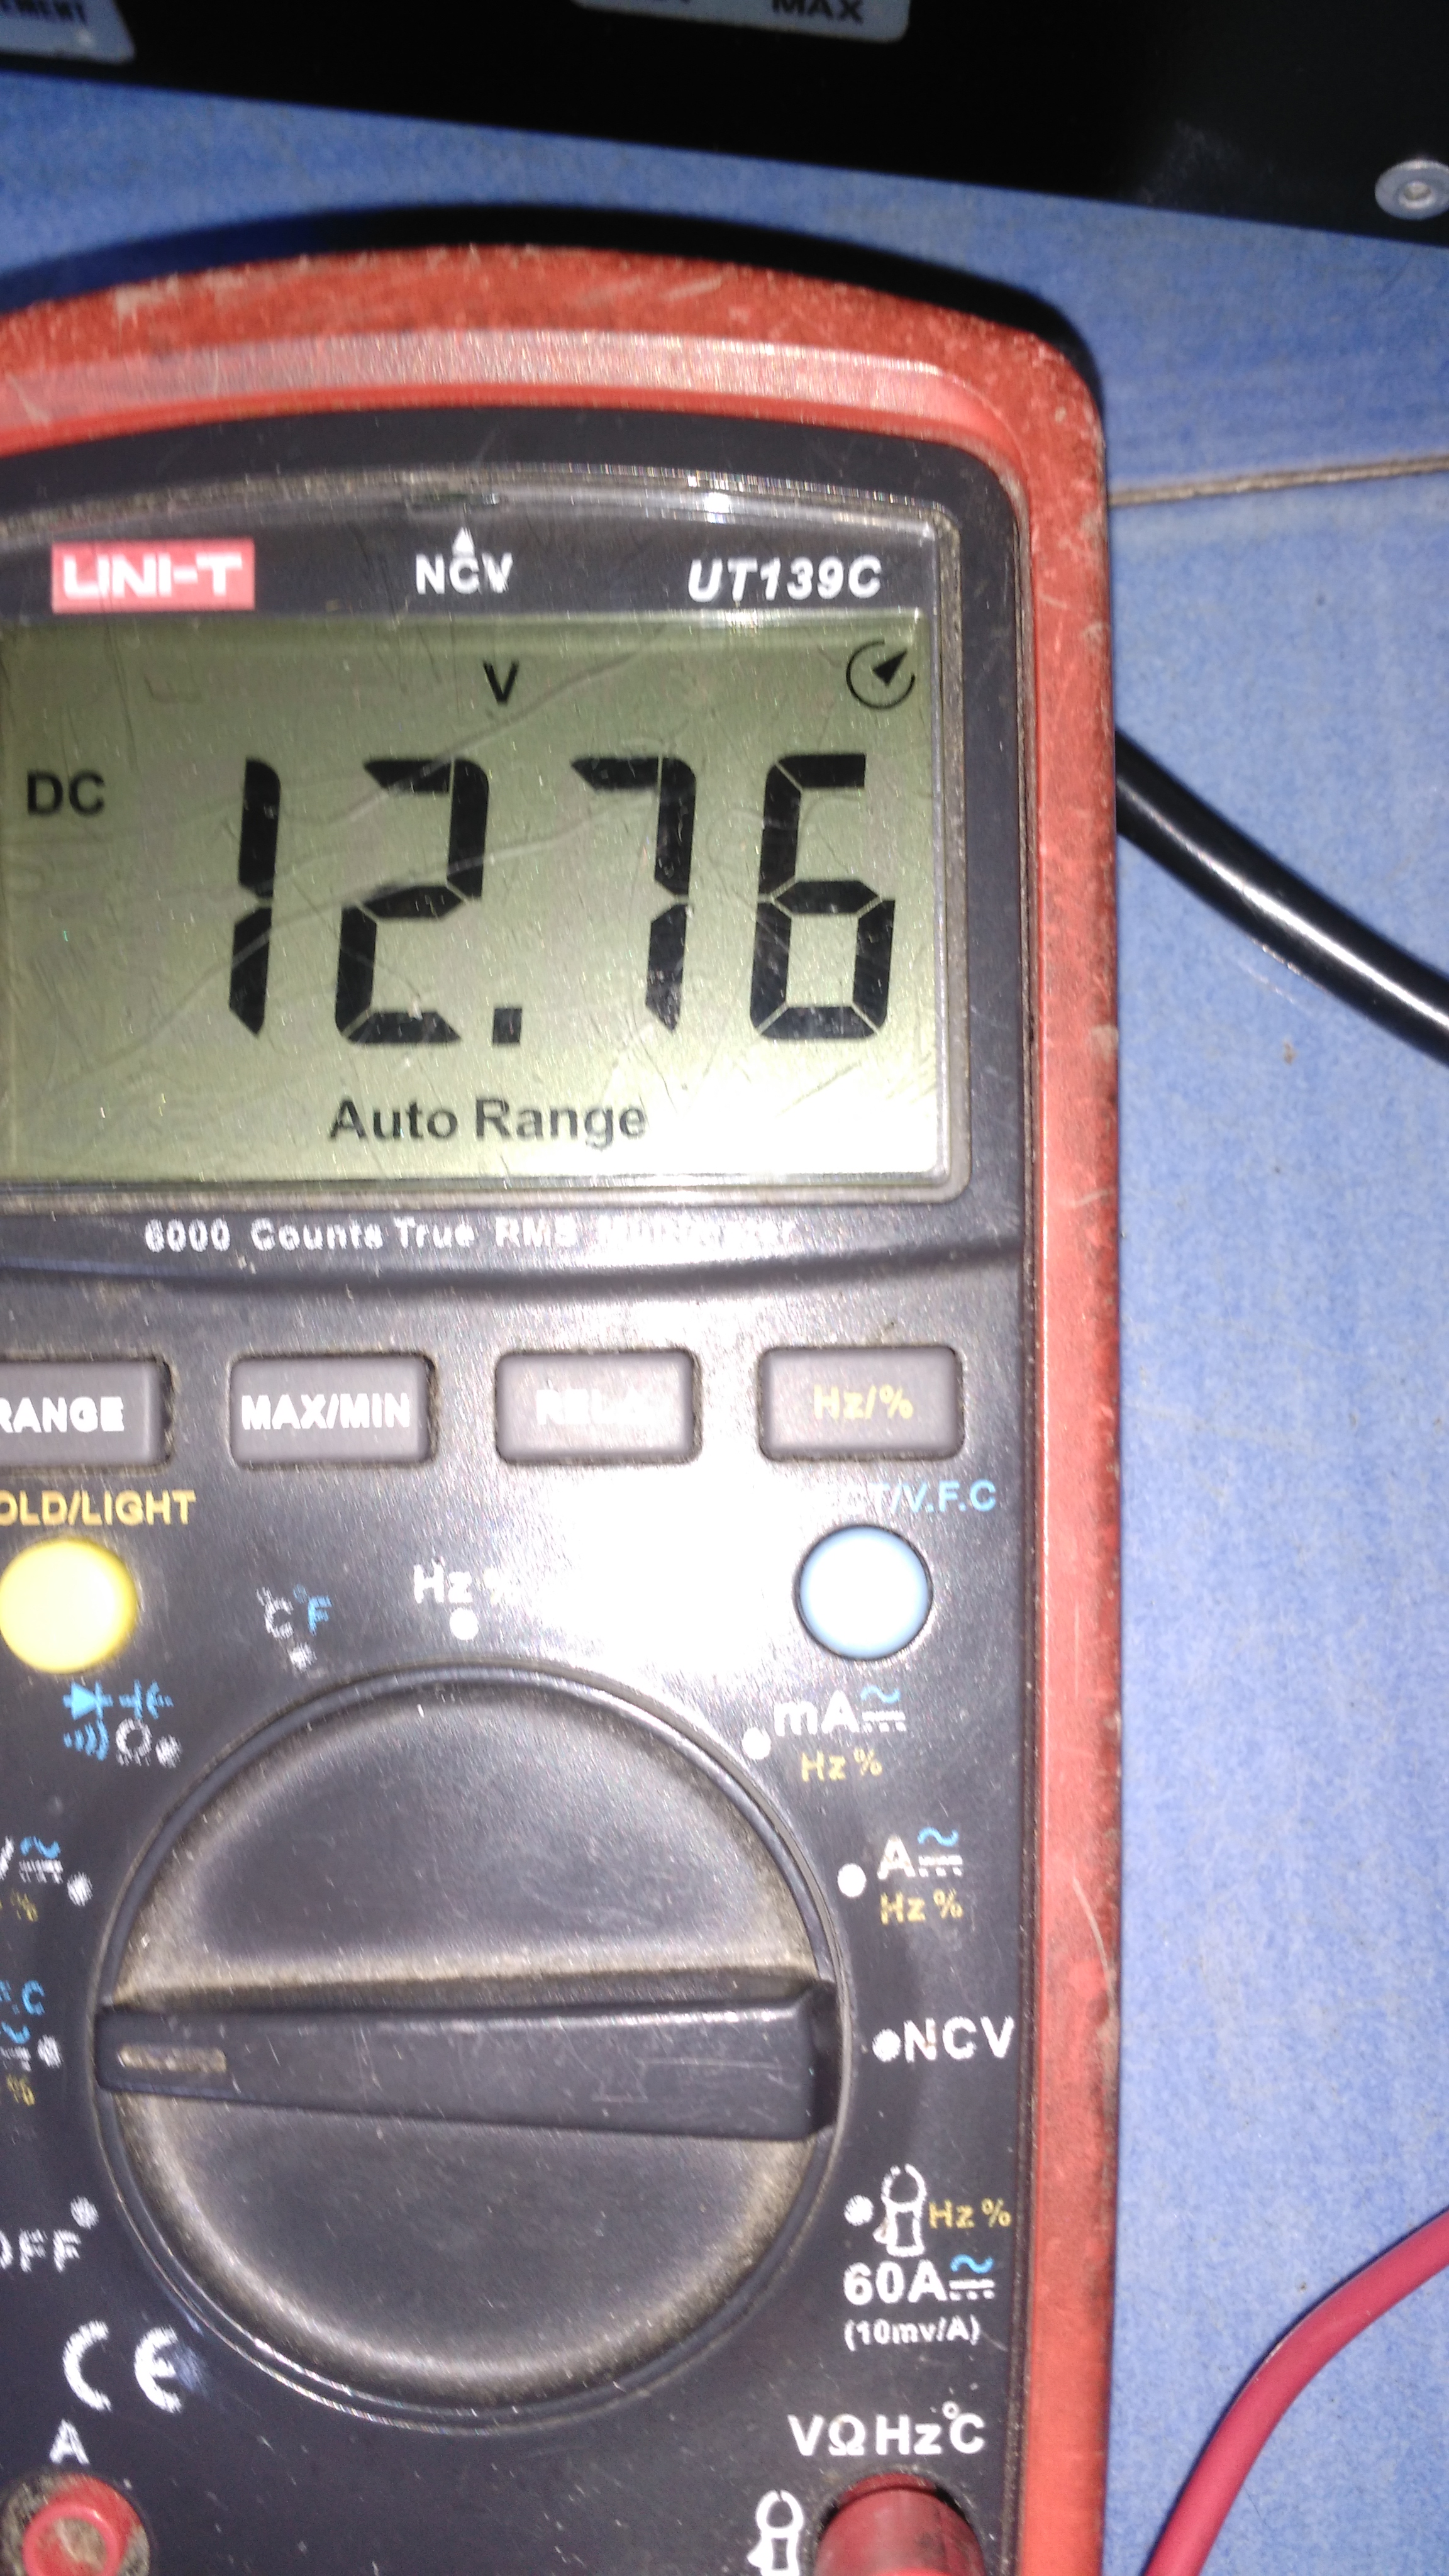
I probed the inputs of both and +12V was present:
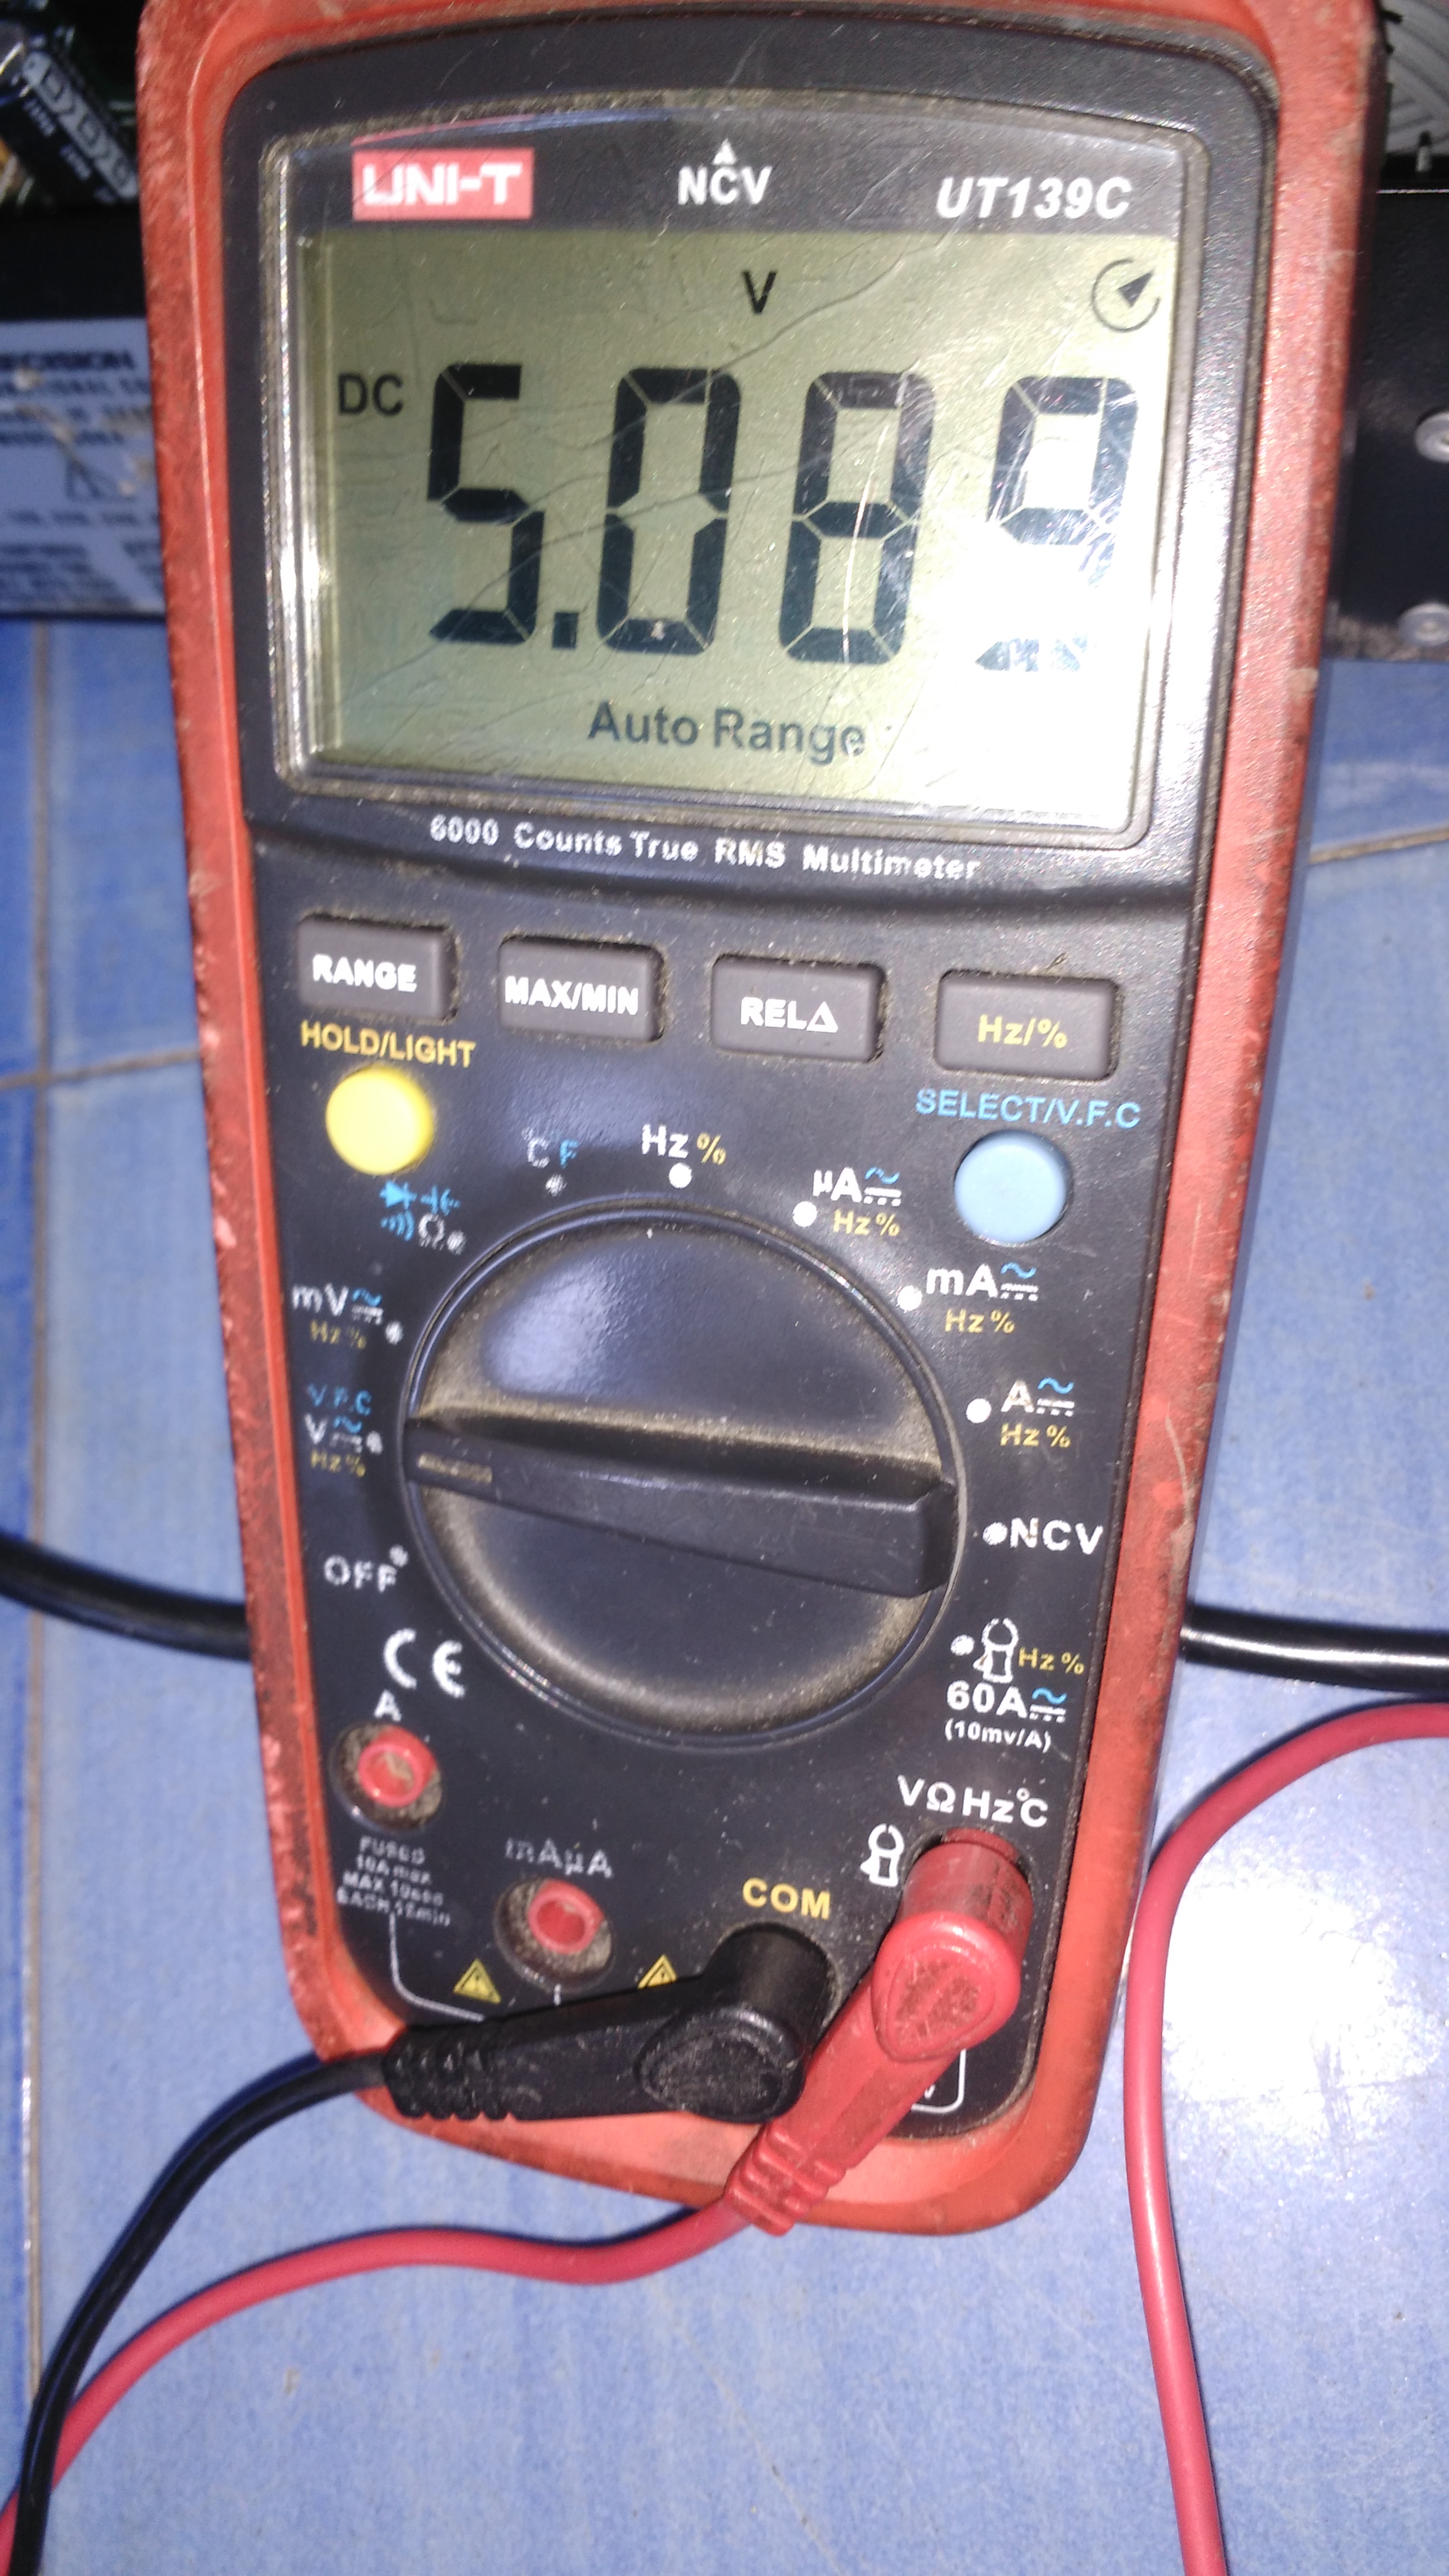
As well as +5V on the output of one regulator:
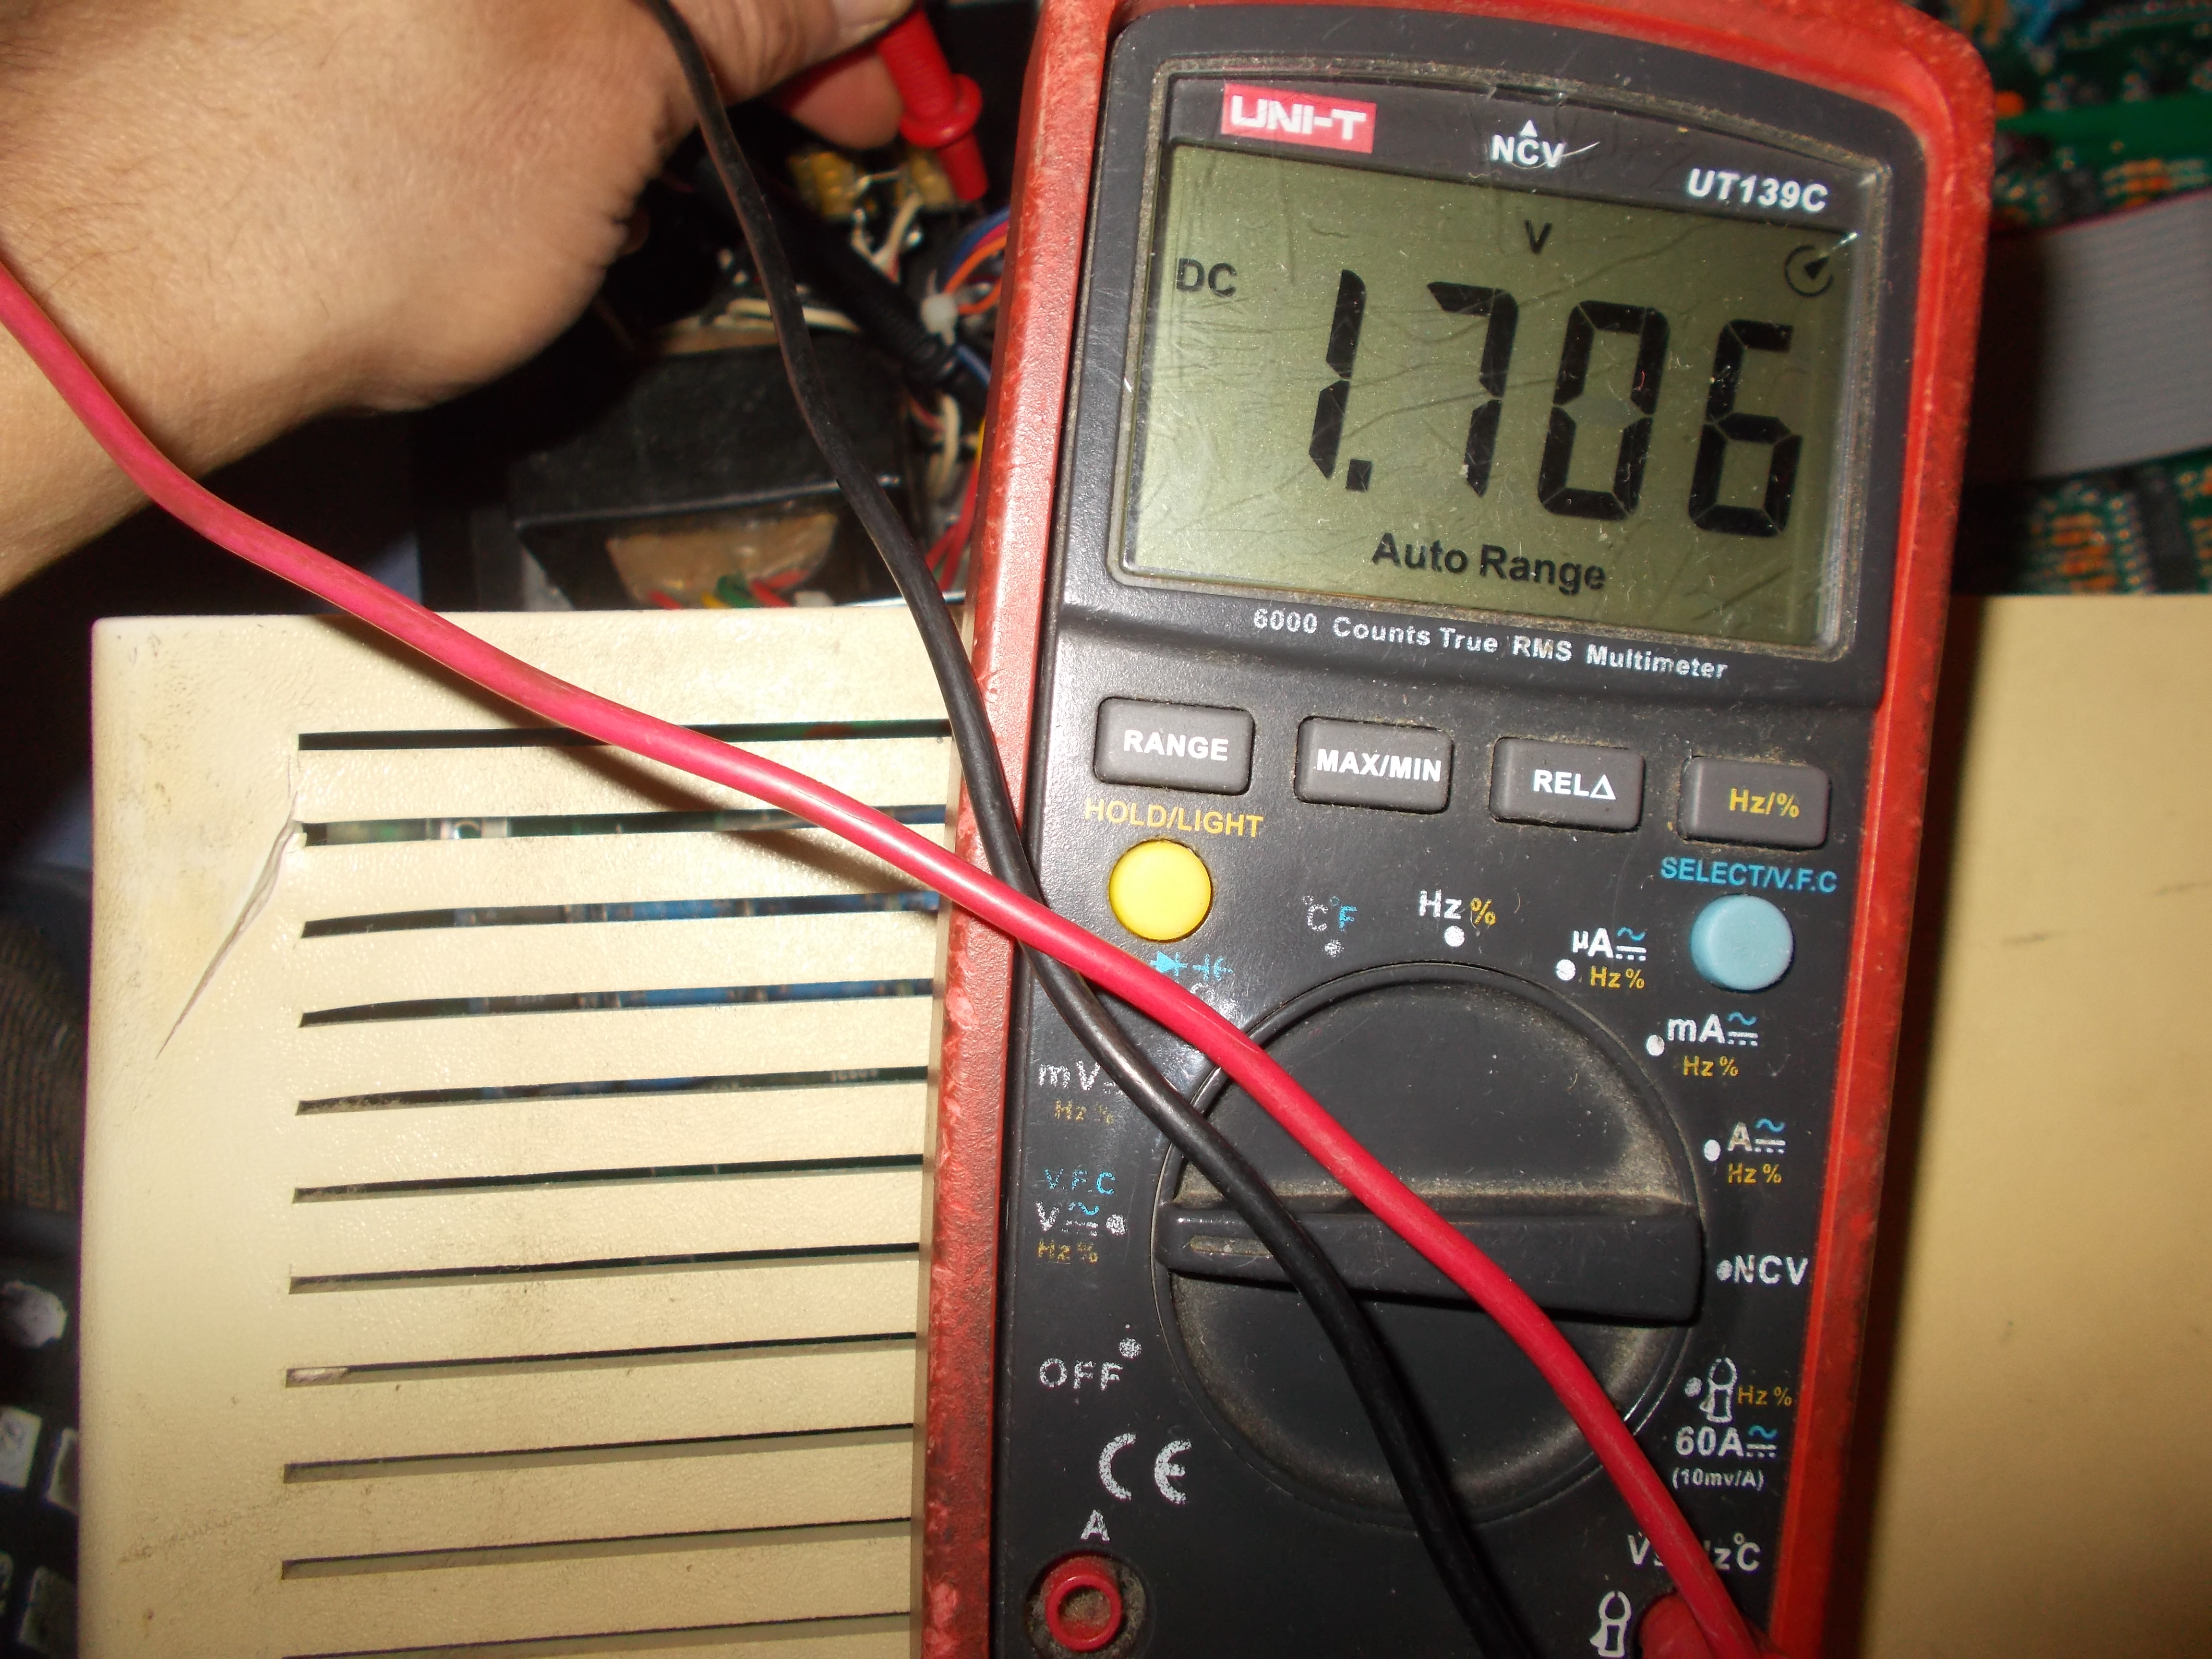
But the other one was giving only +1.706V on its output, too few for correct functionality of the logics on PCB:
I looked online for buying a ‘LAS1605’ +5V voltage regulator or a compatible one but found only few at not really cheap price.Then, as a last resort, I asked my local electronics shop, they surpringsly had in stock some TO-3 ‘MC7805CK’ which is a perfect drop-in replacement (although it can deliver up to 1.5A output current against the 2A of the ‘LAS1605’ but this is not really an issue since I don’t think the tester can draw more than 1.5A during normal operation)
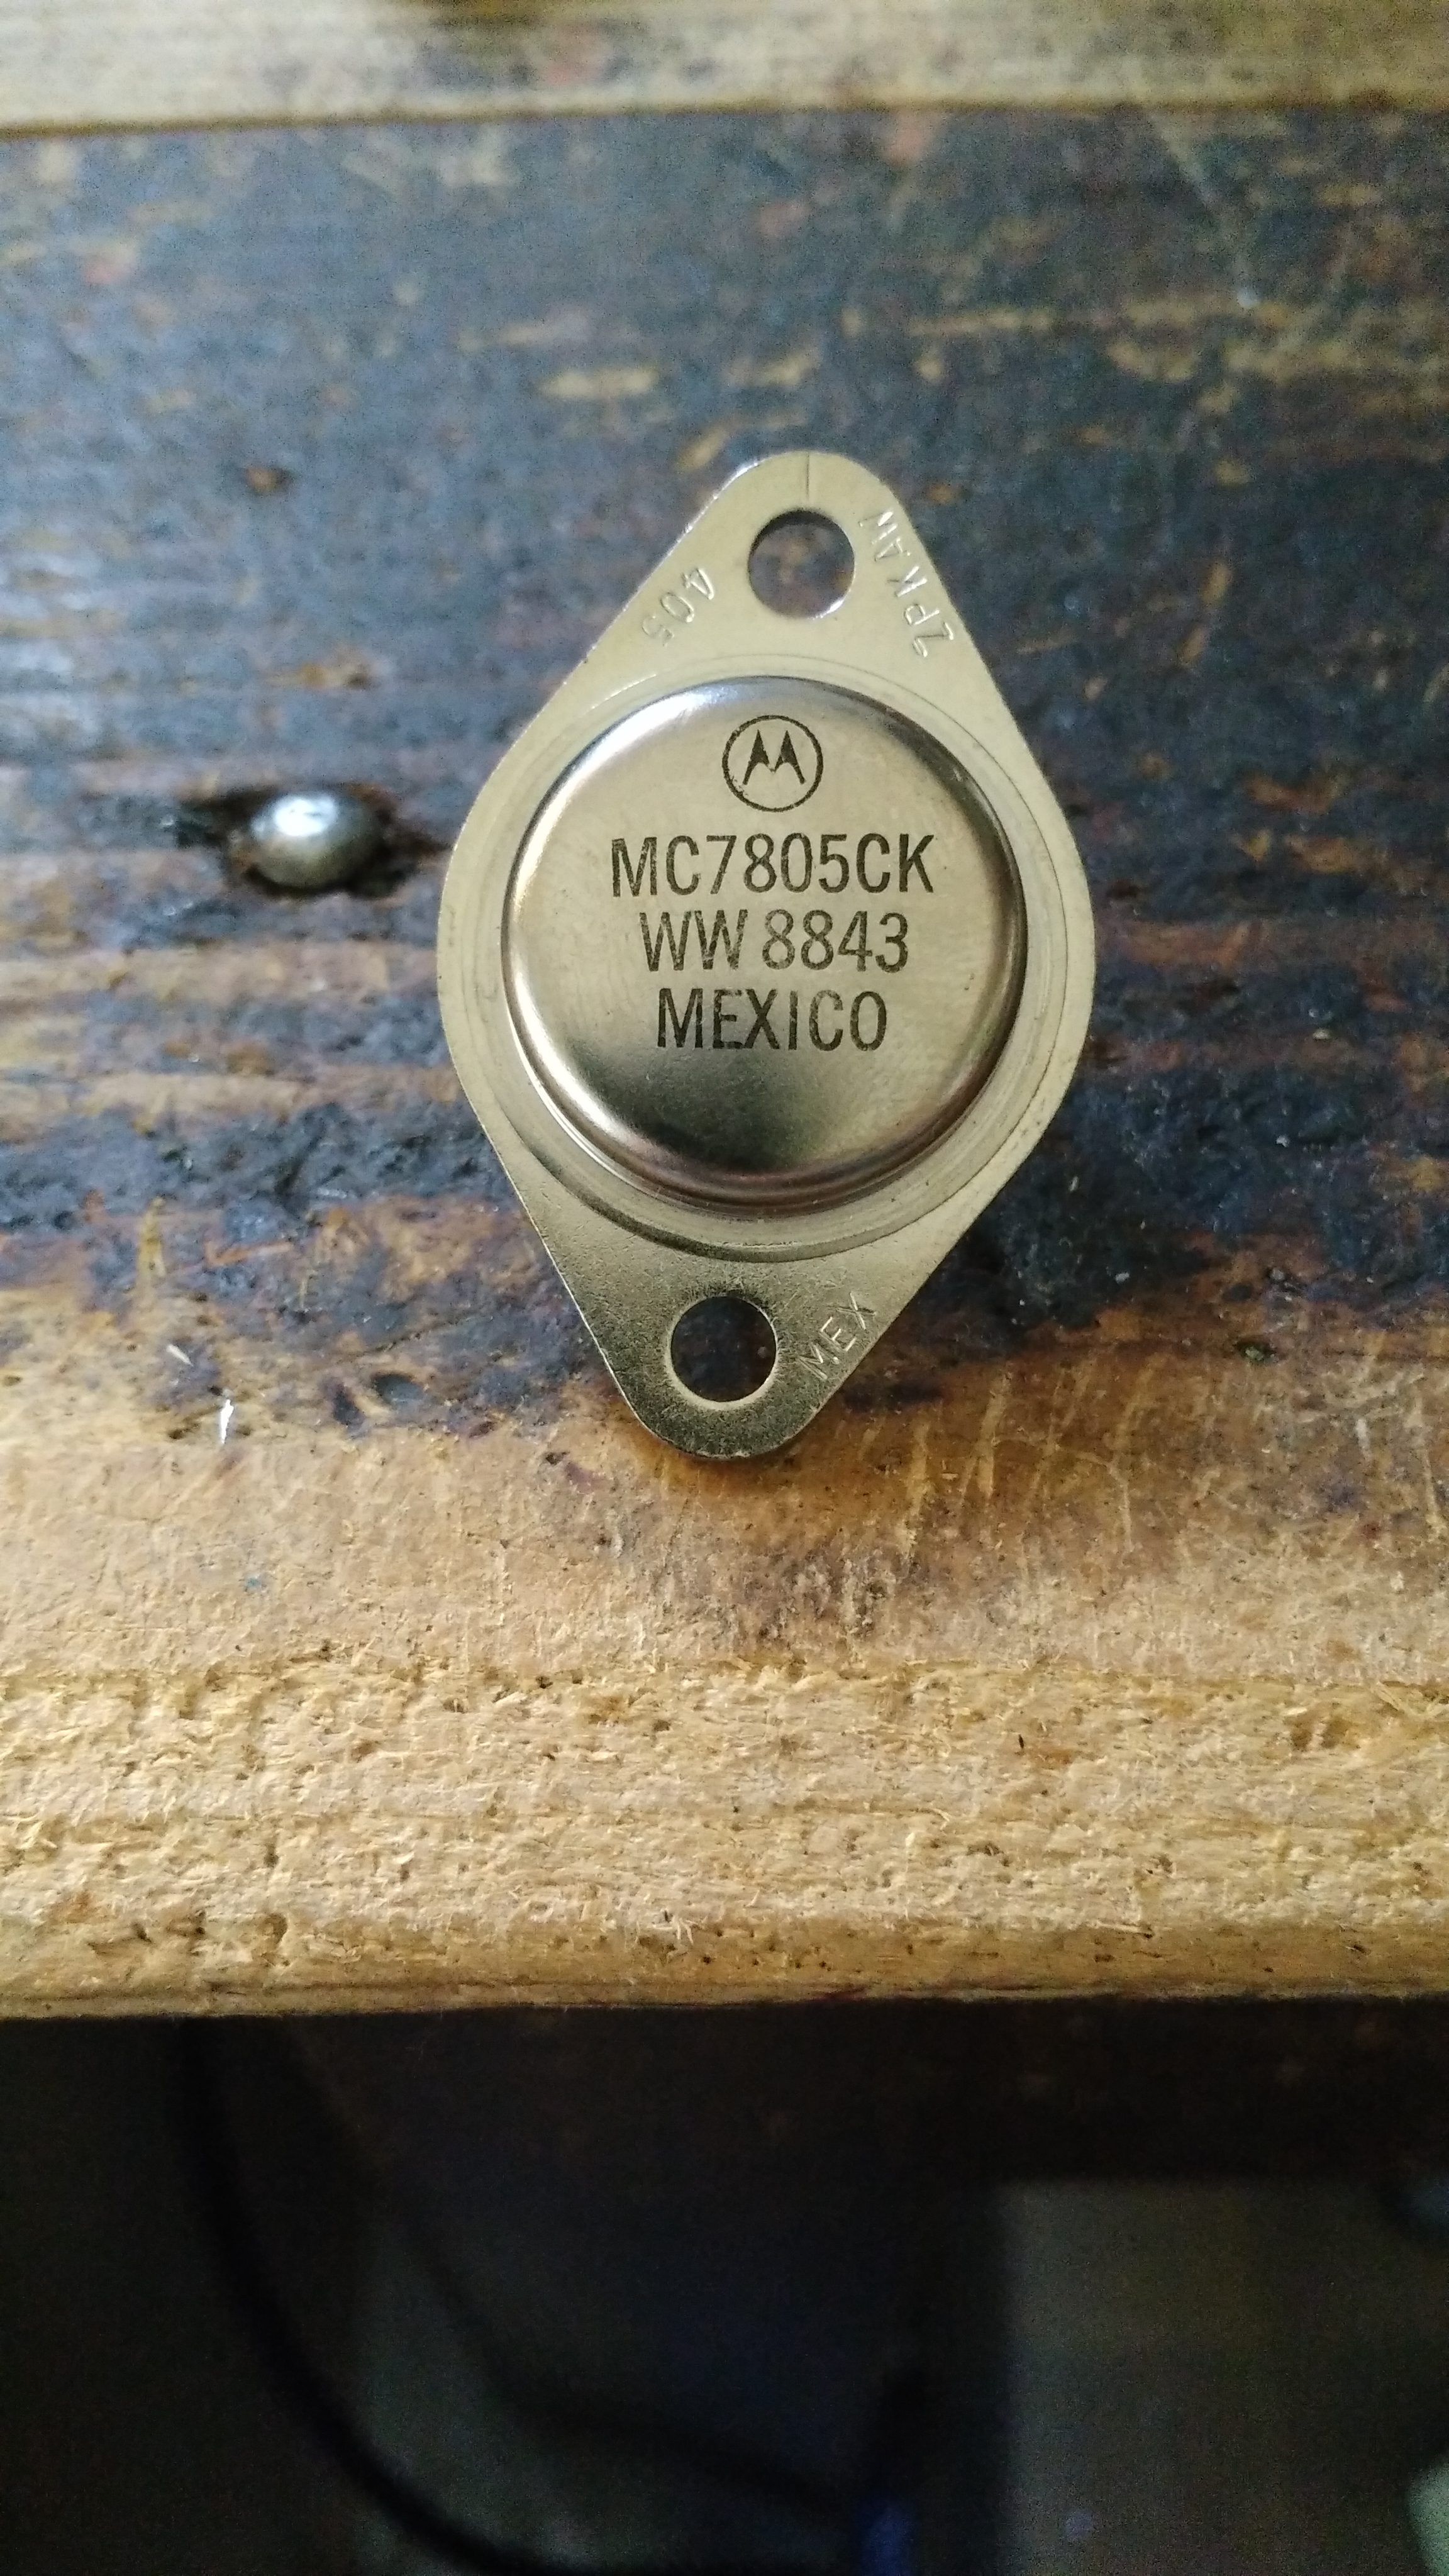
MC7805CK used as replacement

I pulled out the suspicious part:

The culprit in all its loneliness…

I swapped the spare in and was welcomed by this :

BK560A lives again!

My BK560A rised from its grave! Not too bad for a 2-euro repair! (as much as the replacement part costed…)

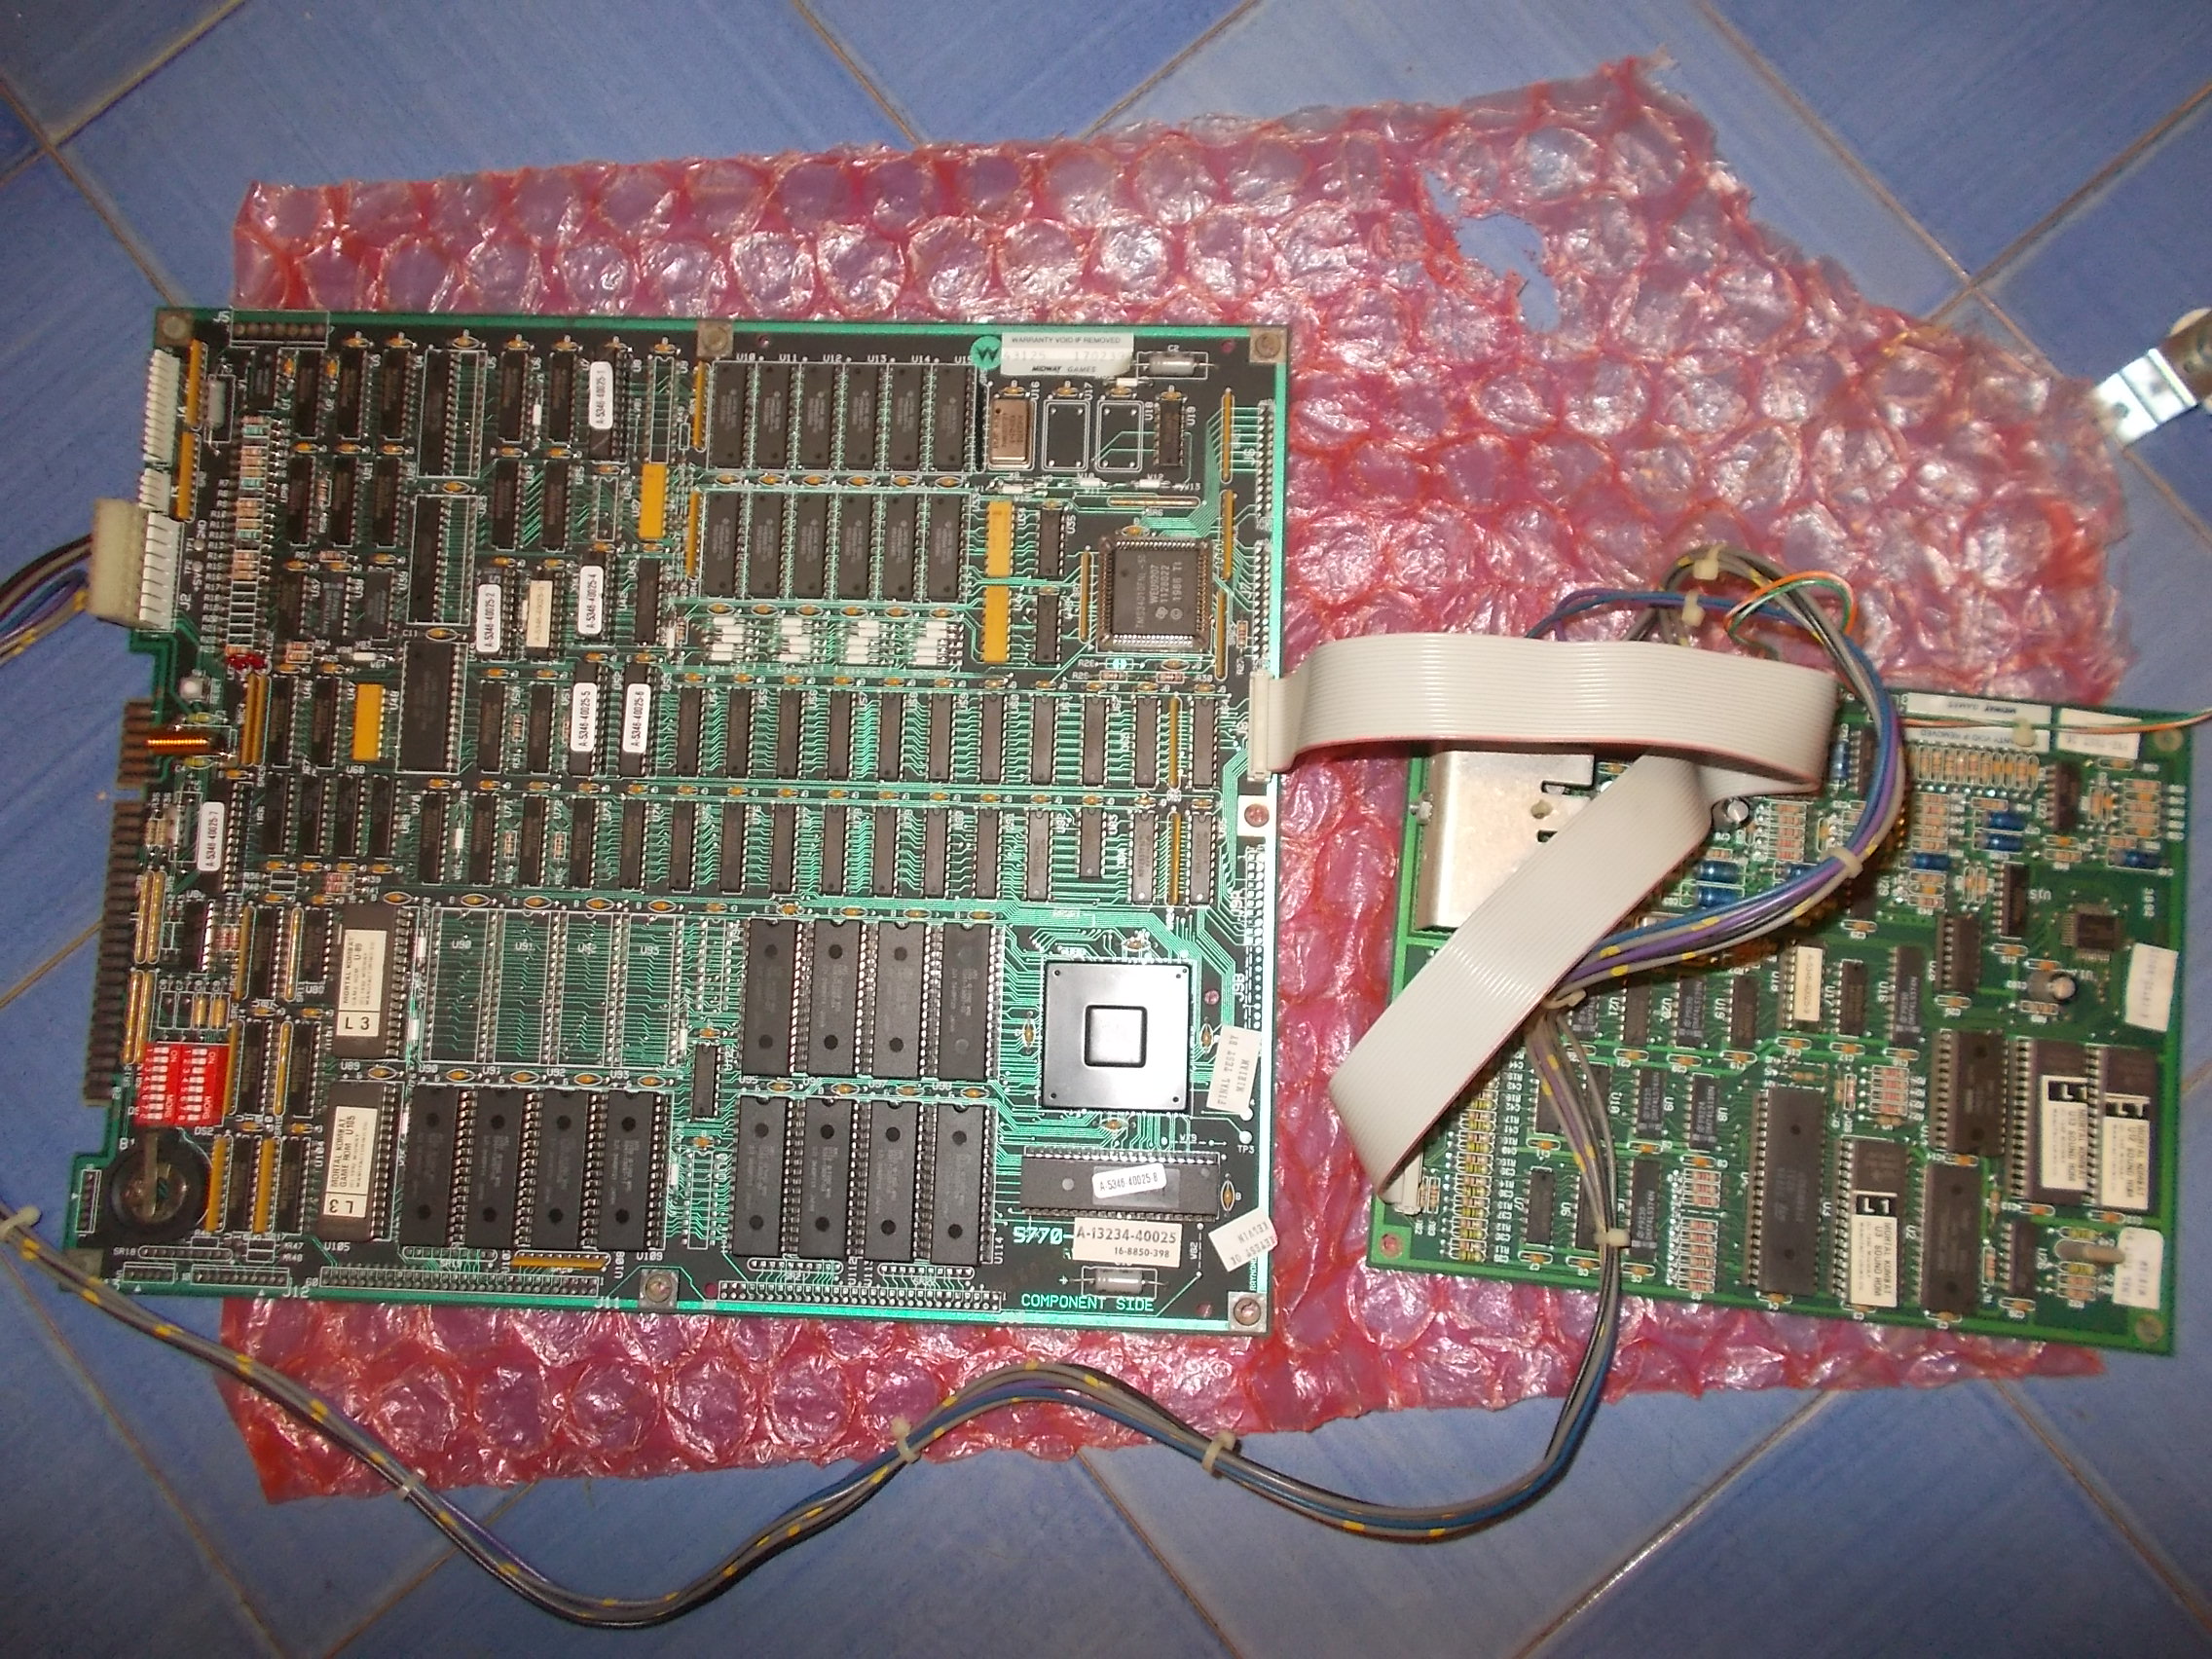
 Posted by at 9:30 pm

Mortal Kombat (original and bootleg PCB) double repair log
 PCB Repair Logs  Comments Off on Mortal Kombat (original and bootleg PCB) double repair log
Feb 052019
 

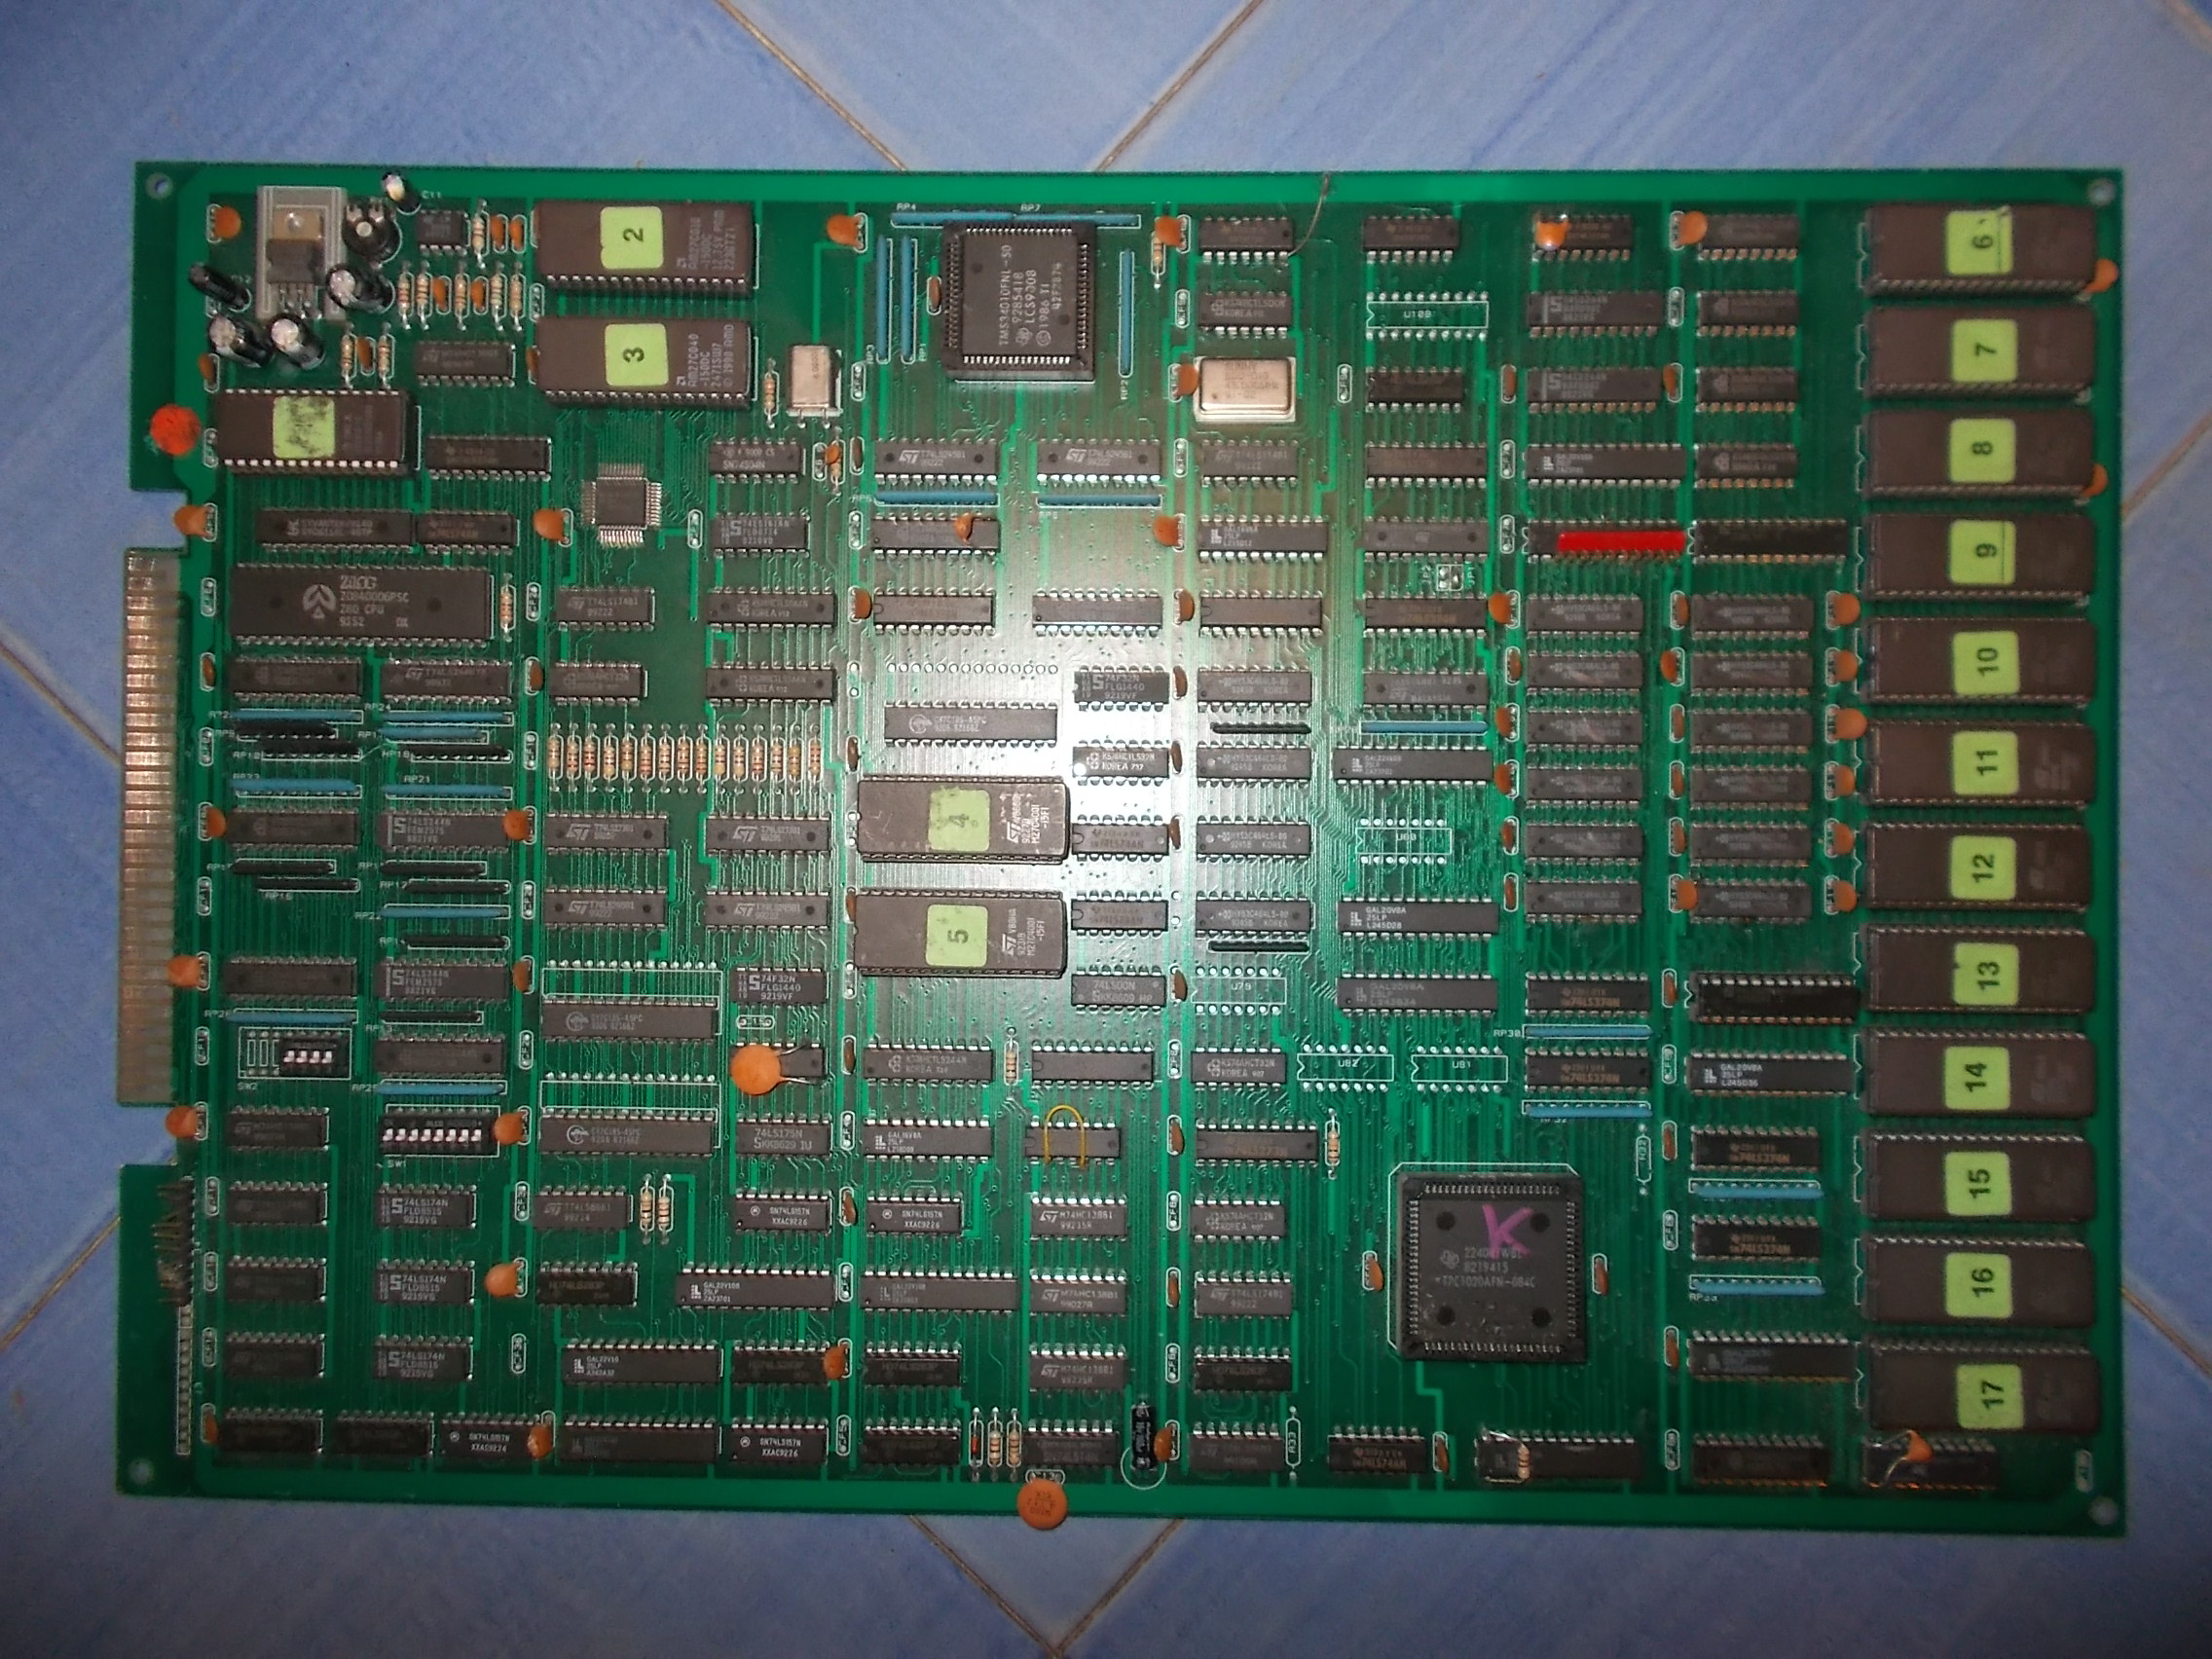
Got from USA an original Mortal Kombat PCB set complete with its sound board:

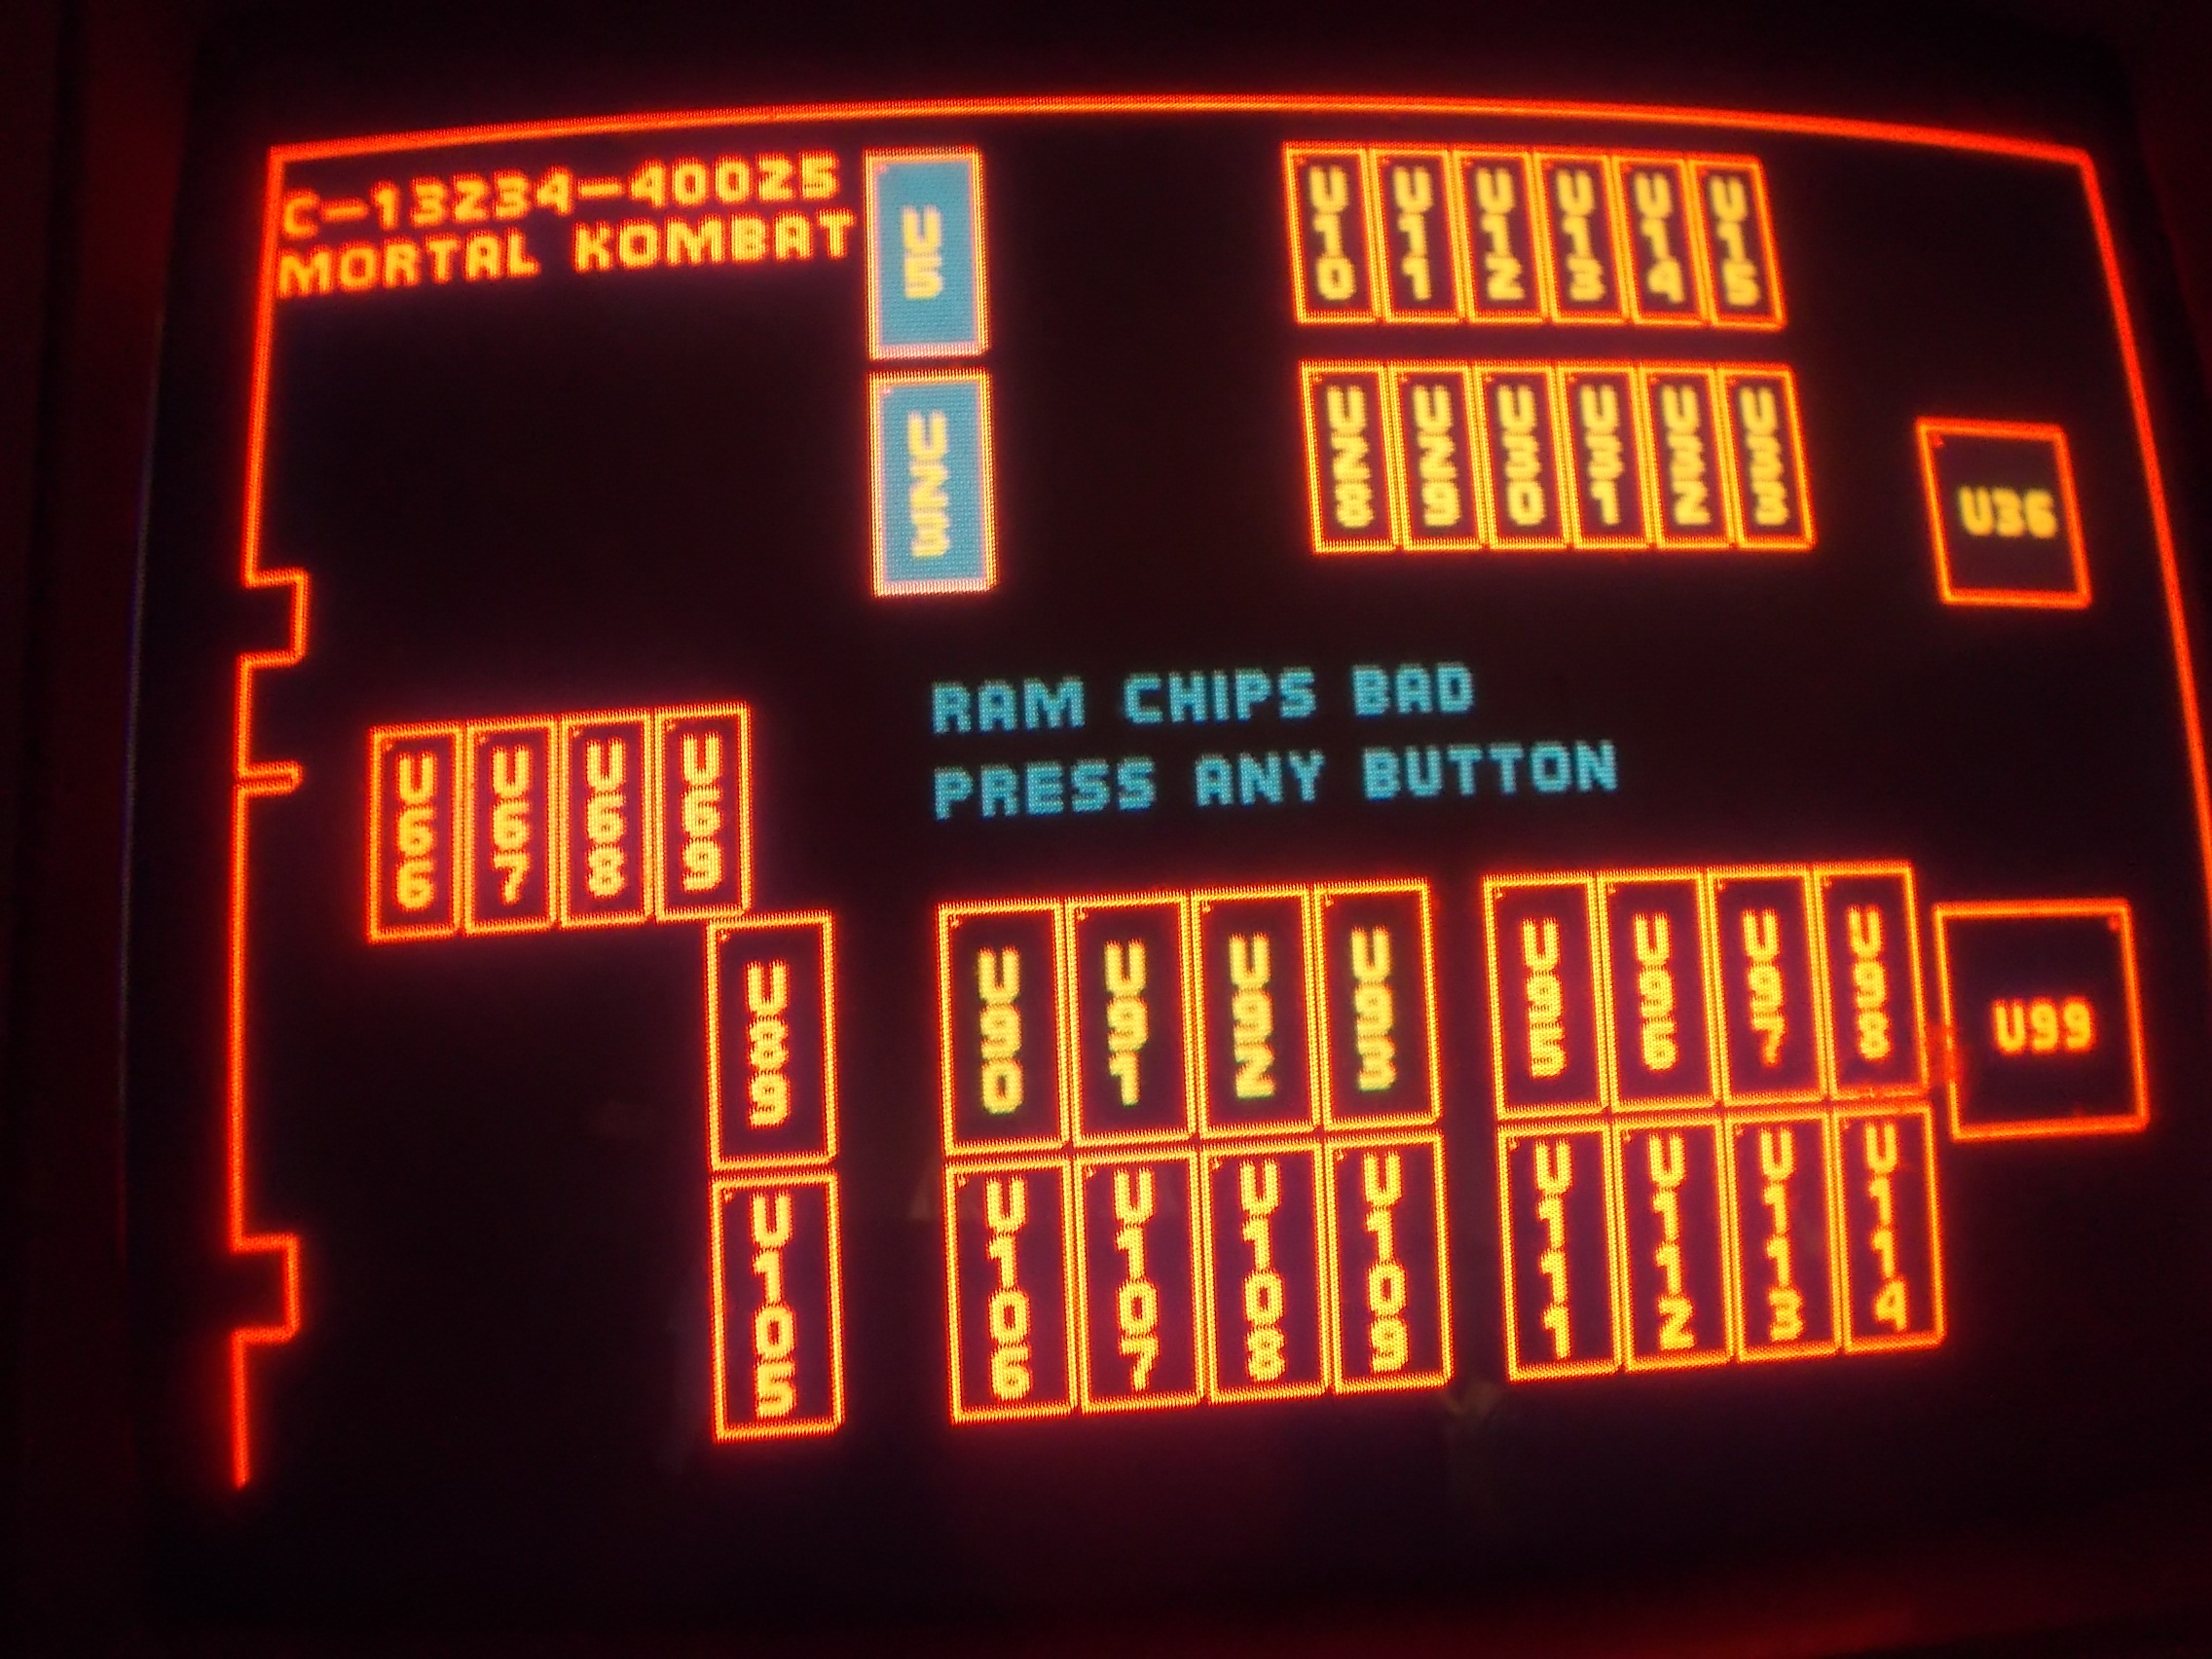
When I powered the board up the self-test reported two bad devices @U5 and U23:

P.O.S.T results

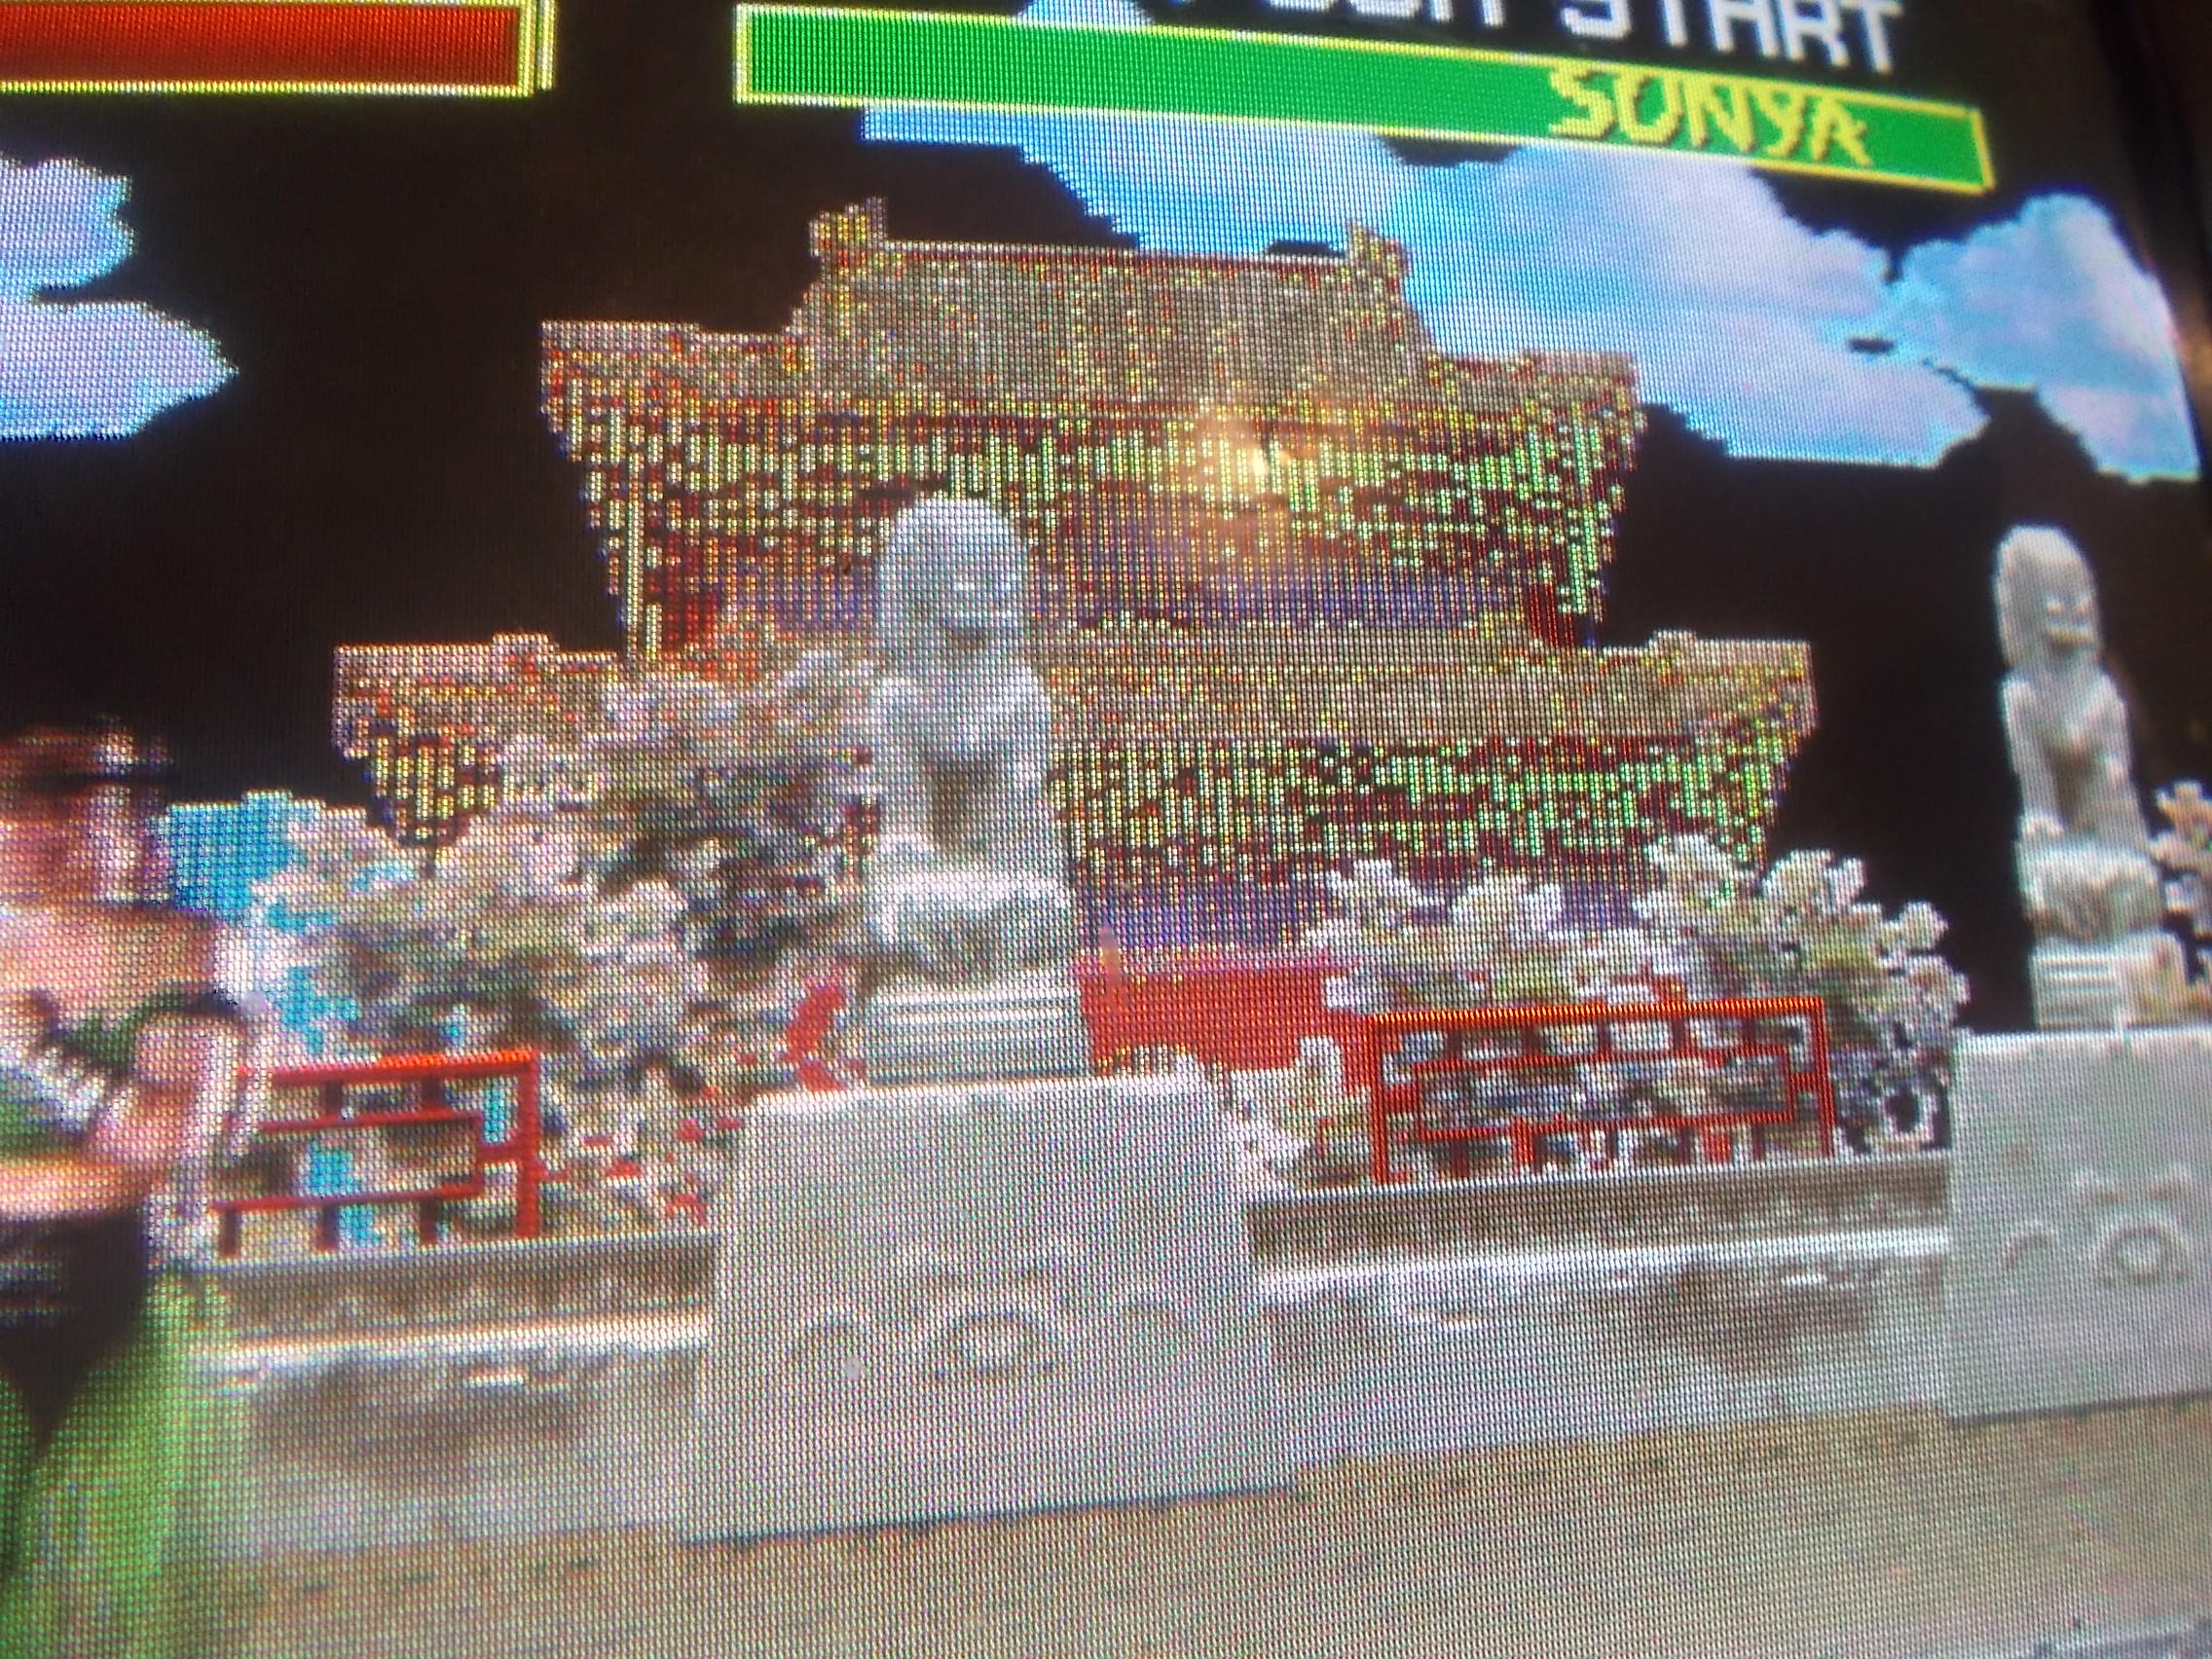
Then it booted into game but colors were completely wrong:

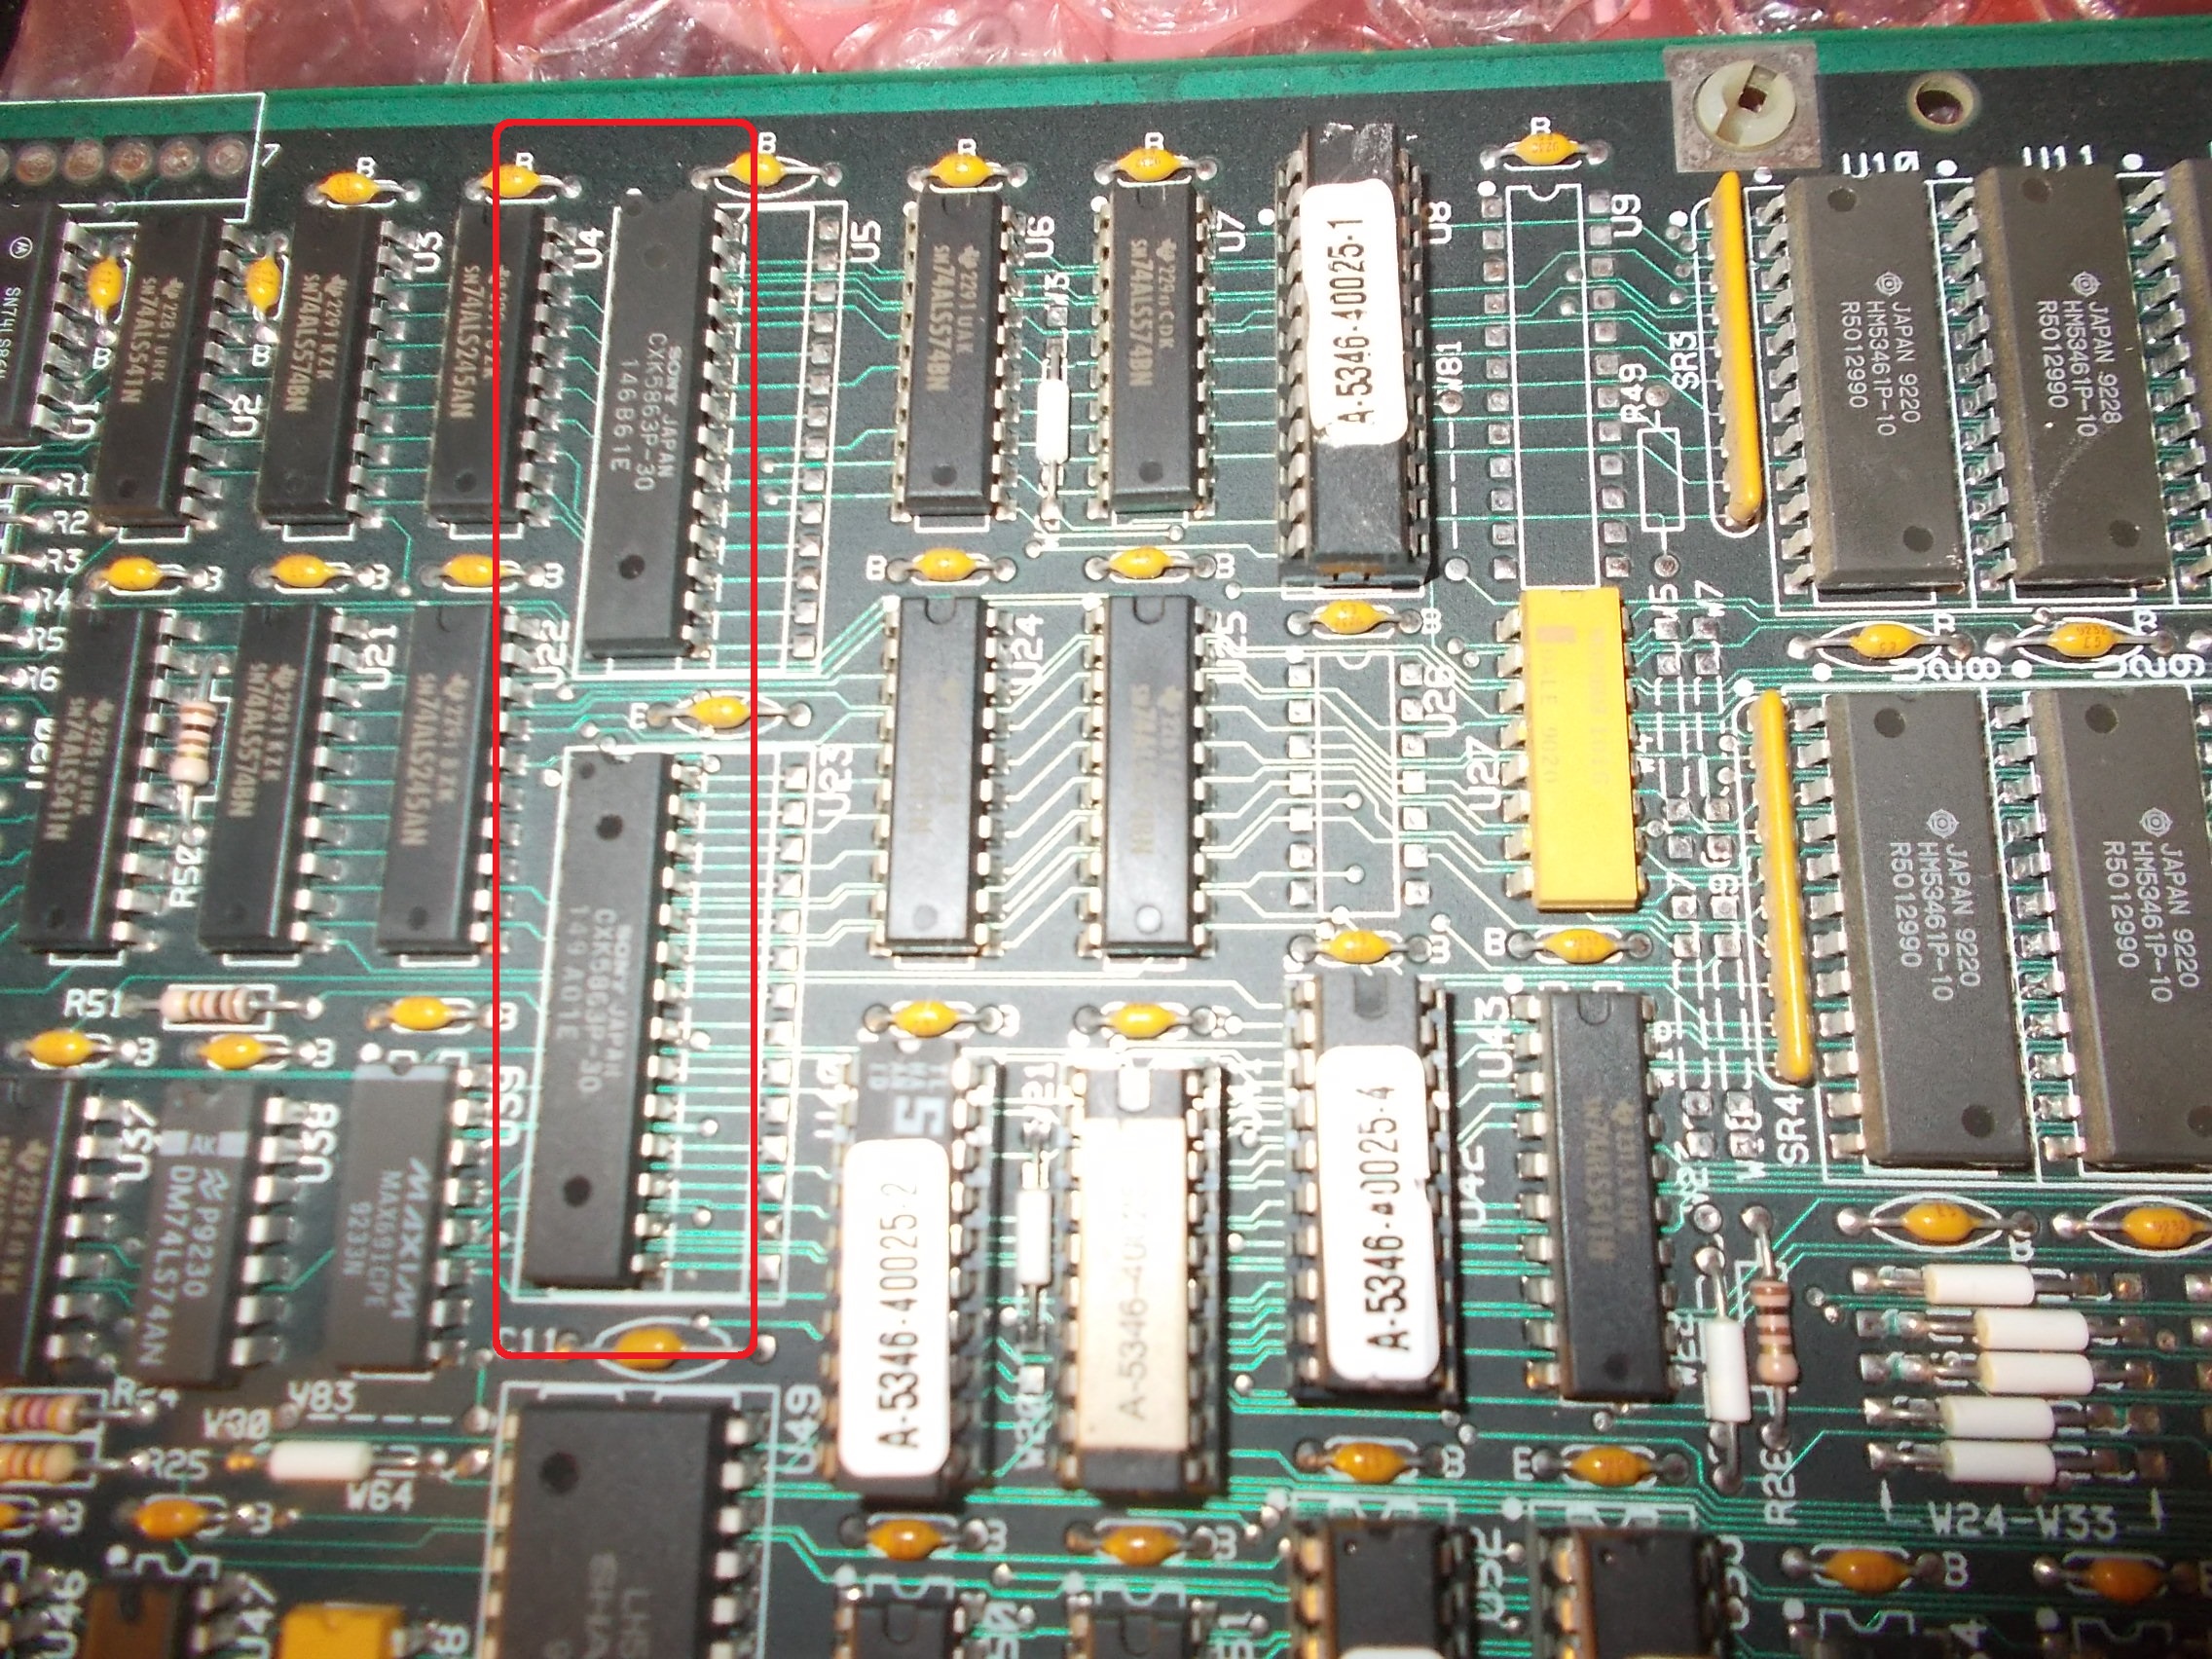
The two presumed bad devices are the color RAMs (Sony CXK5863 so 8K x 8-bit, pin-to-pin compatible with the more common 6264)

Color RAMs

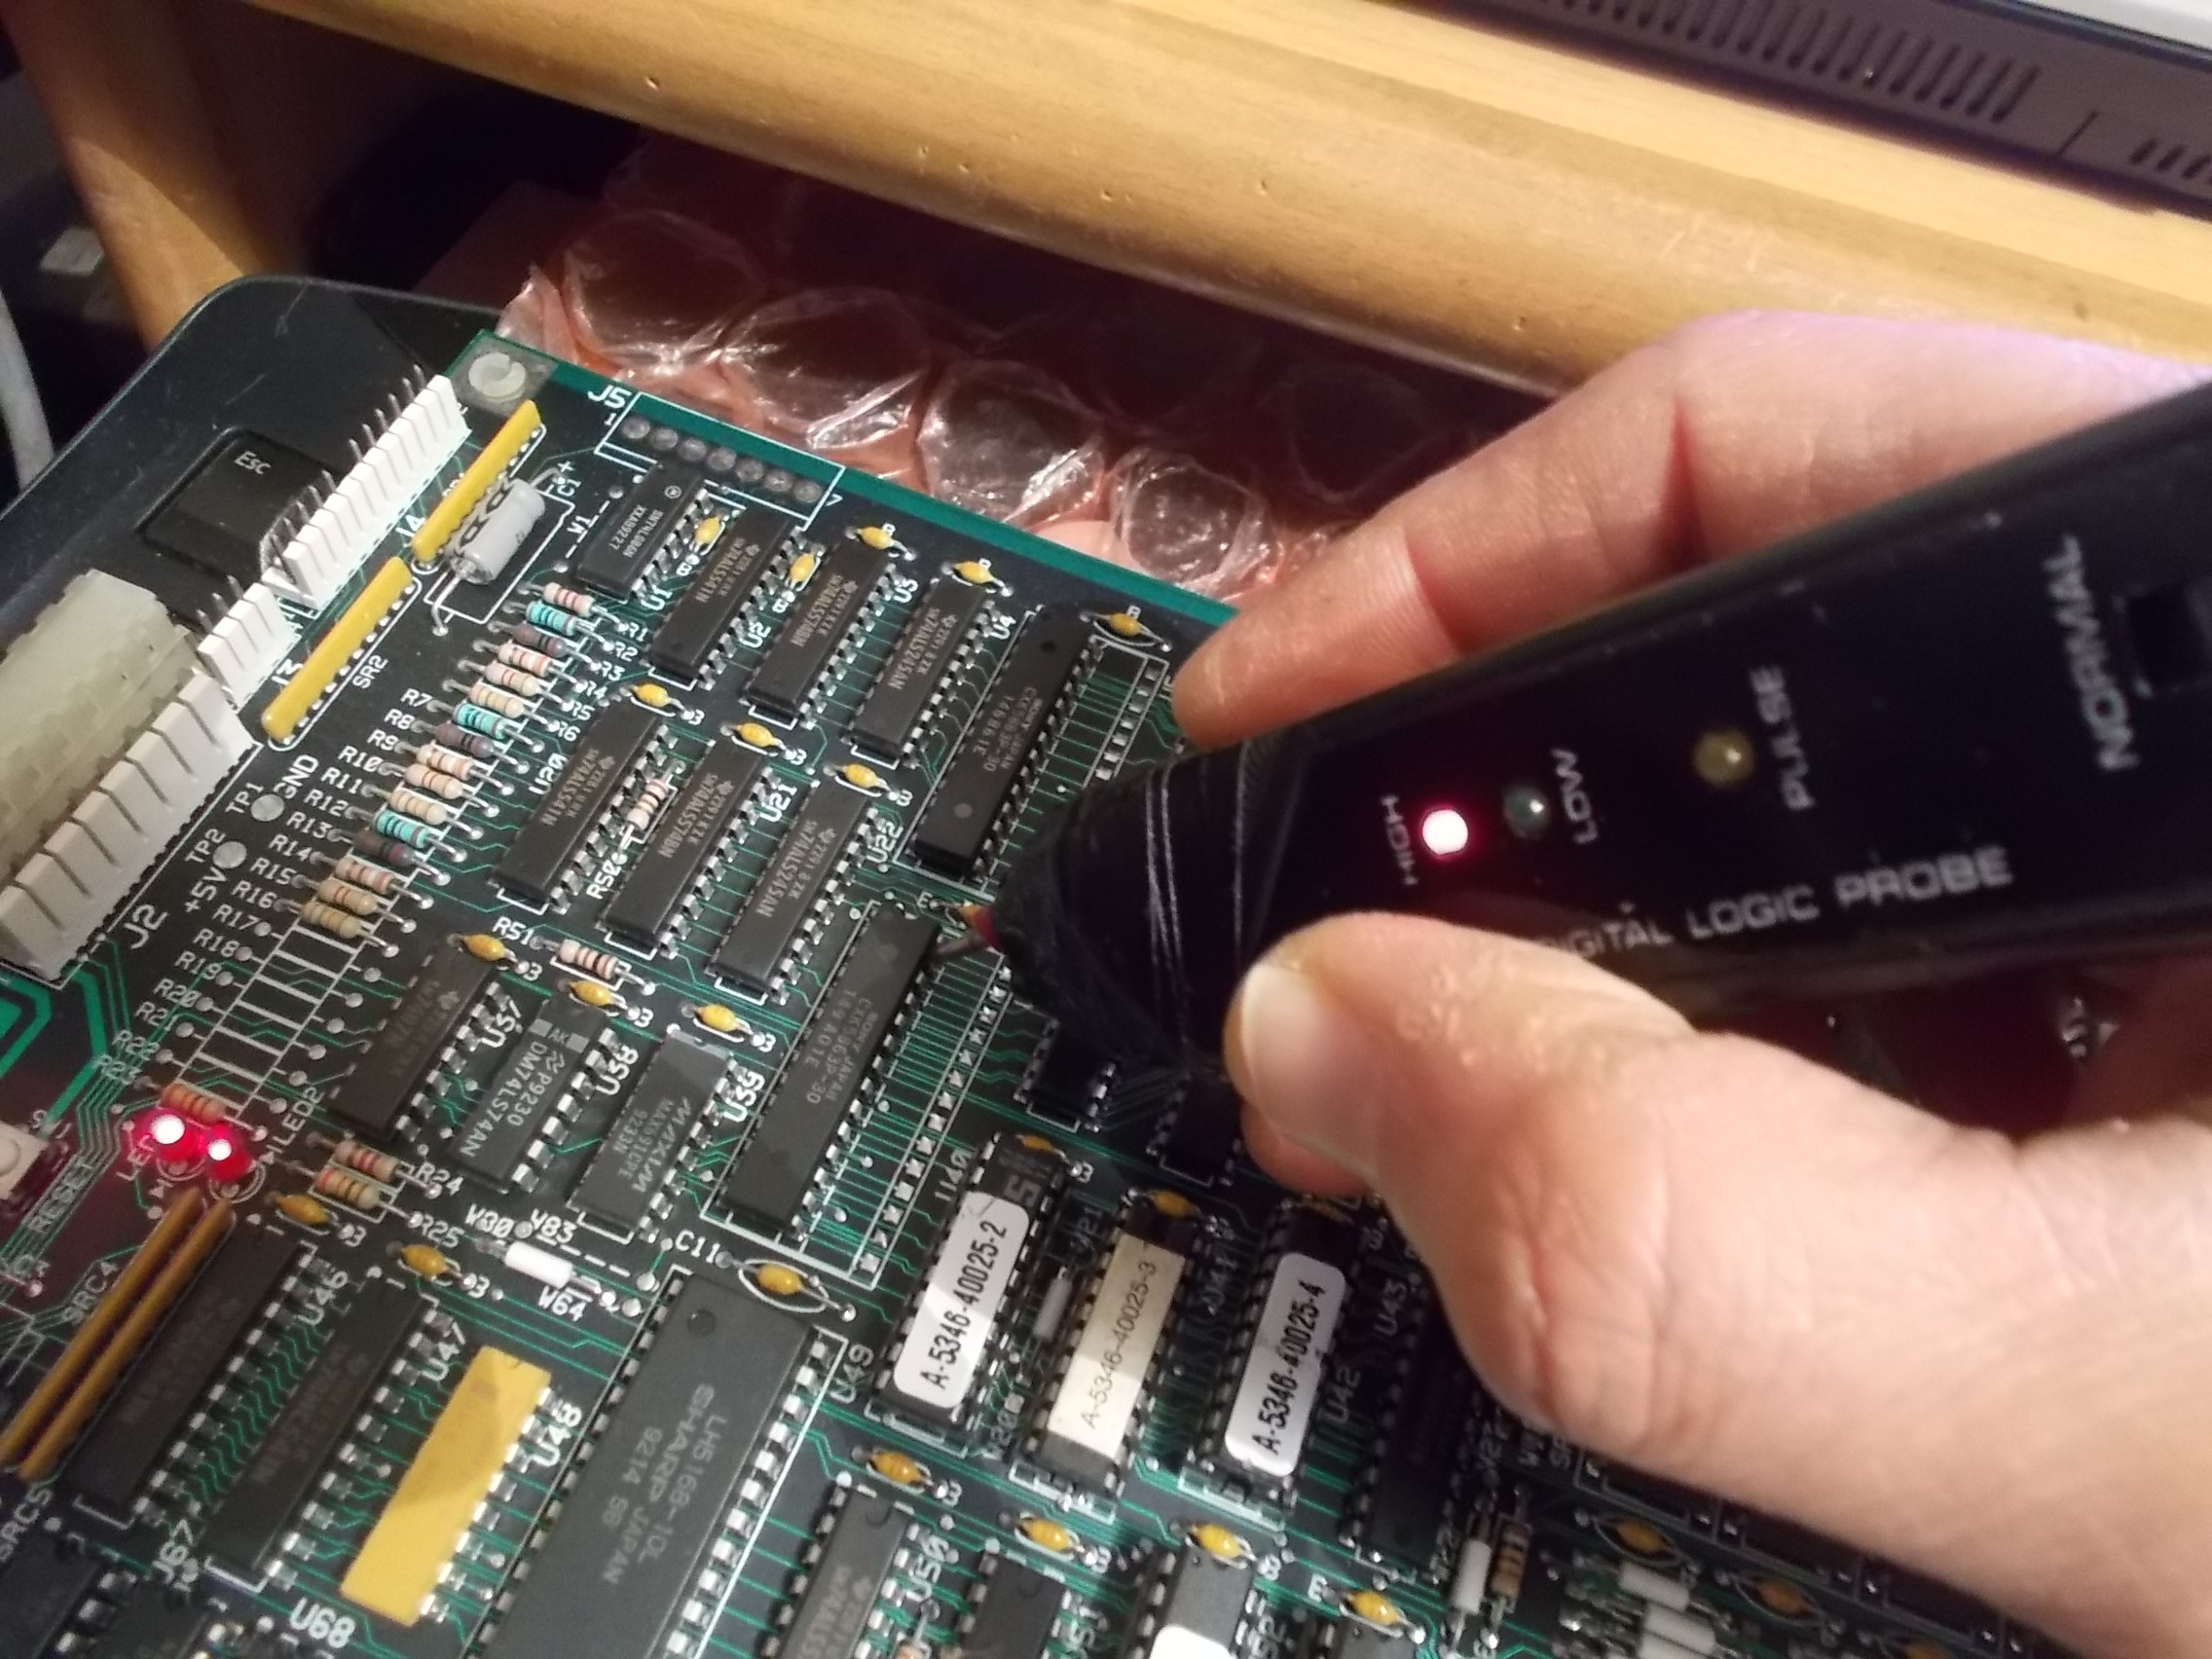
Probing them revealed that pin 27 (Read/Write enable line) of both was stuck high:

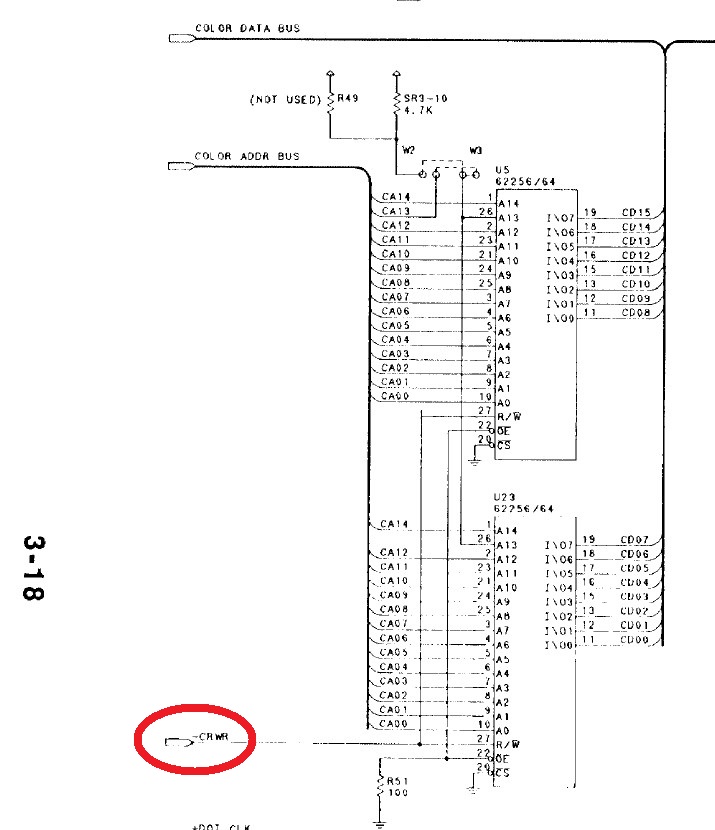
This input signal is labeled on schematics as ‘-CRWR’ :

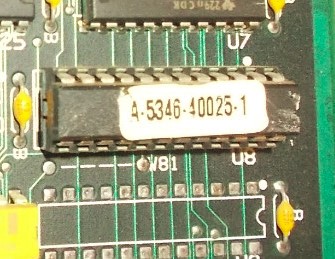
It comes from pin 22 of a 24 pin IC @U8:

EP600 ELPD color RAM control

The IC was faulty and needed to be replaced.At first glance I thought it was a simple PAL/GAL but actually it turned out to be an Altera E600 EPLD (so still a programmable logic device but something more complex with two clock inputs providing sequential logic too ).I had no chance to dump or reverse it but only to look for a donor board.Luckily I was sent another original Mortal Kombat PCB completely dead which I took the part from.Board was then fixed :

The bootleg I received for repair was the Yawdim one with no Midway logo on title screen :

It was fully playable but some backgrounds graphics were wrong :

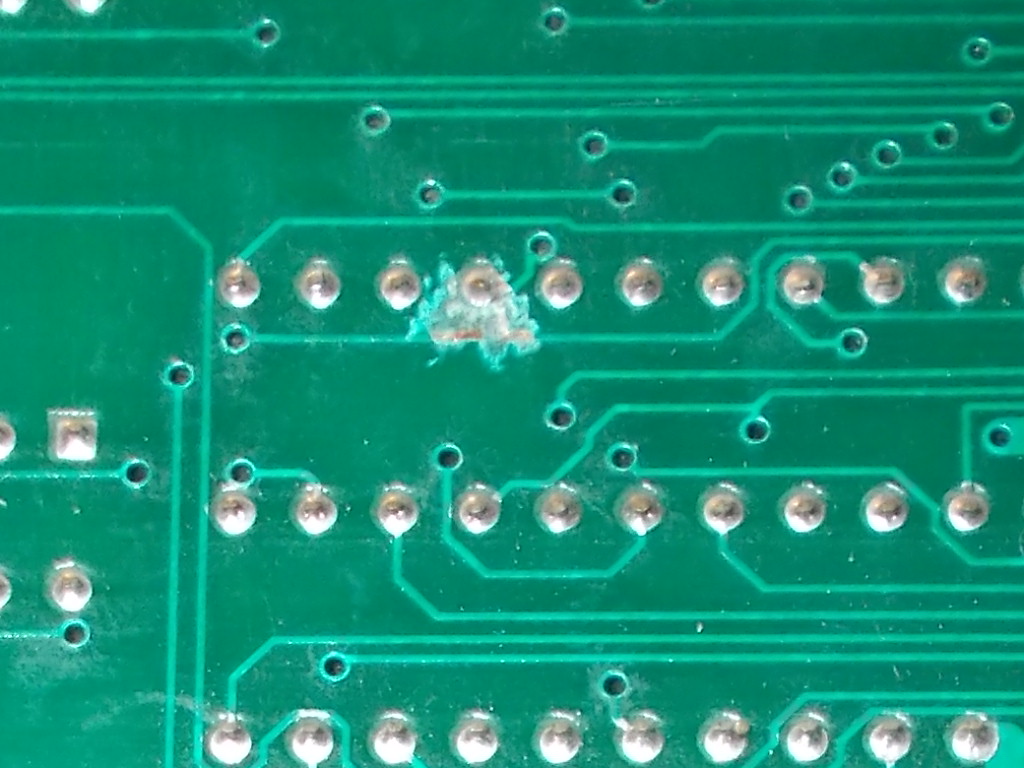
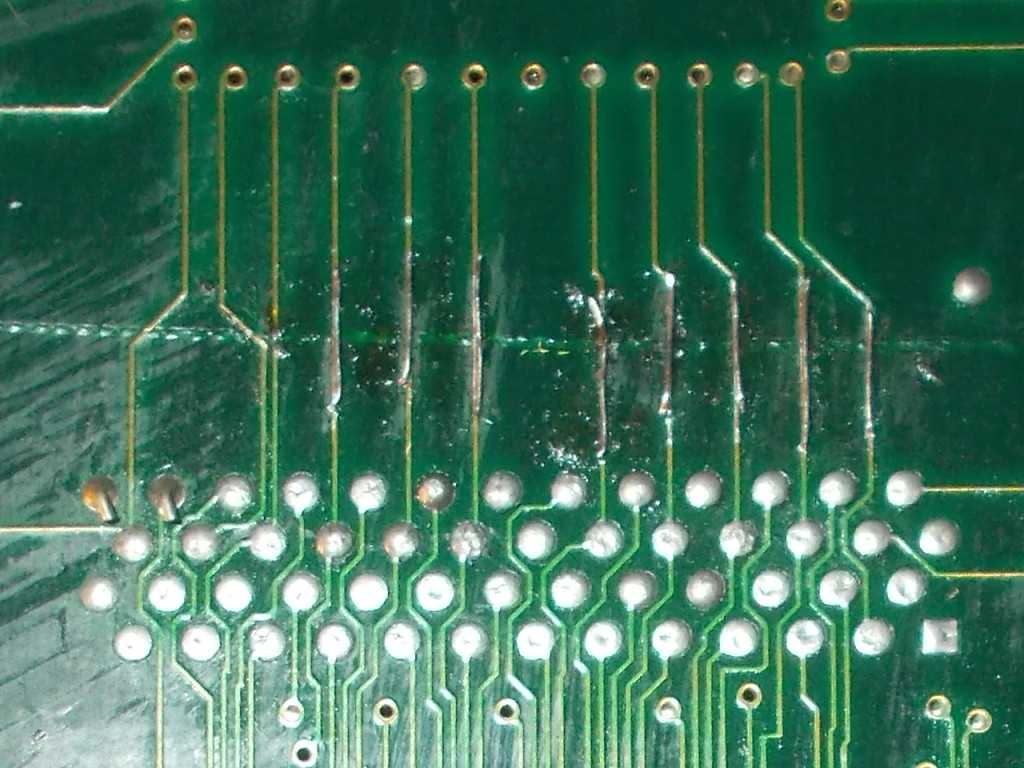
As usual I did a visual inspection of PCB and found on solder side a scratch that apparently had severed a trace:

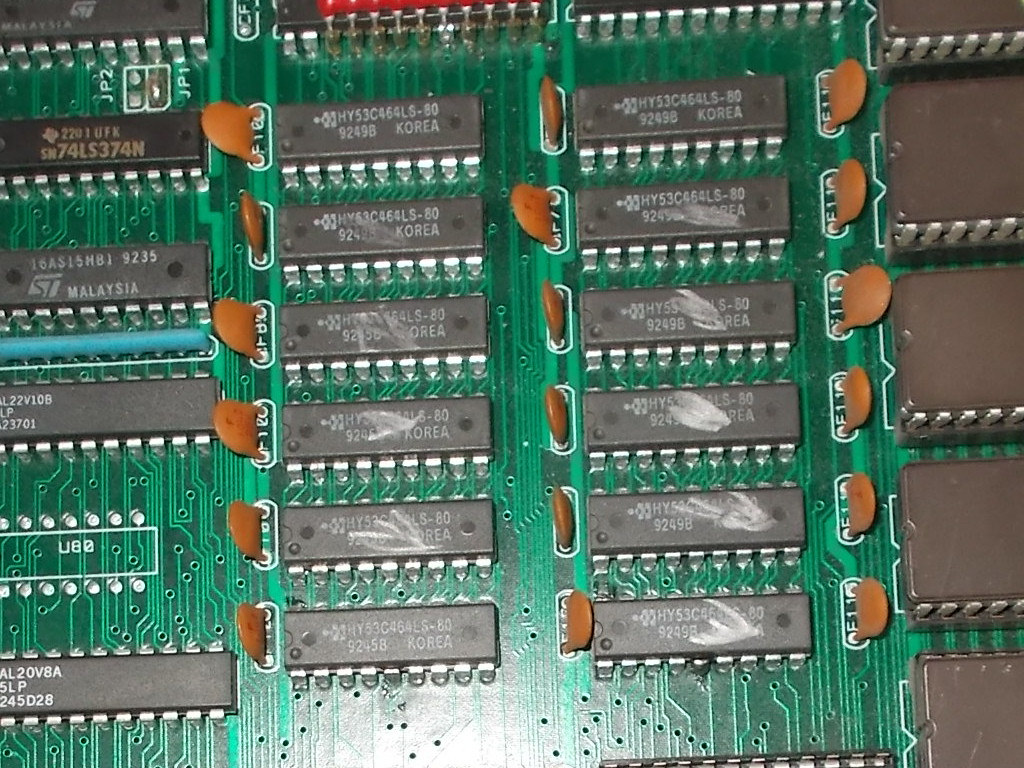
The involved area was the one populated by some 64K x 4-bit dynamic RAM so this was relevant to the kind of fault :

Checking with my multimeter confirmed the trace was really broken so I patched it, this restored background graphics and fixed the board:

Double repair accomplished.

 Posted by at 7:16 pm

G.I. Joe double repair log

 PCB Repair Logs  Comments Off on G.I. Joe double repair log
Jan 222019
 

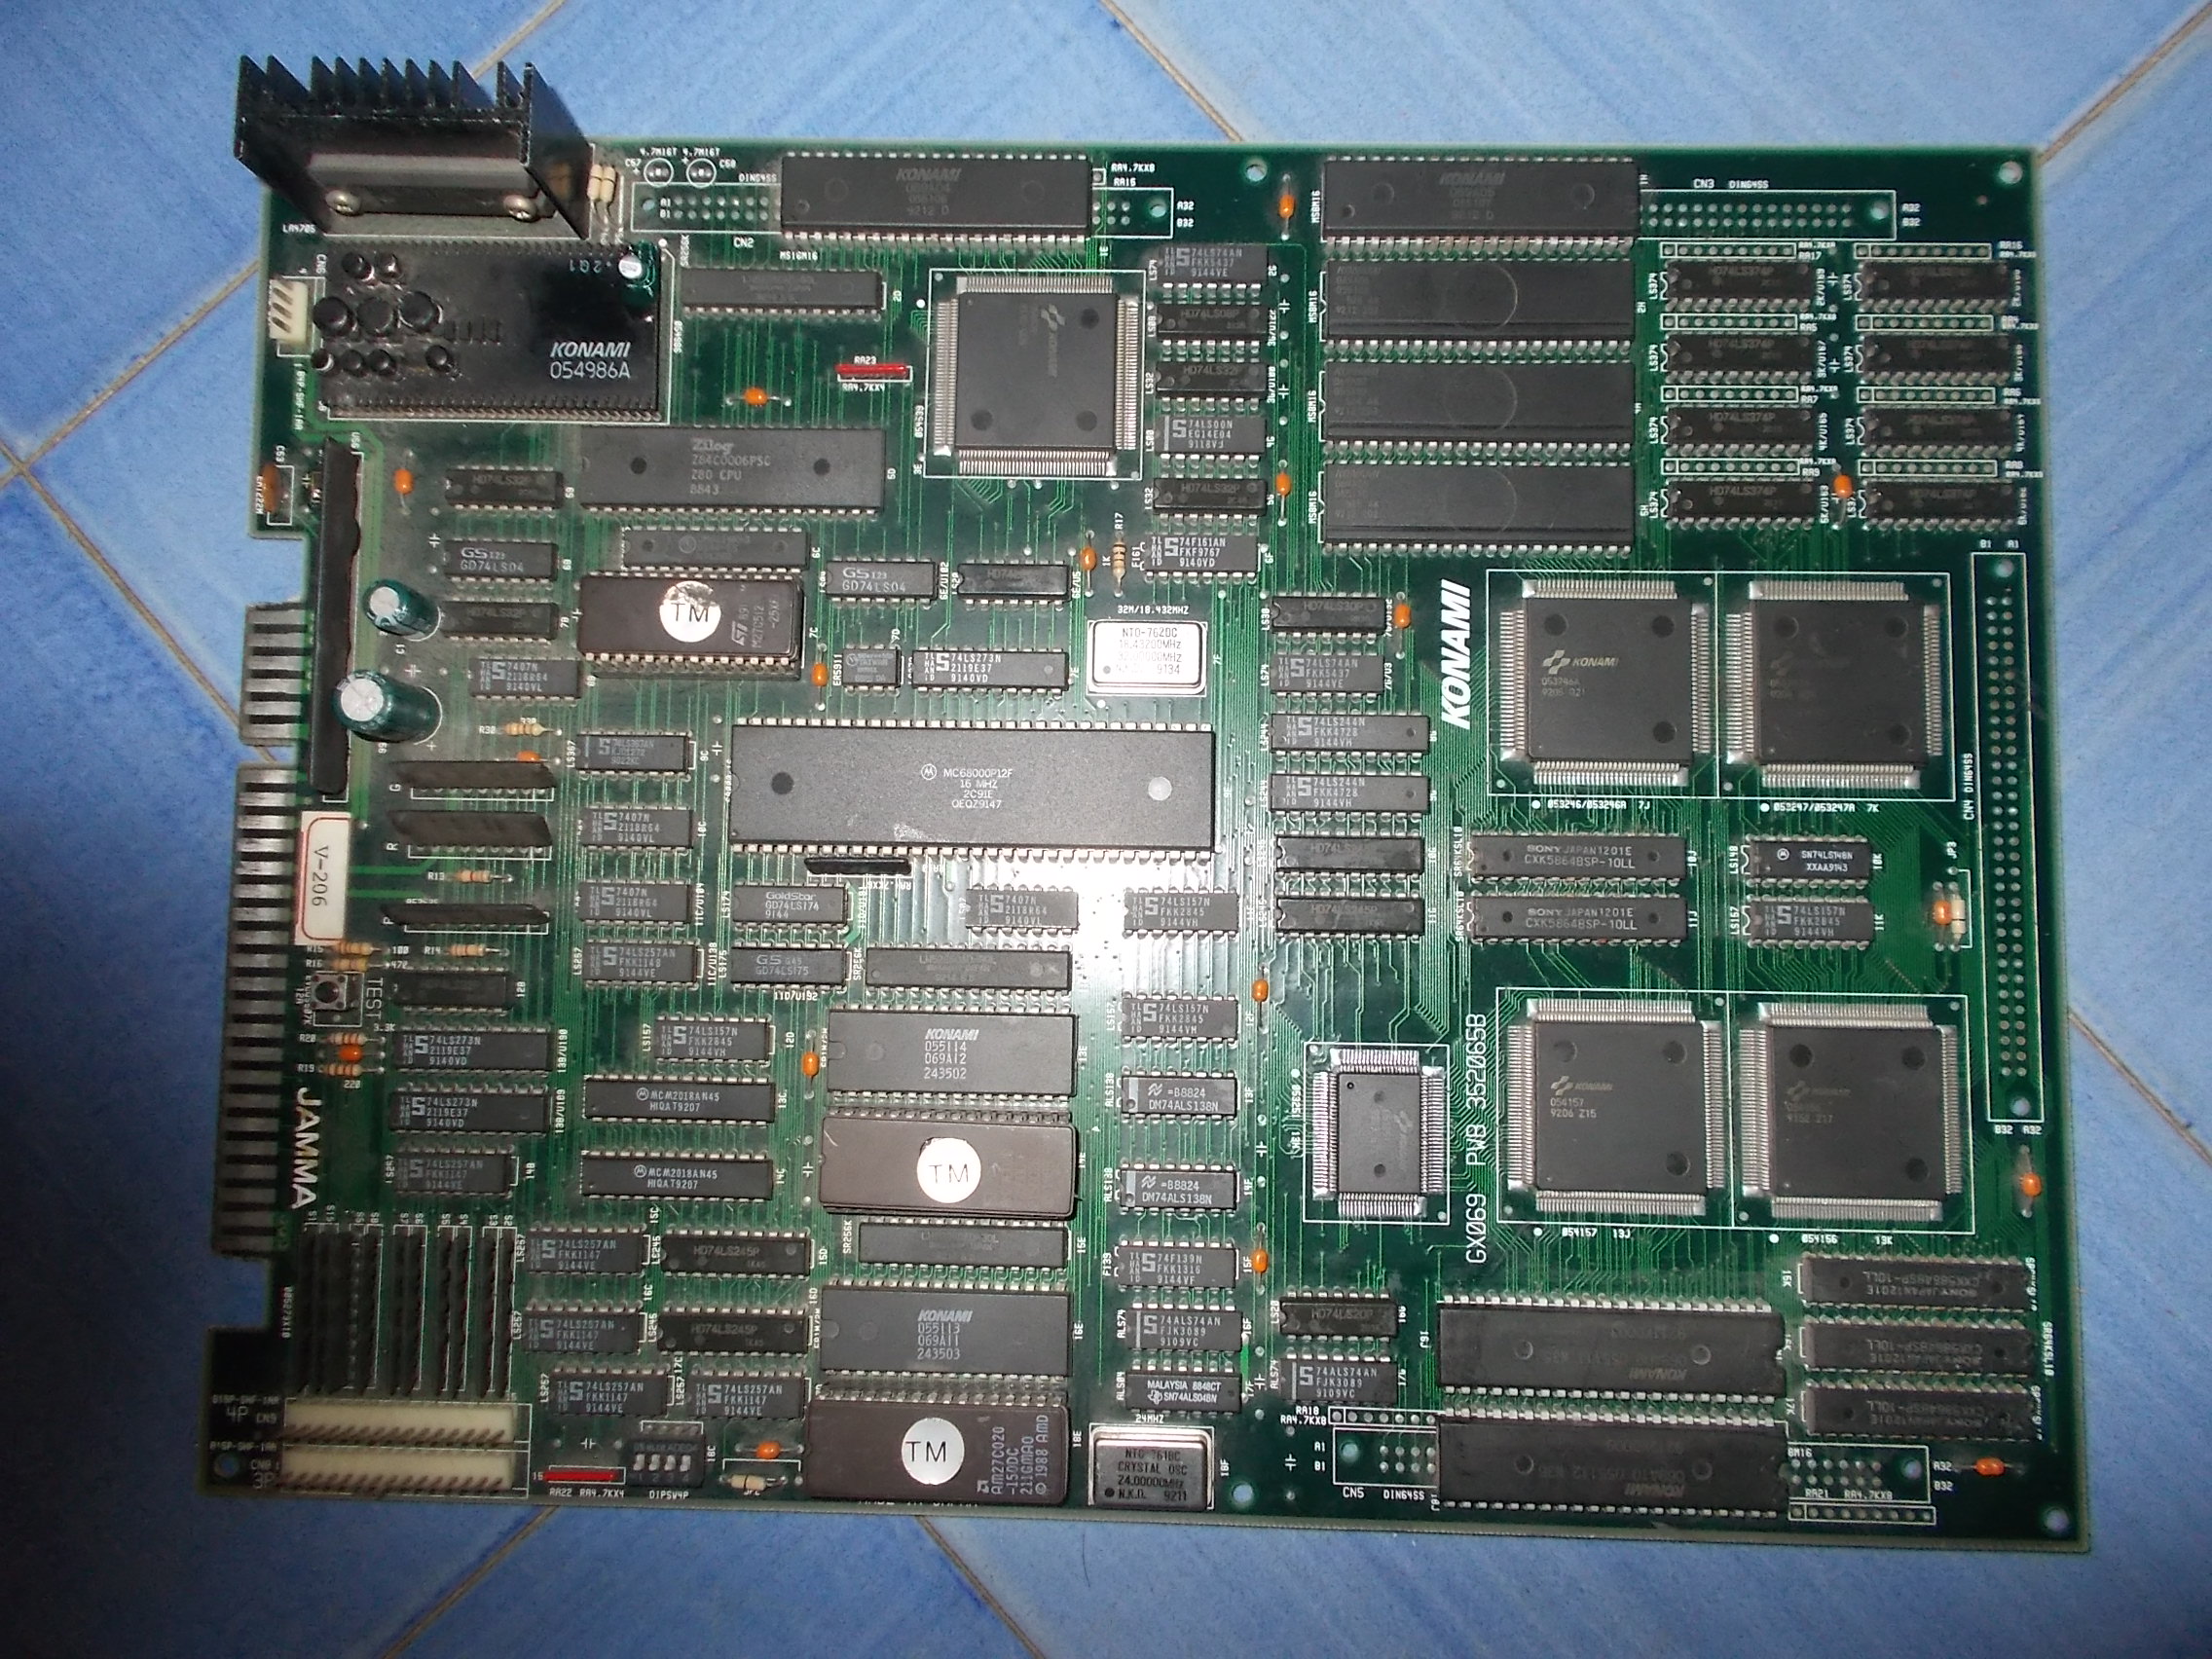
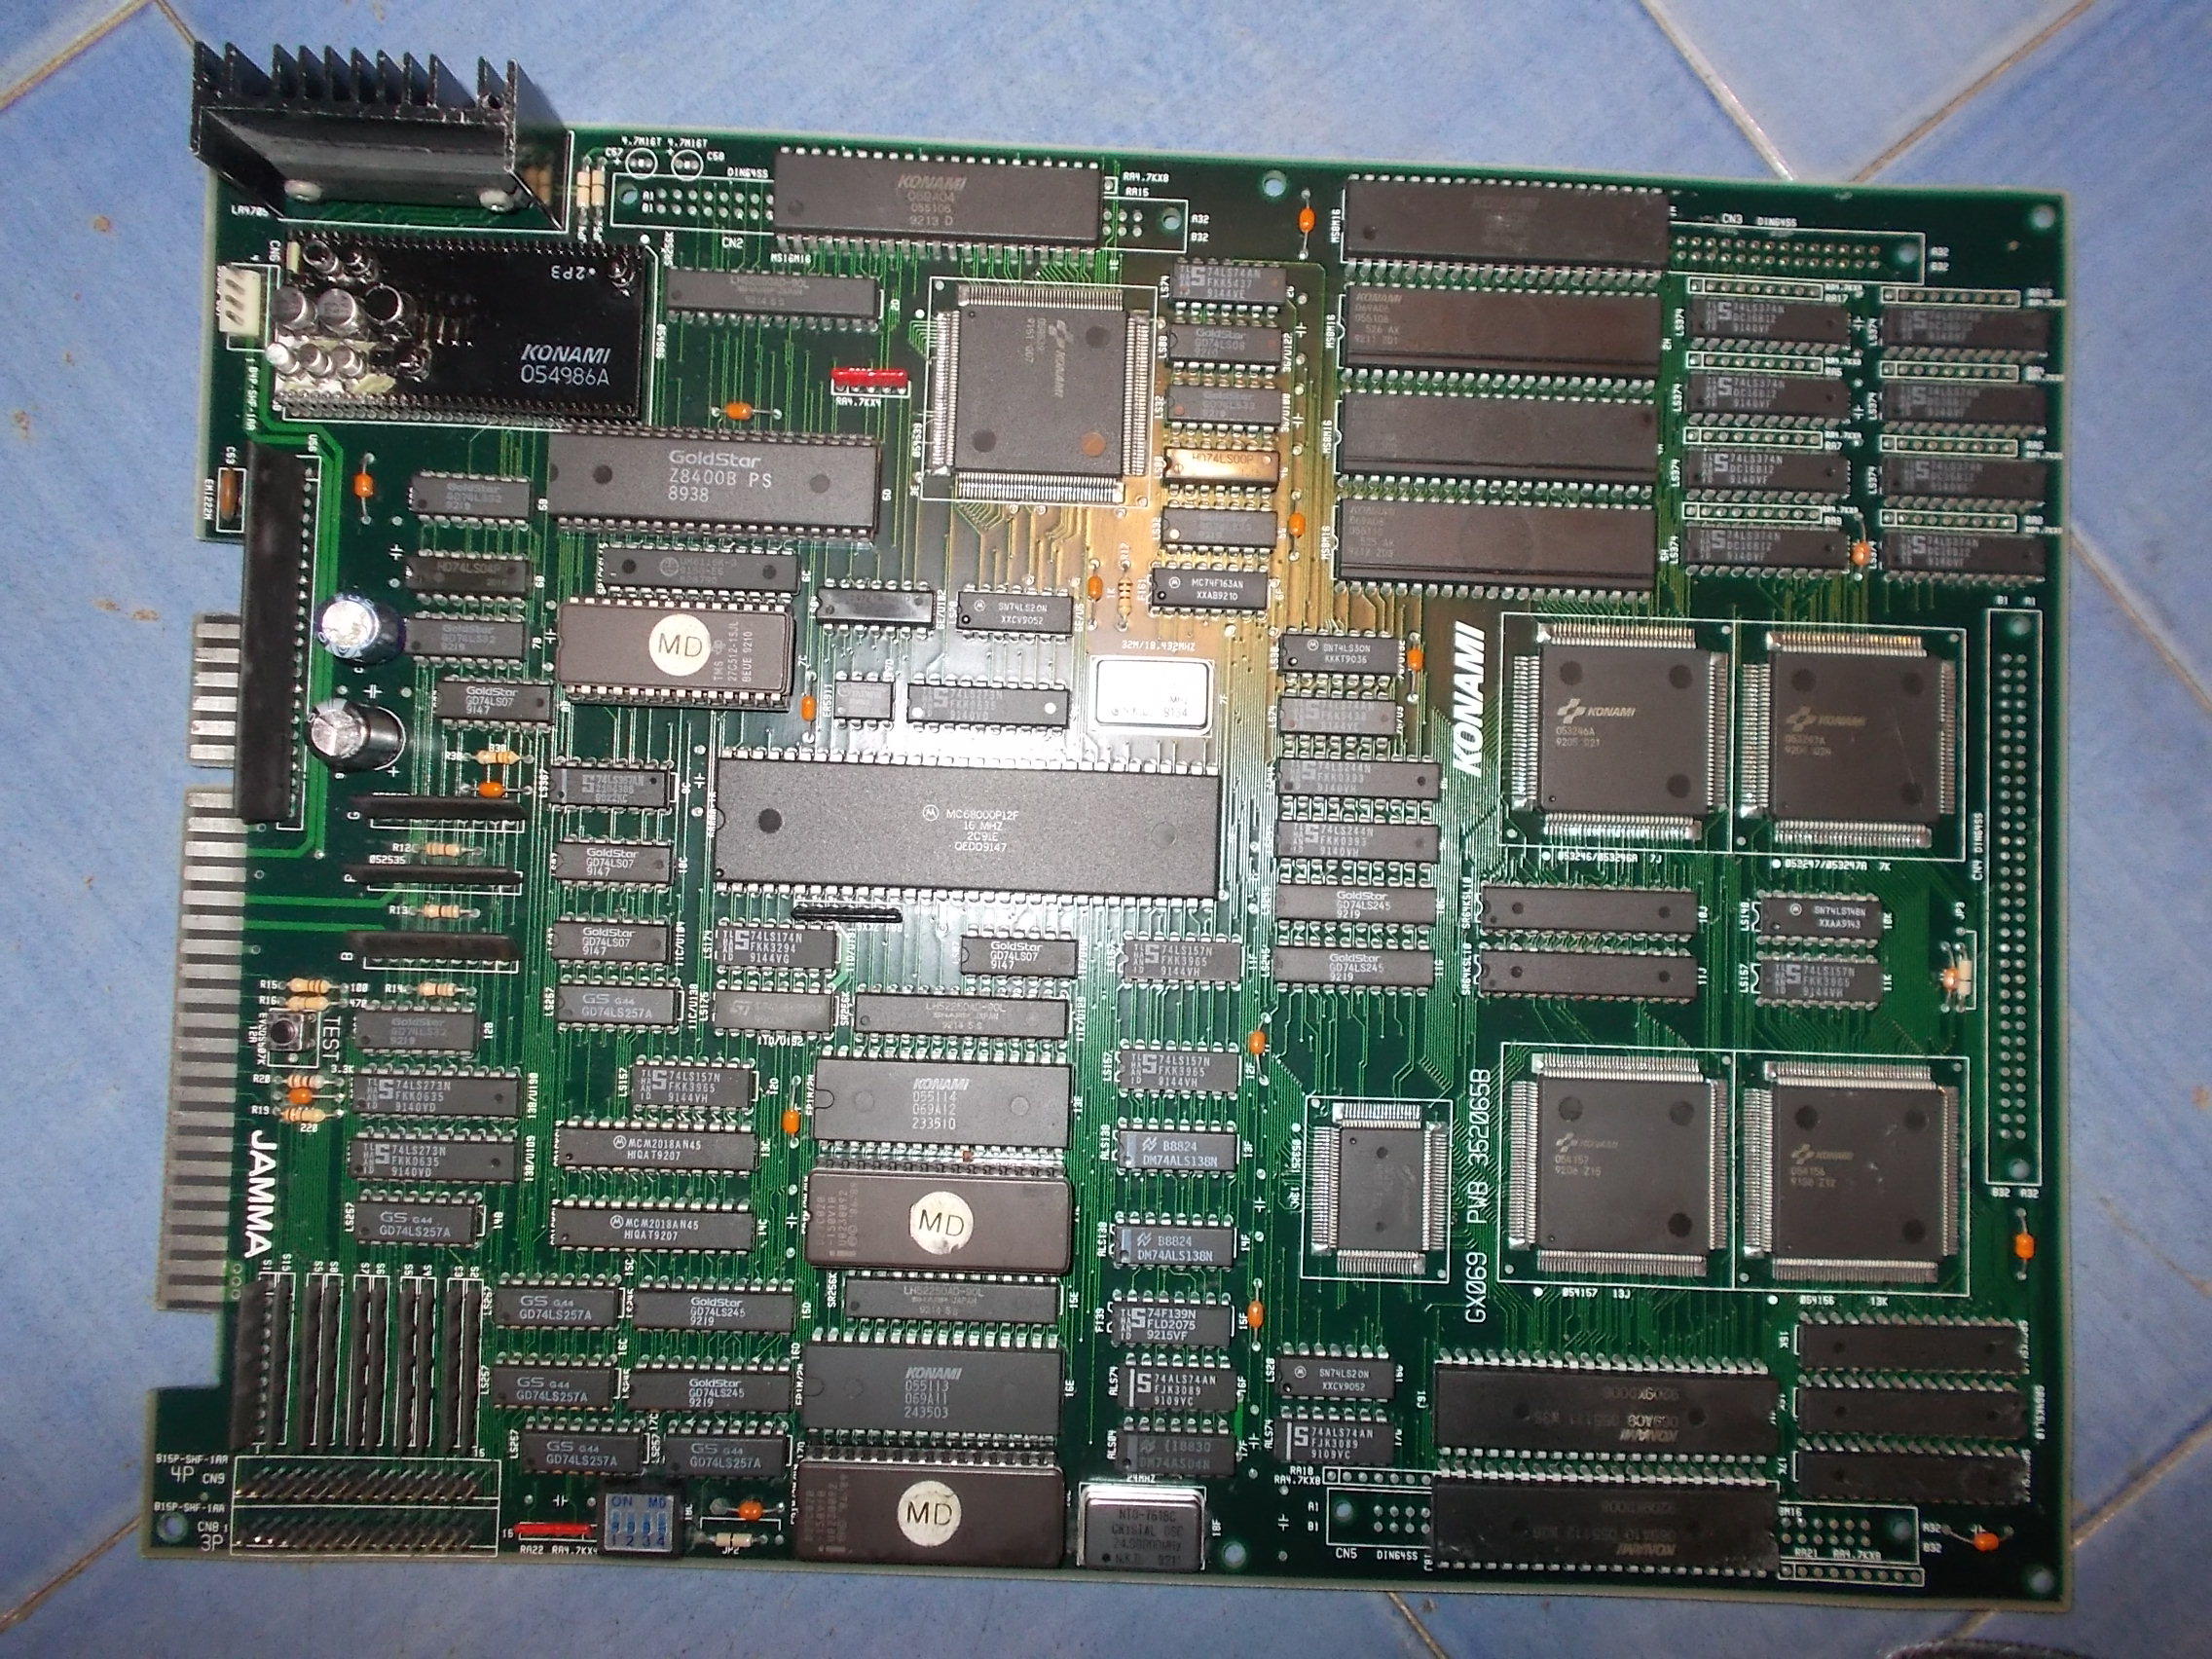
Got from Portugal five faulty G.I. Joe PCBs to repair (hopefully all of them…).I had a good start and could fix two of them.

The first board was in good shape with no missing parts:

It booted into game but colors were completely wrong and most of graphics missing:

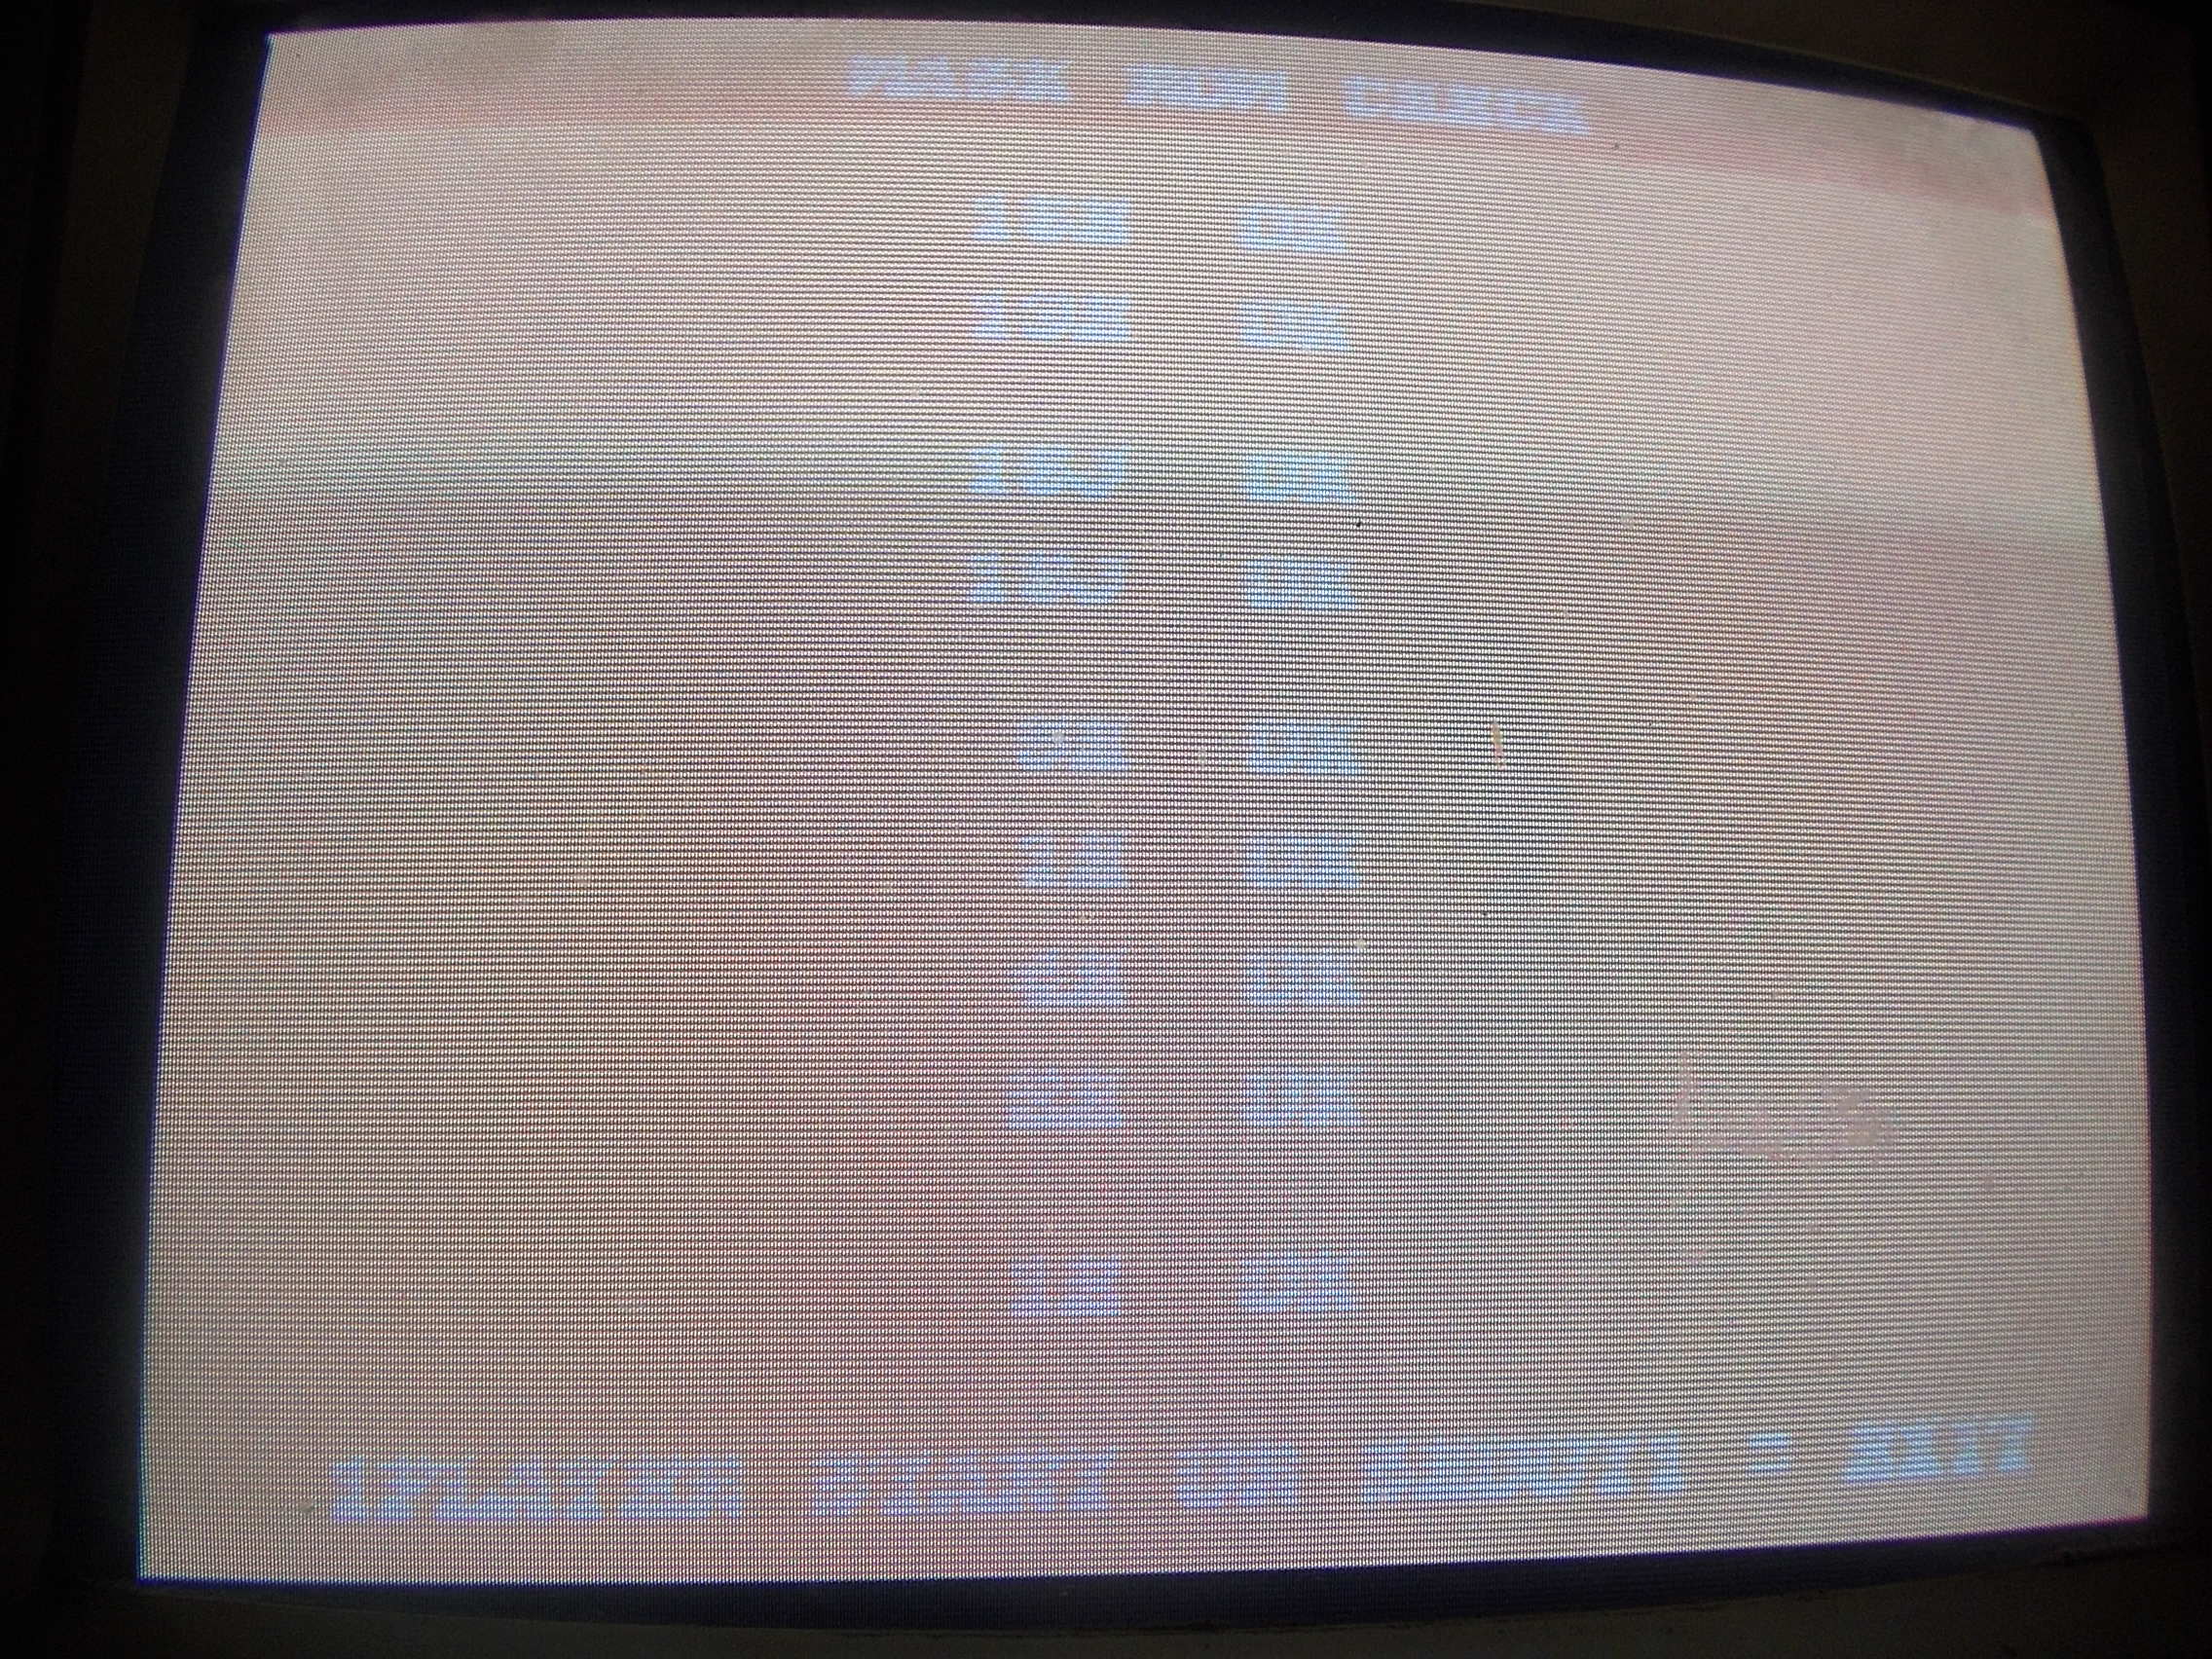
I launched a MASK ROMs check which reported all the devices as good so the problem was elsewhere :

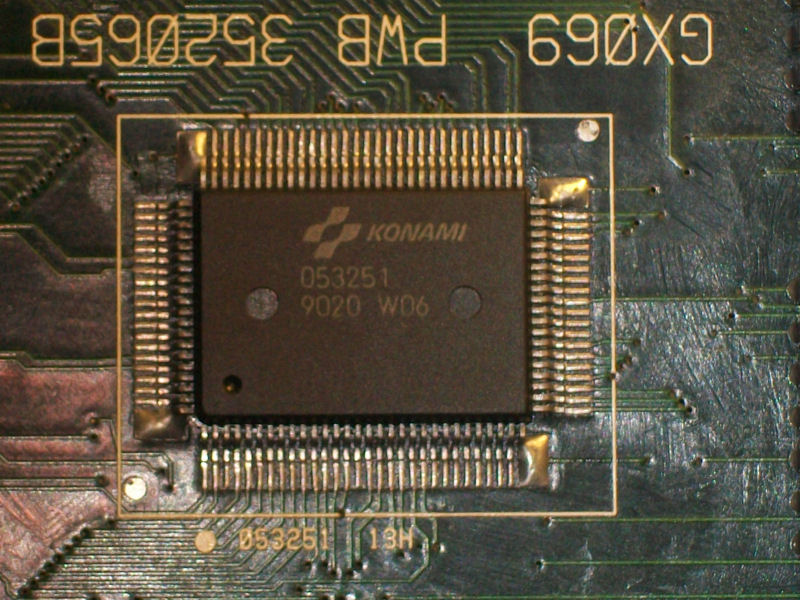
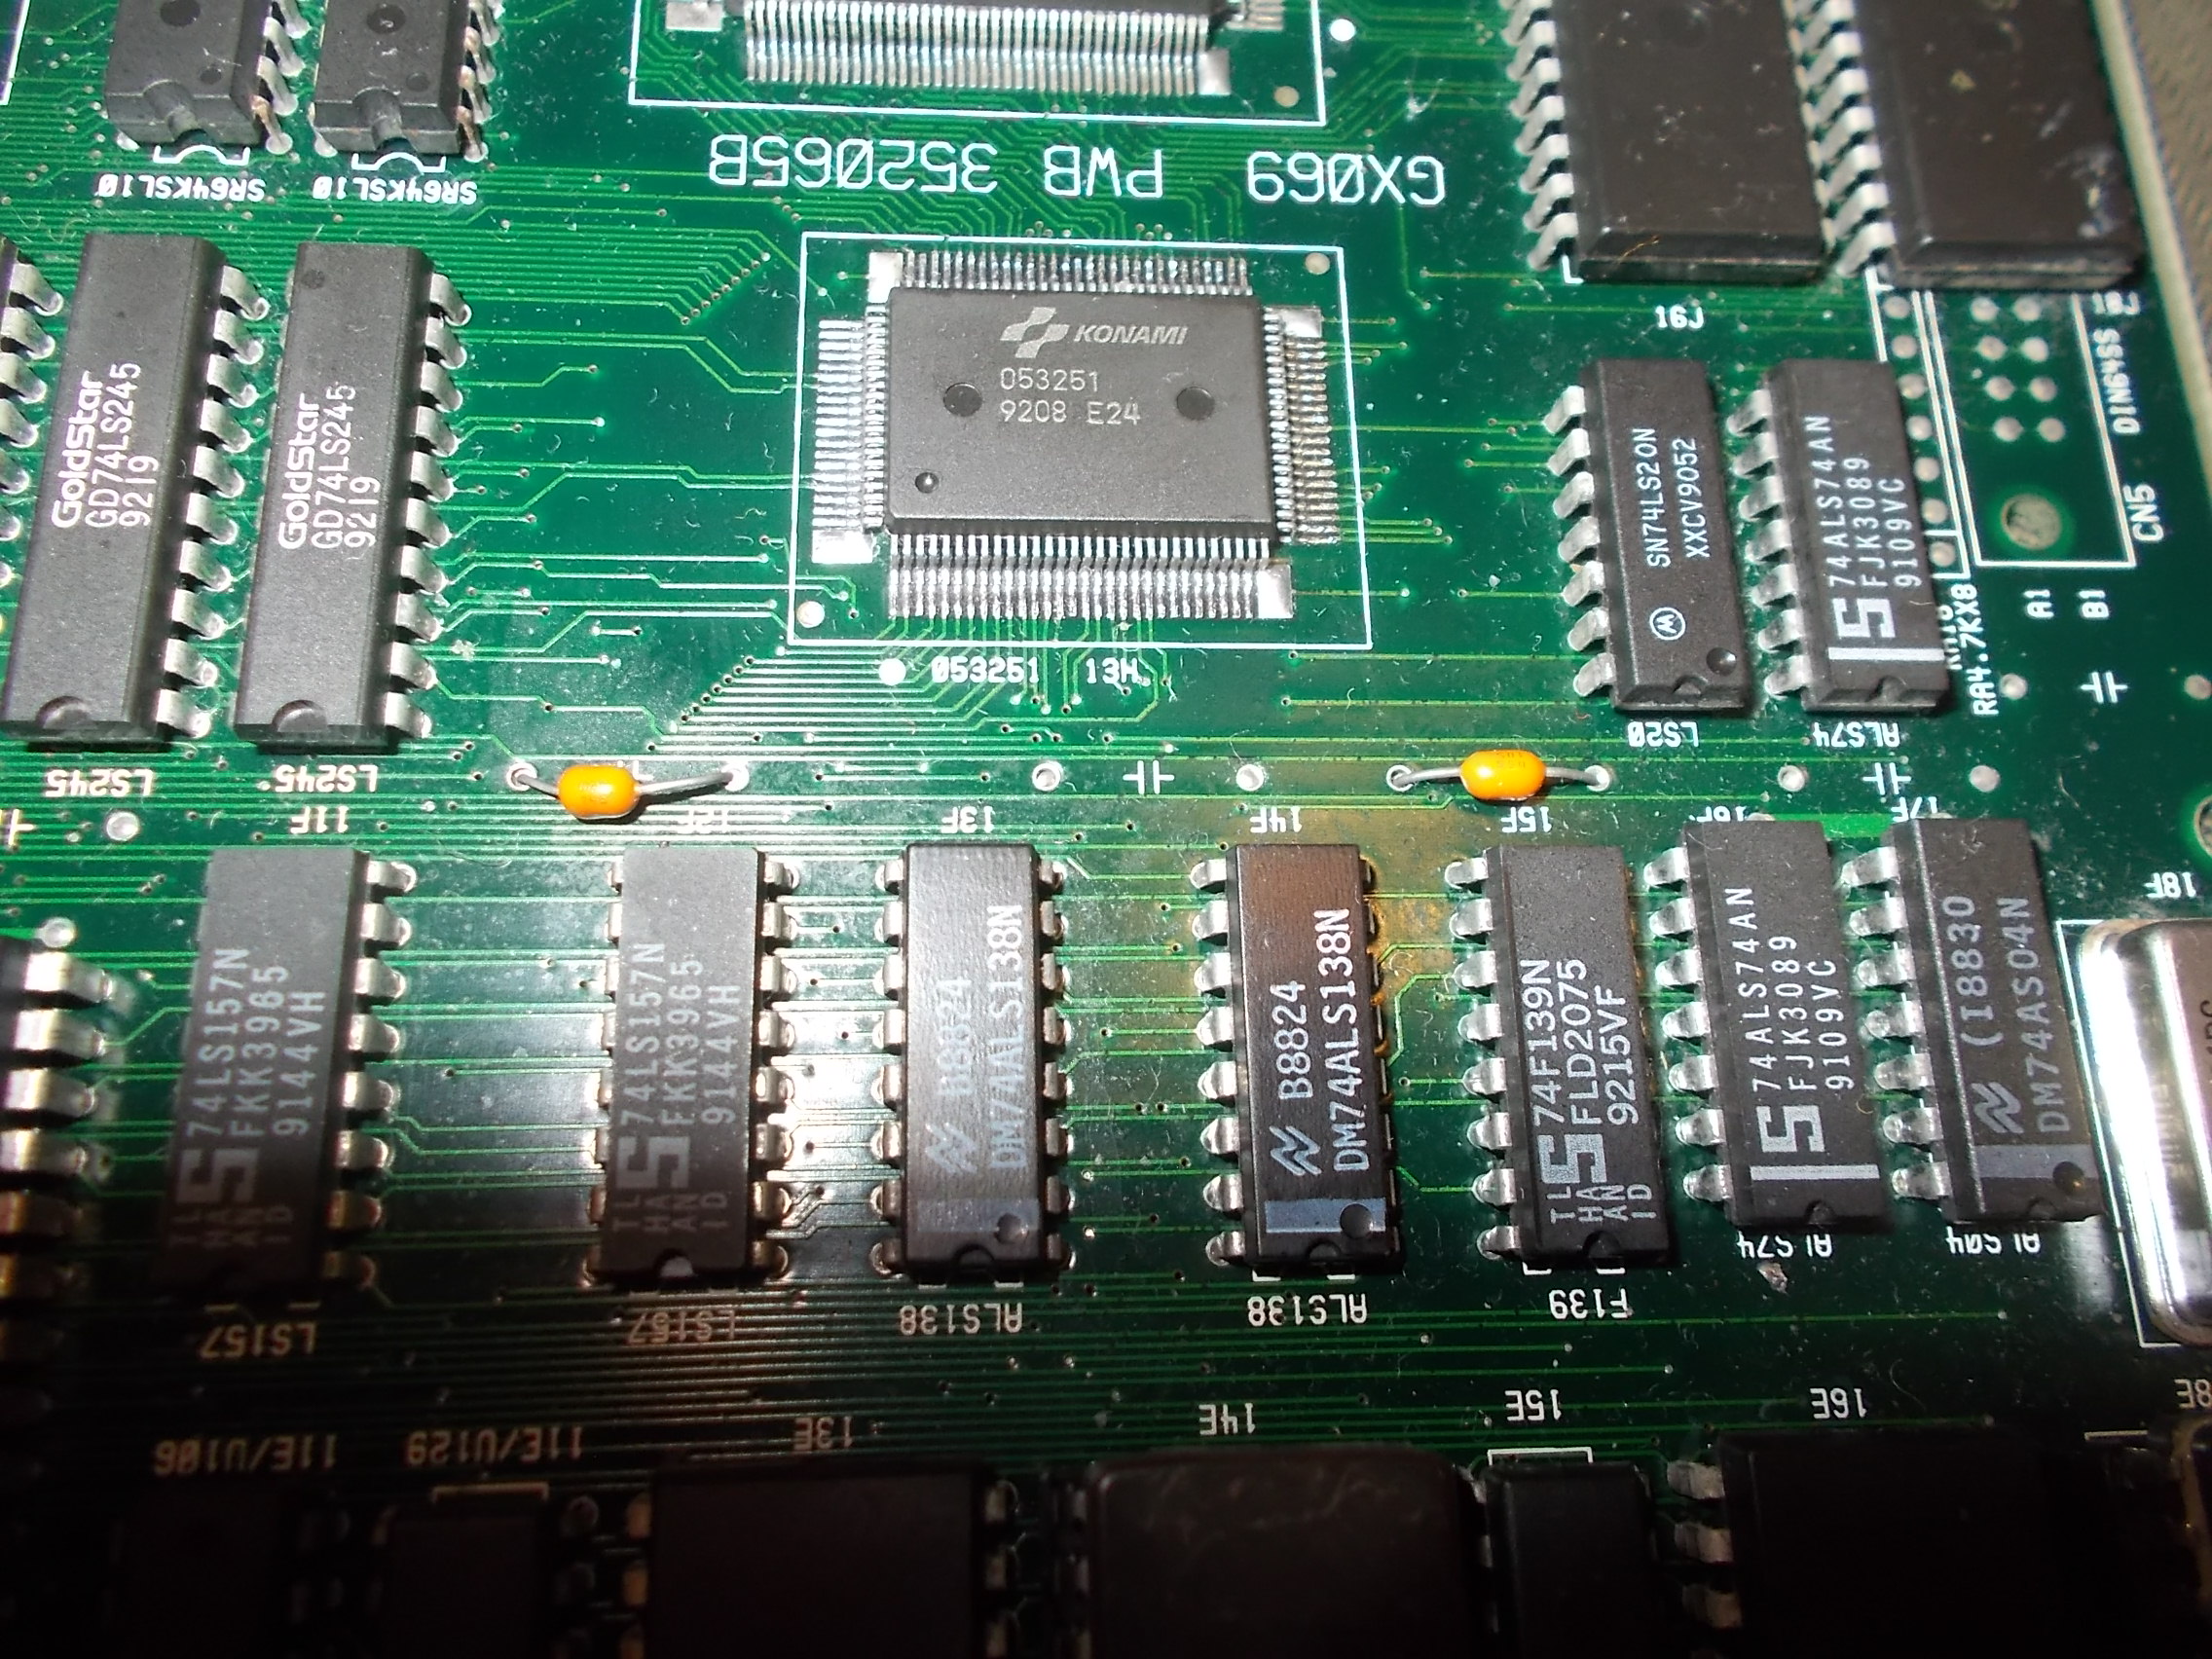
I remembered I had a similar issue in some of my past repairs, the culprit was the ‘053251’ custom ASIC which is present on my board too:

‘053251’ custom ASIC

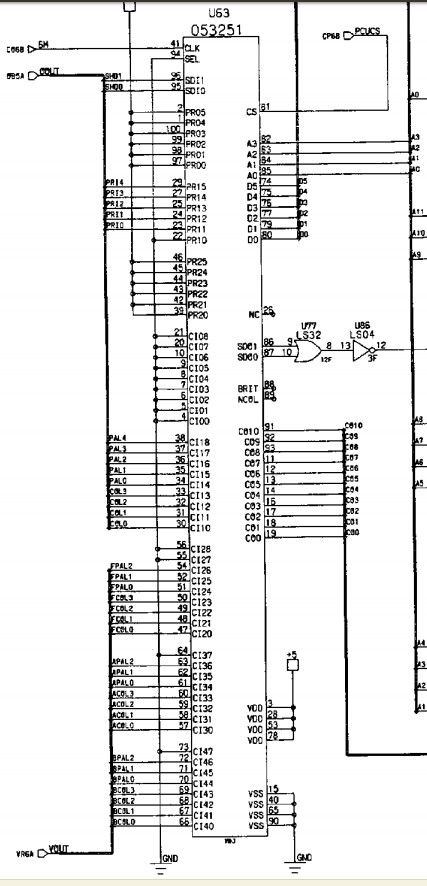
This custom takes on input different layers of graphics as well as some priority bits and outputs 11 bit of palette index plus two shadow bits (info taken from MAME source)

‘053251’ schematics

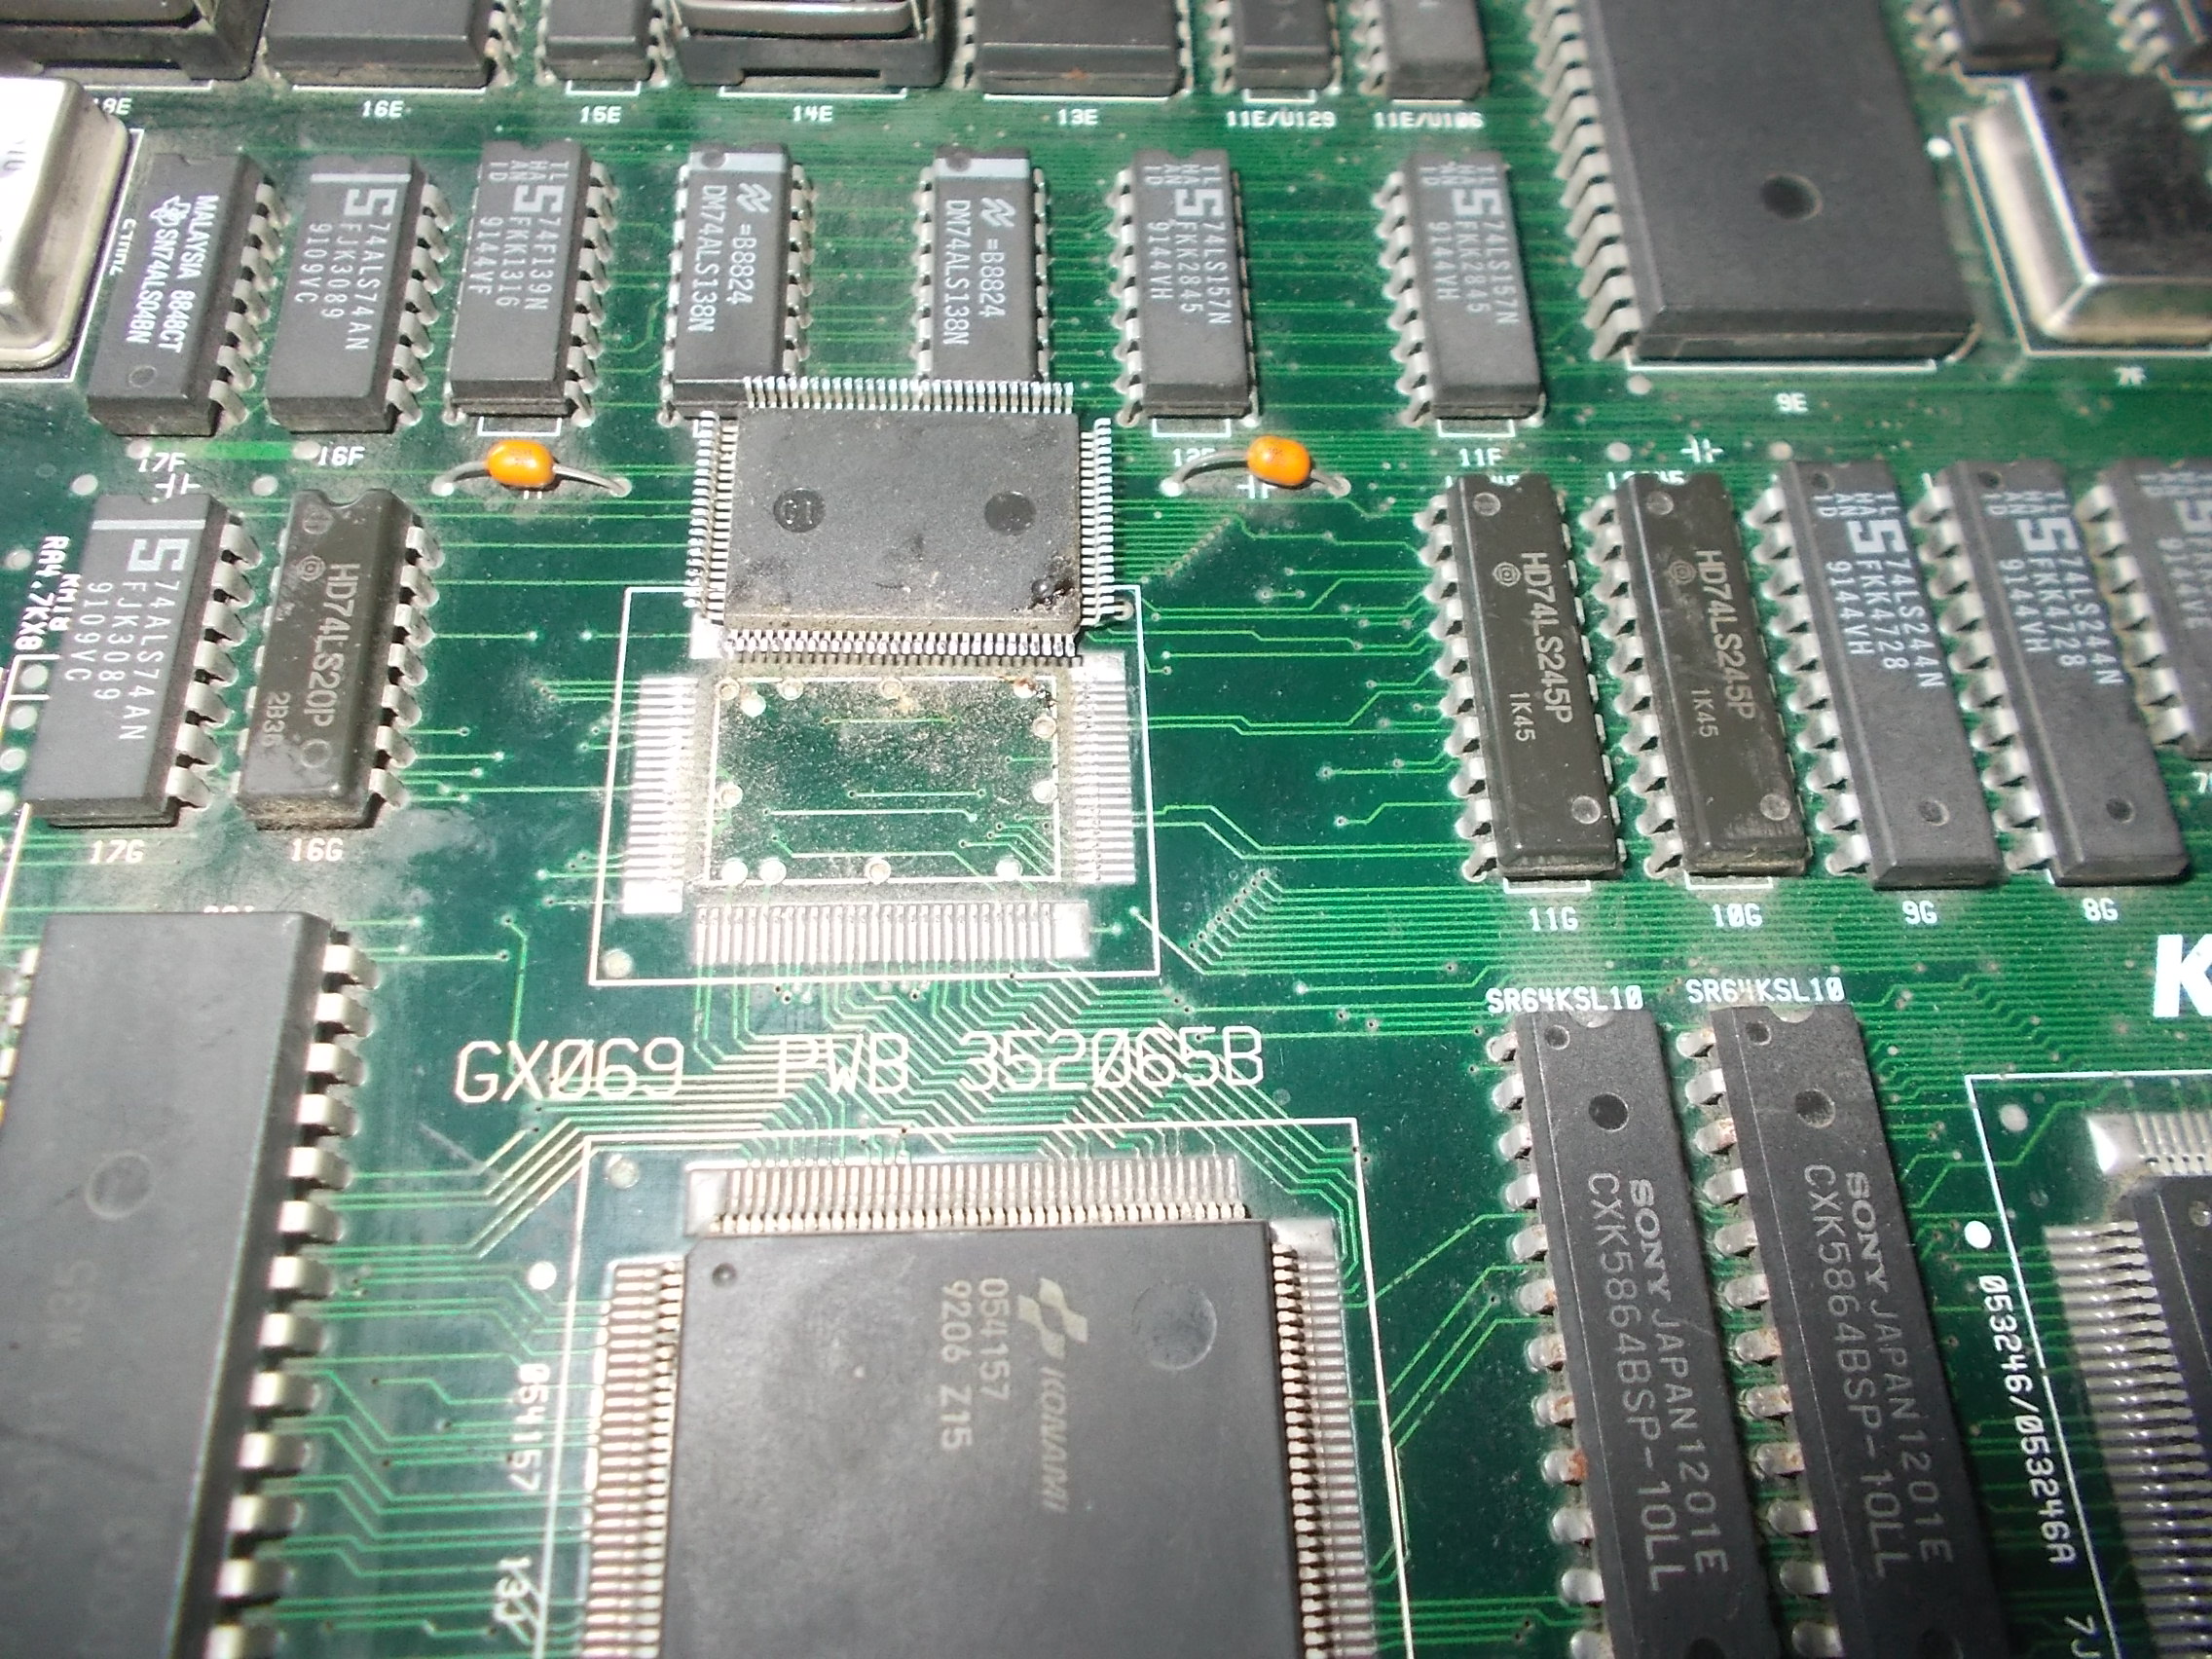
I went to replace the IC with no further analysis:

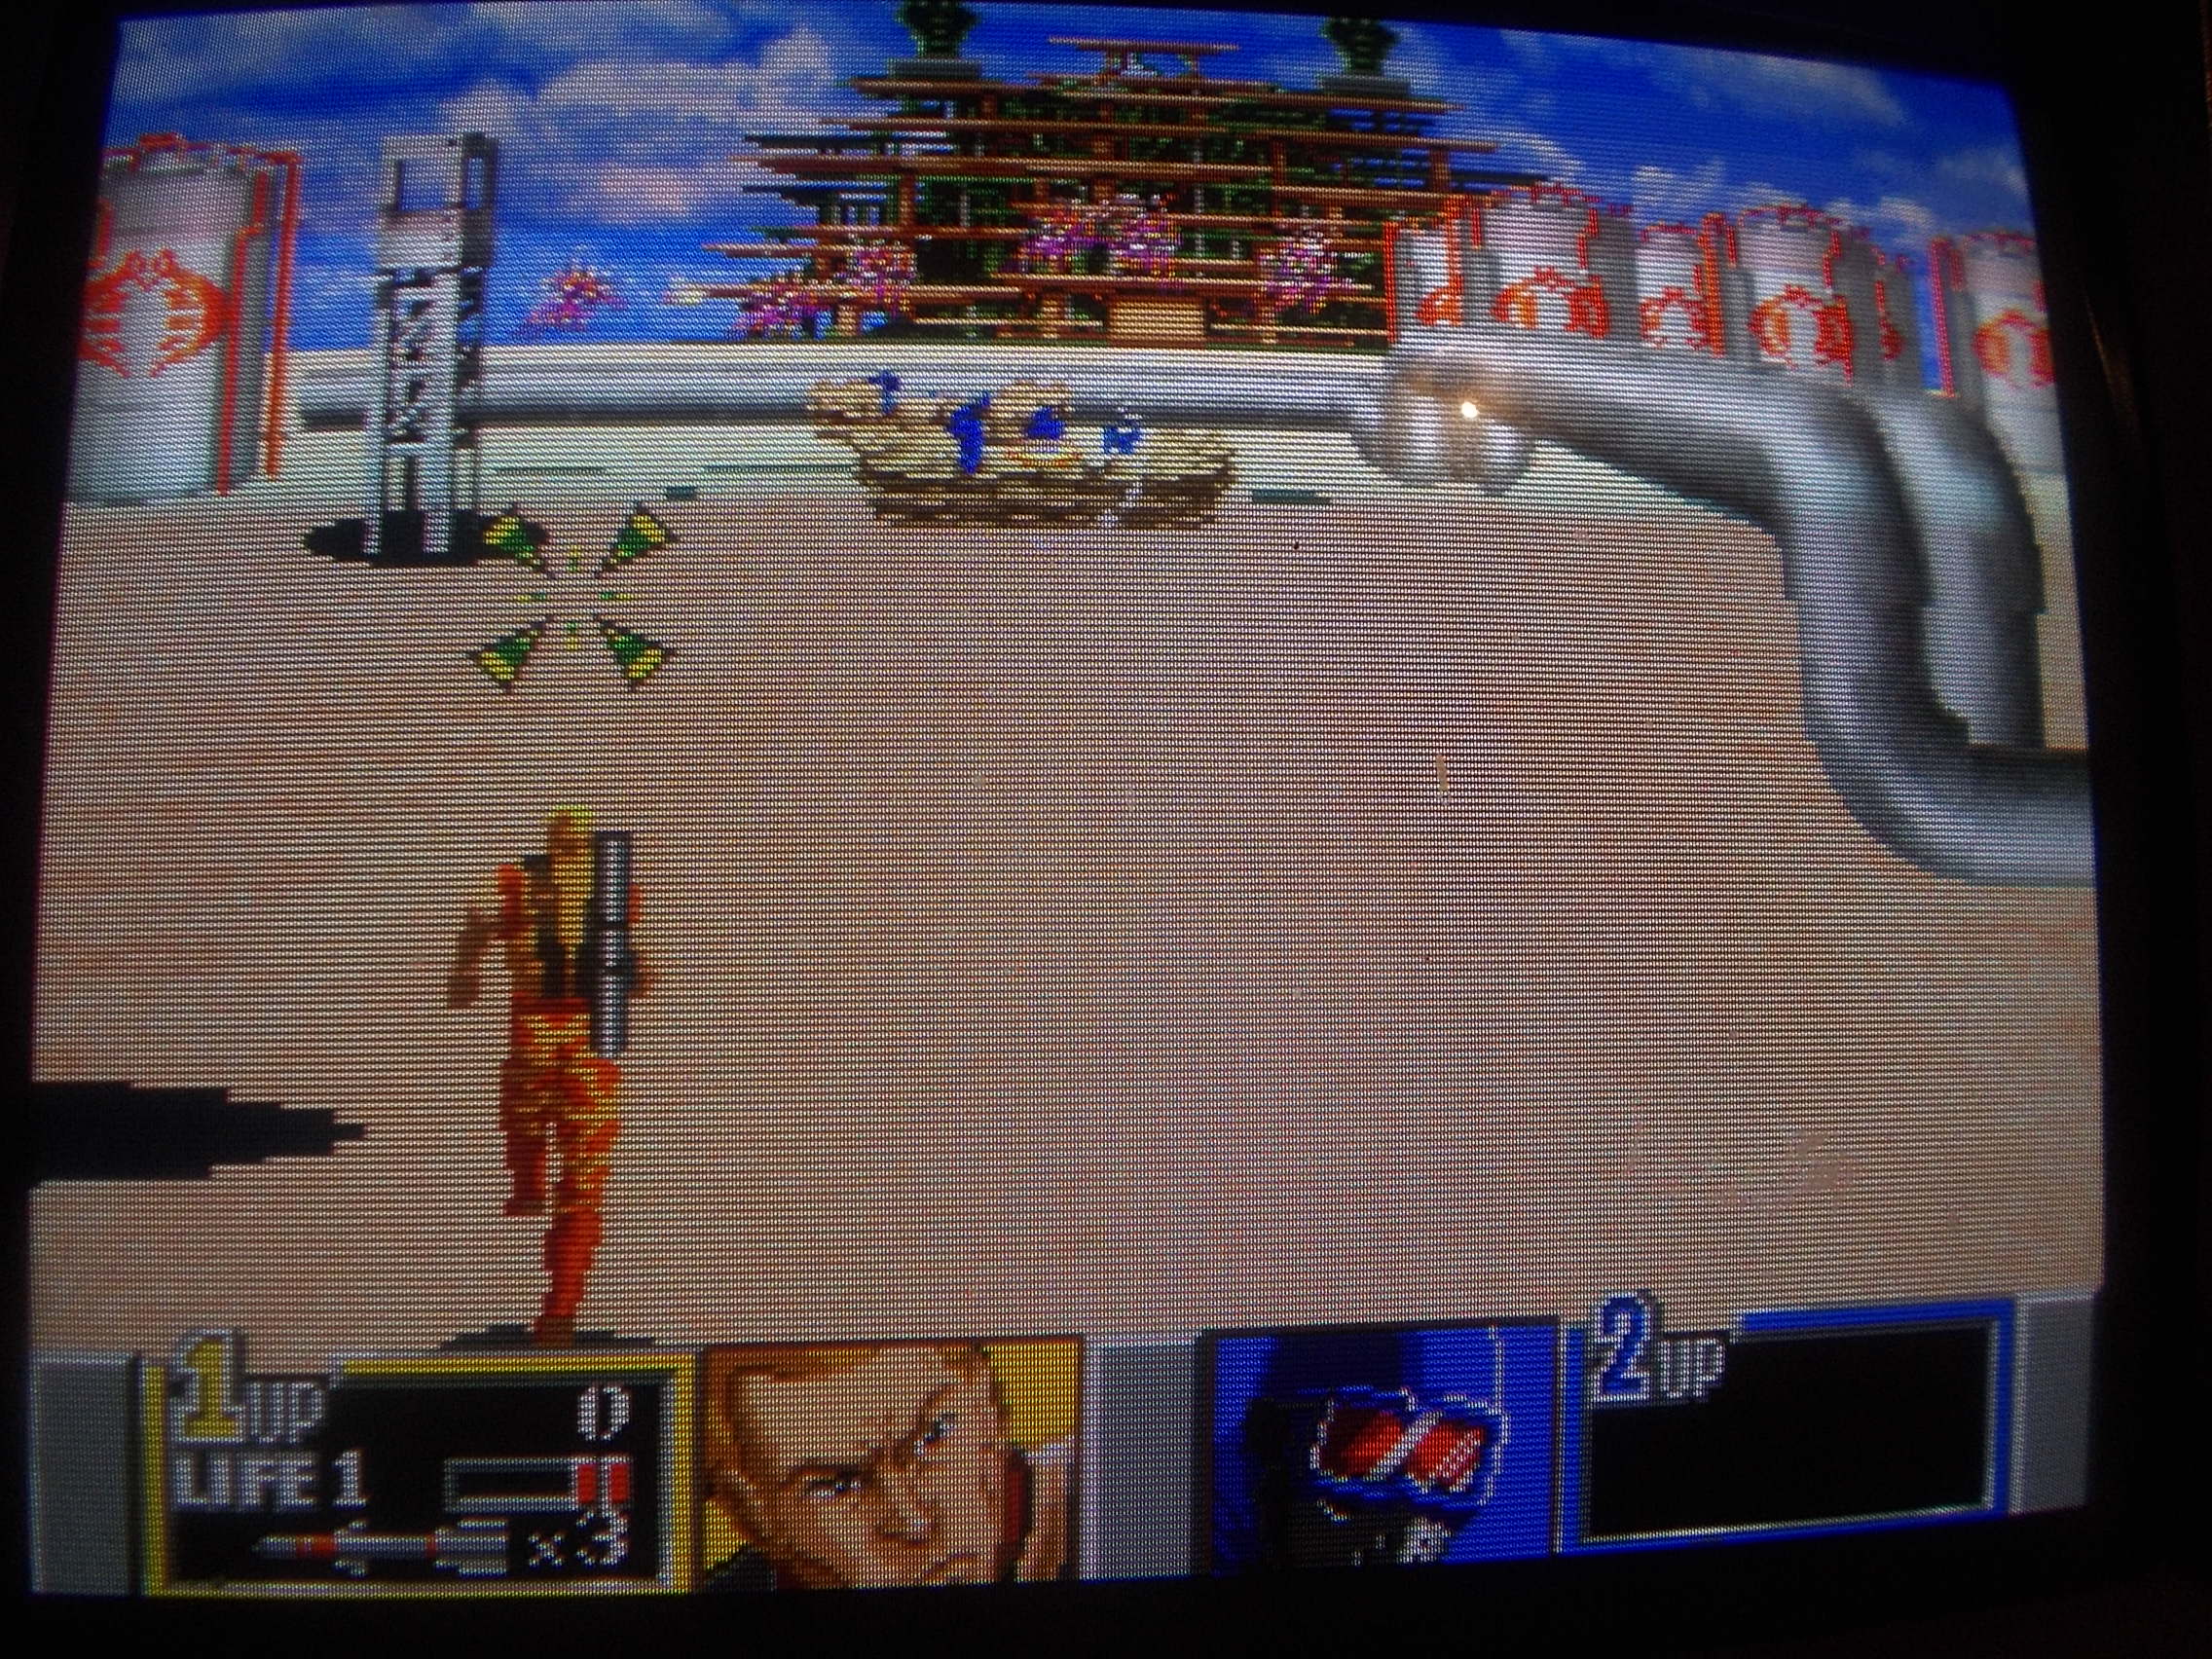
Graphics were completely restored and board perfectly working with no other issue :


The second board was in good shape and complete too :

But it booted to a static pink screen :

Also in this case my suspicions fell on the ‘053251’ custom ASIC :

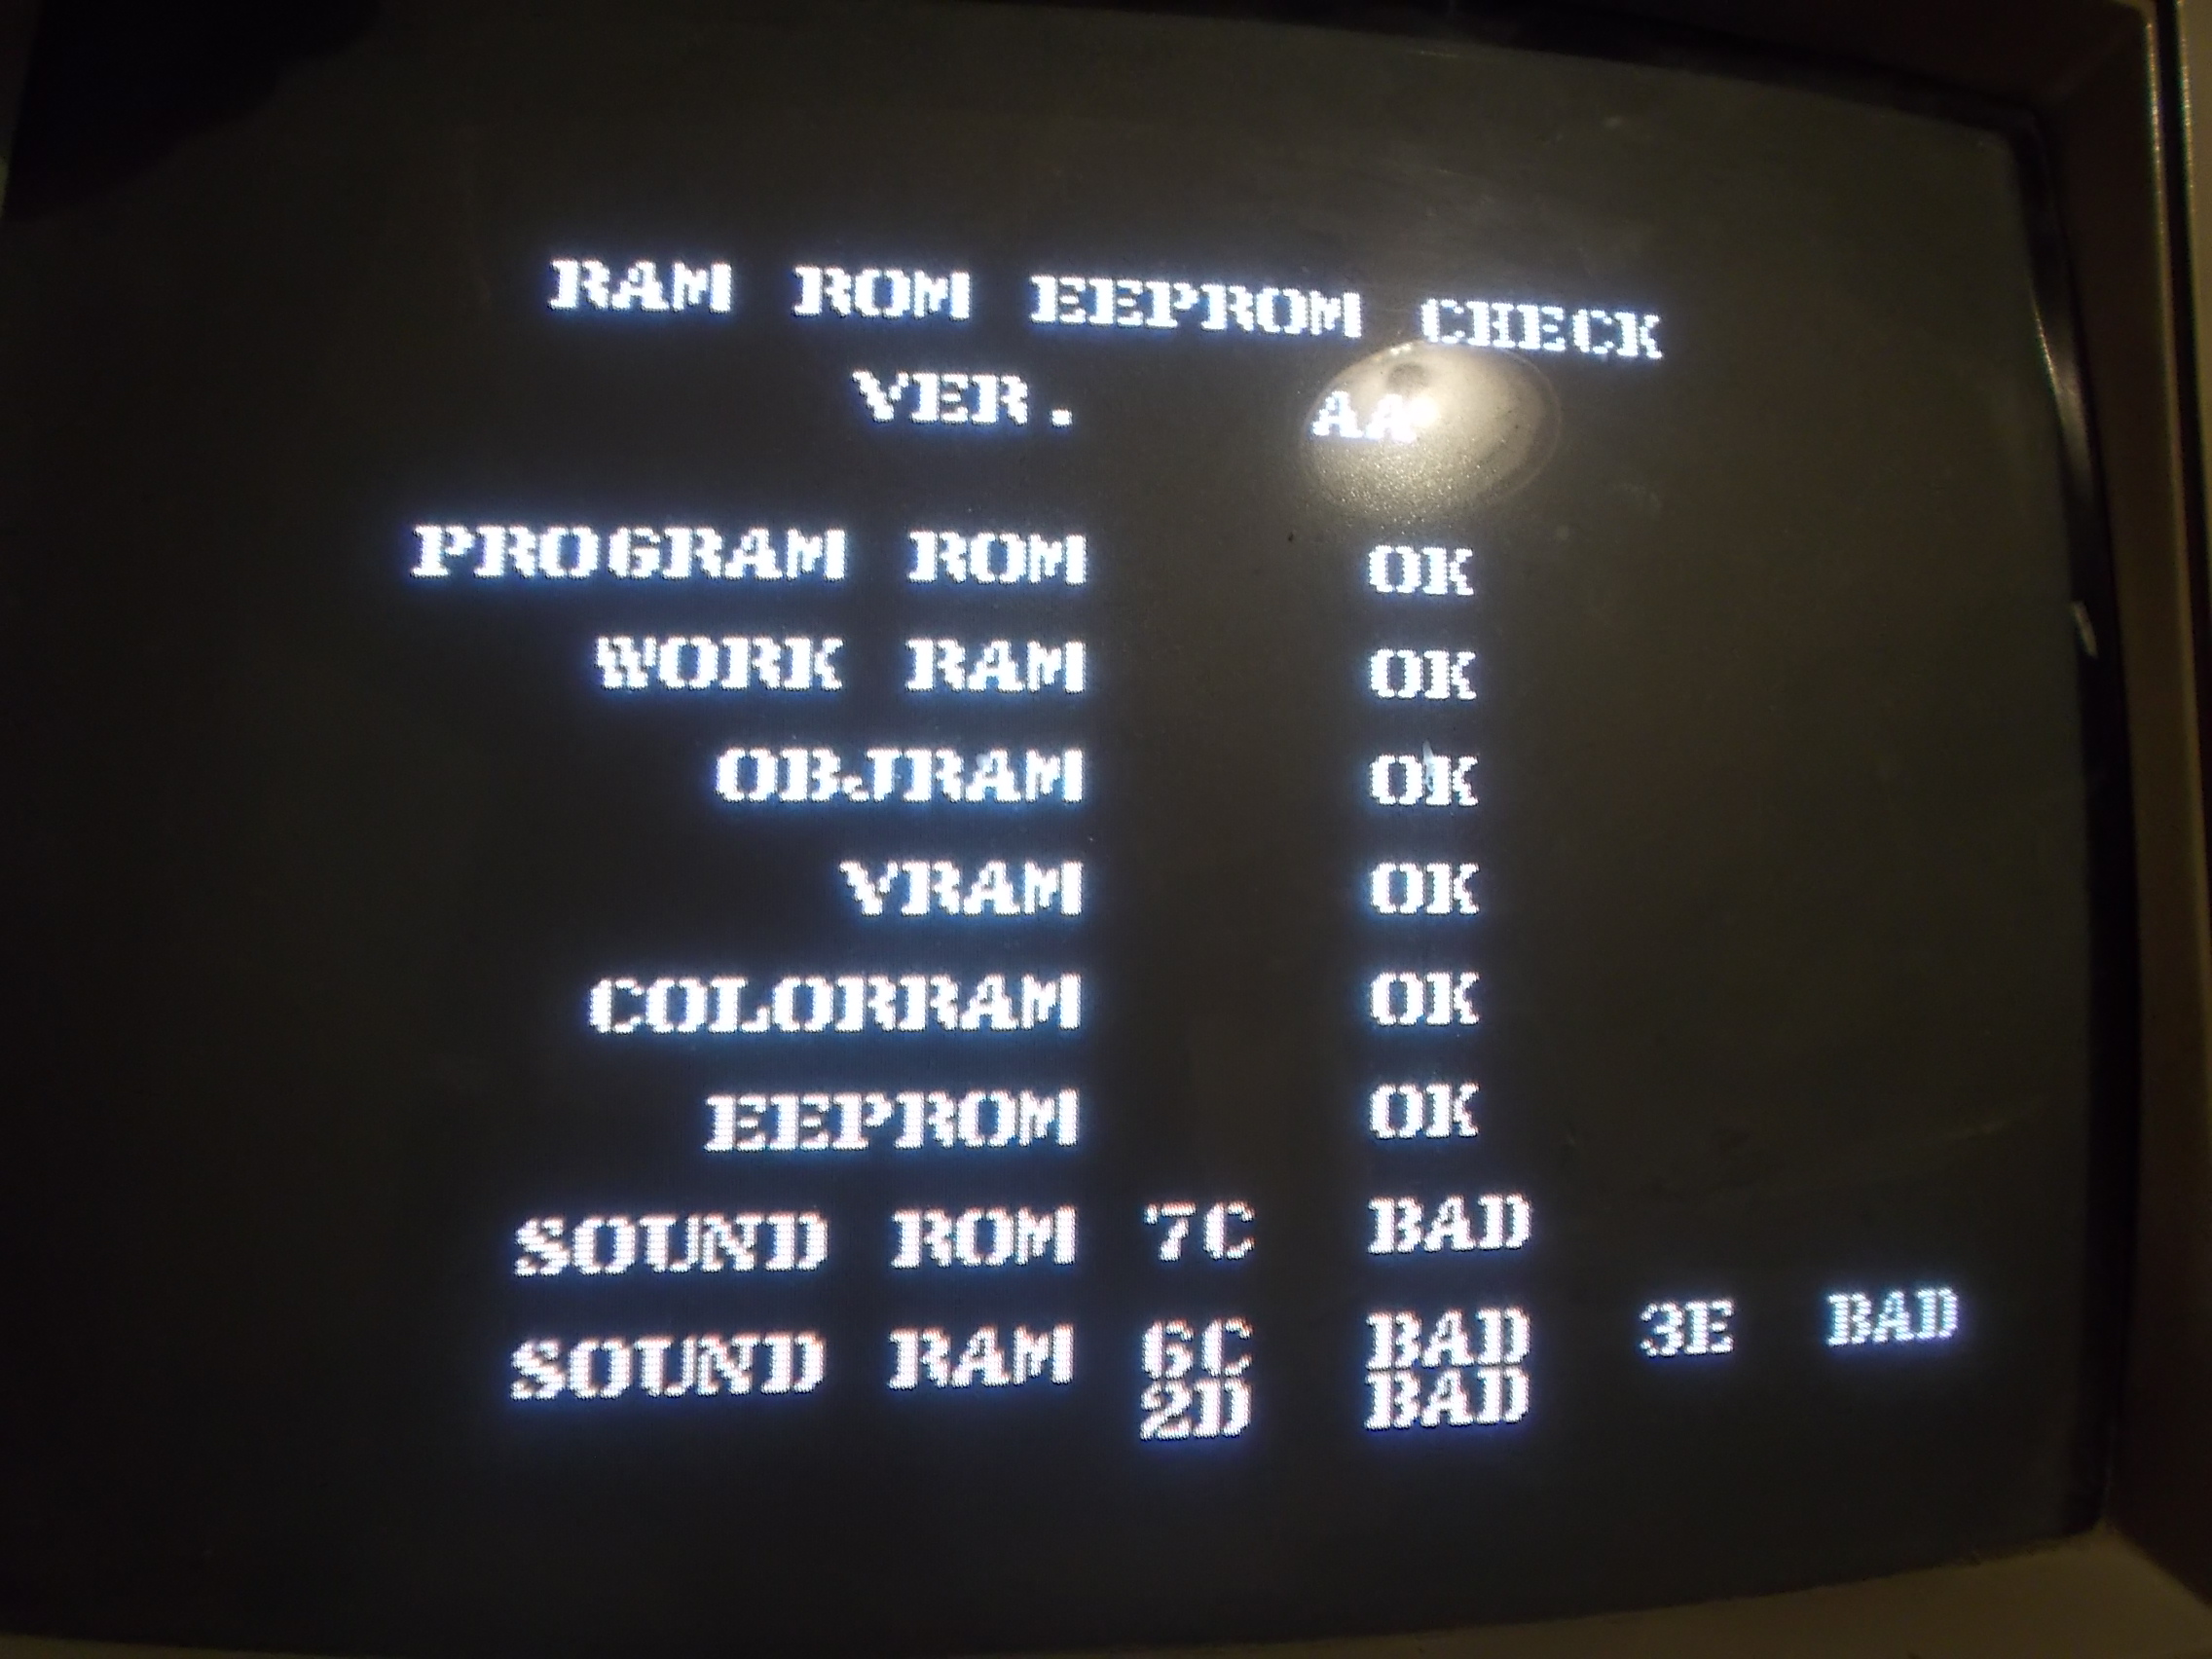
I replaced it, it was really faulty.Now the board tried to boot but failed the power on self-test:

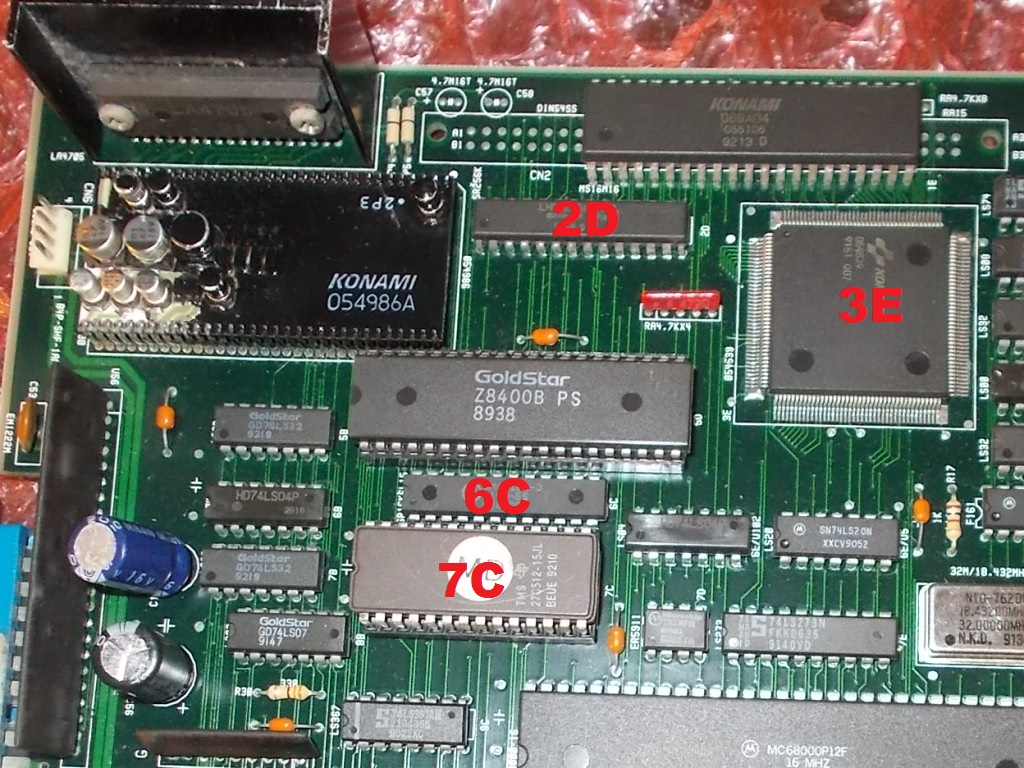
The bad reported devices were all part of the sound circuit : @7C (SOUND ROM), 6C (SOUND RAM), @3E (‘054539’), @2D (62256 SRAM)

The sound CPU is a Z80B, probing it revealed floating address/data lines:

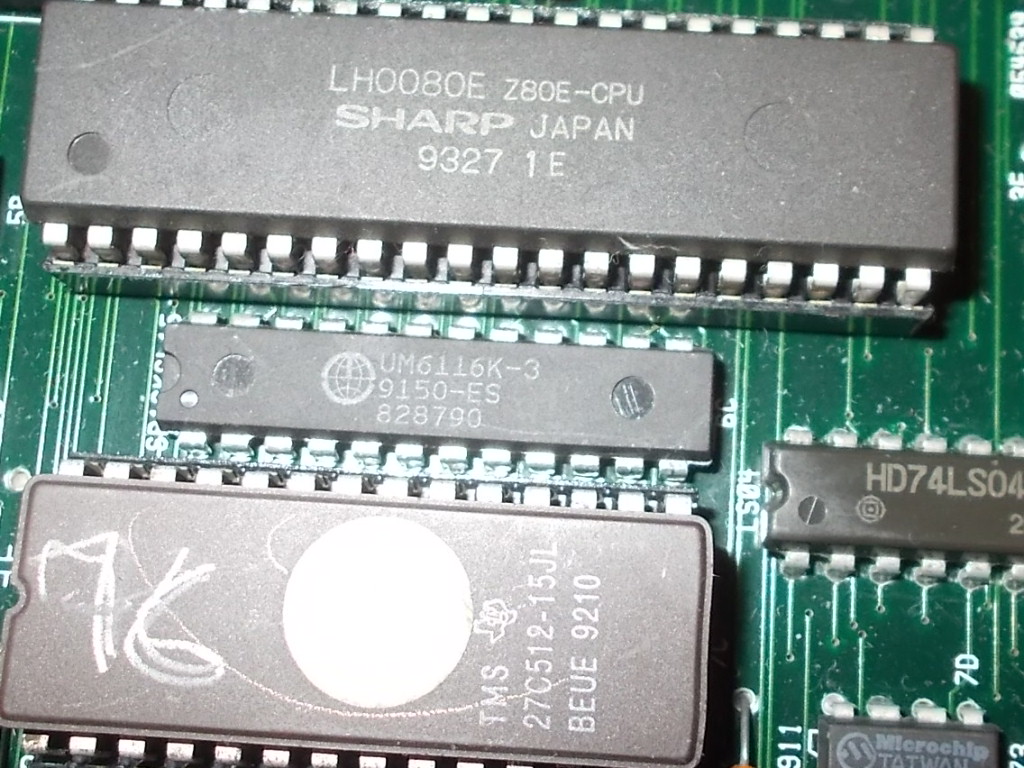
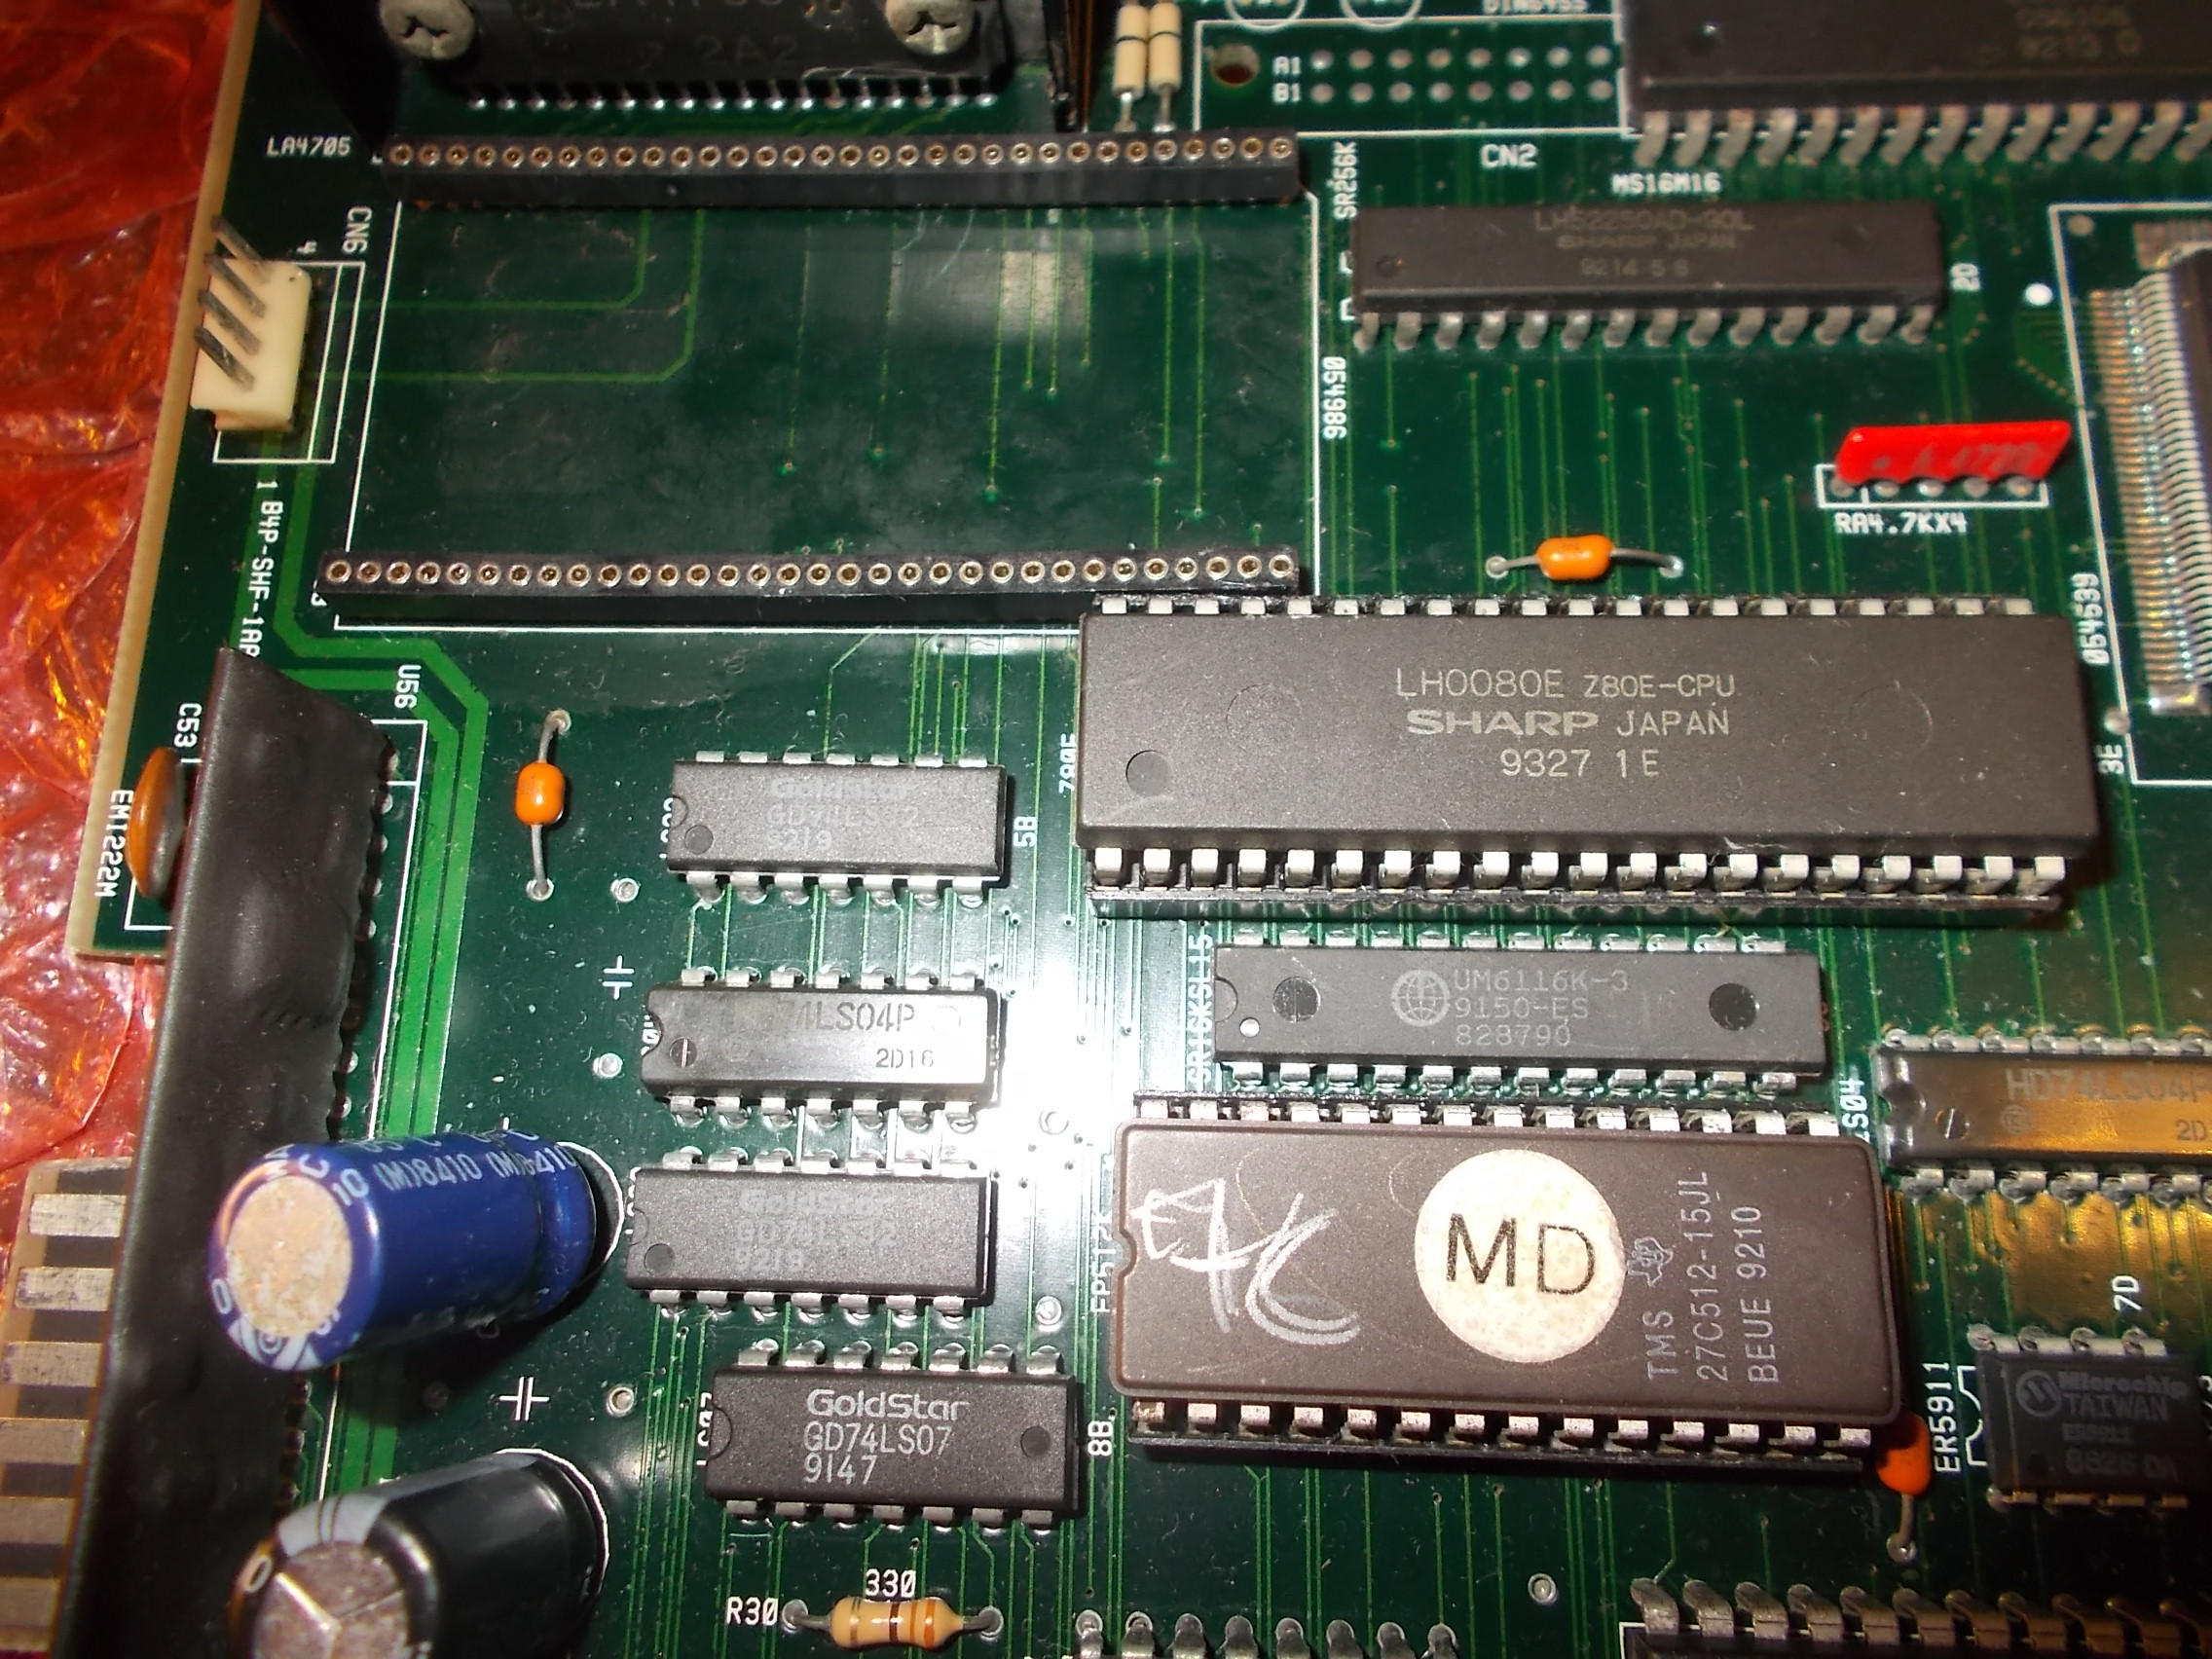
Luckily the CPU was aready socketed so I swapped in a good known one (a Z80E with clock up to 8MHz)

The board got now past of the self-test and booted into game but sound was absent:

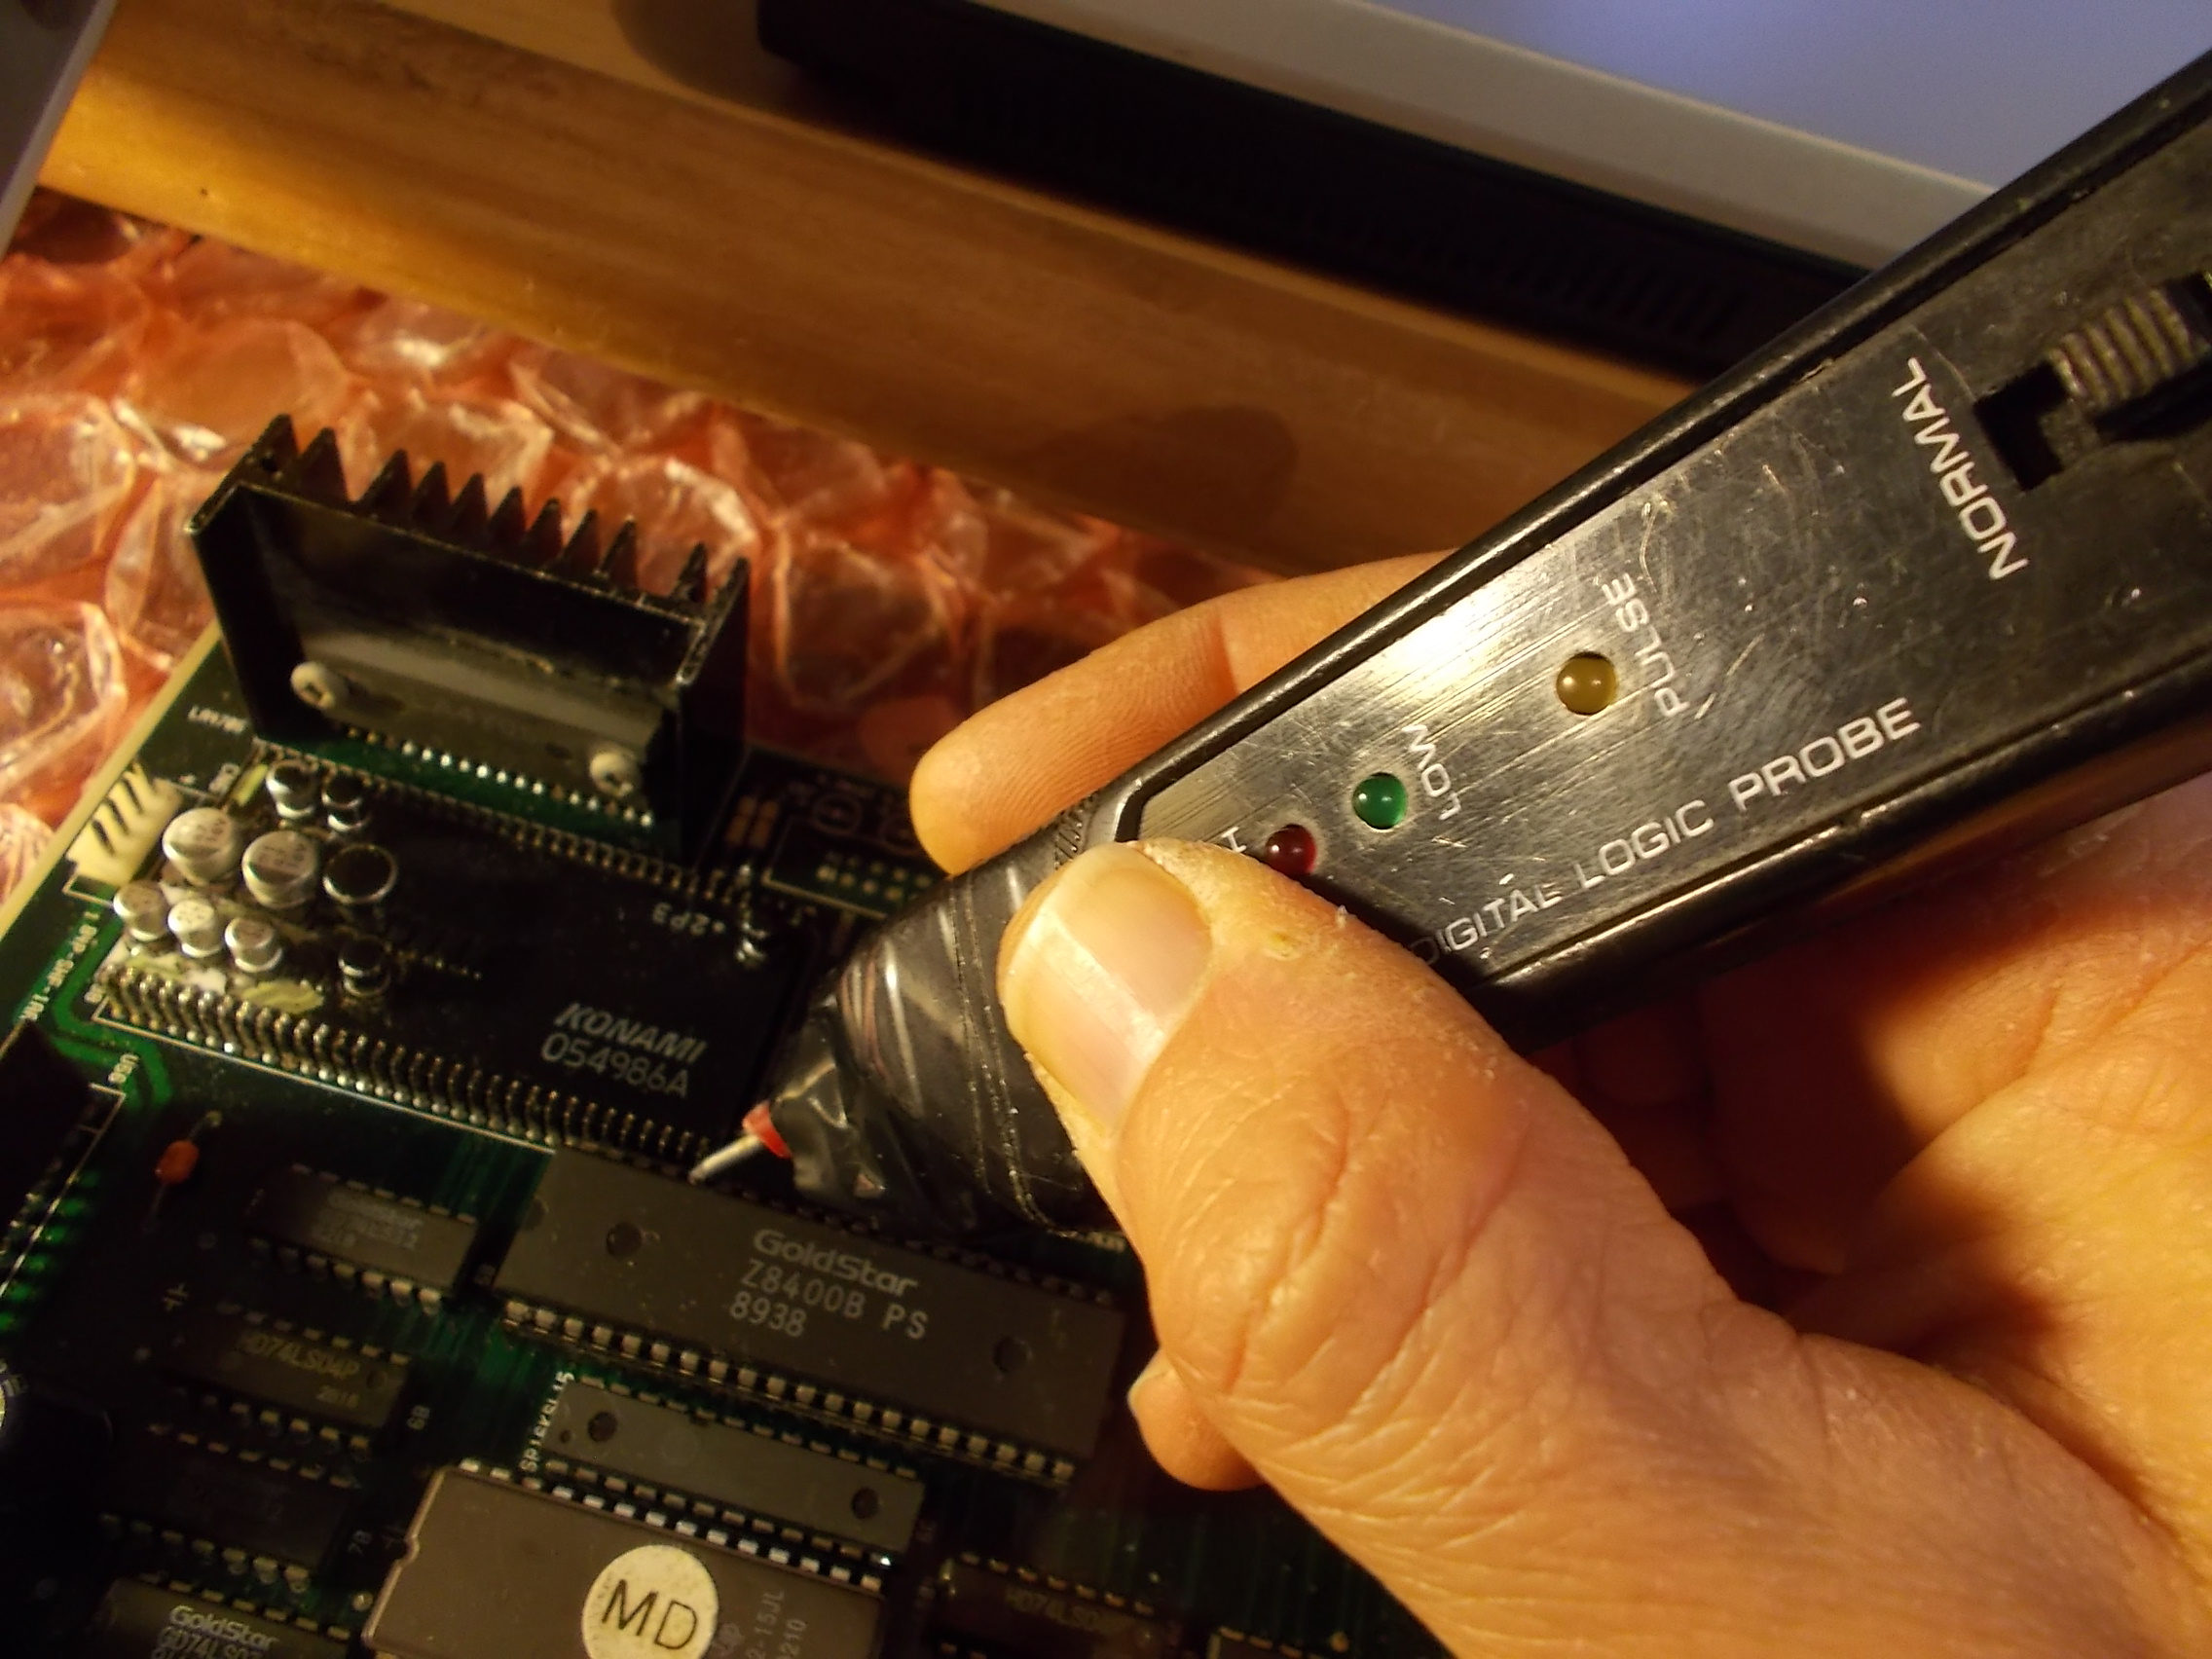
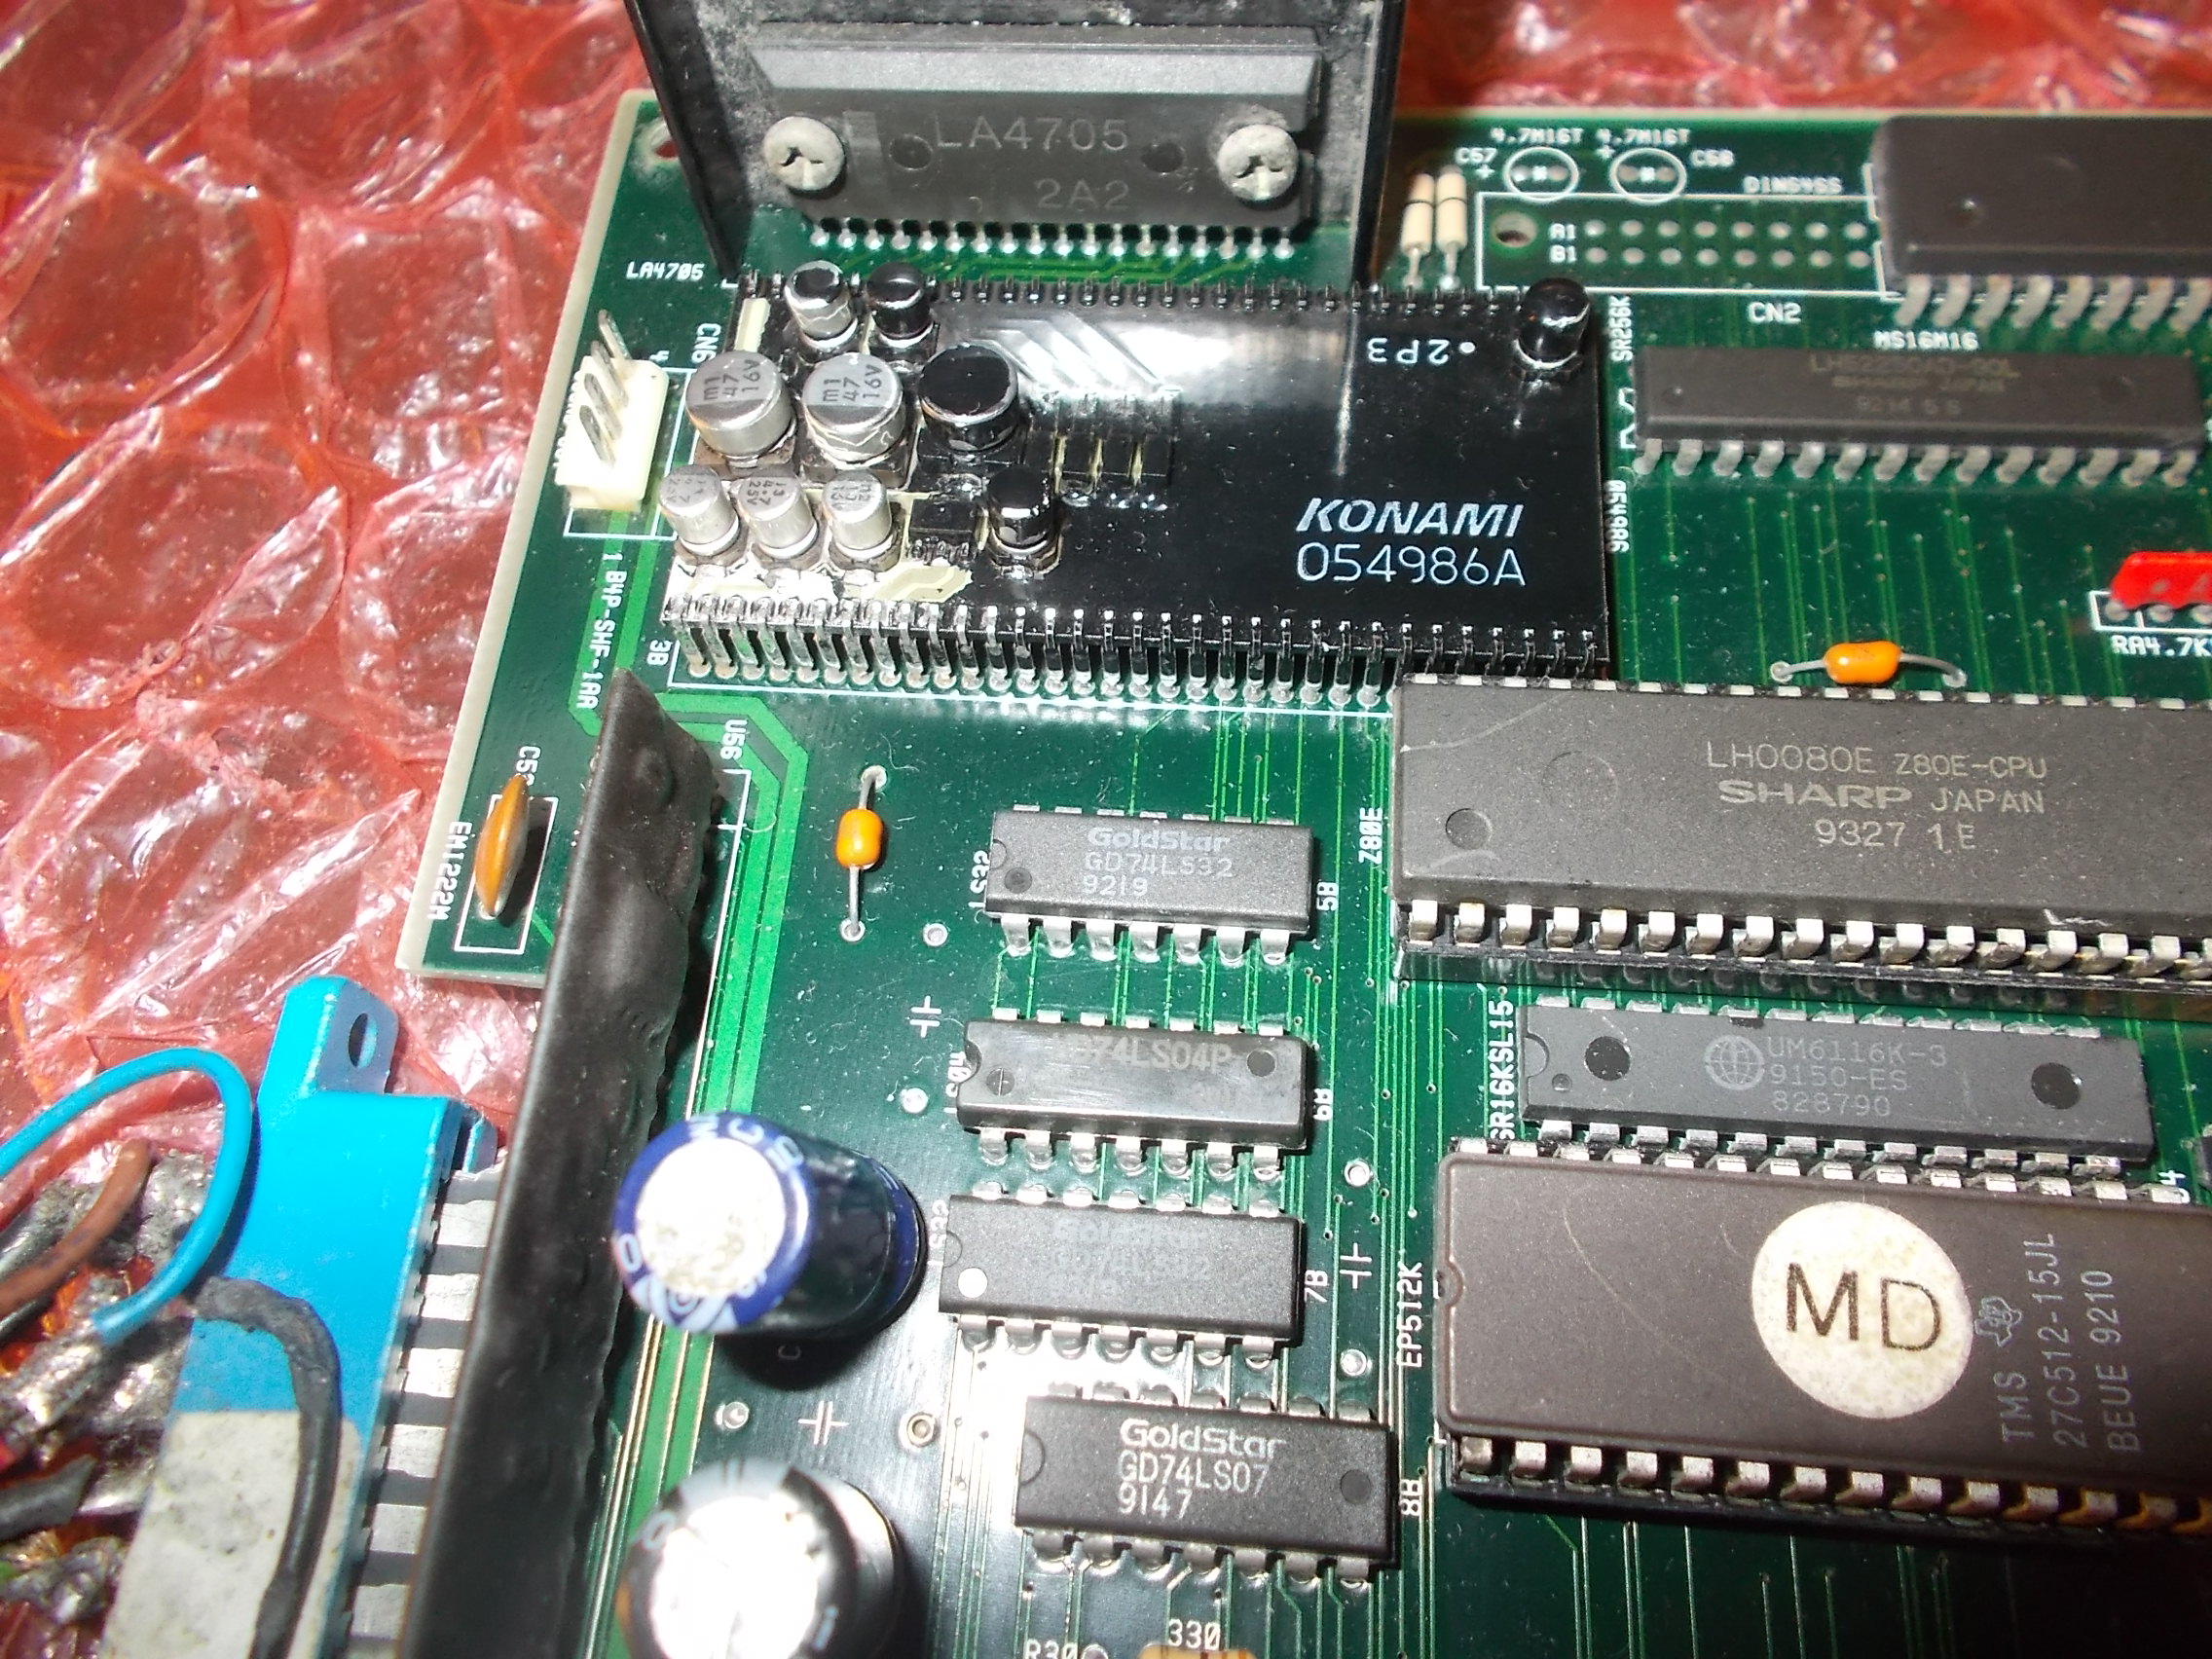
Obvioulsy the culprit was always him, the ‘infamous’ ‘054986A’ hybrid module:

‘054986A’ hybrid audio module

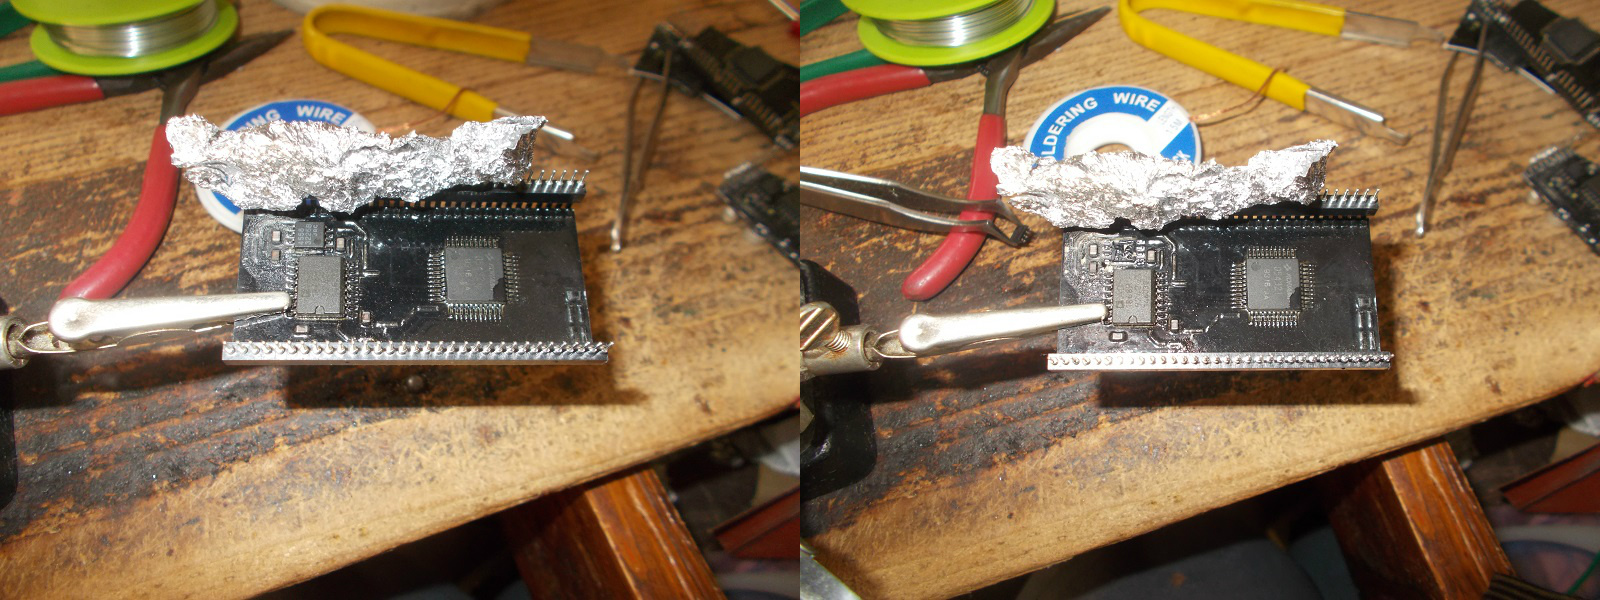
As I usally do, I removed it :

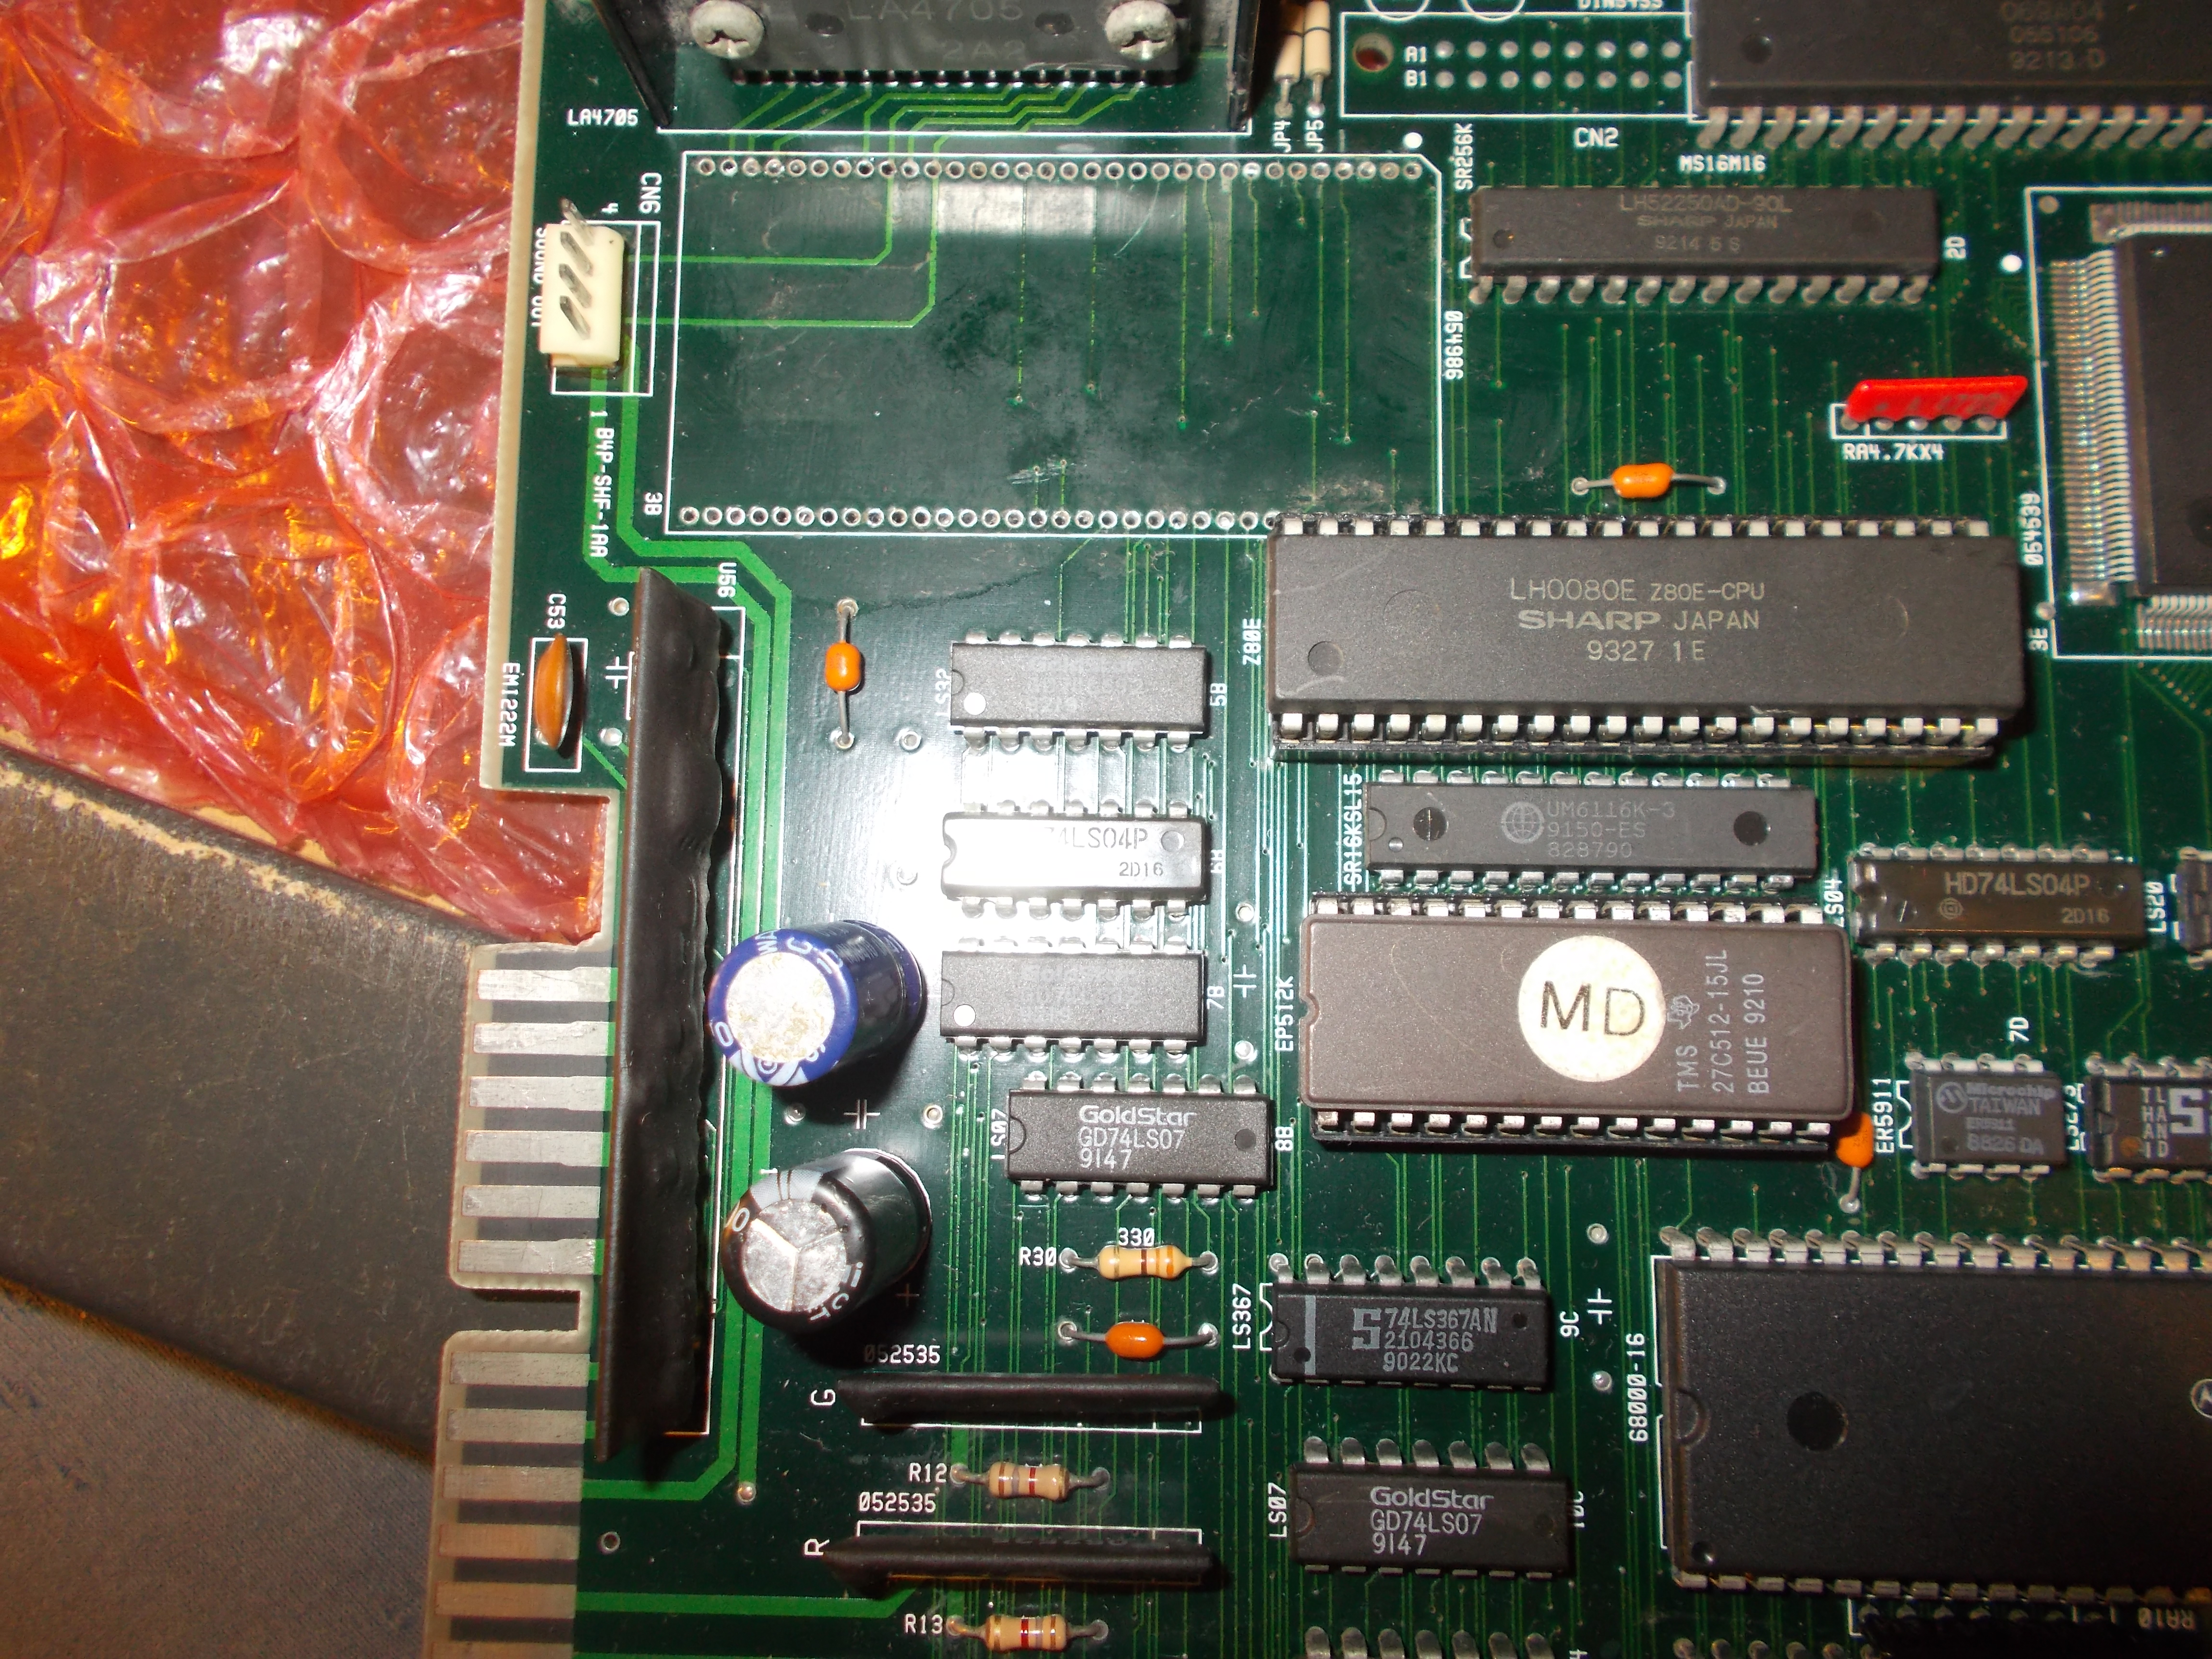
‘054986A’ removed

and installed proper sockets:

1.778mm sockets installed

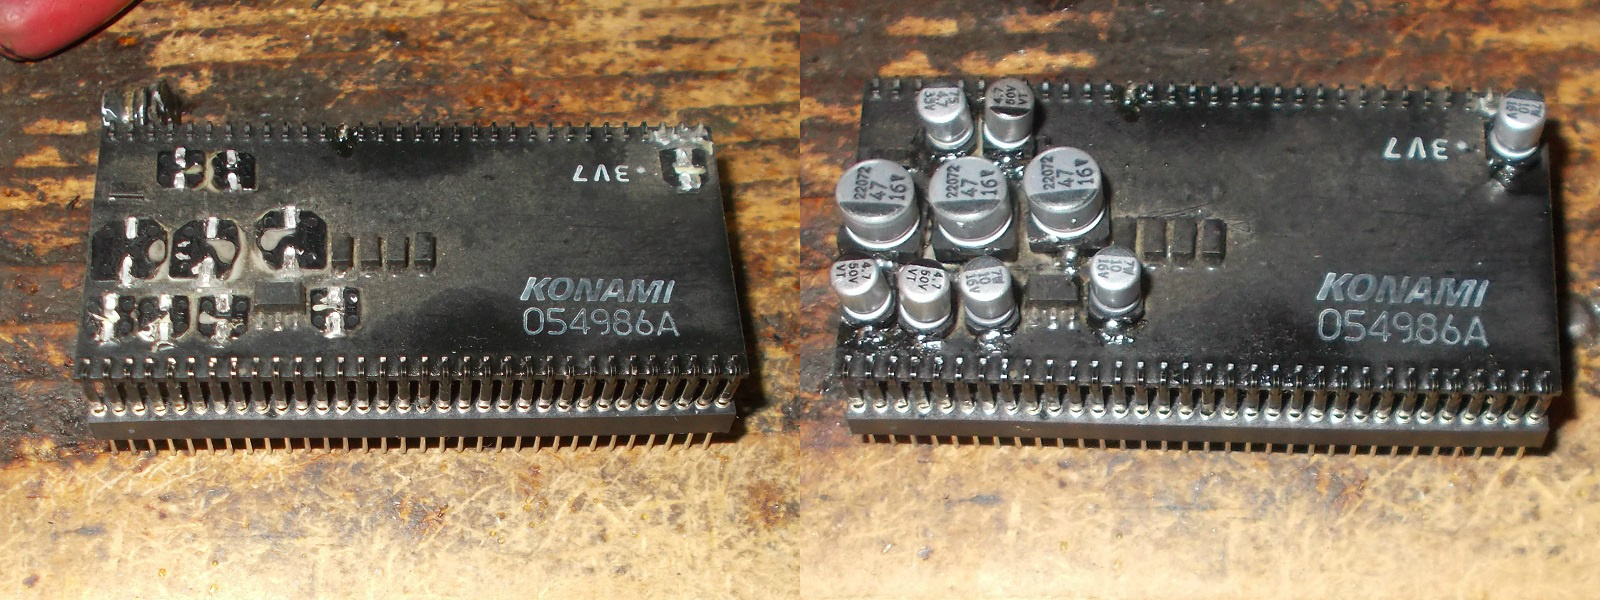
Then I serviced the audio module replacing the OP-AMP underneath :

and electroytic capacitors on top:

Eectrolytic capacitors replaced

Sound was fully restored and double repair accomplished.

 Posted by at 9:16 pm

Gundhara repair log #2

 PCB Repair Logs  Comments Off on Gundhara repair log #2
Jan 182019
 

Received from Germany this Gundhara PCB, a top-down shooting game released in 1995 by Banpresto:

According to the owner the PCB suddenly developed a graphical issue.When I powered it up I could actually see some colors problem, the BLUE one was ‘bleeding’ in some parts of graphics:

After a quick check on PCB I could figure out the palette circuit made of two 6264 (8K x 8-bit) SRAMs, a custom (S-DIP 42 pin) marked ‘X1-007’ (which probably contains some latches or flip-flops) and three SIL resistor arrays configured as R-2R ladder to perform the final conversion from digital to analog (DAC)

Color palette circuit

When I probed the two 6264 SRAMs I found weak signals on some data lines of the one @U39, here is a capture from scope comparing the signal with an heathy one :

Good signal on left, bad on right

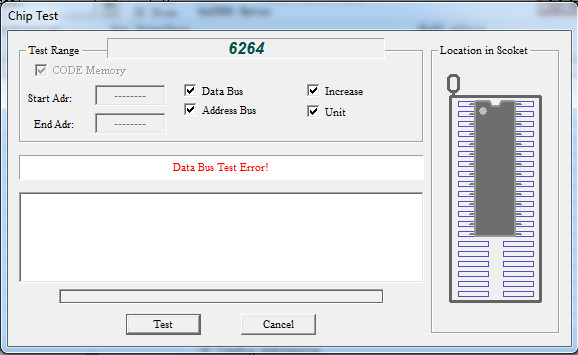
Sure enough I desoldered the chip, it indeed failed the out-of-circuit testing :

Installing a good chip fixed the issue, board 100% working again.Job done.

 Posted by at 9:03 pm

Guardians / Denjinmakai II repair log

 PCB Repair Logs  Comments Off on Guardians / Denjinmakai II repair log
Jan 142019
 

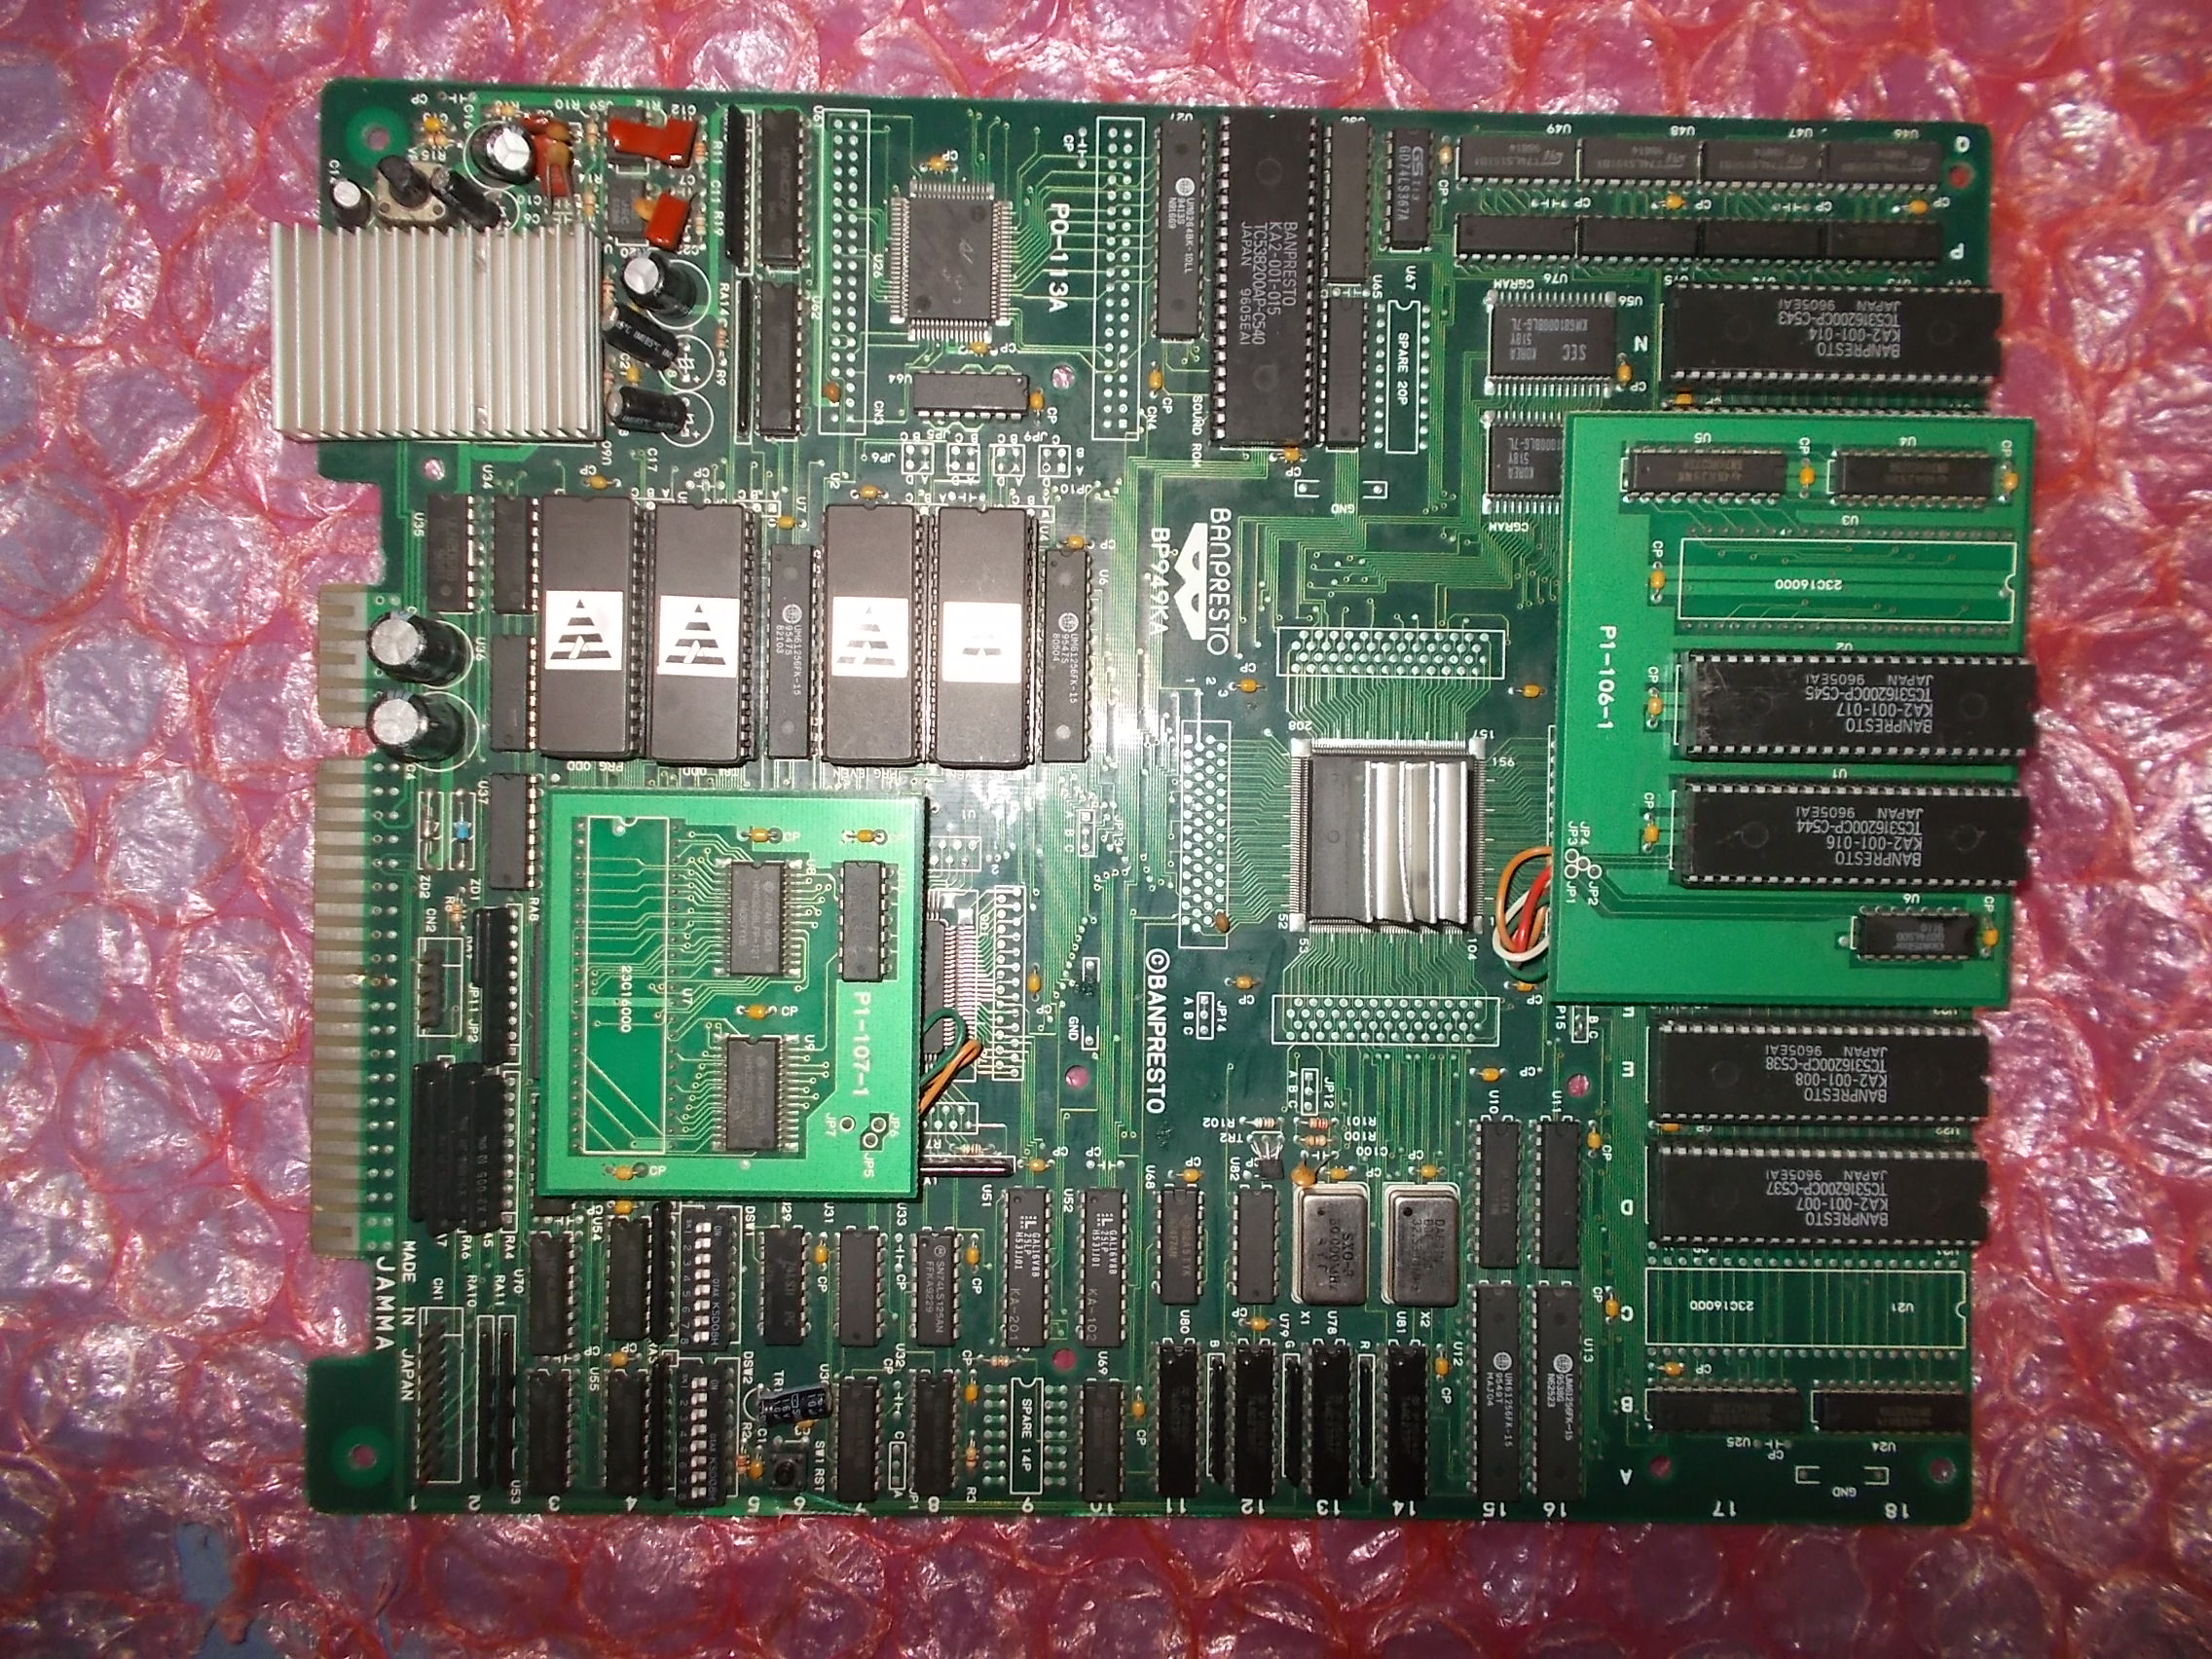
Received today from Germany this Guardians PCB, also known as Denjinmakai II, a horizontally-scrolling beat-em-up released by Banpresto in 1995)

According to the owner the game played totally ‘bind’.I could confirm it as soon as I powered the board up :

Board playing ‘blind’

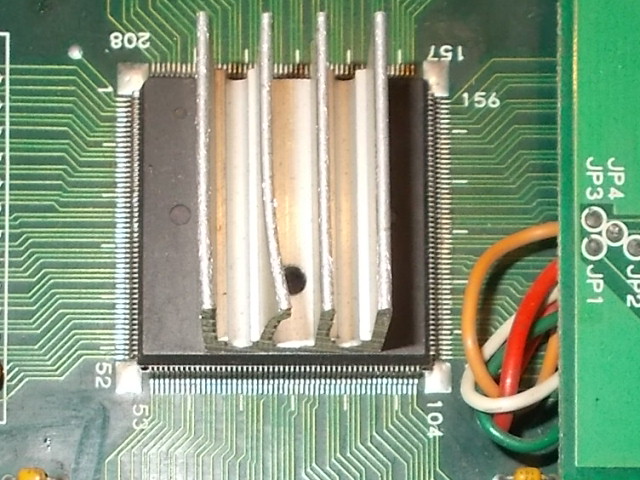
But, as you can see from above video, I was able to restore some graphics by pressing down this surface mounted custom ASIC (QFP 208 pins)

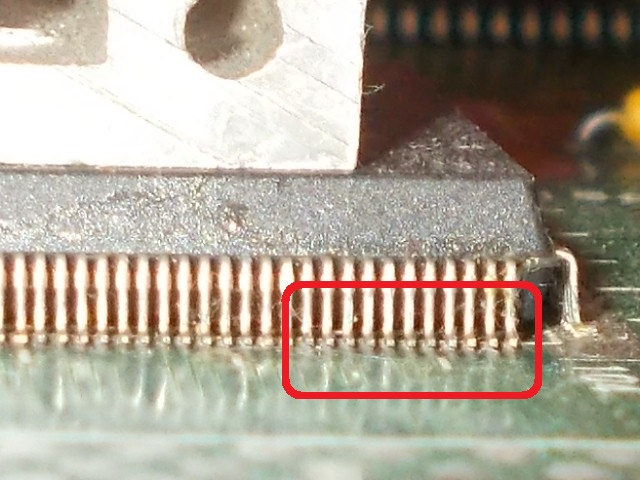
Judging from the heatsink on its top this custom ASIC acts as a GPU generating most of the graphics and video signals too.At a closer inspection I found many lifted pins on all four sides.An example :

I promptly reflowed the IC, this gave me a steady picture but all the graphics were scrambled and, judging from the blueish screen, the RED color was missing too :

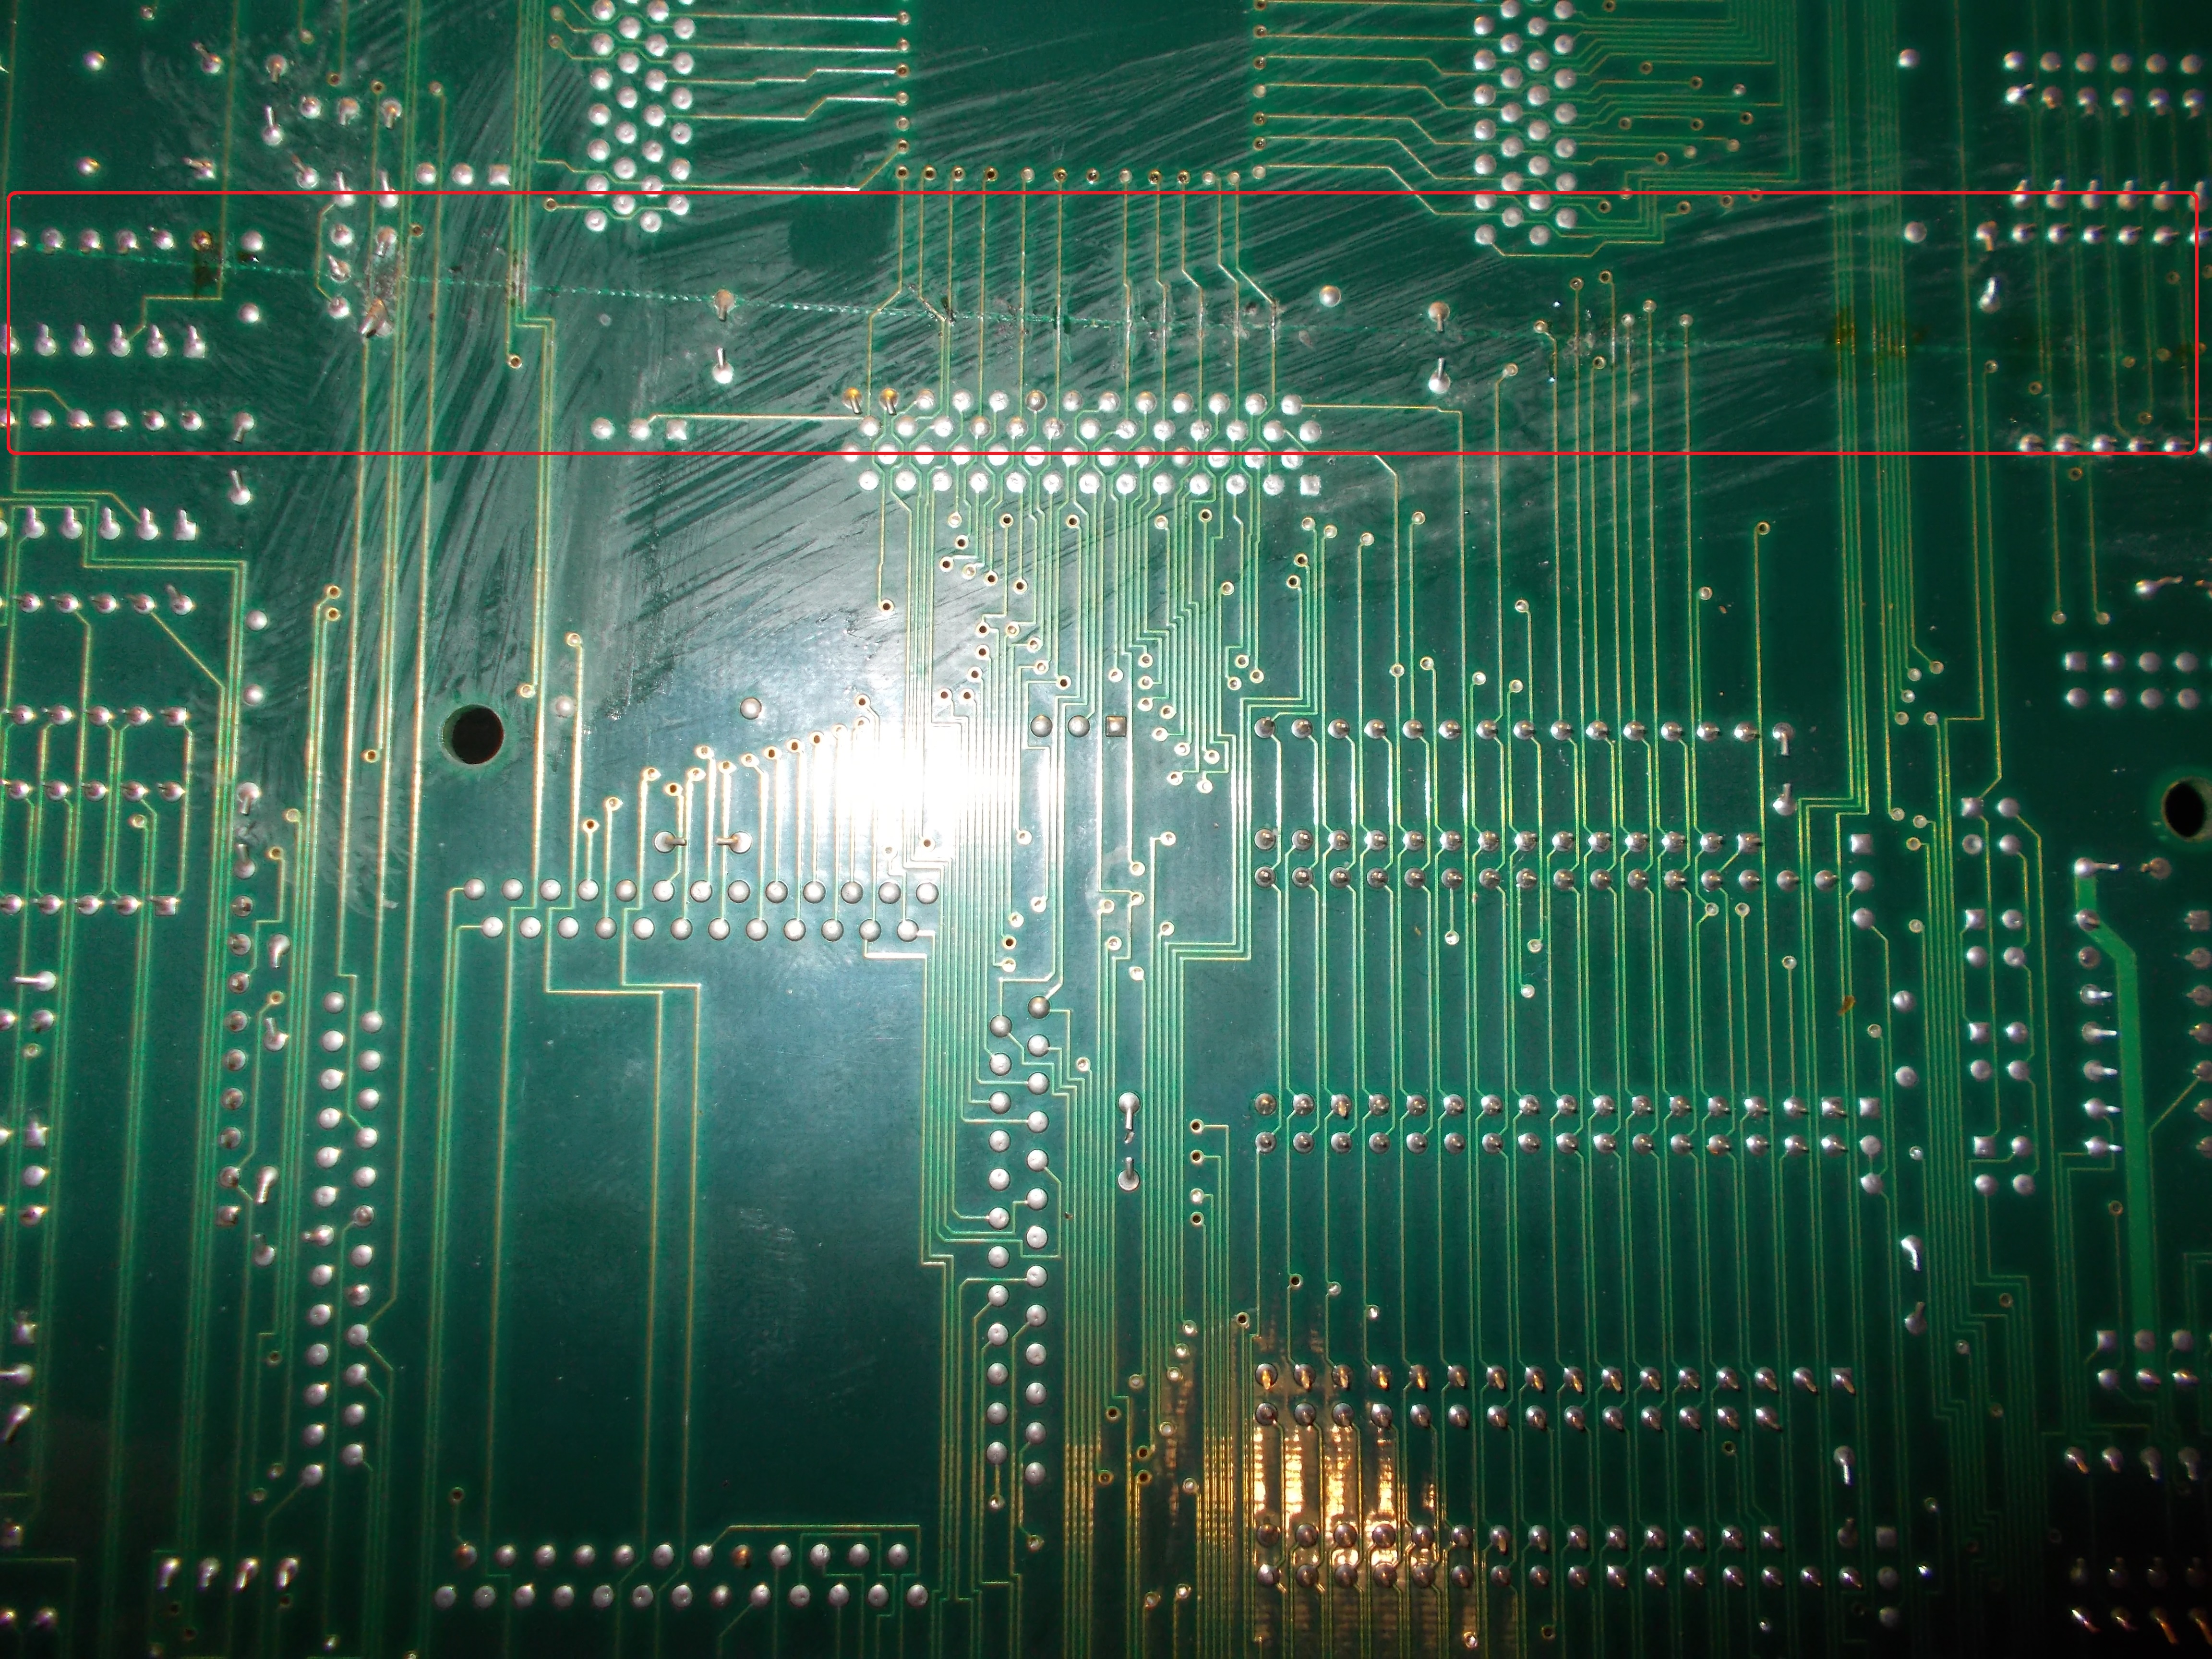
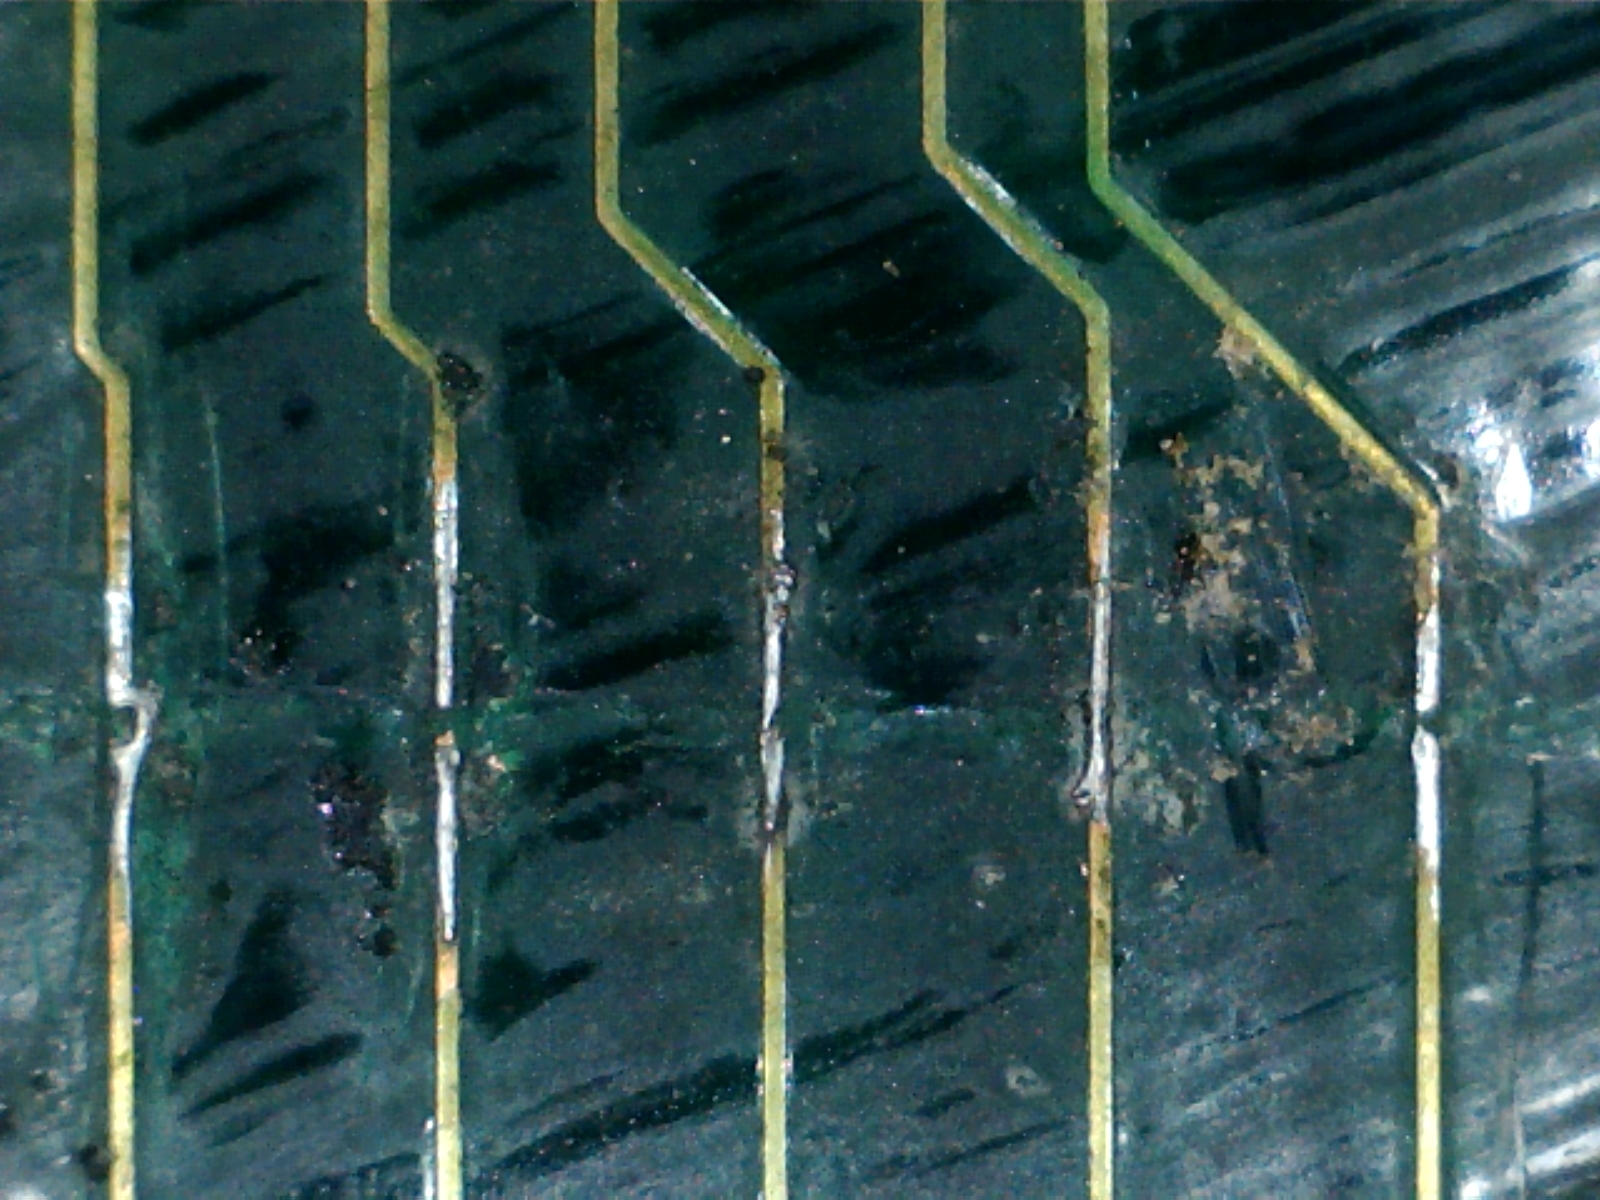
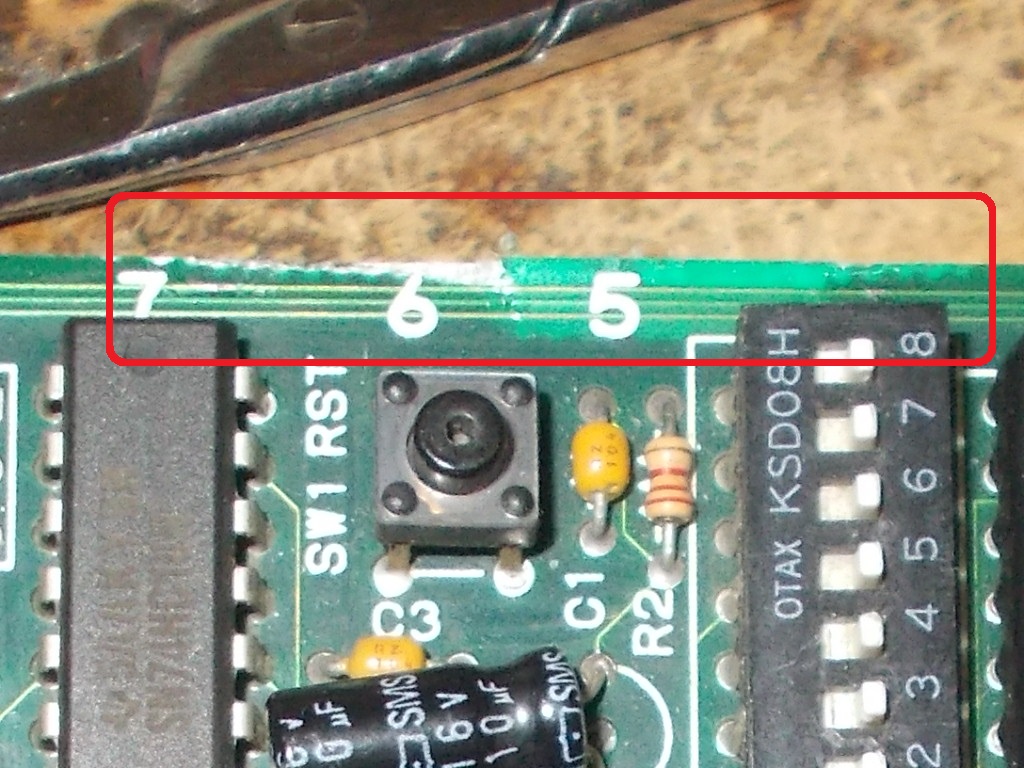
Looking at solder side of the PCB I noticed a long and quite deep scratch passing across some traces:

Scratch on solder side

Inspecting the area with a microscope and doing a continuity check with my multimeter confirmed that some traces were severed and other caused unstable contact:

I patched and reinforced the traces with some AWG30 wire :

Traces repair

This lead to few improvements, graphics were still scrambled so I moved on to troubleshoot the lack of RED color.This was pretty easy to fix as the board had a quite clear damage that broke the trace which carries the signal to JAMMA edge connector :

Damage on PCB

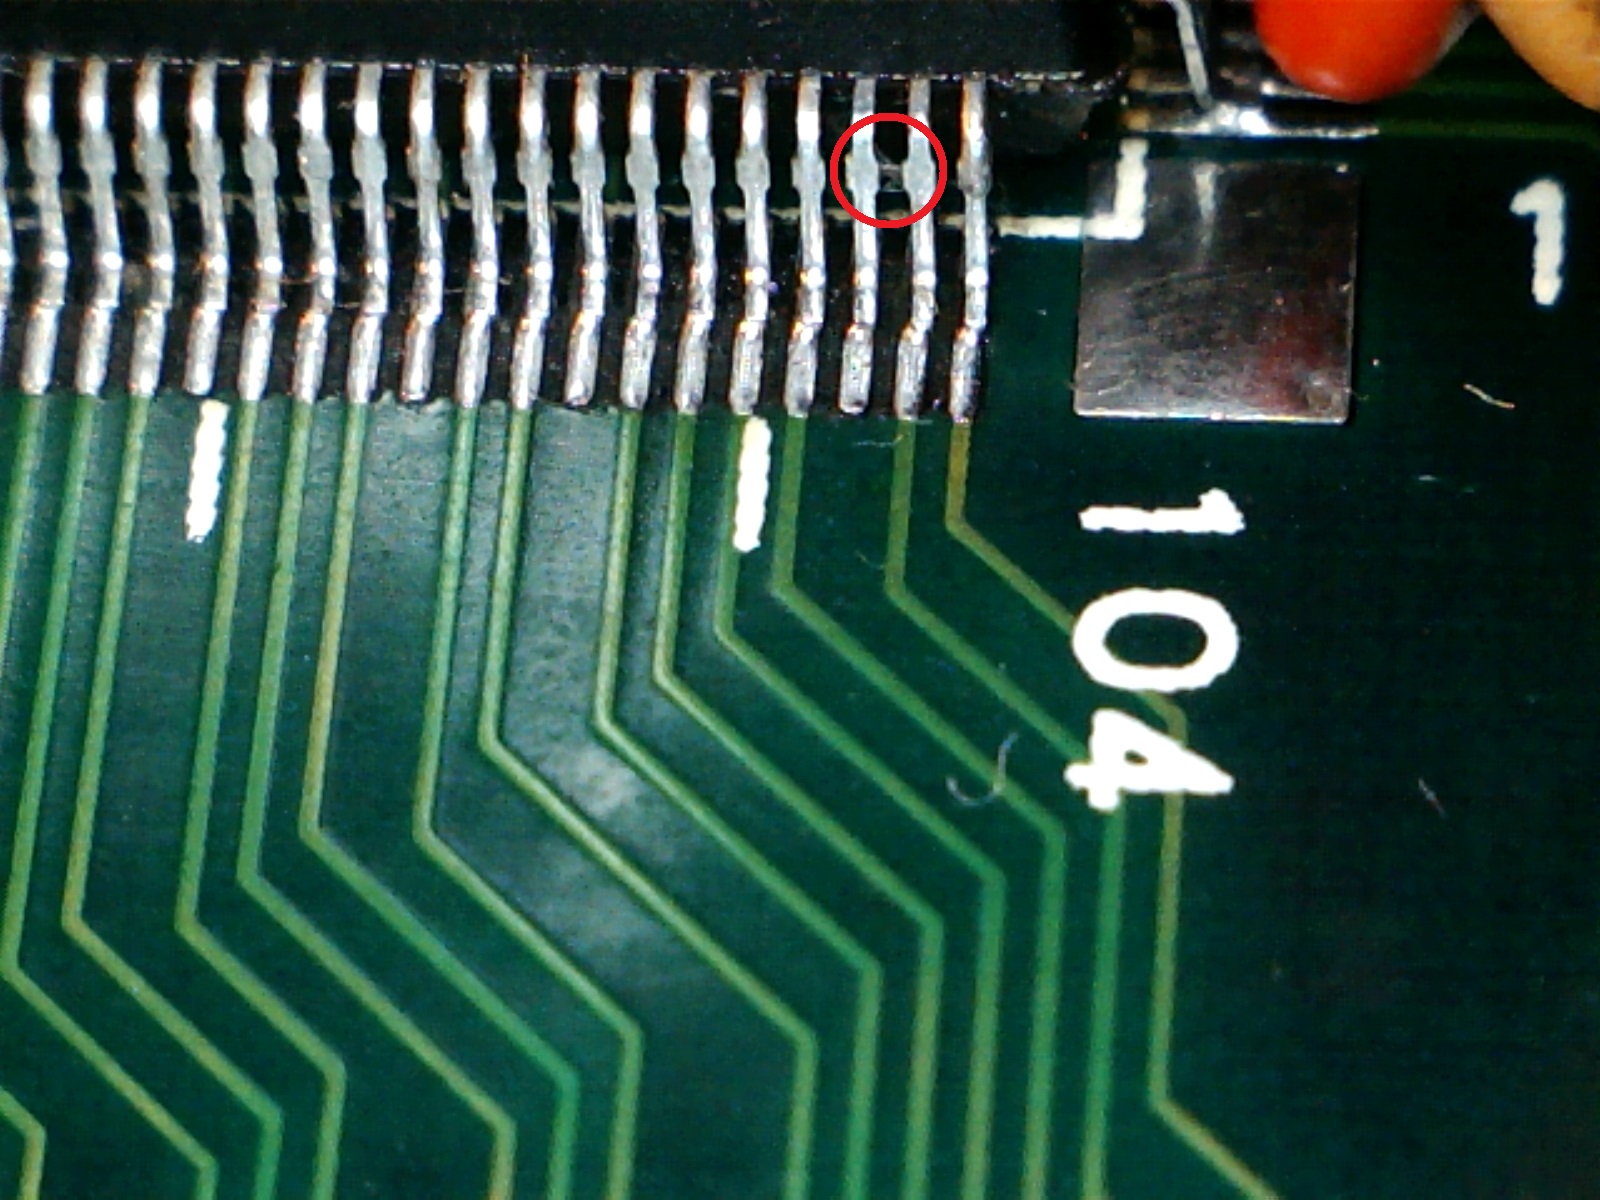
As for bad graphics, I decided to double-check the previously reflowed custom ASIC and found a solder bridge shorting two pins:

Solder bridge on reflowed ASIC

Removing it fixed the issue and board completely.Repair accomplished.

Board finally fixed
 Posted by at 10:34 pm