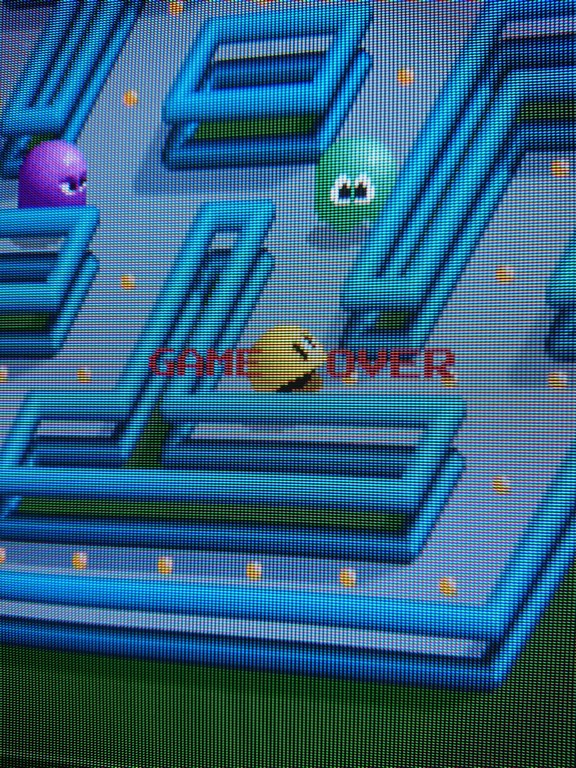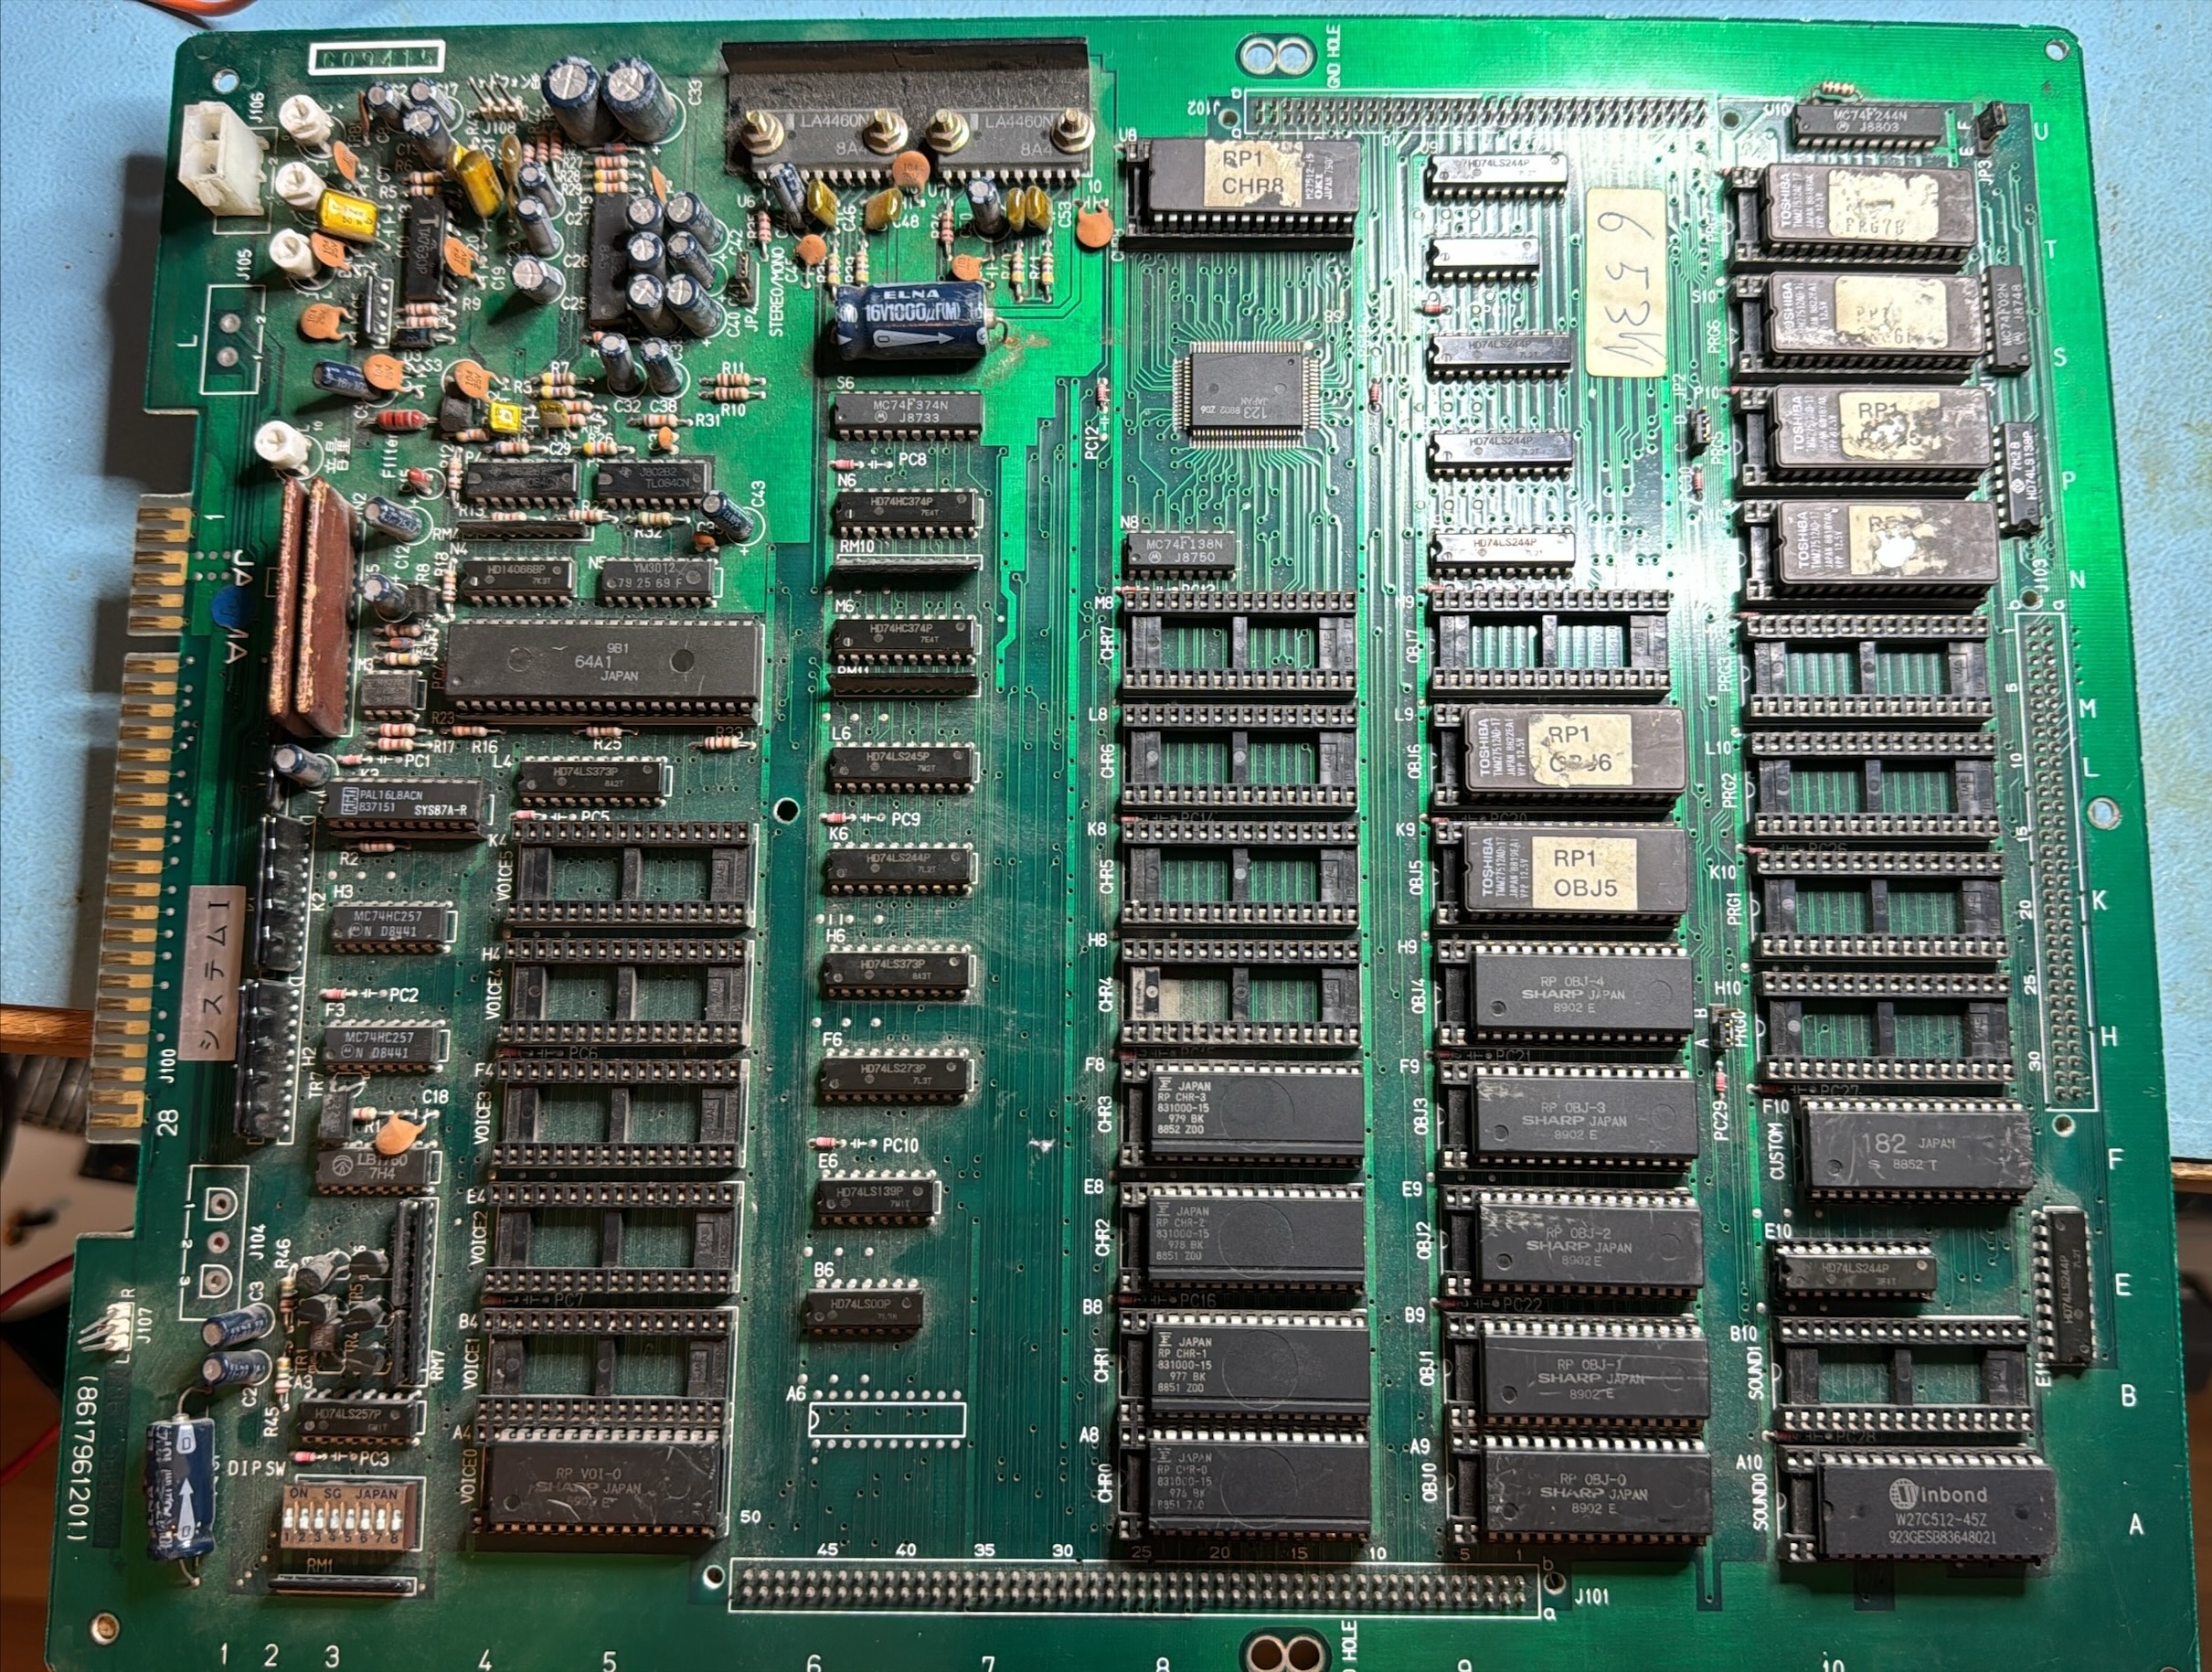
Namco Rompers repair log

 PCB Repair Logs, Repair Logs  Comments Off on Namco Rompers repair log
Aug 032024
 

I’ve had this board in my collection for some years and I’ve made some repair work on before (replacing the cus120 on the CPU board, might put up a repair log on that as well).
I was going through my PCB collection and found that the game would not boot, there was only a black screen and not even the usual klonk sound as Namco System 1 games usually do.

Started with the basics, probed the Program ROMs with my logic probe and I did see some activity on the address and data buses.

Decided to dump the Program ROMs and verify them and they turned out to be ok.

So I started to probe the address and data buses again and found an address line (A2) that was stuck low.

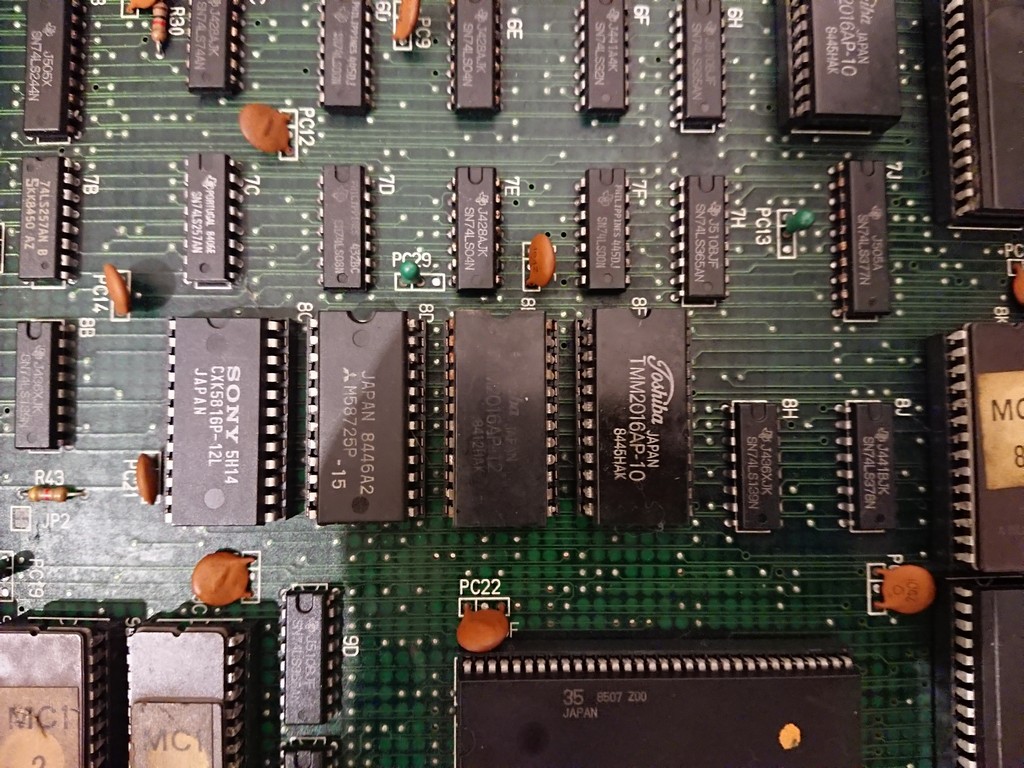
Traced this line back to a 74LS244 at E10

74LS244 is a buffer and according to the Pac-Mania schematics, pin 14 is the output which has its input at pin 6 and there was activity there

This made me quite certain that the 74LS244 at E10 was bad.
But just to be certain, I removed all Program ROMs and the Custom key chip, so none of them would interfer.

And the fault was still there.
I quickly desoldered the 74LS244 and tested it with my tester as bad
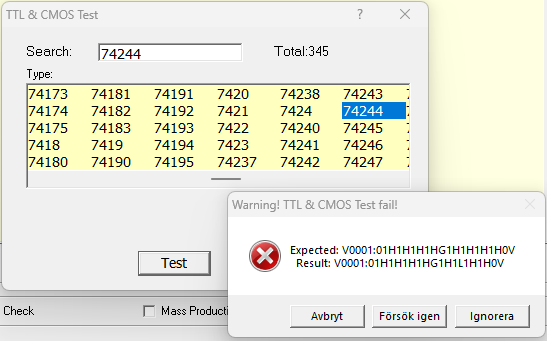
I soldered a socket in its place and replaced the IC with a known good one and now the game booted up again

Metro Cross repair log ( same hardware of Baraduke)

 General, PCB Repair Logs  Comments Off on Metro Cross repair log ( same hardware of Baraduke)
Mar 302020
 

The game at first didn’t boot due to the watchdog circuit being triggered.

There were 4 work srams by Toshiba and first one from left was faulty.

Unfortunately soon after , game started to reset again and the second sram from left failed.

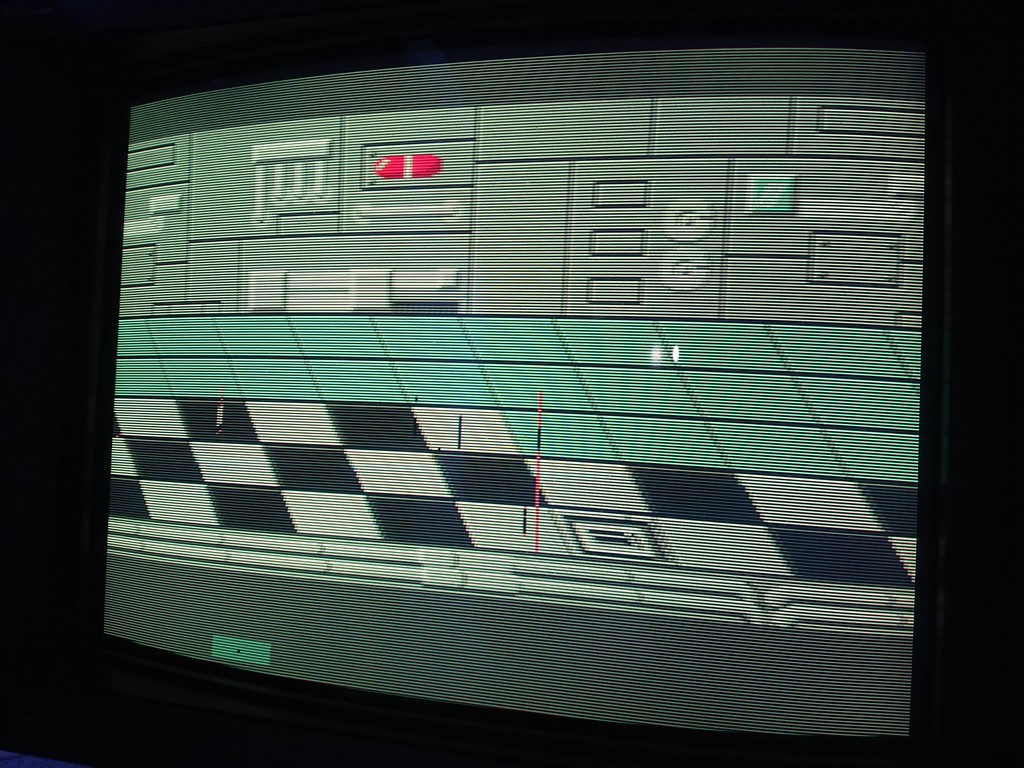
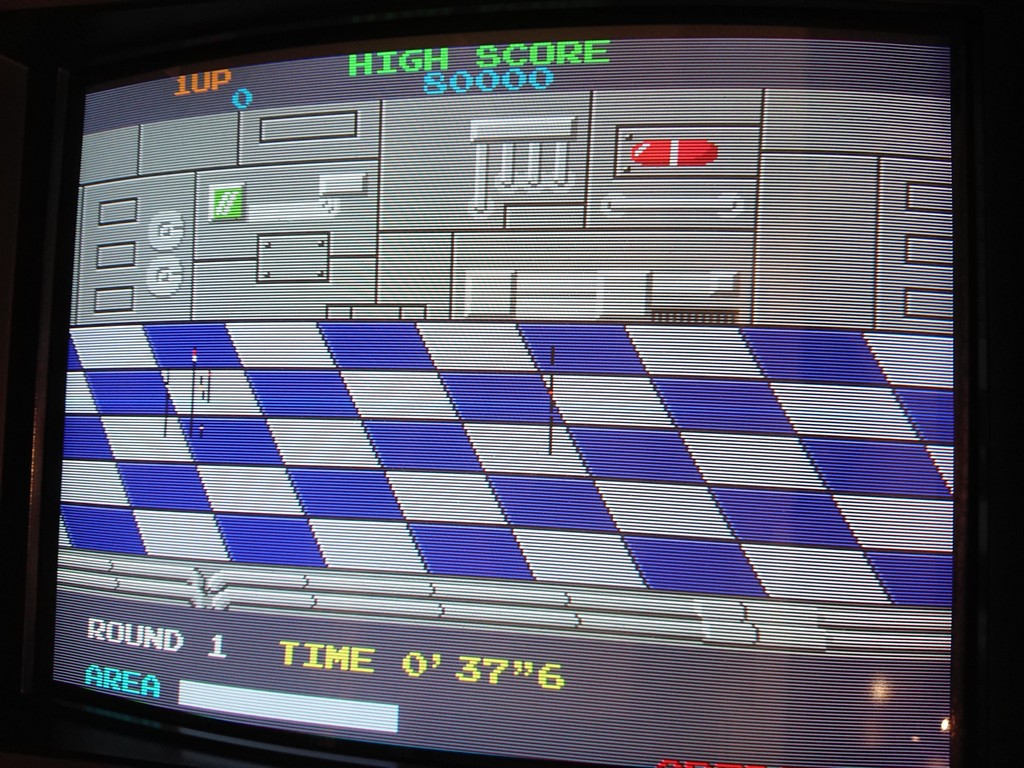
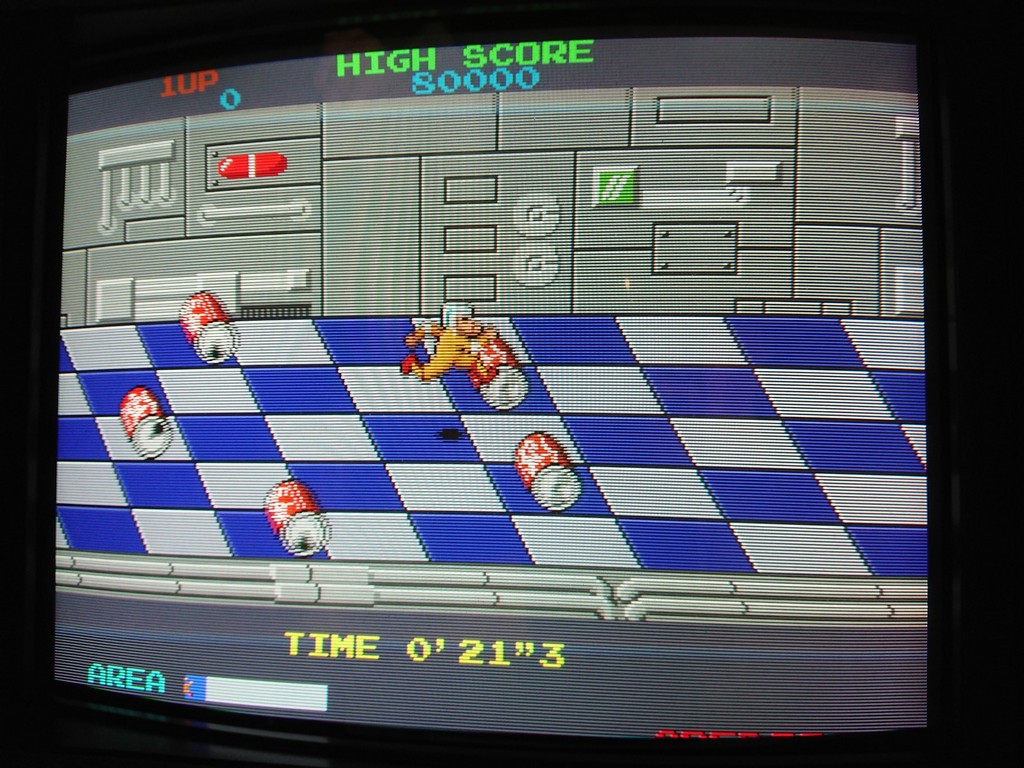
The PCB had then all sprites in a single row and was missing the text on the upper and bottom area and soon after it losts also the BLUE component

Decided to start from the easy part and restored the missing colour.

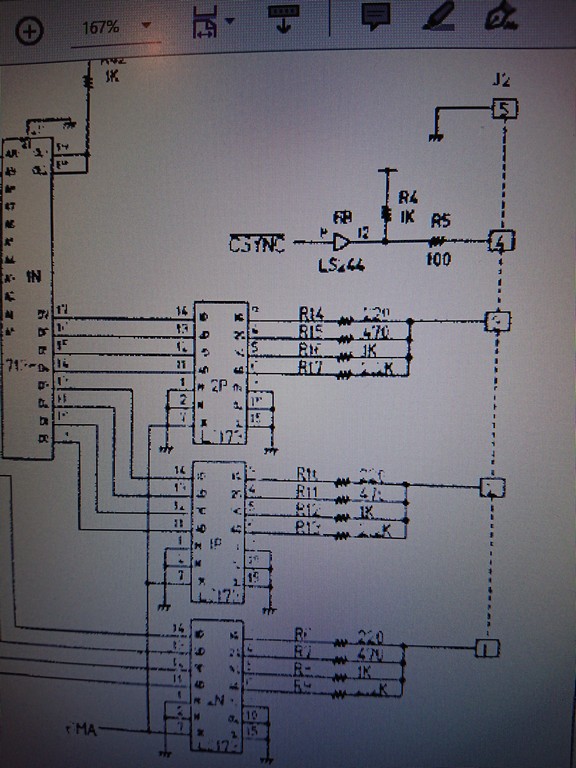
Green and blue components are generated by the PROM @ 1N.

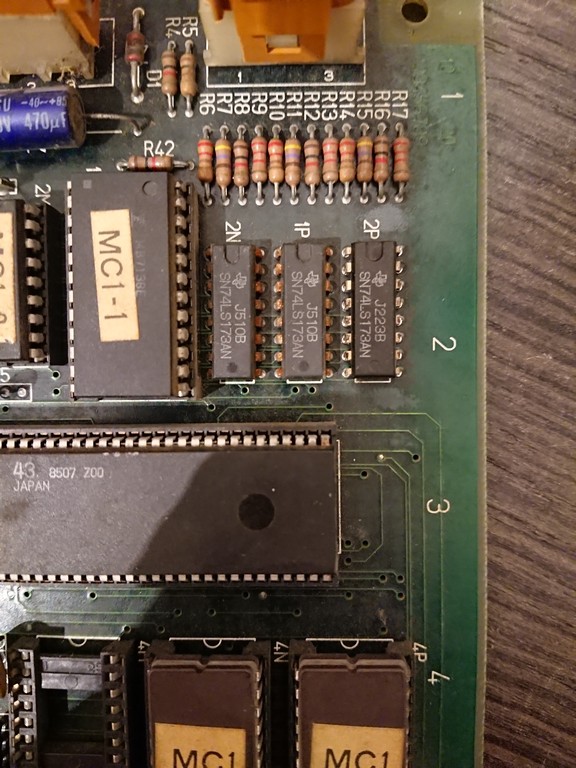
Signals were good so the fault was in the 74LS173@2P which had all output stuck at 0V

After changing the TTL I restored the blue component.

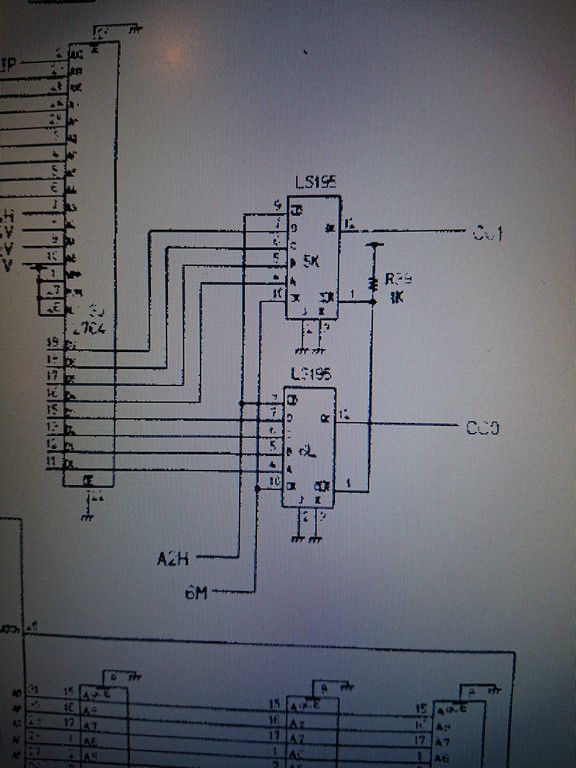
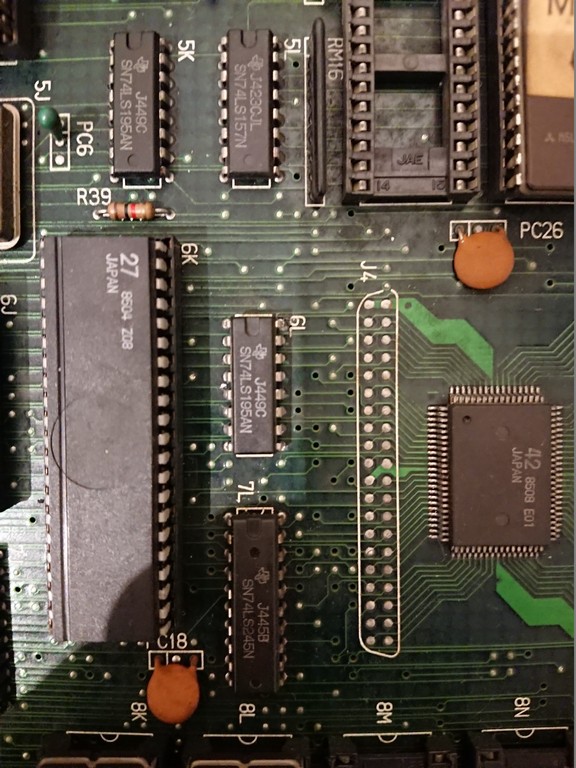
The missing text was due to the 74LS195@6L , while checking it I saw that the text reappeared but glitched

After changing it I finally had again the text


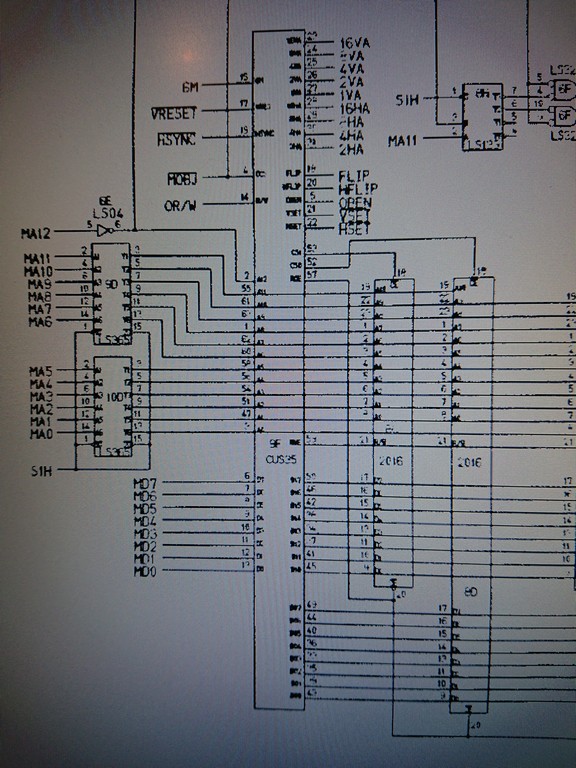
To restore the sprites I decided to concentrate on the \HSET signal on the sprite address generator circuit.

This signal comes from pin 22 of CUS35 and it was always stuck LOW. I took another CUS35 from a BaradukeĀ  board and the problem remained.

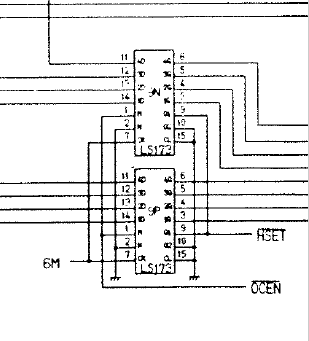
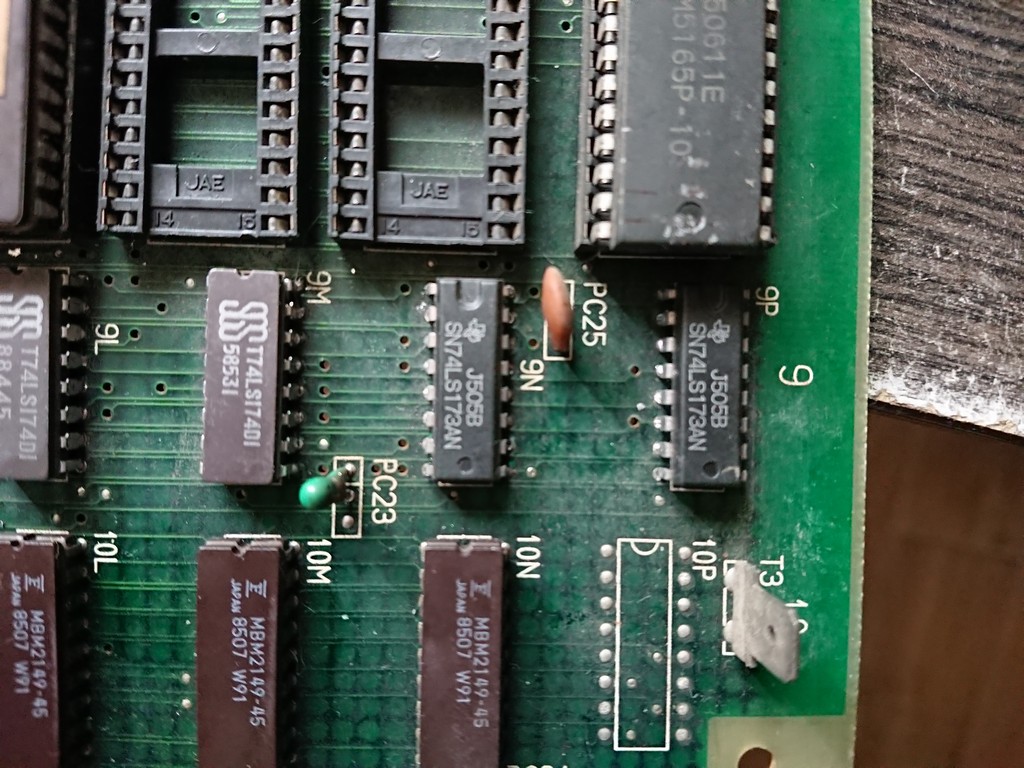
So I decided to look at the other side and checked two 74LS173@9N and 9P

I shorted for a brief moment the \Hset signal to 5V and the sprites were correctly drawn again and the signal was oscillating.

But I noticed that some sprites has some glitching on colours.

I decided to replace both of them

Board was 100% fixed


Of particular note is that all the faulty TTLs were by Texas Instruments ( not Fujitsu!) and of uncommon type.

It seems Namco had a stock of these ICs to be used on an hardware design šŸ˜‰

Please note also that CUS35 is 100% compatible with CUS48 from later Namco system 1 games.


Pacland repair log #5

 General, PCB Repair Logs  Comments Off on Pacland repair log #5
Mar 292020
 

Second Pacland pcb I got for repair is a Namco one.

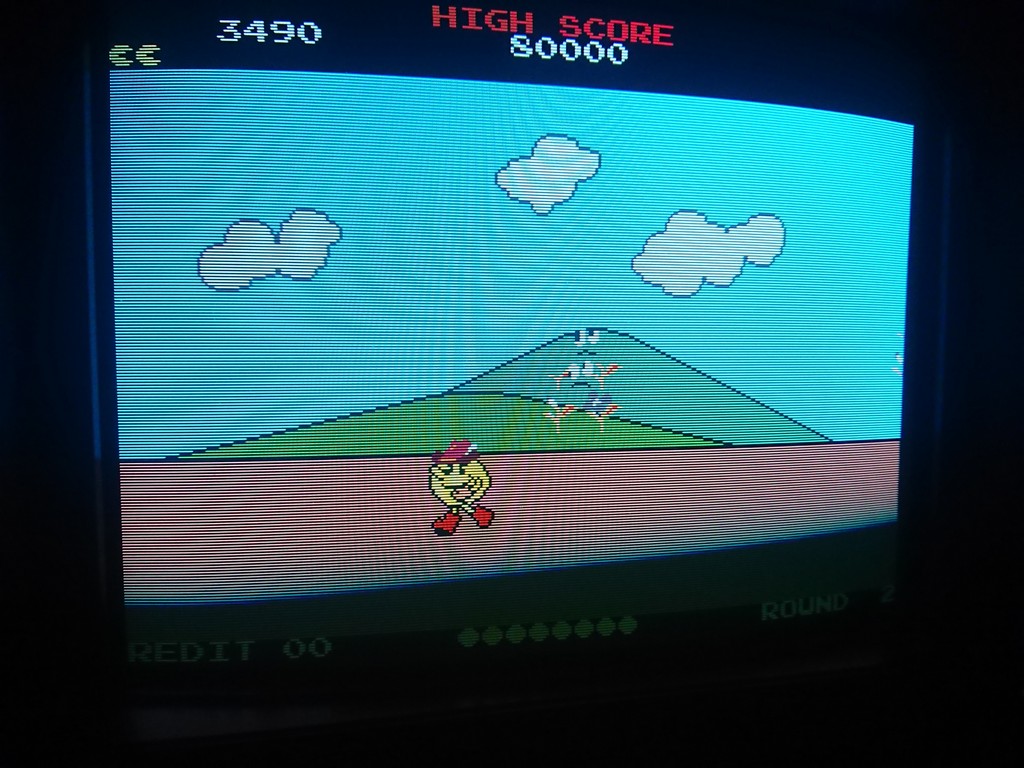
It had some sprites wrongly selected by the game code

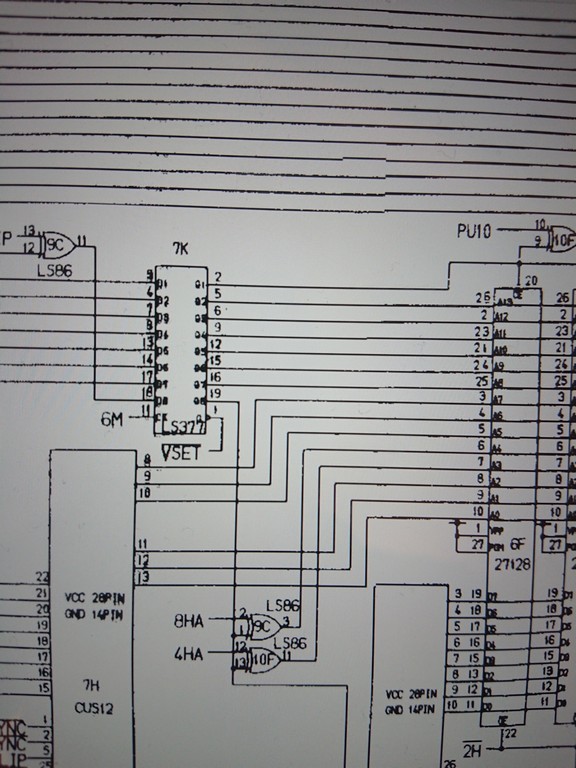
After checking on the schematics the sprite addressing I found this:


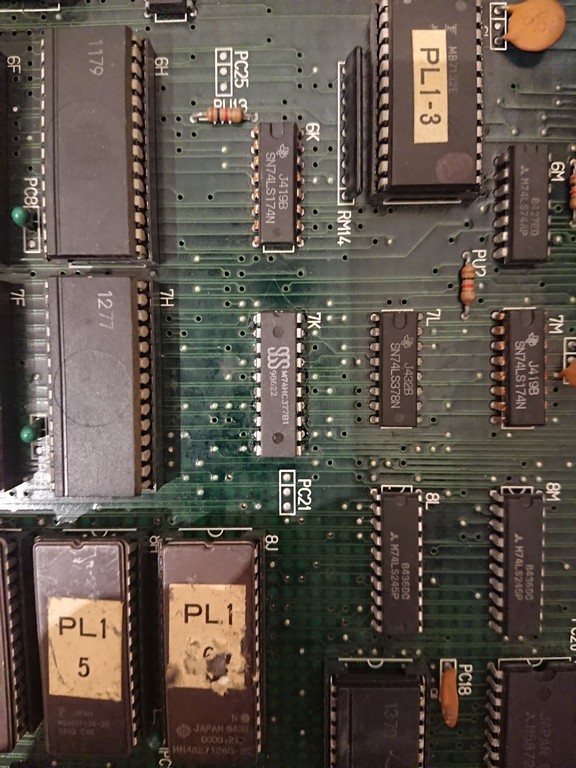
pin 16 of 74ls377@7KĀ  was stuck low thus selecting the wrong sprites on the sprites eproms

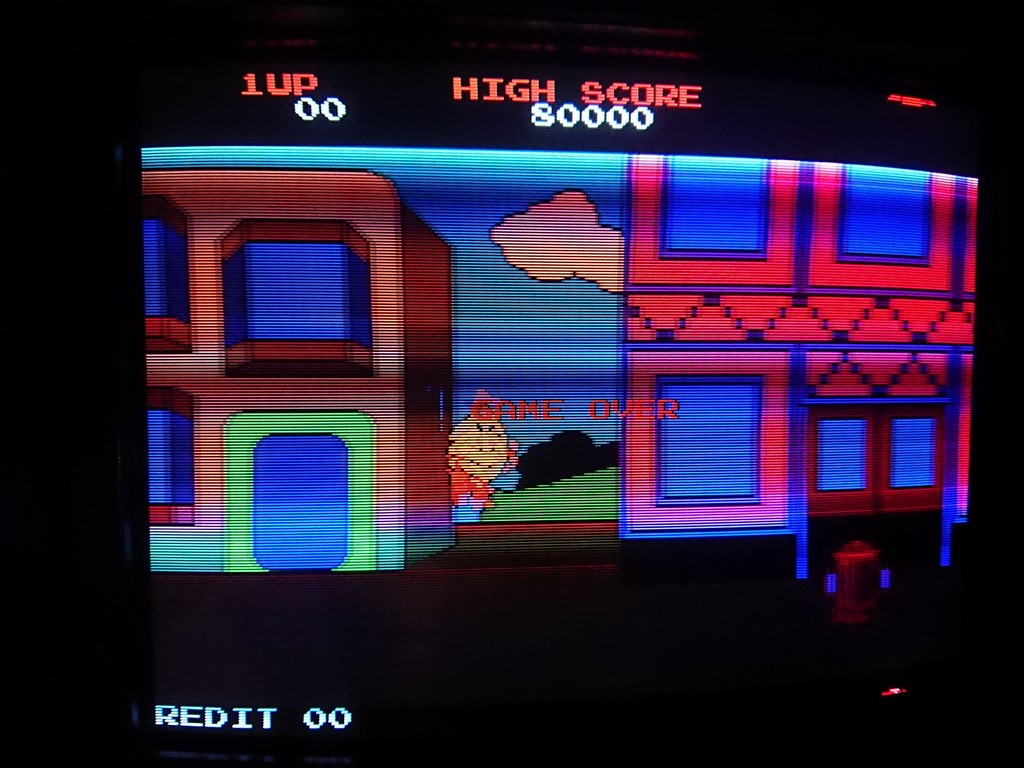
After changing it board was fixed:

Pacland repair log #4

 PCB Repair Logs  Comments Off on Pacland repair log #4
Mar 292020
 

Got two Pacland pcbs to be repaired from a friend.

Fist one is a Sidam Pacland which showed the following problem:


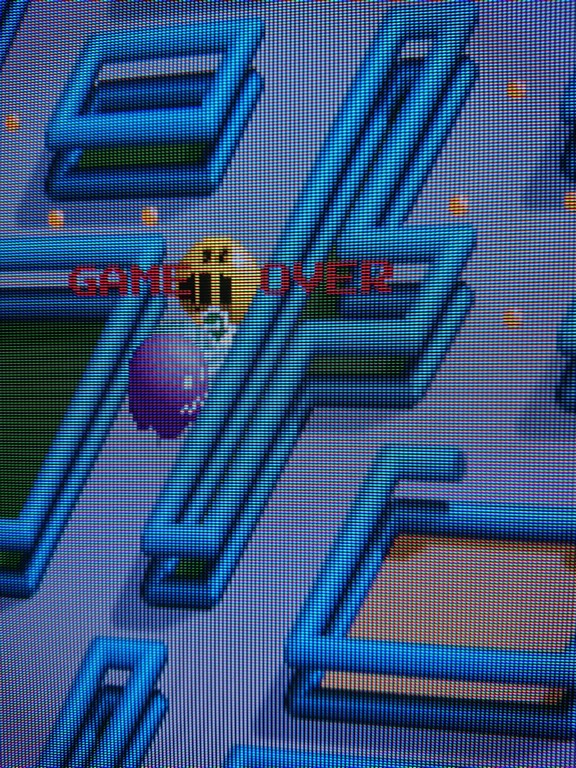
All the screen had shadowed colours going up and down vertically.

By expecience whith similar problems on different hardware I understood it was a Hblank problem.

The game didn’t shut off the screen at the borders so the monitor didn’t have anymore the black reference.

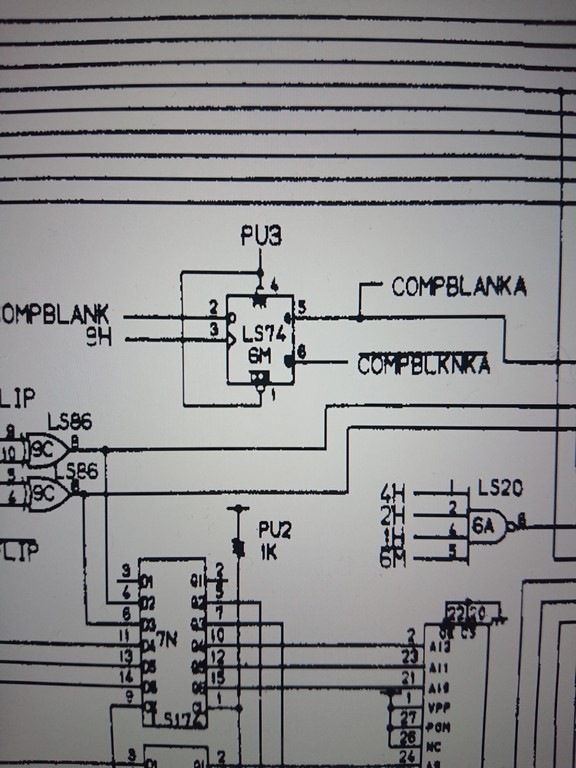
Looking at the schematics I found immediately a clear reference to the blanking circuit:


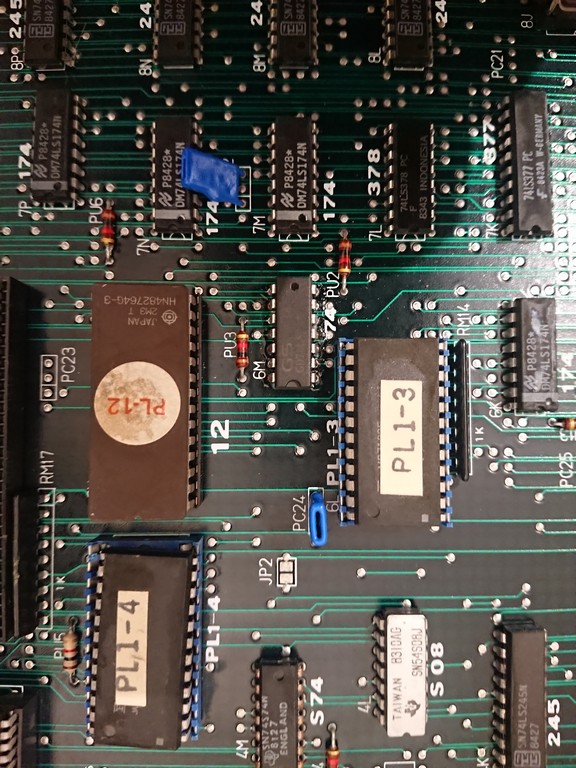
Compblank was oscillating, while COMPBLANK A and \COMPBLANK A were stuck.

Chaning the 74LS74@6M fixed completely the issue


Pacmania repair log #3

 PCB Repair Logs  Comments Off on Pacmania repair log #3
Aug 132019
 

Got another Pacmania faulty.

This time the sprites were glitchy with some black lines


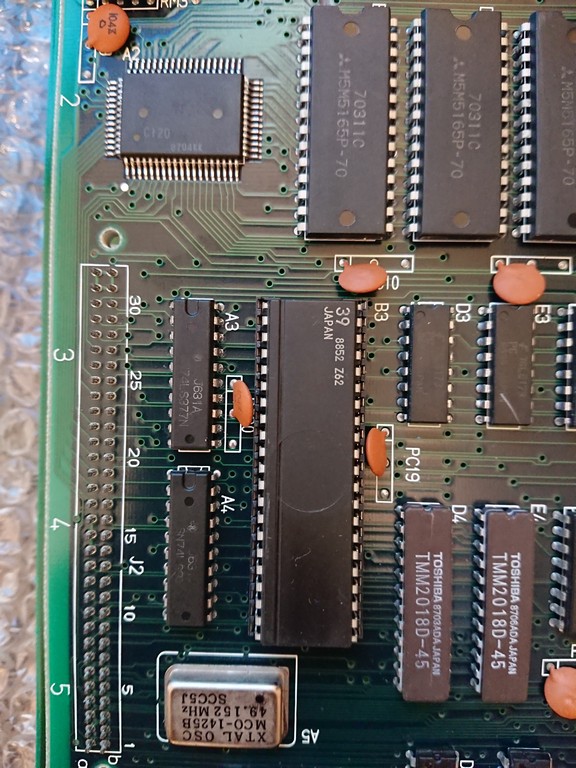
Custom 39 is usually involved in sprites generation but after testing with a good one problem remained.

There are two 74ls377 connected to it and one @A3 has one missing output.

Changing it fixed the board