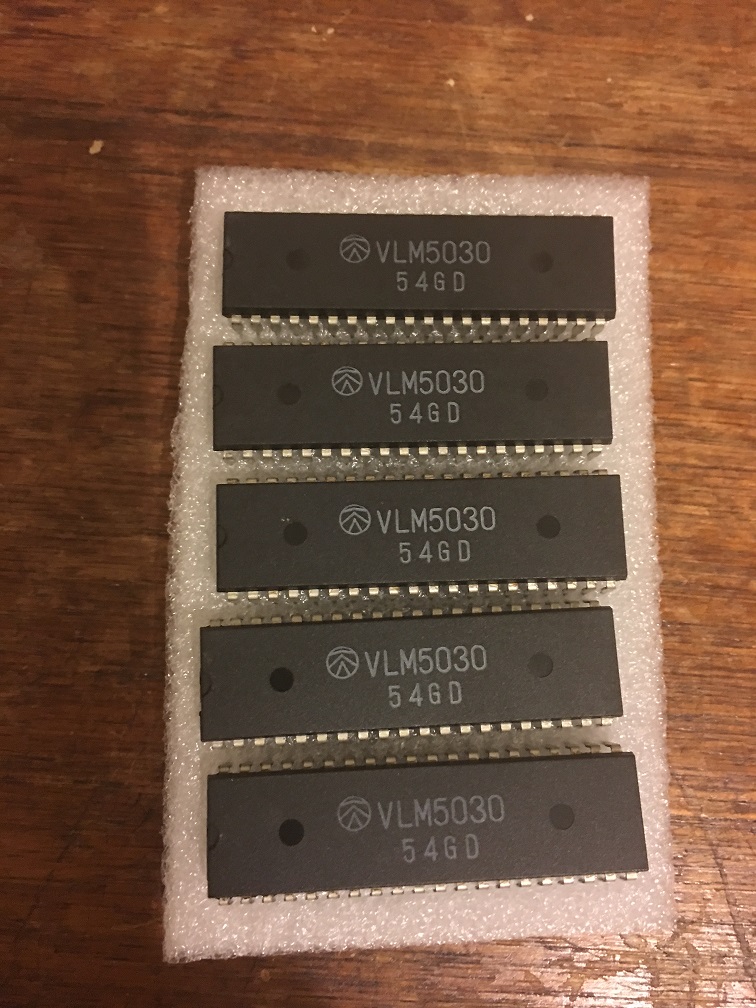
This is a very short update which covers the replacement of the VLM5030 Speech Synthesizer chip which Konami used in various games.
https://www.system16.com/hardware.php?id=556
Today my eBay order of 5 x VLM5030 Speech Synthesizer chips arrived in the mail. I only needed one but who knows when the other 4 will come in handy for future repairs.
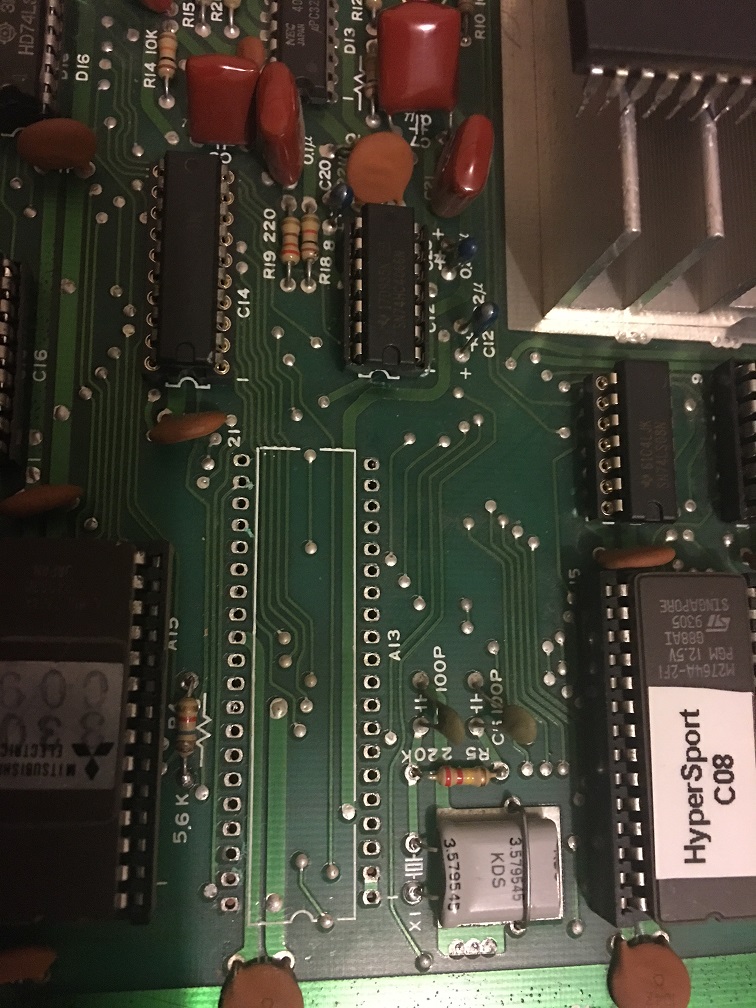
Removed the old IC. It’s probably not clear from the picture but this IC got very hot at some point. The marks left aren’t as obvious as what I discovered under the 2149s at A19 and B19, I might need to look at those later.
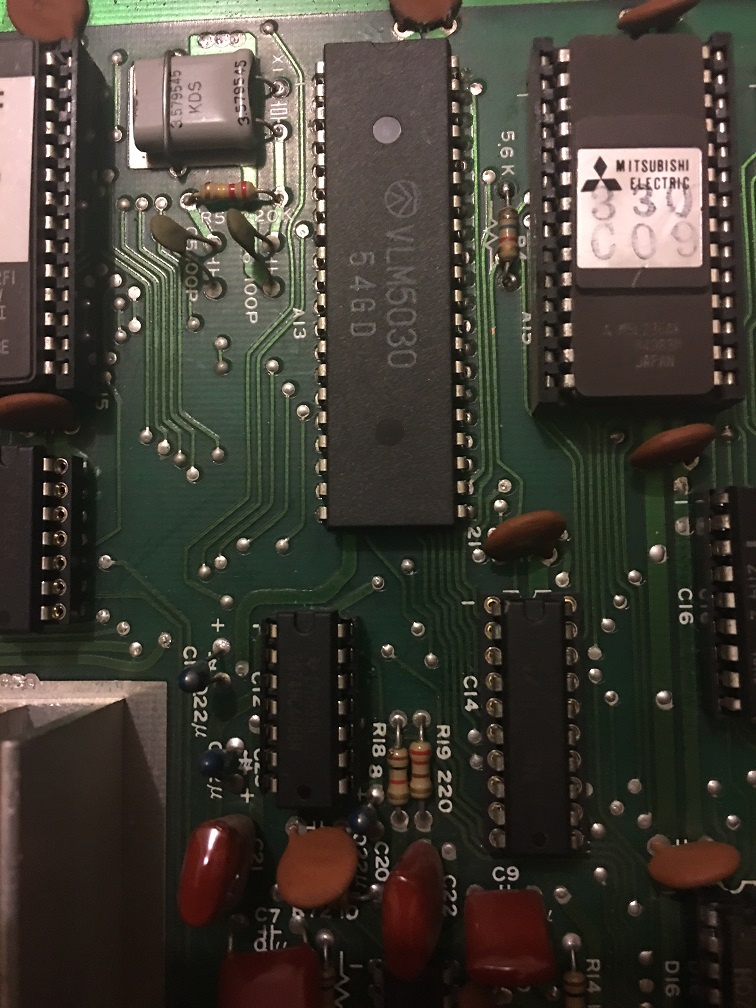
I didn’t have any 40 pin sockets available but I was really itching to try this out so I soldered the chip in anyway.
Cycling through the sounds and playing them in diagnostic mode verified the fix for this. I also ran the game to verify this as well.
At first it showed a OBJECT RAM ERROR which was fixed by reflowing the custom BCU-2 which had some lifted pins.
At this point the game showed all the sprites with black pixels
After some trials, I could locate the circuit which draws the sprites.
There are 4x srams 6116, by piggybacking sram @12C ( marked in white on the below pic) the sprites were shown perfectly.
After exchanging it, I got another issue
From the above picture it is difficult to see, but on the upper half of the screen, the alternate lines of the sprites were displaced on the bottom side.
I was really puzzled and I was sure that something else got broken in the meanwhile.
After some days of blindly checking other parts of the circuits, I decided to probe the address pins of the very same sram I exhanged.
A10 and A9 were tied to ground on all 4 srams of the sprite circuit, while only A8 was floating on the sram @12C
The address pins were connected to some 74LS157 and all were working correctly.
That meant the trace A8 was somewhat broken underneath.
Fortunately I had another Vimana from which I noted to which 74ls157 output A8 was connected.
After fixing the connection, the games was 100% fixed
I received this system 16 motherboard from an arcadeitalia member called Consoleman.
The motherboard was missing completely the sound and didn’t sync with the monitor.
After checking with my sound probe that the sound was really missing by probing the pre amps, I started to check the Z80 which was confirmed good and RAM which was faulty.
Changing the ram restored the sound completely.
The Sync problem was not easy to check because the TTL which outputs the signal to the finger board is under the romboard.
In anycase I managed to test it from the solder side and I noticed the composite signal was about 14khz, that is why was not syncing.
I proceeded to desolder it
and tested out of circuit with my programmer as good….
Instead of soldering the same part, I decided to find another 74Ls125 among my junk boards.
It was not common but in the end I found it on another board and soldered it.
Motherboard was 100% fixed.
Probably my programmer hadn’t enough sensibility to declare the part as bad. First time it happens.
PCB Repair LogsComments Off on Wild West C.O.W. Boys of Moo Mesa repair log #3
May032017
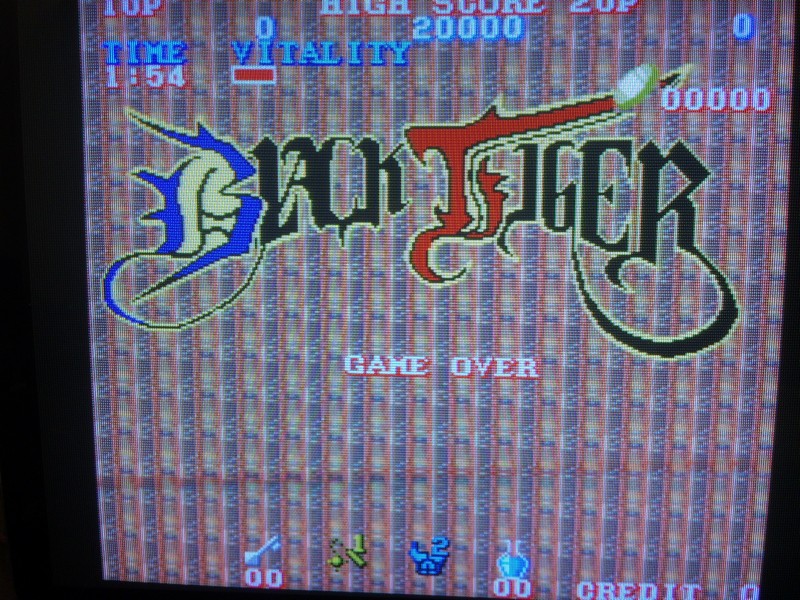
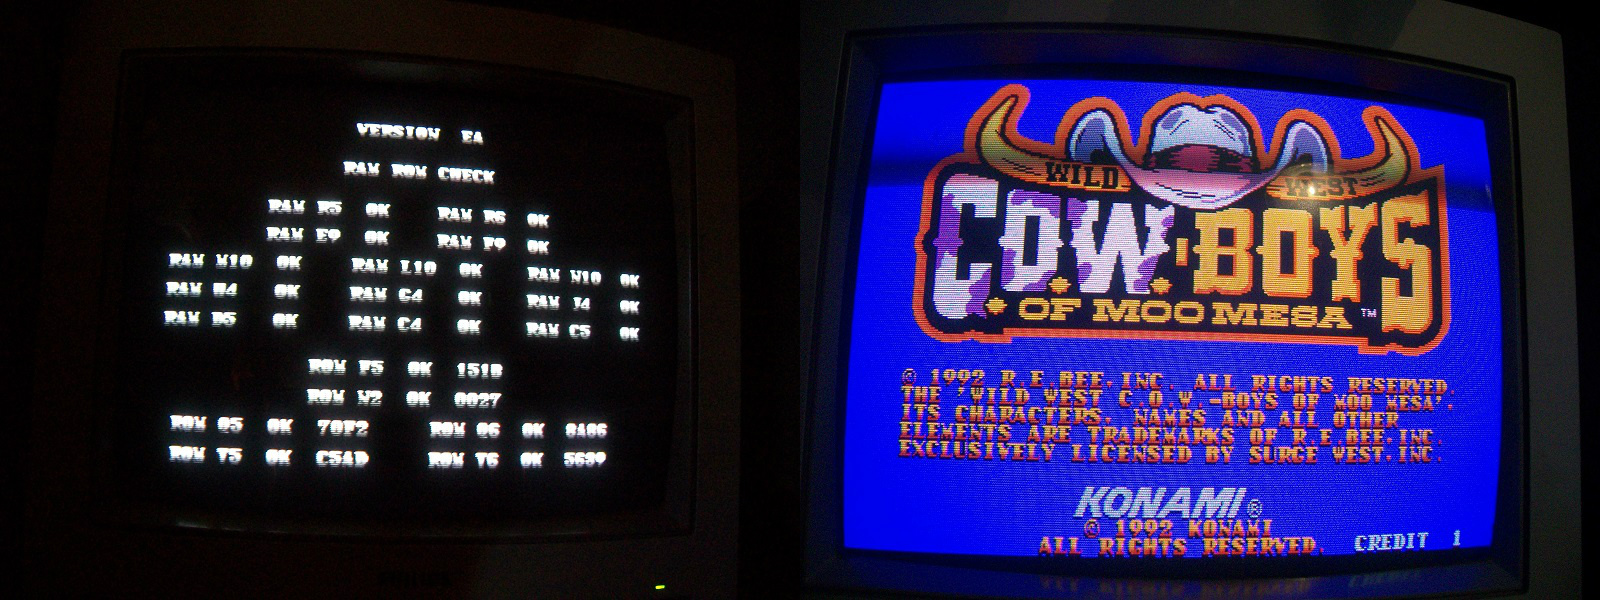
Today I received this Wild West C.O.W. Boys of Moo Mesa PCB for repair:
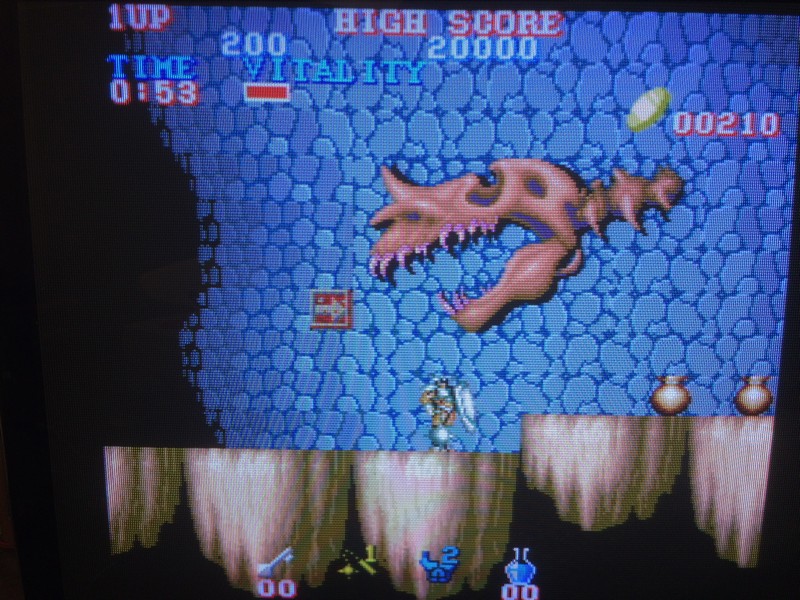
PCB was faulty, initial RAM/ROM check failed showing a ‘SOUND SYSTEM BAD’ error and then resetted :
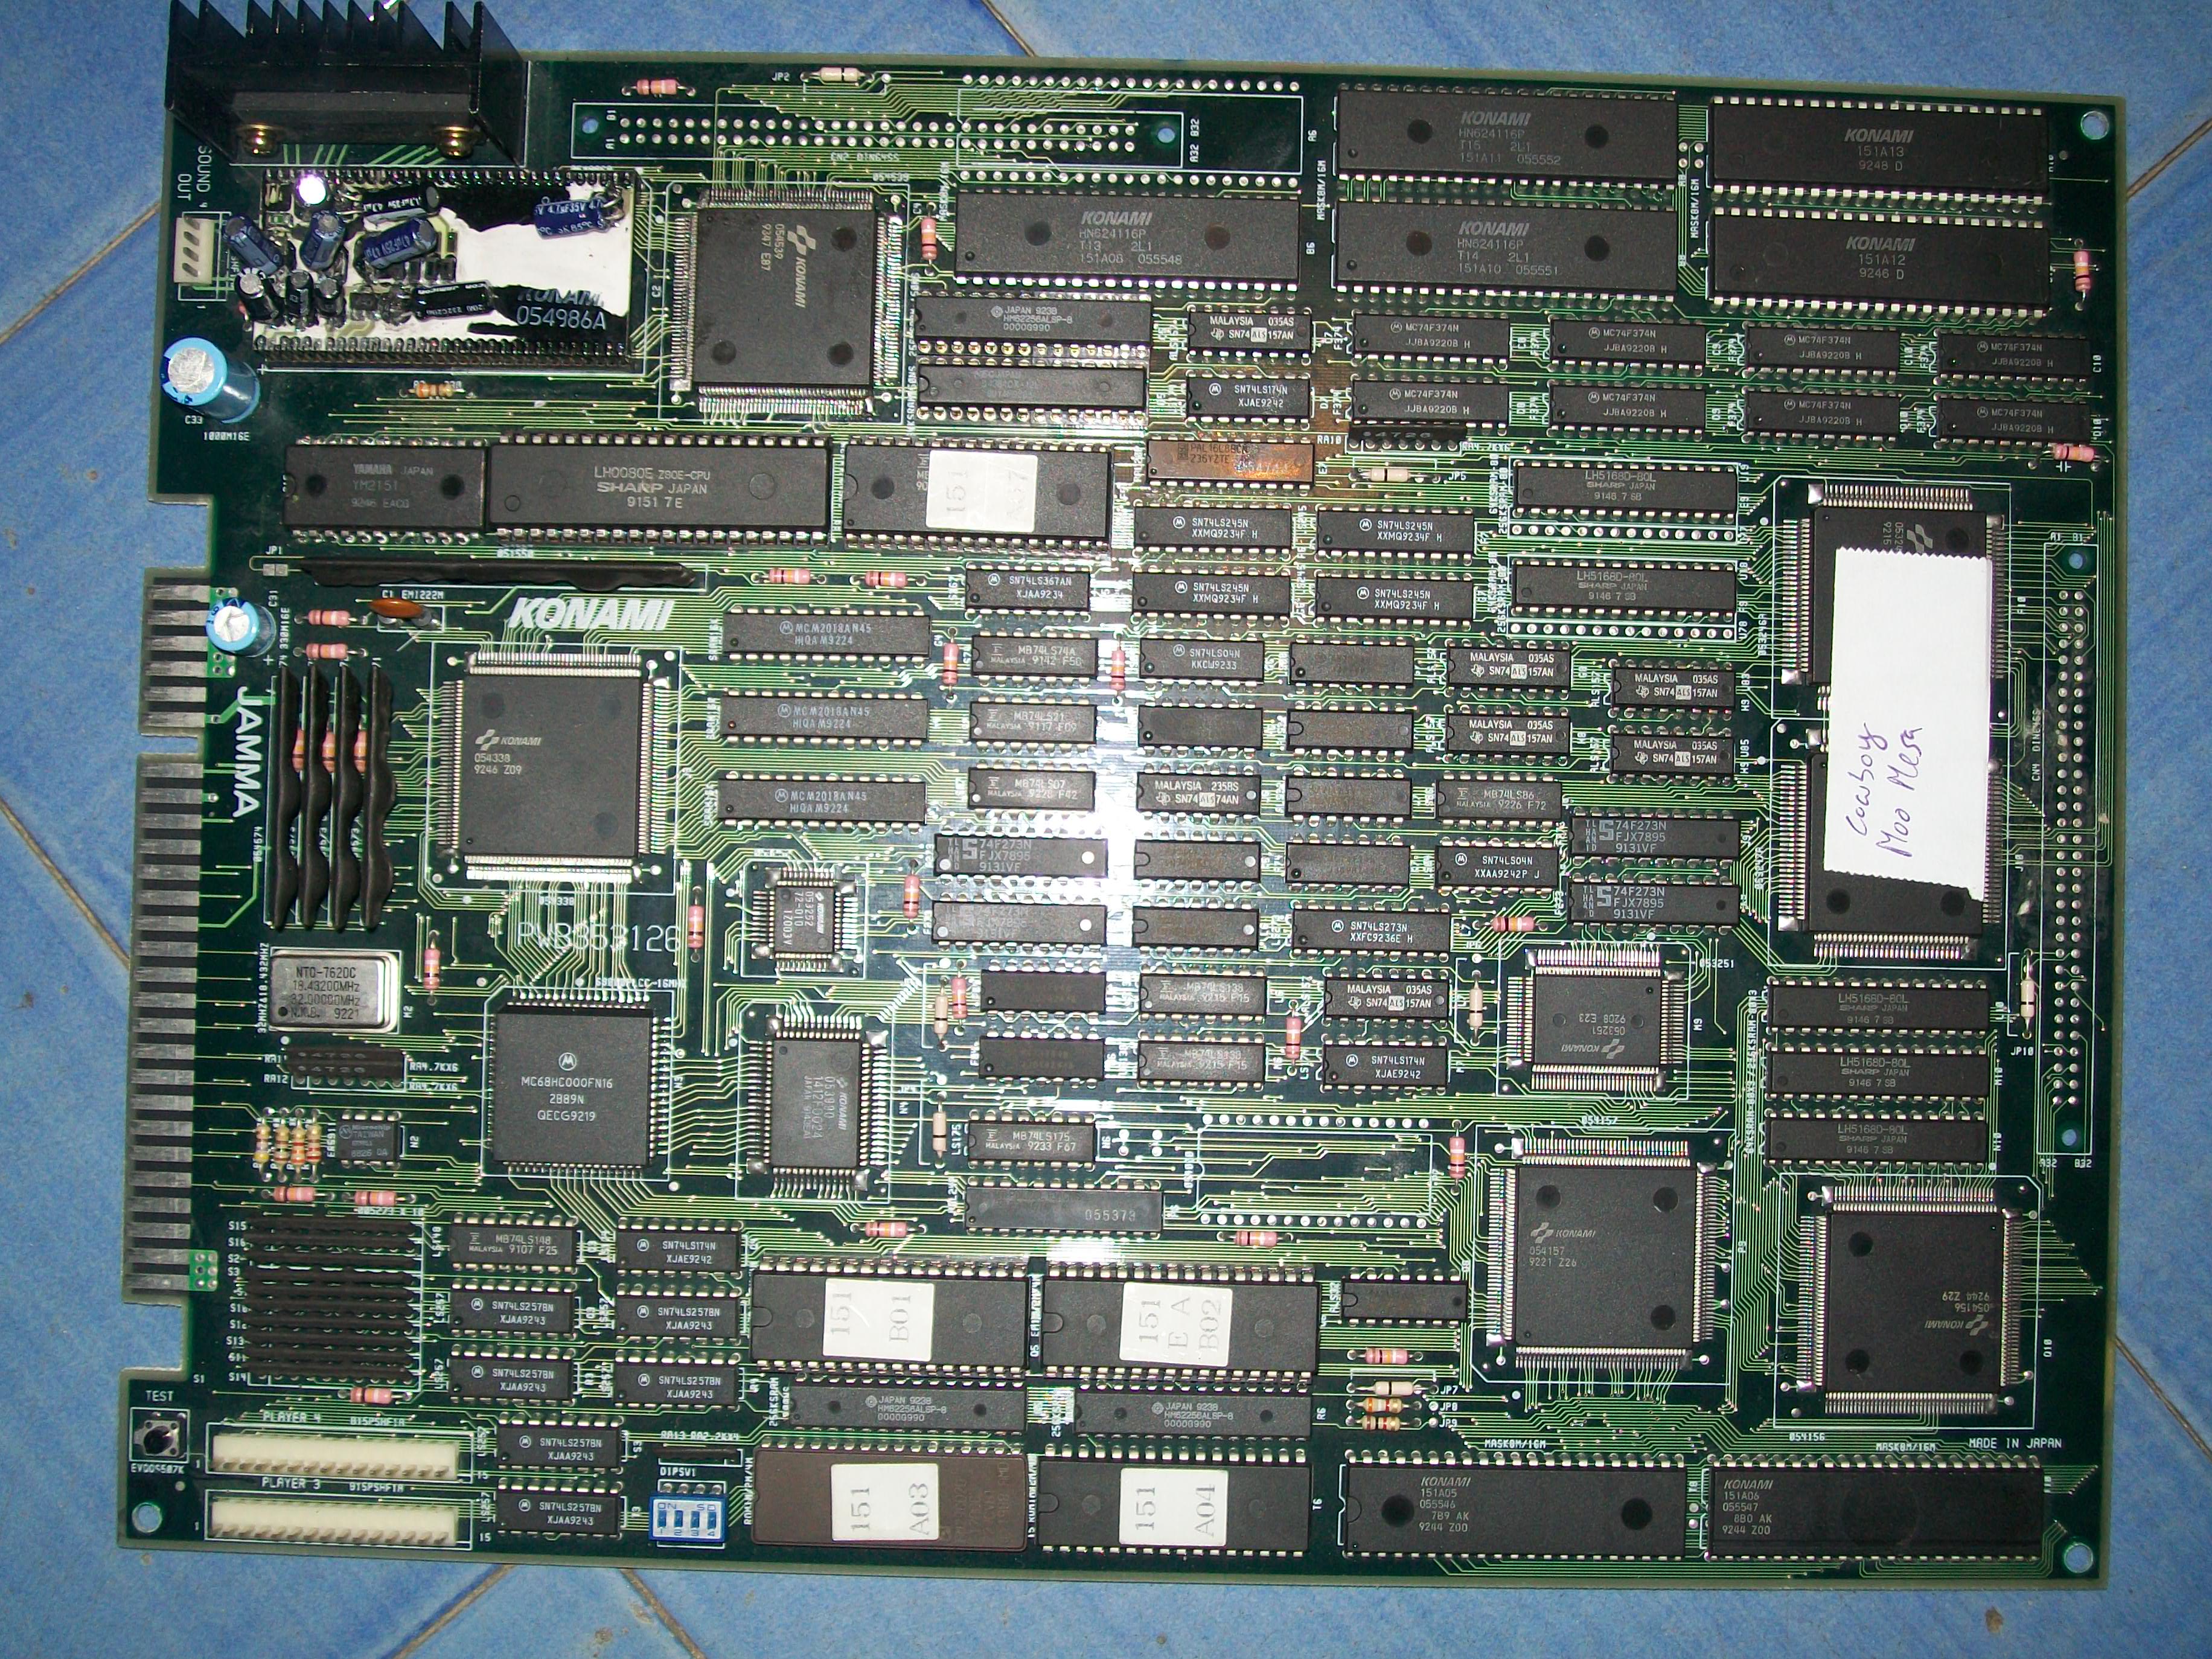
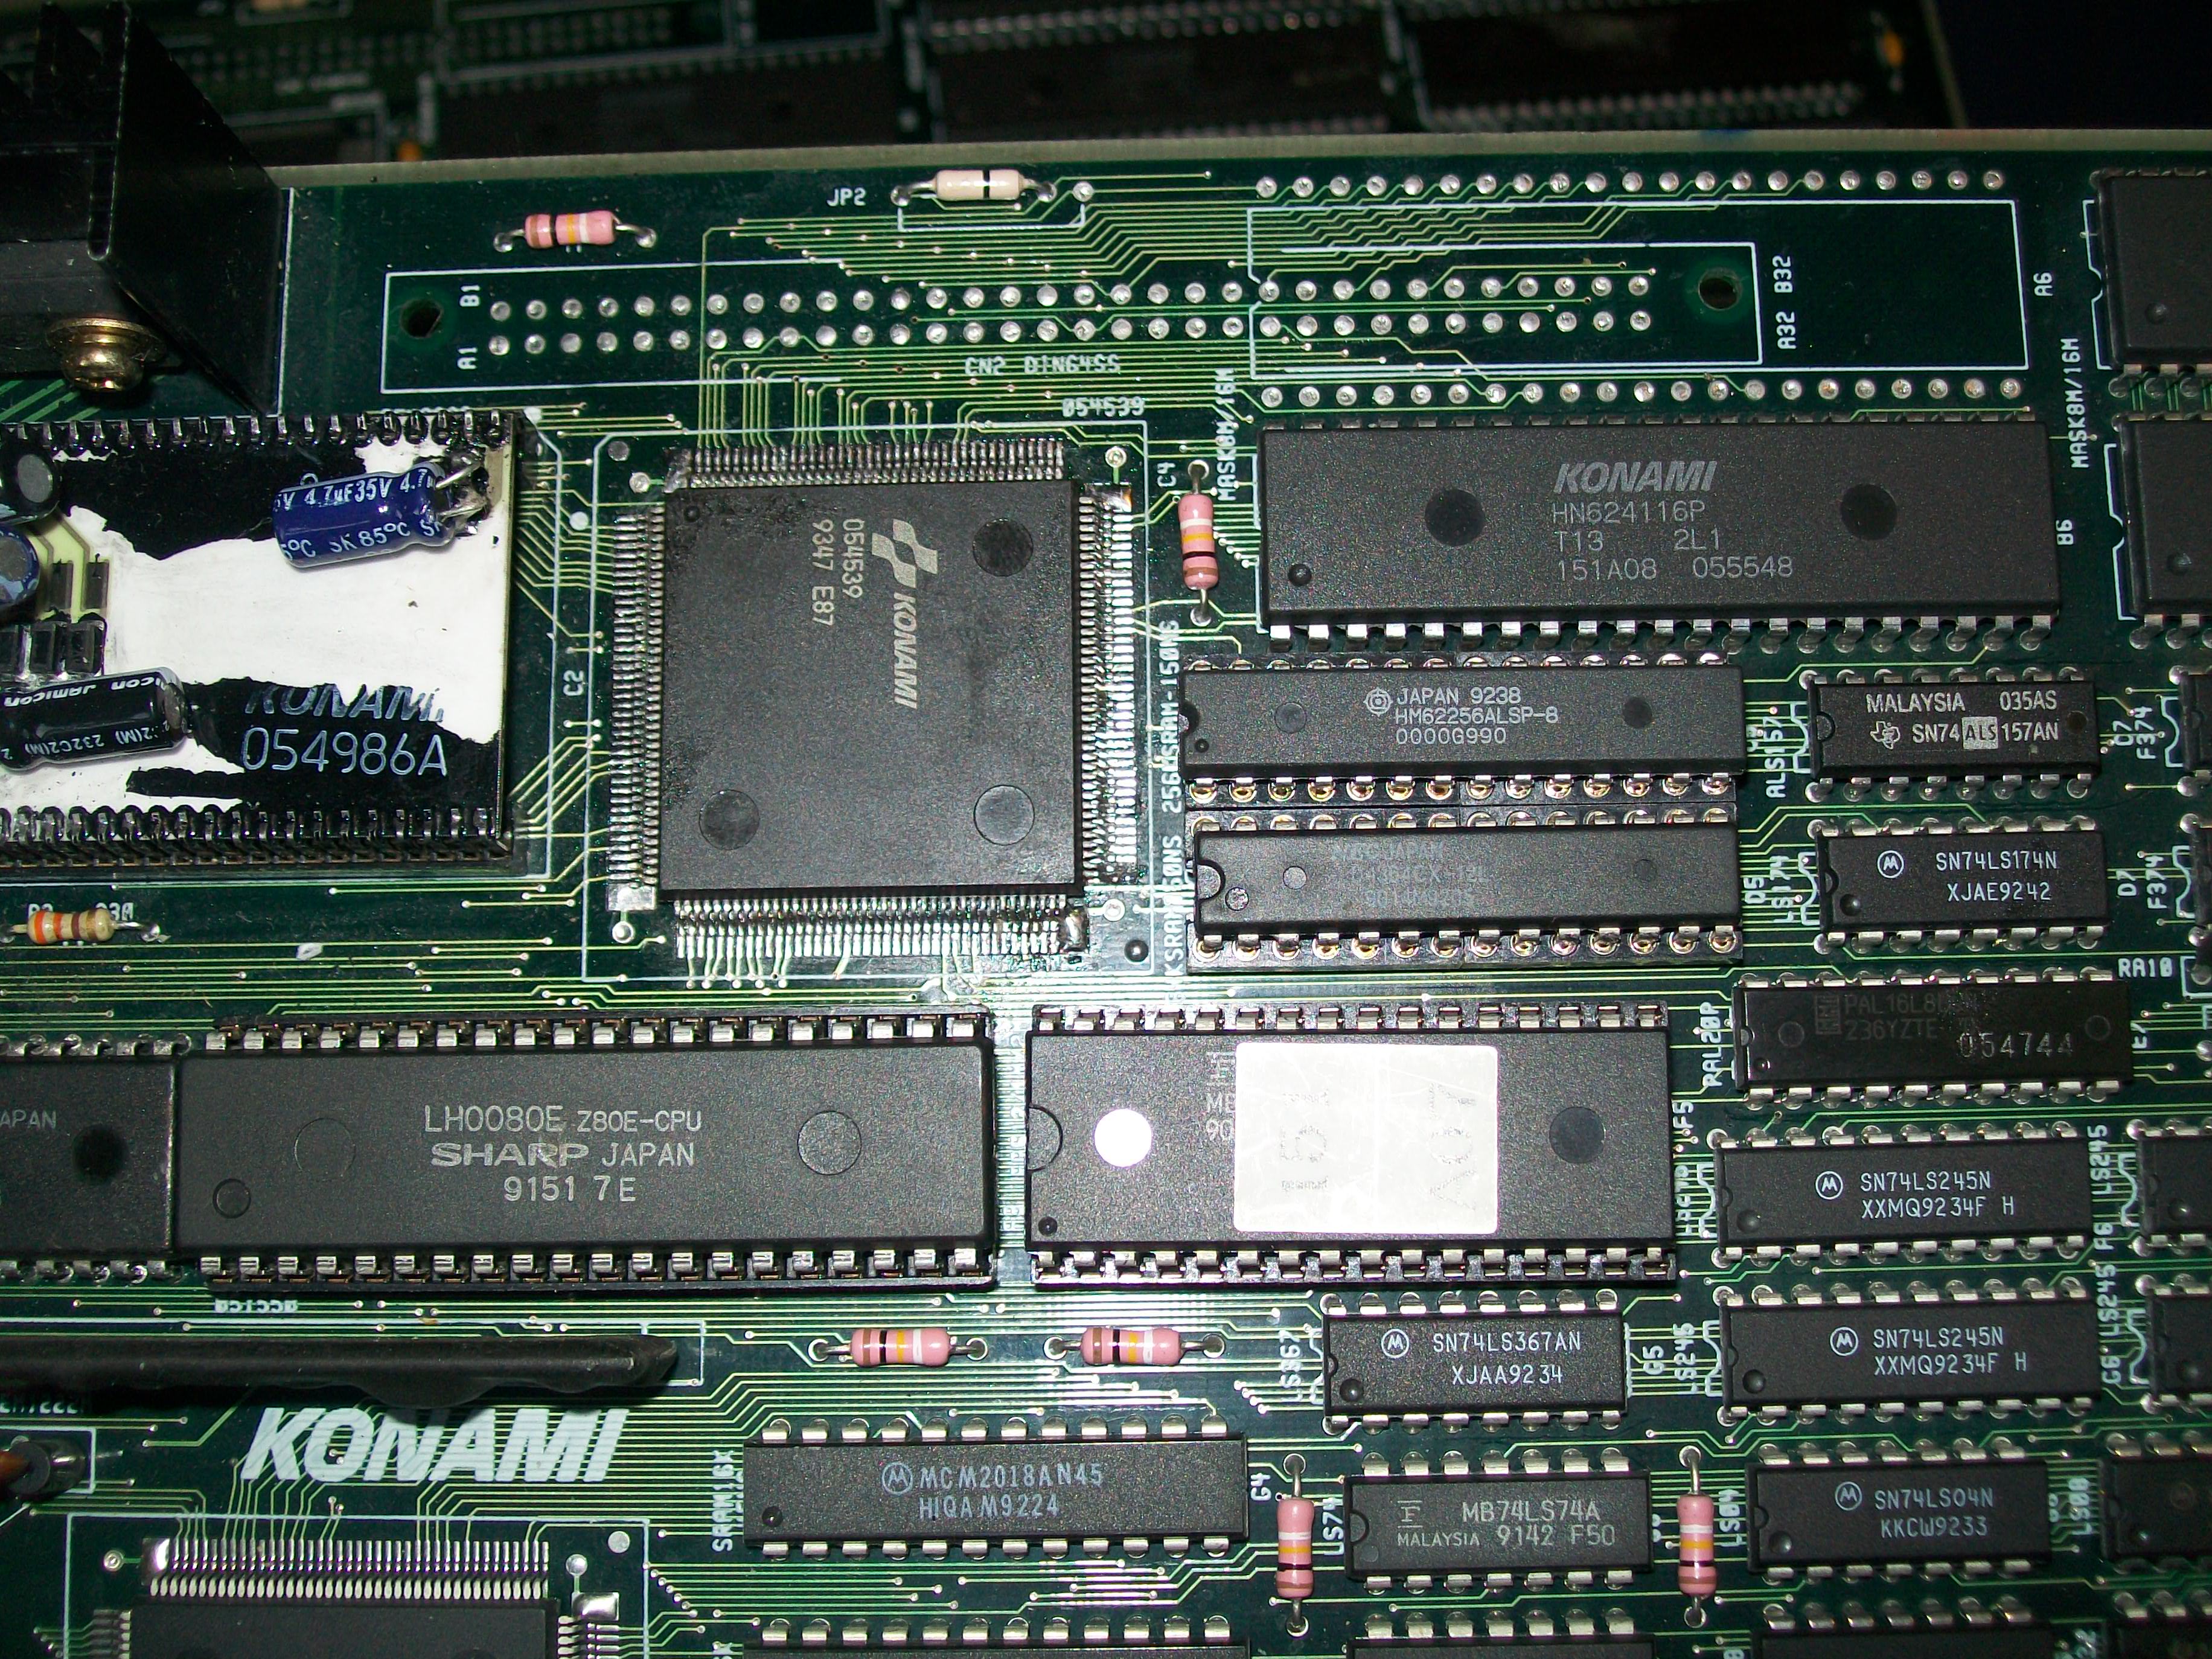
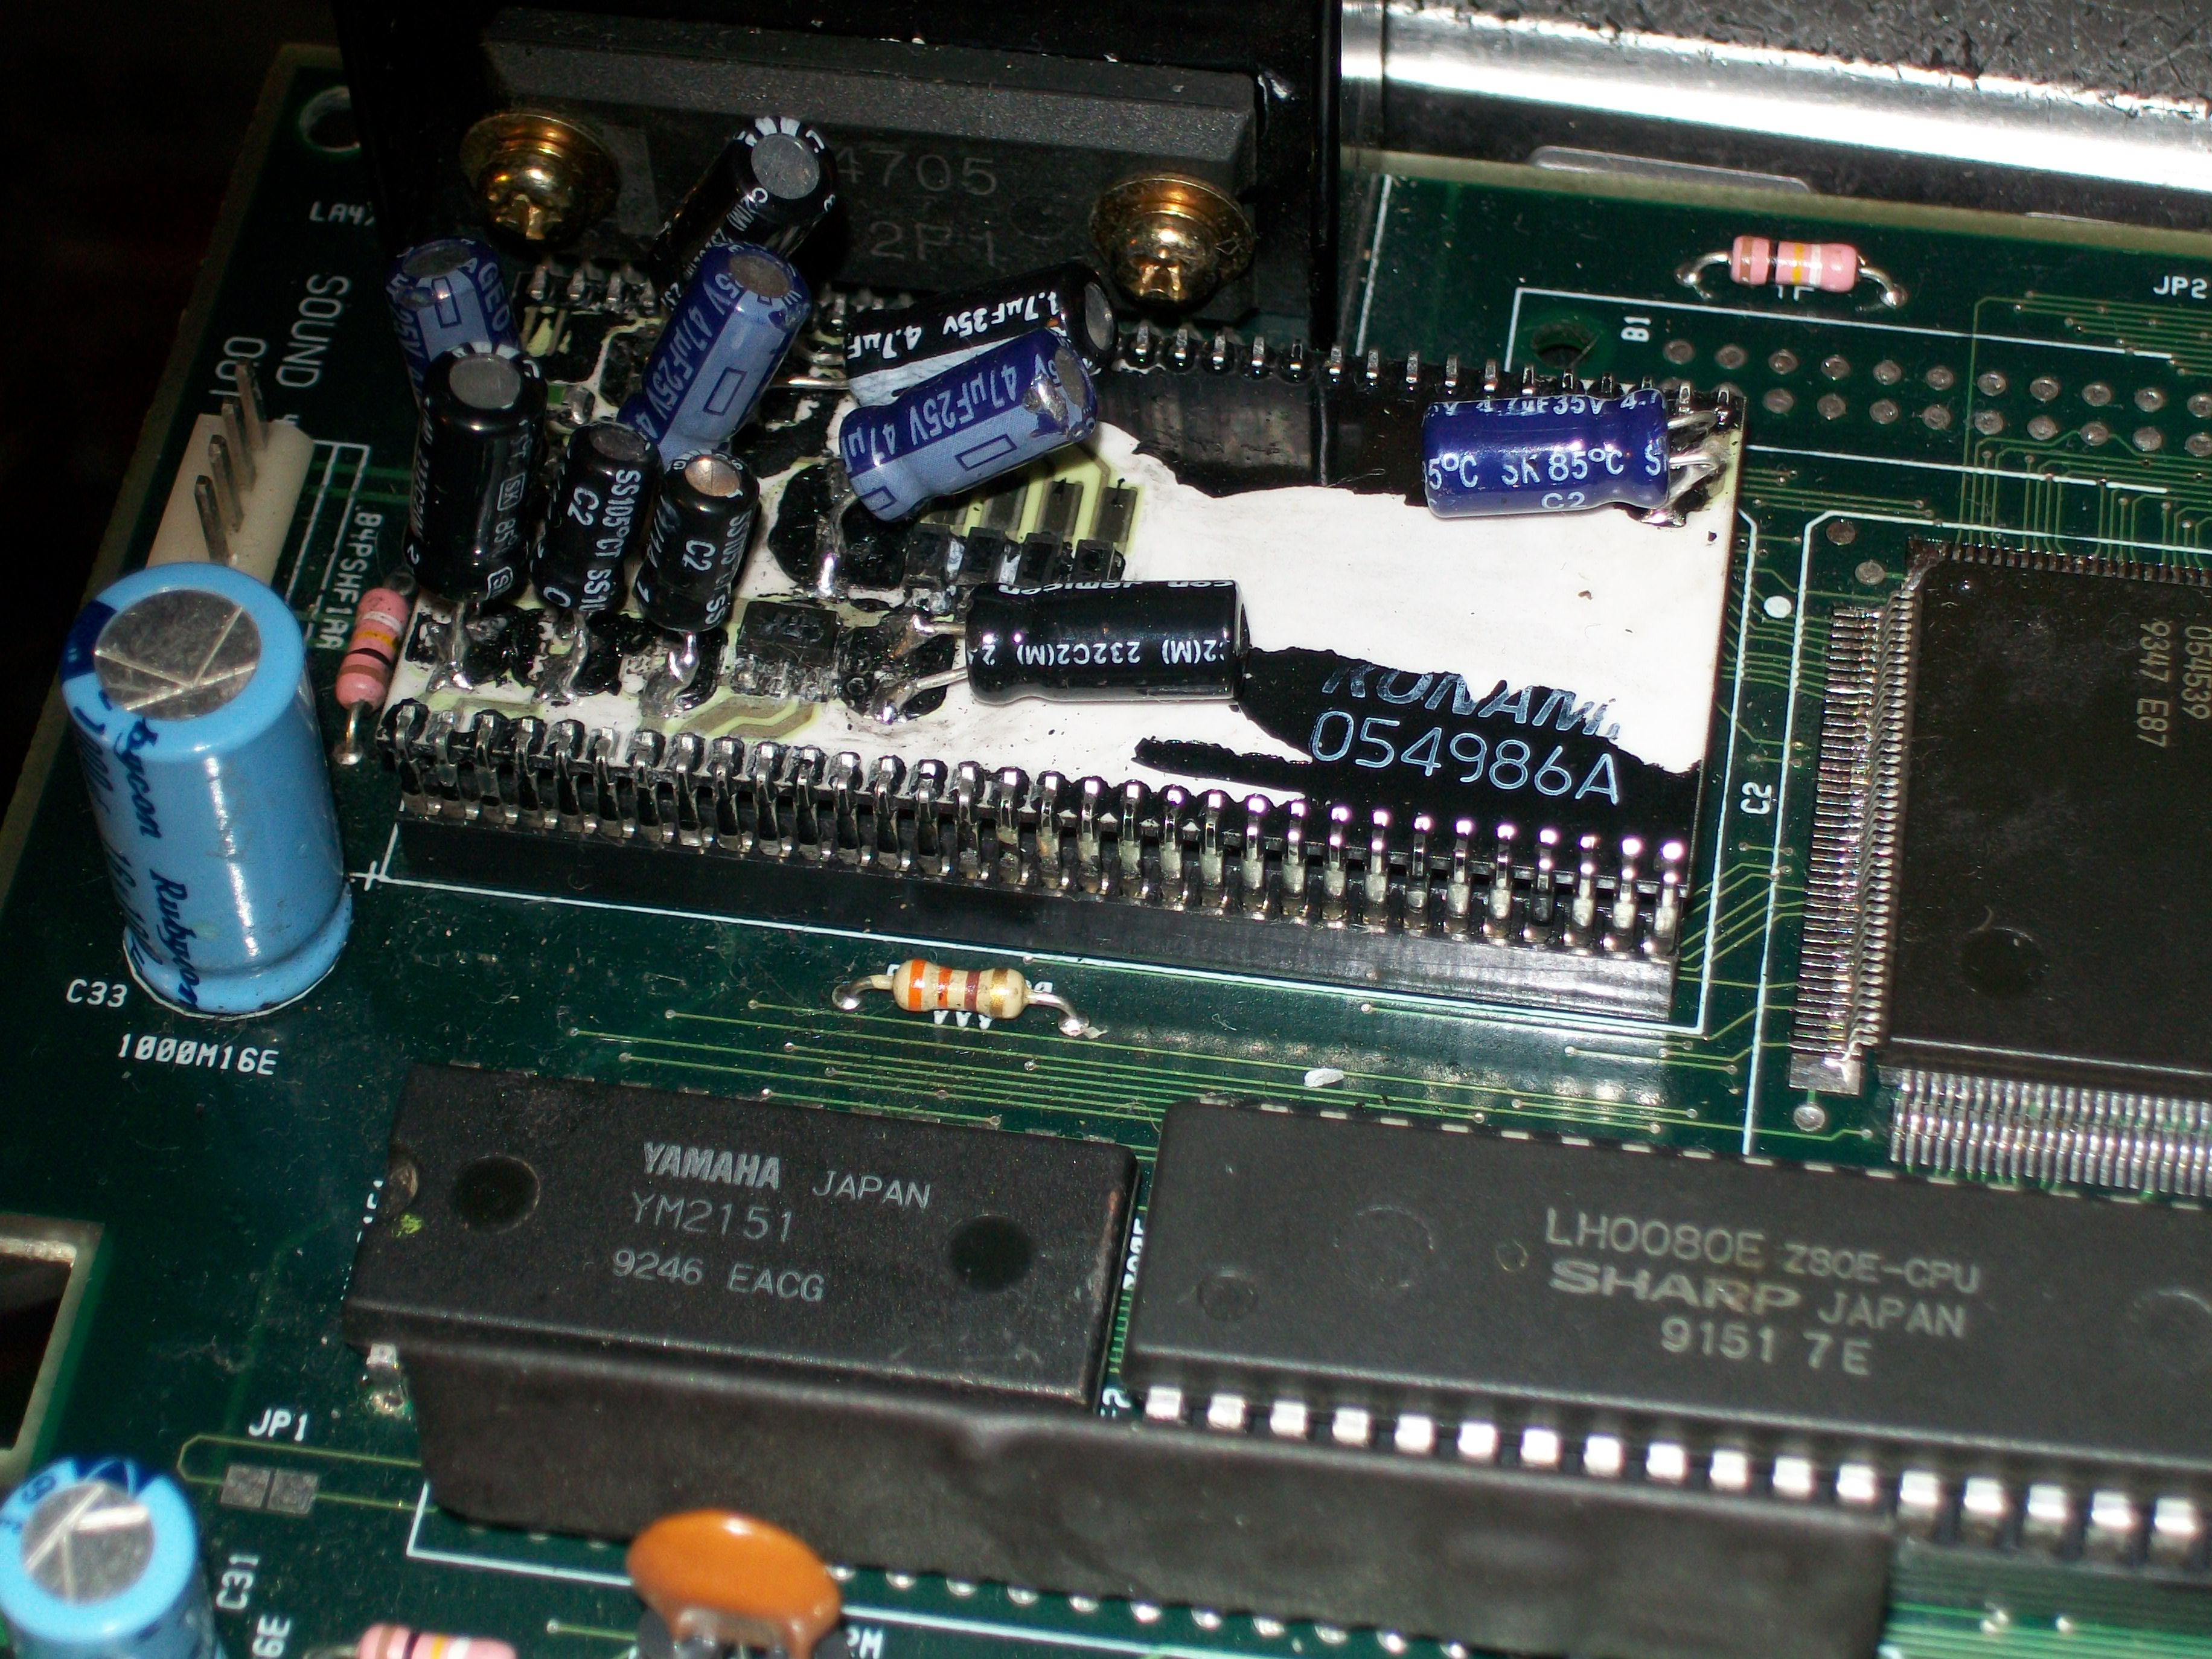
Sound circuitry was already reworked: two RAMs, the Z80, the YM2151 and the ‘054539’ ASIC were replaced, the ‘054986A’ module was socketed too.But this was not enough to locate the fault :
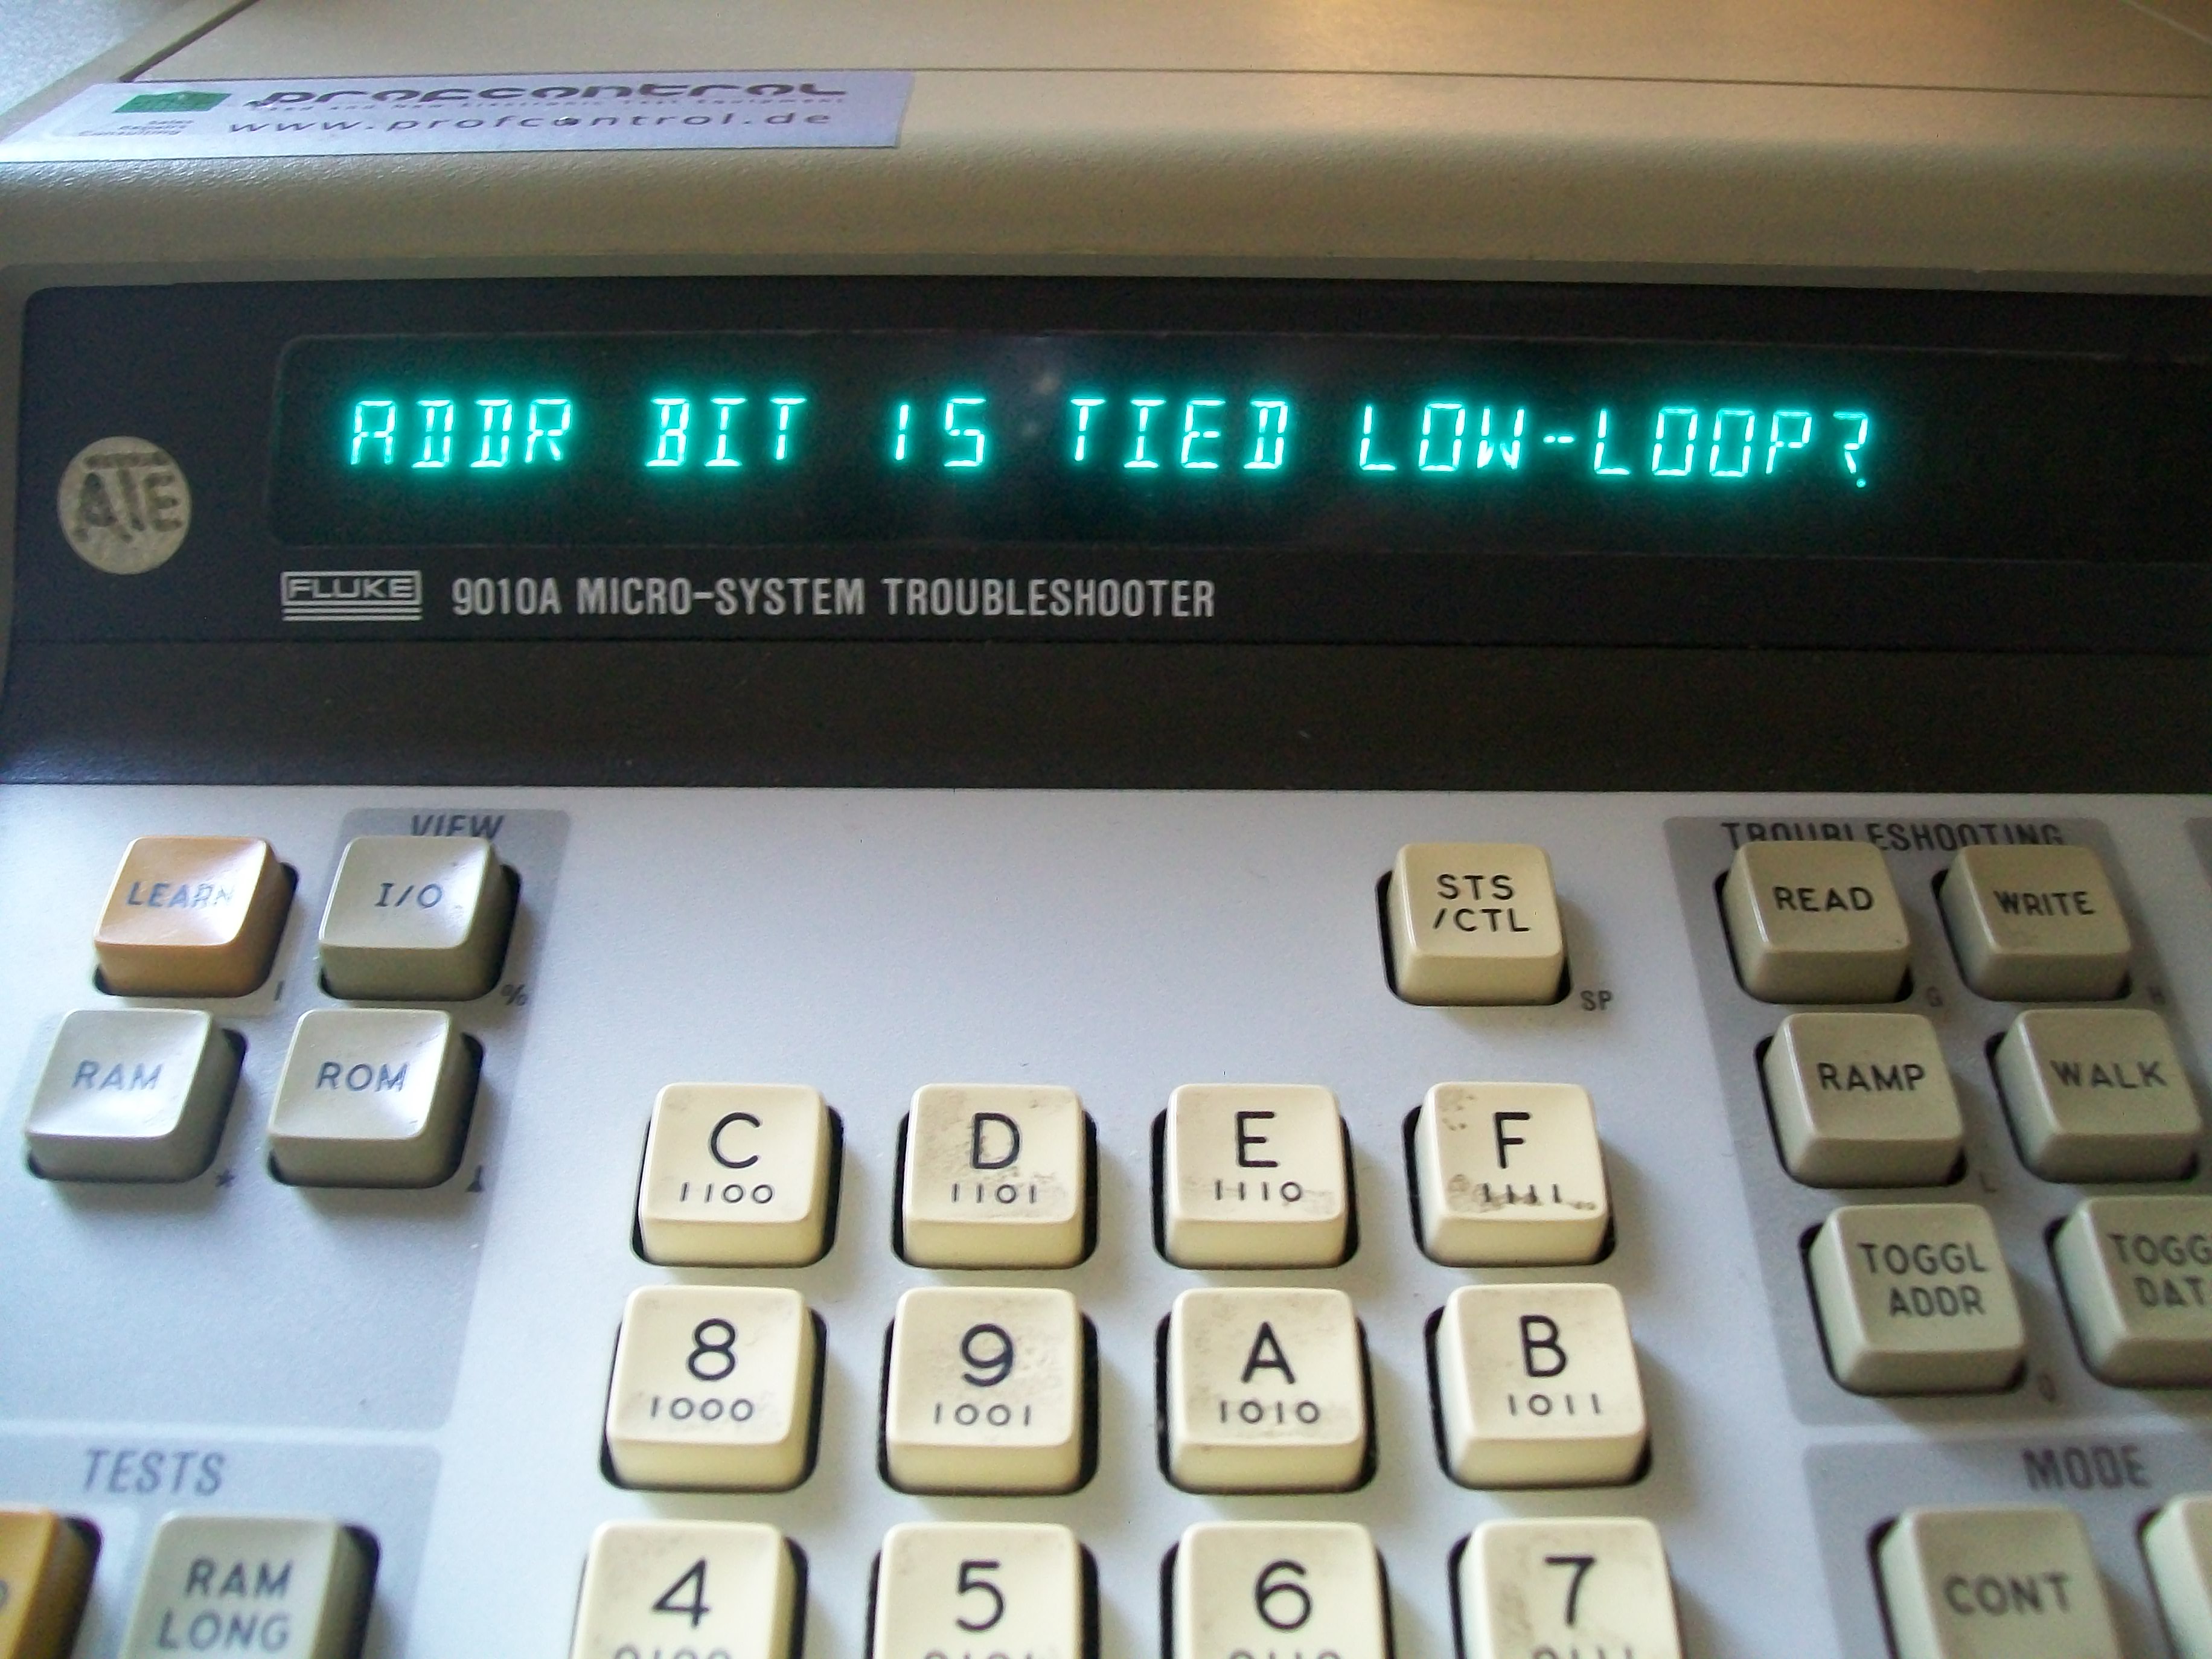
The sound system reported as bad is ruled by a Z80 CPU, probing it revealed its pin 16 (/INT) was asserted, this meant the CPU was undergone an interrupt request stopping execution of code.It was time to use my Fluke 9010A.When I performed a BUS test, it reported address bit 15 (pin 5 of Z80) tied LOW:
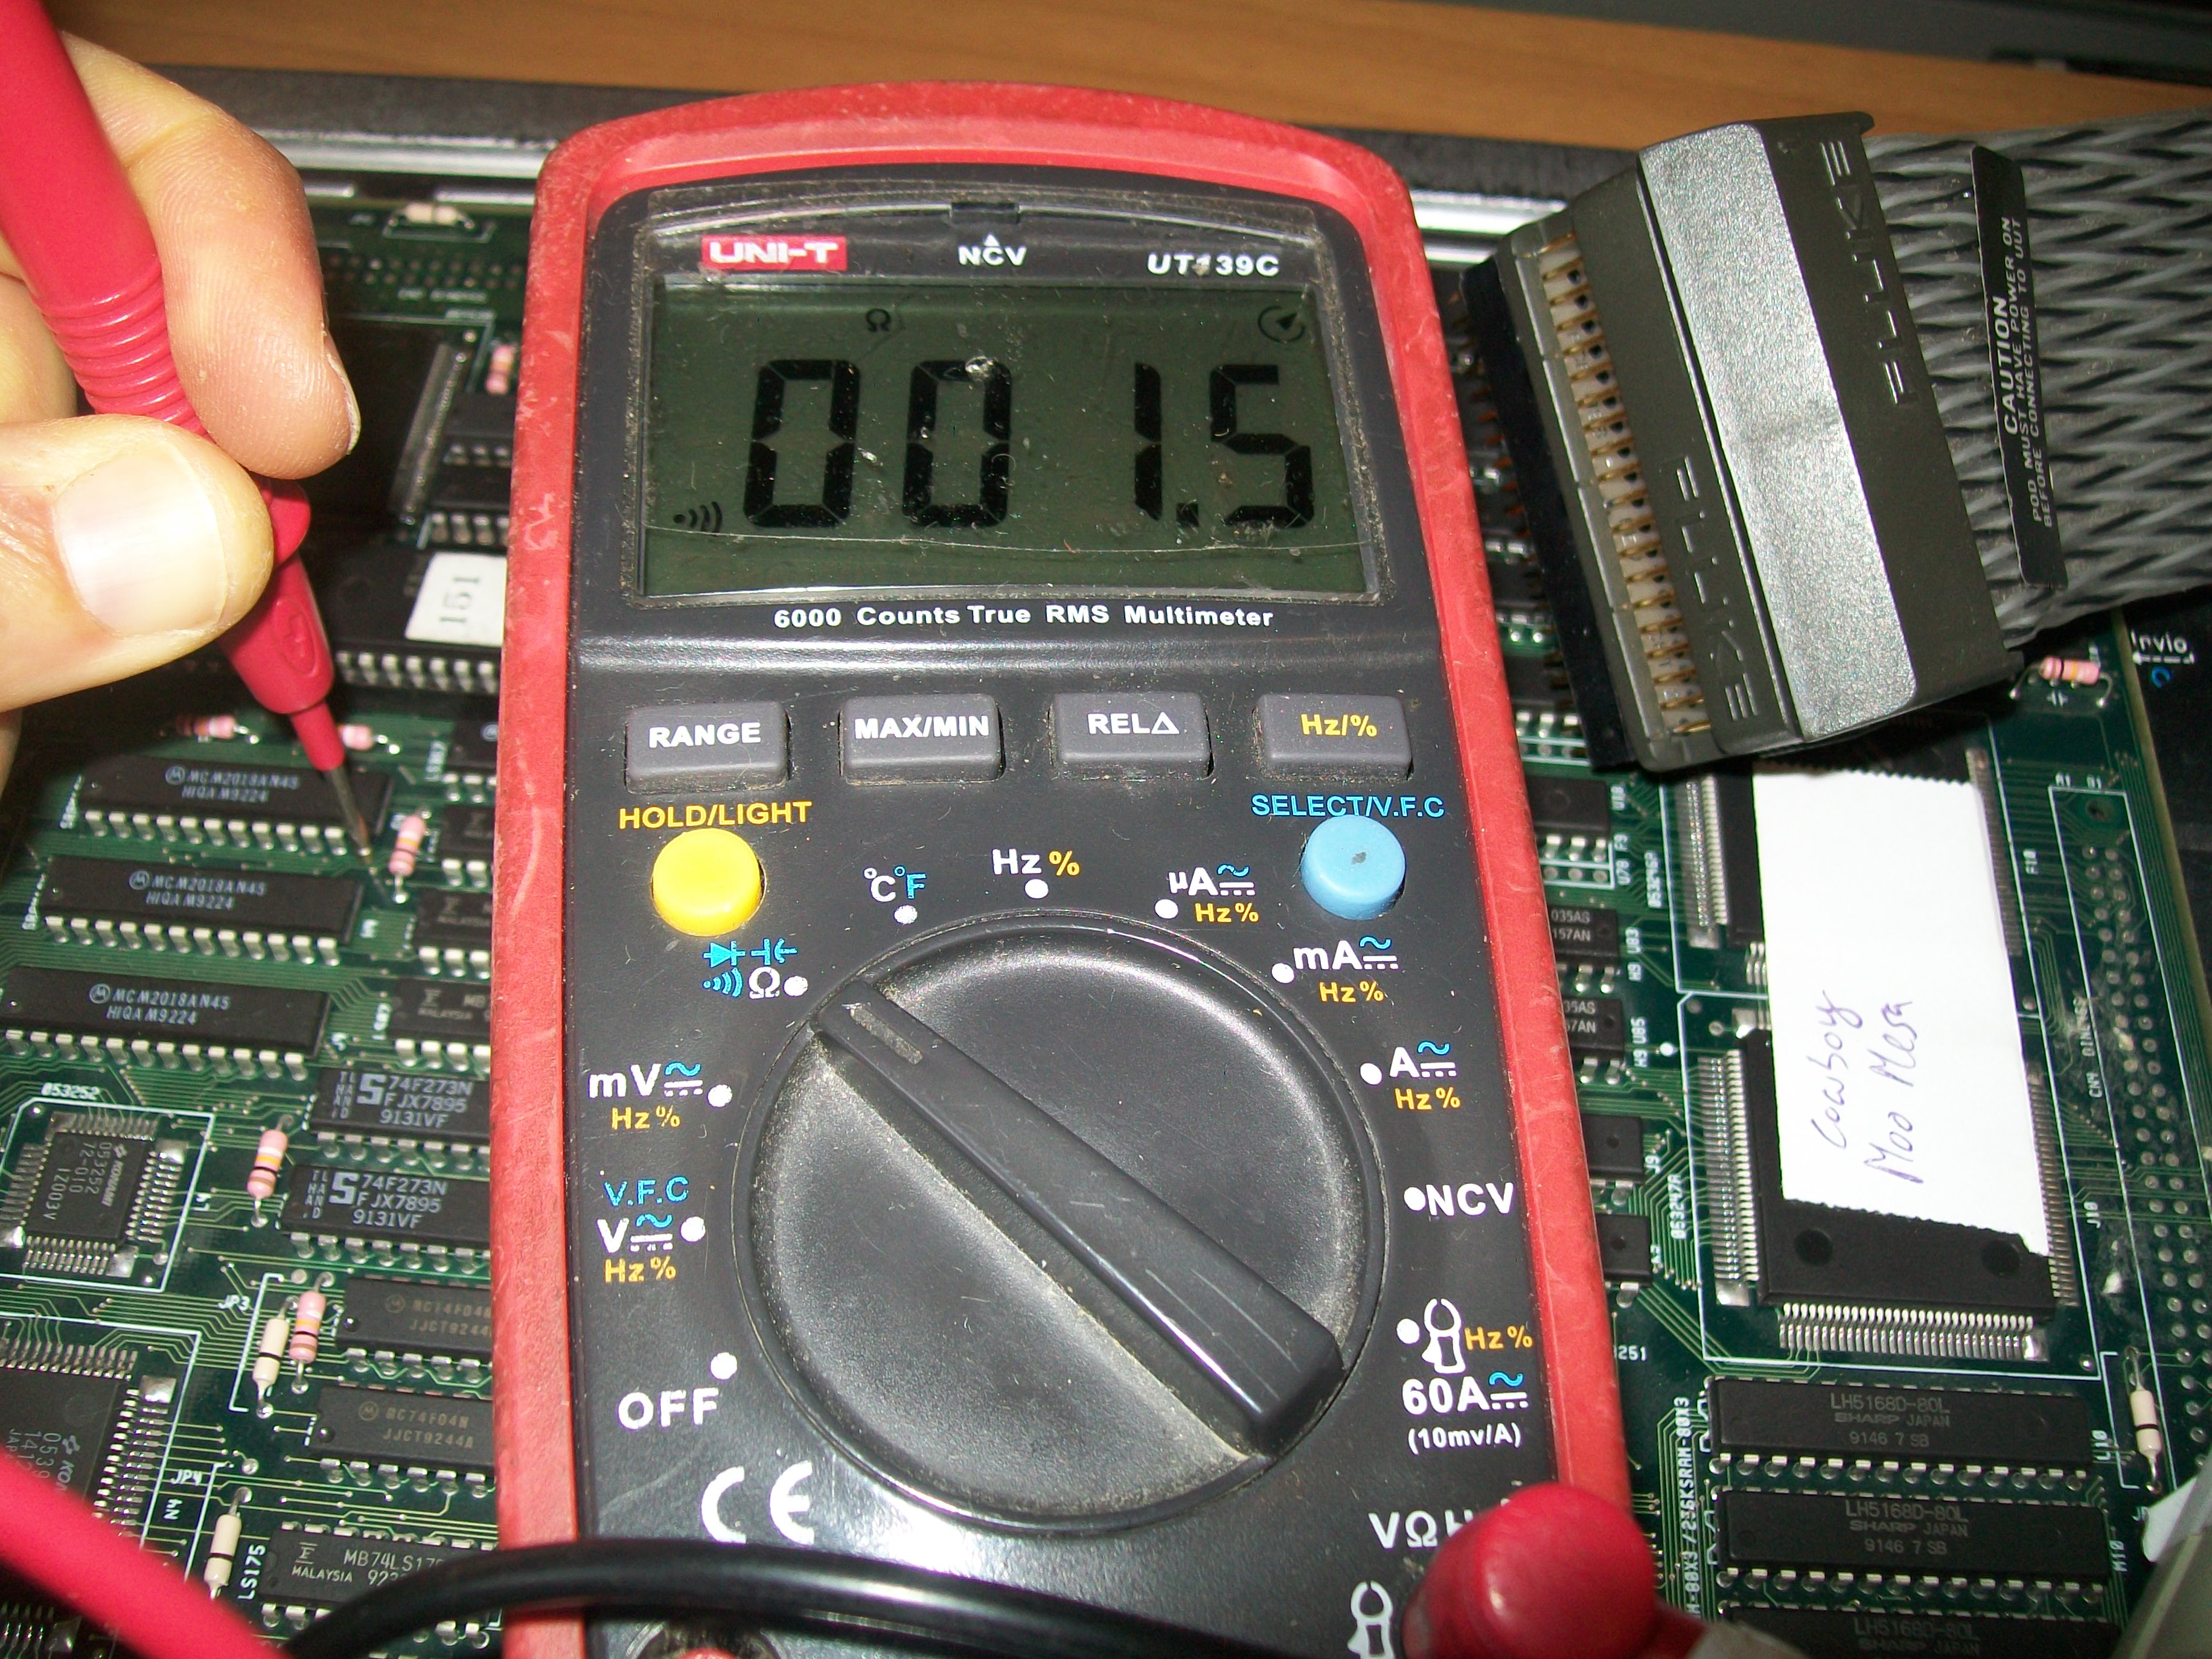
This doesn’t necessarily implies the address line is shorted to GROUND but also that something is forcing it low.But in my case it was really shorted (only few Ohms of resistance to GROUND measured)
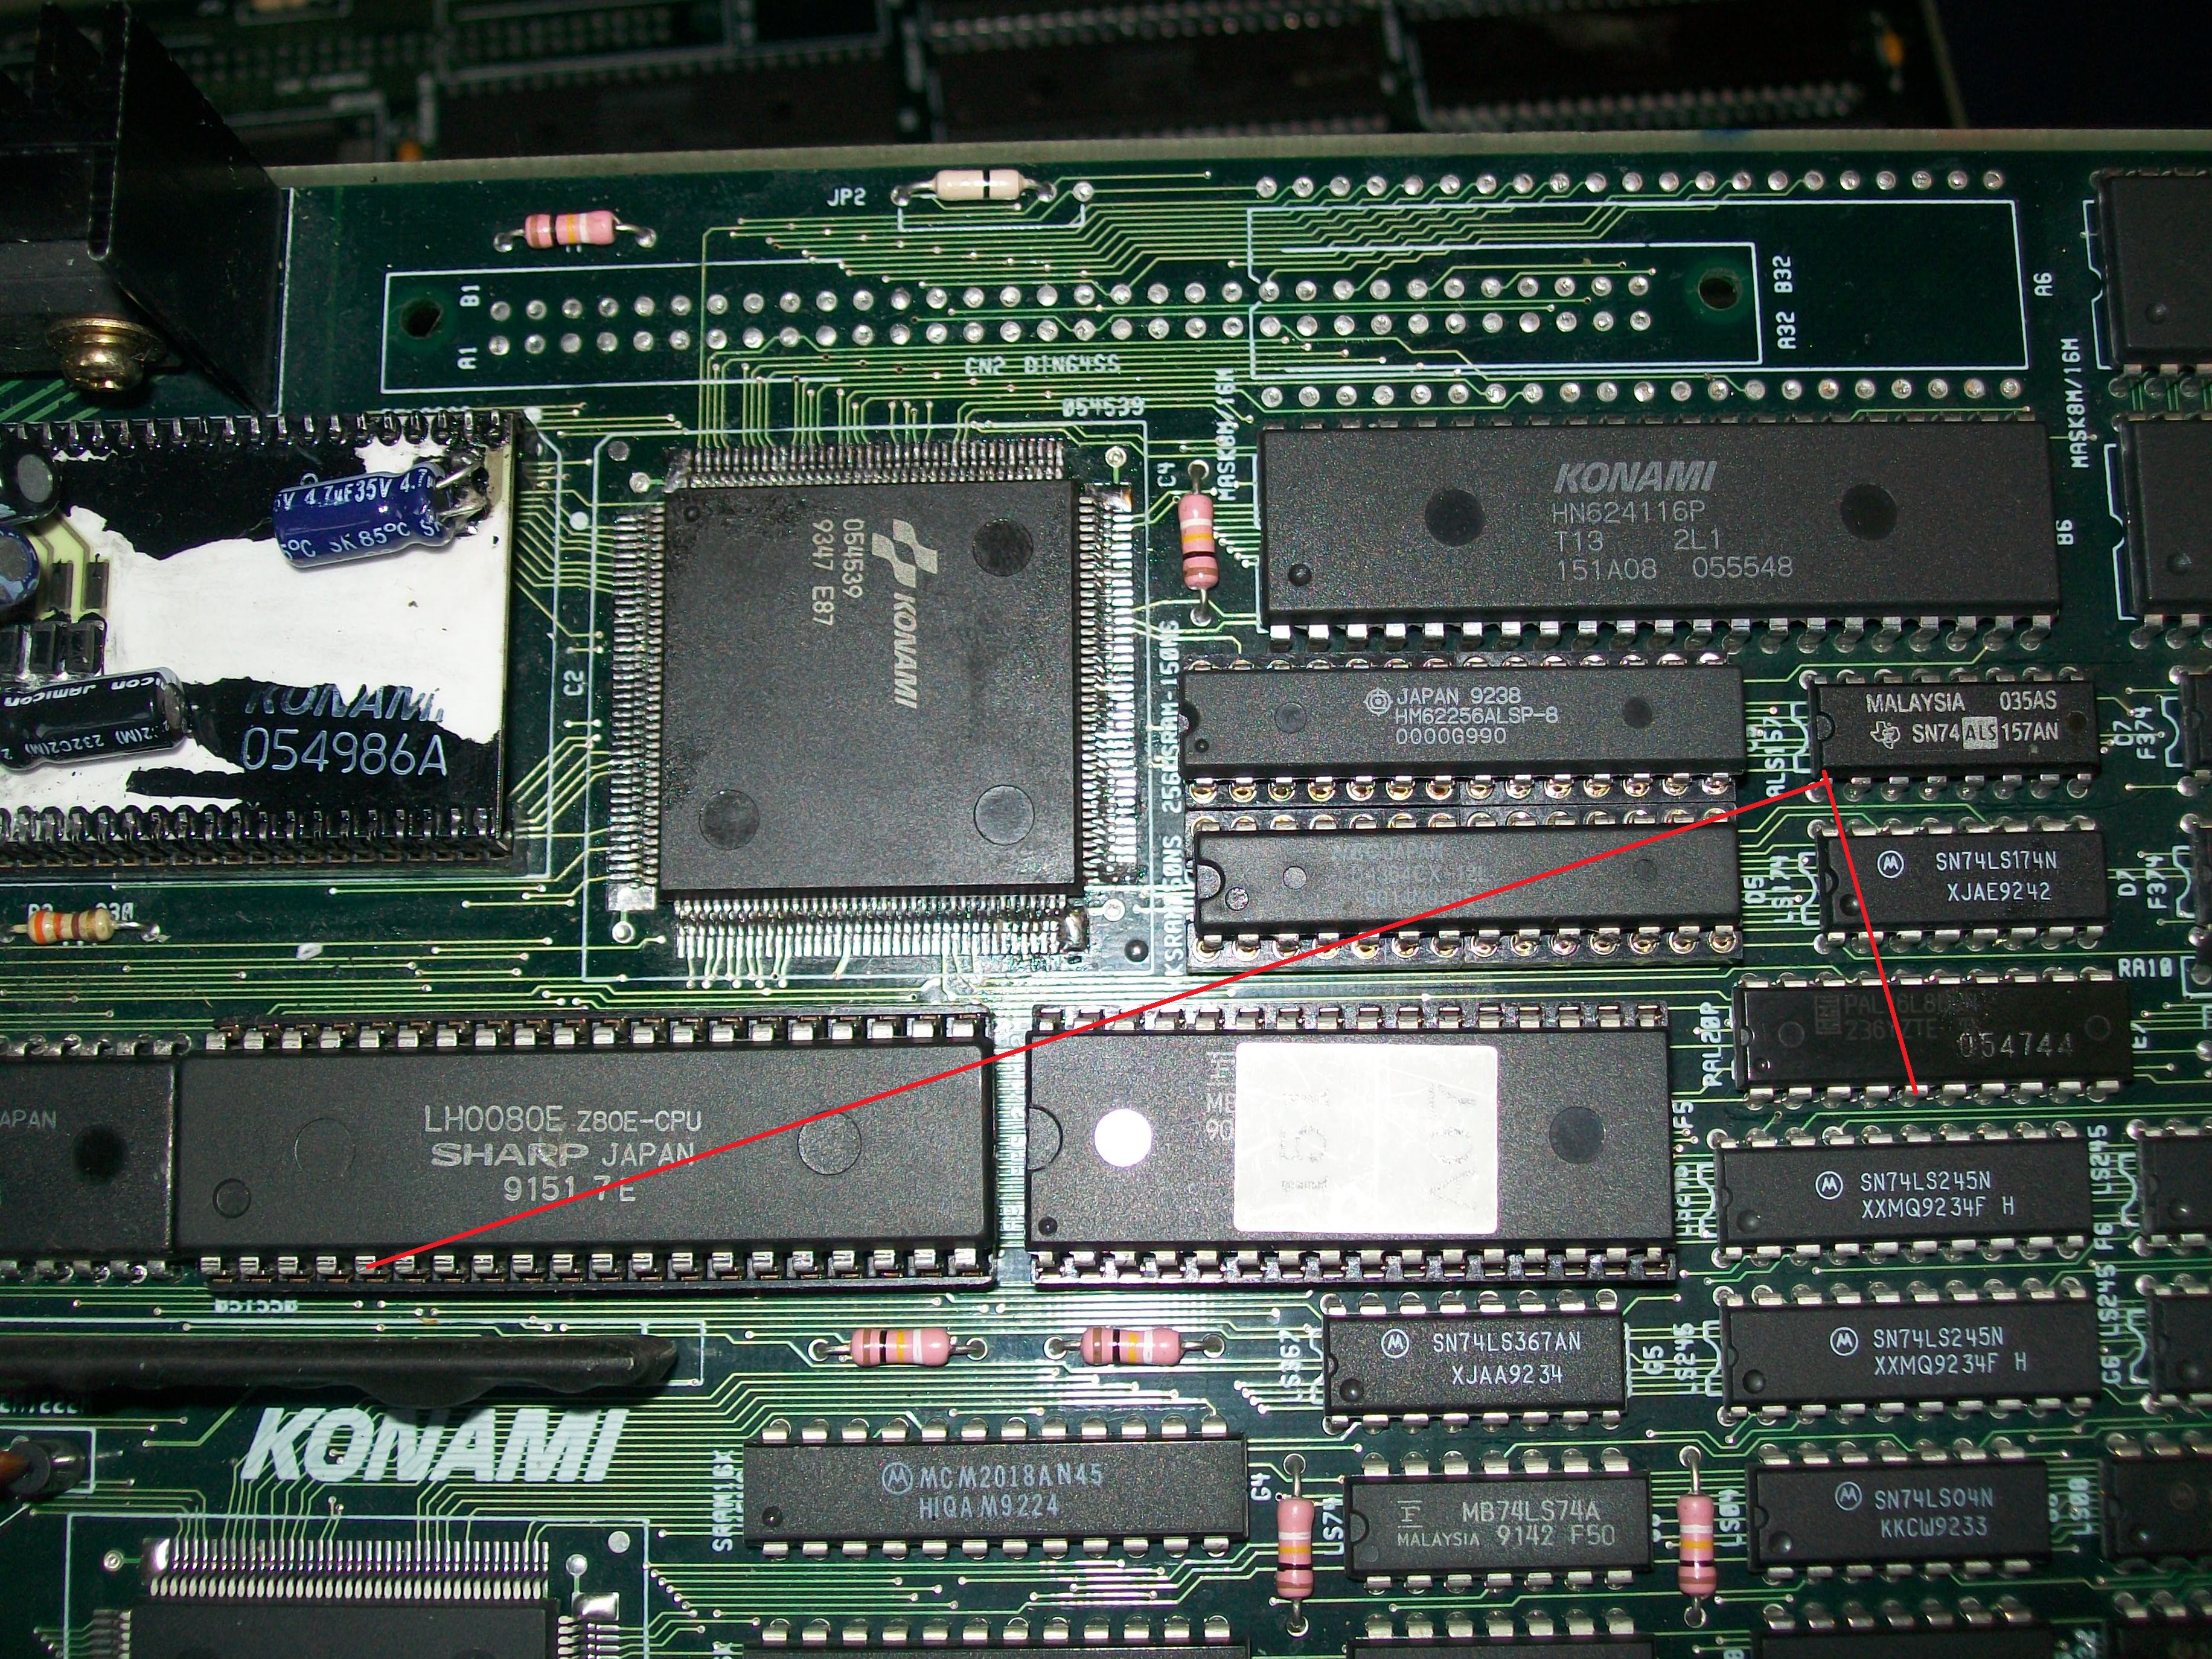
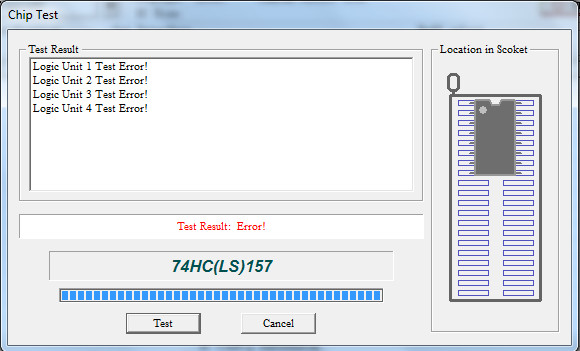
Doing some continuity test on a good board I could figured out that pin 5 of the Z80 is connected only to pin 5 of the PAL ‘054744’ @E7 and pin 1 of the 74ALS157 @C7 so in my faulty board one of these IC was bad :
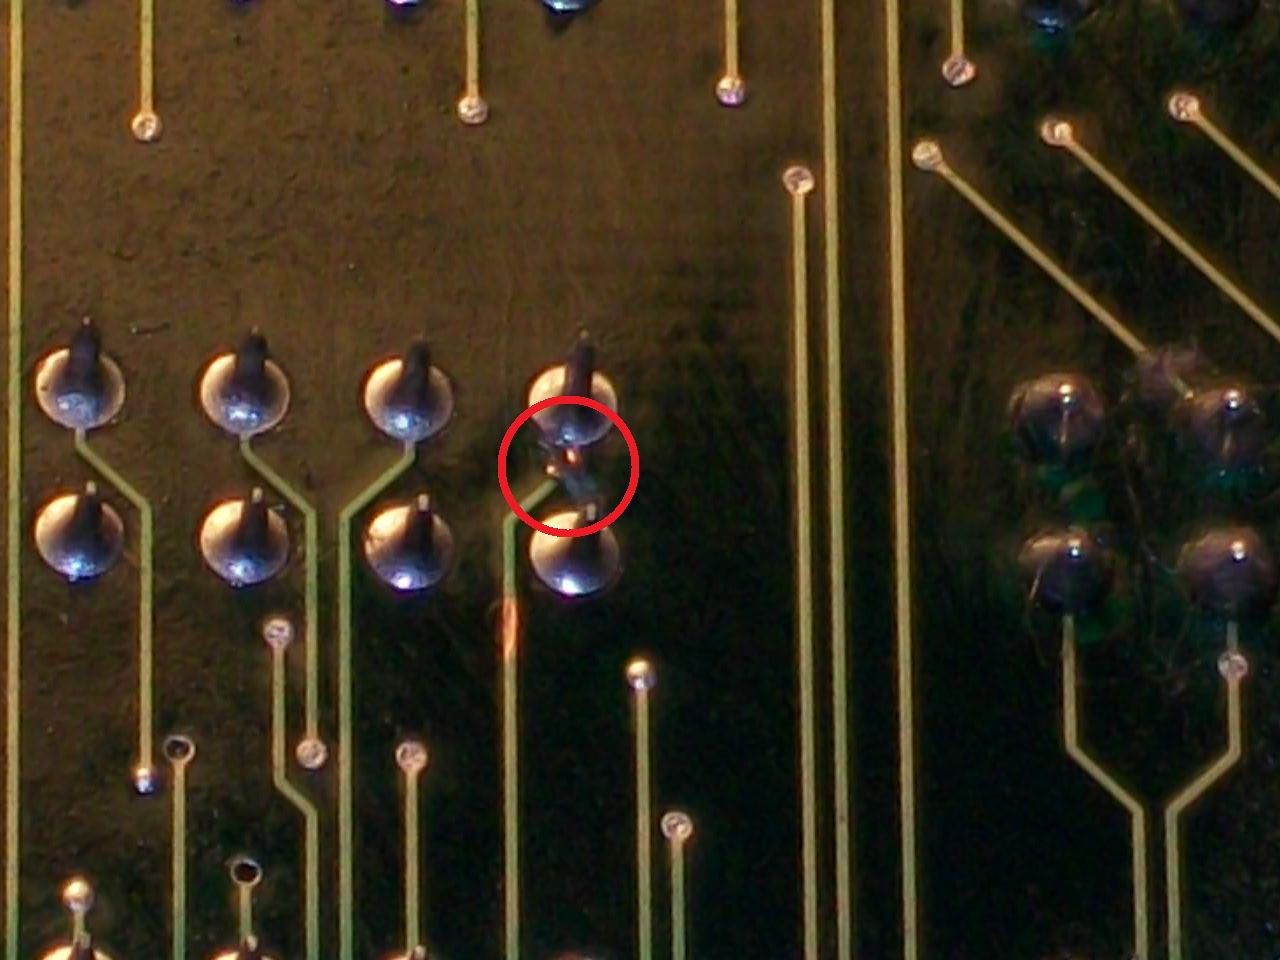
For first I intentionally cut the trace going to pin 1 of the 74ALS157 @C7:
This actually cleared the short to GROUND of pin 5 of the Z80, hence the TTL was internally shorted.Tested out-of-circuit it obviously failed:
Now board could pass the RAM/ROM check and enter in game:
But sound was very faint, barely audible.I was forced to set volume to maximum to hear something:
The ‘054986A’ module was already recapped with thru-hole electrolytic capacitors:
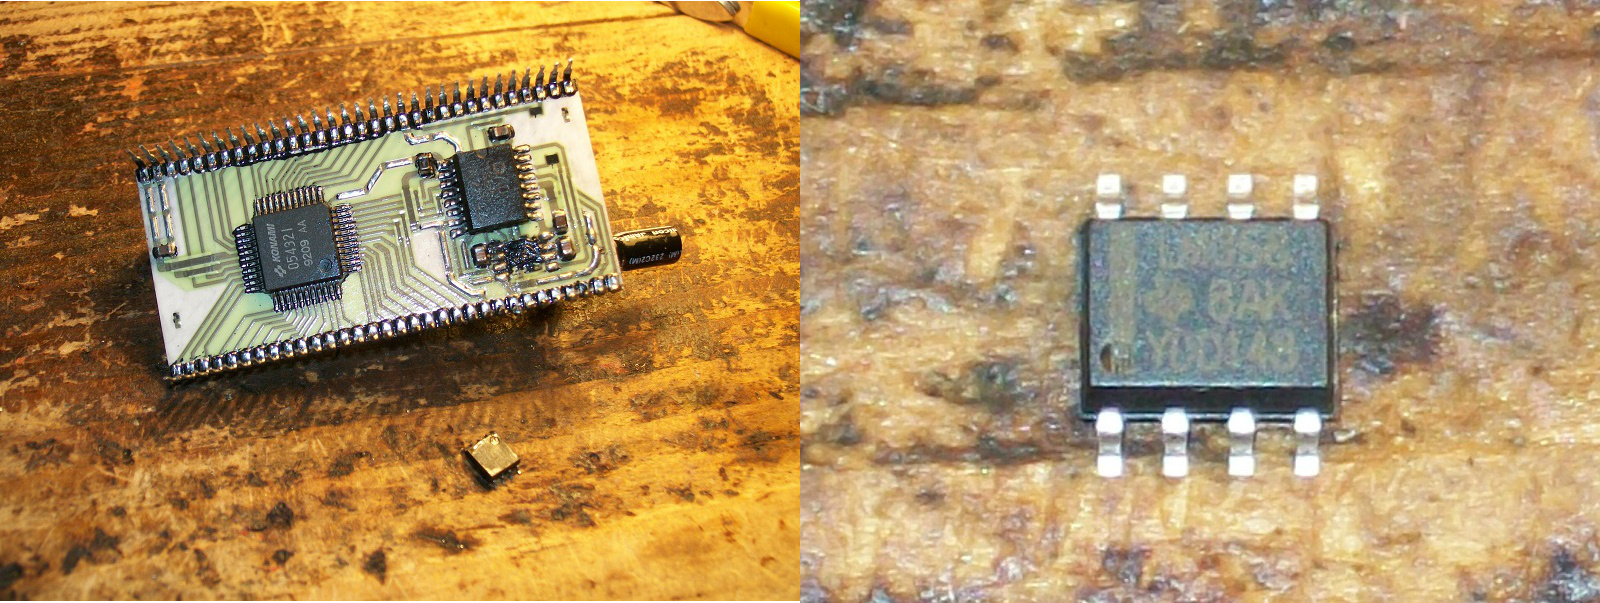
A faint sound meant the main amplifier was working but something was wrong in pre-amplification performed by the 4558 OP-AMP on the underneath of the module.So I went straight and replaced it with a compatible LM358: