My Golden Axe (set 1, World, FD1094 317-0110) had suicided.
I have a copy of the decrypted ROMs from Sega Resurrection. I pulled the two EPROMs from locations A1 and A2 on the top board (27C2001), erased and reprogrammed them and also fitted a standard 68k CPU in place of the custom block.
My Golden Axe board is alive once more and now have no worries about that suicide battery anymore.
Dataman-48pro2
My new programmer arrived today.
This things does everything I could ever want including EPROM/EEPROM/Serial EEPROM/Flash/Nand Flash/NV RAM/PLD/MCU MPU/PROM. It also covers IC testing, RAM testing and some special devices that Ive never heard of such as clock synthesizers. It supports over 53000 devices and the software is updated every month.
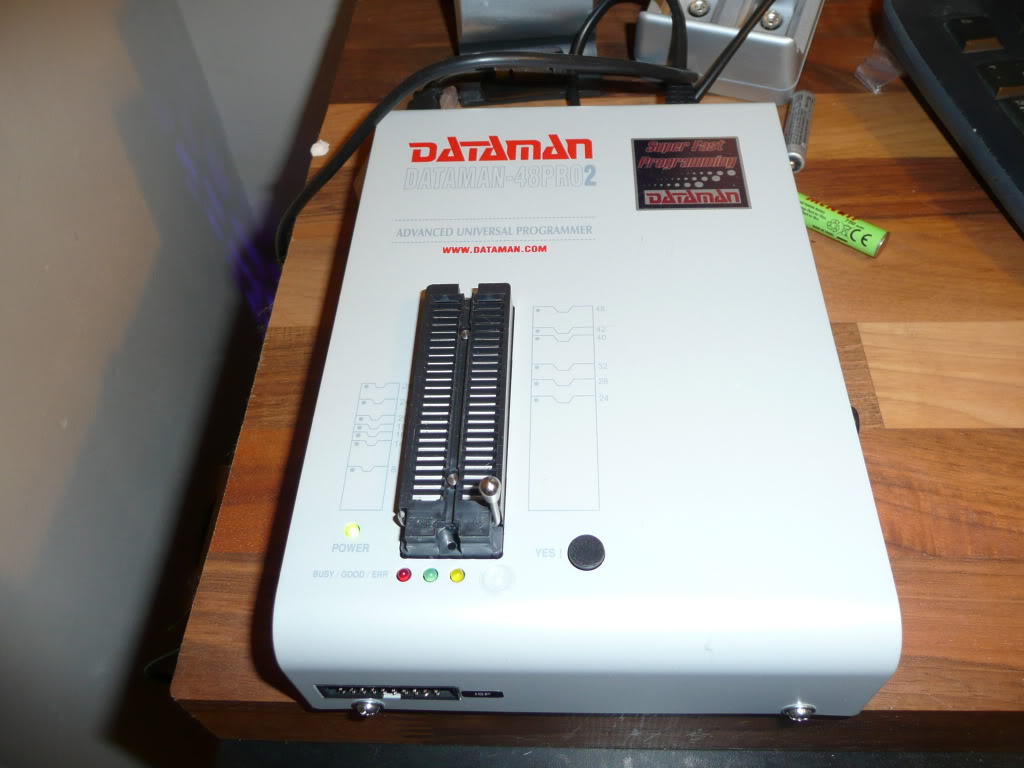
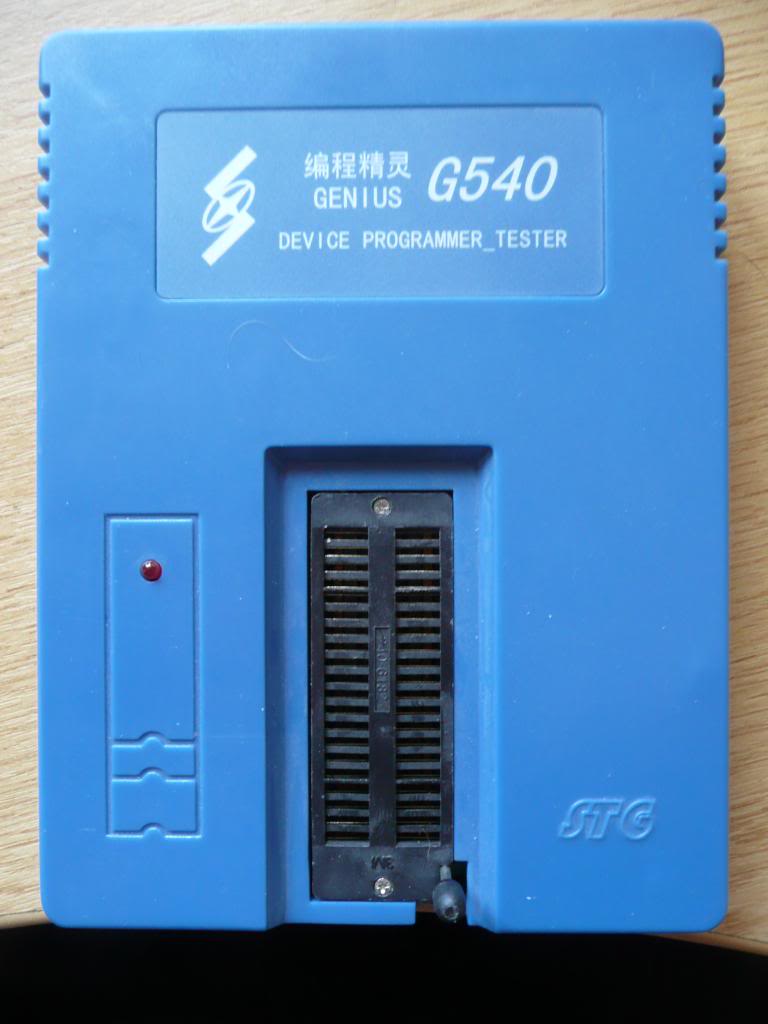
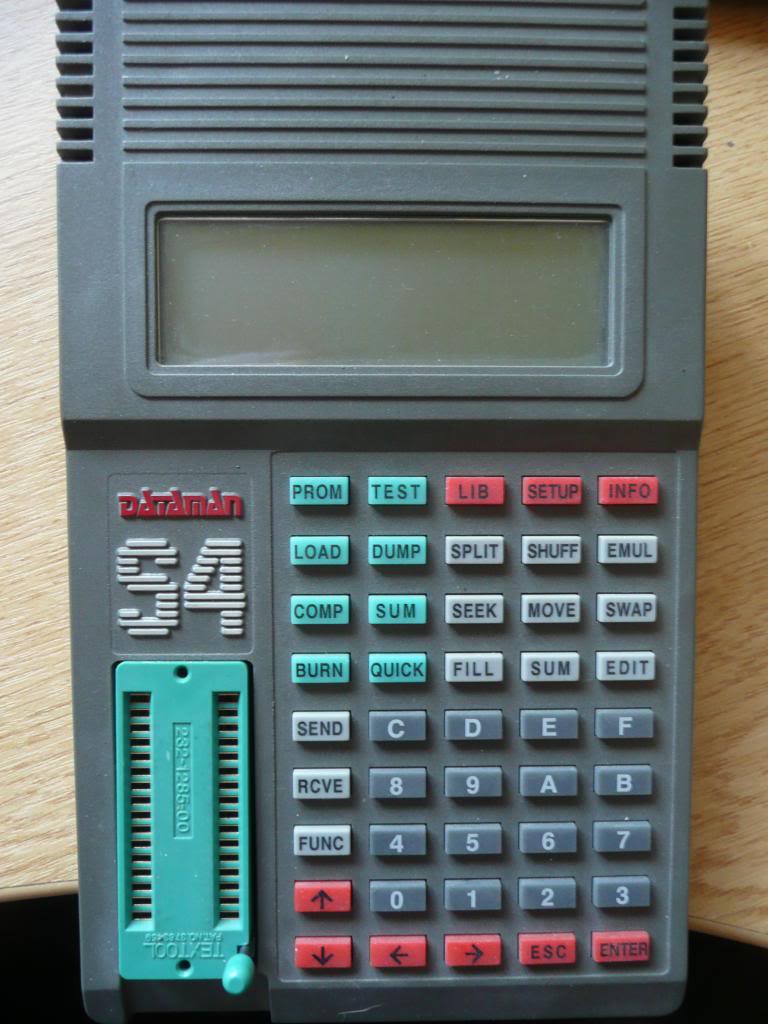
Goodbye G540, hello again Dataman
I have been using an old Dataman S4 programmer for years now. It has been an incredible piece of equipment and has not let me down once. I have the MOD40 and MOD42 adapters so I can program the larger EPROM’s 8/16bit.
A while ago I needed to program a GAL, which the S4 does not support without another expensive adapter so I invested in a cheap Chinese programmer that claimed to support them all. It served its purpose of programming some GAL’s but has been used very little since as its just not that good.
More recently I wanted to program a PIC16 for the NAOMI DES Dumper and once again the S4 does not support this natively and the G540 did. I programmed the PIC with what looked like ease and off I went to test. The PIC displayed correct initially but any output from the security PIC was corrupt. It turns out that the G540 loads the EEPROM data as 16bit data therefore every other byte was 00 which rendered the program useless. I got around this by manually editing the EEPROM data with the G540 software just before I set it off programming and this worked but its not something I was happy with.
After a lot of thought and some pleading here and there with various people I have negotiated a very nice deal and Dataman are accepting my old S4 programmer as a trade in on a new Dataman 48pro2 programmer. This thing does it all and I look forward to its arrival.
SEGA GD-ROM dumping
I got hold of a Dreamcast broadband adapter and thought id try my hand at dumping some GD-ROM’s.
The process is fairly straight forward but was hampered somewhat by the broadband passport software being in Japanese. There is an English one doing the rounds but I couldn’t source it.
Here is how I managed to get it working:
Load up the Passport software that comes with the adapter
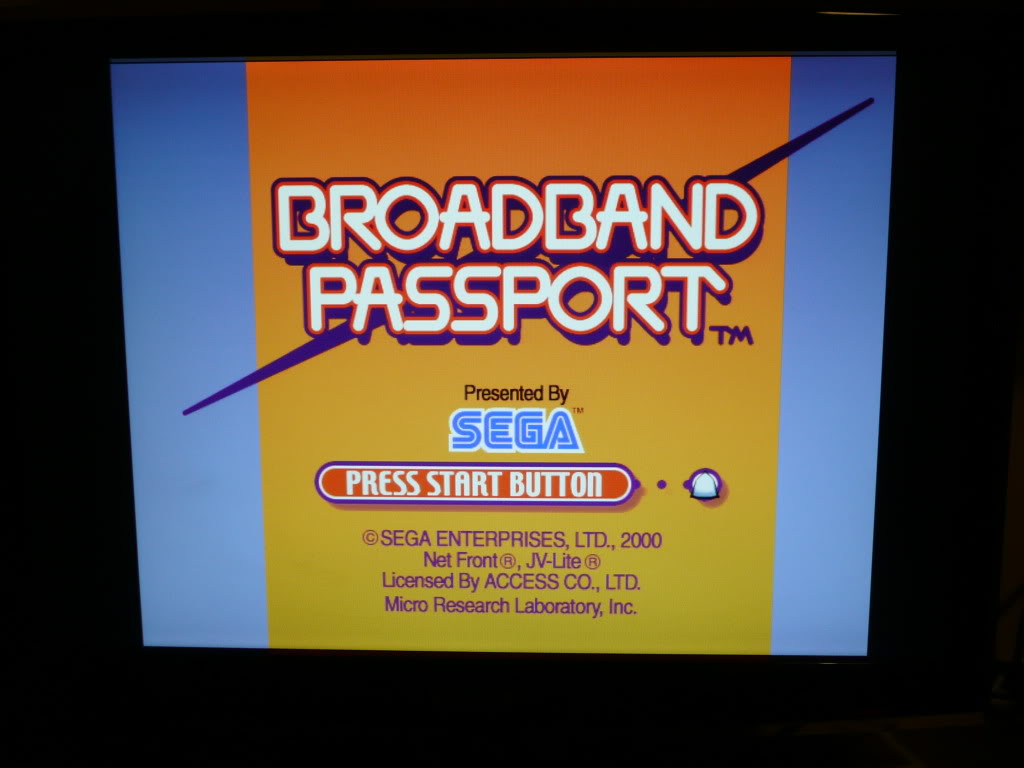
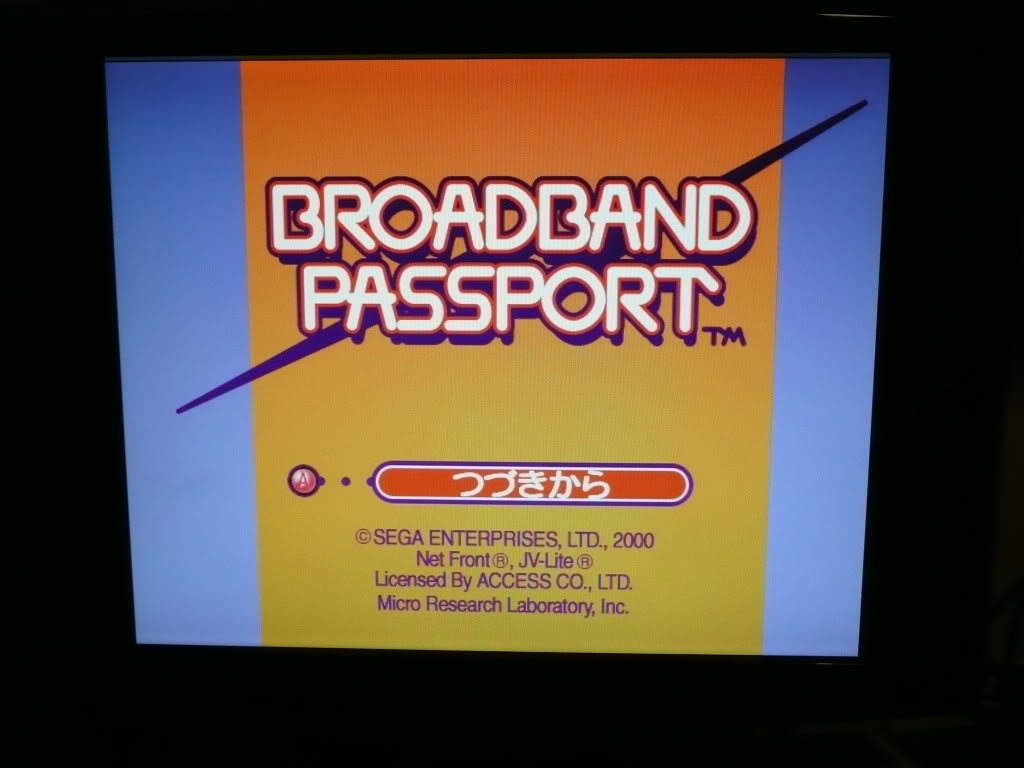
Choose the option second up from the bottom, the picture displayed should be of the DC controller buttons.
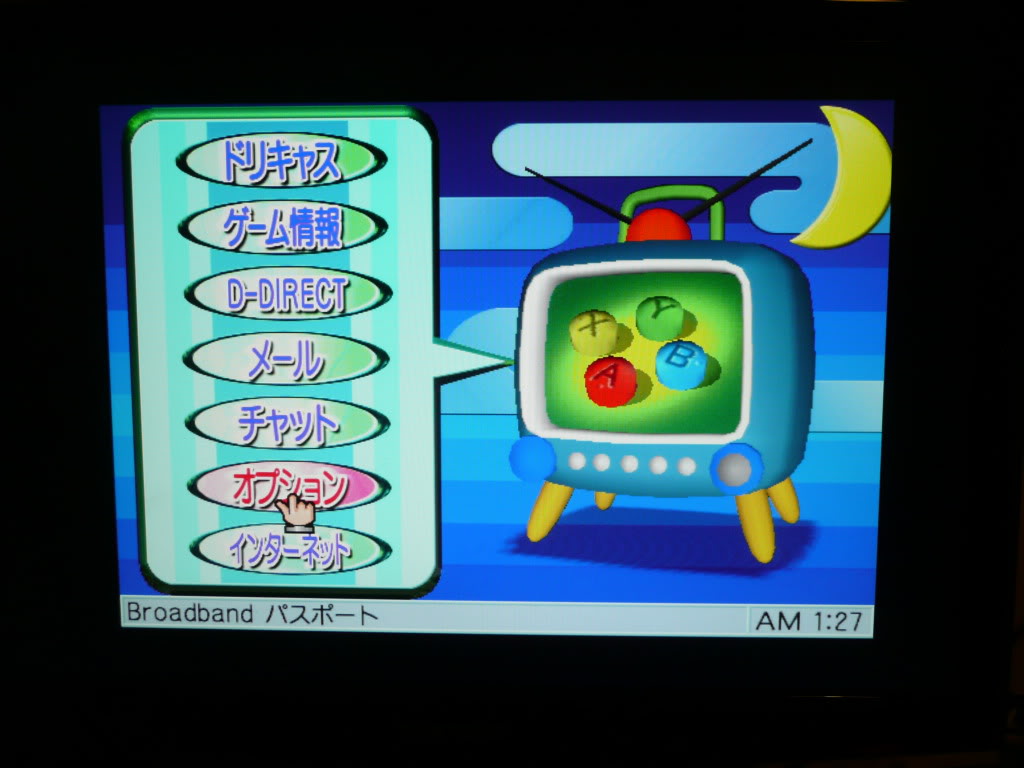
Next, choose the option third up from the bottom. This is the adapter settings page.
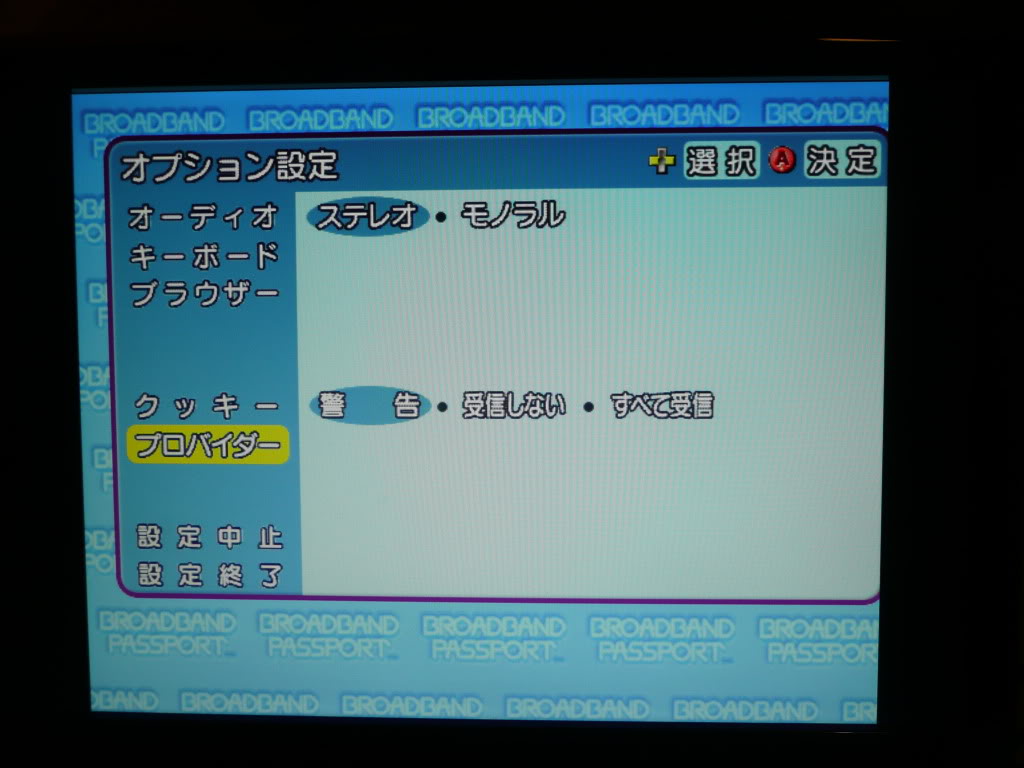
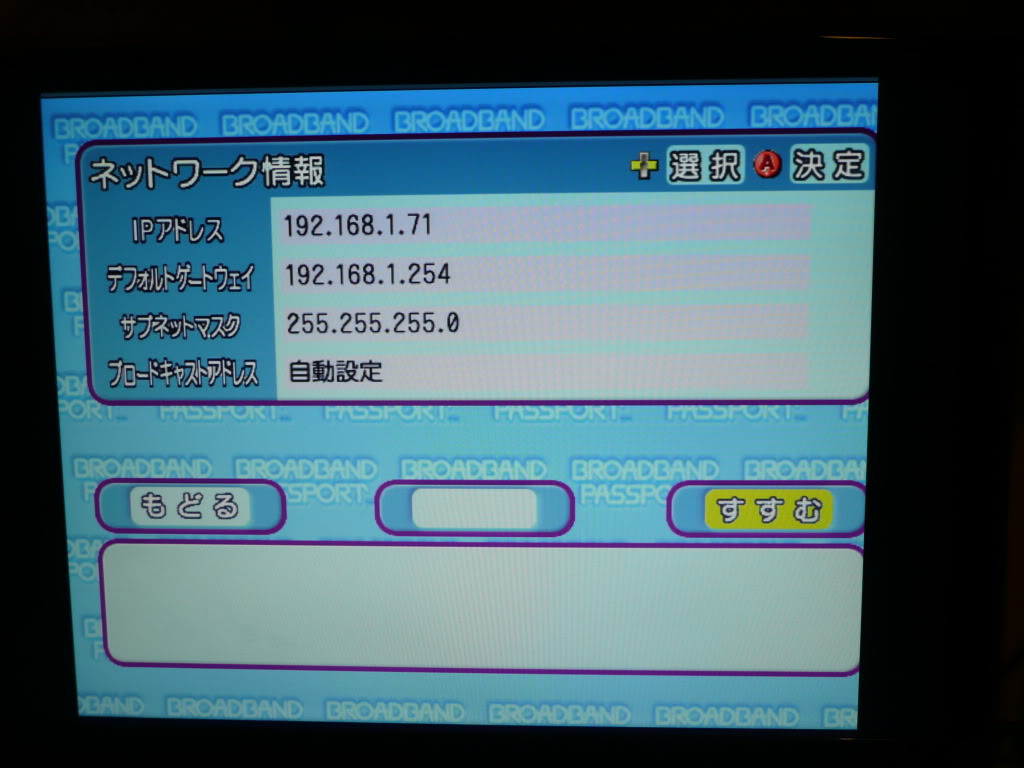
This page you have:
1. The IP address of the Dreamcast
2. The default gateway IP address
3. The subnet mask
4. DHCP address
Fill in the first 3 and leave the last one alone. I am running my setup through a router and it works fine regardless what anyone else may claim.
Skip through the next 5 screens using the button on the lower right.
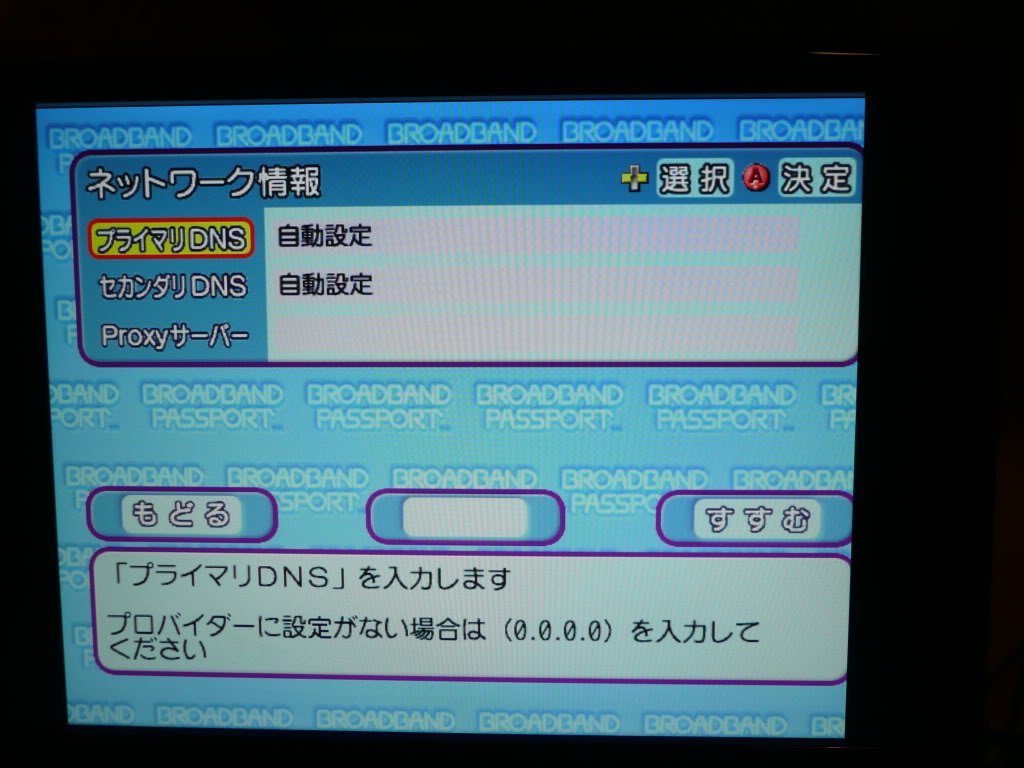
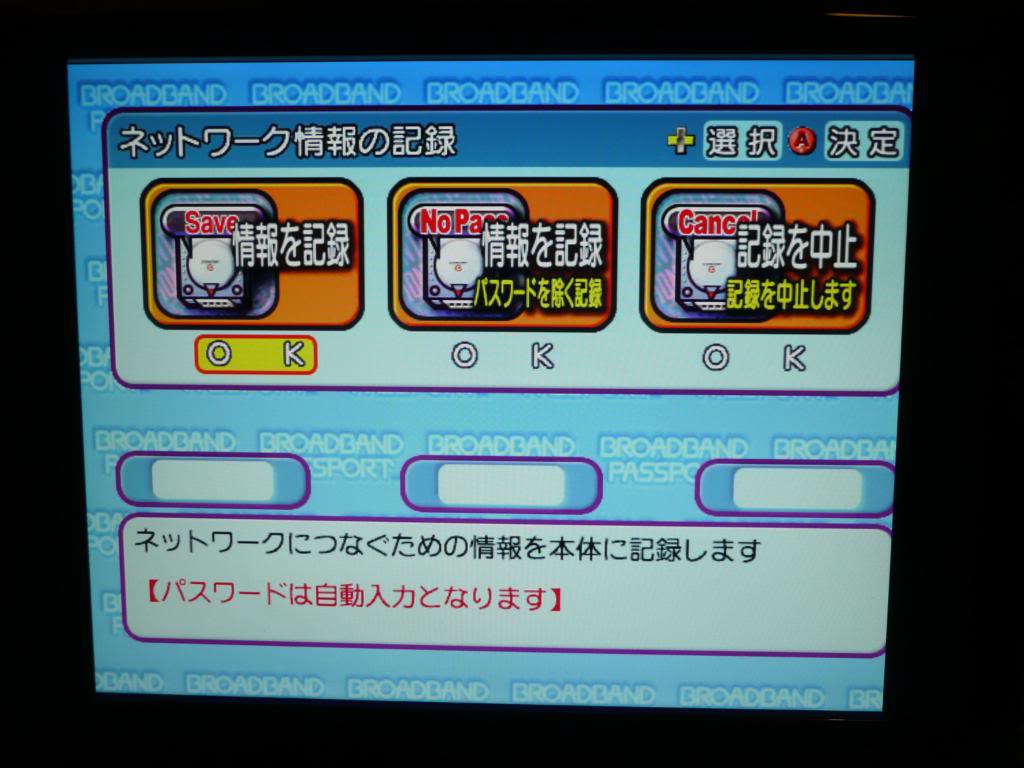
On this screen you are just choosing where to save the BBA settings to. A VM device is not required to save these settings.
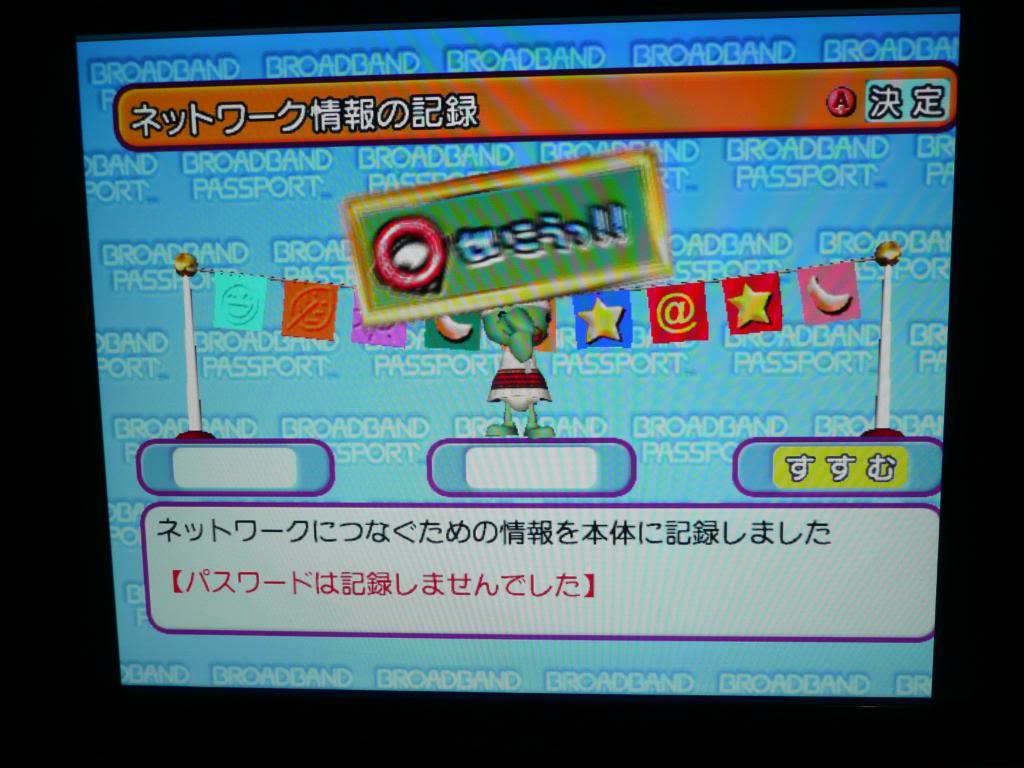
Once that is done you should get this screen telling you everything is completed. You can now eject the disc.
You now need to find a Dreamcast program called “httpd-ack”. Its easily found on the net if you look. Burn this to a CD-R, I use DiscJuggler as it seems to be the standard when burning DC discs. Load it up and you should see a screen like this:
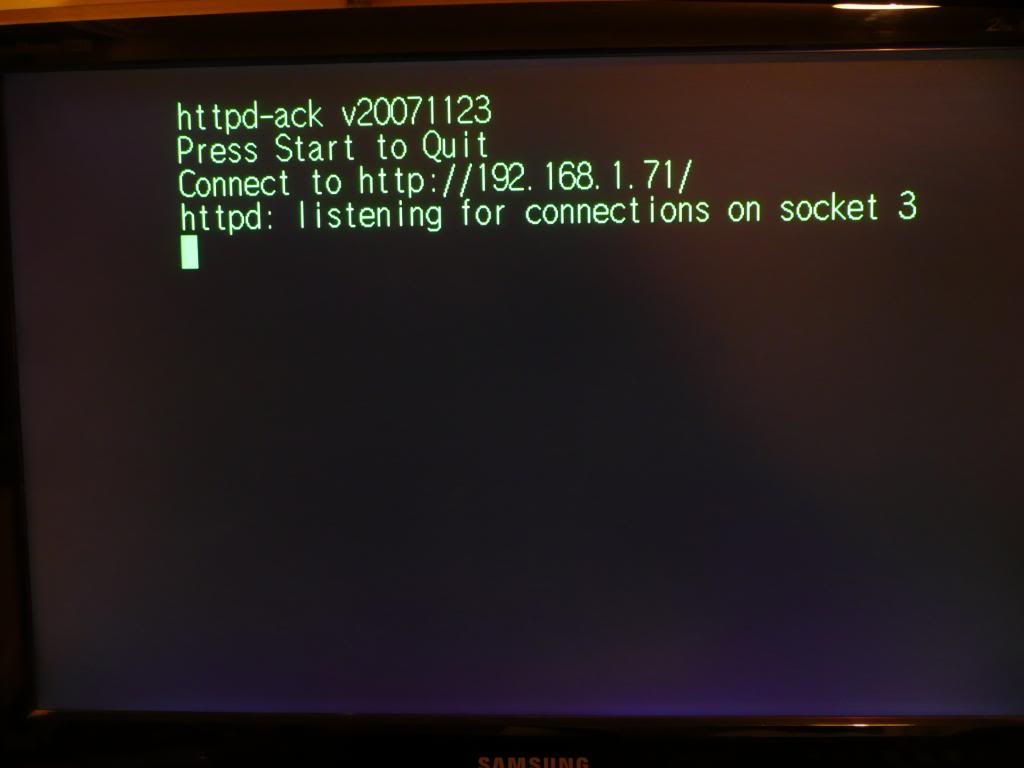
Now what you need to do is load up your browser software on your PC and type in the address you set your DC up to in the previous settings. You should end up with this page:
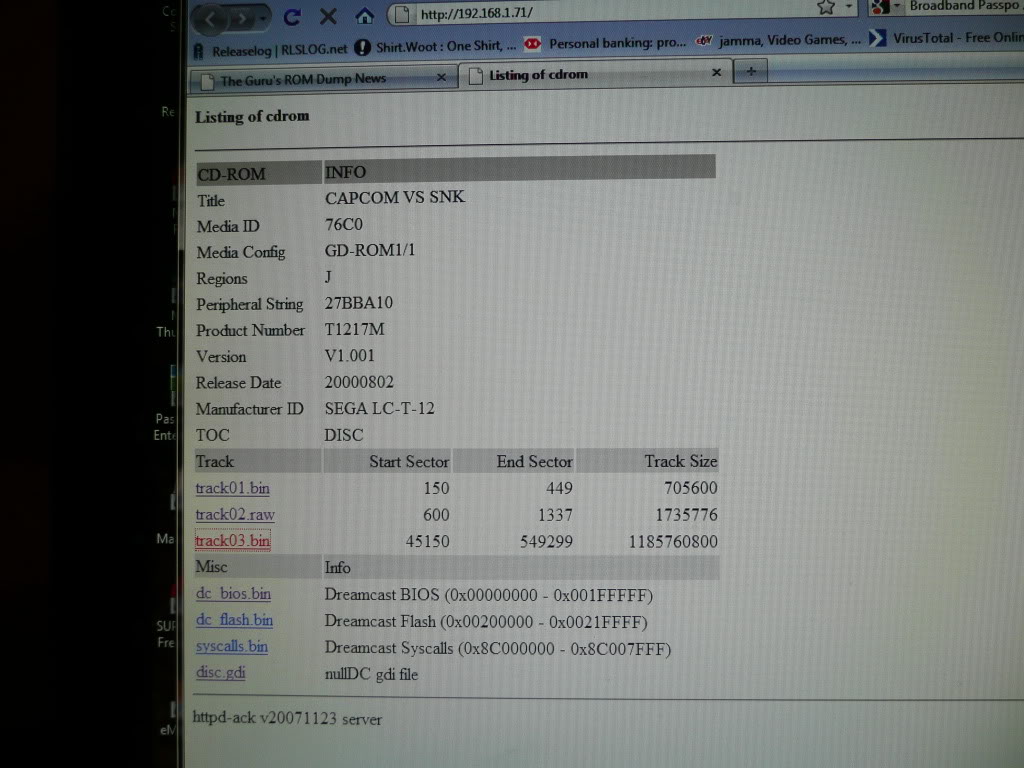
From this point you want to save all the tracks to a directory, this will take approx 20 mins.
I also save the .gdi file too as this is a requirement for MAME Naomi dumps and running in nullDC emulator.
Im guessing this also applies to dumping Triforce games and other GD-ROM based systems too.
Mission 660 repair log
The game was dead on startup but had SYNC.
I checked the primary Z80 on the second board and found the RESET line was totally dead. Traced it back to pin 4 of a 74LS02 @ location 7B. This is a NOR gate and even though both the inputs (pins 5 and 6) were at logic low, the output (pin 4) was dead. Replaced this IC and the game booted
