This is hopefully one of five Juno First repair logs.
Thanks (I think) to muddymusic I have a stack of these needing repaired. There are two originals and three bootlegs altogether and decided to make a start on the originals first.
This one booted to an unsynced red picture.
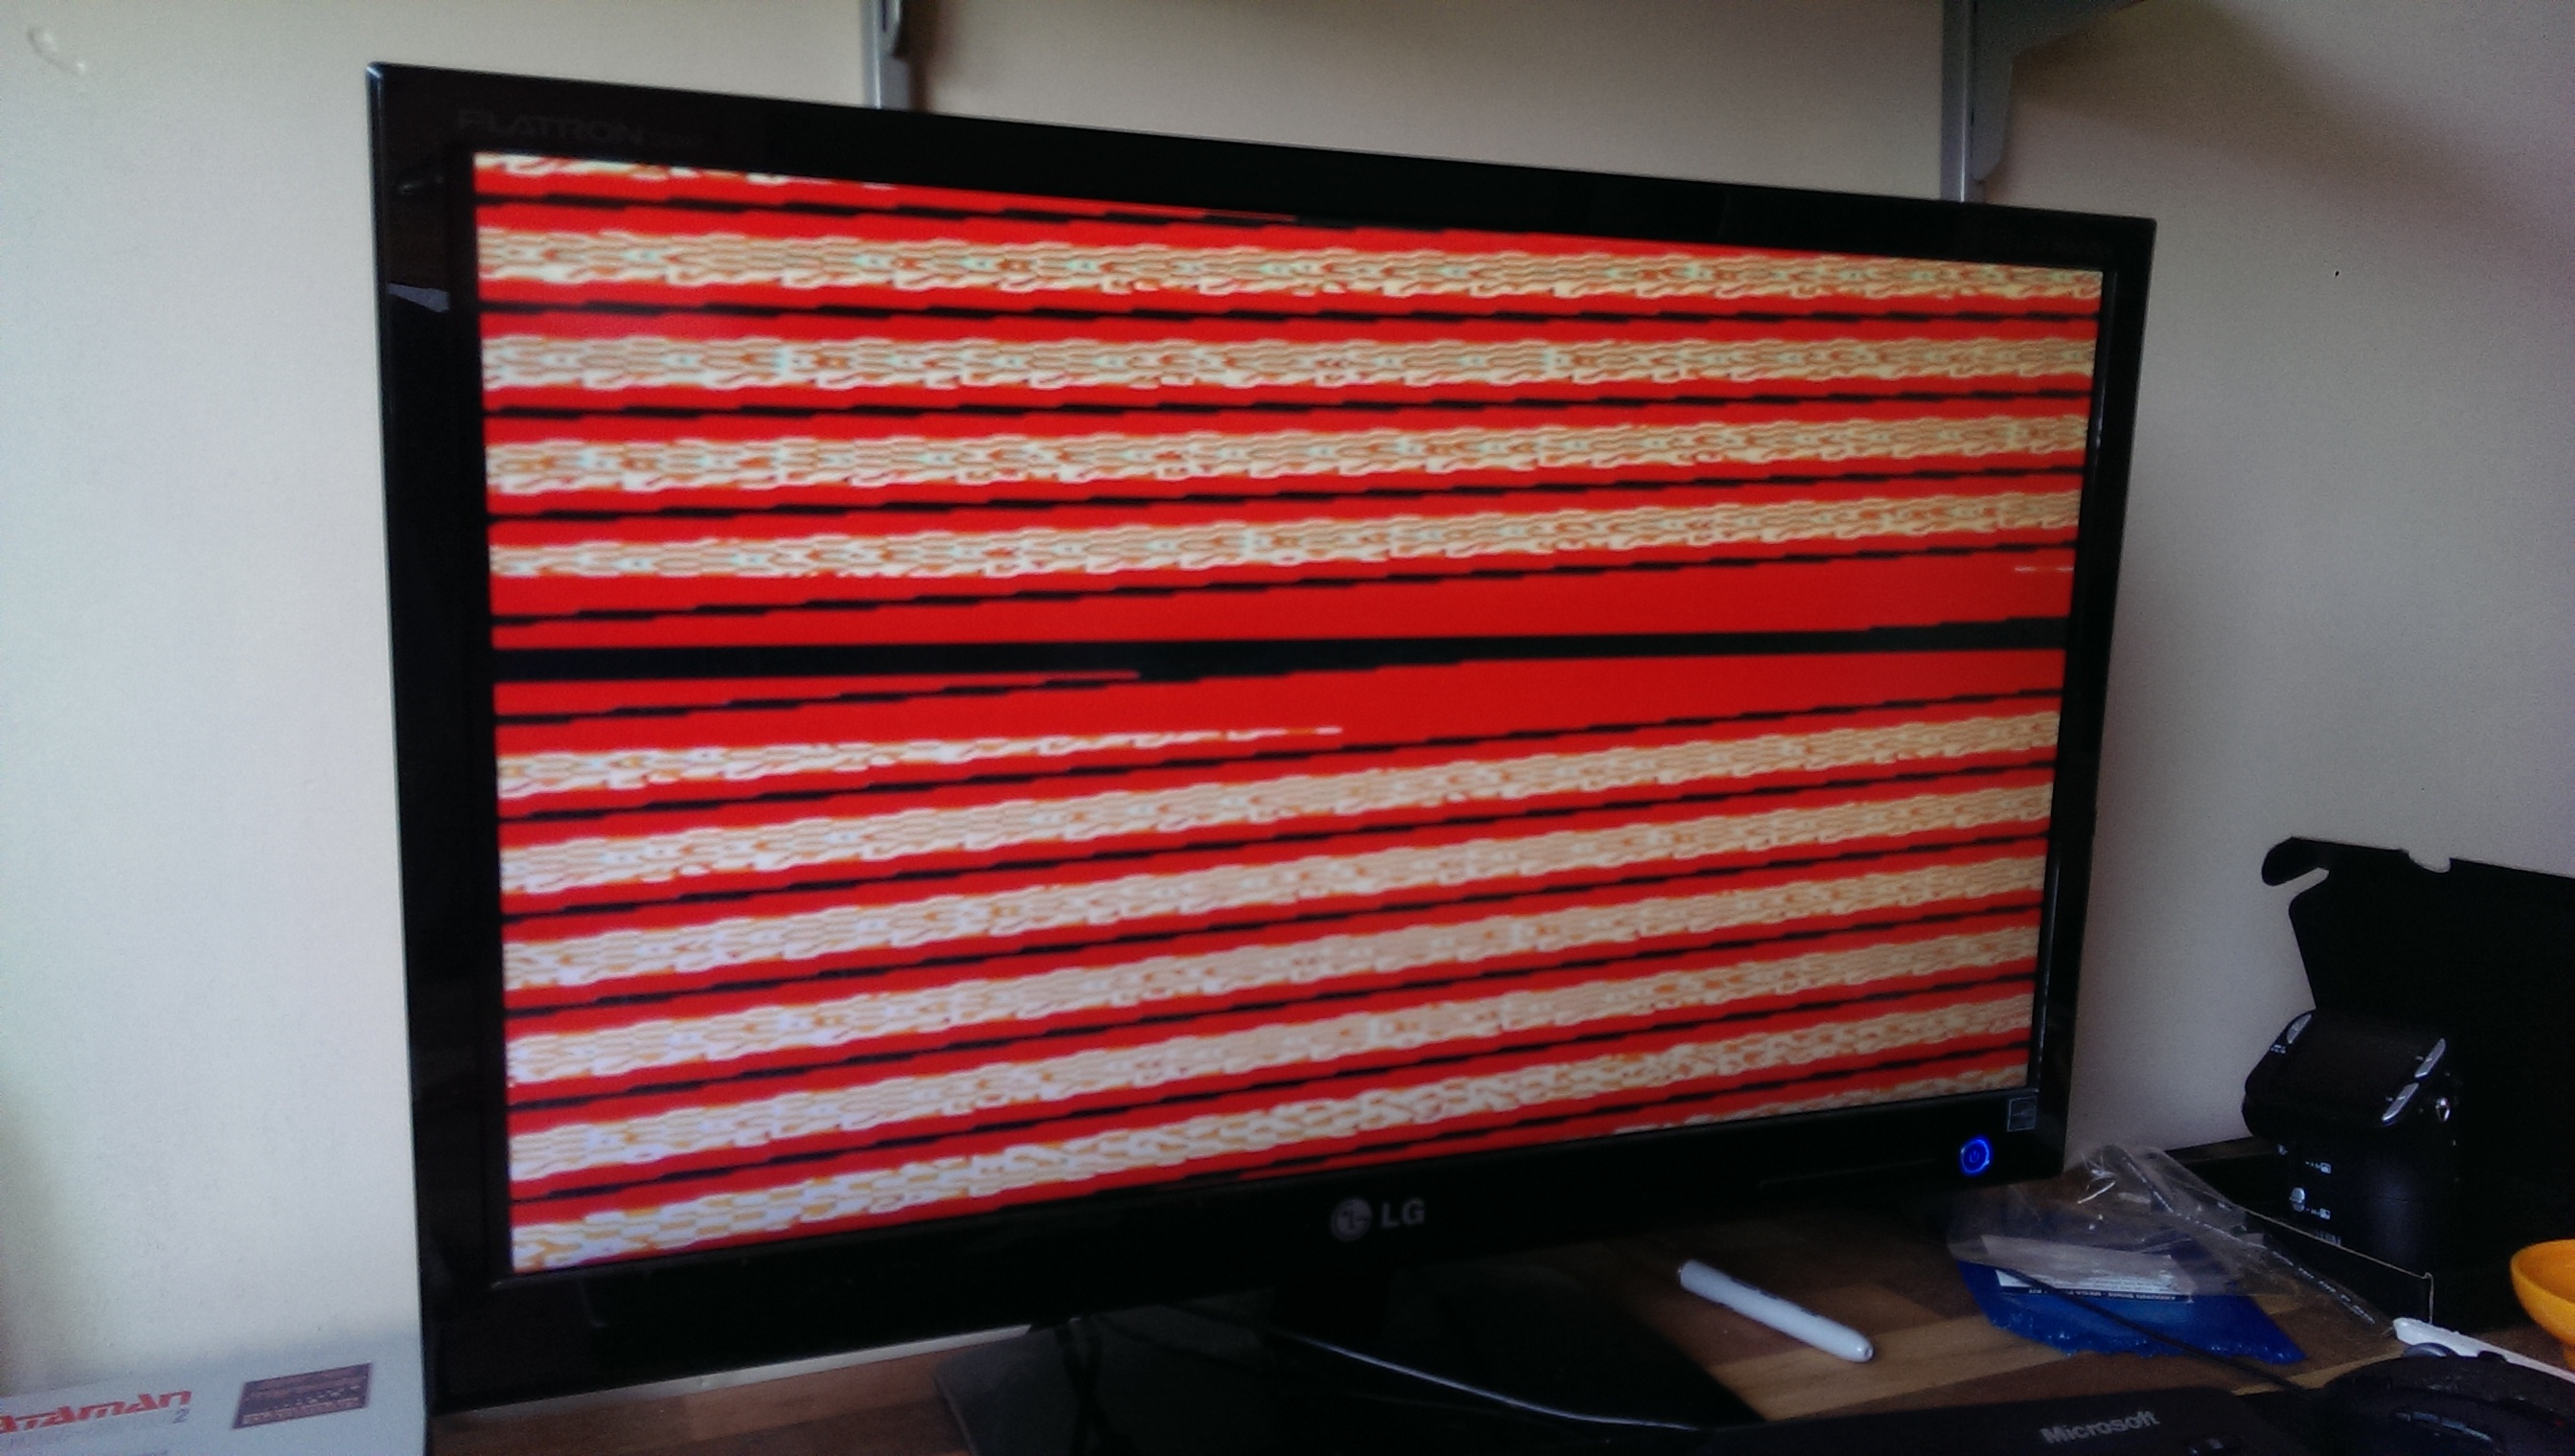
Looking at the schematics I could see that the sync is generated by custom chip 082 at location EF13 on the bottom PCB.
Swapping this chip with the one from the other board set brought the sync back. That’s bad news for original board set #2.
So now I just had a red screen with nothing going on.
It was at this point that I learned this hardware uses a custom 6809 CPU known as Konami-1. I was originally going to try and borrow a 6809 pod for the Fluke but that put a swift end it that idea.
Now’s the perfect time to use my beloved Arduino again.
By hooking it up to the address, data, RW, BA and BS lines I wrote a program that would read the program ROM’s back and display the data as well as a bitsum for the ROM.
It worked really well and found my second issue.
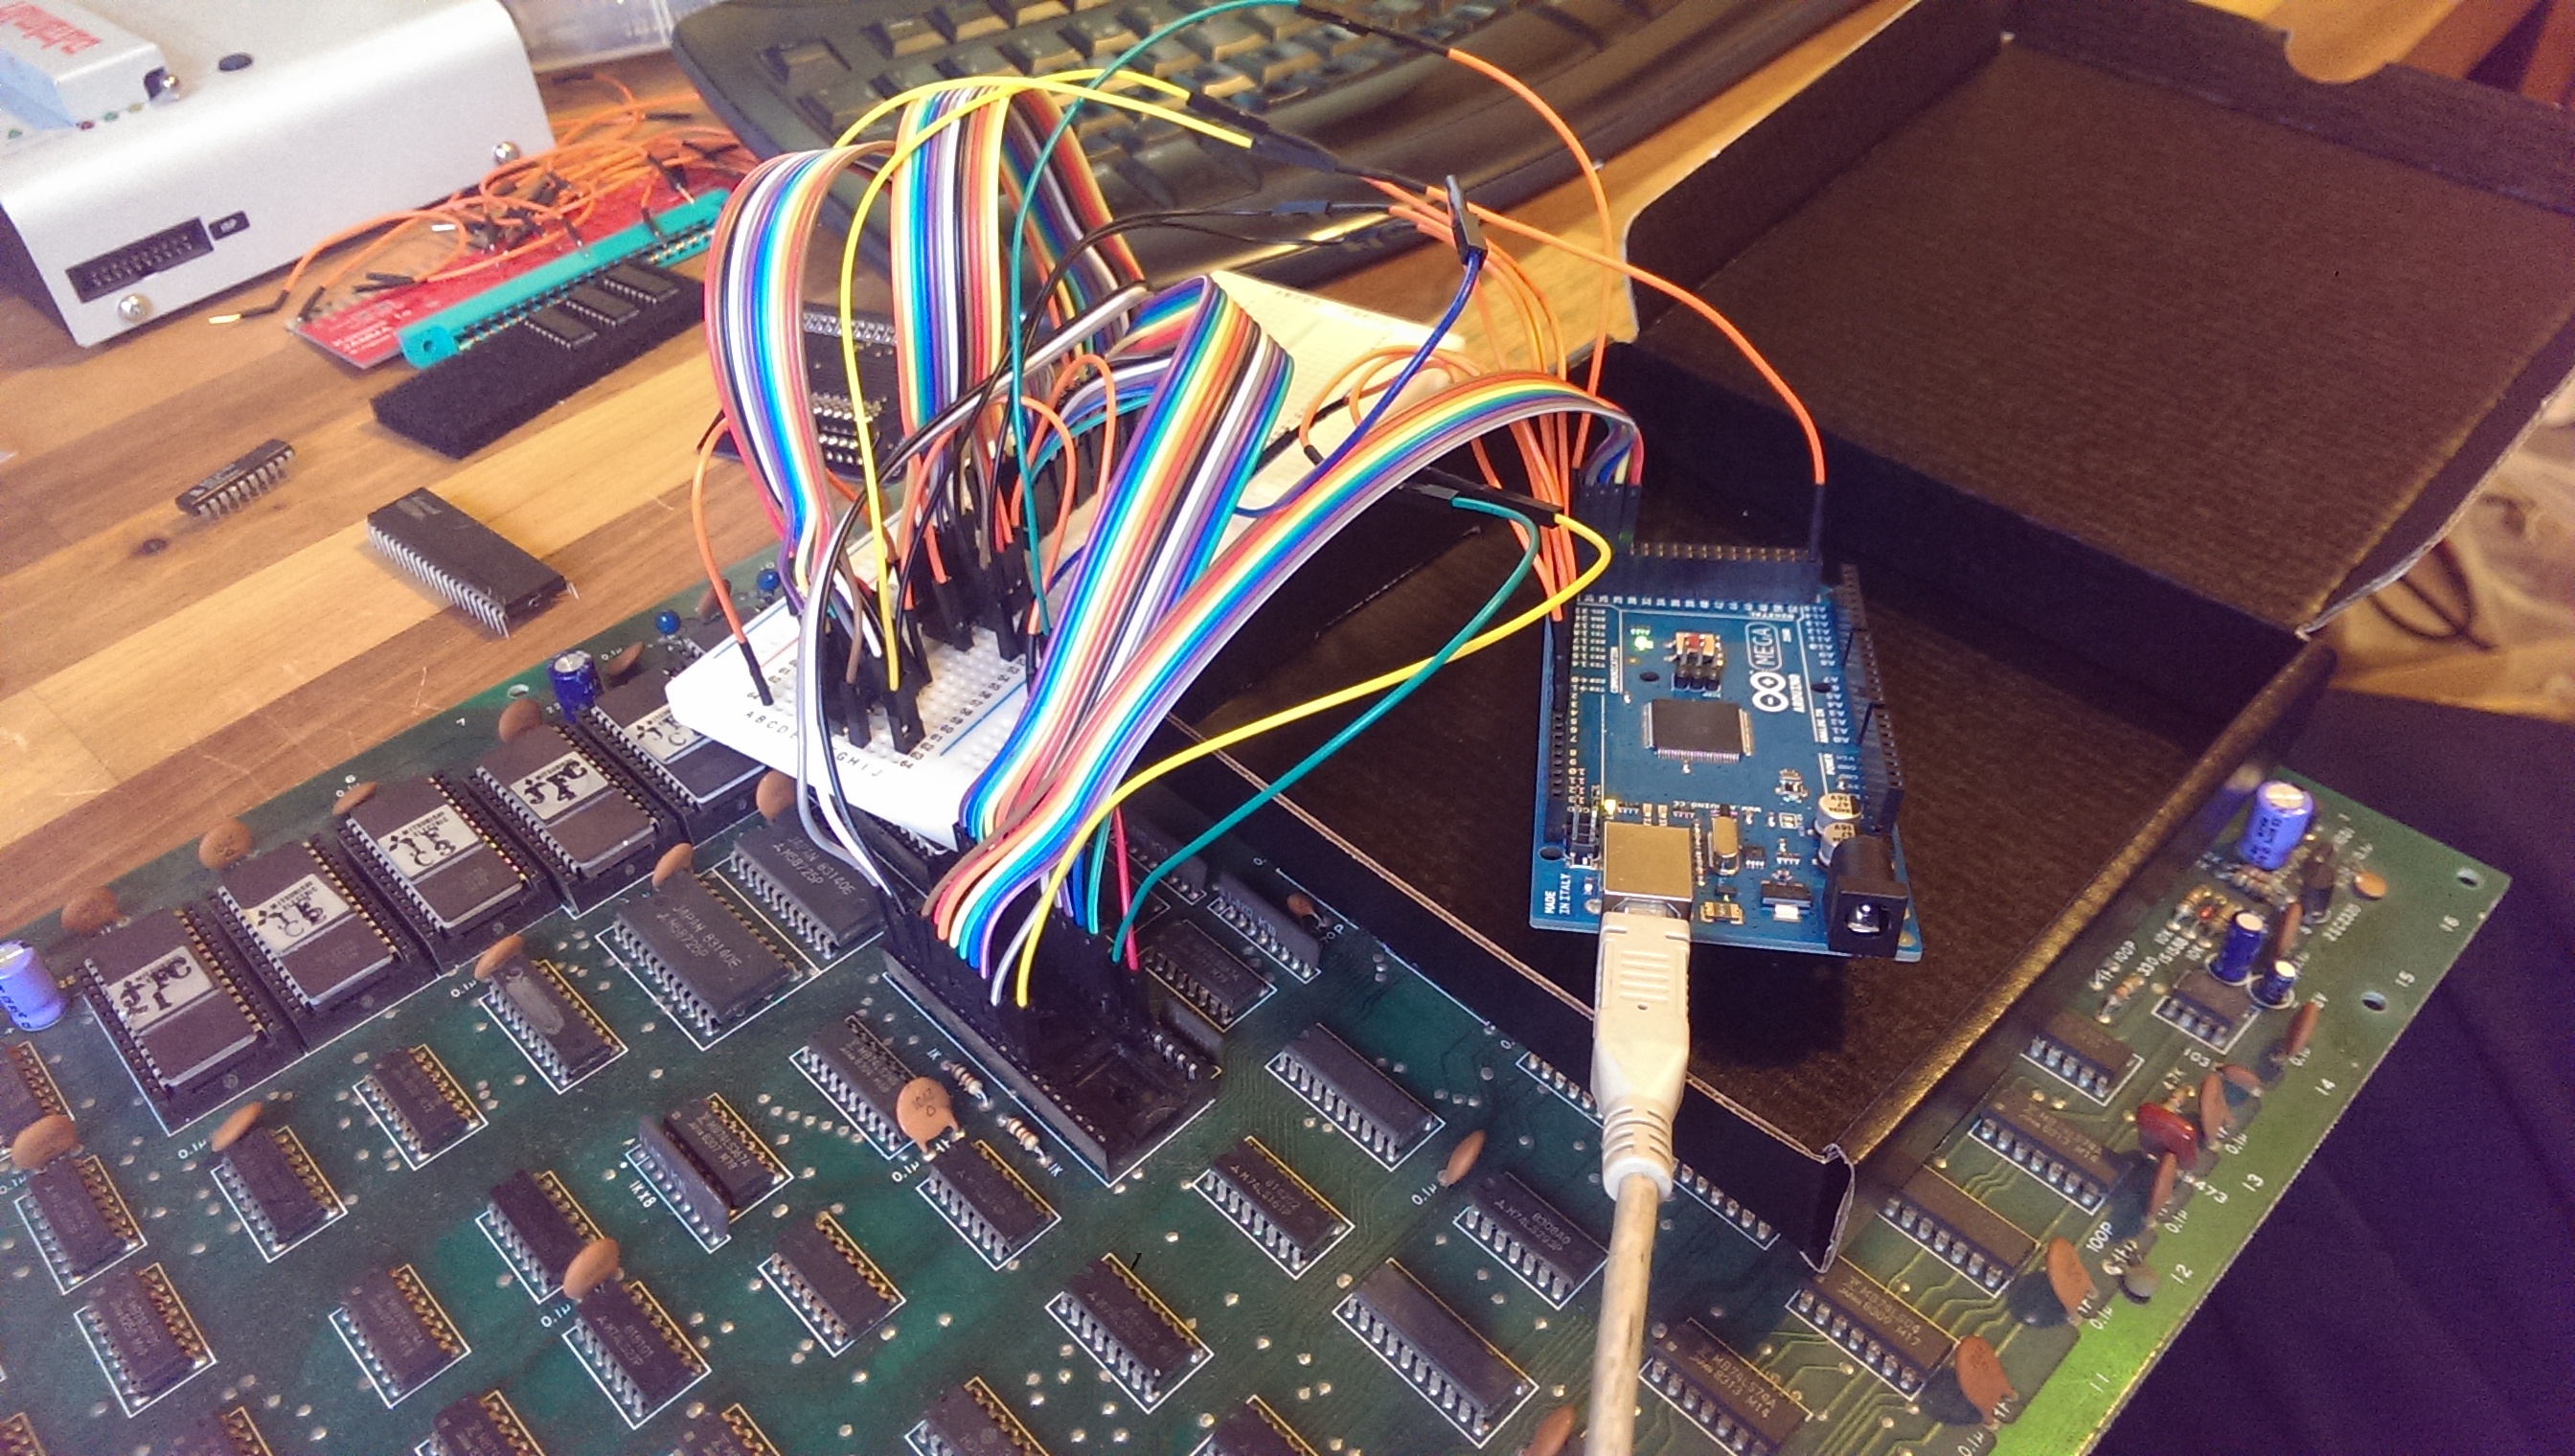
This is the original HEX file
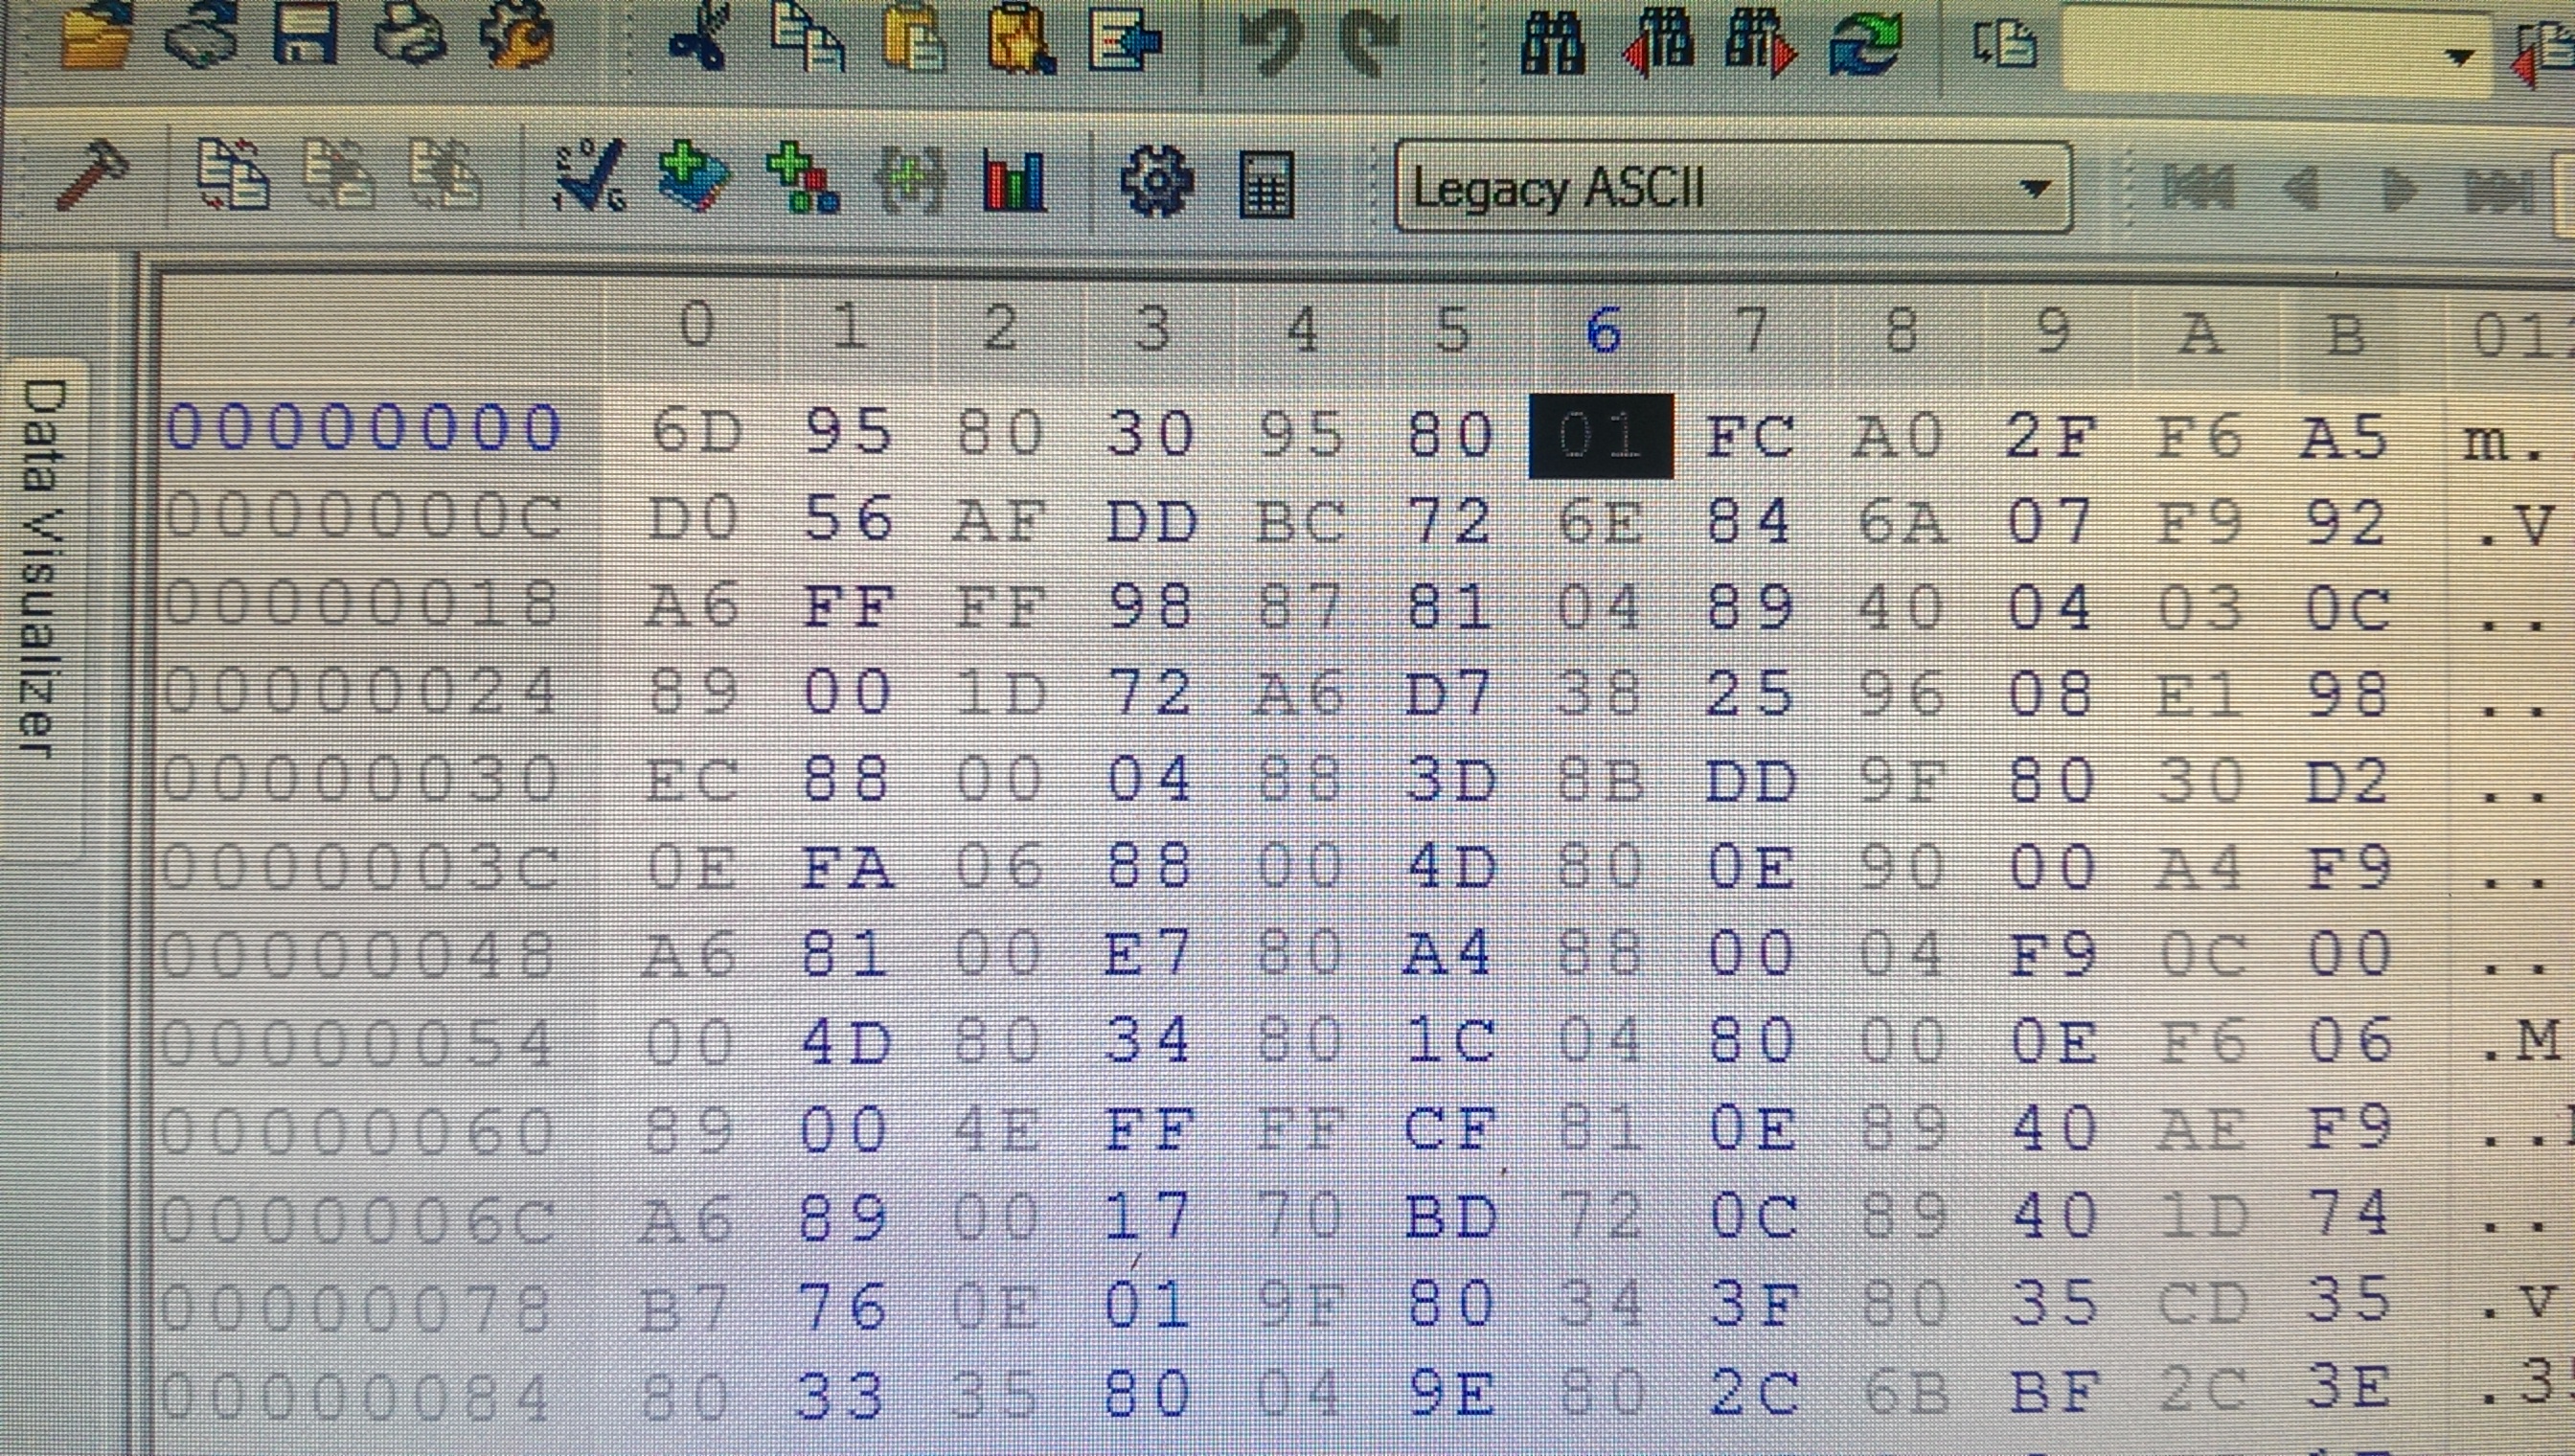
and here is what I was actually reading on the board
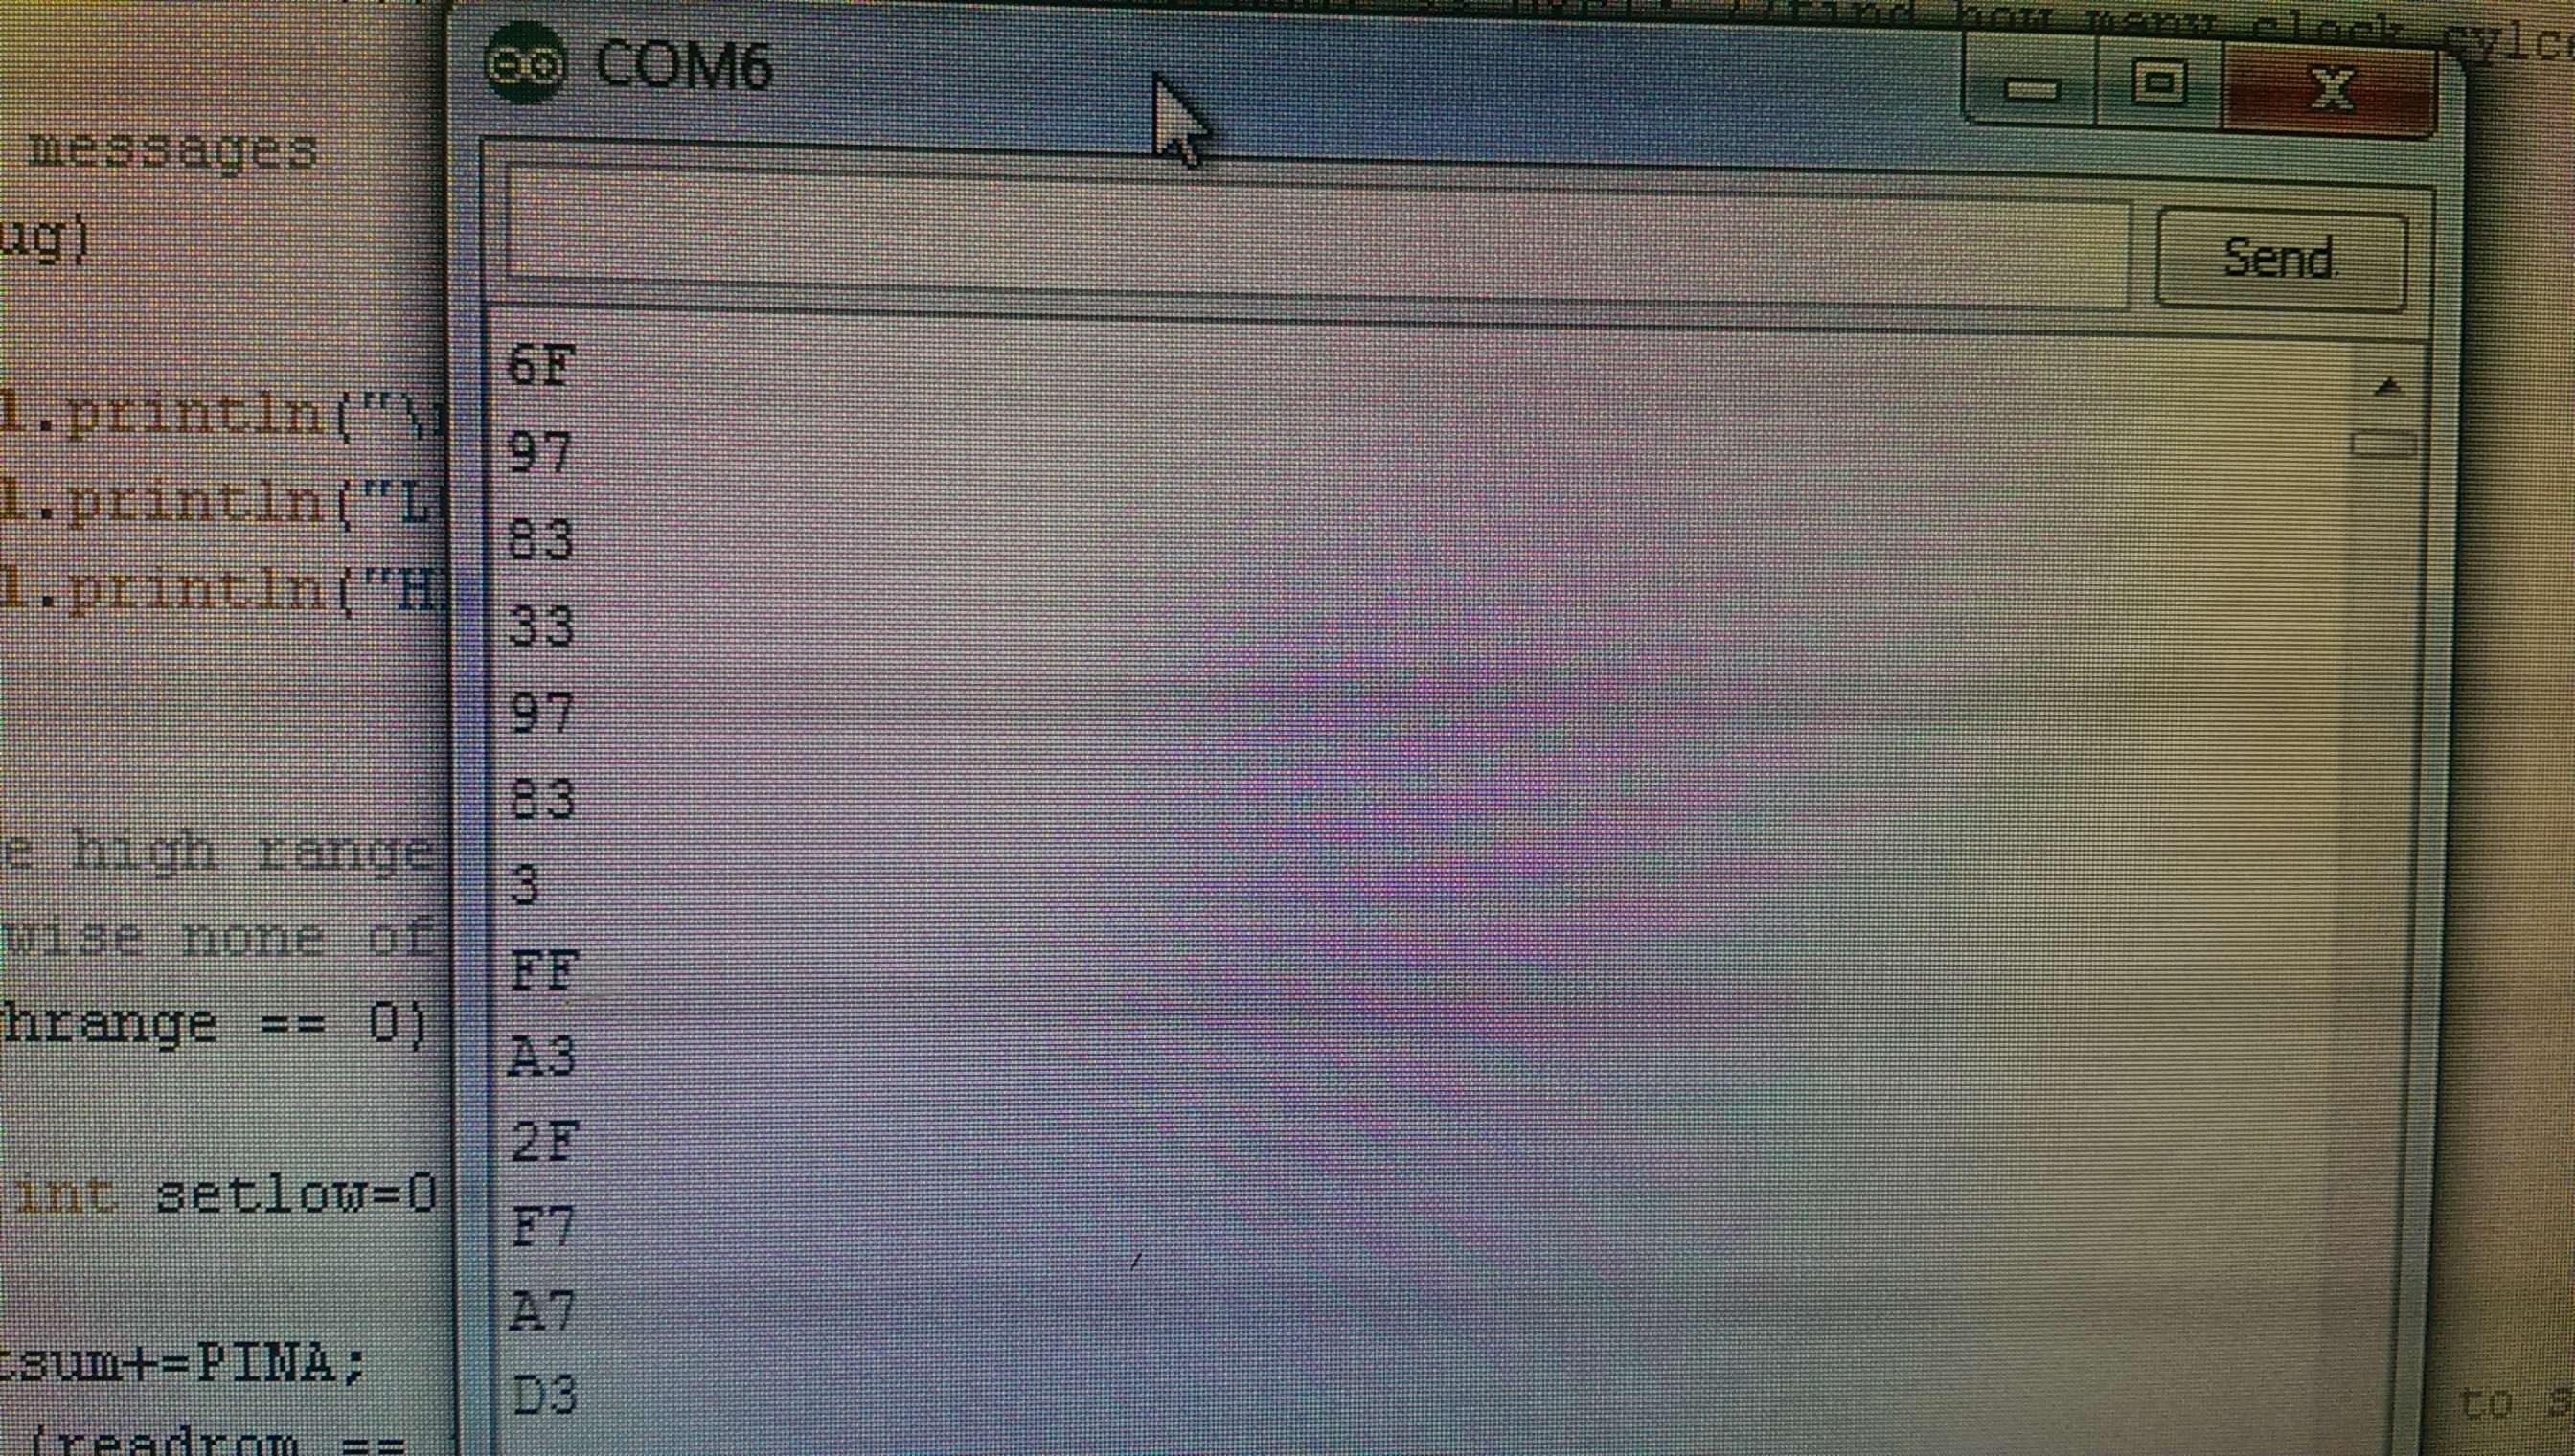
You can see that bits 0 and 1 are always on.
So the 74LS245 at location D7 on the lower PCB had a two stuck pins on D0 and D1.
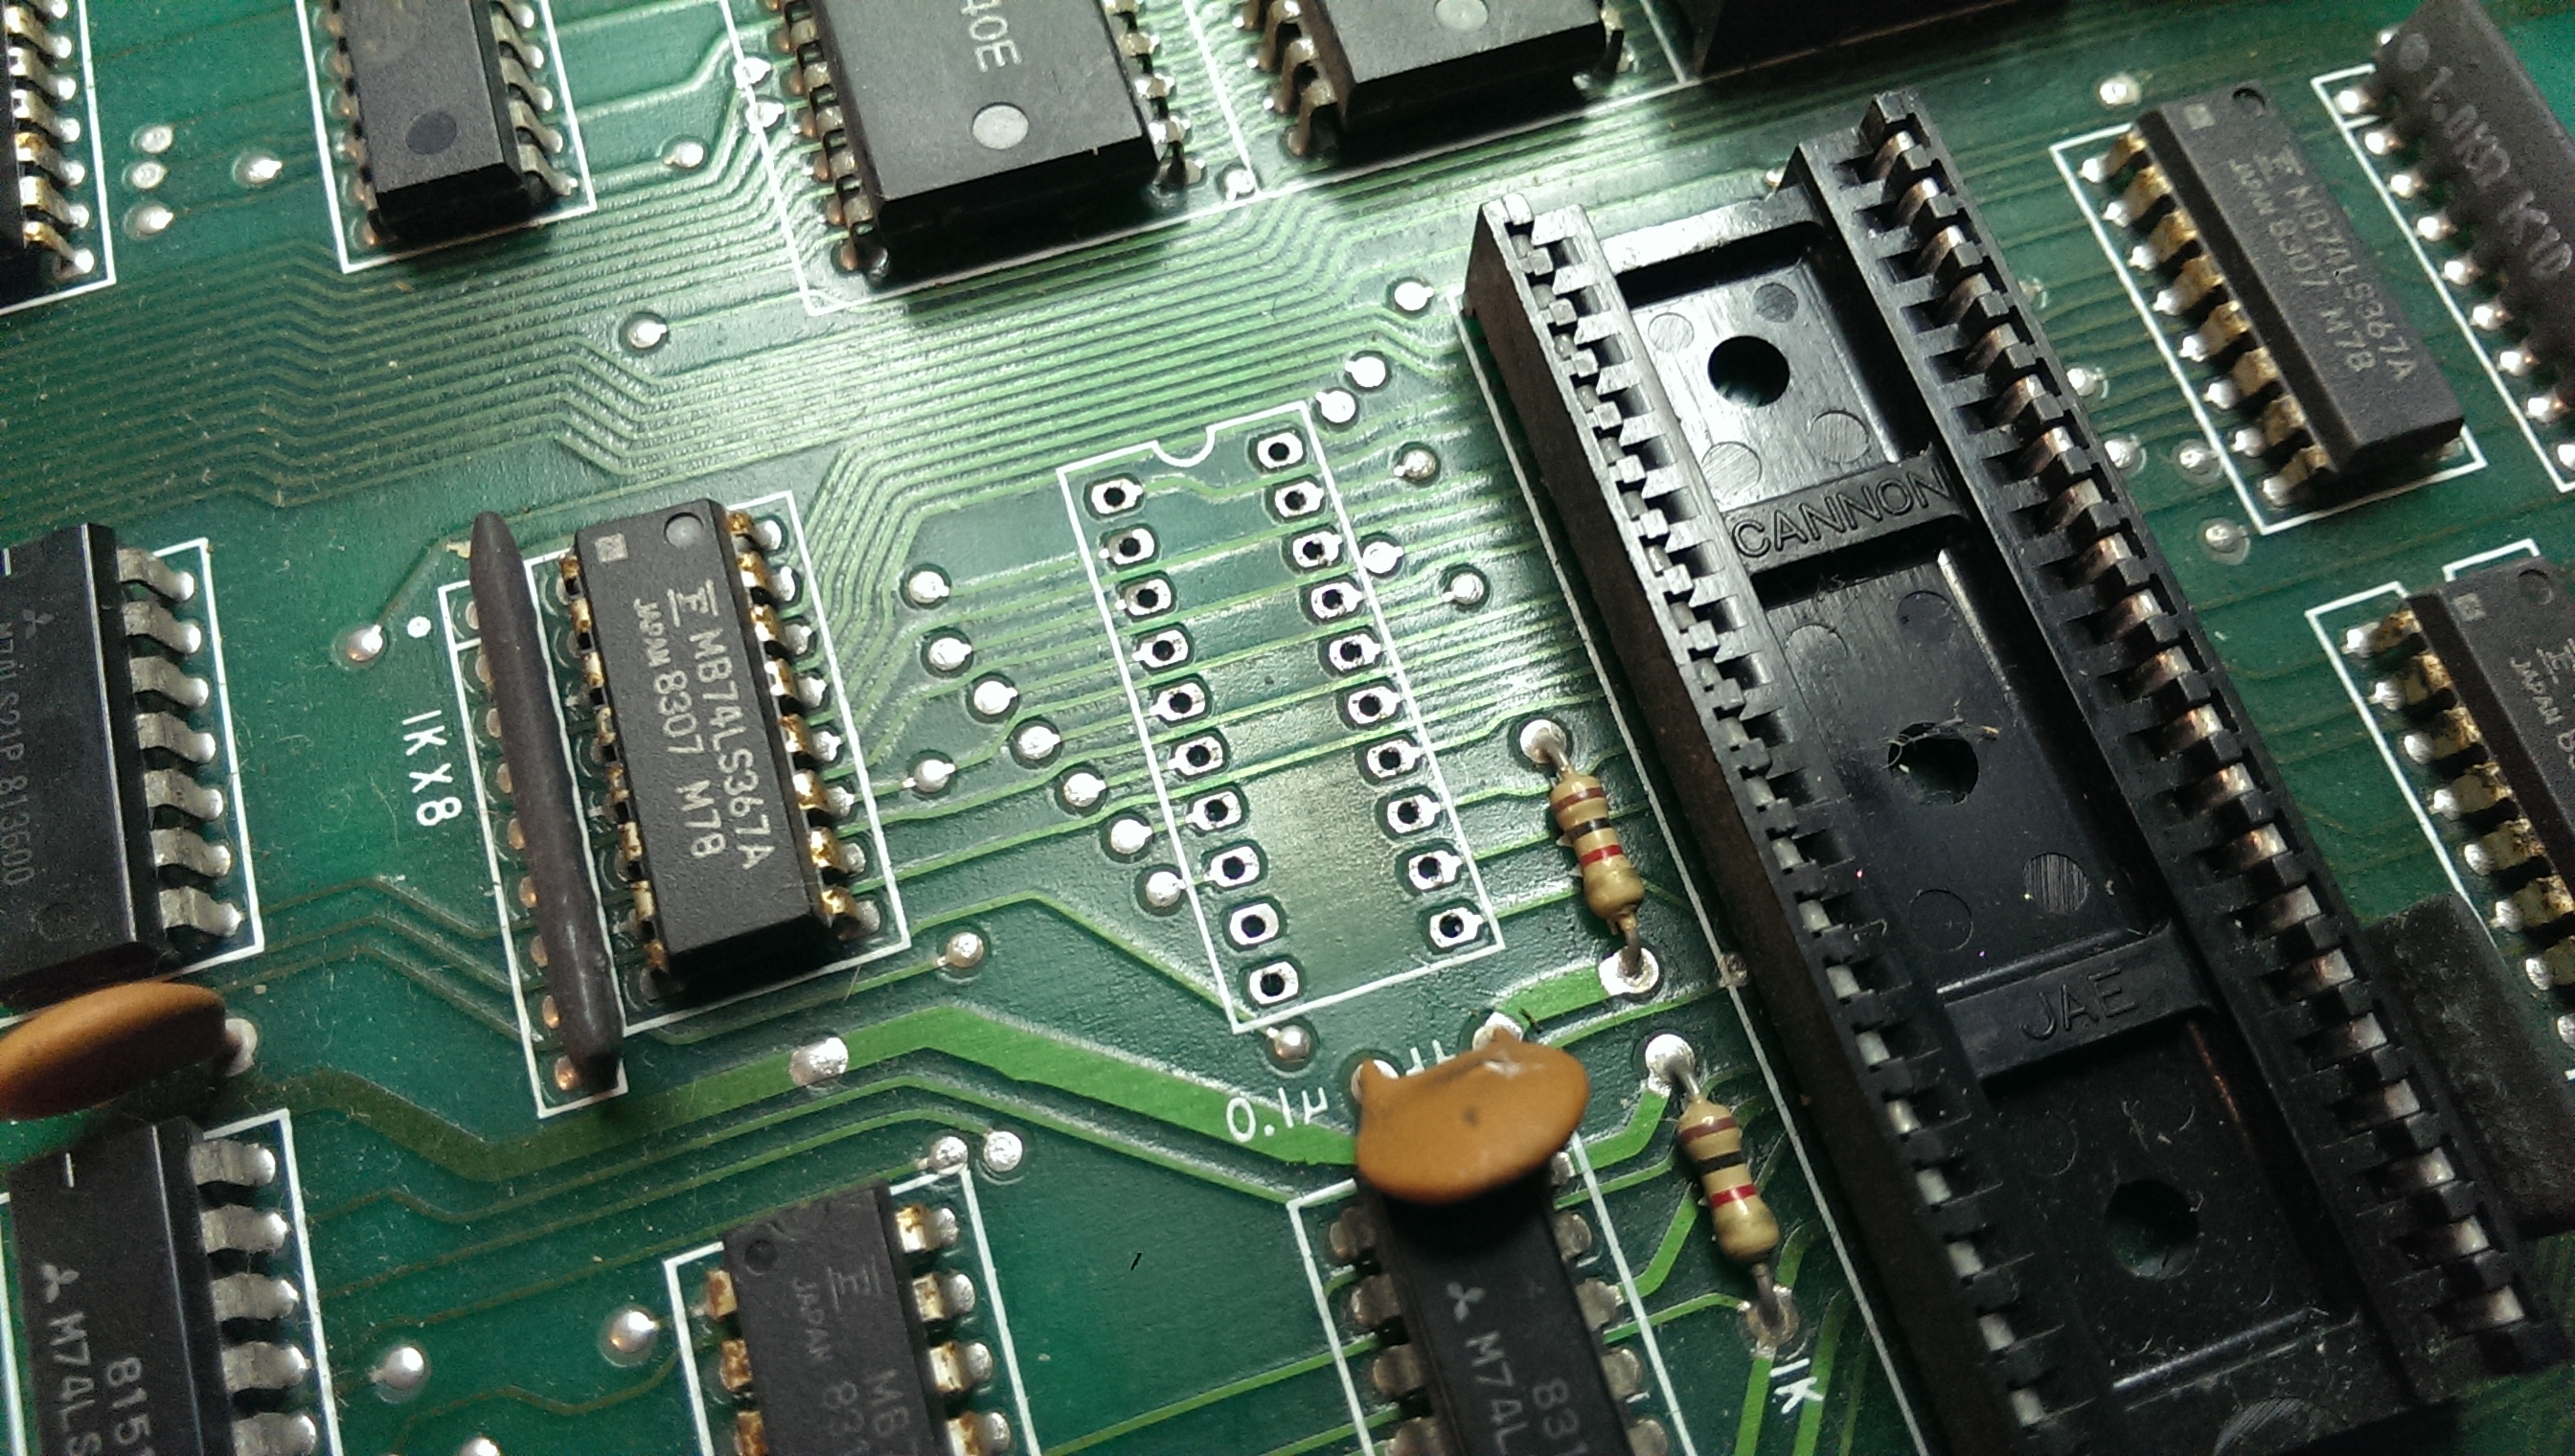
Replacing this enabled me to read all the program ROM’s correctly.
I had at this point wanted to be able to test RAM too but due to the timings required and not knowing how those custom chips worked I left it alone.
So now I have a booting game but all the sprites and title screen graphics are missing.
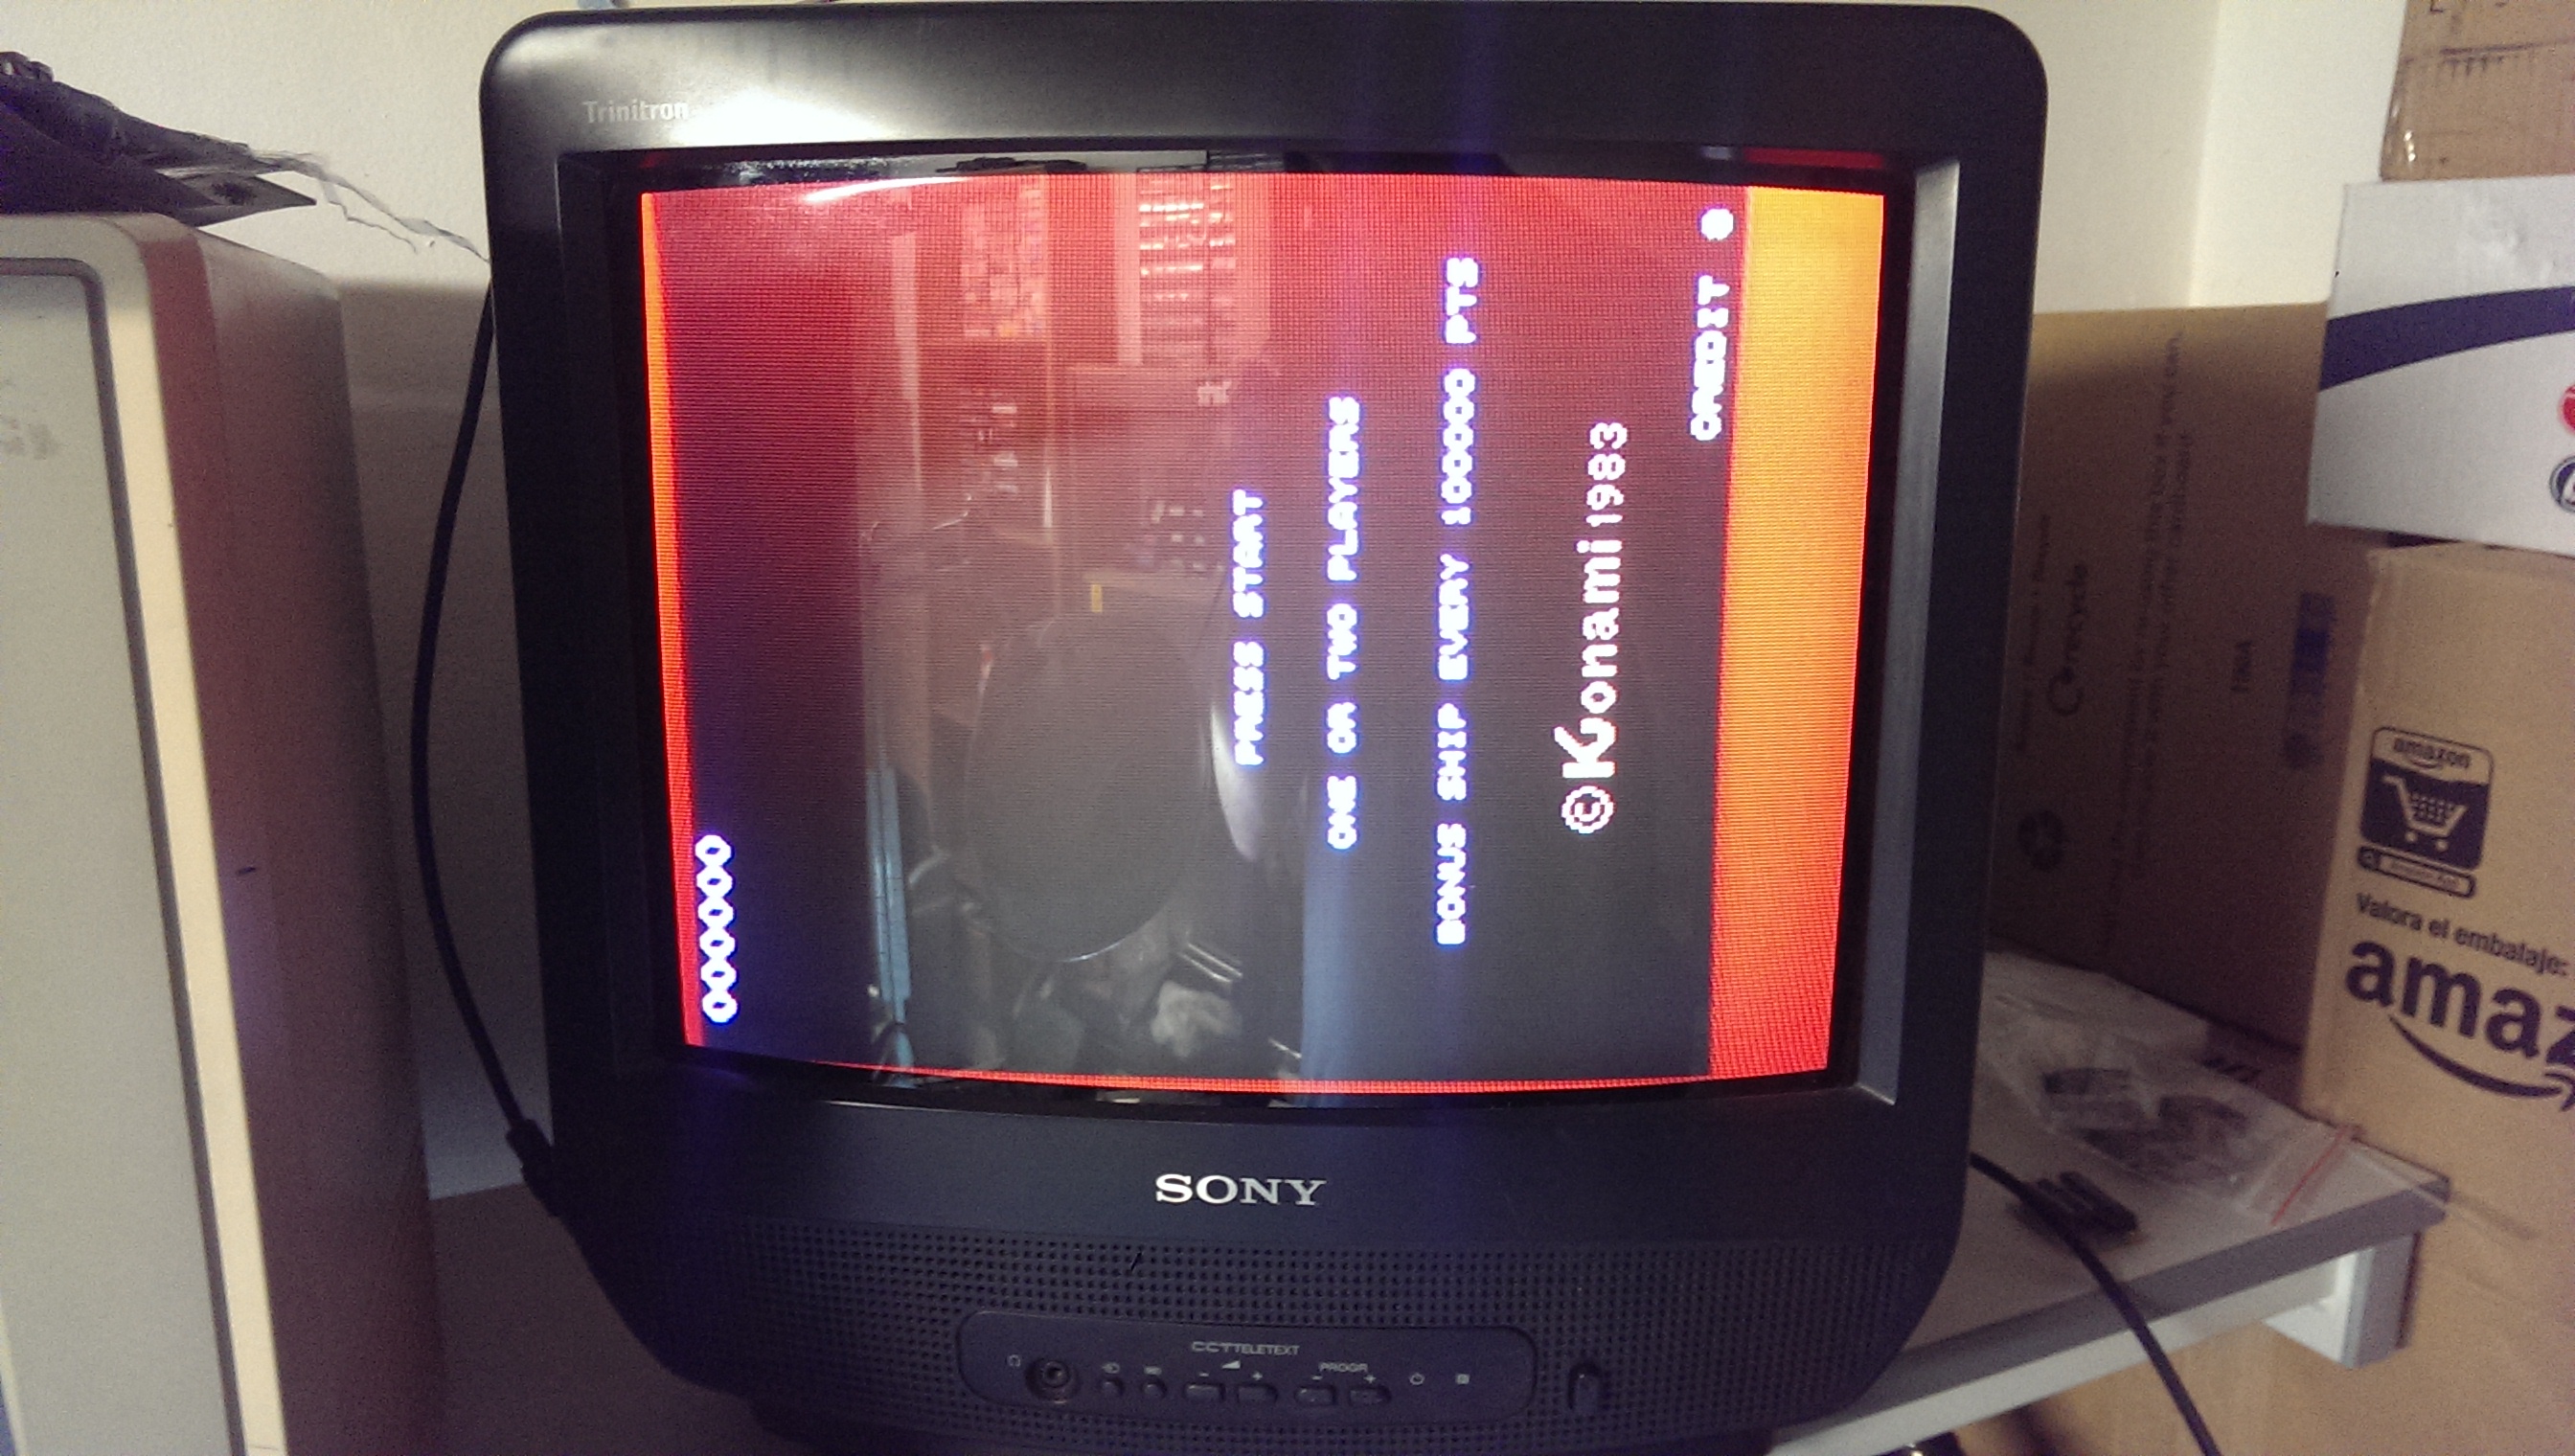
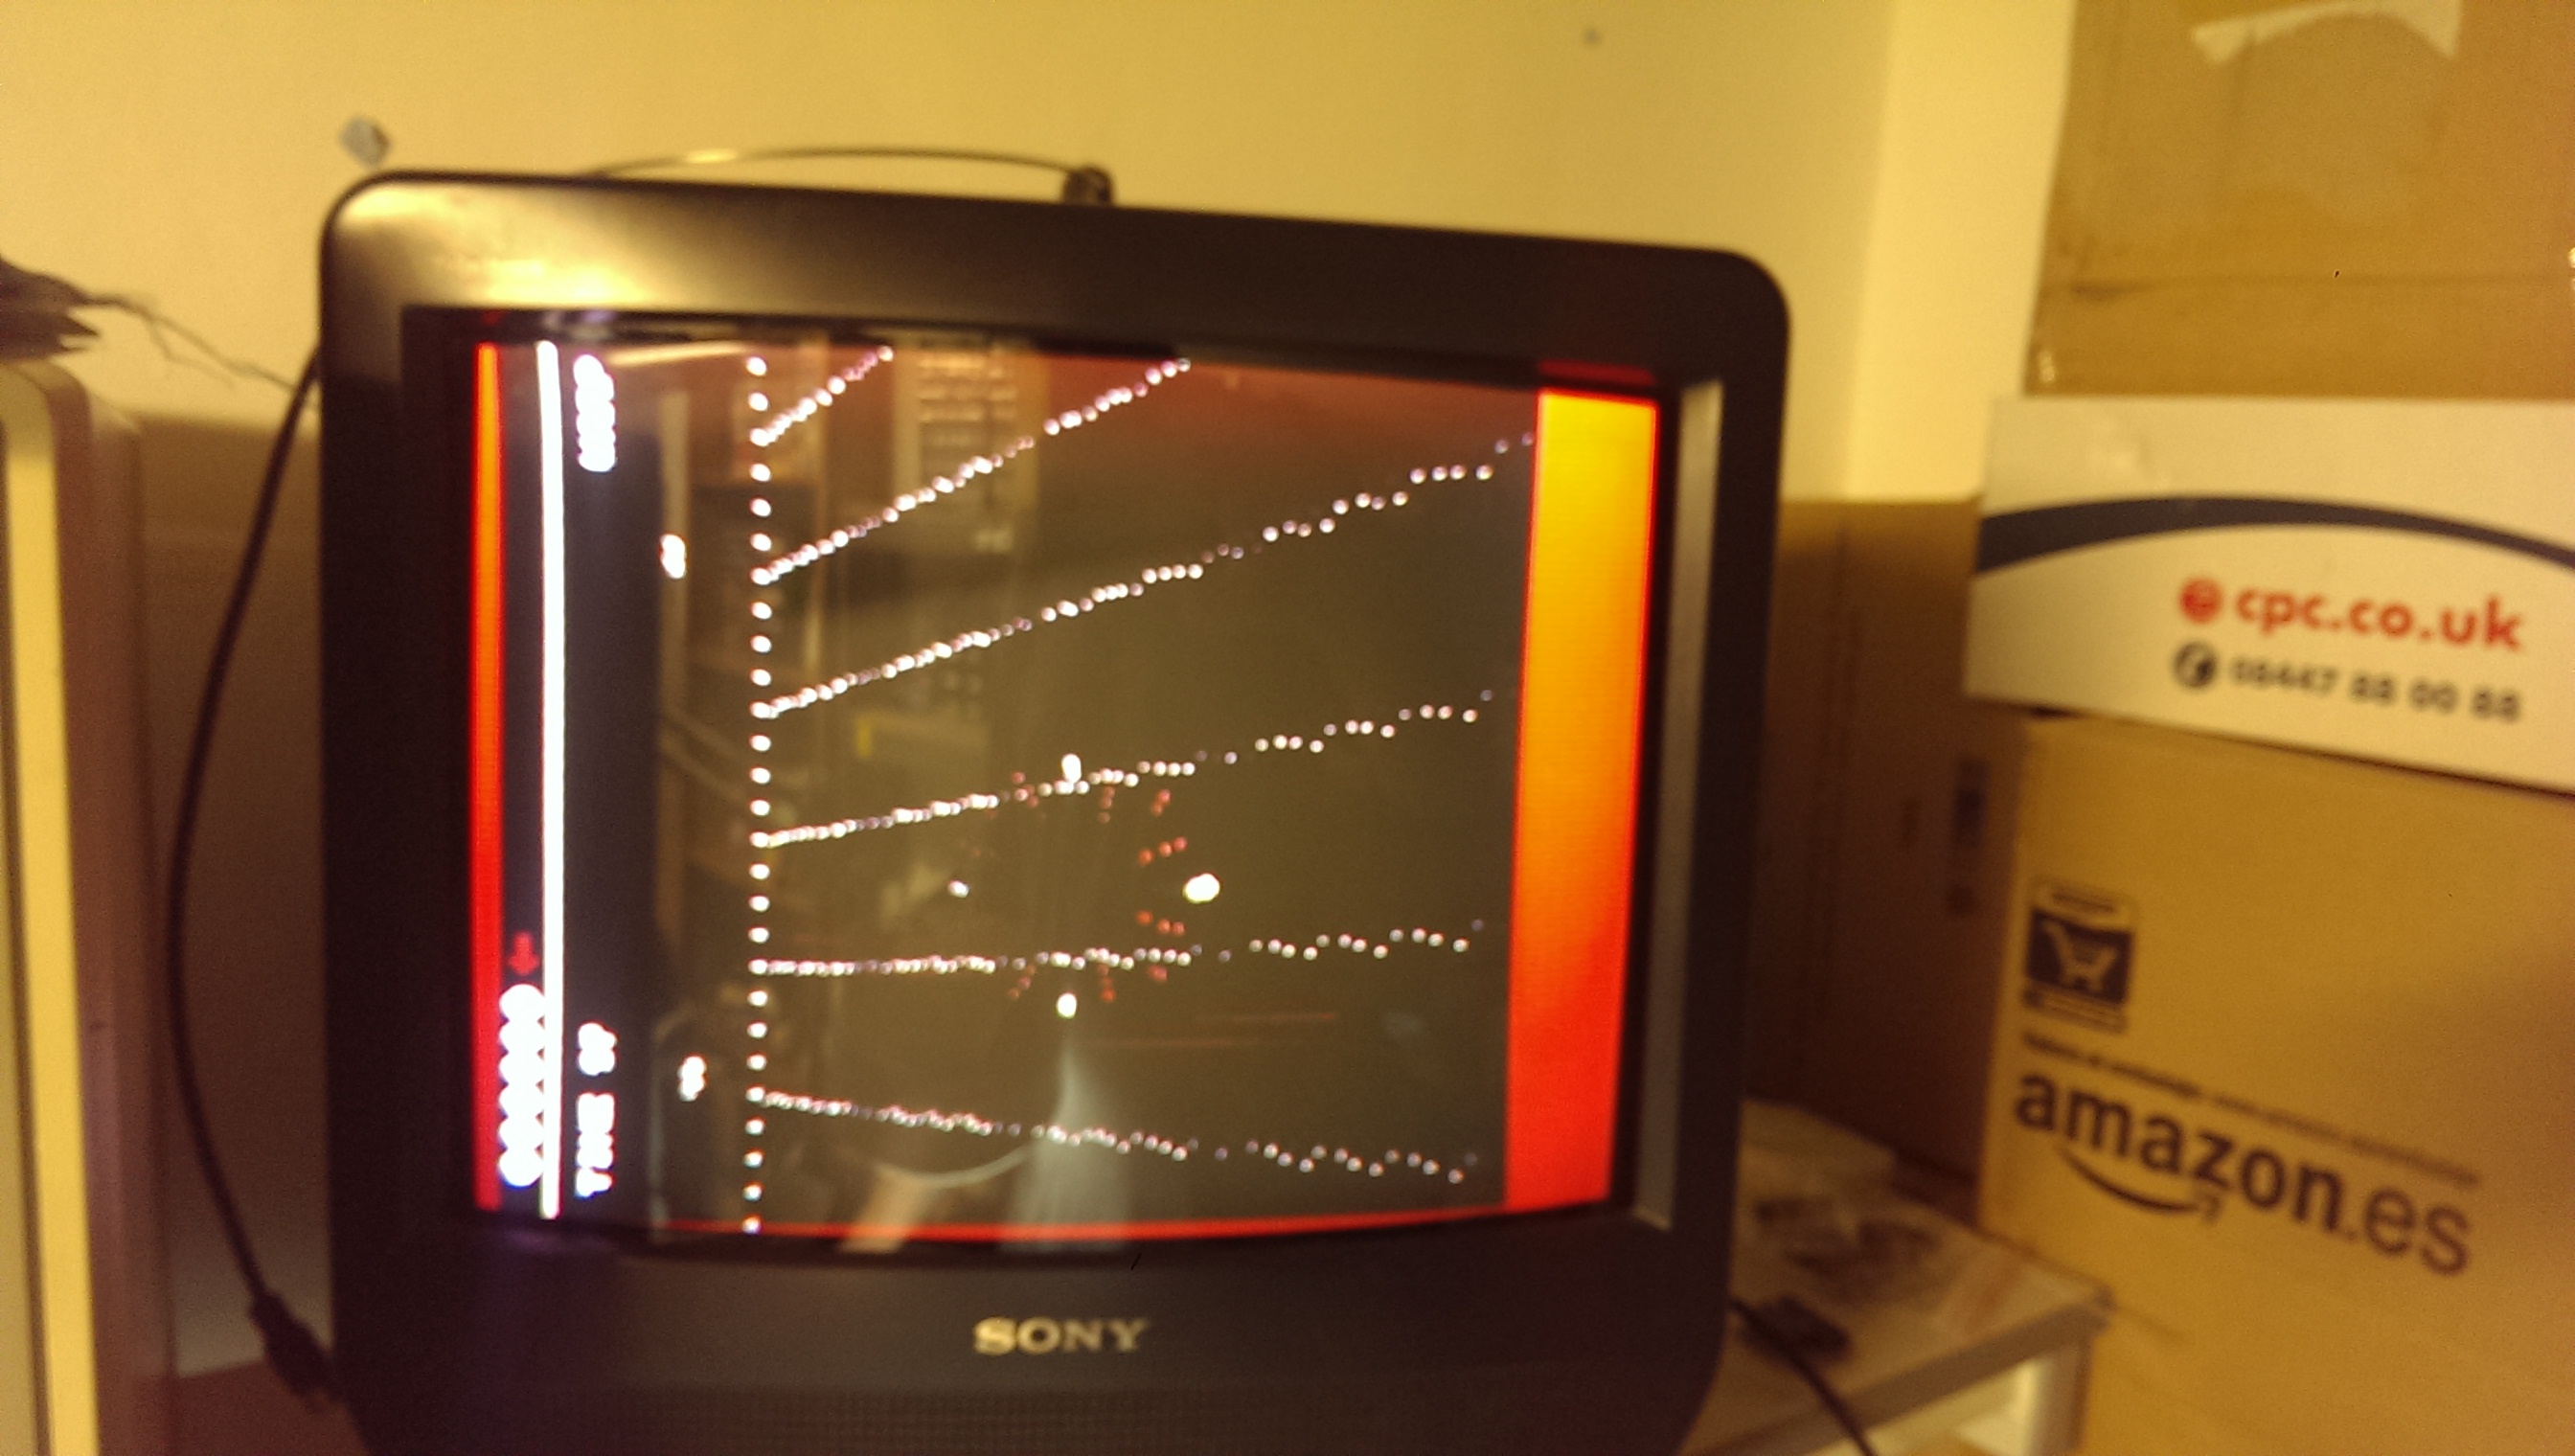
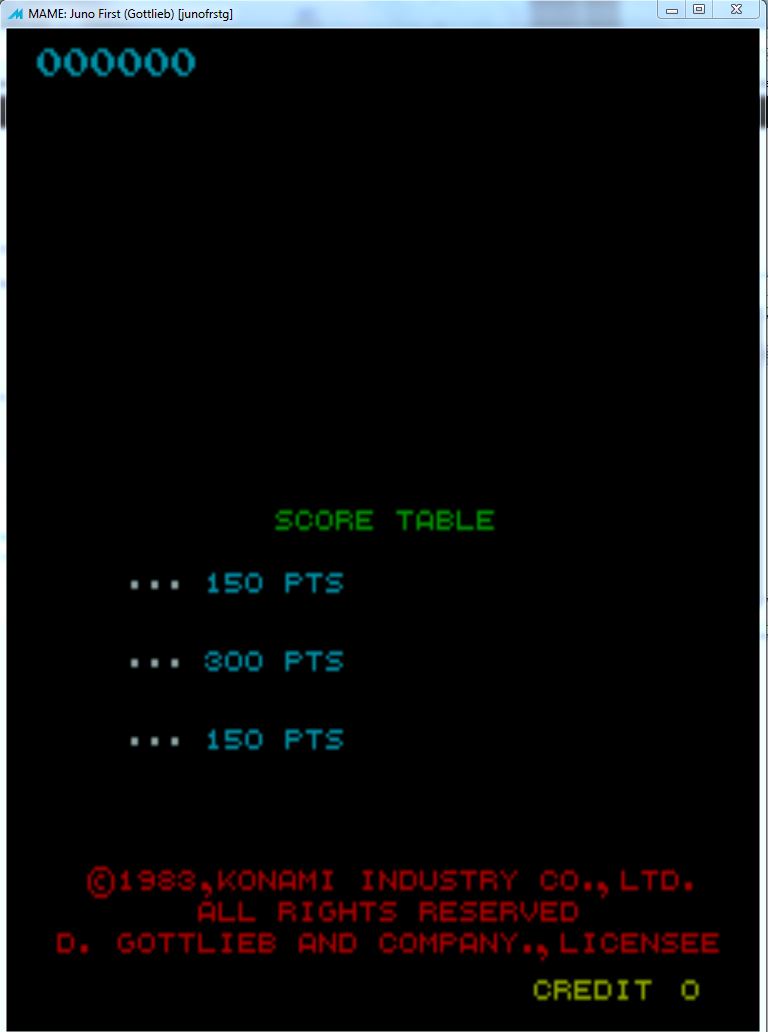
First thing I did was see if I could replicate the fault in MAME.
By creating empty files to replace ROM’s 7C, 7D and 7E on the top PCB I got the exact fault.
Checking those EPROM’s with the probe revealed that none of the chips were ever being enabled.
Following the schematics back to where the ROM selection lines are generated I came to a 74LS273 at location 6D on the upper PCB. Pin 11 is the clock pin for this chip and I would expect it to be pulsing but it was stuck HIGH. Following the /SSEL line back to the lower PCB led me to a 74LS138 at location I6.
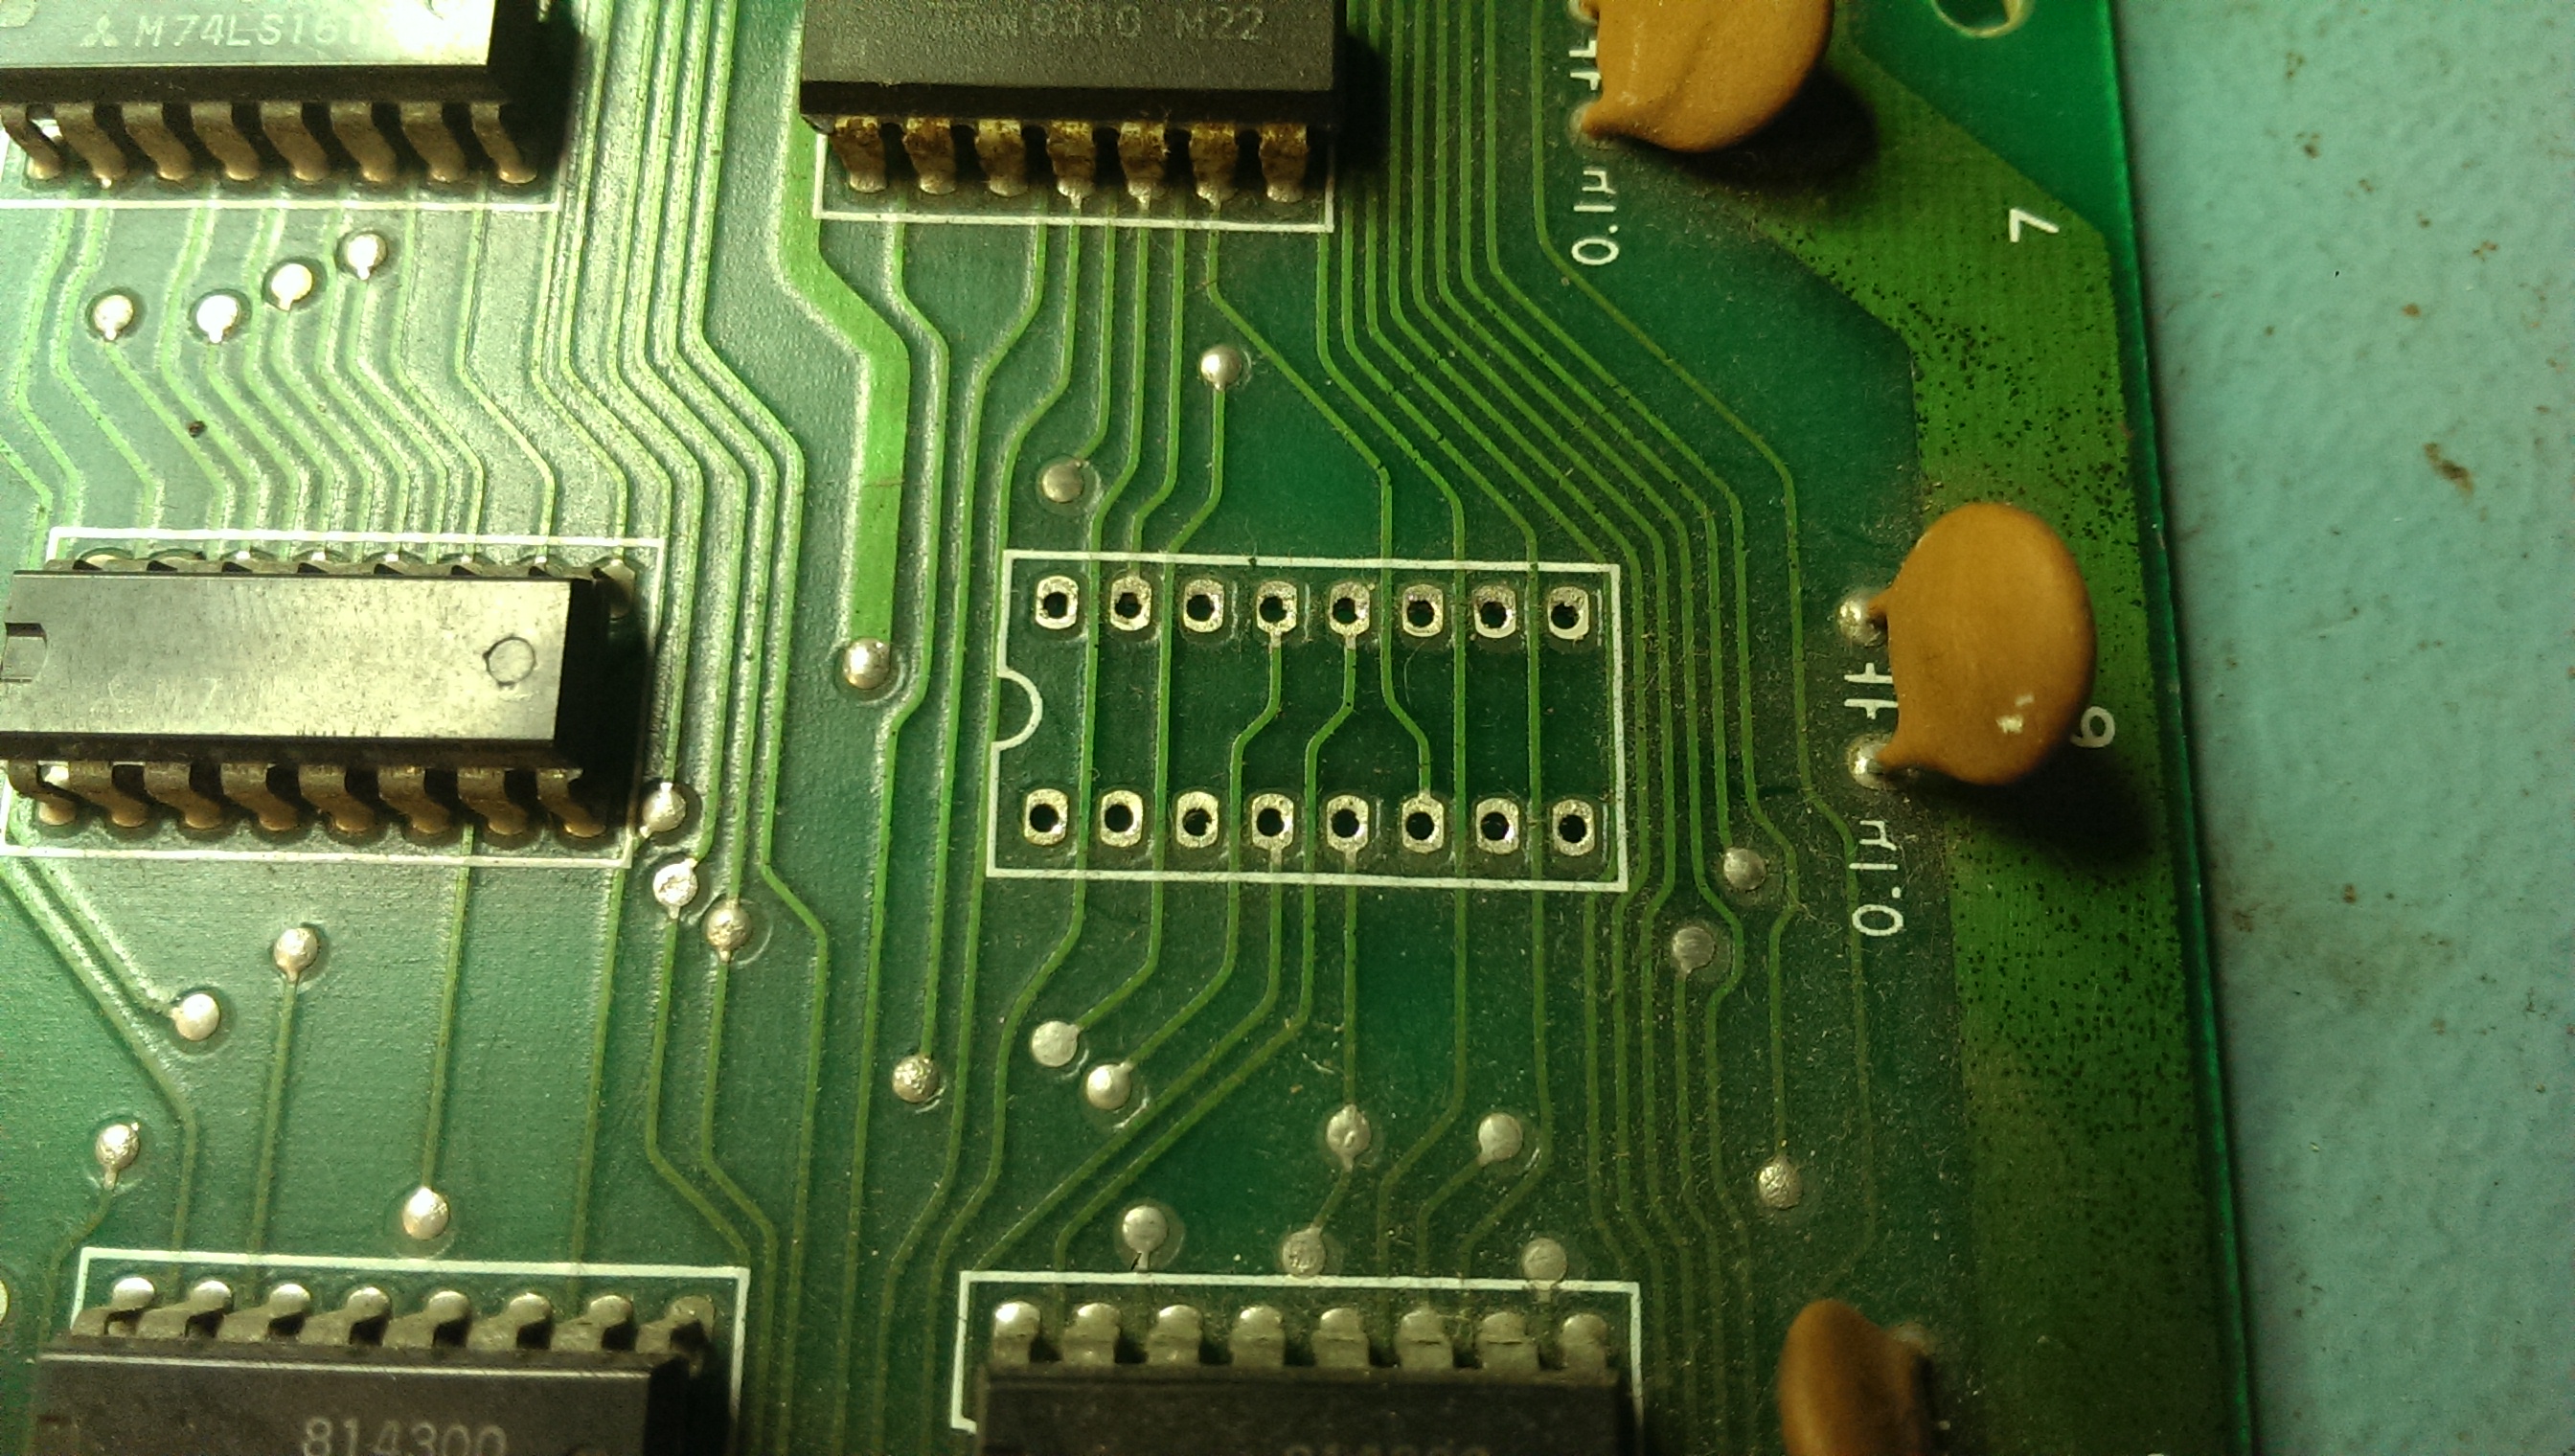
This had pulsing inputs but either stuck HIGH outputs or floating pins. Replacing this chip gave me the graphics back.
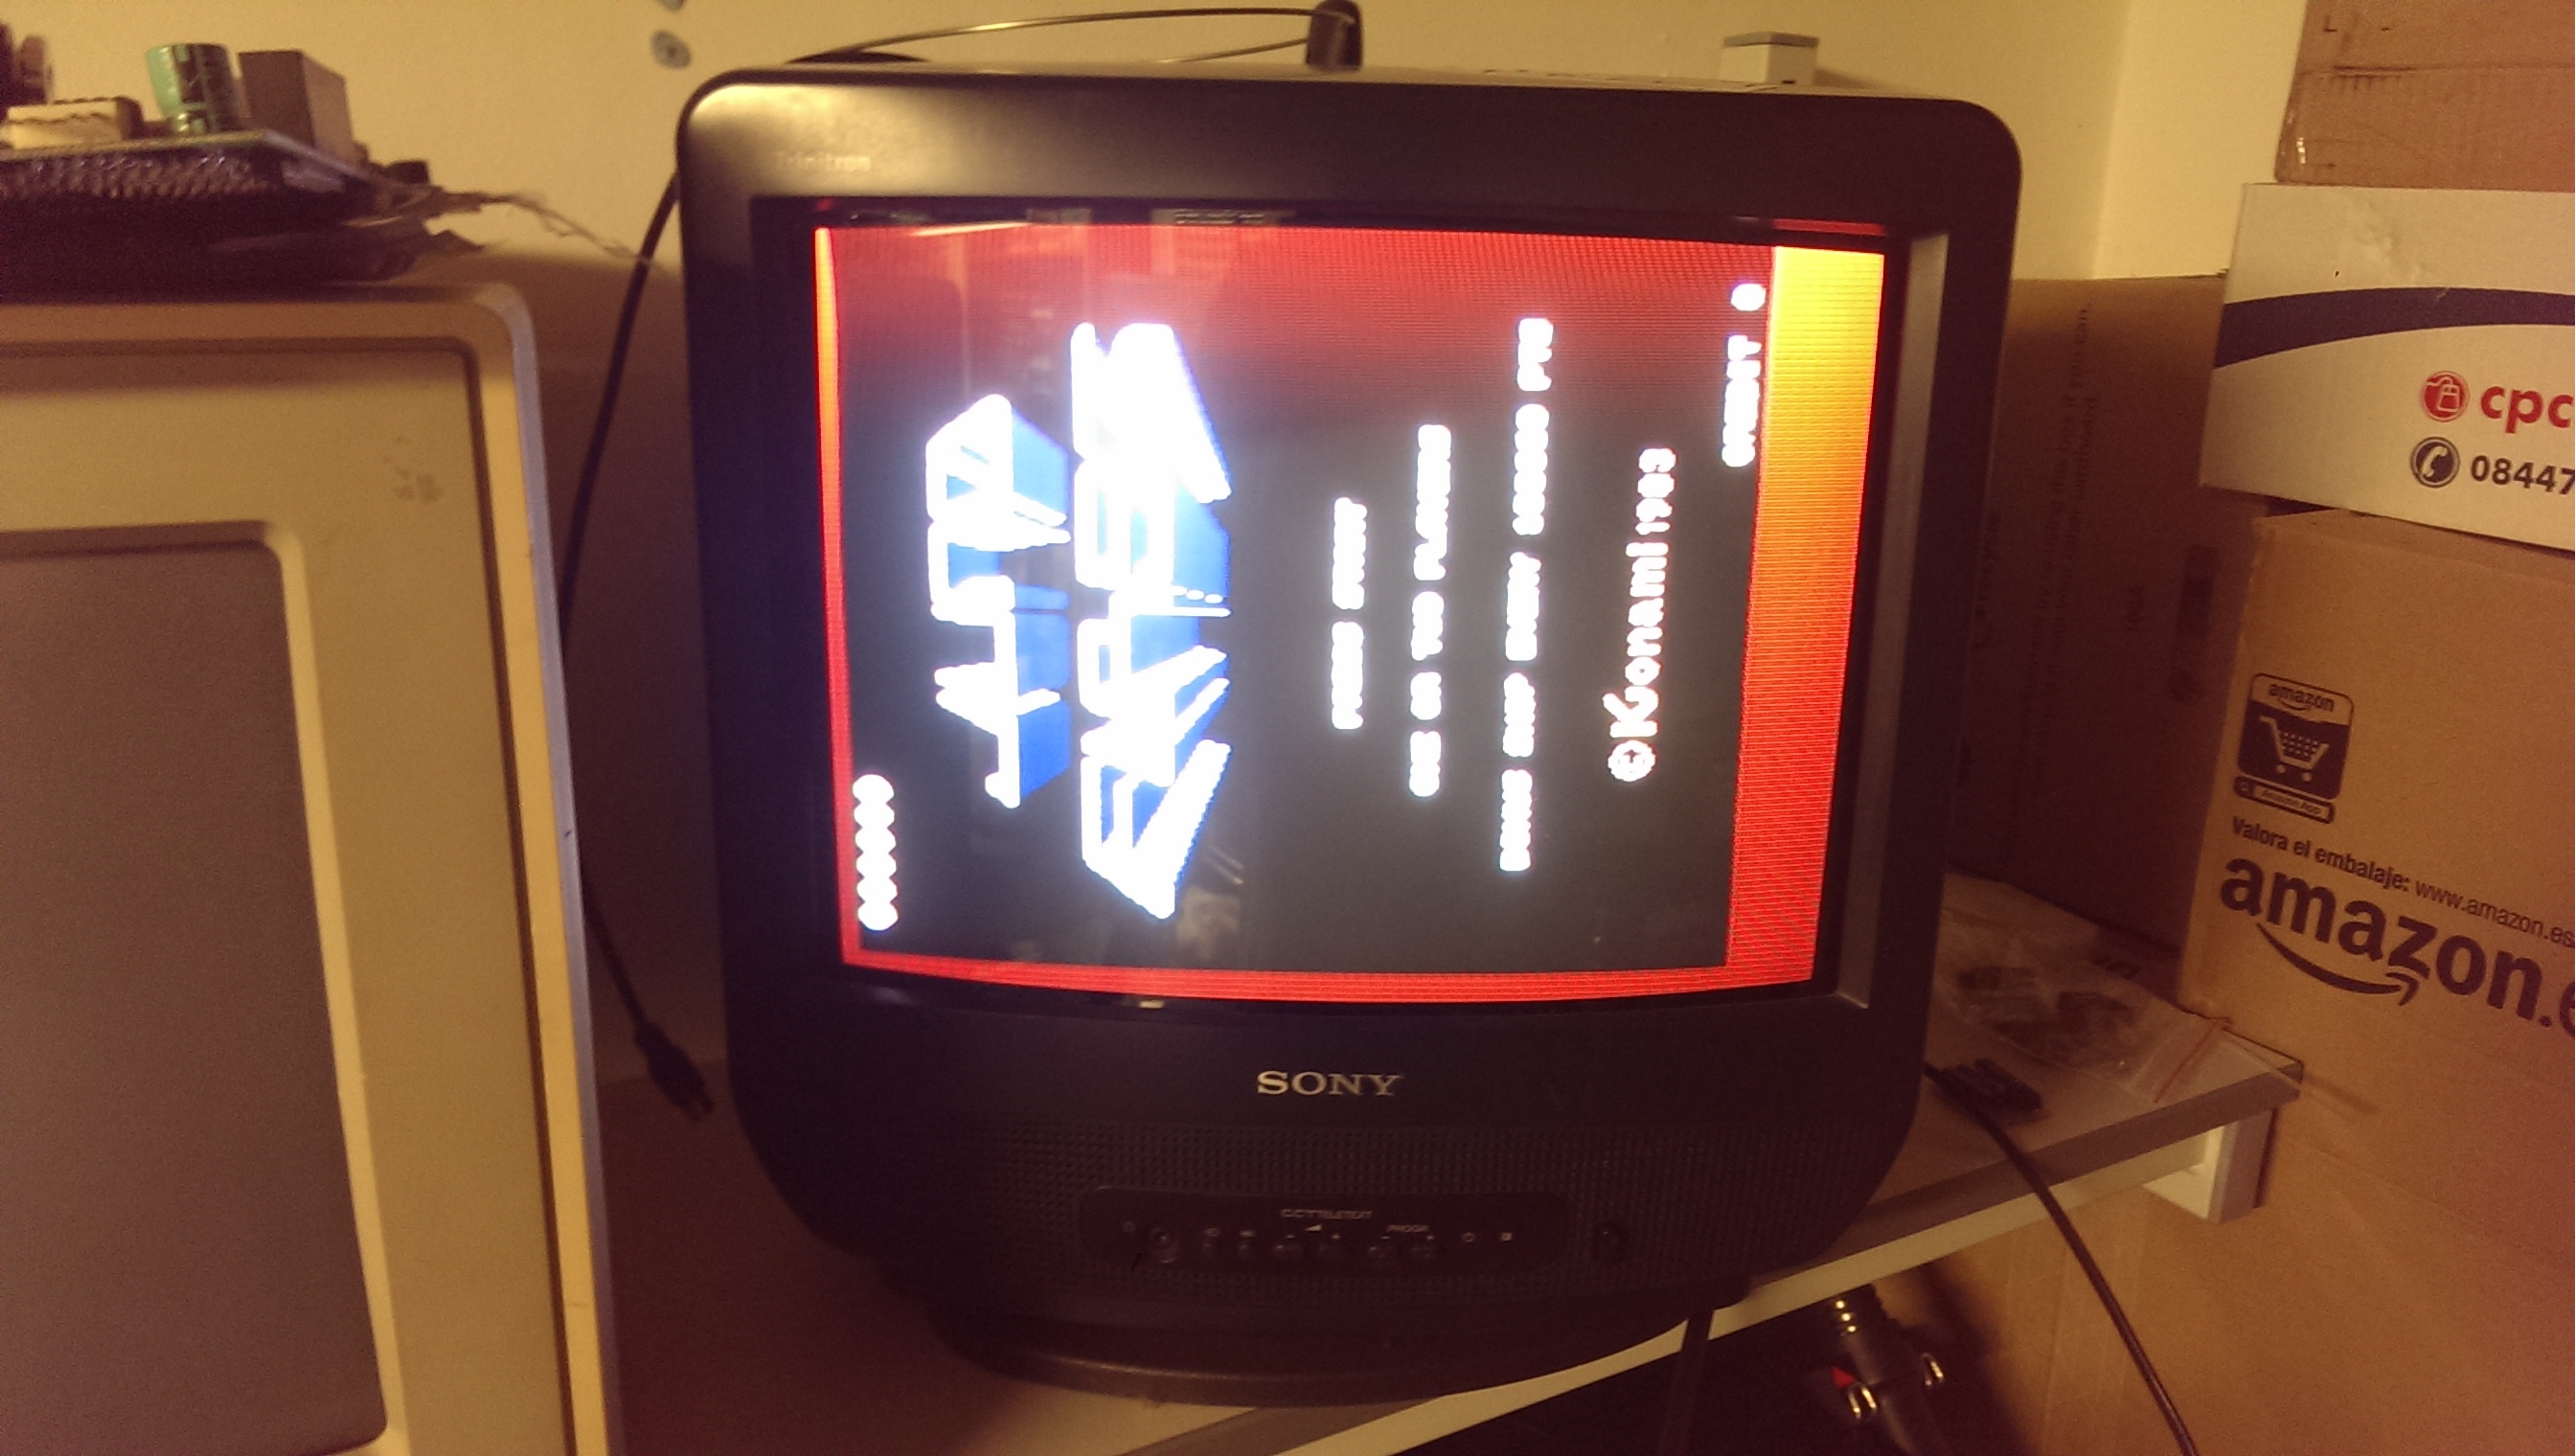
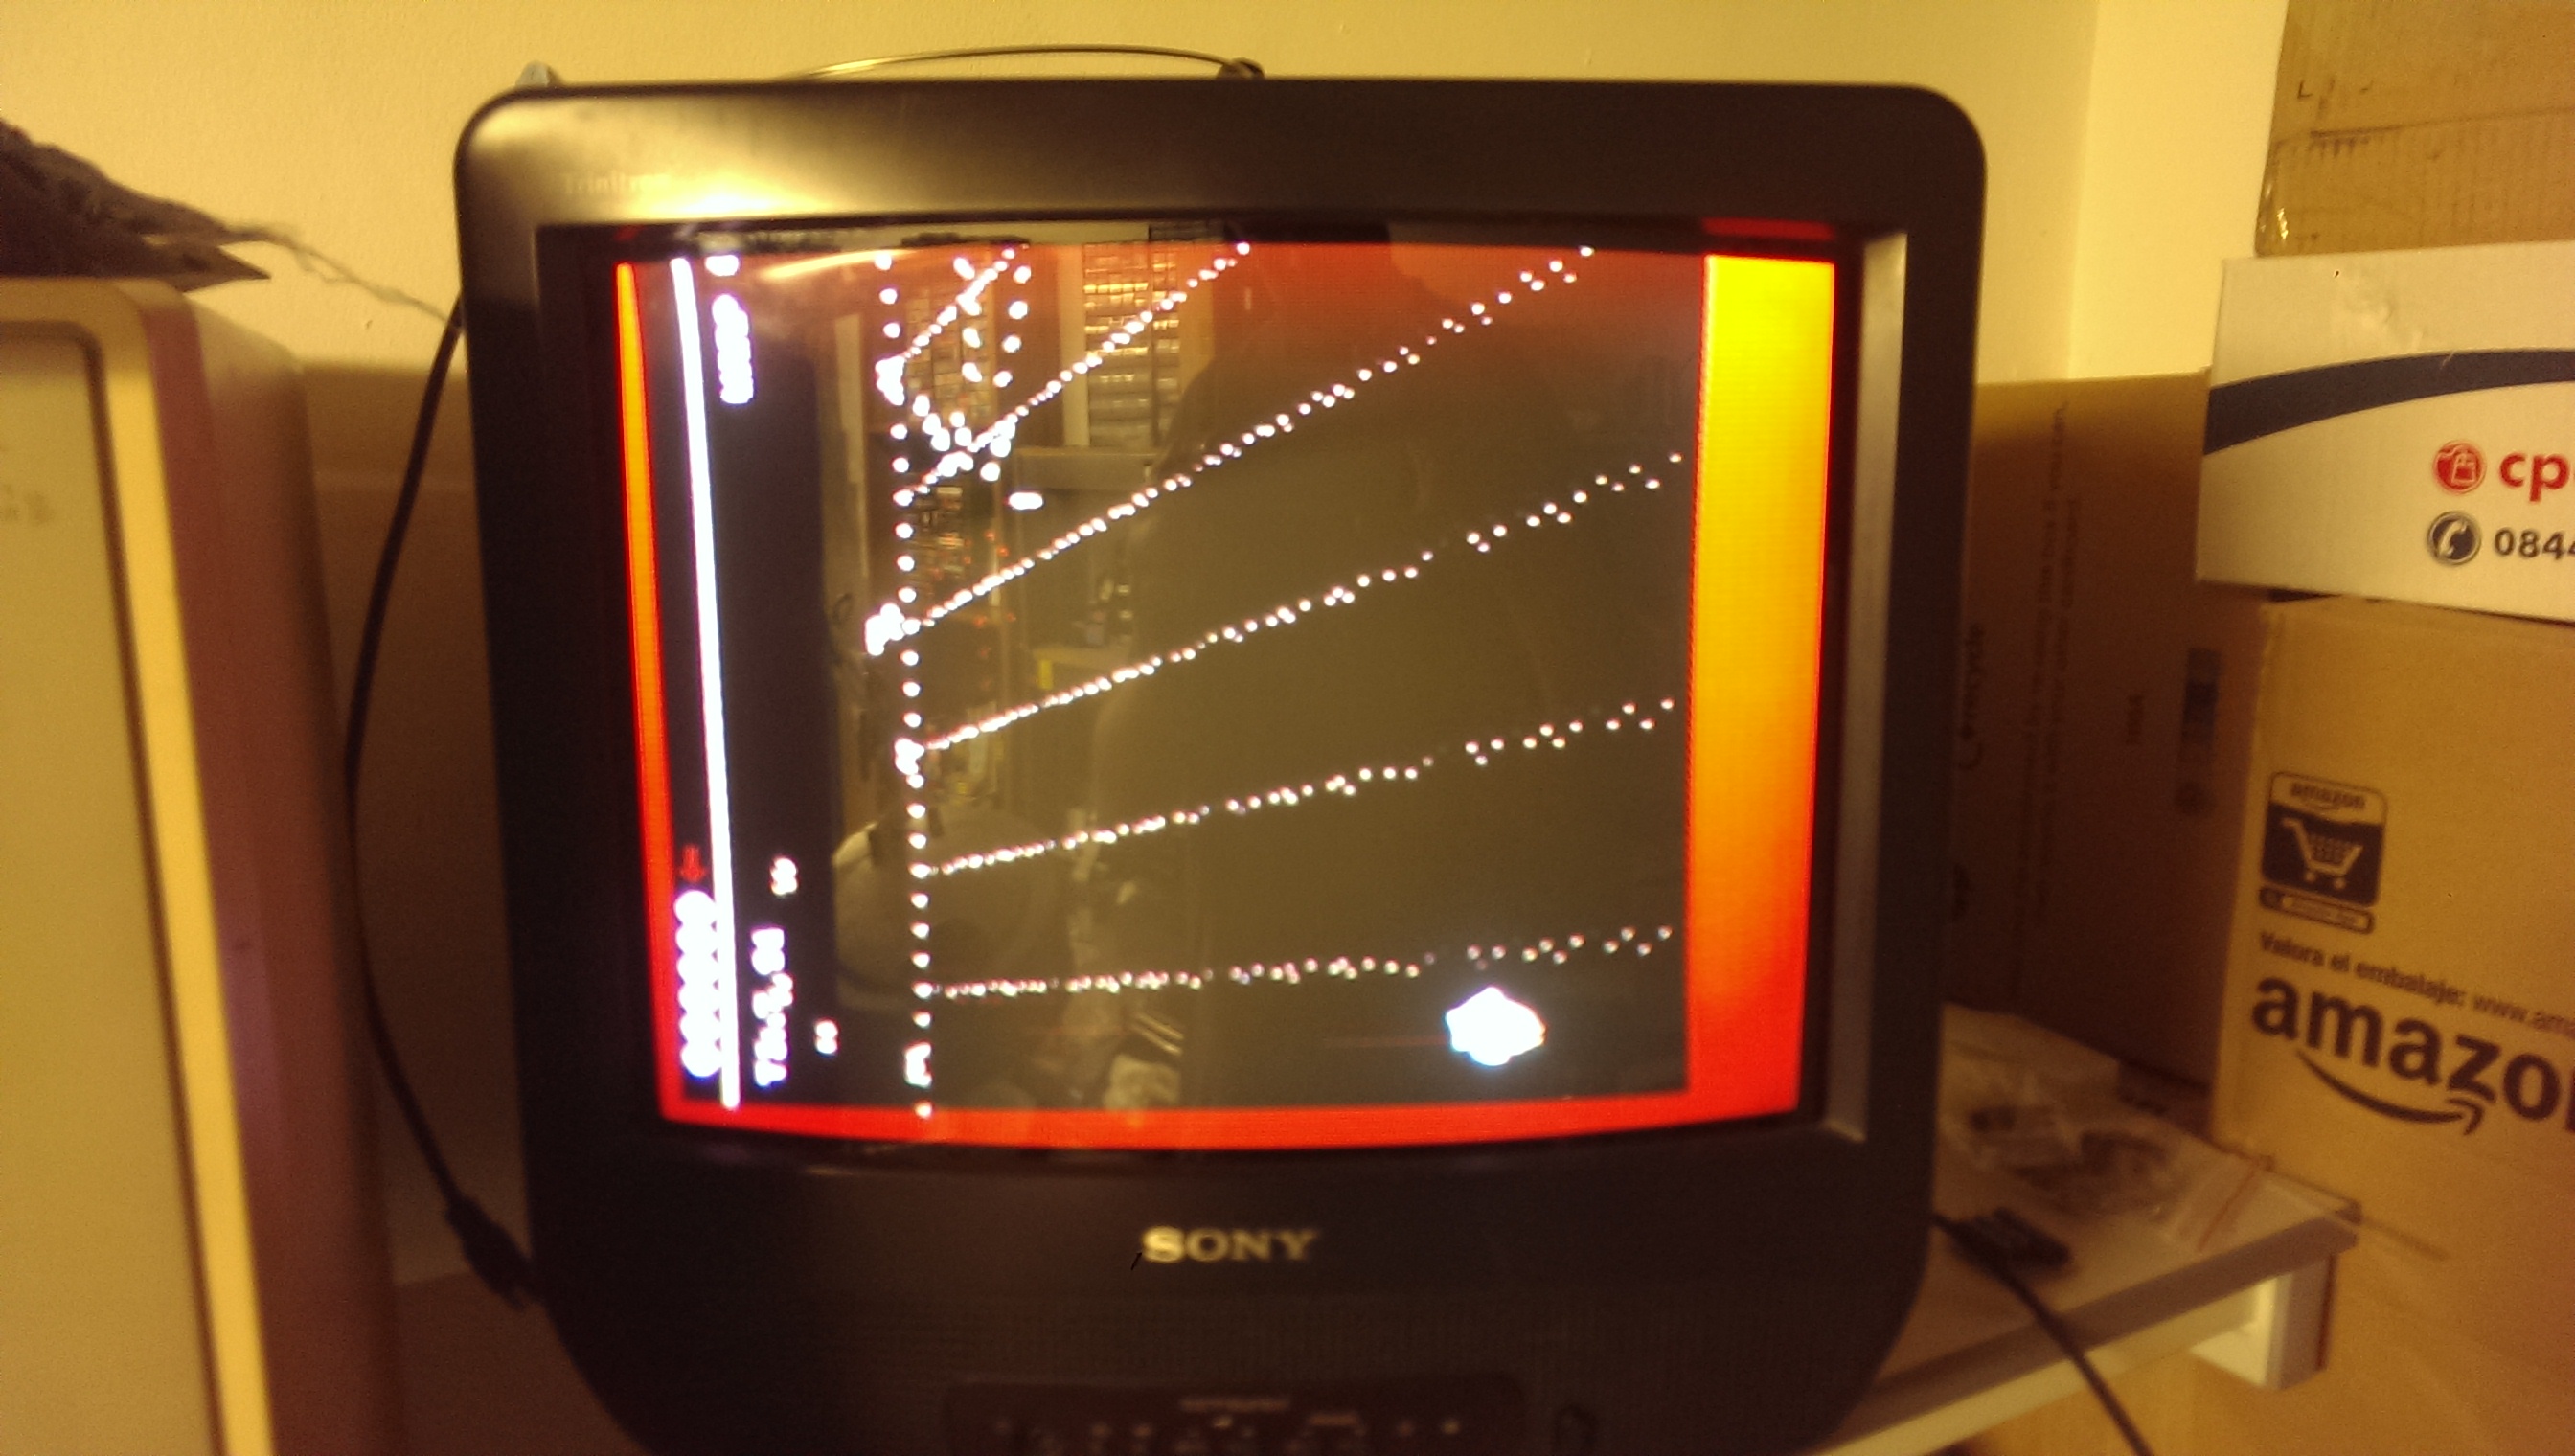
That’s one down.
3 Responses to “Juno First repair log #1”
Sorry, the comment form is closed at this time.

Superb work fixing this one, and it was great to read through the process.
I really hope the others aren’t so tricky!
Good work Porchy! Really enjoy reading your fix logs. The Konami custom 082 is merely a huge clock divider, it’s responsible for generating all the different clock signals that the board requires, including the Hsync and Vsync clocks. The chip is interchangeable with a custom 082 from any other Konami board, as you’ve found out. Mike J @ fpgaarcade does a CPLD replacement for this chip, if you can’t find a good spare one.
Awesome bit of info, thanks mate.
Ive been in touch with Mike already, just waiting on him getting back from his travels.
Cheers