I’ve worked on a few of these boards before so I knew straight away that I should be able to access the components side on both PCB’s when it is all screwed together but on this board set the video PCB was showing solder side out.
This doesn’t necessarily cause damage if powered up but its obviously not going to work either.
I switched it back around and when I did I noticed that the crystal on the video PCB was completely missing.
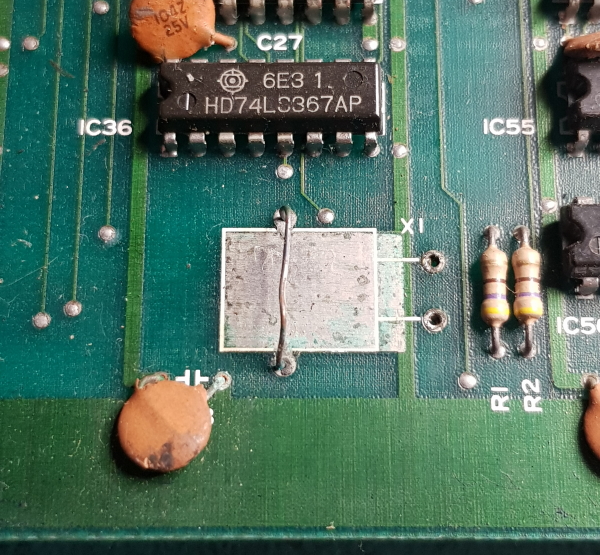
I had a spare 12 MHz crystal so I fitted that. Without that crystal fitted you would get a blank screen.
I tested the game and it started it self test routine but failed on the 63701 with an “Error” and had some graphical issue too.
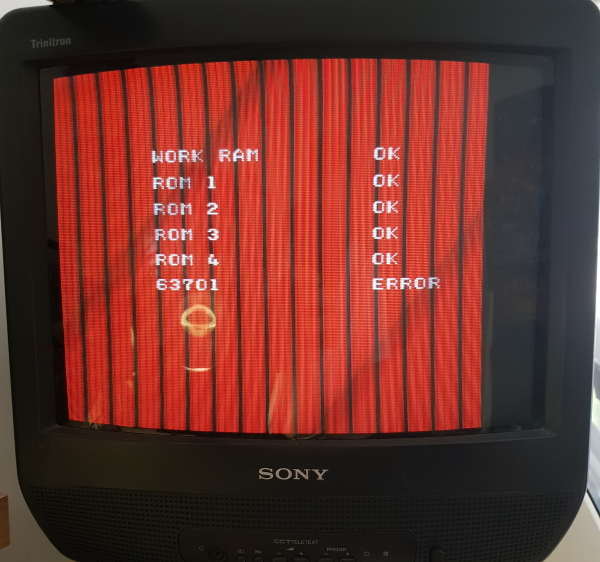
I had to hope the 63701 wasn’t actually at fault because that is an MCU with an internal ROM which I cannot replace easily.
The way the self test works is the MCU does its own self test and when it is complete it puts a value of 0x84 into the shared RAM at location IC22. The main CPU them reads this value when it is ready to and compares it to 0x84. If this doesn’t match then we get an error.
Looking at the schematics we see where the RAM is
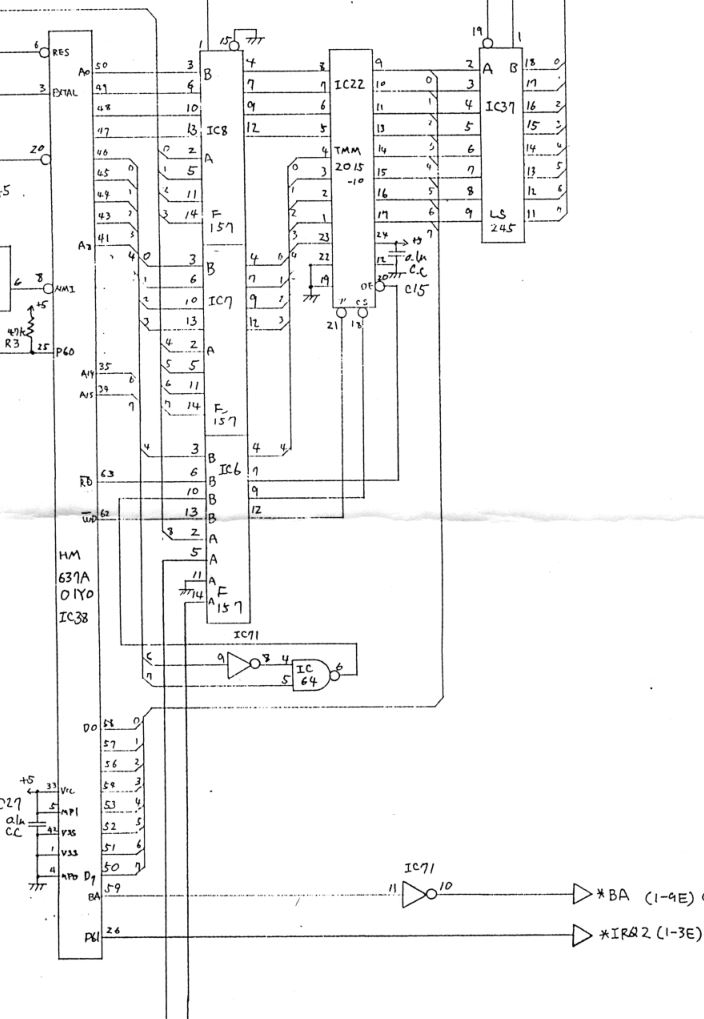
I desoldered the RAM at IC22 and it failed an out of circuit test.
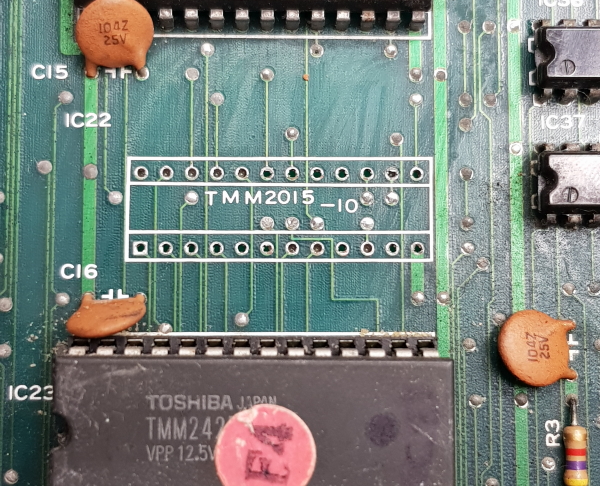
Replacing it cleared this error and allowed the game to boot.
Straight away I could see that sometimes there was a problem with the characters.
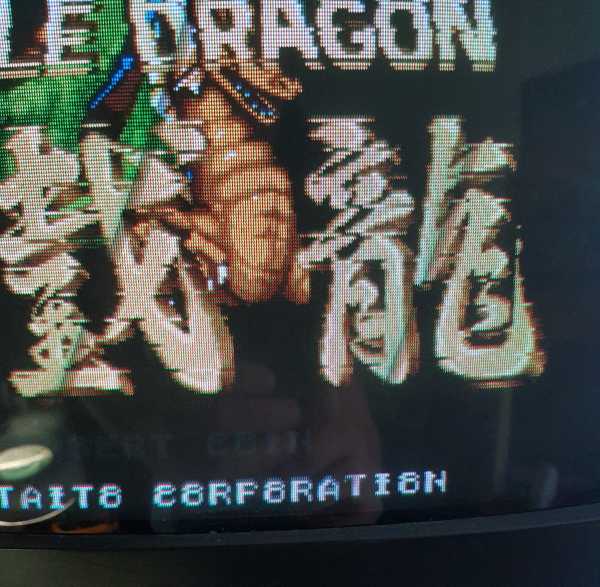
When they glitched so did the game title graphic too. It looked like they were being drawn twice overlapping each other. This led me to look for a counter issue, usually a 74LS161.
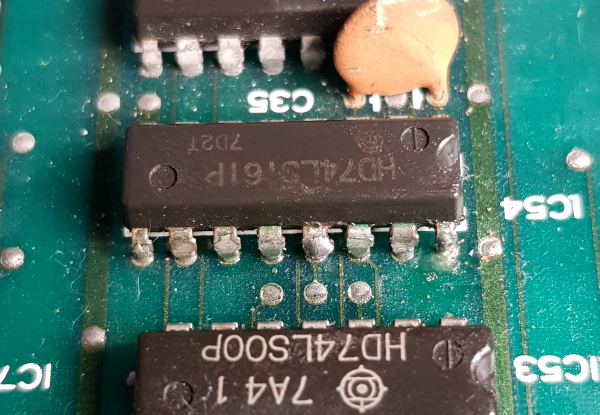
Following the VPOS signal on the schematics I came to some 74LS161’s. Found this one that has some excess solder on the legs. Touching this while the game was running cleared the issue so I just replaced it and the issue was fixed.
Now on to the remaining sprite issue.
![]()
![]()
Found 3 dead ROM’s on the video board which sorted all the graphics out when programmed up with the correct data.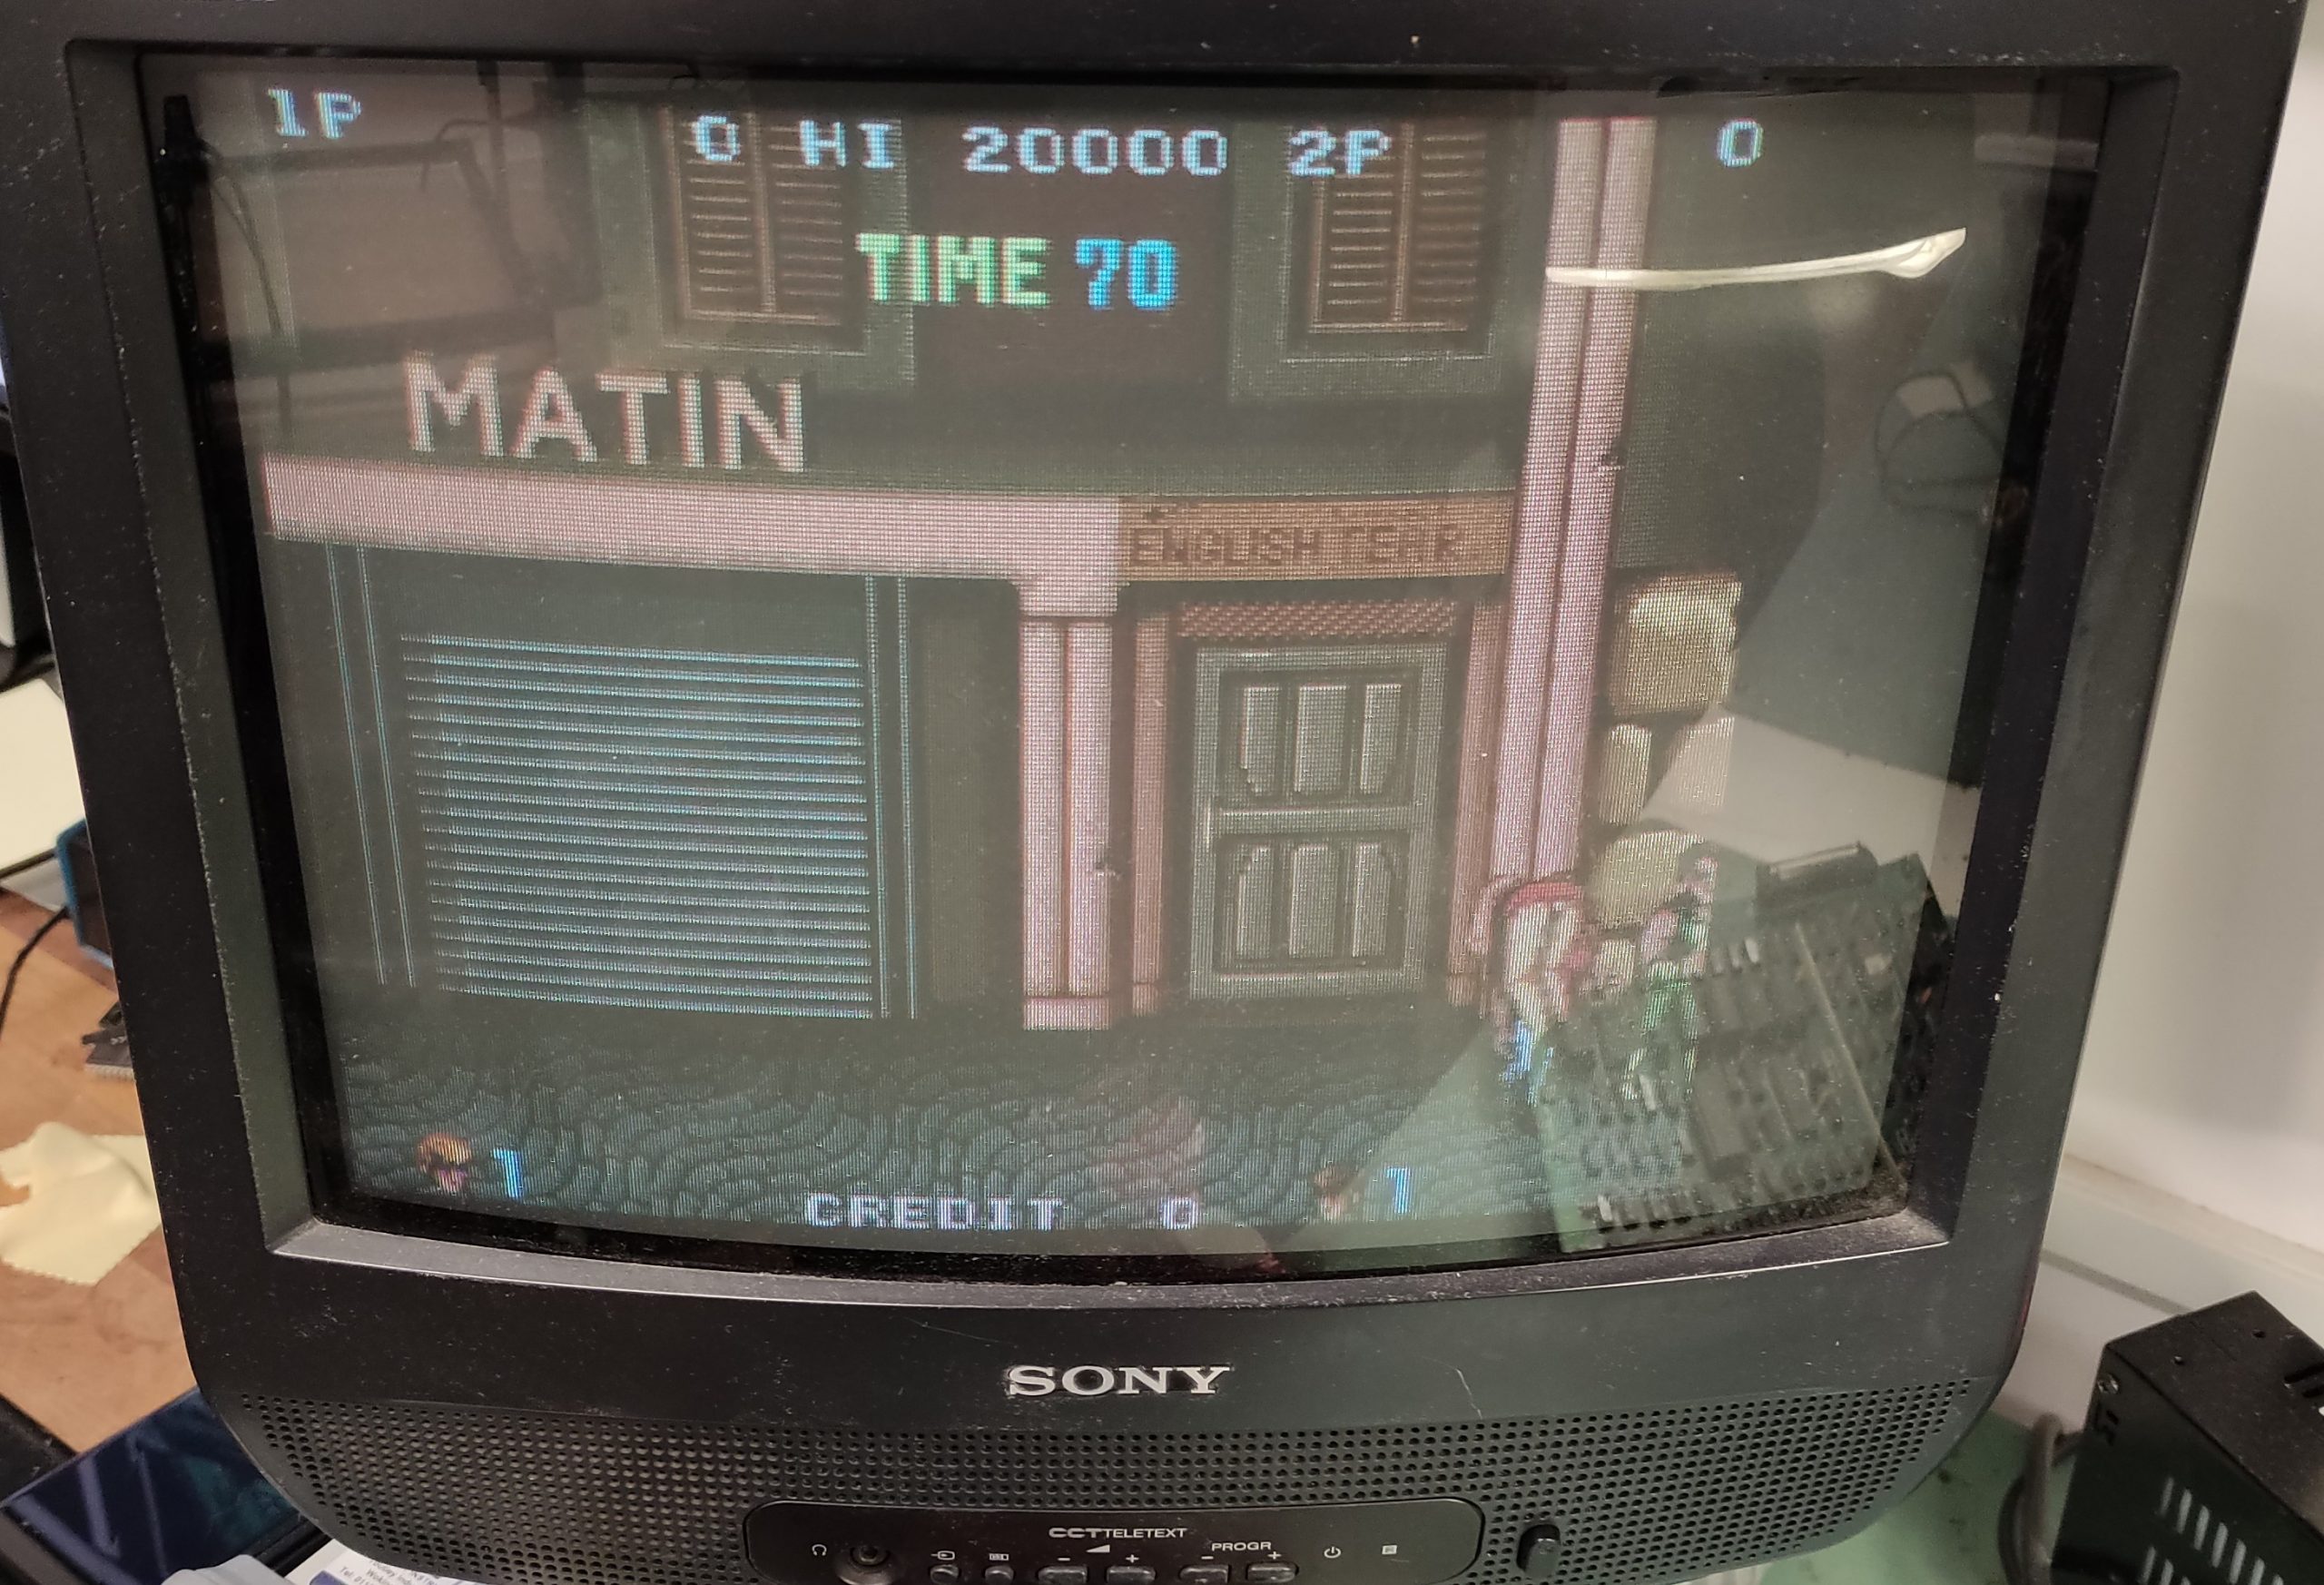
One Response to “Double Dragon repair log #11”
Sorry, the comment form is closed at this time.

Thank you Porchy,
As always, well explained