I bought a really trashy copy of Xmen Children of the Atom off of eBay out of sheer curiosity. The auction’s description indicated that the B board was bad, and had caused the previous owner’s power supply fuse to blow. WHOAH! Sounds like more than just the normal suicide issue most “dead” CPS-2 boards have. I decided to take a gamble and won the auction for a whopping $8.
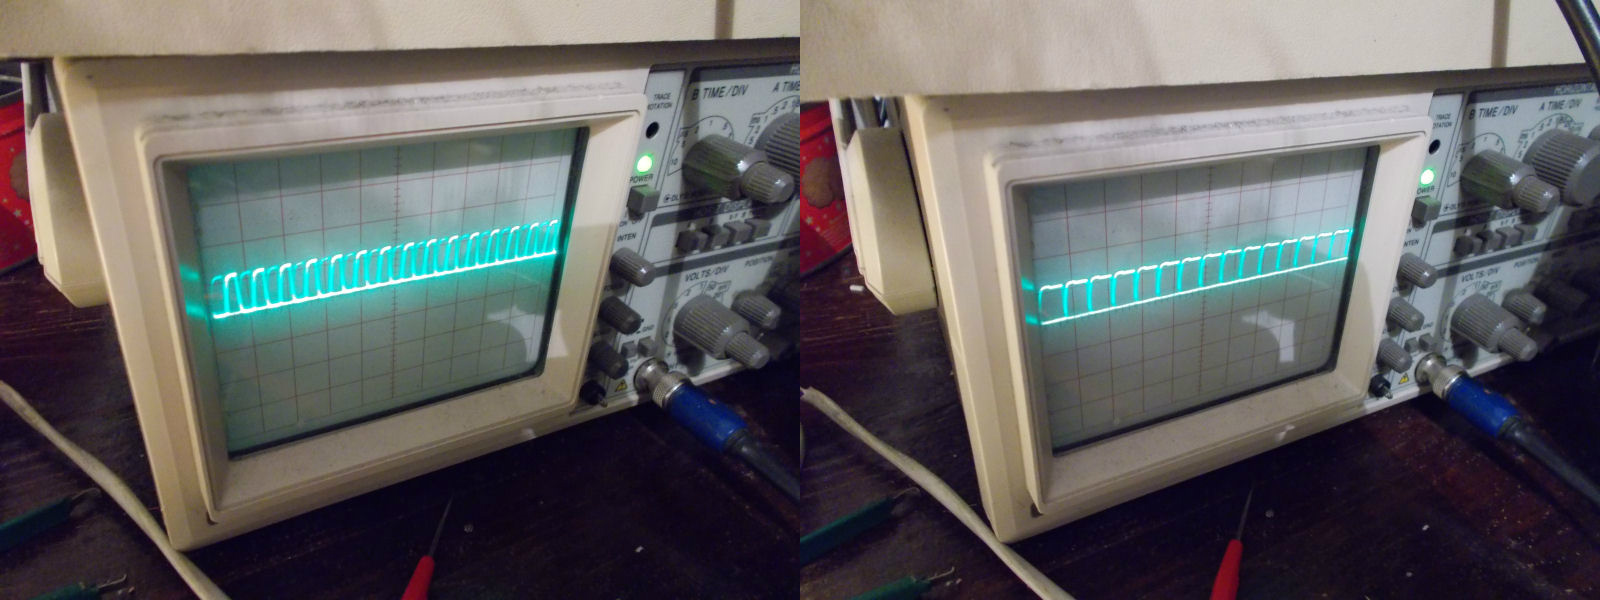
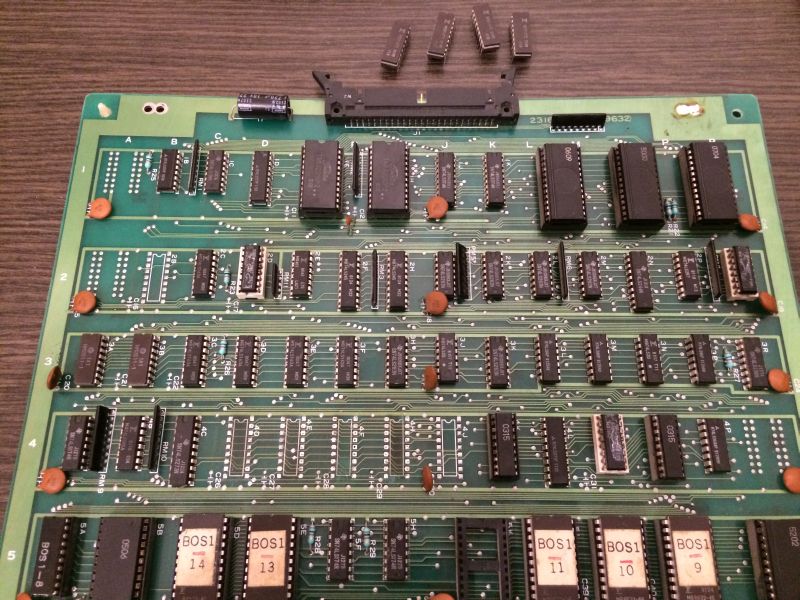
Upon arrival, I opened the PCB and was greeted by an old abandoned mud-wasp nest. GROSS! I gave the PCB and shell a good bath to get all of the nest remnants off of it. At a first glance, outside of being dirty, the PCB looked to be OK. The original battery was still in place, and read 0.0v (thankfully it did not leak). Clearly this board had suicided. I decided to try out Razoola’s suicide tester in rom socket 3 (very handy). When I booted up the game, I could hear the 1st track of the audio playing (a good sign), however the diagnostics that should display were COMPLETELY blank. I had an entirely black screen.
At this point I decided it was worth while to try the decrypted Xmen program roms on my PCB, just to see if I got any signs of life out of the B board. After installing the Team Avalaunch decrypted rom set, the game would boot, eventually show the “mild animated violence screen”. After displaying that screen, the CPS2 would hang, reboot and repeat. No other sprites or text would display outside of the animated violence screen and it would not progress past that portion of the demo loop.
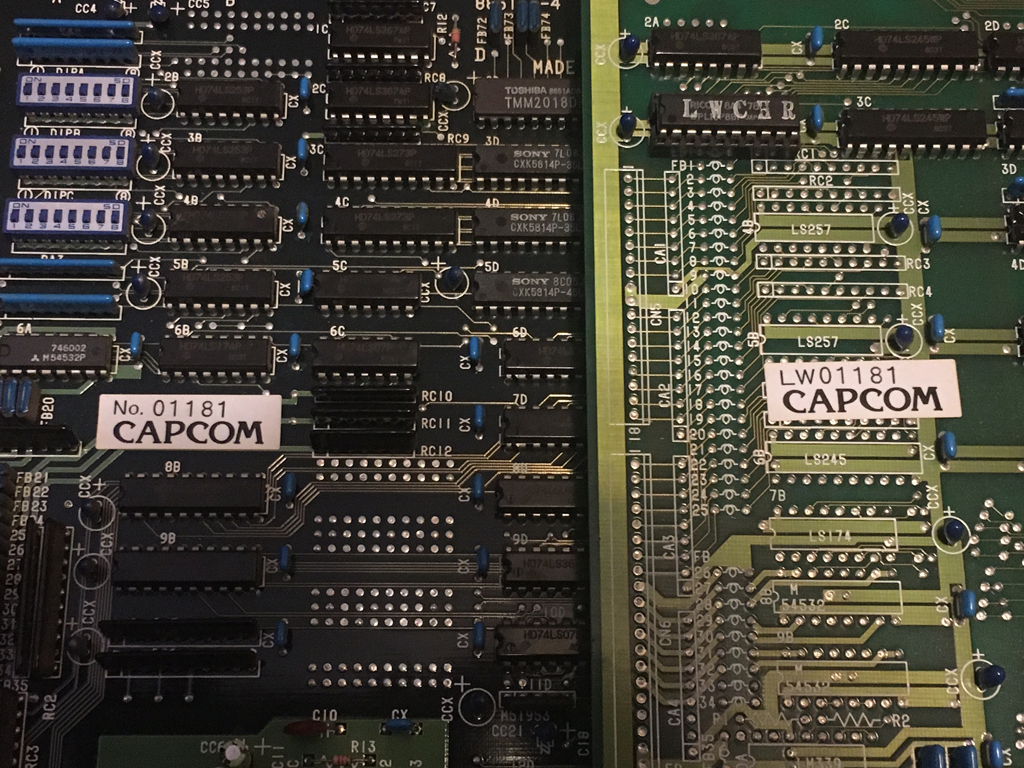
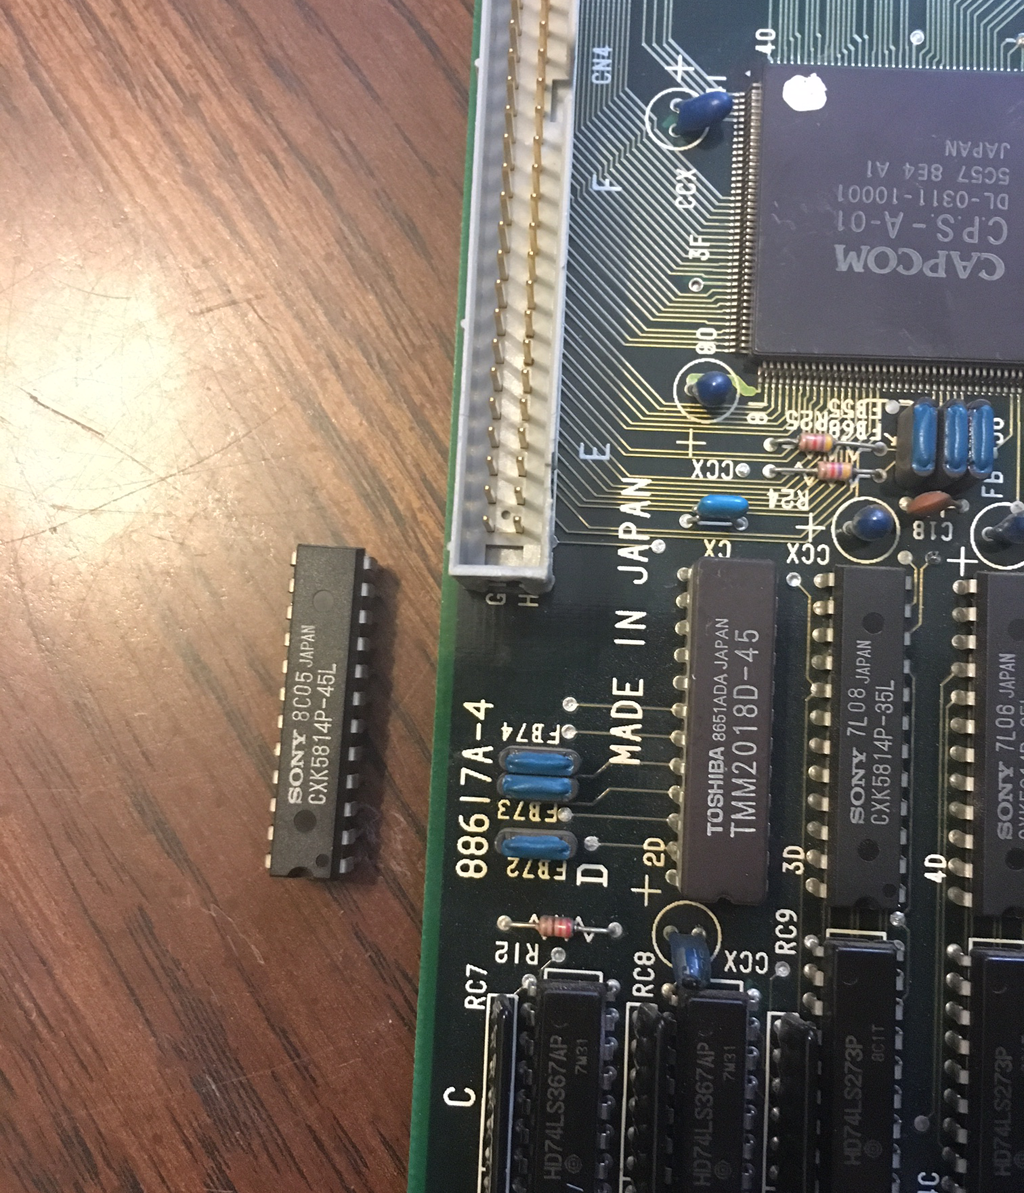
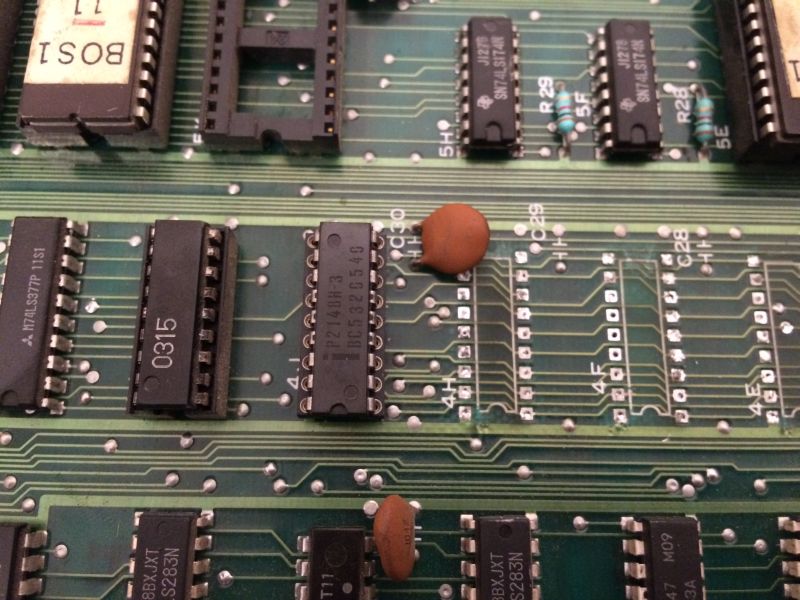
I took the board into direct sunlight to see if I could find any discreetly burned components. Sure enough, the diode at position D1 was burned clear in half. Replacing it did not have any effect on my symptoms, however it did give me a clue that a major power fault had occurred on the board. Previous experience with the CPS2 told me that the issue was more than likely due to a bad custom capcom IC. Also from previous experimenting and experience, I know the custom Capcom IC DL 1927 (CGA) at position 7M is partially responsible for graphics generation. Since that was pretty close to the burned diode, this became my prime suspect.
I pulled a parts CPS2 B board out, and decided to attempt swapping the QFP120 DL 1927 IC.
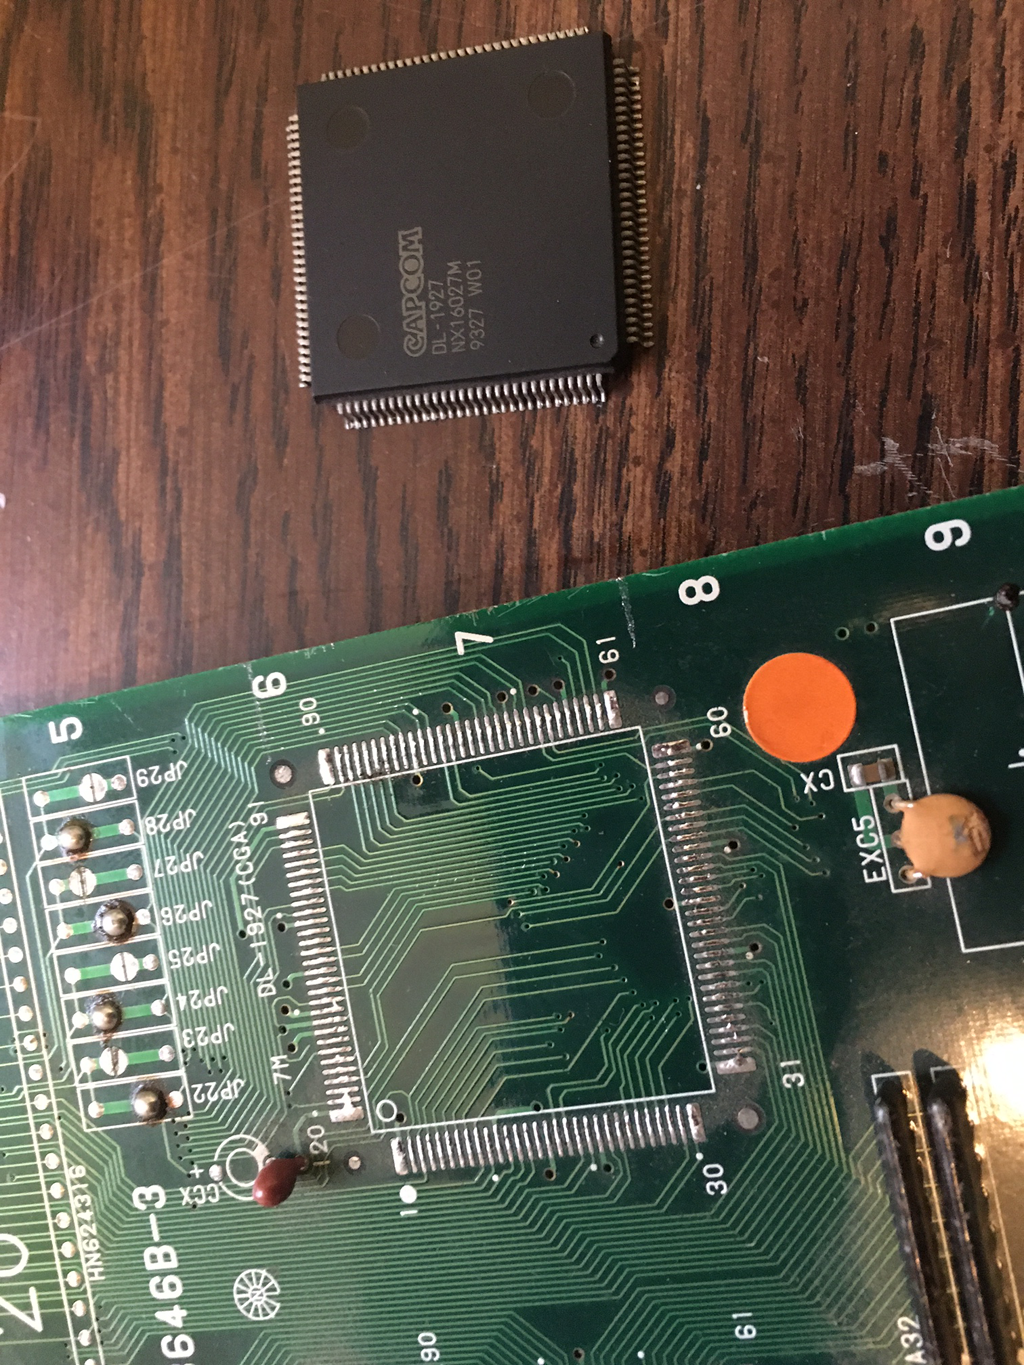
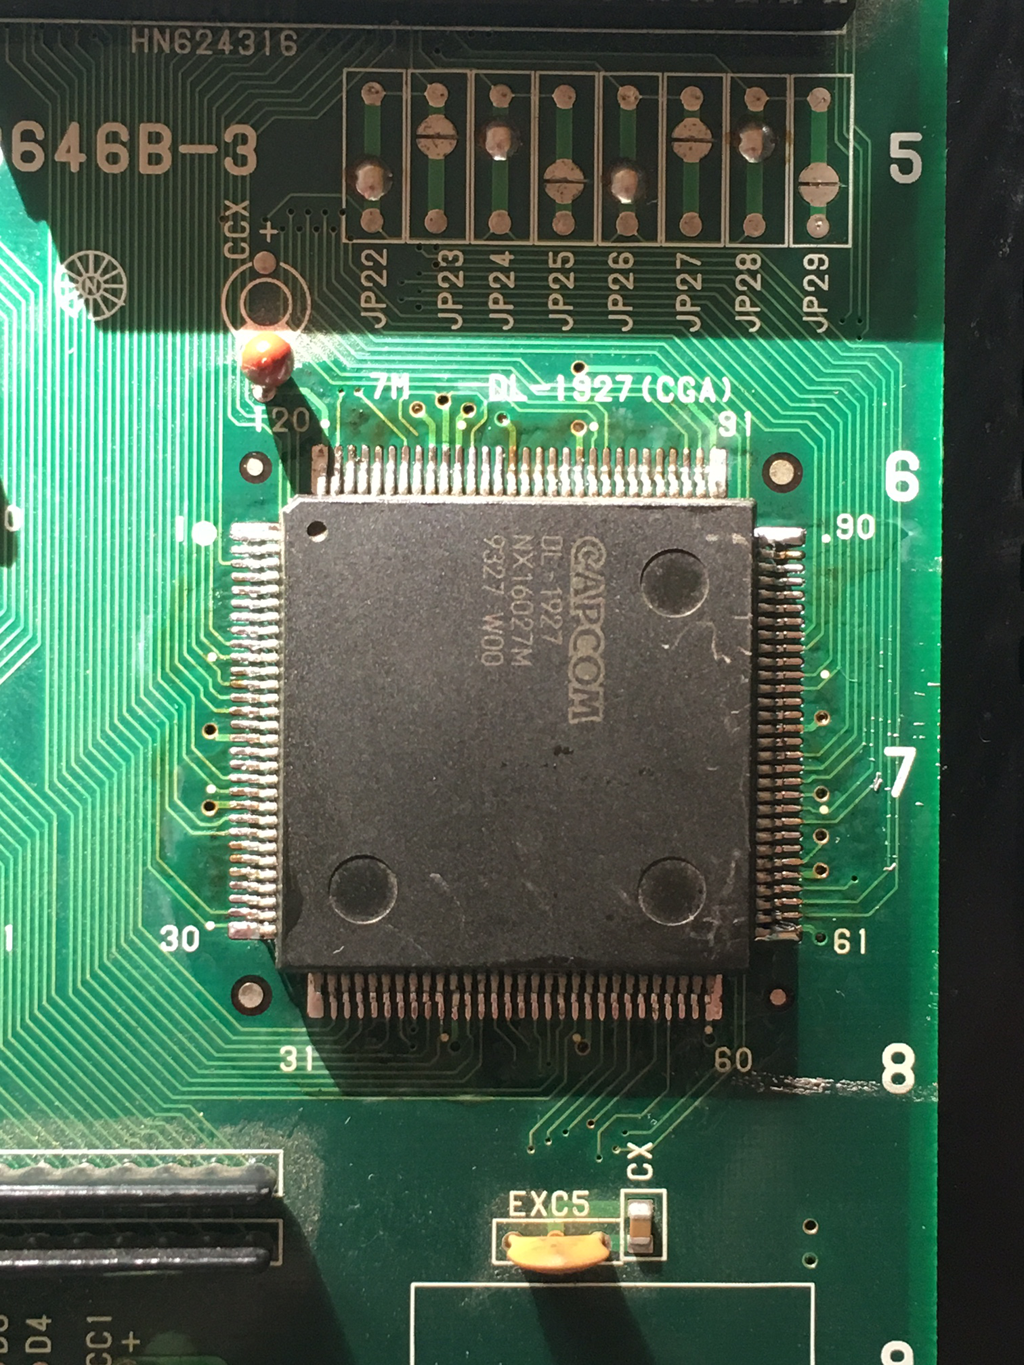
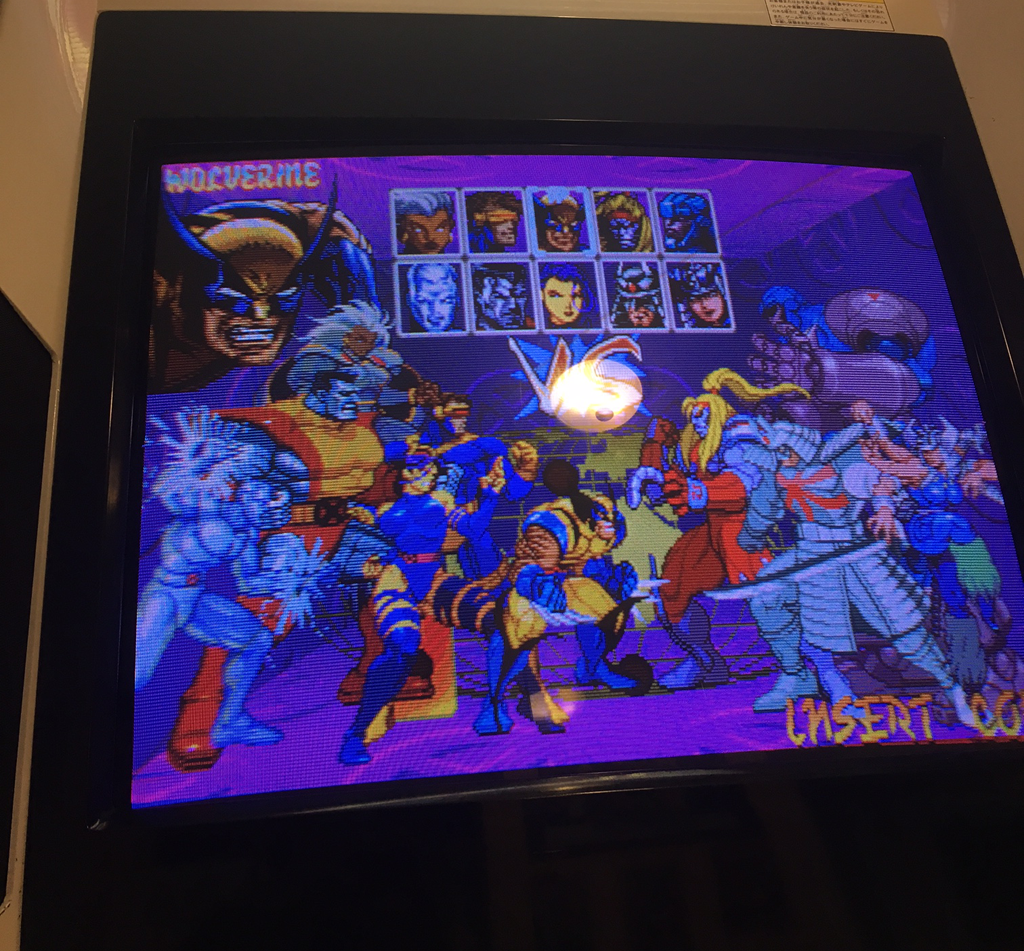
MUCH to my surprise, after swapping the IC and verifying there were no bridges or floating pins, Xmen fired RIGHT UP. All graphics restored. Not bad for an $8 eBay pickup 🙂
In retrospect, I think the original owner may have put the Jamma edge connector on slightly misaligned, and sent 12v down the 5v power rail, taking out diode D1 and the QFP at 7M. Another great Capcom game has been preserved!