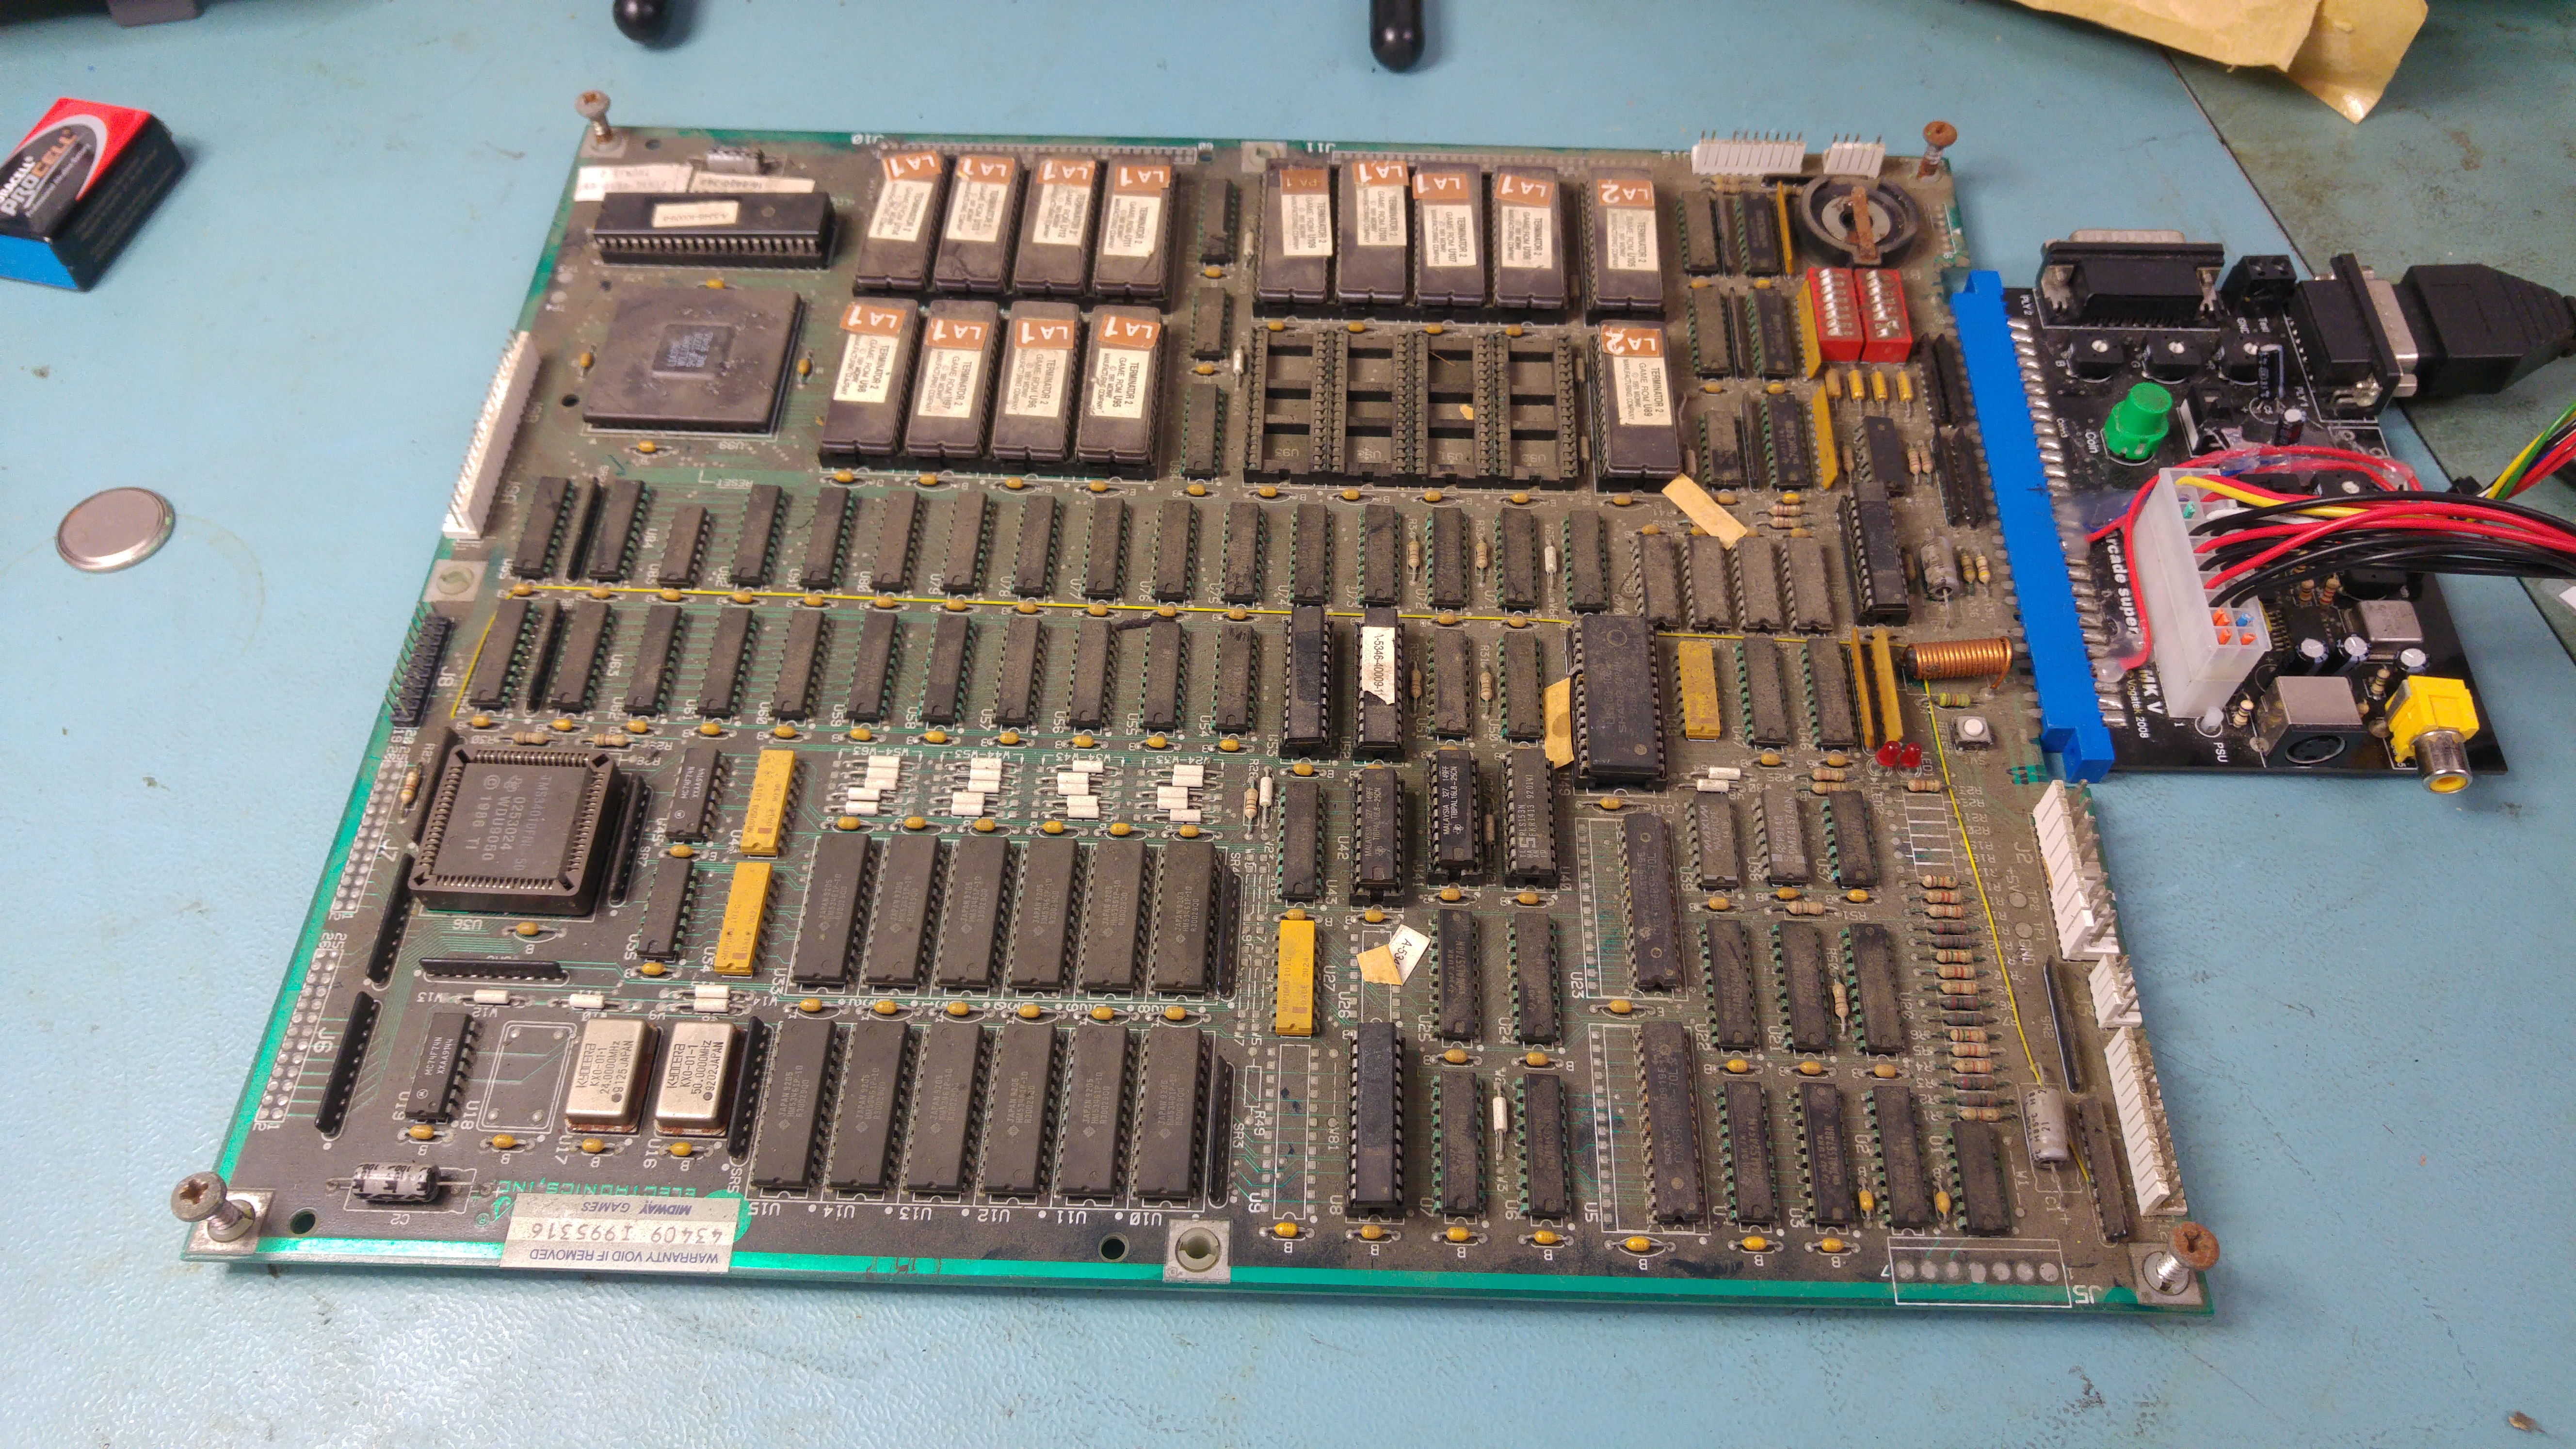
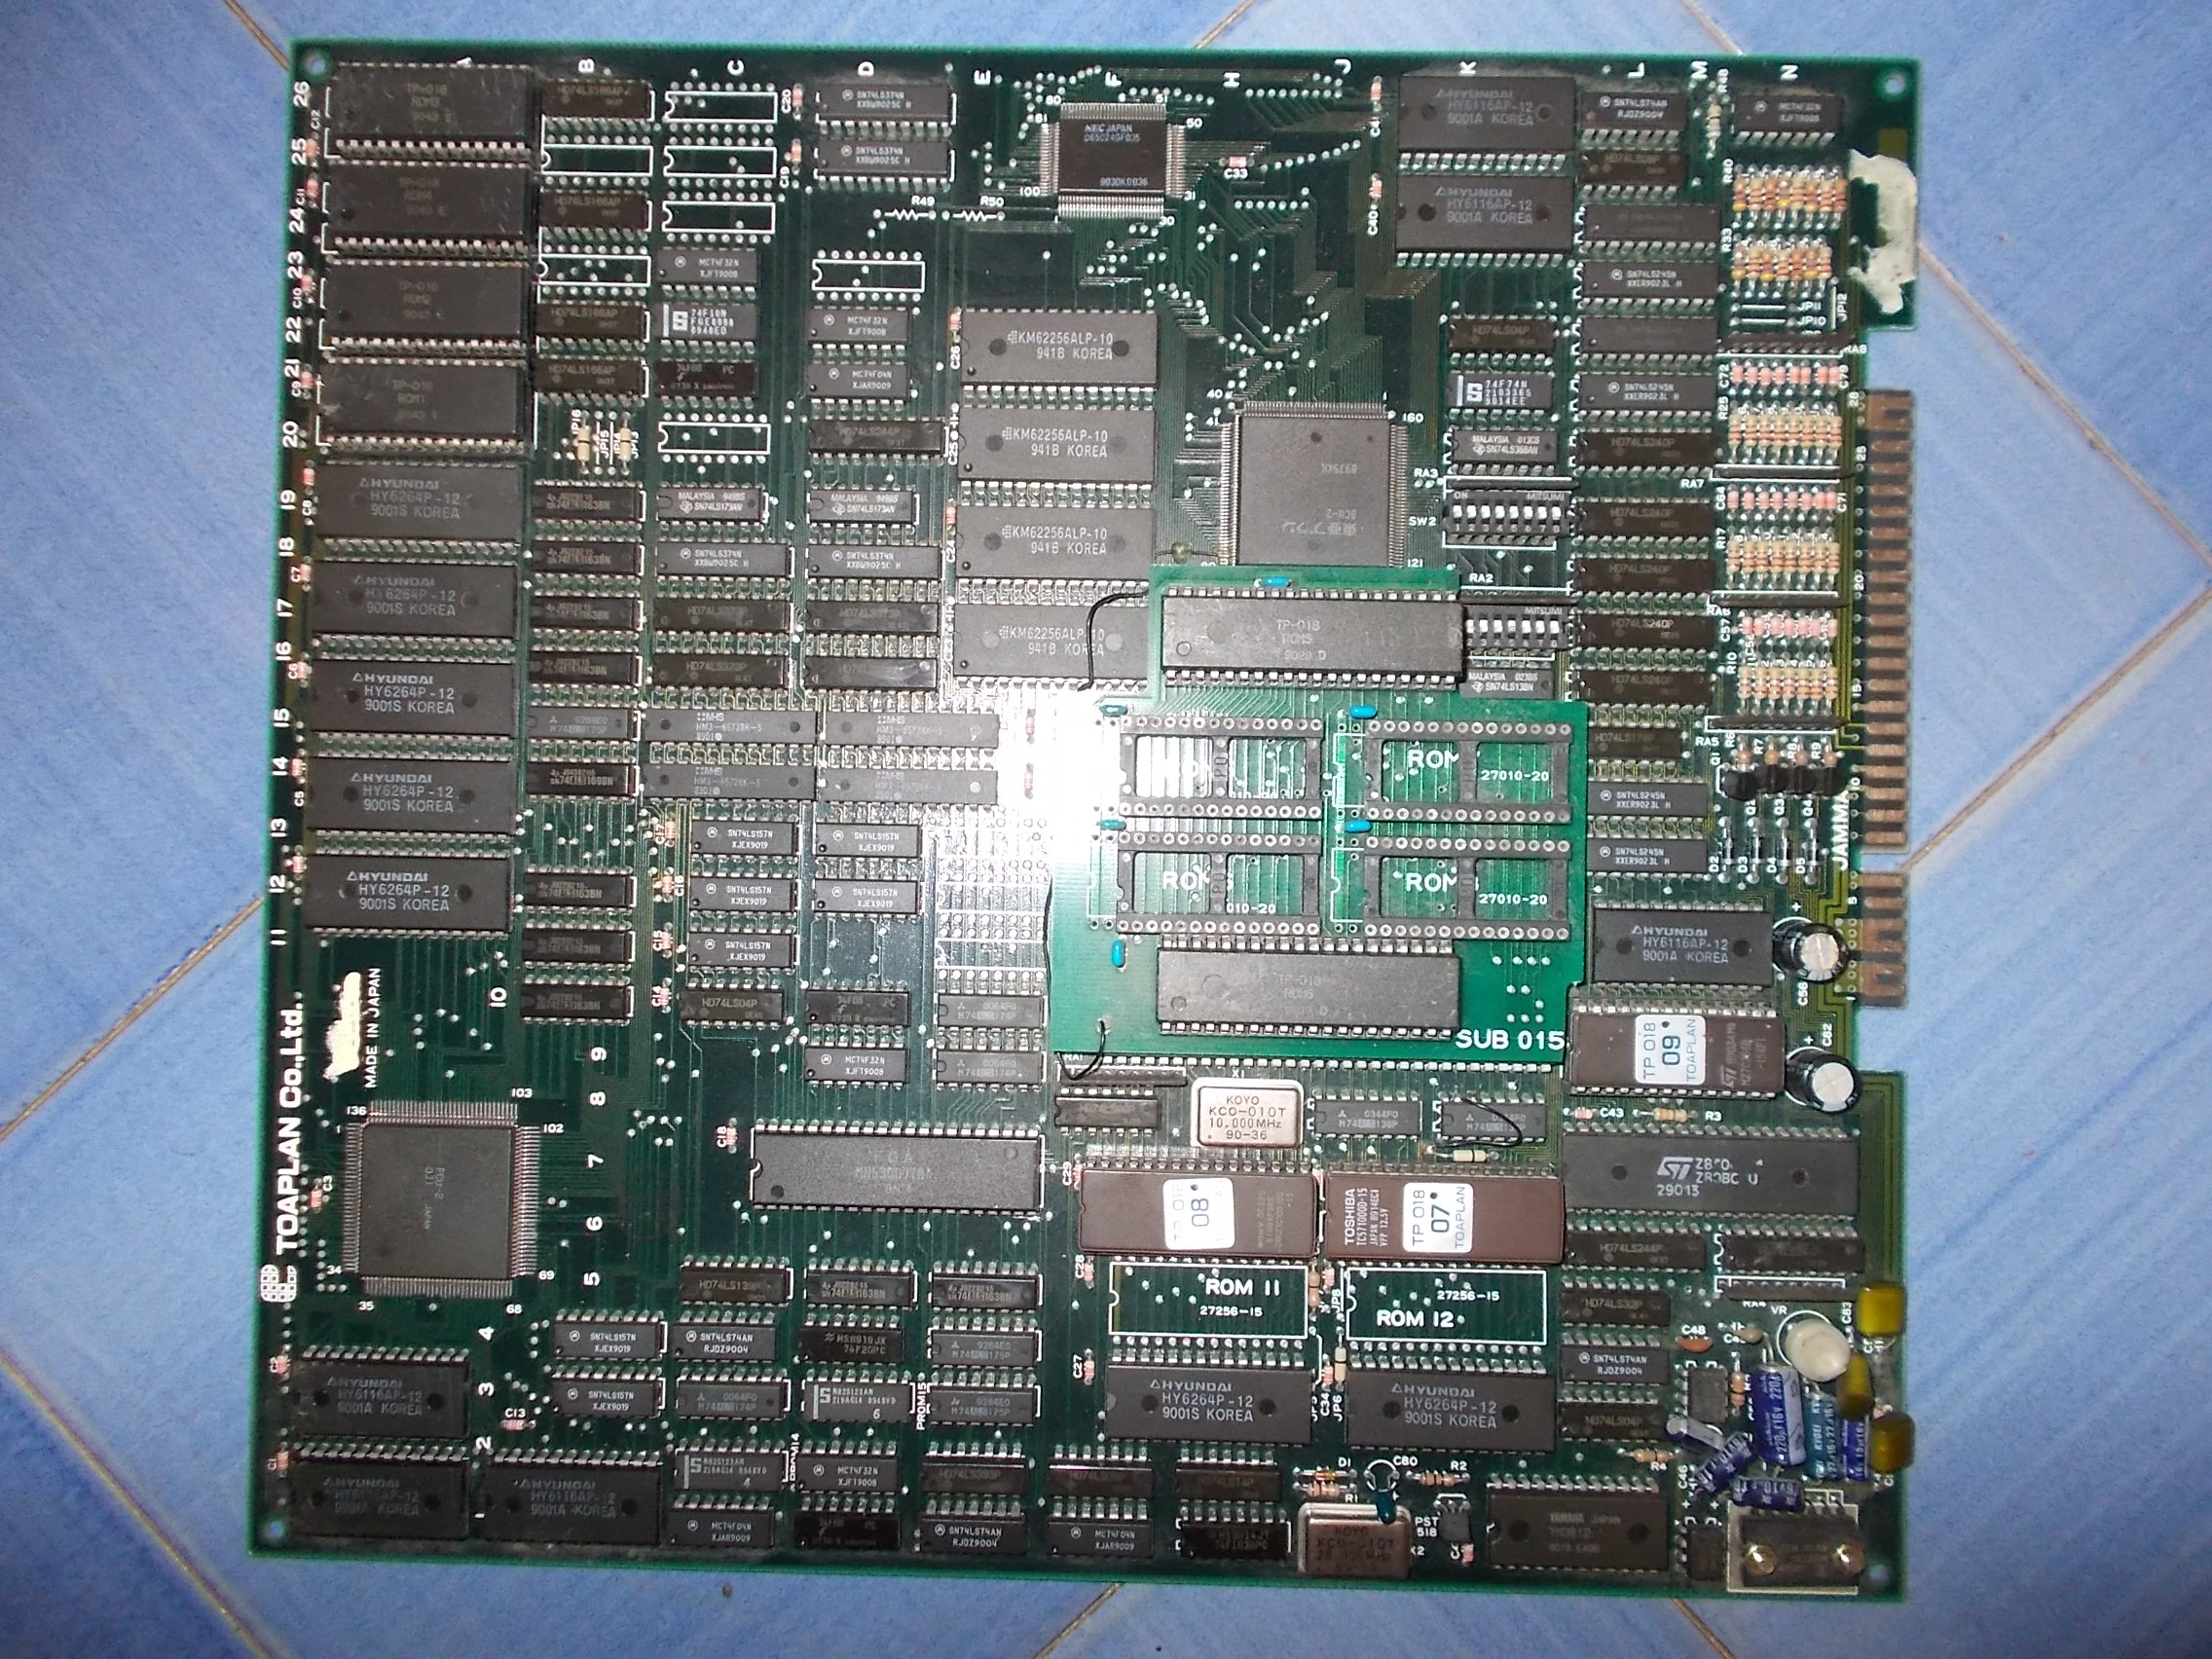
Another Out Zone PCB (this time on usual ‘TP-018’ hardware) on the bench:
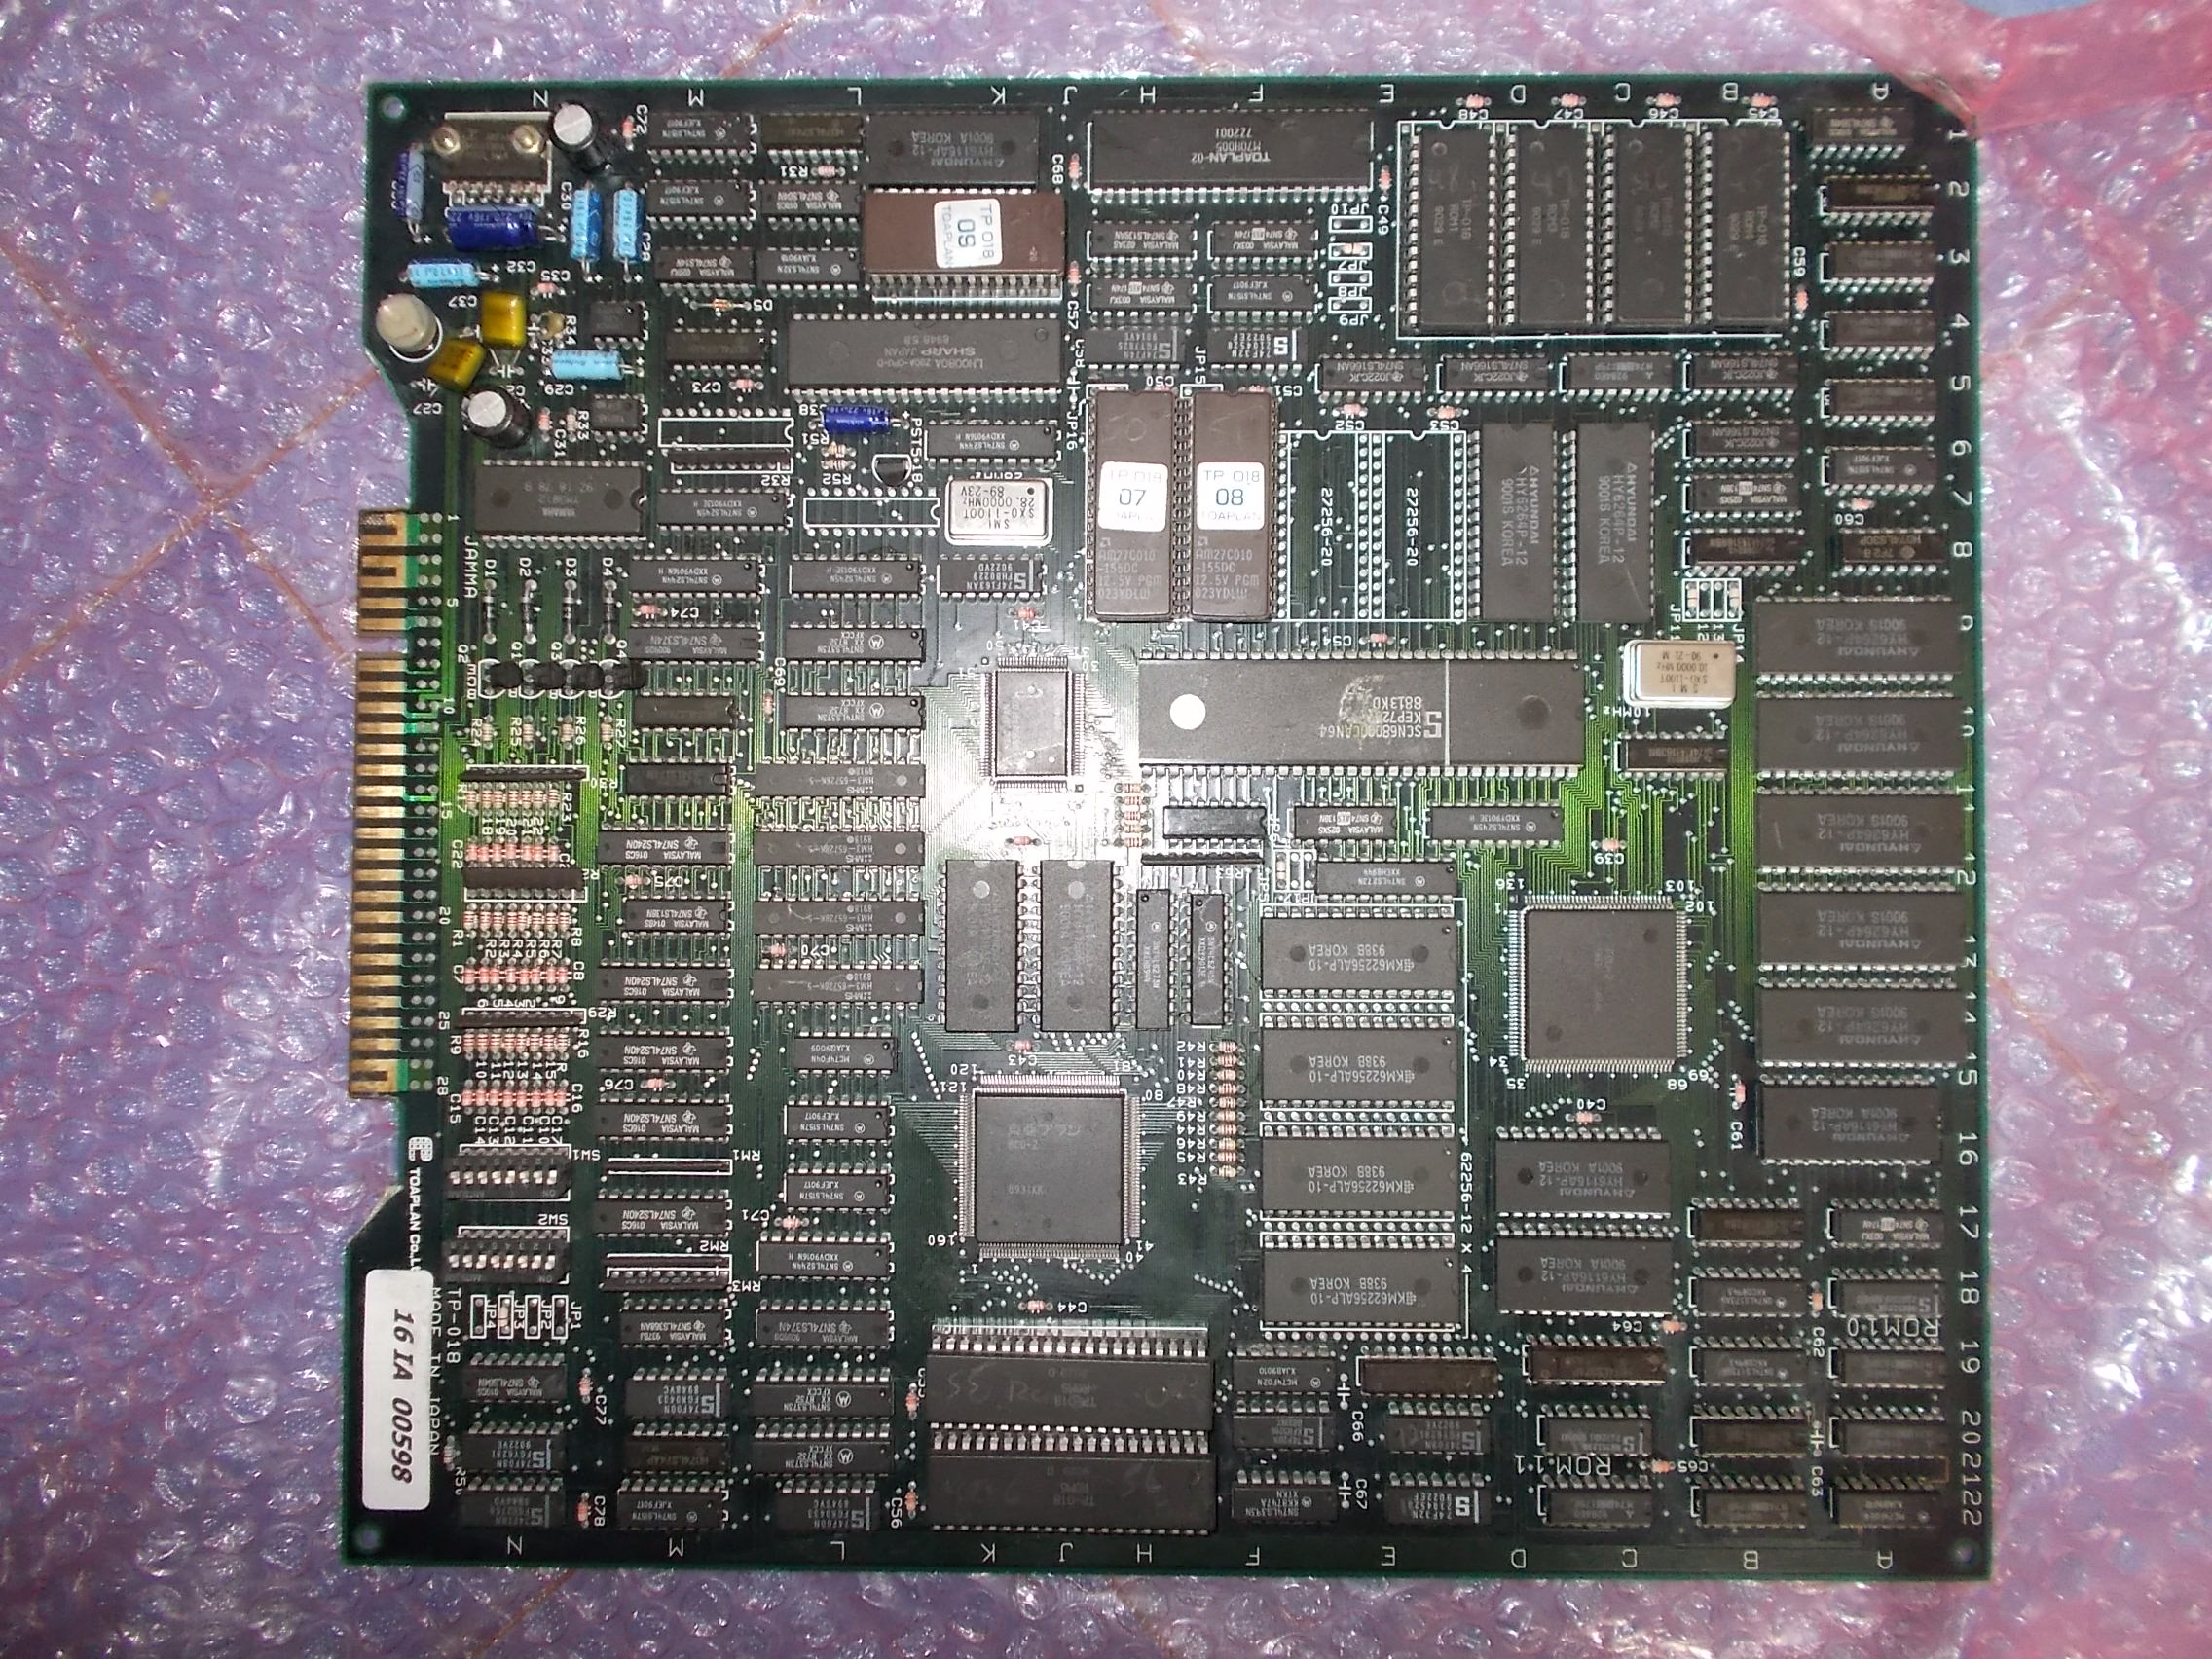
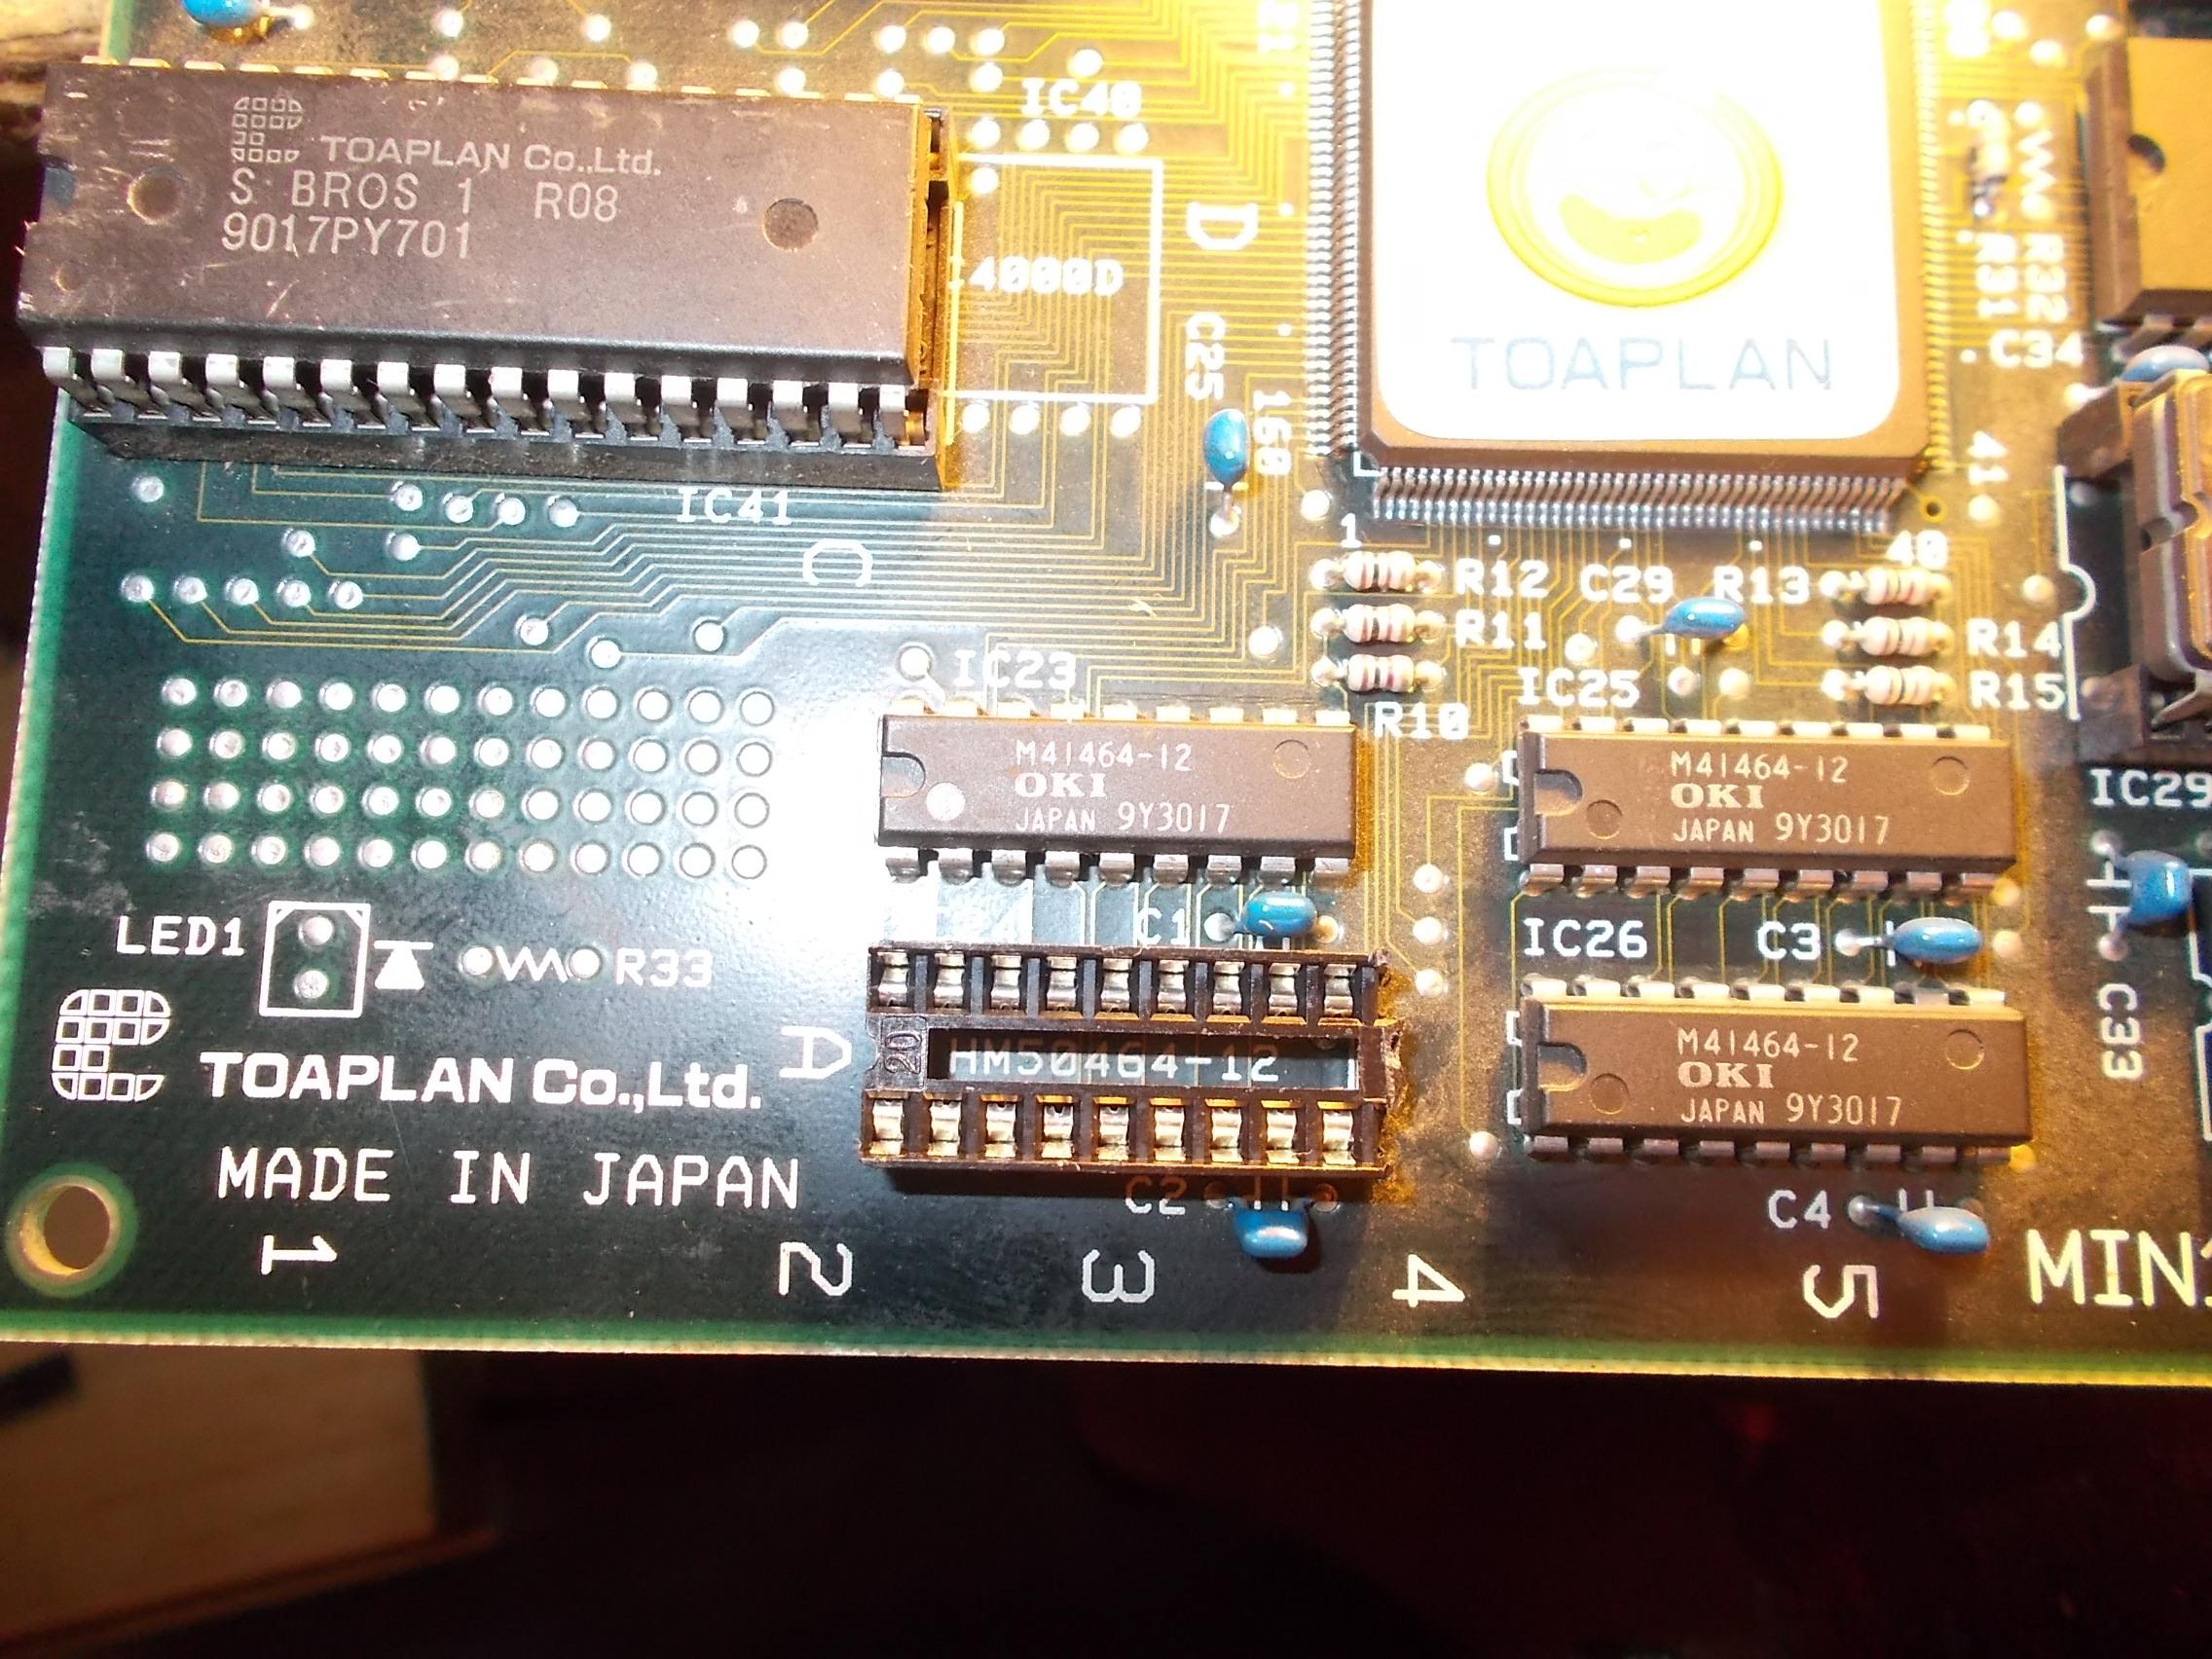
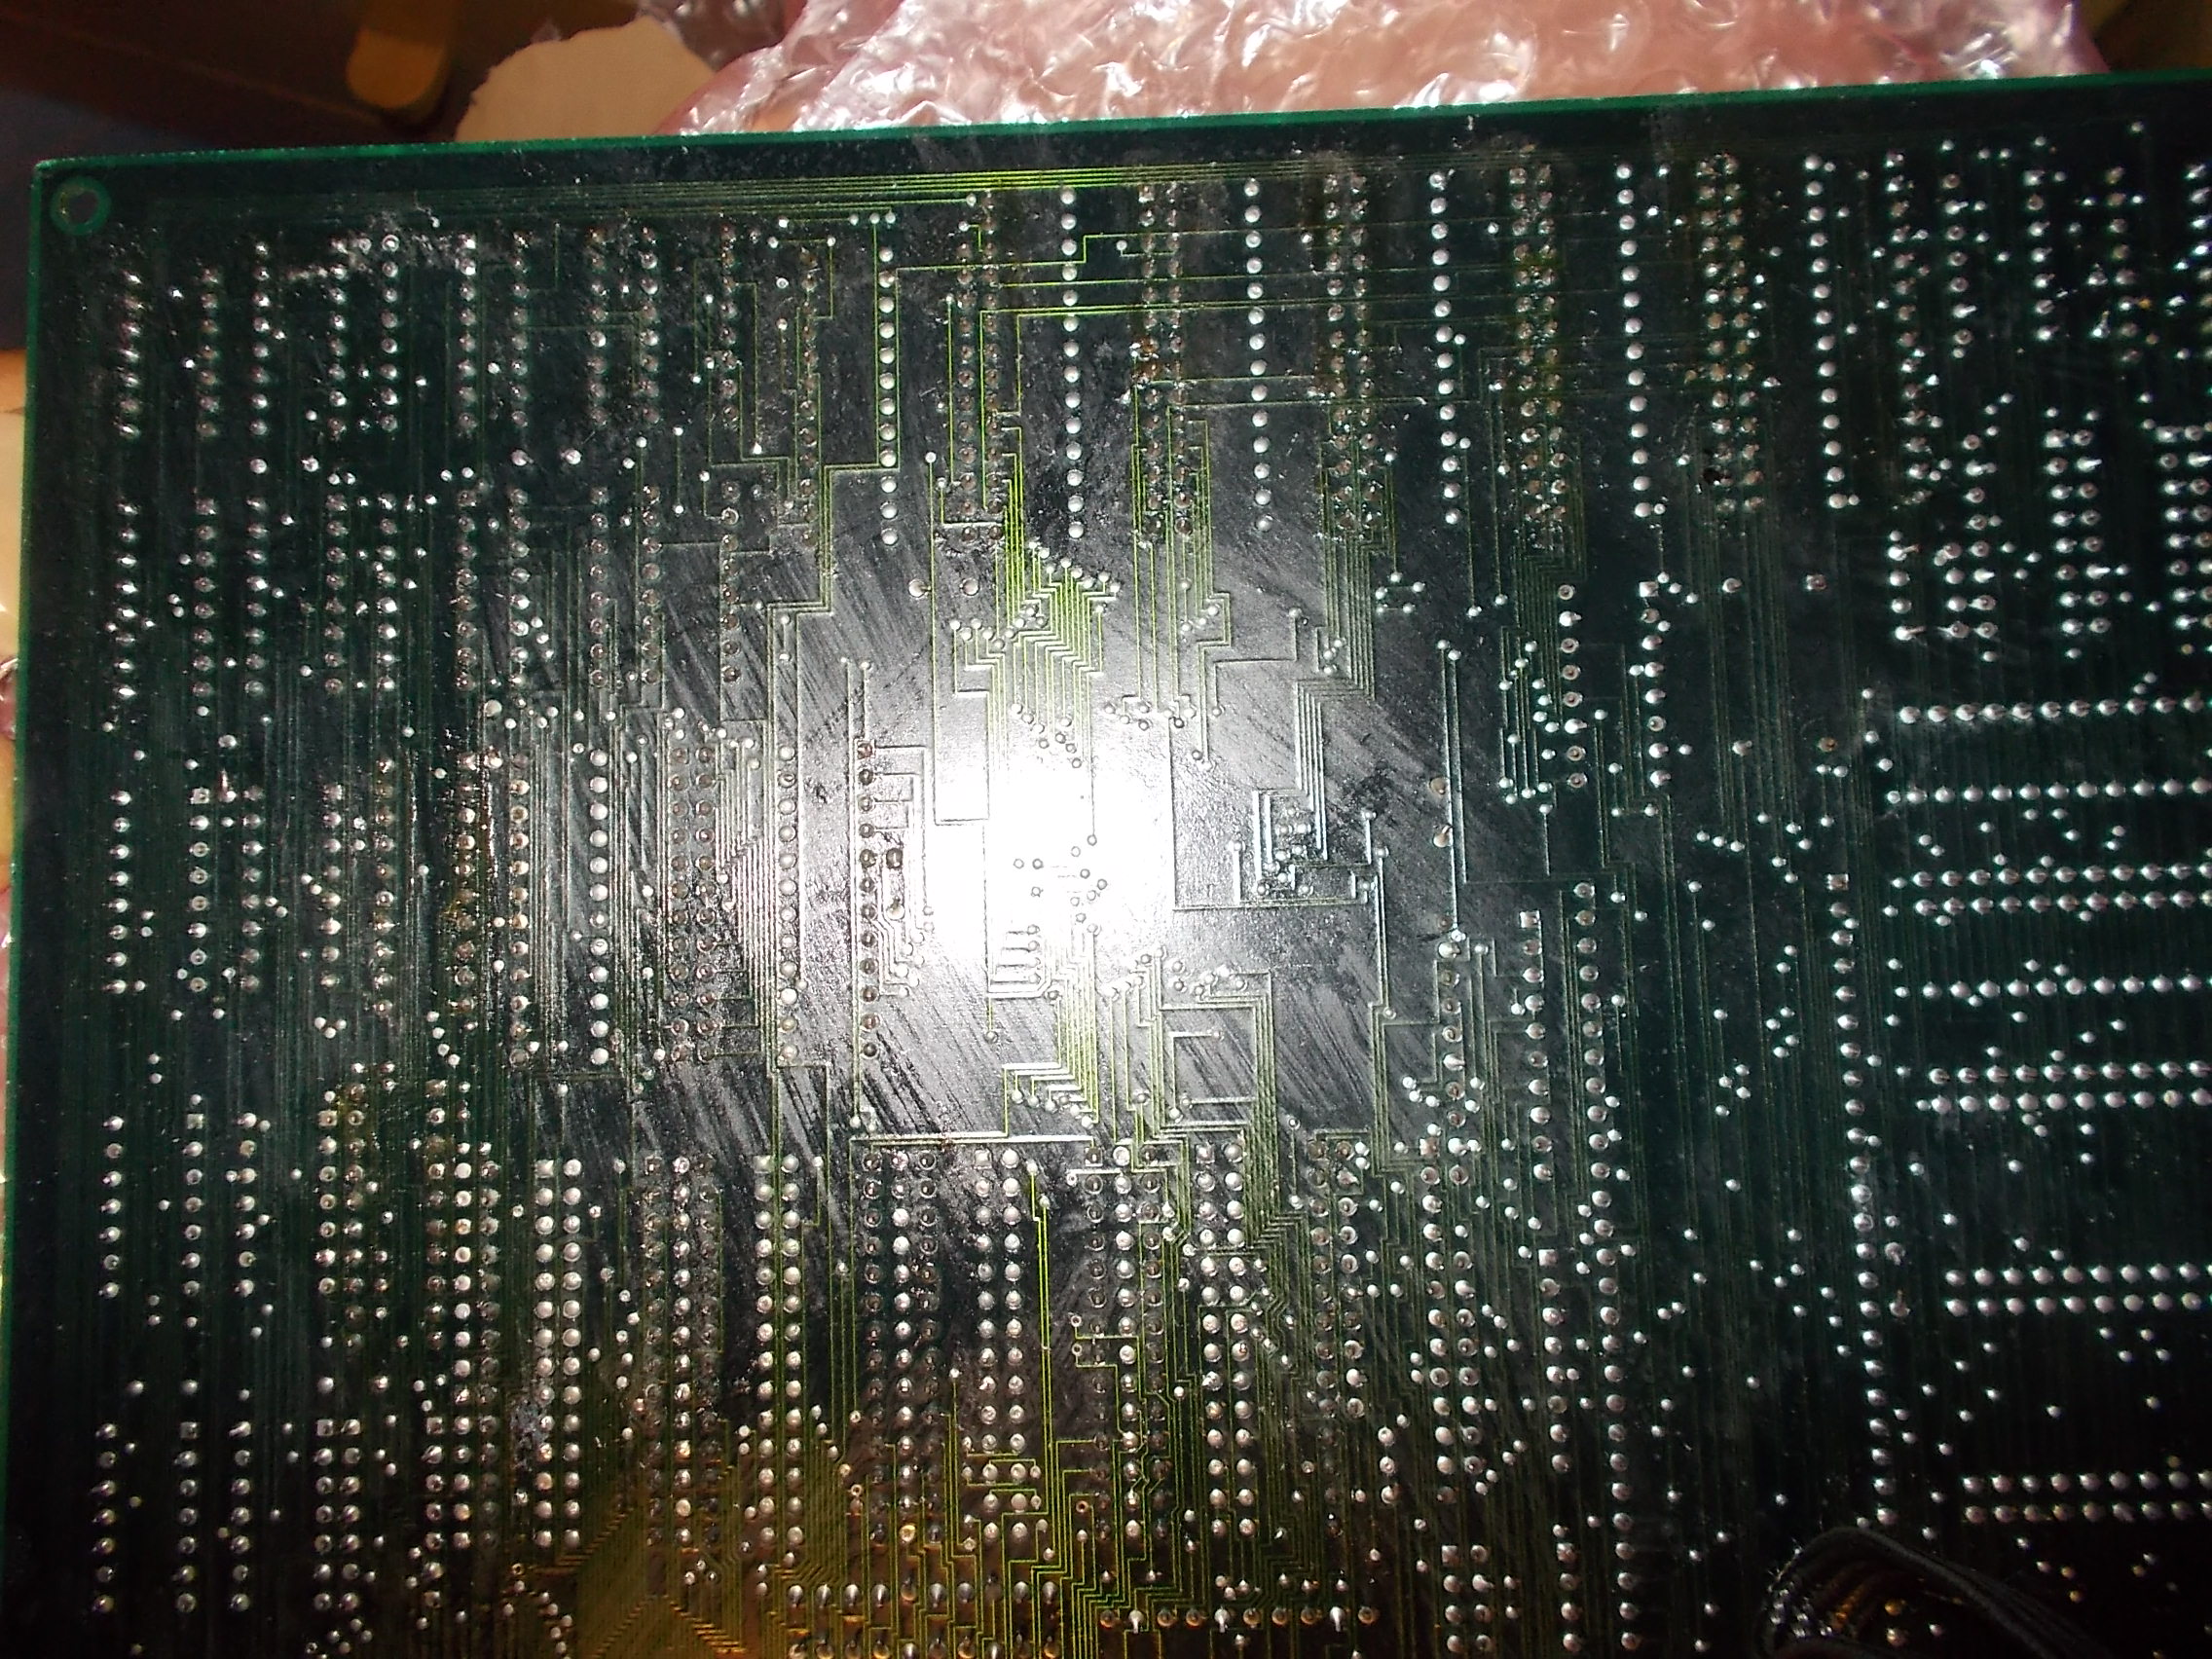
Board was in good shape but I noticed it was heavily reworked on solderside, a lot of ICs were replaced and PCB was not cleaned from solder flux residuals:
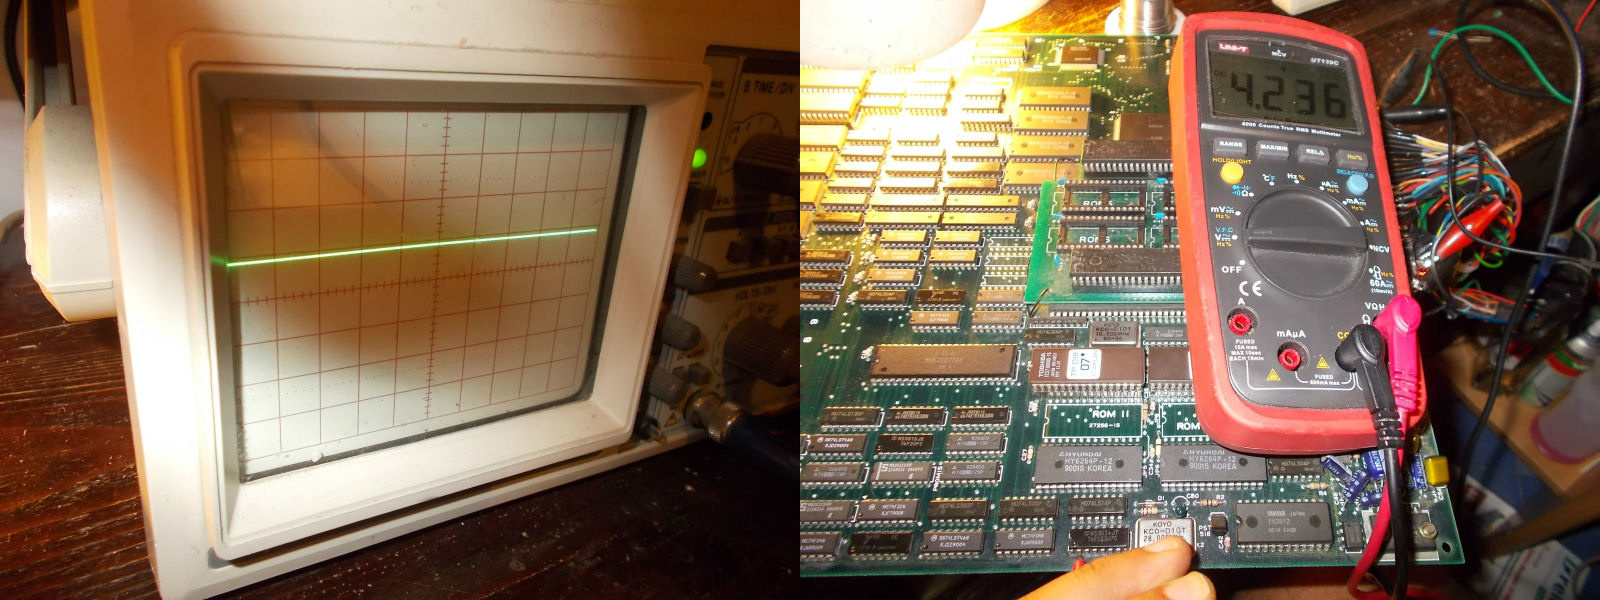
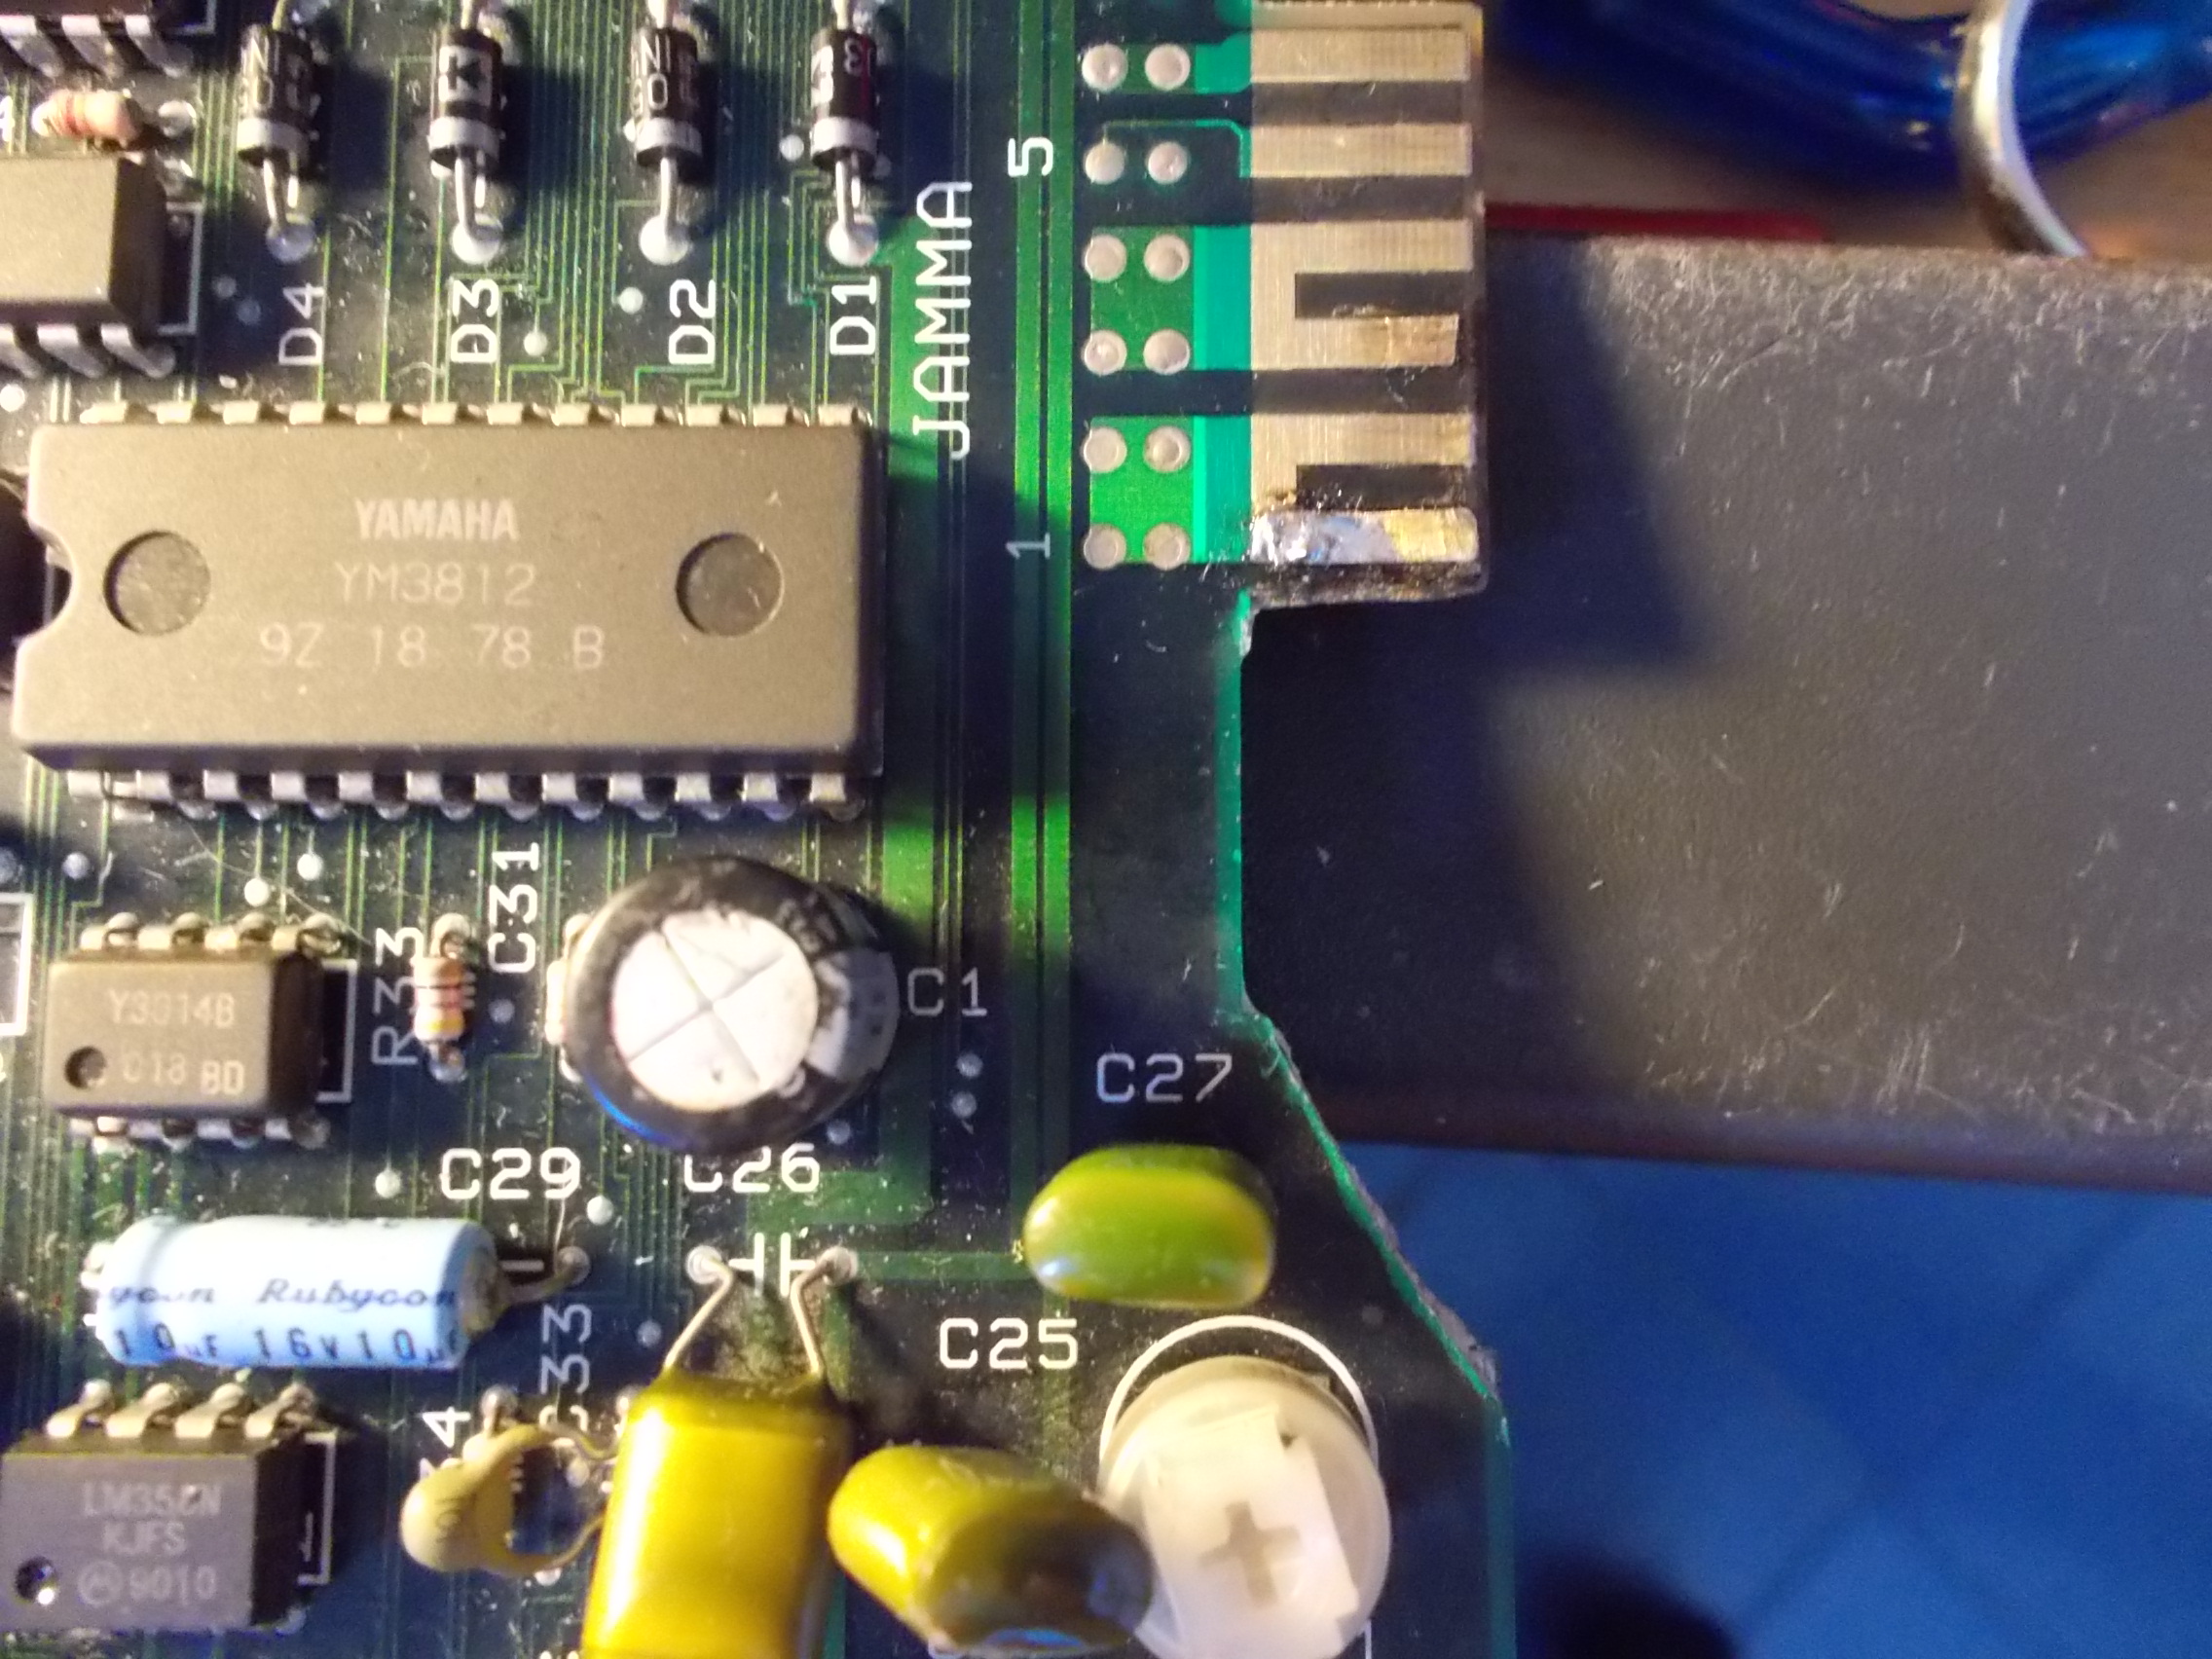
Besides, some ground pins of JAMMA edge connector were partially missing or burnt (sign that something gone shorted) and a 100 nF mylar capacitor was missing.I promply restored all of them:
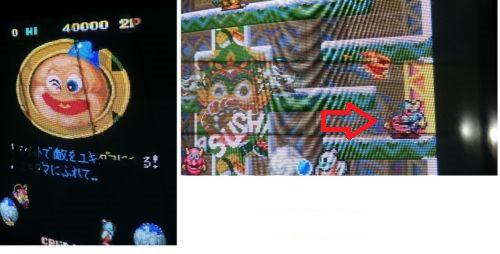
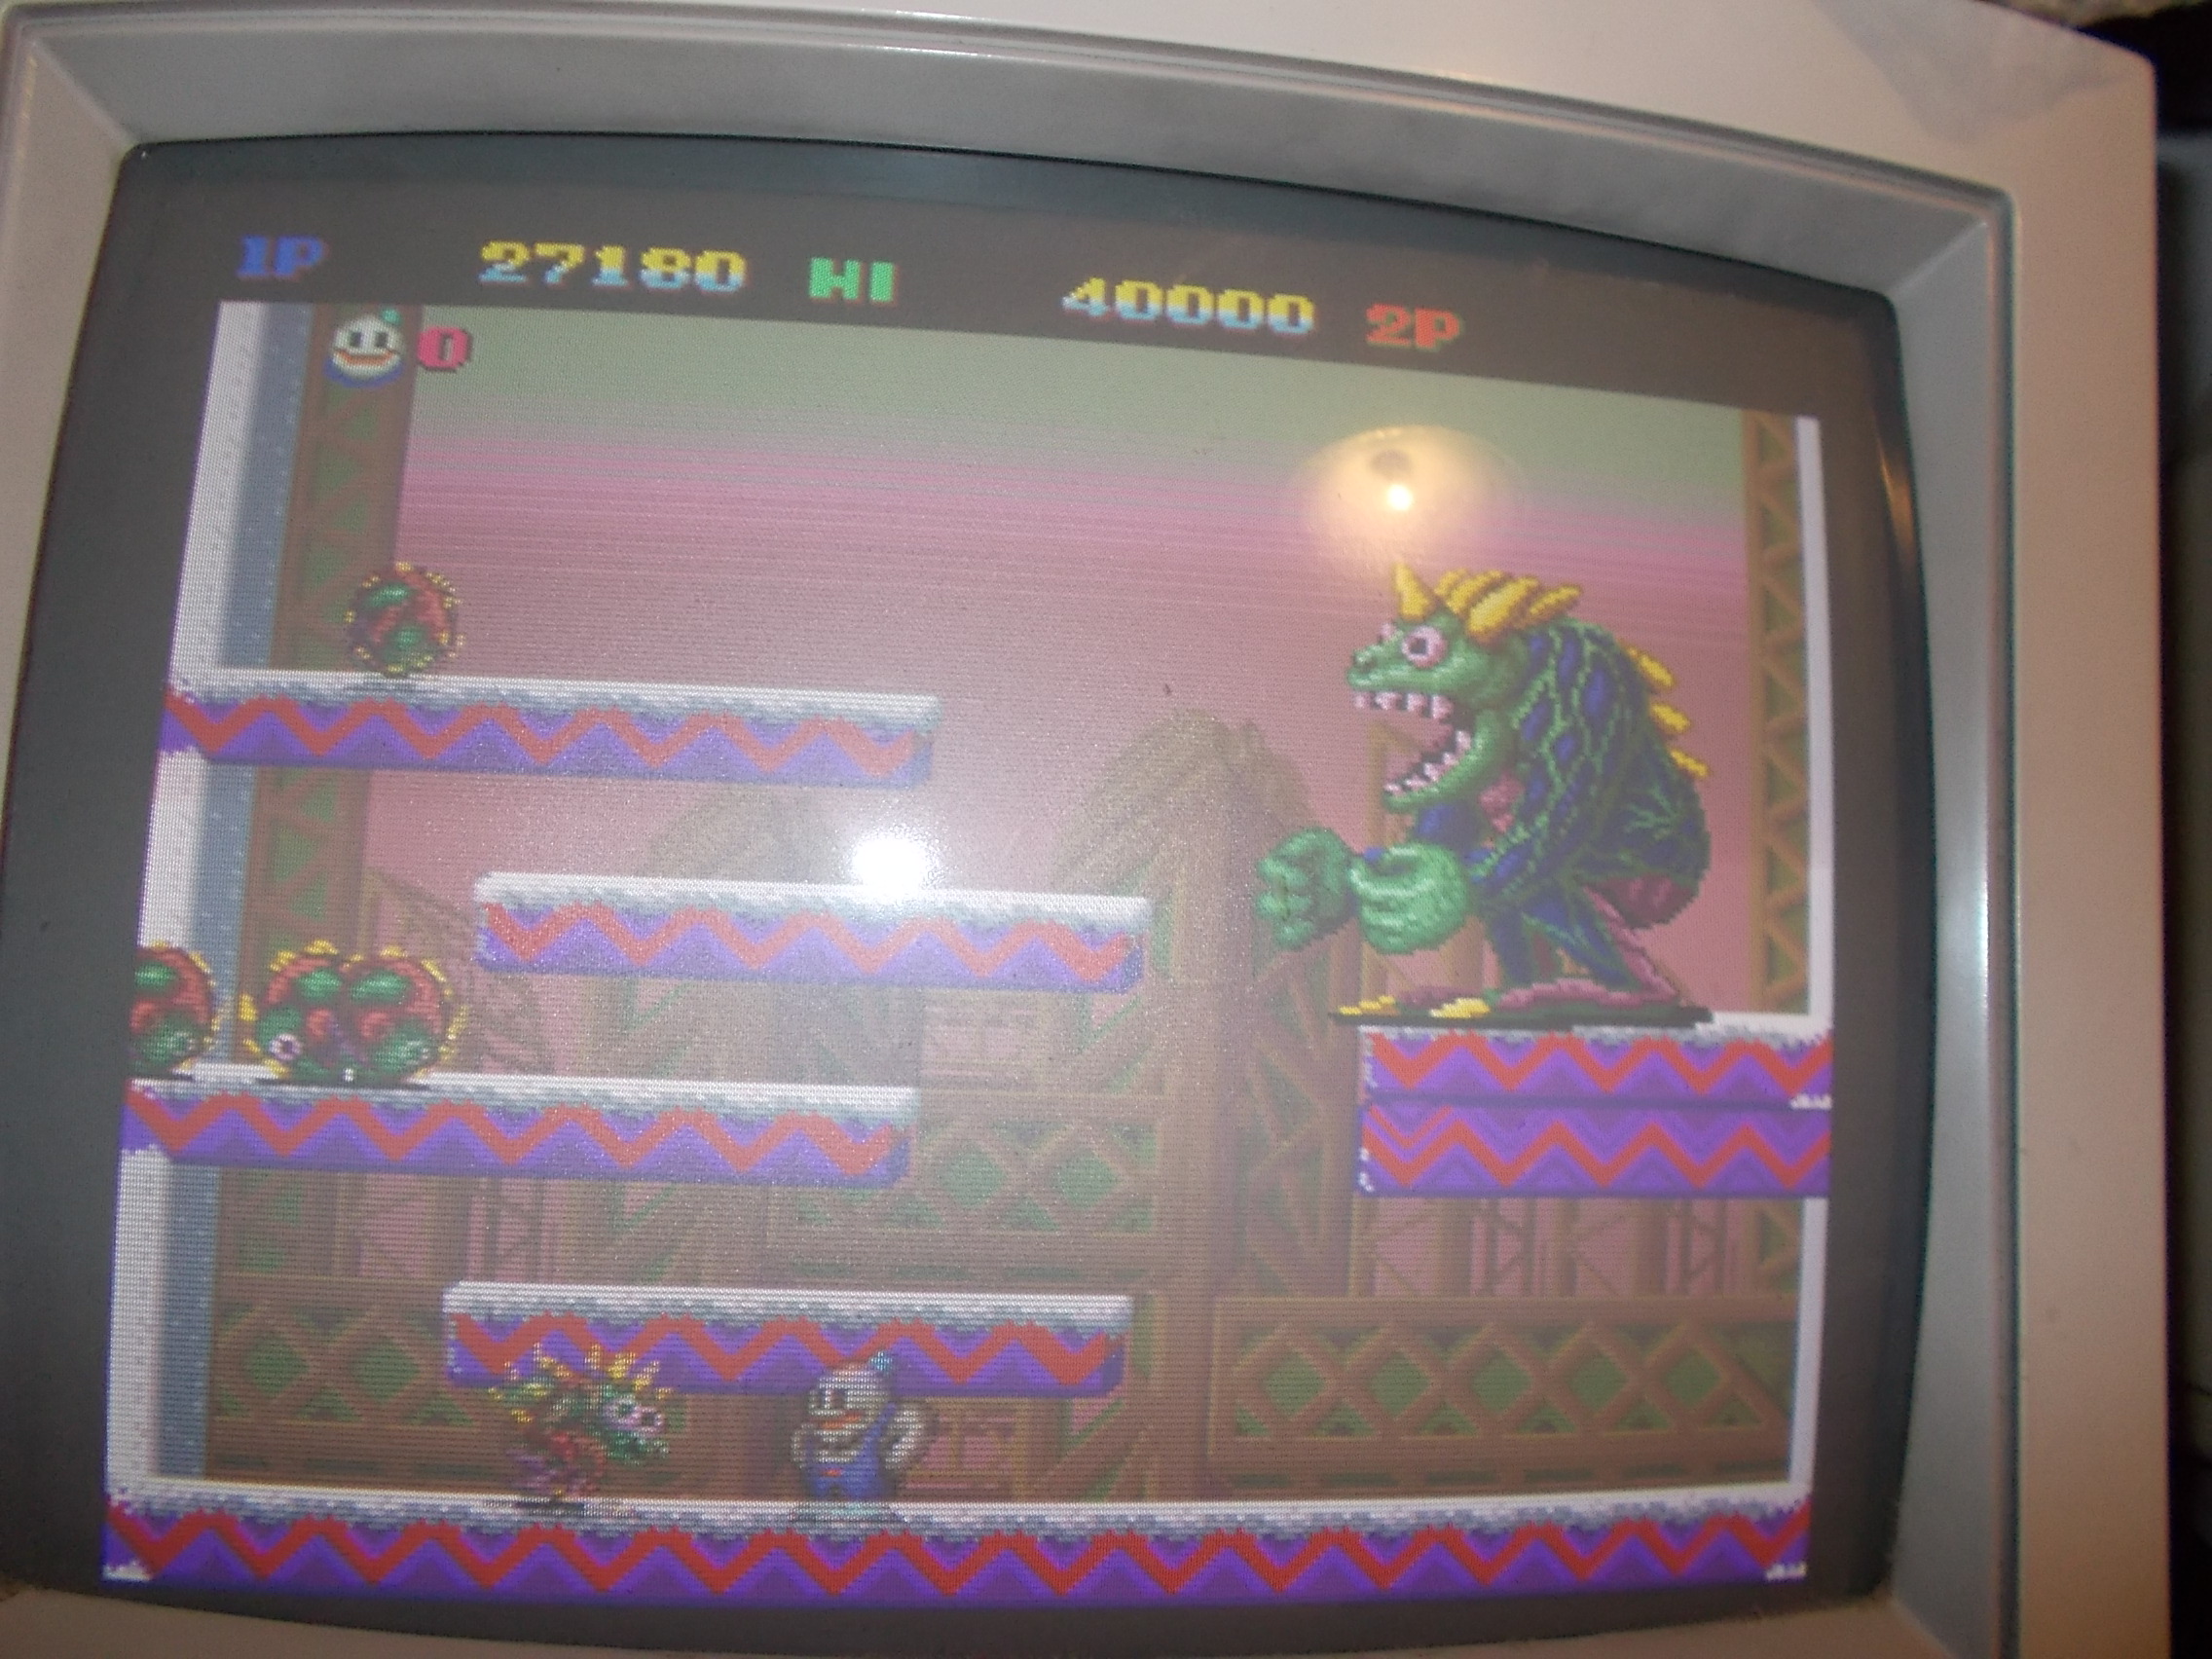
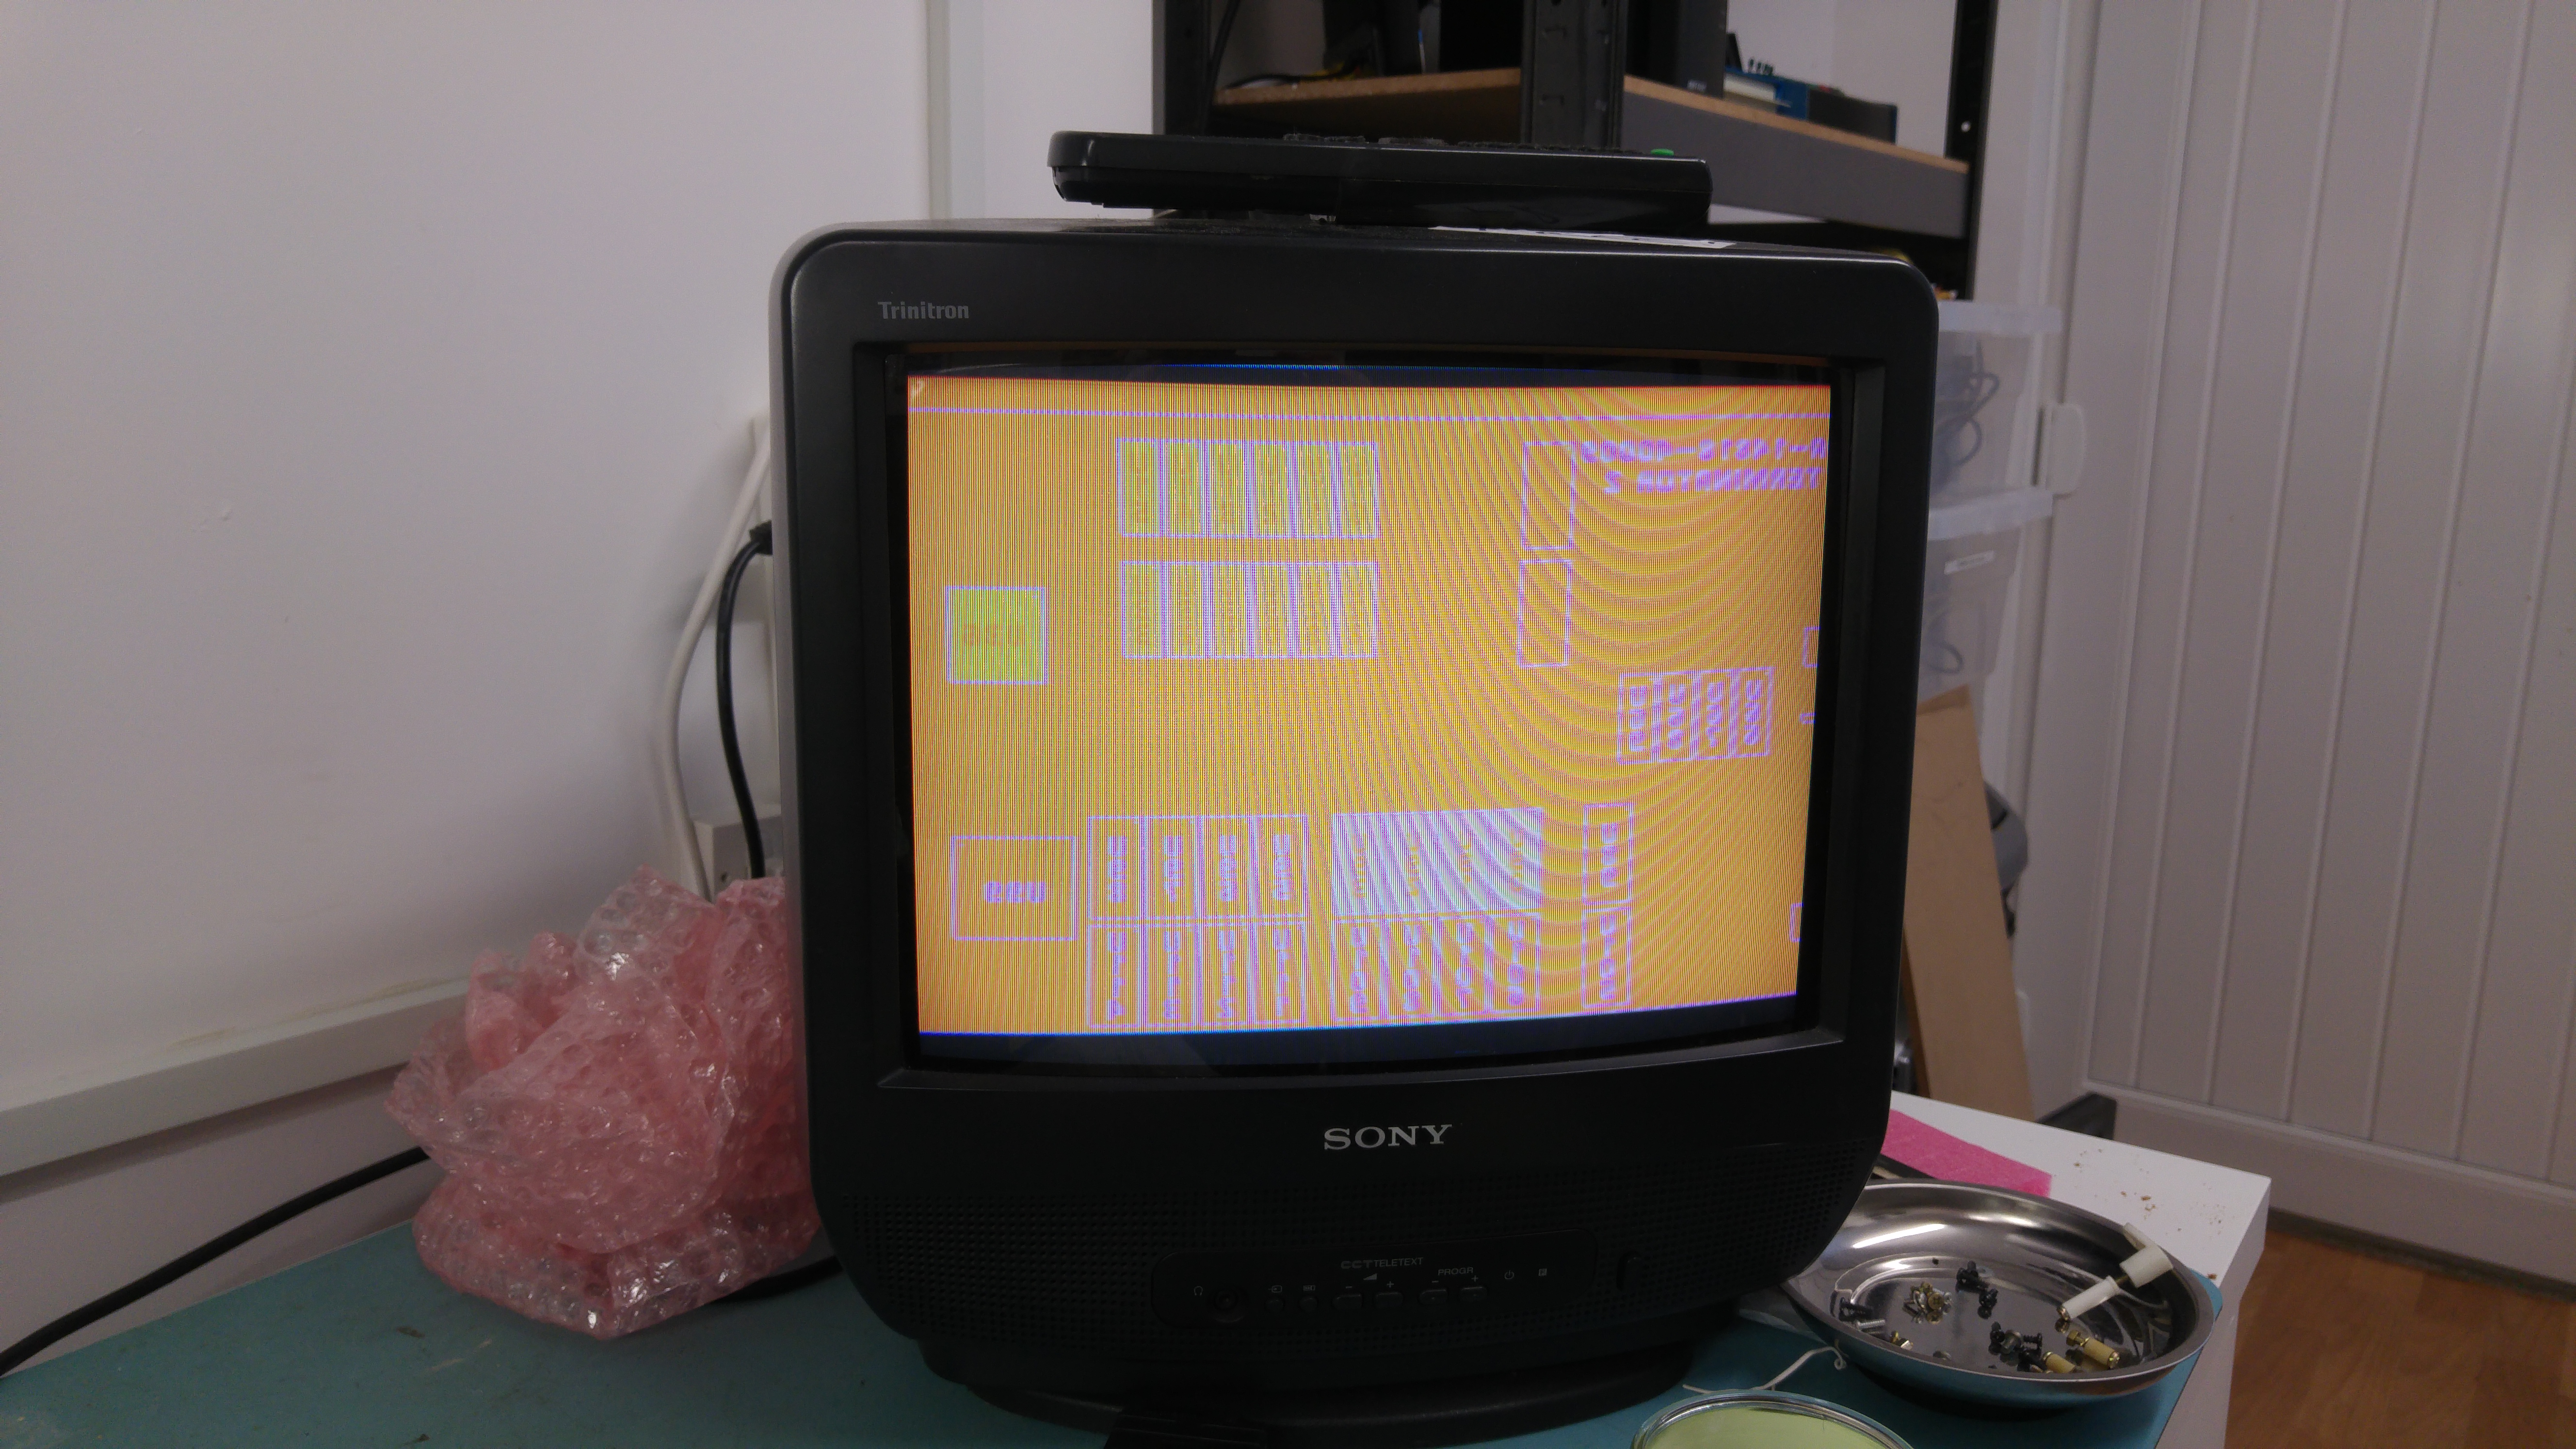
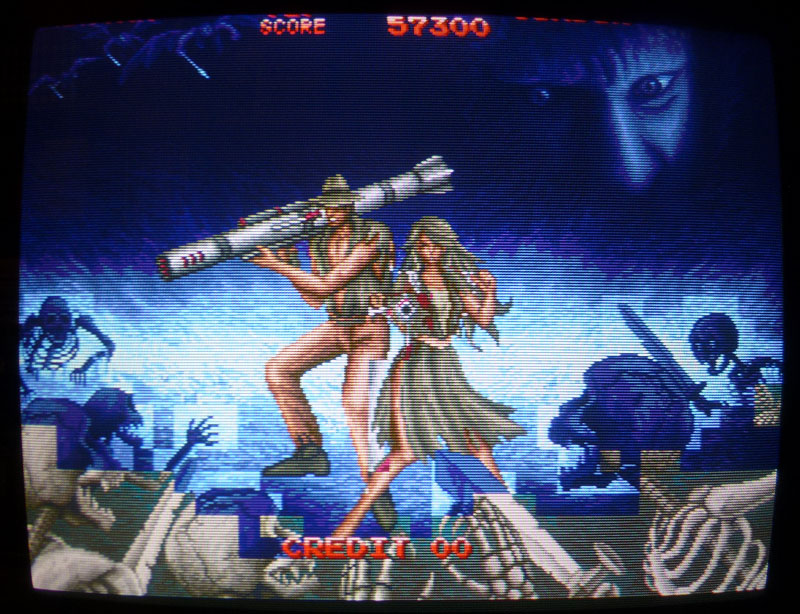
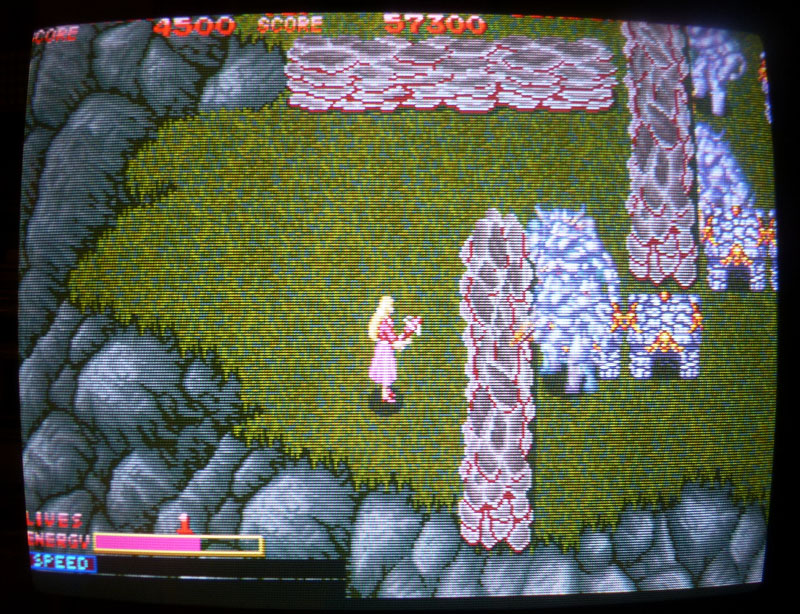
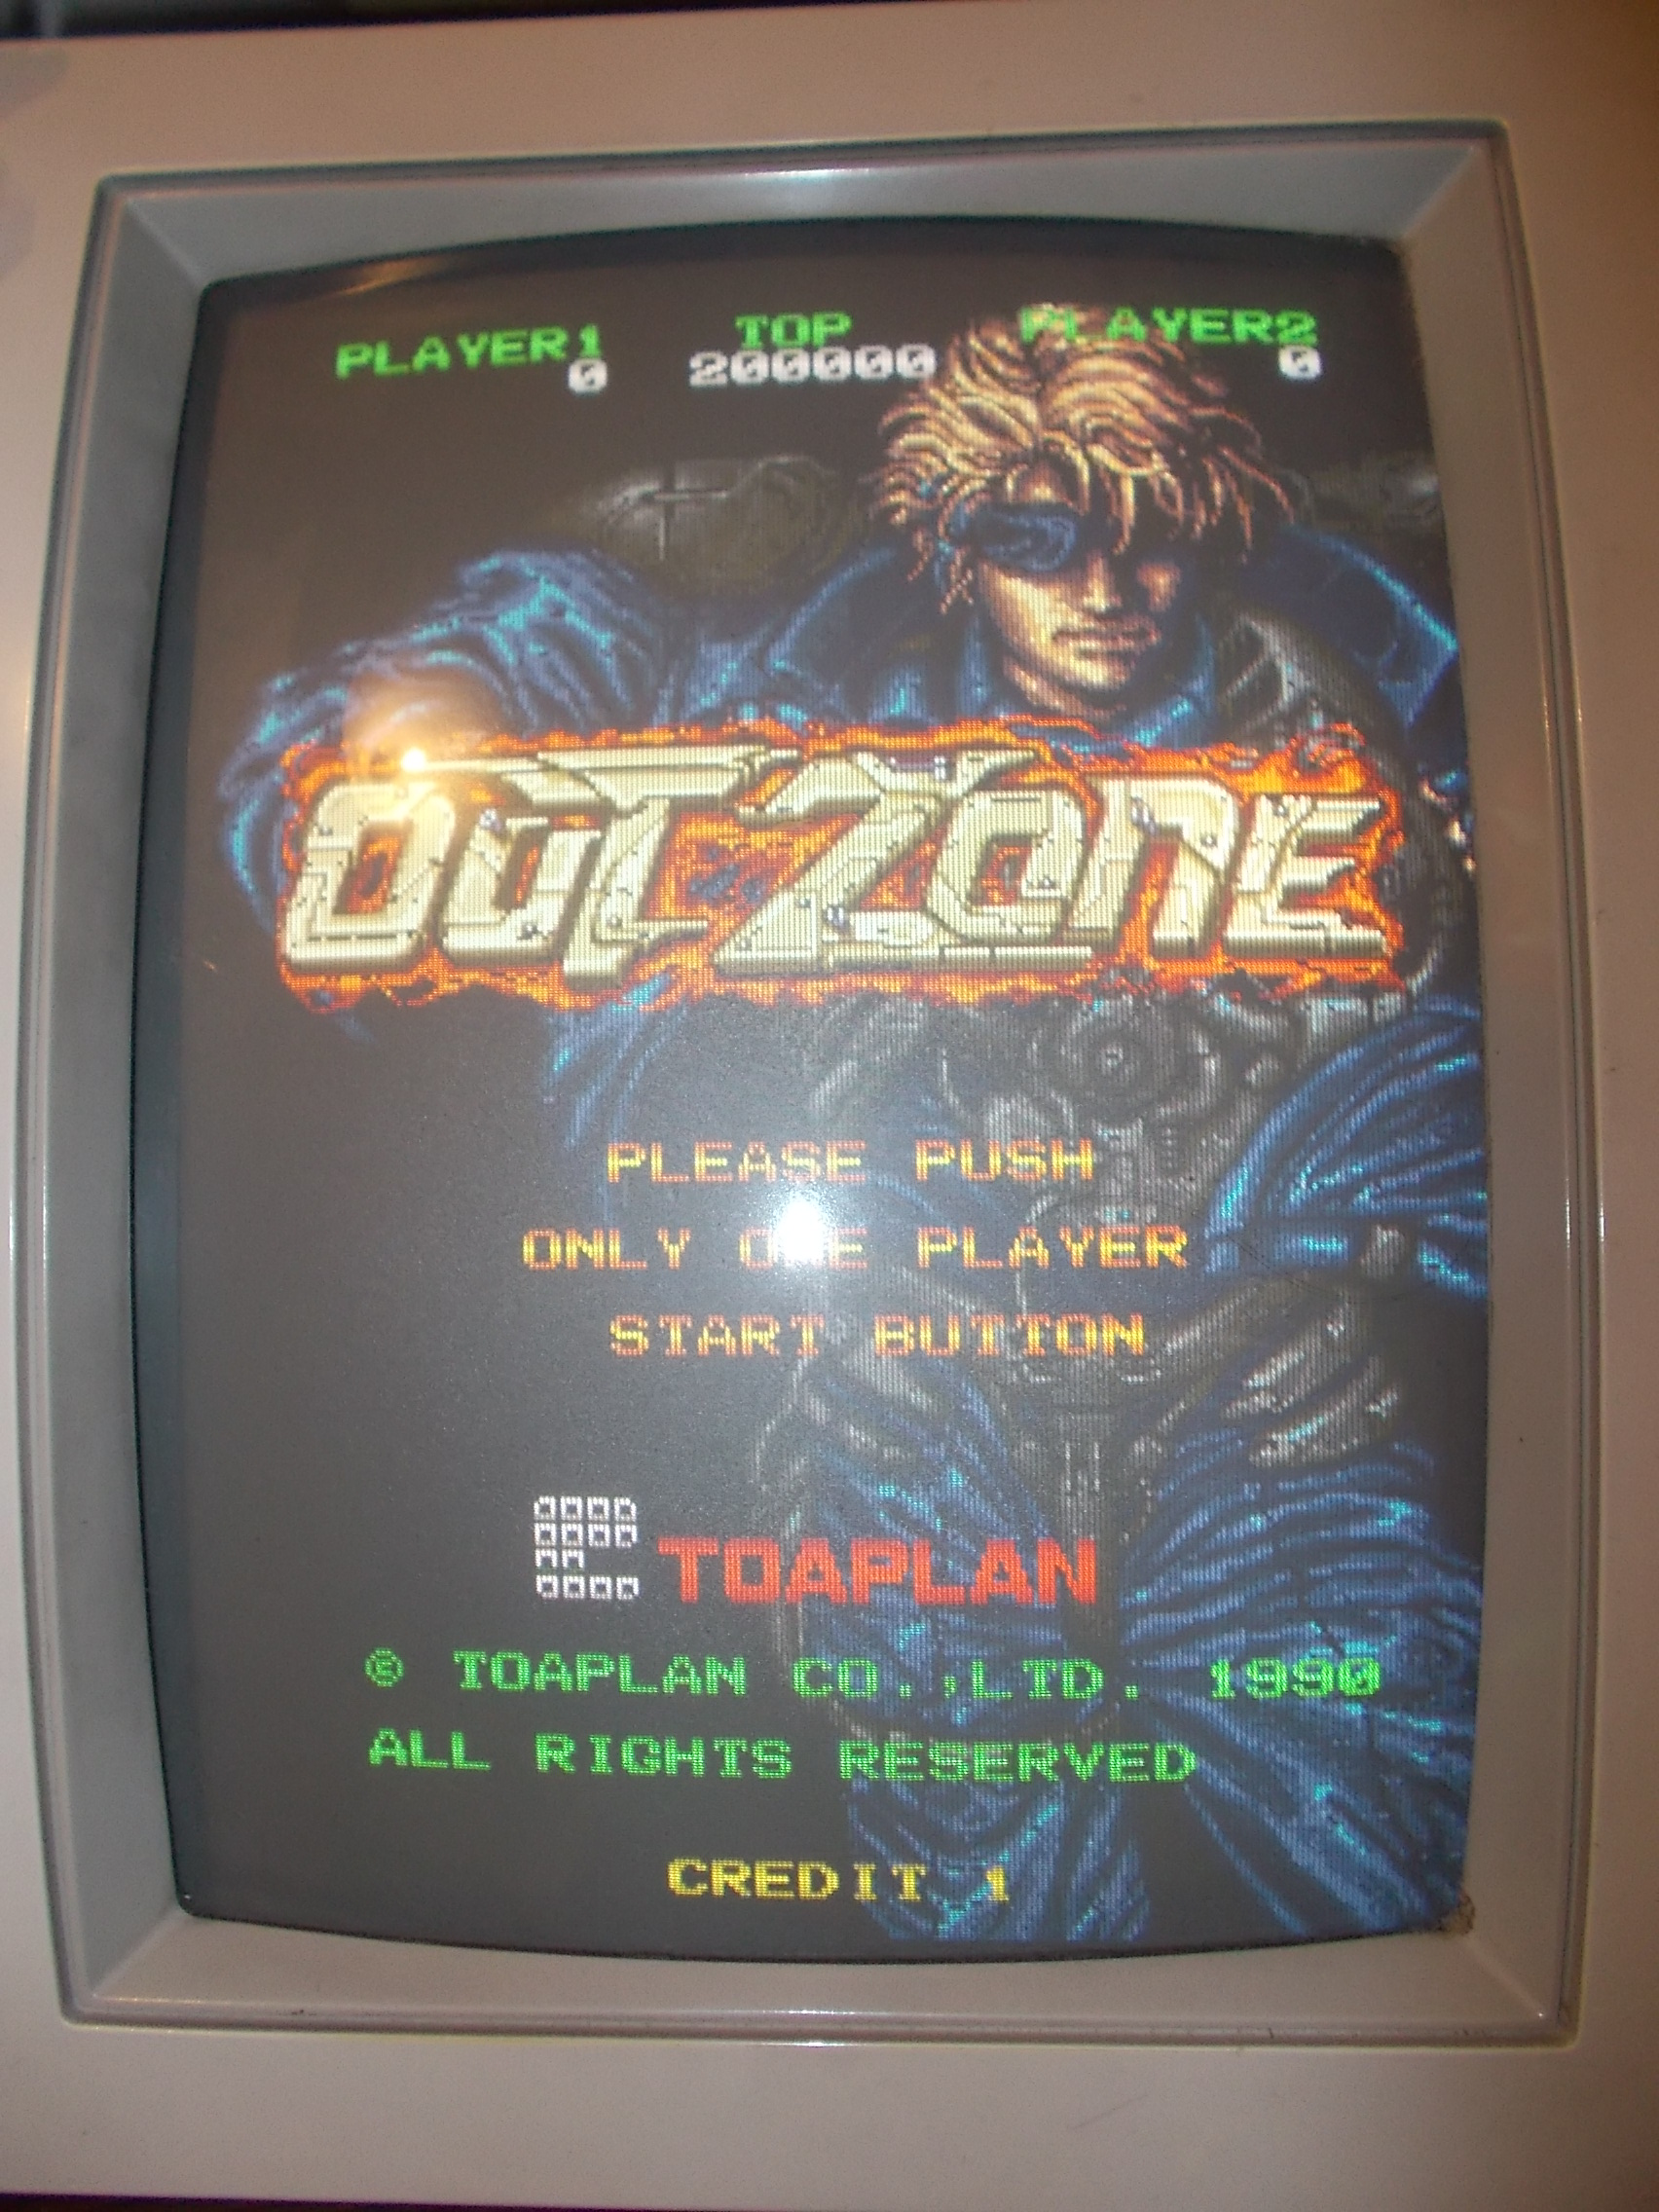
Board booted into game but some sprites were wrong (more than a palette problem it seemed to me an issue related to data bus as if sprites were missing some layers) :
![]()
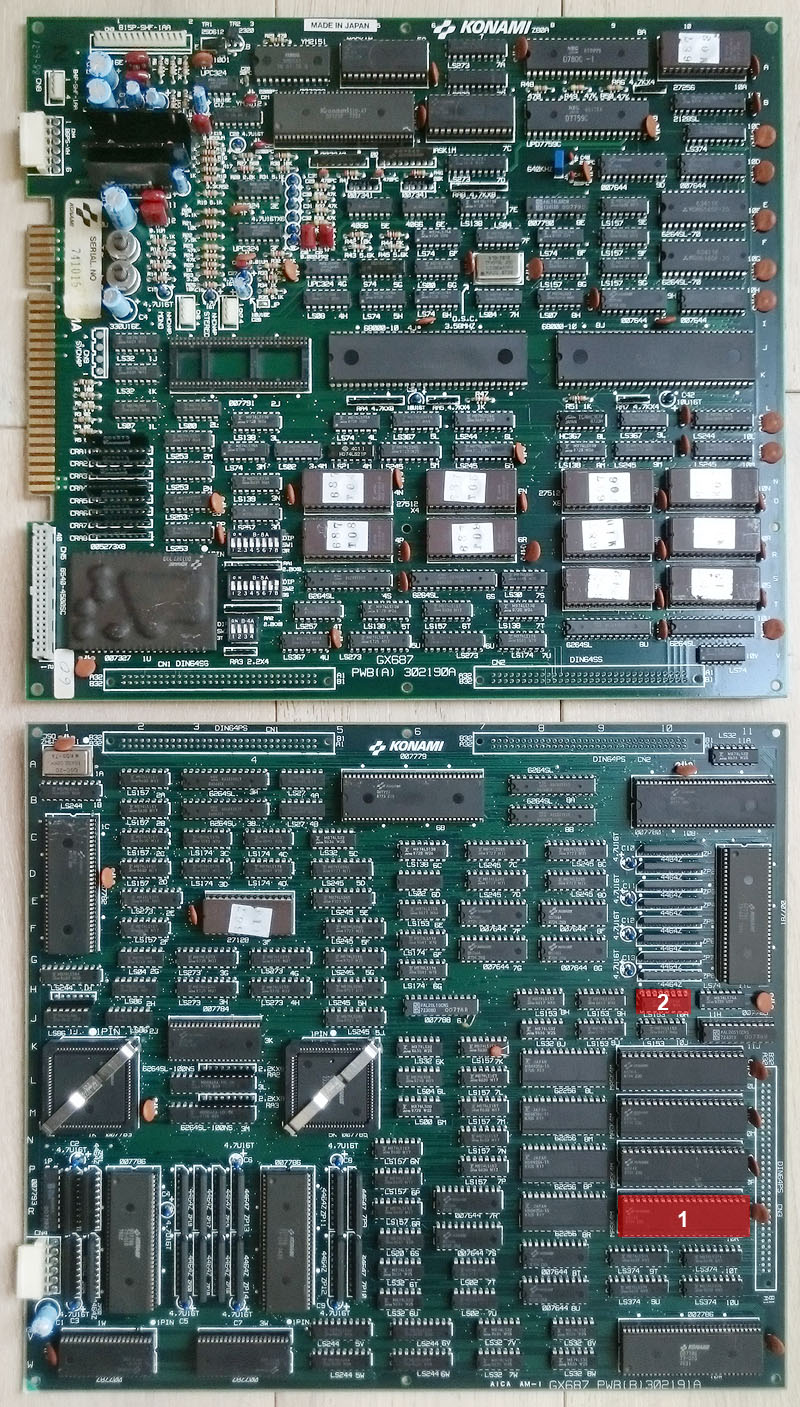
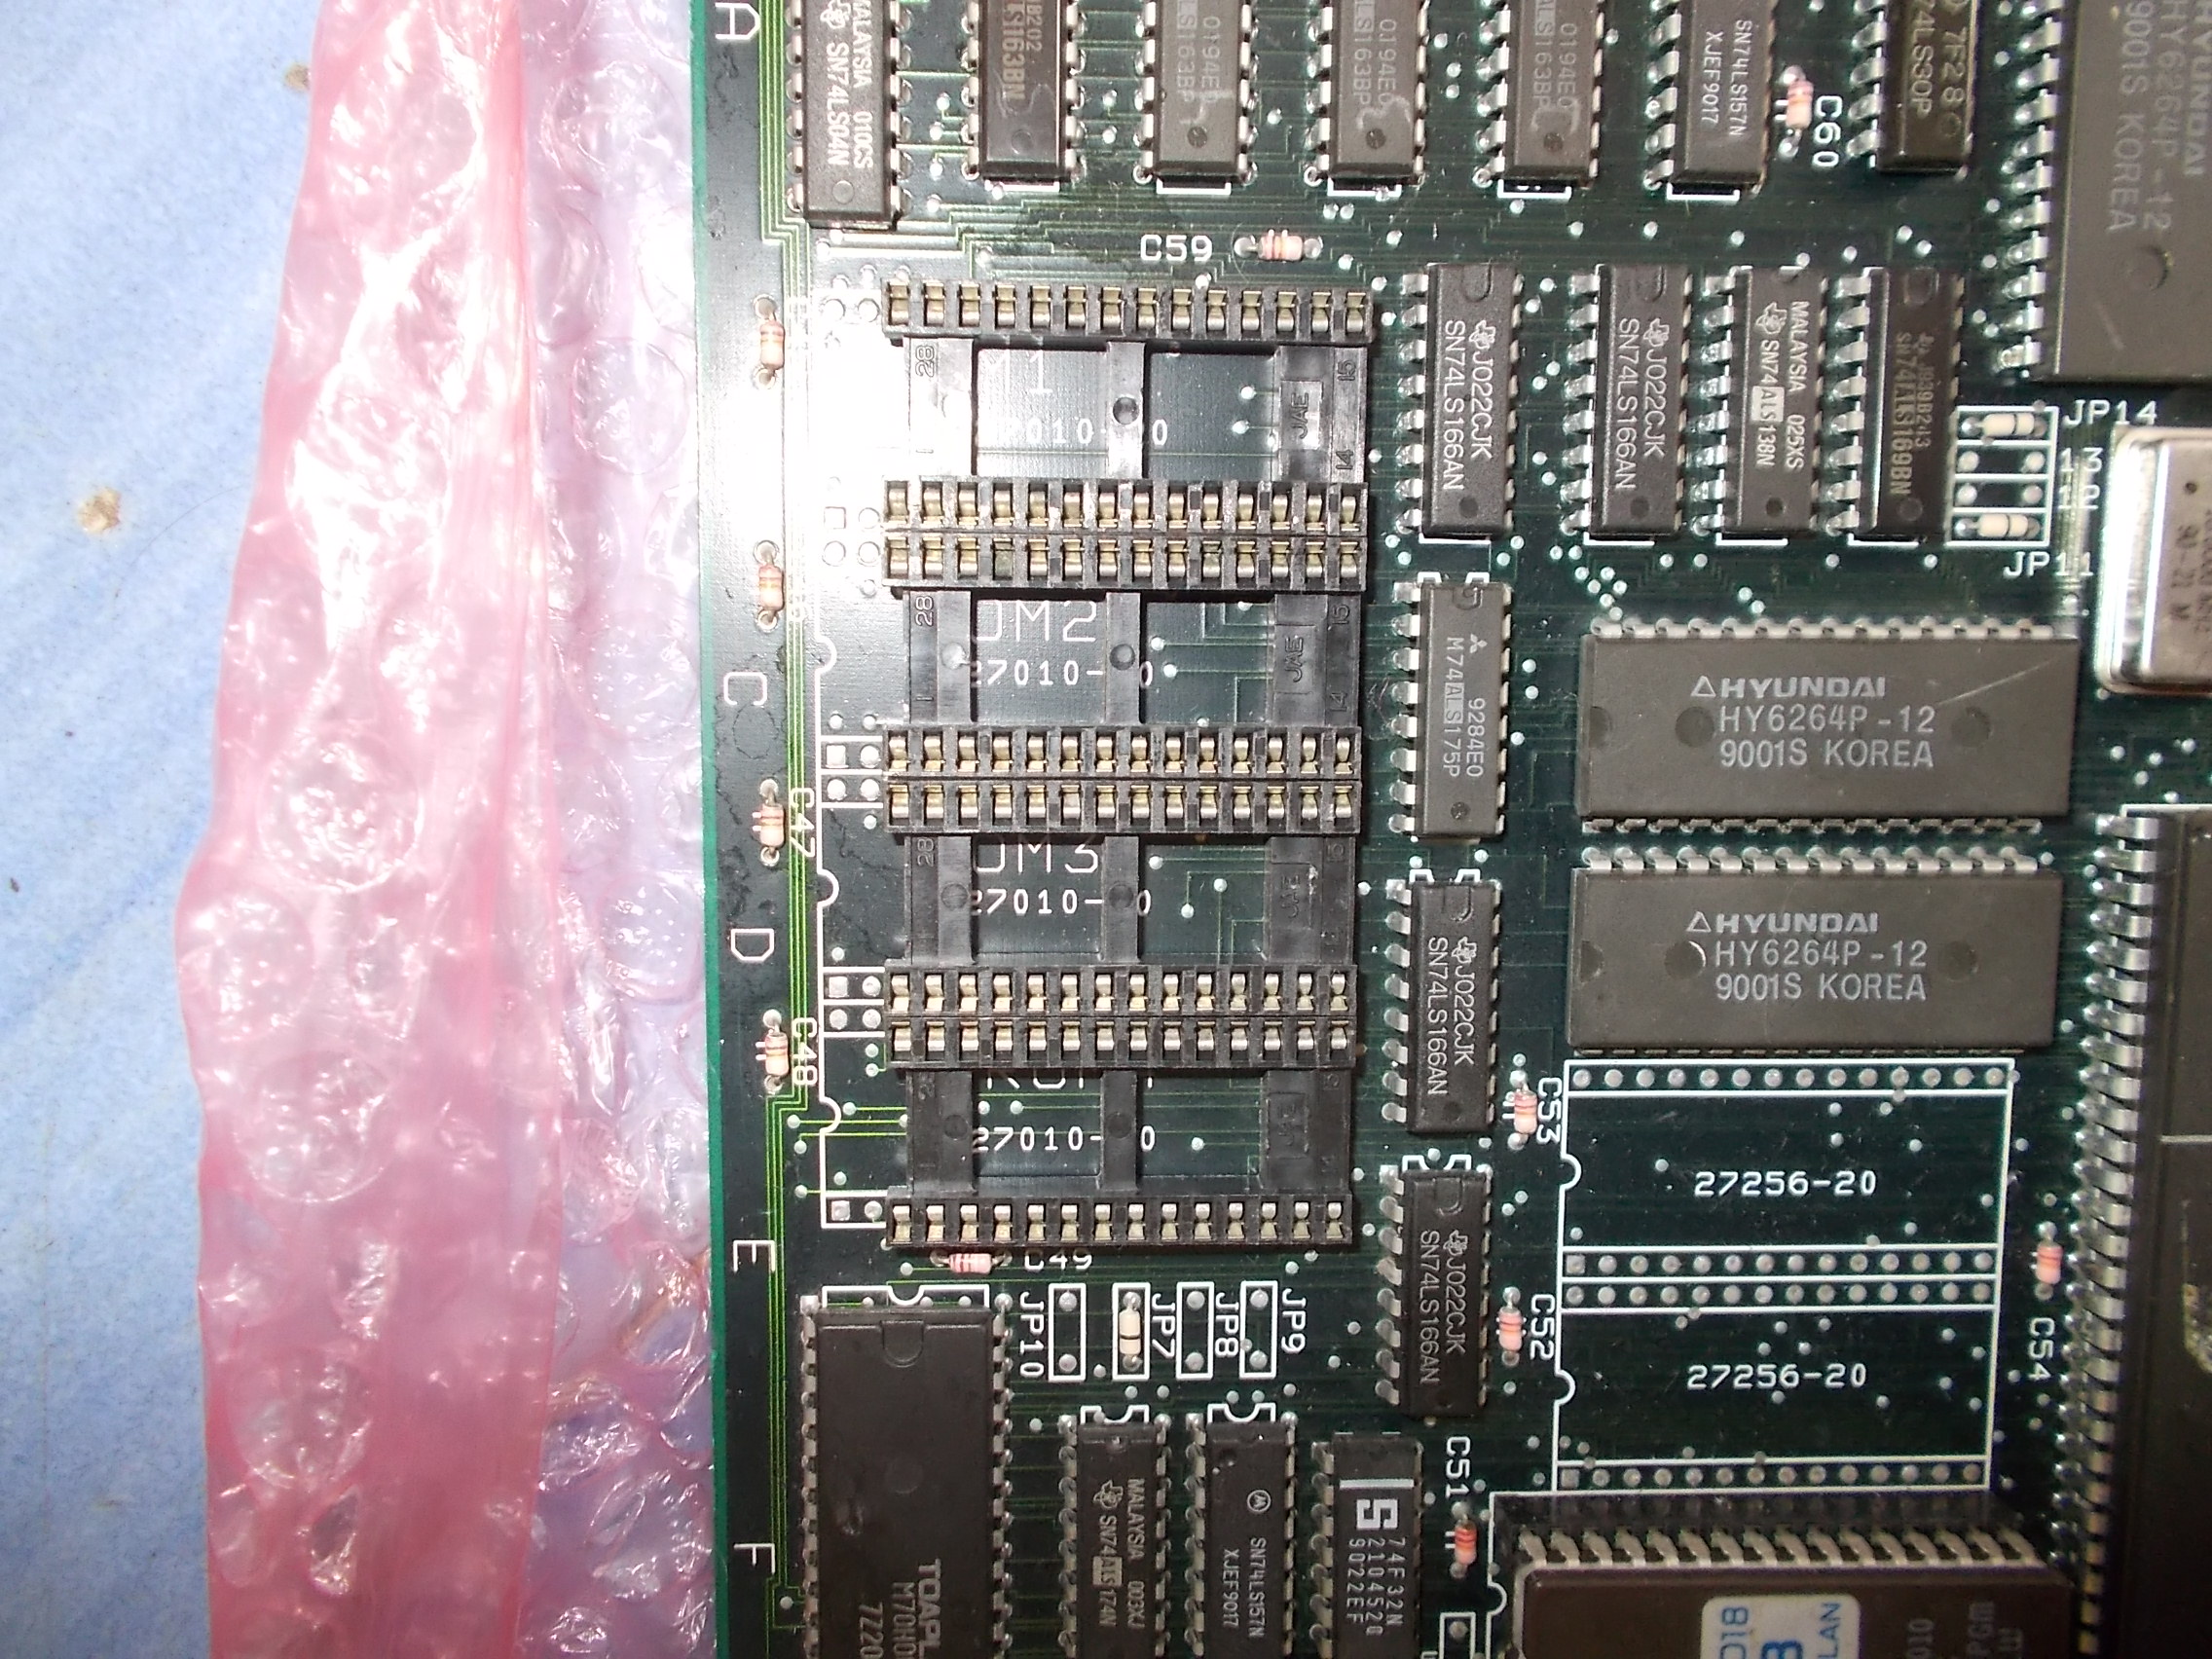
When I went to read the four 1Mbit ROMs containing relevant data I noticed devices were put in wrong sockets:
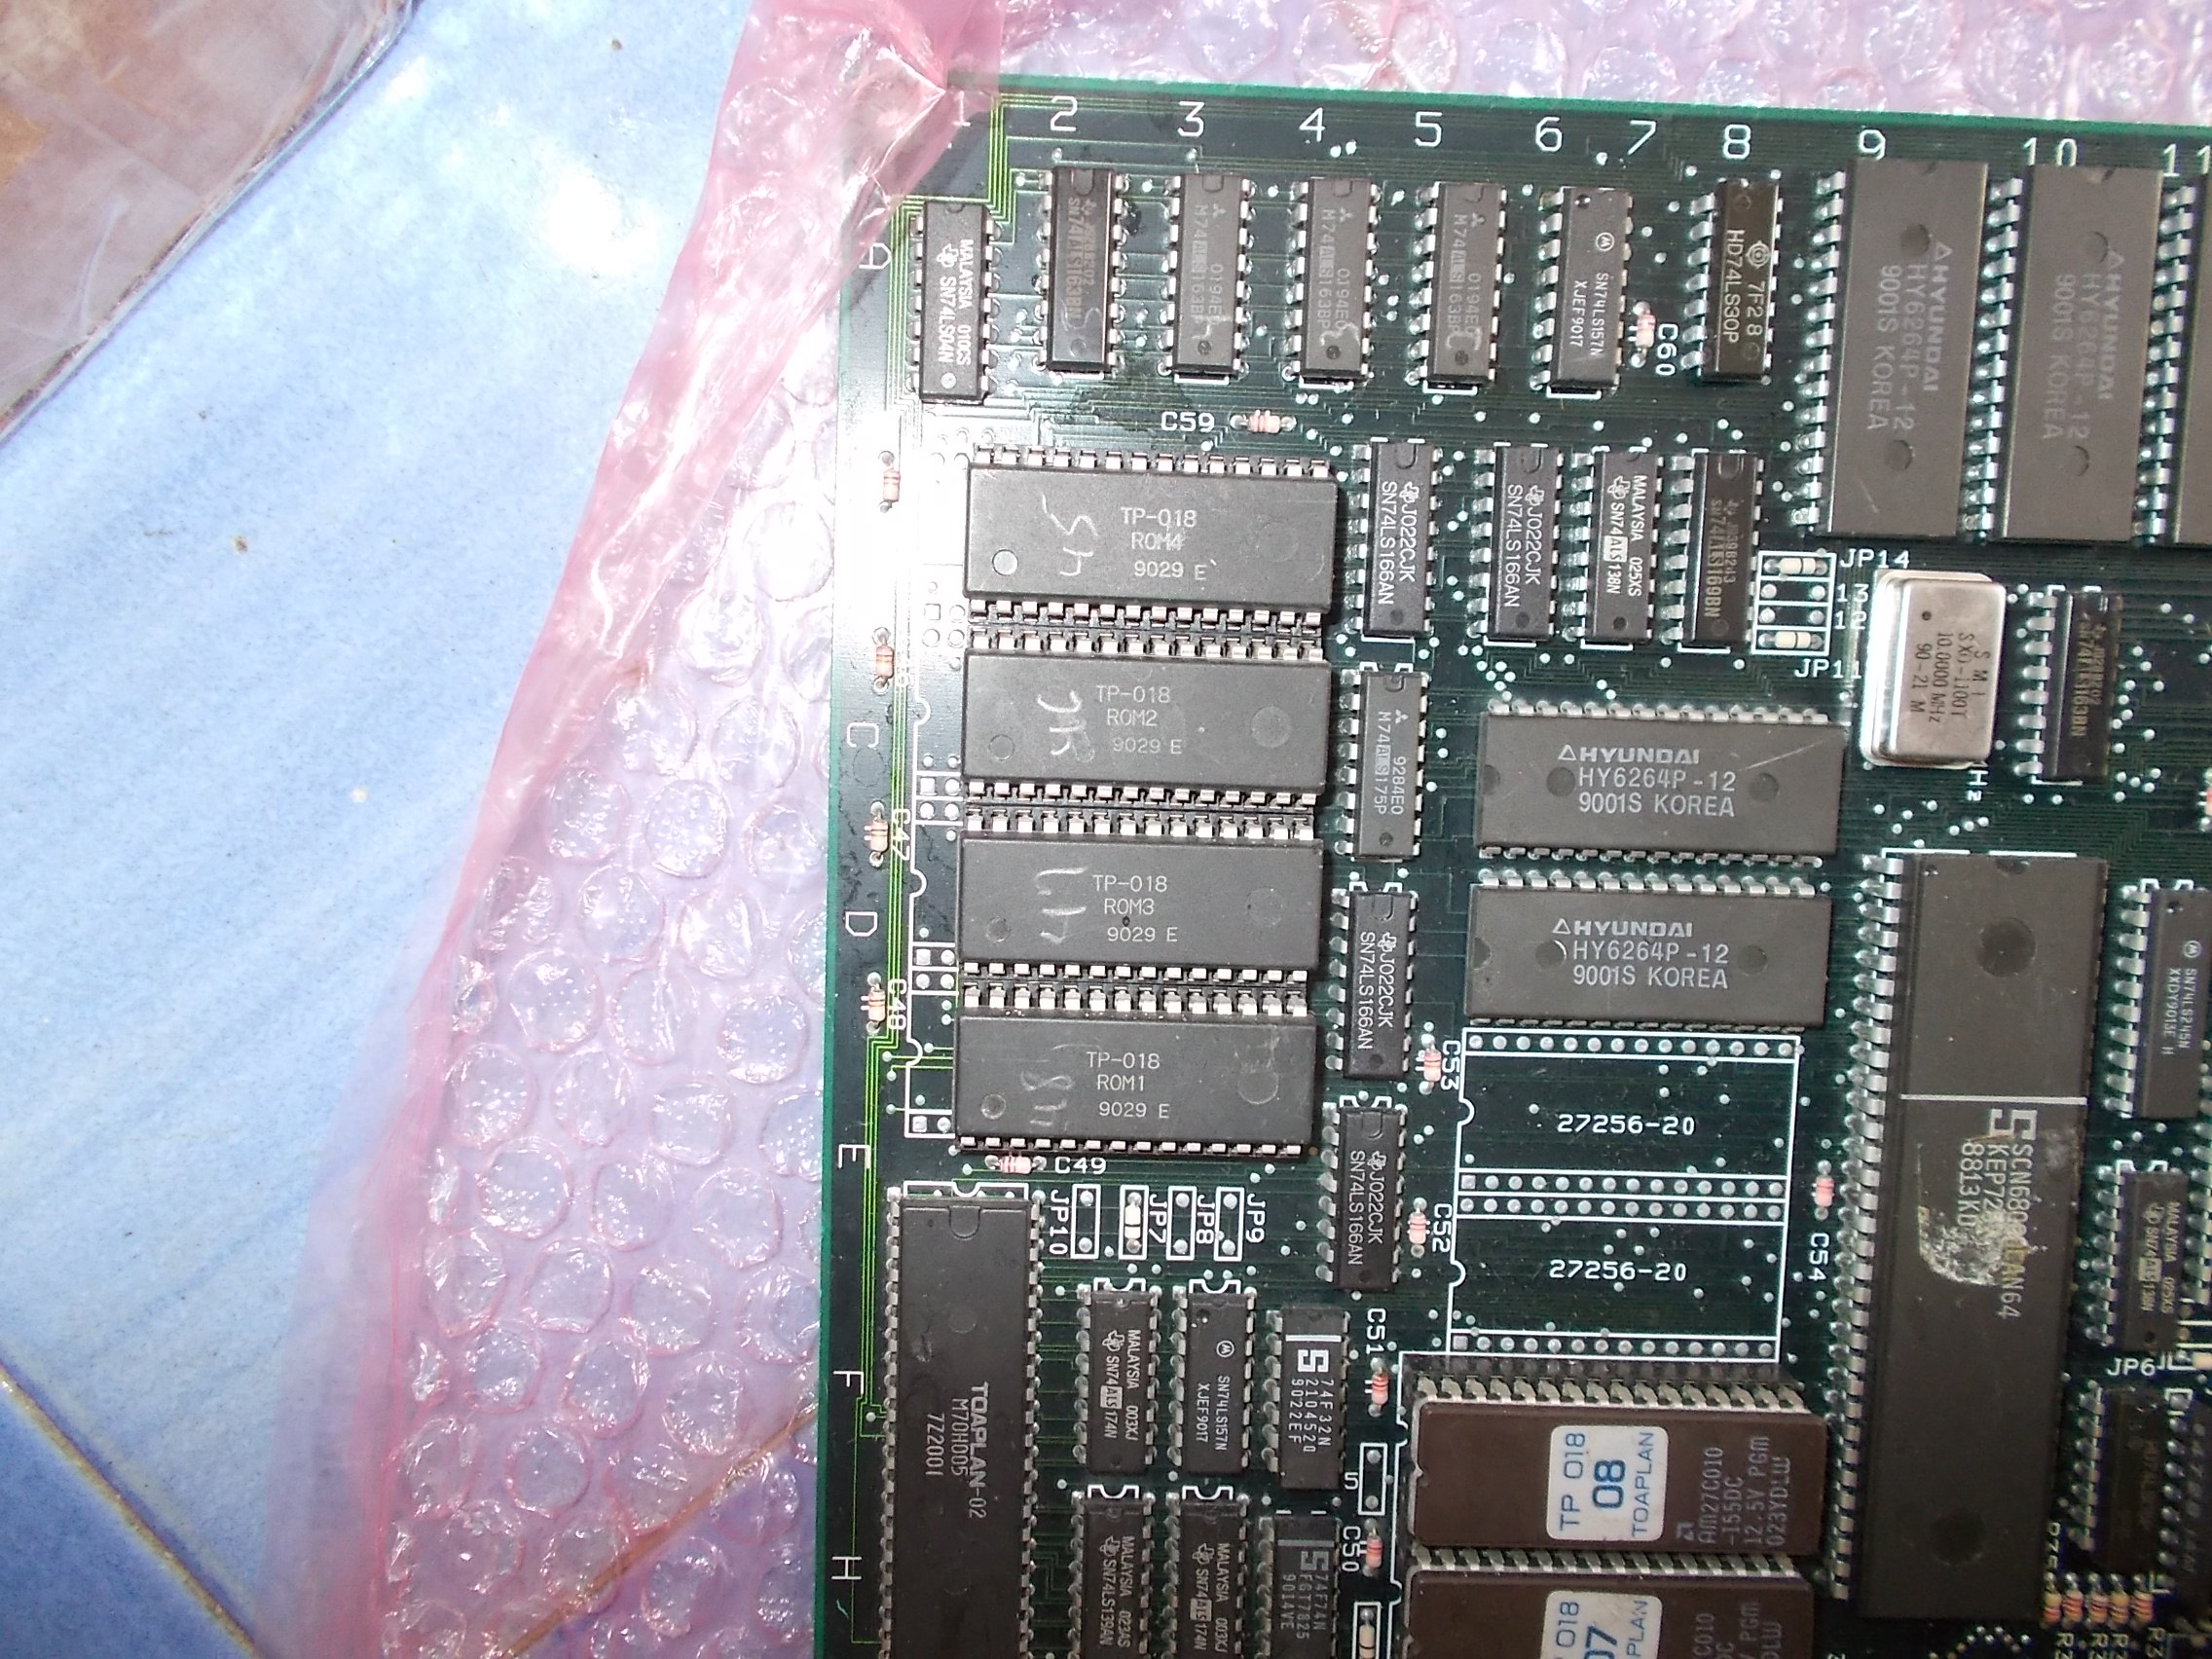
Silkscreening under the sockets clearly tells where these MASK ROMs must be placed:
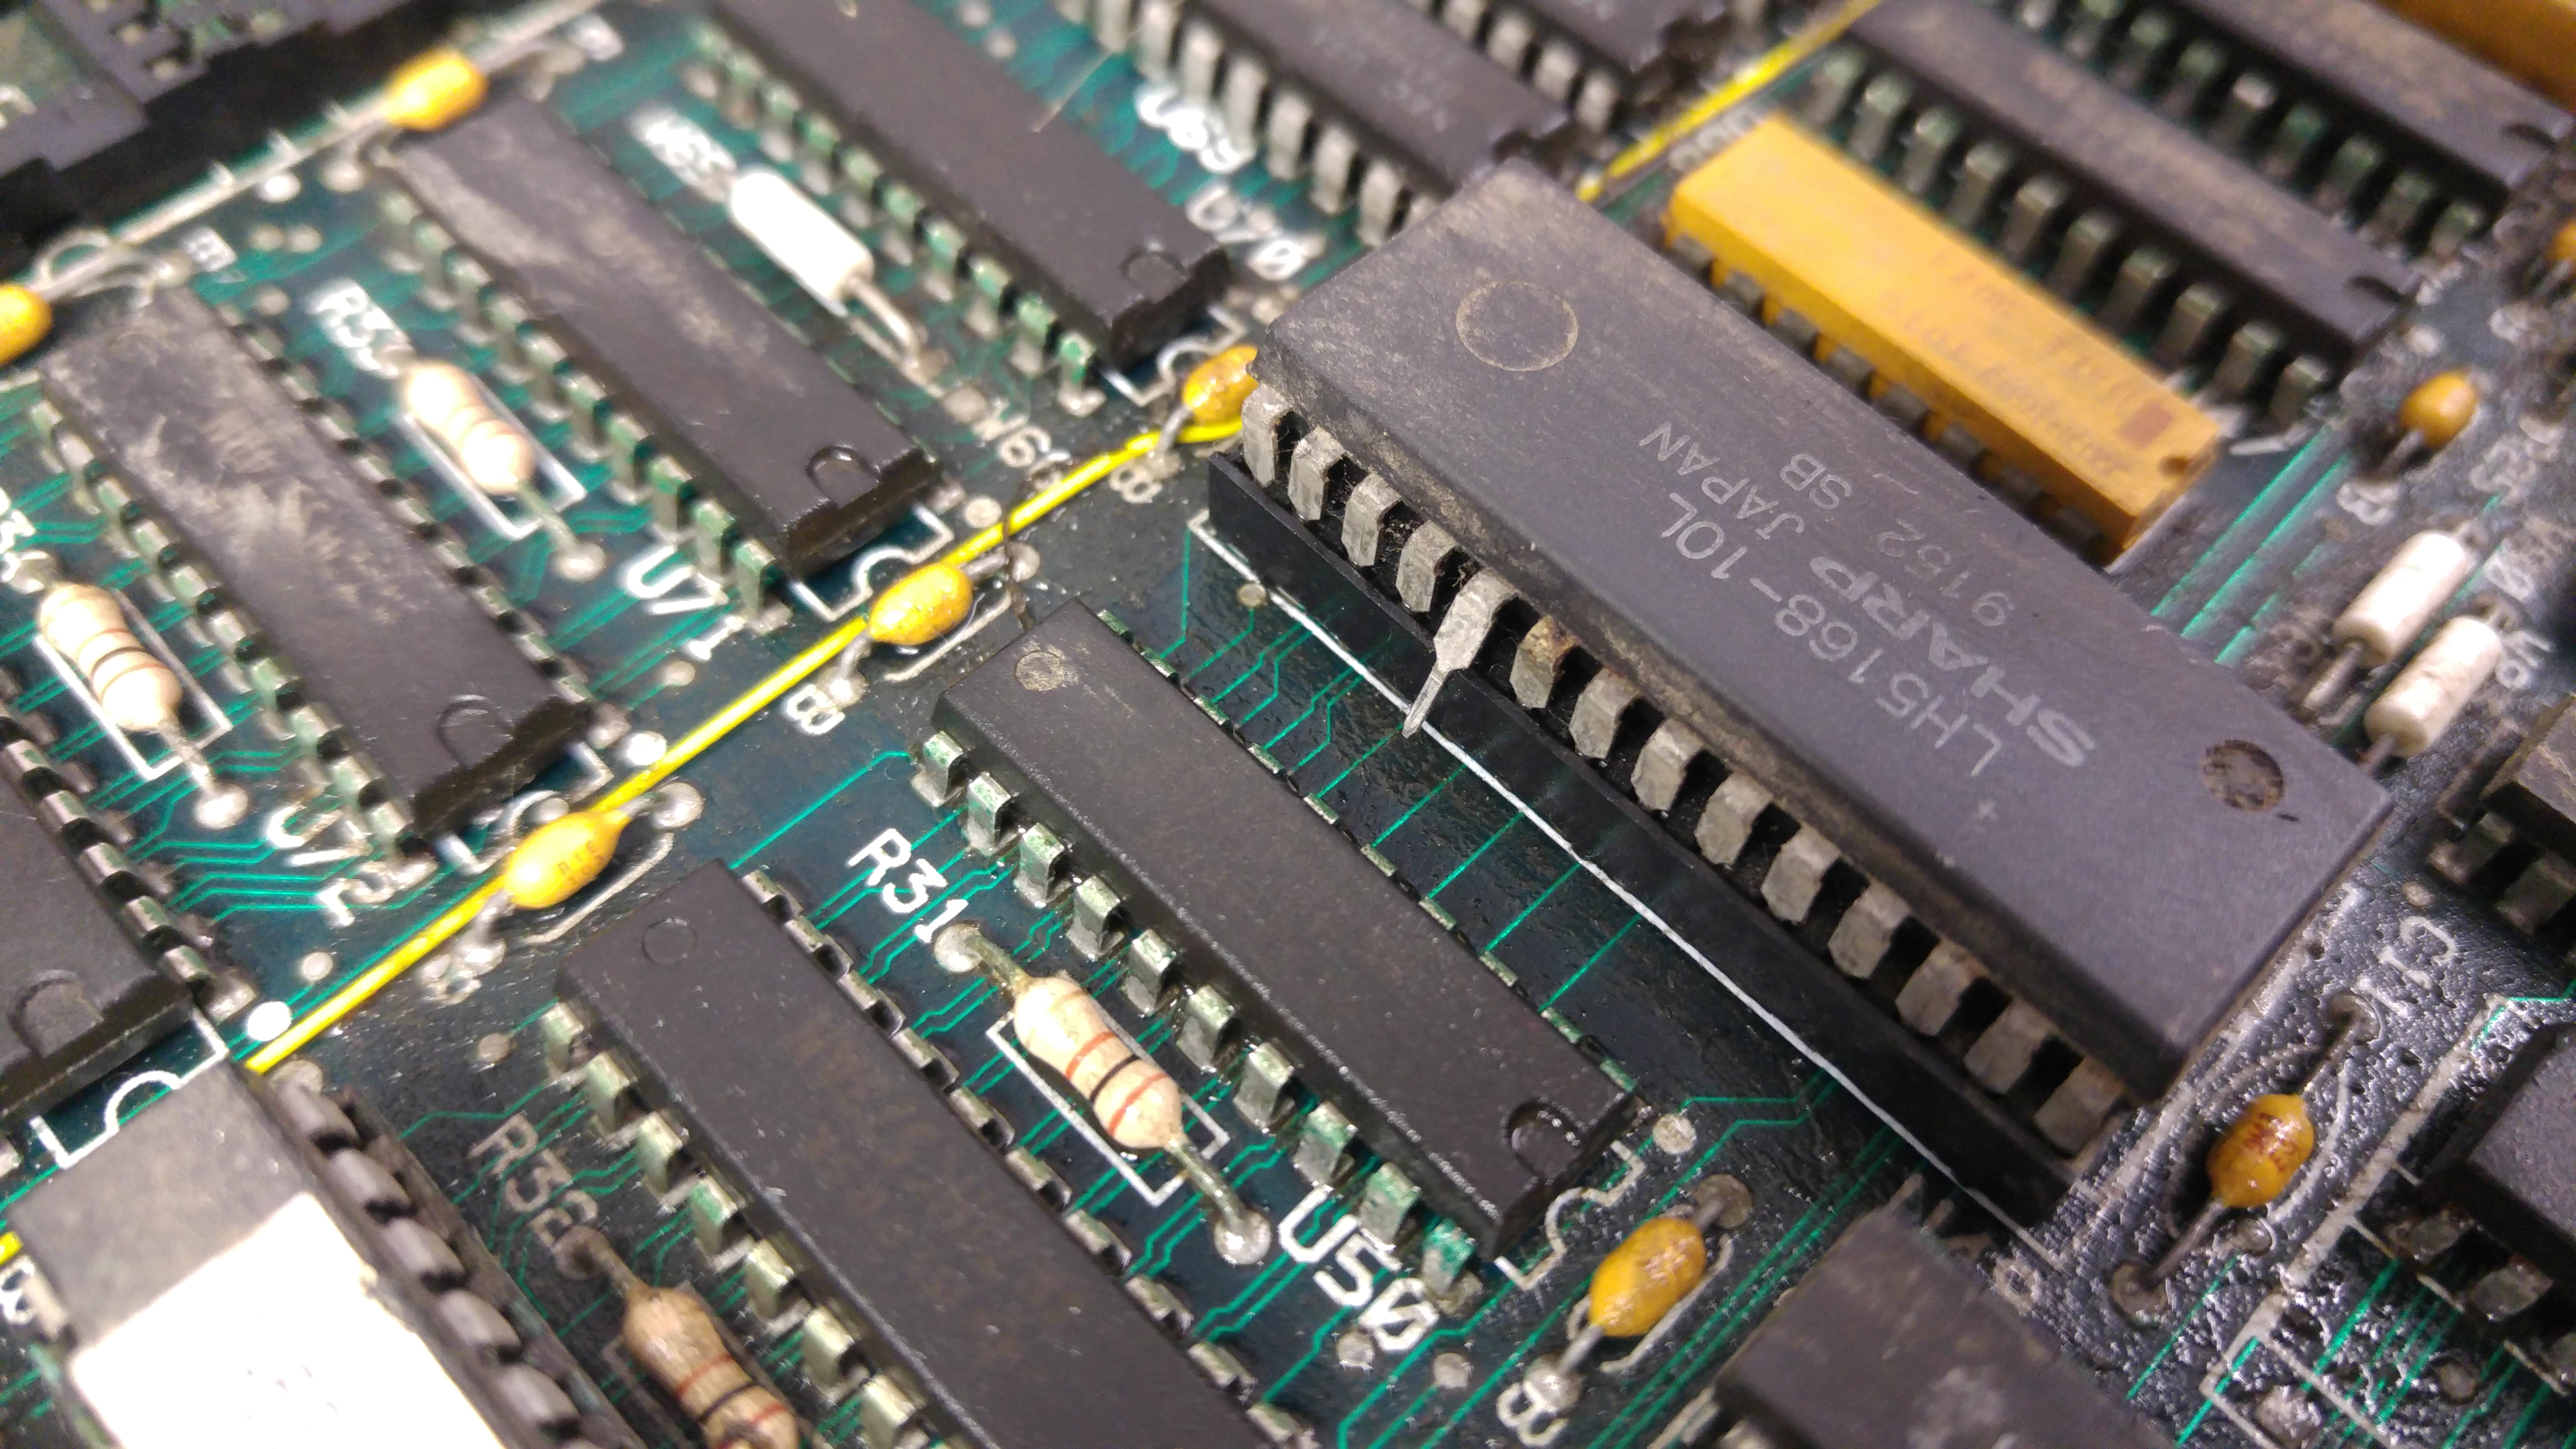
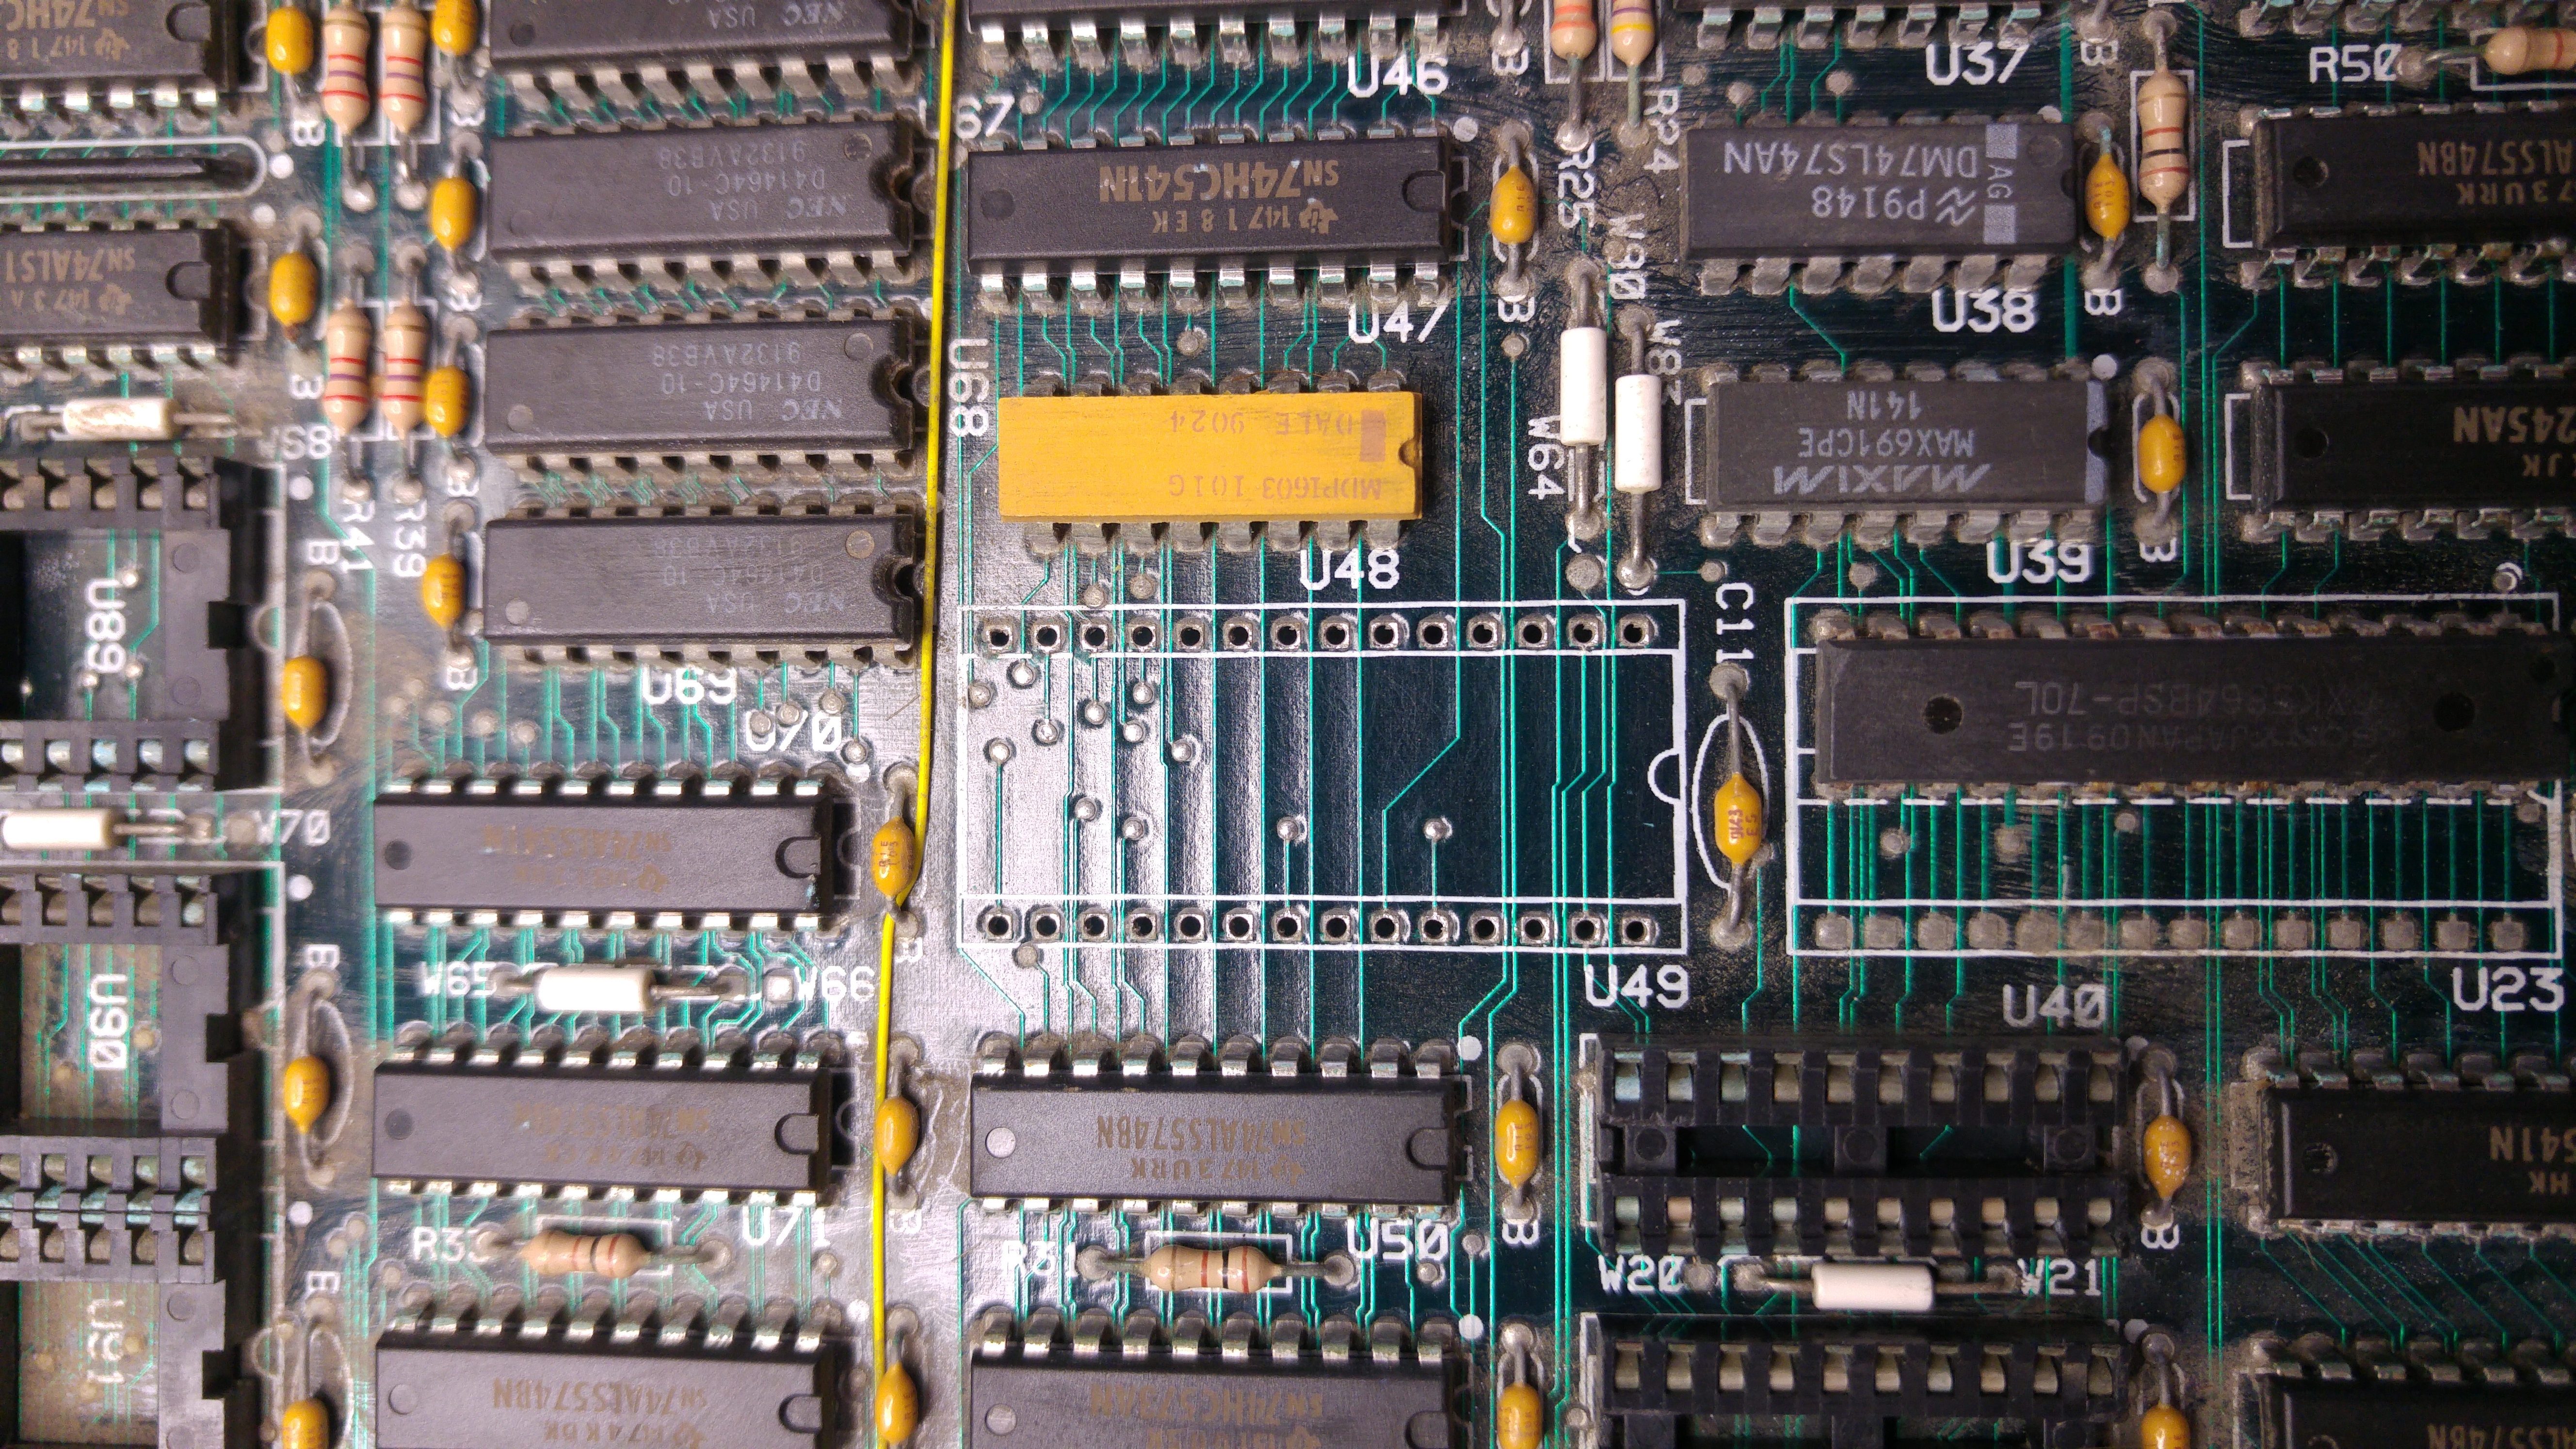
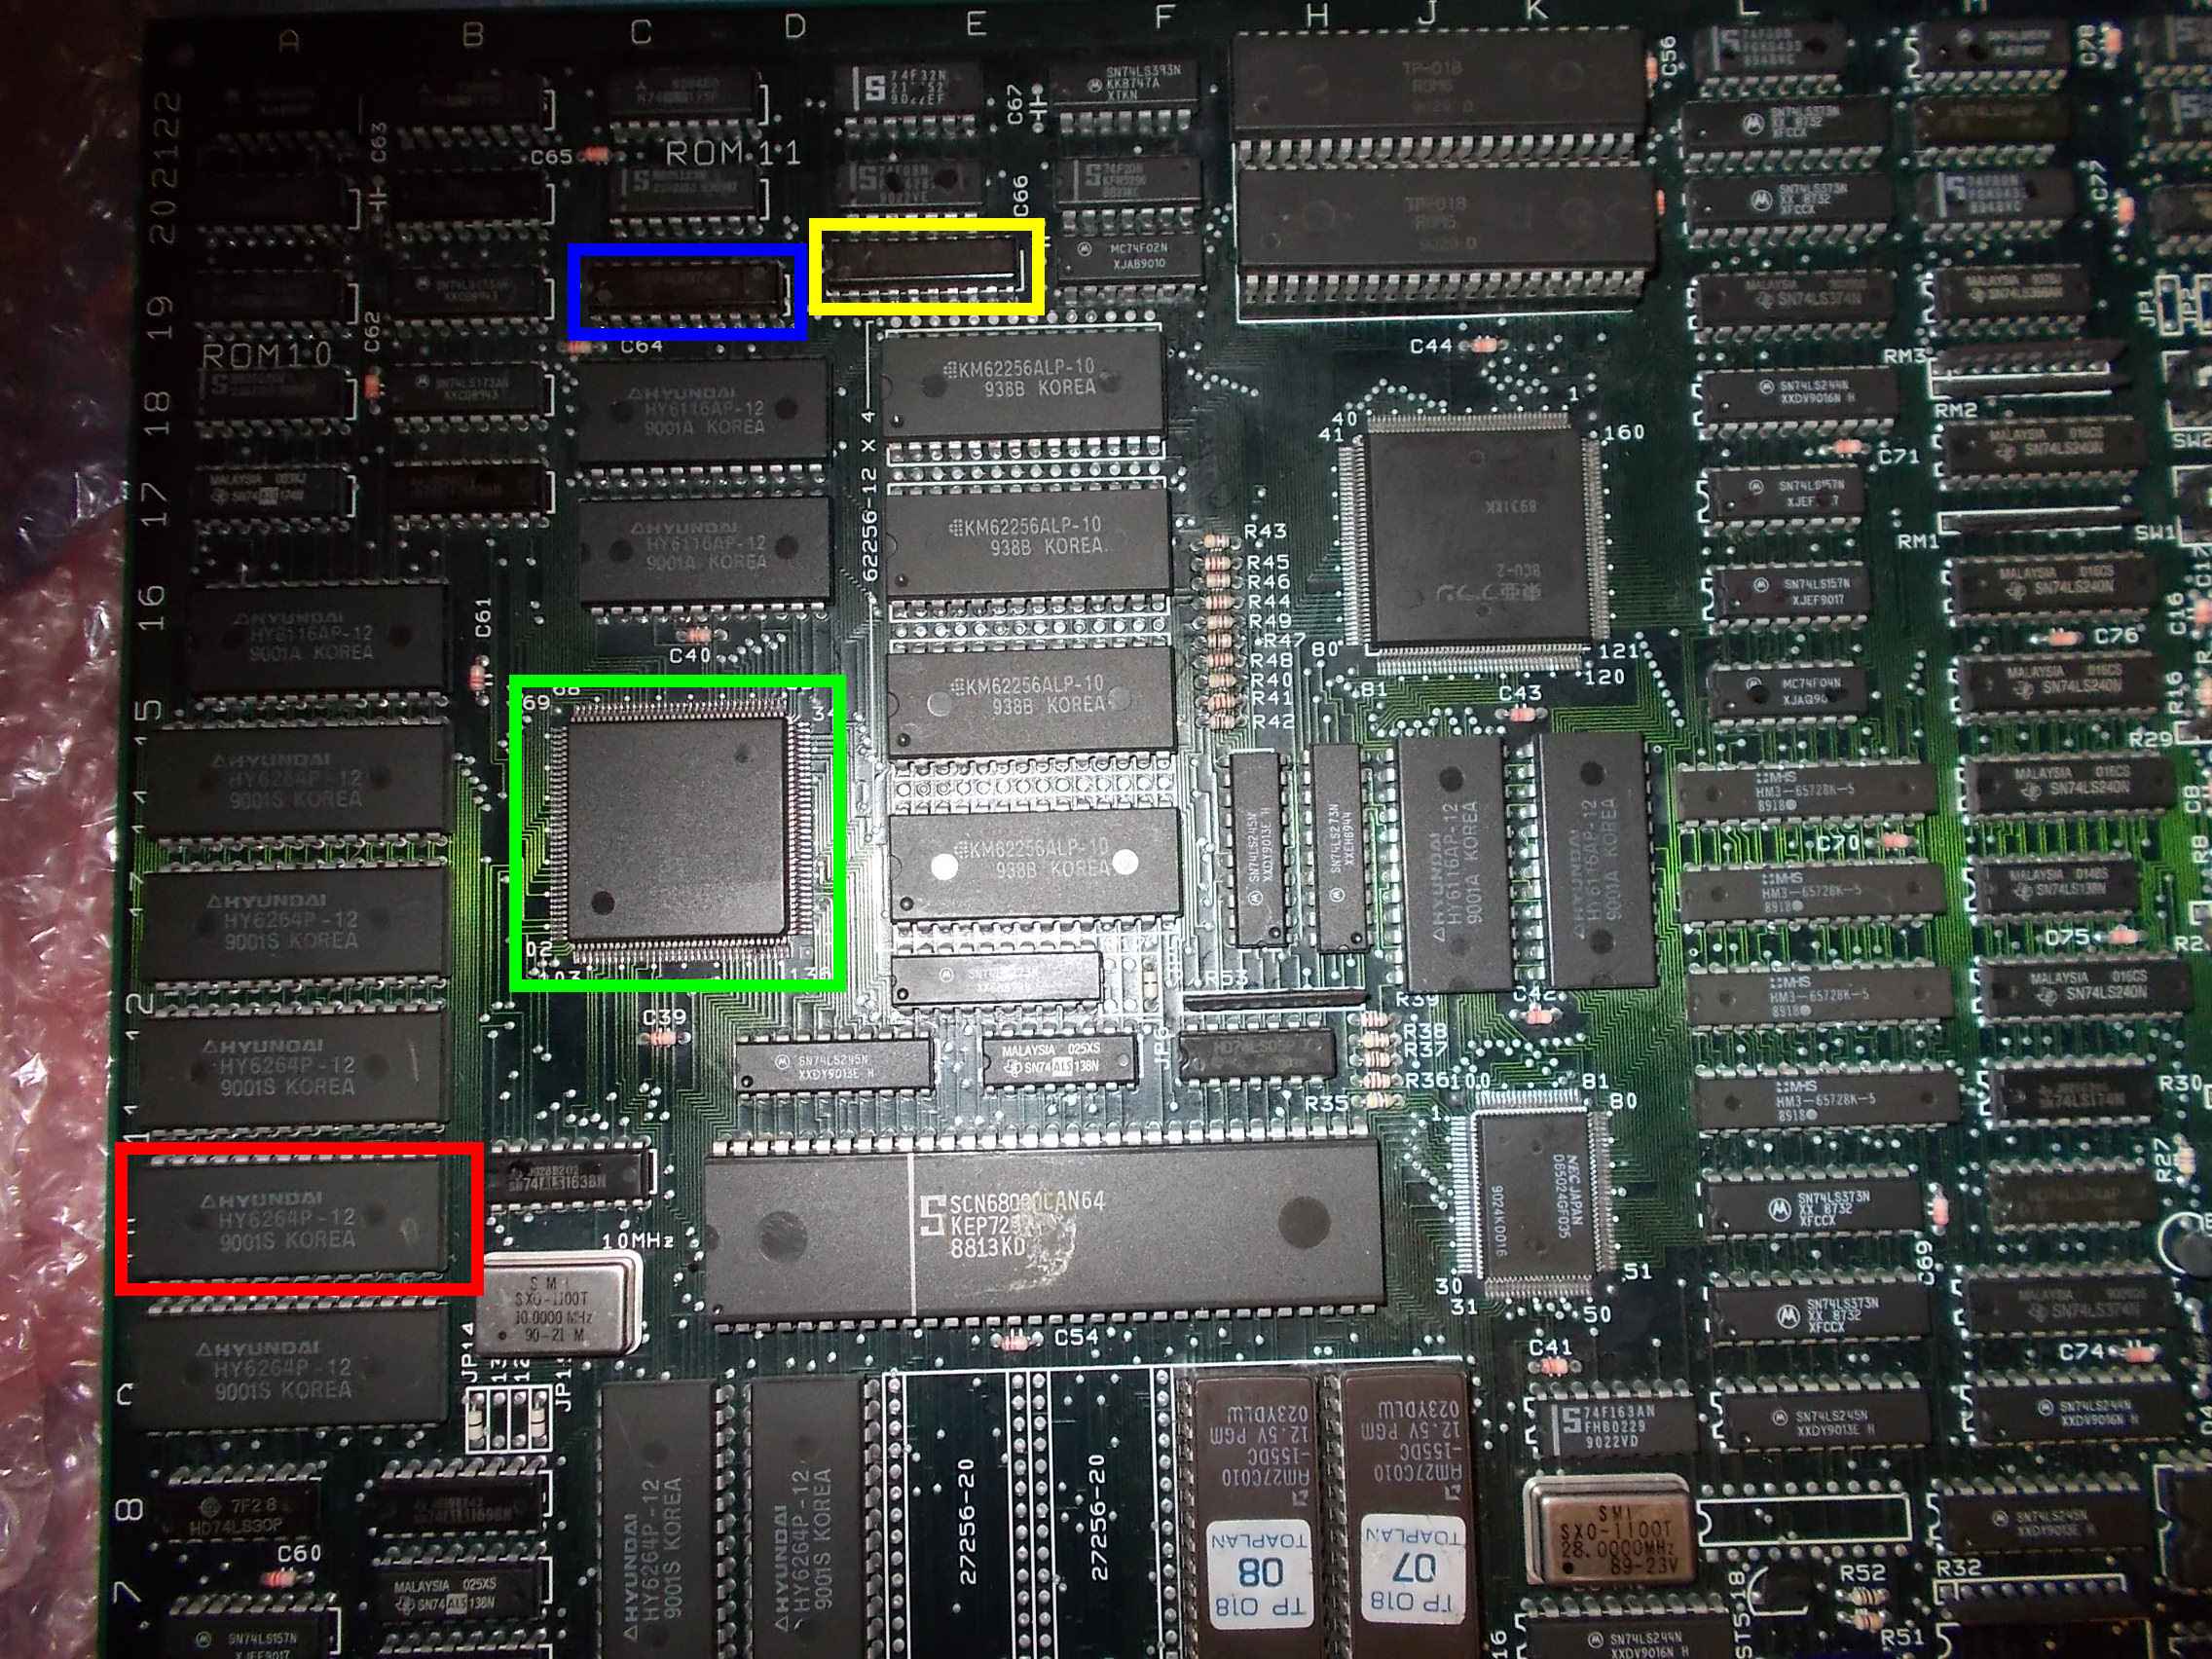
But also with ROMs in correct position some sprites were still wrong.I started to test the part of circuit involved in sprites generation and all was fine until I came across two data lines shorted on a 6264 RAM @10A :
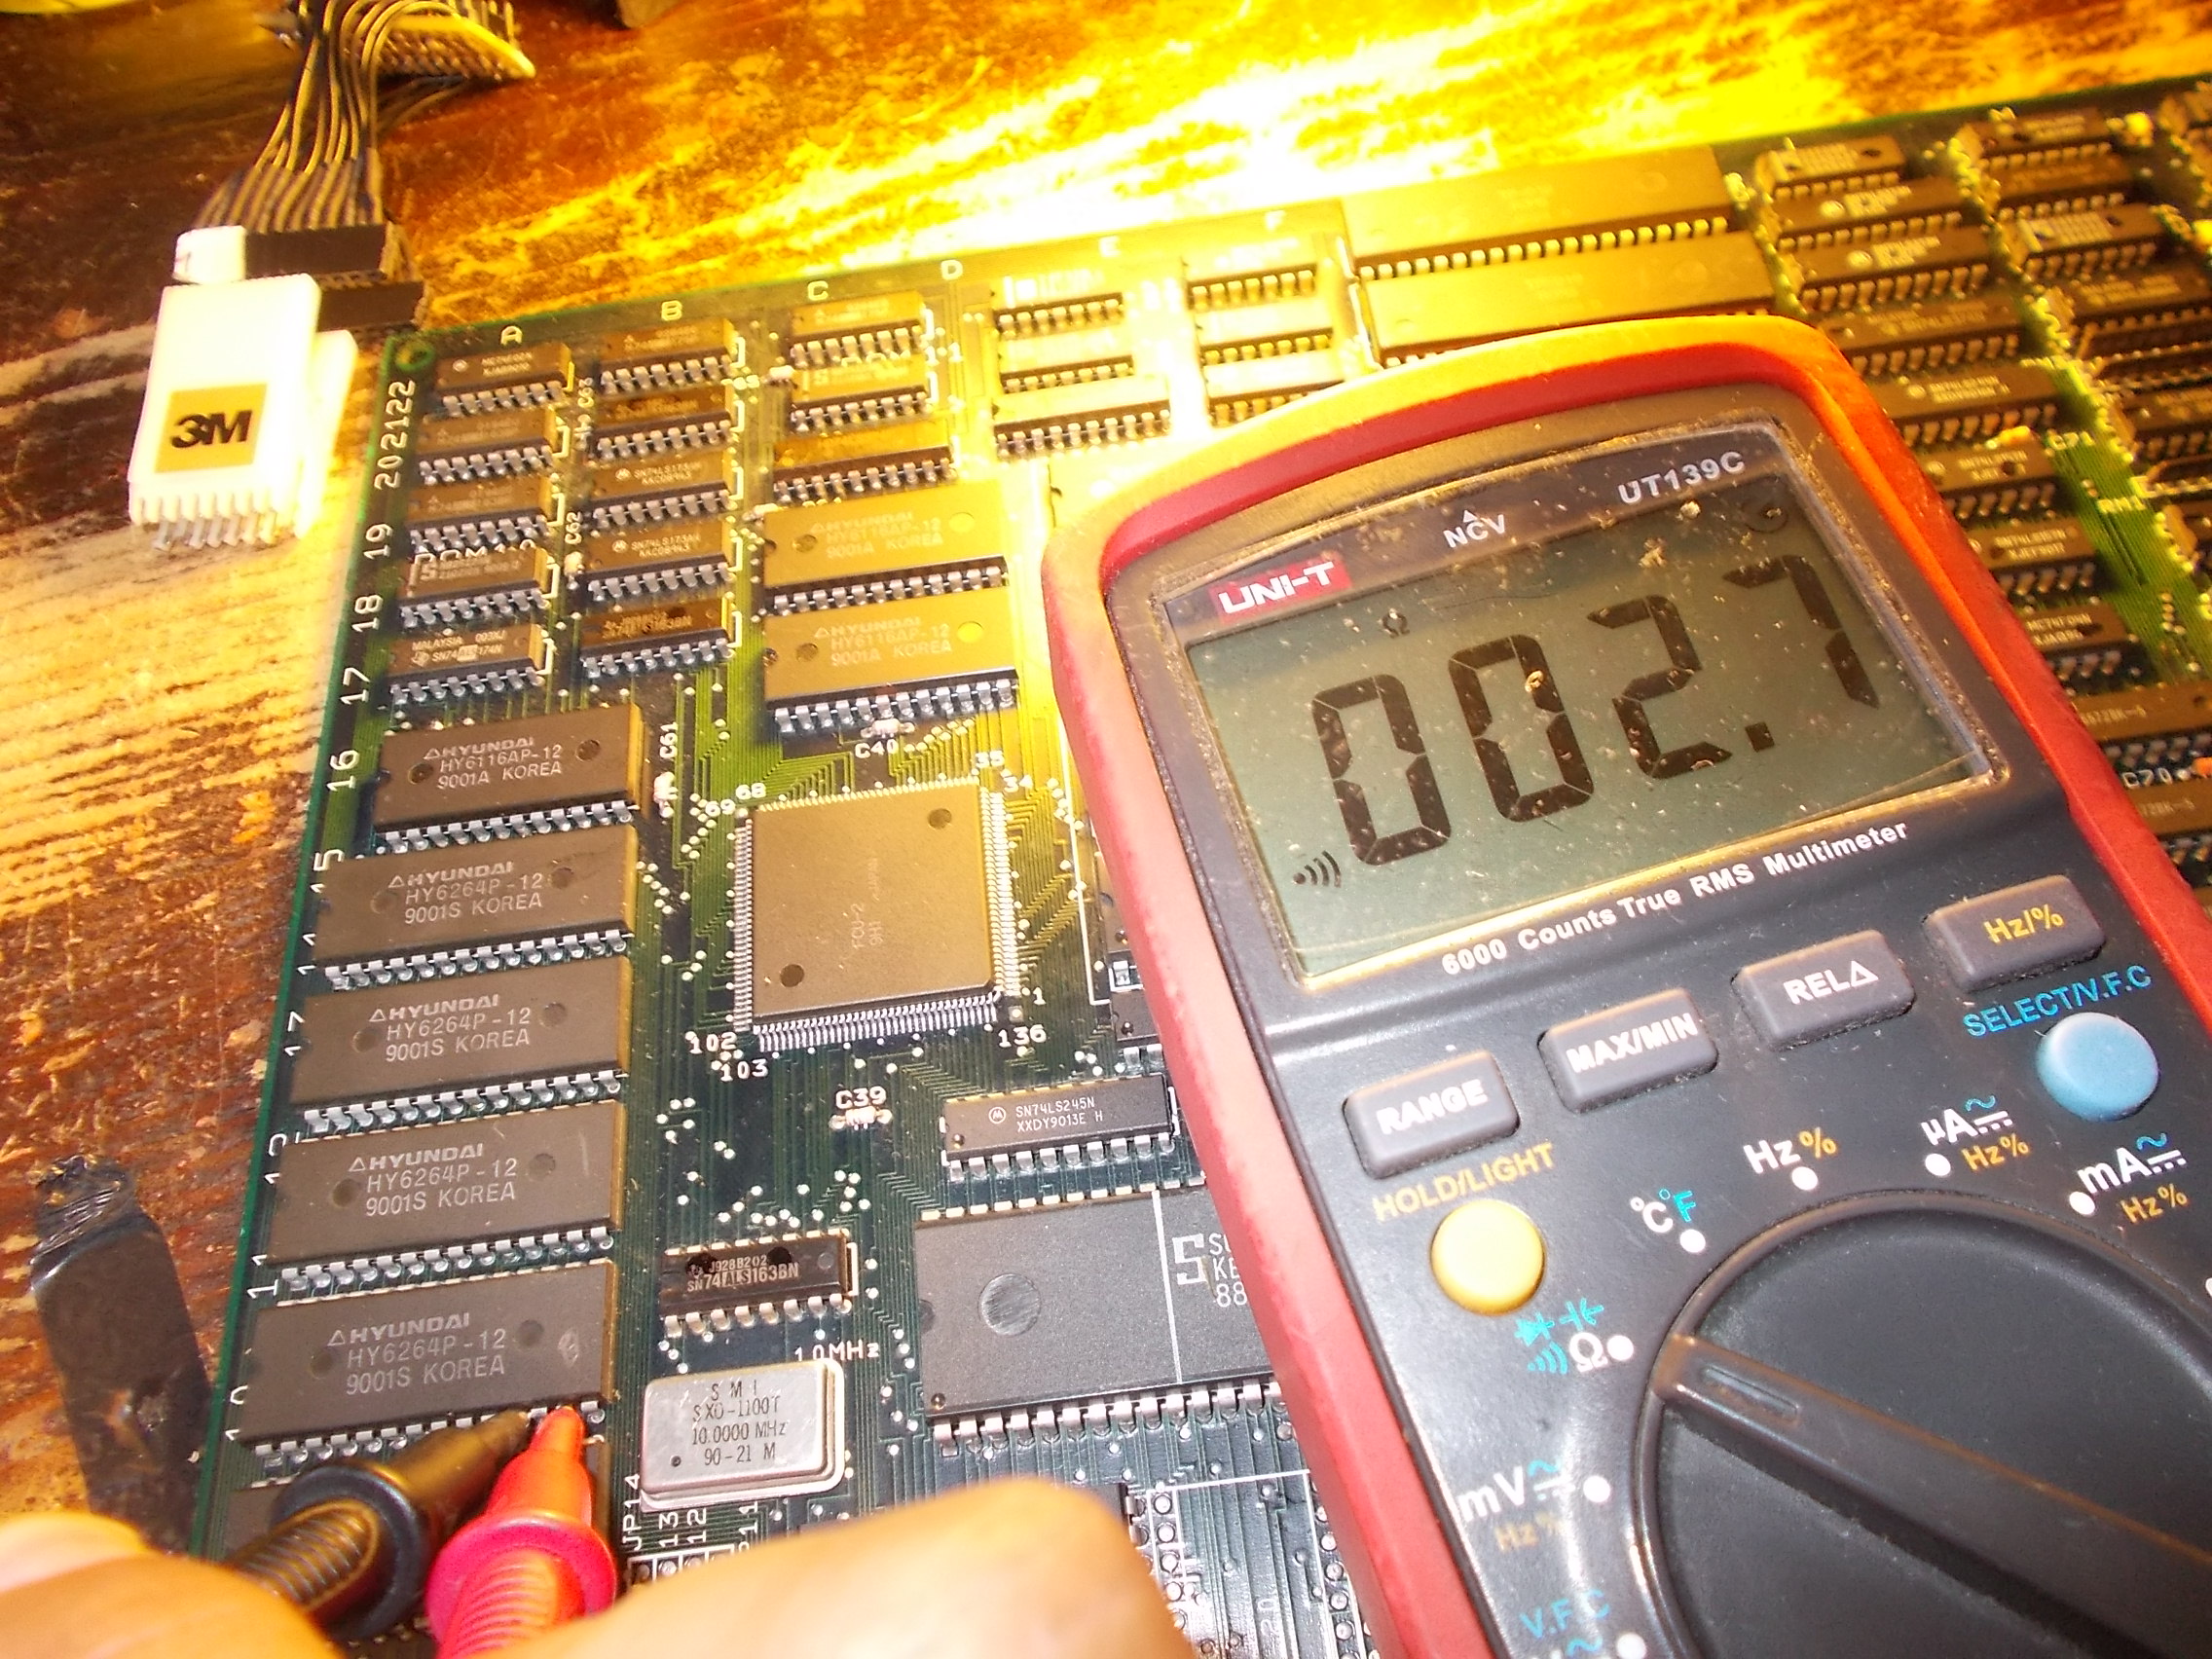
The two data lines are connected to the sprites generator custom ‘FCU-2’ and to inputs of a couple of 74LS374 so the short was present also on them.Lifting a pin of the custom didn’t clear the short.
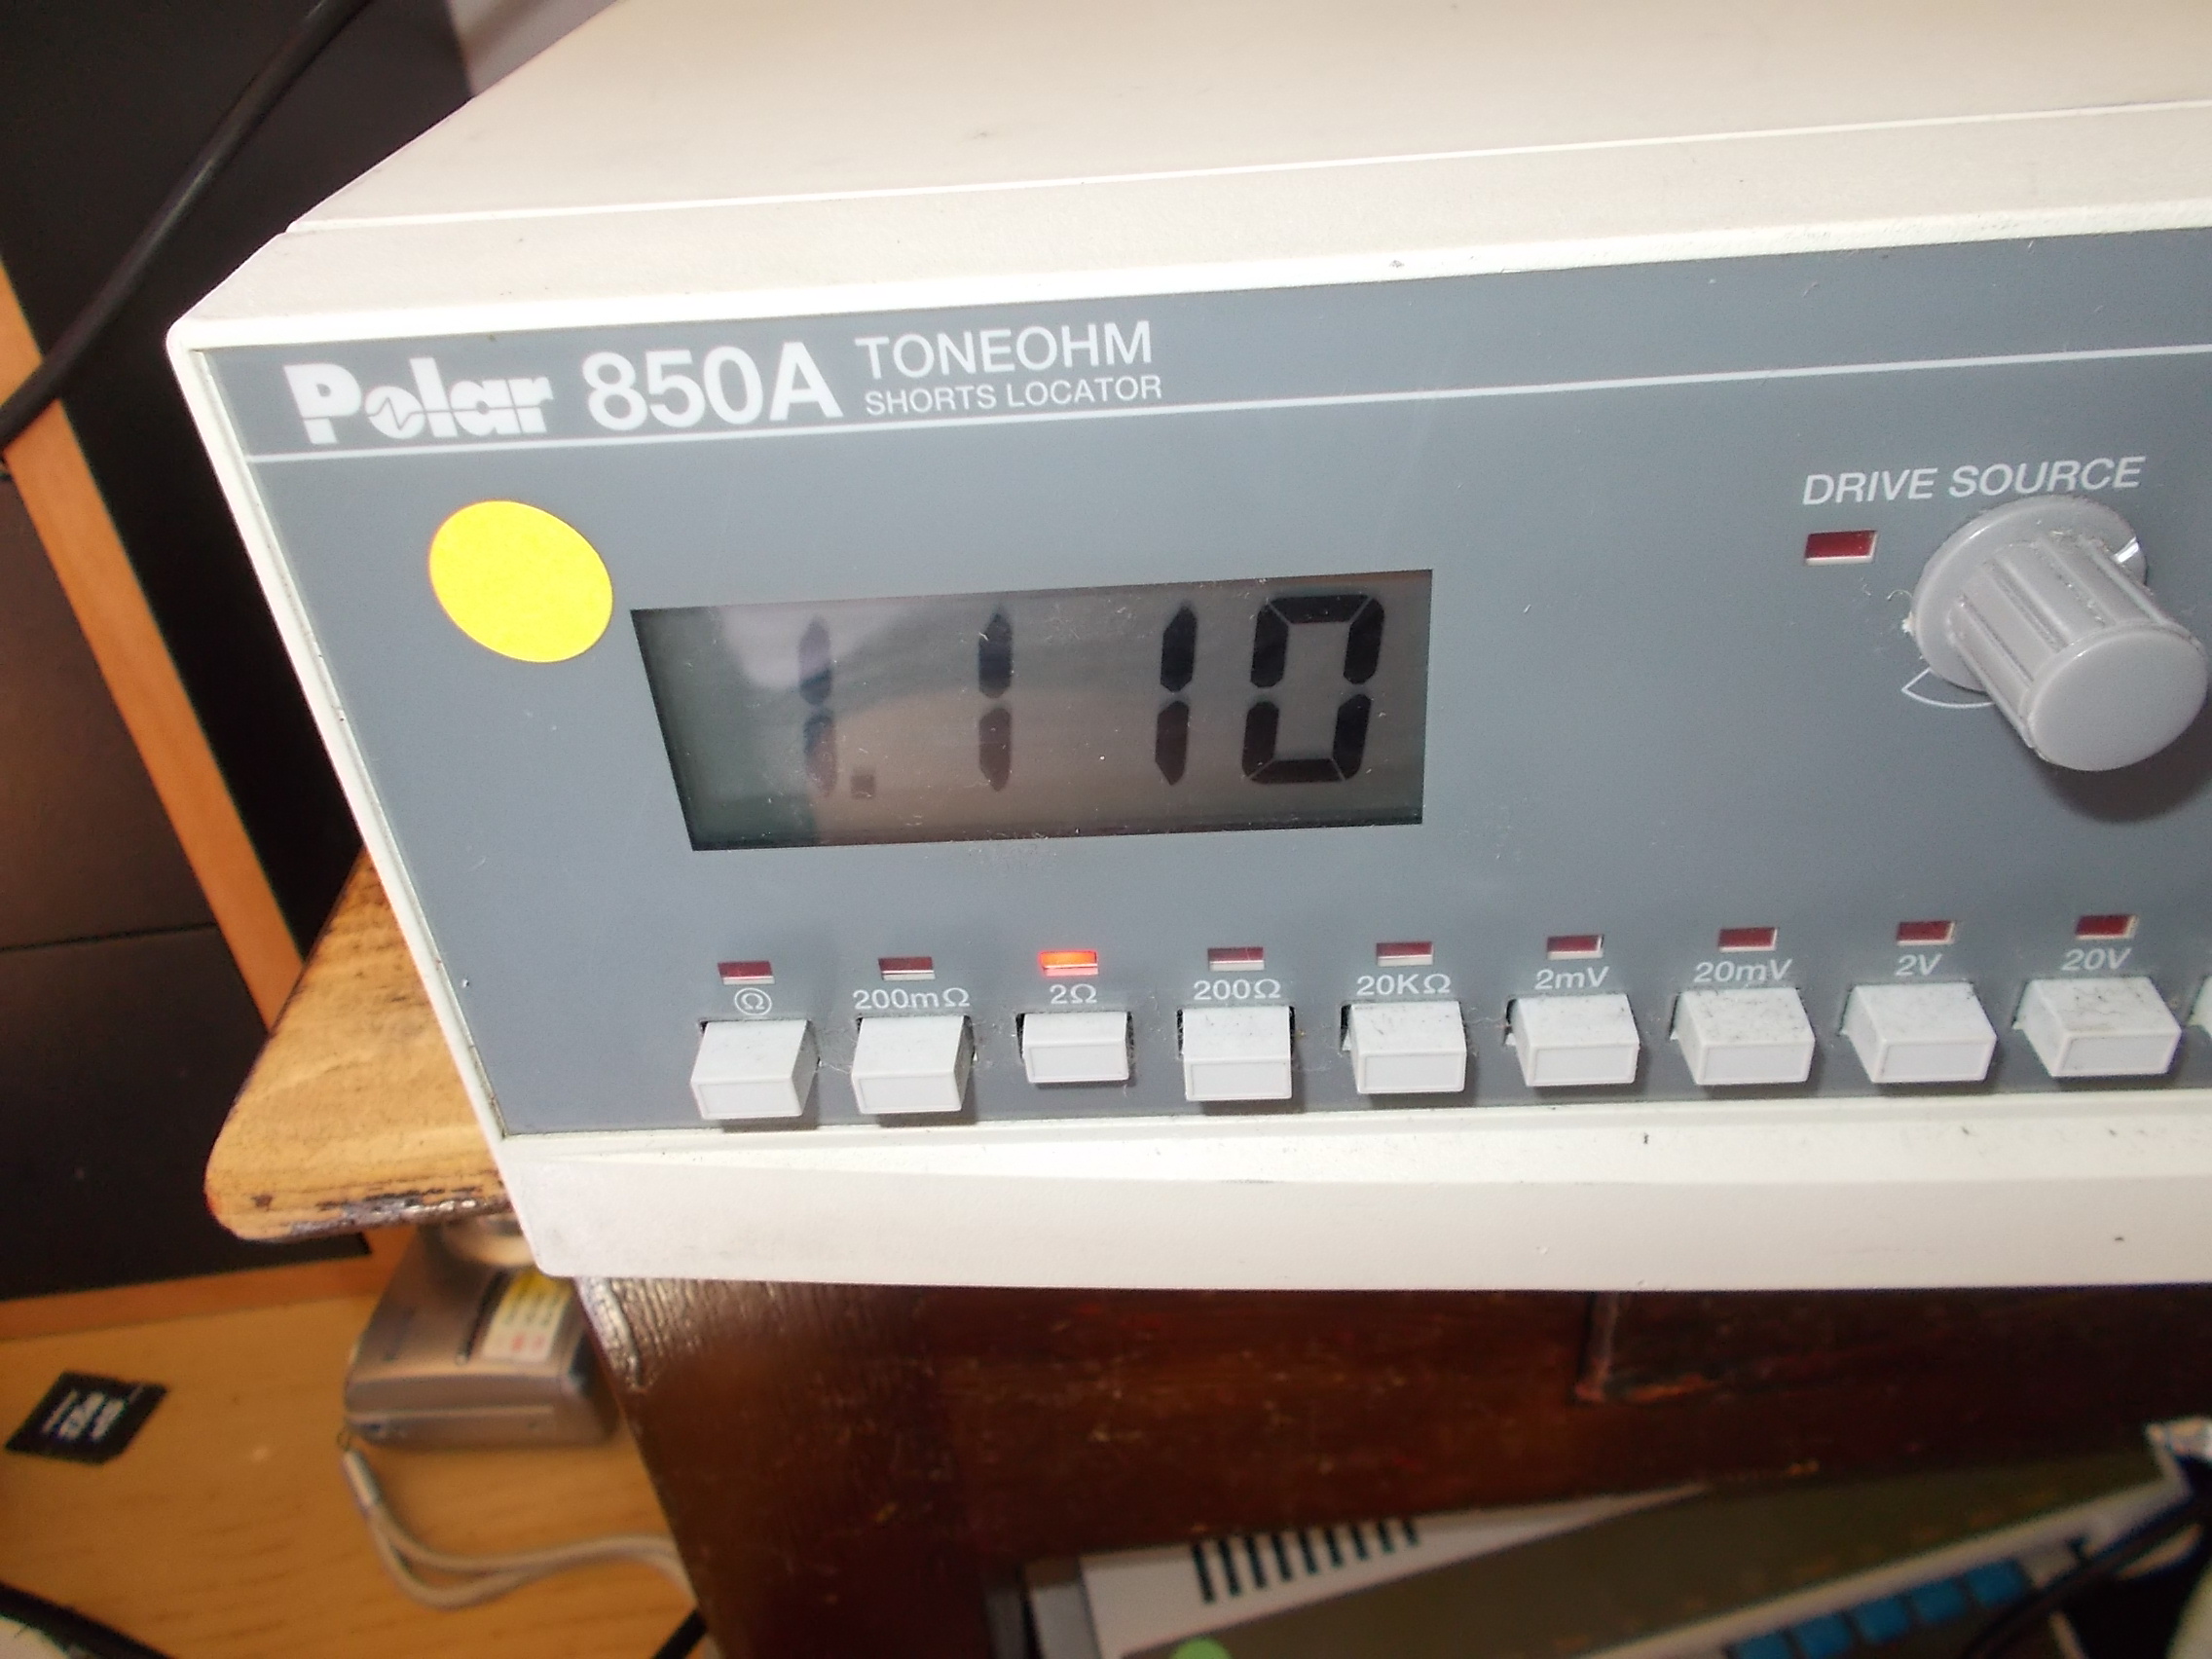
Obviously due the not high resolution of a simple multimeter I could read always a dead short on each of this component.So I decided to use my Polar Toneohm 850A short locator (essentially an audible milliohmmeter) in order to locate the minimum resistance point.
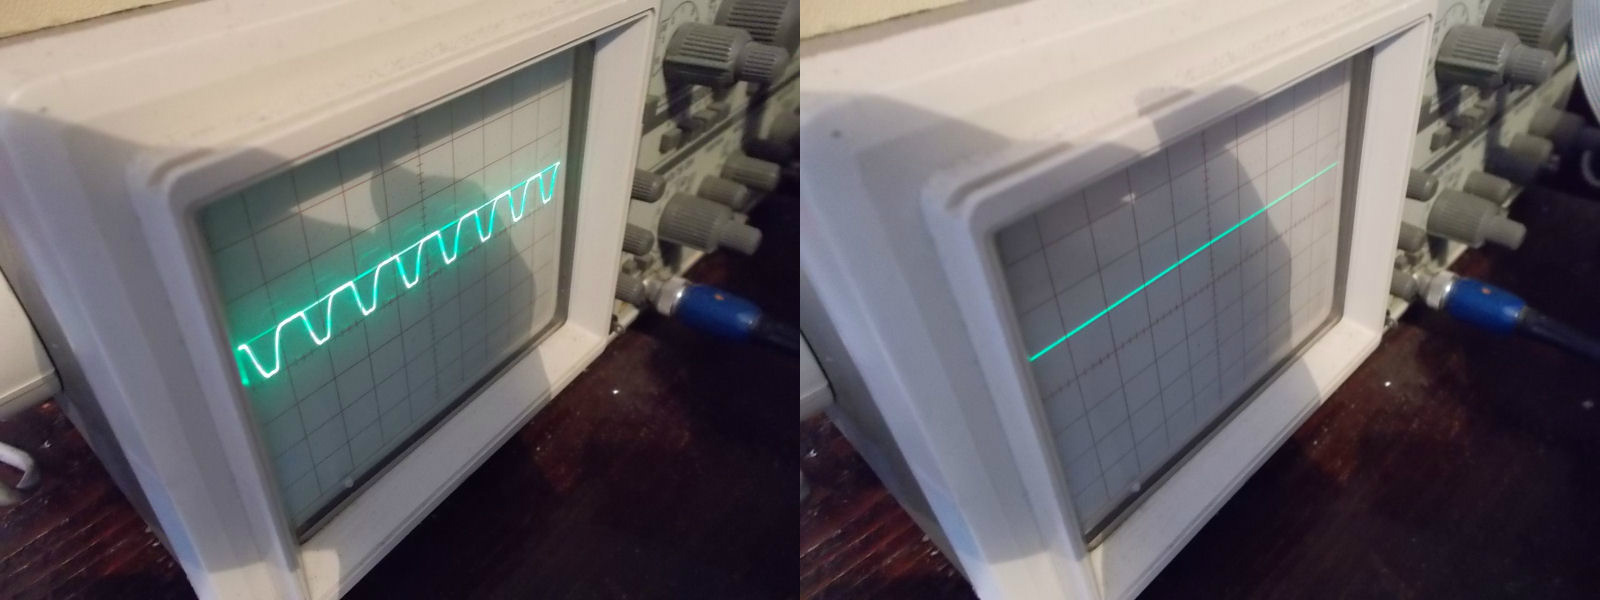
1,110 Ohm measured on the two shorted data lines (pin 12 and 13) of the 6264 RAM @10A:
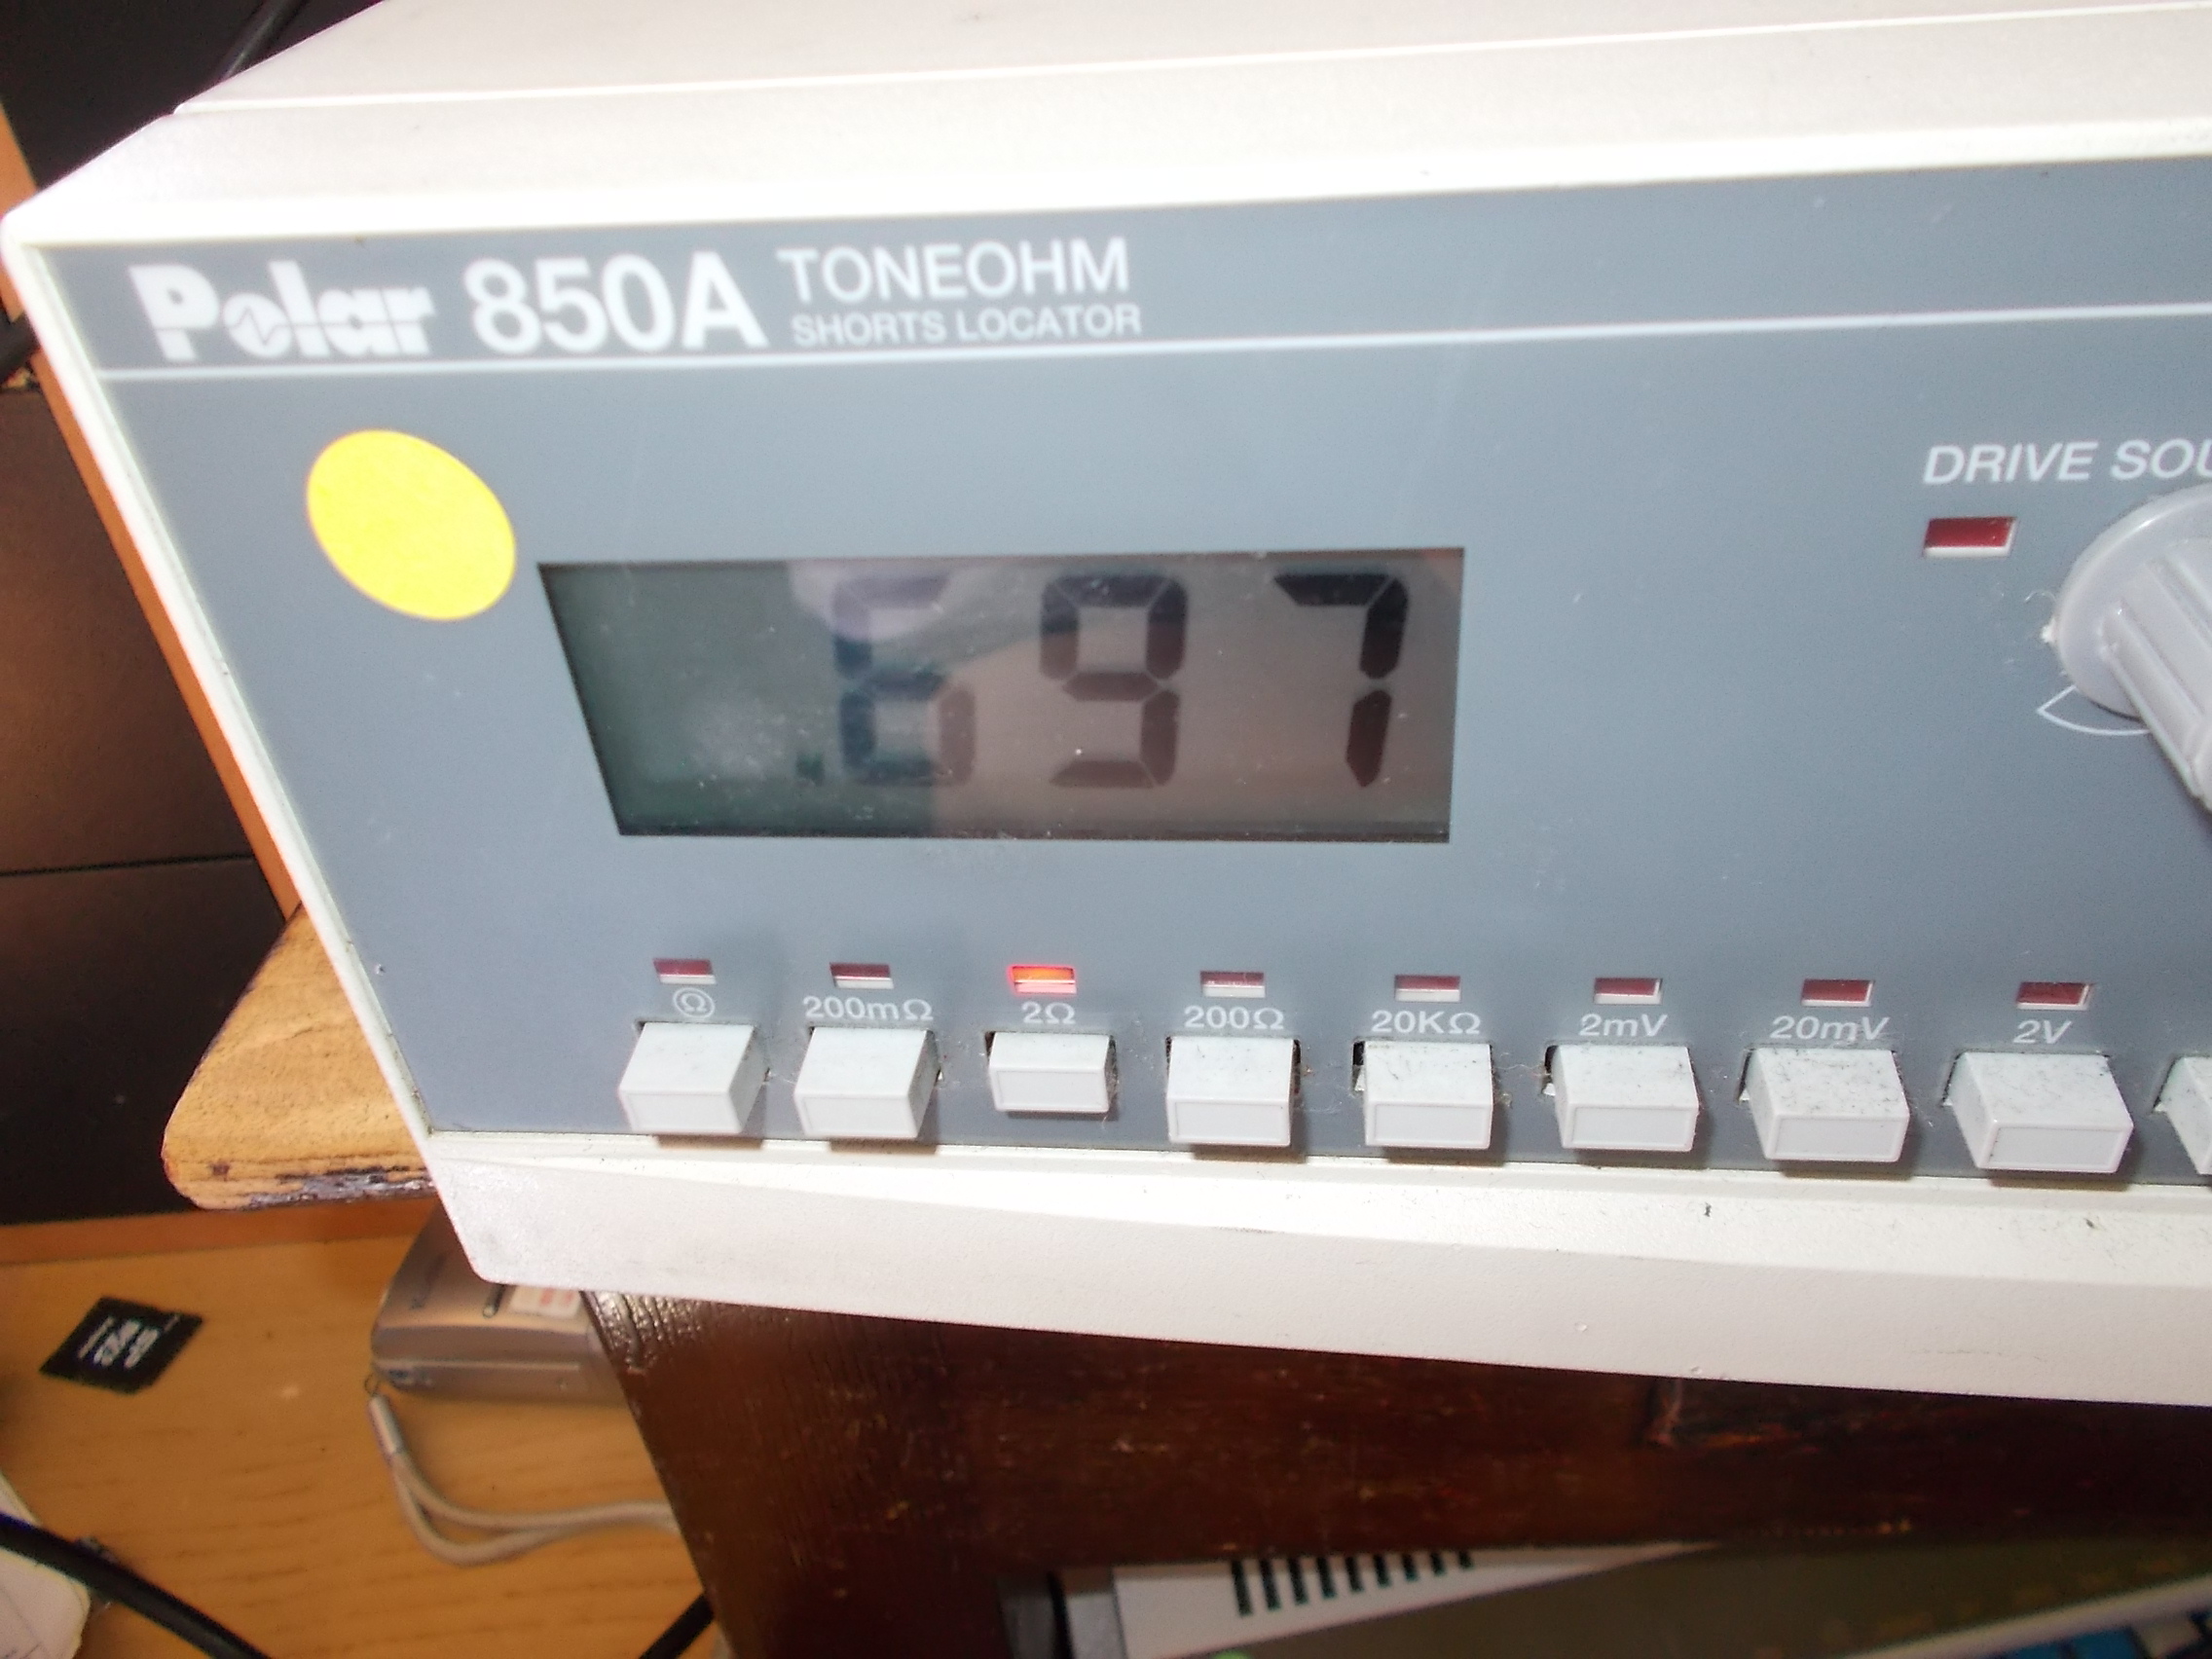
Around 700 mOhm measured on the two pins of the custom ASIC ‘FCU-2’:
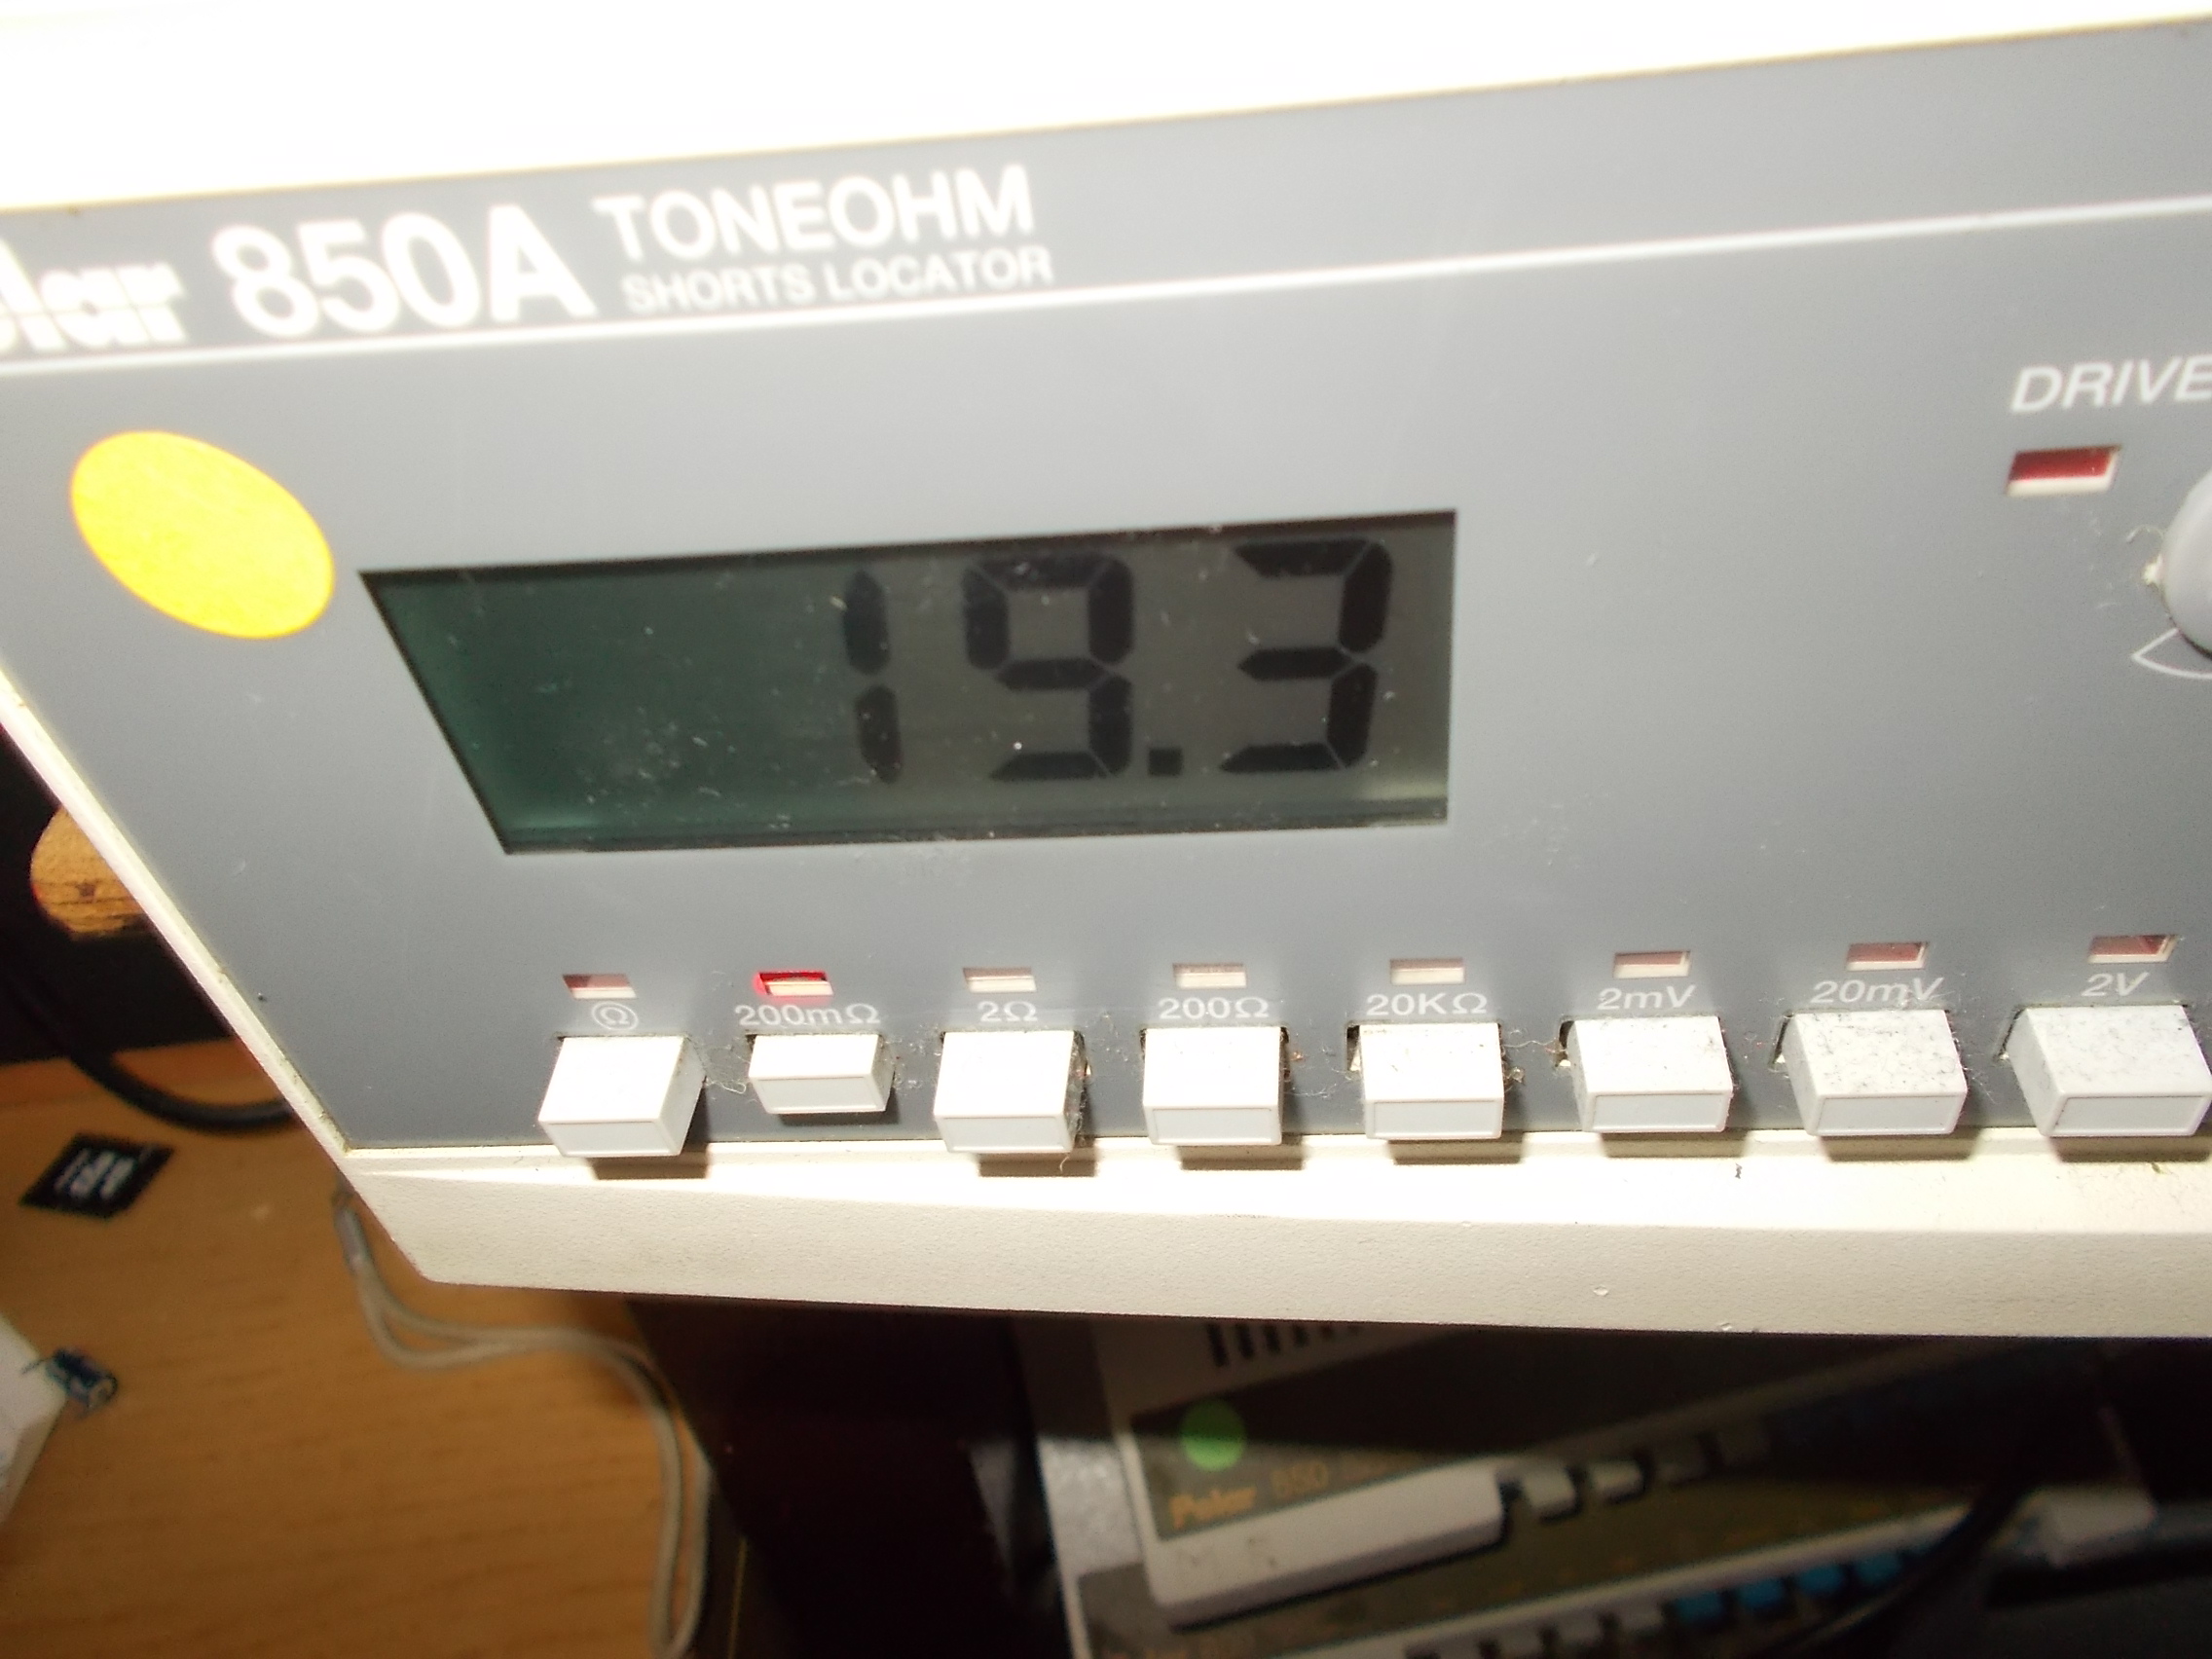
19.3 mOhm on the 74LS374 @19E
17.2 mOhms on the 74SL374 @19C and beep was squeeling at higher frequency :

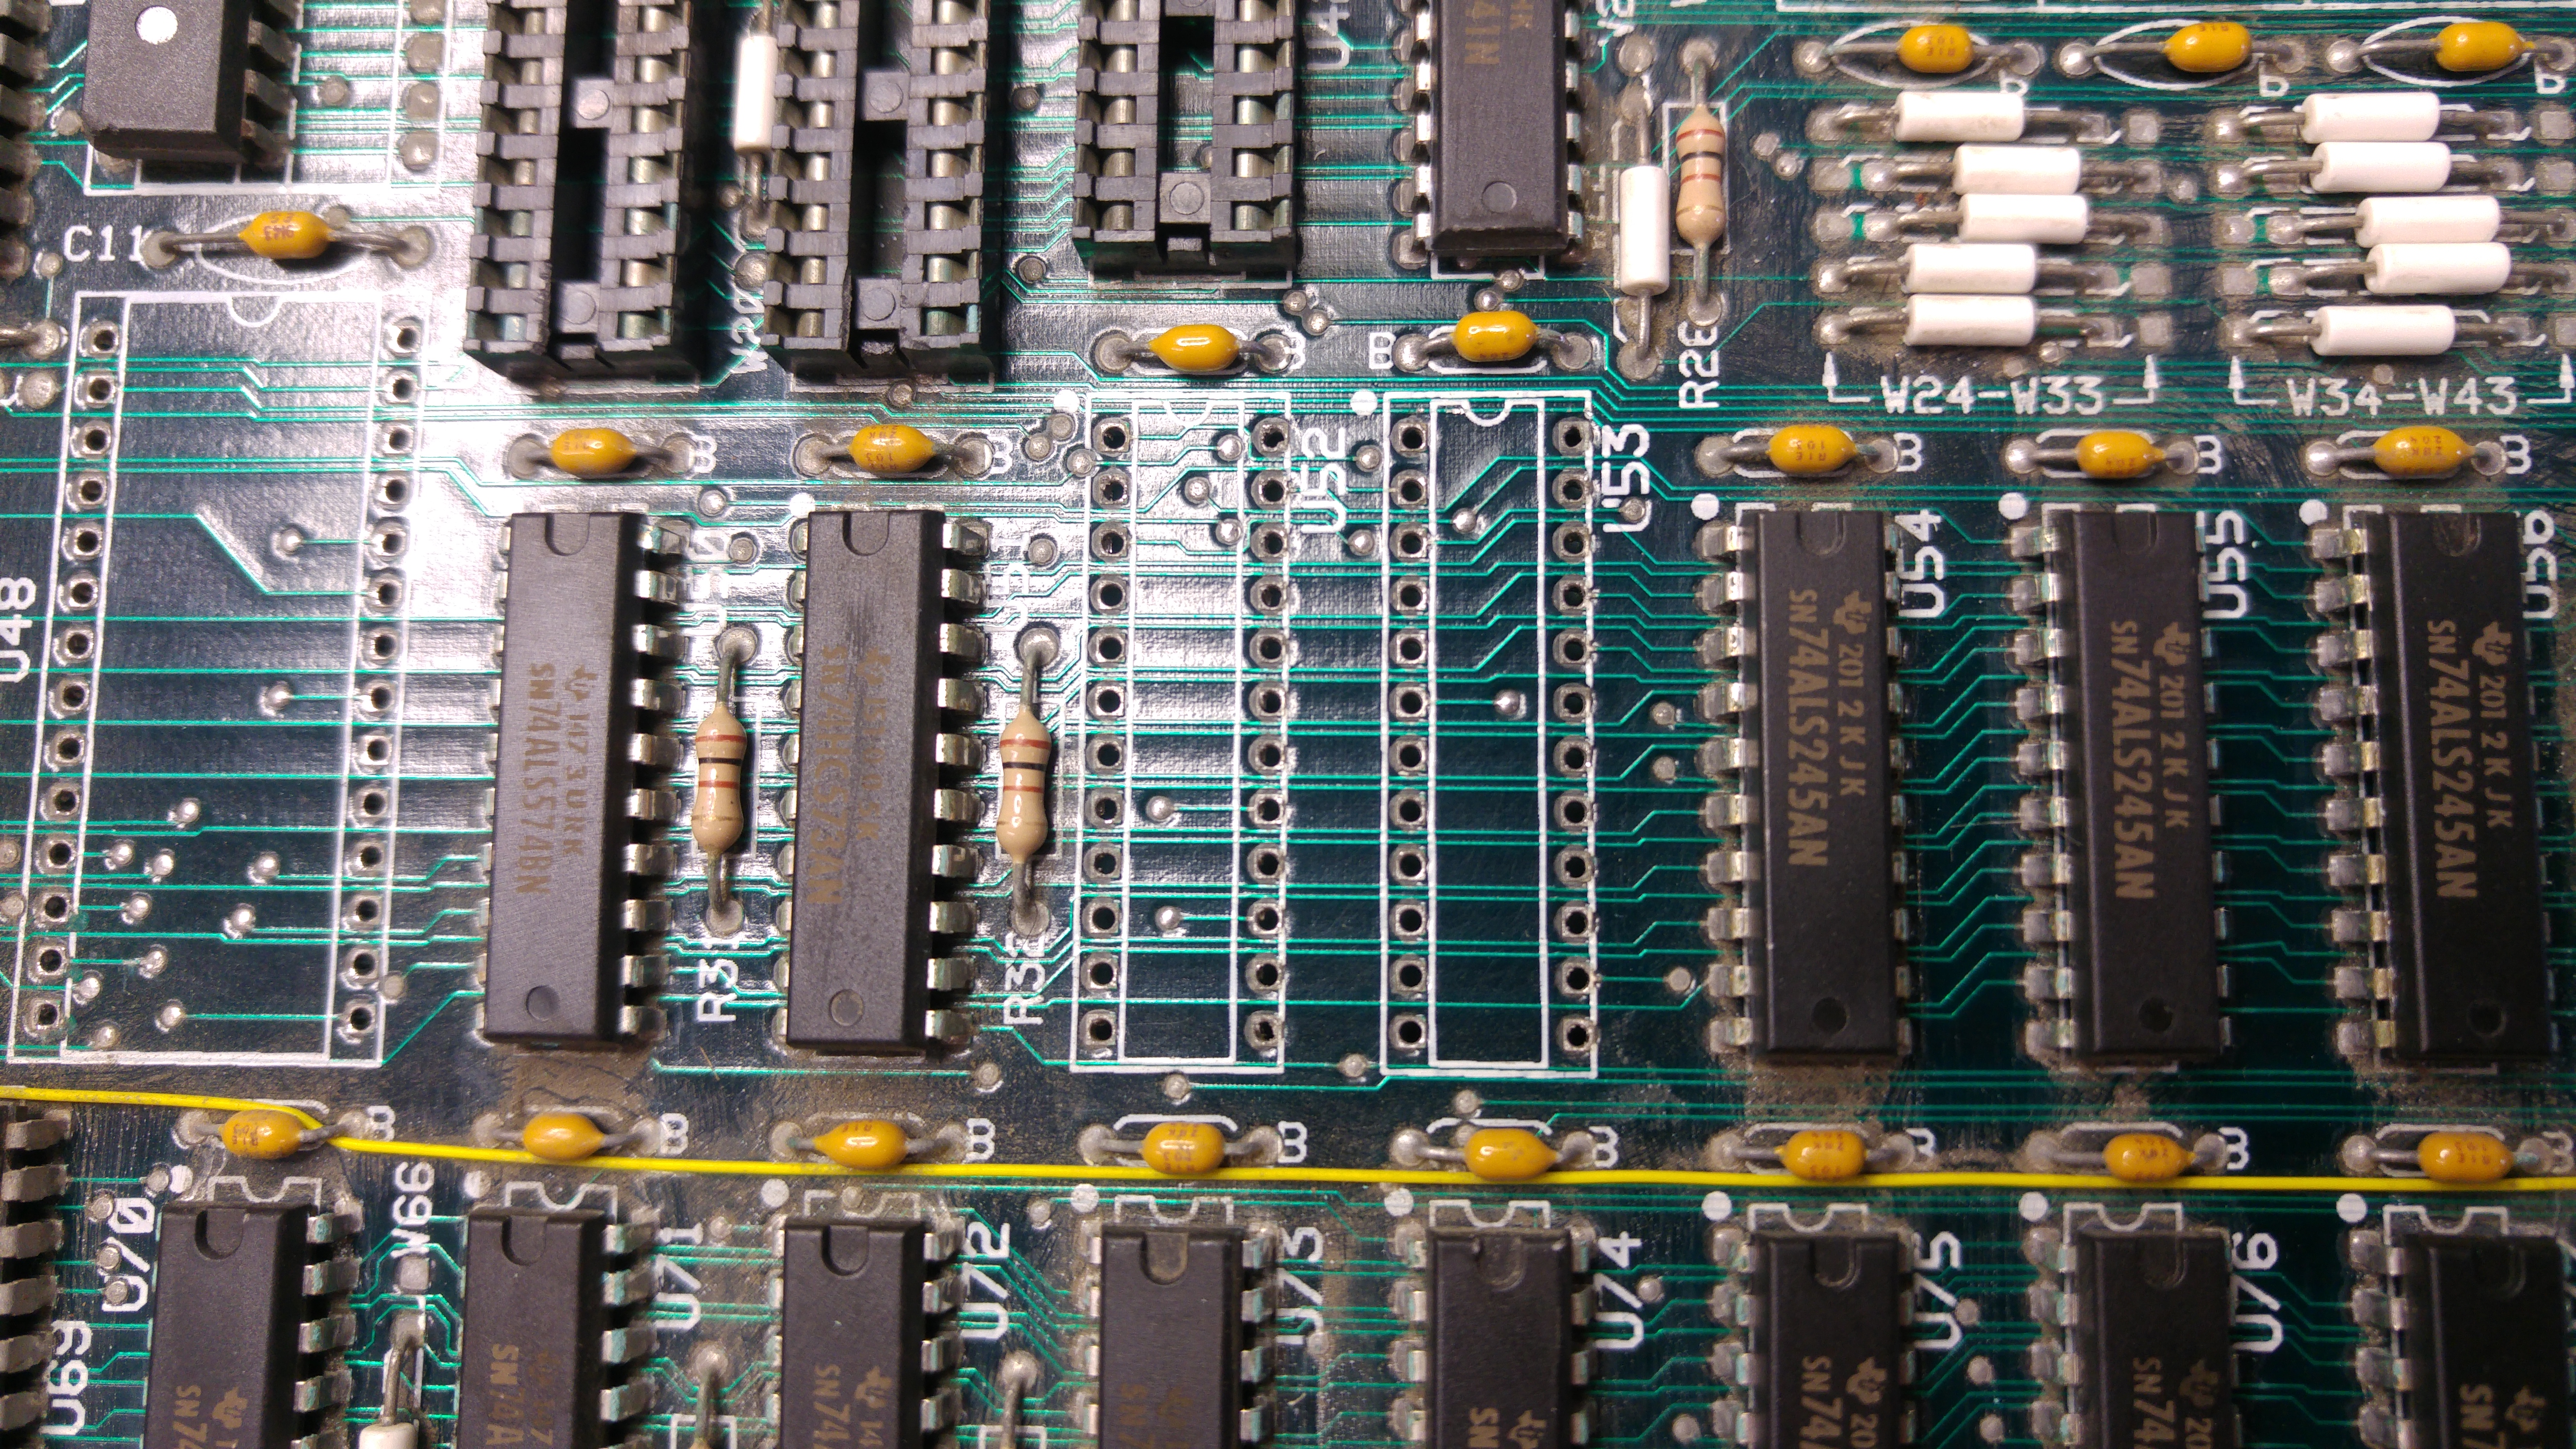
So I was approaching to the short, it was in the area of the two 74LS374.On part side I didn’t notice anything abnormal so I went to inspect the solder side and after some time I find the culprit:
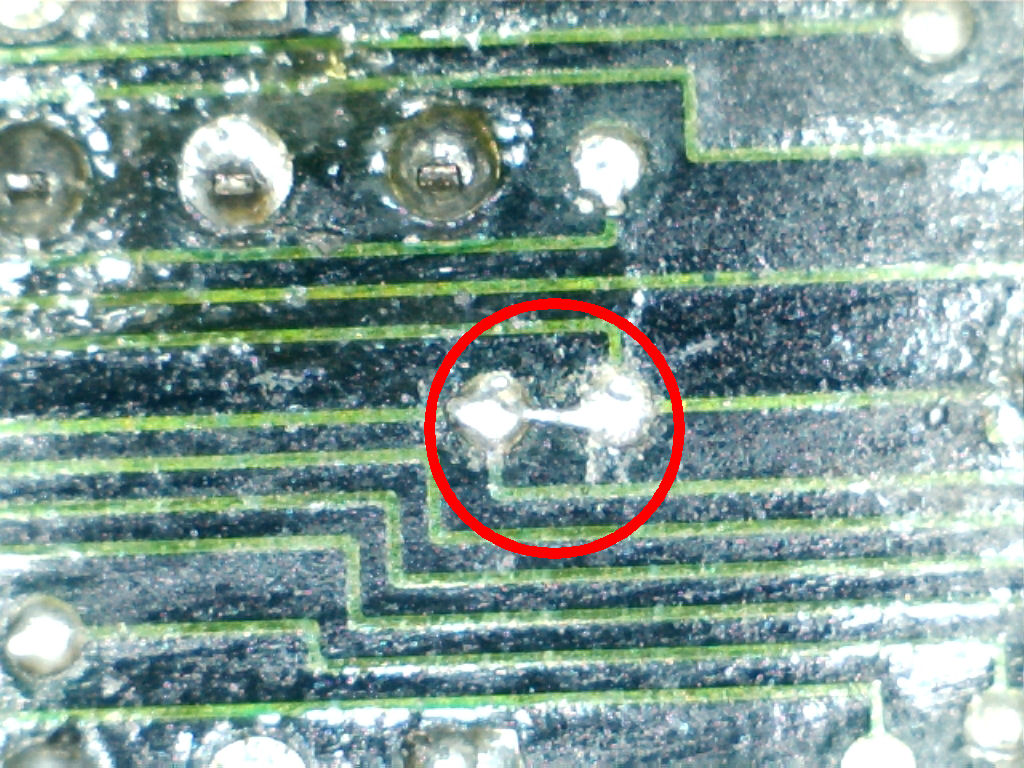
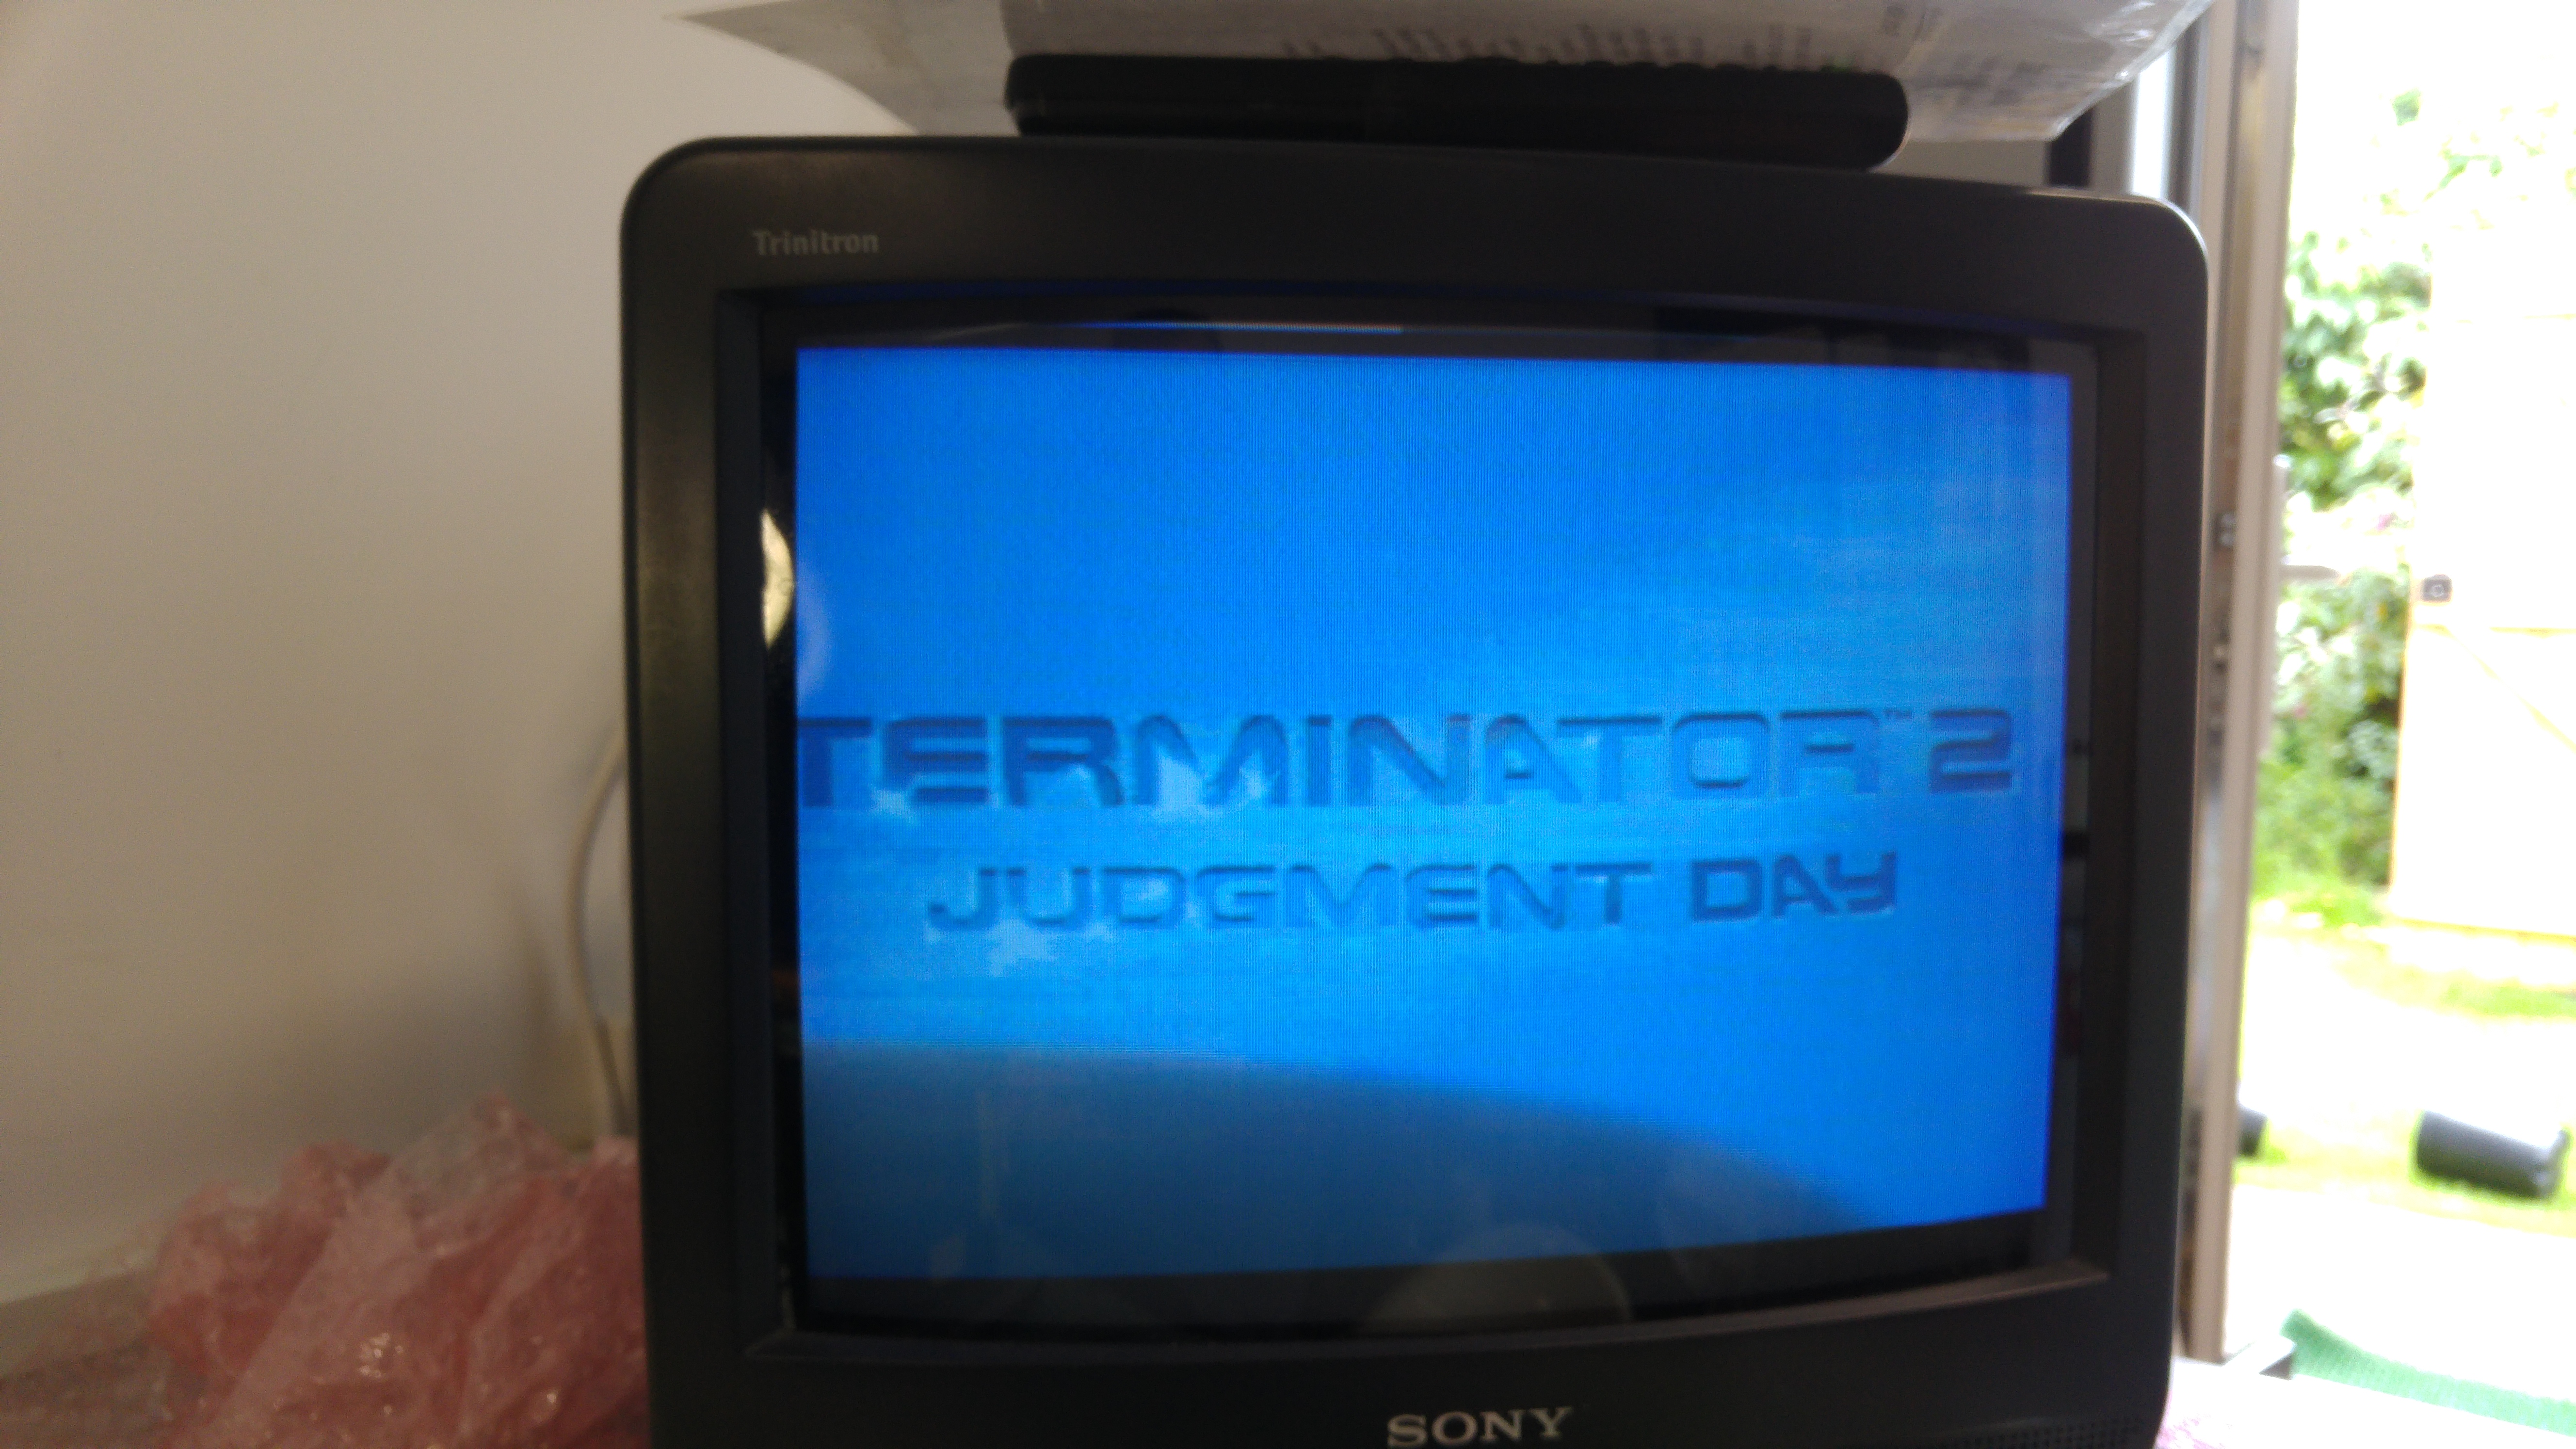
Two pads connected to inputs of the two 74LS374 were bridged, a ‘kind’ gift of previous repairer.I warmed up my soldering iron and removed it.Powered up the board again :
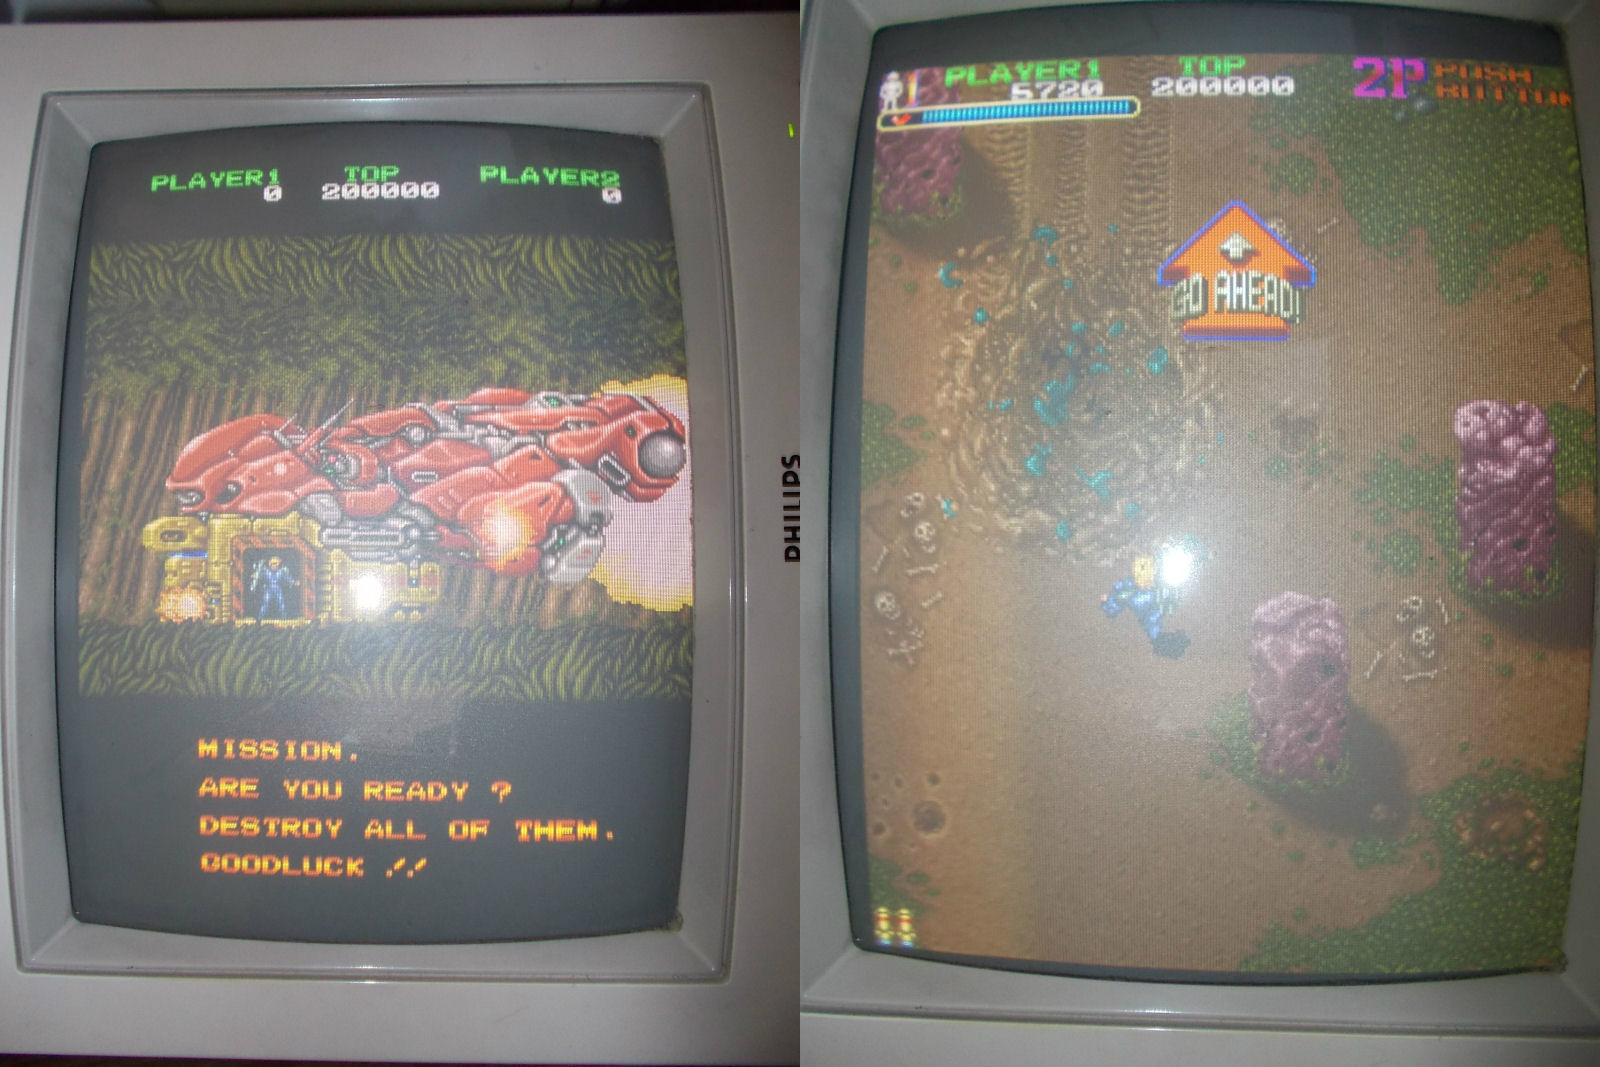
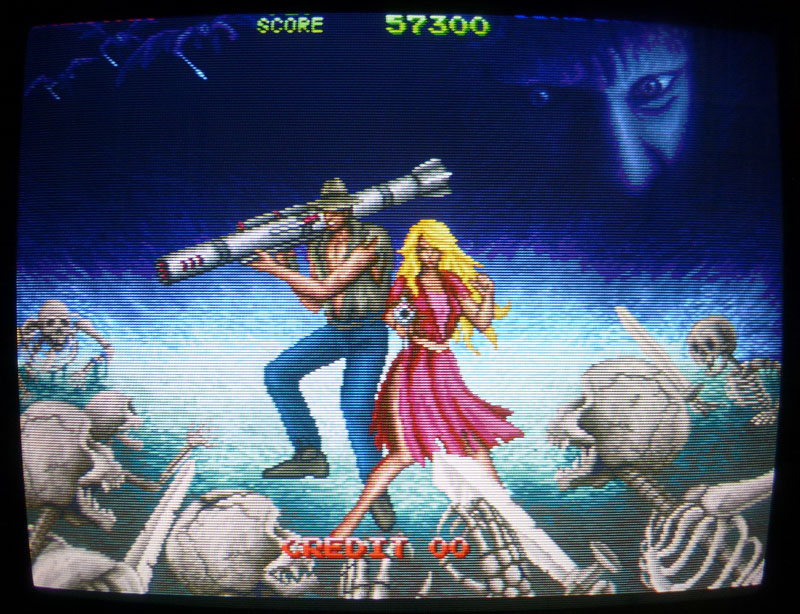
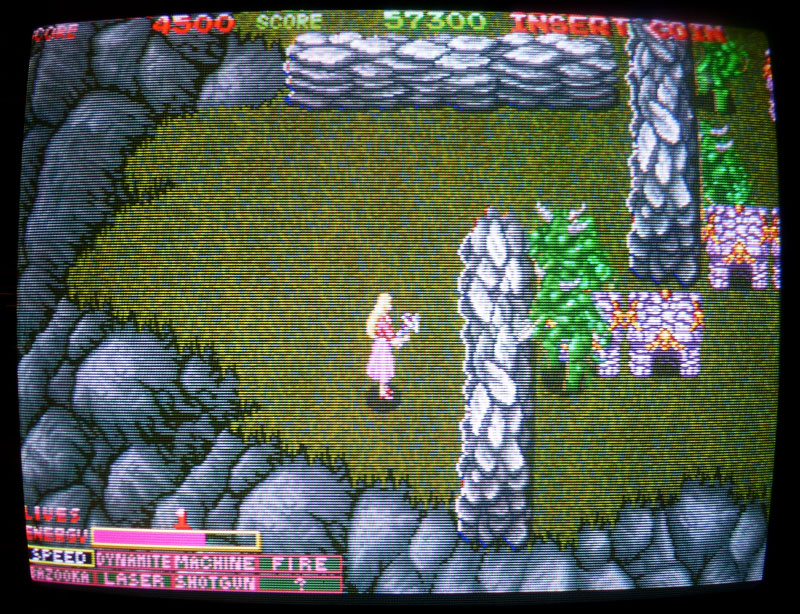
Board 100% fixed.Mission accomplished.