This is one from quite a while ago that was forgotten about and I was only reminded of it recently by a a guy asking some questions about the PAL CCPRG I have here.
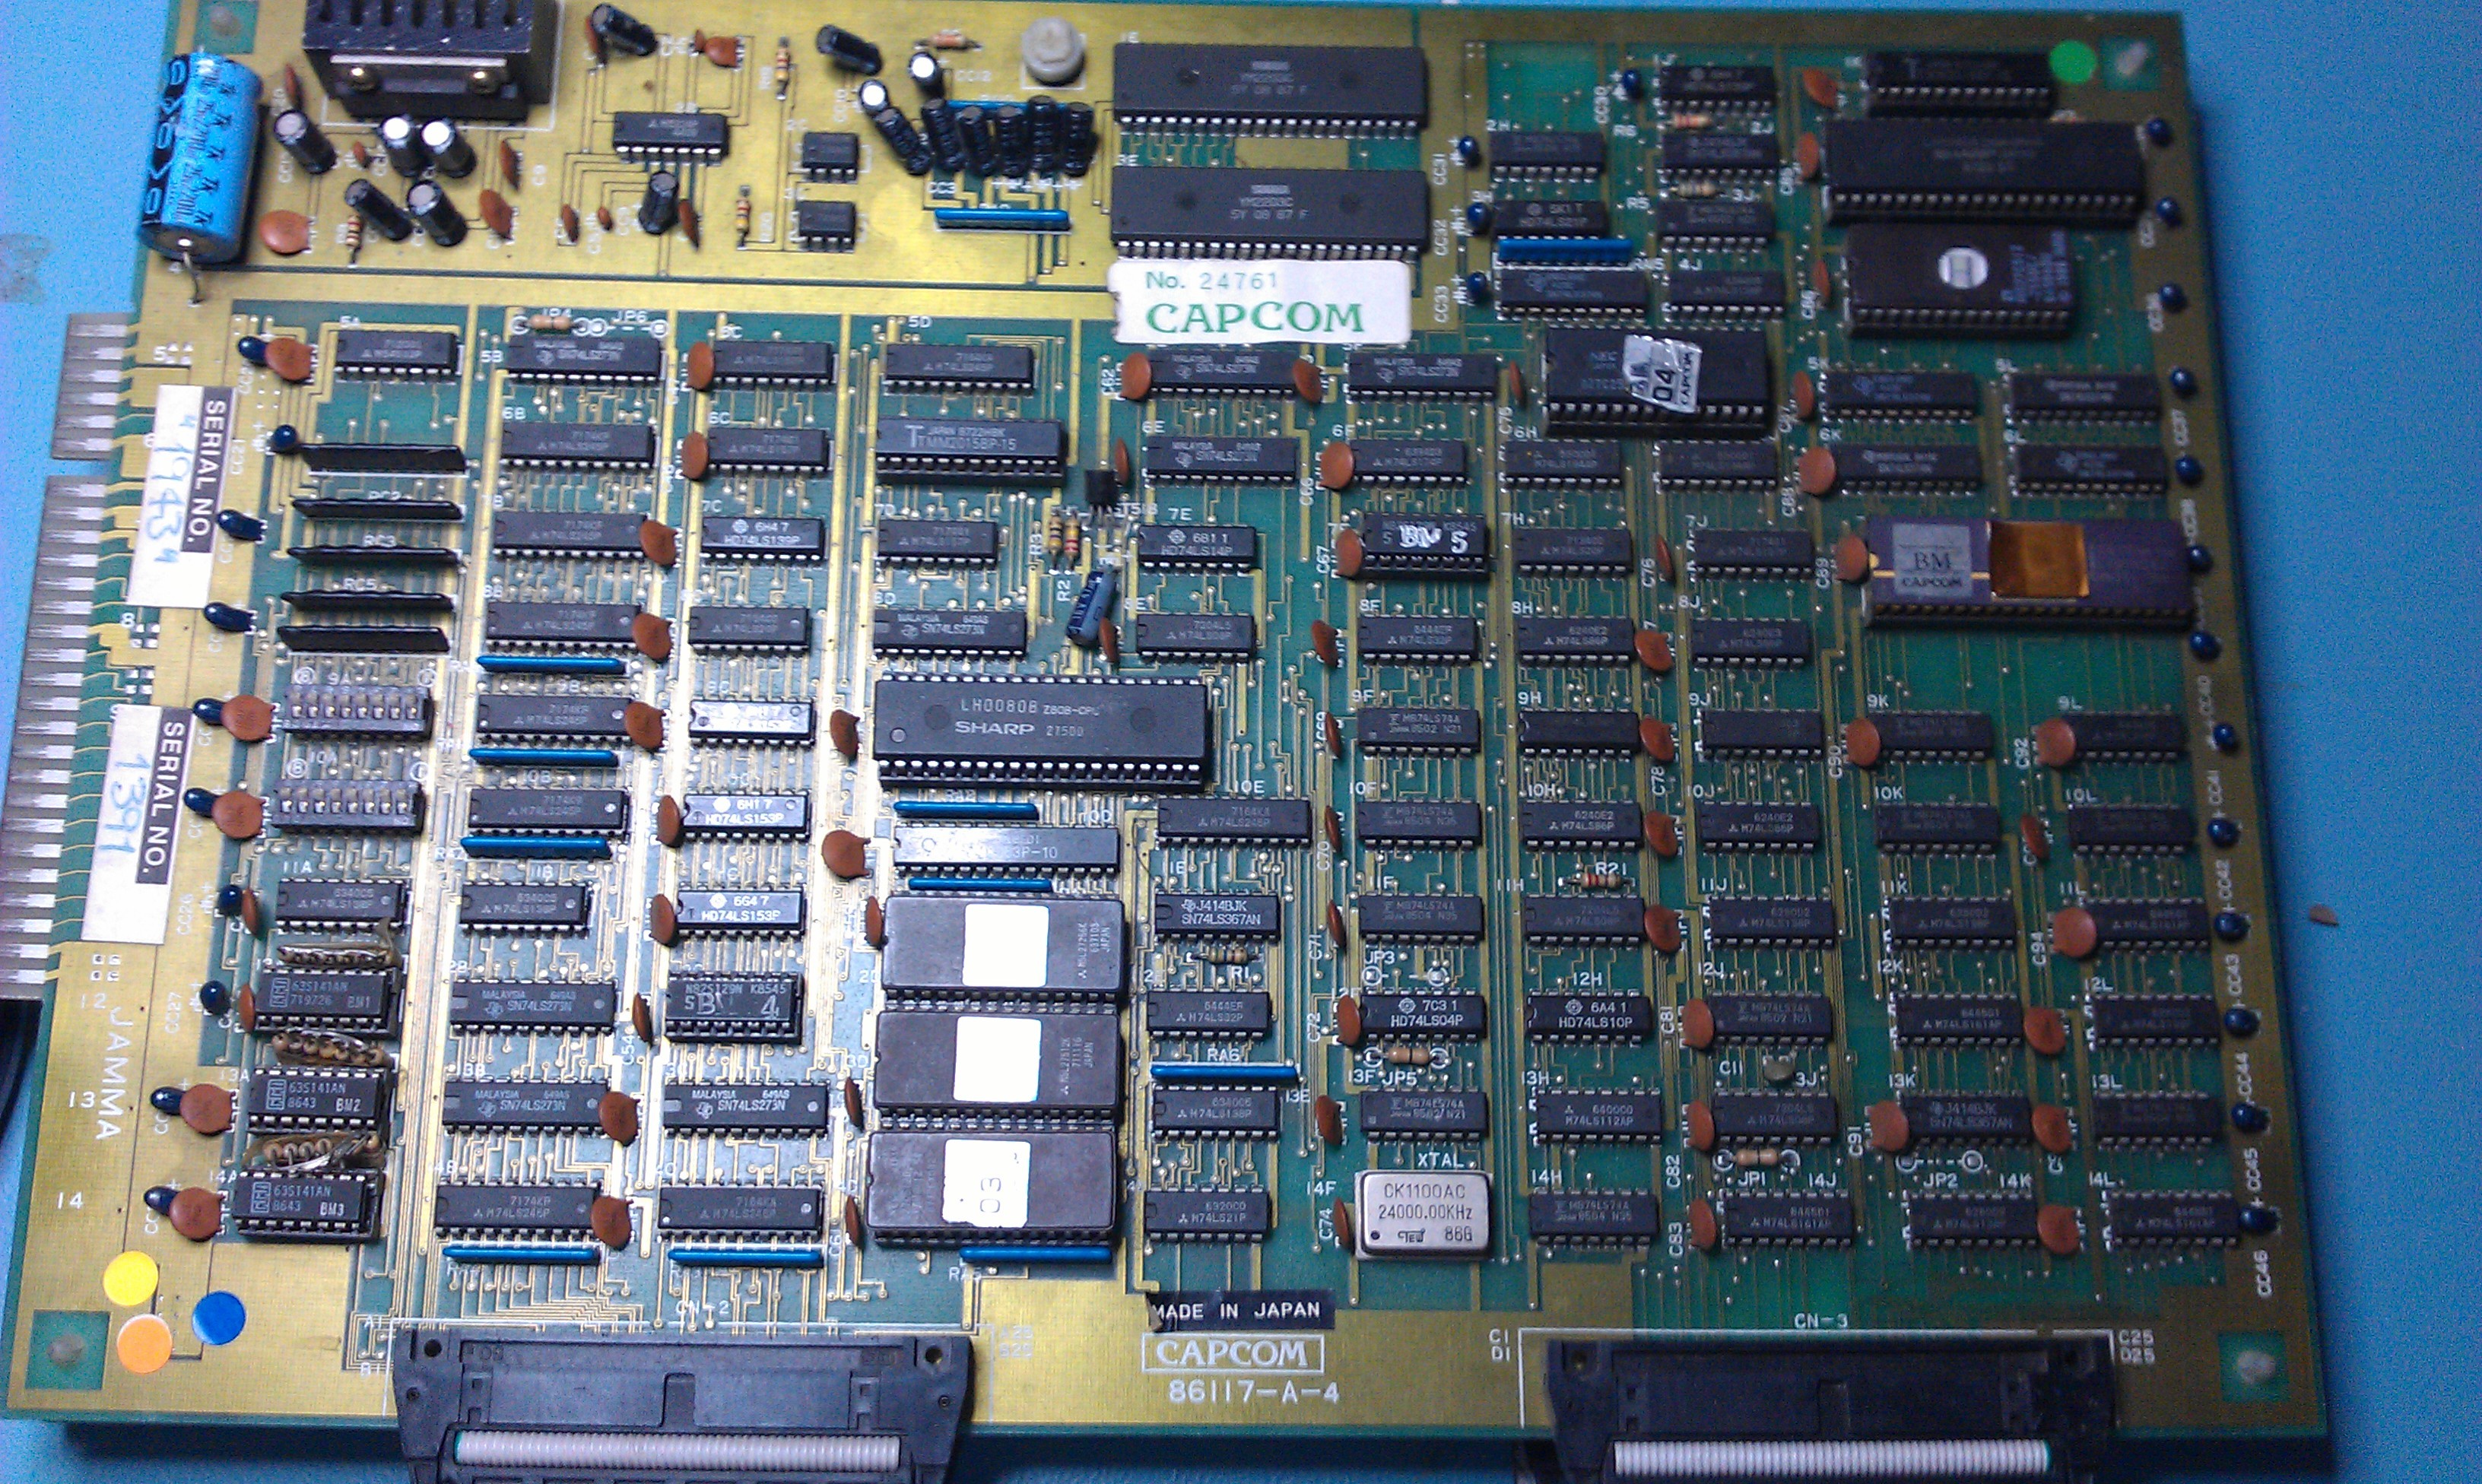
I got this game in a job lot of CPS1 stuff ages ago. It has the EPROM’s missing and 2 of the graphics maskroms were also missing.
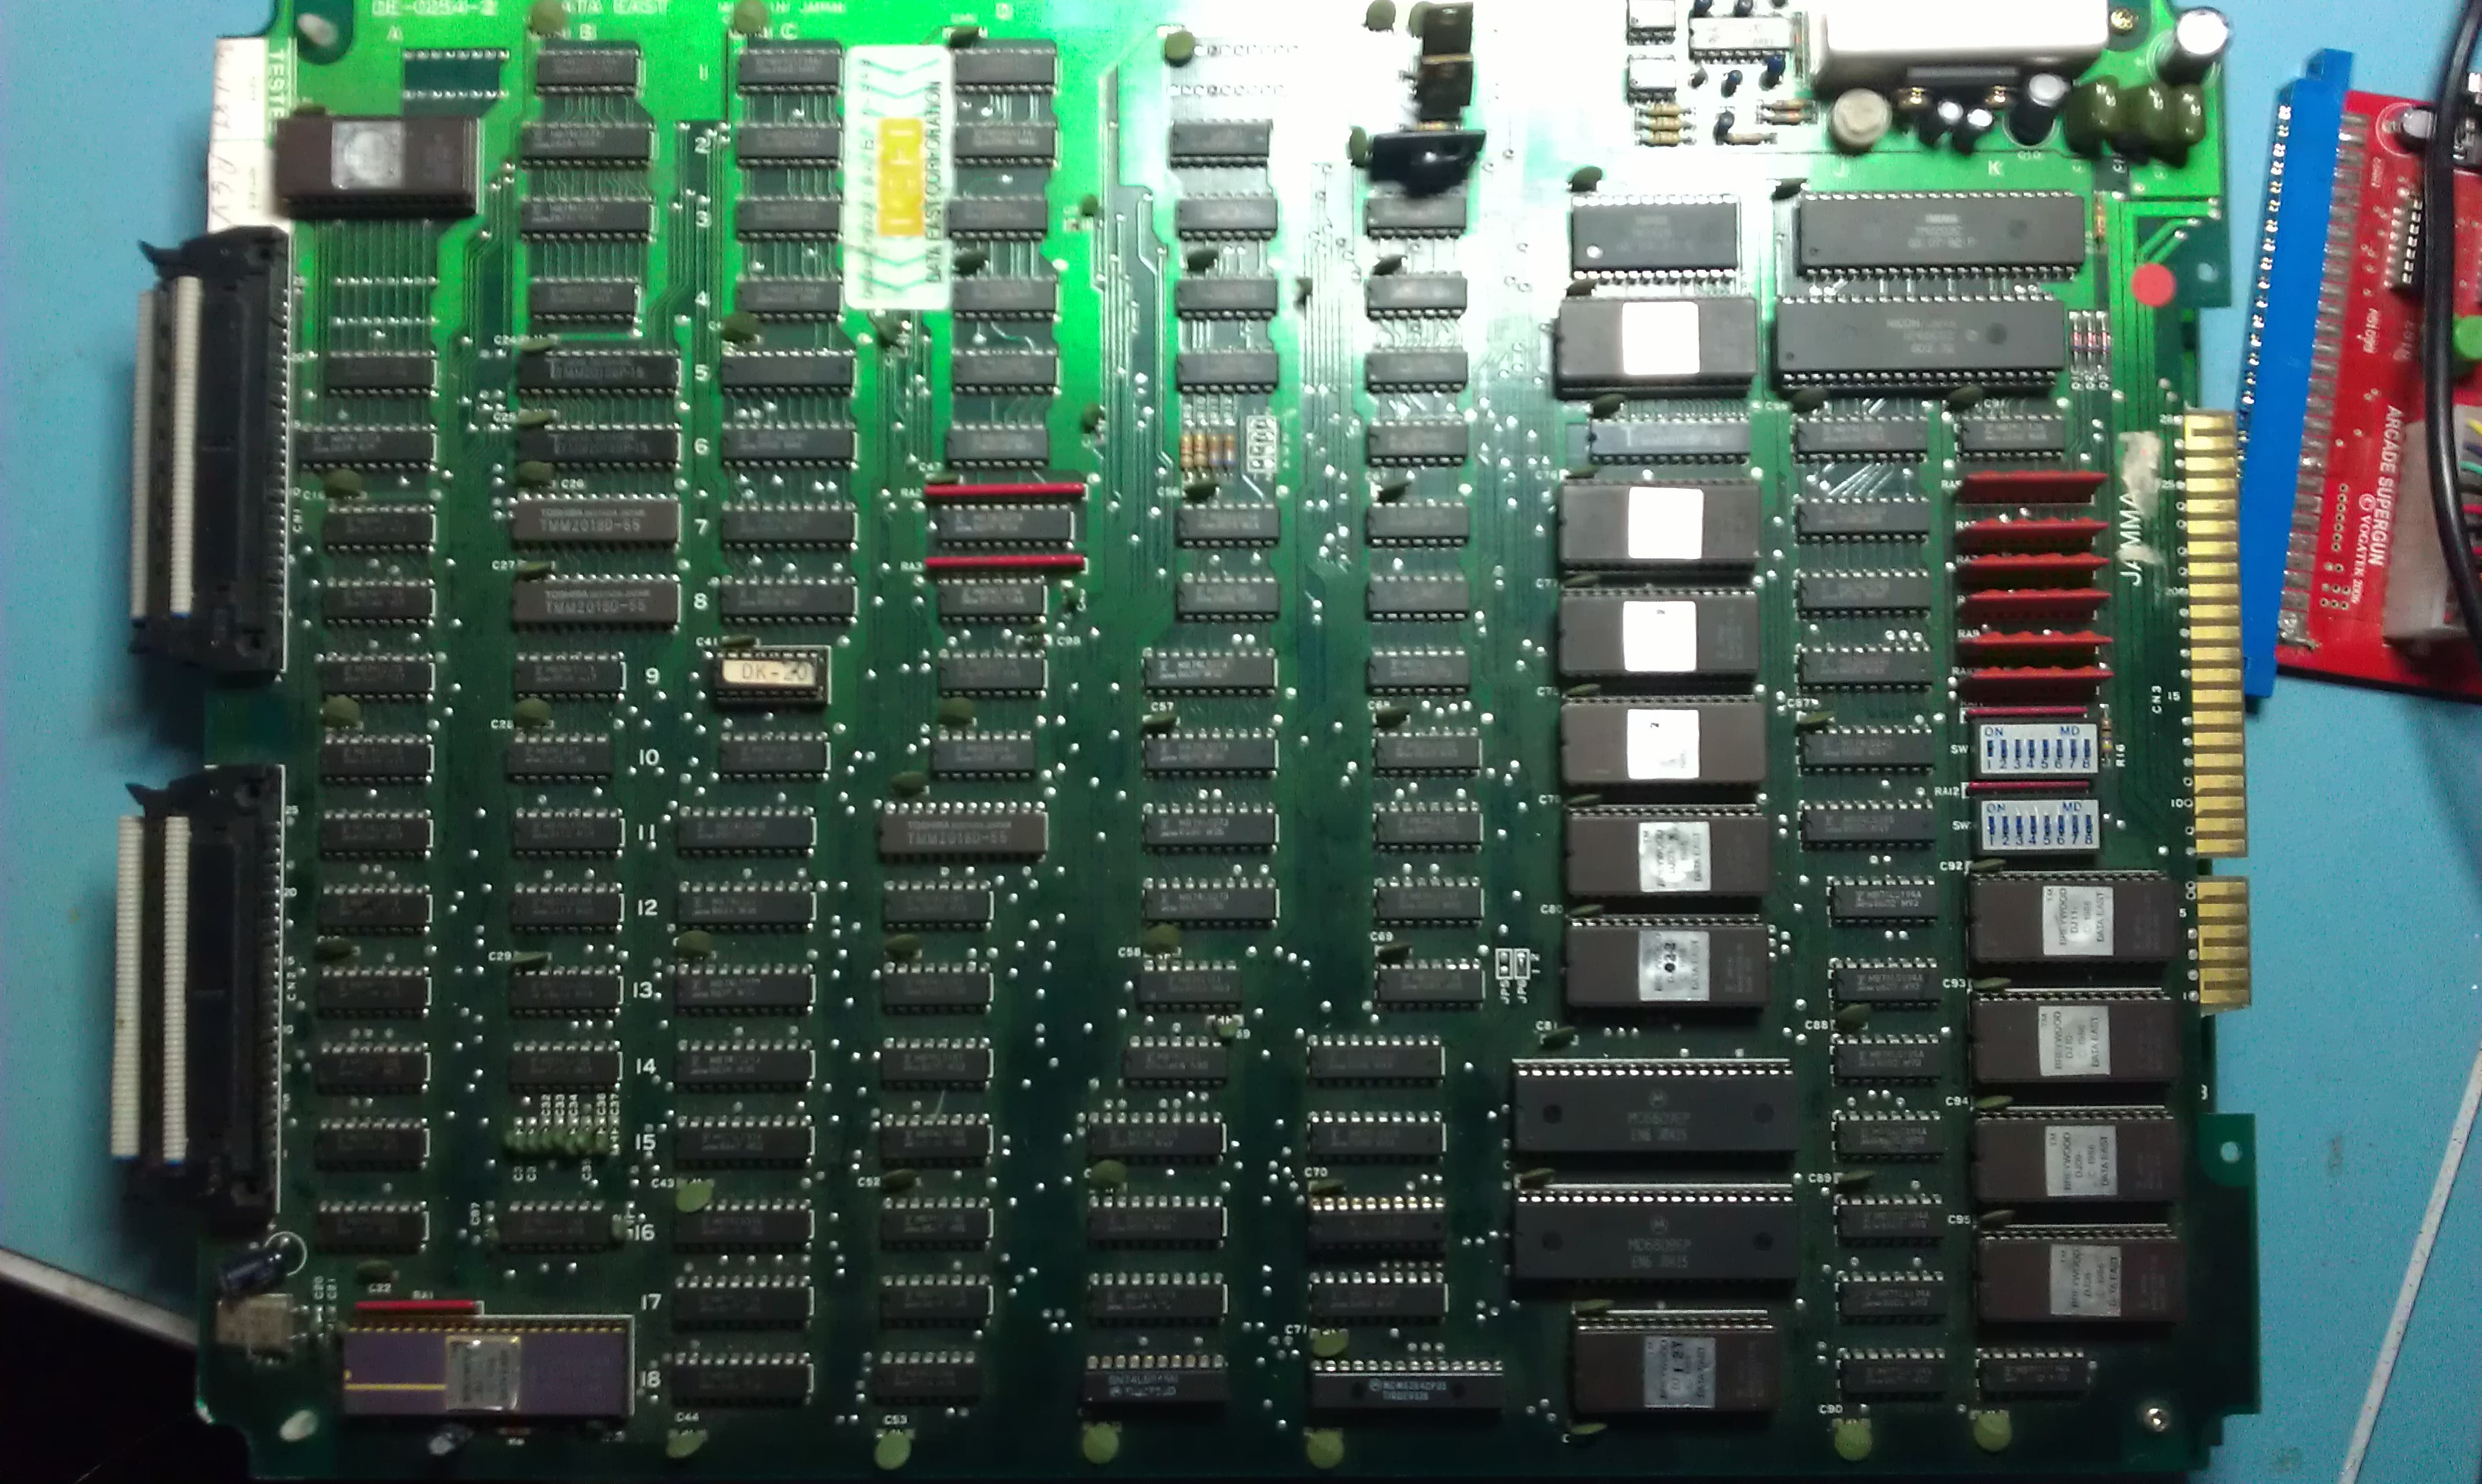
First thing I noticed was the maskroms were in a strange order.
If you look at the MAME source code for the CPS1 driver you will see some comments next to the ROM order.

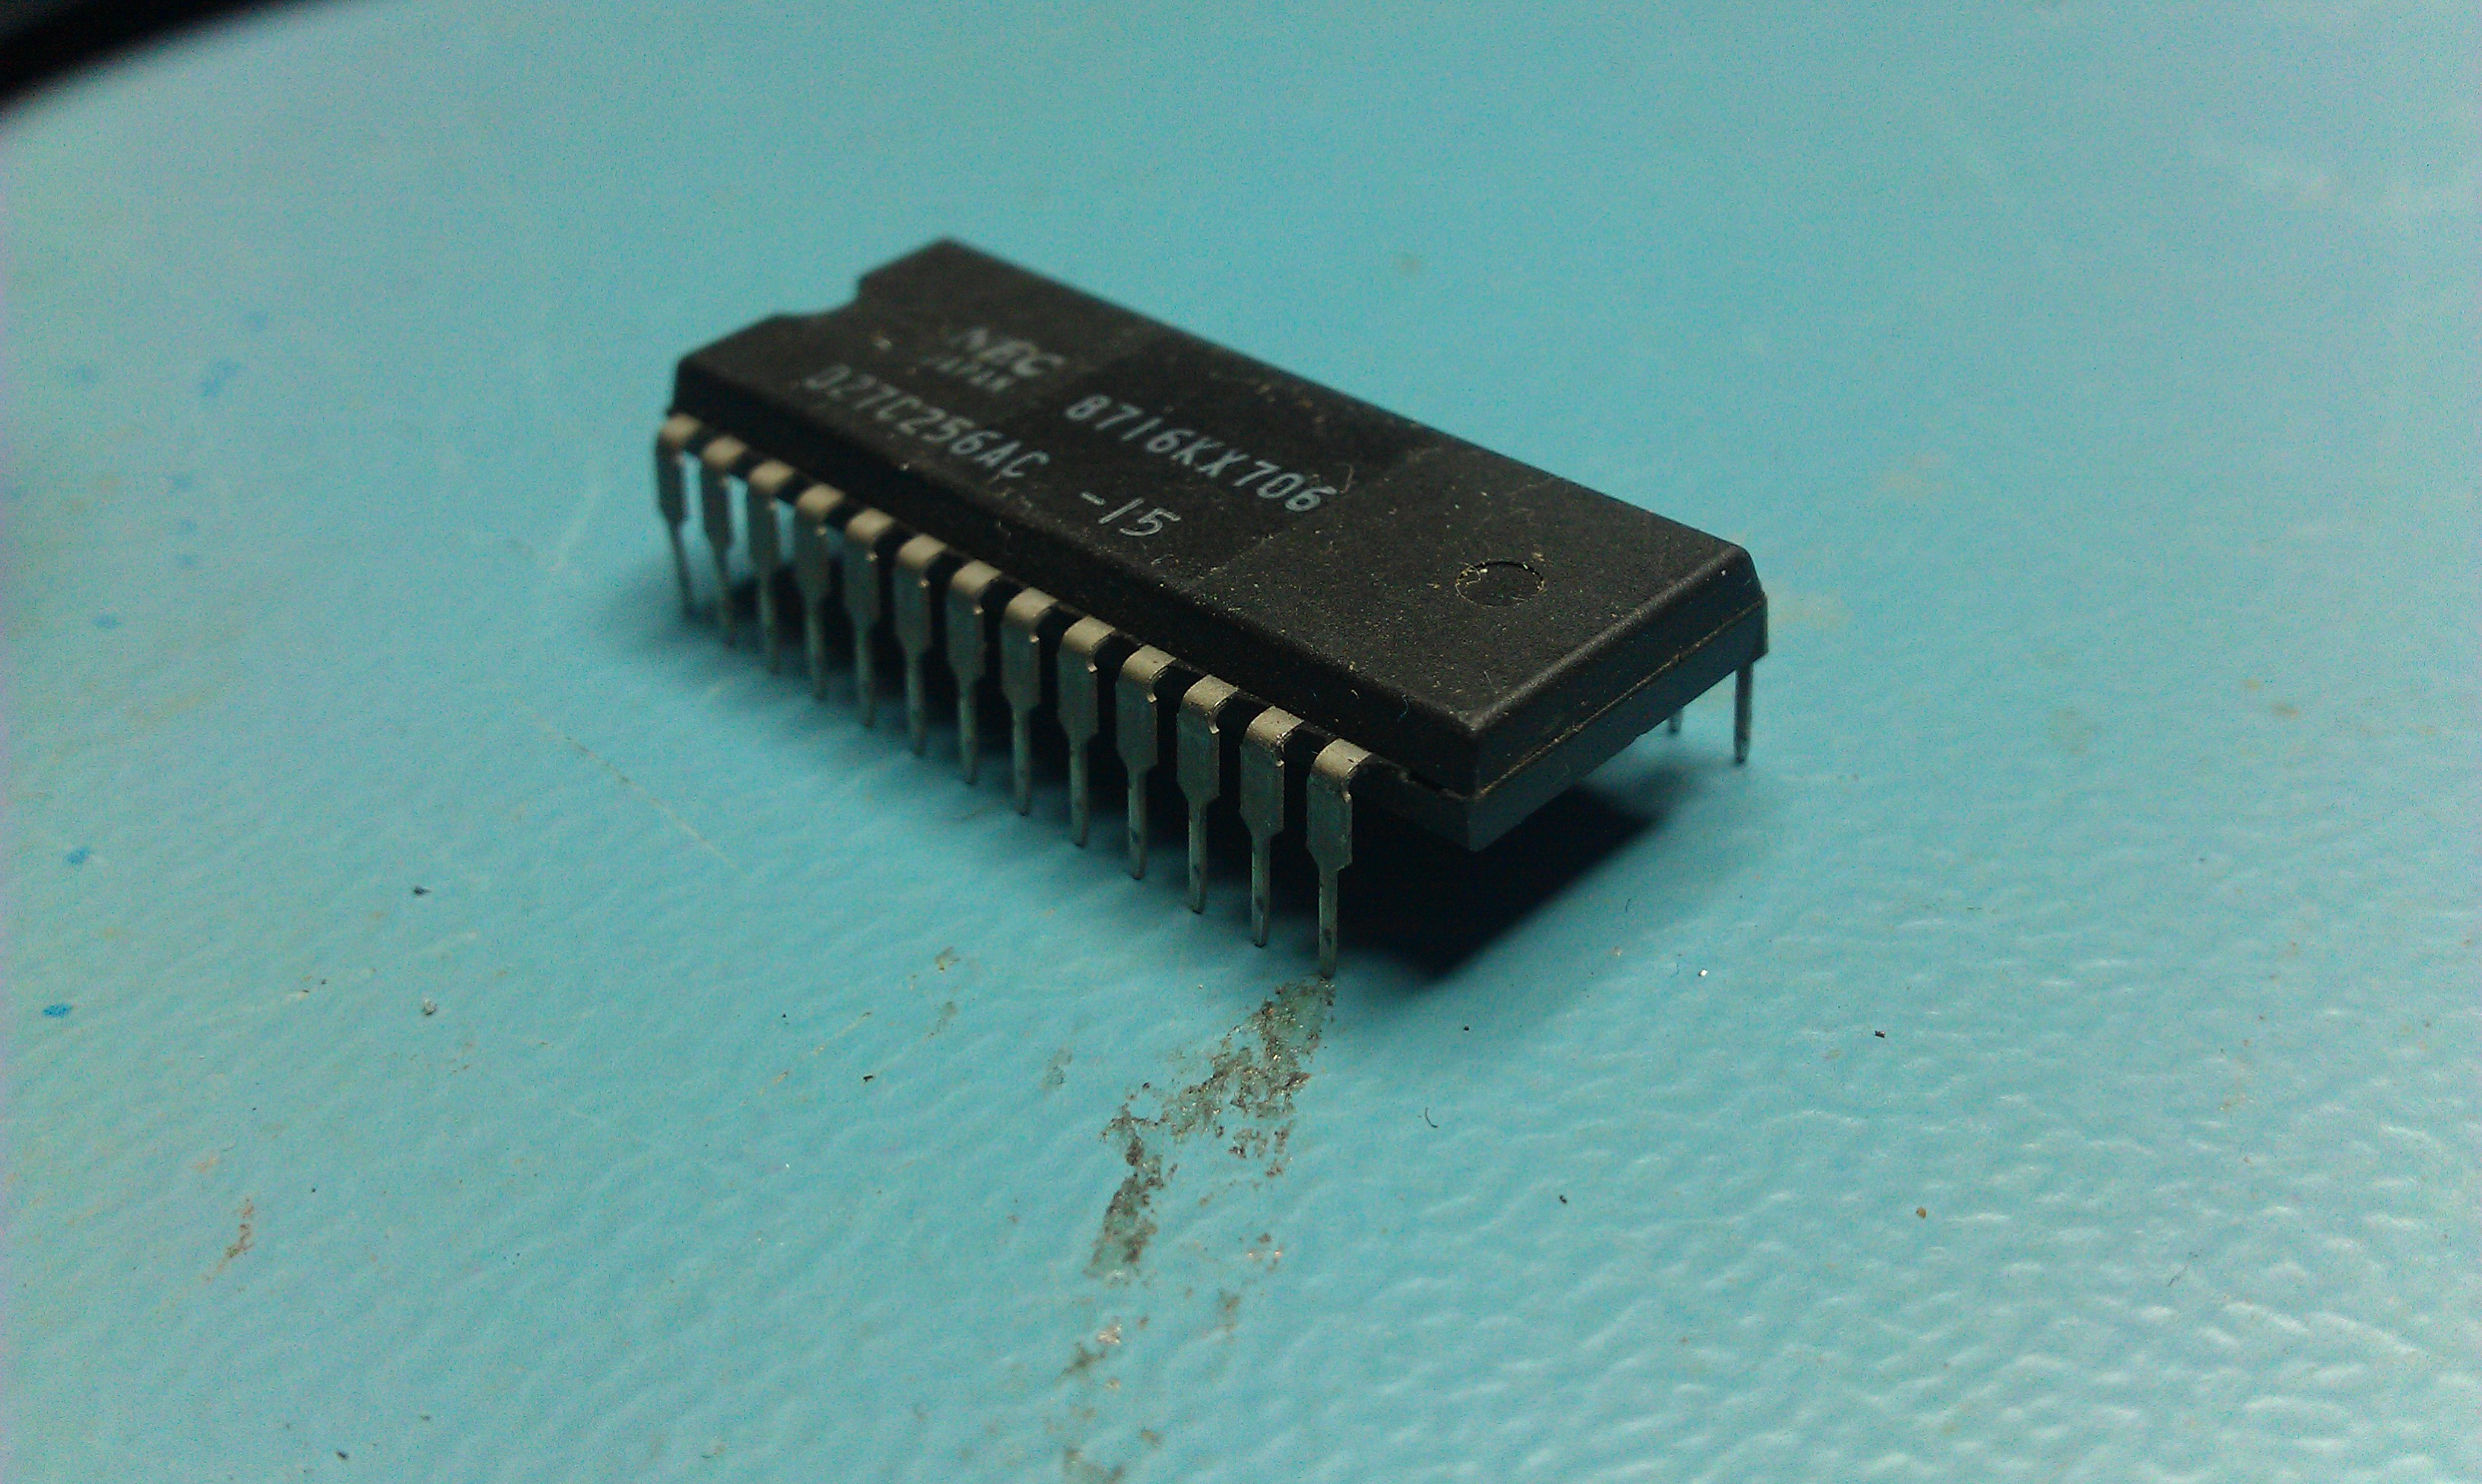
As the maskrom’s are not JEDEC, I filled the missing sockets with 27c4100 EPROM’s with the correct code.
As for the missing EPROM’s for sound and program ROMs, not including the two 27c4096 ones, the silkscreen said to use 27c301’s. Who am I to argue with that?
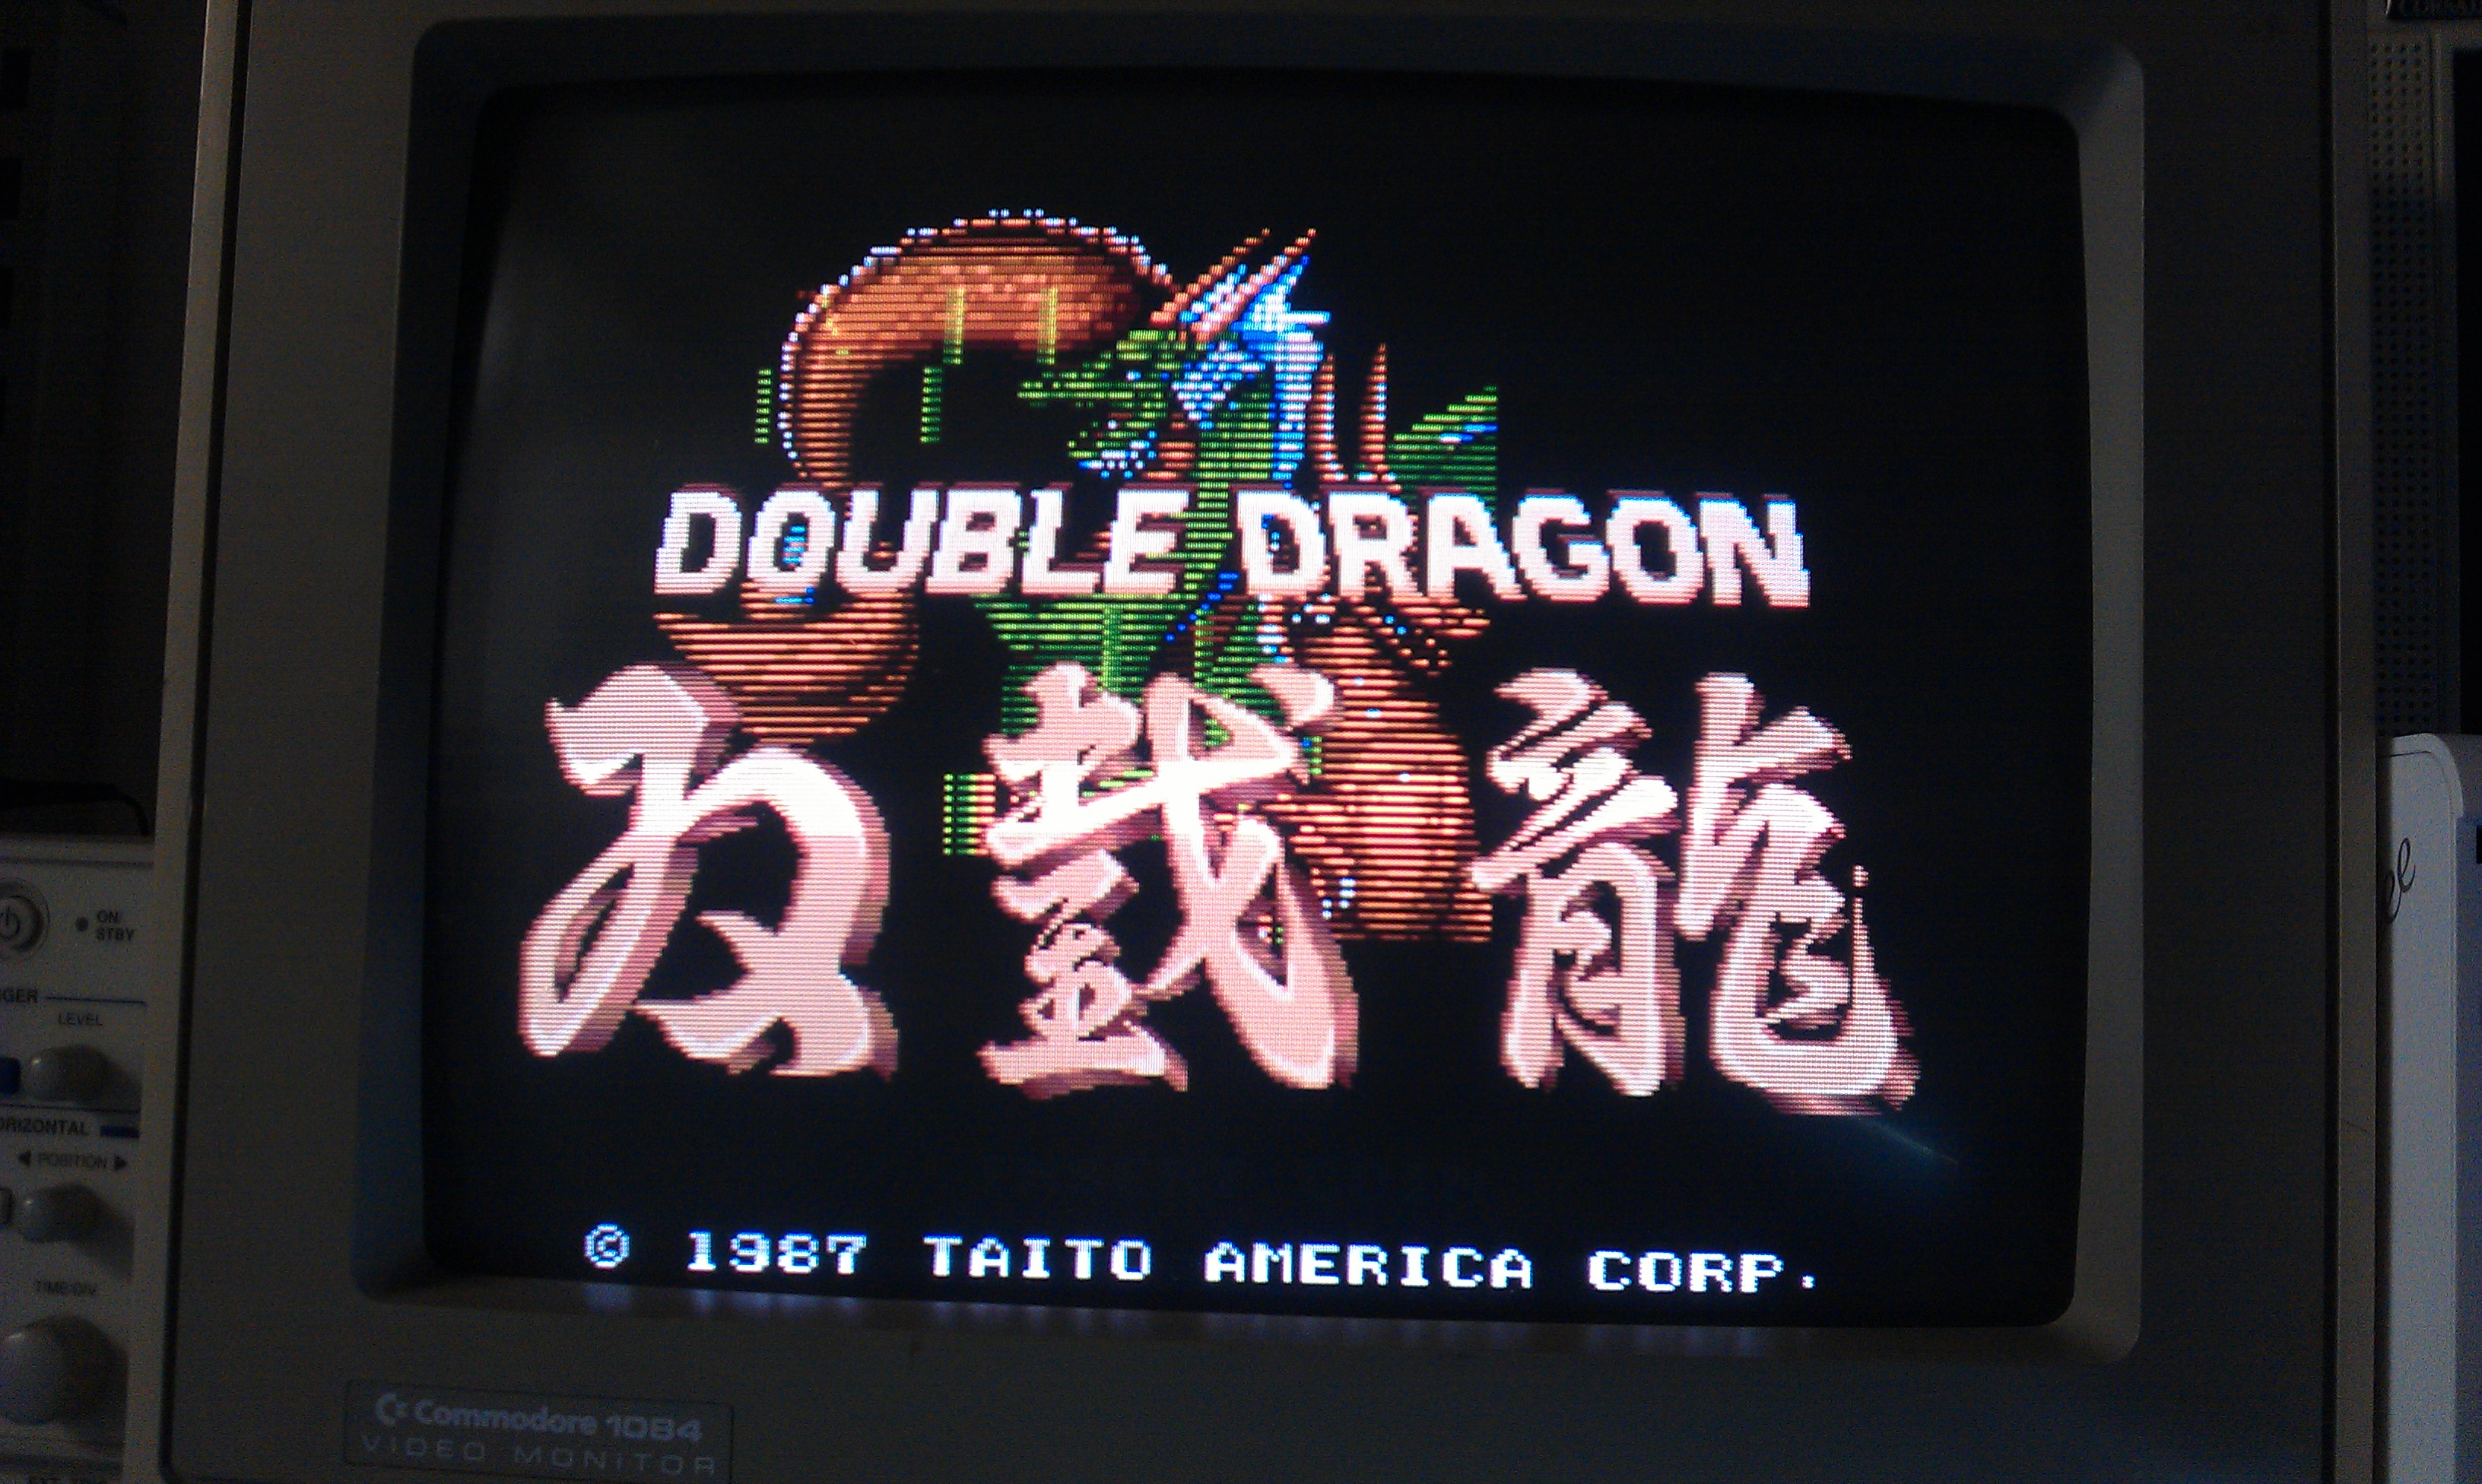
I burned all the remaining EPROM’s, modified the C board to run with the suicided code and fired it up.
Nothing!
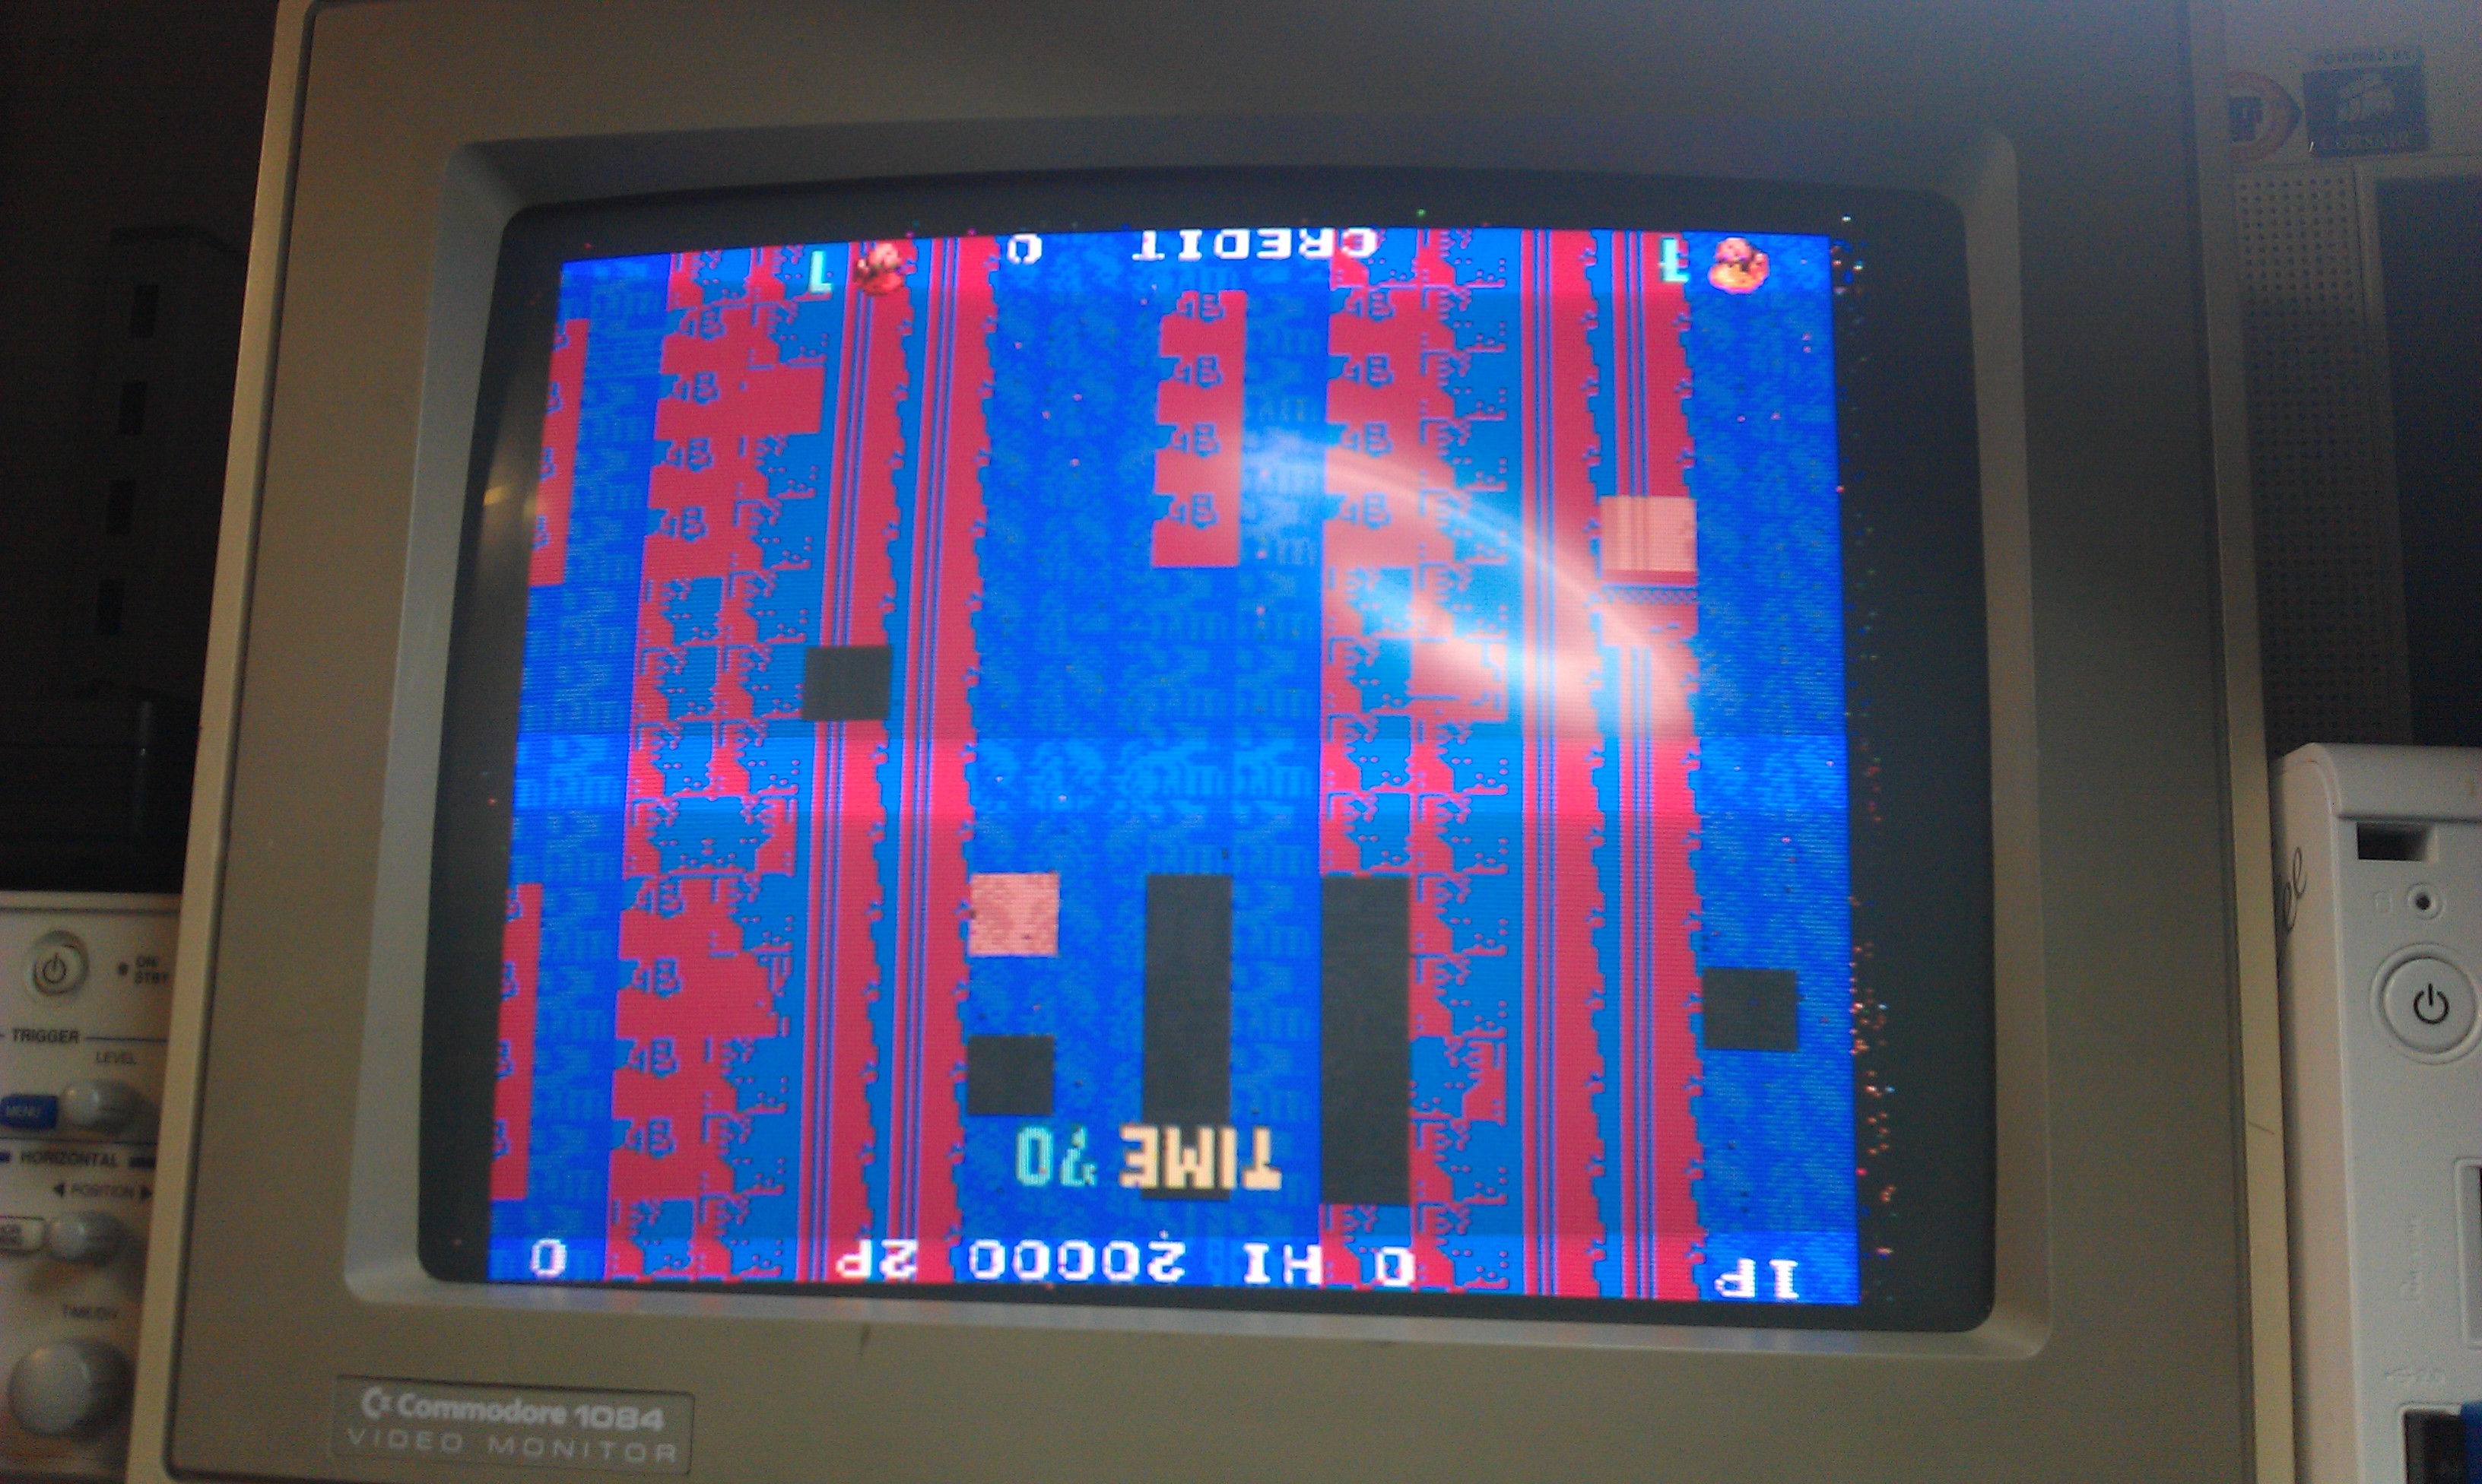
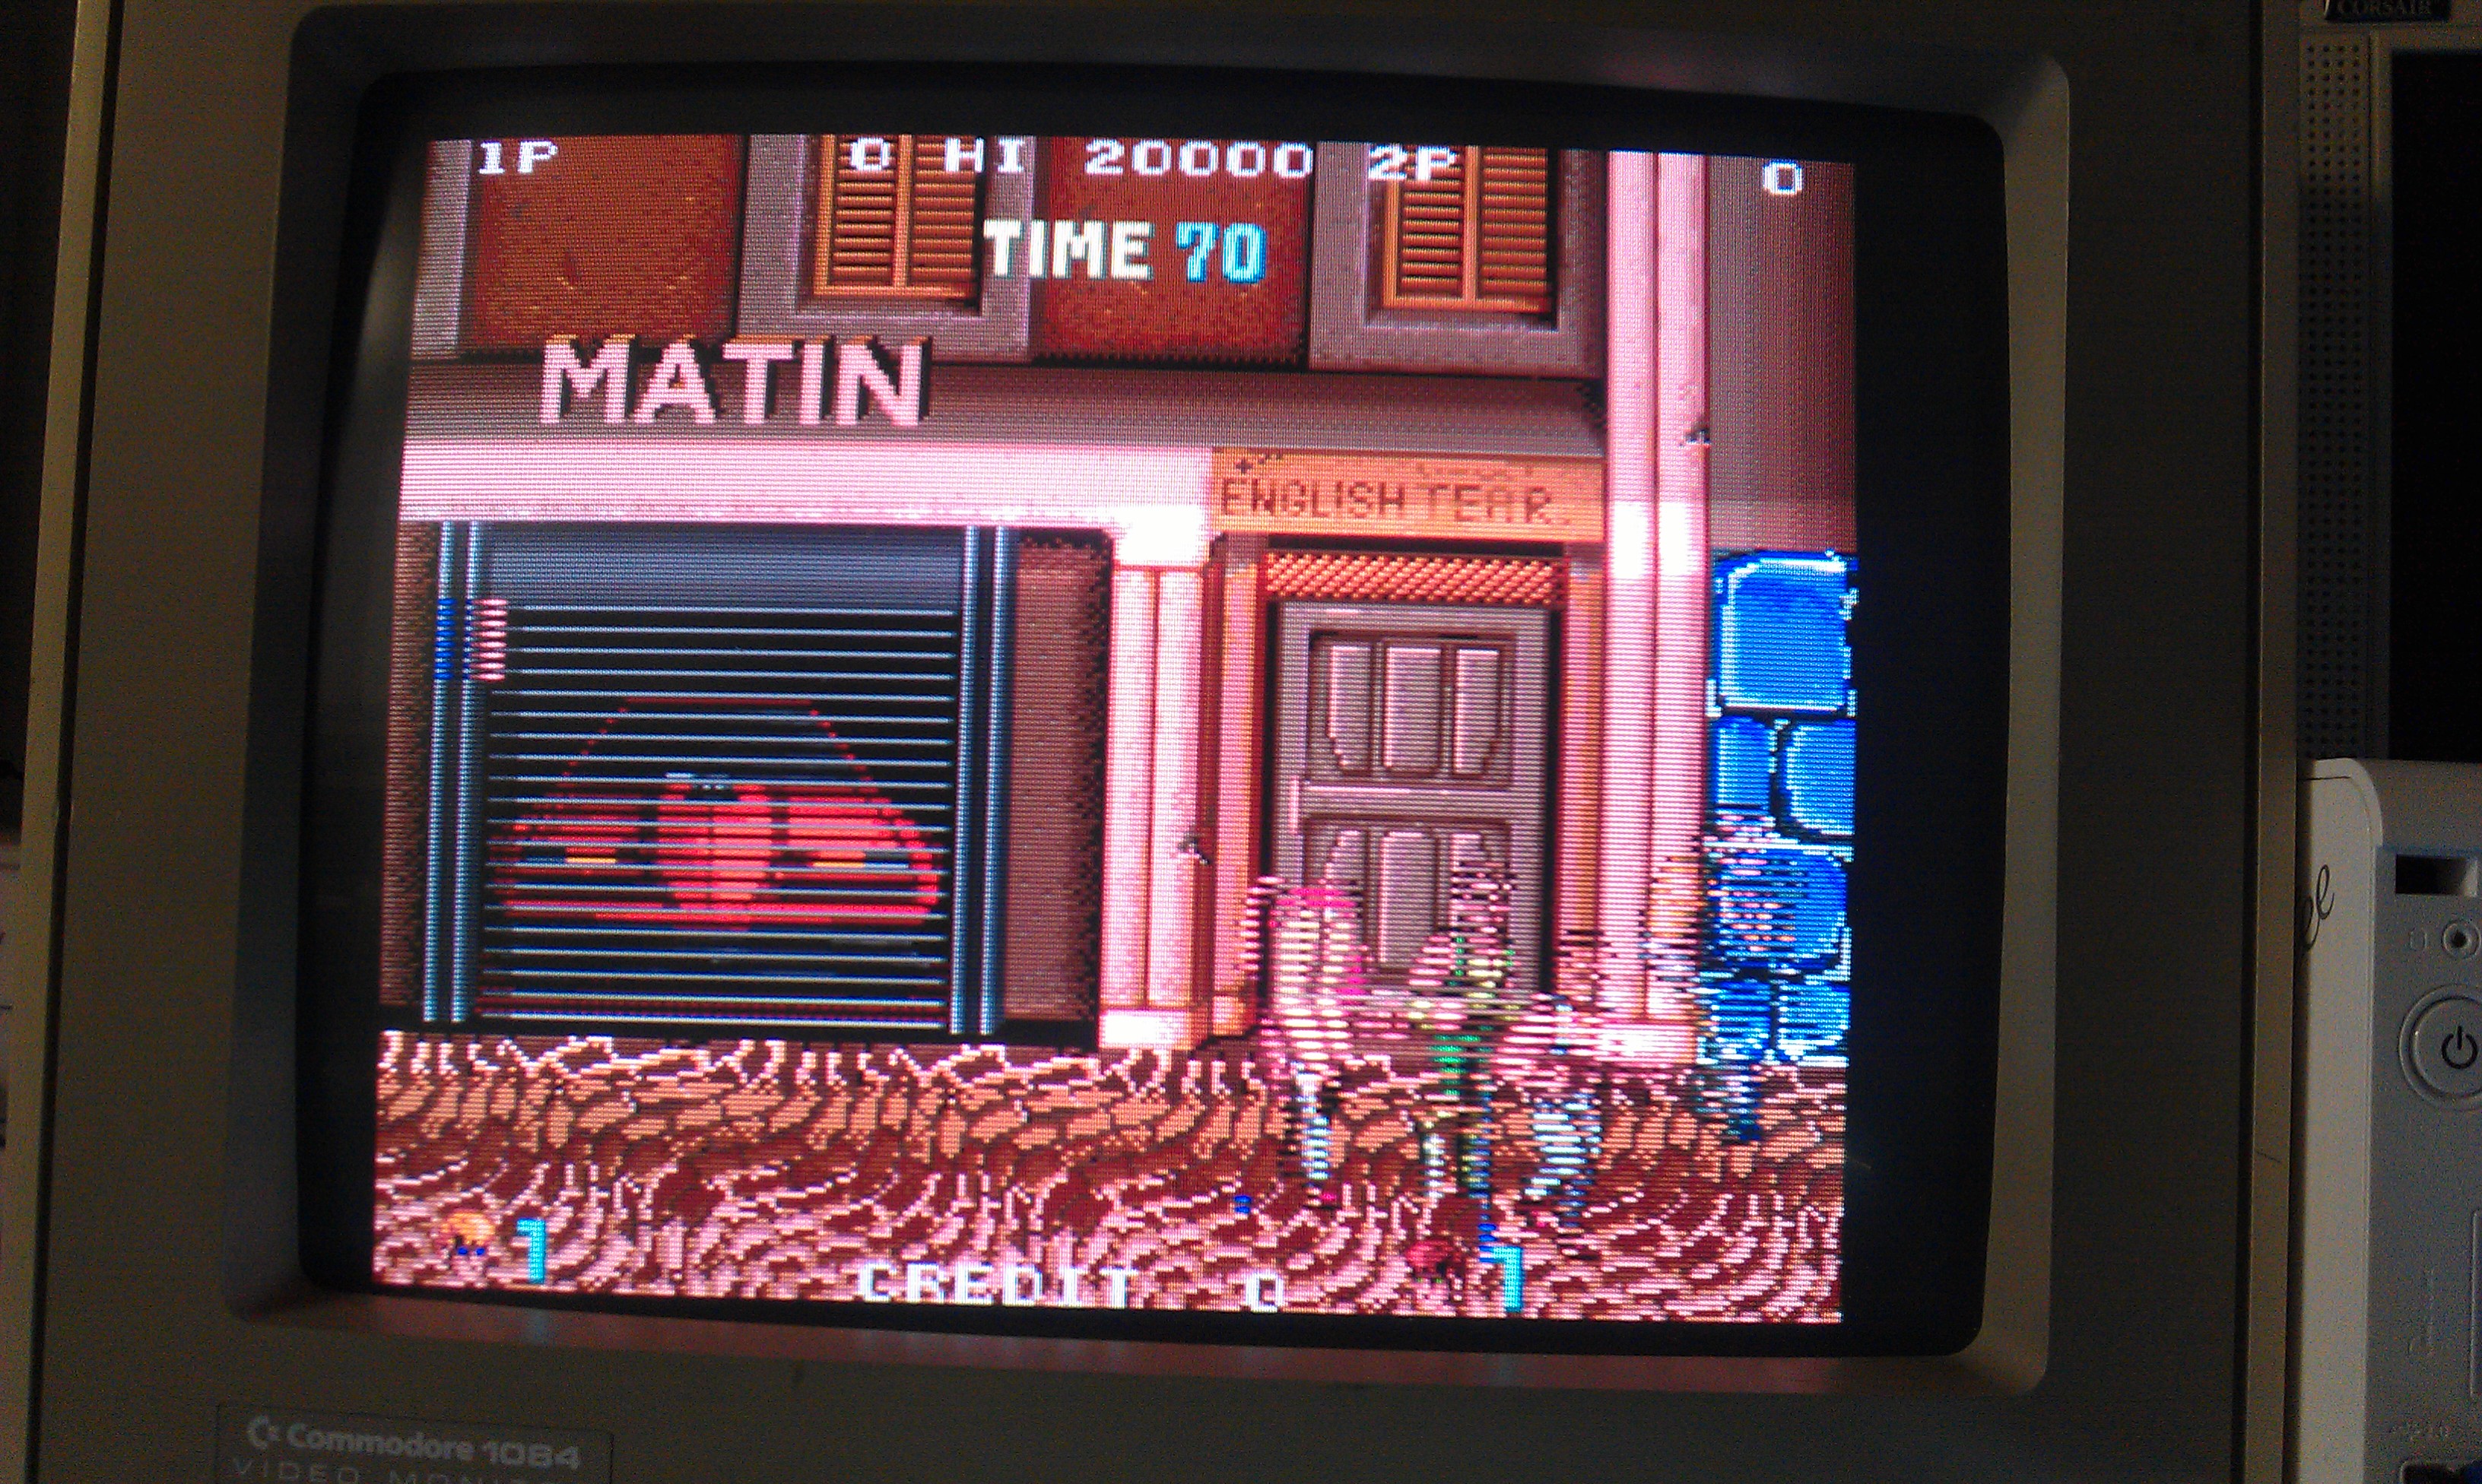
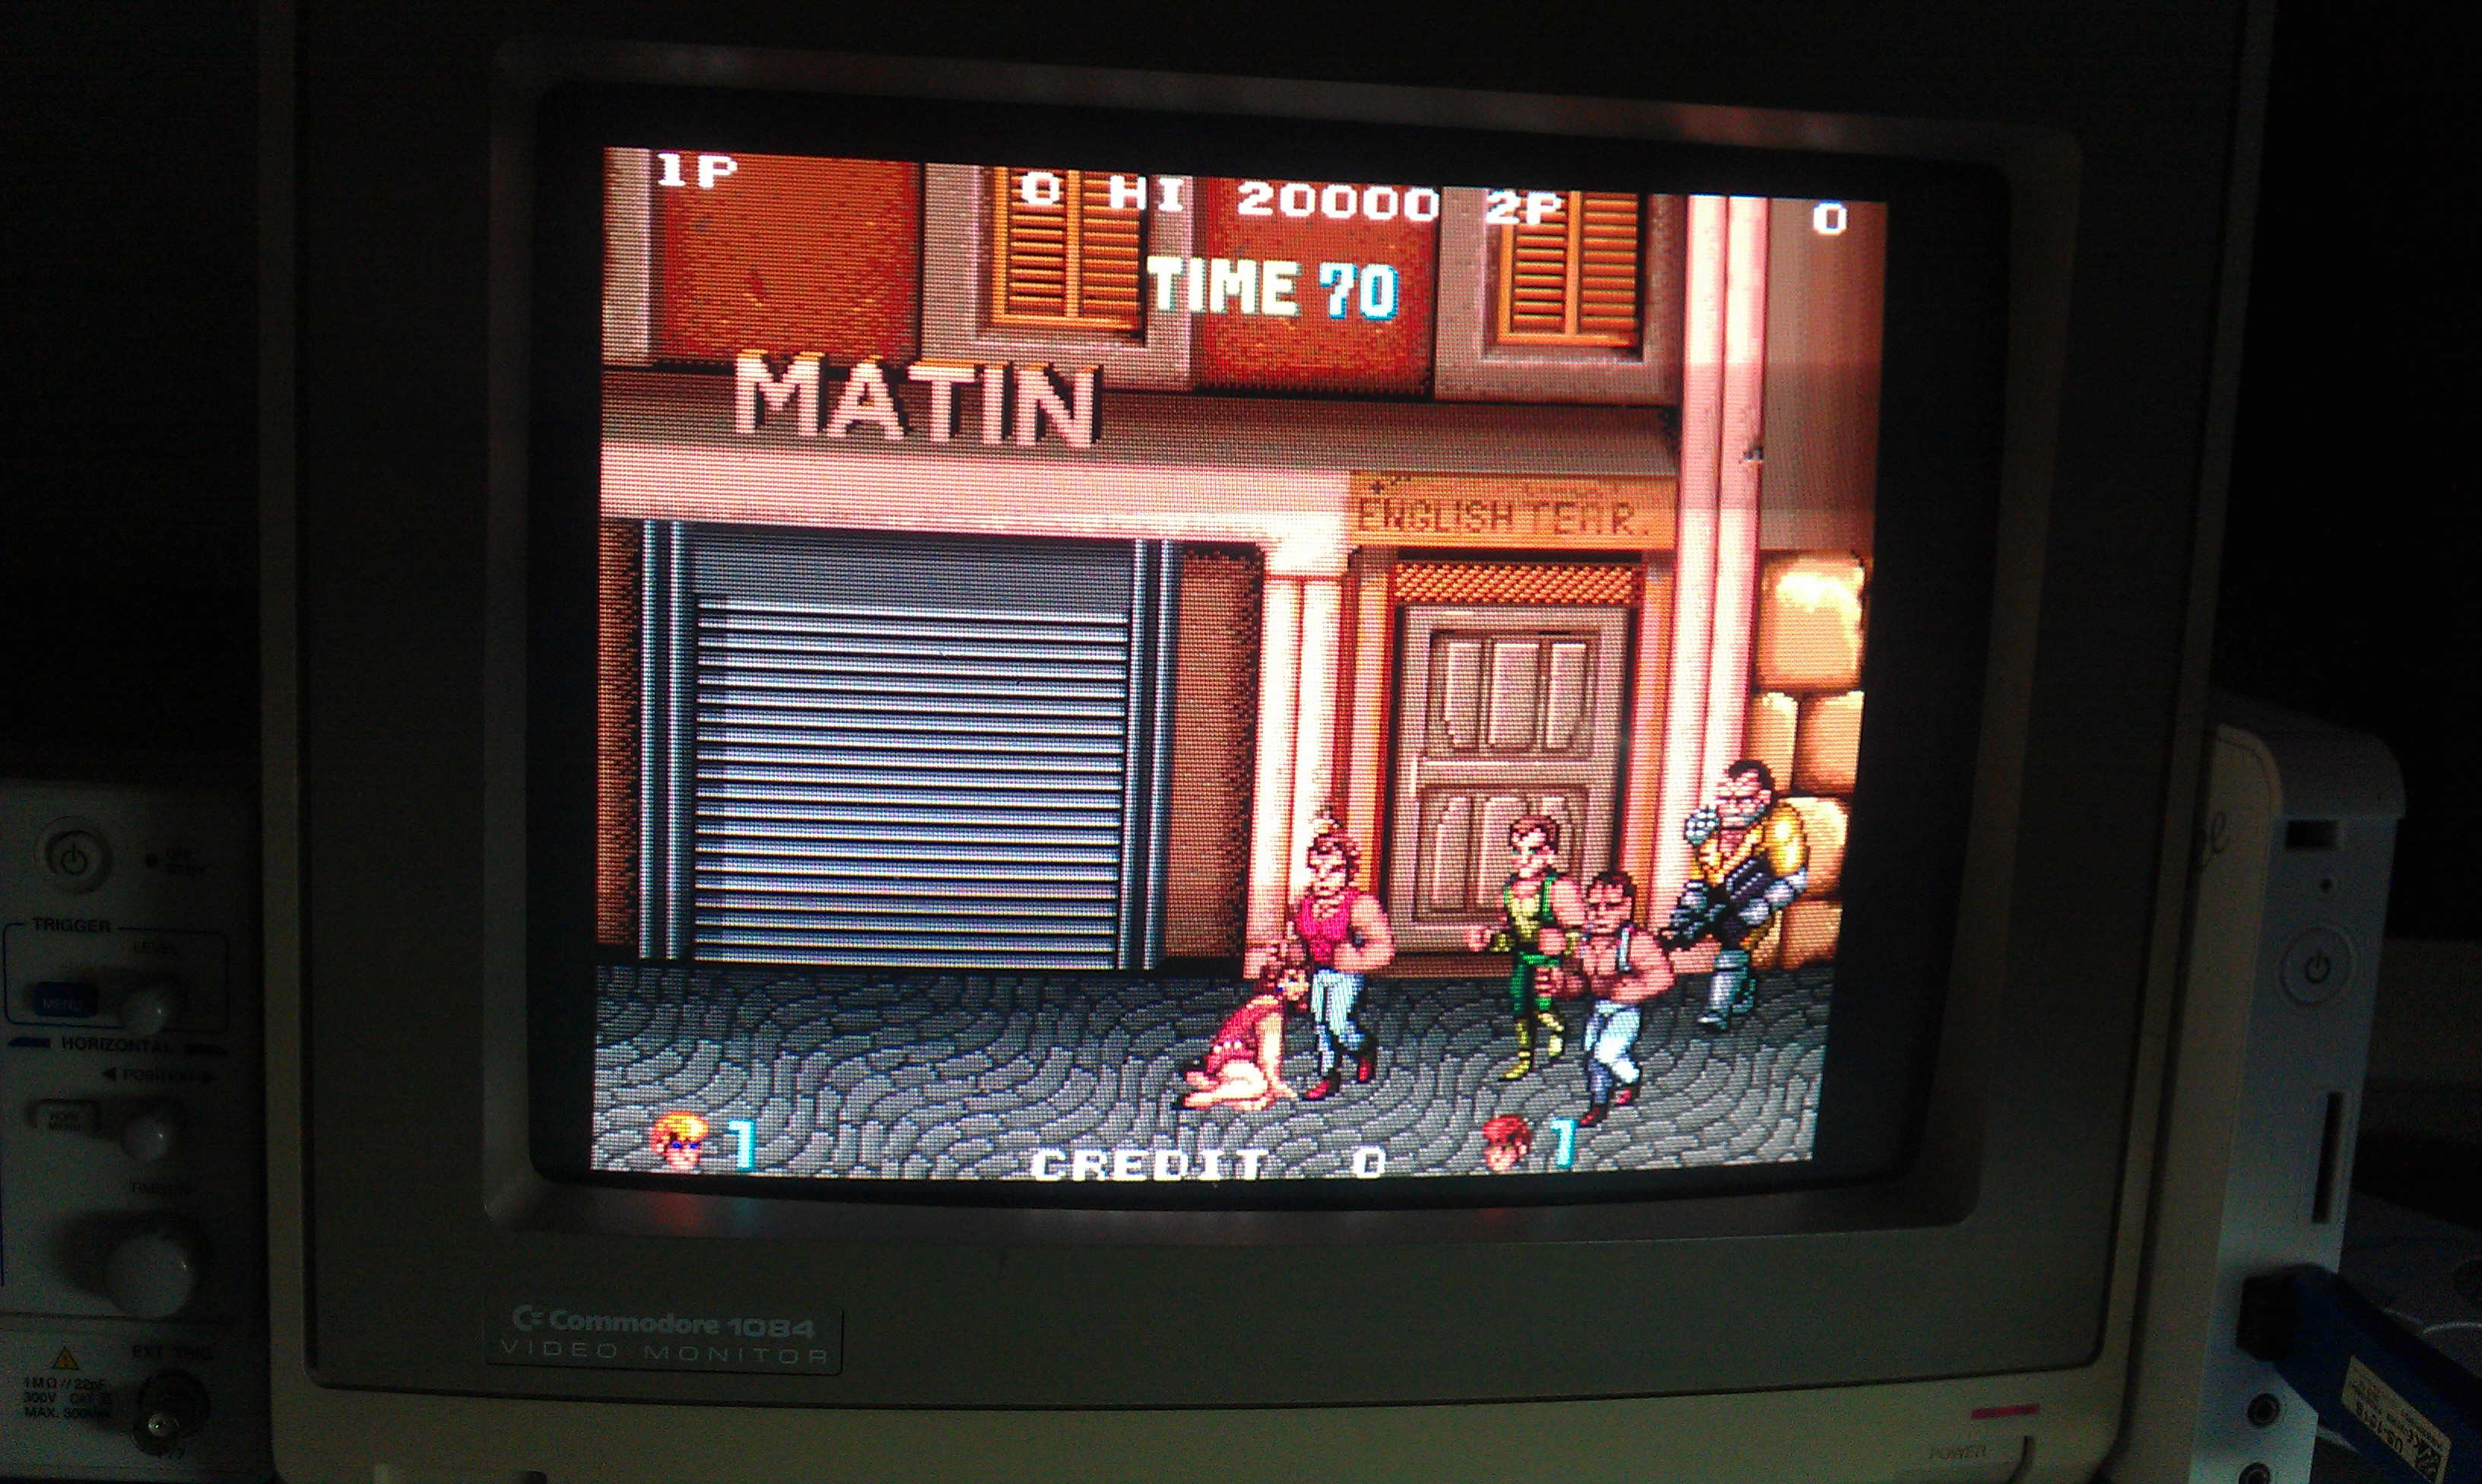
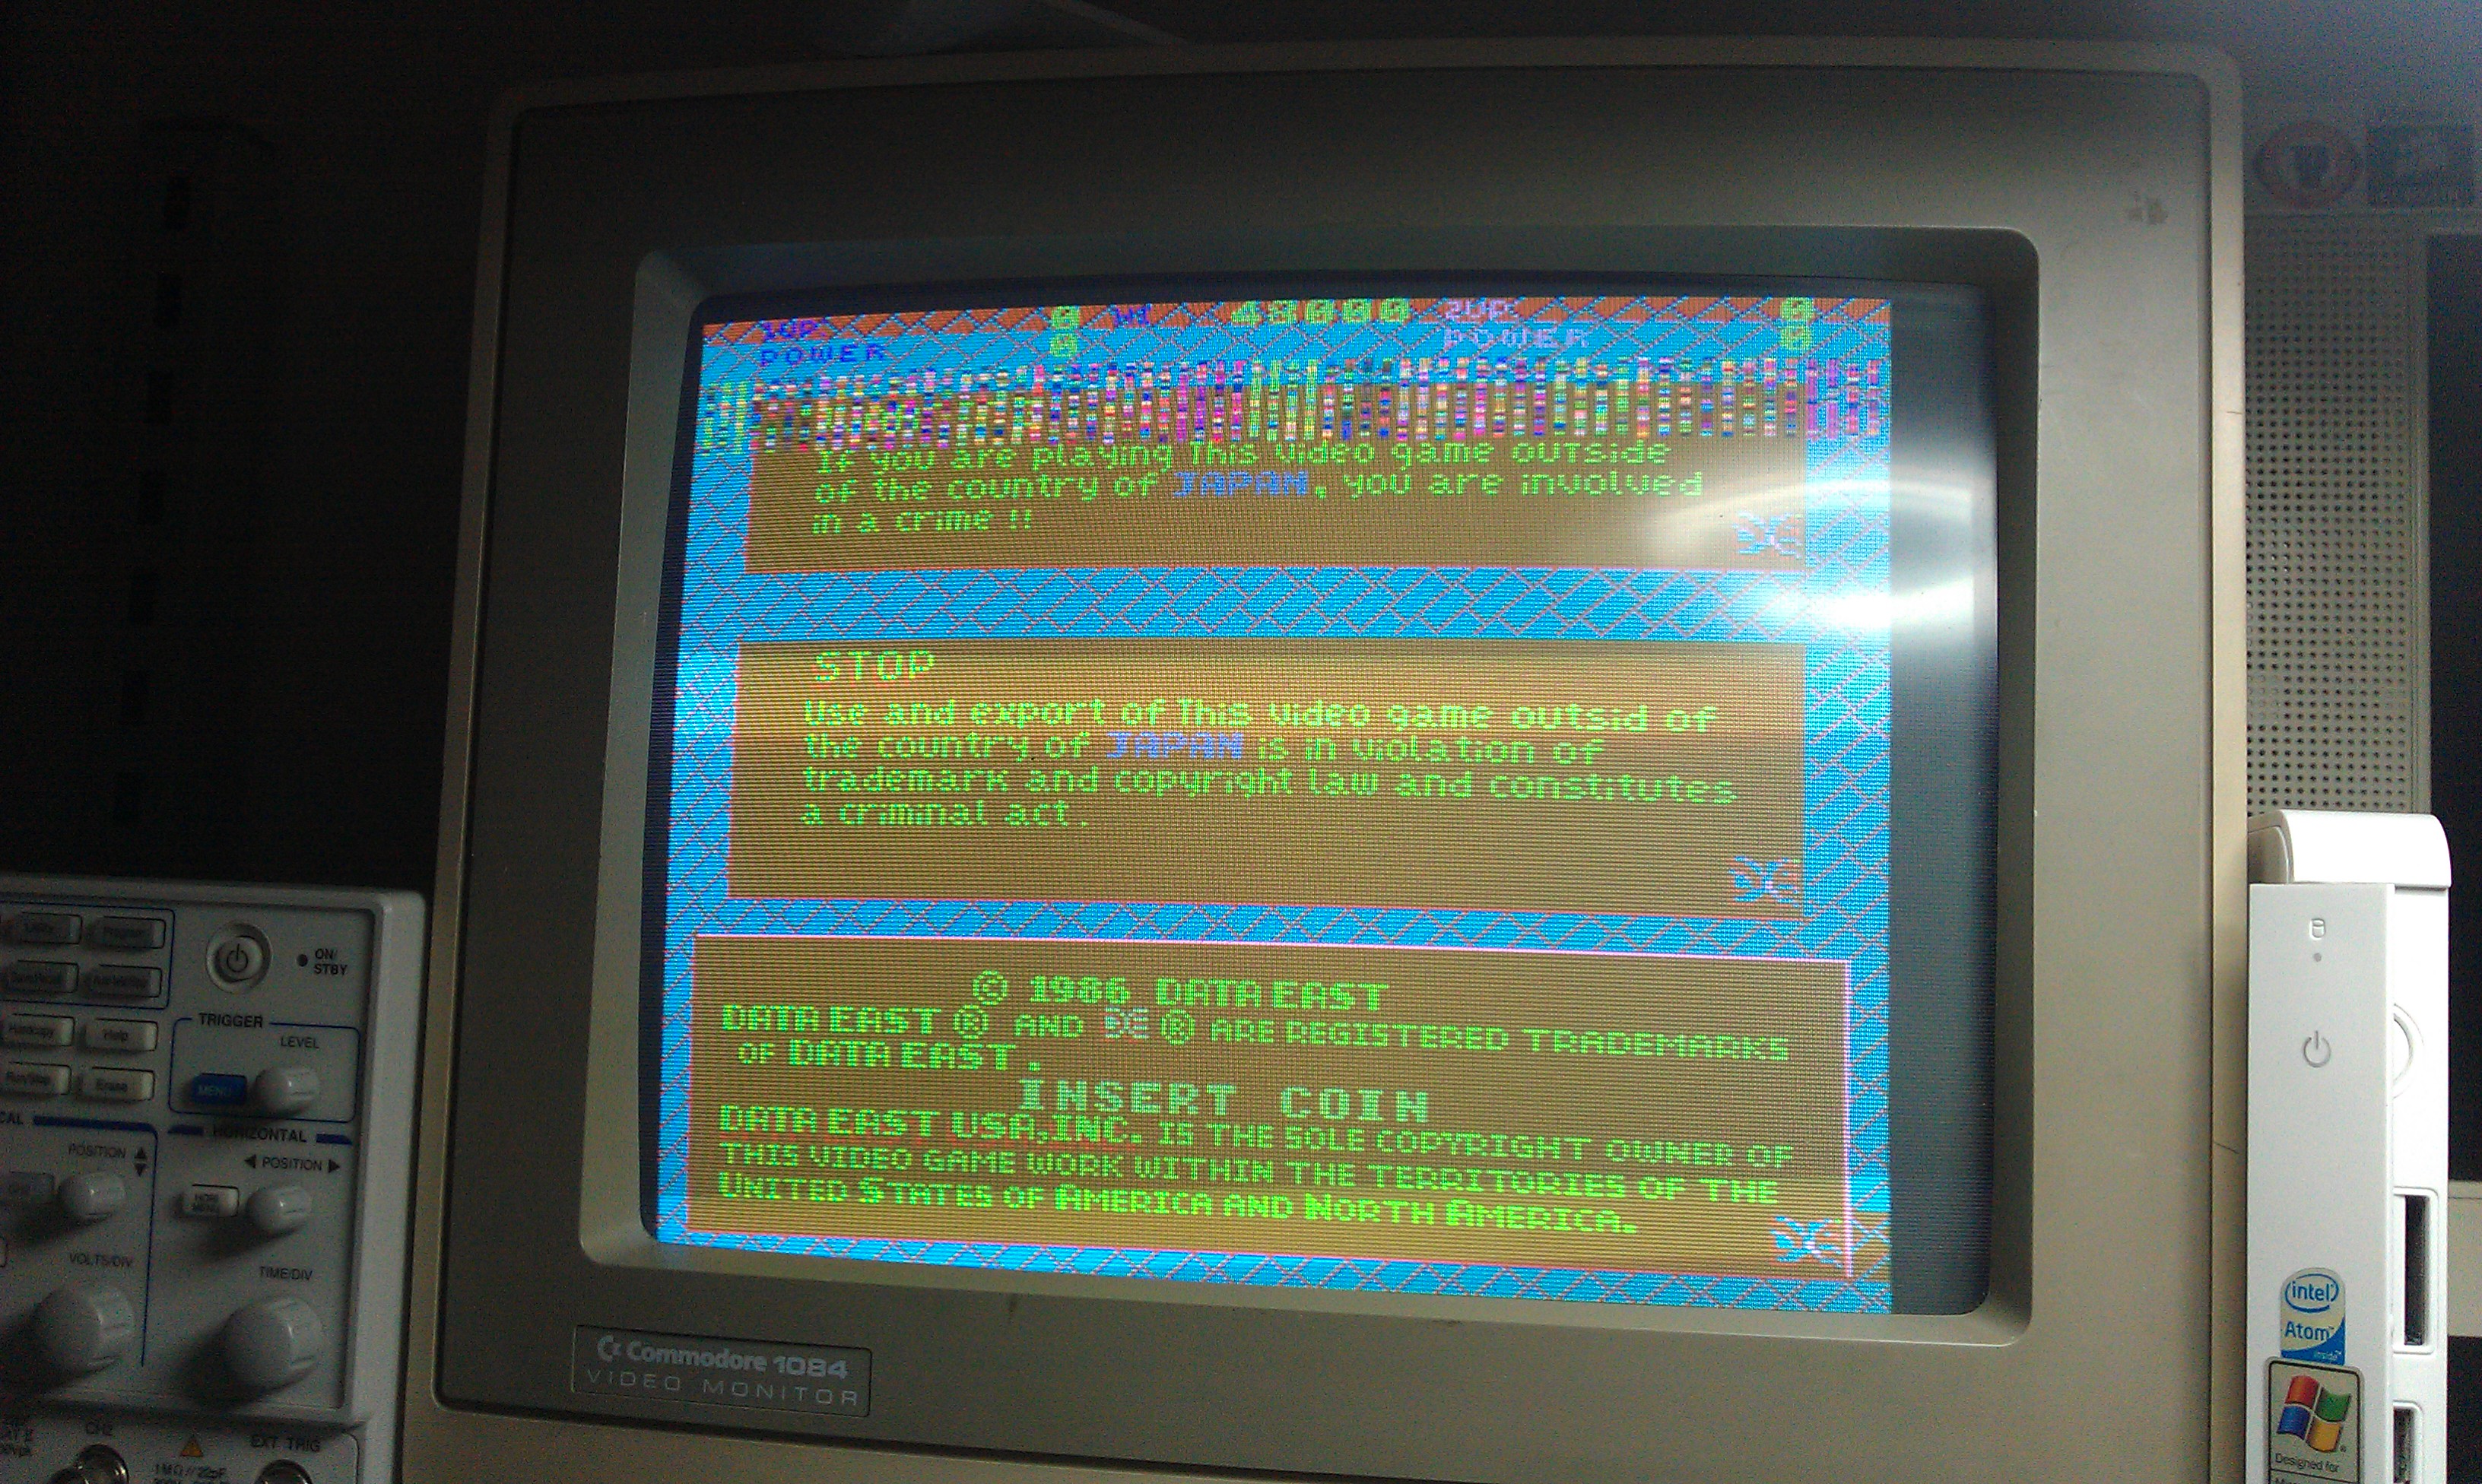
C board was dead so fitted one from an old Street Fighter 2 CE and got this
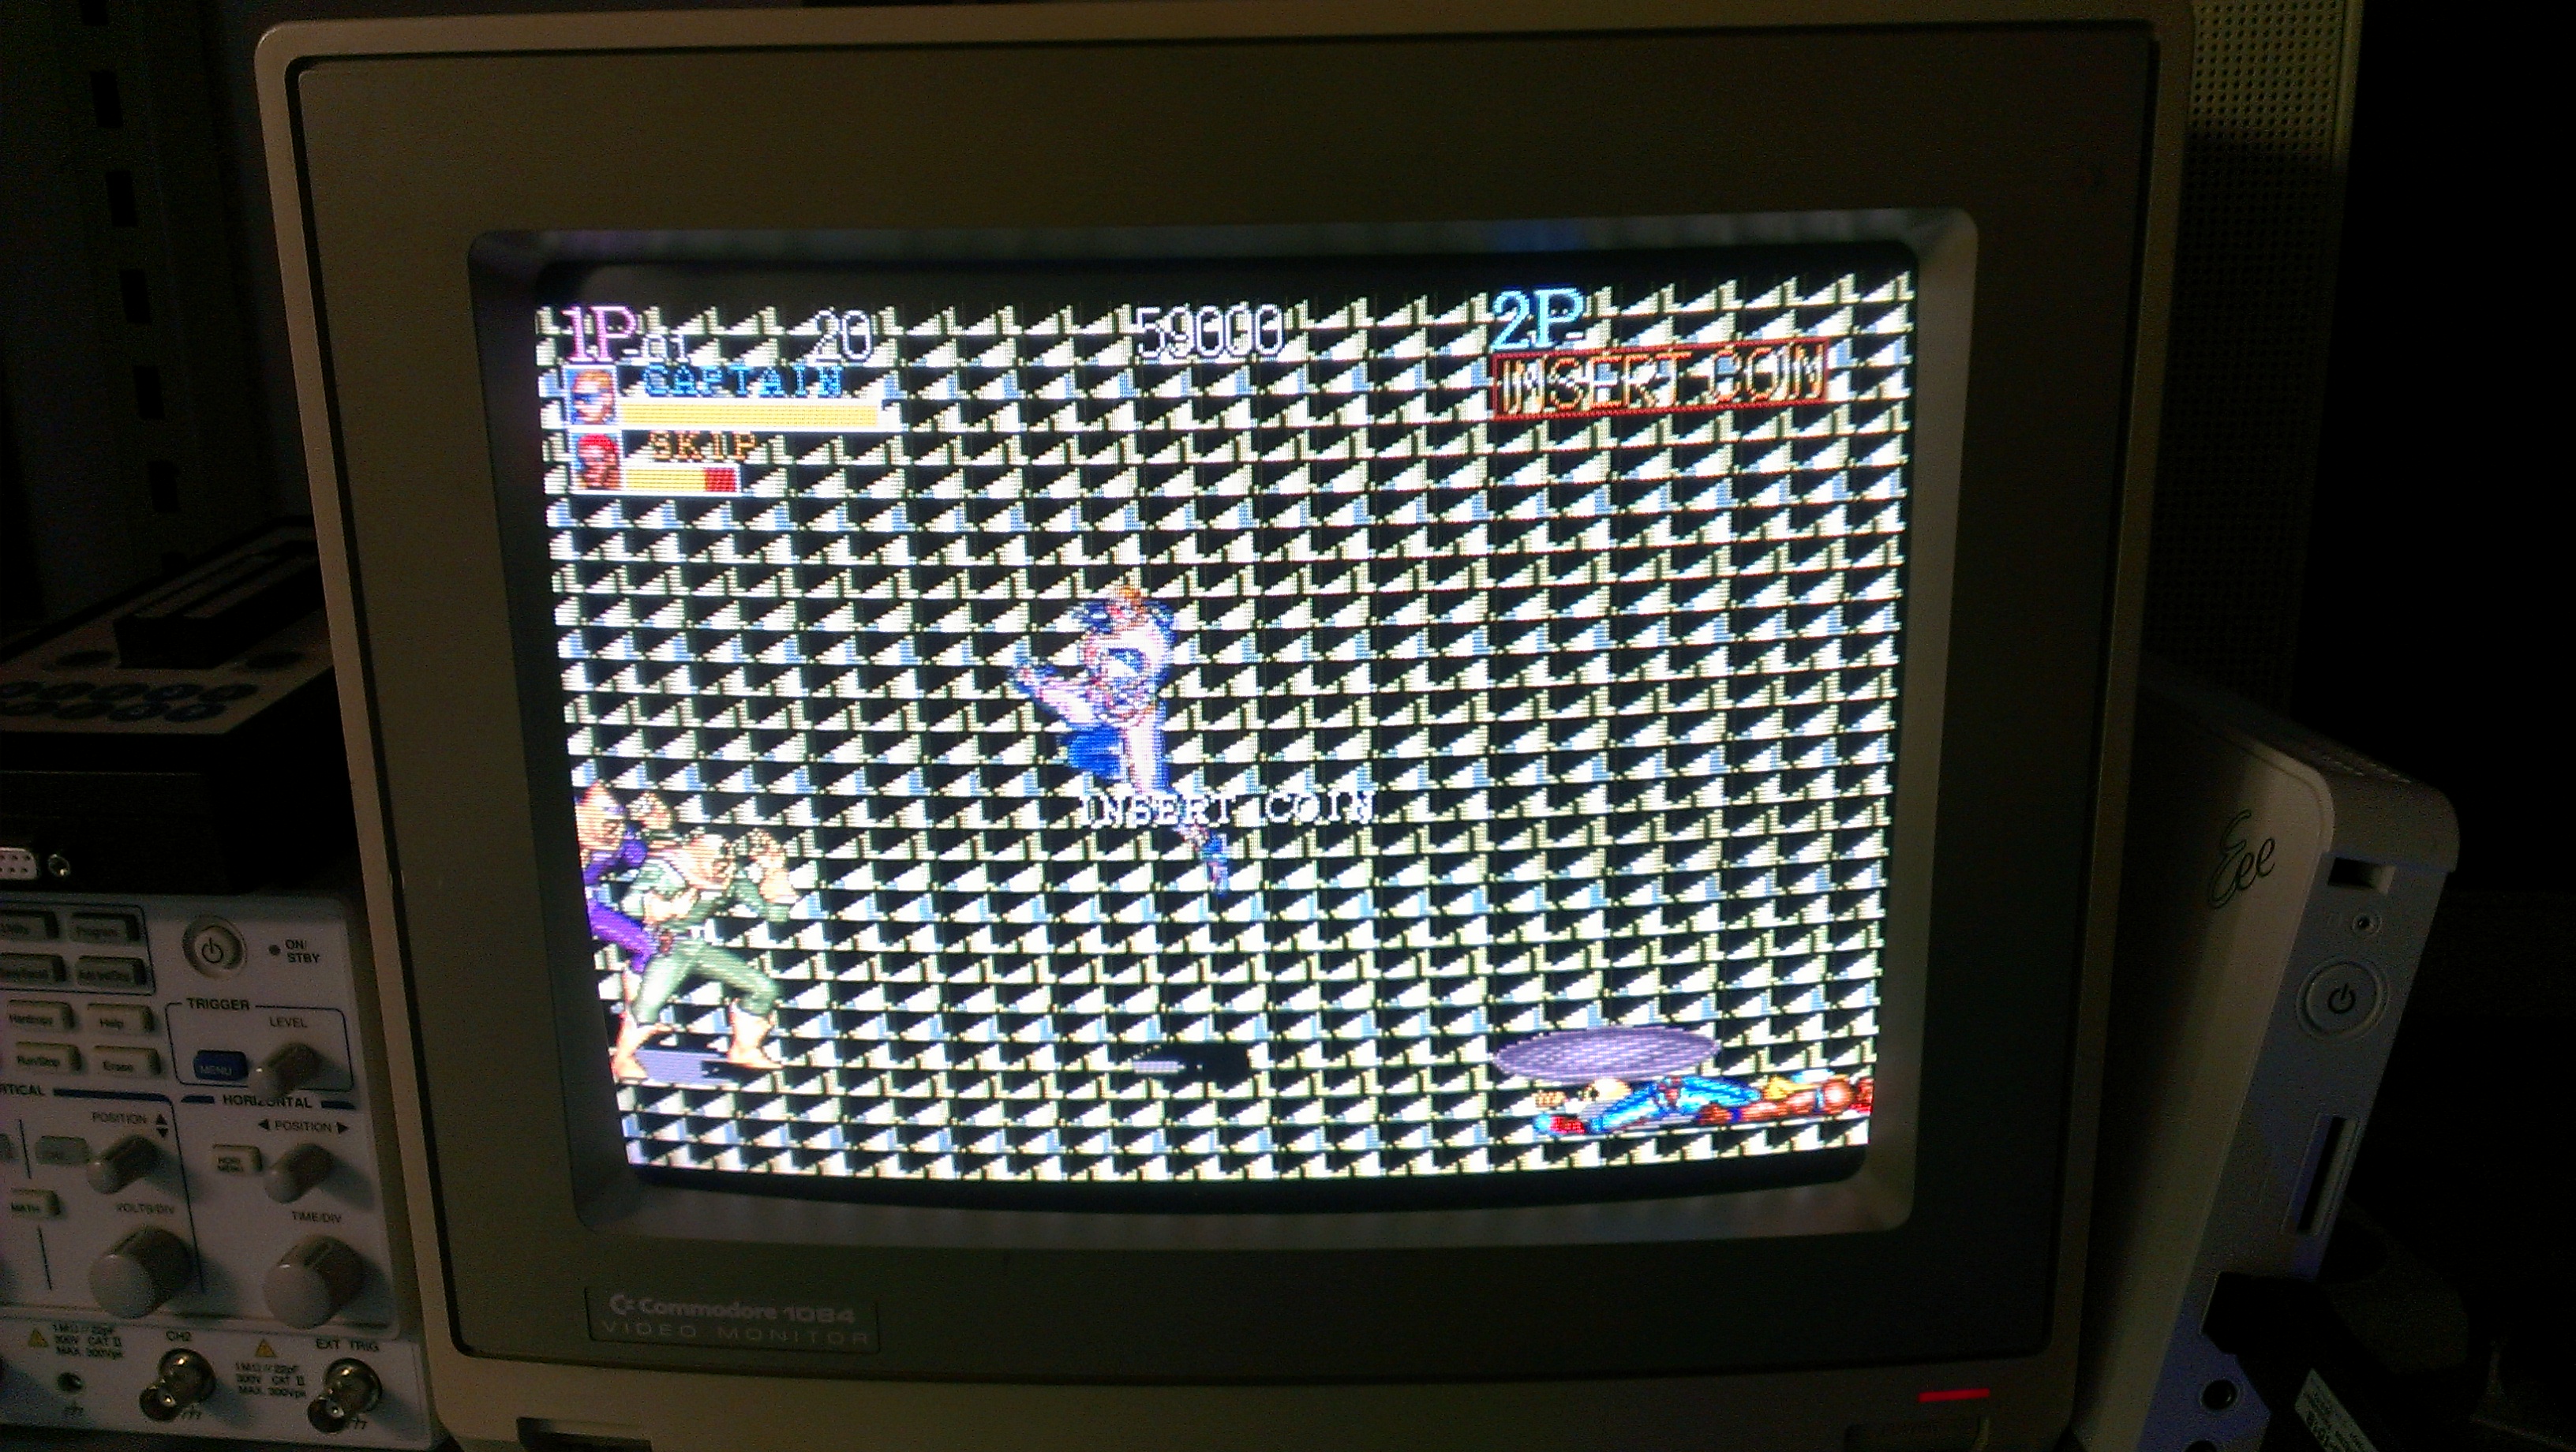
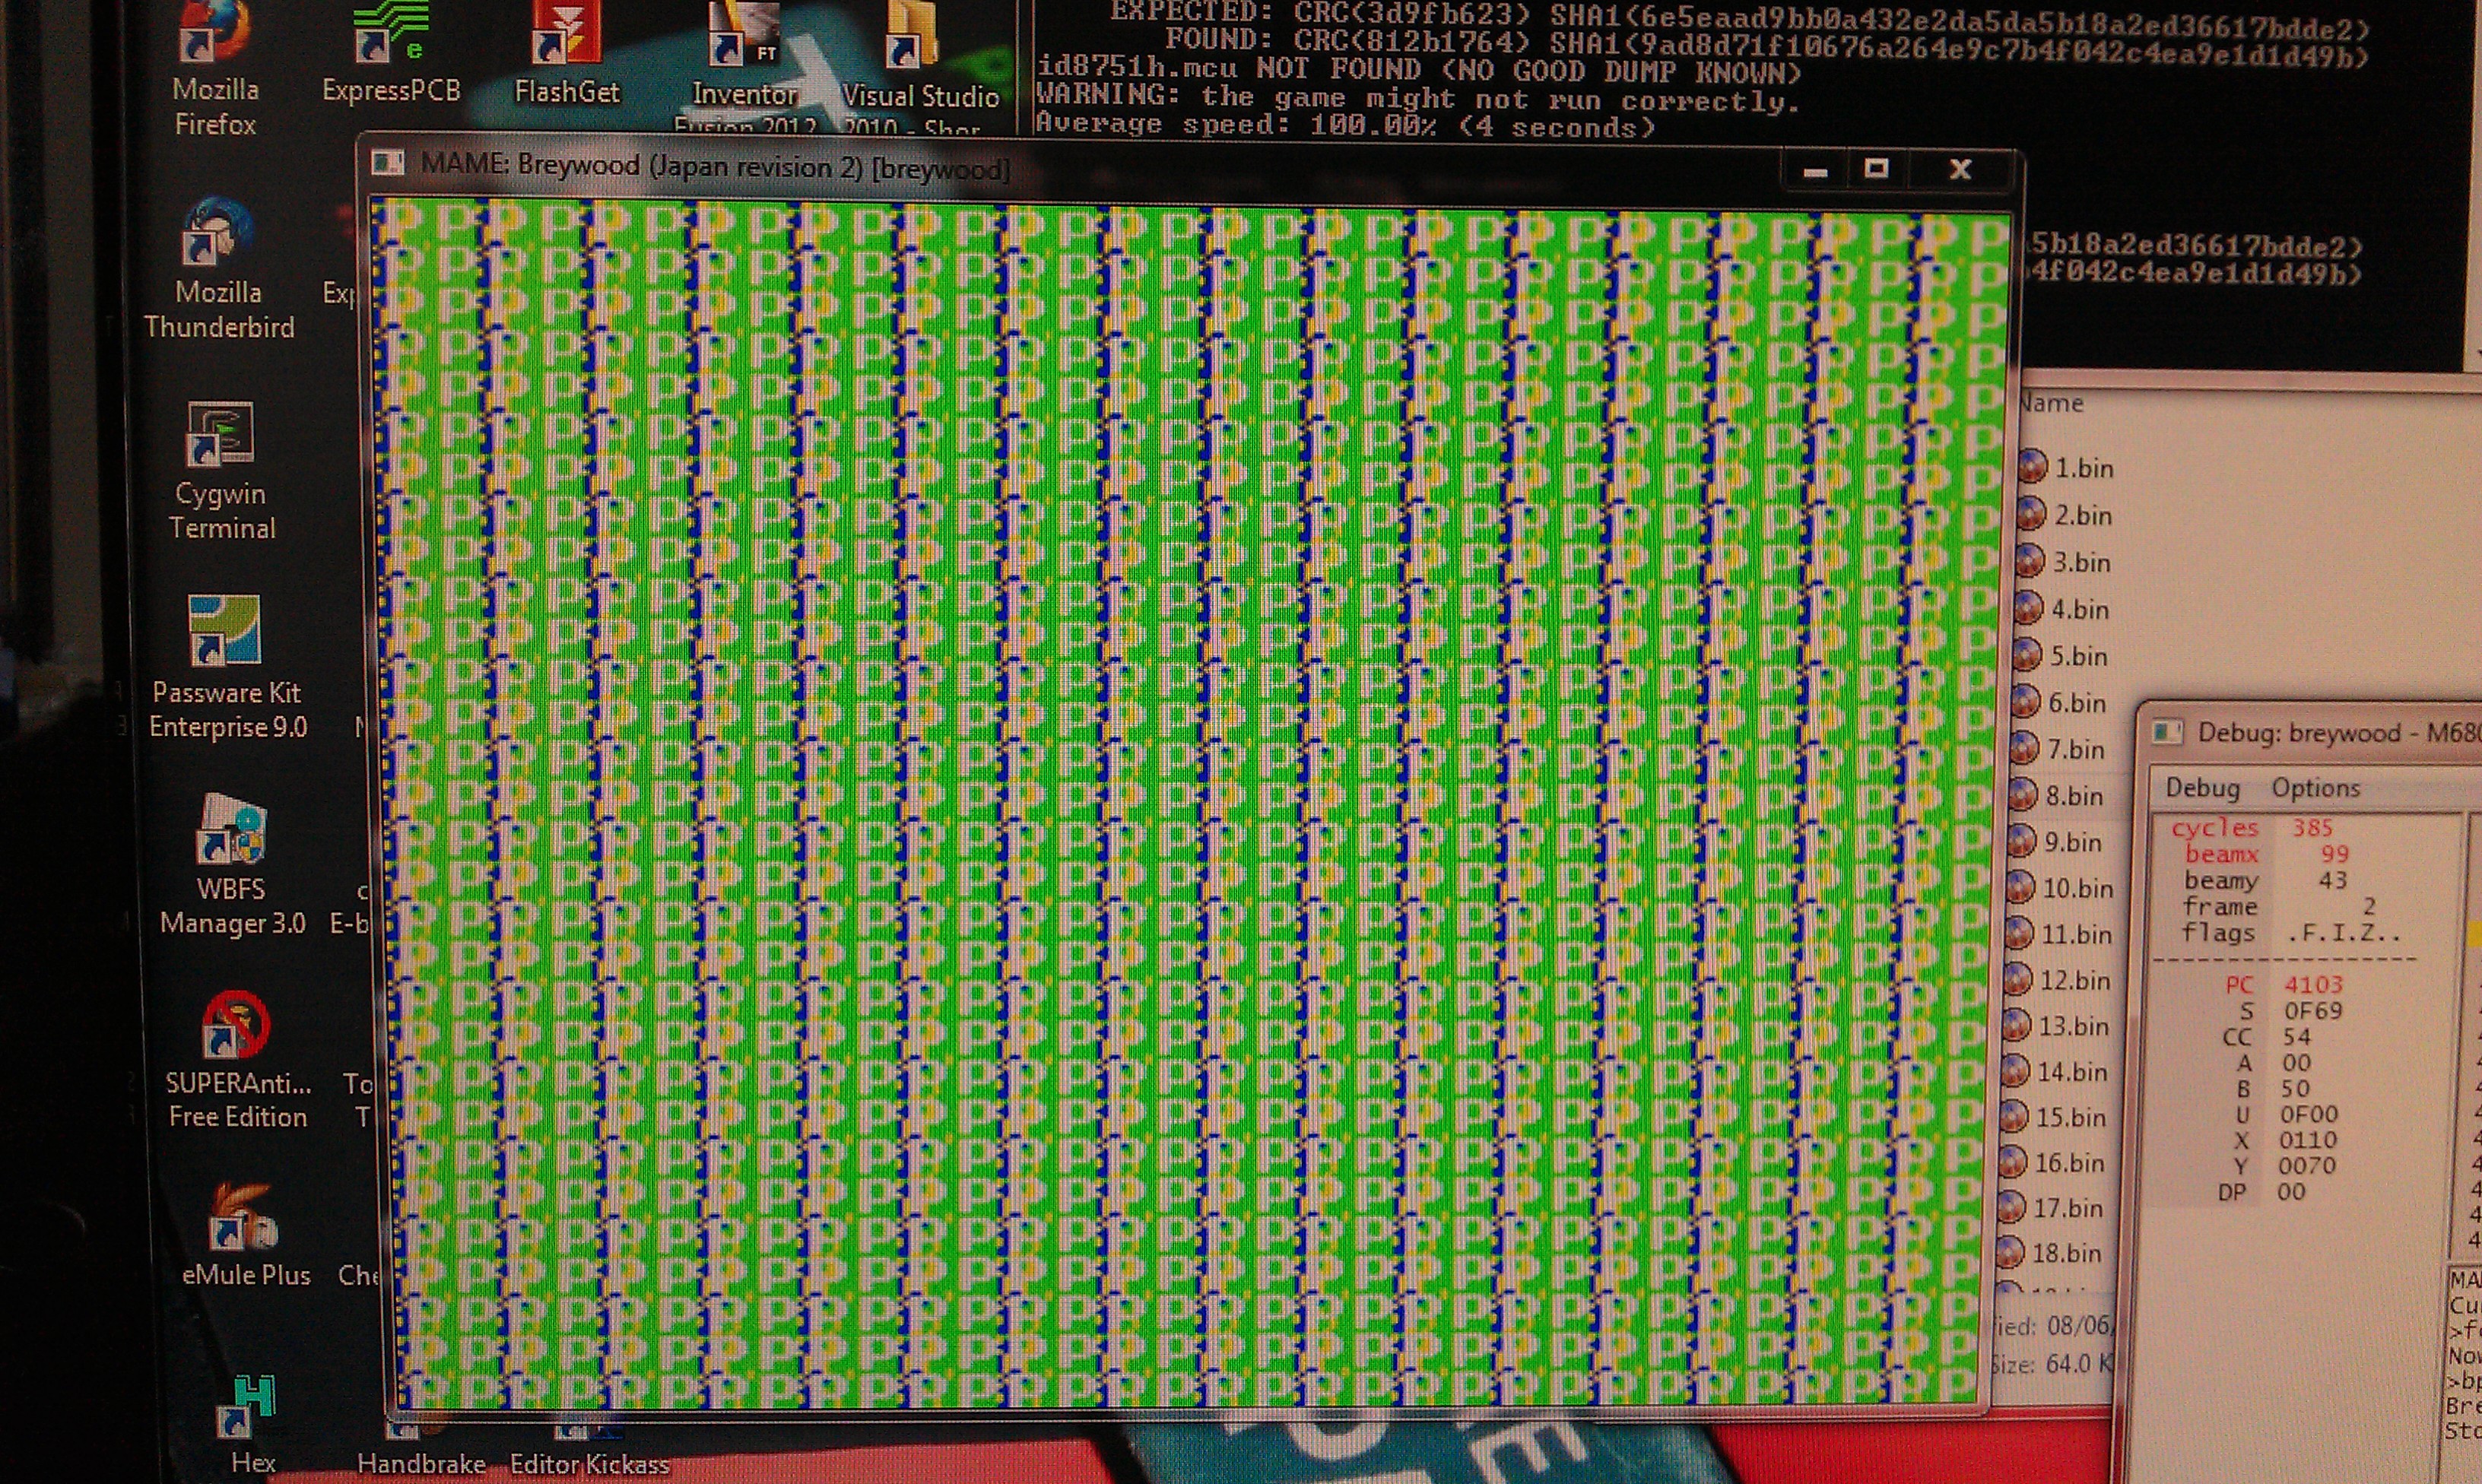
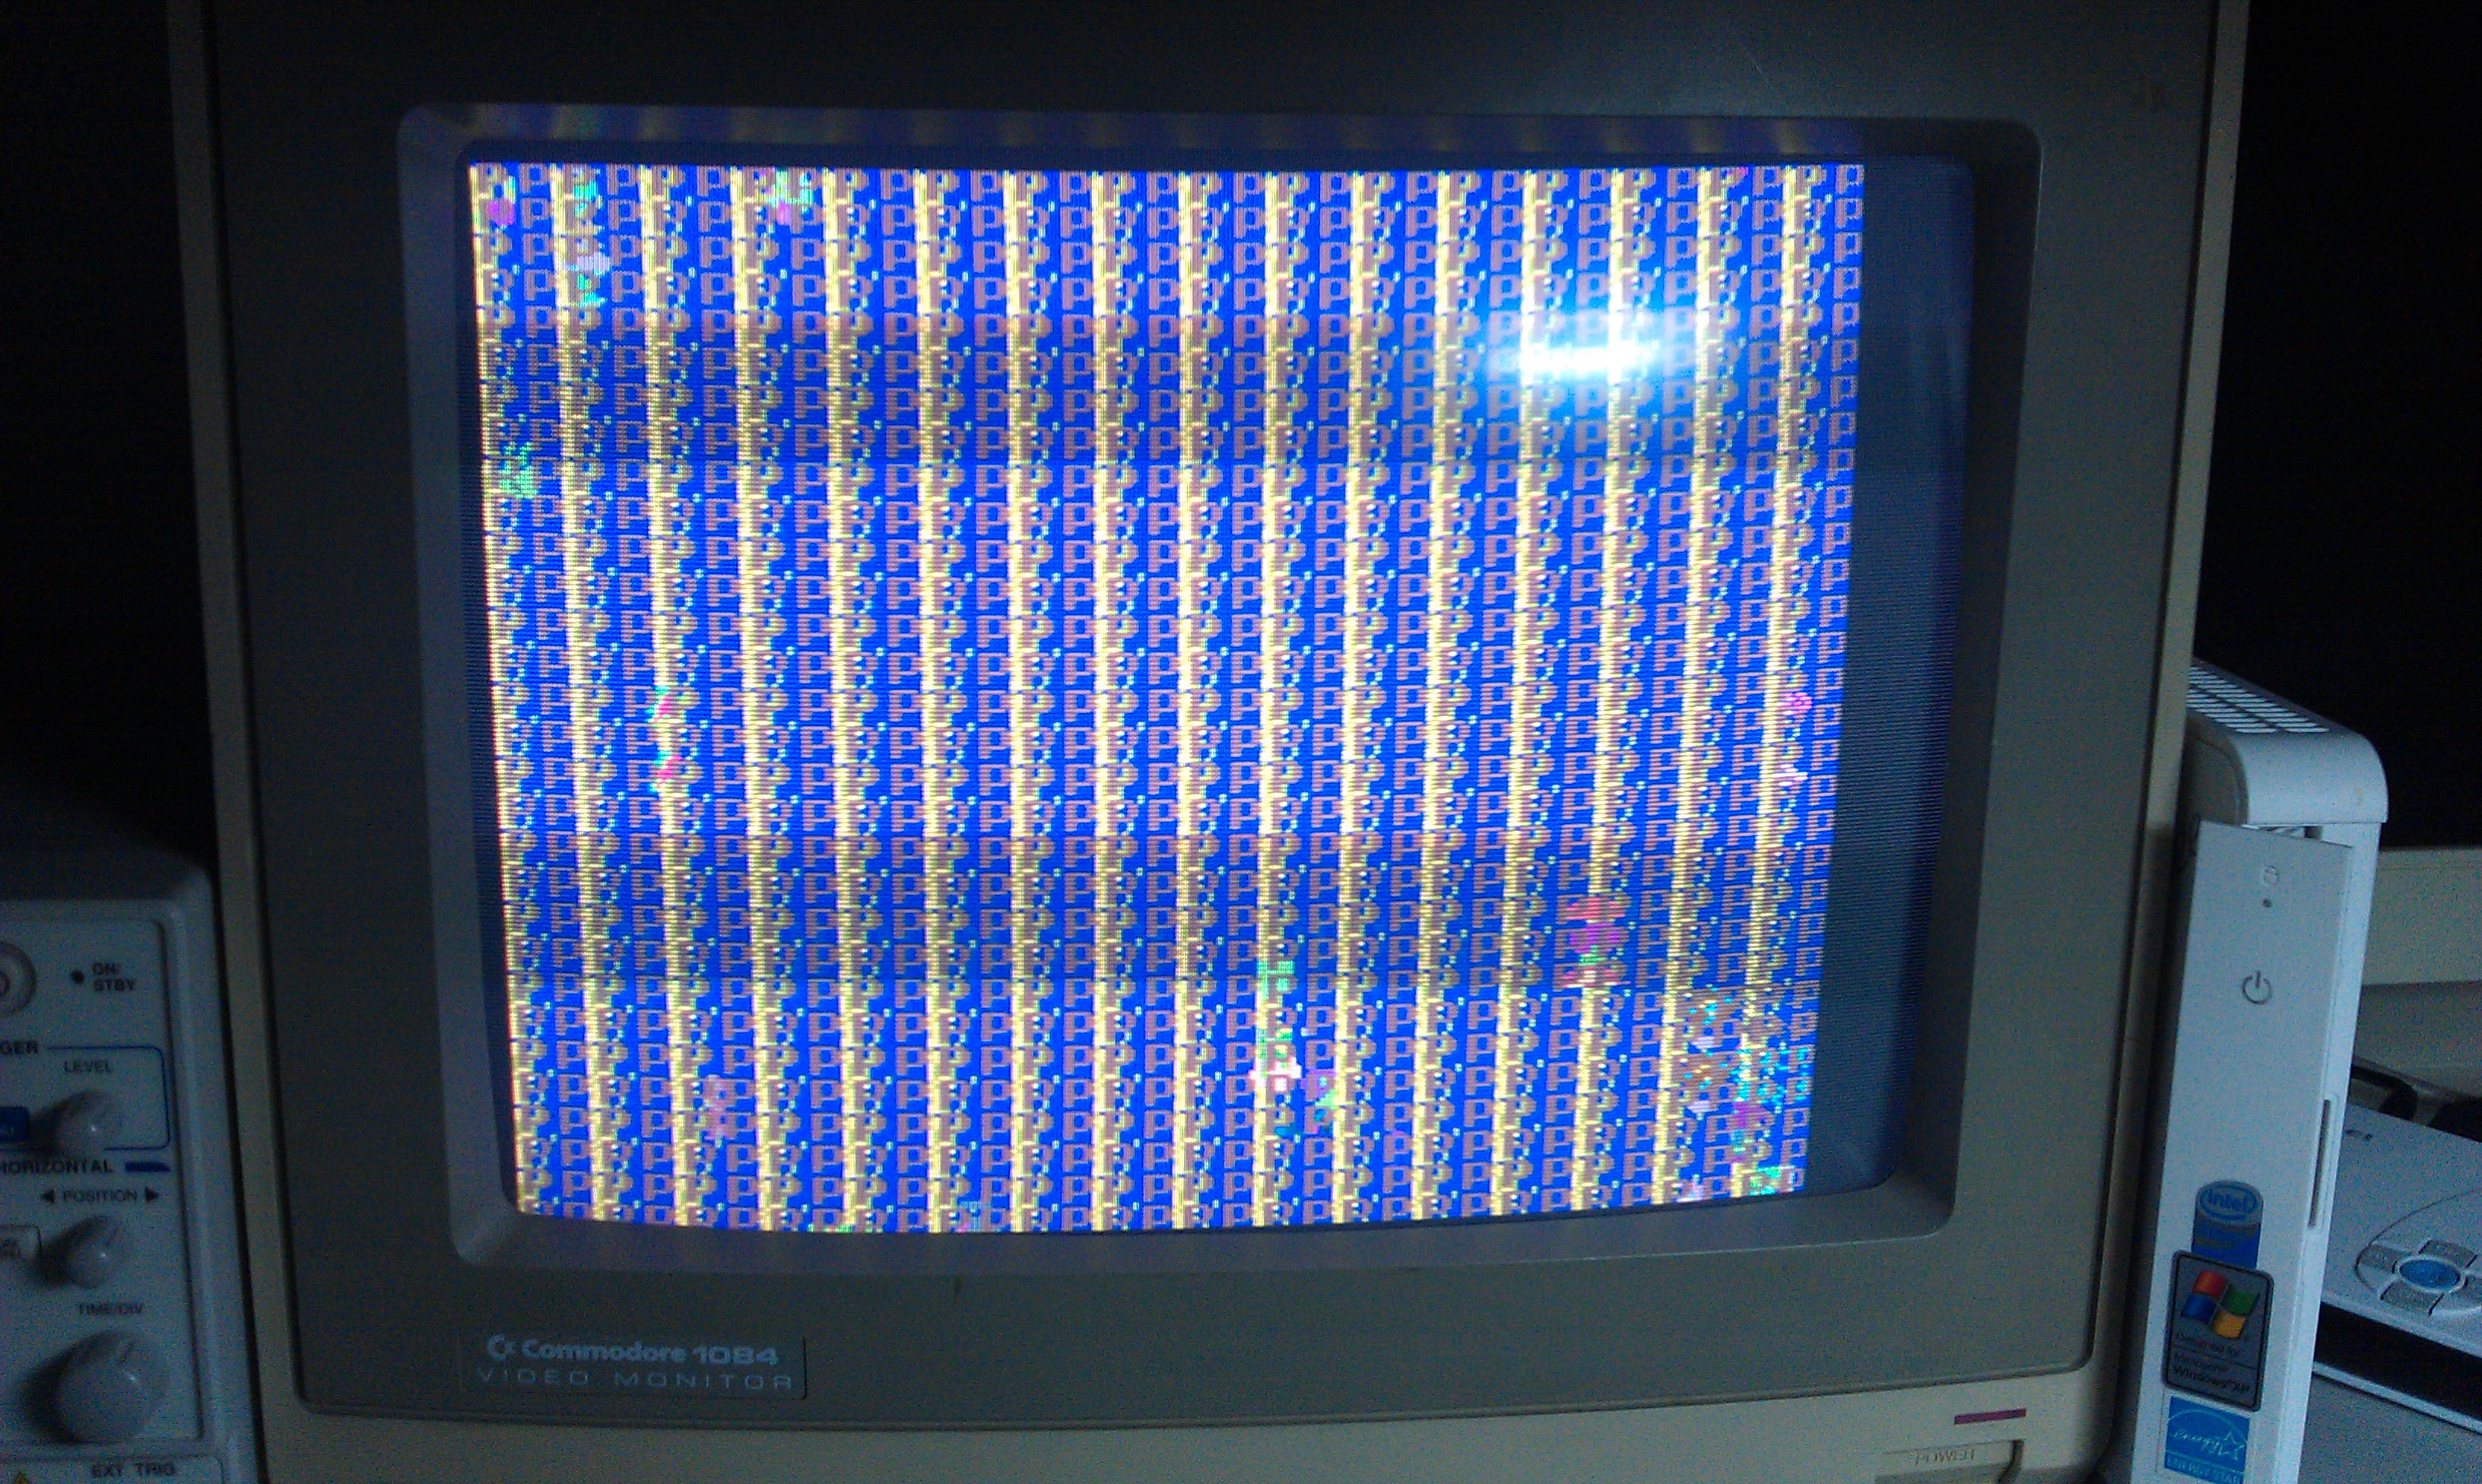
I end up with most of the graphics being garbage and no sound.
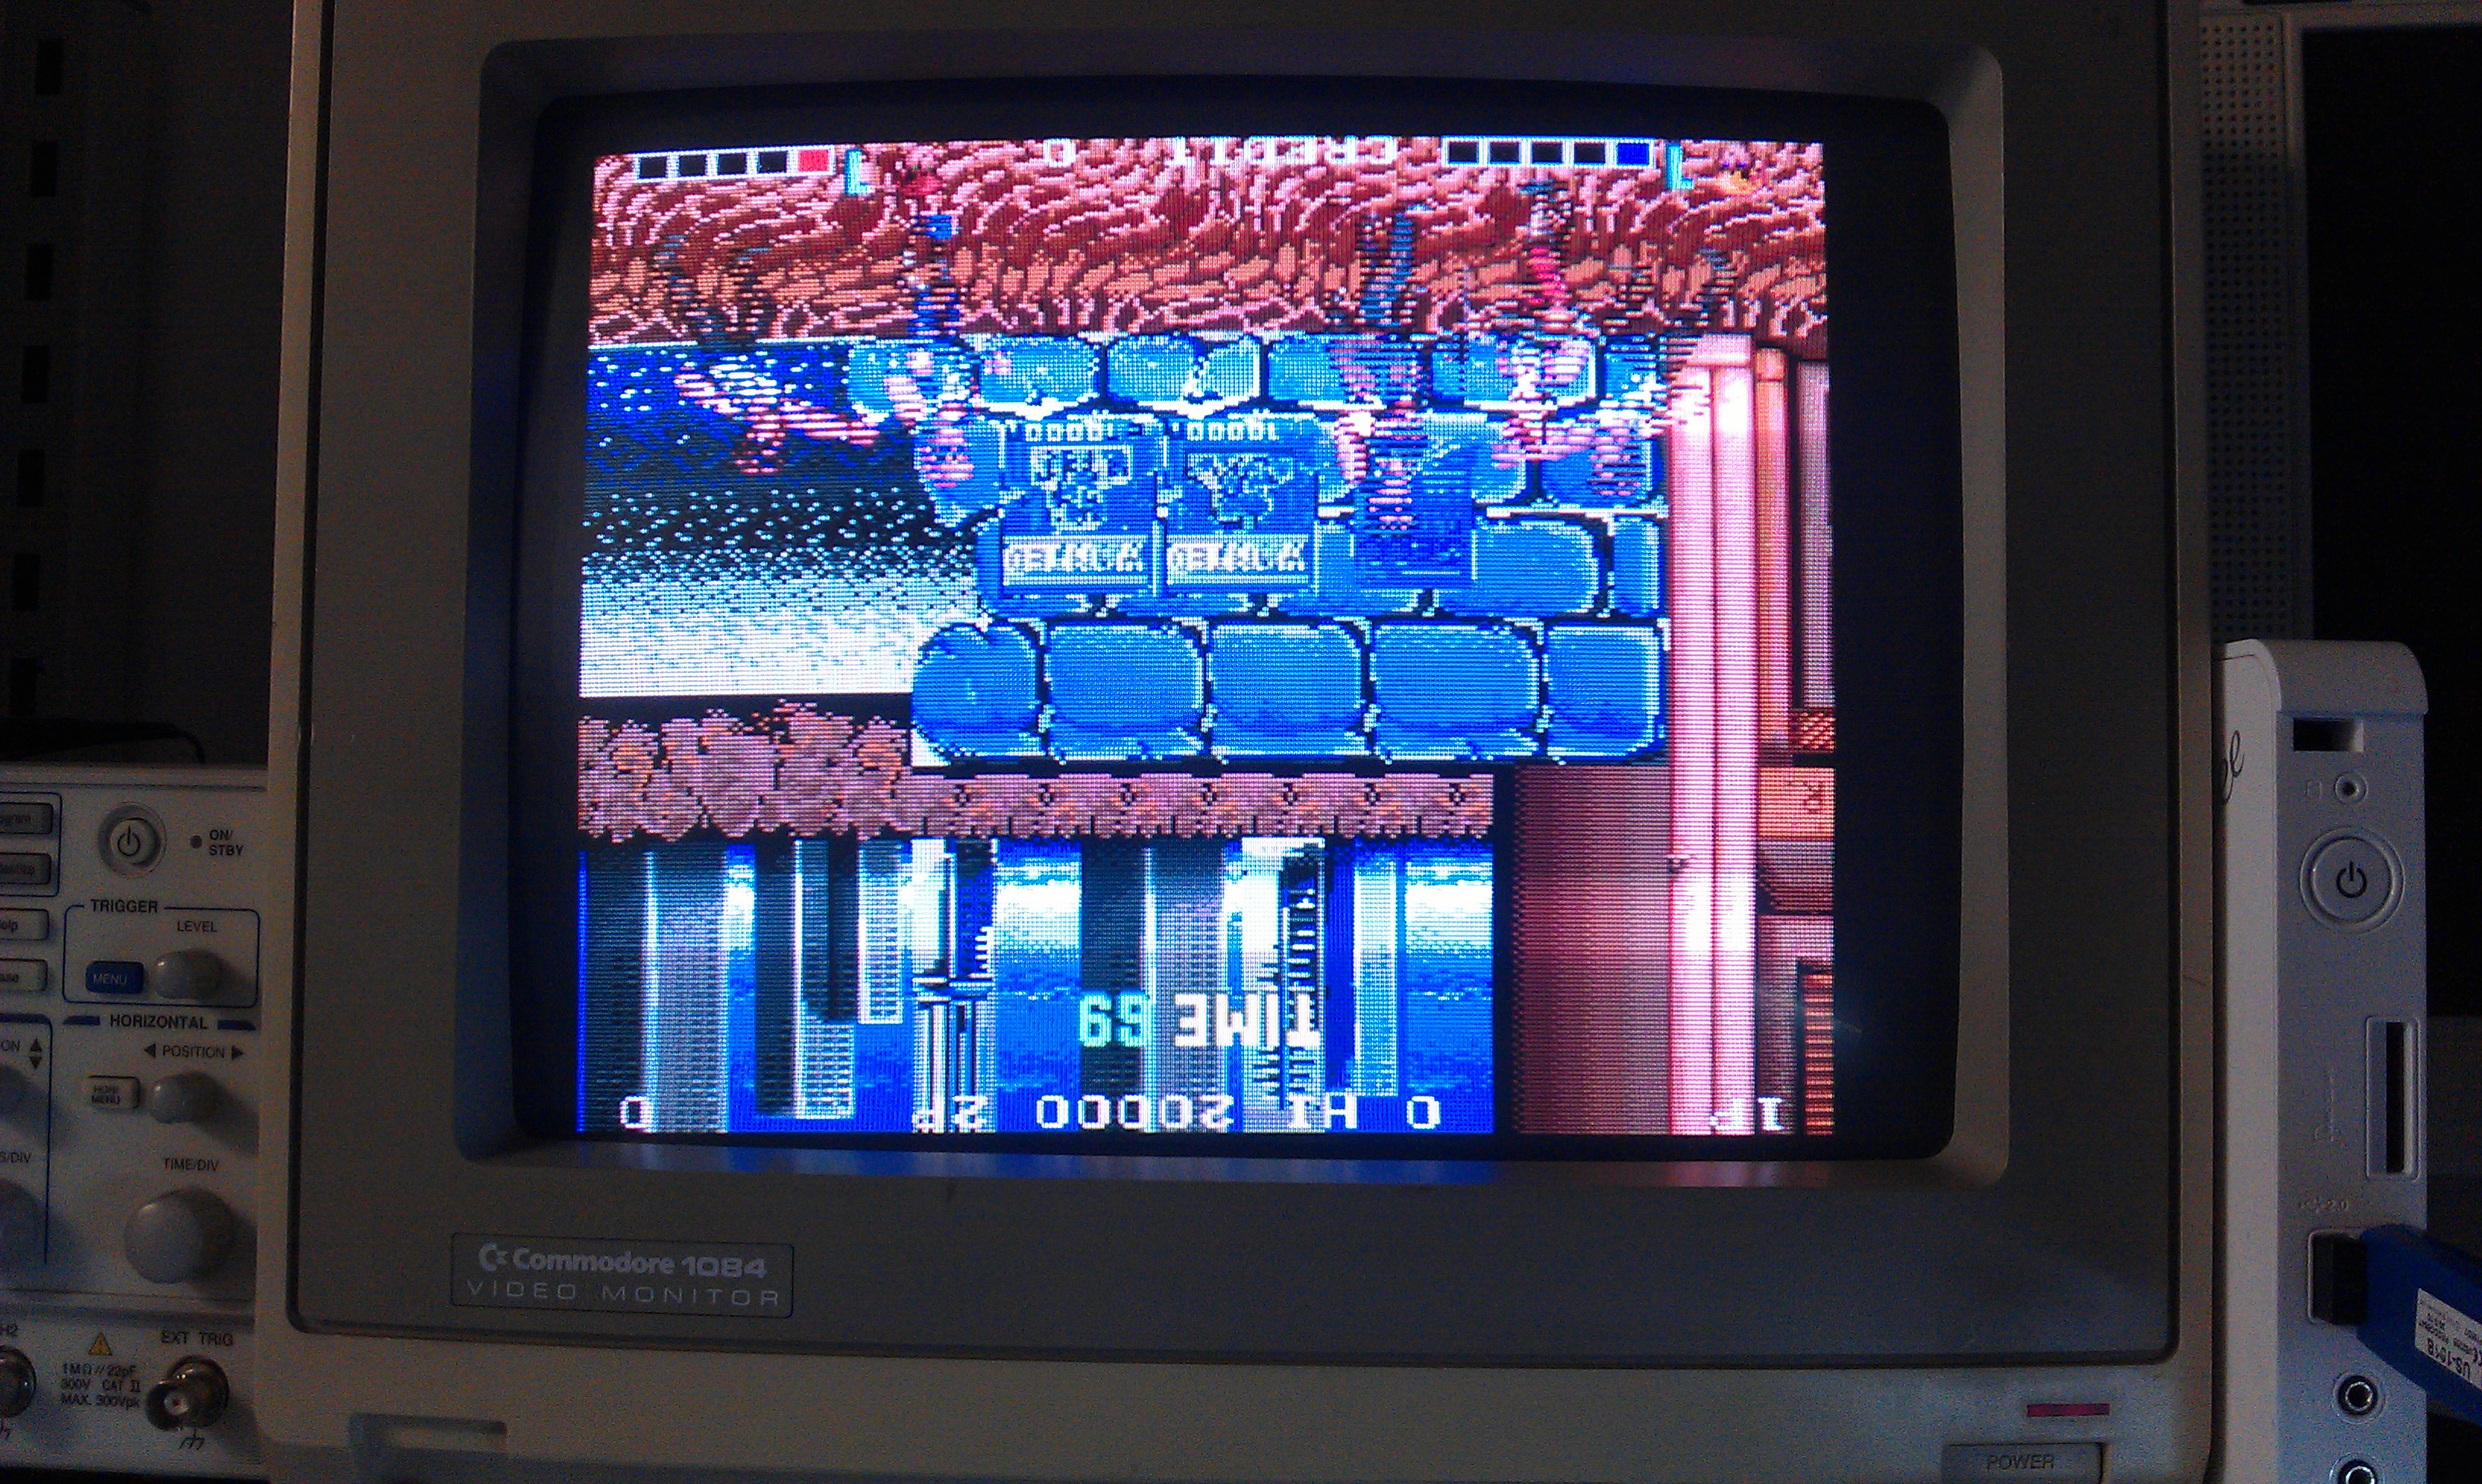
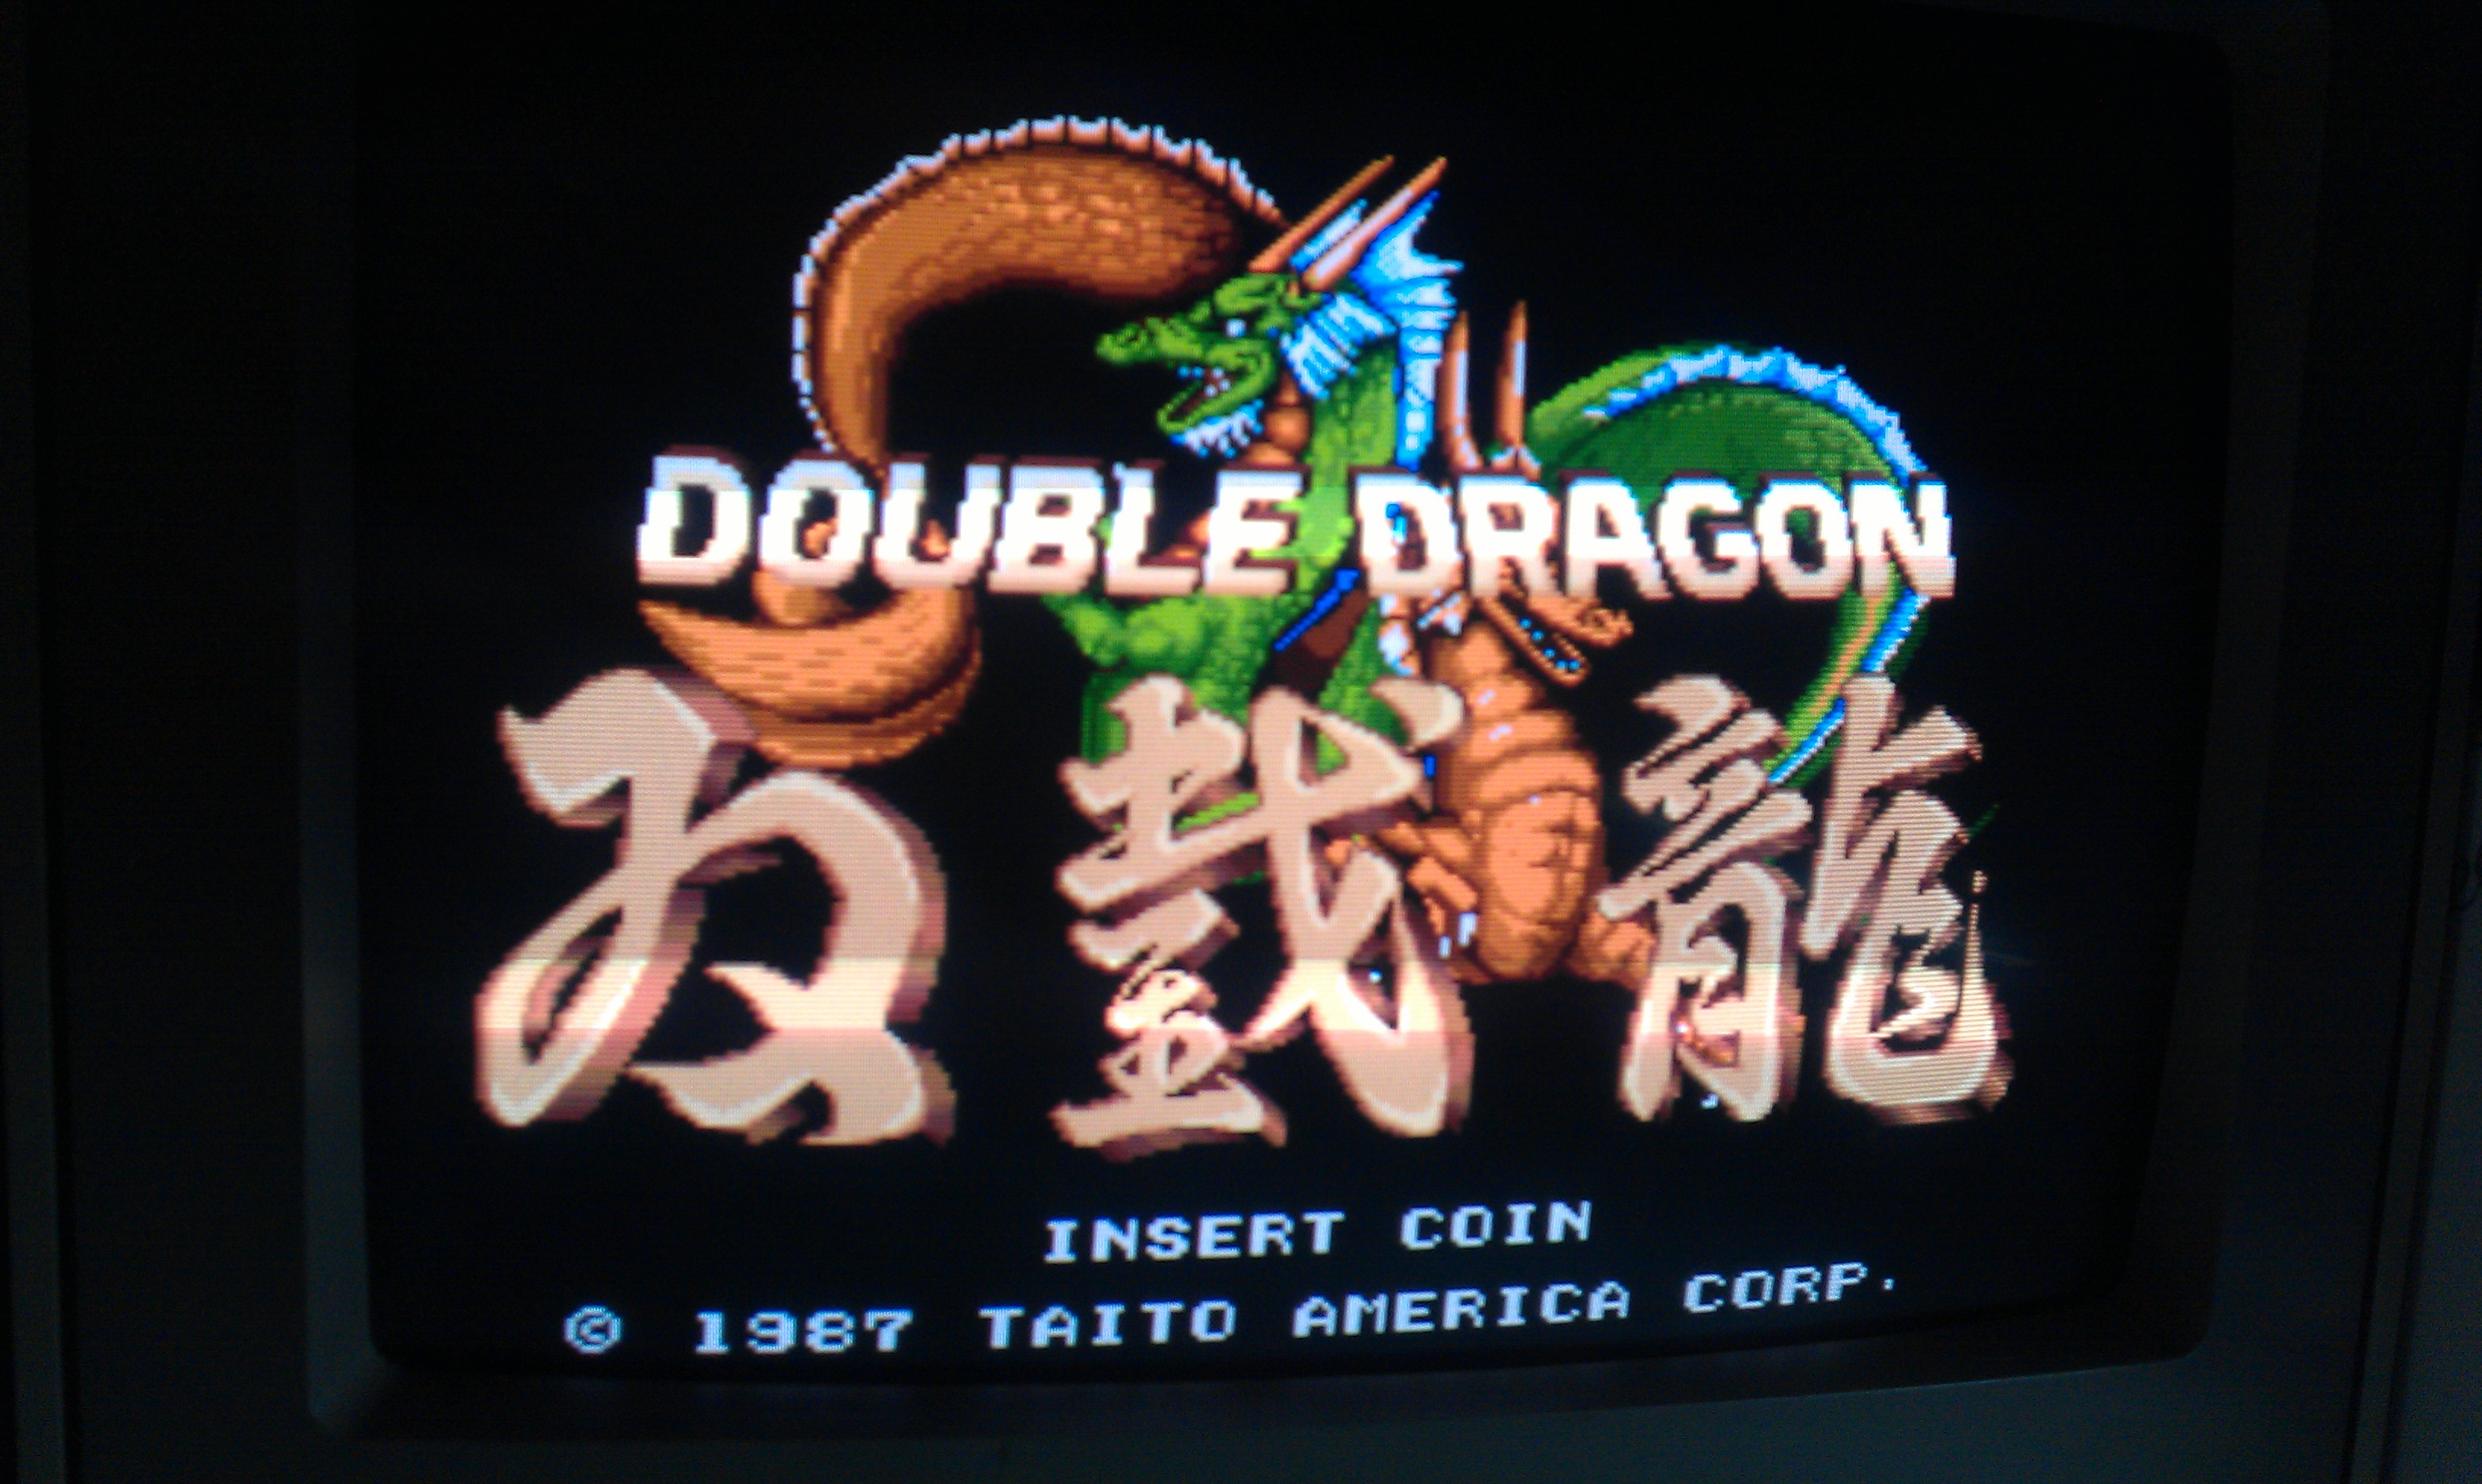
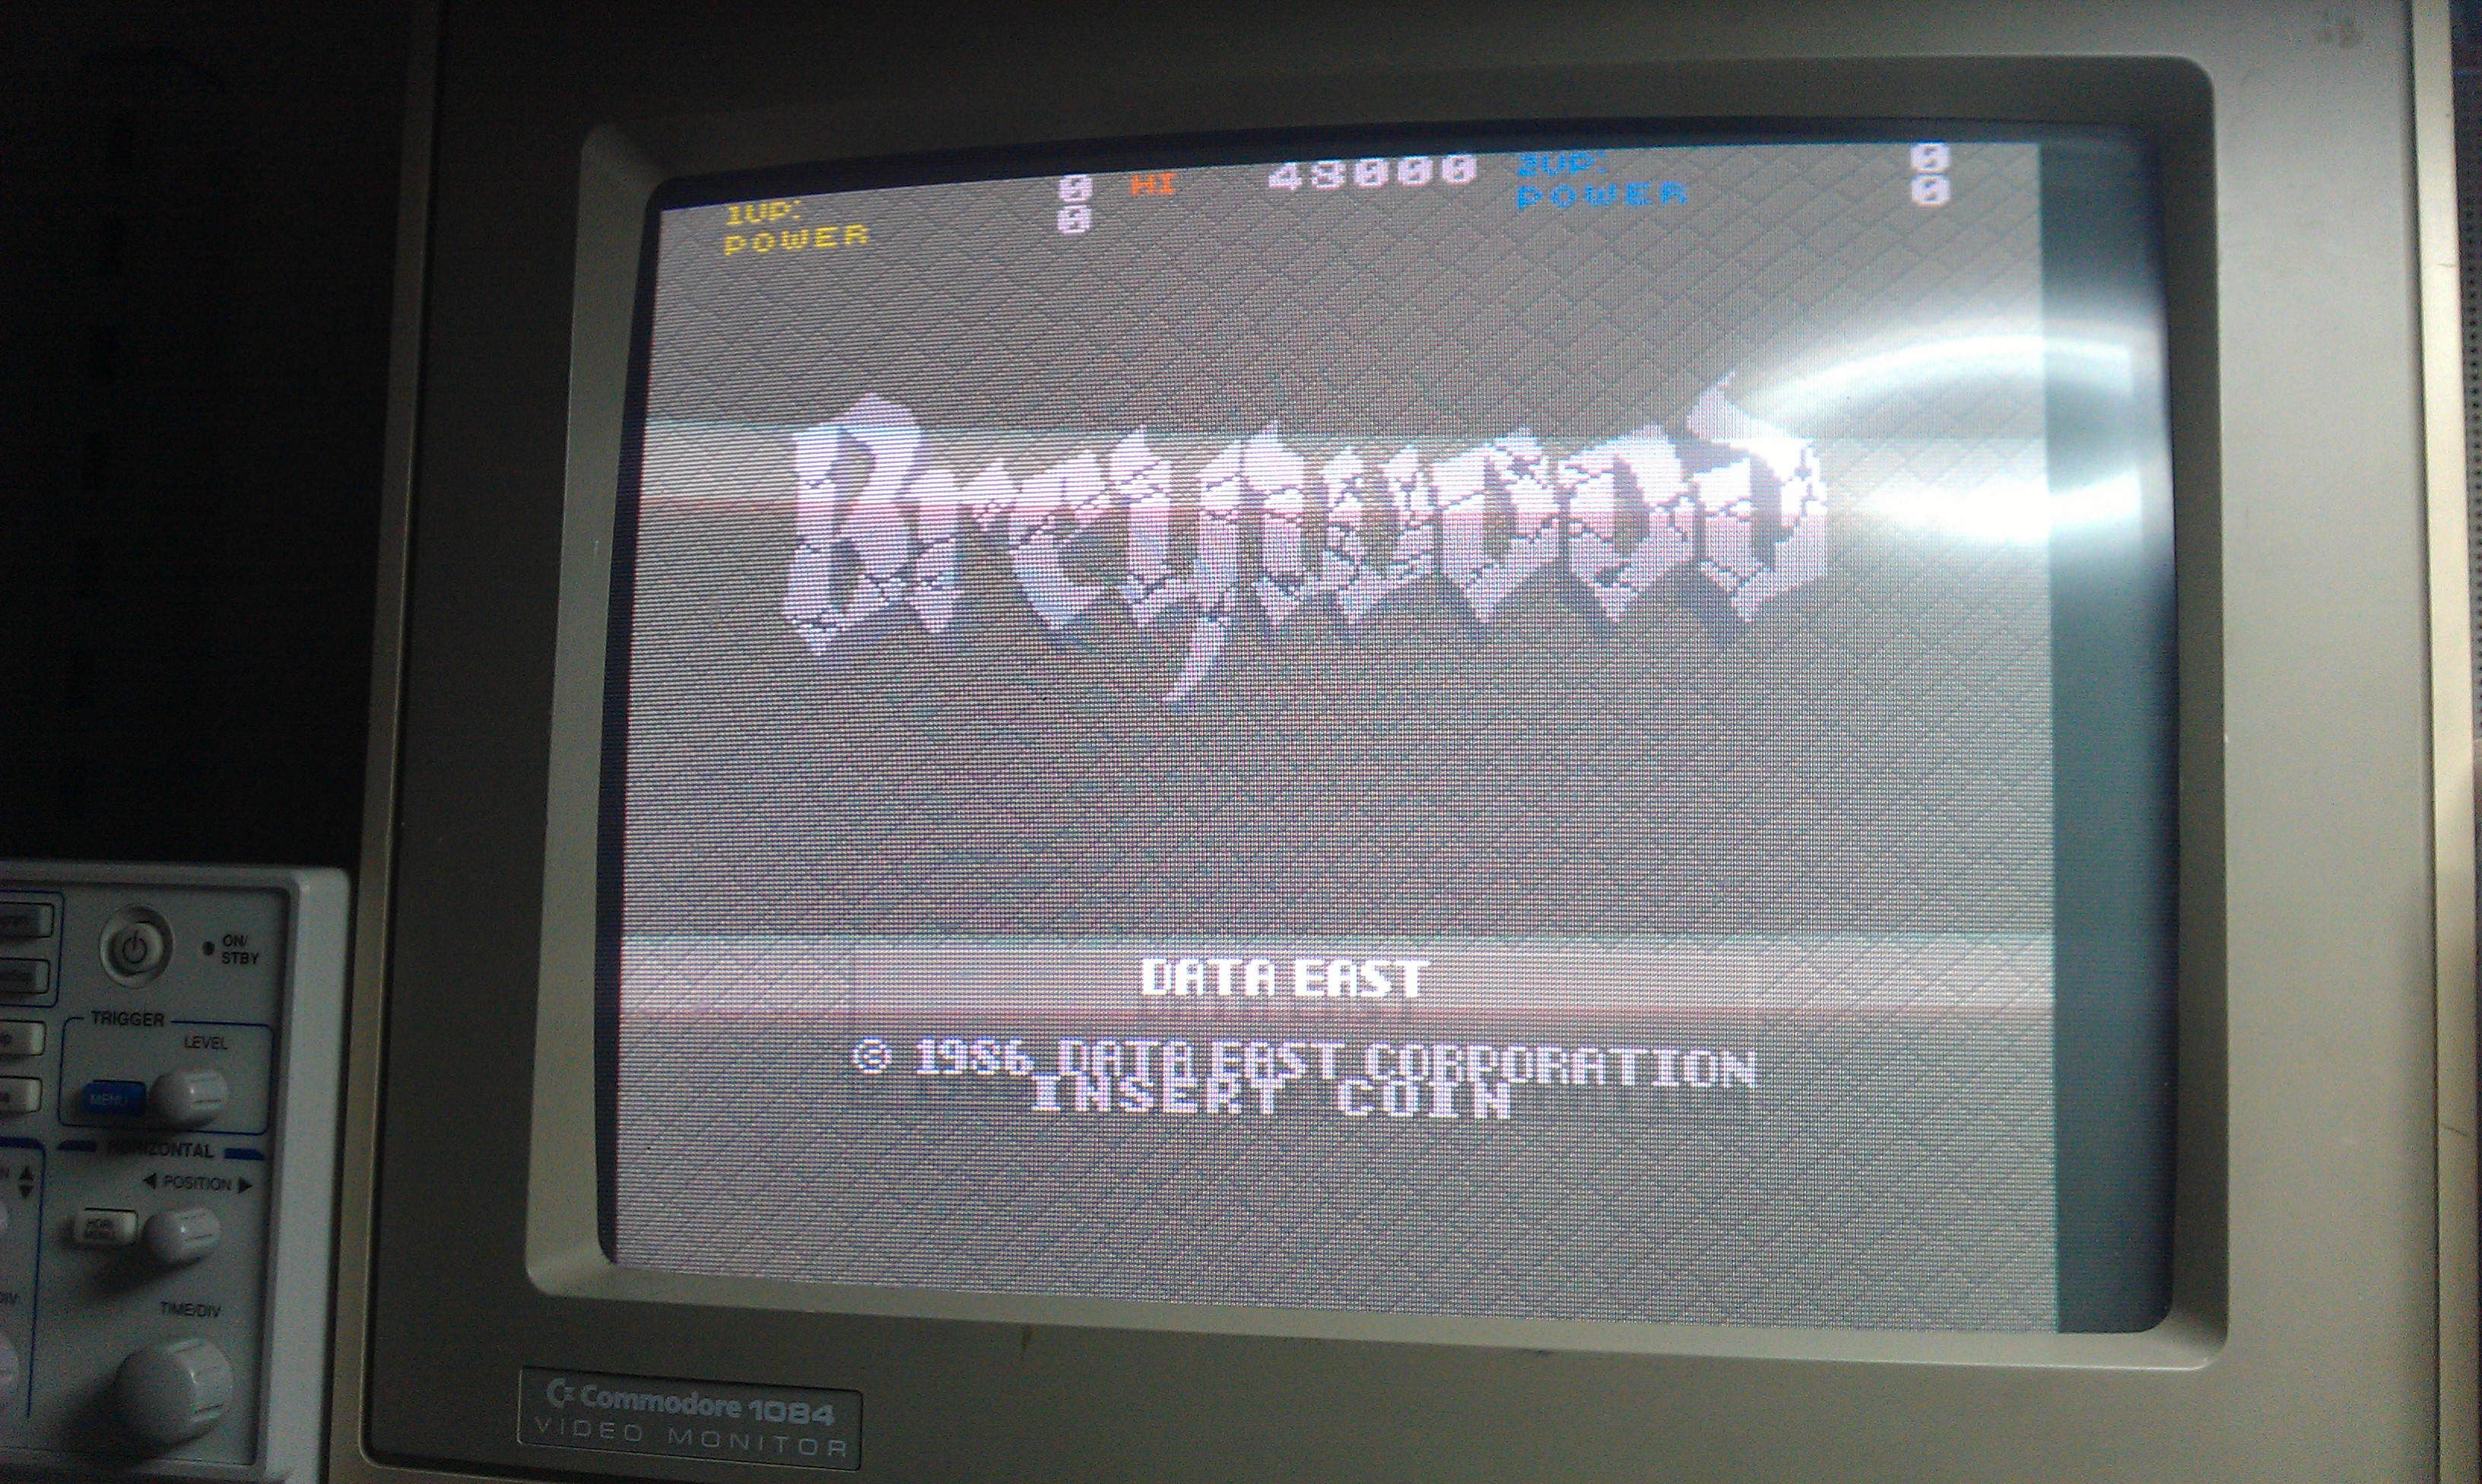
This took me a while to figure out but in the end I should have ignored the silkscreen as the jumpers on board were set to accept JEDEC program ROM’s. I could have changed the jumper but decided just to burn new sound and program ROM’s instead. Now the sound and graphics were all fine.
I dumped the PAL’s that were on this too.
Fast forward to a few days ago and I get an email telling me the CCPRG PAL doesn’t work. Strange as it works for me. I reburned the GAL and tested but got nothing but a black screen.
Not sure what happened when I originally uploaded the PAL but I uploaded the wrong one. This has now been sorted and fully tested.
Thanks to Robotype for pointing this out to me and persisting with it when I didn’t really believe him.