Jan 072016
 

I bought a really trashy copy of Xmen Children of the Atom off of eBay out of sheer curiosity. The auction’s description indicated that the B board was bad, and had caused the previous owner’s power supply fuse to blow. WHOAH! Sounds like more than just the normal suicide issue most “dead” CPS-2 boards have. I decided to take a gamble and won the auction for a whopping $8.

Upon arrival, I opened the PCB and was greeted by an old abandoned mud-wasp nest. GROSS! I gave the PCB and shell a good bath to get all of the nest remnants off of it. At a first glance, outside of being dirty, the PCB looked to be OK. The original battery was still in place, and read 0.0v (thankfully it did not leak). Clearly this board had suicided. I decided to try out Razoola’s suicide tester in rom socket 3 (very handy). When I booted up the game, I could hear the 1st track of the audio playing (a good sign), however the diagnostics that should display were COMPLETELY blank. I had an entirely black screen.

At this point I decided it was worth while to try the decrypted Xmen program roms on my PCB, just to see if I got any signs of life out of the B board. After installing the Team Avalaunch decrypted rom set, the game would boot, eventually show the “mild animated violence screen”. After displaying that screen, the CPS2 would hang, reboot and repeat. No other sprites or text would display outside of the animated violence screen and it would not progress past that portion of the demo loop.

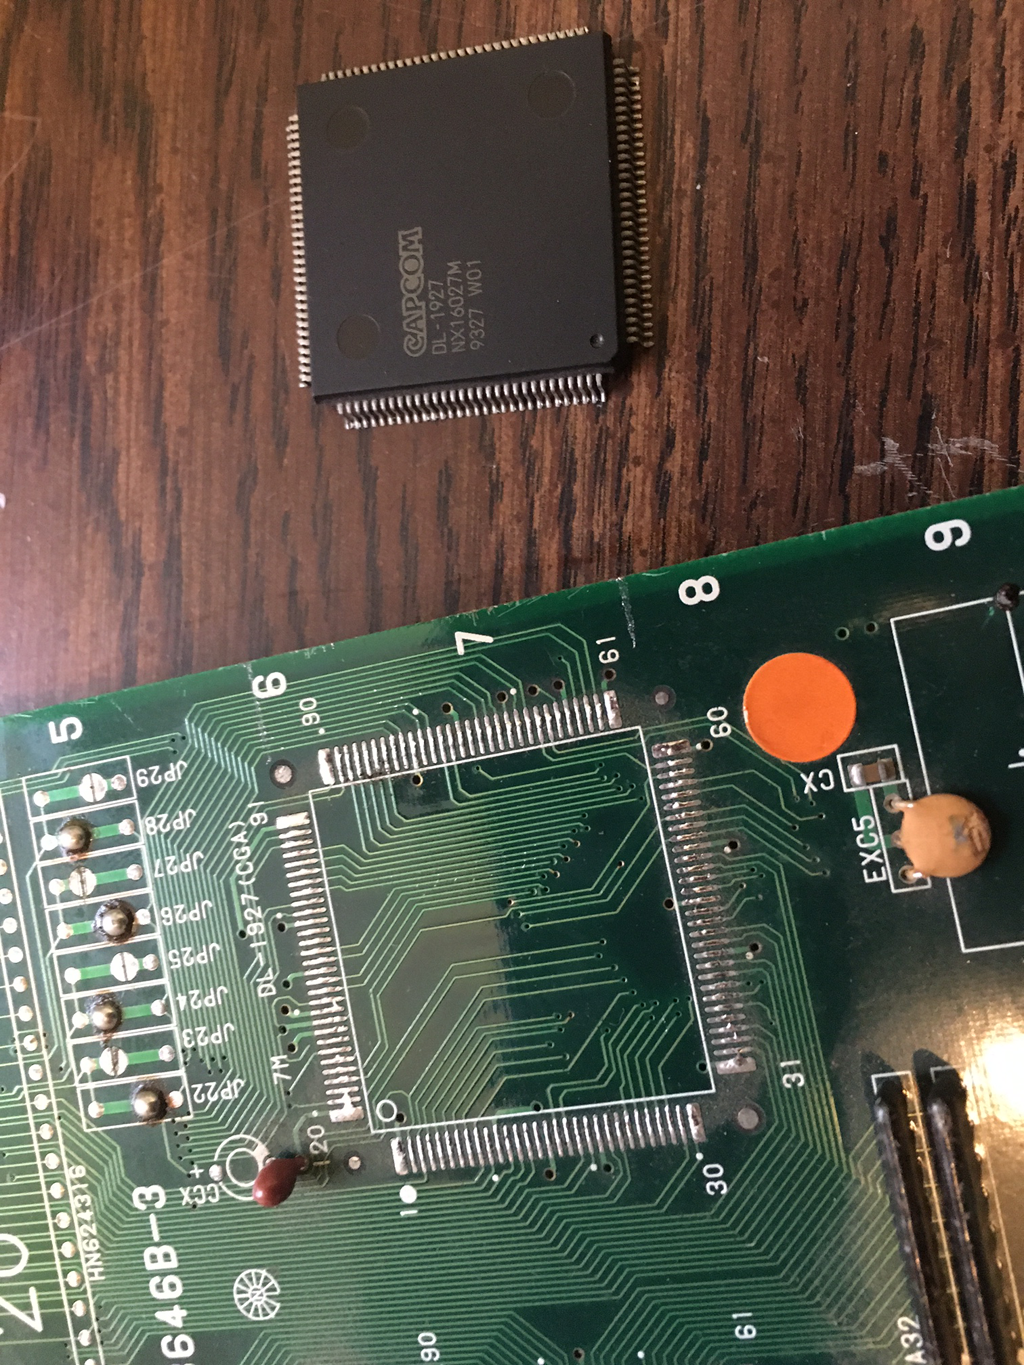
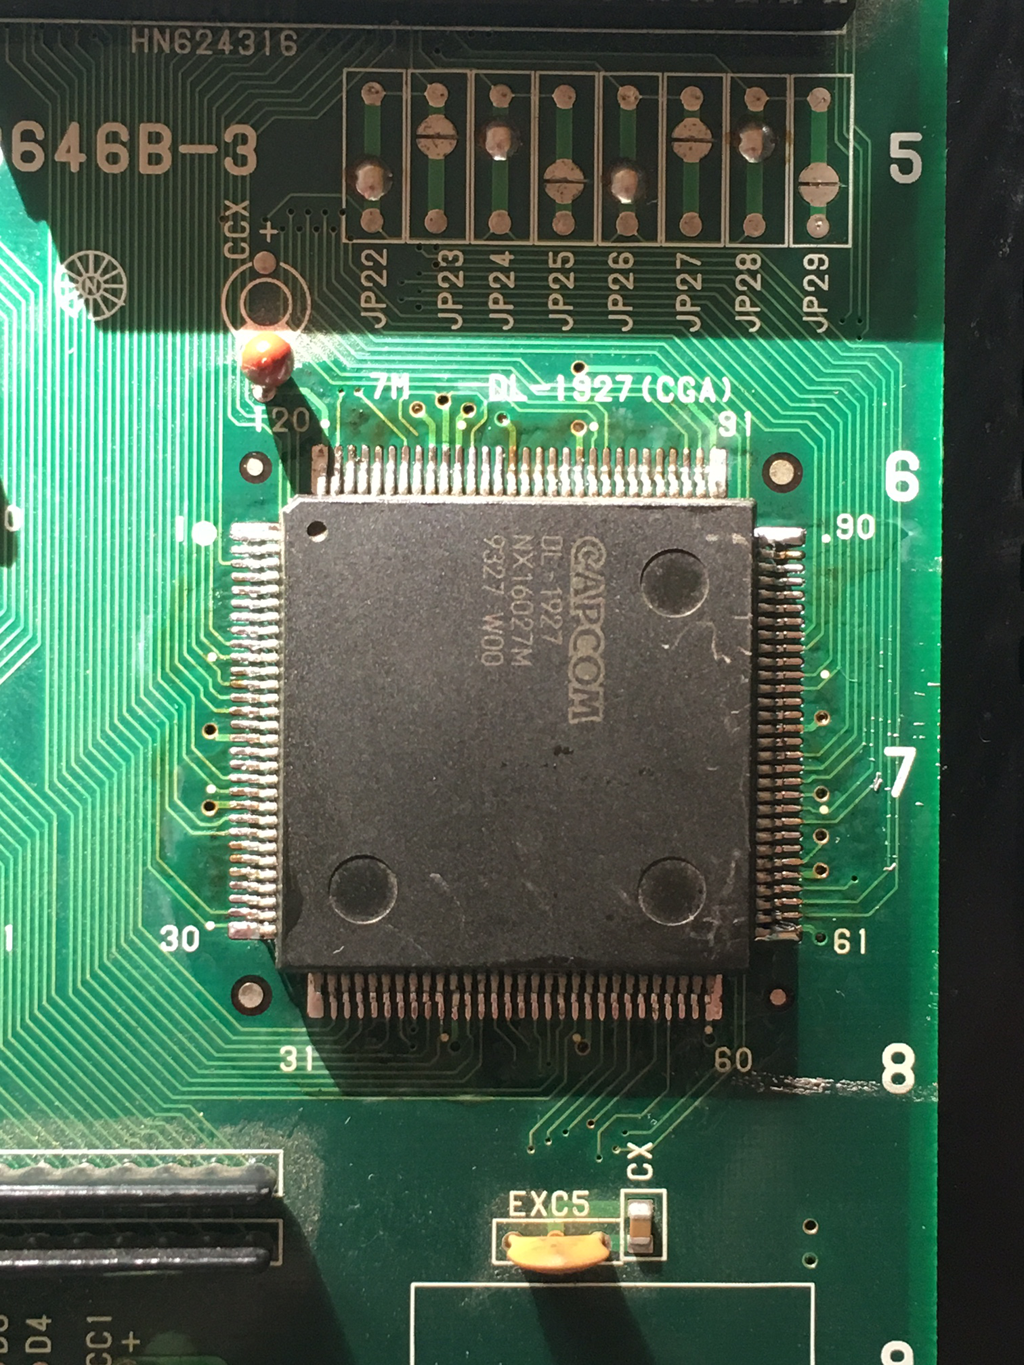
I took the board into direct sunlight to see if I could find any discreetly burned components. Sure enough, the diode at position D1 was burned clear in half. Replacing it did not have any effect on my symptoms, however it did give me a clue that a major power fault had occurred on the board. Previous experience with the CPS2 told me that the issue was more than likely due to a bad custom capcom IC. Also from previous experimenting and experience, I know the custom Capcom IC DL 1927 (CGA) at position 7M is partially responsible for graphics generation. Since that was pretty close to the burned diode, this became my prime suspect.

I pulled a parts CPS2 B board out, and decided to attempt swapping the QFP120 DL 1927 IC.
xmen1
xmen2

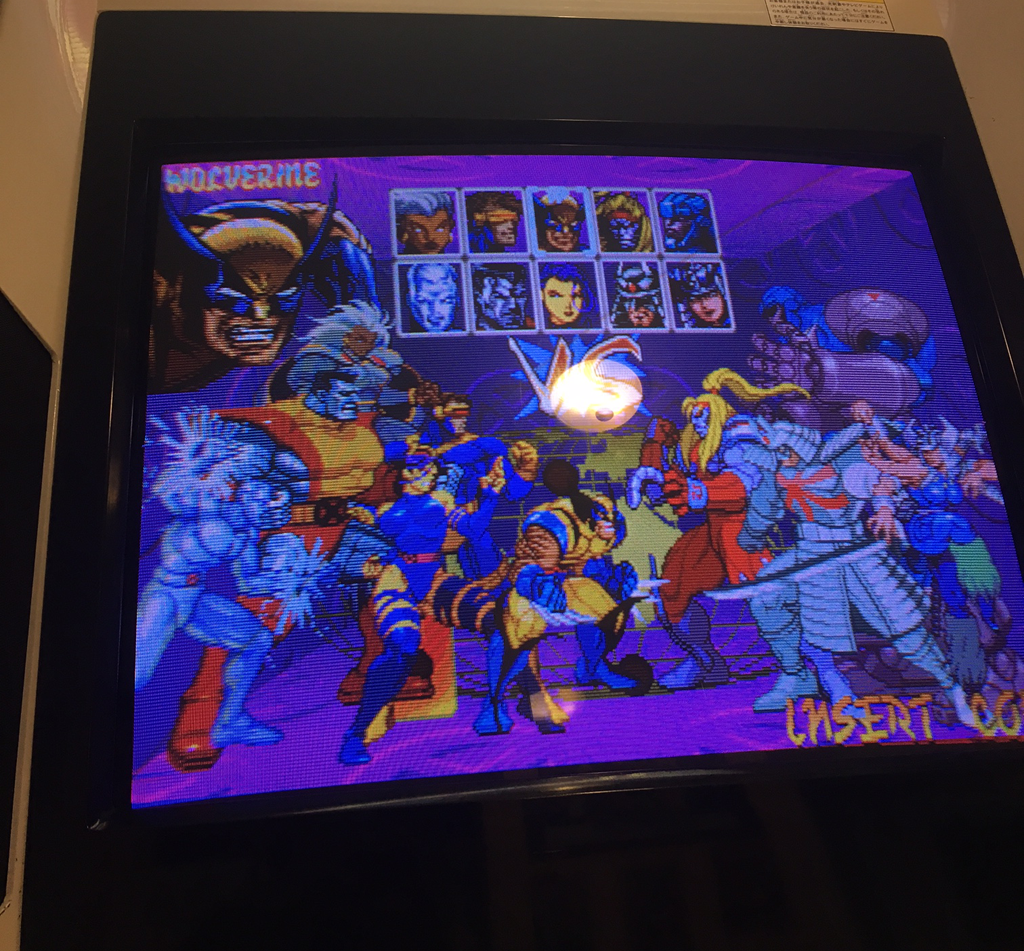
MUCH to my surprise, after swapping the IC and verifying there were no bridges or floating pins, Xmen fired RIGHT UP. All graphics restored. Not bad for an $8 eBay pickup 🙂
xmen3

In retrospect, I think the original owner may have put the Jamma edge connector on slightly misaligned, and sent 12v down the 5v power rail, taking out diode D1 and the QFP at 7M. Another great Capcom game has been preserved!

Jan 072016
 

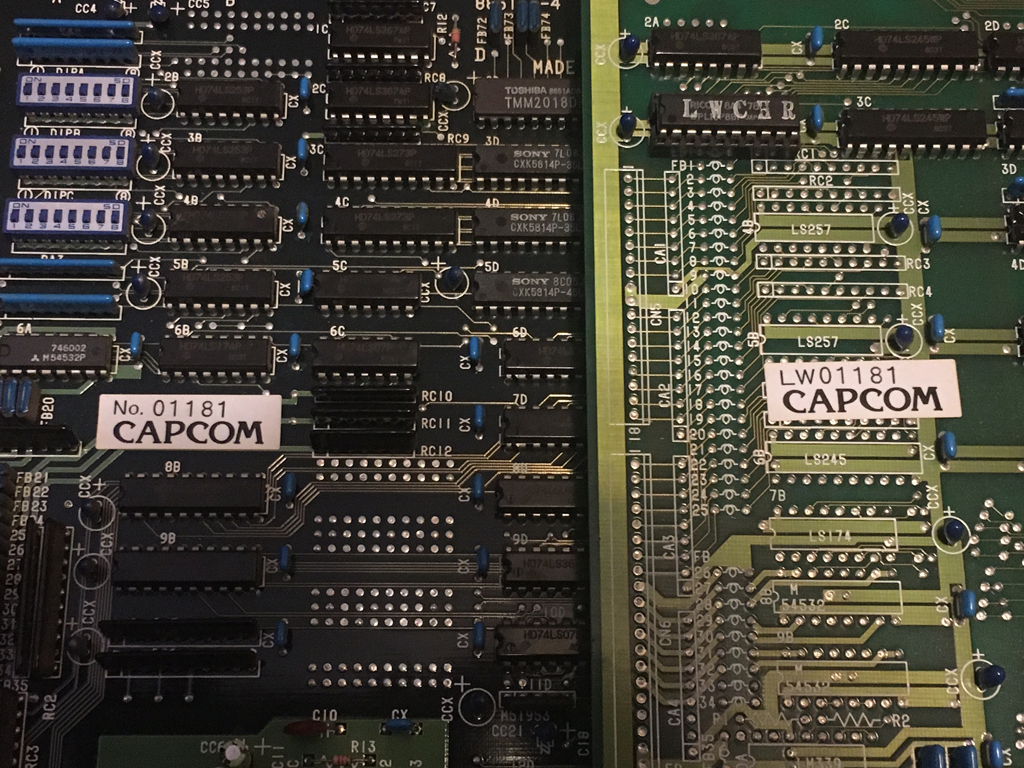
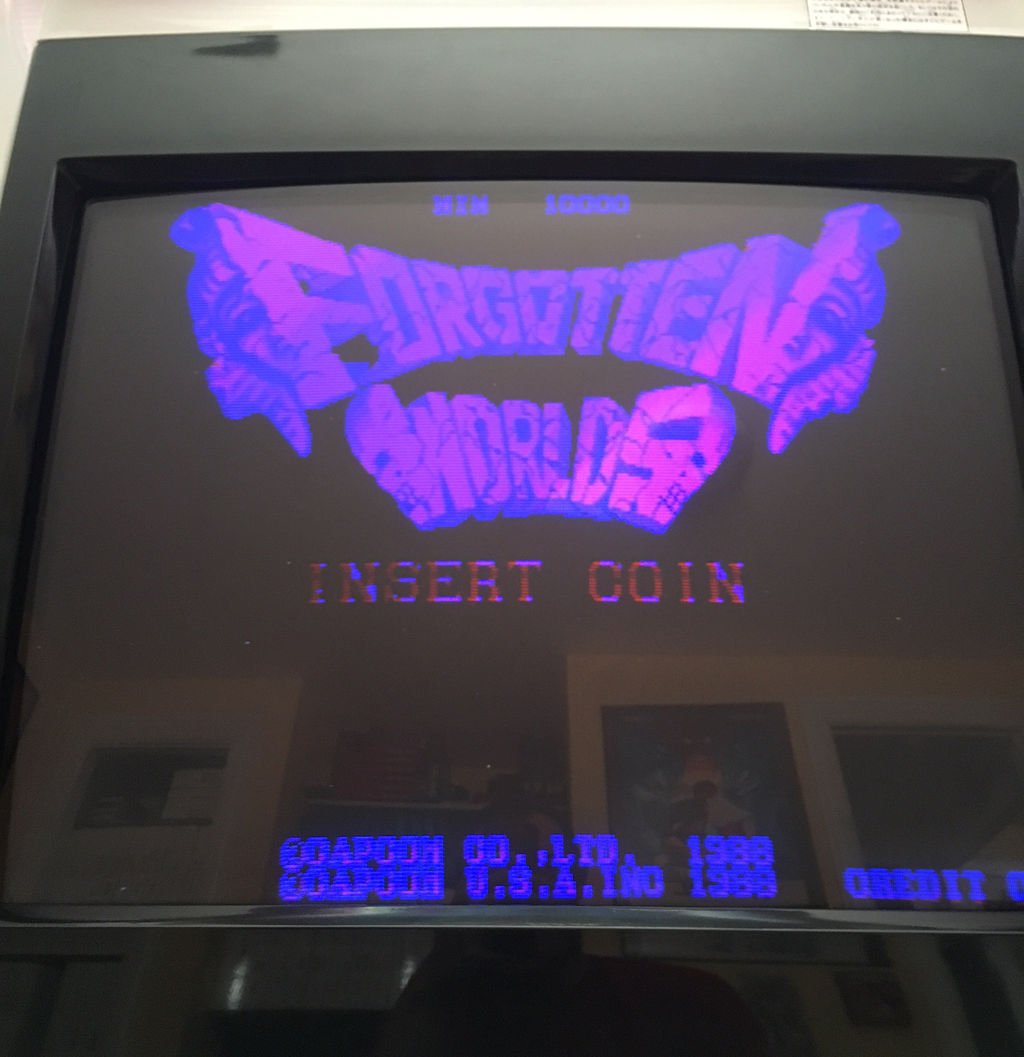
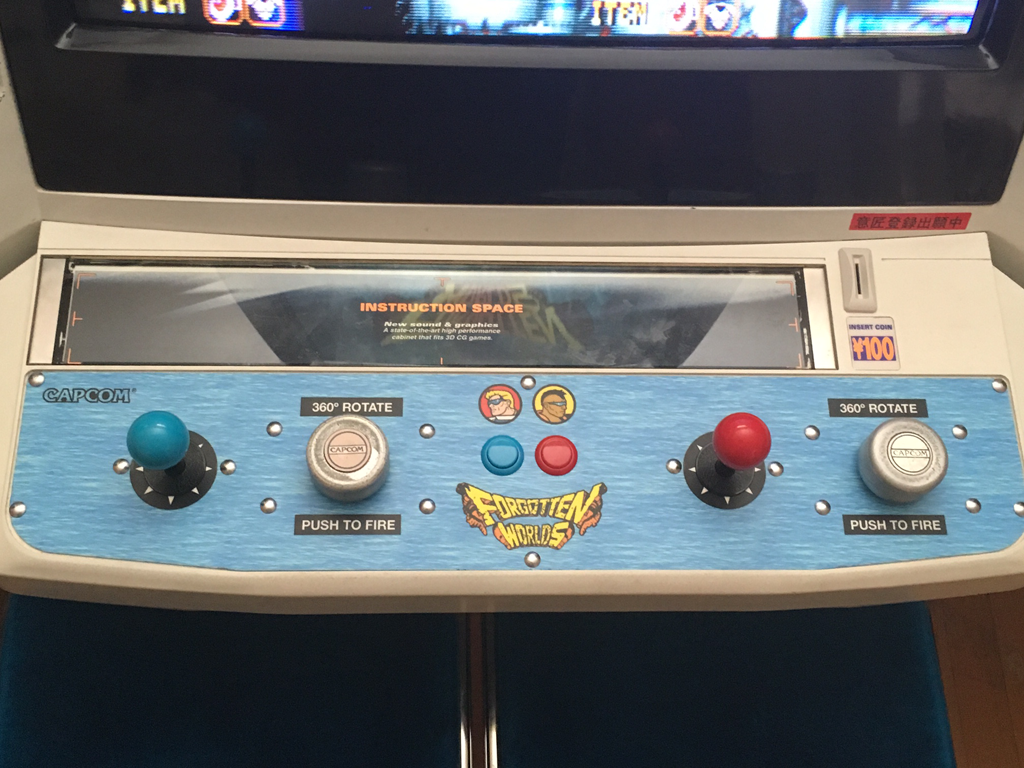
I received a very nice condition Forgotten Worlds PCB from a friend of mine, intended for my personal collection. The PCB showed up in spectacular shape, there wasn’t even any dust or grime on it. All original stickers and labels in tact. In fact, this is the first board on the CPS-1 platform where I have seen serial numbers on the A and B board that match:
fw1

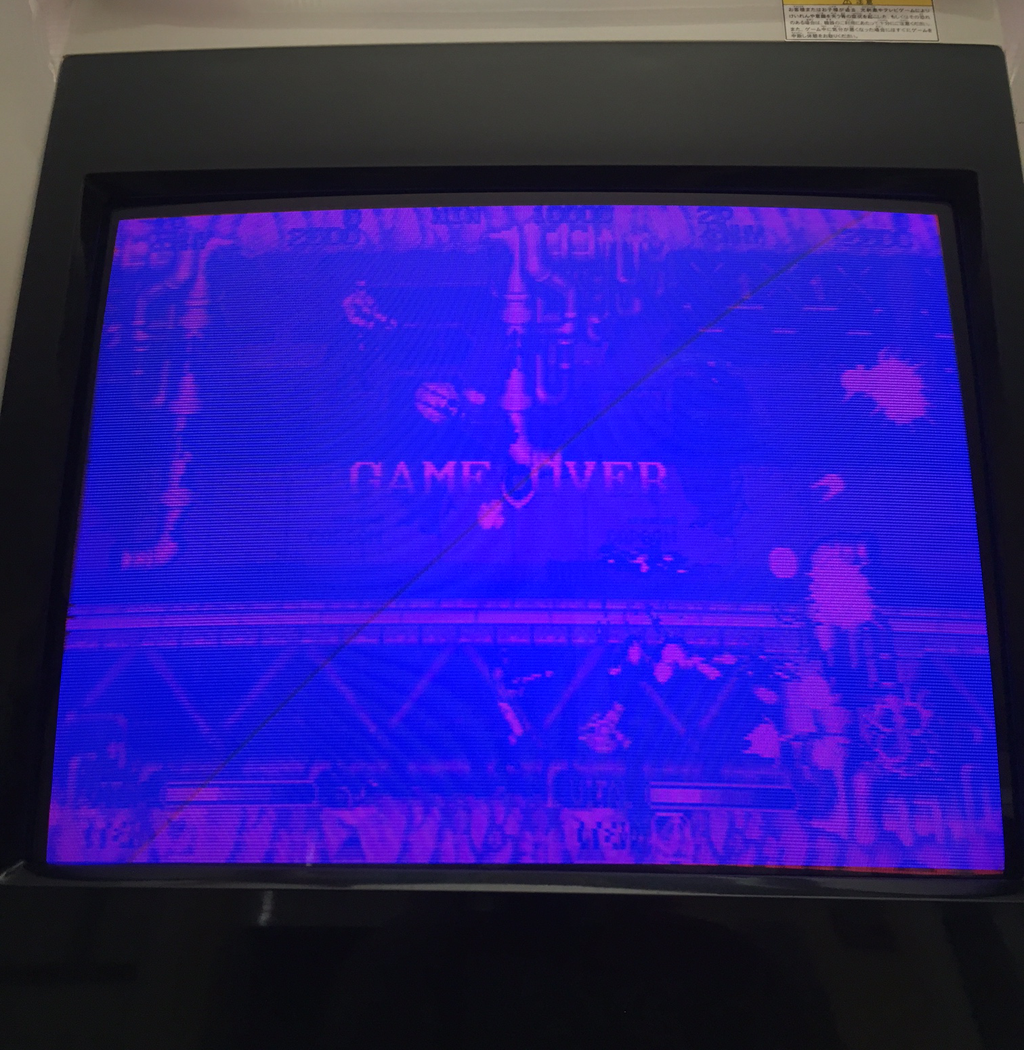
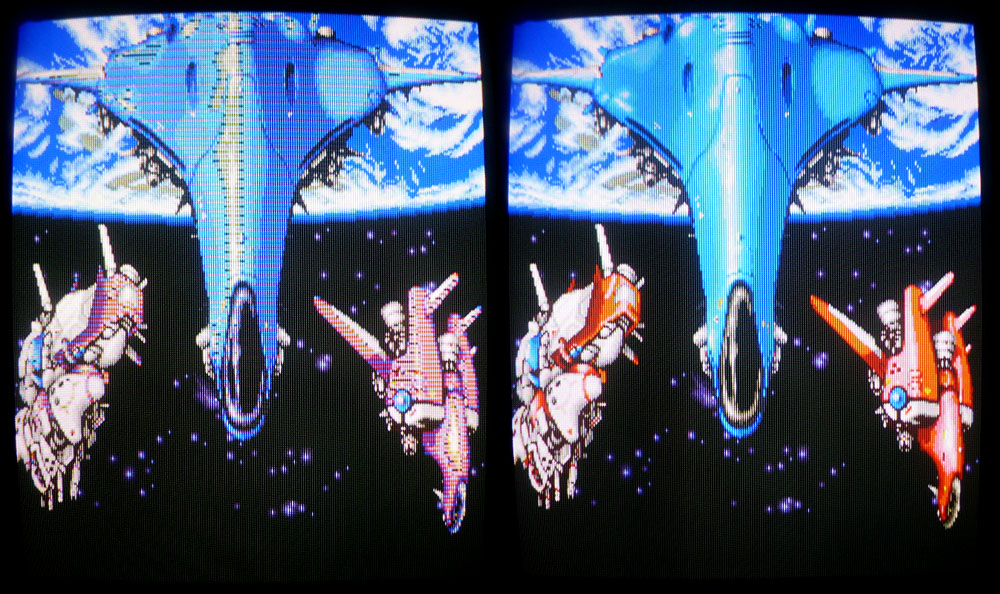
Sadly, when I fired up the game, the colors were all wrong. Previous experience with the CPS1 told me this was likely a bad custom Capcom IC, or a bad ram chip.
fw2
fw3
Due to the nature of the CPS1 hardware, and the fact it is very hard to diagnose the motherboard (the A/B double stacked board makes it very hard to probe), I generally just swap the motherboard from a lesser valued game. In this case however, since the serial numbers match, repair was the only option!

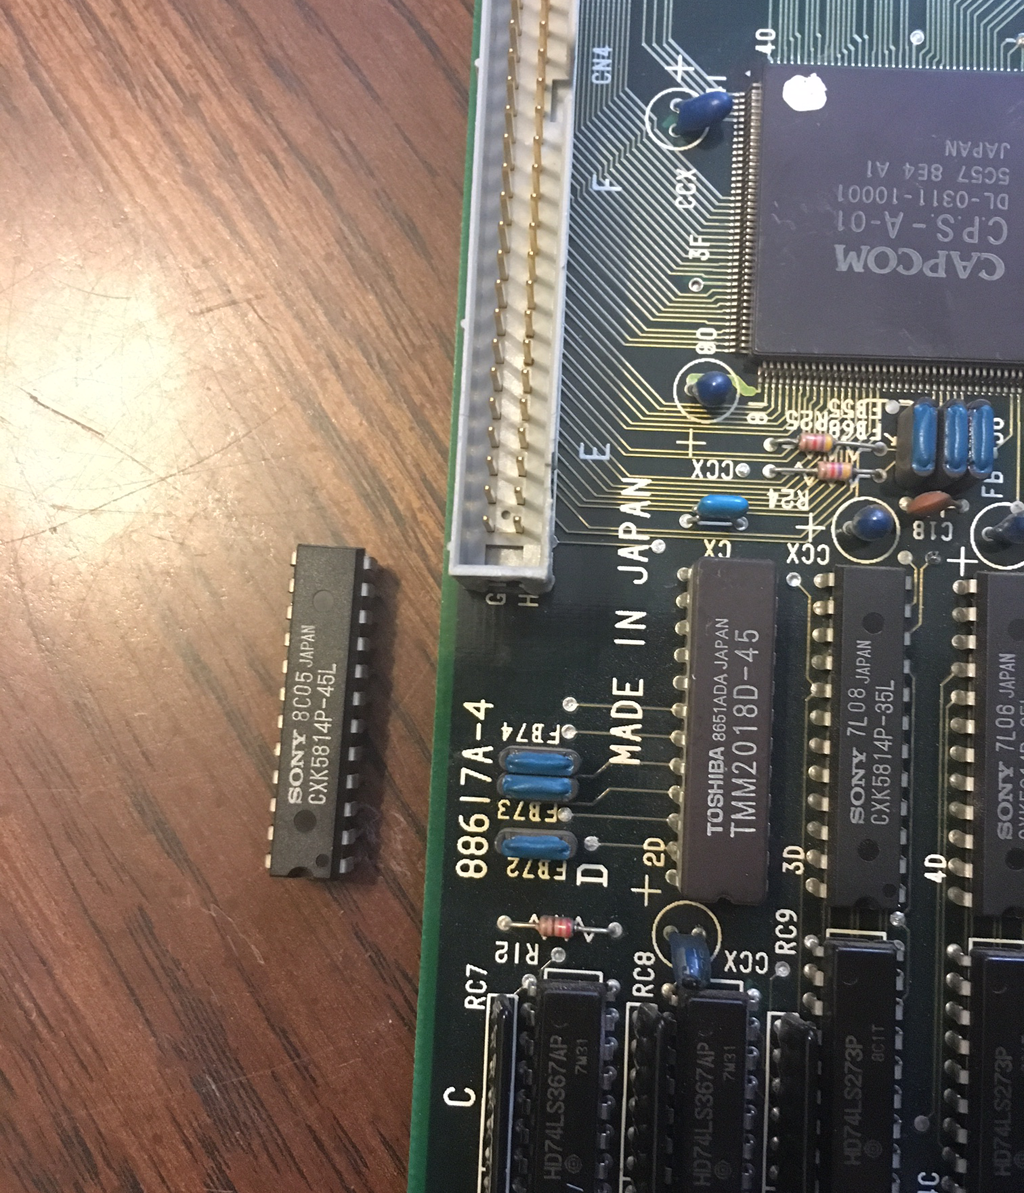
With the assistance of the CPS1 Old Hardware Revision A Board schematic posted right here on Jammarcade, and some critical input from Caius, I was able to determine with high certainty where the fault was. In my case, the ram that controls RED was the prime suspect (at location 2D). I did not have any Sony CXK5814 ram chips on hand, but I did have Toshiba TMM2018 which is equivalent. Without hesitation I swapped the IC.
fw4

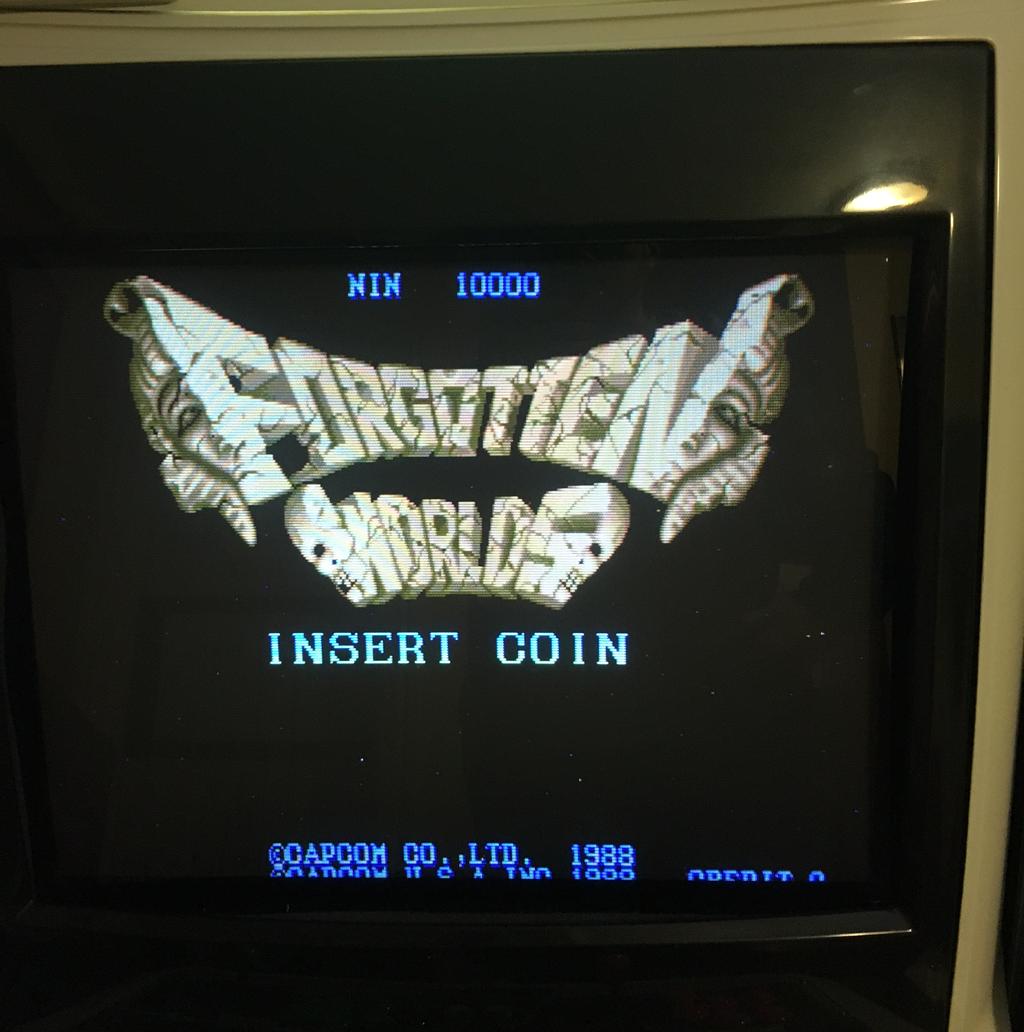
And…. SUCCESS!
fw5

fw6

If you were wondering, yes I am enjoying this classic with the proper “Rolling Switch” spinner controls.
fw7

Another copy of this wonderful Capcom shooter has been preserved!
Jan 062016
 

Recently got this Final Star Force PCB with graphical glitches on the sprites.

fstarforce1

This game uses a motherboard (pictured above) and has a romboard on the other side fitted with no other chips than the game’s ROMs.

All the ROMs were tested ok on my programmer and cleaning the connectors and looking at the signals, everything seemed fine with that romboard.
The motherboard has a rather simple layout with a lot of RAMs, some ASICs and a few TTLs. After a few hours looking for suspicious signals, I finally found the faulty ones.

There is a row of 12 Sanyo LM33464G RAMs (64k-word x 4-bit). Two of them were bad (the ones at IC22 and IC33). Piggybacking them with new ones partially brought back clean sprites, even if there were a few glitches remaining. These glitches totally disappeared after replacing the RAMs.
As these models of RAMs are a bit uncommon, I took compatible TMS4464 as replacement (highlighted in red):

fstarforce2

Here are before and after pictures:

fstarforce3 fstarforce4

Haunted Castle repair log #3

 PCB Repair Logs  Comments Off on Haunted Castle repair log #3
Jan 052016
 

Another Haunted Castle repair after the recent one from Corrado.

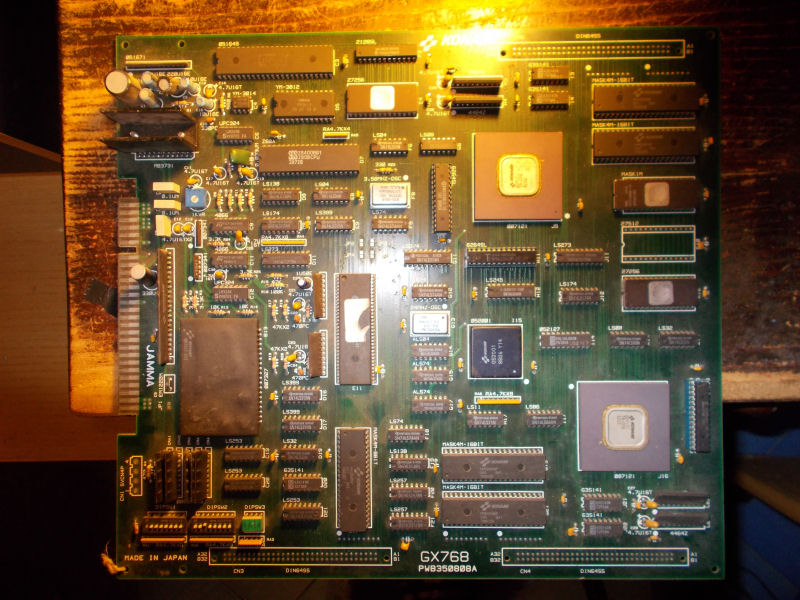
Board was in good shape :

Haunted_Castle_PCB

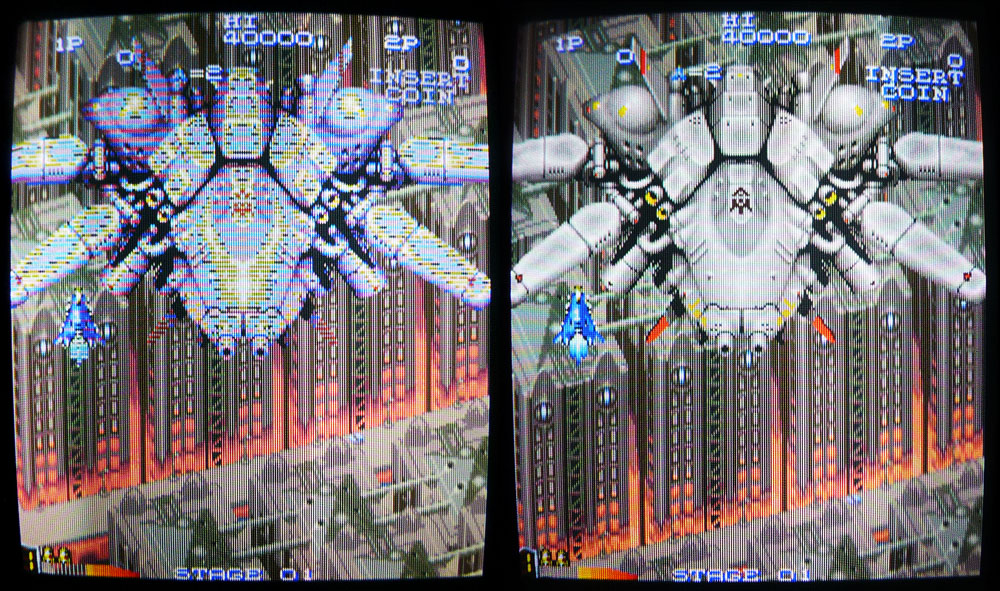
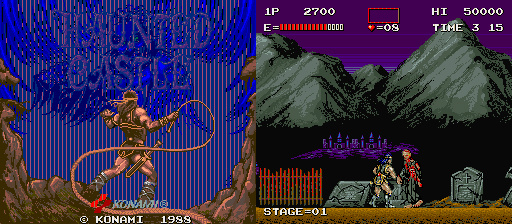
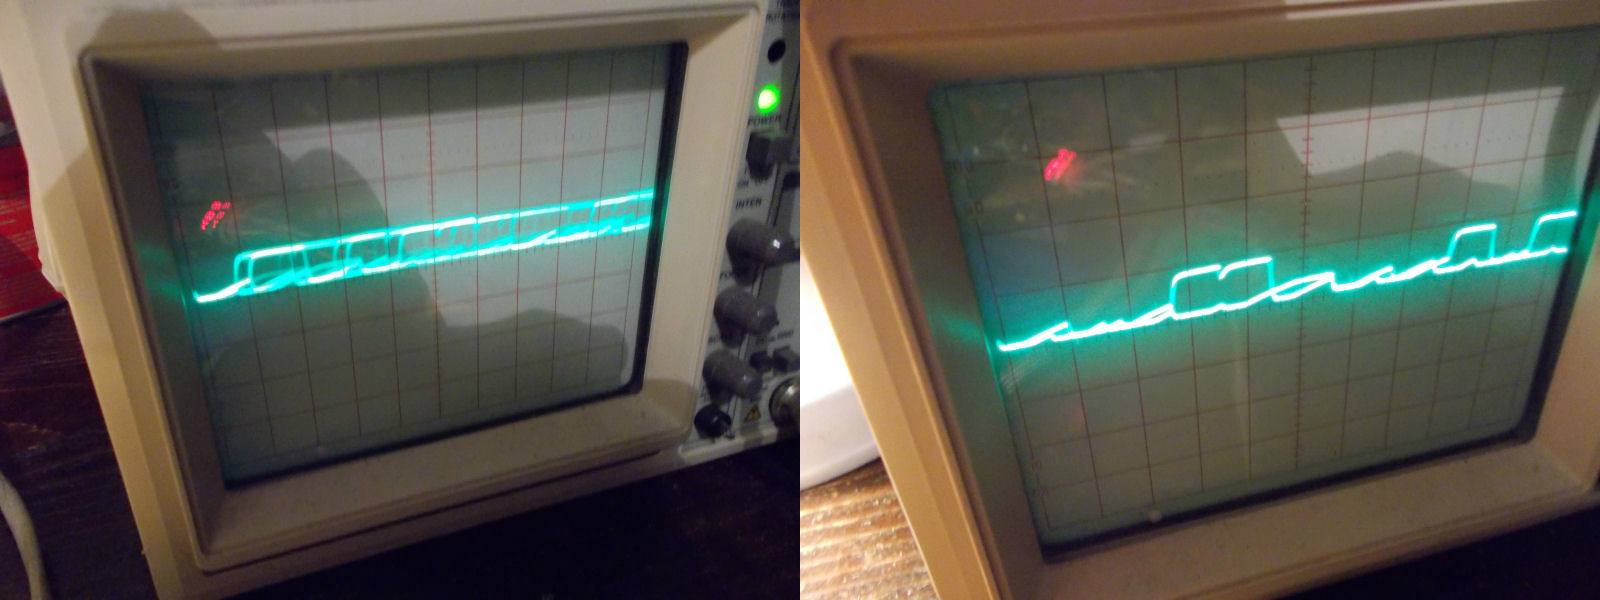
But it showed jailbars on sprites, besides the sound was missing :

sprite_issue

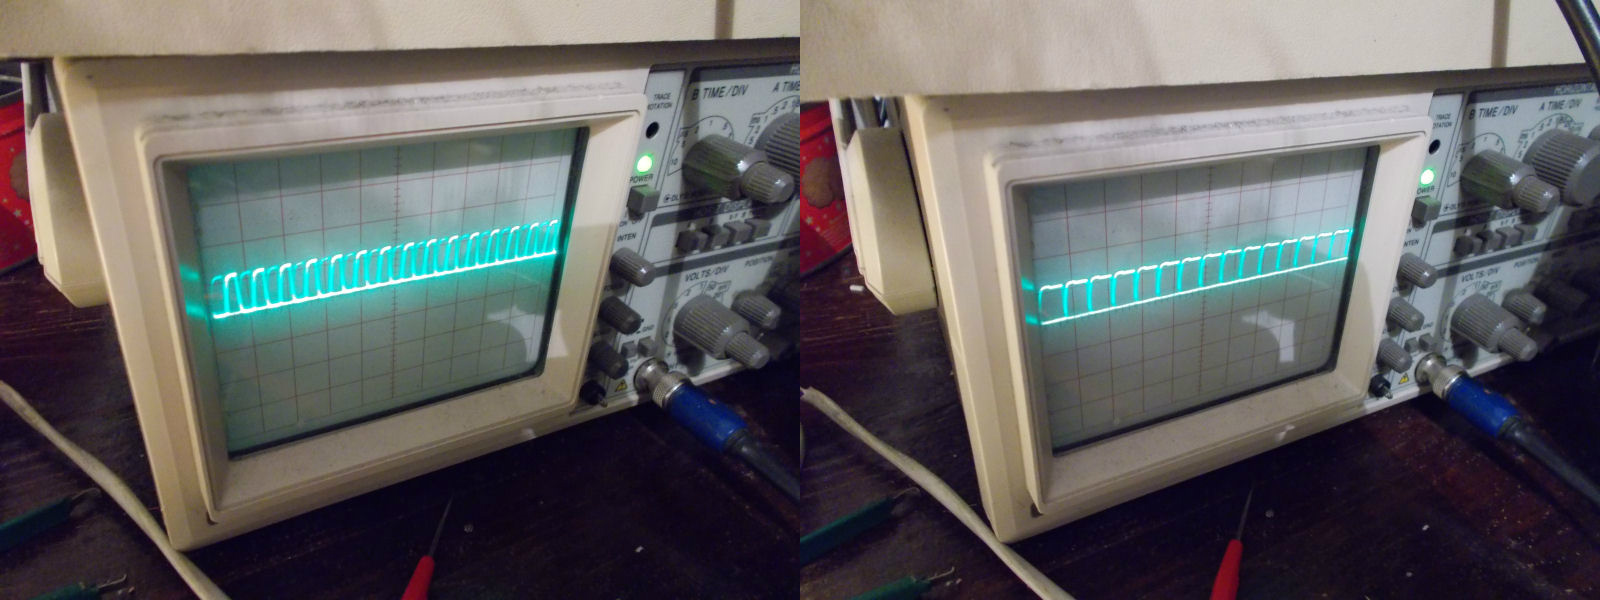
So I started to probe the two 4Mbit MASK ROMs containg sprites data and I found a bad signal on pin 28 of the one @J5 (good on the left, bad on the right) :

MASK_ROM@J5_data_line_comparison

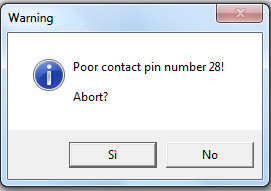
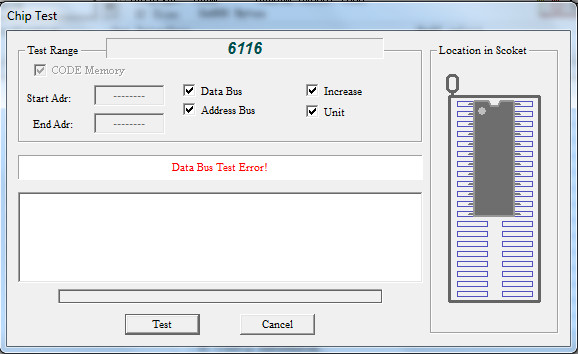
I desoldered the MASK ROM and my programmer reported, indeed, troubles on pin 28 while I tried to read it :

768C04@J5_bad

Loading the dump in MAME I could reproduce exactly my issue :

issue_reproduced_MAME

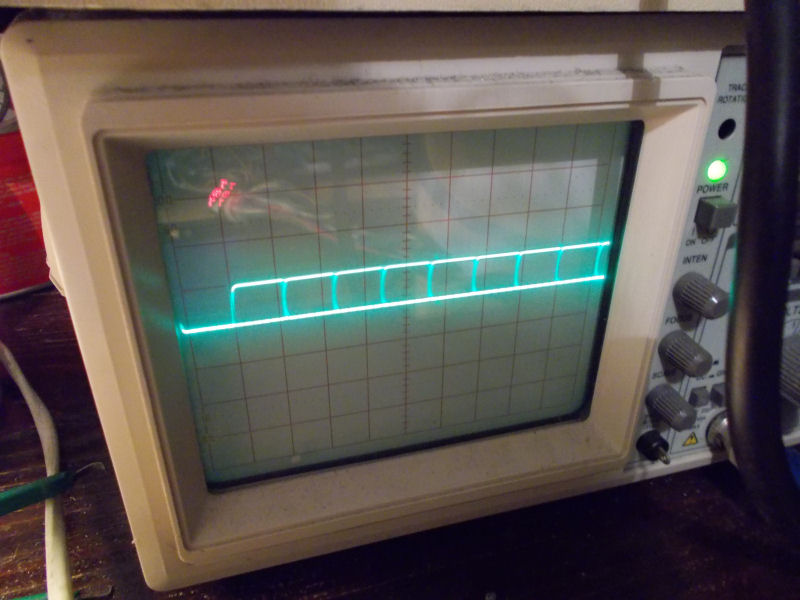
With a programmed 27C400 as replacement of this MASK ROM the sprites were correclty restored so I went to troubleshoot the missing sound.With my analog scope I found weak signals on some data line of the 2018 SRAM @F2 (which the Z80 audio CPU accesses to) :

data_line_2018@F2_comparison

I promptly removed this SRAM which failed when tested in my programmer :

bad_MCM2018@F2

With a good RAM fitted the sound were restored but music was noisy and scratchy :

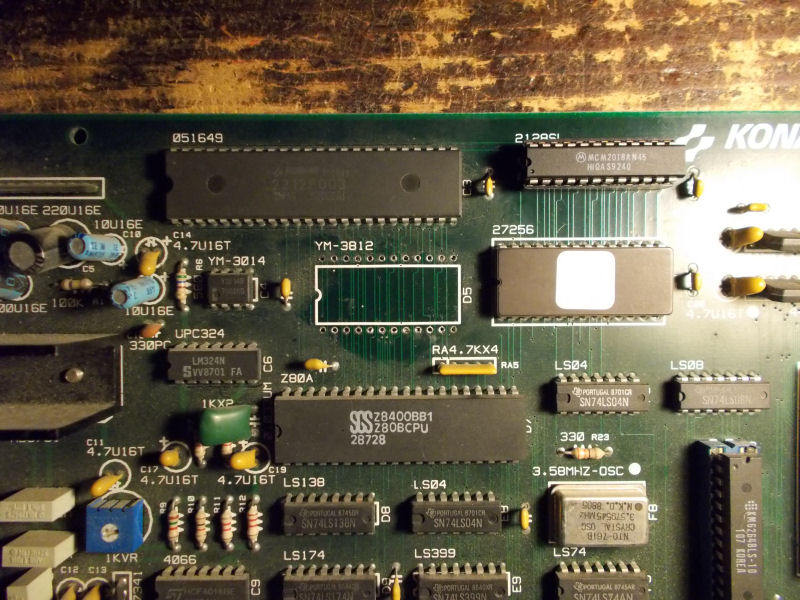
The FM sound generator is a Yamaha YM3812 @D5 which is connected to an external YM3014 DAC @C4.Probing its digital output  (PIN 21) revealed differences compared to the healthy signal from a good board pictured below :

good_serial_data_YM3812@D5

So, I removed the chip and installed a good one :

YM3812@D5_removed

This restored a clear sound.Job done, board 100% fixed!

 Posted by at 10:17 pm

Bosconian repair log #1

 PCB Repair Logs, Repair Logs  Comments Off on Bosconian repair log #1
Dec 282015
 

I got this original namco untested pcb as a part of a deal.

As always happens, untested =not working and infact upon booting up it was totally dead with only a fixed static screen.

I was not too worried because I had a Dig Dug by Sidam which I use for spare parts and there are also schematics available (by Midway).

So I began my troubleshooting.

I checked the clock on the 3x z80s and it was missing.

Traced back to a dead output of a 74128@6B. The input coming from custom 07xx was OK.

clock

I started to search for a replacement and I took my Dig Dug pcb but in place of the 74128 there was a socketed 7402.

Bad luck, someone put wrong TTL as a place holder….

I then discovered that this 74128 is not common at all and it is used only on early namco pcbs.

I decided to contact my friend Charles Mcdonald to have a suggestion how to make the pcb boot just at least to see if it hadn’t other faults.

He told me that this 74128 is a really weird choice because it is used to drive signals over long distances and a 7402 is the equivalent to drive lower mA,  but I had to disconnect the R5 100ohm resistance.

In the end the guys at SIDAM made this “modification” on purpose to the original Namco design!

So I fixed the clock problem installing a 7402 and lifting provvisorily the resistance.

Foto 26-12-15 12 20 49

After booting up, unfortunately the game had another issue:

Foto 21-12-15 23 21 28

Foto 21-12-15 23 21 32

Foto 21-12-15 23 21 52


After some studying of the pcb schematics and some short circuiting I discovered that beneath these stripes there was the black background with the

stars correctly generated by the custom.

Worth of note is the score part of the display that was good.

On the video pcb there were 4x 4kx1bit rams 2147 which I didn’t have as spares (Dig Dug uses another video board) , two of them were running very hot .

Tested with the logic probe they were pulsing correctly.

At this time it was clear that the problem came from around there because shorting some pins changed the coloured stripes.

Disabling the CS line of the rams, restored good backdrop, stars and enemies but your ship and missiles disappeared.

So it was clear that these stripes where the “scattered” colours which should have been combined to make the ship correctly coloured.

I decided to test with the logic comparator the 74174@7D which is mixing the bits from the rams : it reported some bad pins.


mixing

When I changed it I got no better results, but I got another positive feedback that the problems came from the circuit near the rams.

If I left out completely the chip from the socket I got good backdround and no ship.

The enemies and bases are part of the background circuit.

All the TTL which were used to address the rams were good so it was clear that some or all the 4x 2147 rams were bad.

At this time I decided to give up and to order some new rams in the hope that the problem was really there.

Just before placing the order I decided to take another look at the 2148 ram @4J which on my pcb was not placed and I thought of a schematic mistake.

rams


Now everything was clear : Namco prepared already the pcb to accept one 2148 ram which is 1k x 4bit instead of 4x 2147 rams, 4 k x 1bit !

The highest addr lines are not used so it can really be used as a replacement!

I had a lot of 2148 rams so I immediately desoldered all 4x 2147 rams and placed @4J the 2148 ram

Foto 26-12-15 11 50 24


Foto 26-12-15 12 16 02


Finger crossed and when the game booted up I was finally welcomed with correct colours!

Foto 26-12-15 12 15 34