Spectrum divIDE repair log #2

 Computer Repair Logs, Repair Logs  Comments Off on Spectrum divIDE repair log #2
Jul 092012
 

Another divIDE repair today.
Very simple, with the device connected I got this

As Ive found with all of the divIDE boards that Ive repaired the EEPROM was blank. A re-flash sorted this problem out.

There is apparently a reason why this keeps happening and has got something to do with the way the Spectrum regulates power at startup.

 Posted by at 4:38 pm
Jun 082012
 

This game took me ages to fix and the fault ended up being something strange.

Anyway, the game booted to a frozen screen of garbage.
Checked the voltages, all were fine.
Checked the clock, reset and halt lines on both of the 6809 CPU’s, all were fine.
Pulled the ROM’s and checked them, all were OK.

I probed the work RAM and it looked OK but pulled it anyway just in case. No problem with that so back in it went.
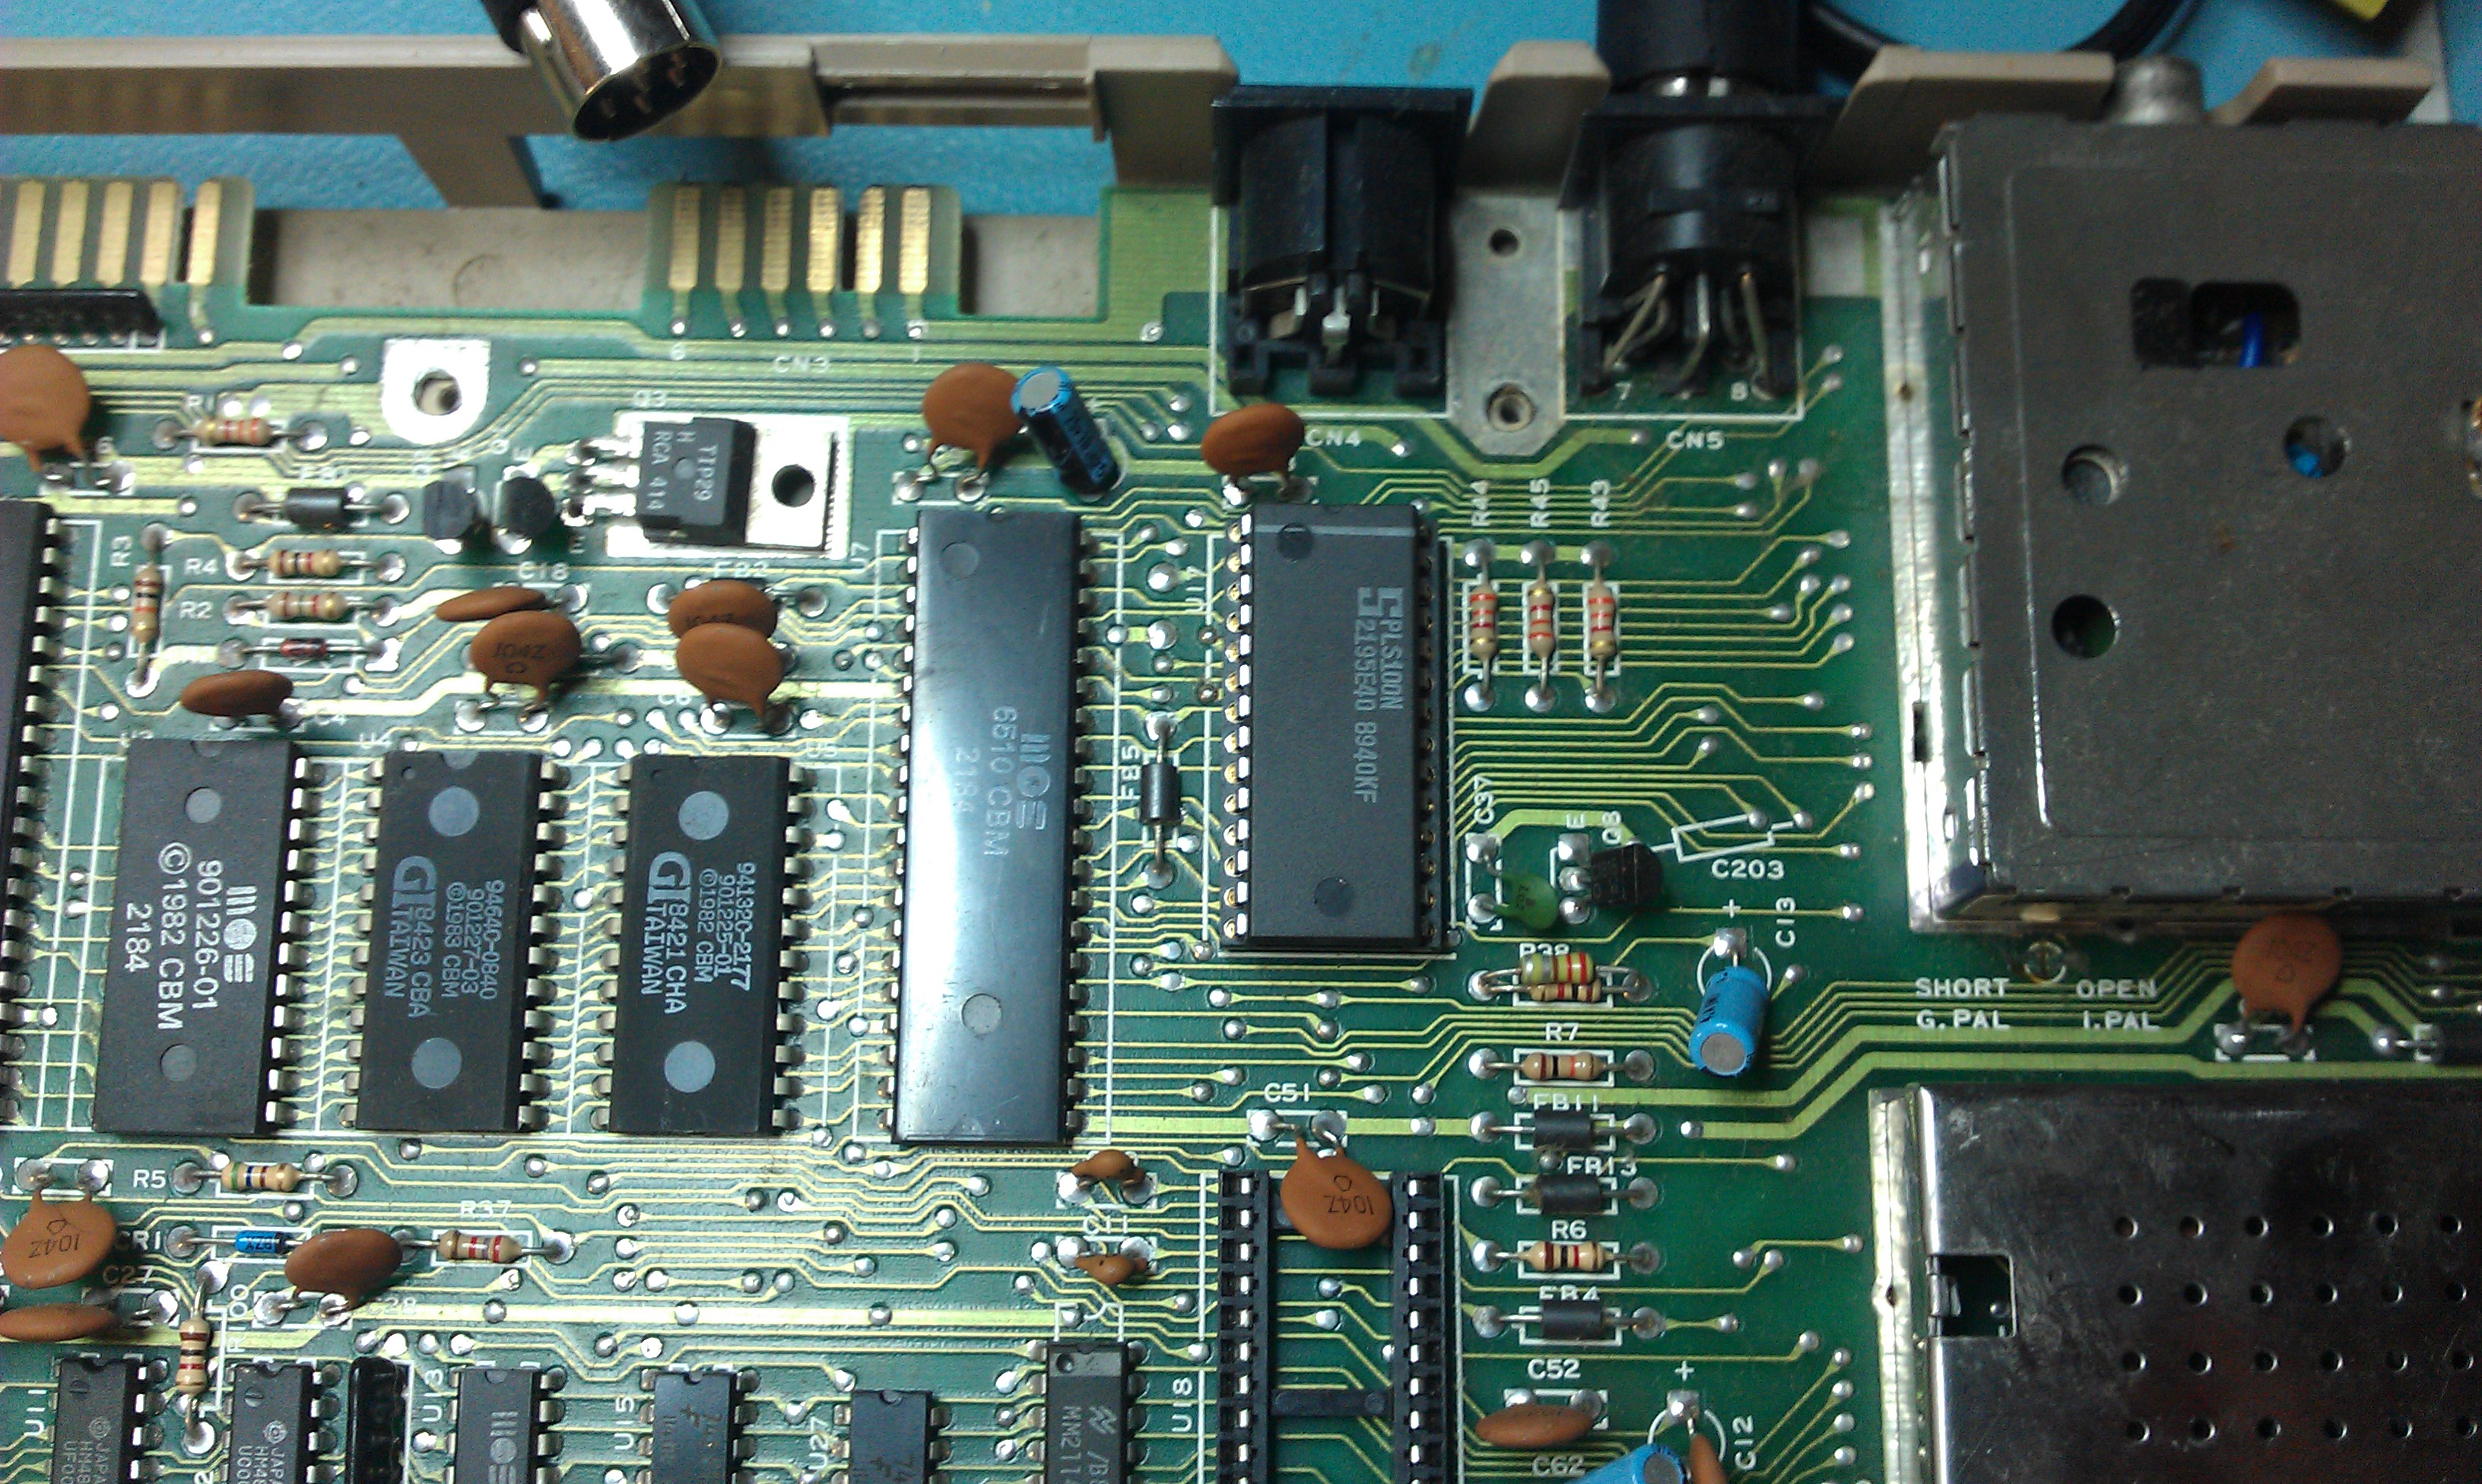
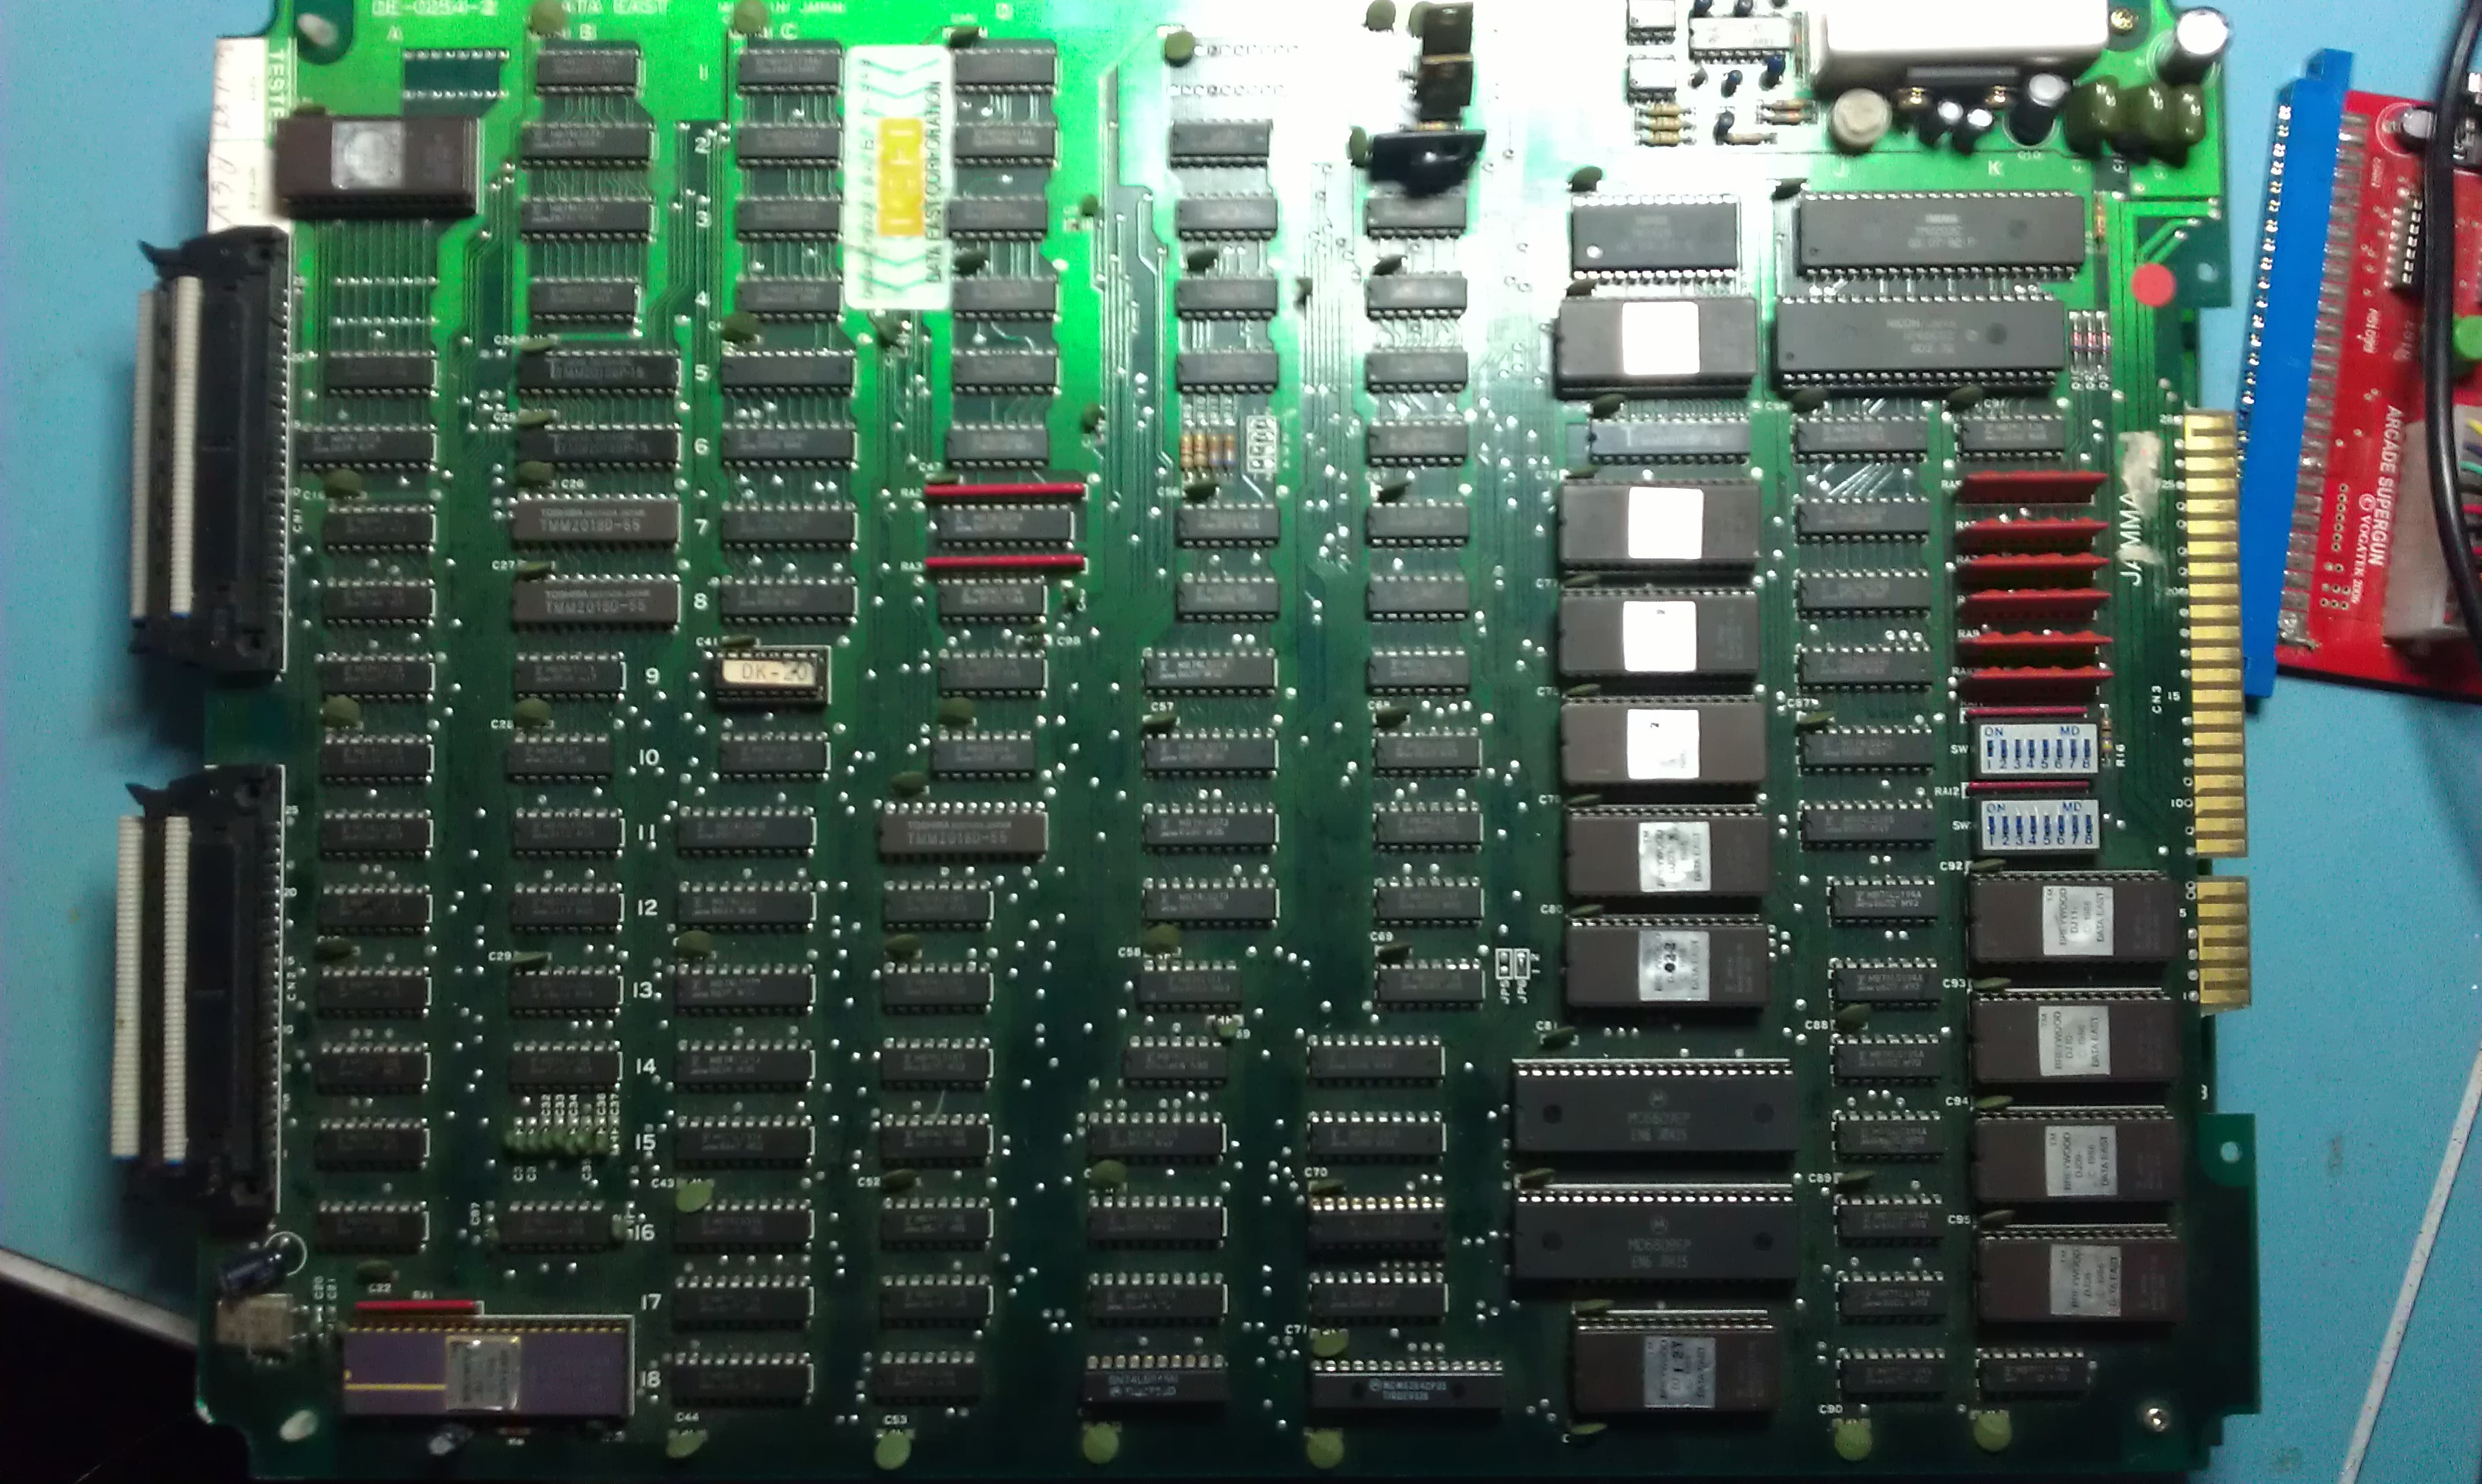
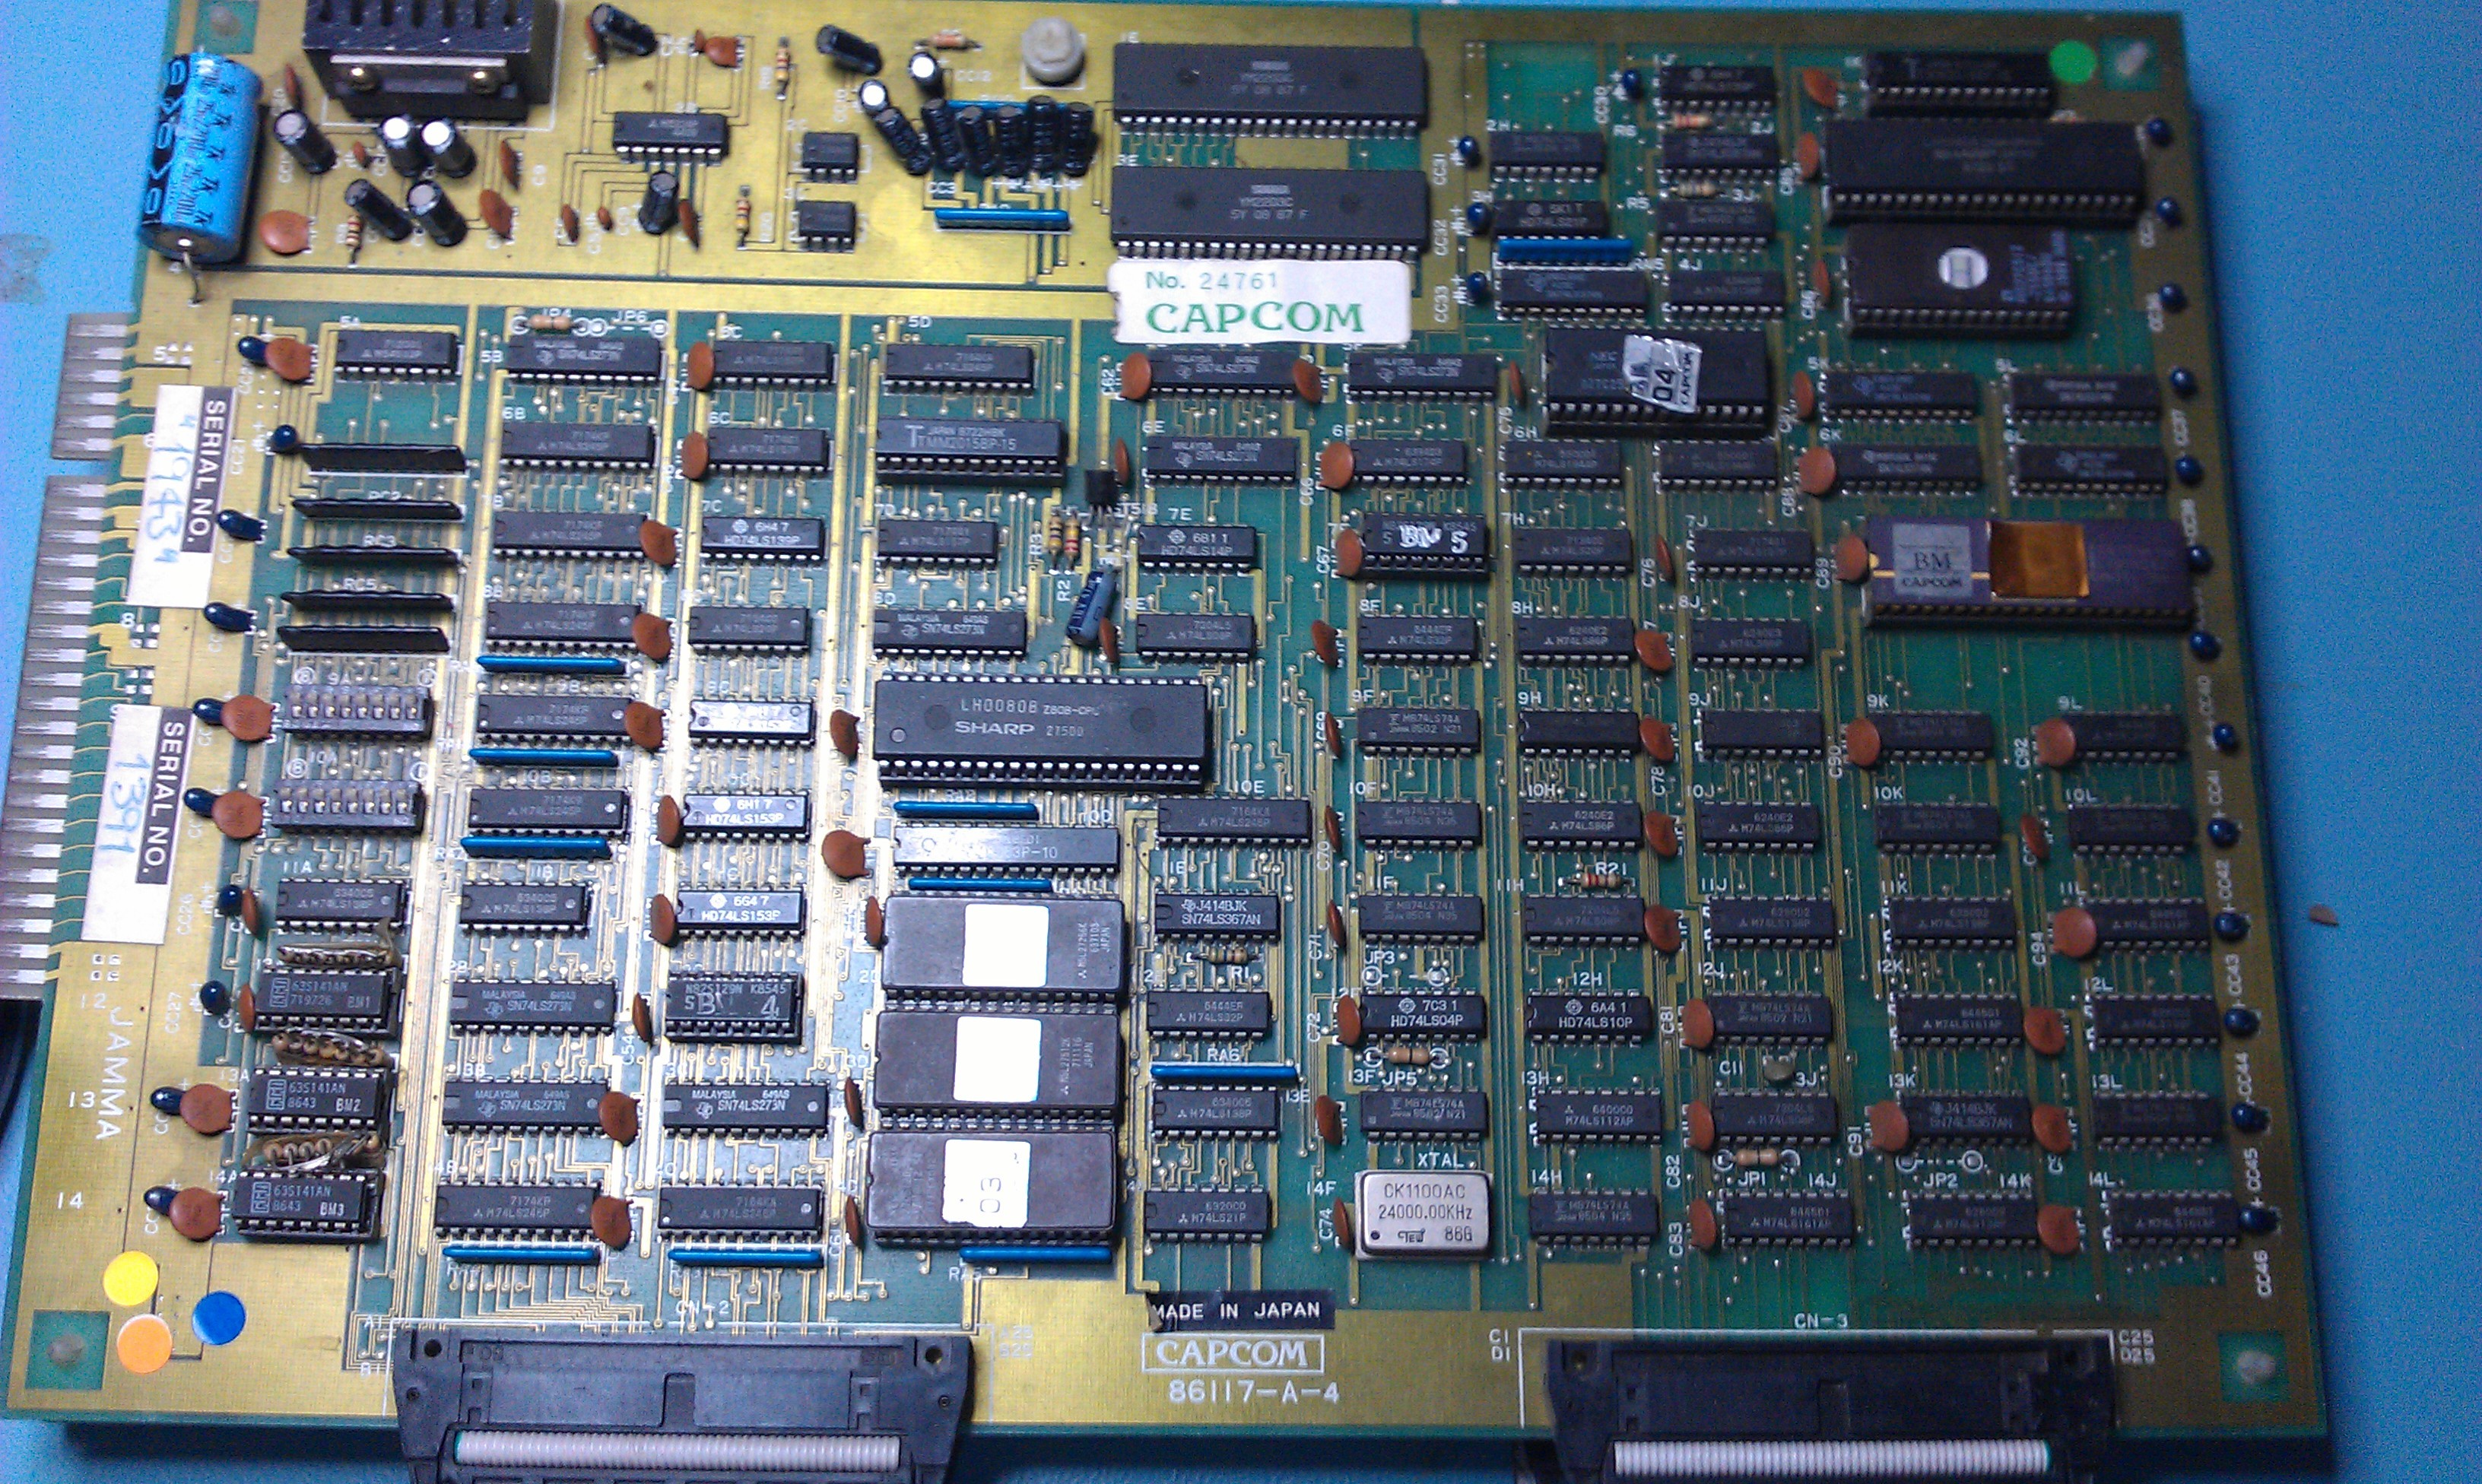
Other than the fact it didn’t work, I couldn’t find anything wrong with operation. All the TTL seemed to be functioning as it should. The only thing that bothered me was the I8751 MCU in the bottom left hand corner. There is no dump of its contents available and the security bit has been set.

I did find on my probing travels that when I probed the DIRECTION pin (pin 1) of a group of 74LS245’s then the intro and music would play through as it should. Although the colours were messed up I could coin it up but the game would not start. This little find sent me on a wild goose chase for a day.

As I couldn’t find anything wrong I decided to draw up some schematics of the CPU’s. Everything seemed to be going where it should. I left it alone for a day after this because I was loosing patience with it.

So, today I started looking into the code with the view of writing some test code. The hardware is actually very easy to work with and had no problems doing some tests.
It seems the sub CPU actually does most of the work at startup. Here is what it performs:
1. Shared RAM clearing
2. VRAM clearing
3. BG data clearing
4. Sprite RAM clearing
5. Copies the Hi Score data into RAM
6. Sends the region information to the i8751 MCU
7. Stores data 0x01 into address $6 in RAM
8. Sends interrupt to main CPU

After step 8, the sub CPU continually monitors address $6 in a loop. When the main CPU sets this to 0x00 then the sub CPU will continue.
On to the main CPU then. The only thing that this does before restarting the sub CPU is set the palette RAM. Once this is done the game should start up.

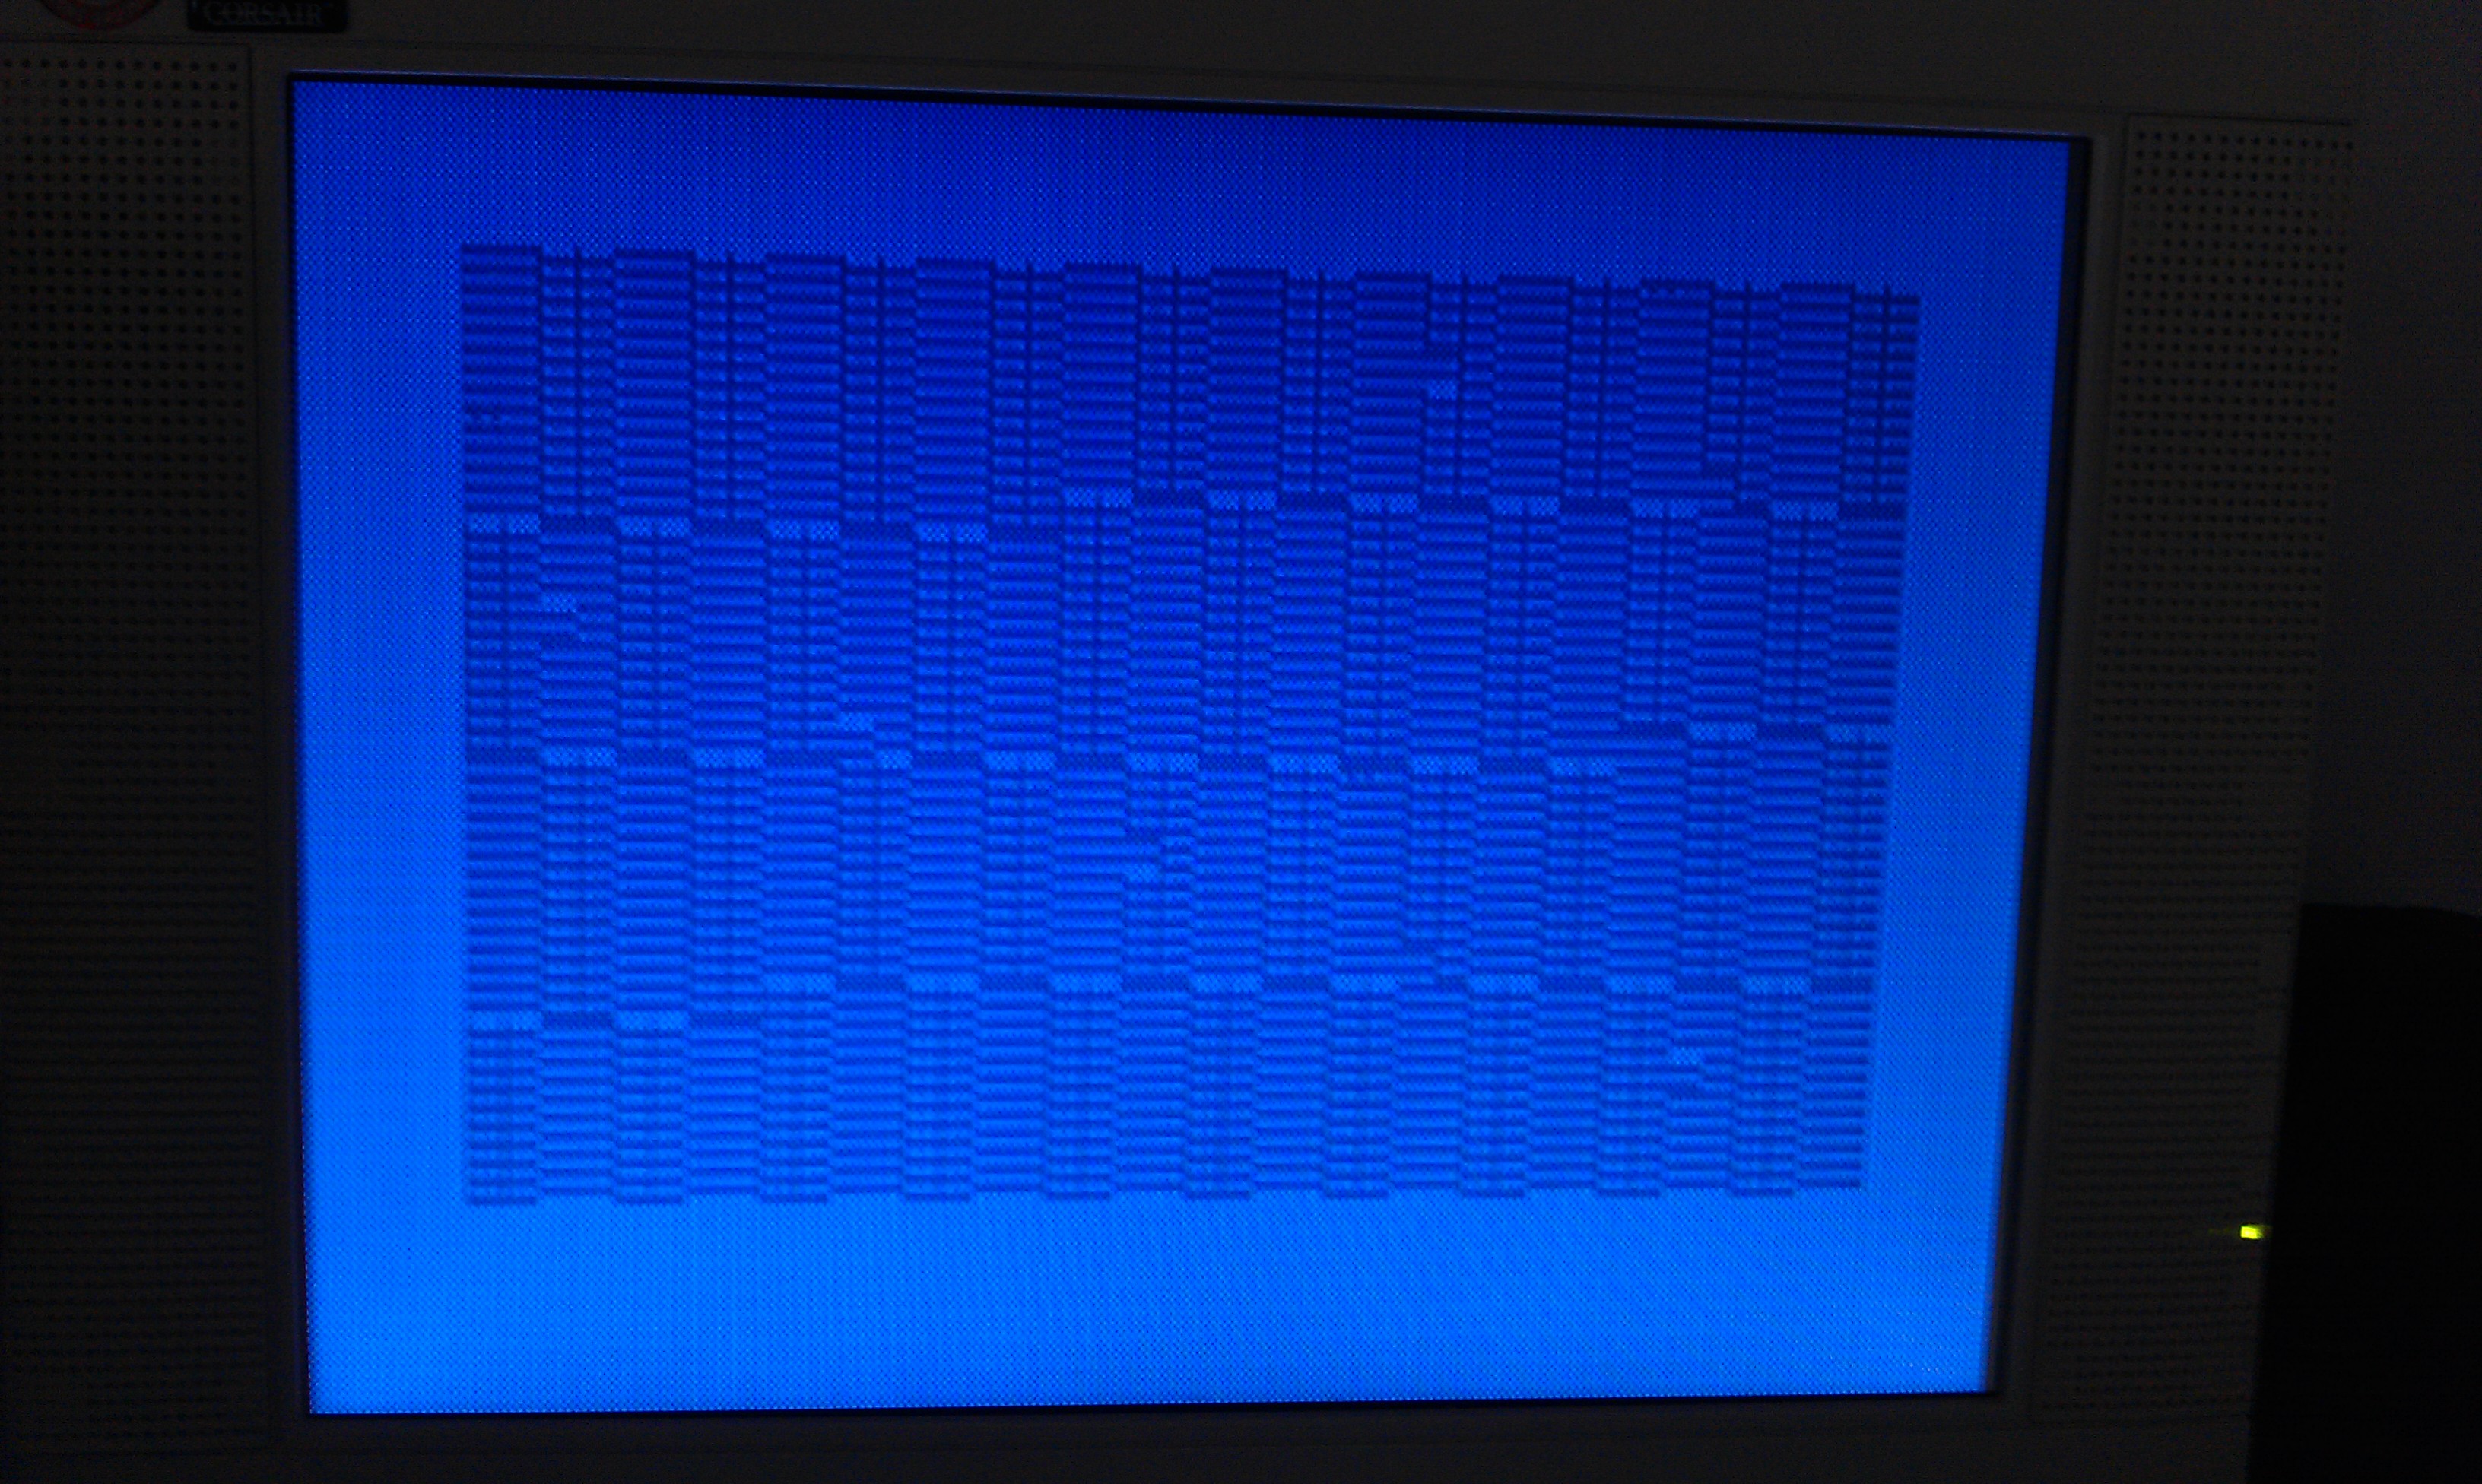
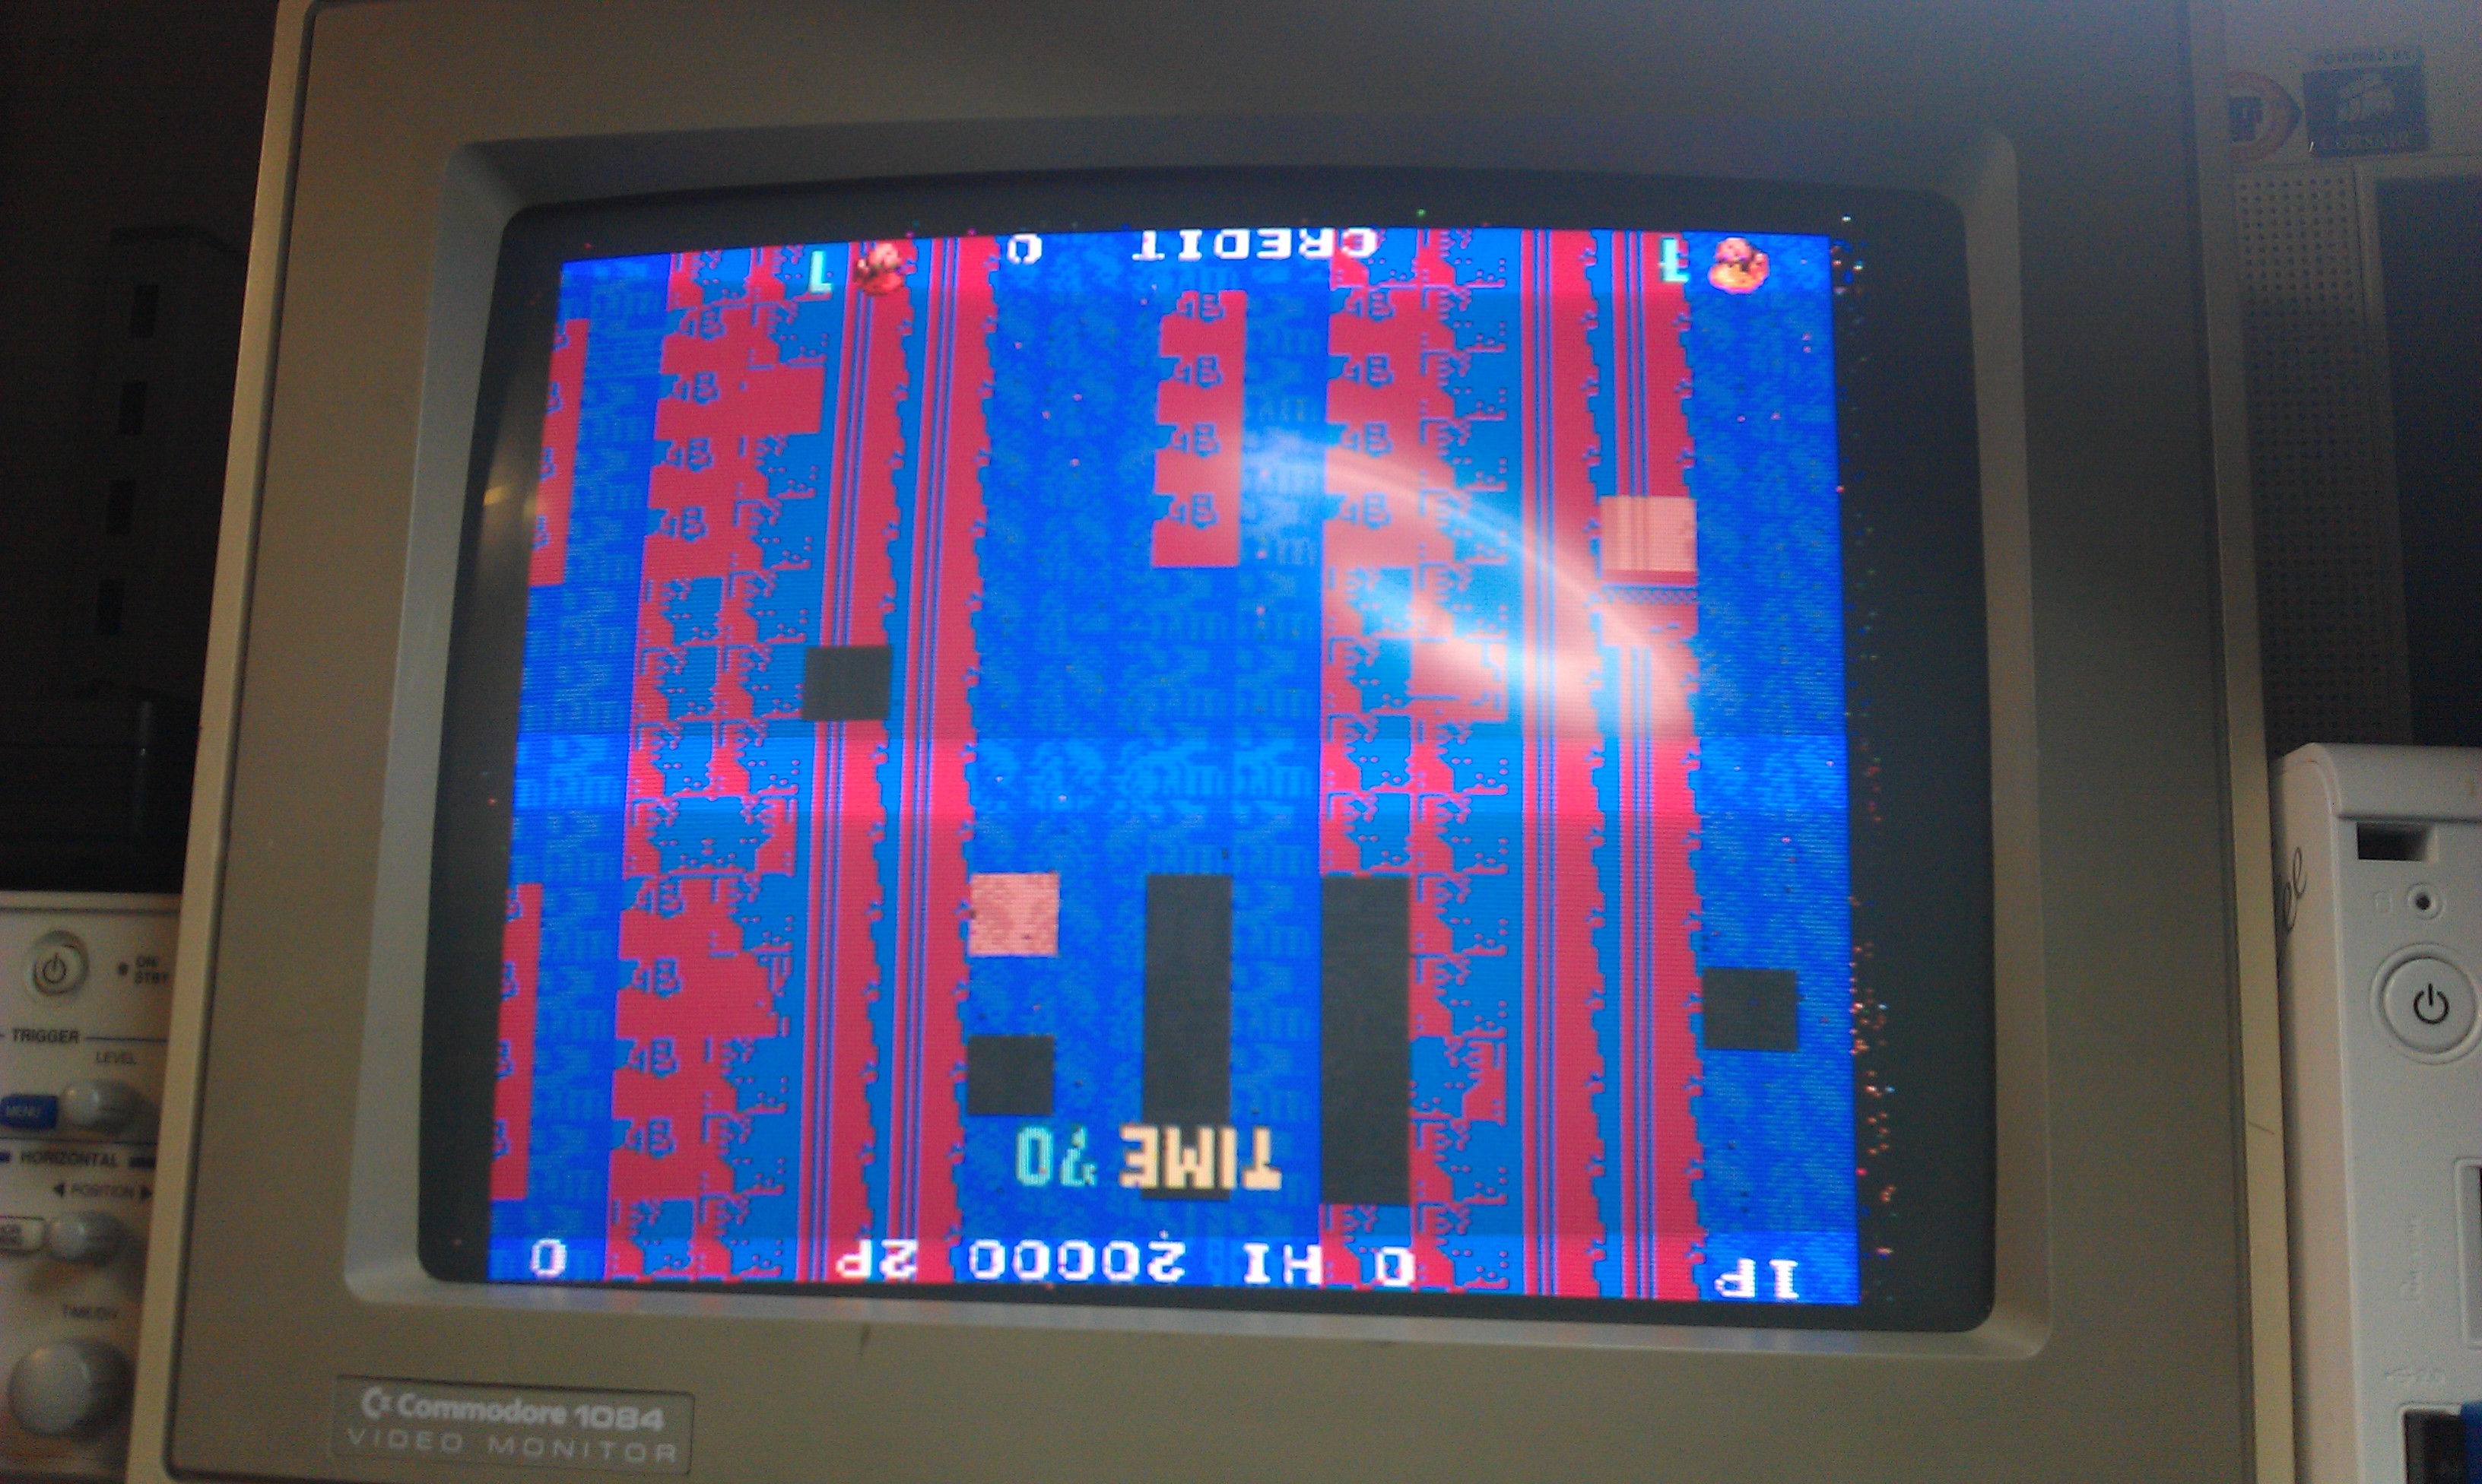
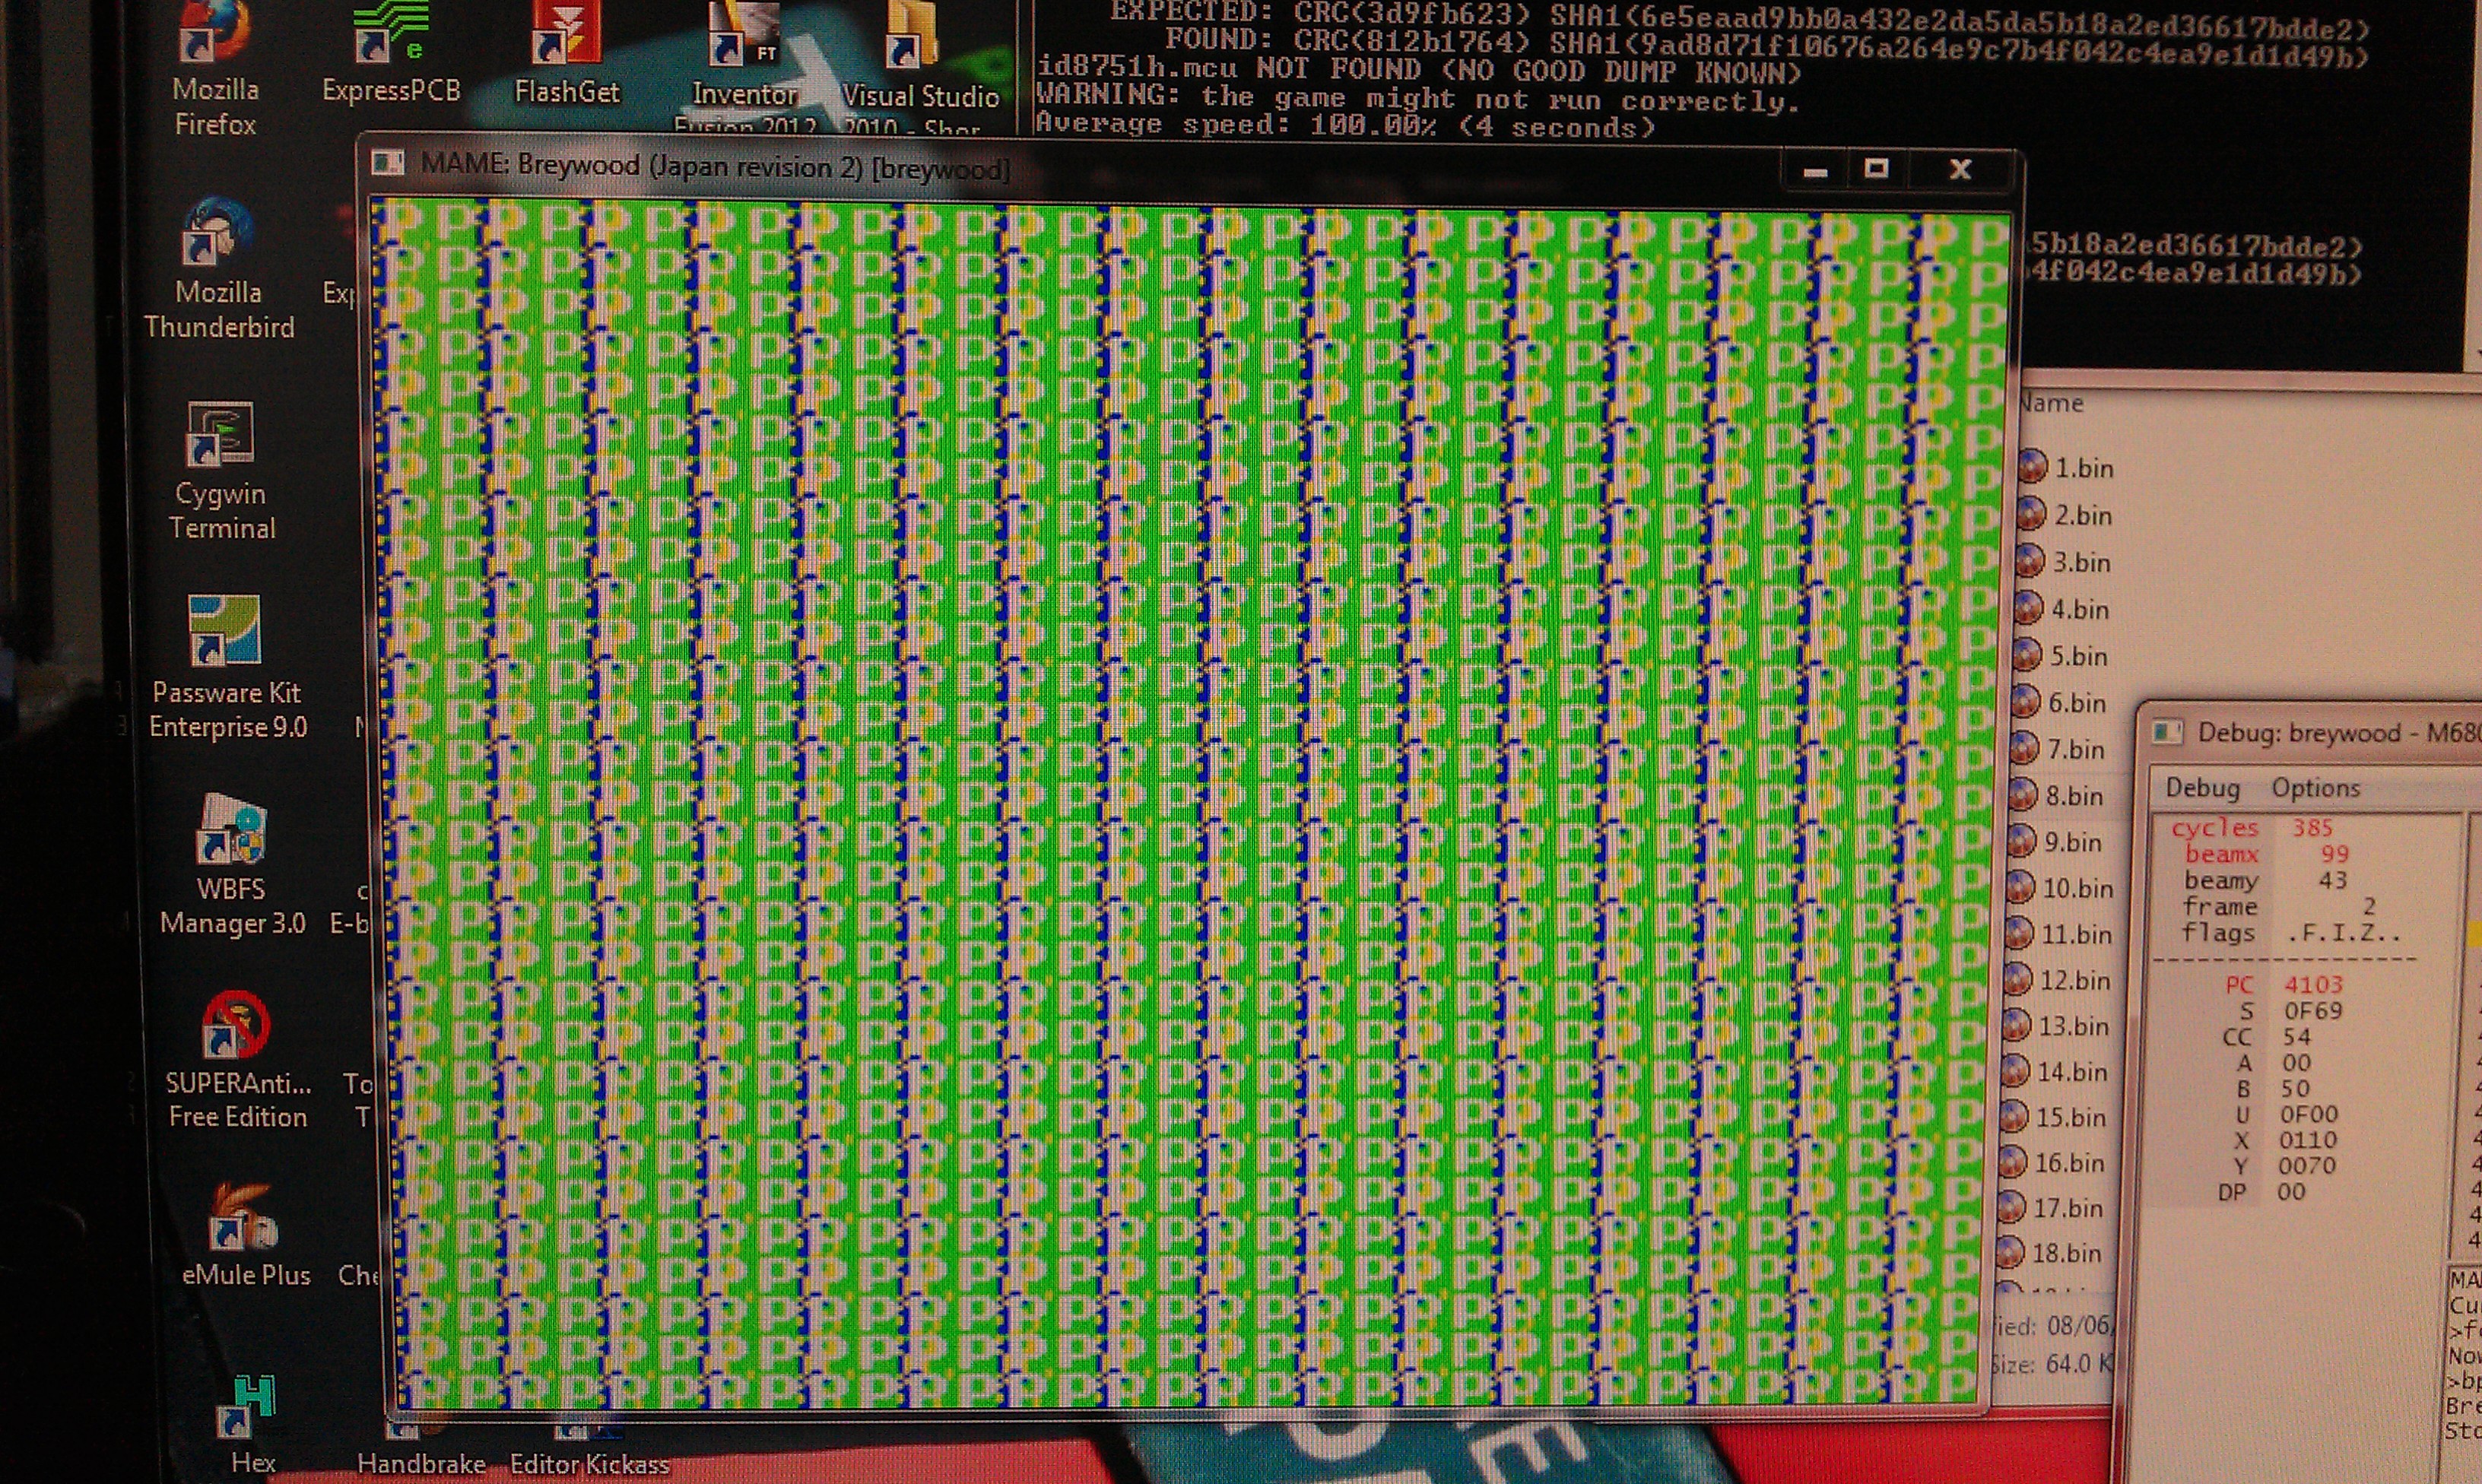
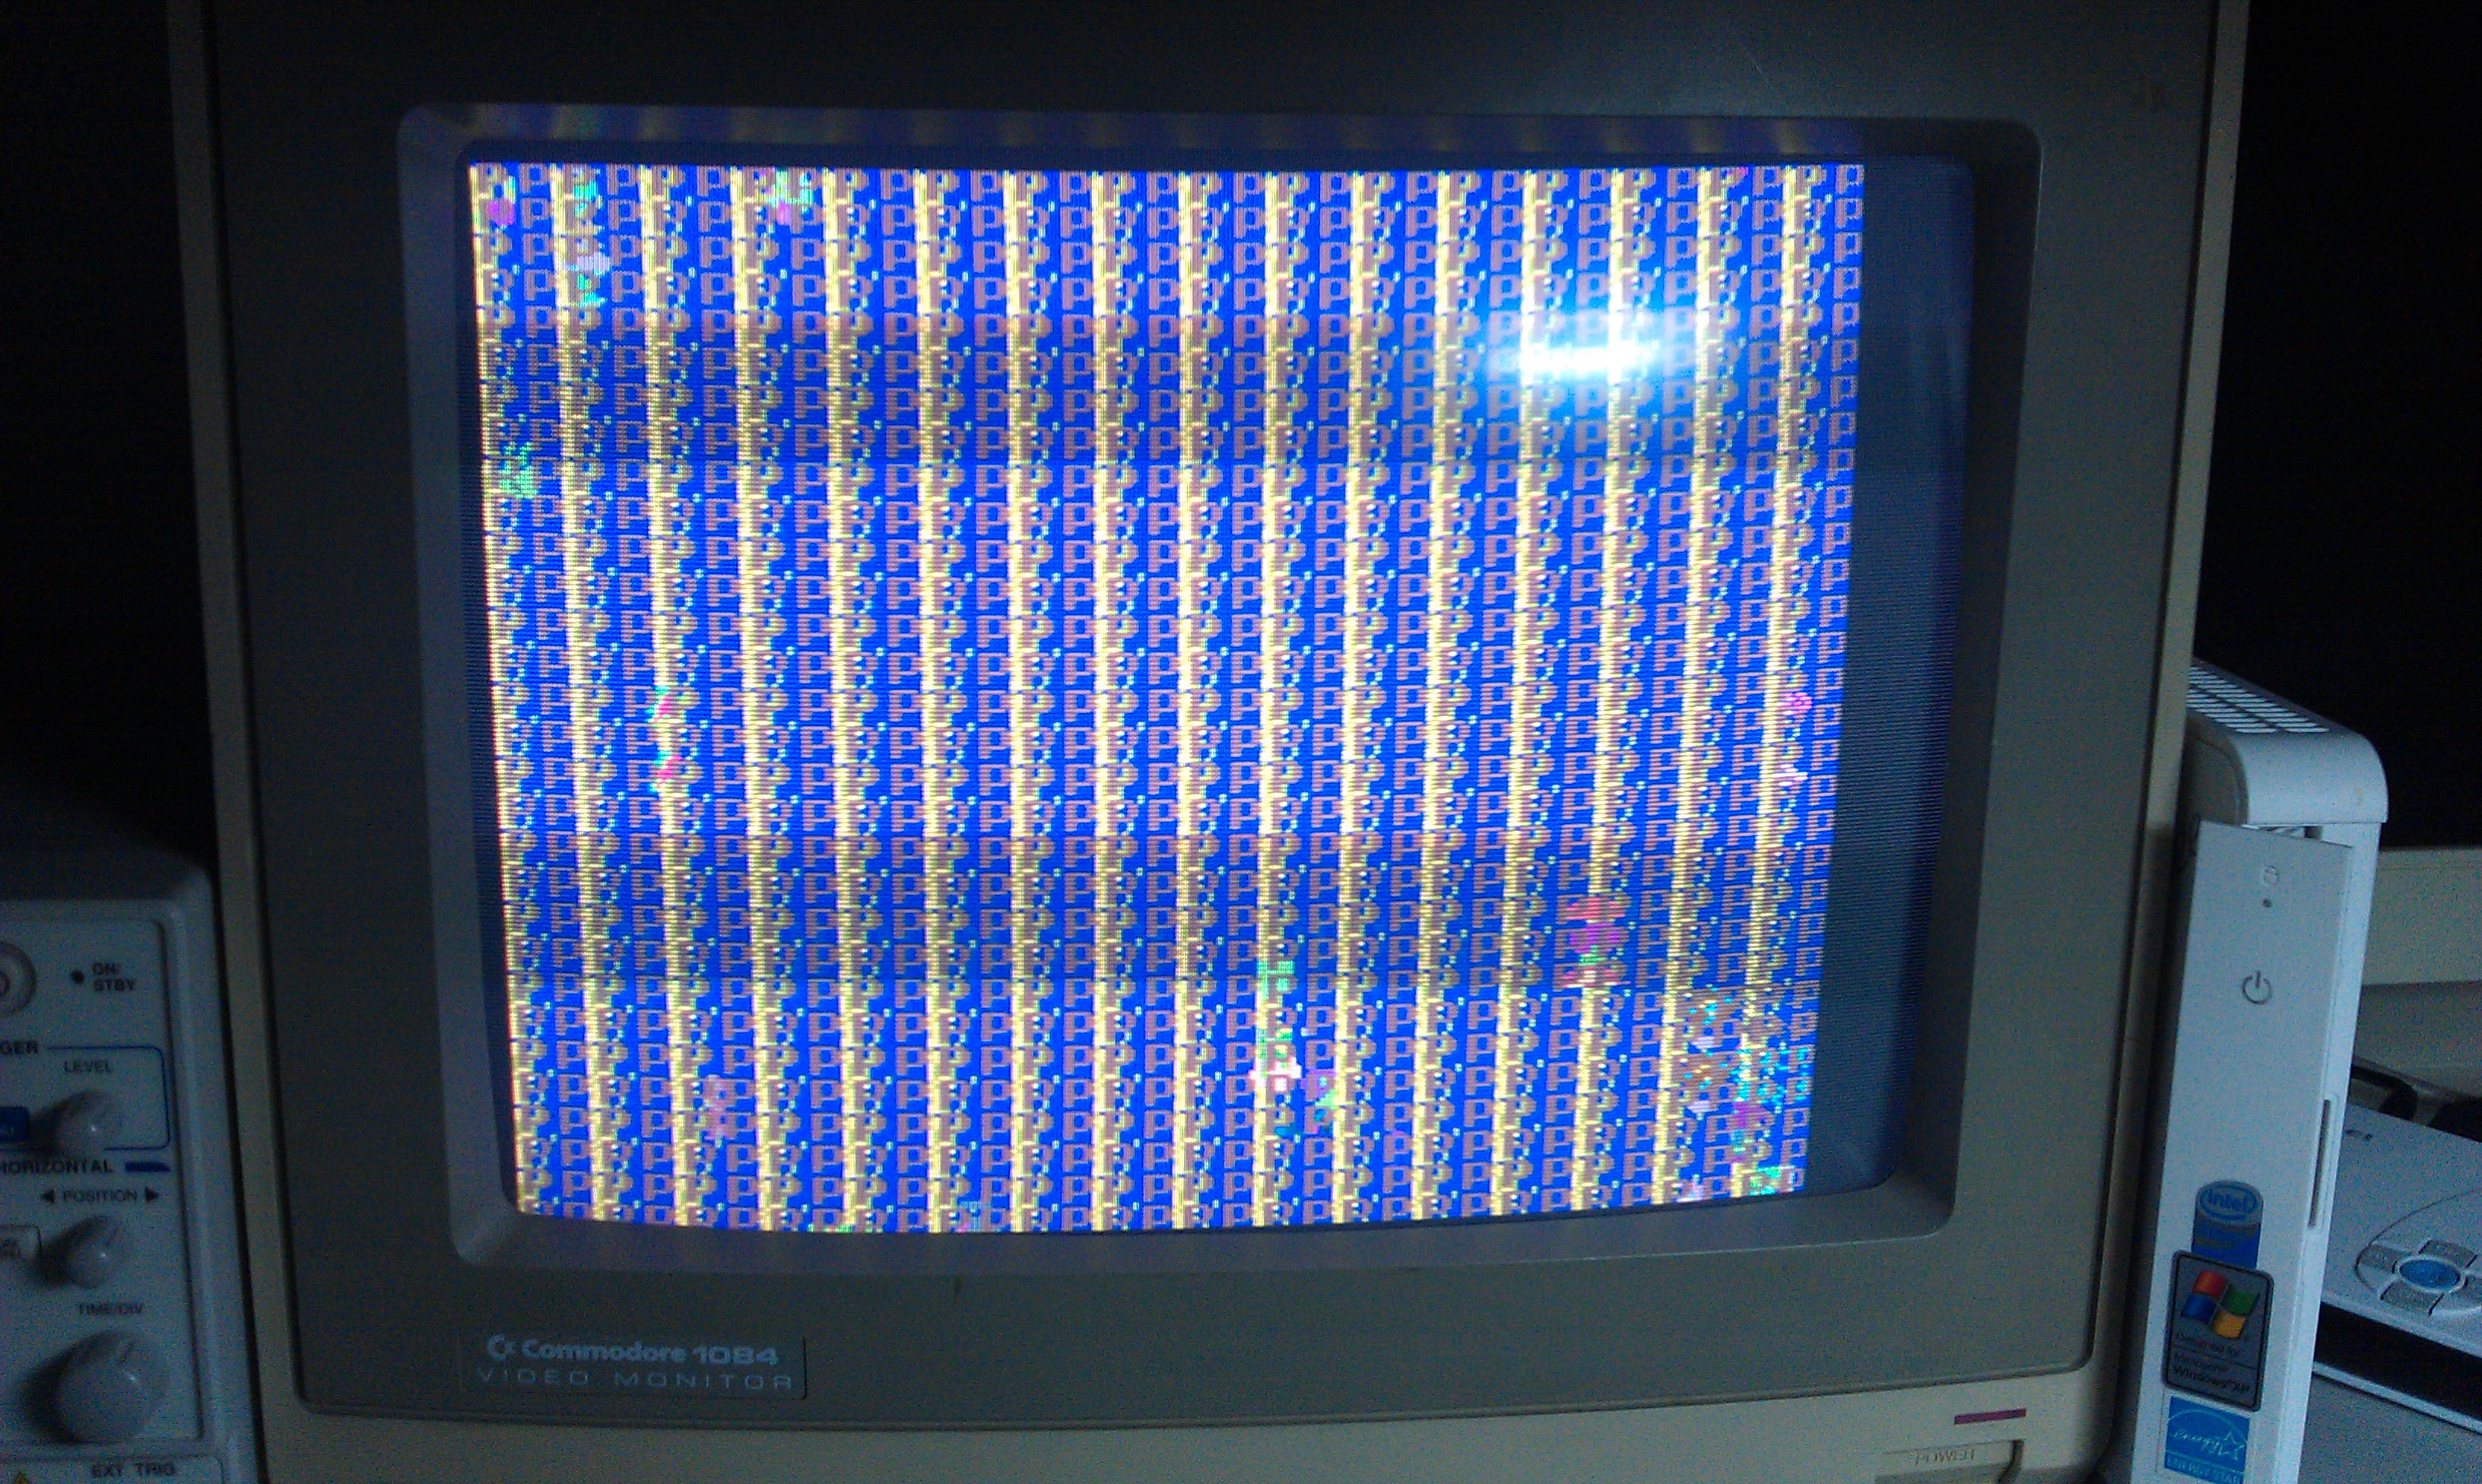
I edited the sub CPU code so that it wrote 0x5050 to all the VRAM. This should will the screen with the letter “P”.
I also made the background into something to prove the BG data could be written.

In MAME I got this

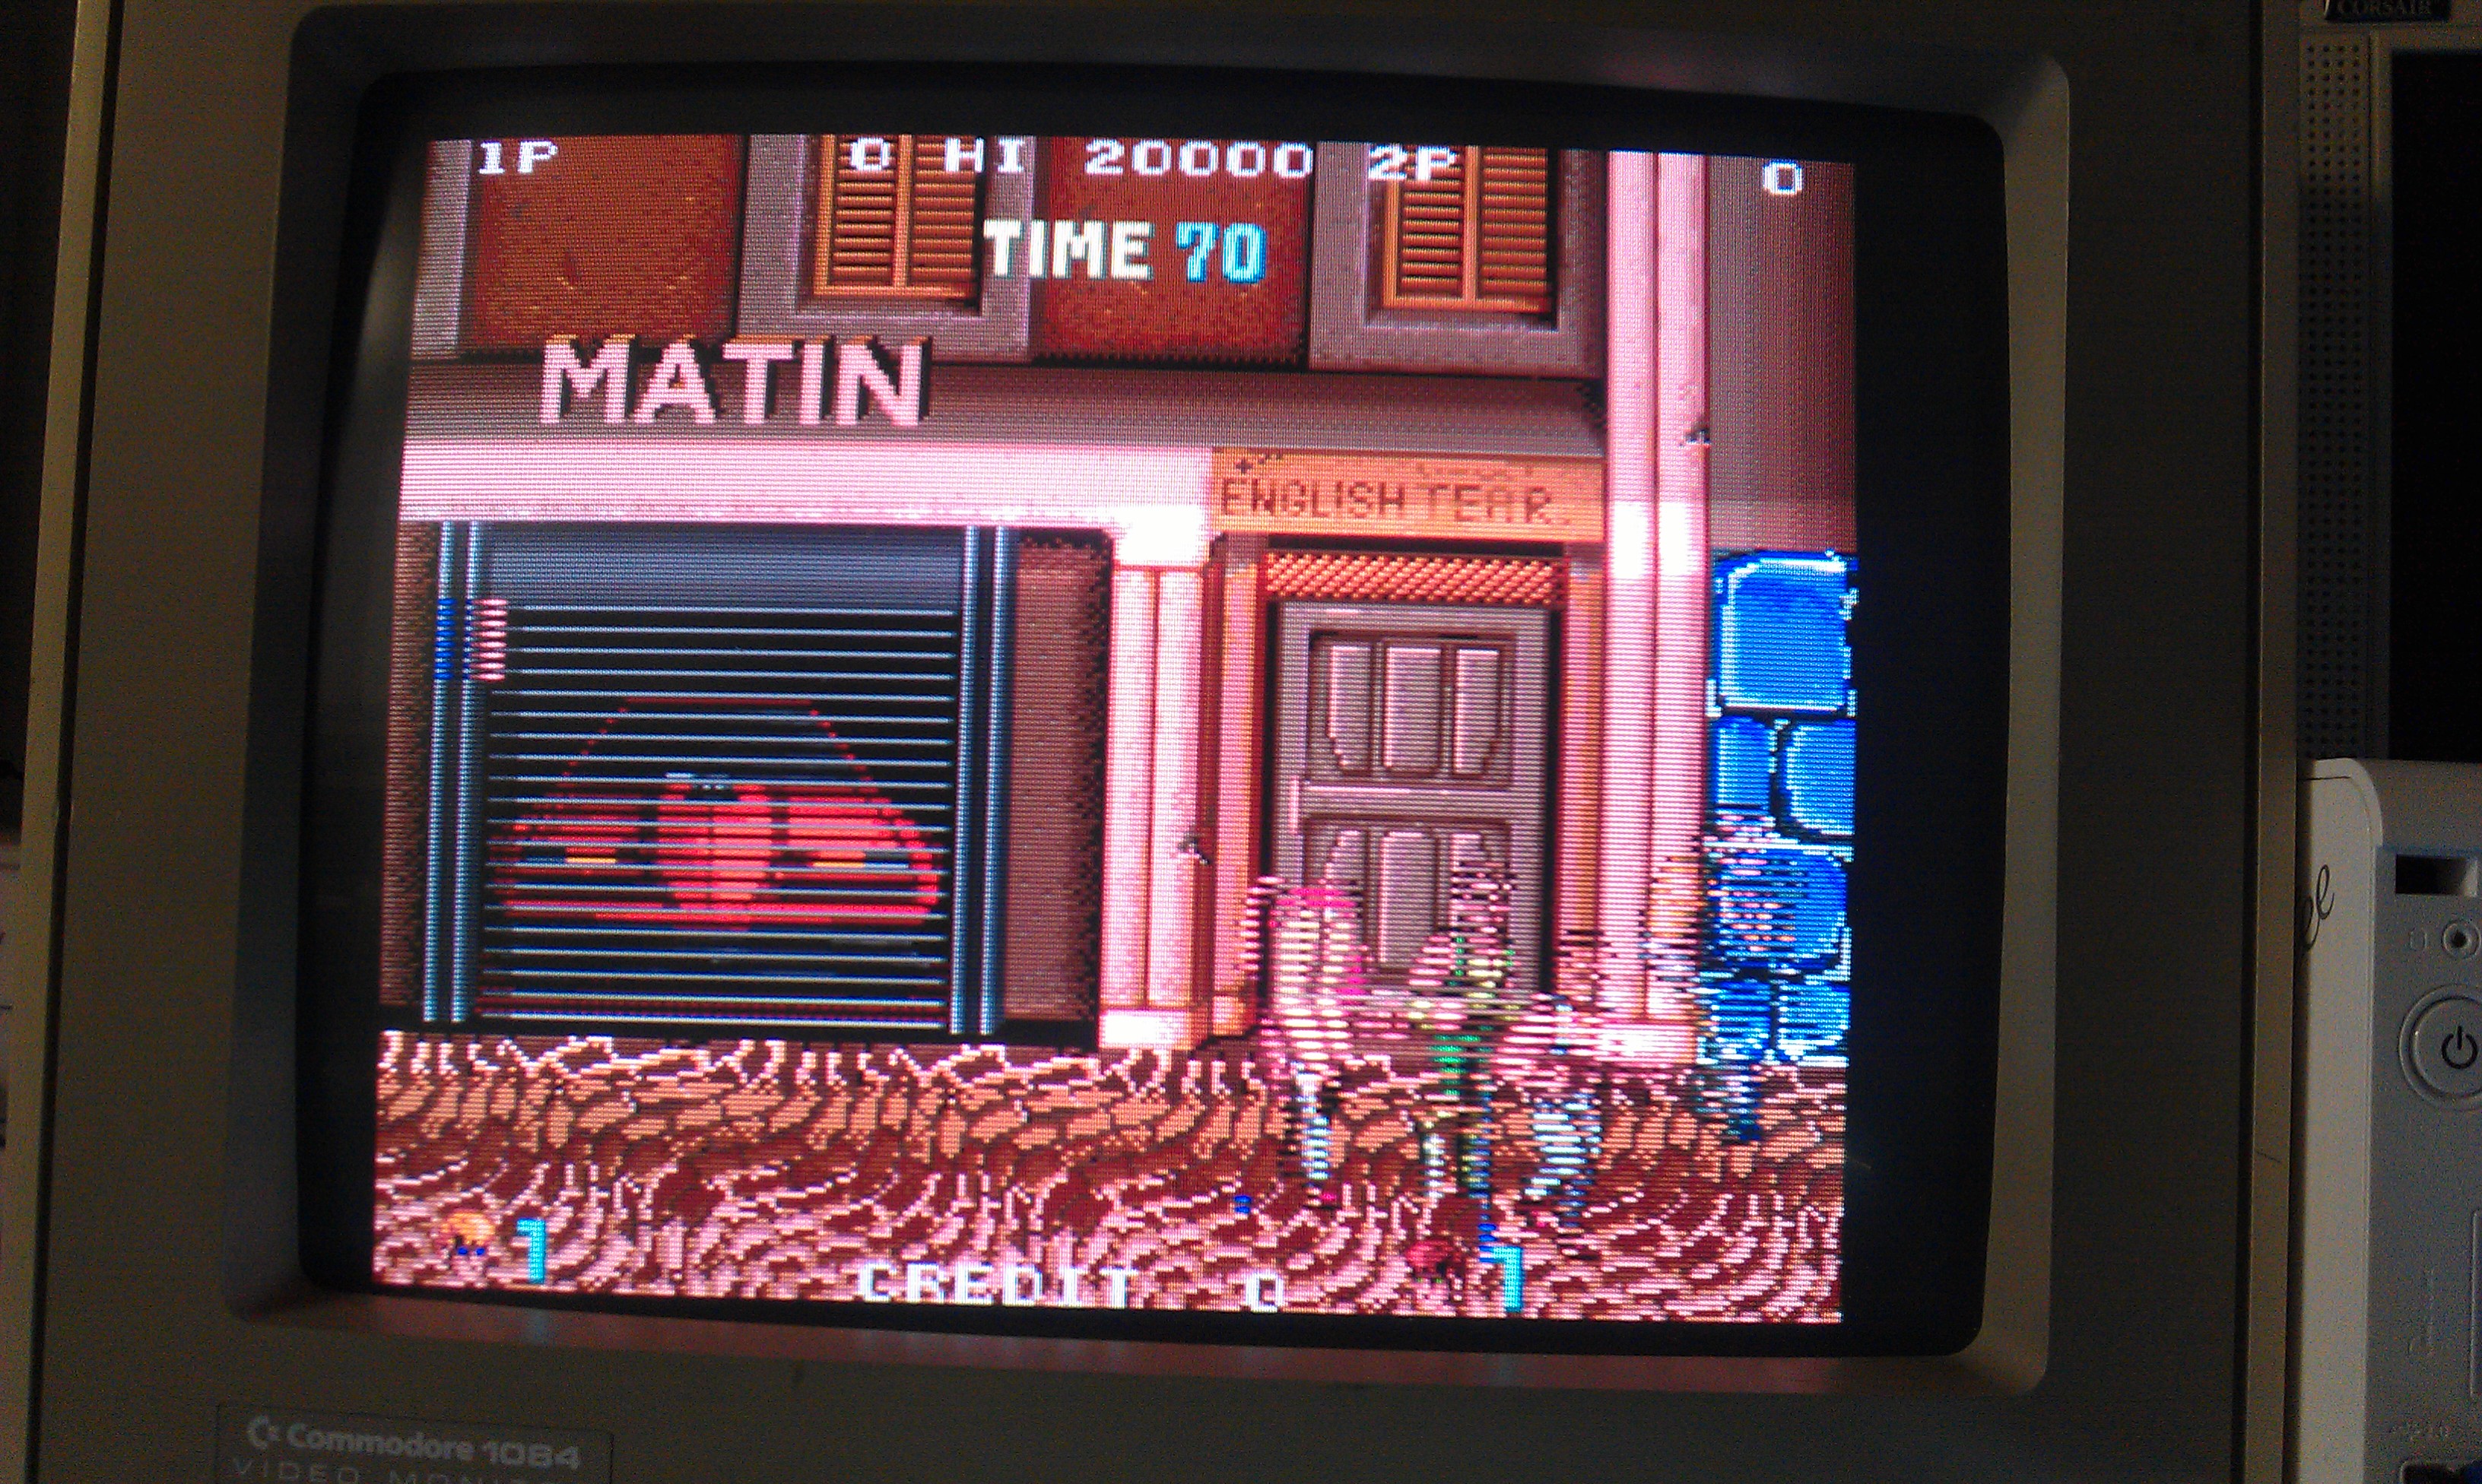
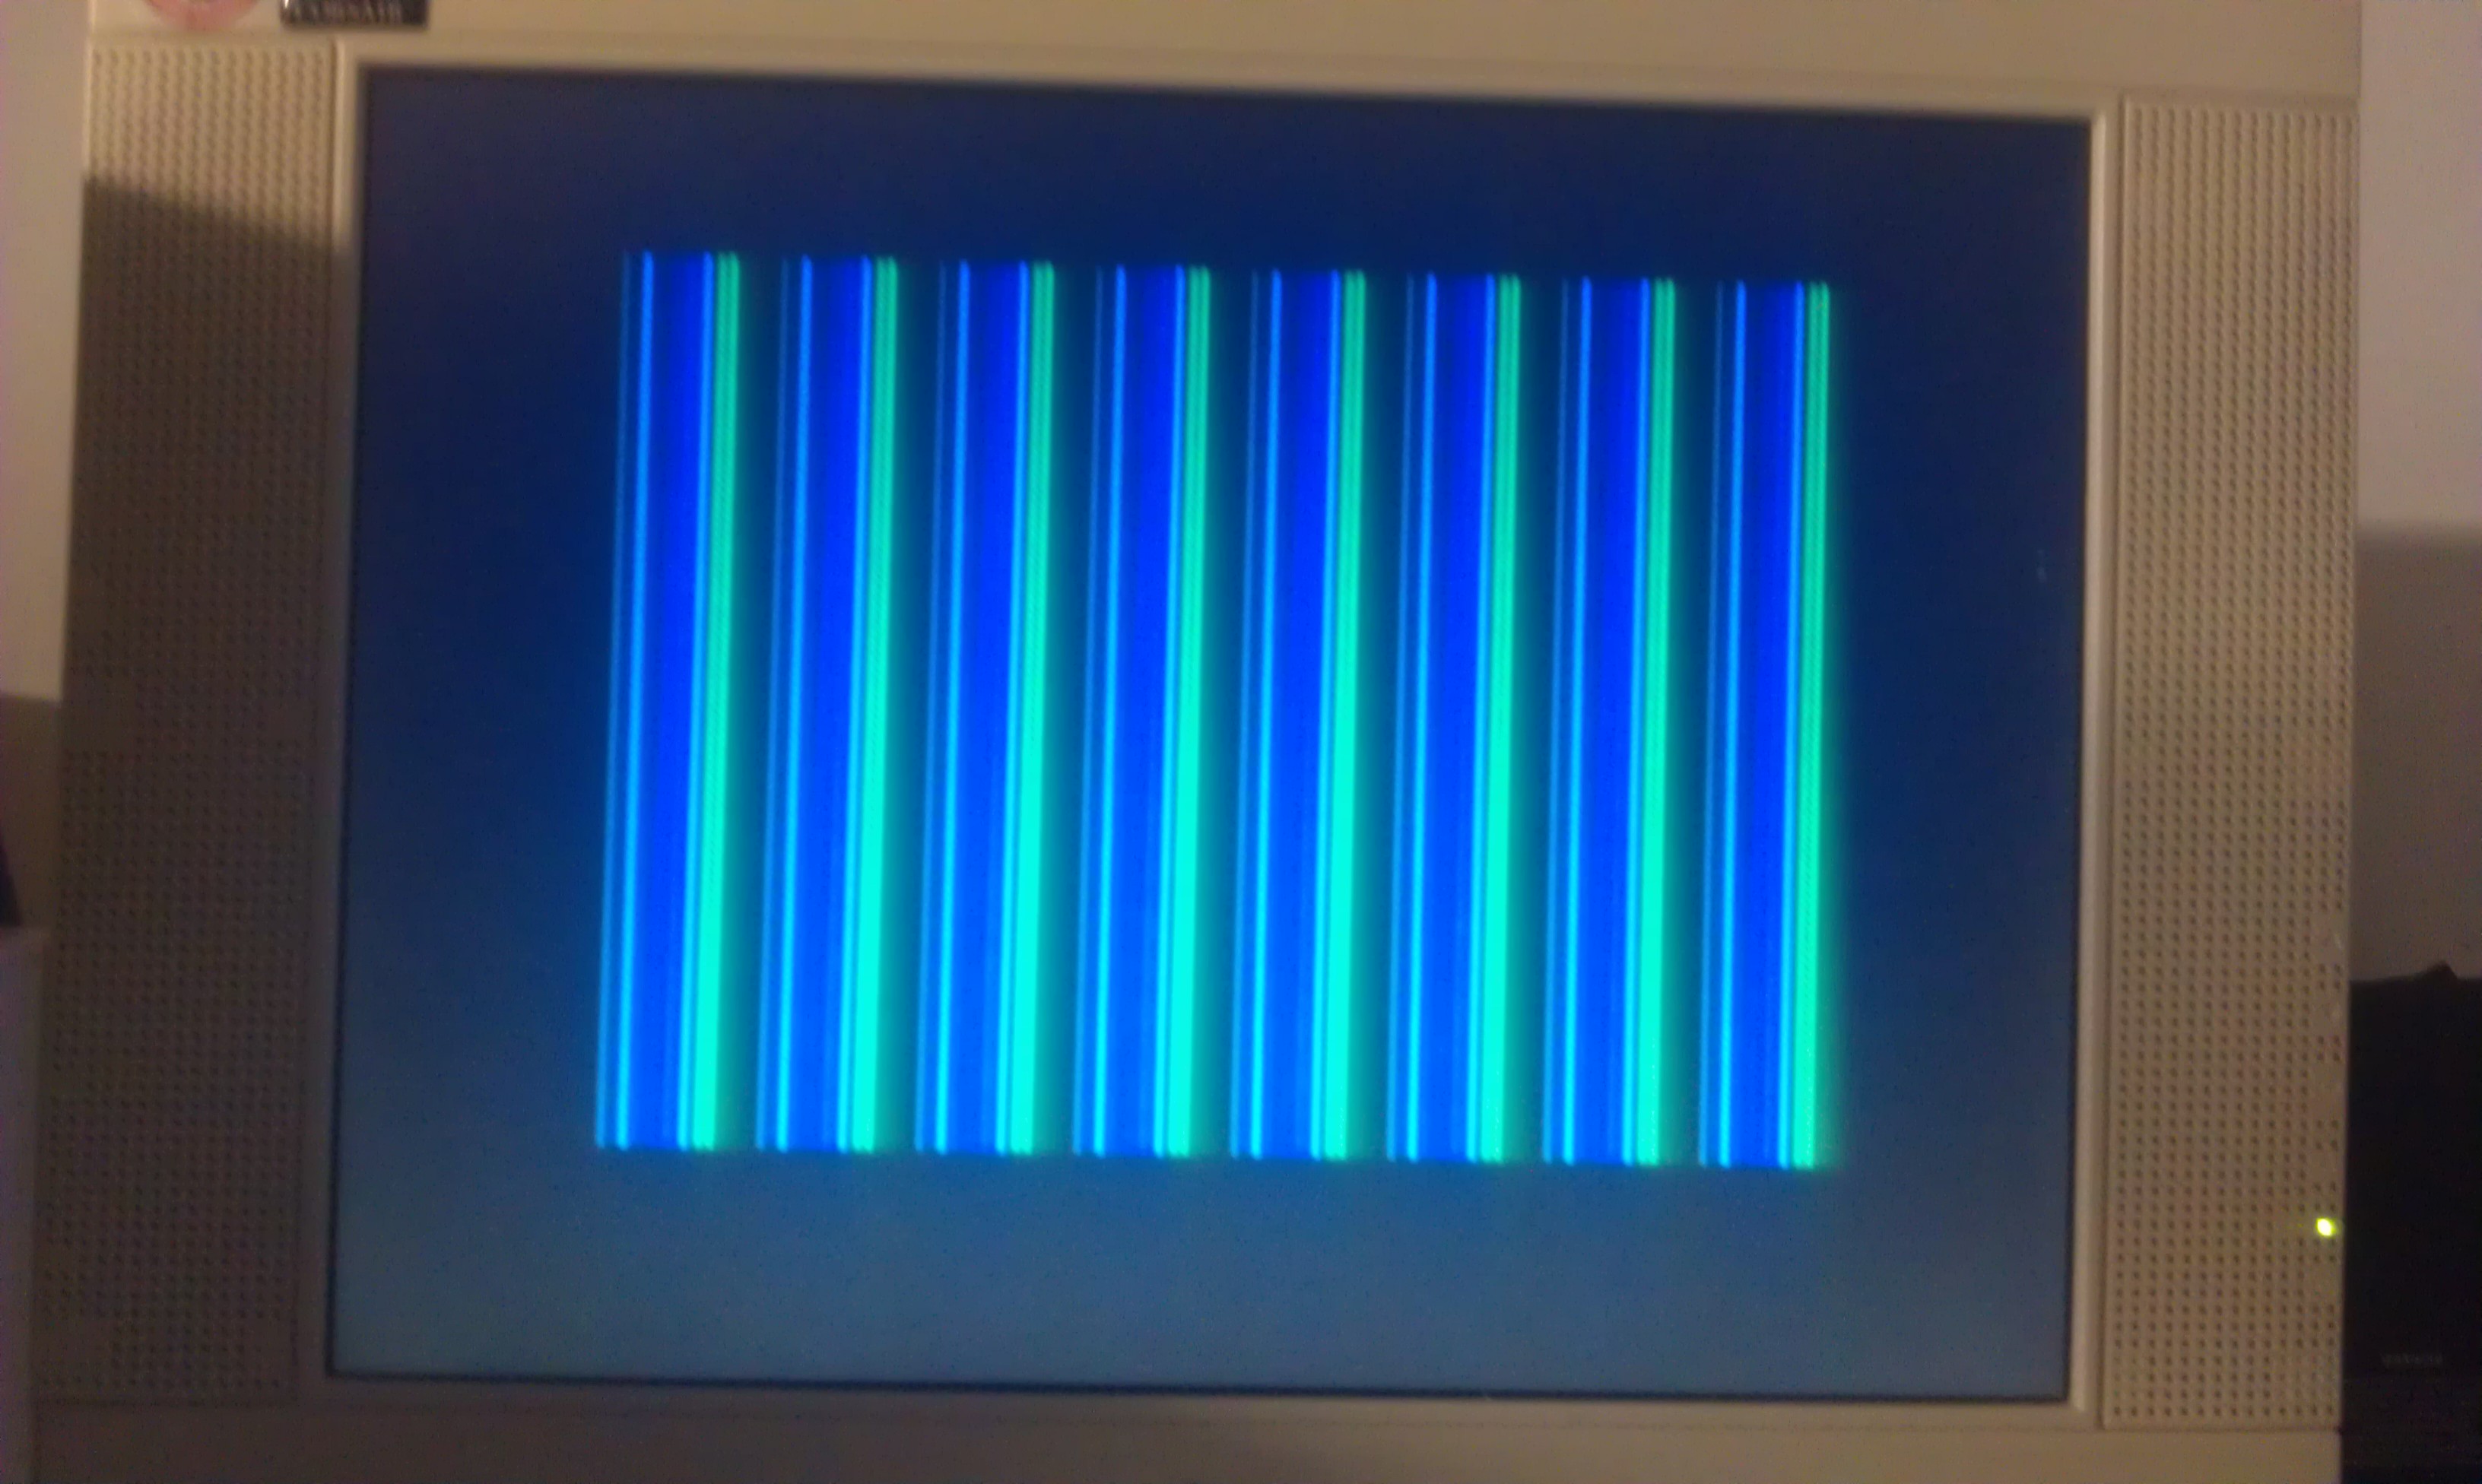
On the real hardware I got this

Ignoring the colour difference I was happy with that result.

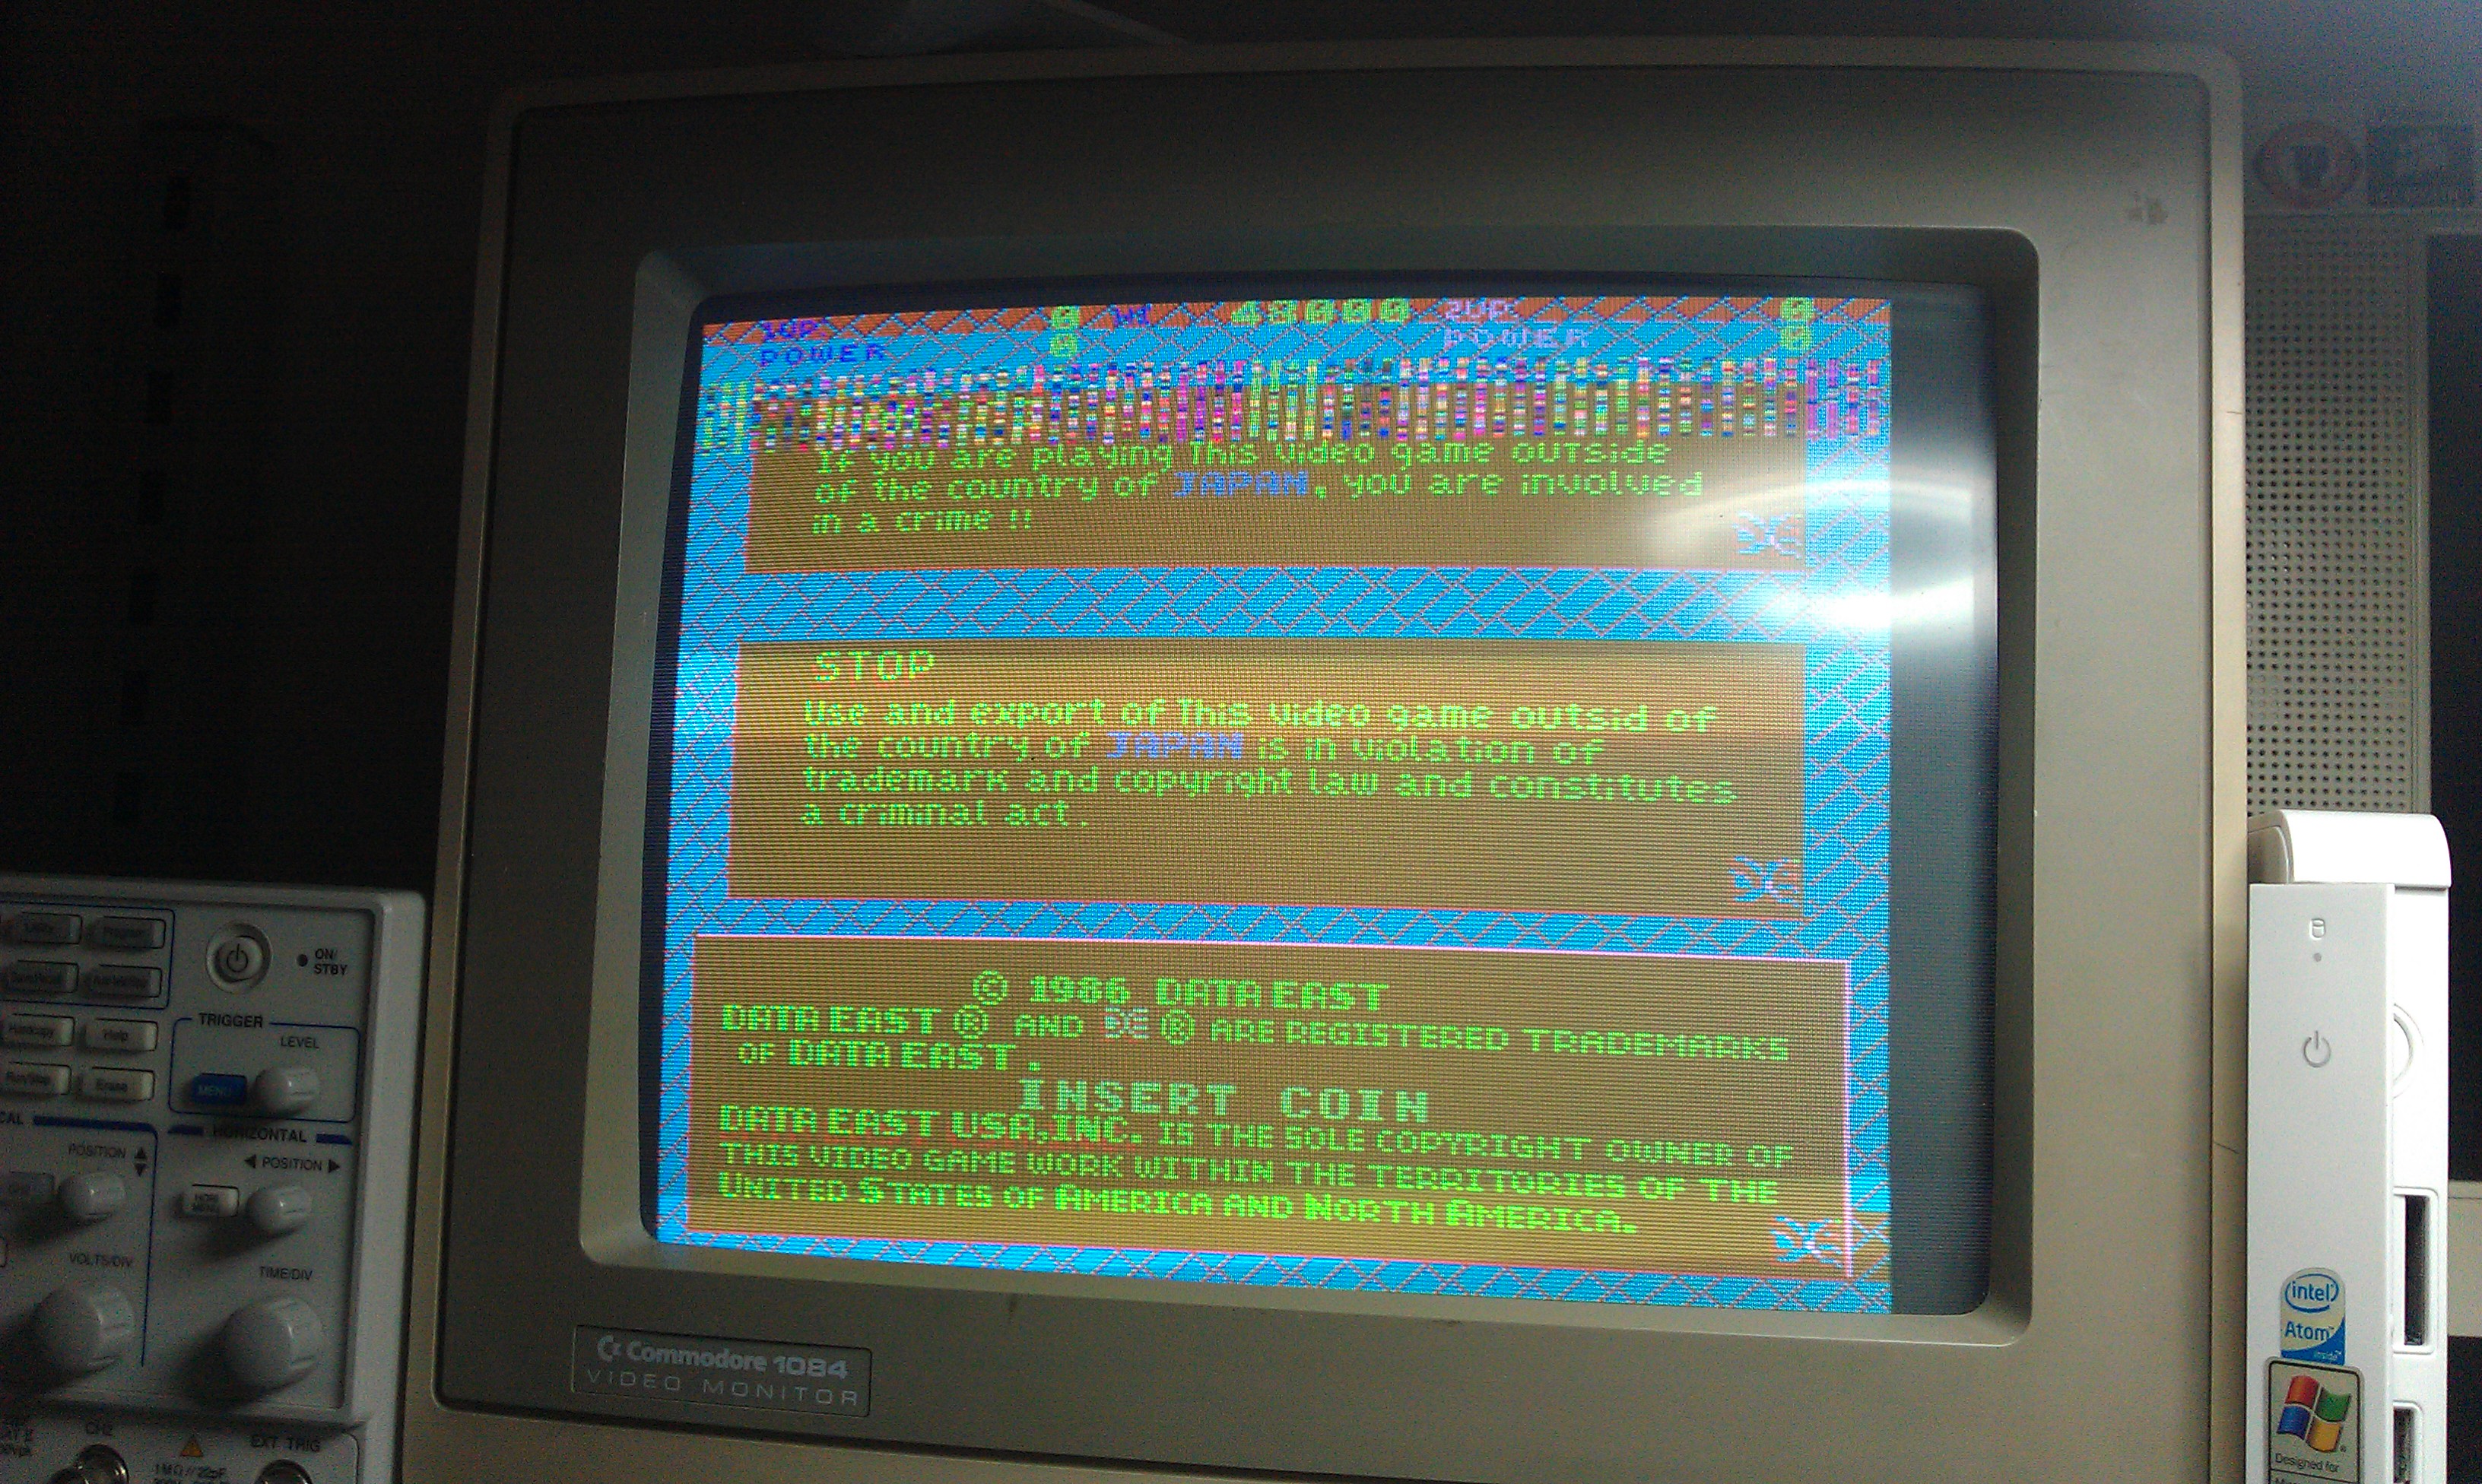
Next step was to bypass the need for the sub CPU to monitor address $6. Doing that should allow me to run the intro sequence without the main CPU fitted.
This would prove that the sub CPU is all working fine and the reason the game didn’t run was down to the main CPU playing up.

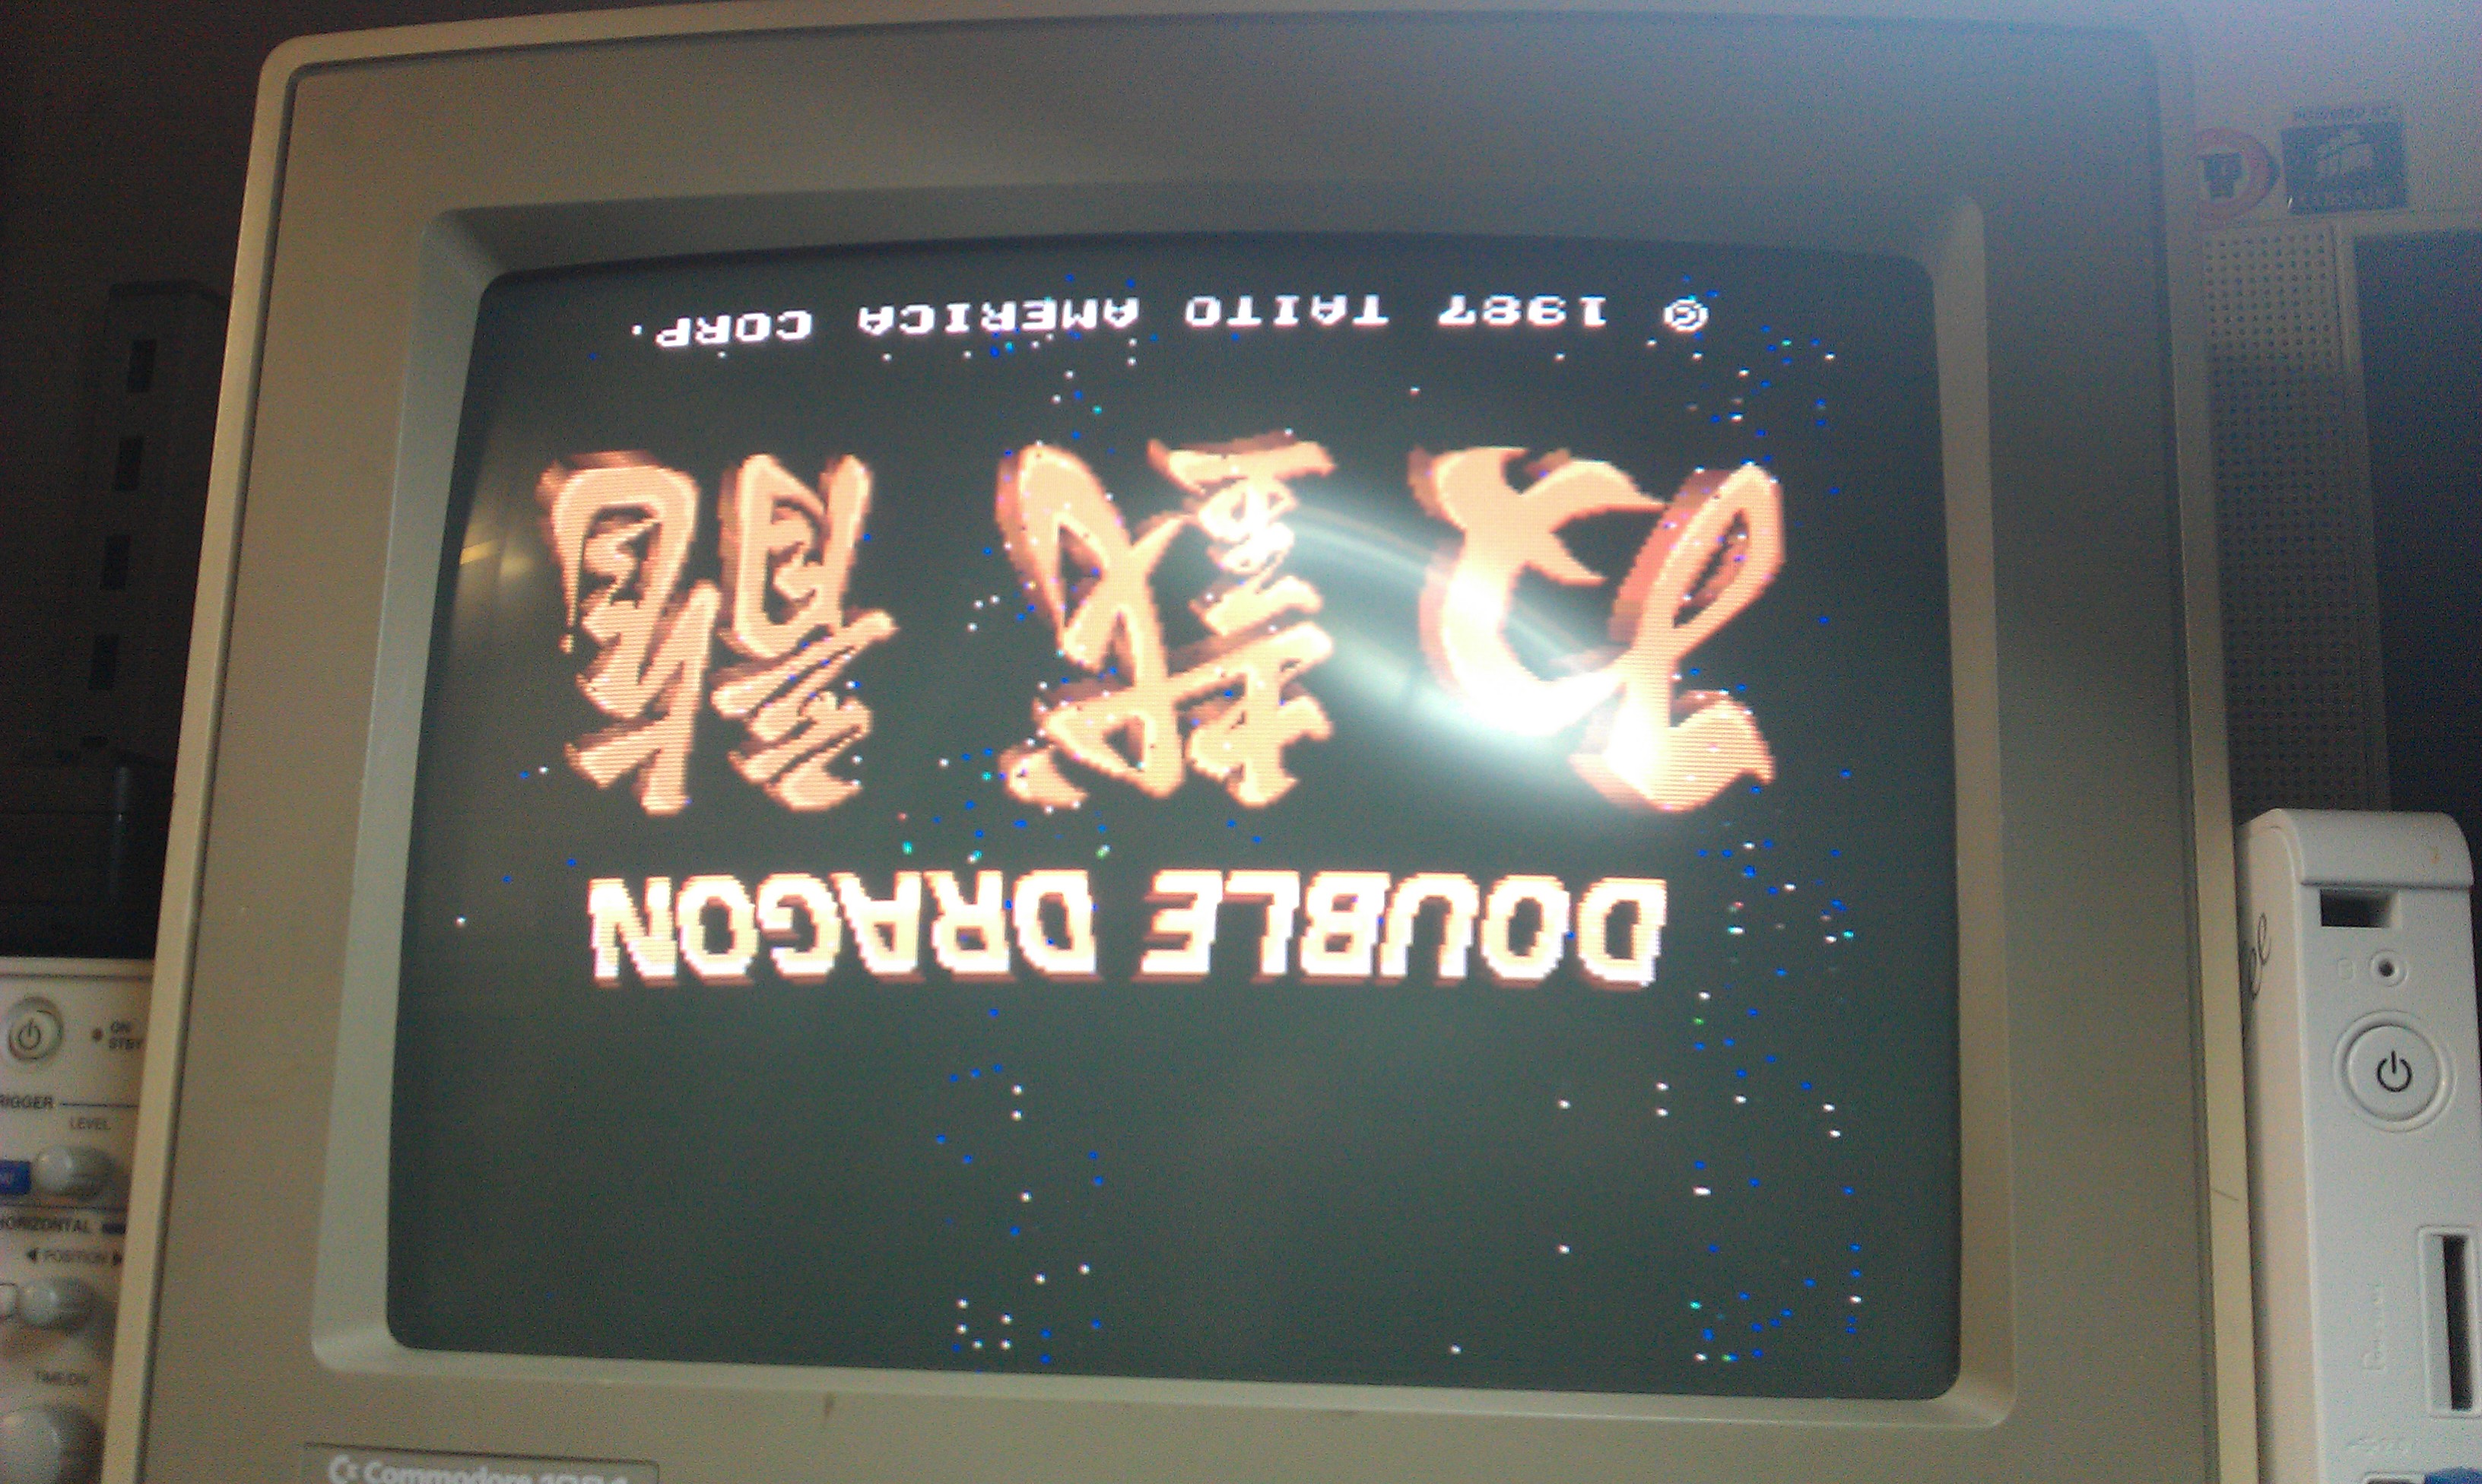
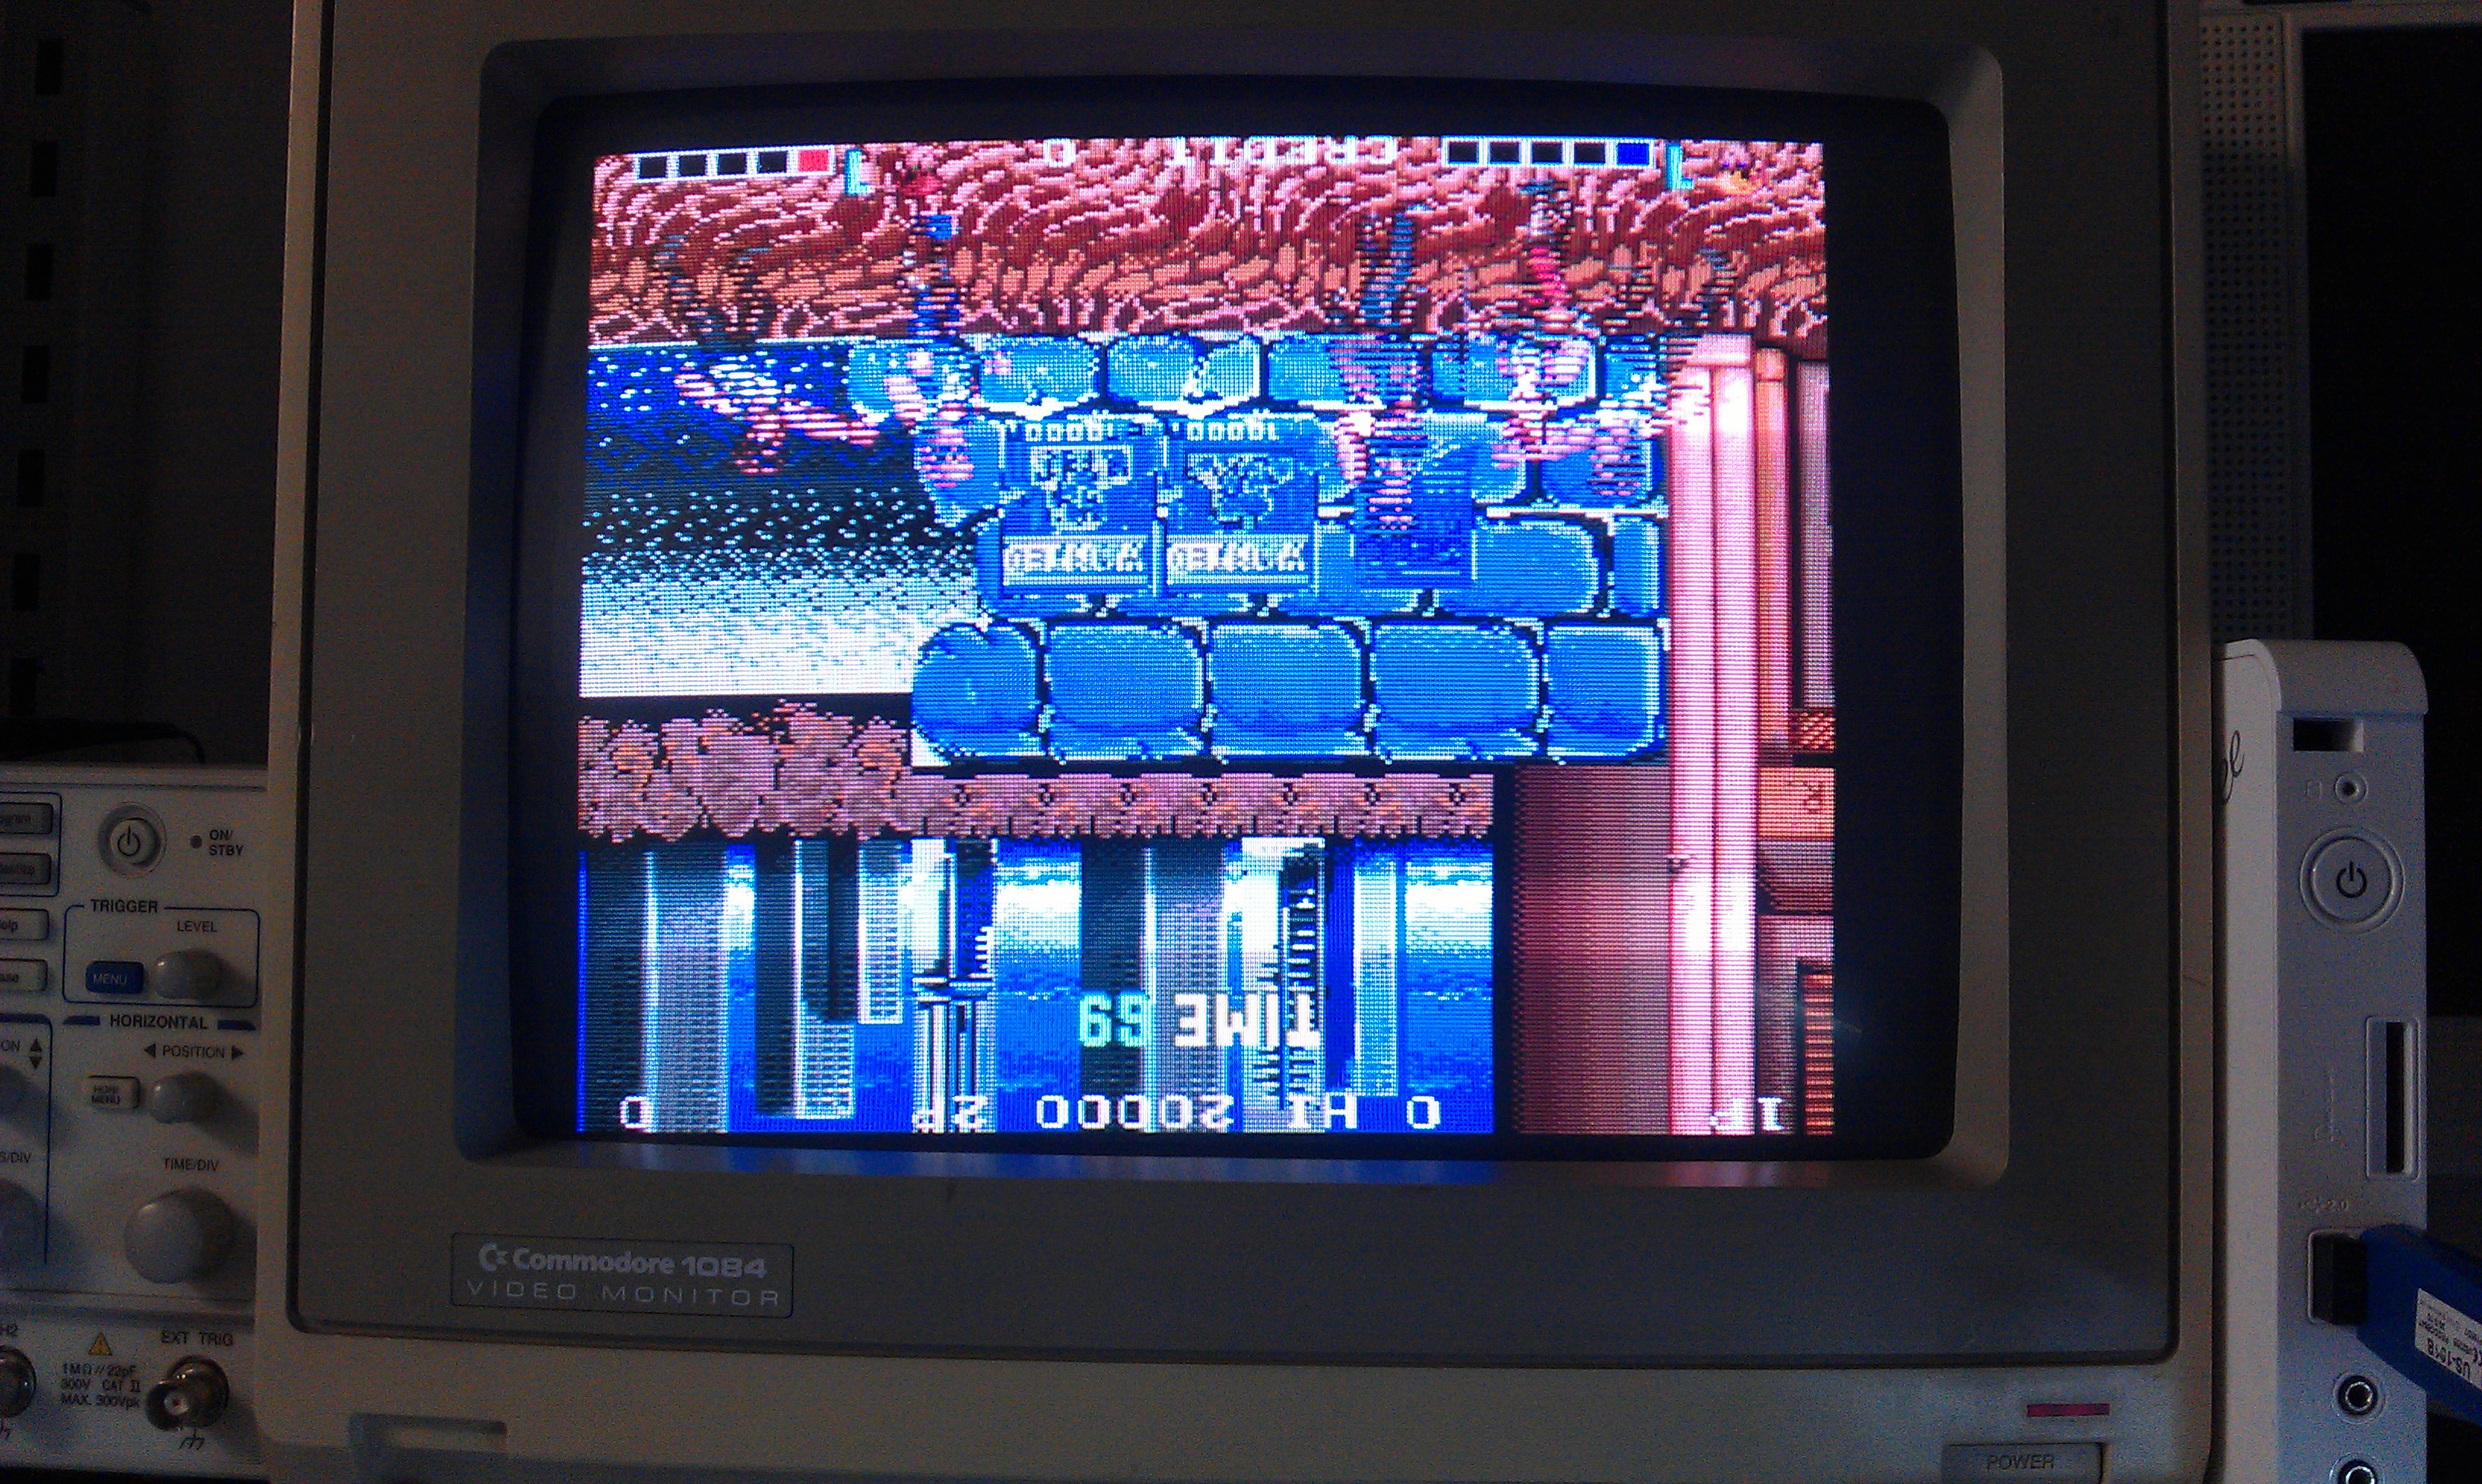
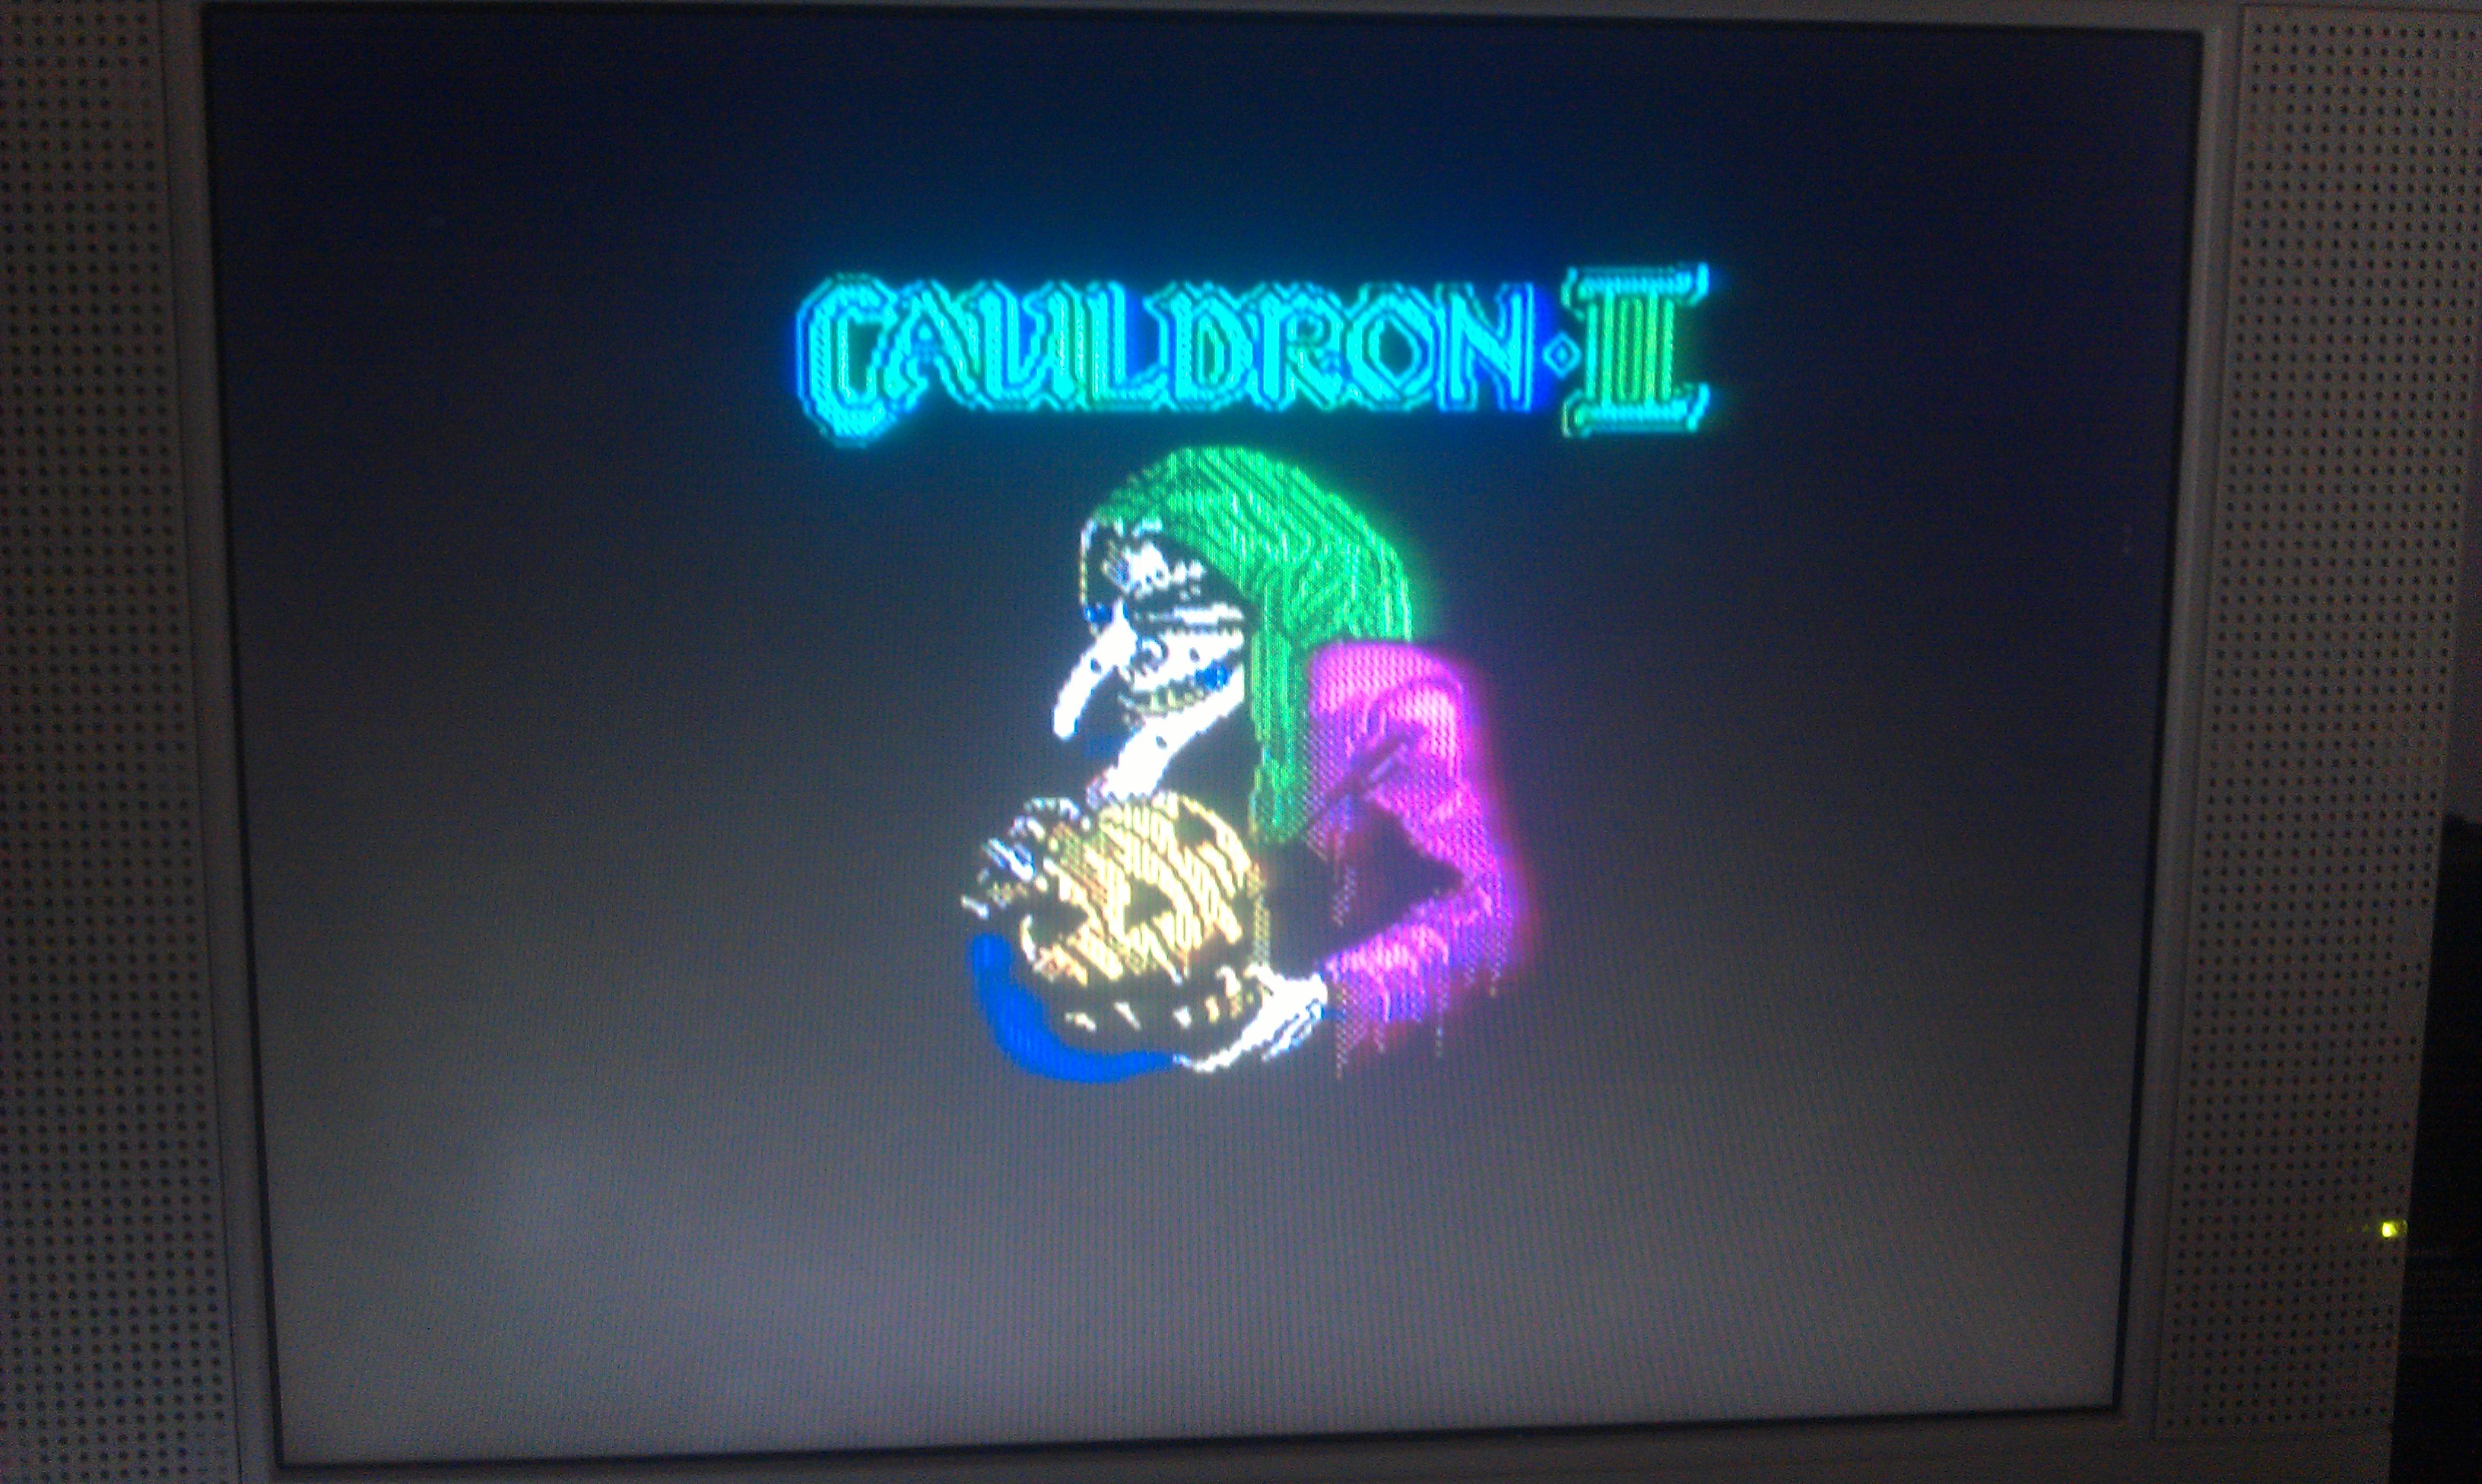
I wrote the new ROM and tested.

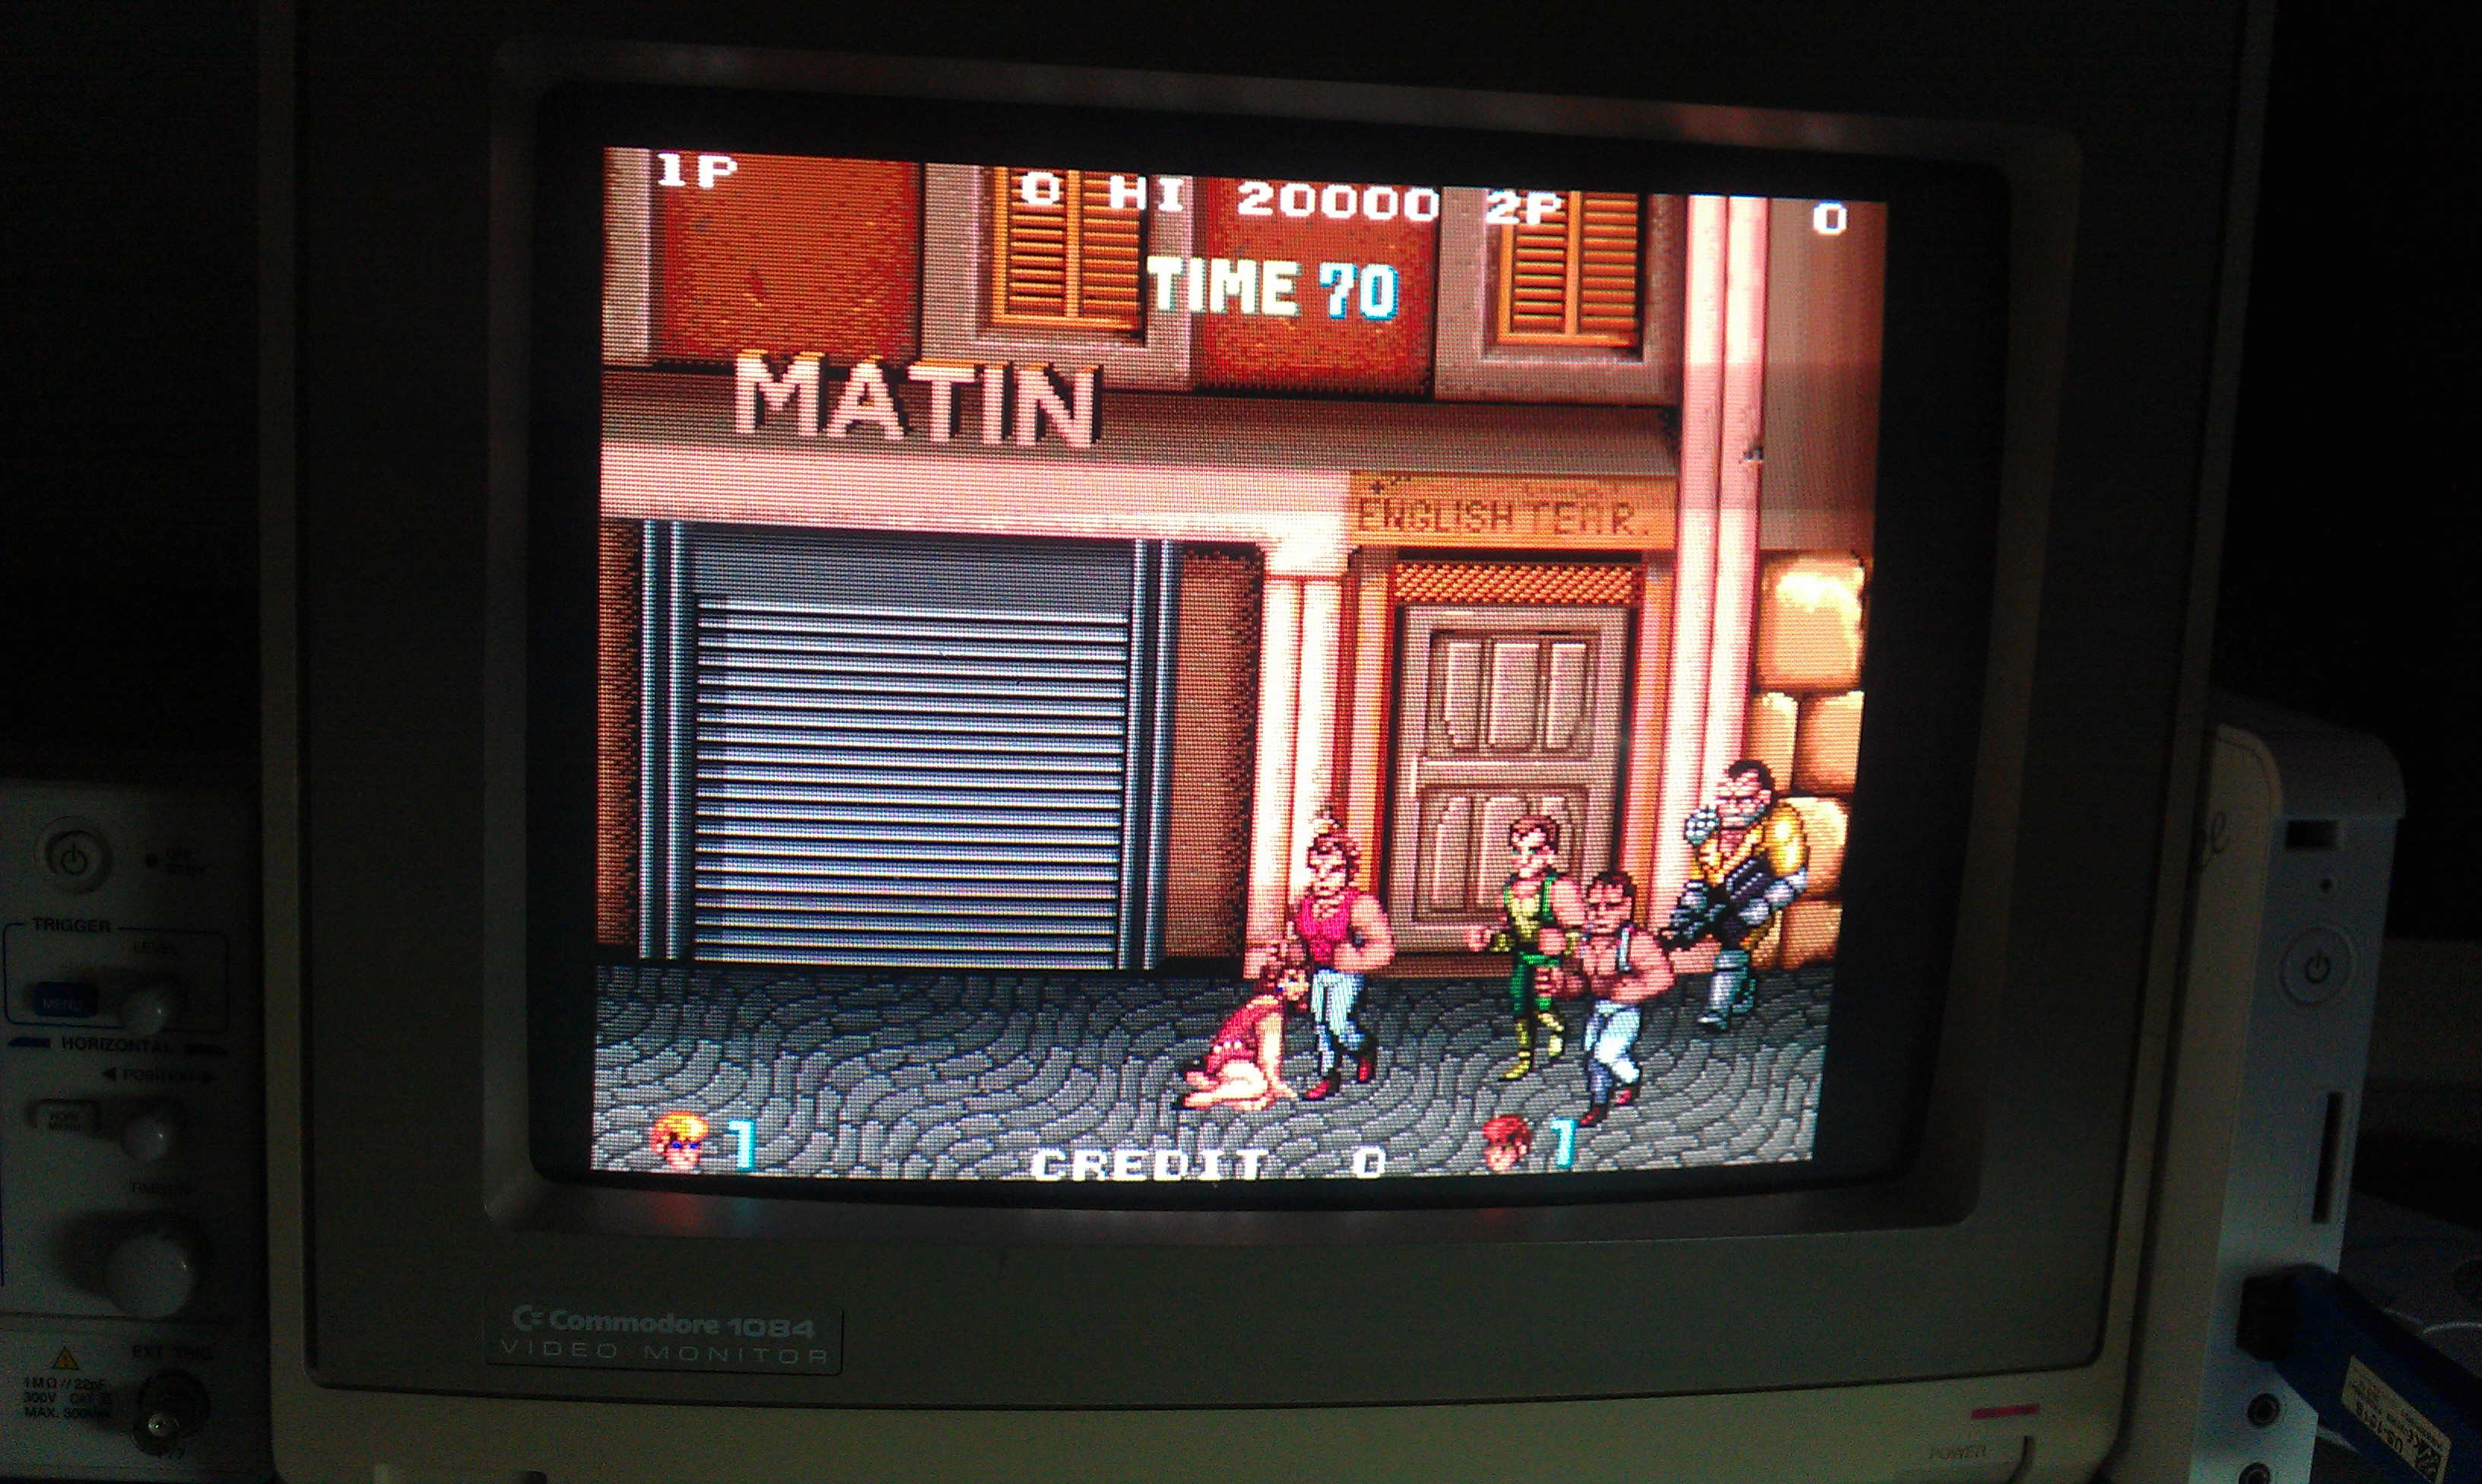
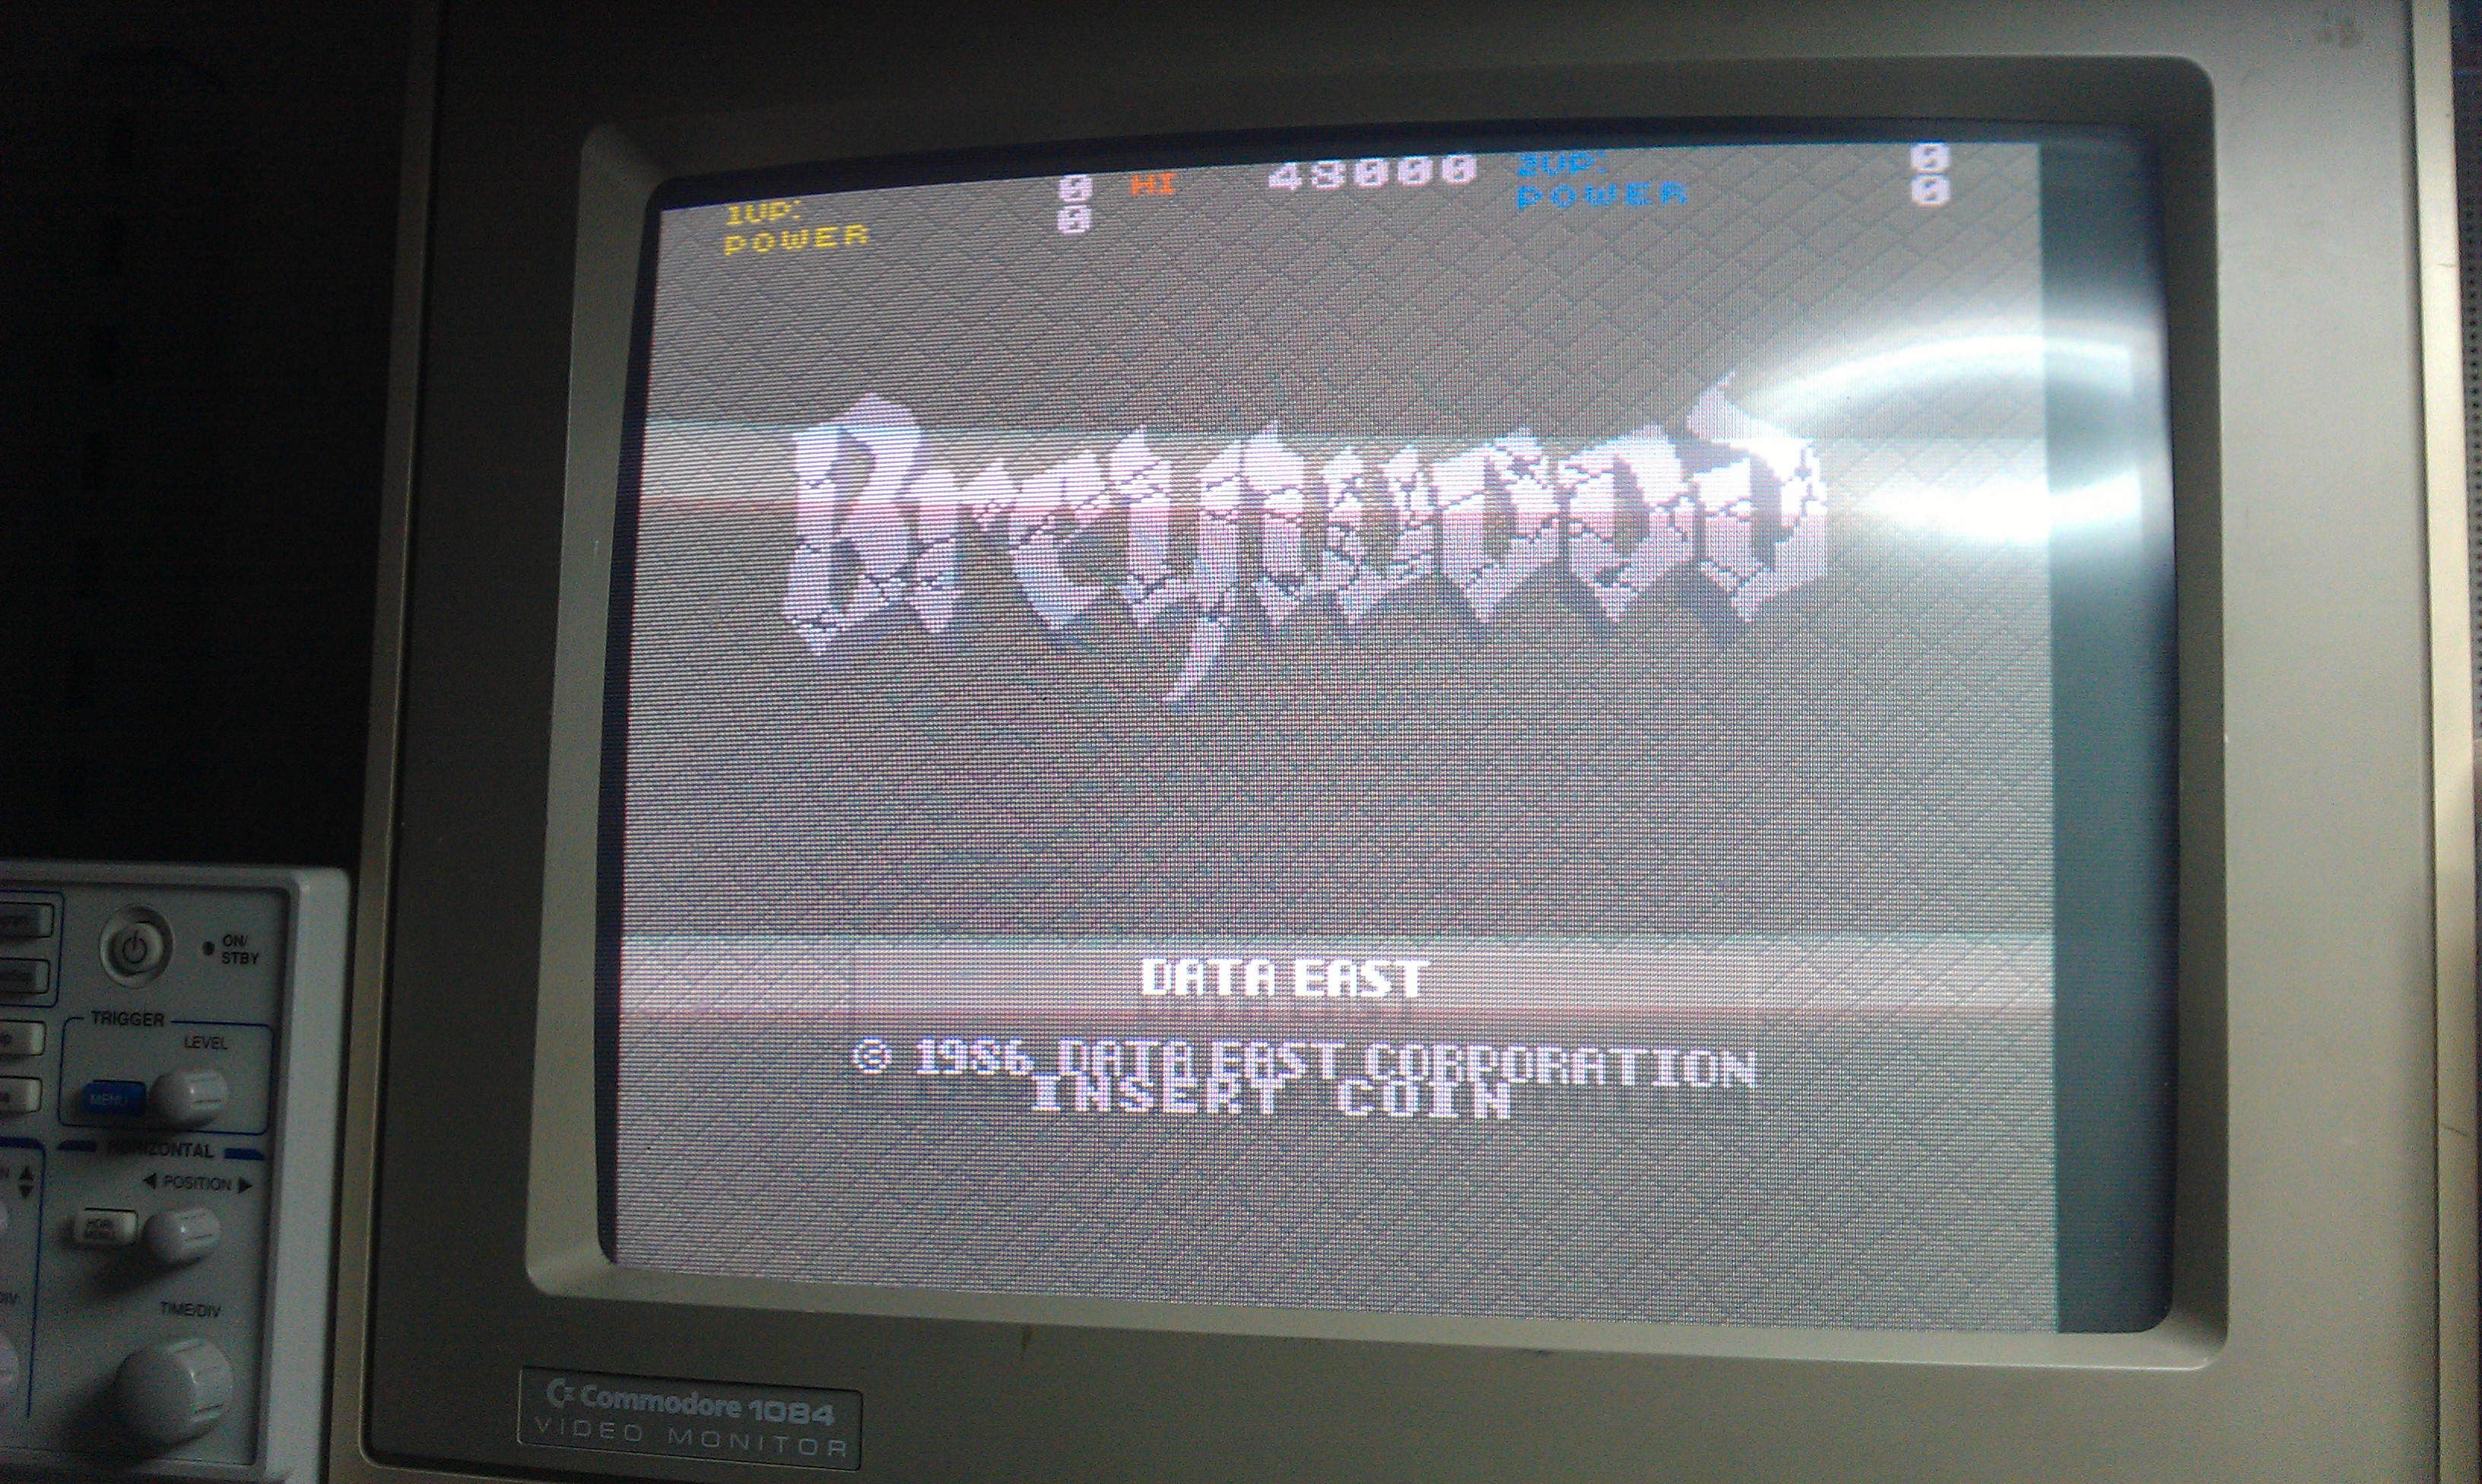
The intro now ran. The colours were messed up but that’s to be expected as the main CPU sets up the palette RAM and that’s been bypassed.
As the main CPU doesn’t really do a lot before the game is meant to run I came to the conclusion that it wasn’t writing address $6 with 0x00.

To cut a long story short, out of desperation I burned another program ROM for the main CPU.

All working. Despite the fact I could read the original ROM out, the hardware wasn’t happy with it.
Crazy fault nearly drove me mental

 Posted by at 1:14 pm

1943 repair log

 PCB Repair Logs, Repair Logs  Comments Off on 1943 repair log
May 312012
 

Got a few boards today.
One of them is an original Capcom 1943 board.

Game had no sound at all.
After a quick look over the problem became apparent.

The EPROM for the sound was missing its GND leg. I replaced this with a 27c512 (data doubled up) for now as I seem to be out of 27c256 EPROM’s.
Game is fully working now.

 Posted by at 7:36 pm

Spectrum 128 +2a repair log

 Computer Repair Logs, Repair Logs  Comments Off on Spectrum 128 +2a repair log
May 222012
 

As Ive been doing some repairs on divIDE’s and I didn’t already own one, I picked up a nice cheap 128 on eBay the other day, sold as powering up but wont load games.
At first I suspected it was just a dodgy tape drive and as I would be using the divIDE to load stuff it didn’t bother me.

So, it arrived and I powered it up and it worked OK. I loaded up my test game and it loaded fine but then crashed. I tried it again a few more times but kept crashing at random points. Time for another going over with the 9010 I thought, only when I fitted it, it no longer crashed. I replaced the Z80 for a brand new one and its been fine.

Nice and easy

 Posted by at 6:22 pm

Spectrum divIDE repair log #1

 Computer Repair Logs, Repair Logs  Comments Off on Spectrum divIDE repair log #1
May 202012
 

The divIDE, as the name suggests, allows IDE devices to be used on a Spectrum computer.
Got 2 of these to fix recently.

Both of them would not allow the Spectrum(s) to boot up. When I tried, I got to the boot up screen but it was locked up.
As all the chips are socketed I checked them first.

I started with the green PCB.
I found was a blank EEPROM which I reprogrammed with the FATWare bios.

On fixing all the initial faults neither board would work still.
To try and make some short work of fault finding I removed the Z80 processor and fitted the Fluke 9010.
With this fitted I basically ran a loop test on each address and data line and the status lines.

Found that data line 3 was not making it back from the EEPROM to the processor. Following the traces back I found the pin at the edge connector had come away from the solder pad.

I re soldered and tested. The divIDE was fully working again.

On to the red PCB
All the GAL chips could not be read out at all and flagged up errors on pins. The RAM also failed when I tested it.
Talking to Questor on the RCM forums, he tells me that dead GAL chips are a sign of the device being removed while the unit is still powered up.
After some quick probing around I found a transistor had blown. I also took a gamble and tested the other 2, both of which were dead.
After replacing all of these, this unit is now working too.


A nice device but would benefit from a case I think.

 Posted by at 11:16 am