Dataman-48pro2

 General  Comments Off on Dataman-48pro2
Nov 302010
 

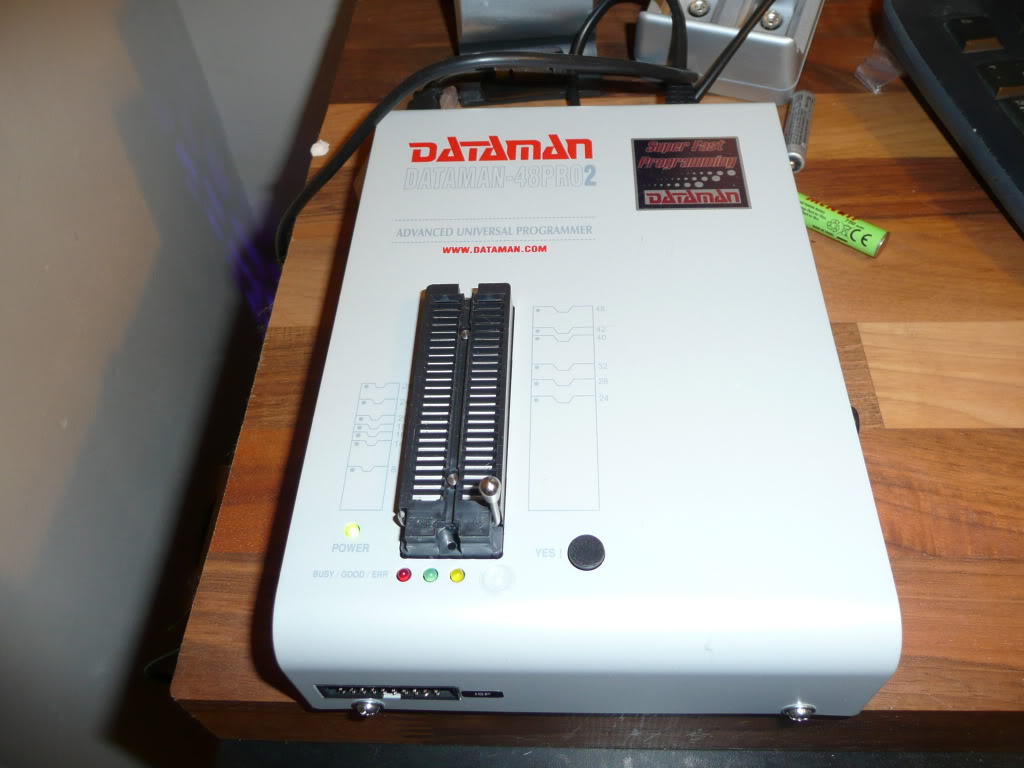
My new programmer arrived today.
This things does everything I could ever want including EPROM/EEPROM/Serial EEPROM/Flash/Nand Flash/NV RAM/PLD/MCU MPU/PROM. It also covers IC testing, RAM testing and some special devices that Ive never heard of such as clock synthesizers. It supports over 53000 devices and the software is updated every month.

 Posted by at 7:38 pm

Goodbye G540, hello again Dataman

 General  Comments Off on Goodbye G540, hello again Dataman
Nov 292010
 

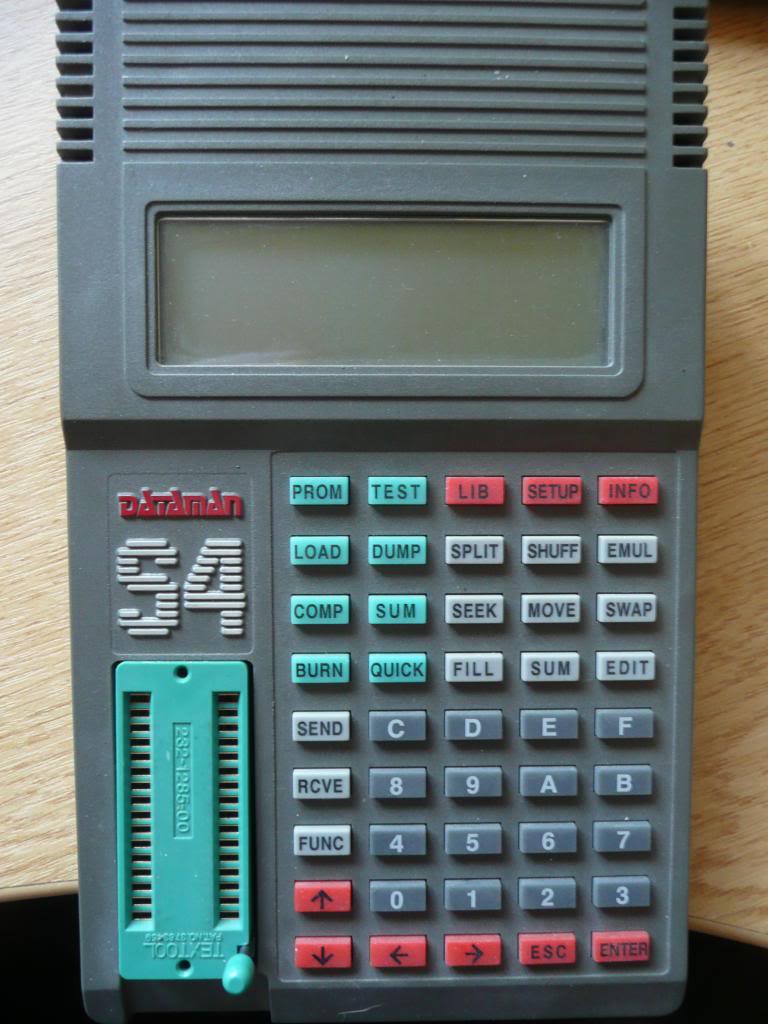
I have been using an old Dataman S4 programmer for years now. It has been an incredible piece of equipment and has not let me down once. I have the MOD40 and MOD42 adapters so I can program the larger EPROM’s 8/16bit.

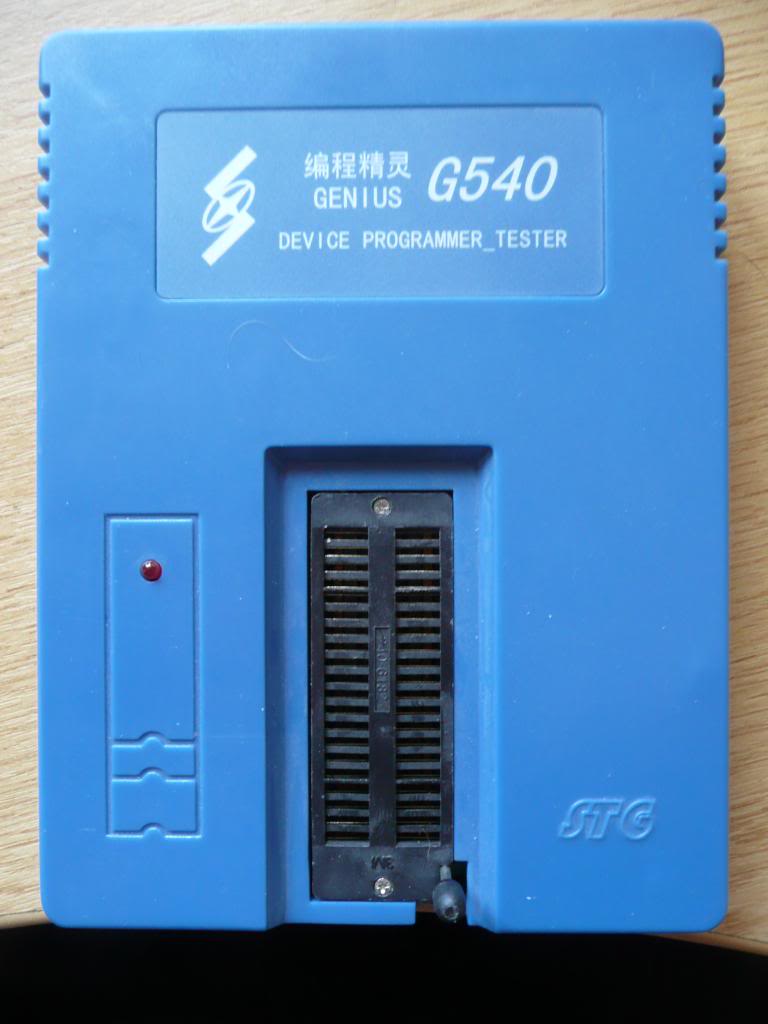
A while ago I needed to program a GAL, which the S4 does not support without another expensive adapter so I invested in a cheap Chinese programmer that claimed to support them all. It served its purpose of programming some GAL’s but has been used very little since as its just not that good.
More recently I wanted to program a PIC16 for the NAOMI DES Dumper and once again the S4 does not support this natively and the G540 did. I programmed the PIC with what looked like ease and off I went to test. The PIC displayed correct initially but any output from the security PIC was corrupt. It turns out that the G540 loads the EEPROM data as 16bit data therefore every other byte was 00 which rendered the program useless. I got around this by manually editing the EEPROM data with the G540 software just before I set it off programming and this worked but its not something I was happy with.
After a lot of thought and some pleading here and there with various people I have negotiated a very nice deal and Dataman are accepting my old S4 programmer as a trade in on a new Dataman 48pro2 programmer. This thing does it all and I look forward to its arrival.


 Posted by at 12:30 pm

CPS2 replacement game labels

 General  Comments Off on CPS2 replacement game labels
Nov 172010
 

Some time ago I found a collection of CPS2 labels for download. I ordered some sticky backed gloss paper and printed a few off to see what I could do as most of the labels on my games are in a poor state.
The non colour labels on the CPS2 games are usually blue on a white background where as the labels I downloaded were black/grey on a white background. In order to make these look a bit more authentic I ran them through Photoshop and changed the colour for something more suited.
I printed a couple of test subjects out on normal paper just to make certain the sizes were all correct which they were and set off my first print on the gloss paper. The result was very impressive but I had the blue too dark compared to the original. The first picture is the original on the game board, the second is the print out. I struggled with lighting on all these pictures so they arent too good.


The colour labels I have also came out very good.

The Dungeons & Dragons label was not in the collection of labels I had downloaded so I carefully removed the label that was on mine (it was hanging off anyway) and scanned it in at a high DPI. As the colours were a little washed out on the original I adjusted them a little in Photoshop. The results were much better than I could have hoped for.


Overall im very happy with the outcome of these labels.

If you need replacement labels contact Spectre over on the Arcade Otaku forums. The quality is superb.

 Posted by at 6:47 pm

CPS2 replacement serial number label

 General  Comments Off on CPS2 replacement serial number label
Nov 142010
 

I finally got around to copying the serial number label from the front of a CPS2 board.
This is from the green unit, the others have the Capcom logo at the bottom instead of some crazy writing, I will get around to making that up too.
Its as accurate as im going to get it at this point without spending ages doing fine tuning.

If you need replacement labels contact Spectre over on the Arcade Otaku forums. The quality is superb.

 Posted by at 3:47 pm

CPS2 Suicide battery replacement

 General  Comments Off on CPS2 Suicide battery replacement
Nov 132010
 

I recently bought the Dungeons & Dragons game, mainly because I wanted the Europe motherboard but its another CPS2 game to add to my collection. As I like to replace the battery on all my CPS2 games when I get them I thought it best to document it. Its a very easy process.
Open up the B board, this is the top board with the game sticker on it. It is held together with 4 x security torx screws, a screwdriver bit for these is available very cheaply.


The battery is located in the bottom right hand corner of the PCB.
Remove the solder holding the battery in from the underside and remove the battery. Dont worry about the board suiciding, apparently the capacitor next to it stores enough charge for round about an hour and ive never had one fail yet.


You will need a new battery to put in its place. These are half size AA axial lithium batteries and are 3.6v. They cost around £3 or £4 each. I get mine from Cell Pack Solutions or CPC.
Make sure all the solder has been removed from the through holes as it makes is so much easier to fit a new battery and limits the risk of damage to the PCB.


Bend the legs into shape on the new battery and feed through the holes. Note that the positive (+) side of the battery goes to the left away from the nearest edge of the PCB. Solder the legs on the underside and snip the excess length off so it is flush with the solder. Make completely sure that the battery is soldered in properly and securely.

Thats pretty much it, all that’s left to do is test the board.
Its best to leave the board a couple of hours as the capacitor holding a charge from the battery will keep the board alive for an hour or so. If you have incorrectly installed the battery then the board WILL suicide soon after.

If all went well, the battery should be good for at least another 5 years. These batteries do last a lot longer but for the sake of a few quid every 5 years its not worth it IMO.
Finally, I put a label on to keep track of when the battery was replaced or to let the next owner know when it was replaced.

 Posted by at 12:42 pm