Porchy

Apr 252015
 

Ive been looking for a cheap small voltage display for a project I’m working on and I turned to eBay to try a few of the cheap ones out.
I dont need anything spot of accurate but an indication of what I’m supplying.

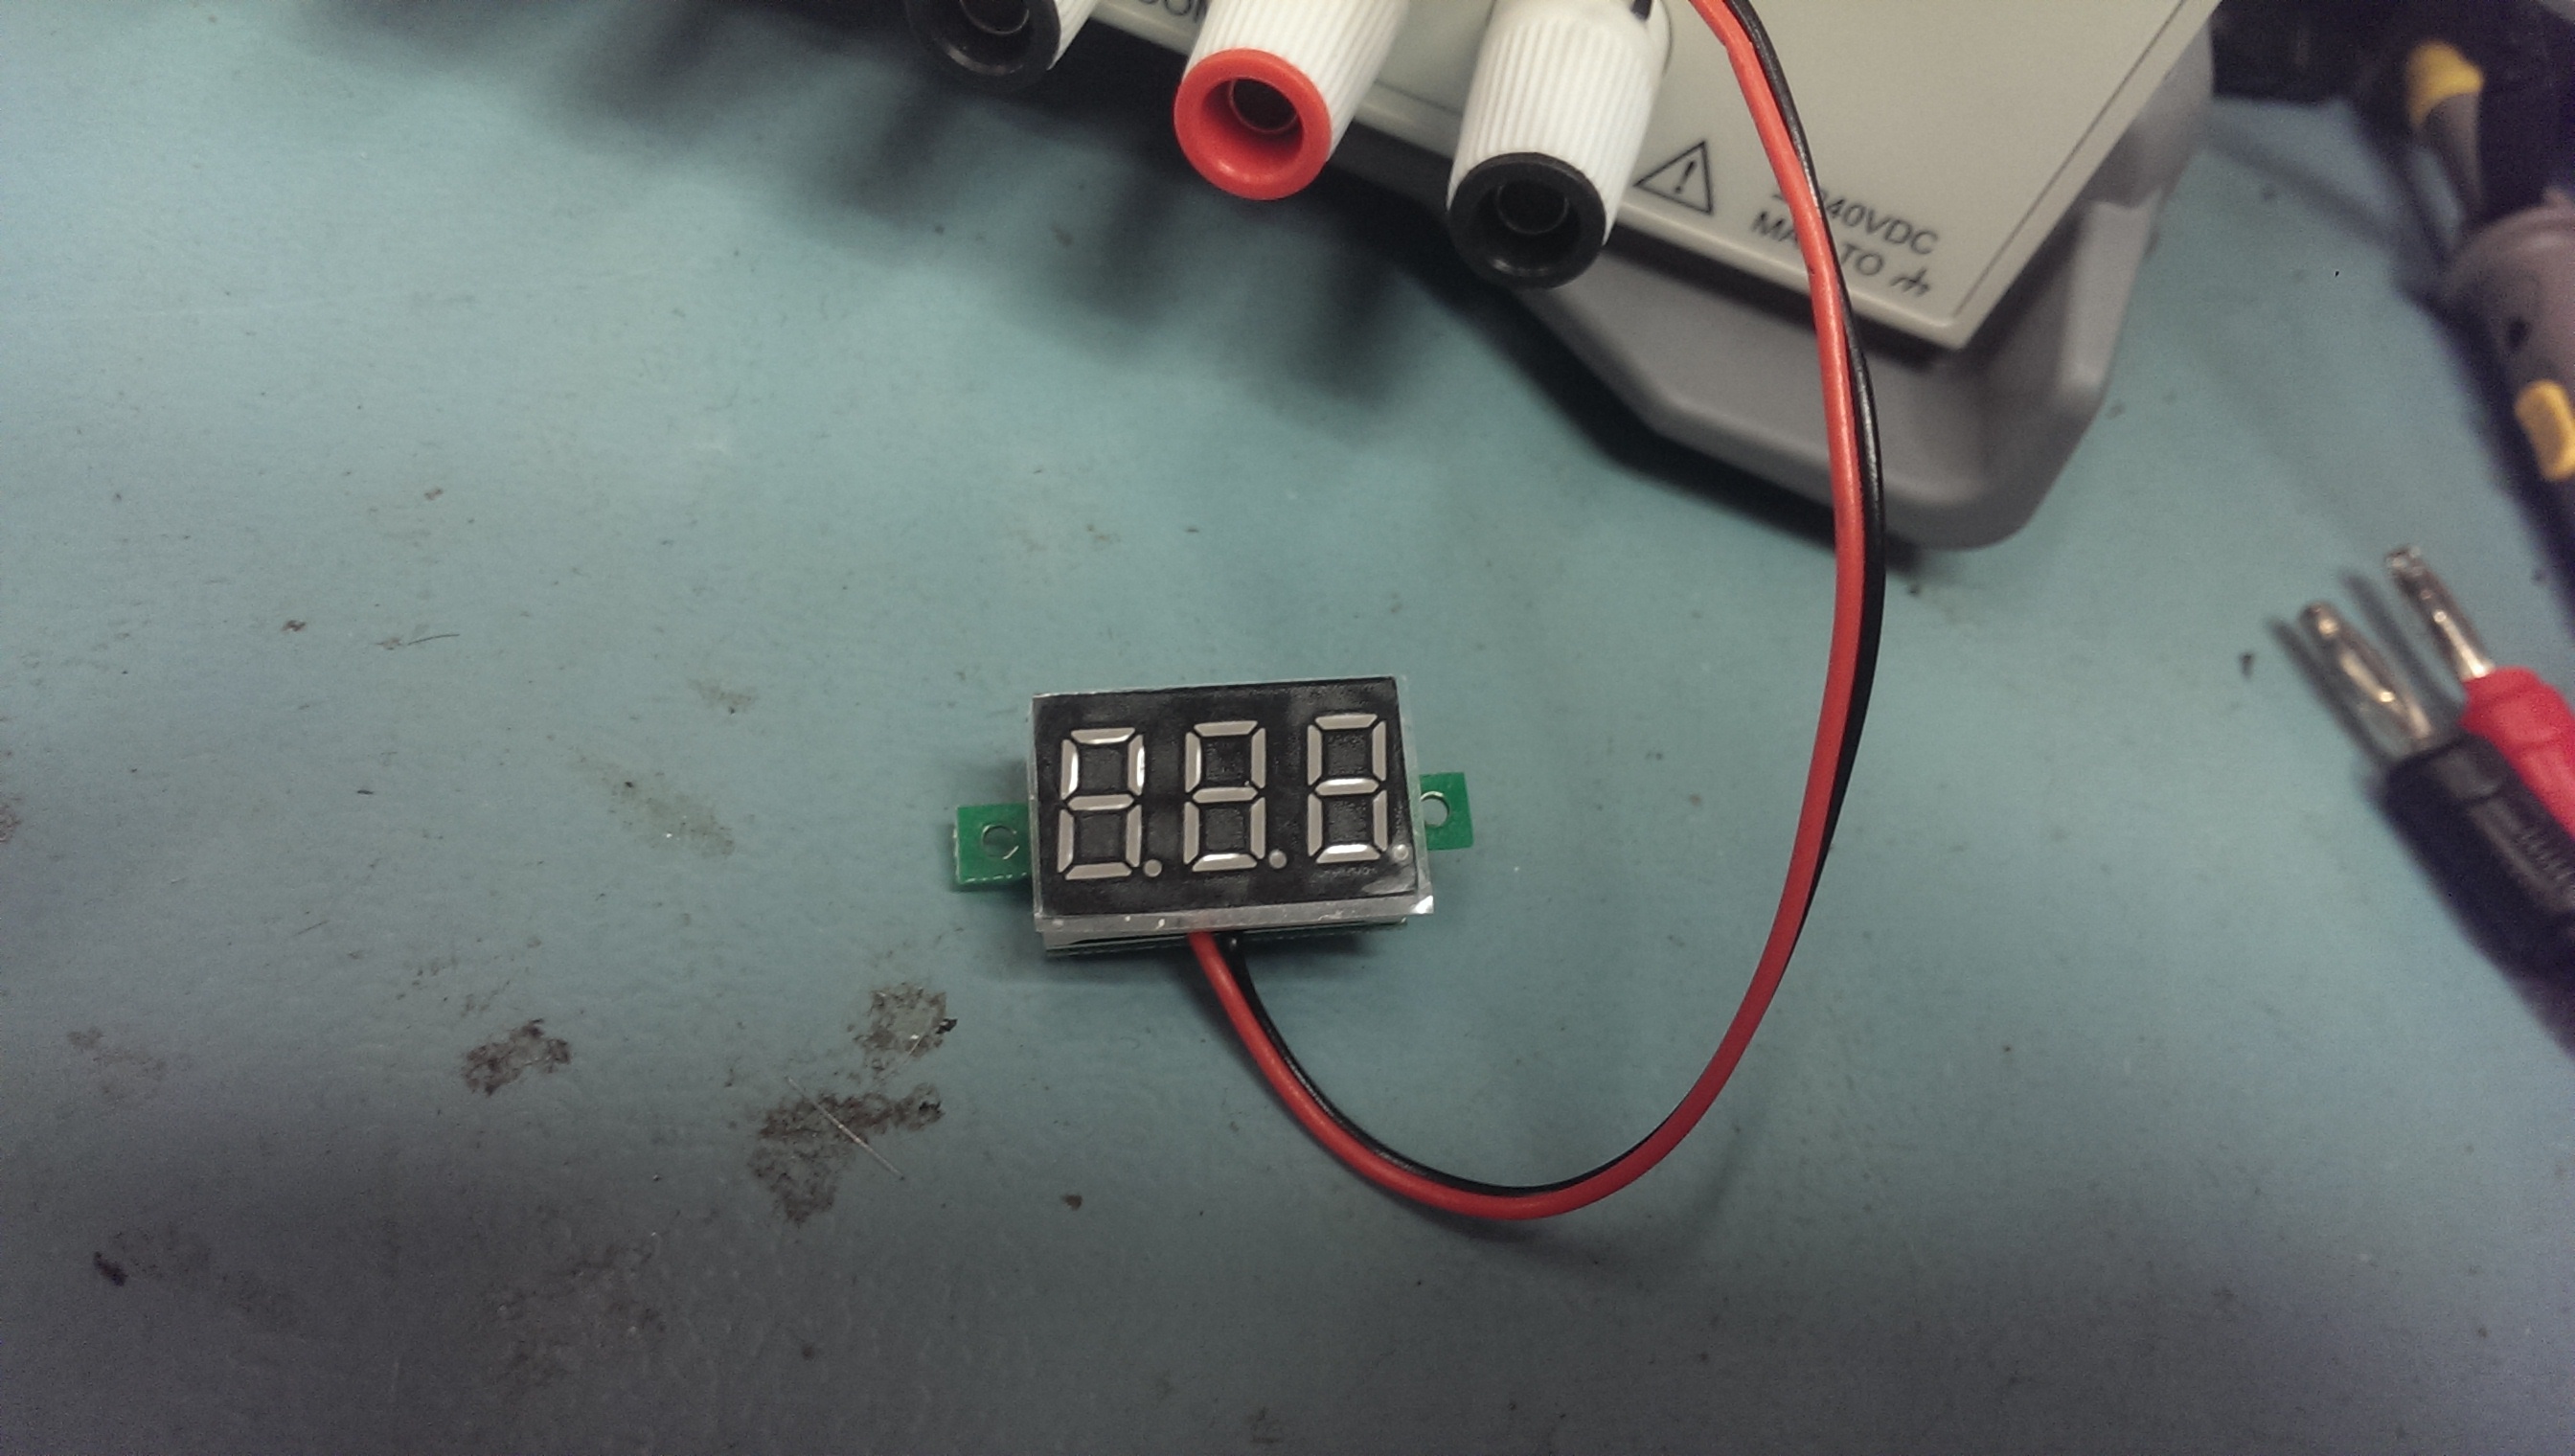
My search led me to this one

It looks small and it was certainly cheap enough at 99p delivered.
It arrived today and it doesn’t look too bad.

I hooked it up to my power supply to check its accuracy and usefulness.
The description claims this thing can display from 2.5v – 30v so lets test those claims out.
NOTE: I really struggled getting a clear shot of the display with the useless HTC One camera and the fluorescent lights but you can make it out.

With the PSU set at 2.5v we get this:
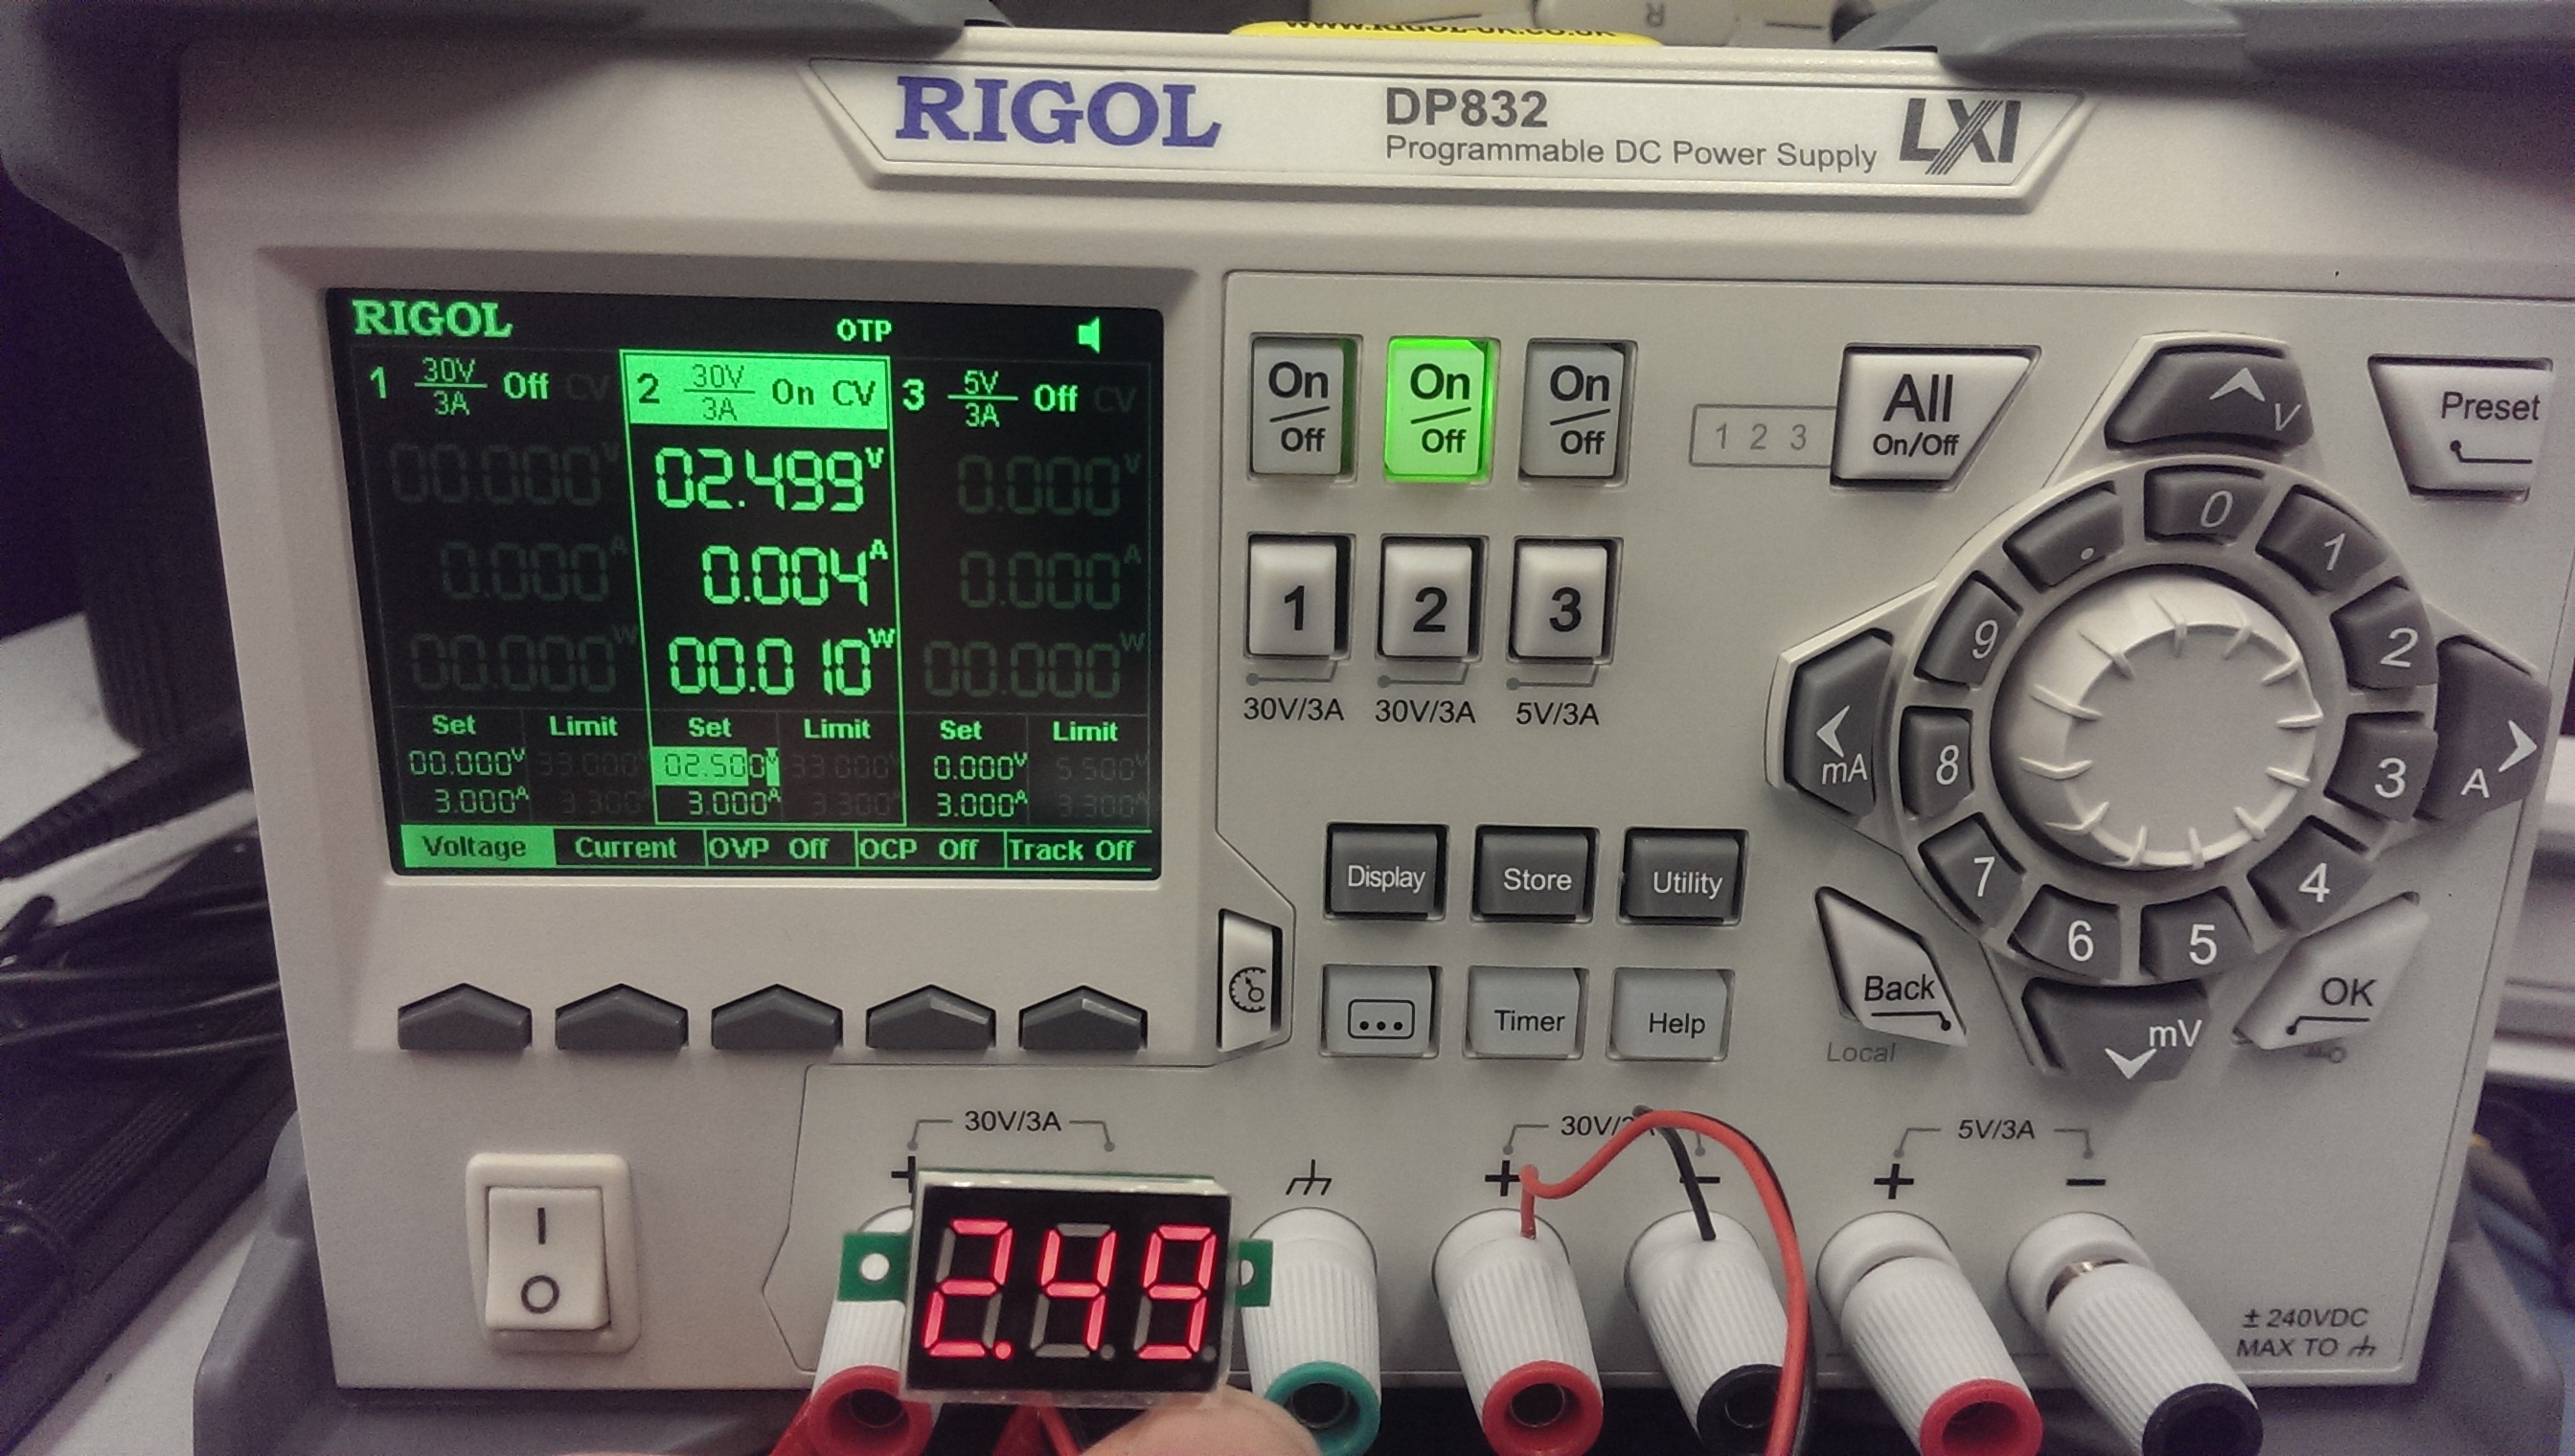
Not bad at all. What happens when we go lower? Well I got to 2.489v and the display starts flickering like mad.
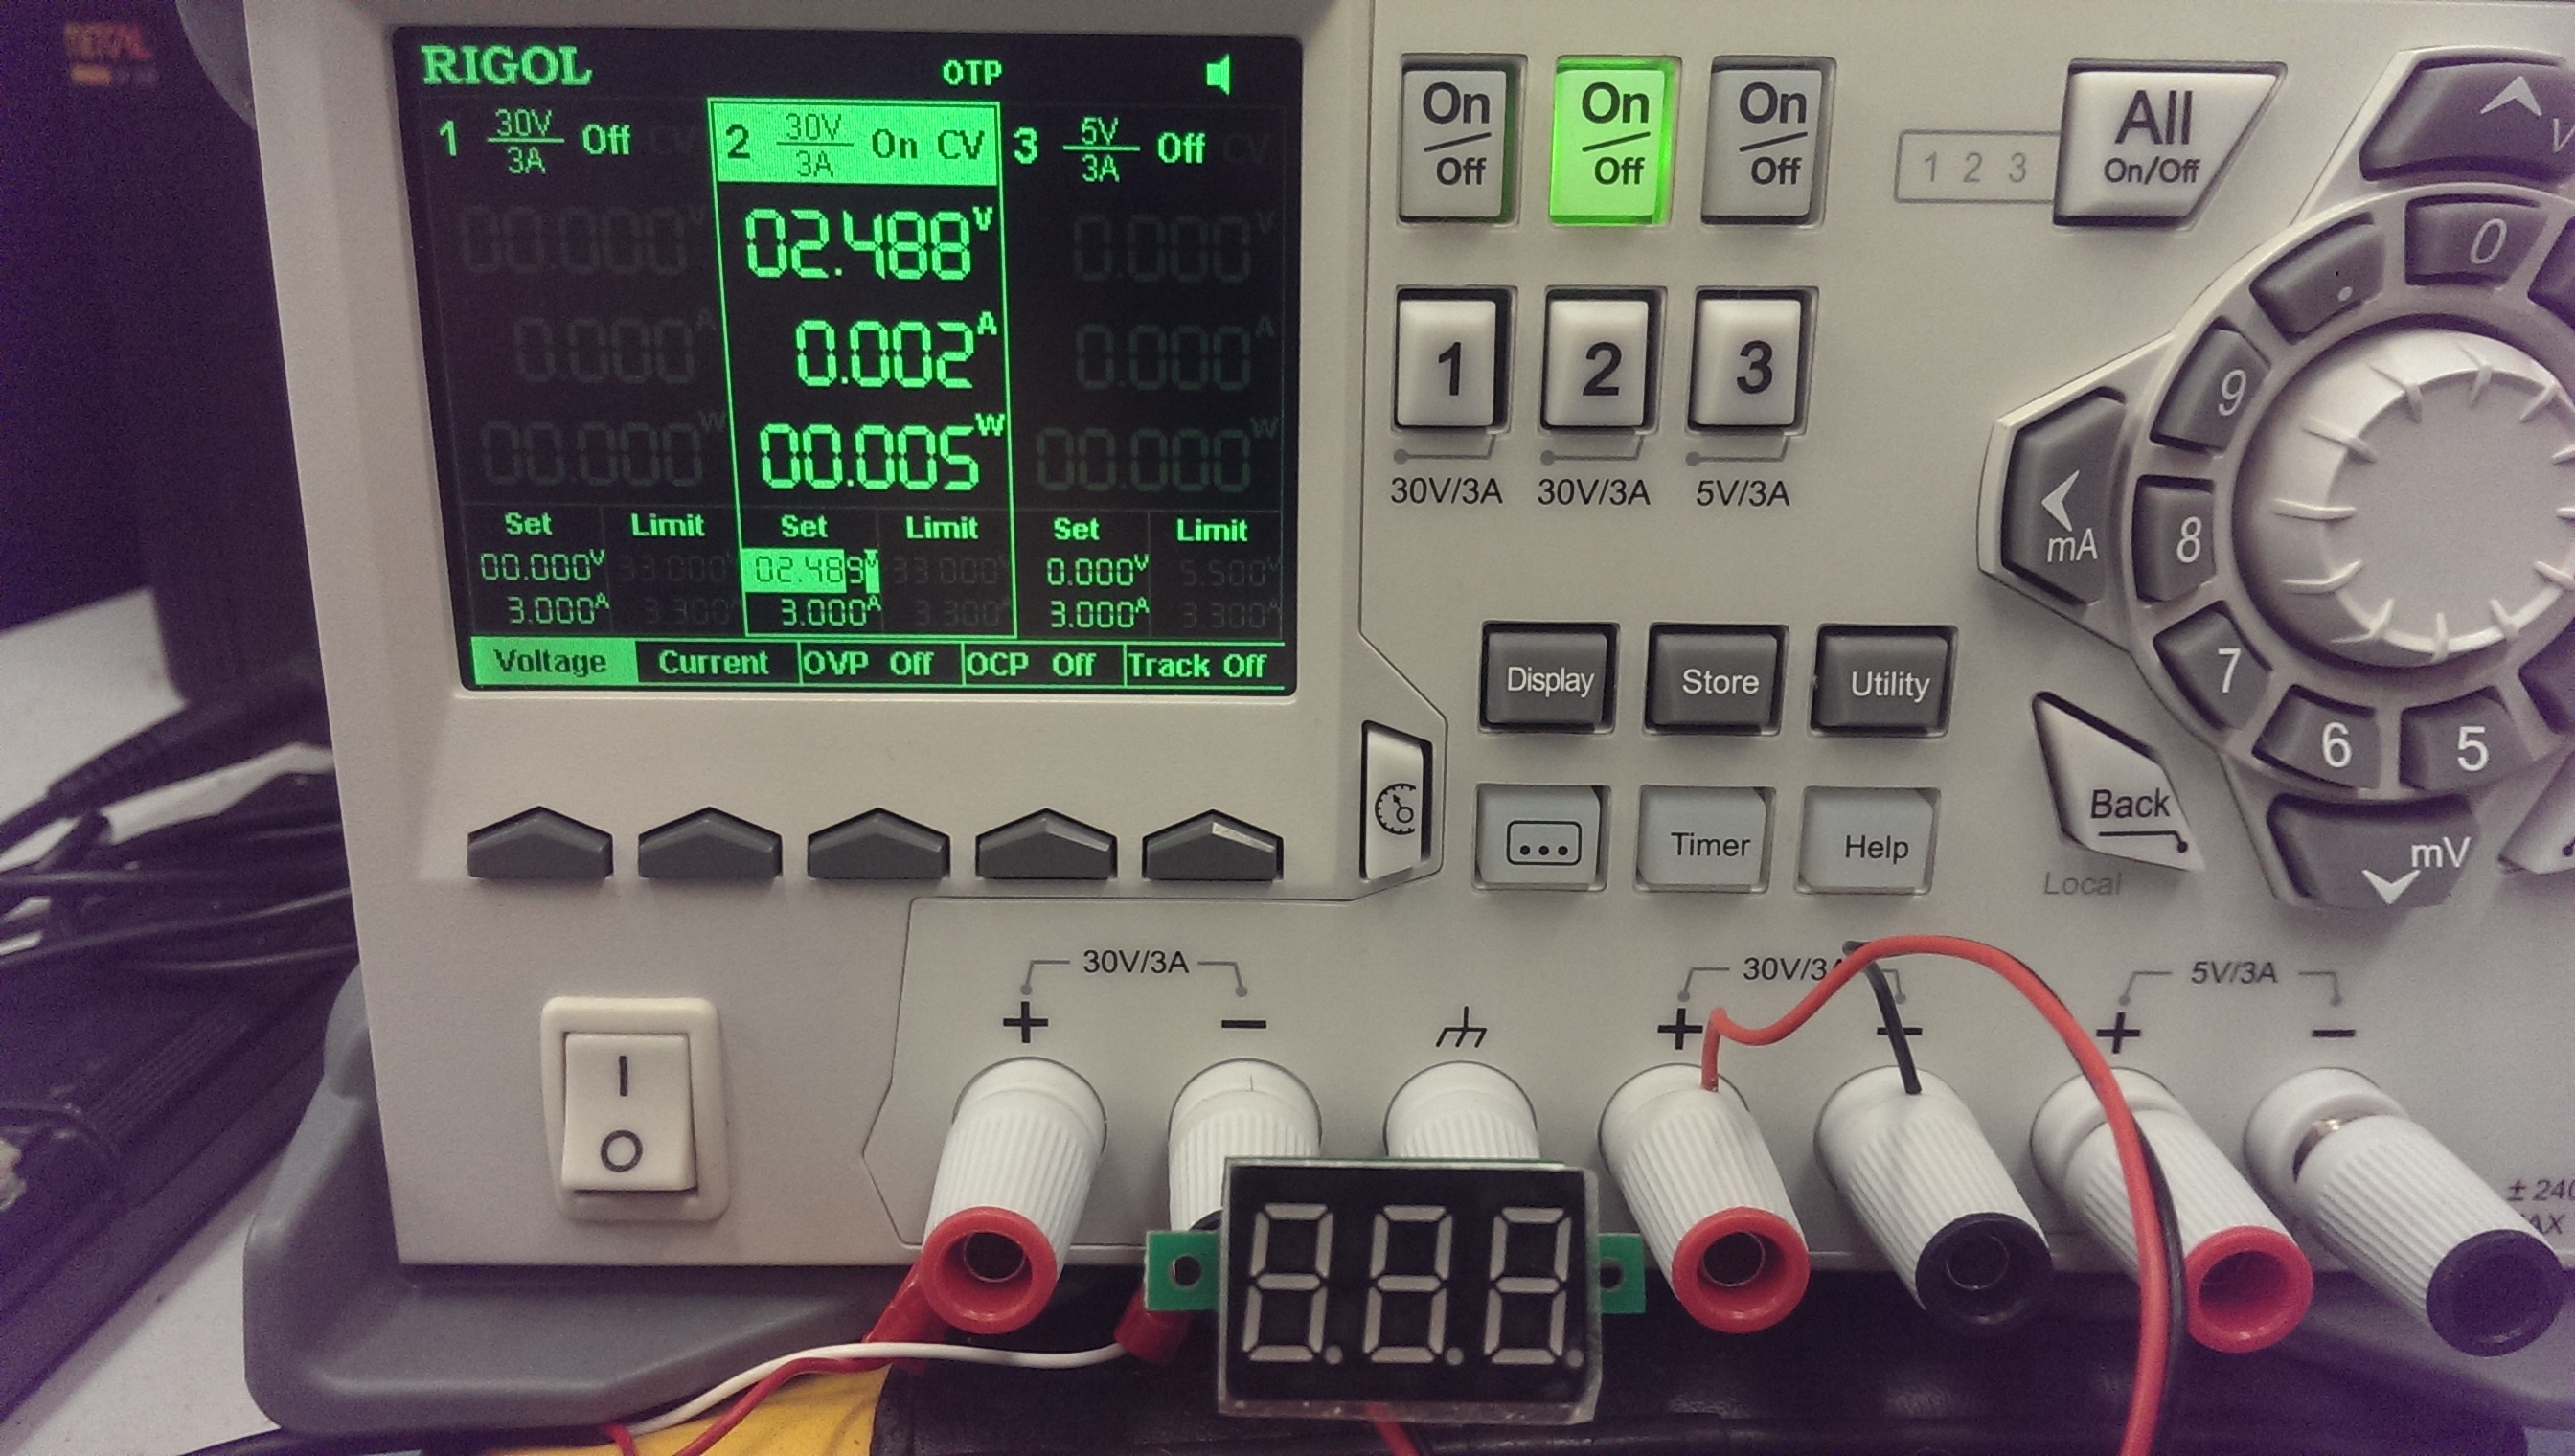
At the lower voltage of 2.5v the display is a bit dim. Perfectly readable but dim.

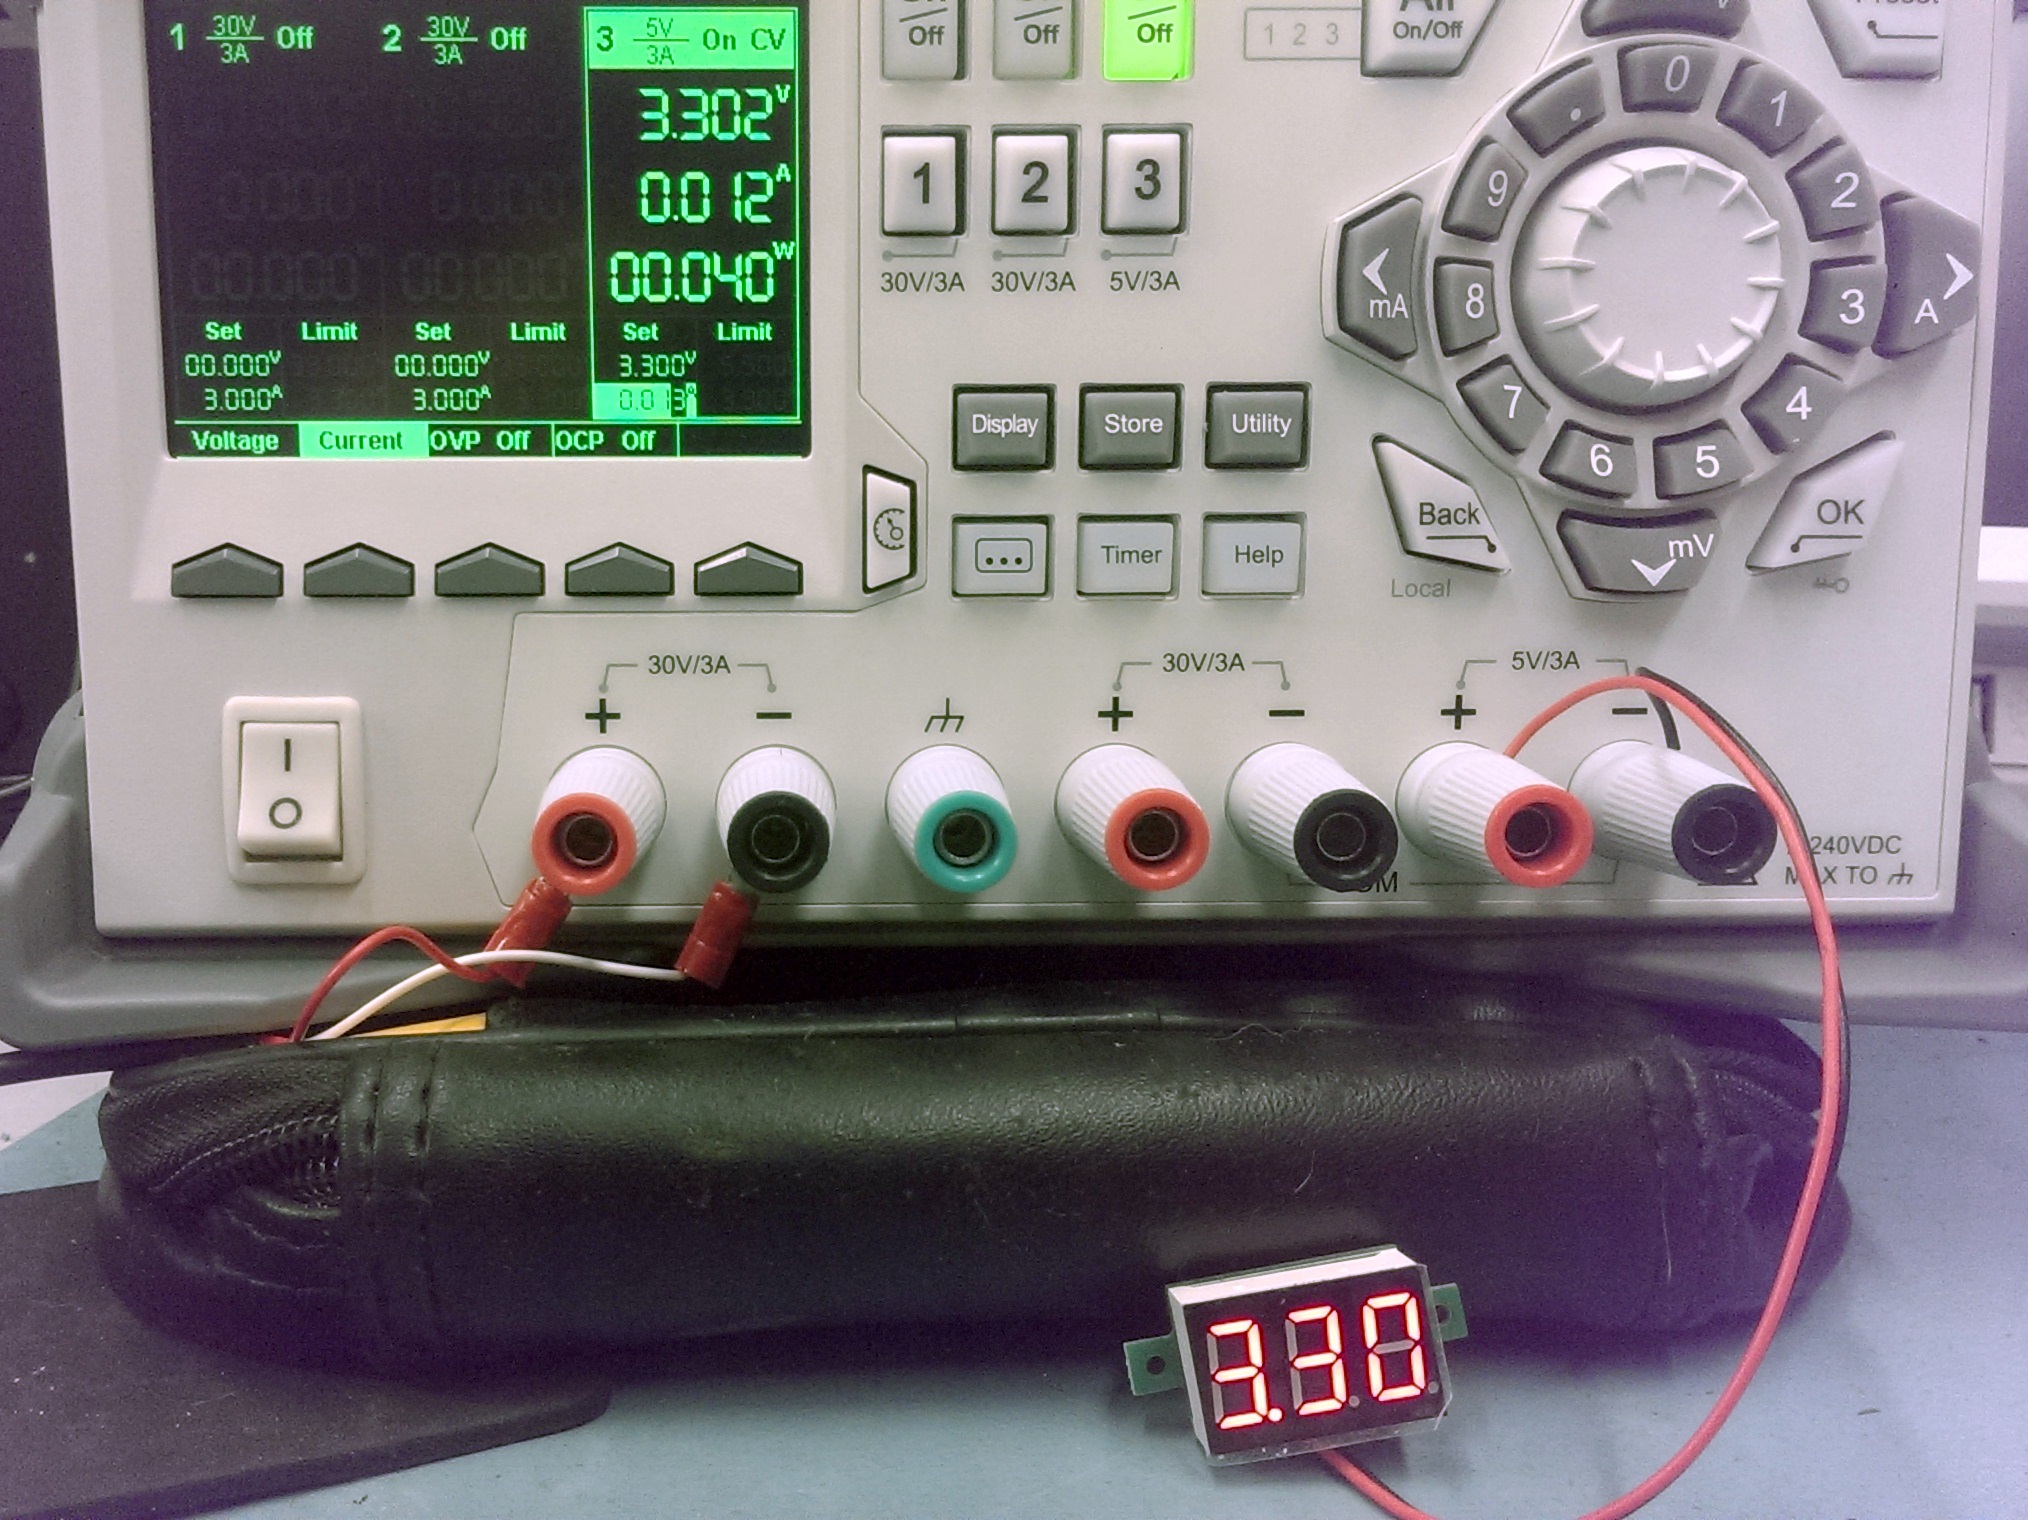
Next, 3.3v

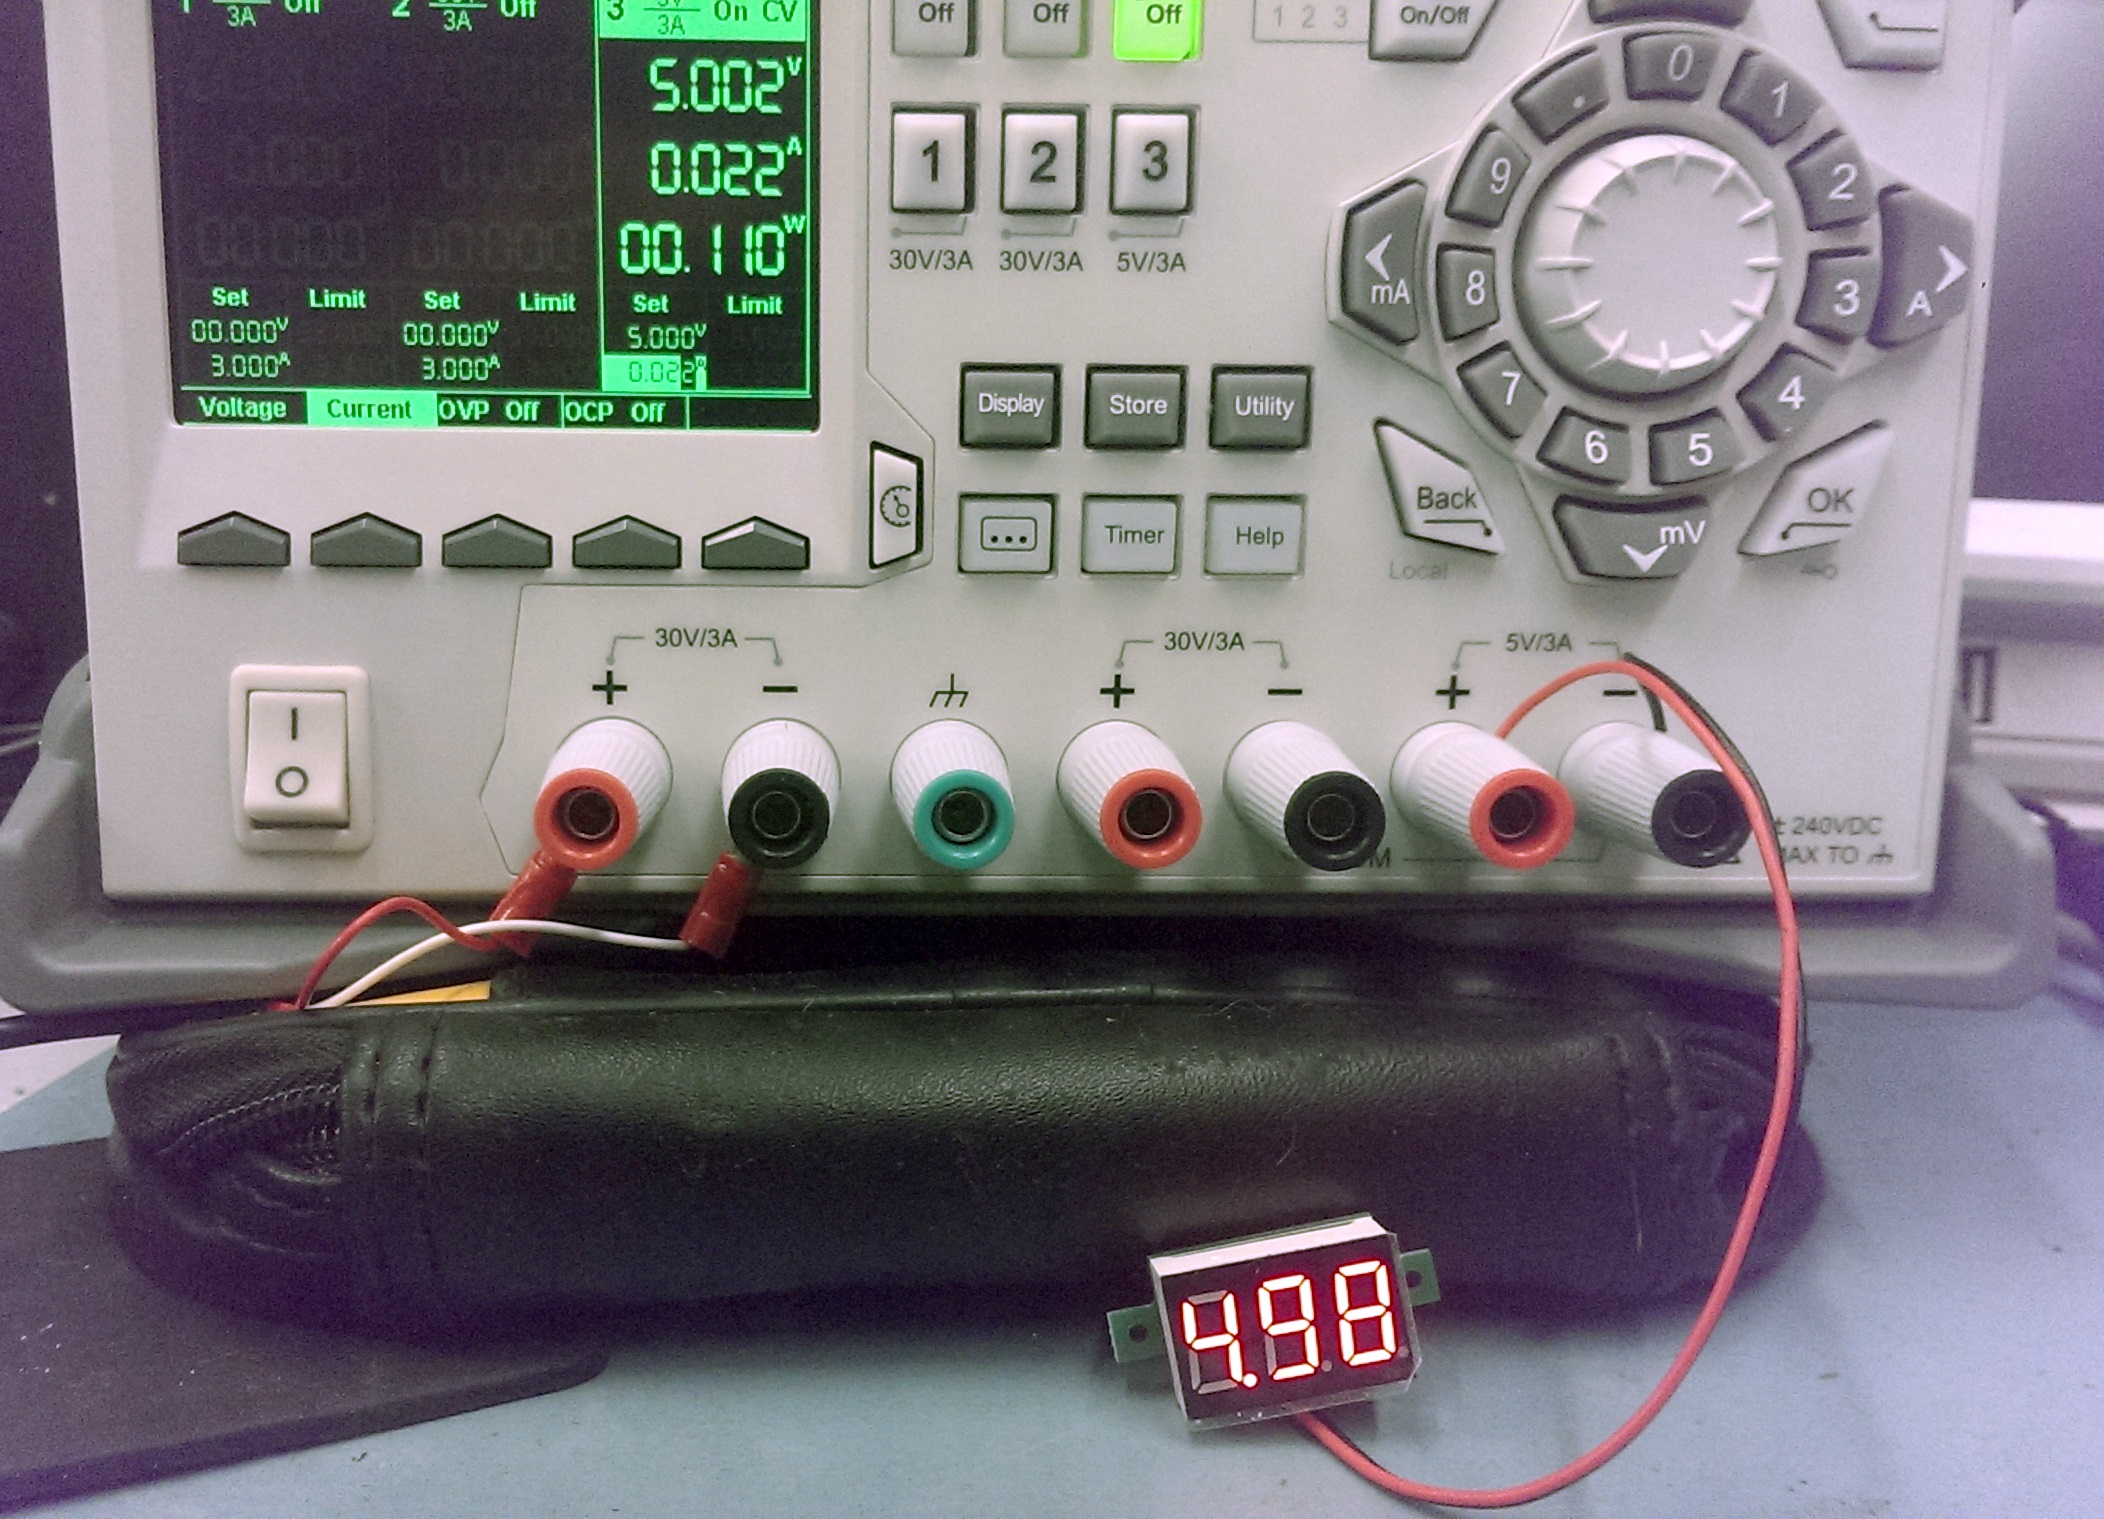
And 5v

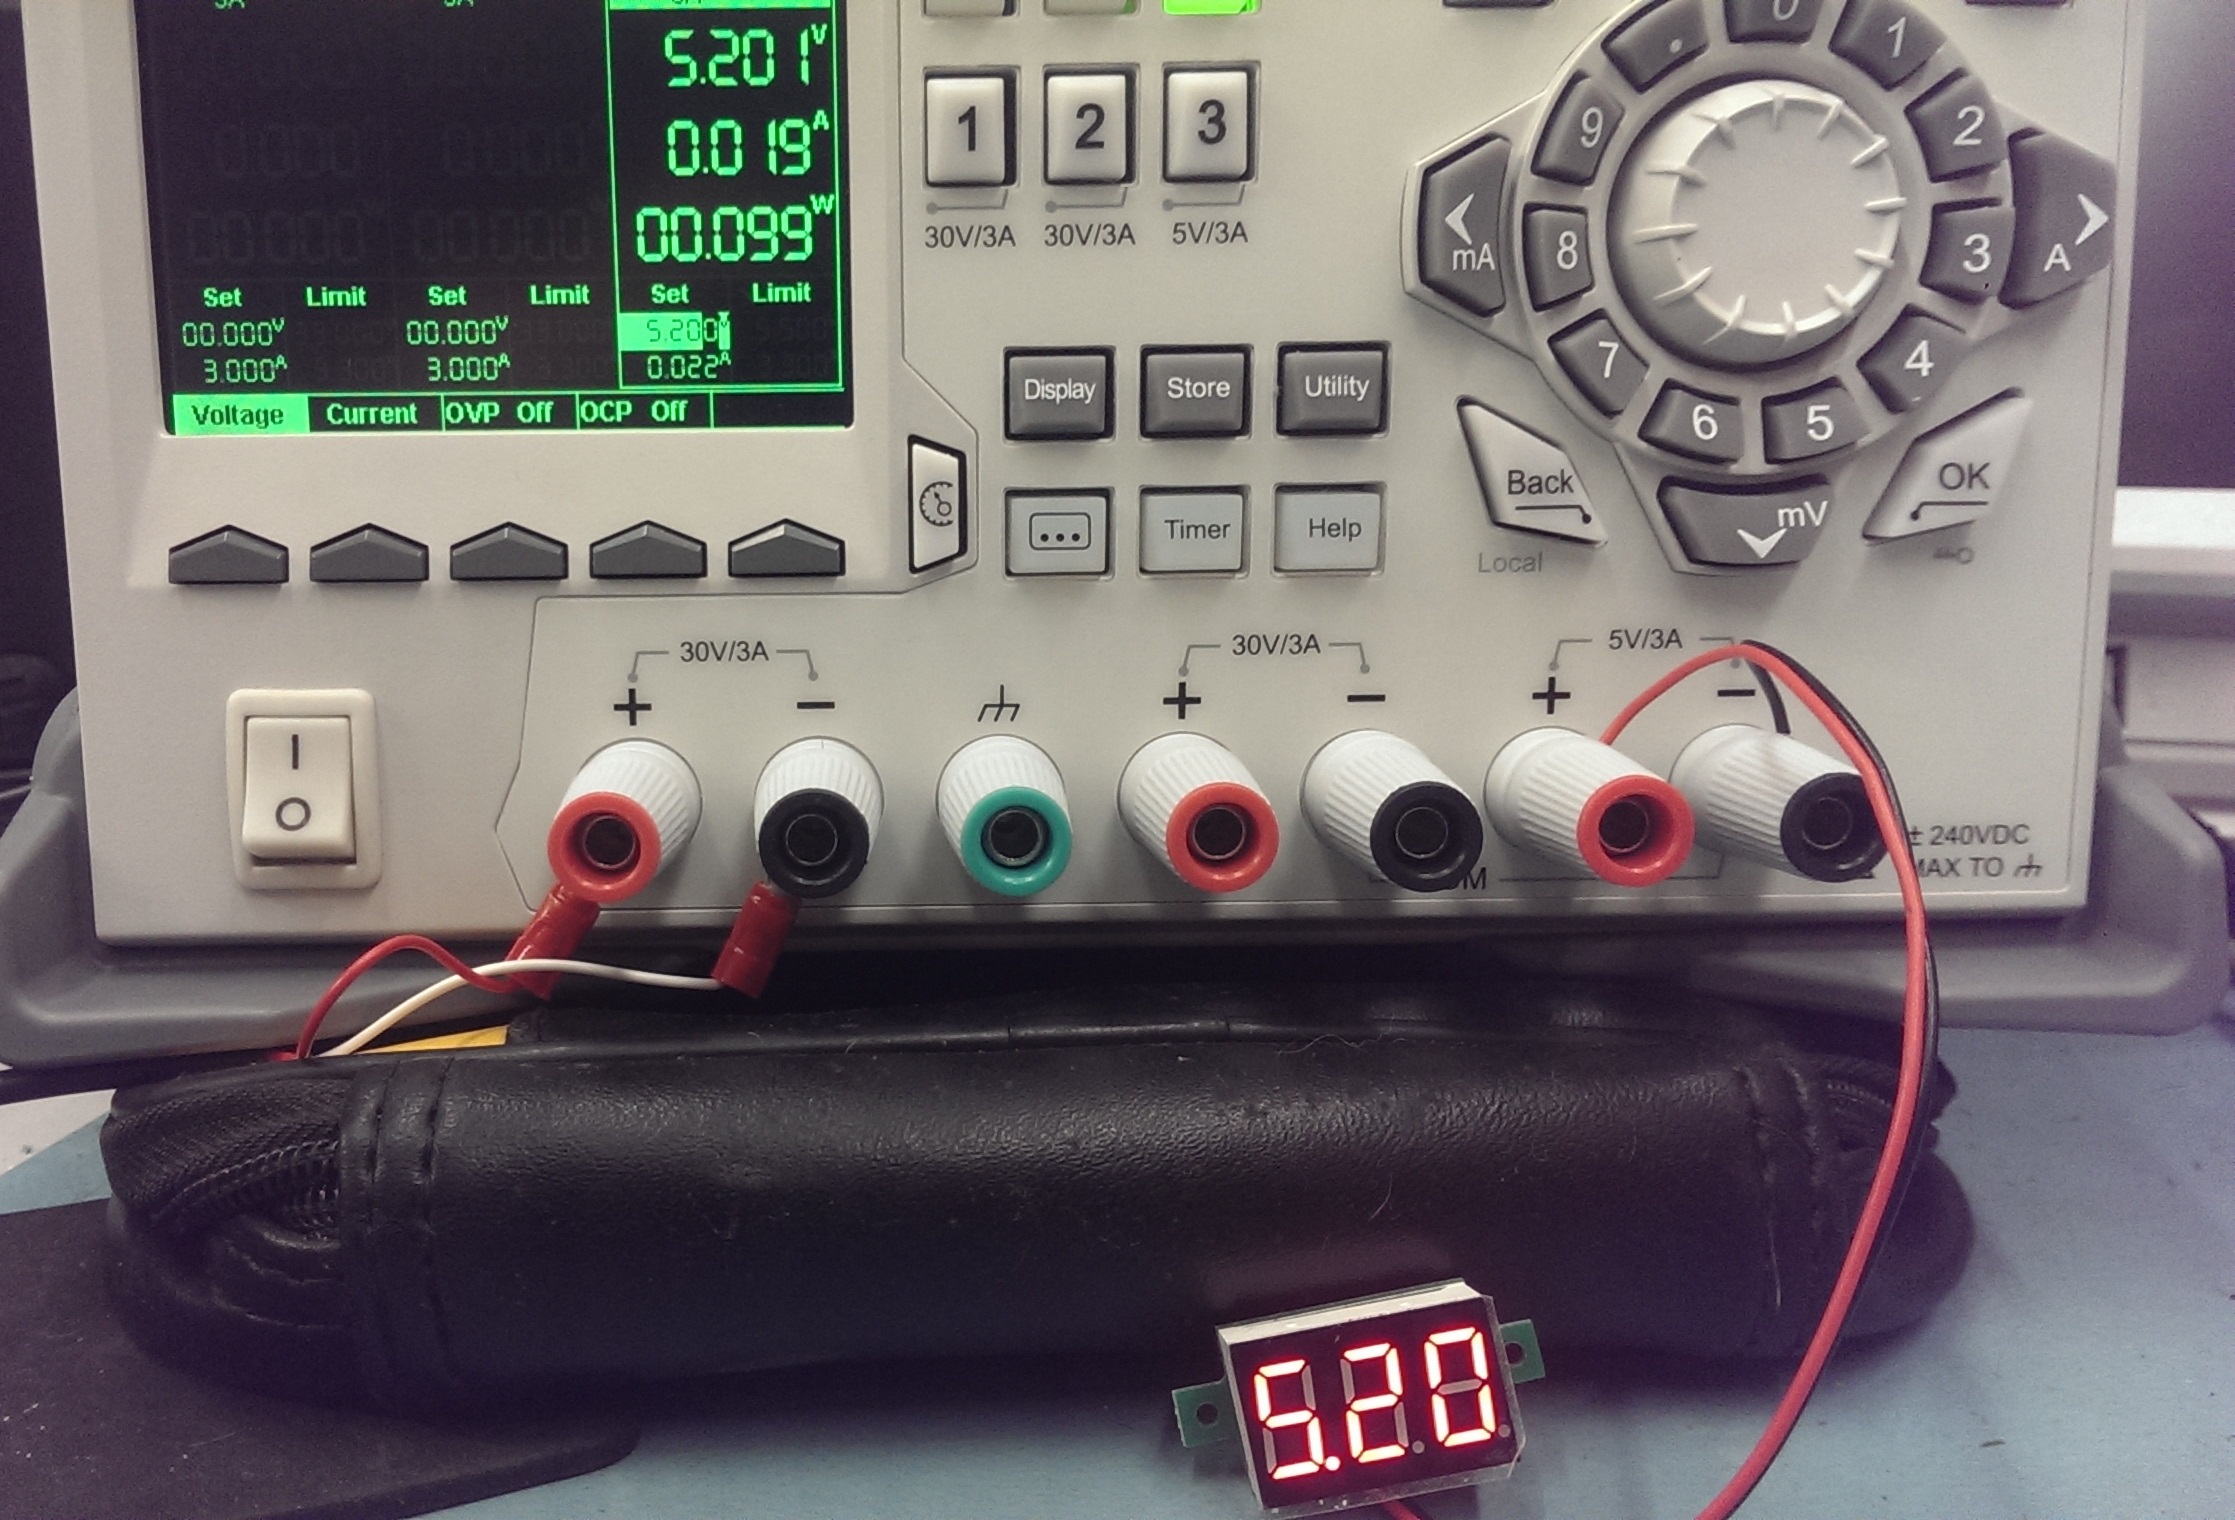
I did a bit of extra testing around the 5v area mainly as this is the voltage I’m going to be operating it at.
I tested at 5.2v
And to check the accuracy I checked it at 5.125v and 5.126v.

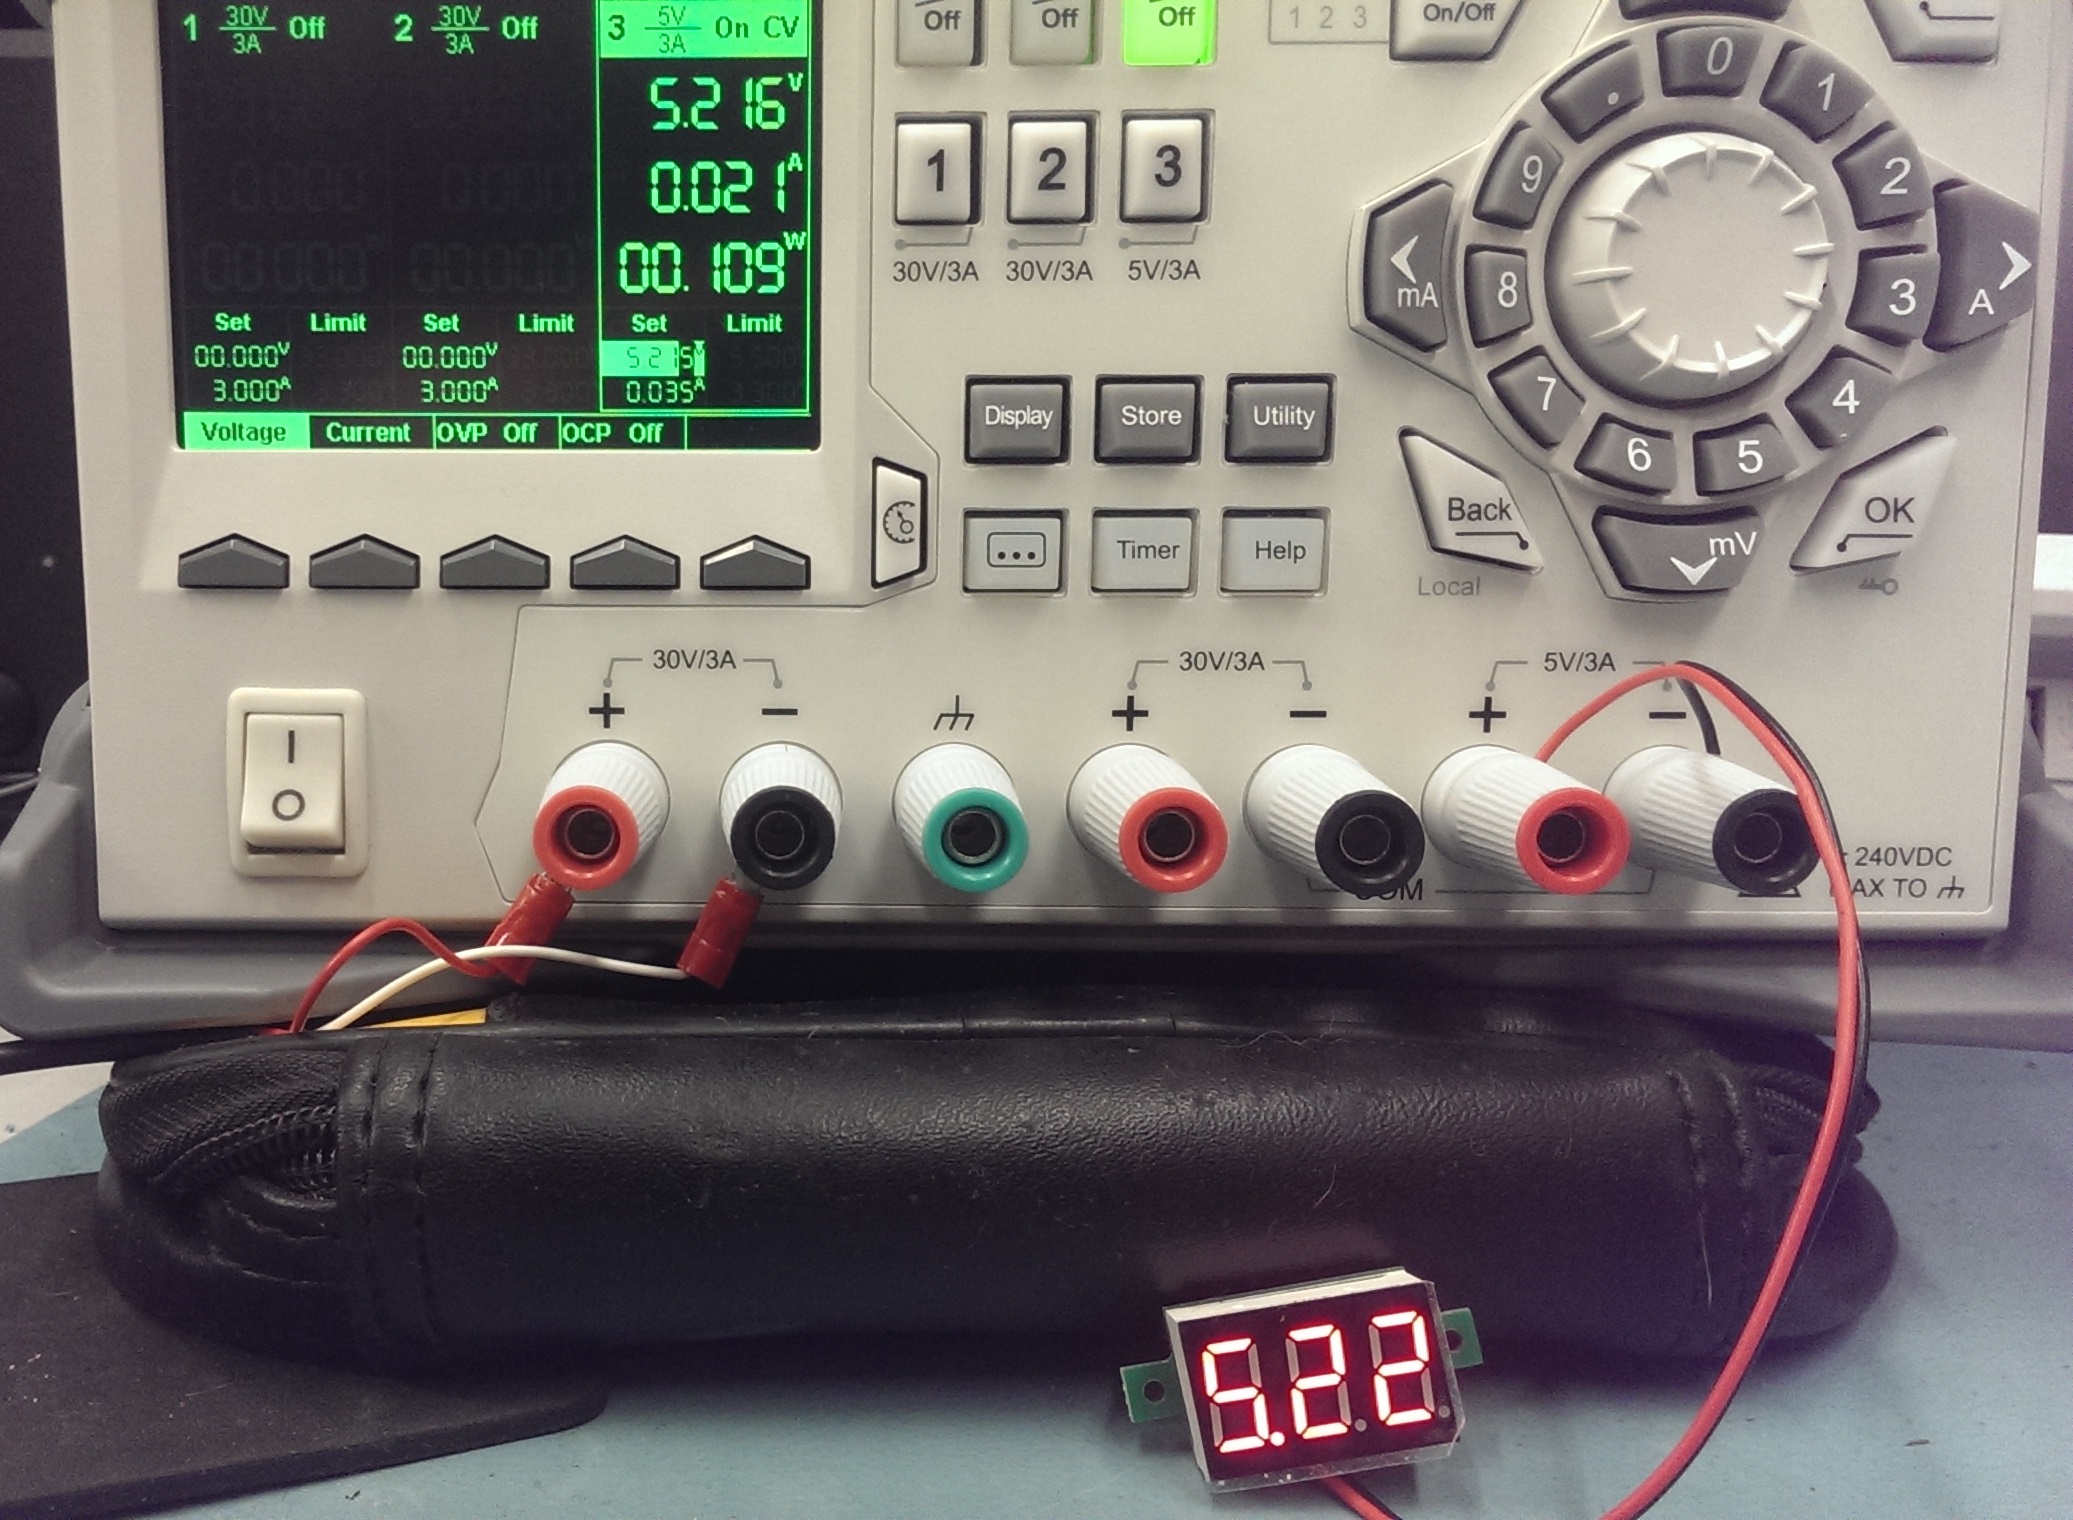
I’m happy with that even if I don’t need the accuracy too much.
Next up I tested 12v

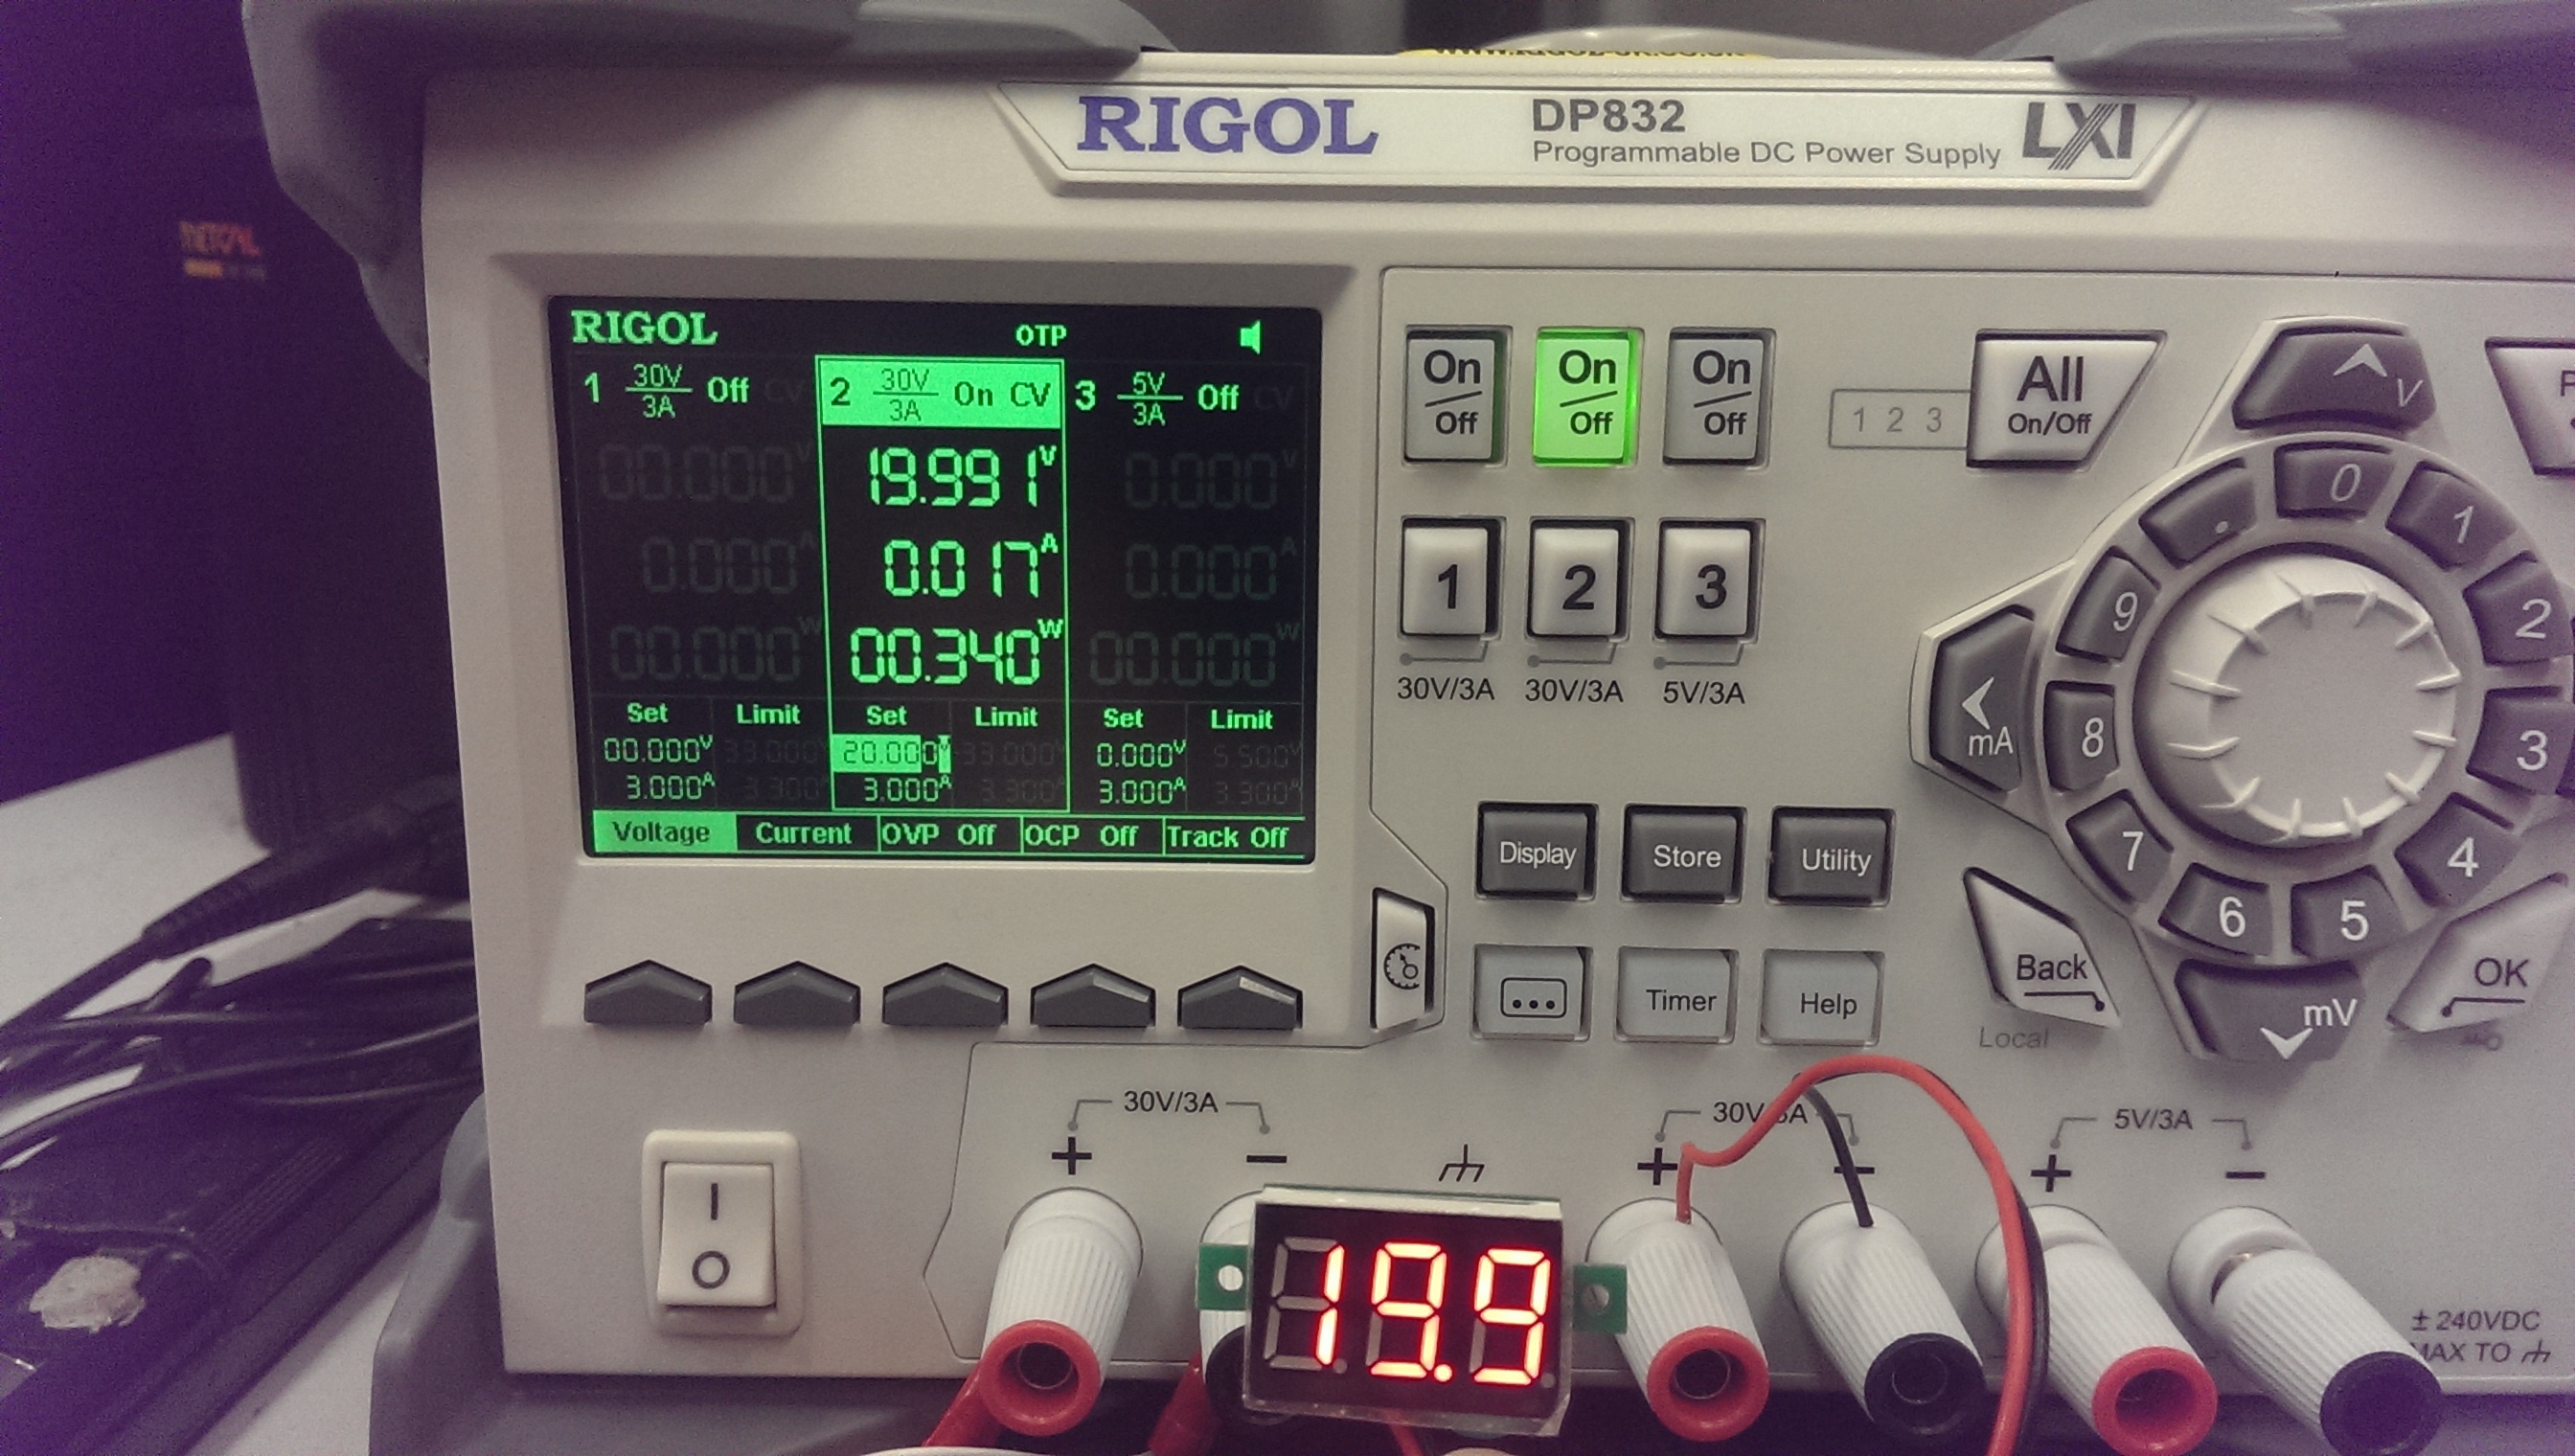
20v

Finally I just tested its claimed maximum of 30v

The display gets a lot brighter at this voltage.
This unit I got didn’t need any adjustment but there is a small pot on the back to adjust it if required.

Its certainly not the best in terms of build quality but for my specific needs I’m quite happy with this really.

 Posted by at 11:52 am

Homebrew Gameking cartridge

 General  Comments Off on Homebrew Gameking cartridge
Apr 222015
 

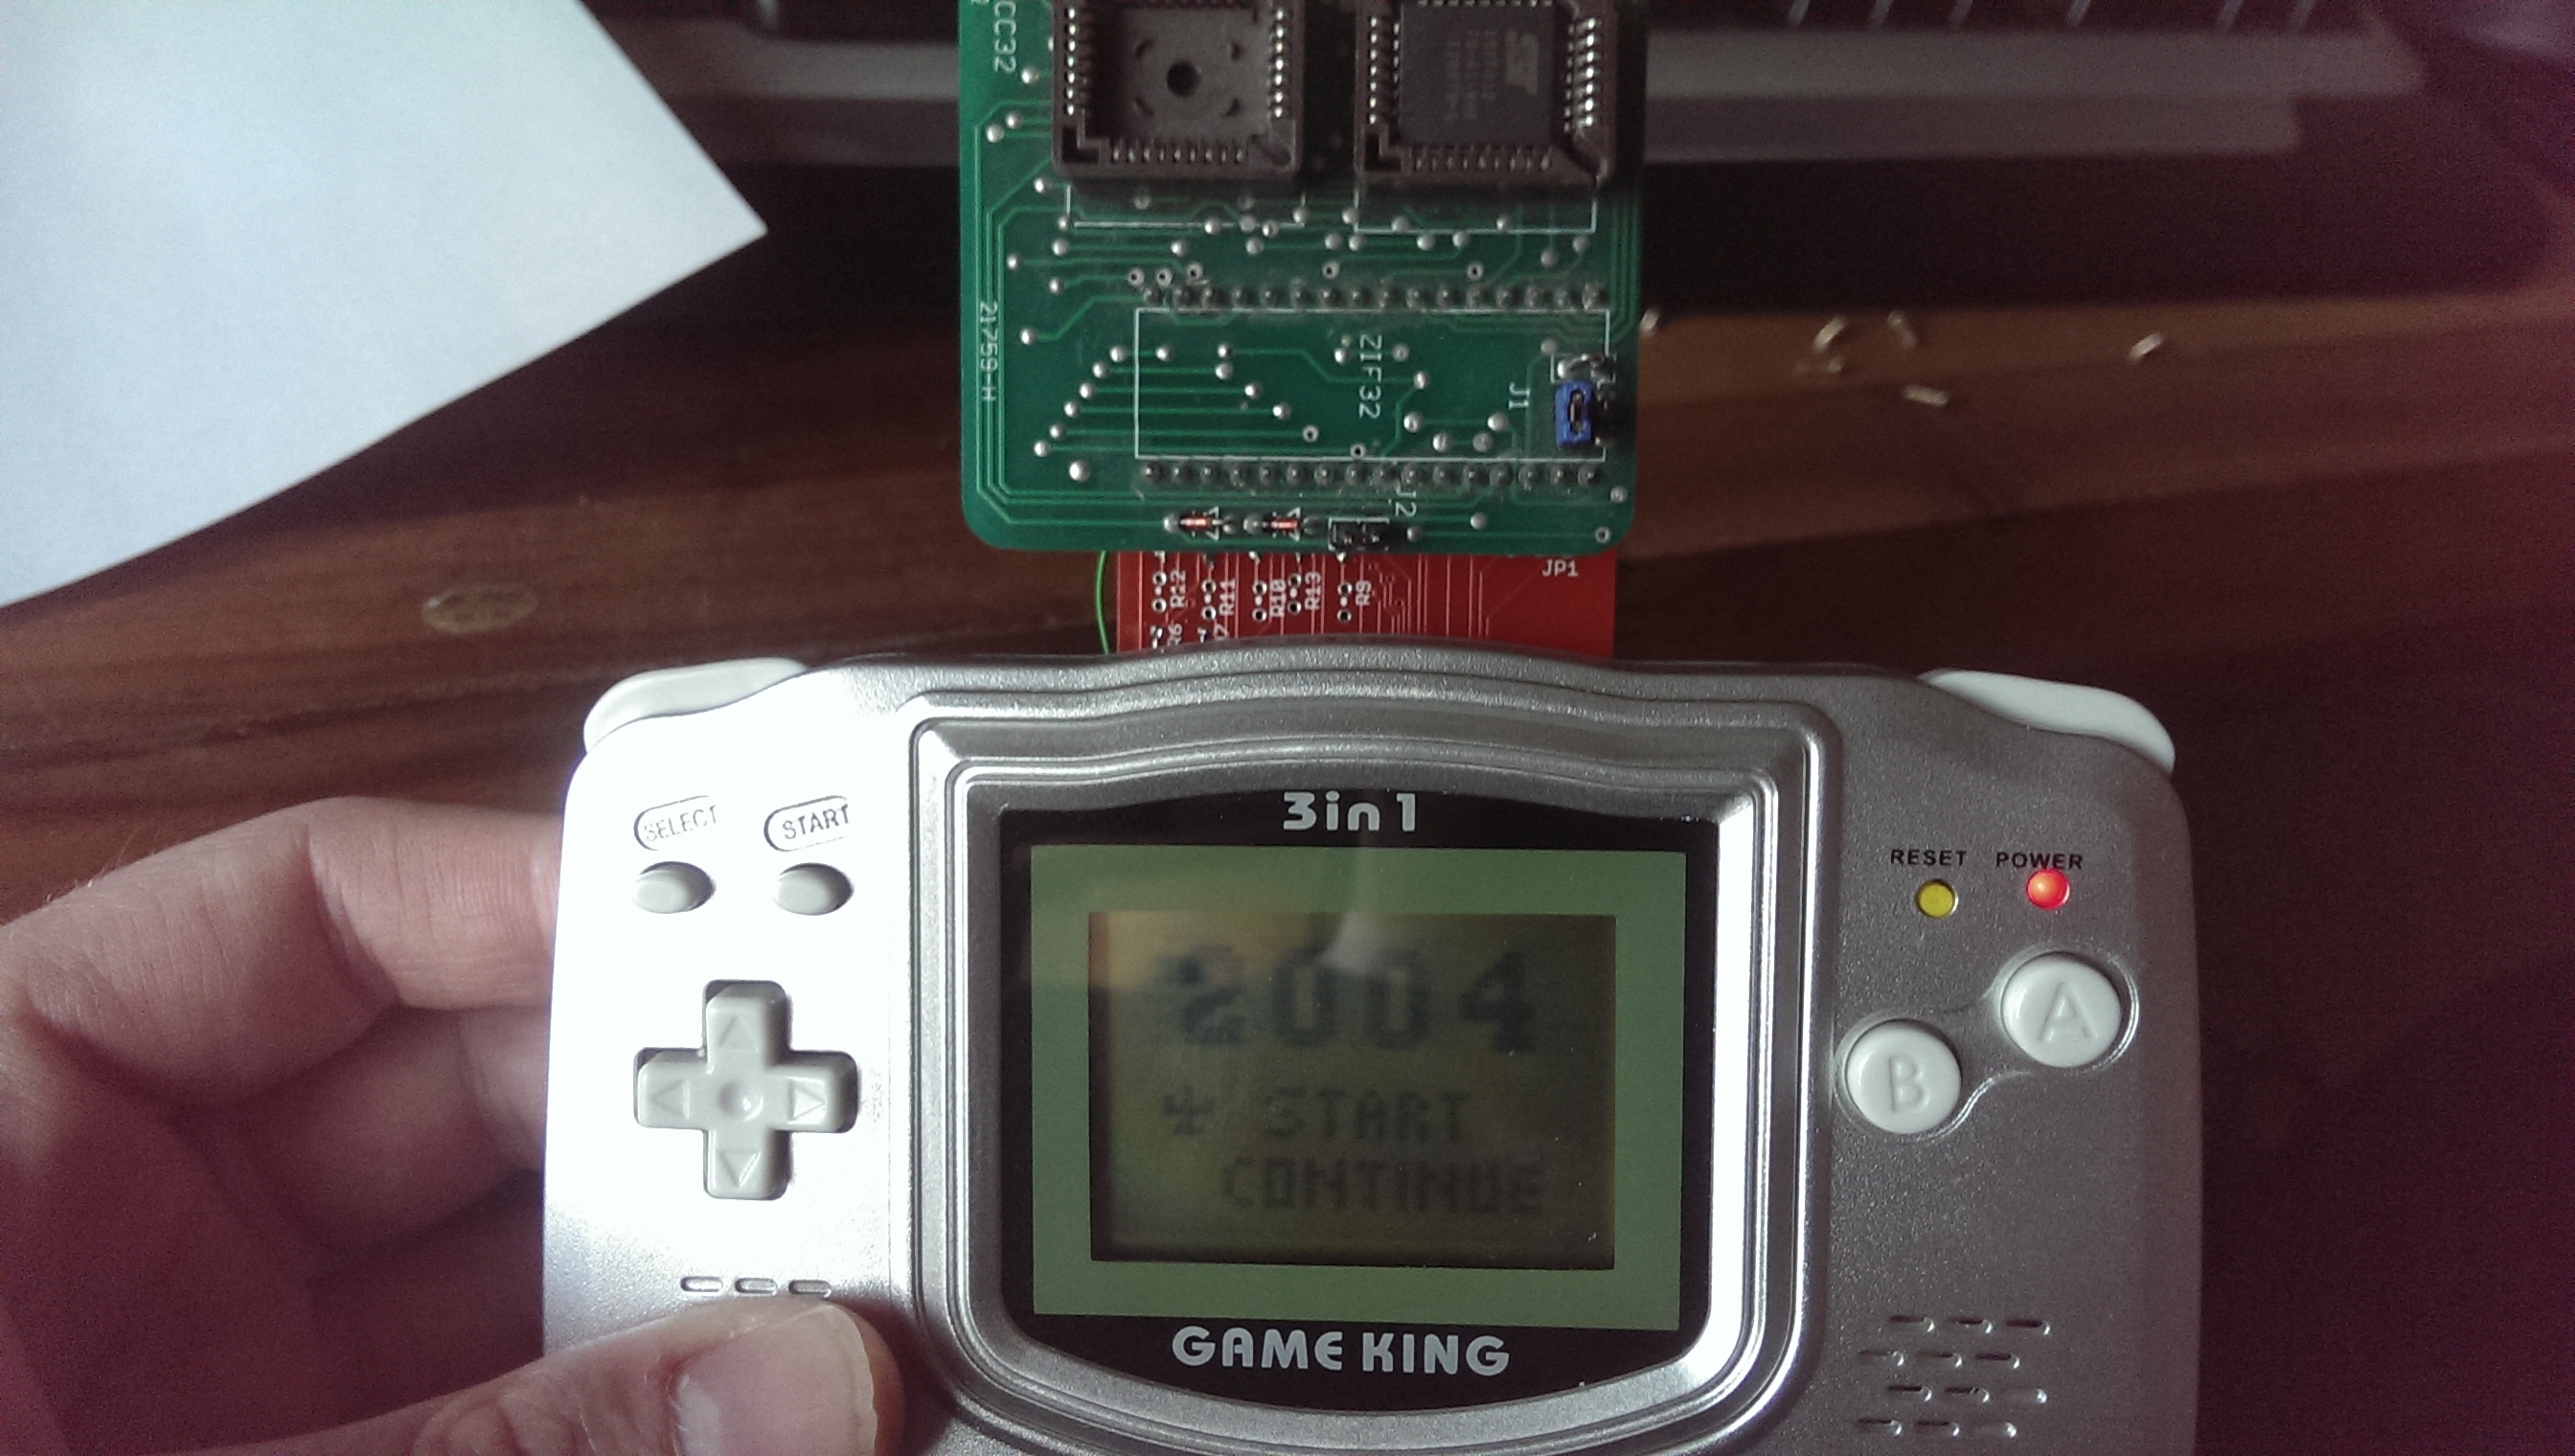
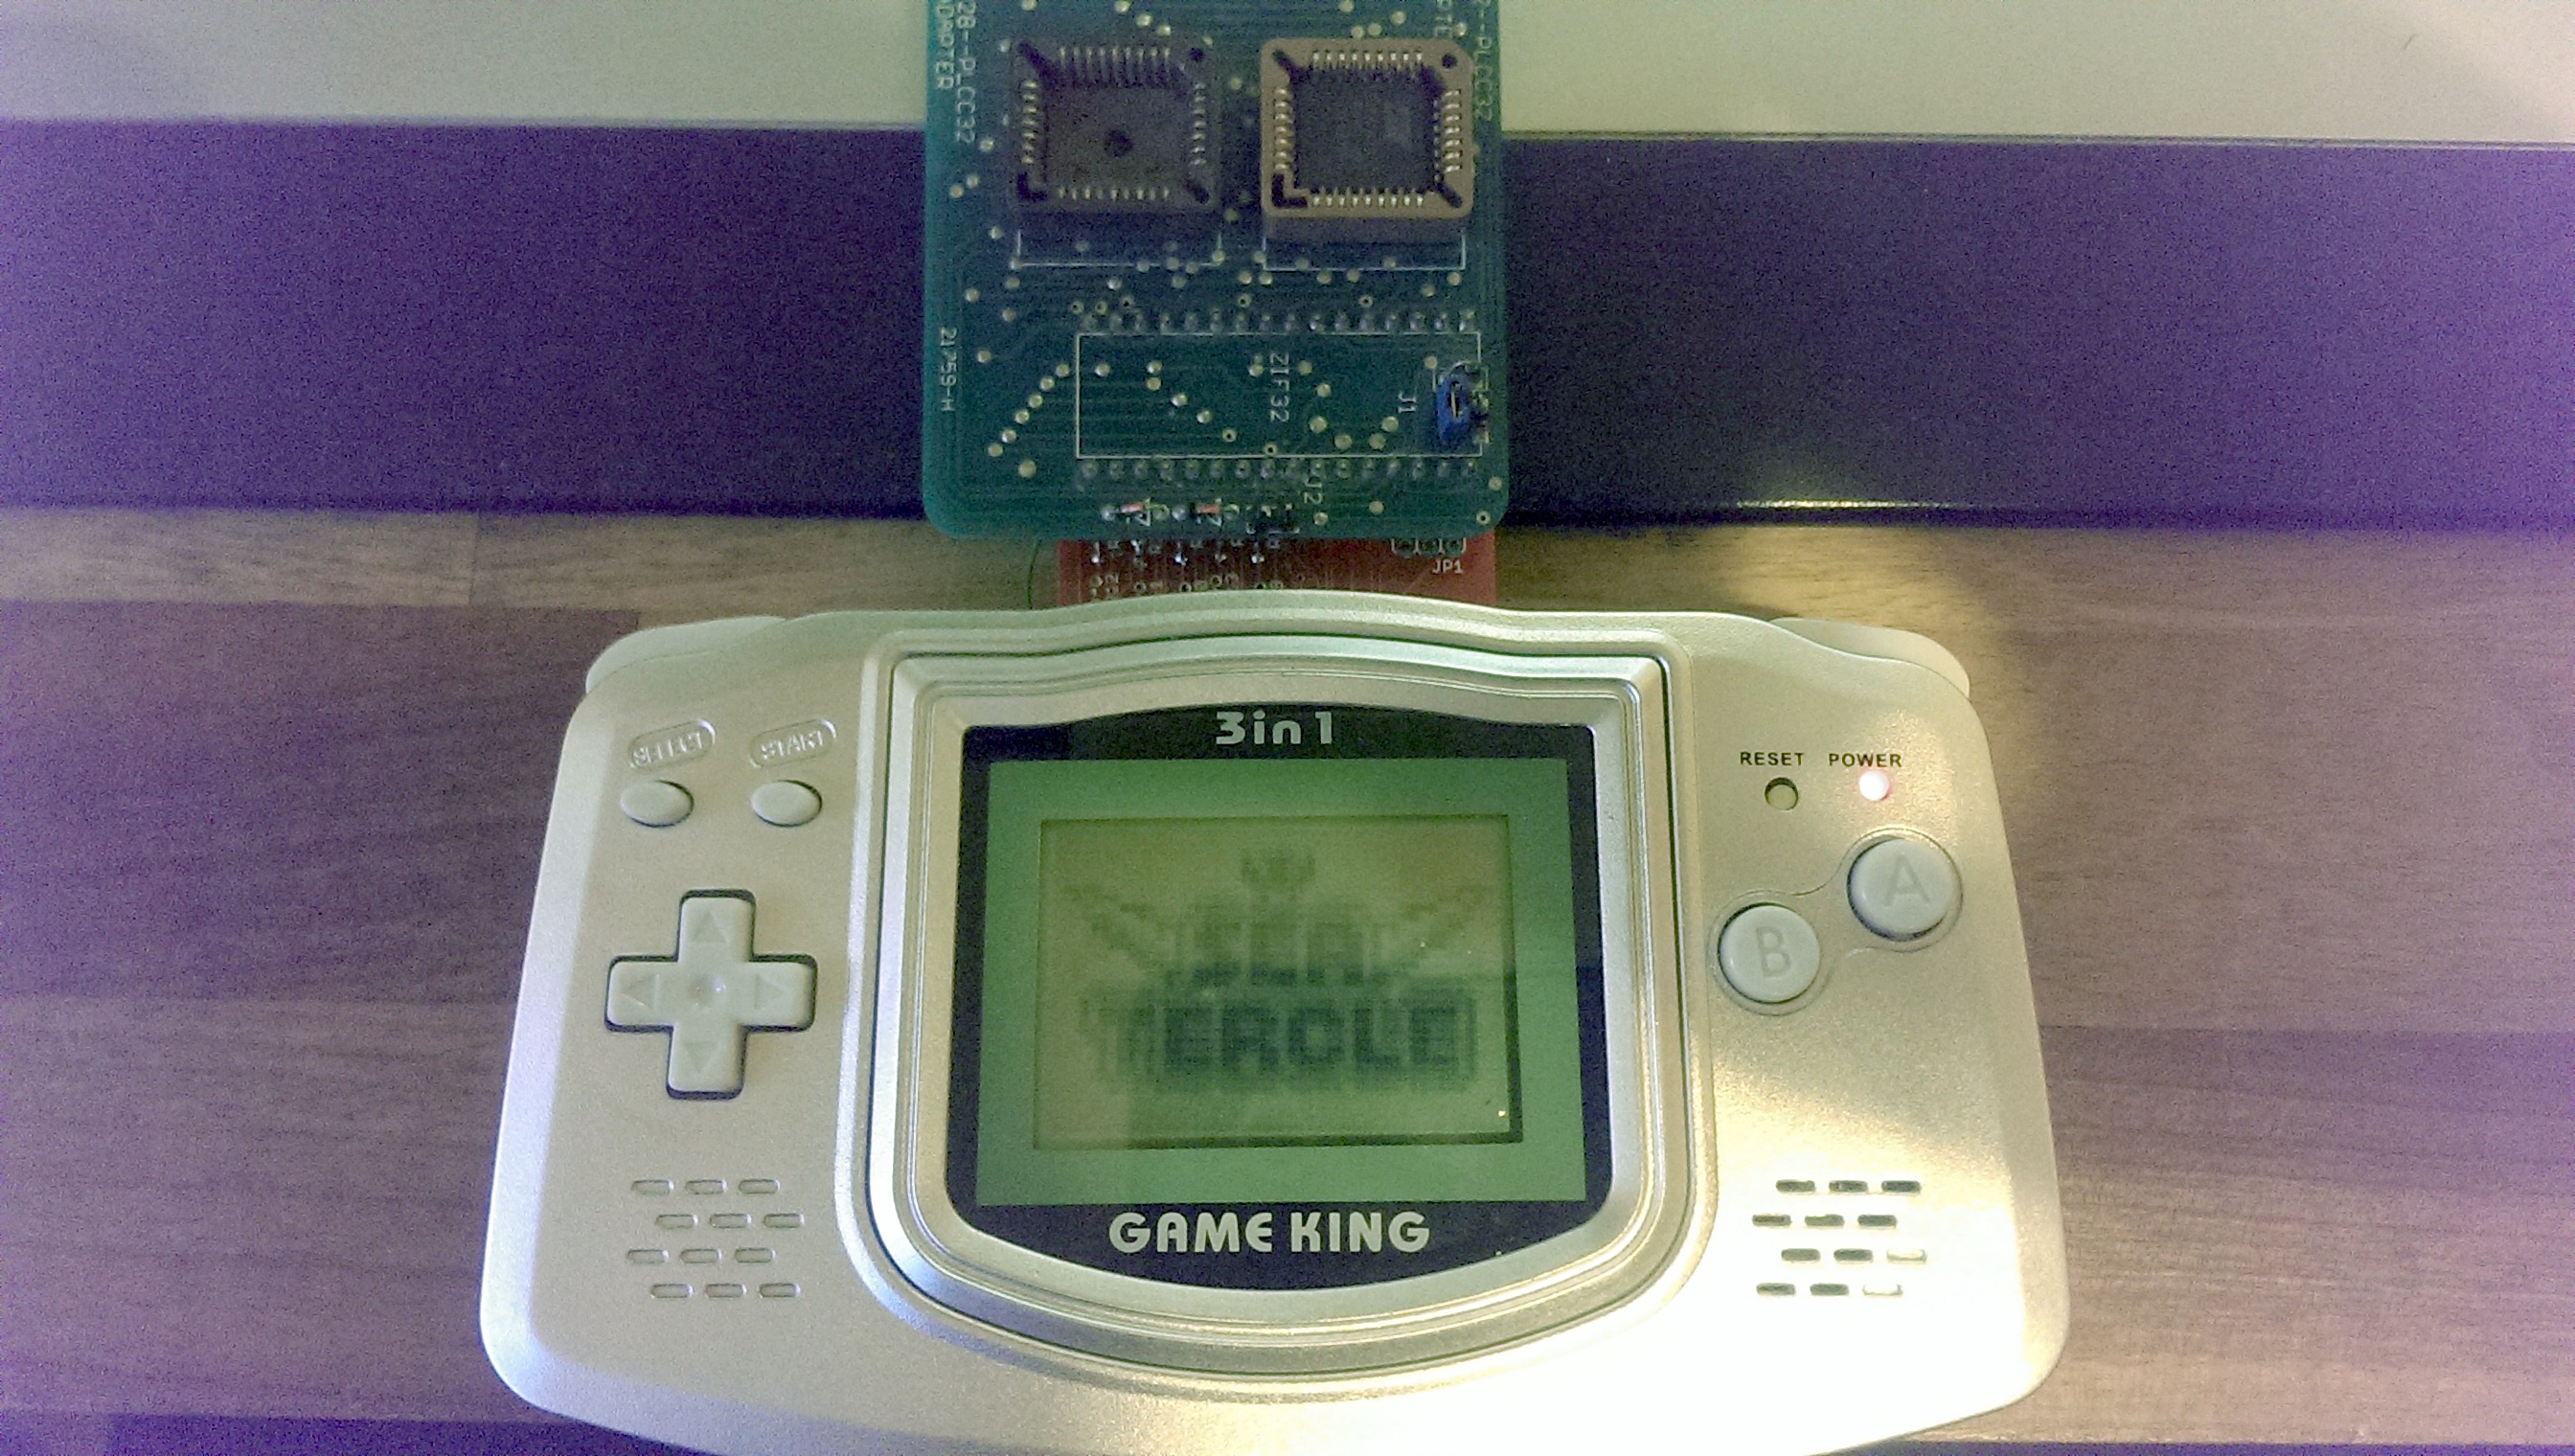
Today I finally got my homebrew Gameking cartridge working.
Its a bit of a mess as there are several failed original design decisions hacked out.
The idea behind this is to hopefully get the internal ROM dumped so emulation will be possible.

IMAG1267

IMAG1269

 Posted by at 8:51 pm
Apr 142015
 

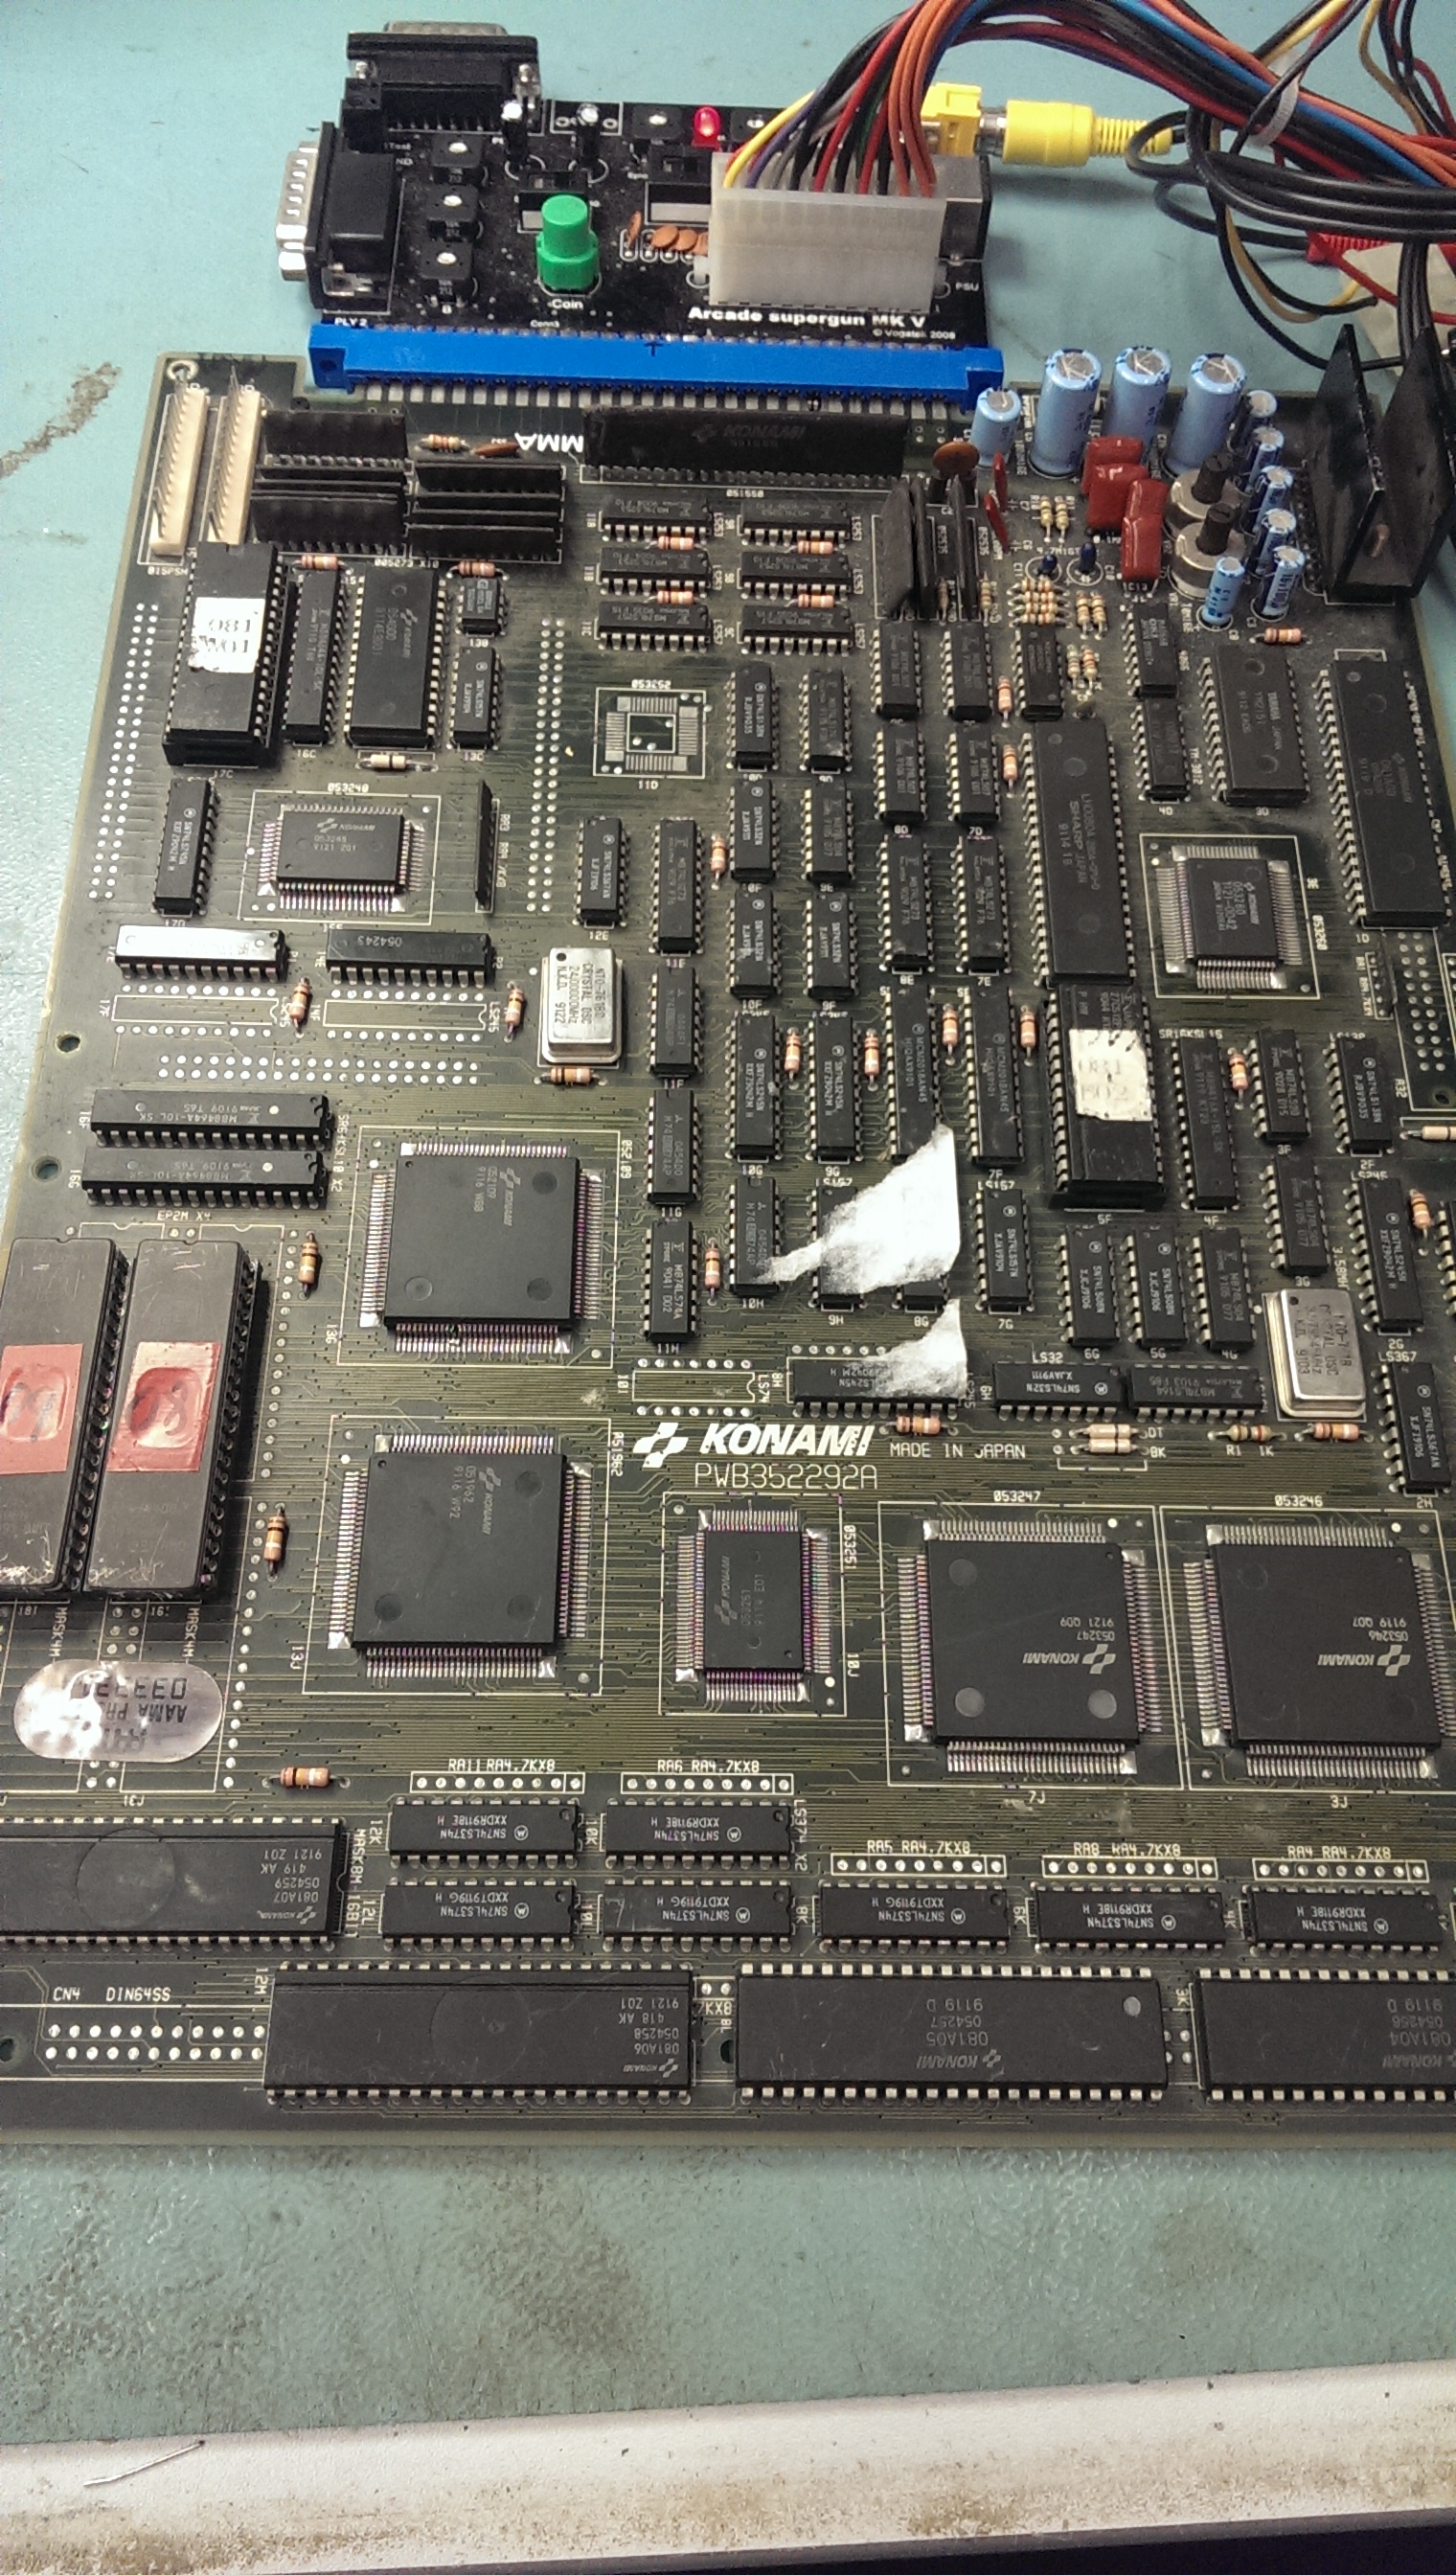
Had this board for a while now but hadn’t looked at it.
IMAG1239

On booting the board up I got completely messed up graphics.
IMAG1238

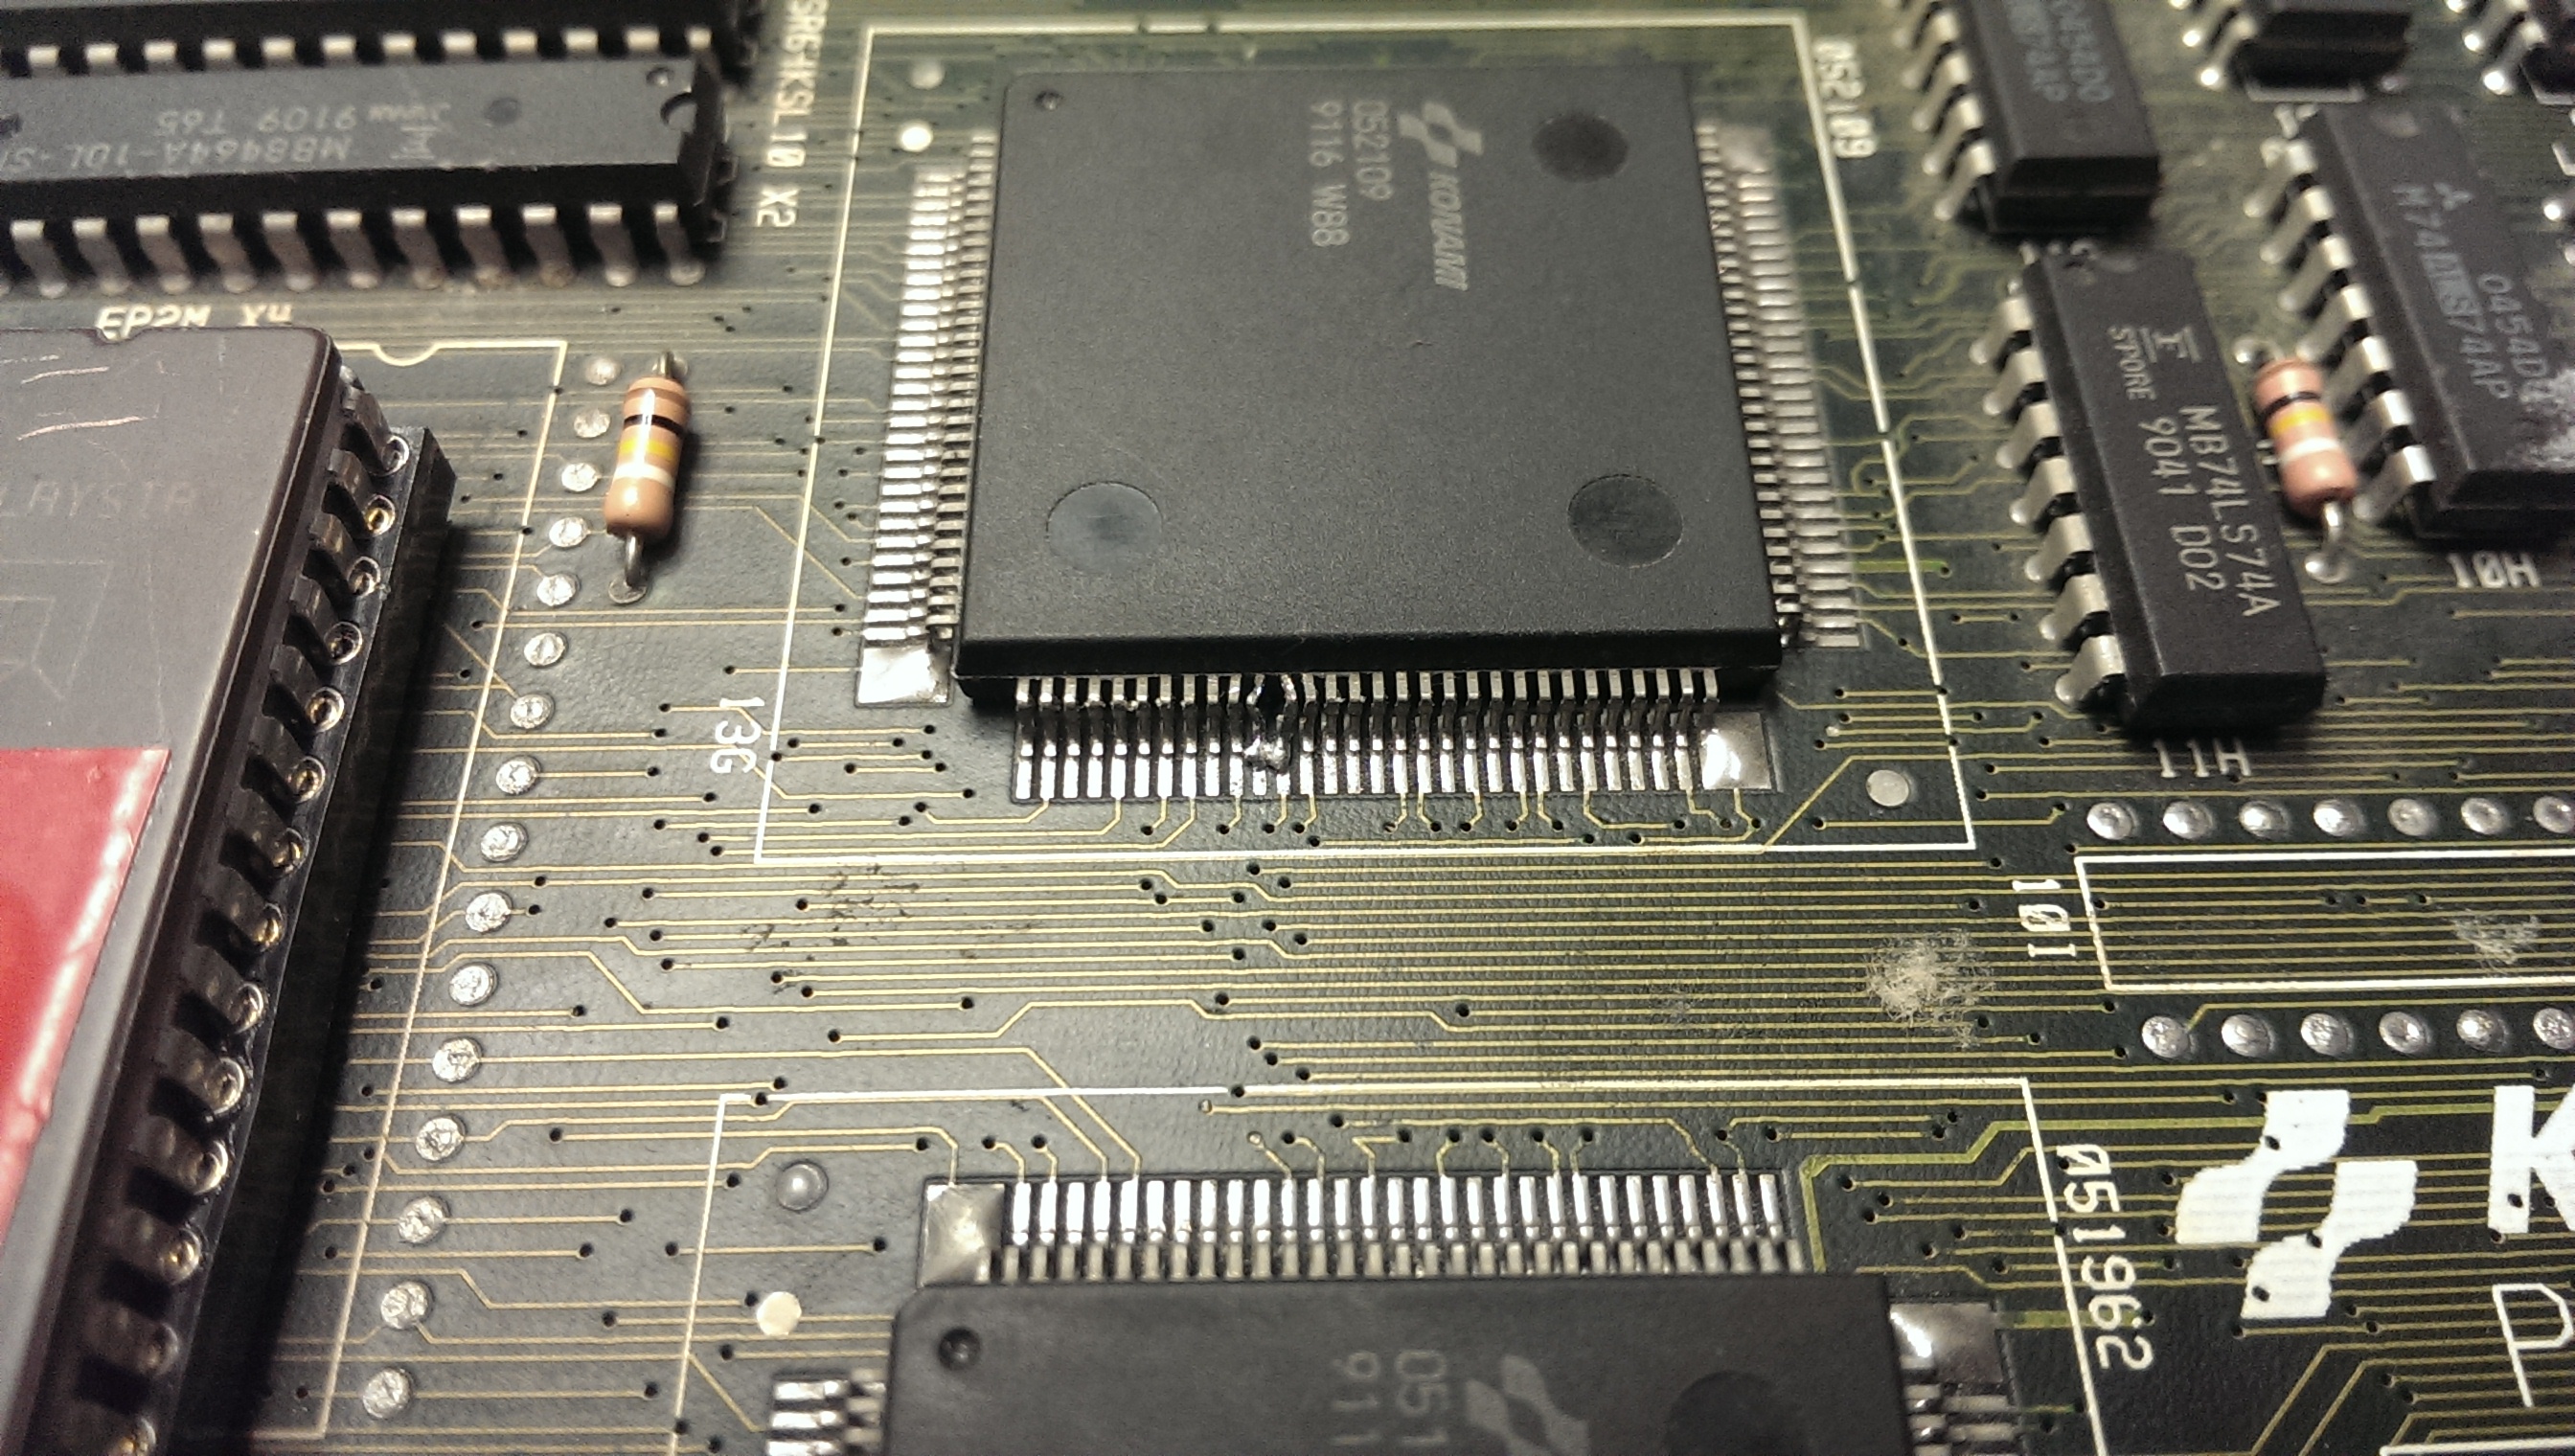
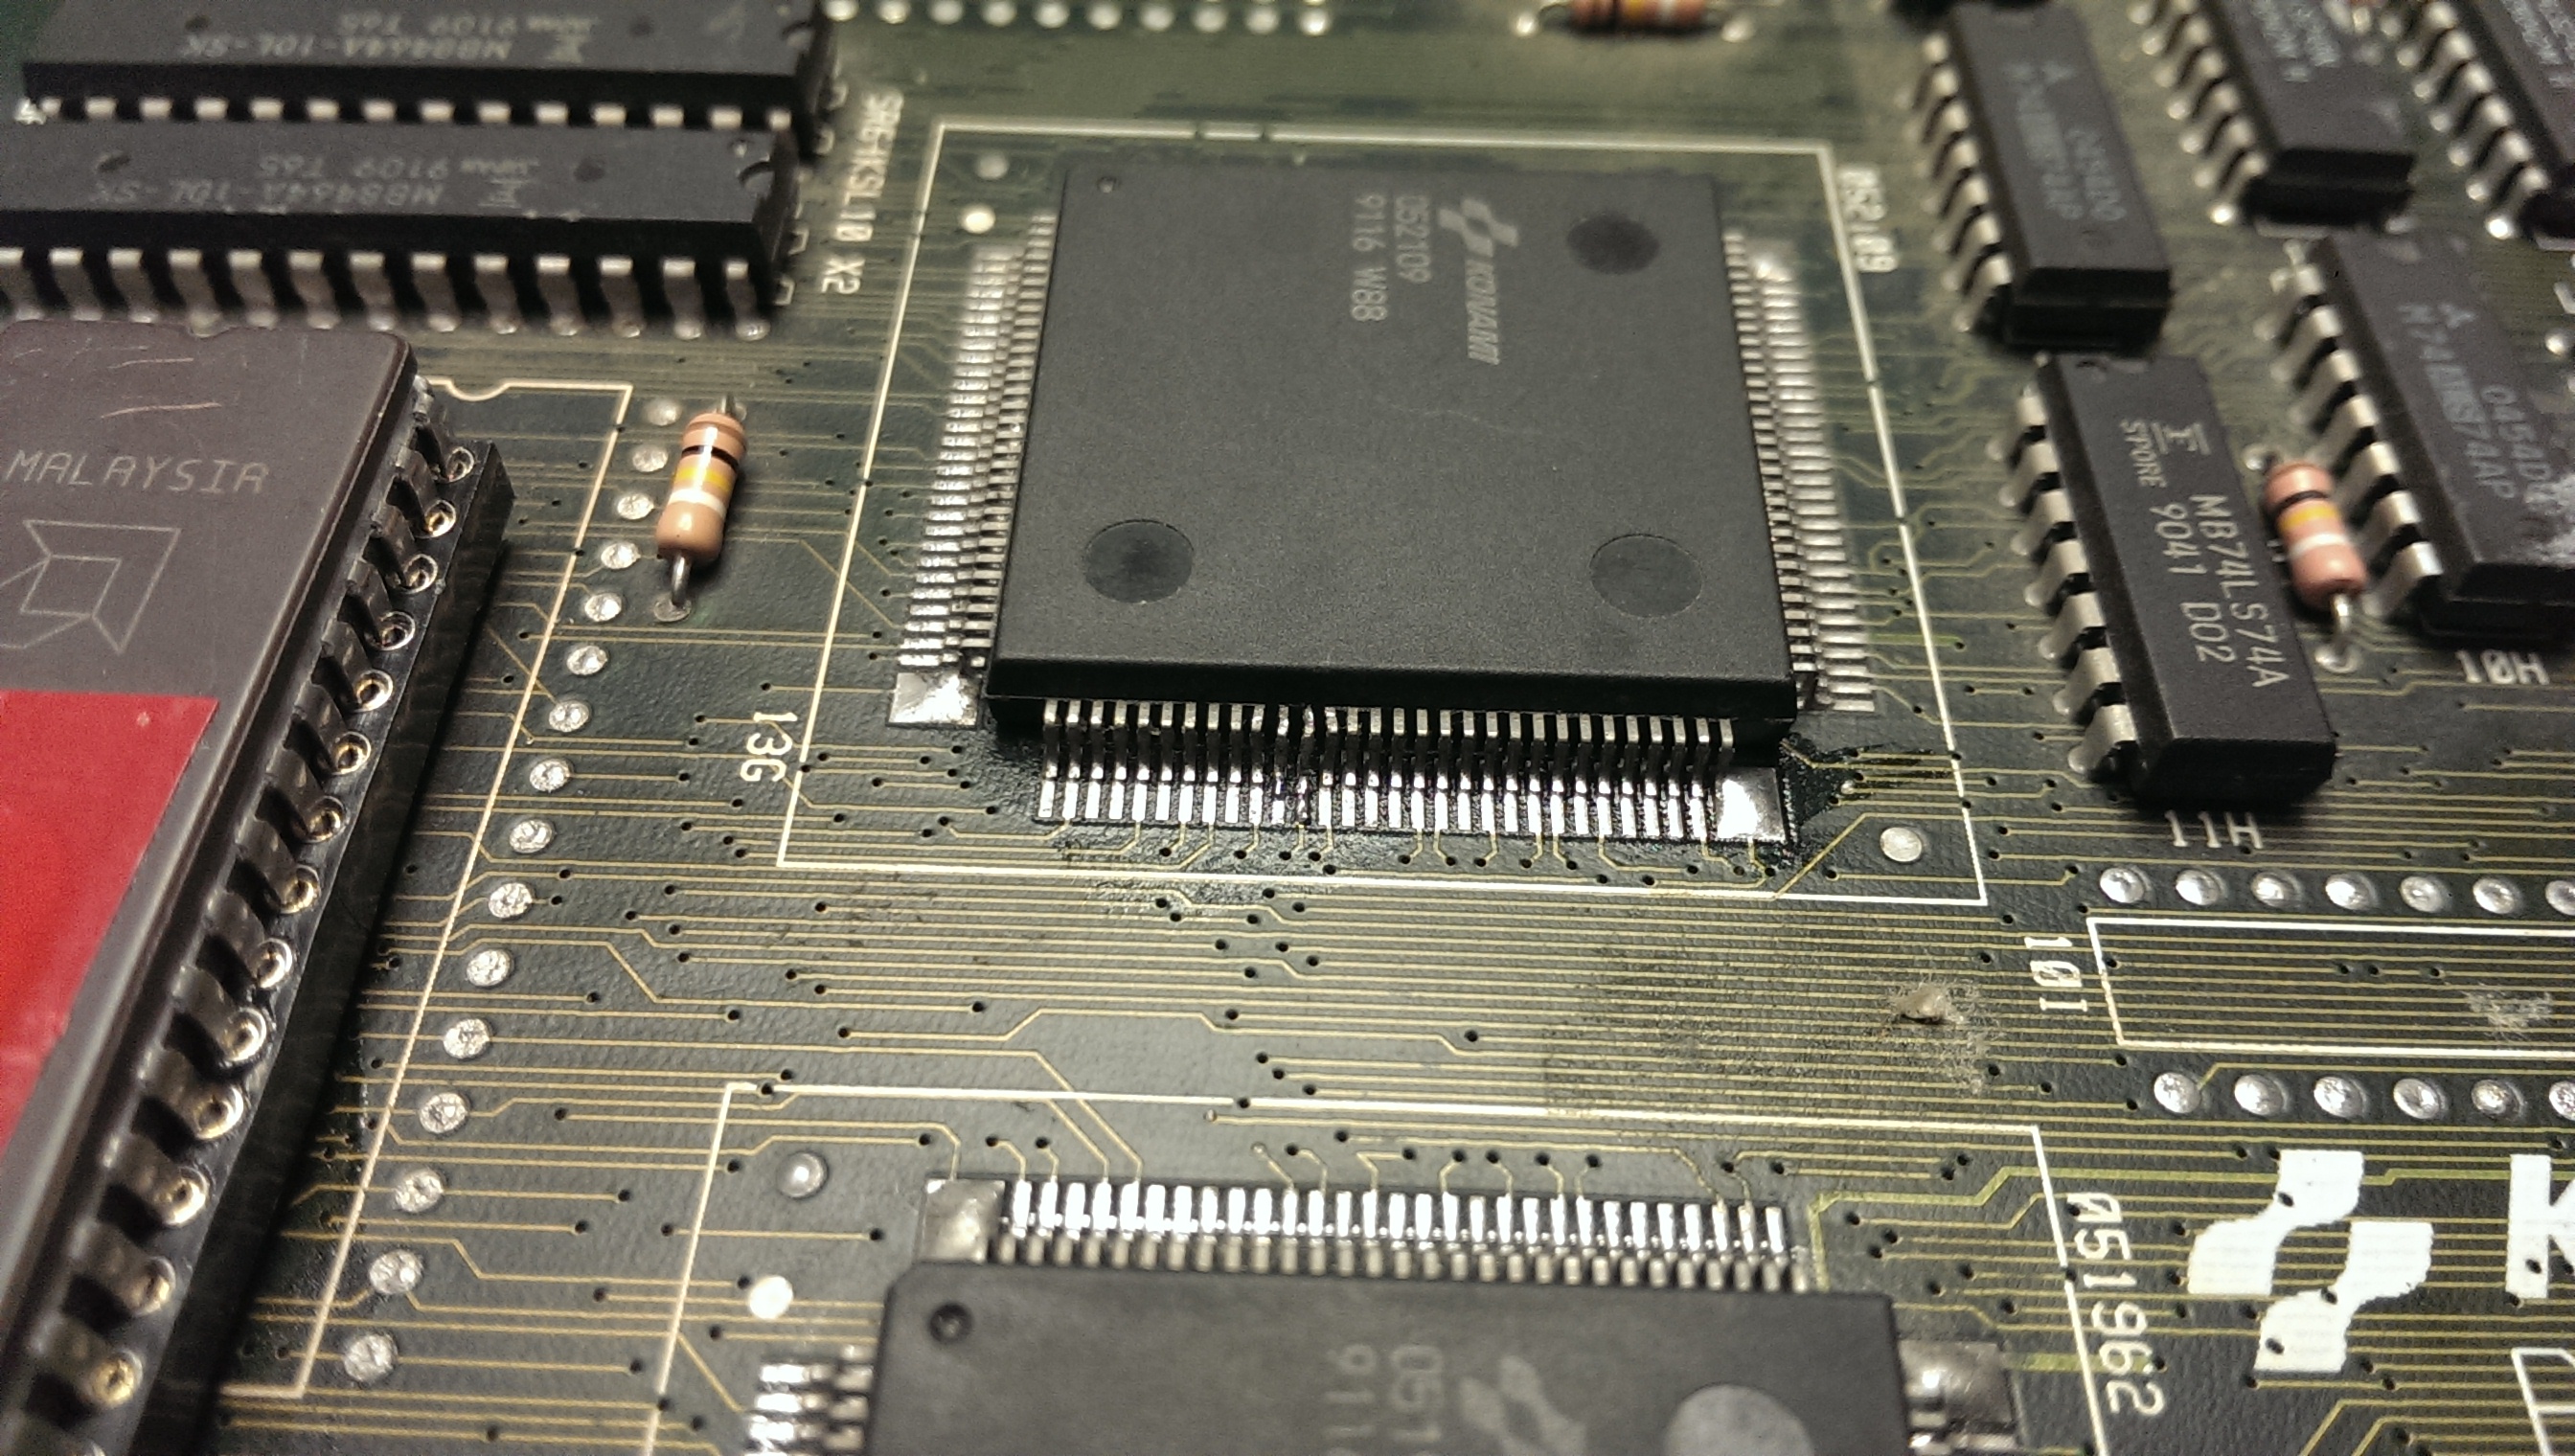
On my pre power up visual inspection I somehow missed the damage and solder blob on the 052109 tilemap generator.
IMAG1240

I removed the solder using solder braid and straightened the legs up best I could with some fine tweezers. It took a while as I didn’t want to snap the legs off but I ended up with something I was happy with.
IMAG1255

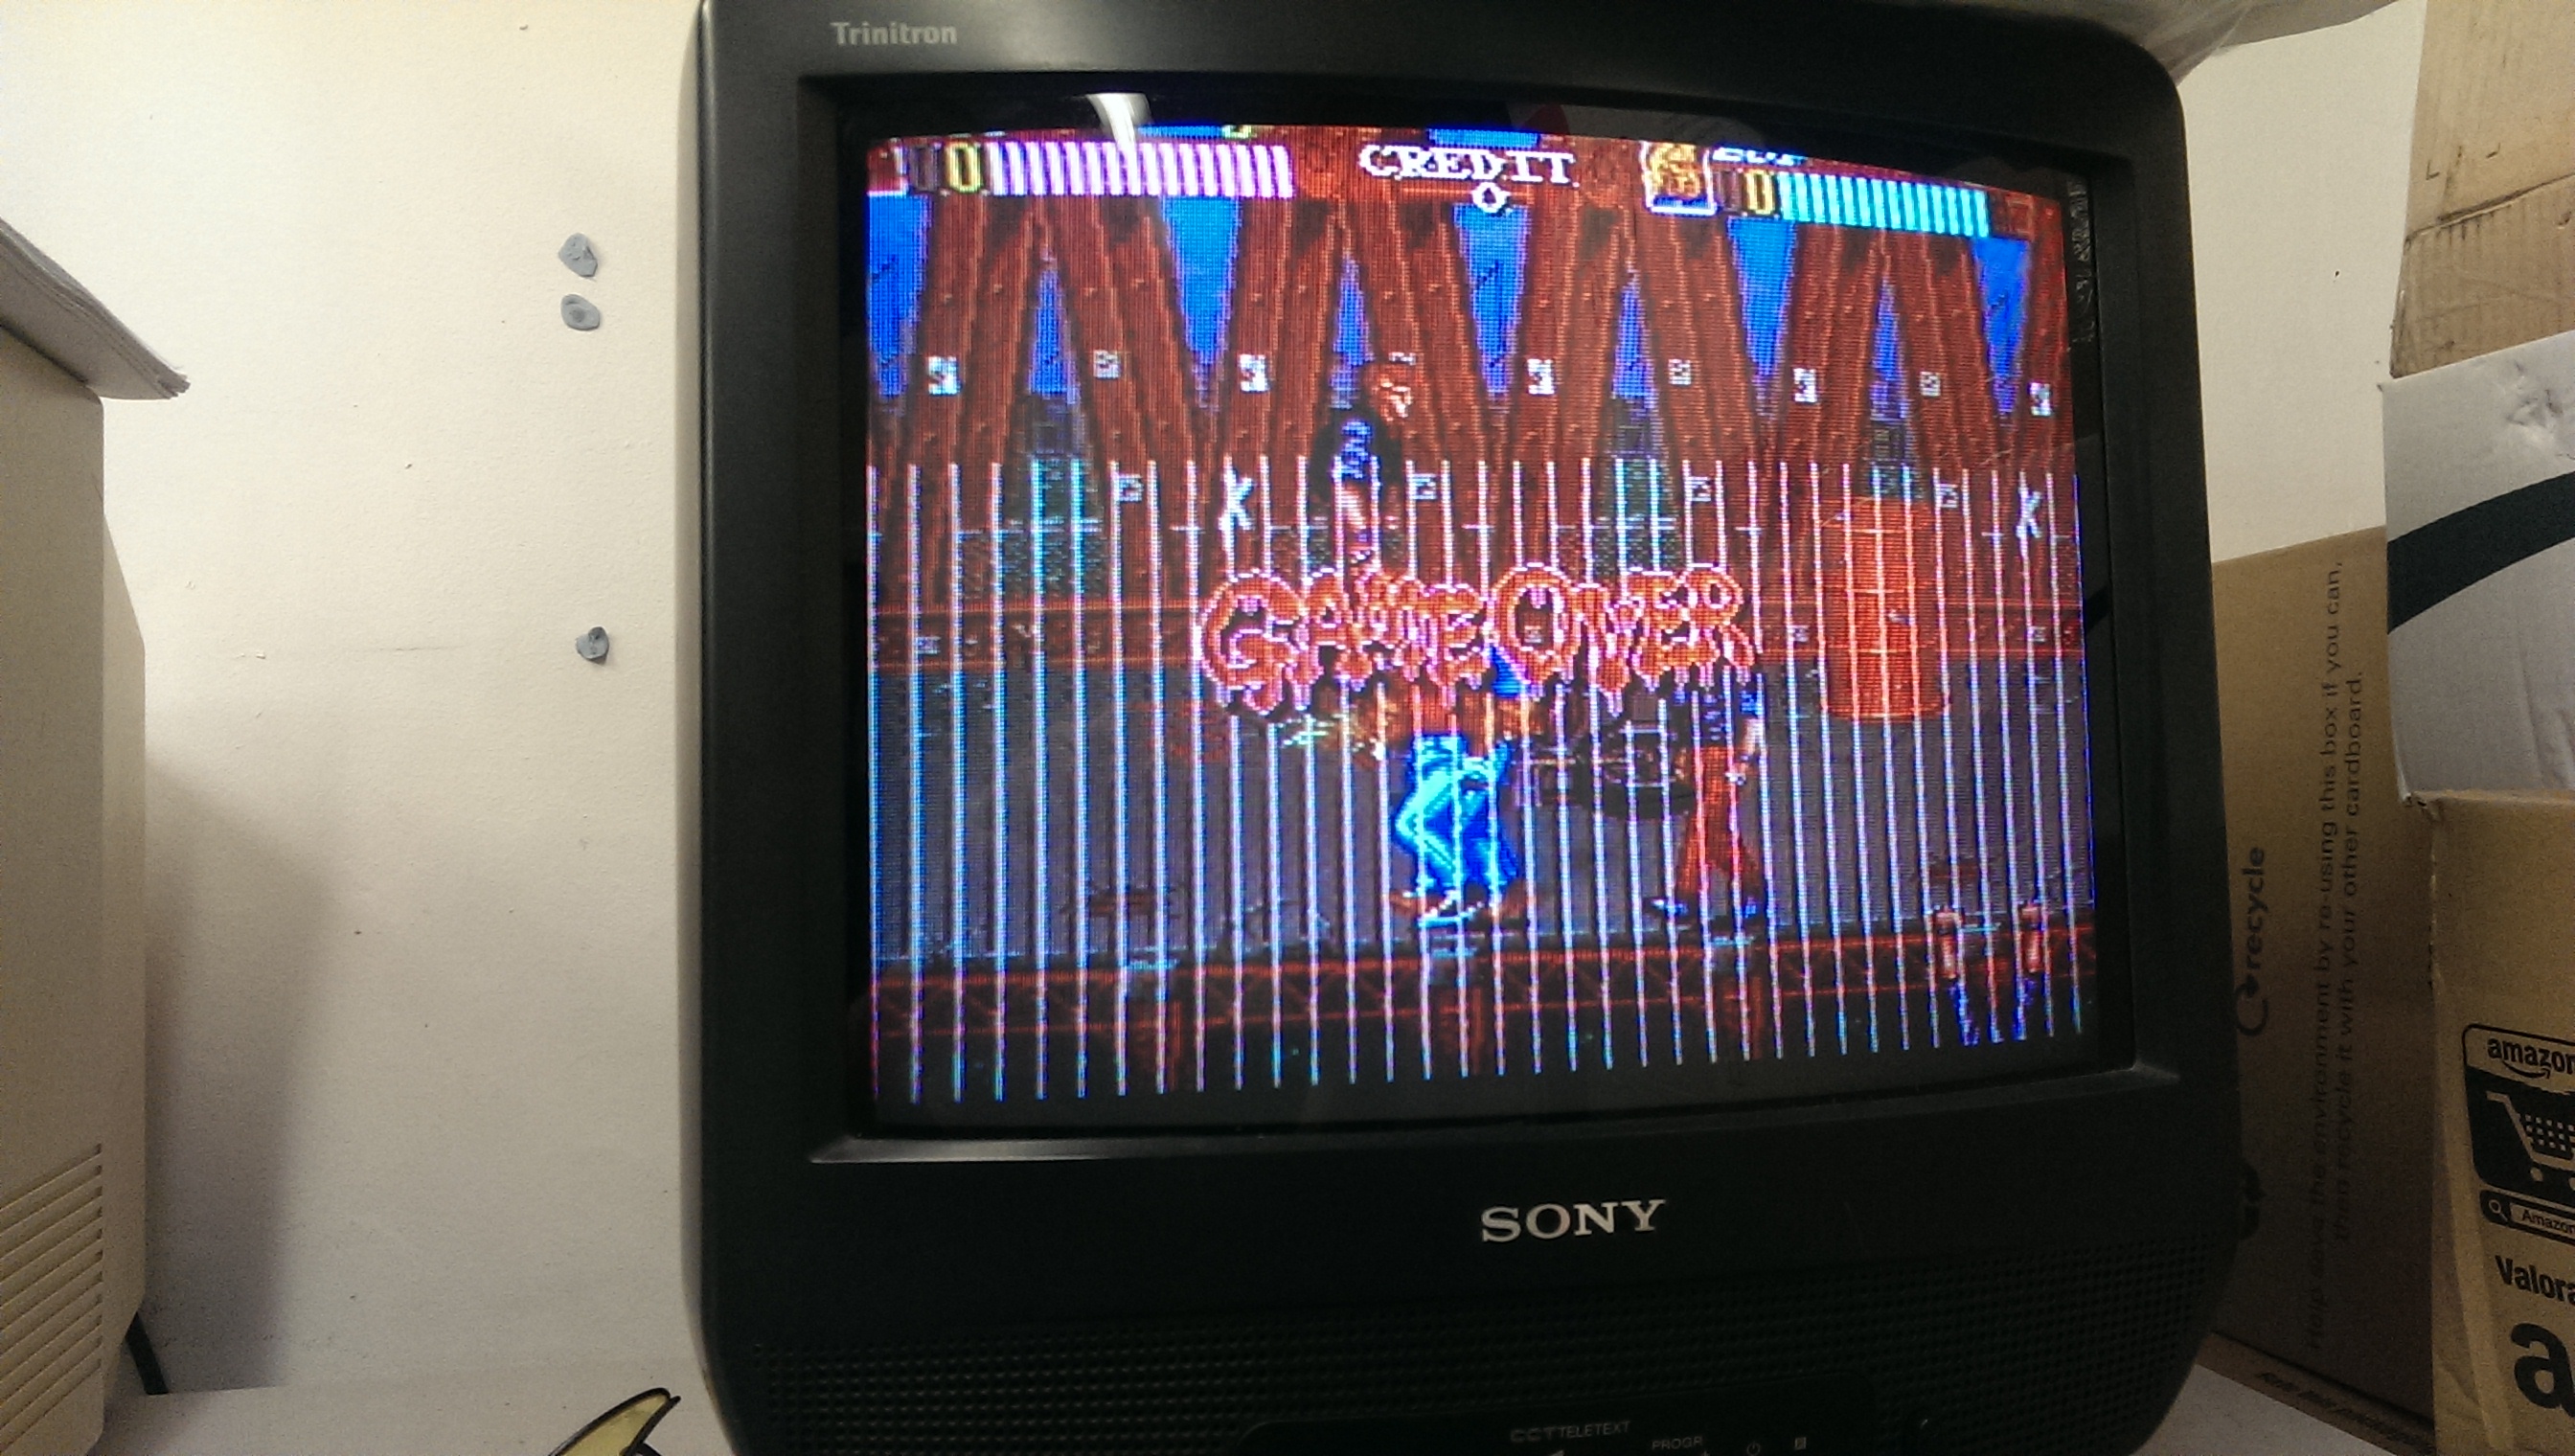
Fixing that gave me the graphics back but there were jailbars present.
IMAG1242

Jailbars are usually a sign of a failed ROM and as the two MASKROM’s have previously been replaced for a pair of 27C400 EPROM’s I thought it was best I check these out first.
Both turned out to be fine so the next step was to check the address and data line to see if they were active.
Again I could find no problems here.

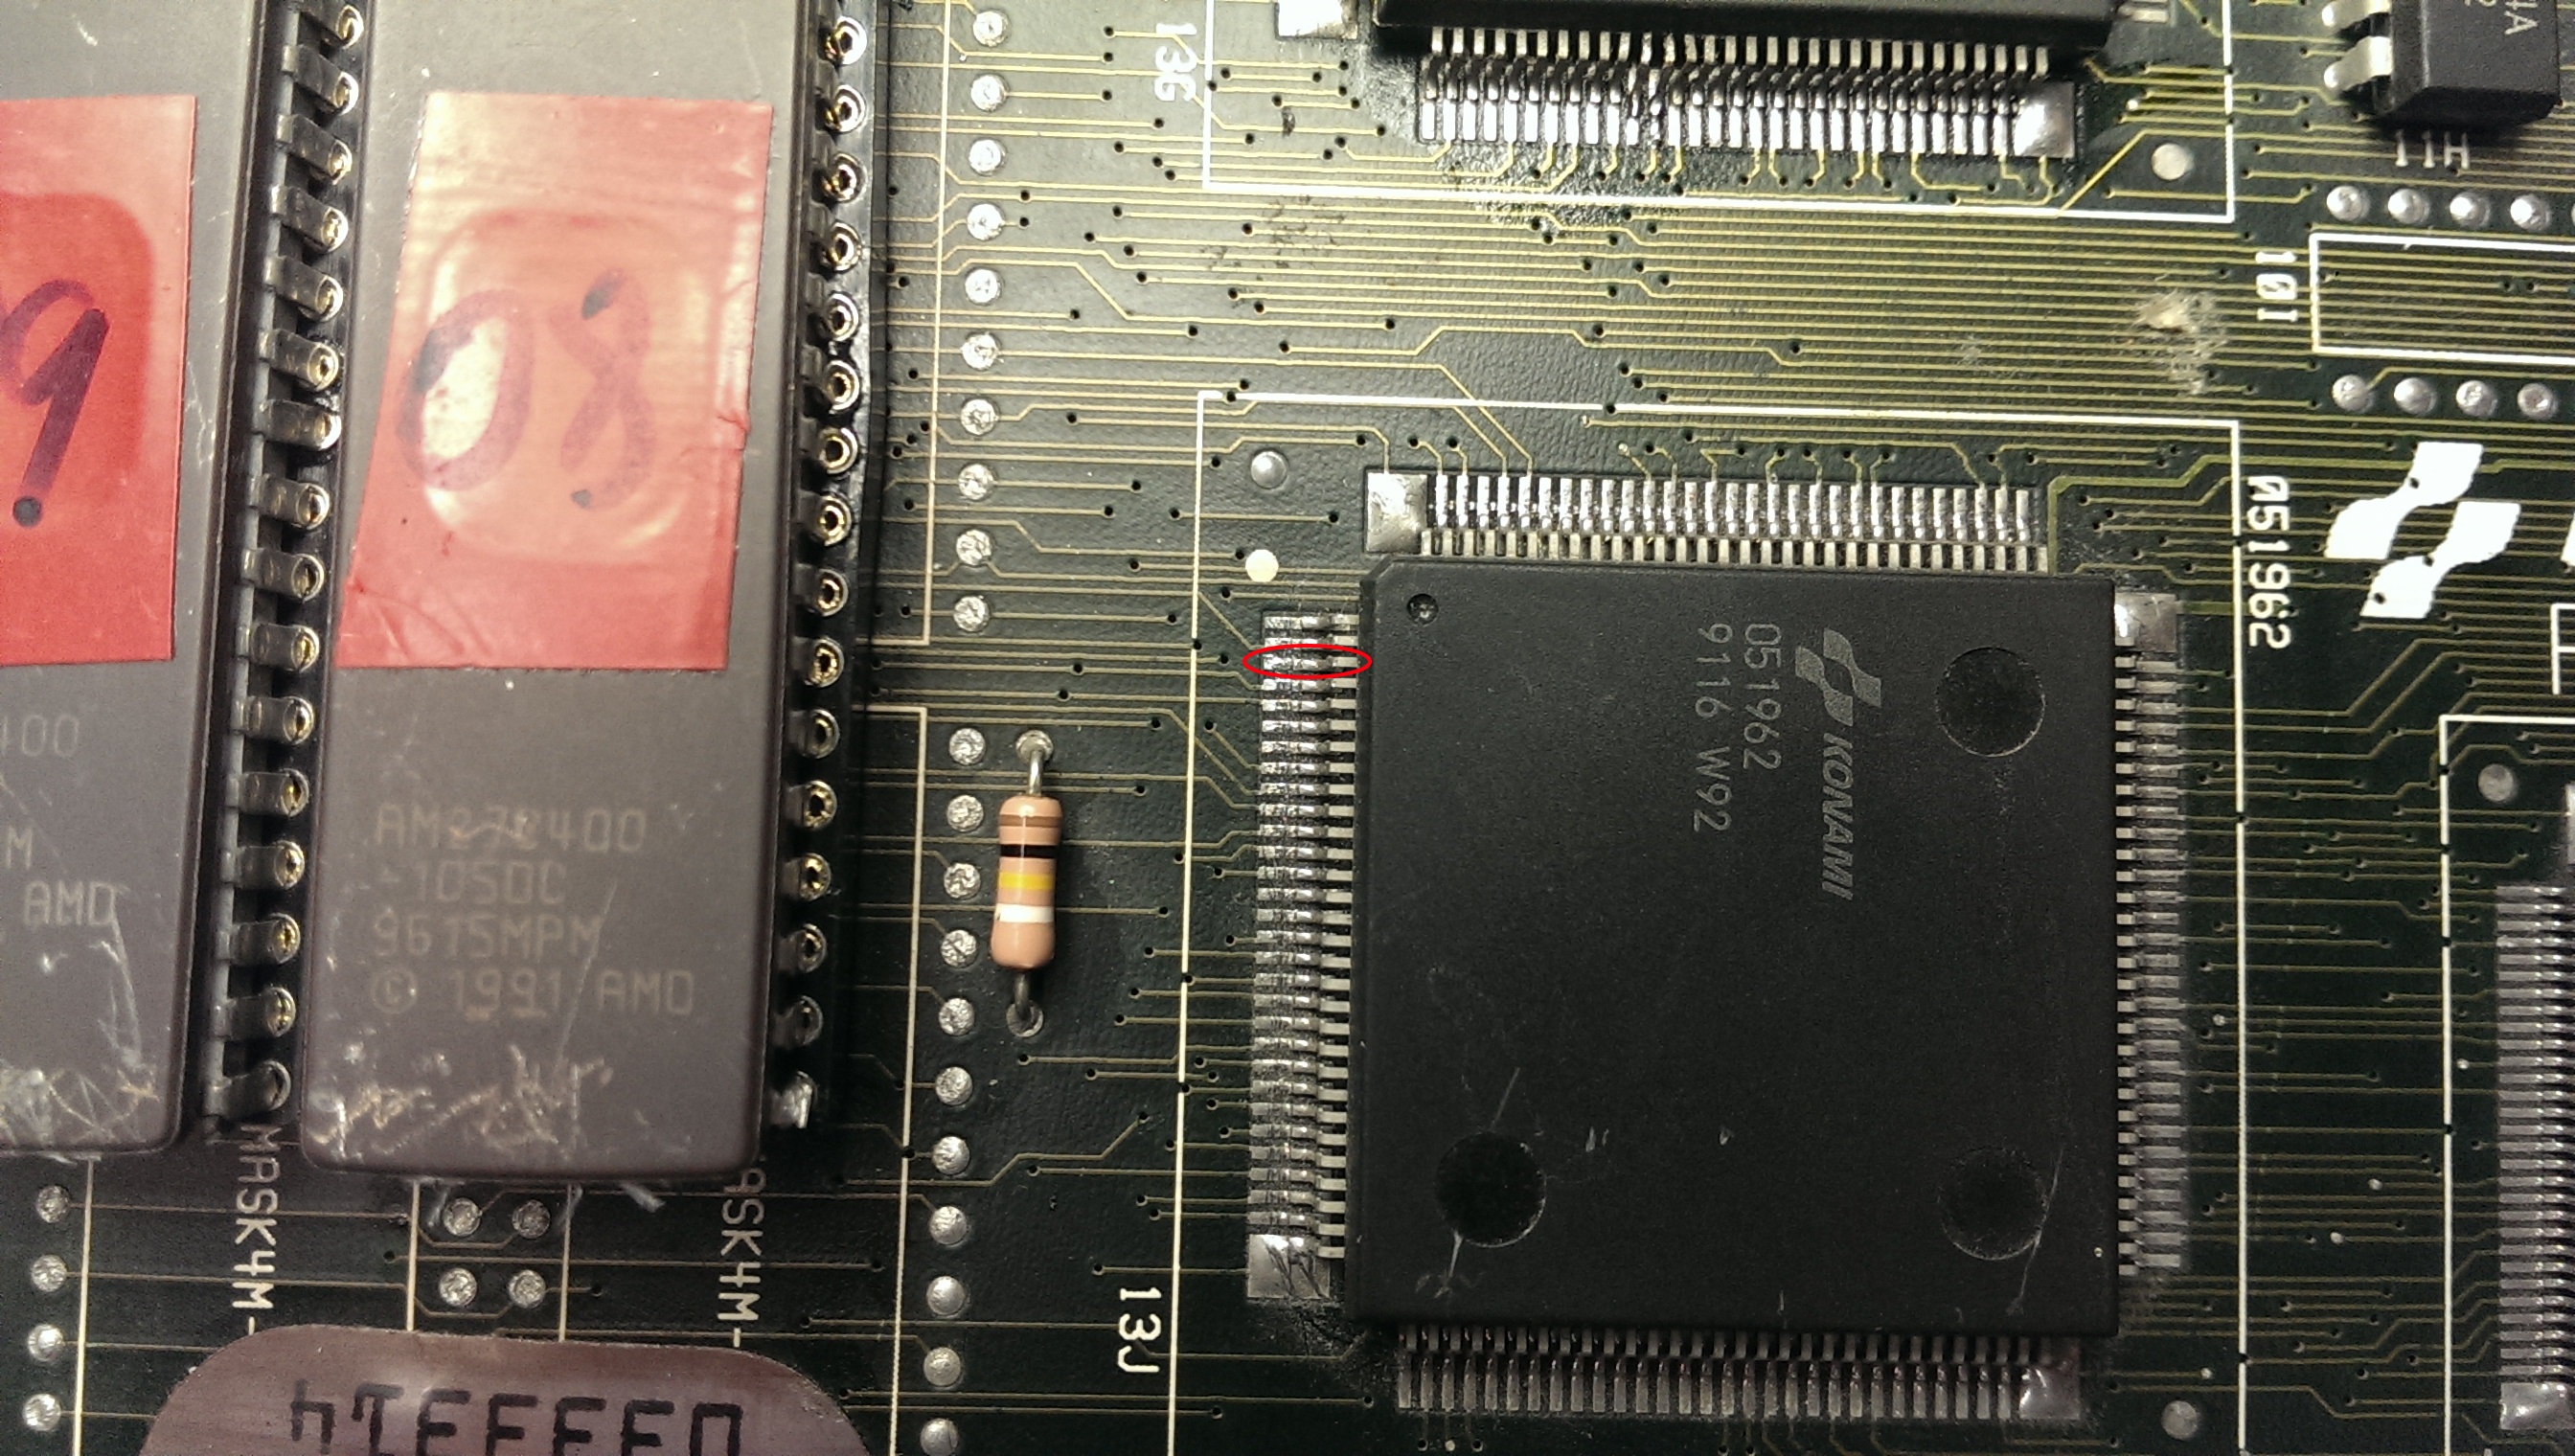
I then found the test menu which runs a self test on these ROM’s. The ROM at location 16I gave a different checksum each time I ran the test. A changing checksum can be a sign of a floating data pin. I already knew the data pins were active and that the ROM’s were good so I set to work with the multimeter checking continuity between the EPROM and the 051962 tilemap generator which these data line go to.
Eventually I found data pin 8 did not make it to the 051962.
IMAG1243

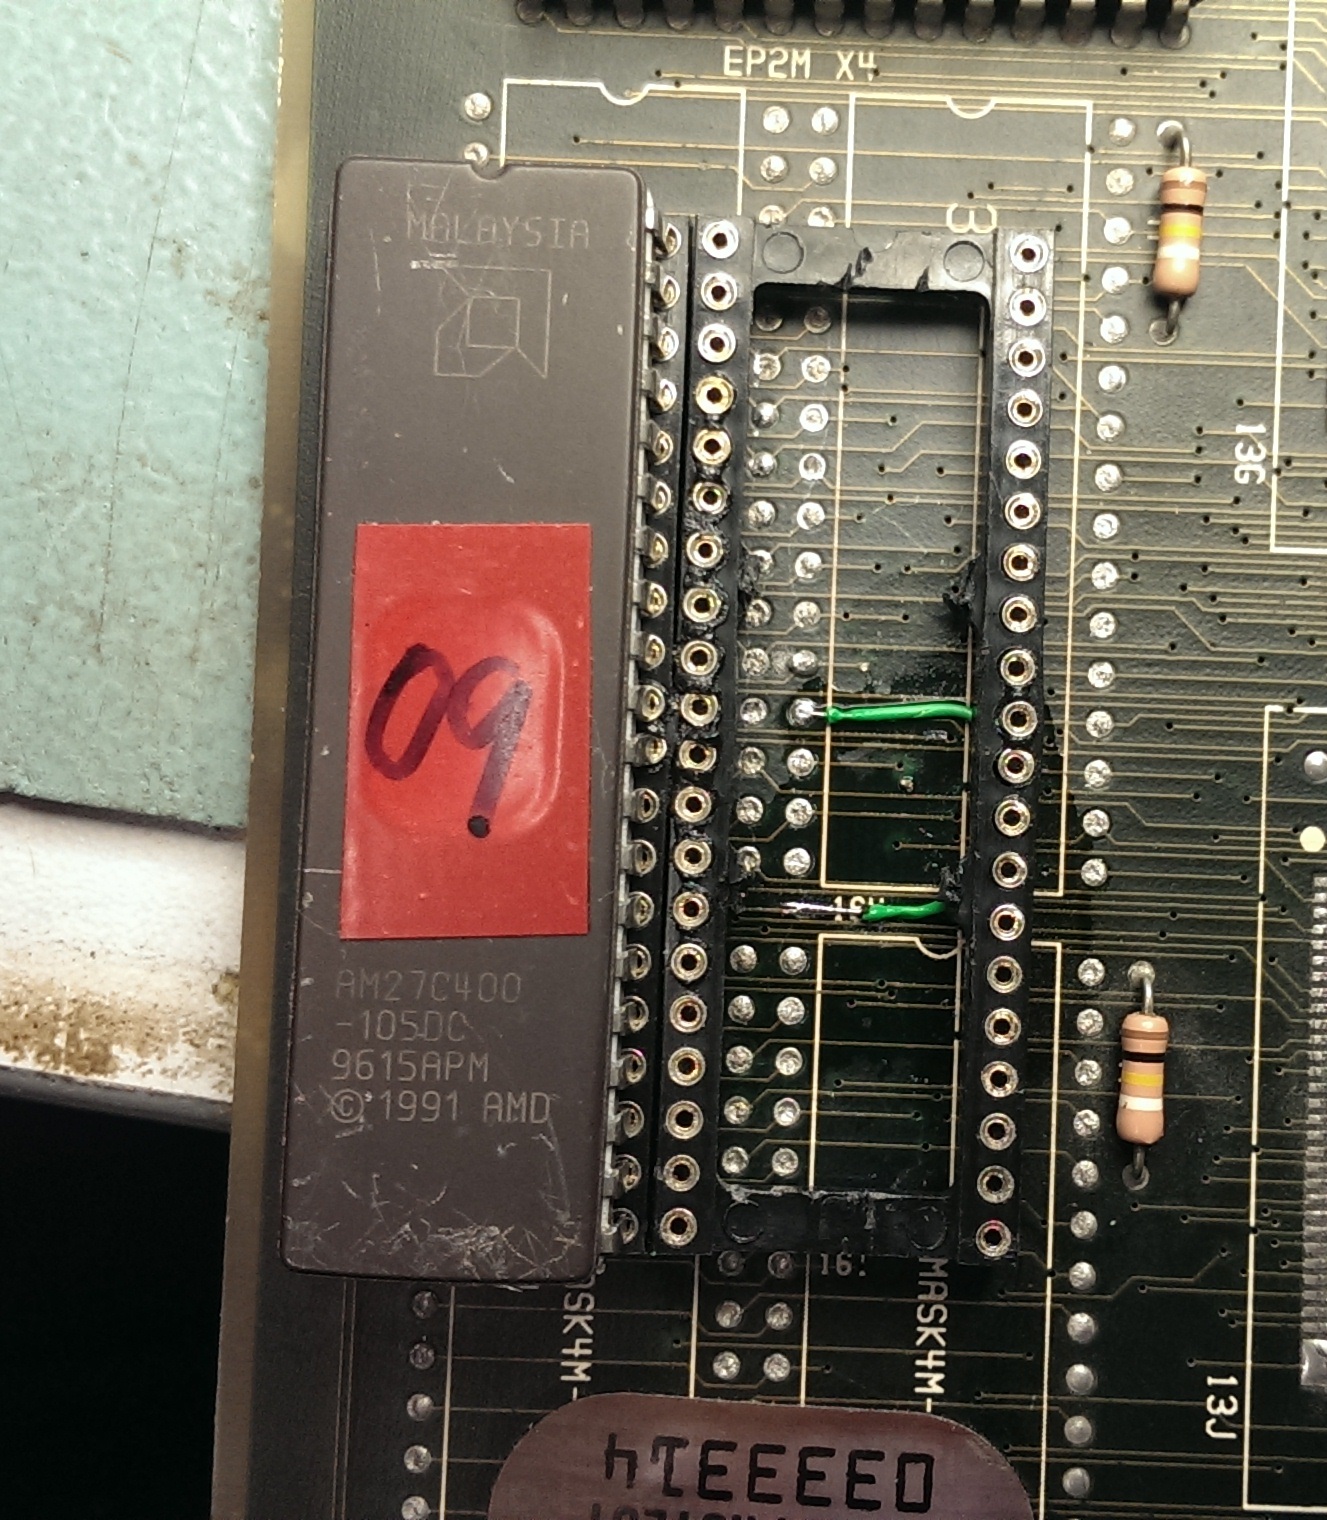
I was able to patch this underneath the EPROM so it would be hidden (and protected).
IMAG1244

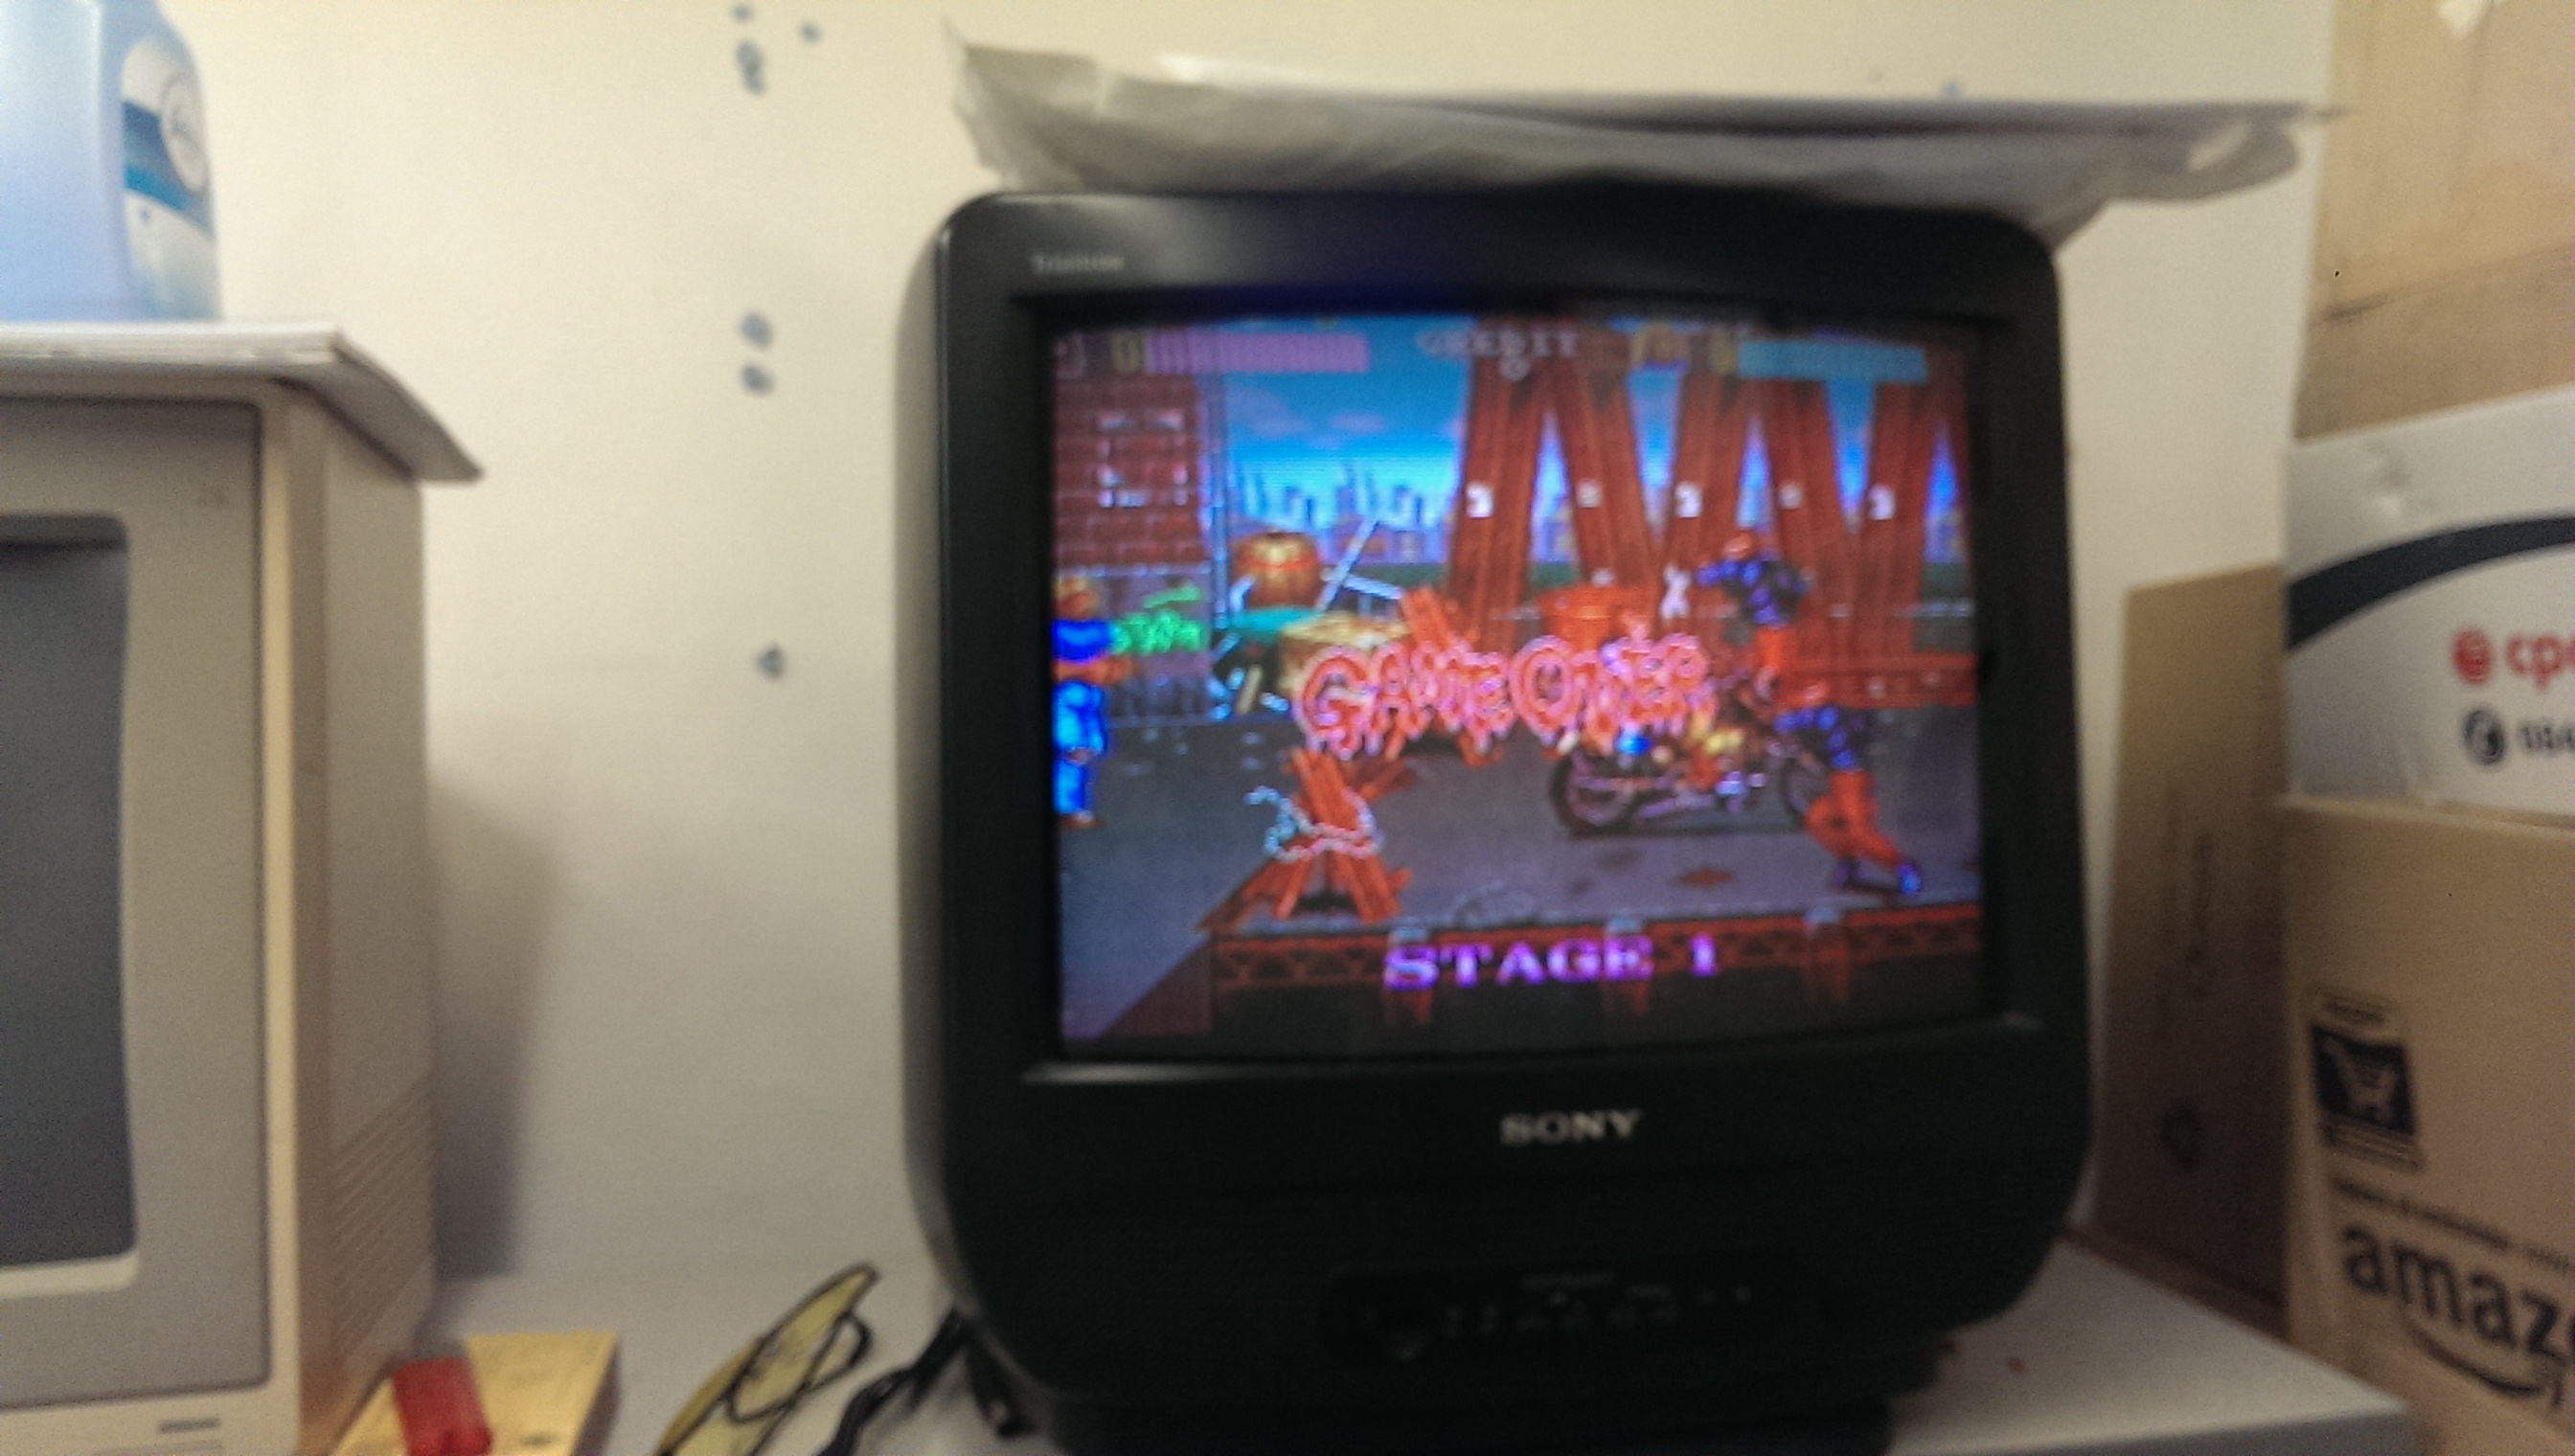
On powering up all the jailbars were gone and the board is fixed.
IMAG1253