Caius

Jan 252018
 

At first glance the Seibu ‘UEC-51’ (also found marked as ‘HB-5’ or ‘UEC-05’) looks very similar to its successor ‘UEC-52’  :
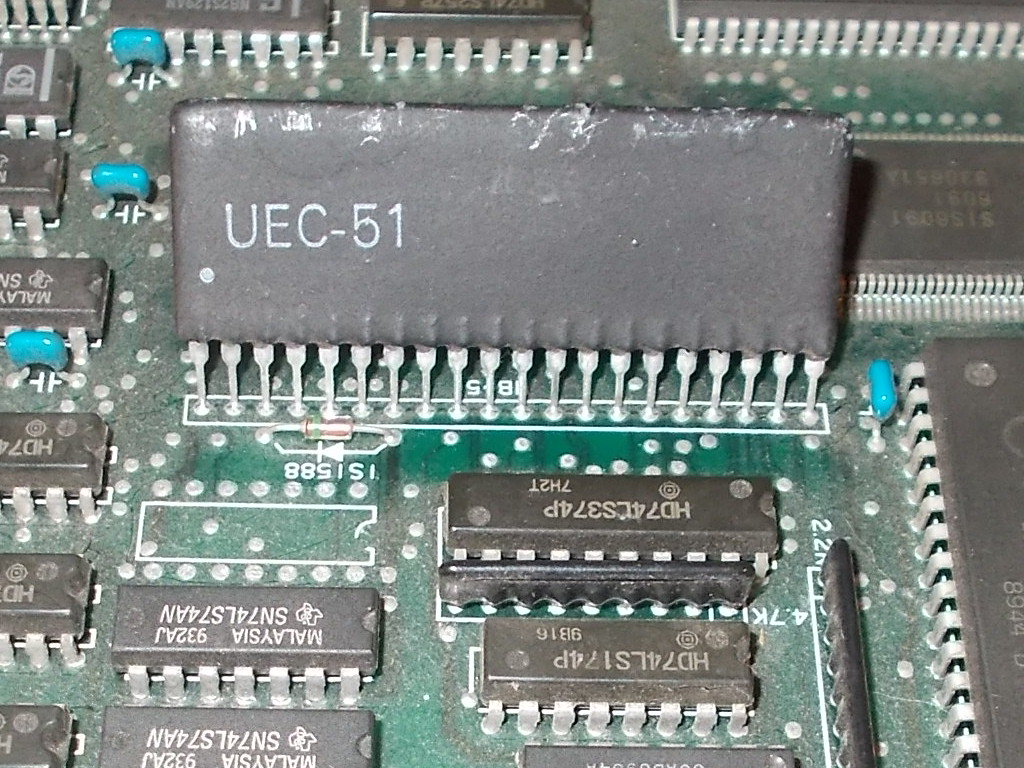
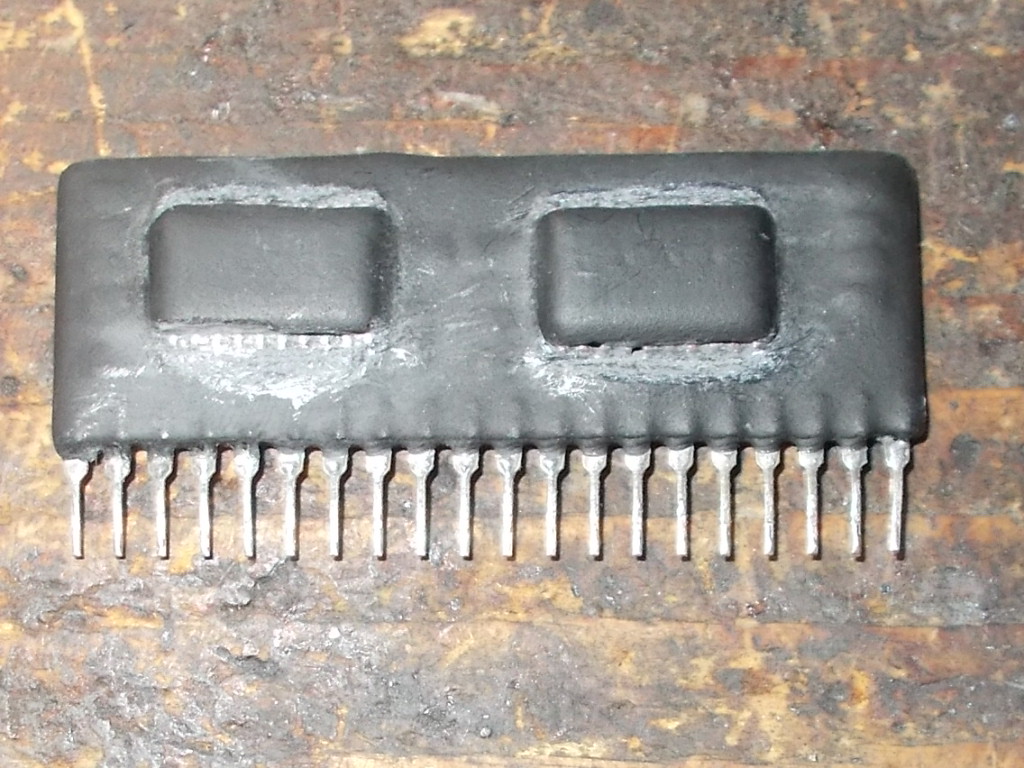
Both are RGB DAC in SIL package used on some Seibu/TAD Corporation PCBs.But, pin number apart (20 for the UEC-51, 22 for the UEC-52) they have different design.This reproduction project started while I was repairing a Toki PCB which had some video issue that I pinpointed in this custom  (althouhg later I found the issue was due another fault).As said, the ‘UEC-51’ acts as digital-to-analog converter of the color palette data (12 bit in total so four for each color) but, compared to the other DACs (like the Taito ‘TC0070RGB’), data are not latched but buffered.Obviously also here three R2R (resitor ladder) circuits are used in final stage to perform the analog conversion.As always in my projects, for first I figured out parts and design adopted, in this case I didn’t remove all the coating but simply exposed pins of the two ICs:
Then I carried on my test on some protoyping breadboard:
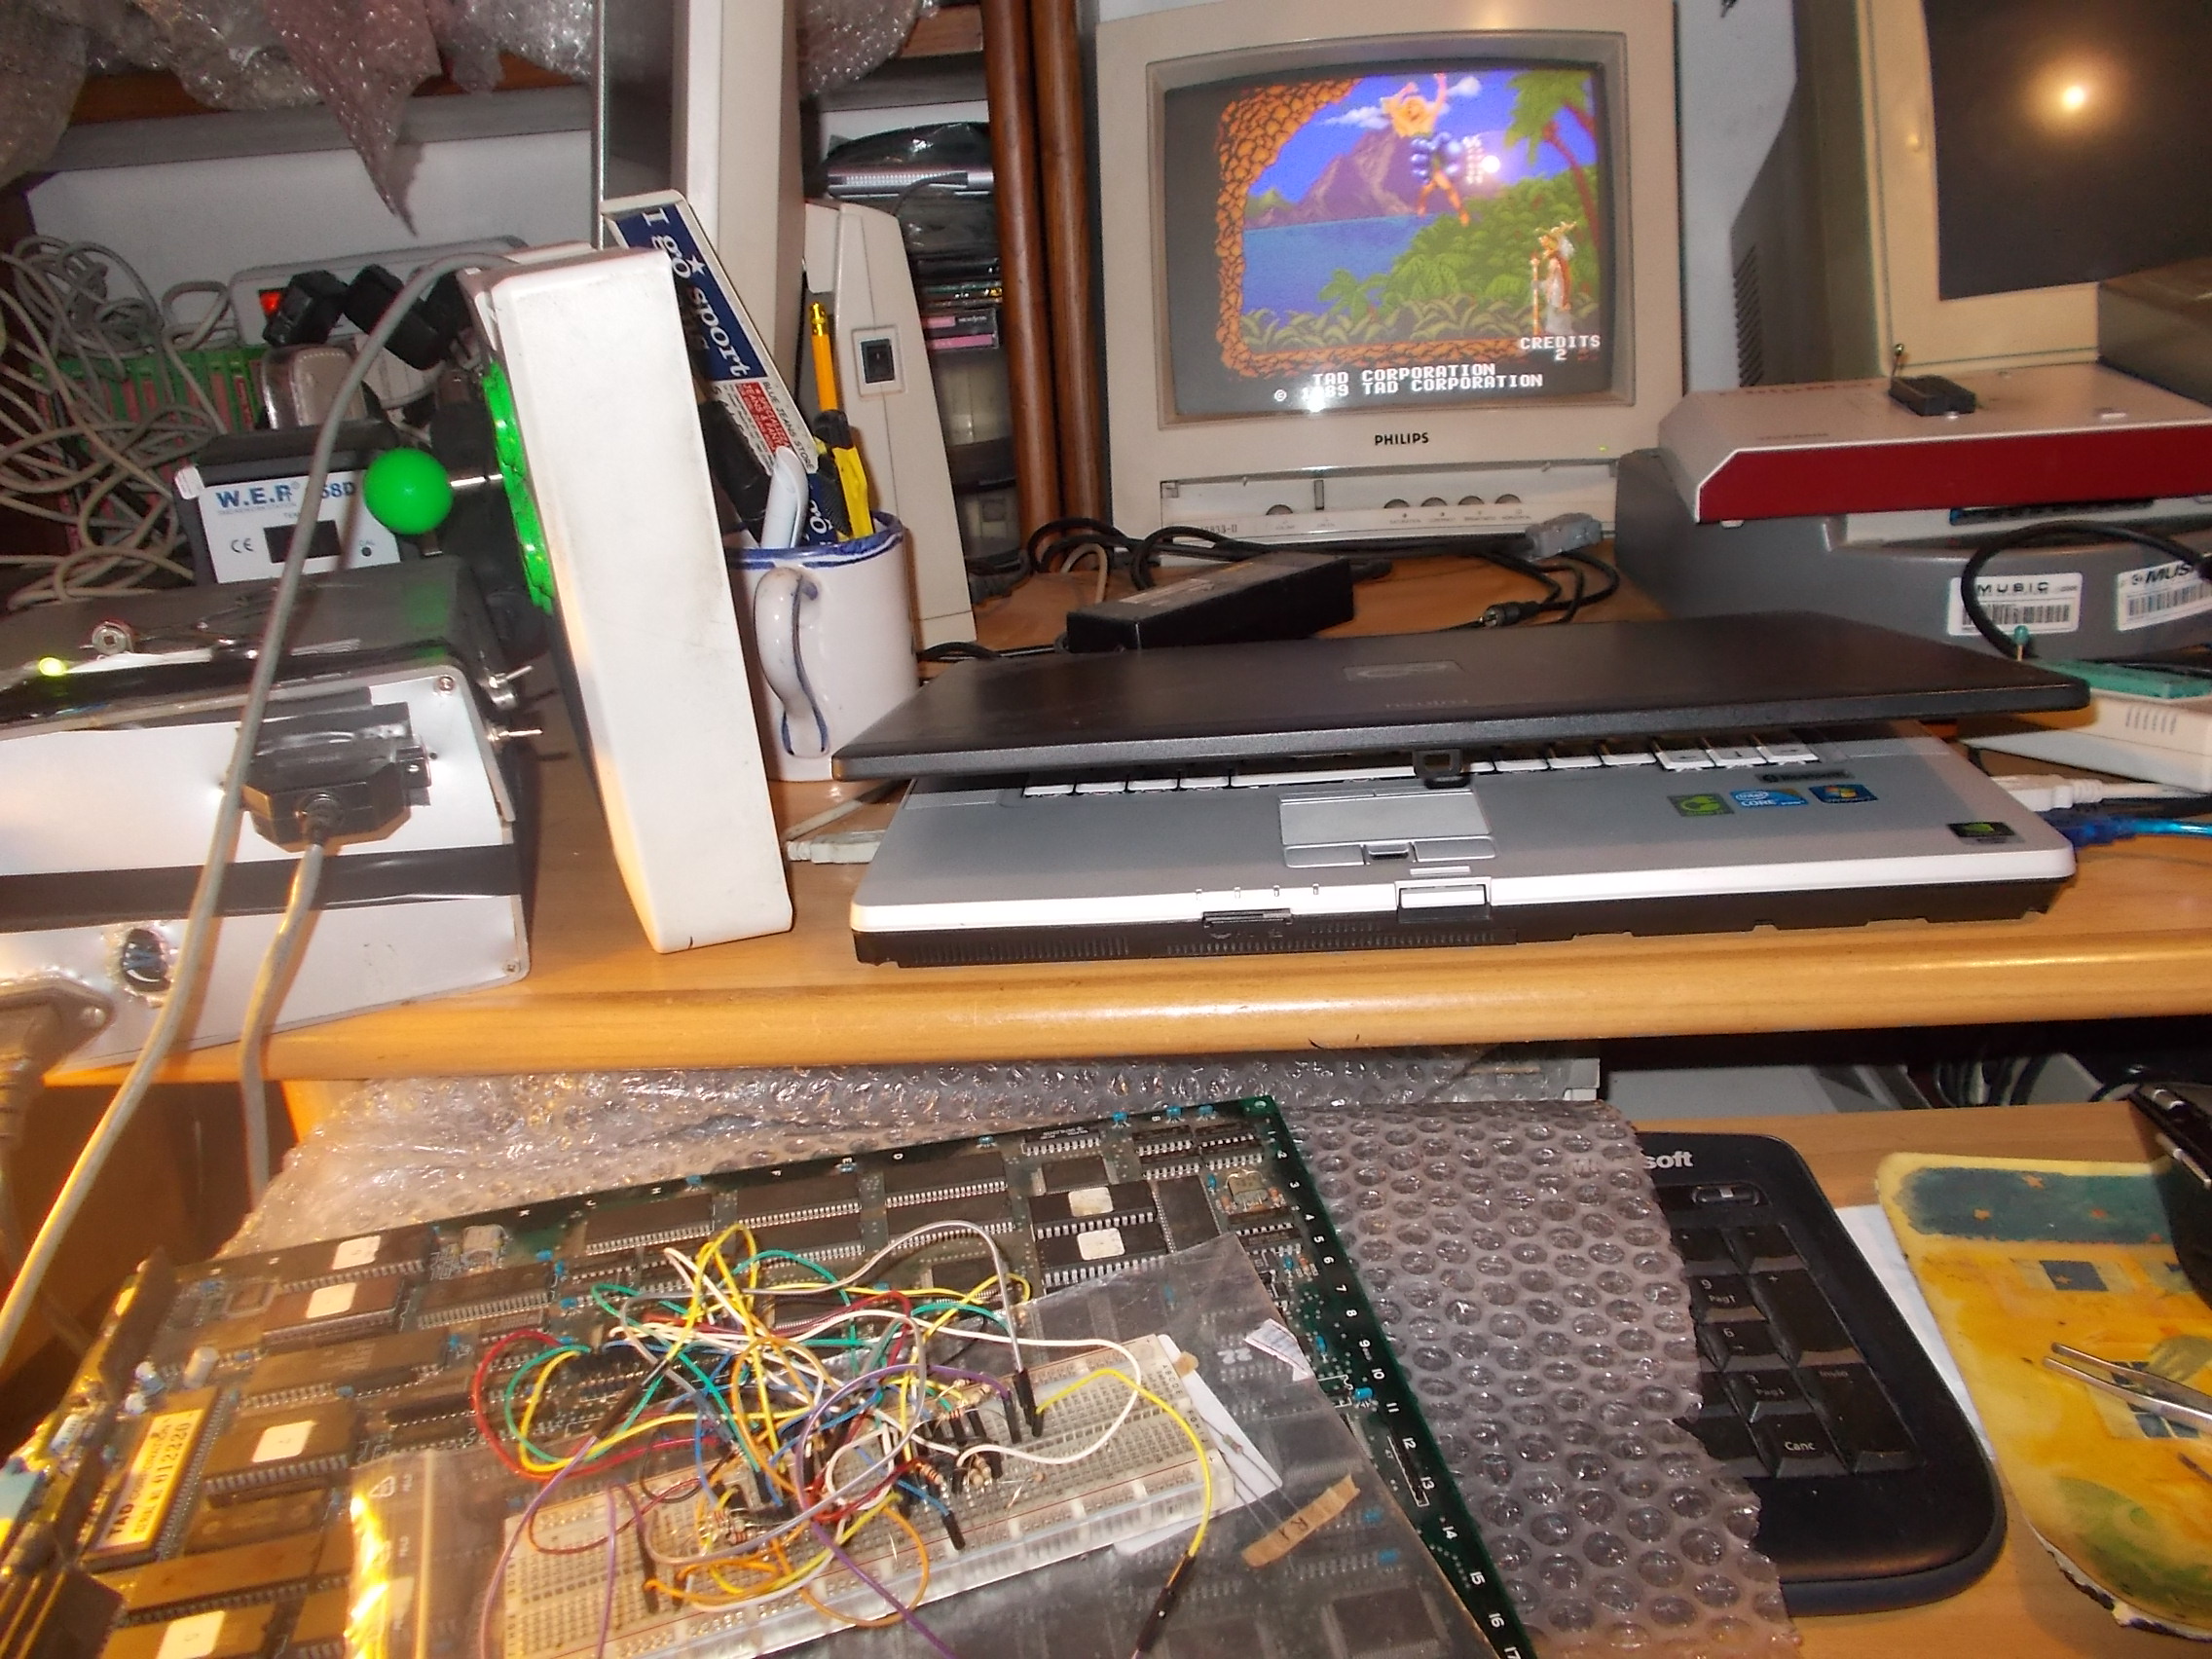
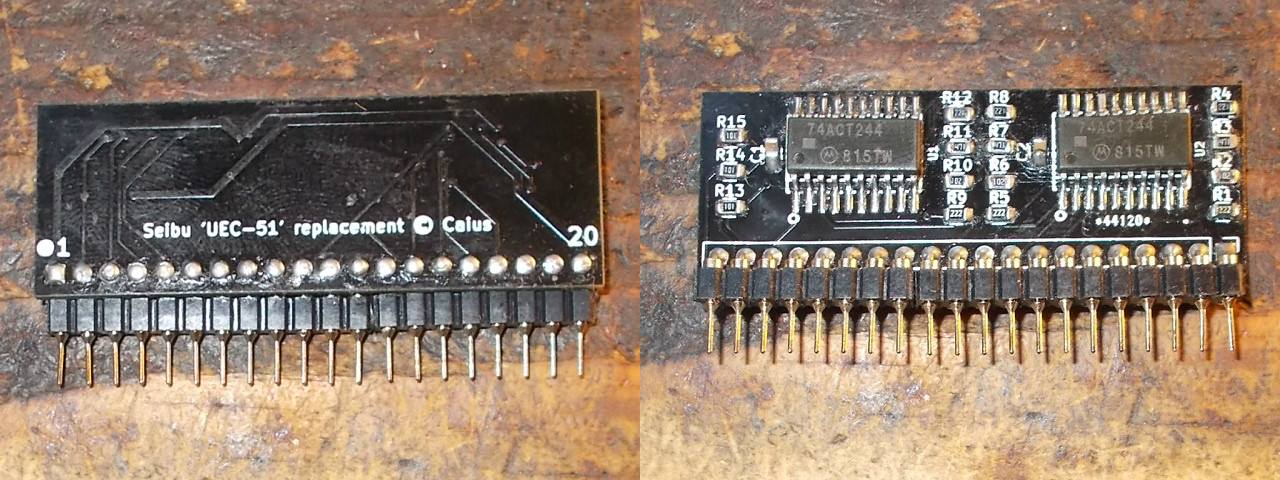
Test was successful so I drawn schematics and route them to a PCB layout trying to keep same dimensions of original part.This is the final result of a populated PCB (note the use of CMOS logics on it)
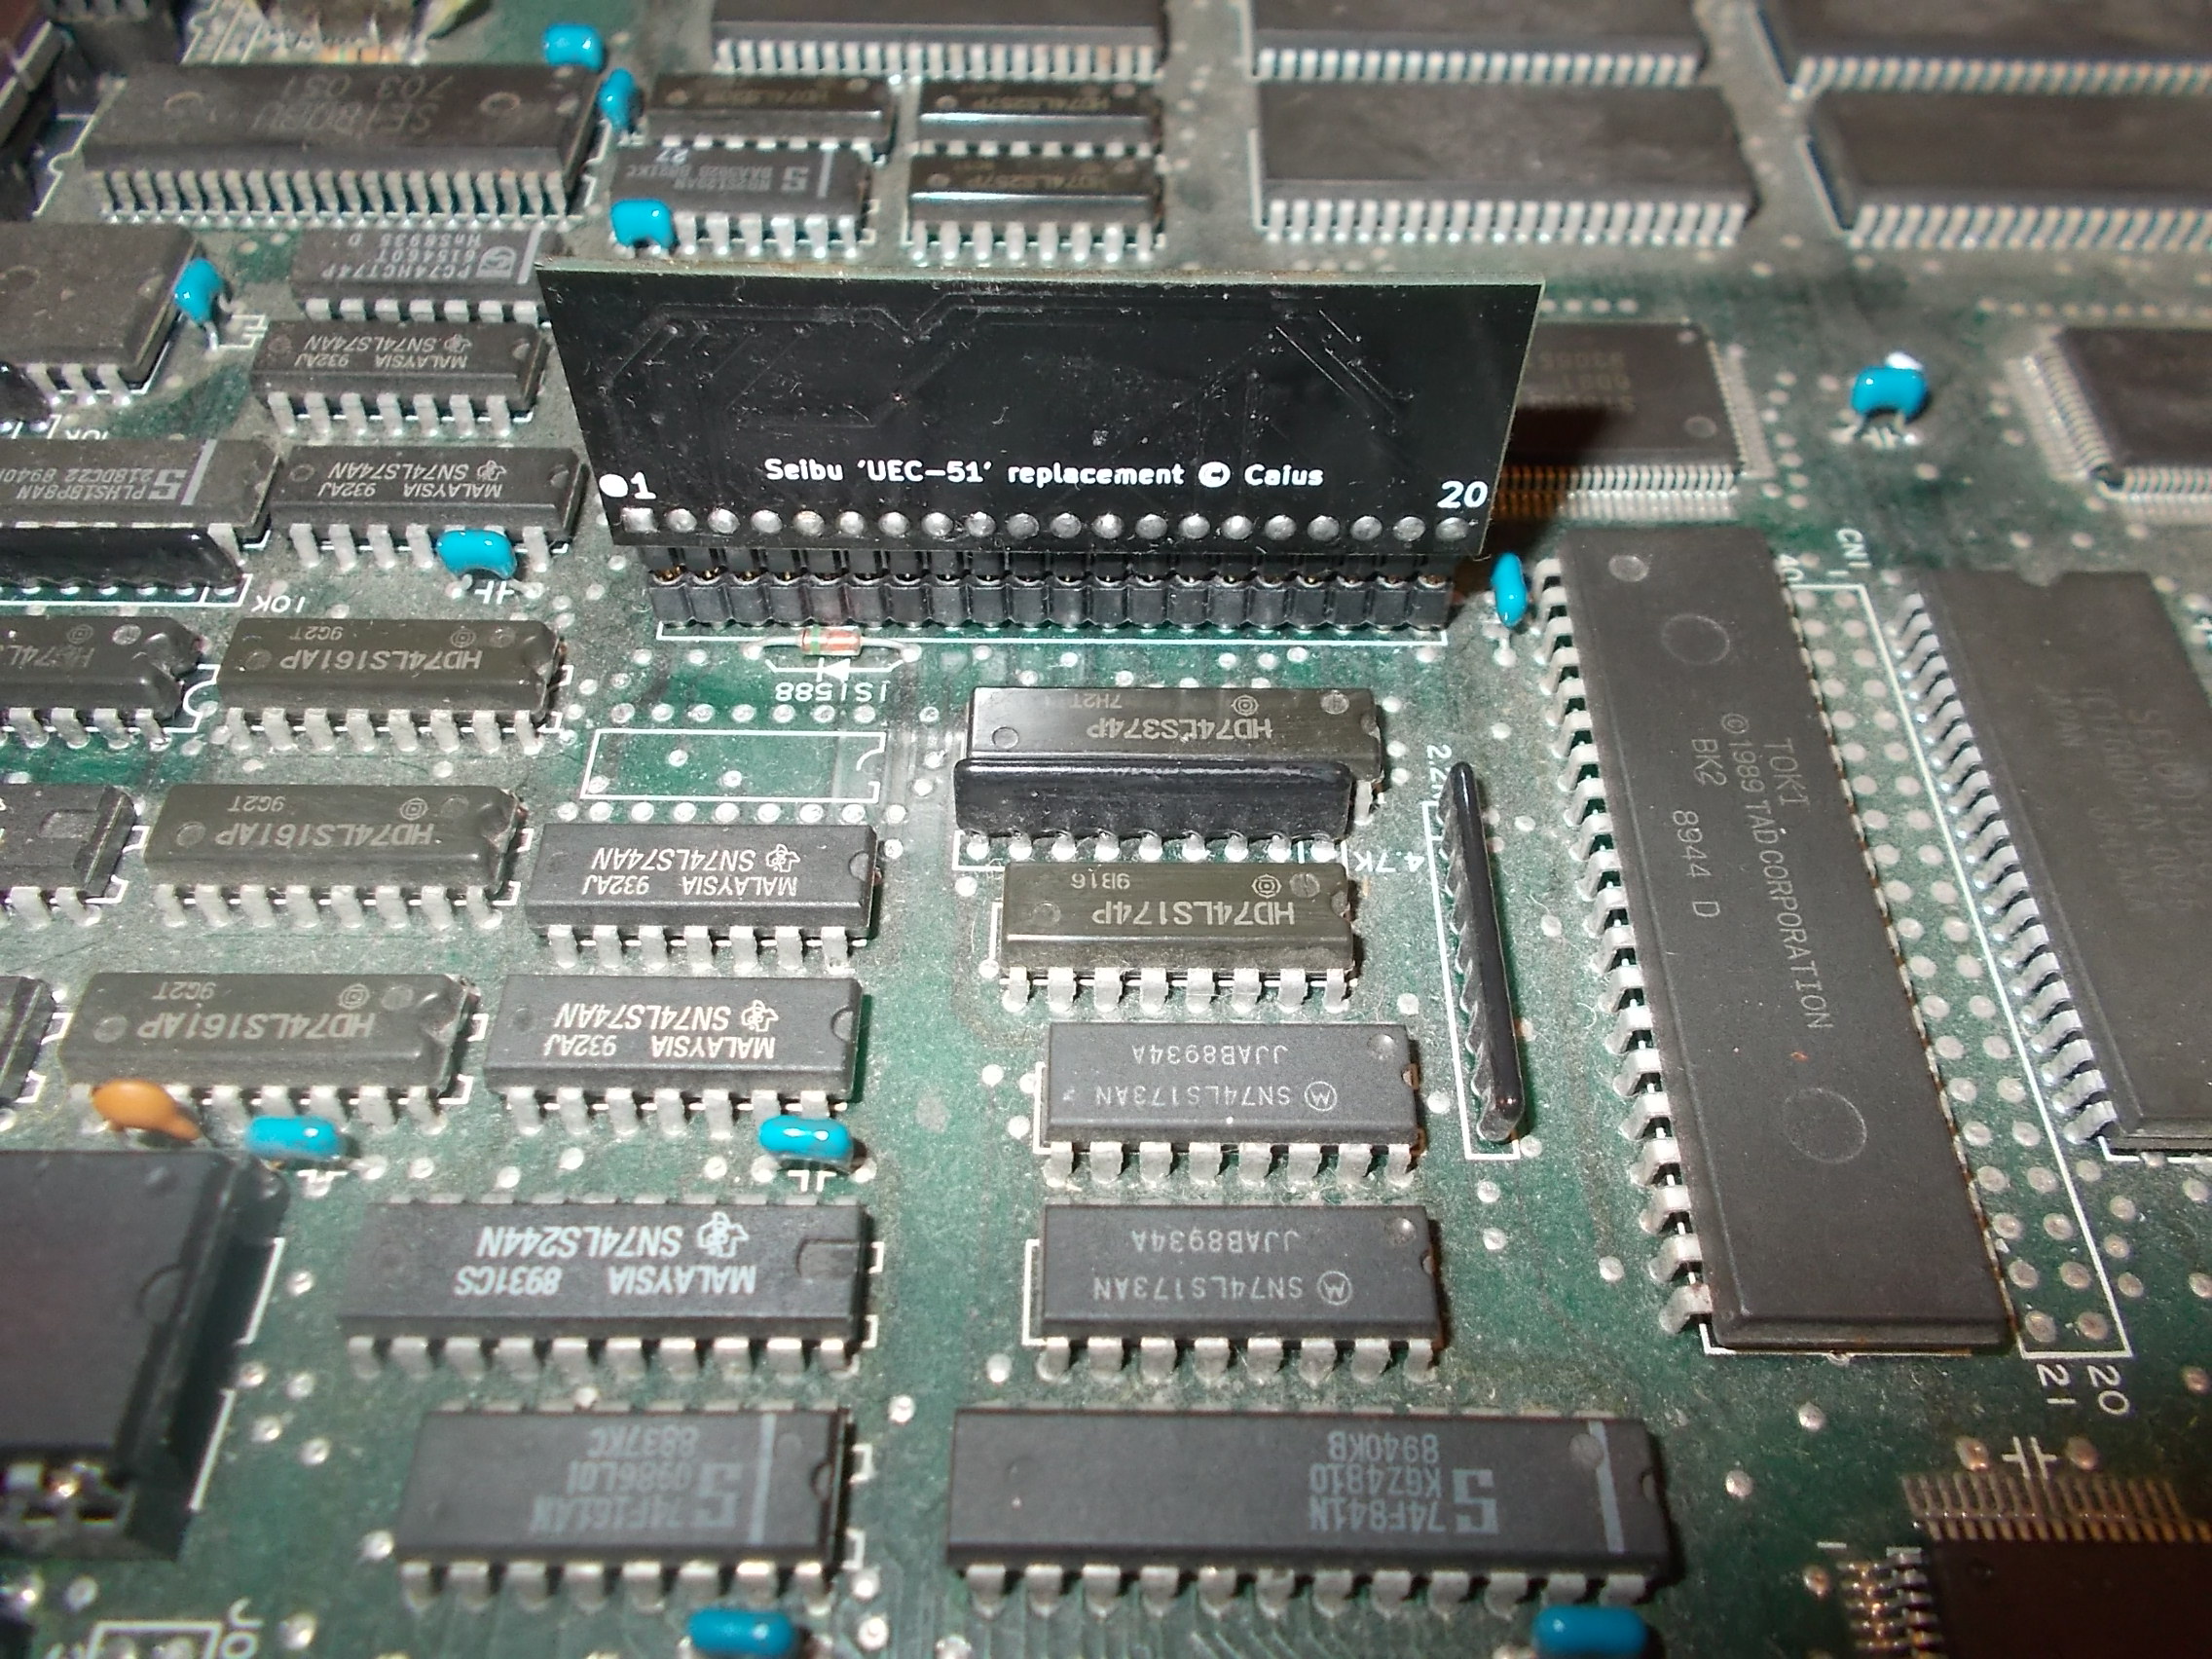
Definitive testing of the repro was done on a Toki PCB:
For reference, it seems the ‘UEC-51’ can be found on these PCBs :

  • Toki
  • Dynamite Duke

As ‘HB-5’ on :

  • Air Raid/Cross Shooter
  • Dead Angle

As ‘HB-5’ on or ‘UEC-05’ :

  • Cabal

See you all to my next reproduction project!

 Posted by at 4:10 pm
Jan 242018
 

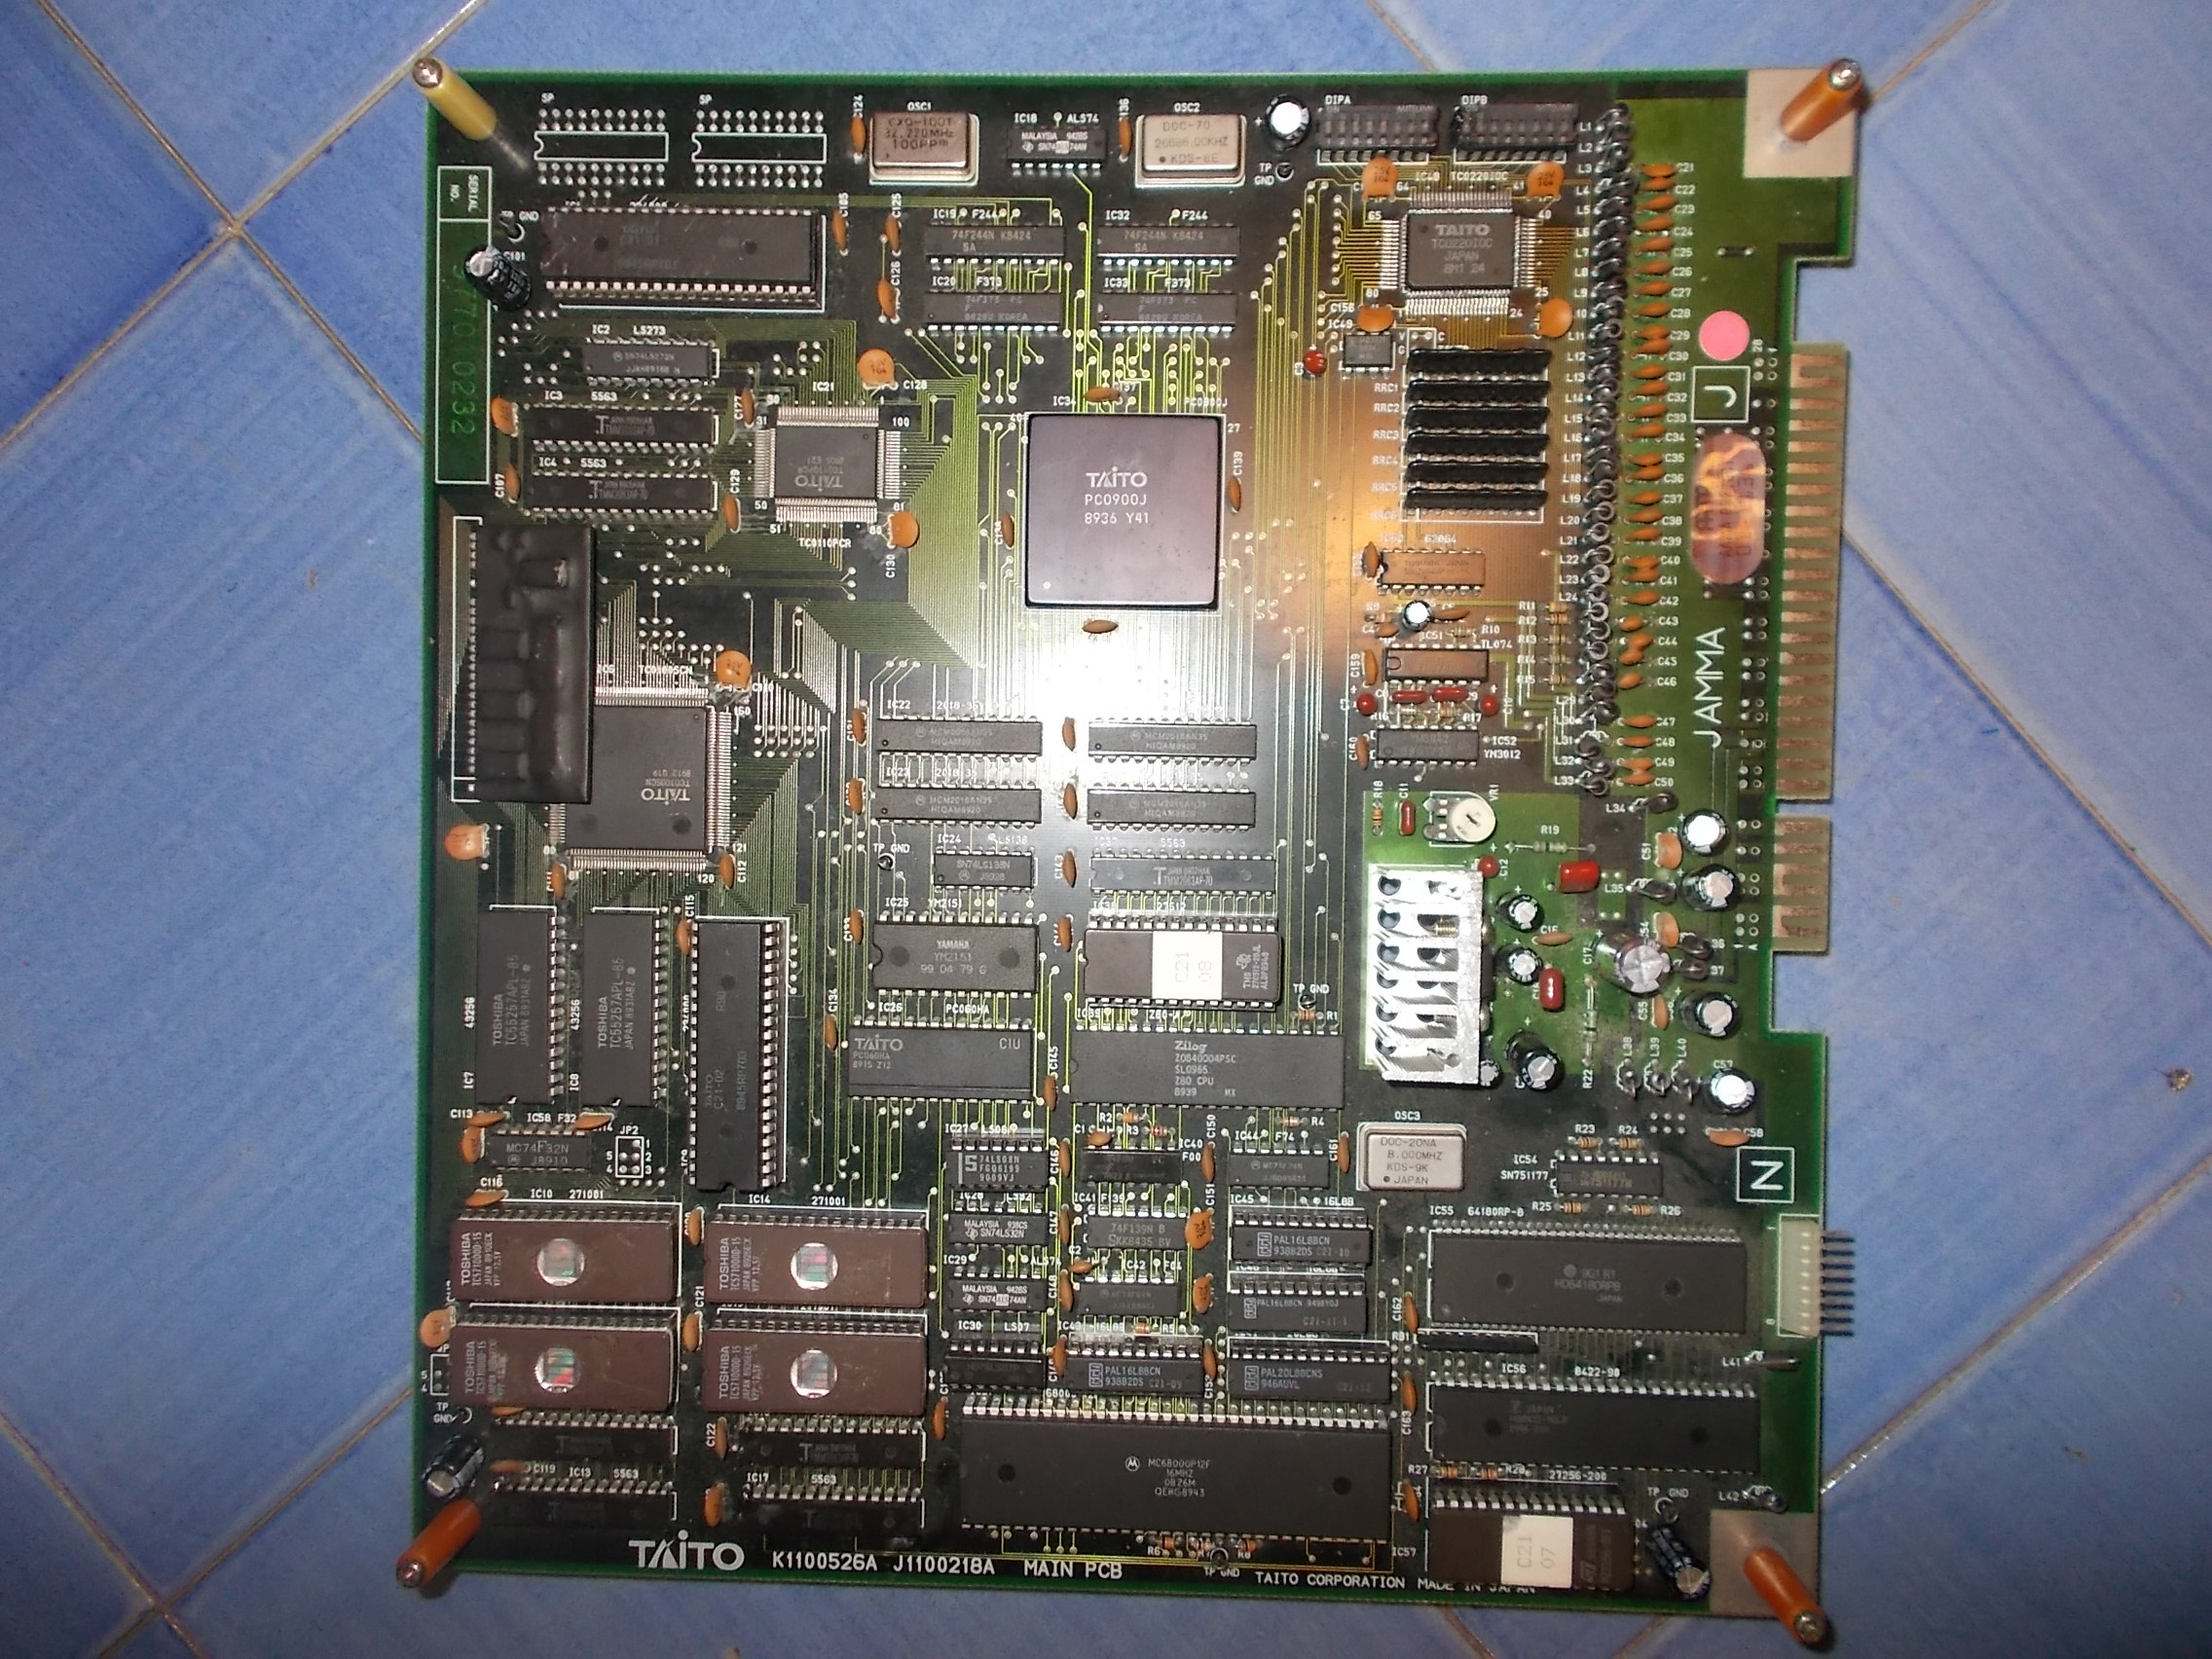
Received from Spain this Cadash PCB (it turned out to be an undumped Spanish version)

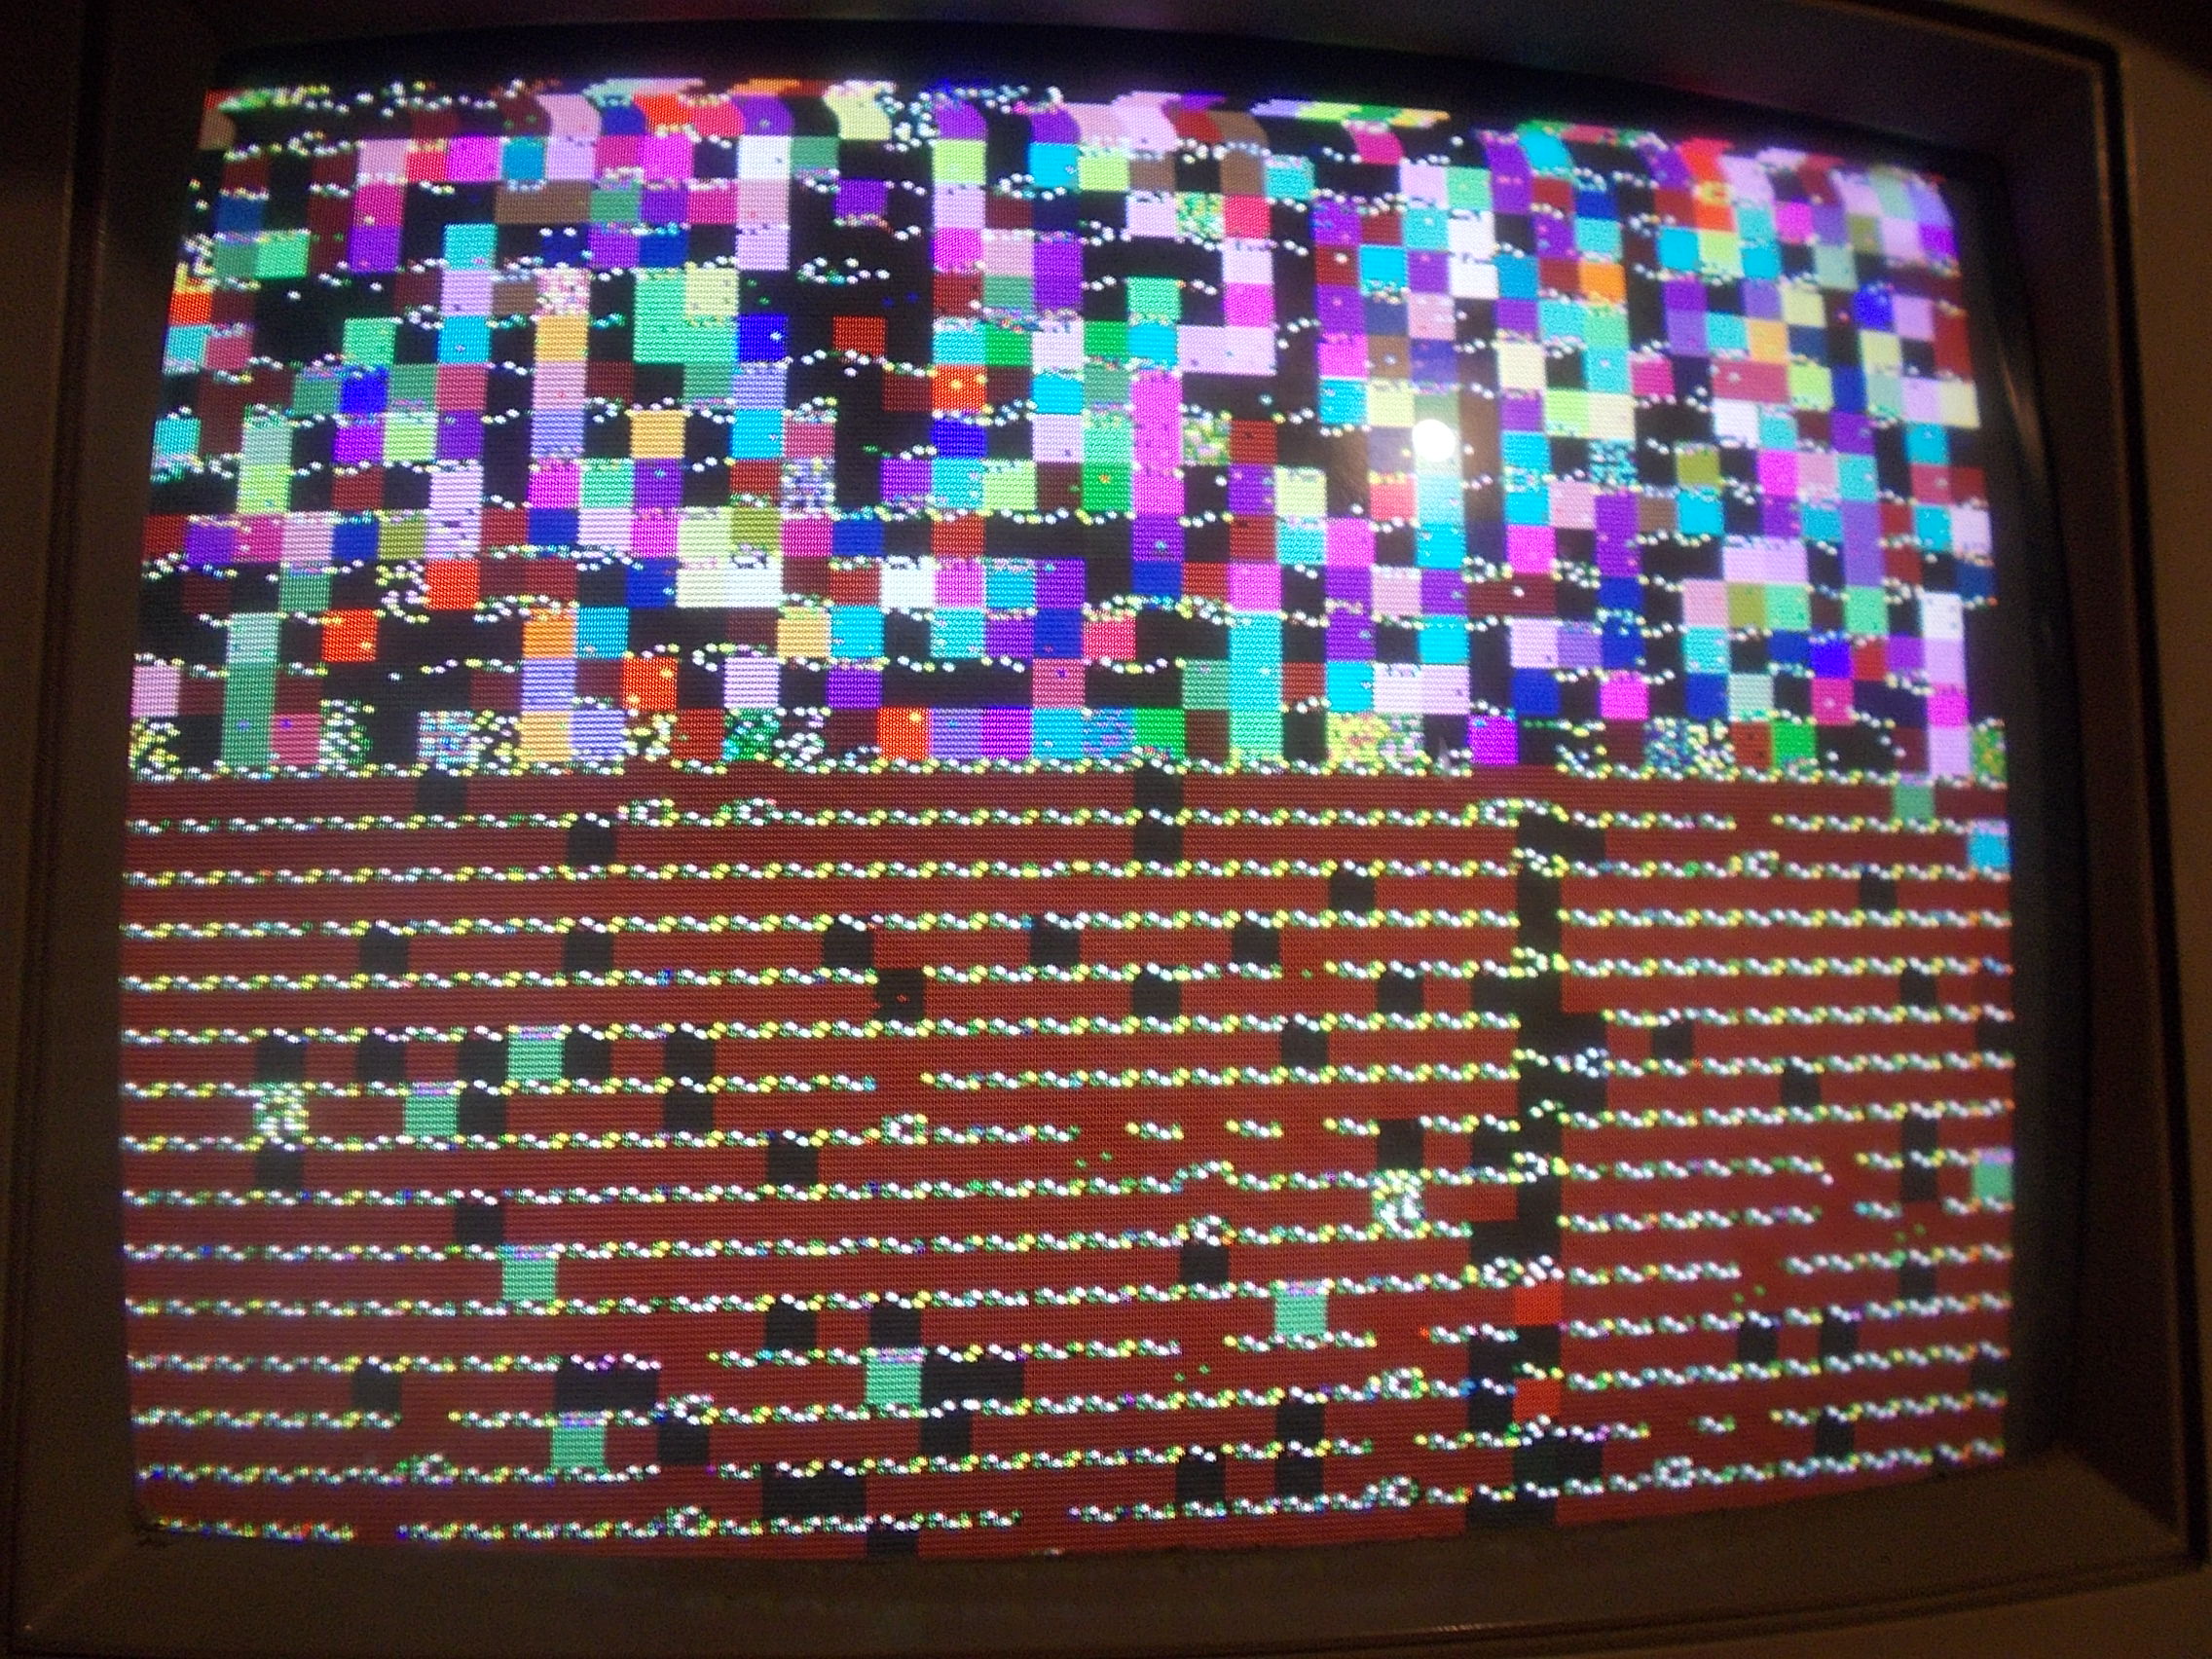
Board was stuck on a garbage screen :

A clicking sound suggested that the watchdog circuit was active, infact both /HALT and /RESET lines of 68000 main CPU were going LOW and HIGH in an endless loop.At first glance I thouhgt the Taito custom ‘TC00220IOC’ (responsible of generating the master reset for whole system) was faulty since this is a very prone to failure part :

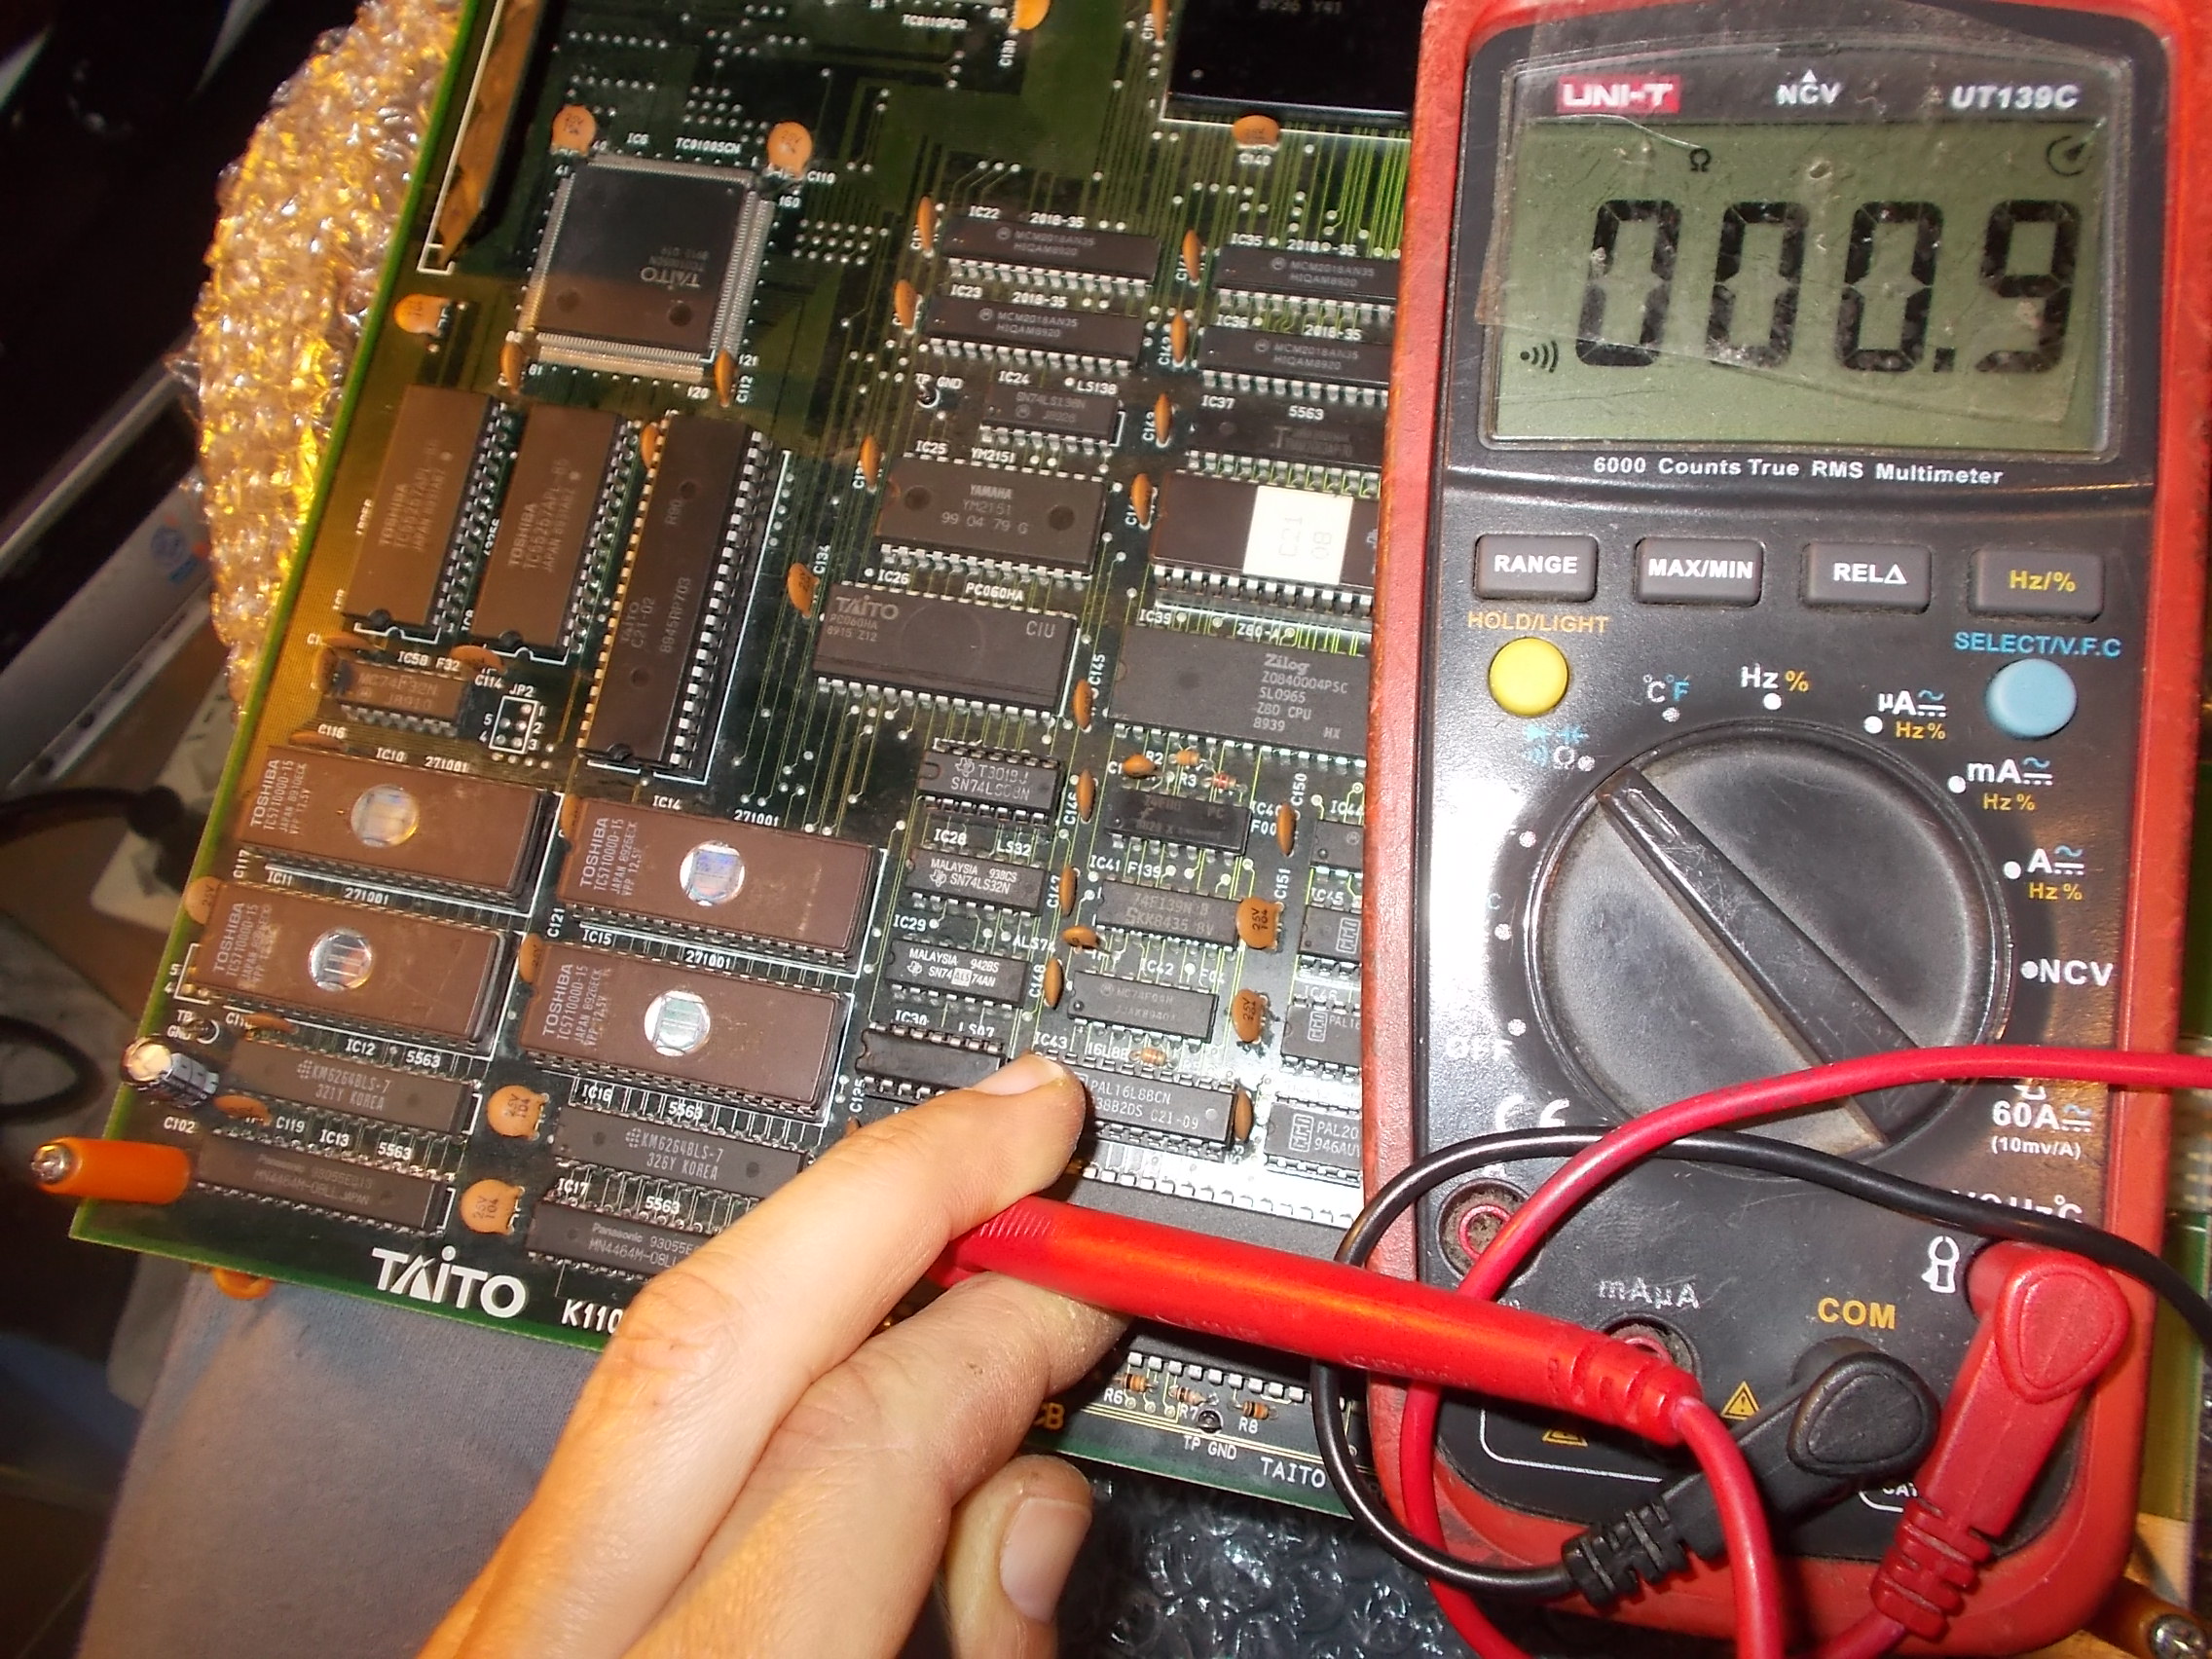
But I was wrong since I replaced it with no changes.Probing the 68000 CPU I found that data line D0 (pin 5) was stuck low, using a multimeter revealed it was shorted to ground:

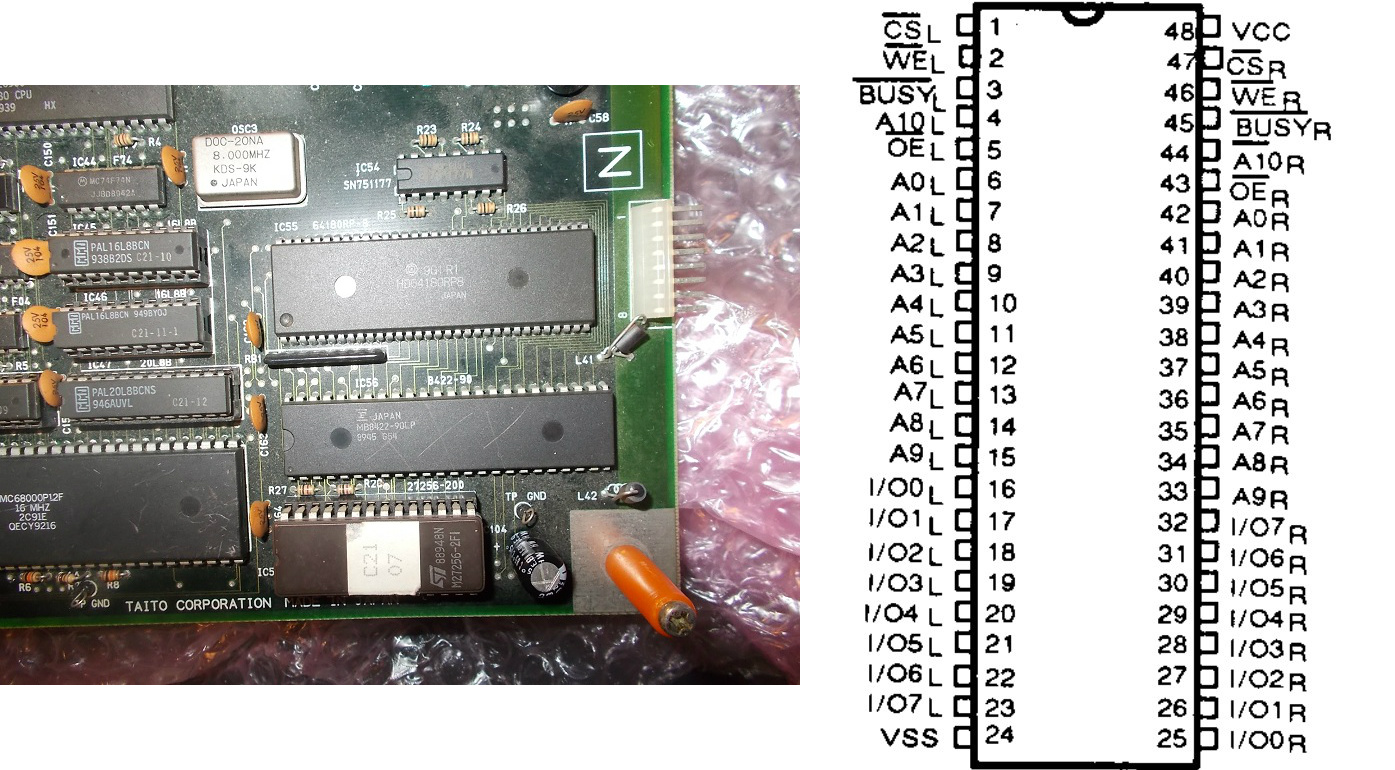
Looking at solderside I traced the pin back also to pin 25 of a Fujitsu MB8422 Dual-Port SRAM (part of linking mode circuit)

I cut the trace and the short was cleared (so the I/O pin of the MB8422 was internally shorted).Finally board booted into game:

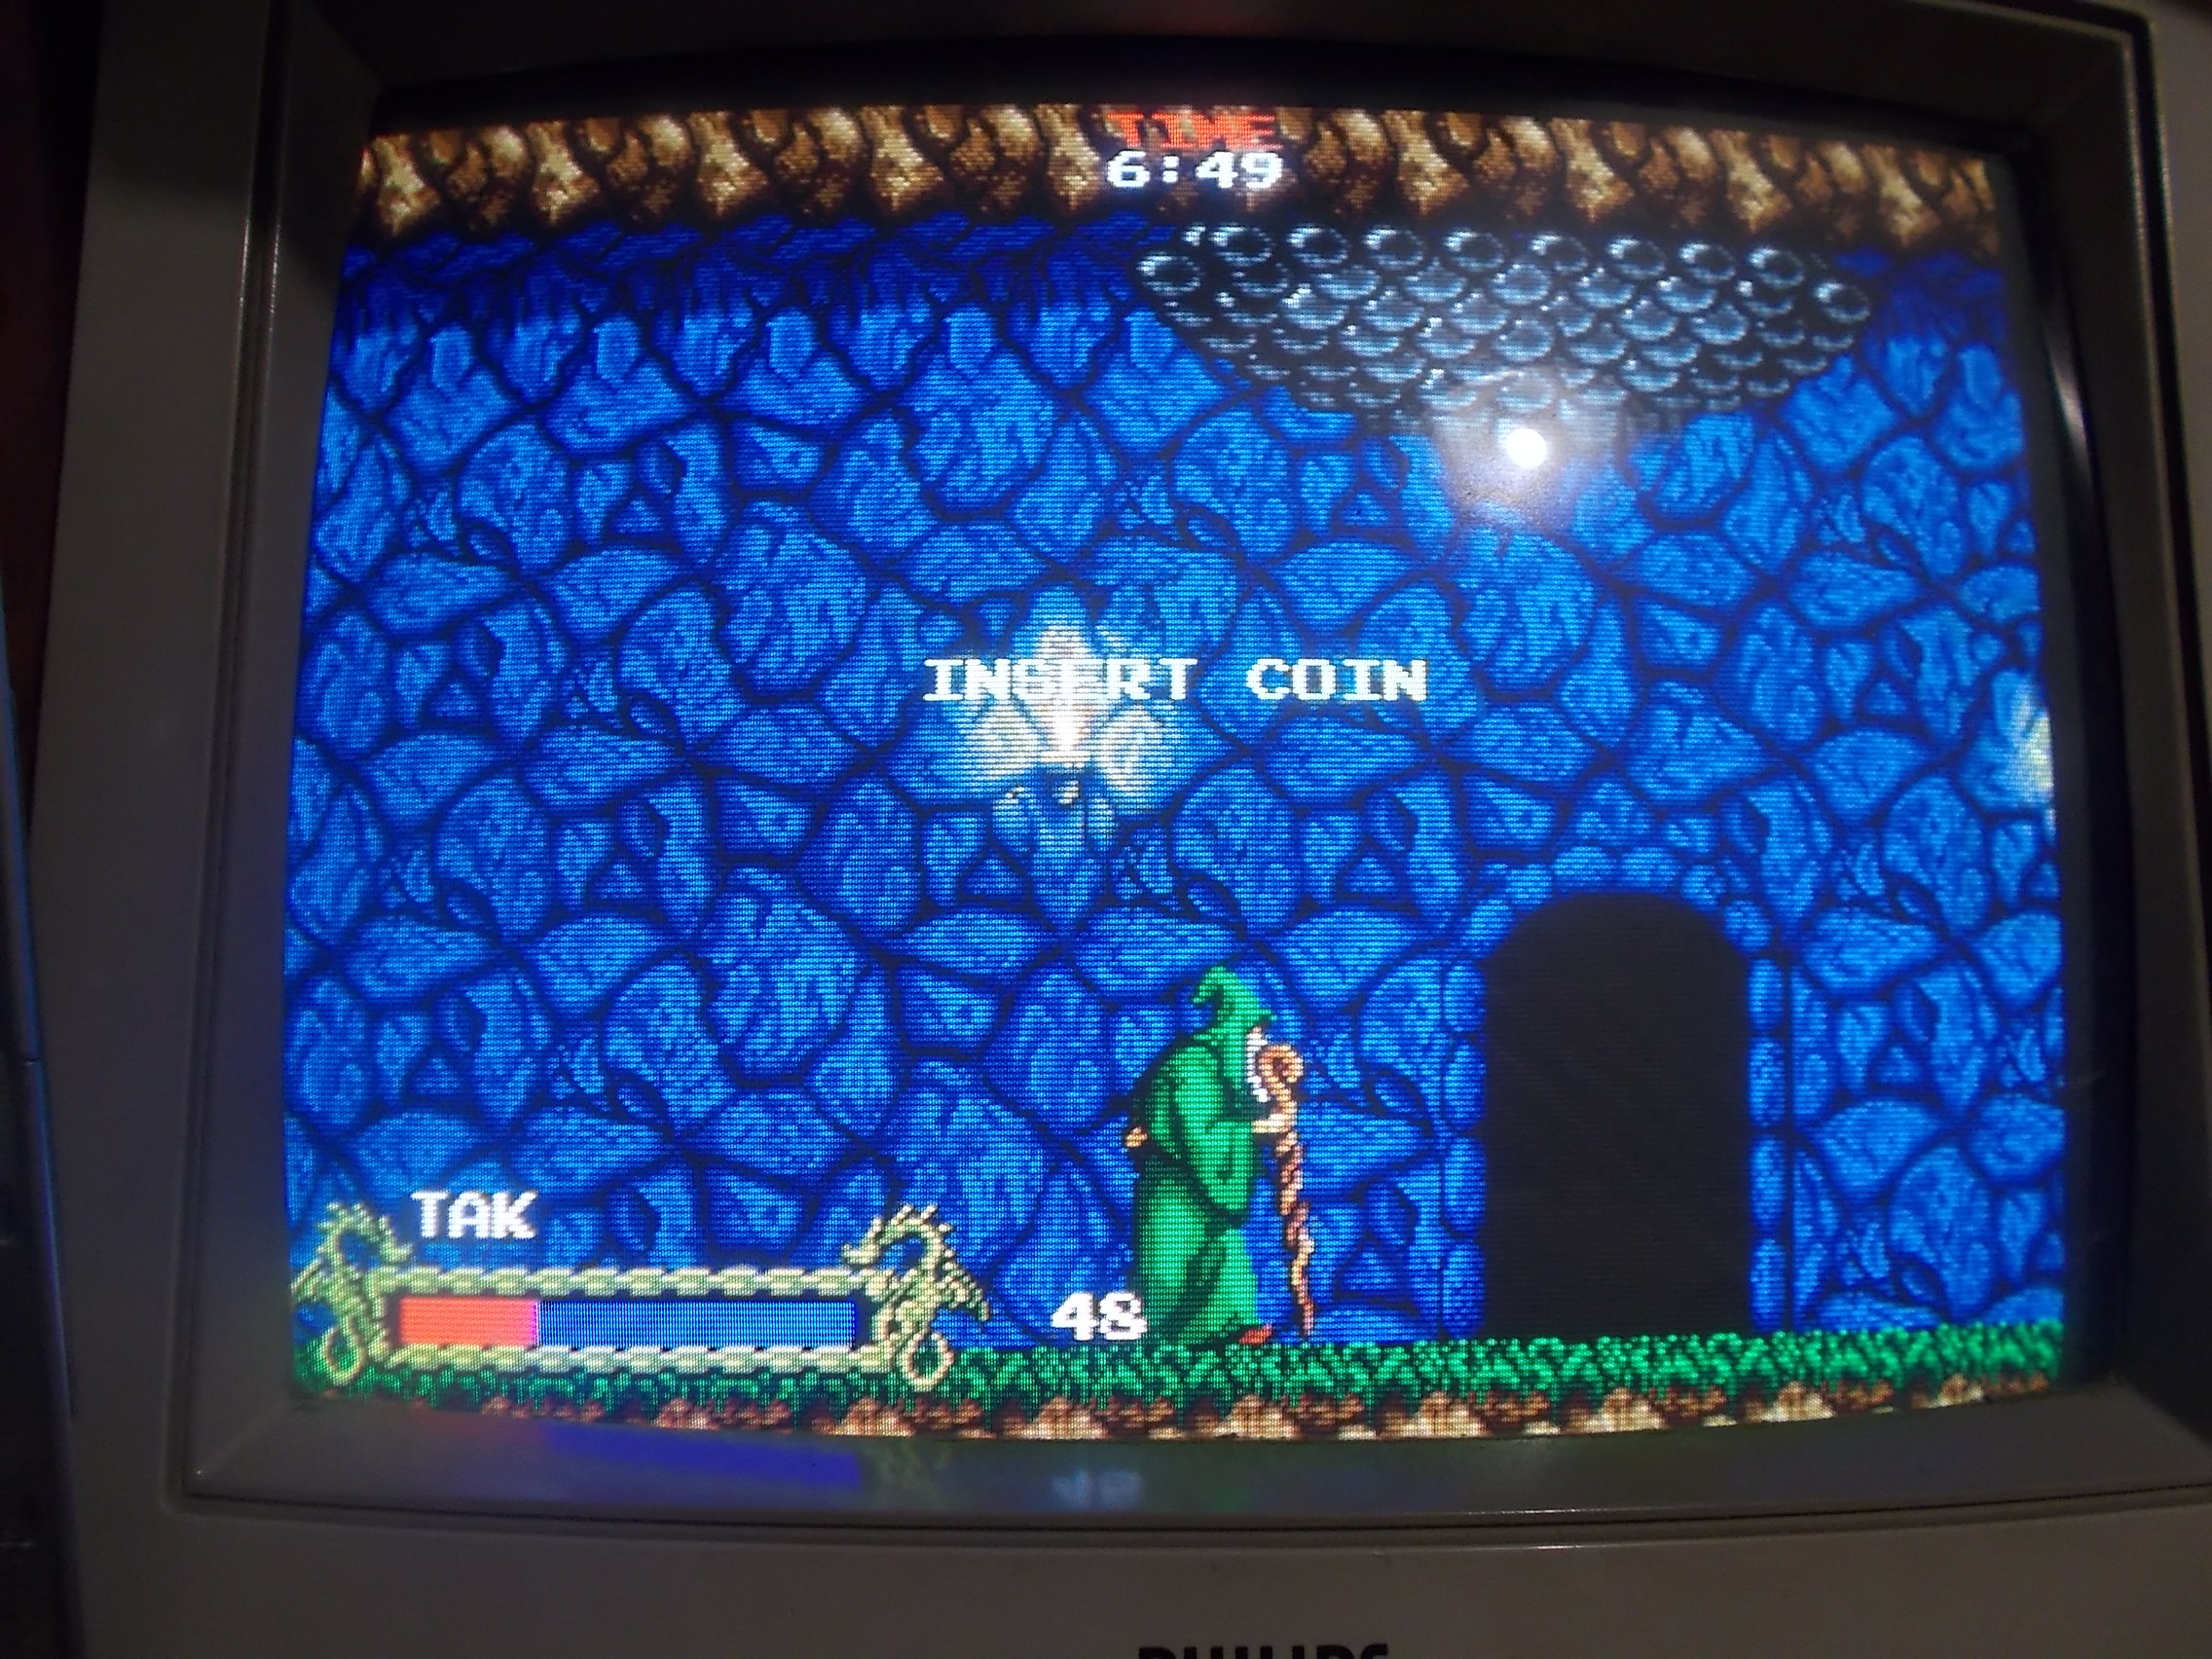
But I noticed two problems : the buttons of the Player 1 were not responding and sound had rustles, you can hear it from this video :

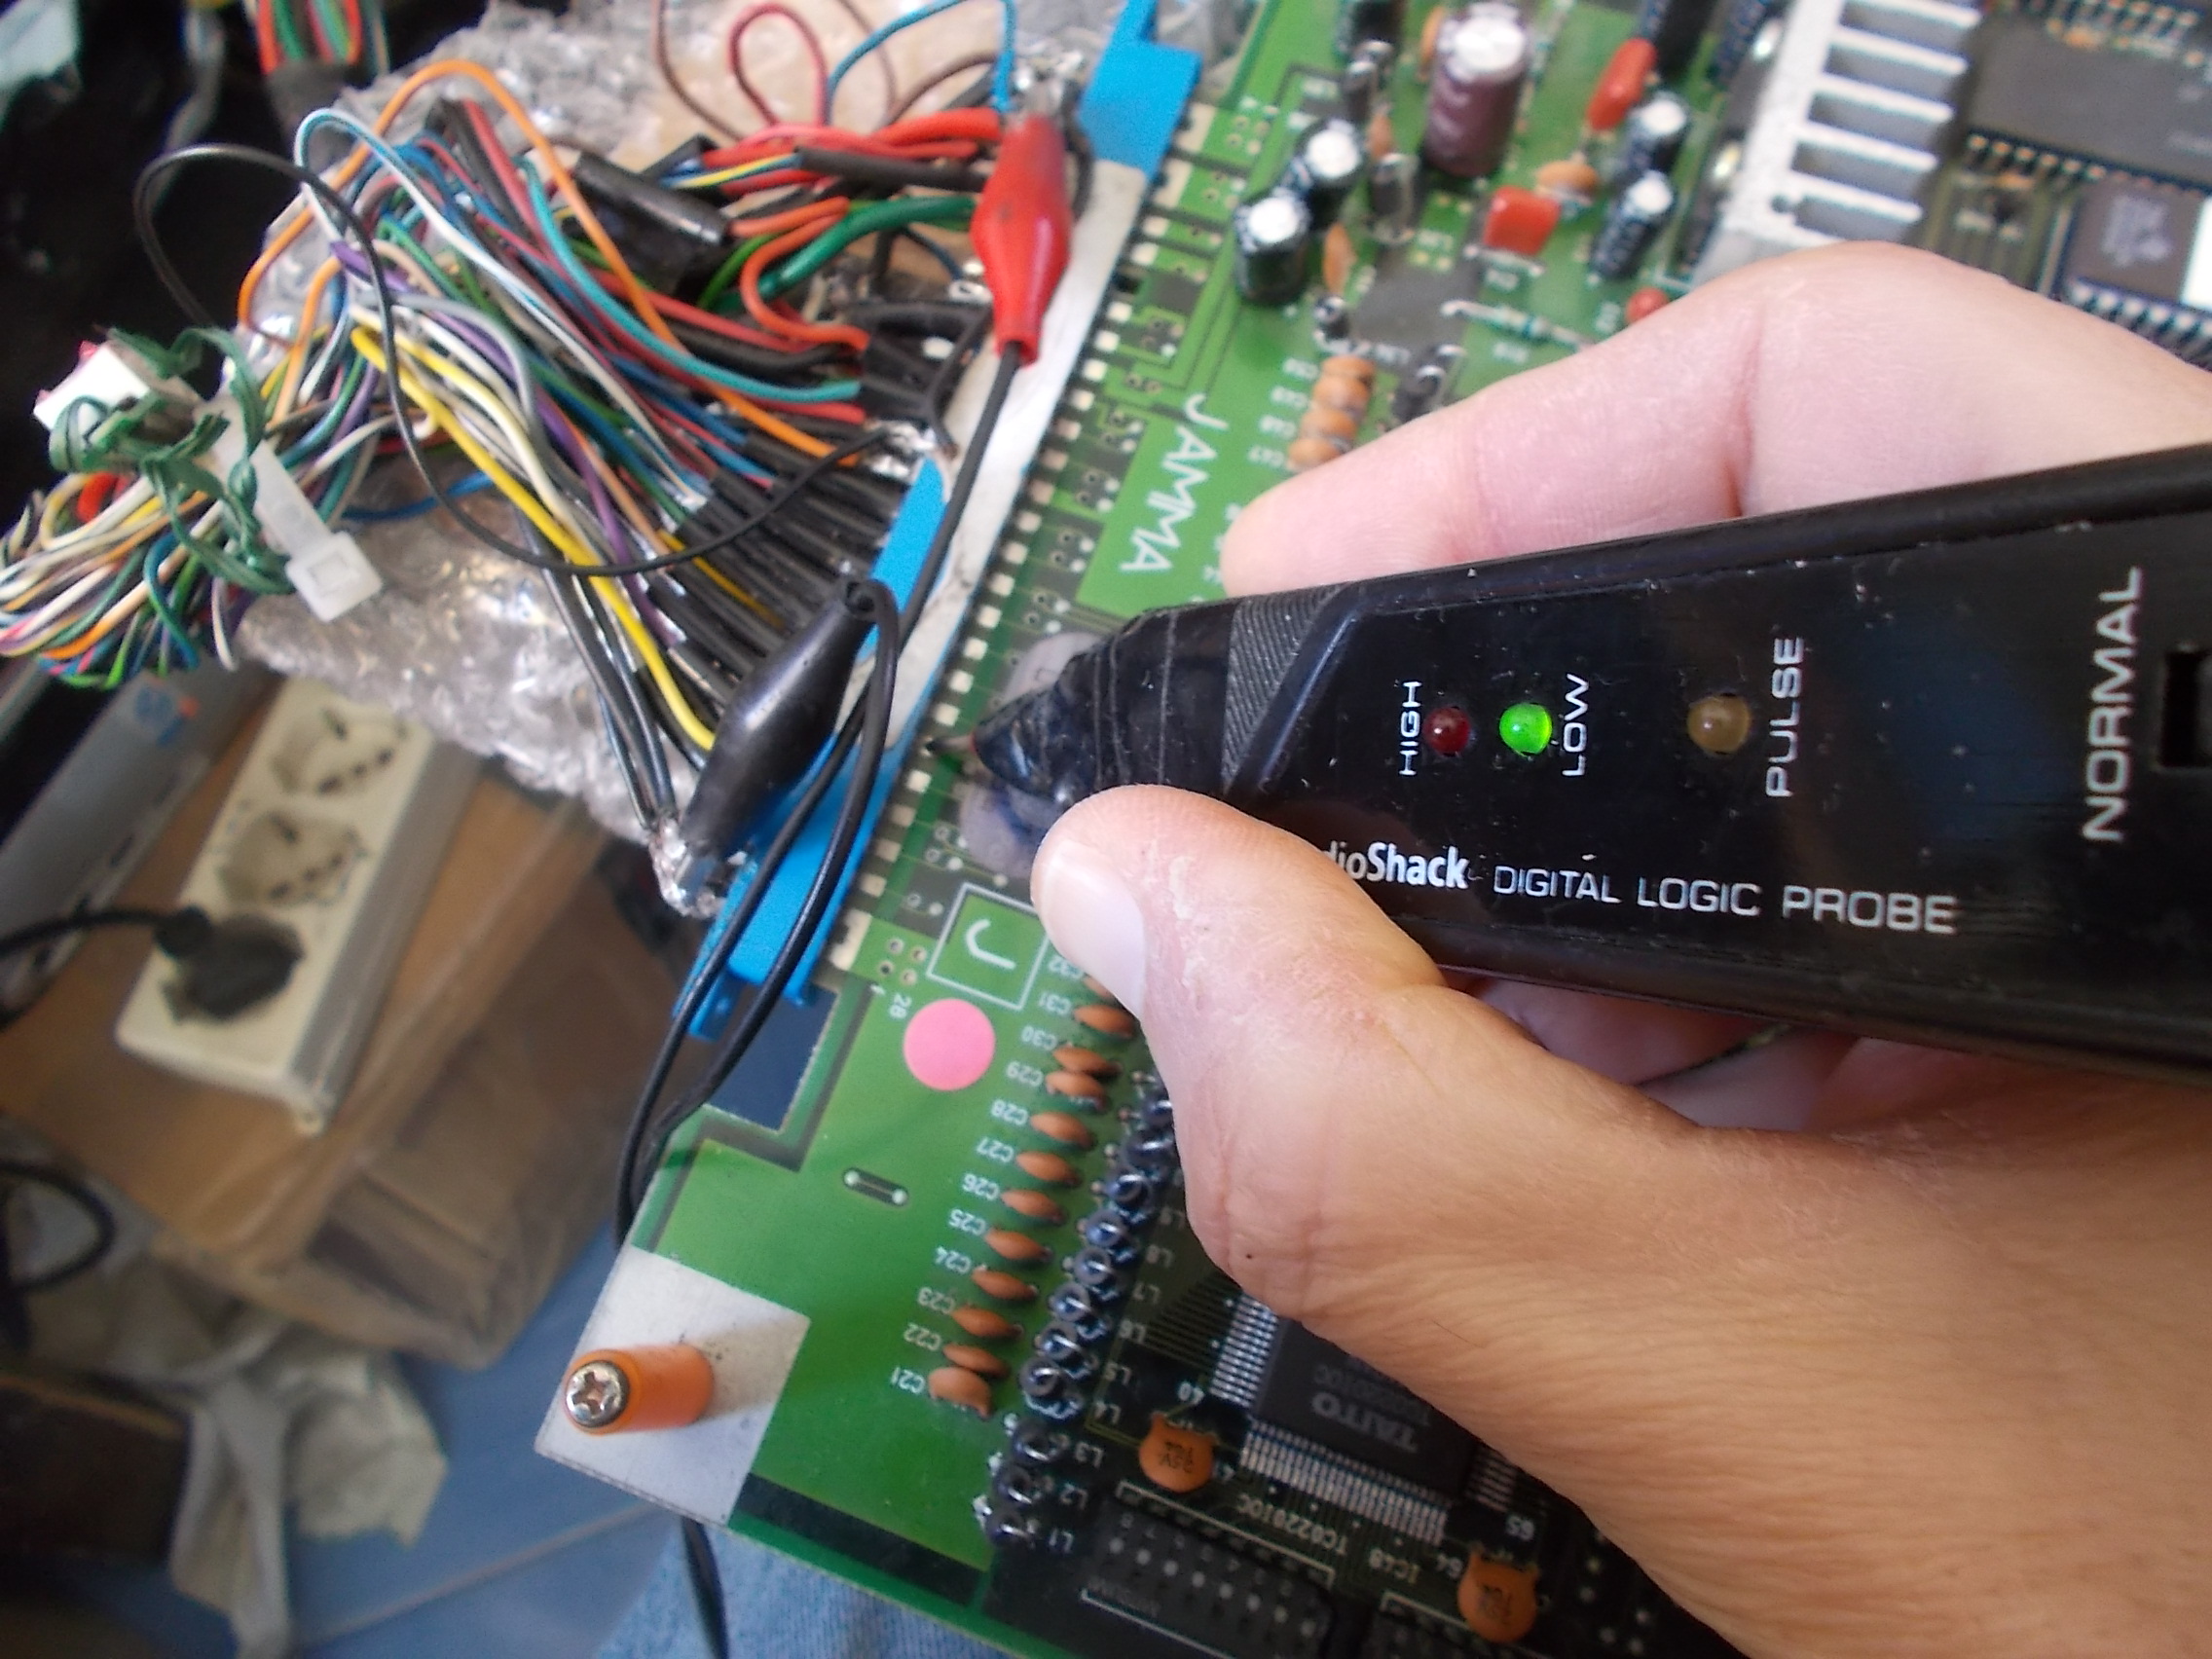
As for first issue, using a logic probe revealed the relevant pins of JAMMA edge connector were stuck LOW :

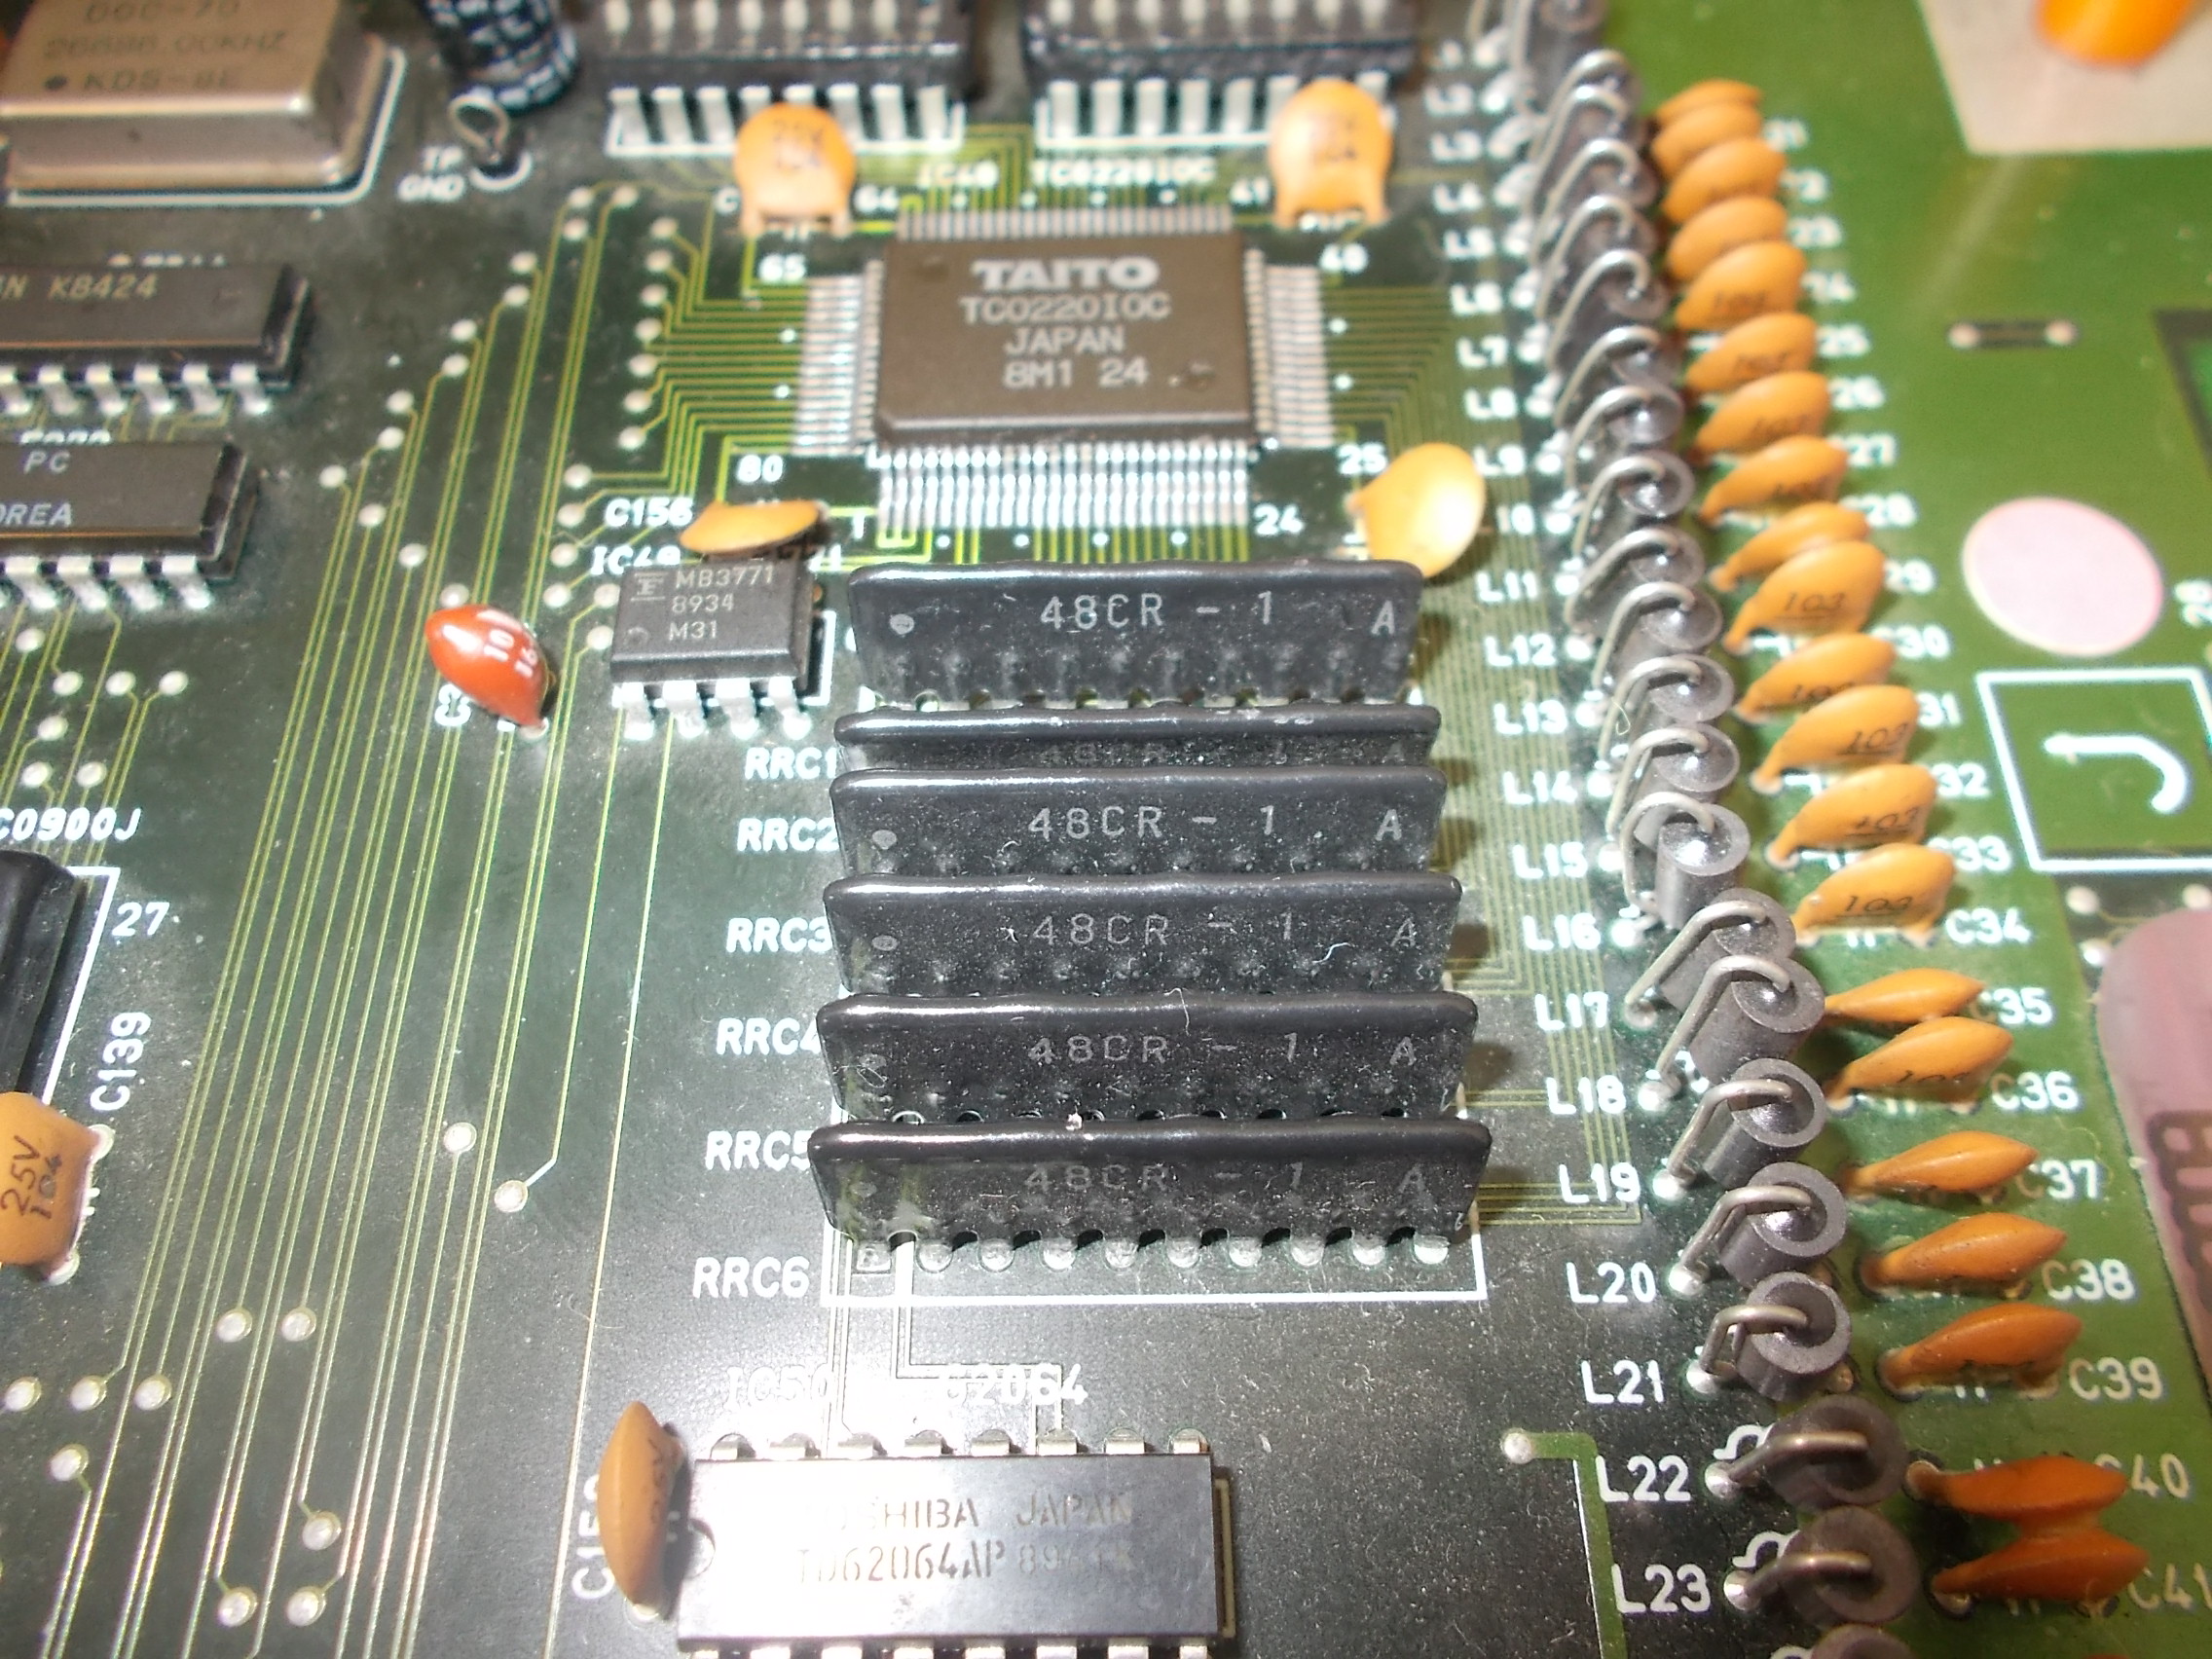
Inputs of an arcade board  must be HIGH when not activated, they are usually pulled in this state by resistors.Indeed, tracing back the pins of the three P1 buttons from JAMMA connector lead me to some custom resistor network:

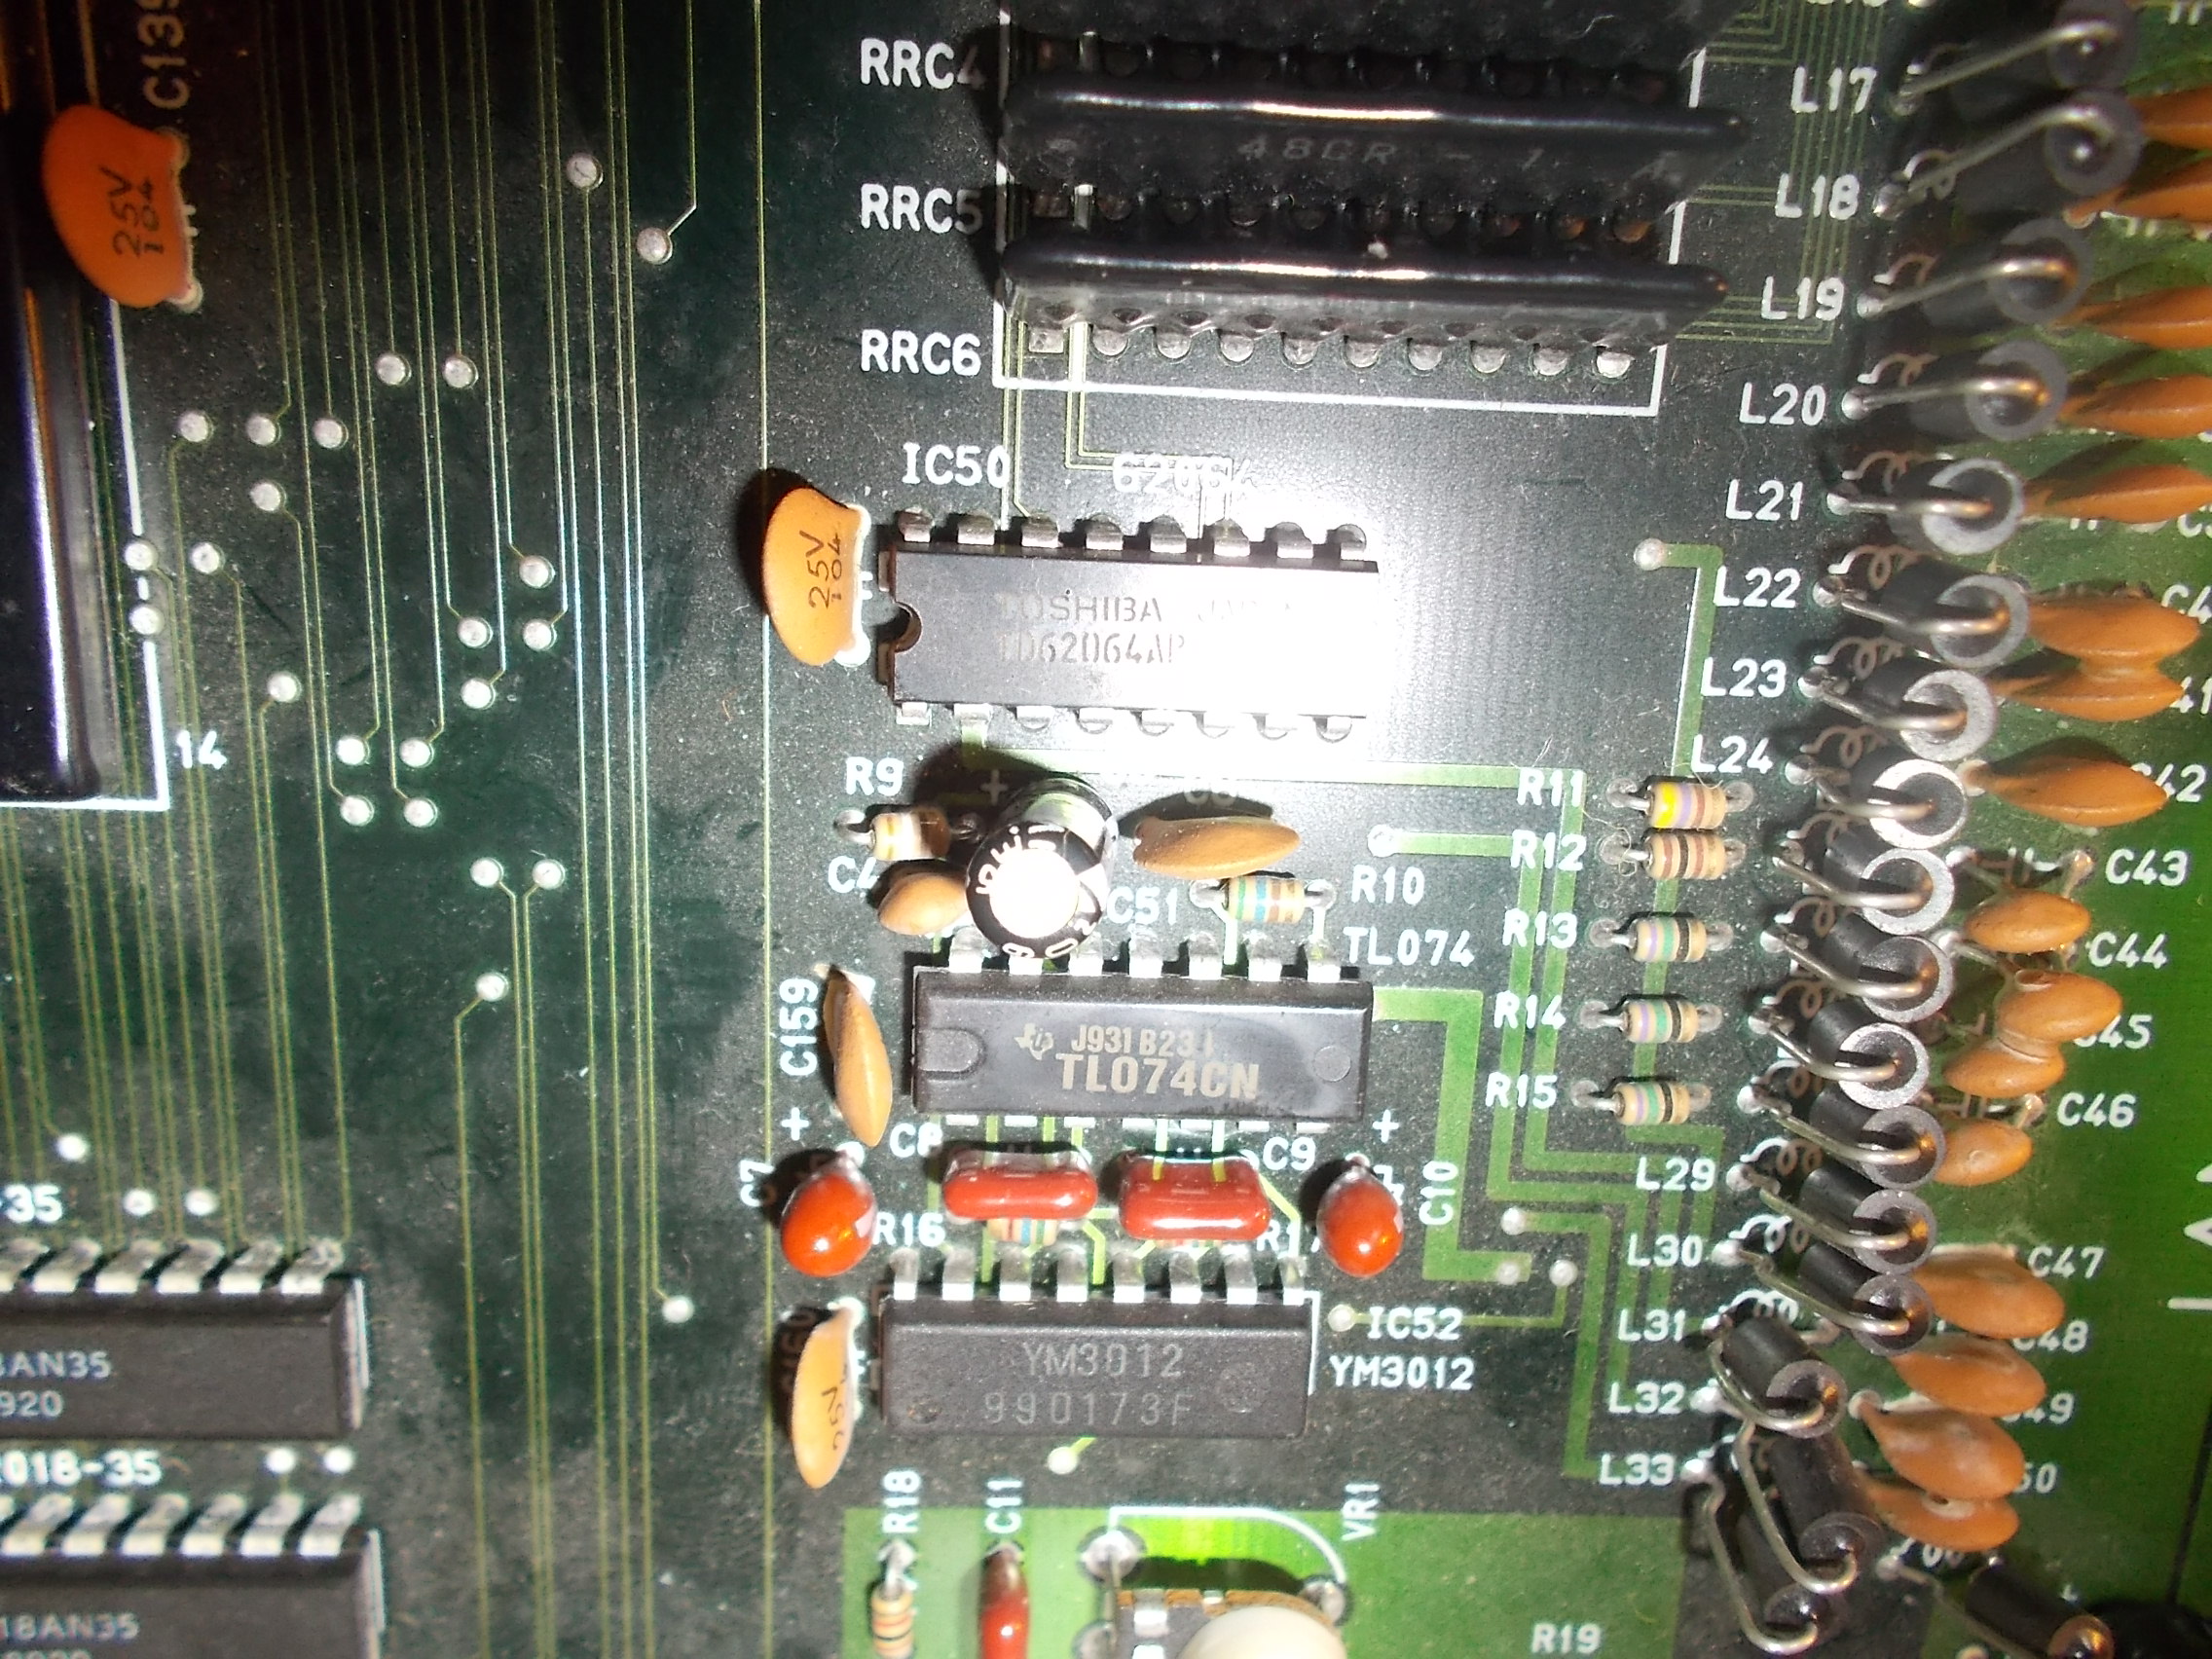
The array @RRC1 was the one involved so I removed and replaced it, this fixed the controls issue.As for sound, using an audio probe I figured out that the bad audio was coming out from the TL074 OP-AMP from Texas Instruments (which are really prone to failure, have replaced tons of them) 

Replacing it restored a crisp sound.End of job

 Posted by at 6:27 pm

Kuri Kinton repair log

 PCB Repair Logs  Comments Off on Kuri Kinton repair log
Jan 202018
 

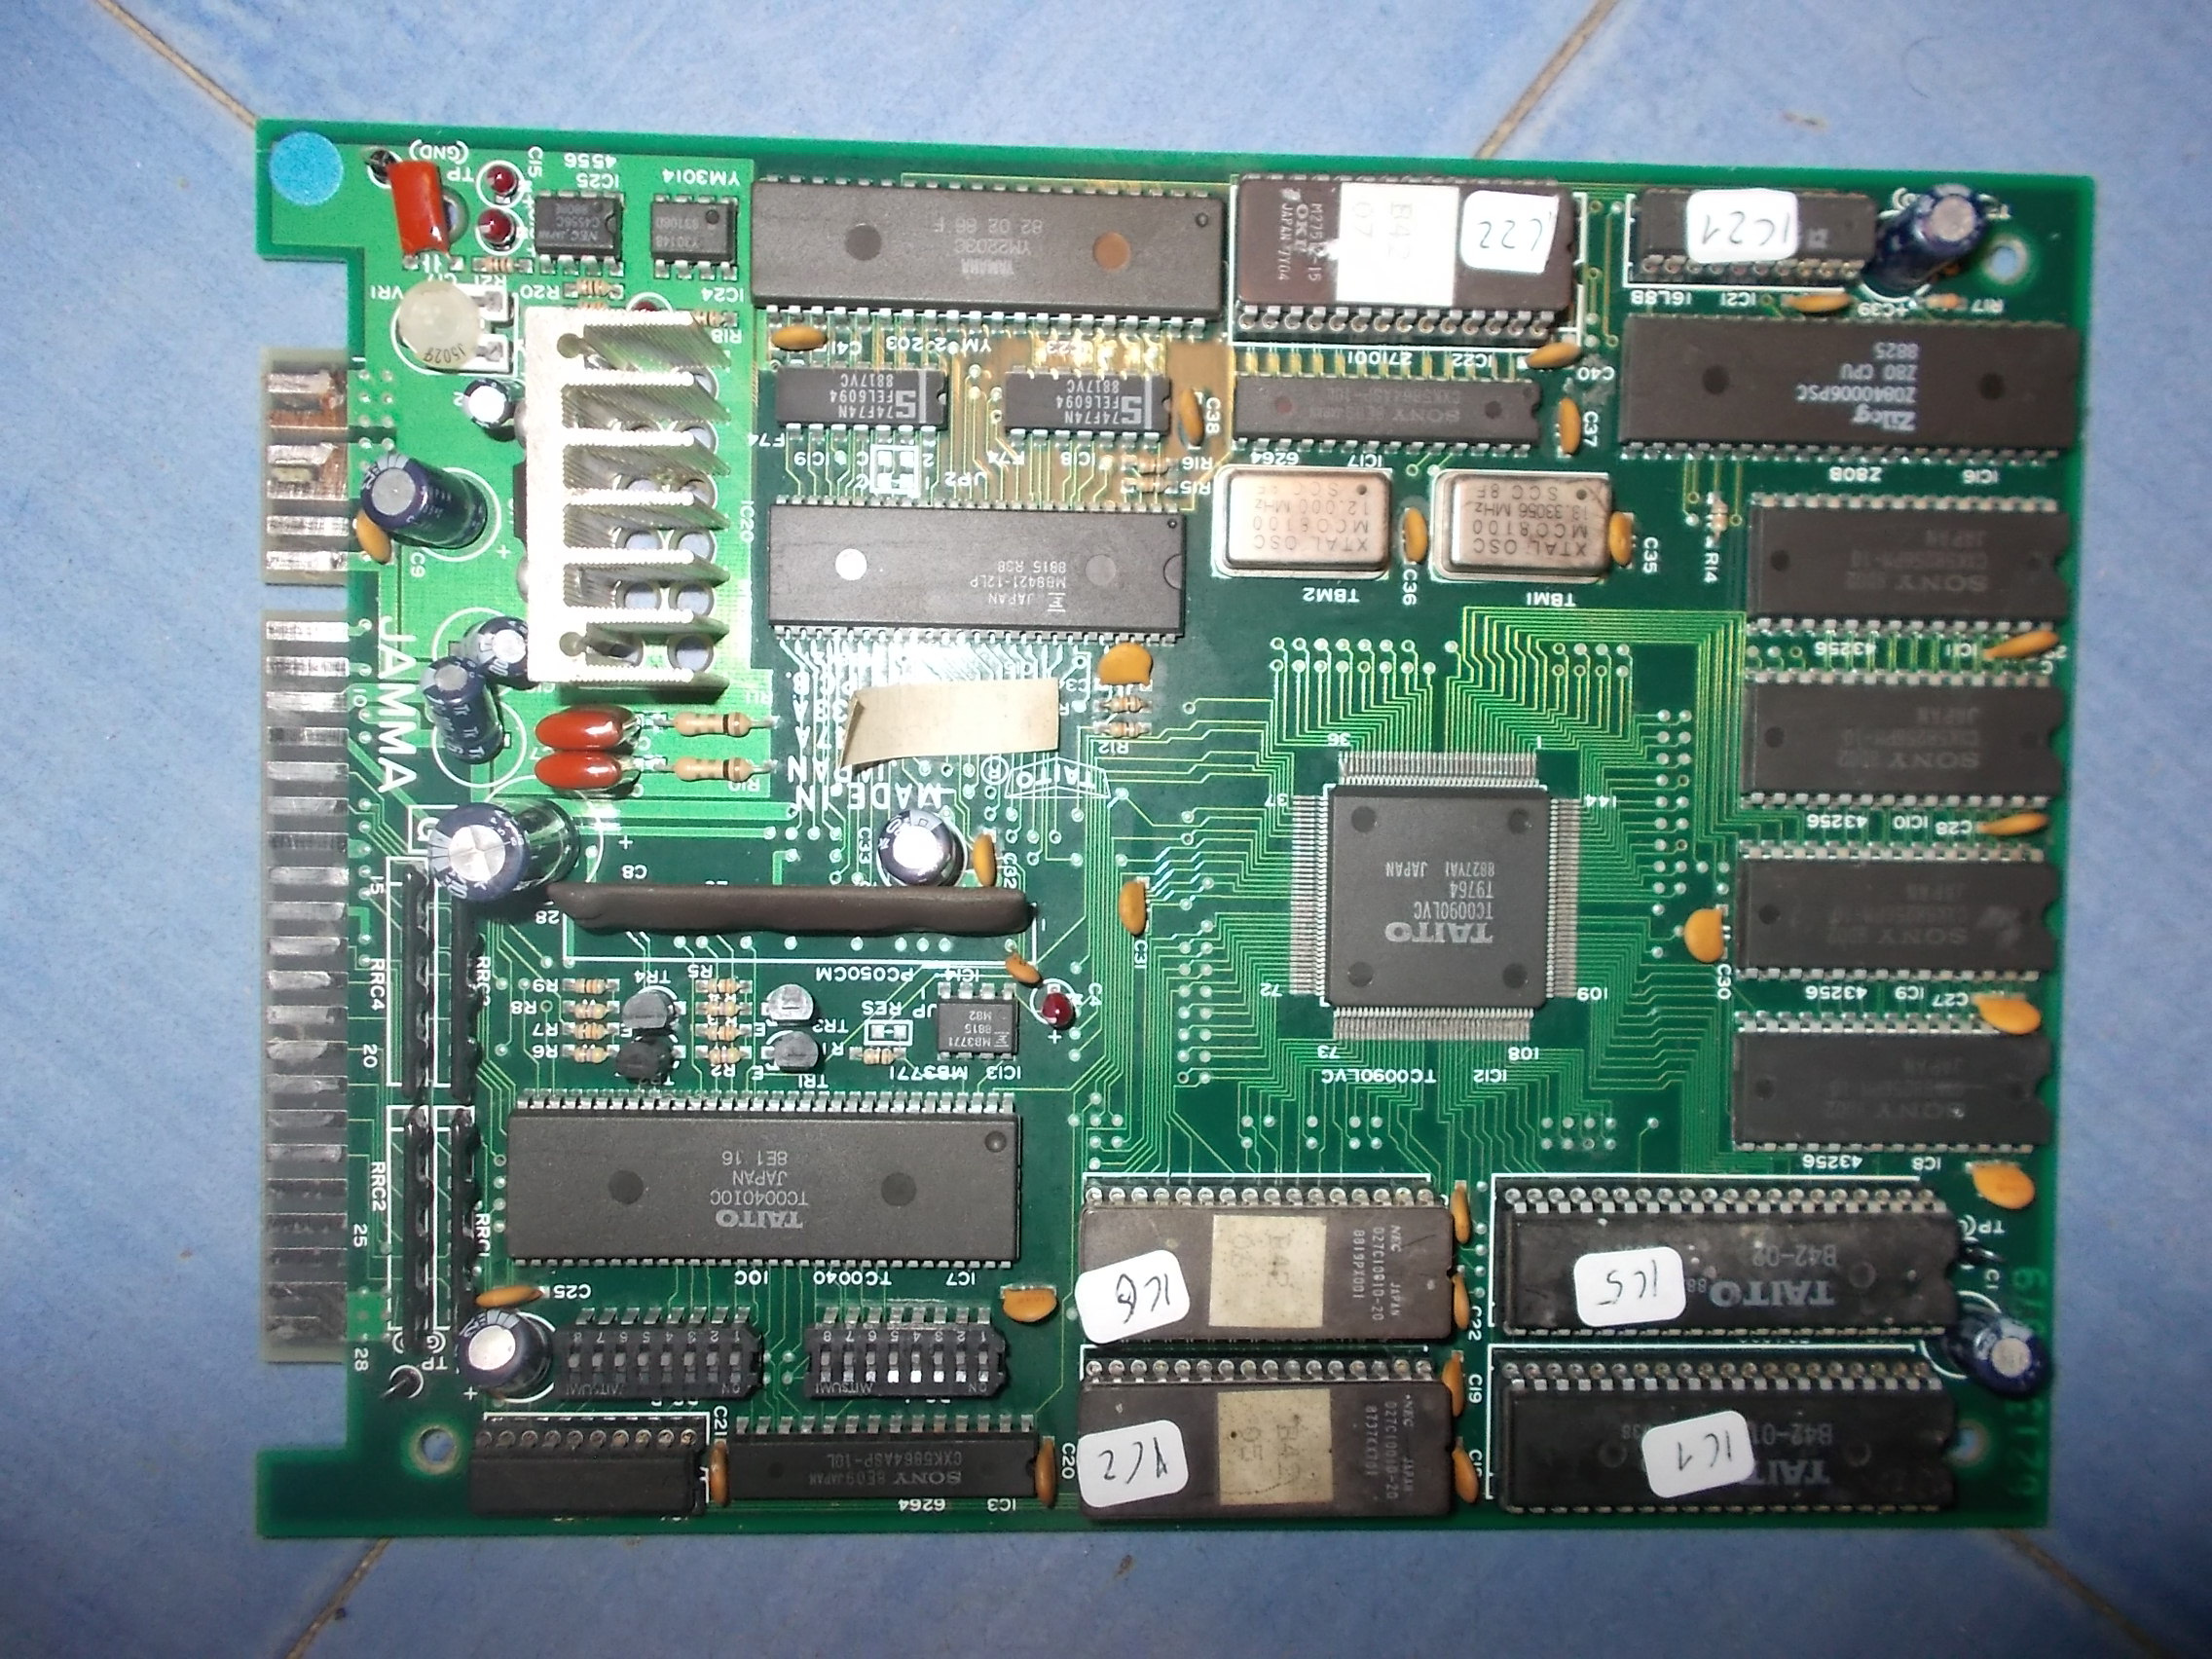
Received from Austria this faulty Kuri Kinton PCB, an obscure fighting game manufactured by Taito in 1988 :

Board is very compact, hardware platform is called ” Taito L system” based on the the ‘TC0090LVC’ (a custom Z80), an all-in-one  CPU/system controller  which does everything  (game logic, tile handling, sprite handling, I/O handling, etc).At power up I was greeted by this scenario:

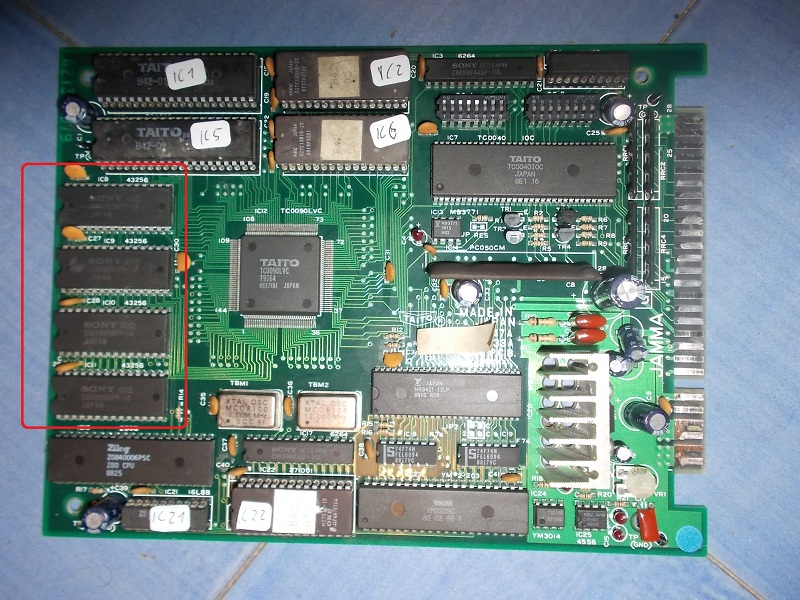
The game played almost blind, you could coin up but graphics were all scrambled.Ruled out the two GFX 4Mbit MASK ROMs, very few was left to probe.There are four 62256 SRAMs (32K x 8-bit) whose data/address busses are tied to the ‘TC0090LVC’ :

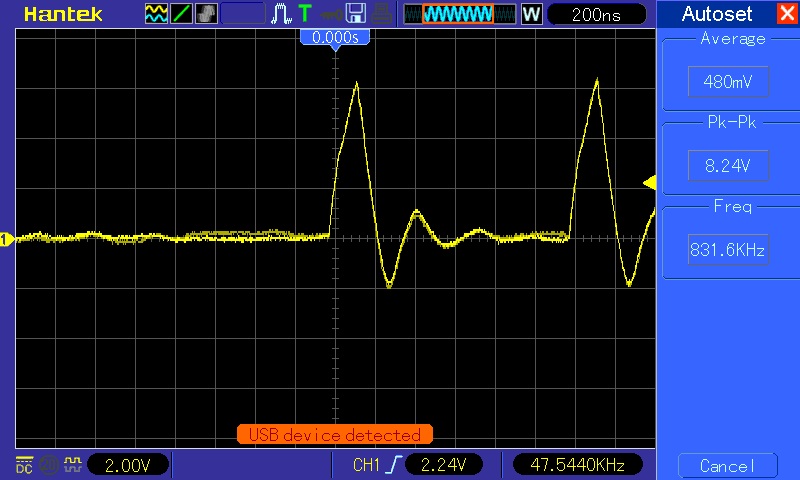
Probing them revealed unhealthy signals on data lines of some of them:

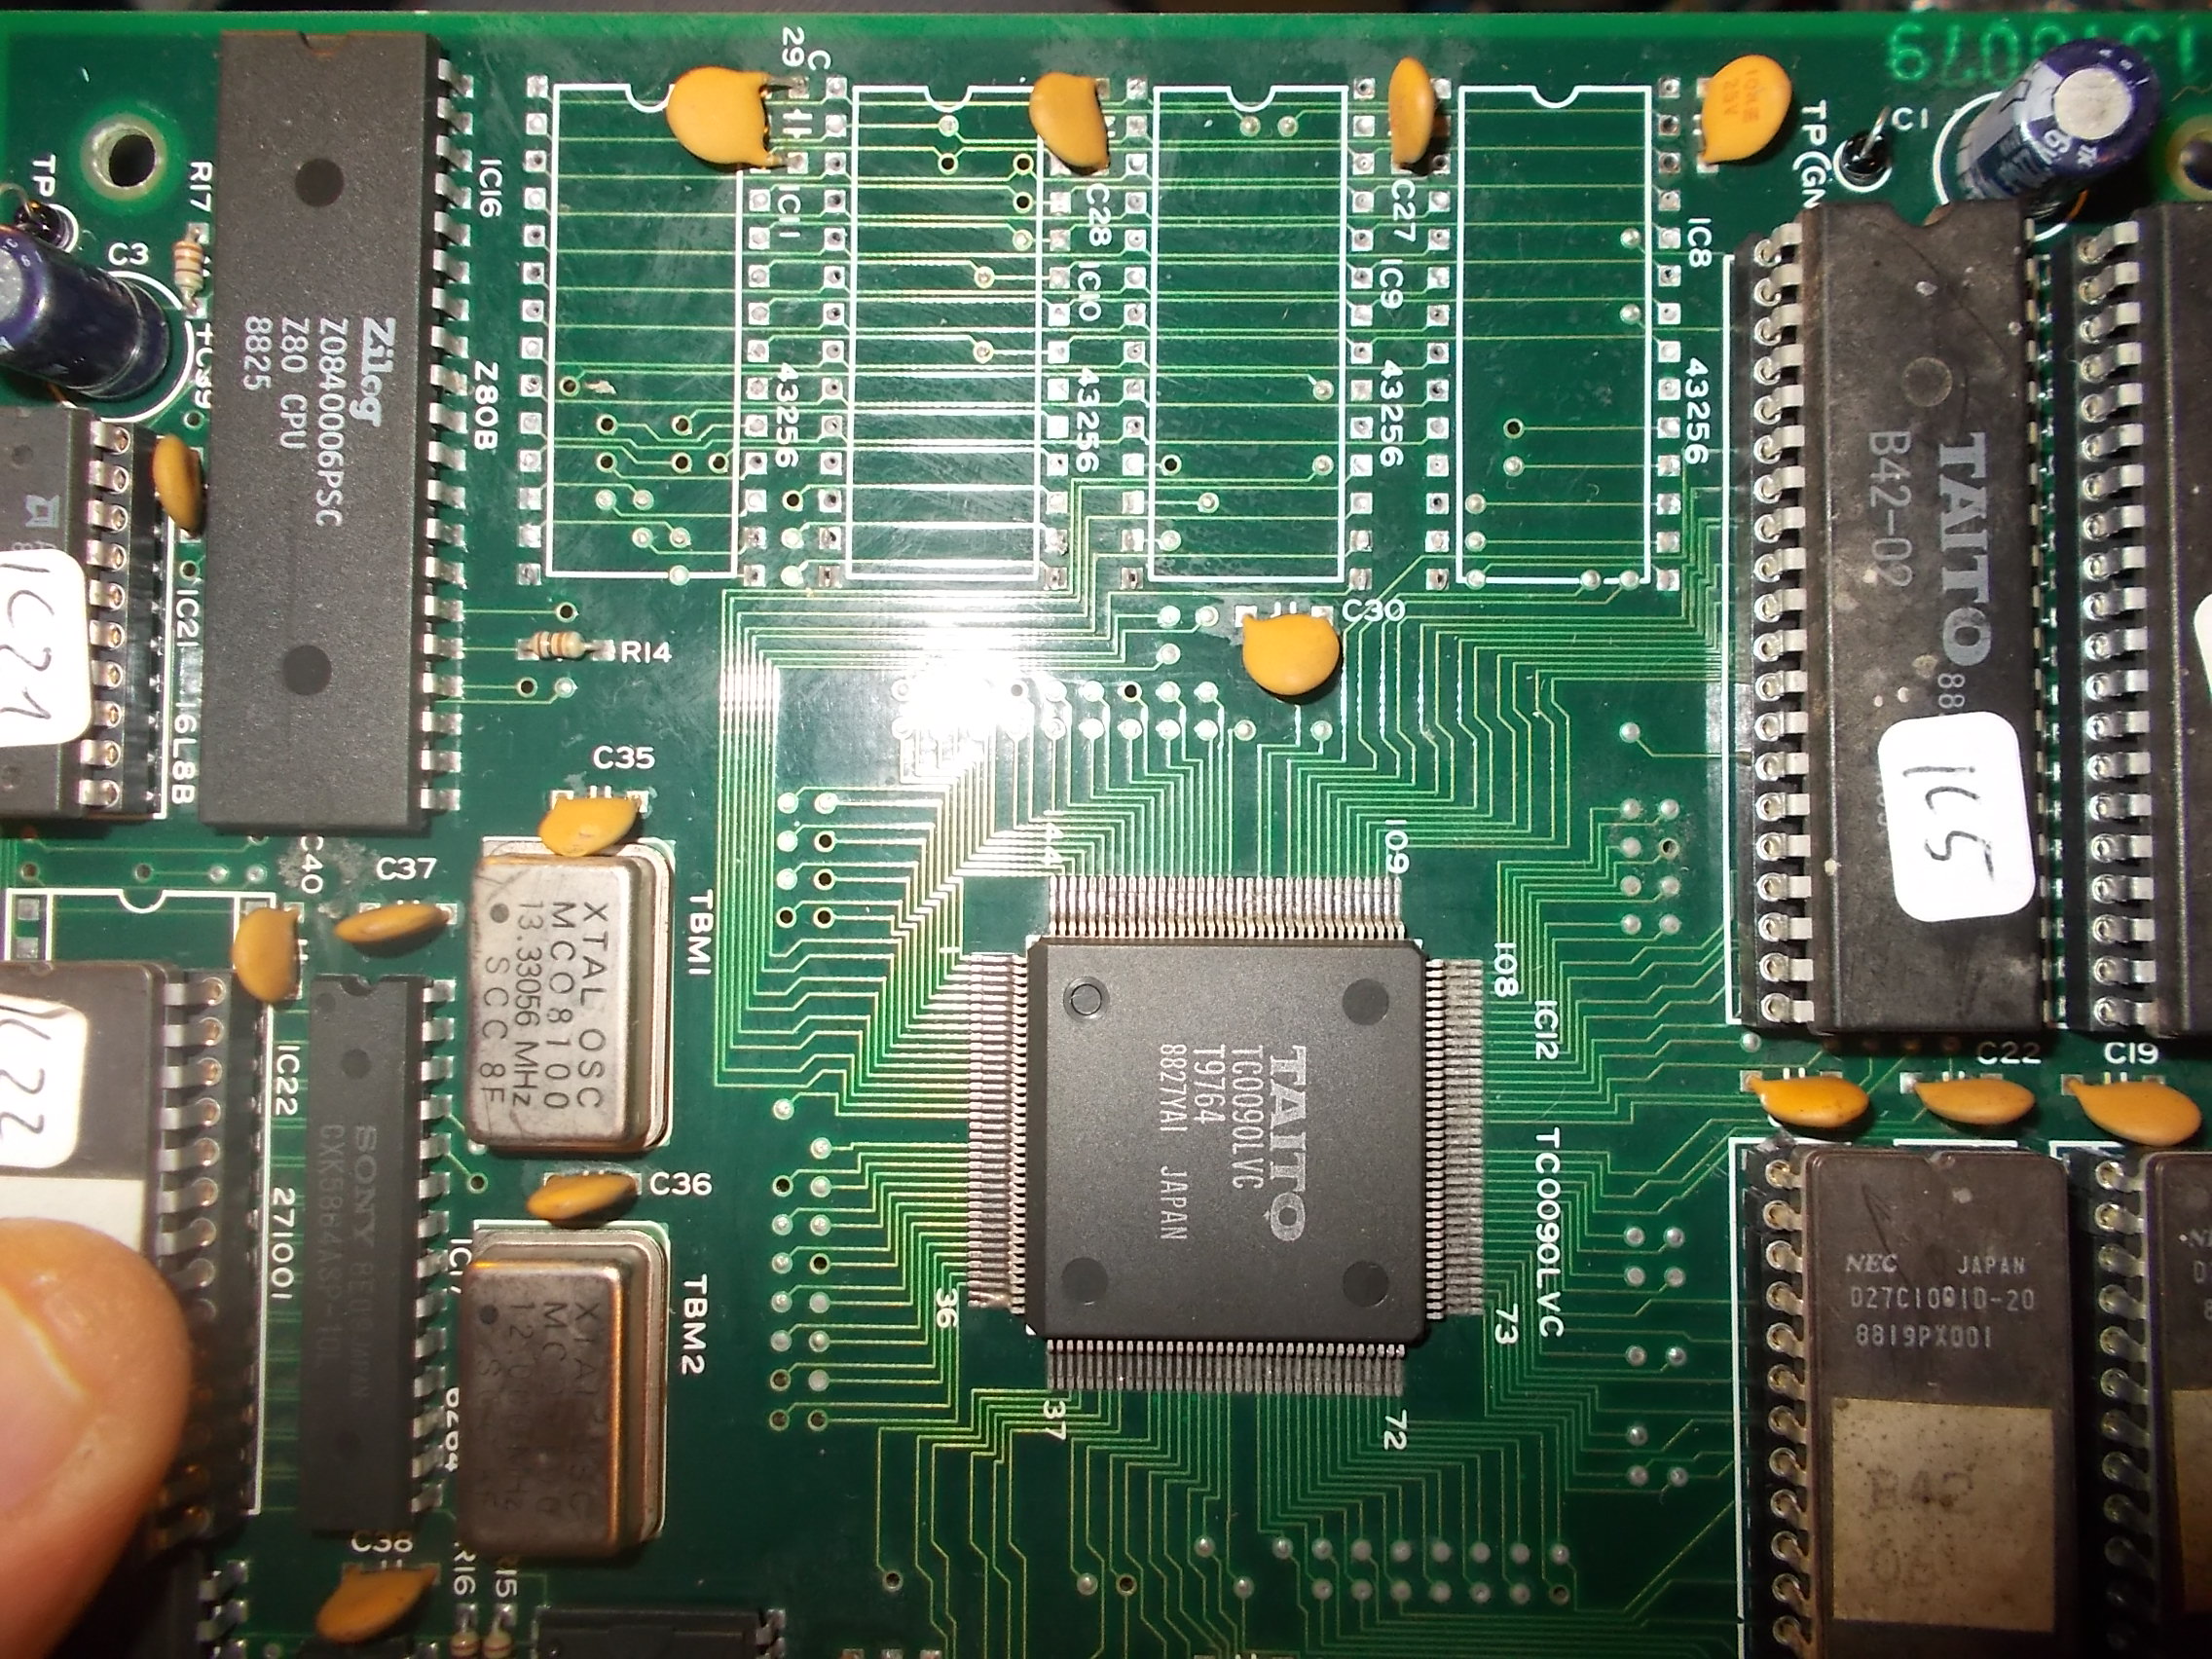
I decided to remove them all :

Actually only the ones @IC9 and IC10 failed the out-of-circuit testing:

Replacing them fixed board completely.End of job.

 Posted by at 6:42 pm
Jan 162018
 

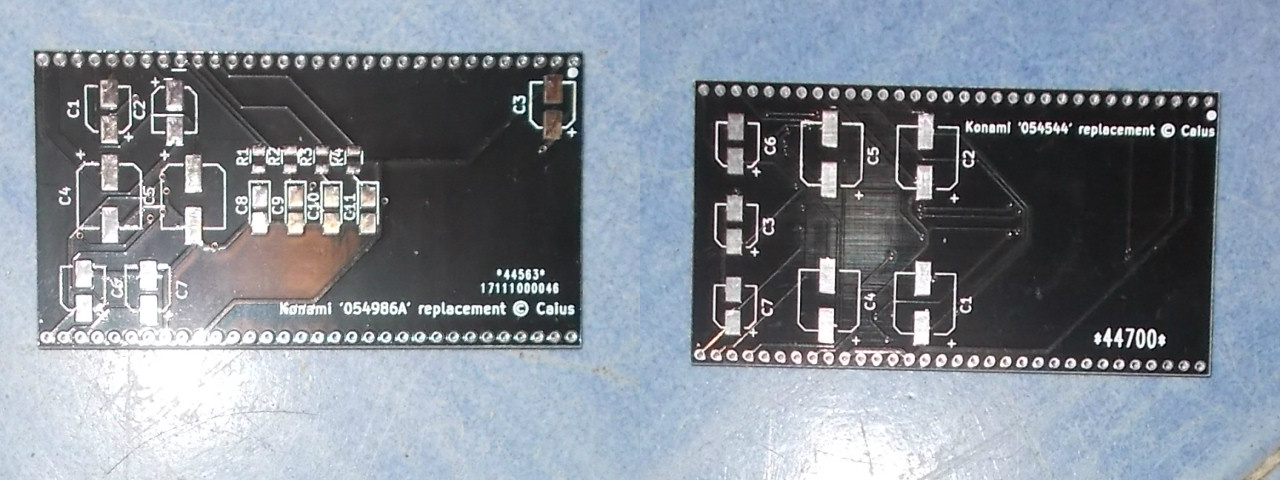
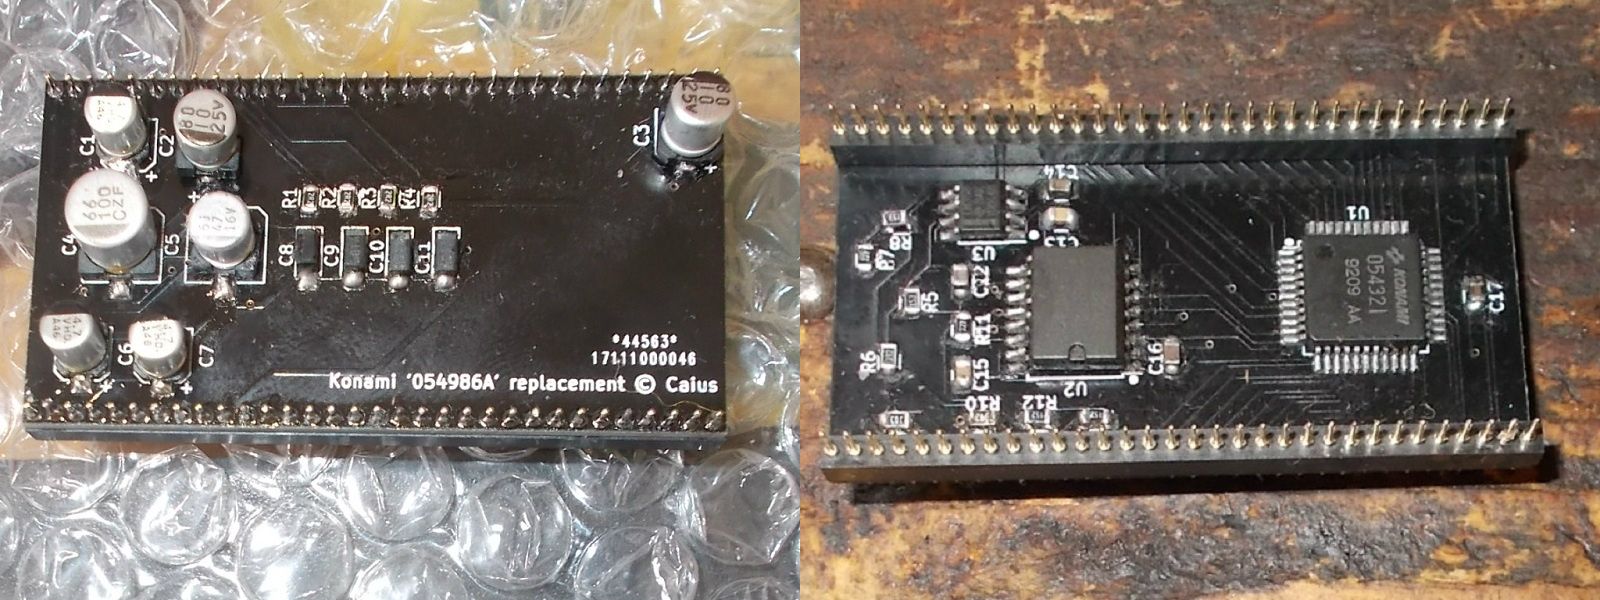
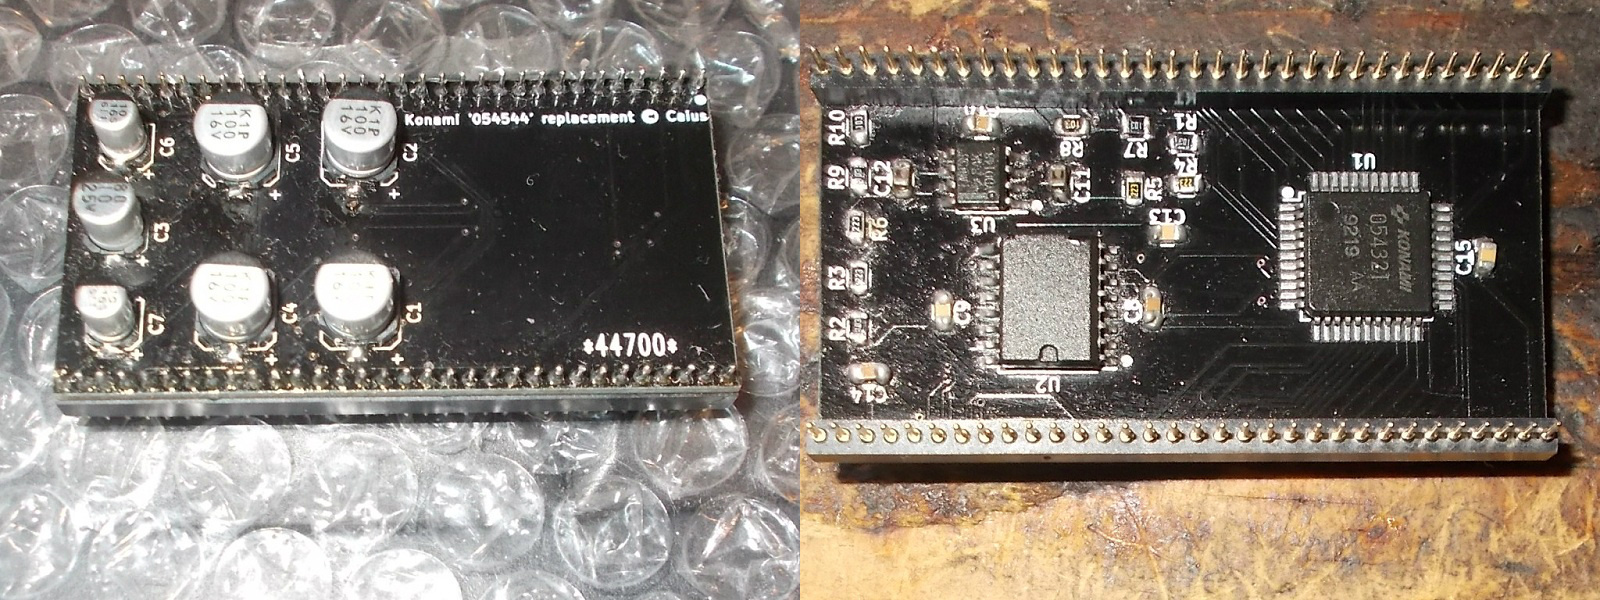
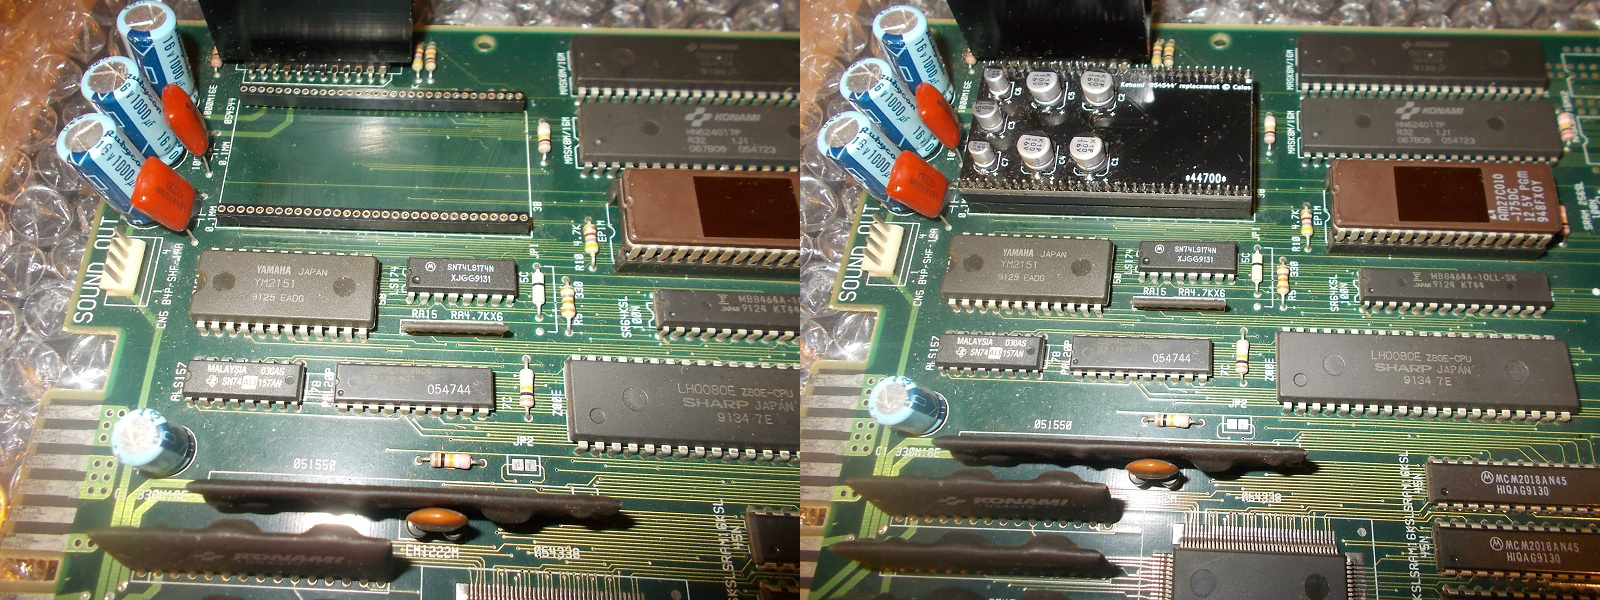
Raise your hand those of you, arcade enthusiasts/colectors, who have never dealt with the Konami ‘054986A’ and ‘054544’ audio modules?I think none…

This little project needs no introduction and technical explanation, we have treated this topic many times during our repairs.I simply reproduced (be careful, not reverse-engineered!So my repro still need ICs of original, especially the ‘054321’ ASIC) my way both modules with same results of original parts.I hope this will be useful for preservation purposes of our PCBs.


 Posted by at 11:24 pm

Xexex repair log #1

 PCB Repair Logs  Comments Off on Xexex repair log #1
Jan 162018
 

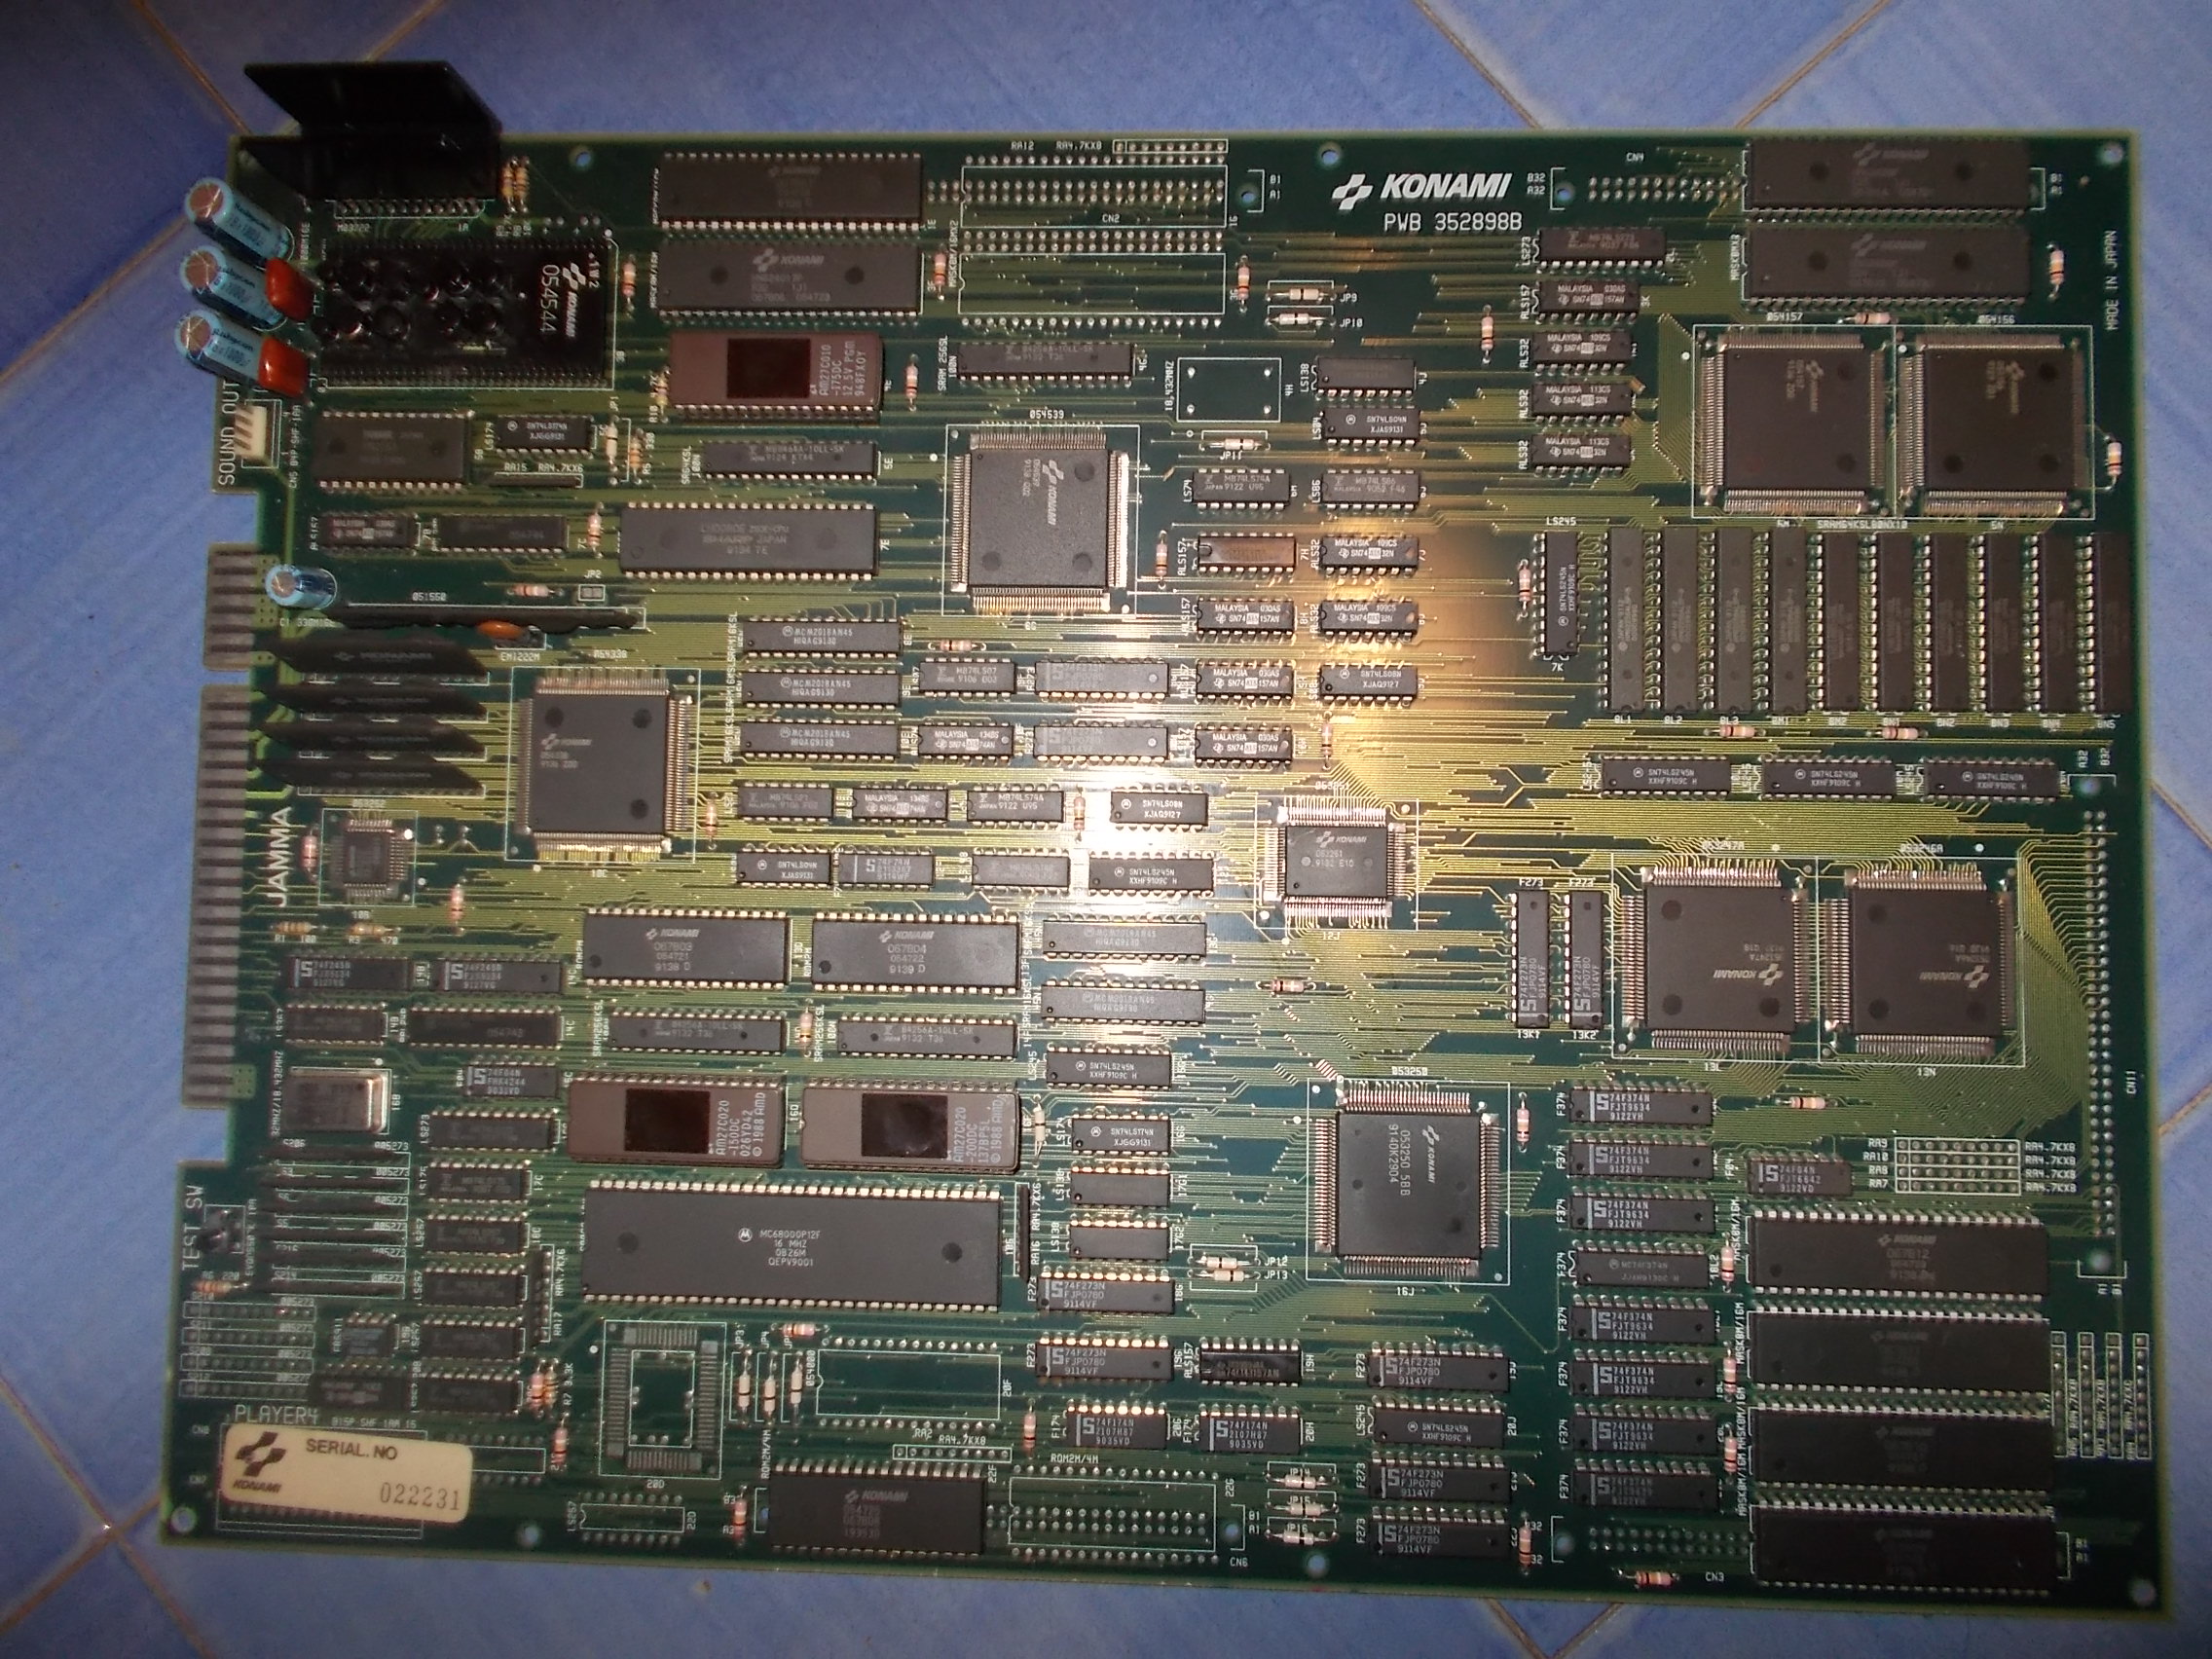
Received from Austria this pretty mint Xexex PCB:

According to the owner the board had only faint sound but actually it was not booting for me resetting on attract mode:

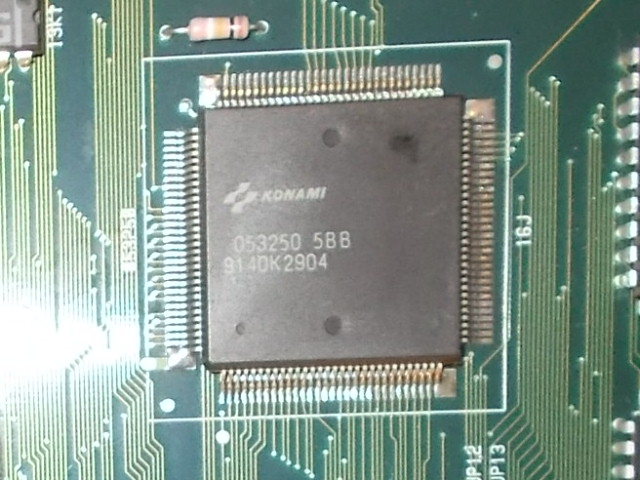
At a closer inspection I found some lifted pins of the custom ‘053250’ which I promptly reflowed :

Finally the board successfully booted but, as expected, with very low sound , you could barely hear it with volume set at maximum level though:

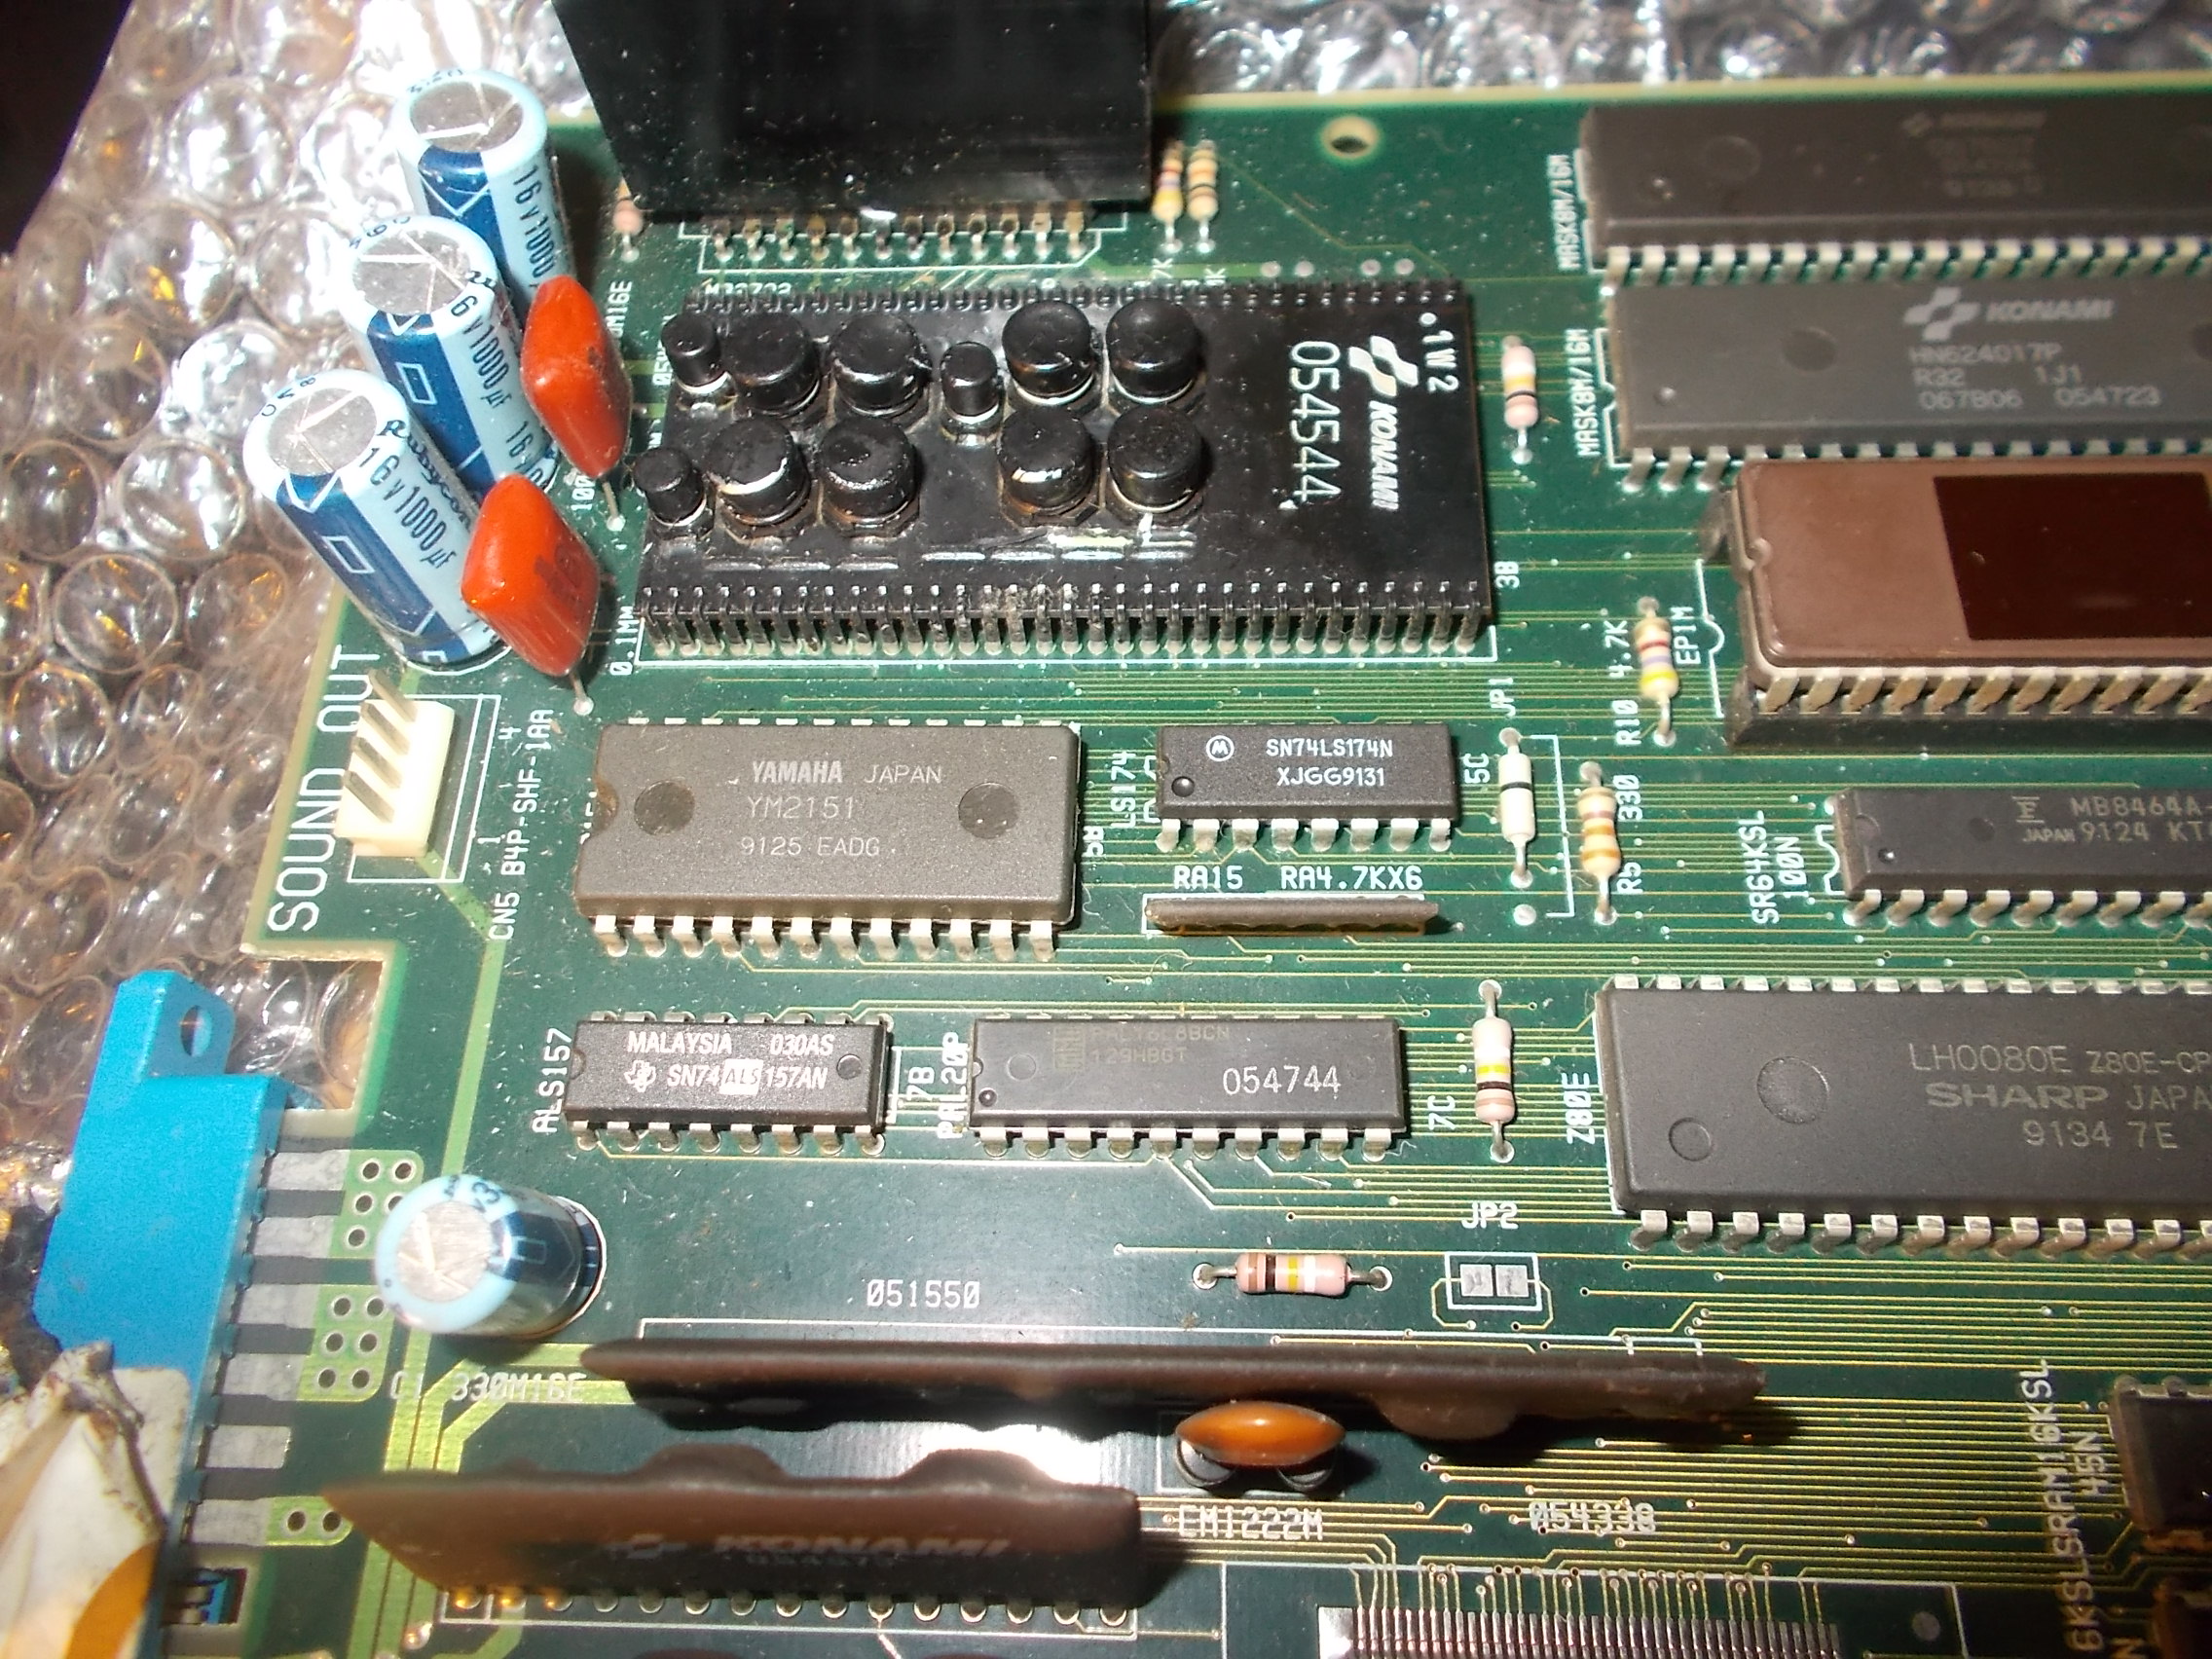
Obviously the culprit was the ‘054544’ hybrid audio module:

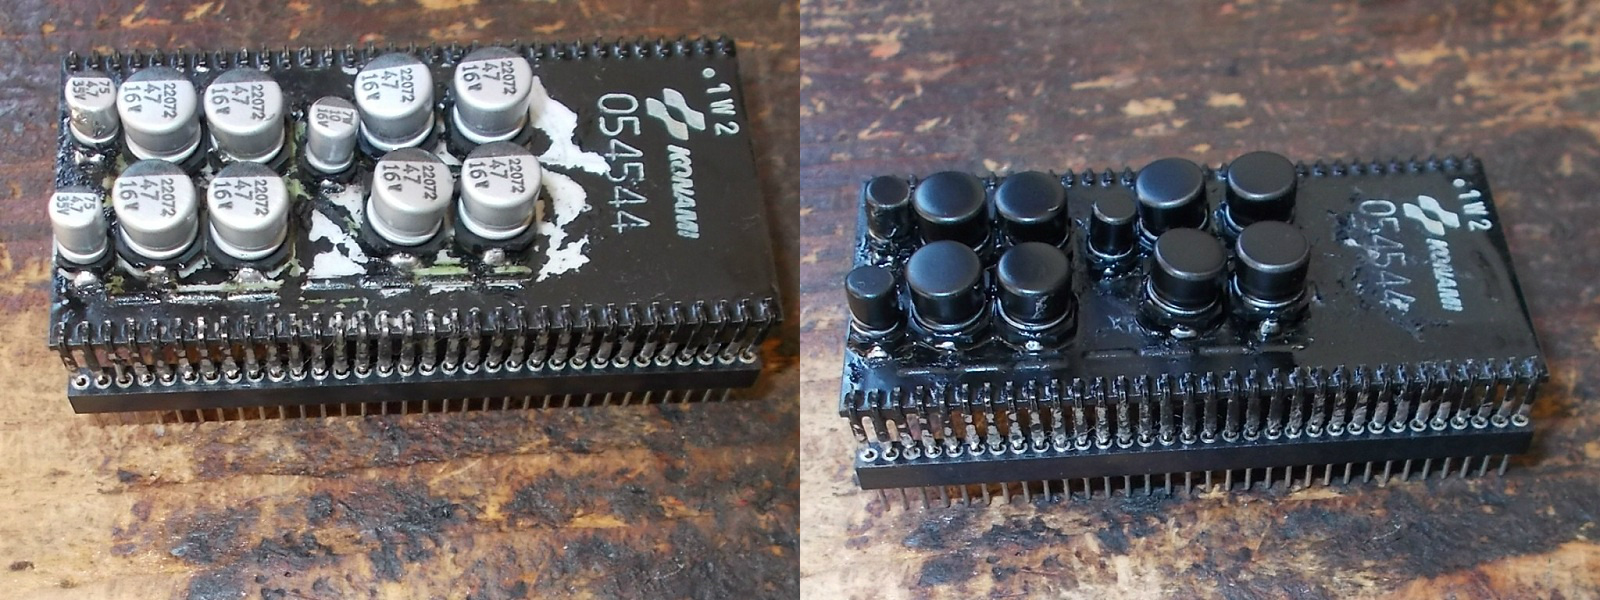
I removed it and changed all the electrolytic capacitors (repainting it as well)

This restored full sound.Then I thought this was the right chance to try out my reproduction:

Testing was successful :

 Posted by at 10:21 pm