Apr 282012
 

PC18 from the Jamma+ forum was round yesterday with his Mortal Kombat 2 board which appeared to have a few little faults.

1. The game crashed just before he completed it
2. No fatalities could be performed
3. Some sound effects were missing

We fired it up on the test bench and I saw for myself the second 2 issues. We could not test the crashing issue because I’m crap and Megadrive joypads with only 3 buttons are no good for playing MK2 arcade version!

First thing we did was check the test menu DIP switch settings as fatalities can be turned off but they were set to ON.
Second, check all the ROM’s against MAME. All checked out OK.

A little bit of head scratching later we checked the boards operation against MAME’s operation. This board was running on version 1.1 and sure enough the sounds were missing in MAME too.
At this point we decided to check with Google and it turns out that in the early versions of MK2, there were all sorts missing from the game including most of the fatalities, some sounds and the endings too (might be why the game crashed at the end?).

As most of the ROM chips are for graphics we just erased the program EPROM’s and burned version 3.1 ROM’s. The game now does all sorts of stuff that it never used to do.
We still couldn’t check the crashing issue but hopefully that’s sorted too

 Posted by at 10:10 am
Apr 232012
 

Got this from a Jamma+ forum member.
Sold as having graphics problems that went away when touching one of the MASKROMs.
On testing it had lines running vertical down the screen and the fault did appear to go away when touching K27 MASKROM. This however was not dry joint, it was a floating output meaning the MASK was knackered.

I removed the MASKROM and programmed a replacement 27C400 EPROM.
Game now works fine and all self tests pass.

The game does appear really washed out on my test bench but plays fine in a cab. Not sure why this is but I cant actually see anything wrong with the output signals so ill ignore it for now.


UPDATE:
This board also had another fault where button 2 for players 1, 2 and 3 didn’t work.
Turtles actually has an IO test within its test menu so it was easy to check all inputs.

I traced the signal through a resistor network and could see the state toggling with a button press. Traced it back a bit further to a 74LS253 chip at location C26. Replaced this chip now all working again.

 Posted by at 5:36 pm
Apr 162012
 

I grabbed this little fella from eBay not too long ago for very nice price although it was sold as having vertical collapse on the screen.
As it happens this was a complete lie but it is eBay so I should have known better.

On powering up I was greeted with nothing. No ‘Vectrex buzz’, no noises of any sort, nothing!
Getting the easy stuff out the way first I checked the plug fuse. All OK in there.

Time to open it up and see what we can see.
I saw dust, and lots of it.

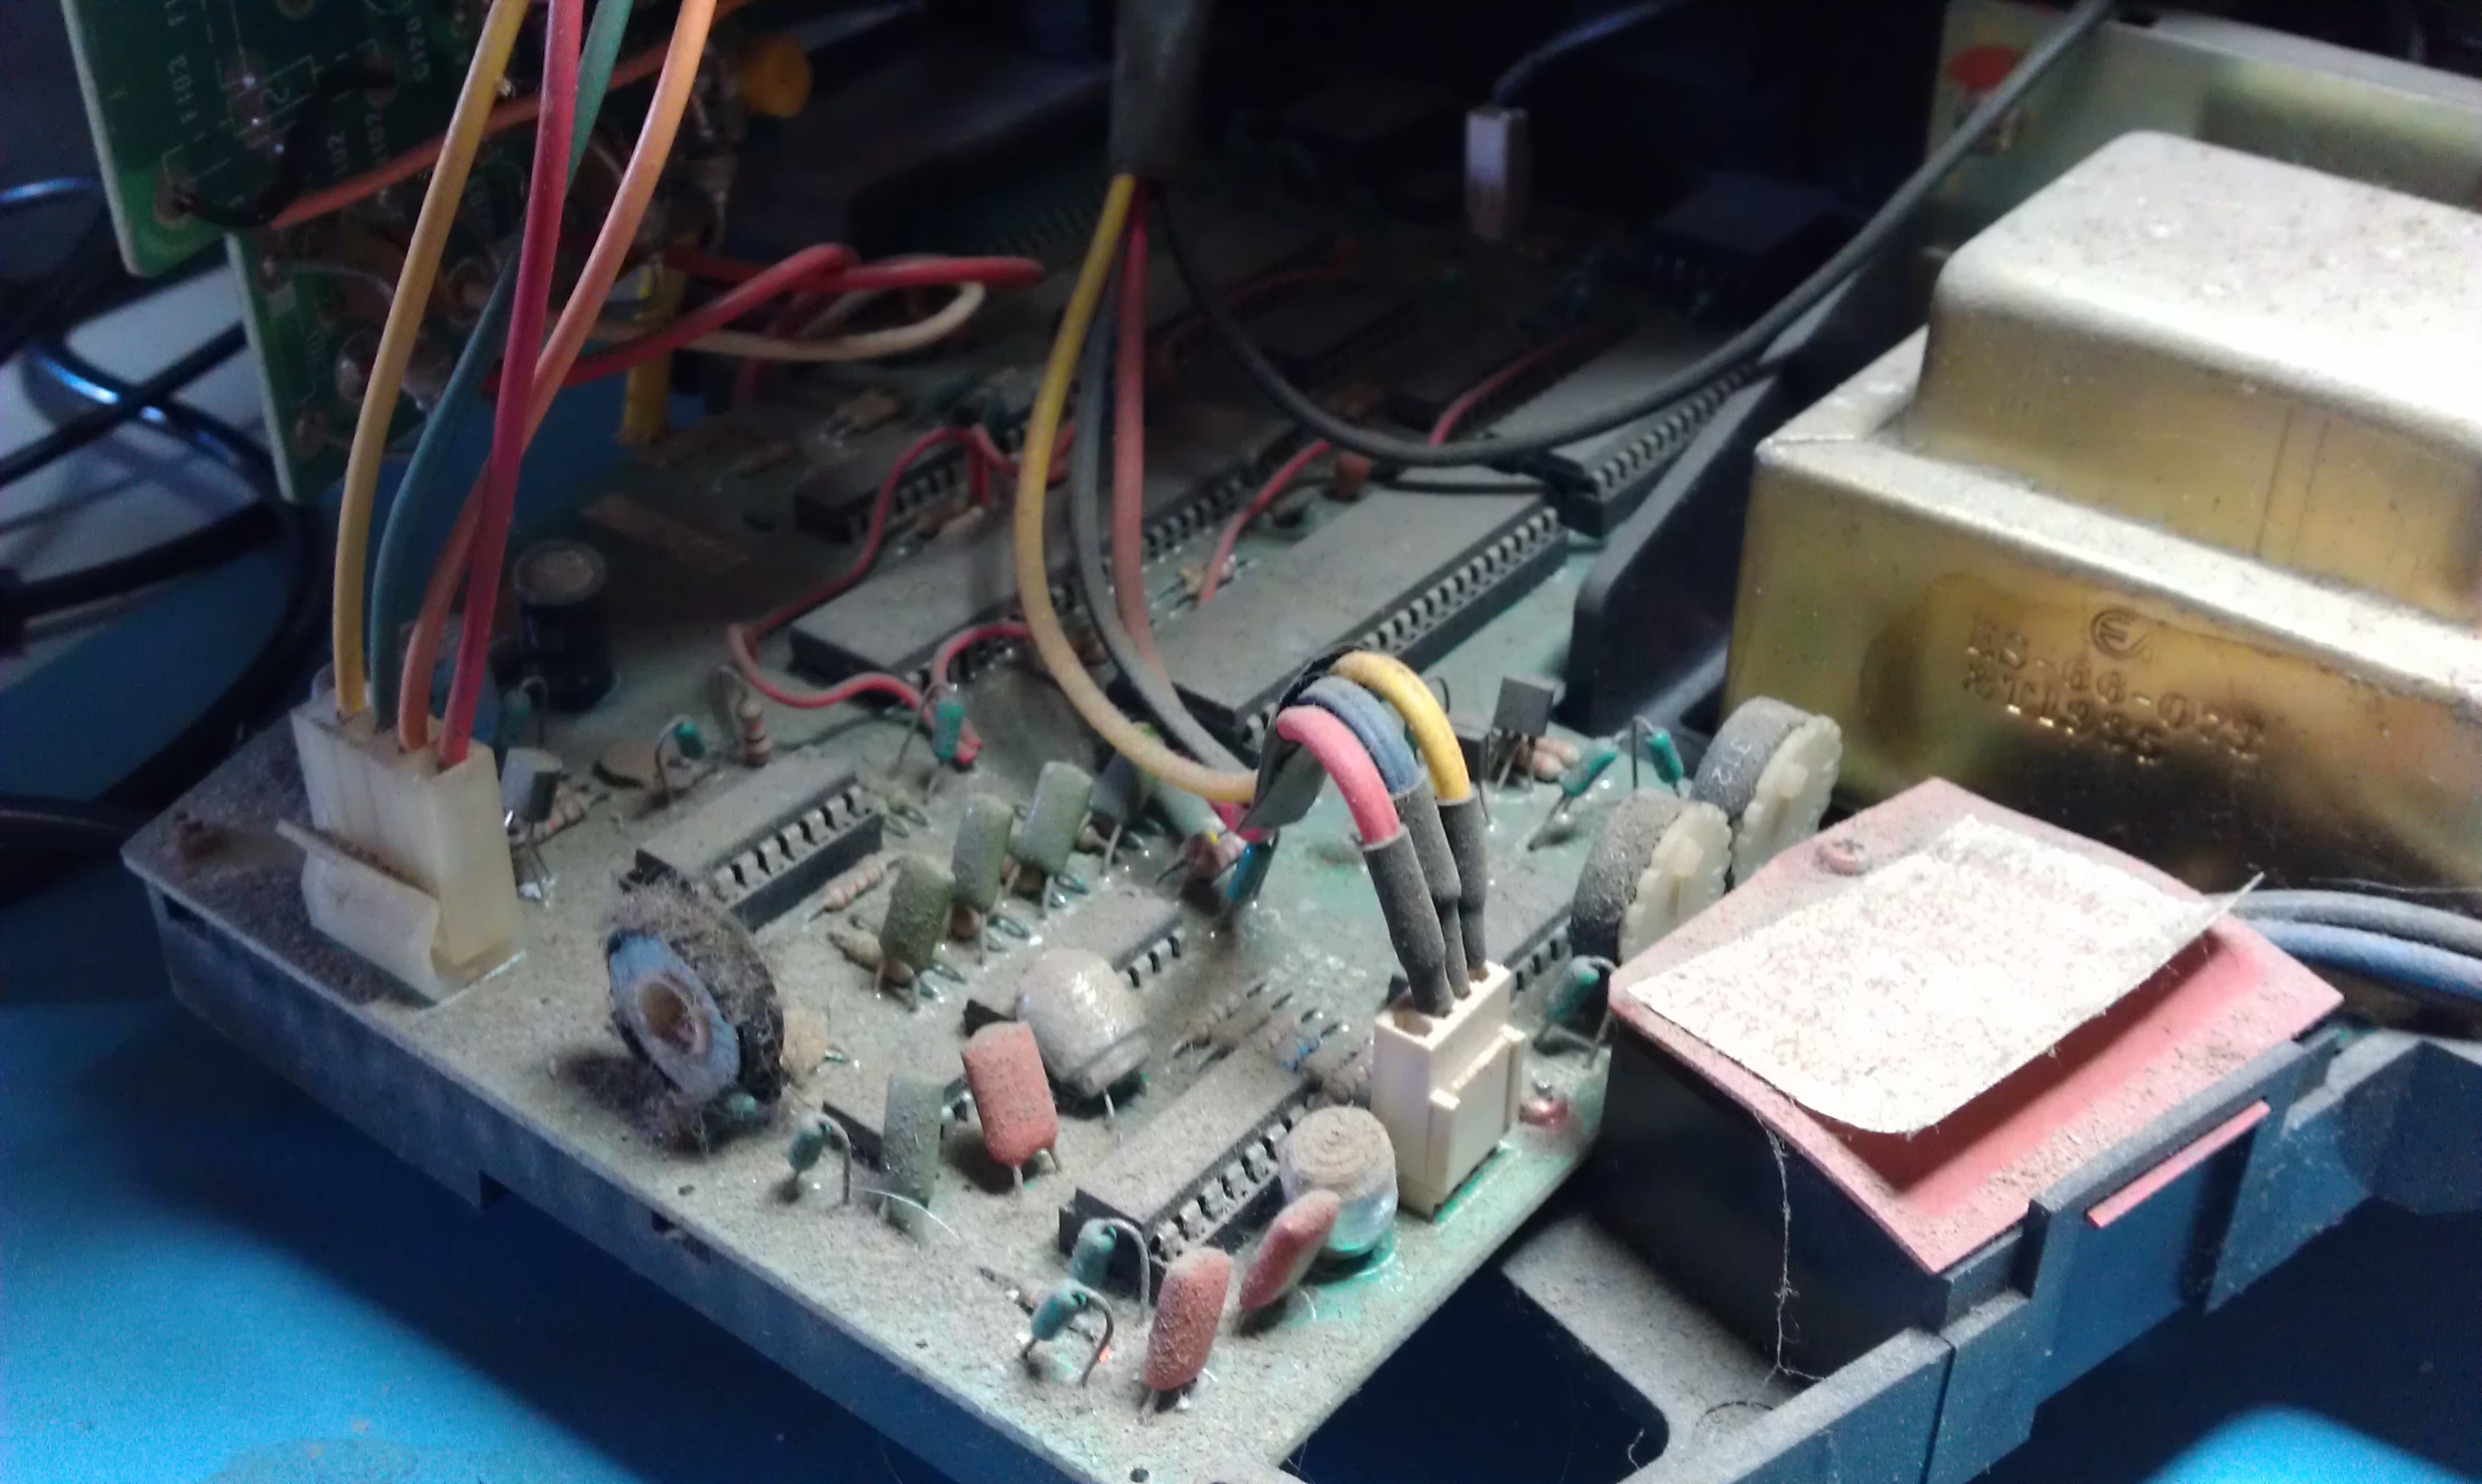
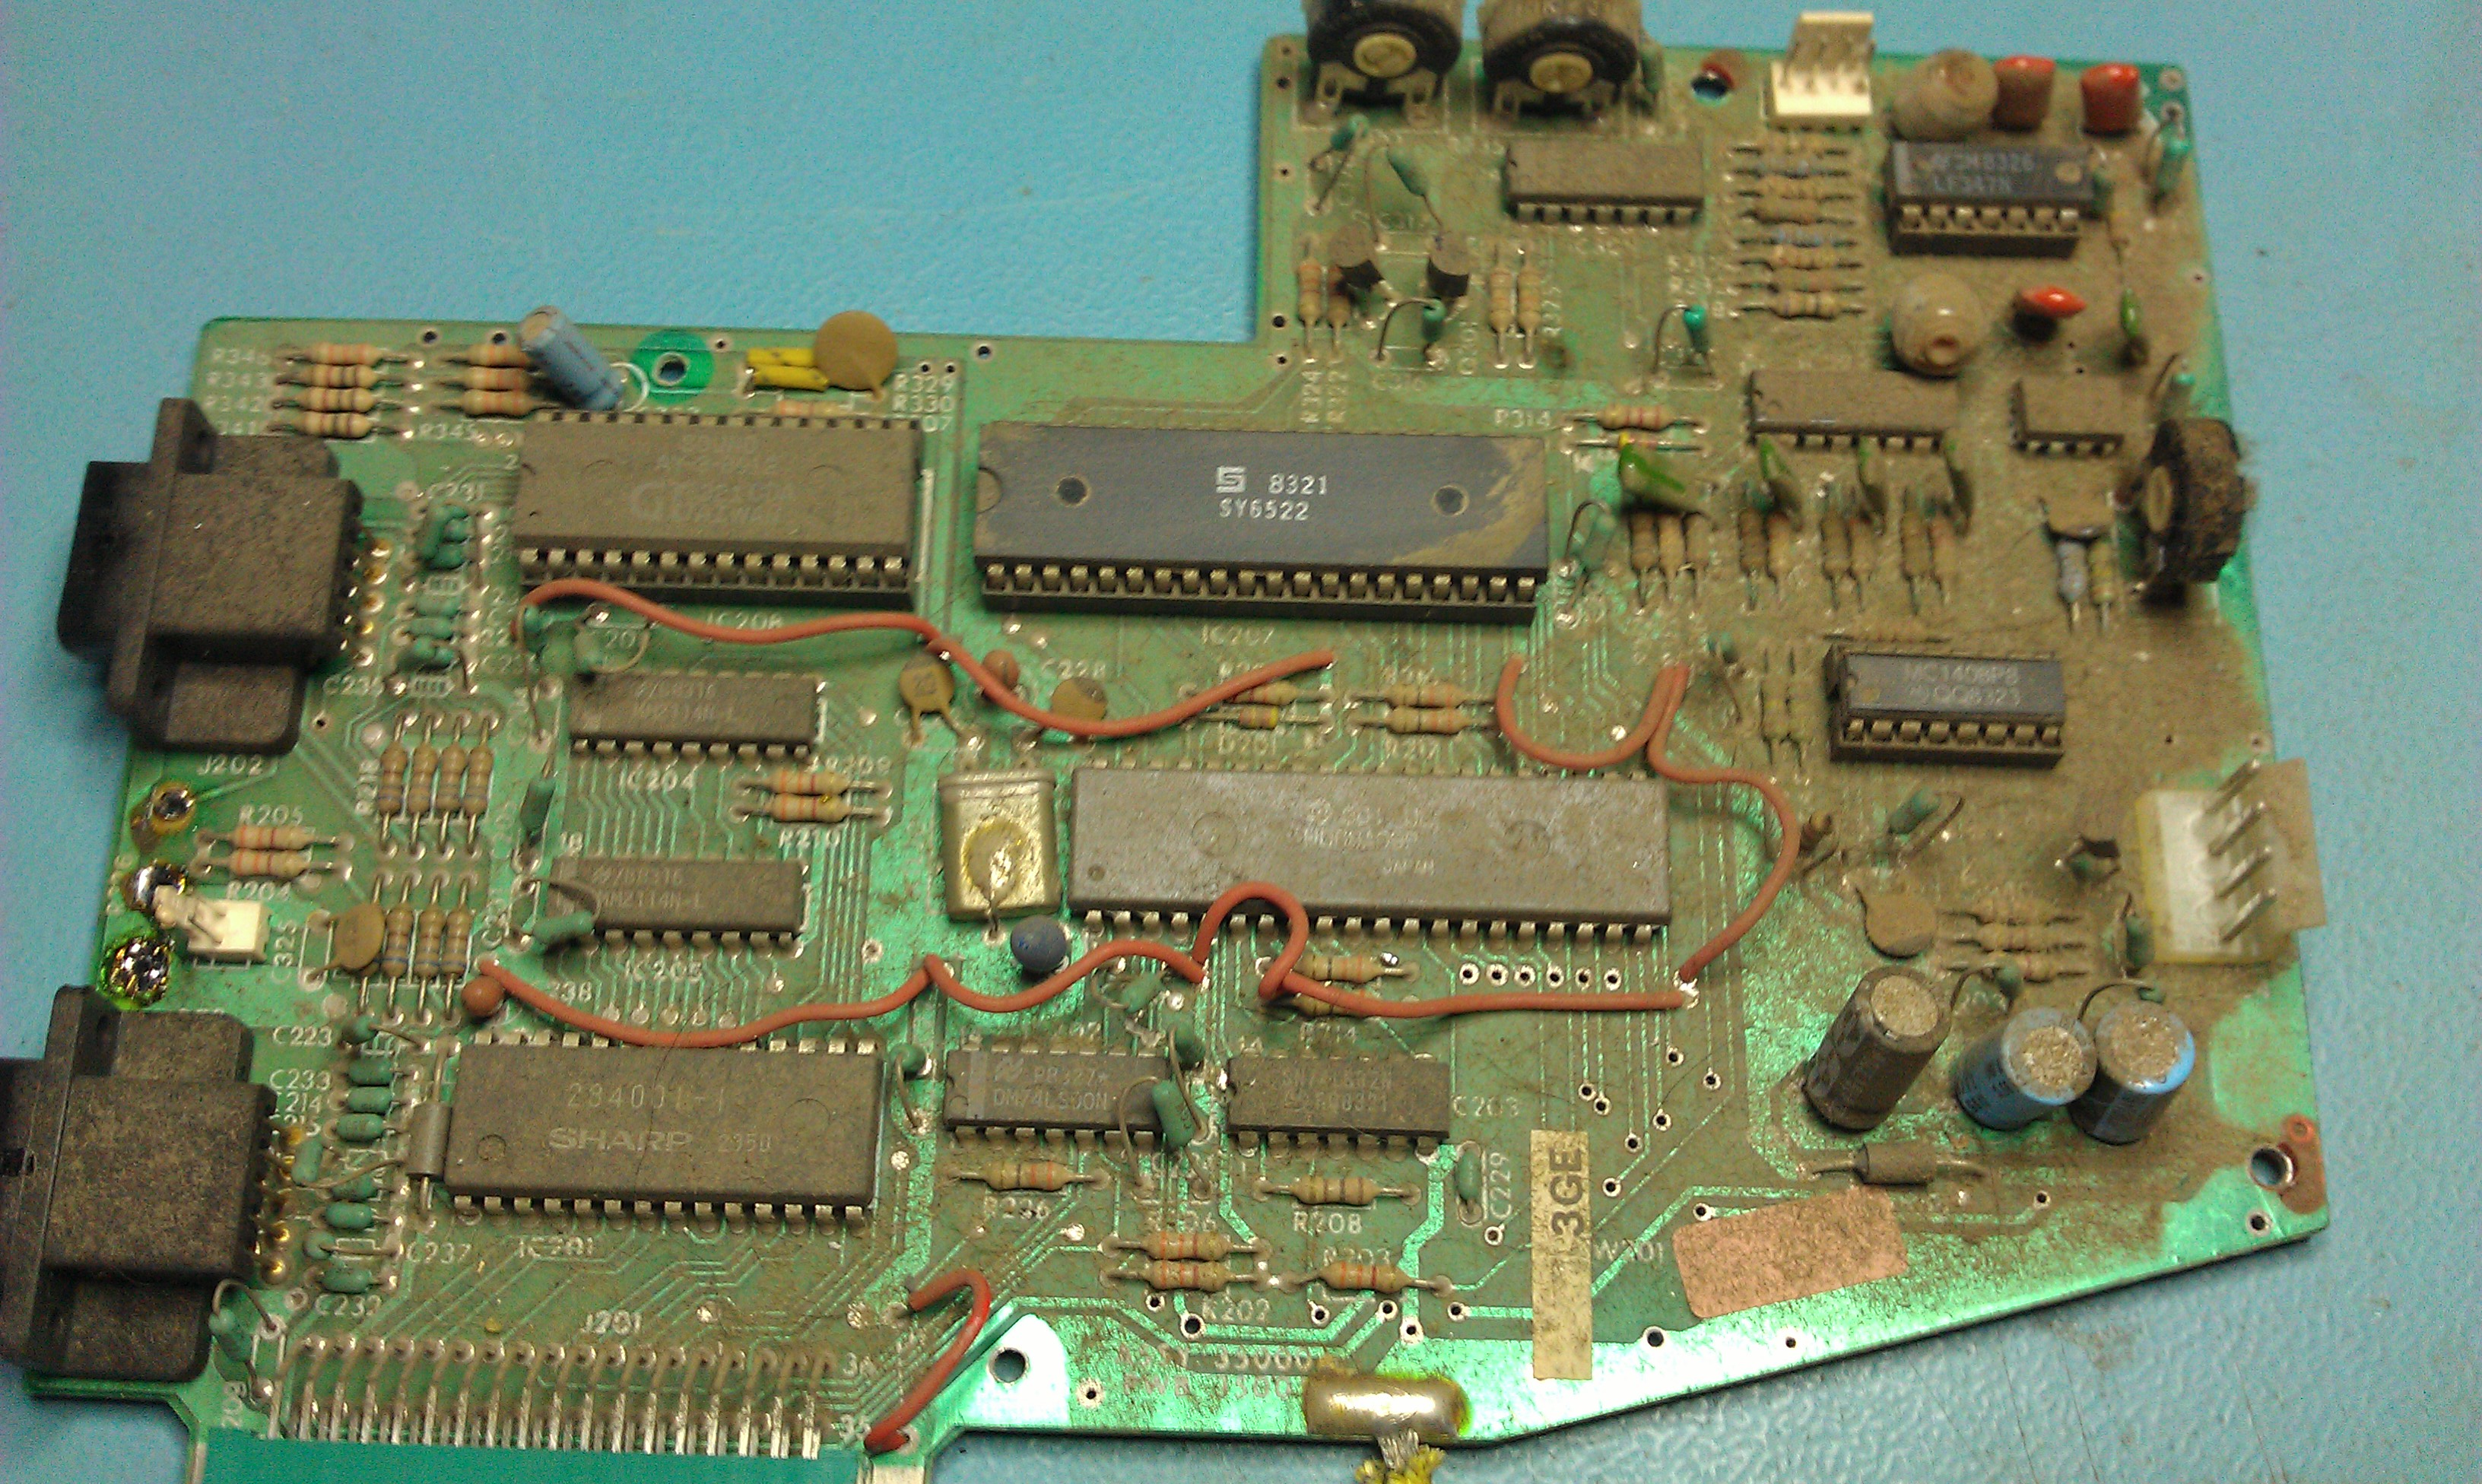
Let me take a moment to explain a little something about the Vectrex. The picture above shows the logic board in its housing. In the Vectrex it is not just a matter of removing a couple of screws and taking out the board. Everything is connected to everything and sometimes not by means of plugs either, they are soldered in there so removing the logic board took a long time and a lot of pictures were taken of various wire locations and a lot of tiny screws were removed.

I checked voltages at the transformer and got 240v. I checked the output of the transformer and got nothing. Problem #1 found.
The transformer is a standard 9-0-9 VAC type and I bought a replacement from Maplin (thanks to Mesmeric_G from UKVAC for pointing me in the right direction).

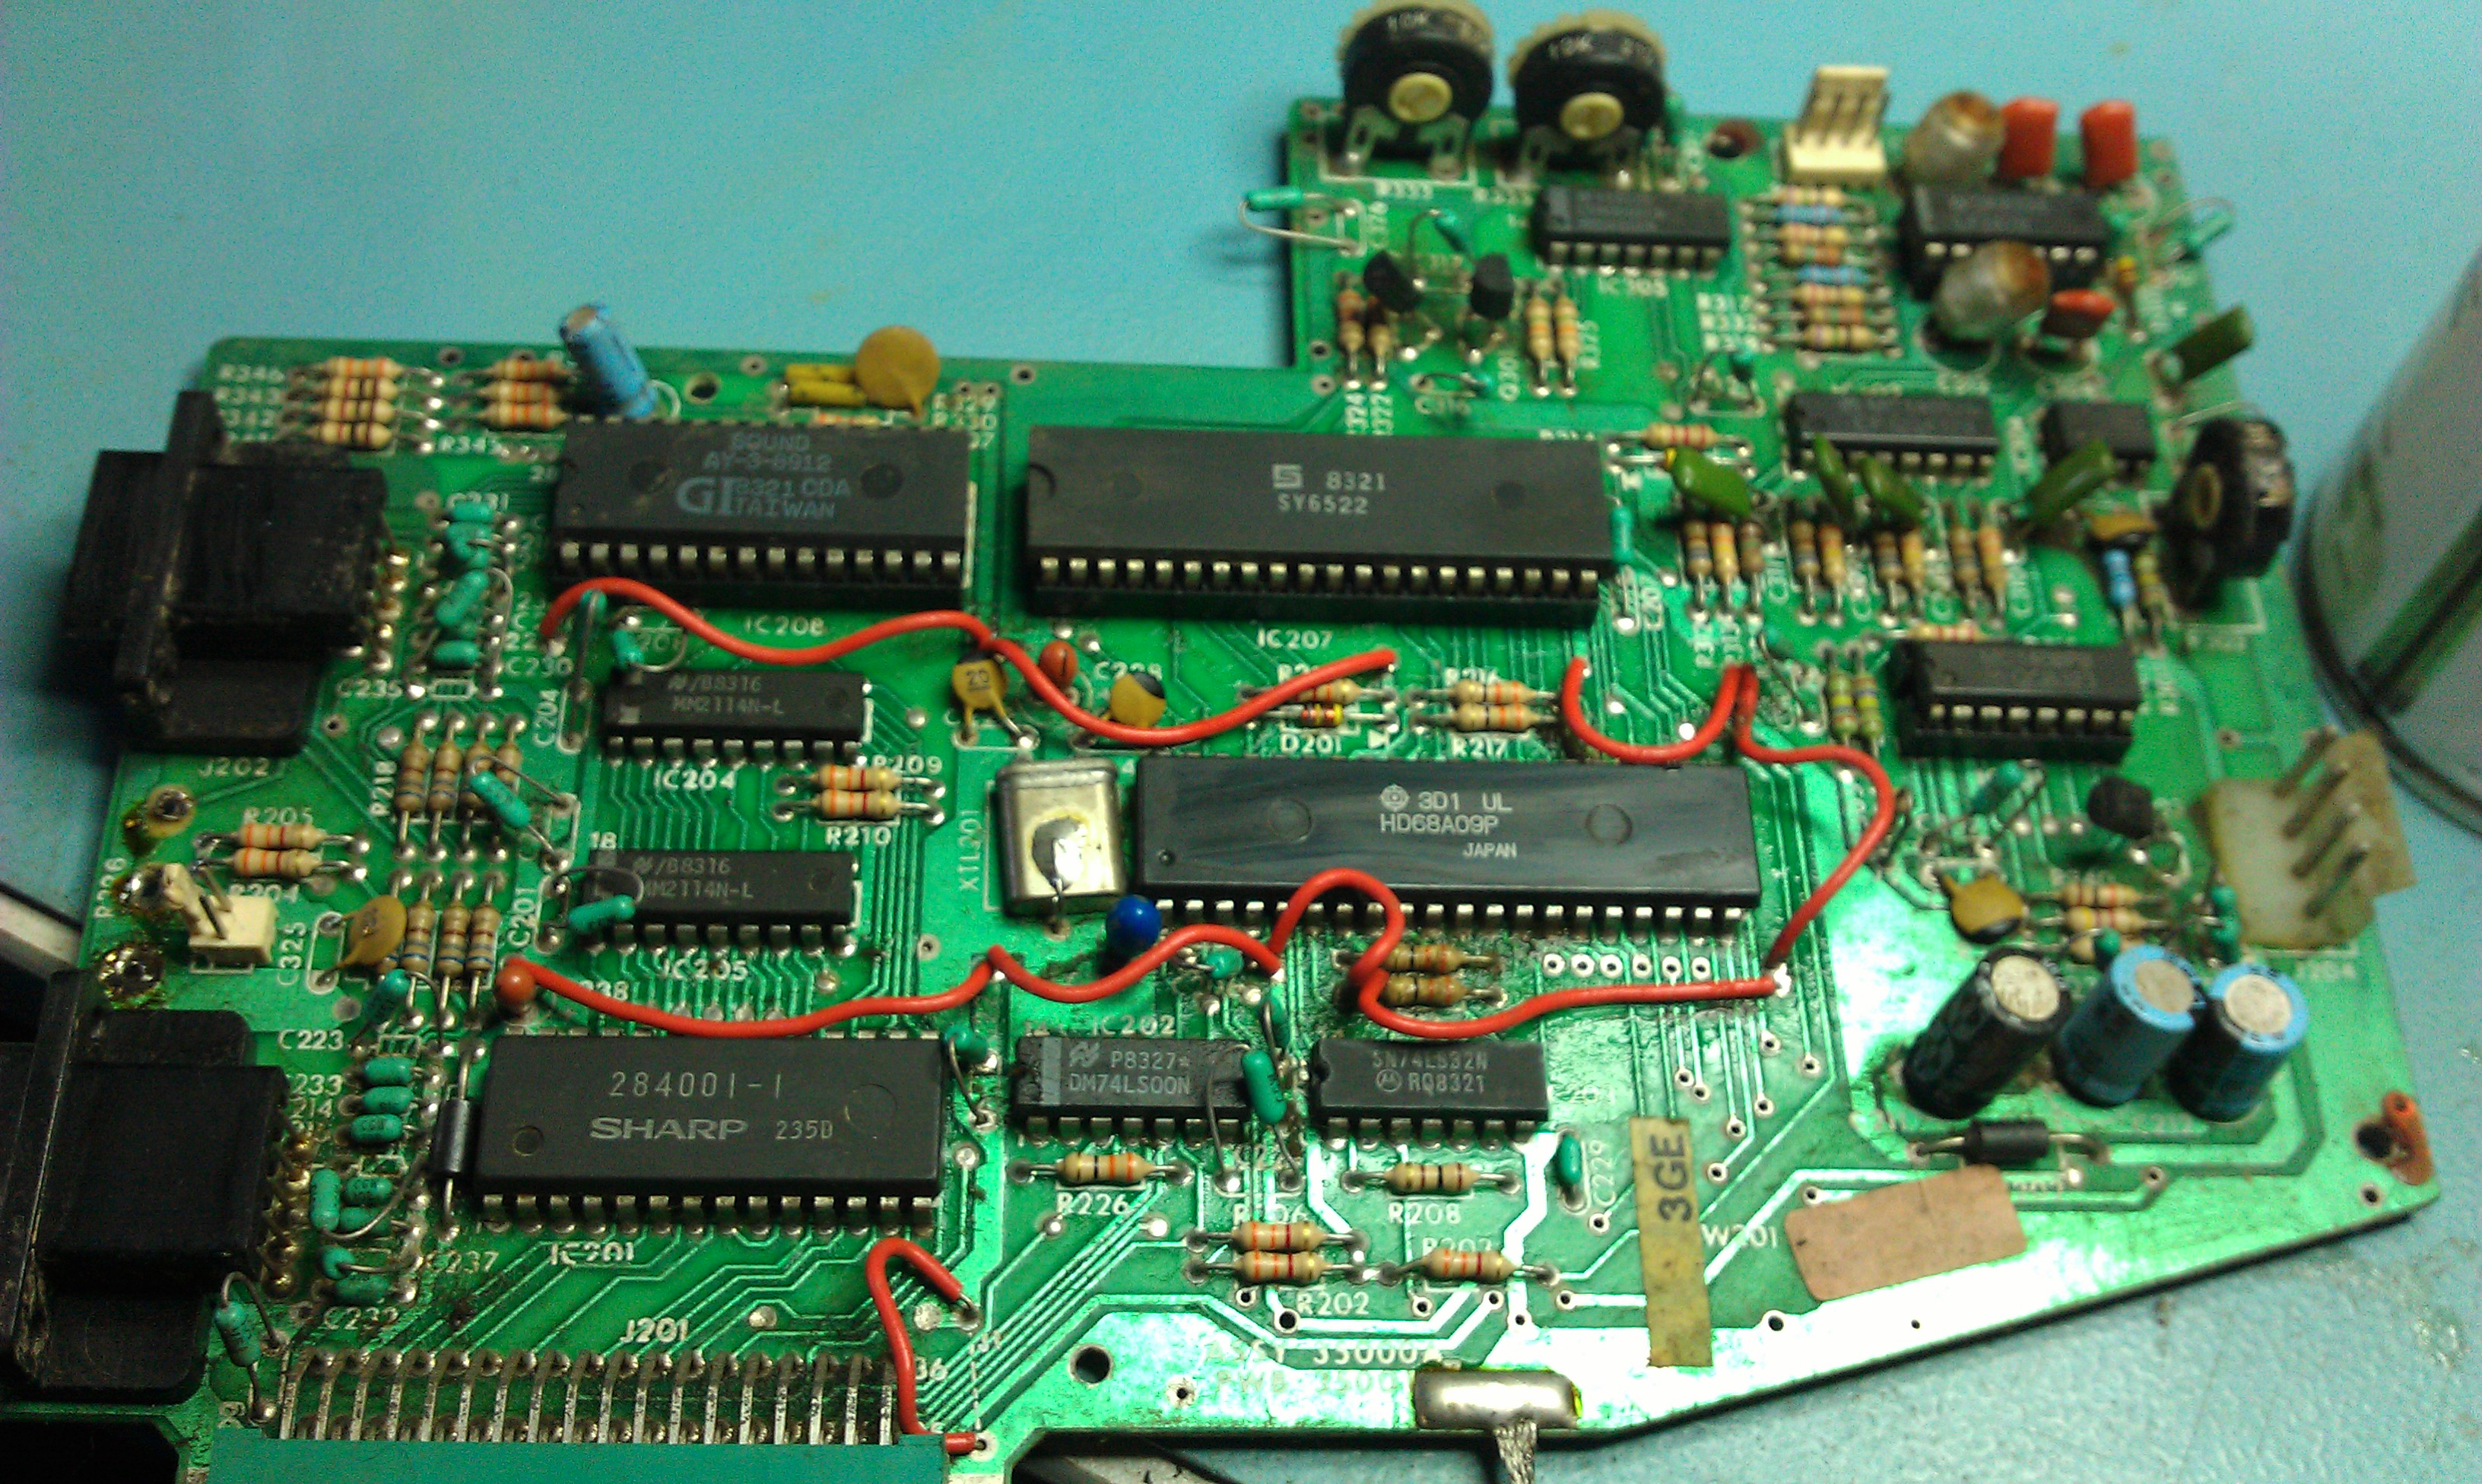
In the mean time I set about cleaning this logic board down.

Whilst the board was out I tested the on/off/volume pot, this checked out OK (but more on that later).

So a few days later the transformer arrived and I went about fitting it. Once everything was in position to test I fired it up and…….nothing!
Turns out my on/off/volume pot is a little temperamental on one of the power lines and will occasionally give a poor connection causing the voltage to drop to around 4v. As a temporary fix Ive hardwired the line in the ON position and am using the plug as a means of turning it on and off. As Im unable to find a suitable replacement for this switch I will probably add a DTSP switch at some point in the future to control the ON/OFF function.

So now Ive got a booting Vectrex with sound.
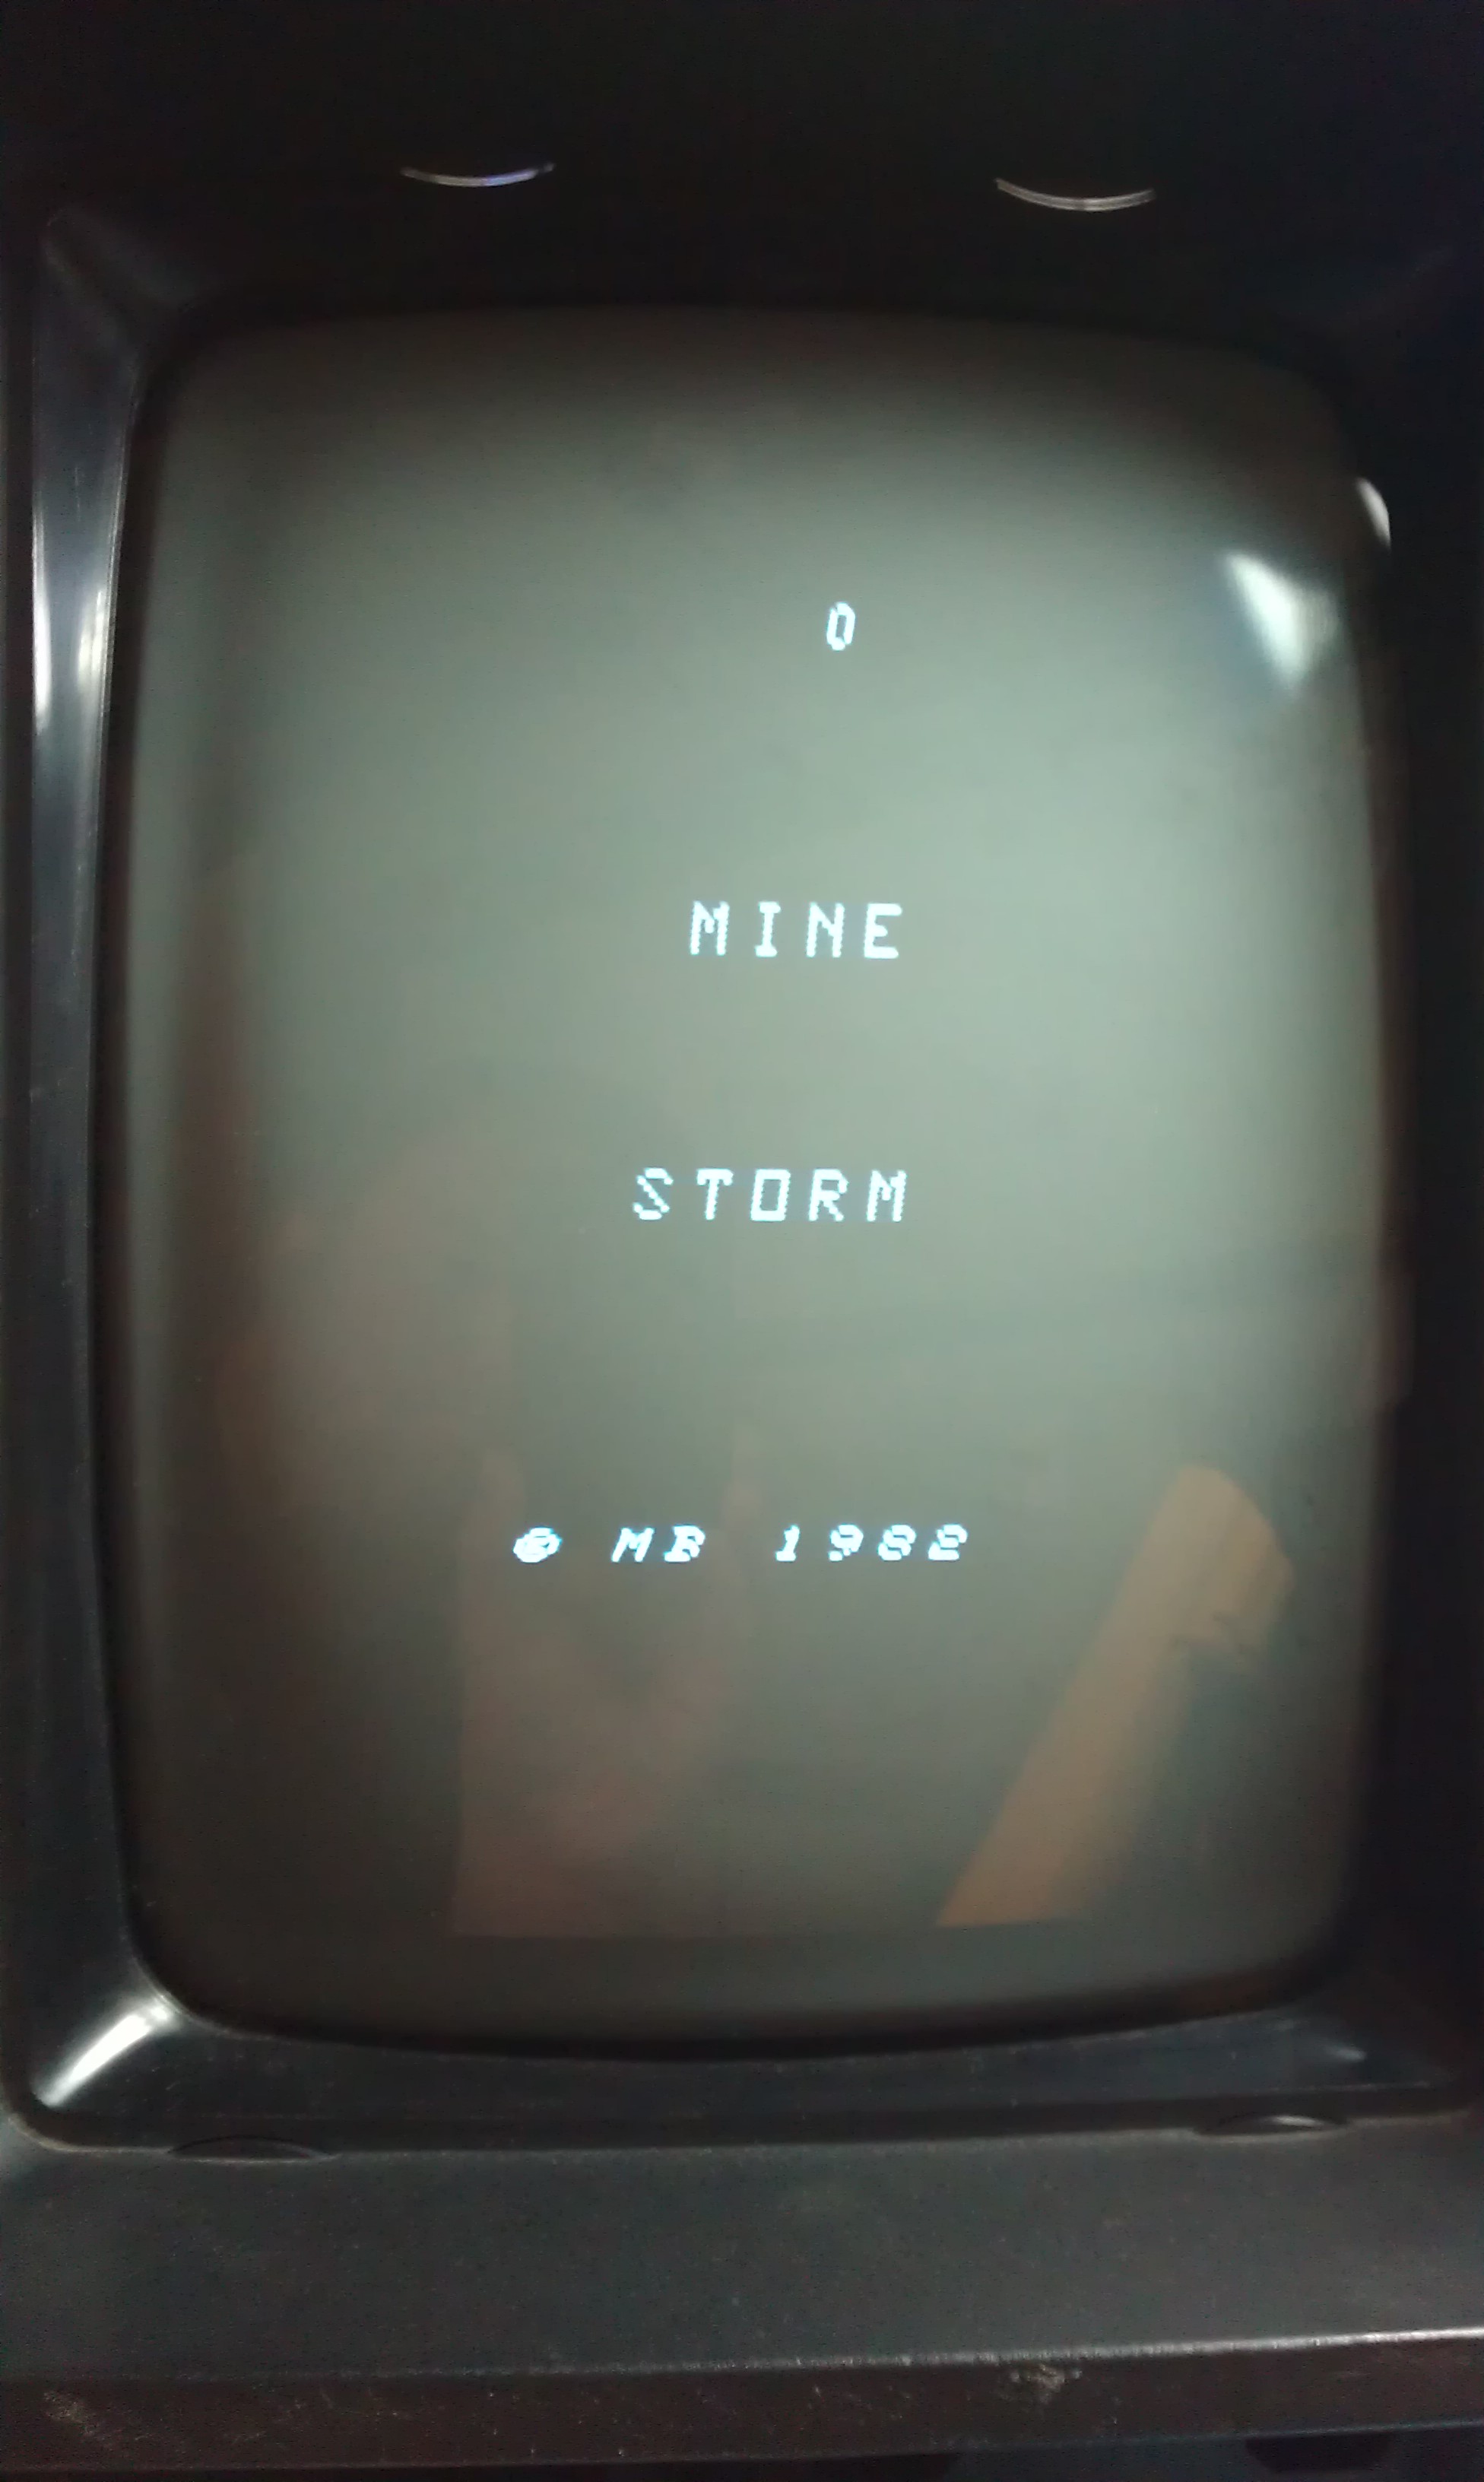
Another problem now. It boots straight into the Mine Storm game that’s built in.

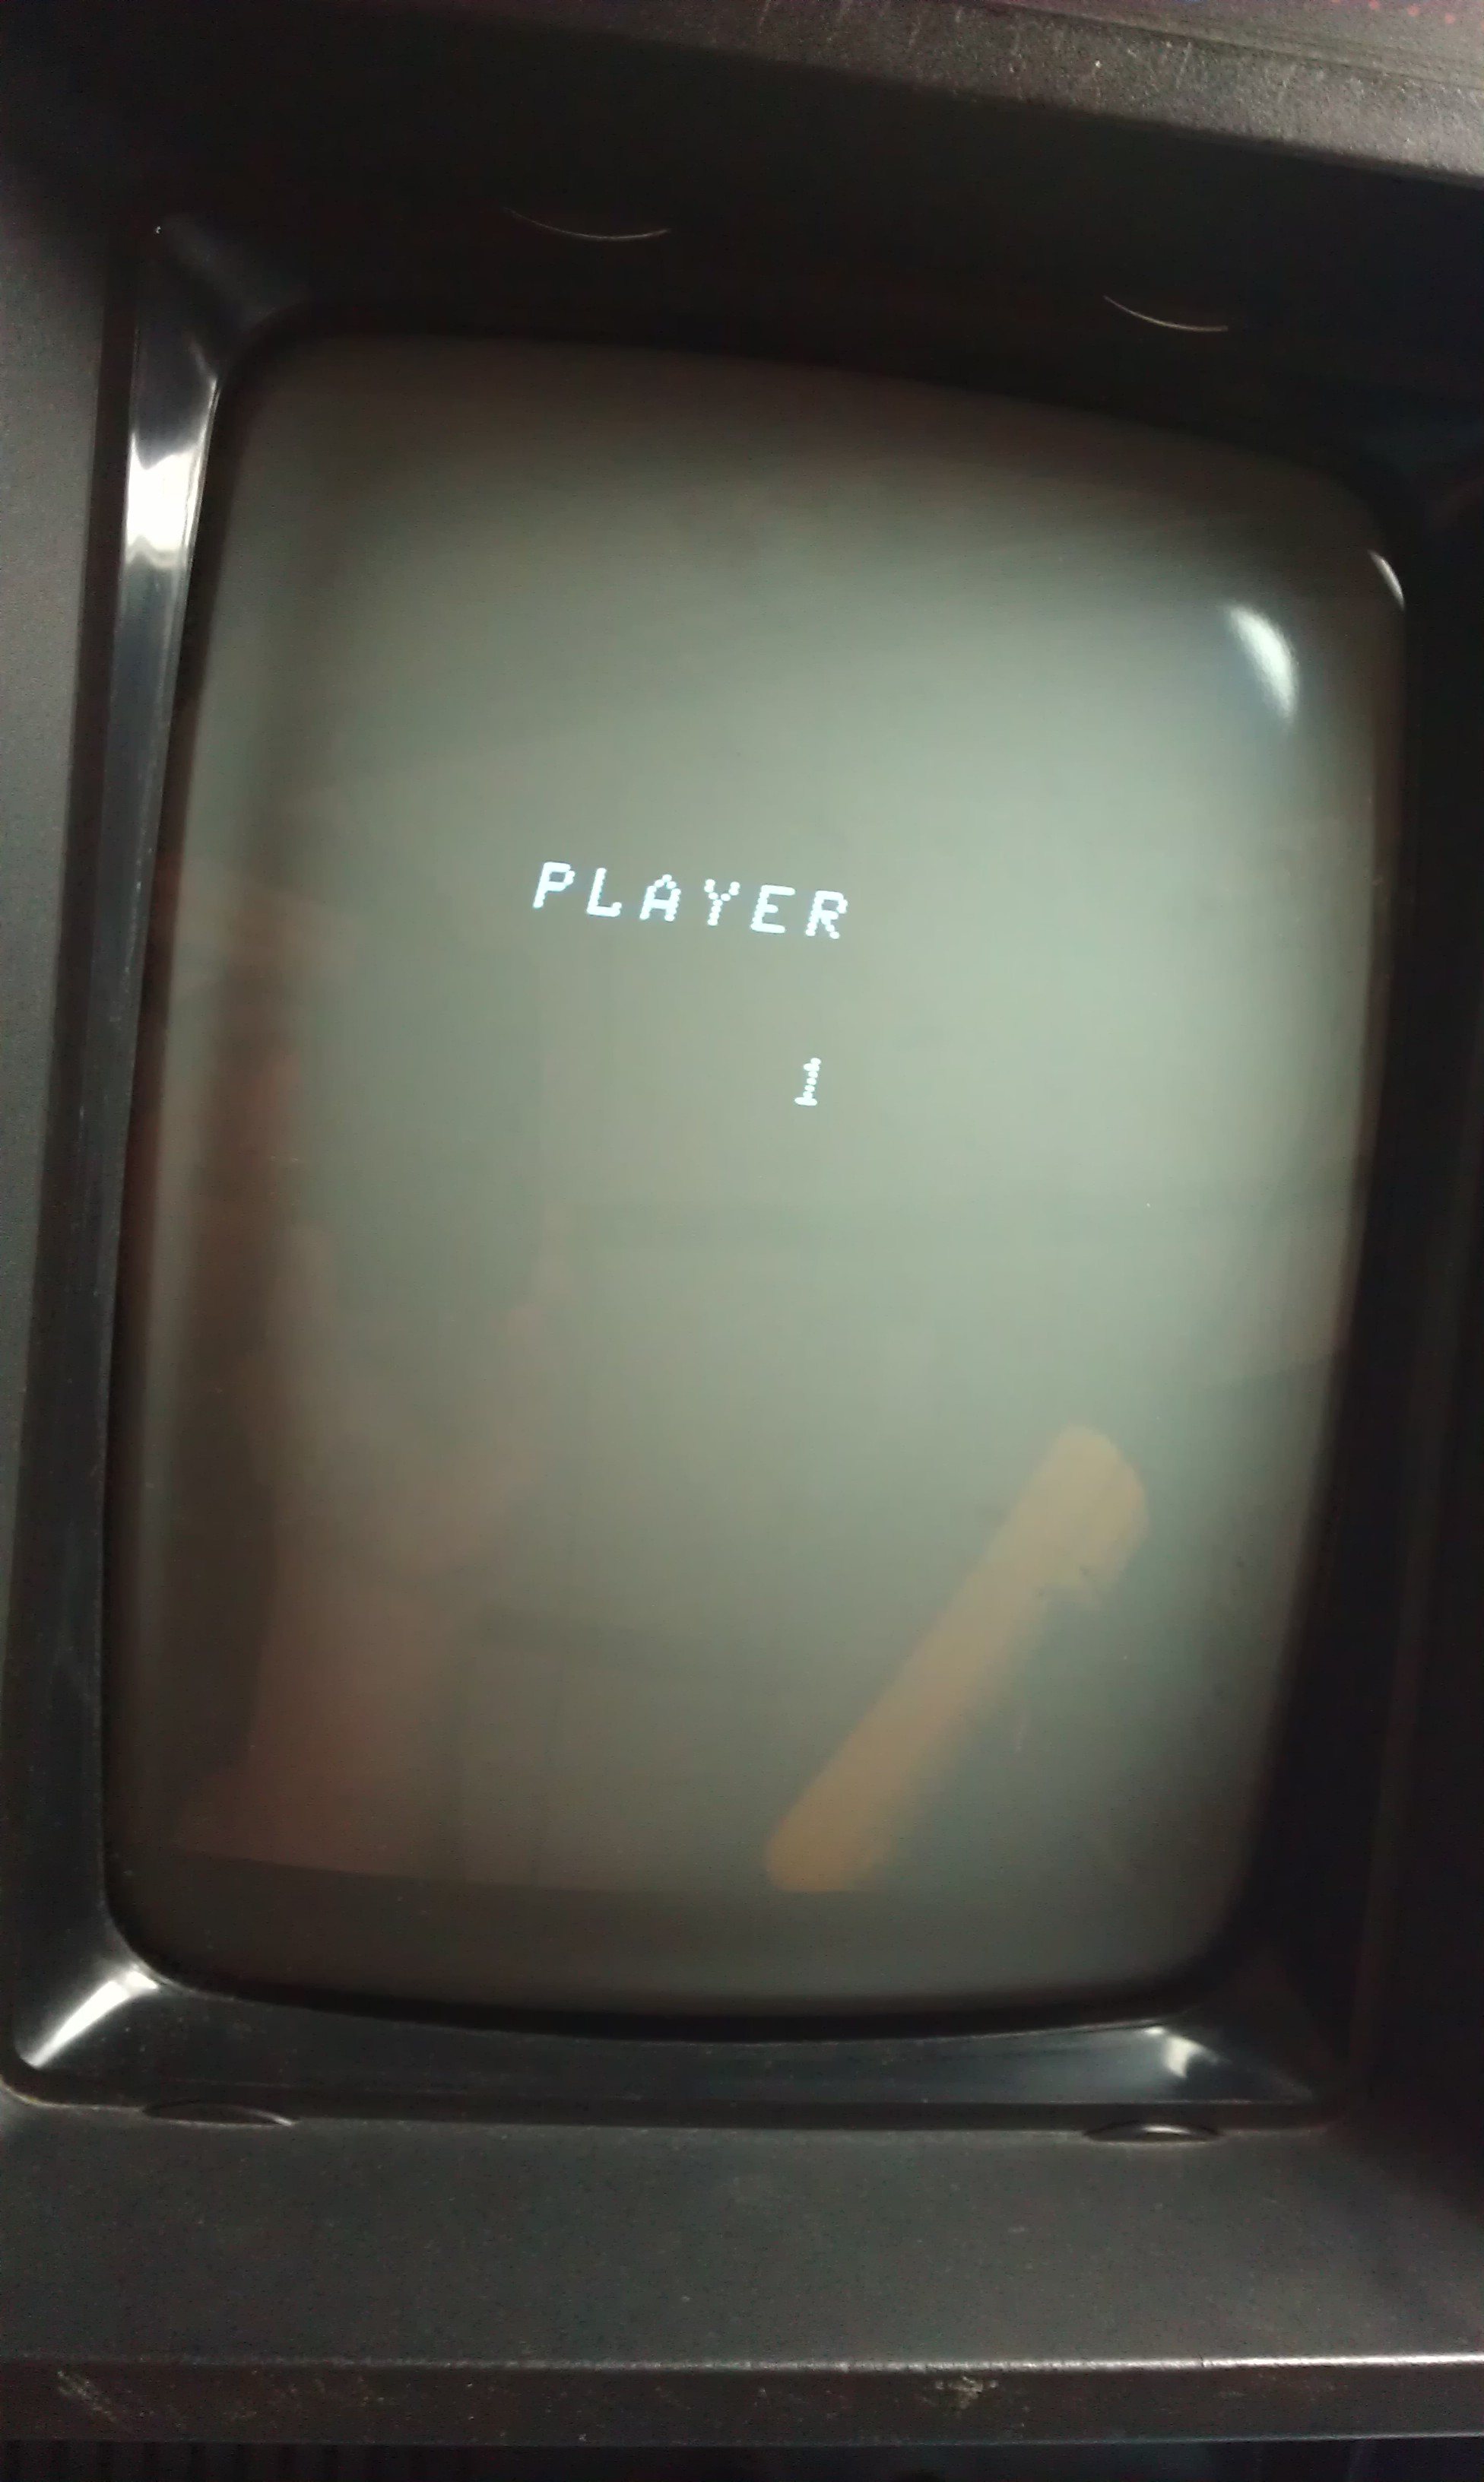
I know for a fact that there is a Vectrex boot screen that should appear first. The game also doesn’t respond to any of the controls and it locks up when it displays “PLAYER 1”

Looking at the schematics that are floating around it looked like the sound chip is also responsible for dealing with the controls.
The chip in question is an AY-3-8912. This chip is socketed so removed it and fired it up.

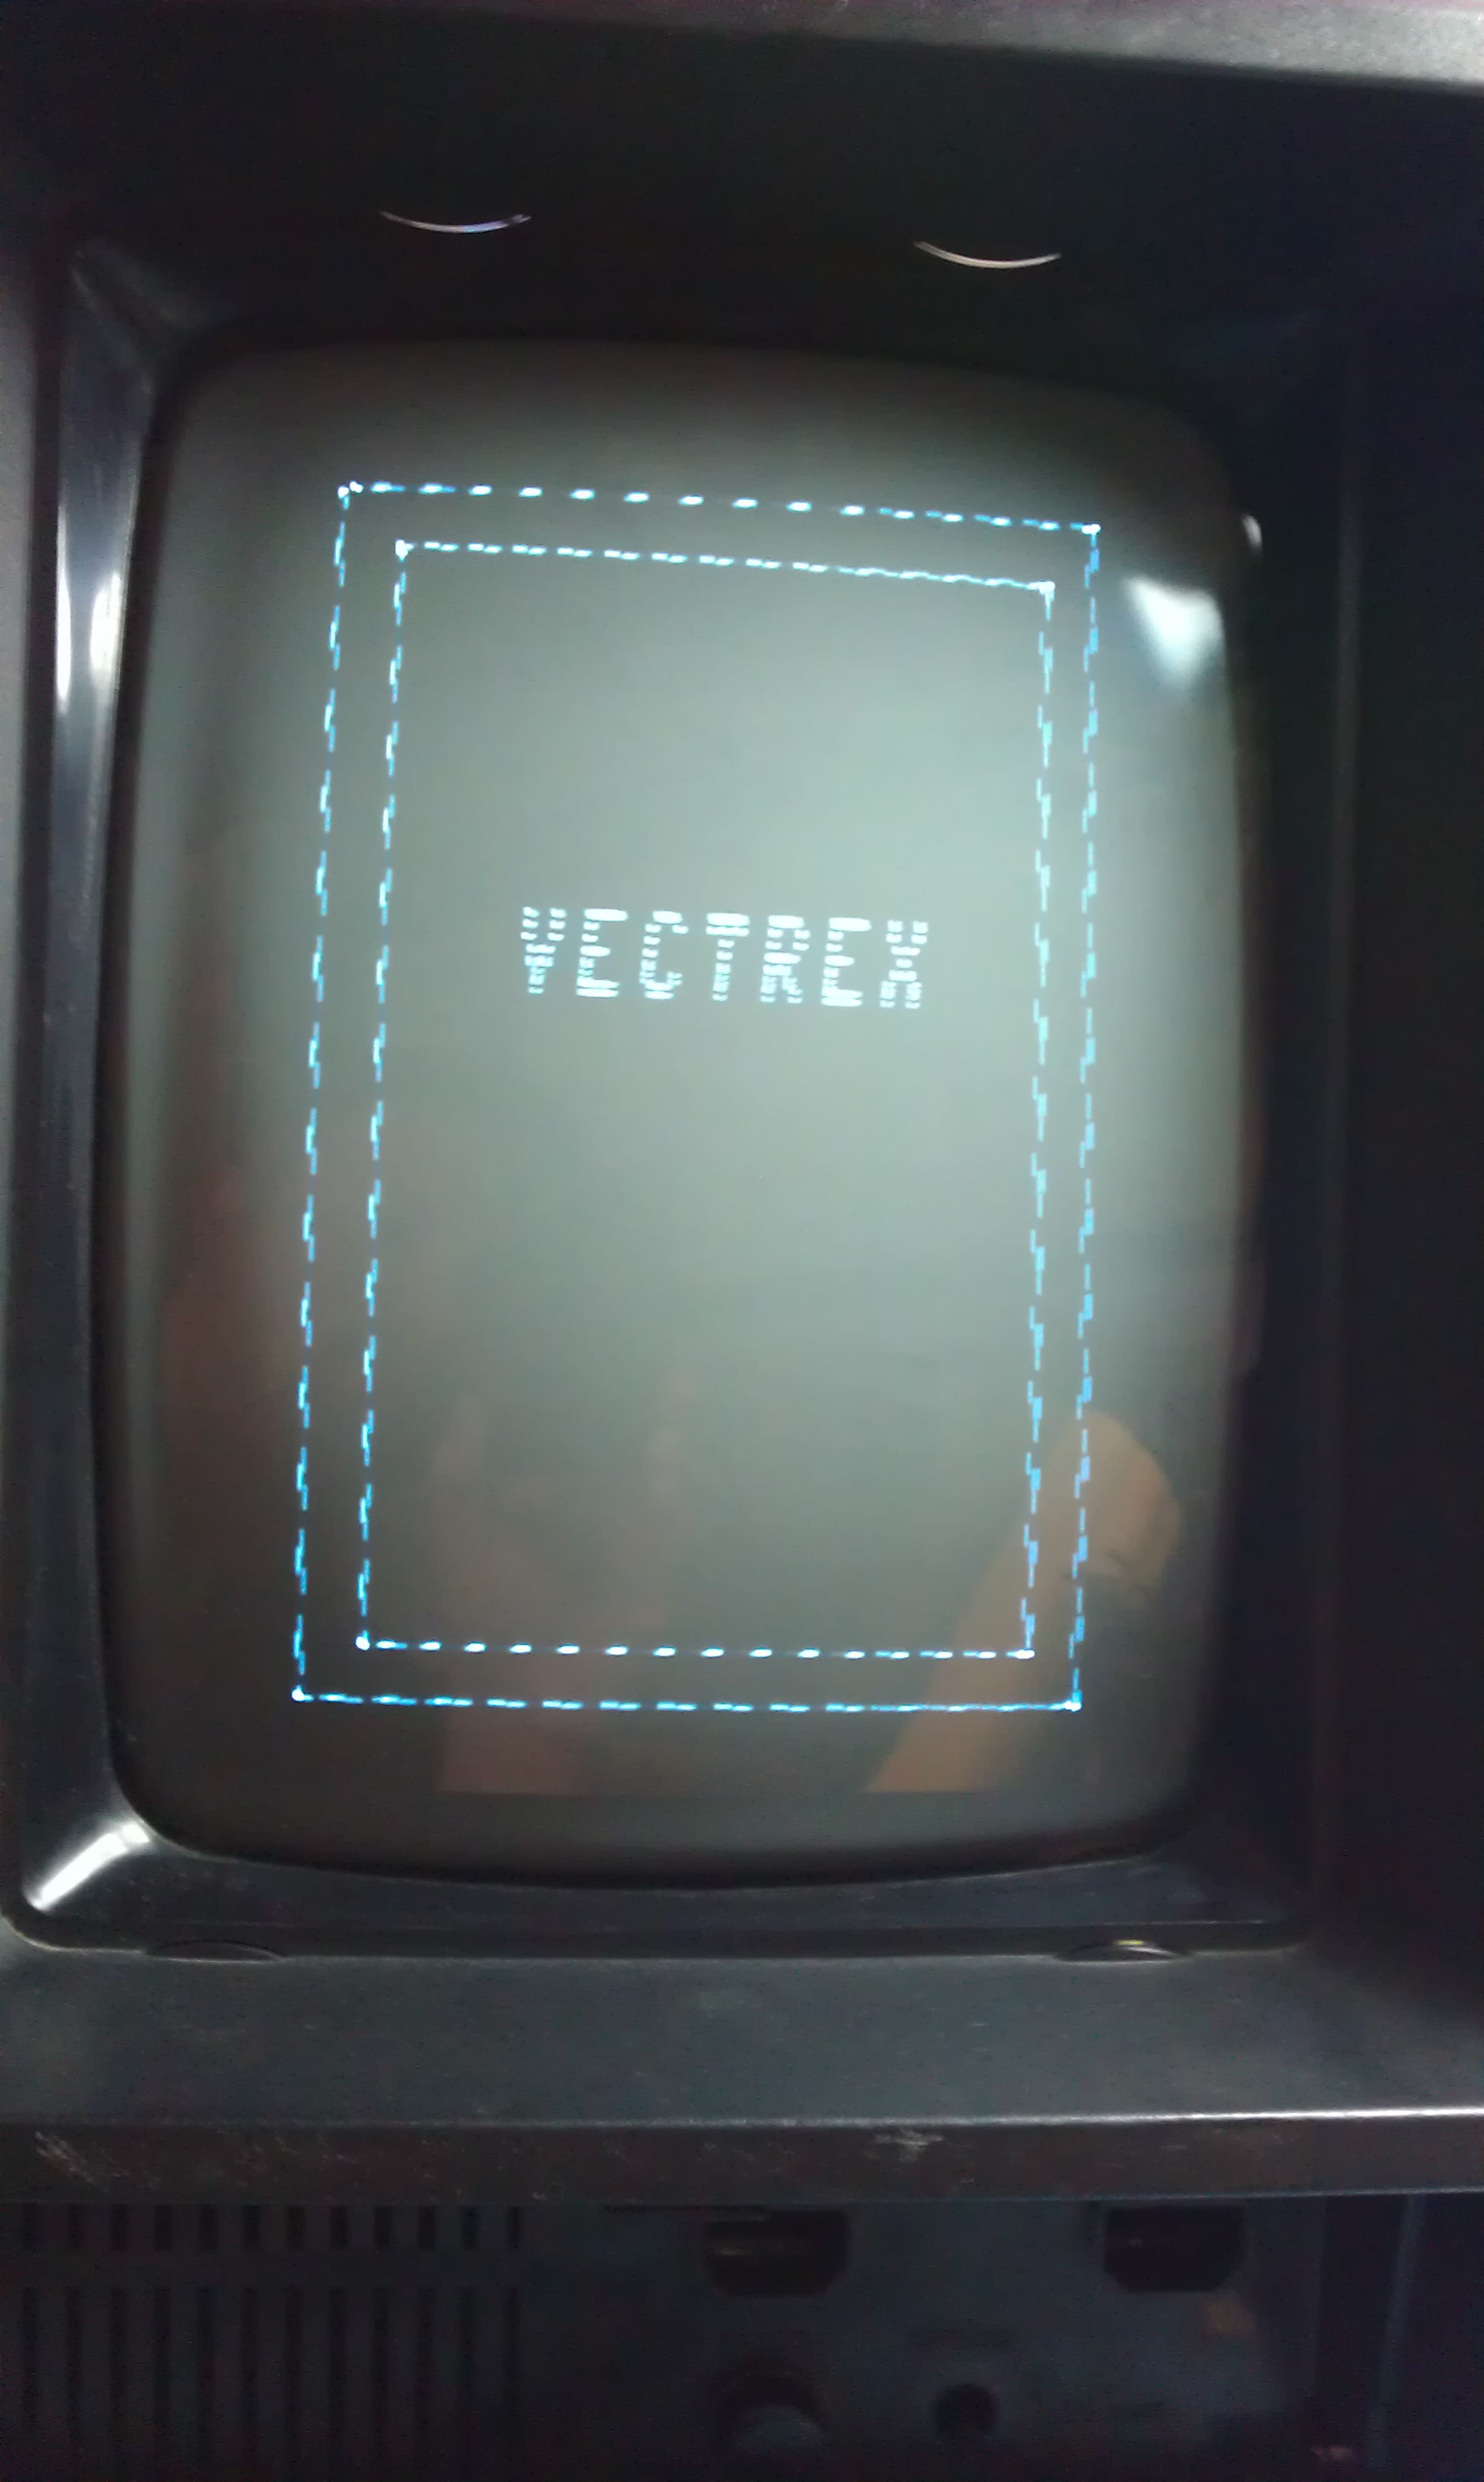
The Vectrex logo is back but I have no replacement chip to use in this yet so that’s where this log will end for now.
I’m positive that’s the only problem left now so will try find a replacement chip somewhere.

Thanks to Phu from the RetroComputerMuseum for his advice. His knowledge on the Vectrex is unsurpassed.

 Posted by at 1:11 pm
Apr 122012
 

Ive had this board for absolutely ages and originally never bothered trying to repair it as the game is rubbish(IMO).
Since then I forgot all about it until yesterday when I was having a clear out of old boards. So today I thought id have a go at fixing it up.

It had a few issues.
First, the graphics had jailbar lines through them
Second, the colour palette was wrong
Third, the pad at the edge connector for Speaker+ was completely missing

I removed the smaller sound board from the top and started looking into the jailbars.

Jailbars are quite often a sign of a dodgy ROM. These disappeared when I touched the back end of the board. I narrowed it down to a ROM marked “2”.

Simply pulling it and reseating fixed this problem.

On to the palette issue.

There are quite a few PROM’s on this board that are responsible for the colour tables, if one of these was gone I probably wouldn’t have bothered fixing it as they are becoming super rare and expensive. As it happens I traced the fault back to the two TMM2015 palette RAM chips.

The both looked fine on the scope so I had to pull the pair of them. Sure enough one was faulty. Replacing this fixed all the graphics problems.

There isn’t a great deal I can do about the missing pad at the edge connector. I’ve currently got a flying lead soldered onto my test rig connector.
I will probably end up soldering a 2×28 way connector onto the original edge, run a wire from the sound output to the new connector and fit one of those small finger boards.

The game is still rubbish though!

 Posted by at 6:04 pm

Decrypting my own CPS2 ROM’s

 General  Comments Off on Decrypting my own CPS2 ROM’s
Apr 012012
 

Ive been messing around, on and off, with decrypting these a while now. Basically I wanted the ROM’s as standard as I could get. No mini menu and no other hidden changes. I also wanted to keep the board region the same and there are some blanks in the Phoenix sets created by Razoola.

Using MAME to save the DASM from a non decrypted set I then made a program to convert that DASM back into binary format.
Once I had this I then added some extra functionality to my program to compare 2 different regions of the same ROM set. Where the data matched on both ROM’s is the unencrypted data and when this happened I replaced the data in my first binary file with the unencrypted data from this comparison.

At this point I know have an unencrypted, unmolested ROM (almost).
There are a couple of points in the original ROM’s which match but are in fact encrypted. I will cover these later on.

As per instructions from Razoola himself at the CPS2Shock website. The ROM must now be patched so all read/writes to the region 0x400000 – 0x40000a are changed to 0xFFFFF0 – 0xFFFFFA. The self test routines must also be patched not to clear this region. Both are pretty easy to do using the MAME debugger to find the areas.

My first conversion was for the Japan version of 1944. When I got to this point and tested in an emulator, I received this message

If 1944 this area is different depending on the region so my simple program treated it as encrypted data resulting in it reading the region code from an incorrect address.
This area is located at address $C2. if the word is set to #$0000 this is the Japan region code. I think #$0002 is for USA but not sure what others are.
I don’t think this region setting affects game play but it does change the language used, especially in the test menus.
As I wanted to keep this as standard as possible I chose to keep the menu in Japanese.

One other thing is that the ROM tests in the test menu will fail. This is caused by invalidating the checksum when patching the ROM. I have also changed the checksum number accordingly to comply with the actual checksum calculated and now the tests pass. The checksum data is held at address $D0. The two address following this in 1944 are also checksum values for the other 2 ROM’s.

There were a couple more instances of my data being wrong and causing crashes but they were soon found by comparing against the genuine game.
Ive tested my ROM on the real hardware and it works just fine from start to finish

 Posted by at 11:51 am