Aug 212022
 

Figured as I don’t do much in the way of repairs anymore I would post about any PAL news I may have.
I’ve done too much over the last couple of years to really capture here but all of the PLD files we have have now been moved to the wiki at https://wiki.pldarchive.co.uk/ so get yourself over there if you haven’t already and check it out. It covers PLD files of any sort and for any application so if you have any you are willing to share them please get in touch.

So todays news is I have successfully recreated and tested the final two missing PAL16R8 devices from Crude Buster. These were the final two that we didn’t already have so that’s a full set available now.

CRUDE BUSTER ENTRY HERE

 Posted by at 2:51 pm

Phoenix & Pleiades High Score Save Kit files

 General  Comments Off on Phoenix & Pleiades High Score Save Kit files
May 062022
 

Phil Murray has very generously released all his files for his High Score Save Kits for Phoenix and Pleiades.
The archives contain all the gerbers, source code files and compiled files needed to make these up.
The files can be found at the following places on the PLD Archive wiki
Phoenix
Pleiades

If you use these files and enjoy them please consider sending Phil a thank you or a donation.

 Posted by at 1:26 pm
Oct 302021
 

I’ve worked on a few of these boards before so I knew straight away that I should be able to access the components side on both PCB’s when it is all screwed together but on this board set the video PCB was showing solder side out.
This doesn’t necessarily cause damage if powered up but its obviously not going to work either.
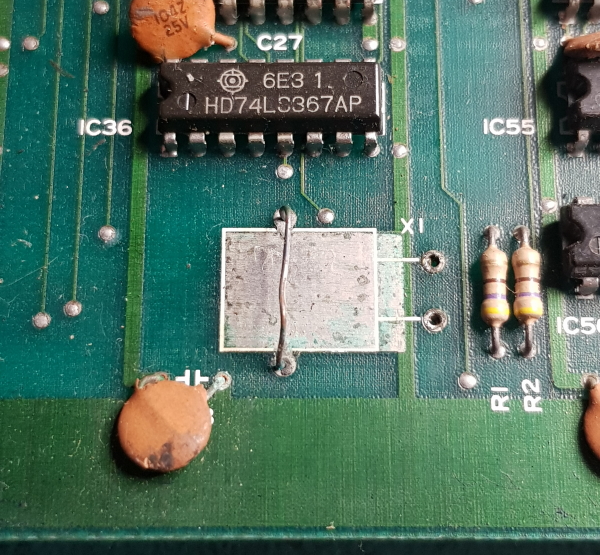
I switched it back around and when I did I noticed that the crystal on the video PCB was completely missing.

I had a spare 12 MHz crystal so I fitted that. Without that crystal fitted you would get a blank screen.
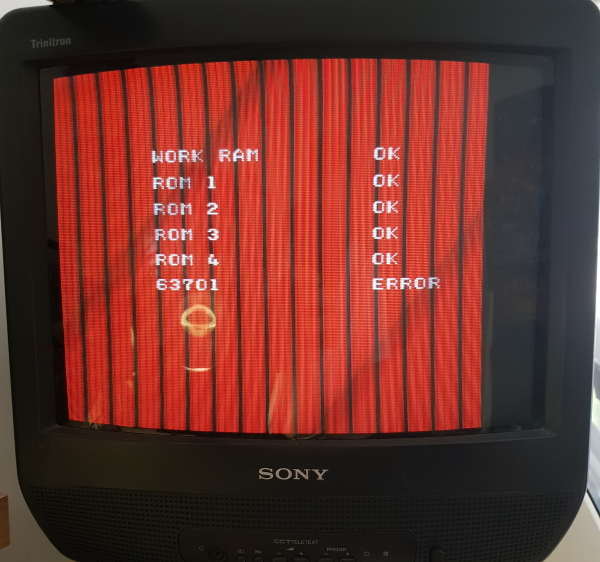
I tested the game and it started it self test routine but failed on the 63701 with an “Error” and had some graphical issue too.

I had to hope the 63701 wasn’t actually at fault because that is an MCU with an internal ROM which I cannot replace easily.
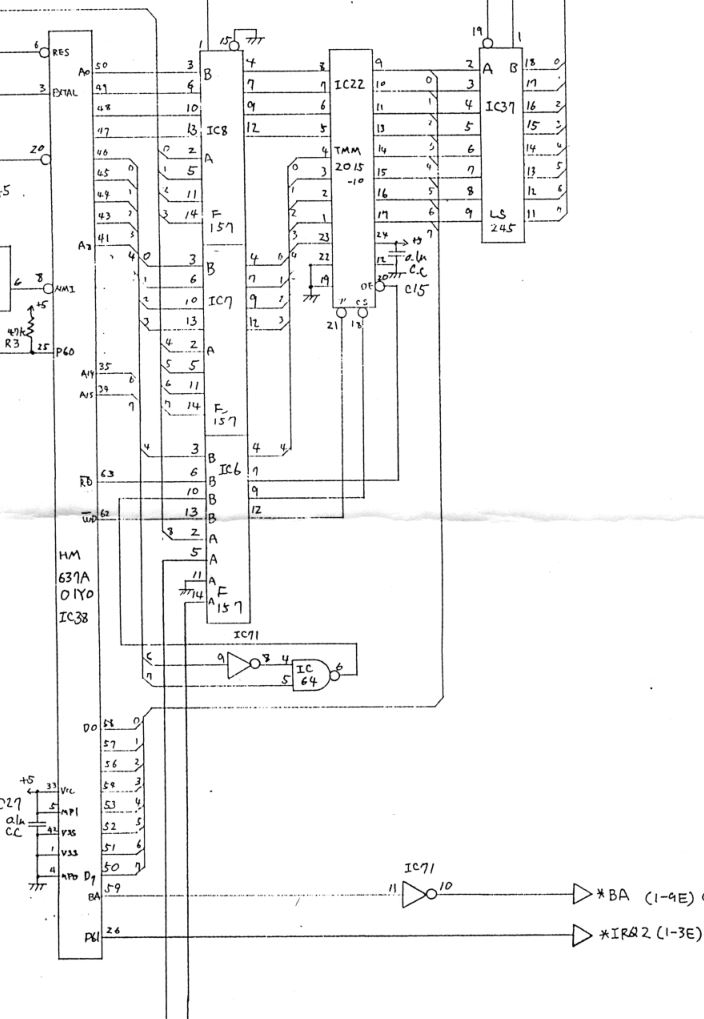
The way the self test works is the MCU does its own self test and when it is complete it puts a value of 0x84 into the shared RAM at location IC22. The main CPU them reads this value when it is ready to and compares it to 0x84. If this doesn’t match then we get an error.
Looking at the schematics we see where the RAM is

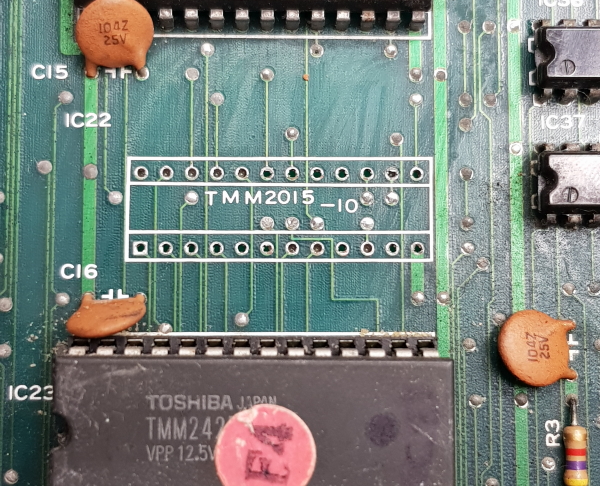
I desoldered the RAM at IC22 and it failed an out of circuit test.

Replacing it cleared this error and allowed the game to boot.

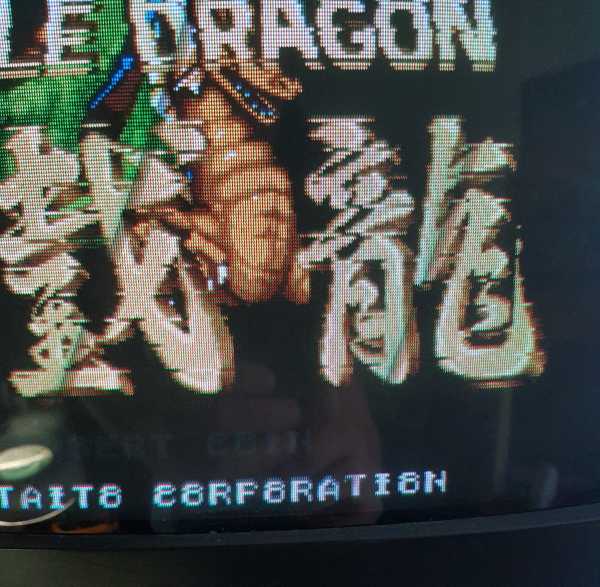
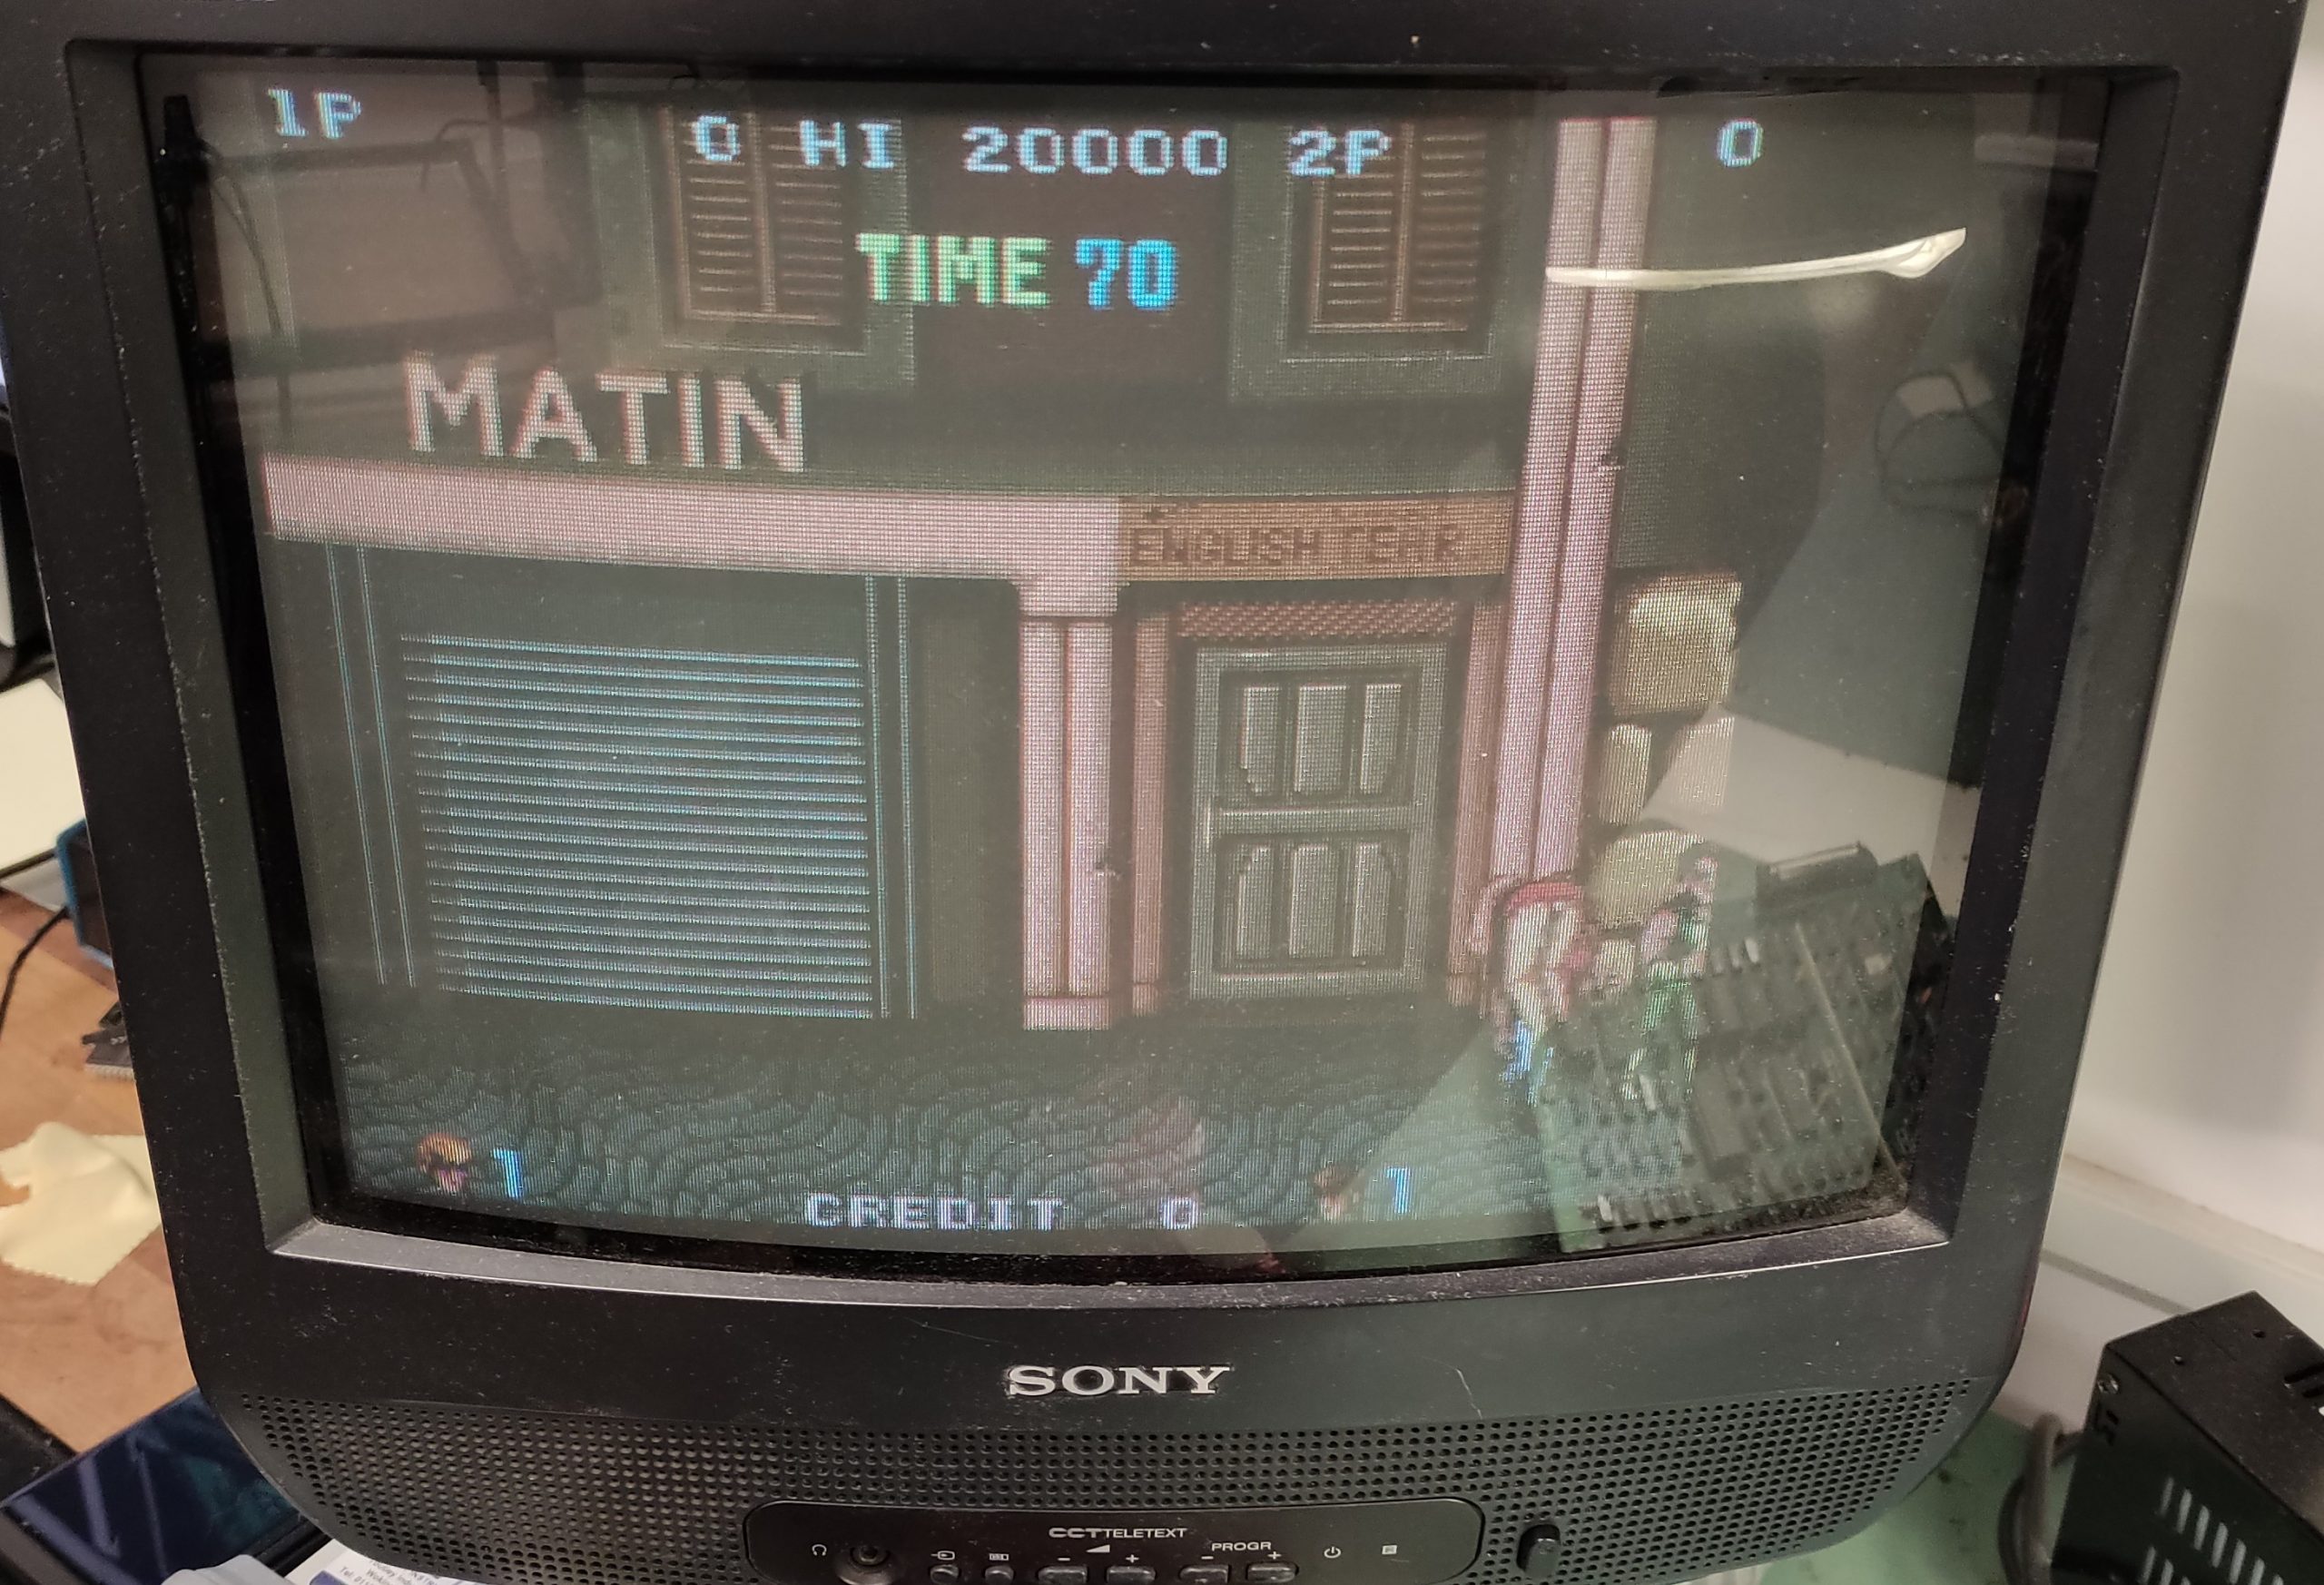
Straight away I could see that sometimes there was a problem with the characters.

When they glitched so did the game title graphic too. It looked like they were being drawn twice overlapping each other. This led me to look for a counter issue, usually a 74LS161.

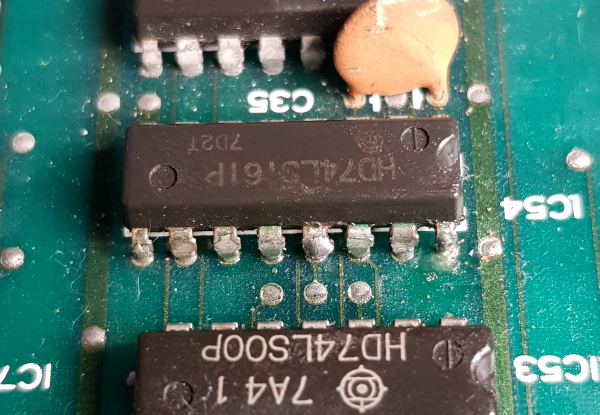
Following the VPOS signal on the schematics I came to some 74LS161’s. Found this one that has some excess solder on the legs. Touching this while the game was running cleared the issue so I just replaced it and the issue was fixed.

Now on to the remaining sprite issue.

Found 3 dead ROM’s on the video board which sorted all the graphics out when programmed up with the correct data.

 Posted by at 5:24 pm
Sep 292021
 

This version installs in 11J

Why a different version ?

  • Bootlegs have a space at at 14J but no socket, so this version simplifies testing.
  • The version I wrote for 14J won’t boot if 11J is bad, if that version fails to boot then you may have a bad rom at 11J

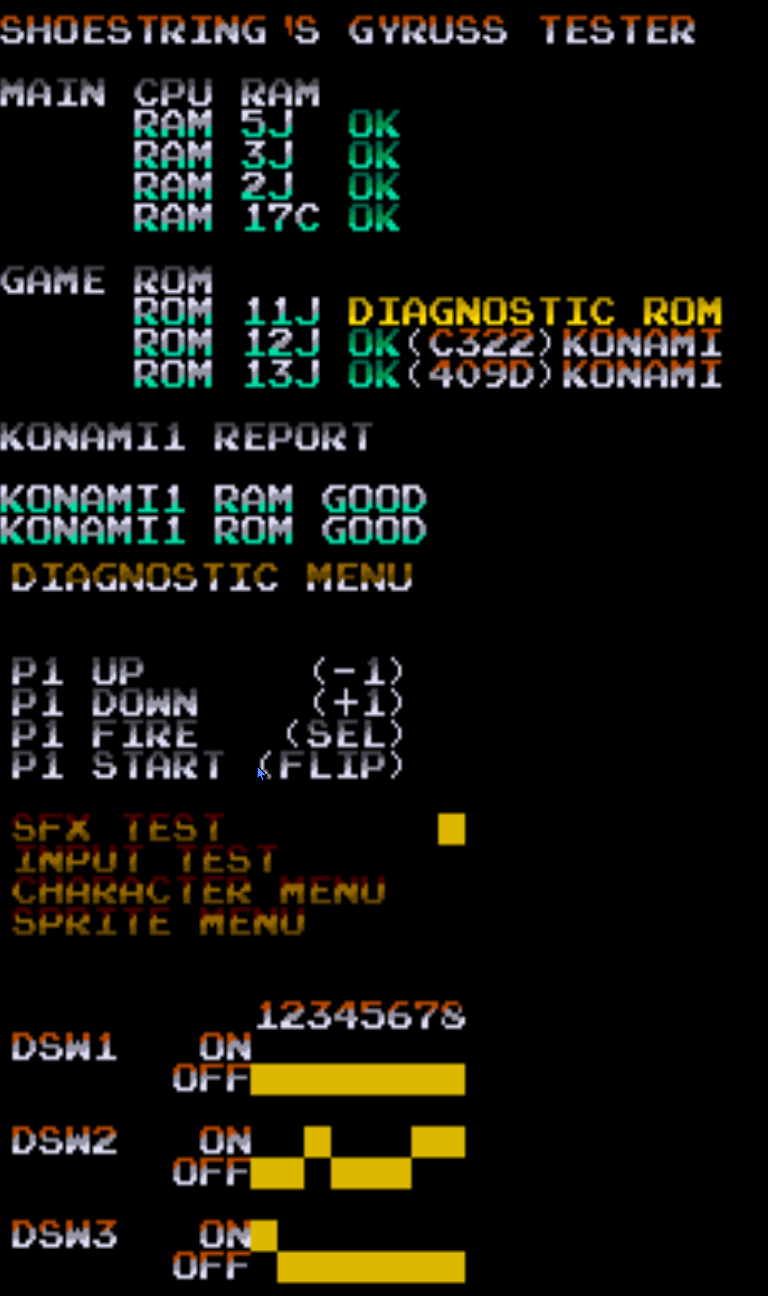
Diagnostic mode is still available via Player 2 Start + Reset

Differences

  • This version is only used for testing and won’t boot into the game once power up tests are complete.

Download link

gyruss-diag-alternate

Operation Wolf repair log #6

 PCB Repair Logs, Repair Logs  Comments Off on Operation Wolf repair log #6
Jul 252021
 

Got a familiar Operation Wolf PCB that I offered to look at for a friend.
I’ve had this board several time over its life and this new fault was “no sound”. The sound actually stopped working when the owner hit the start button but the game could still be played.
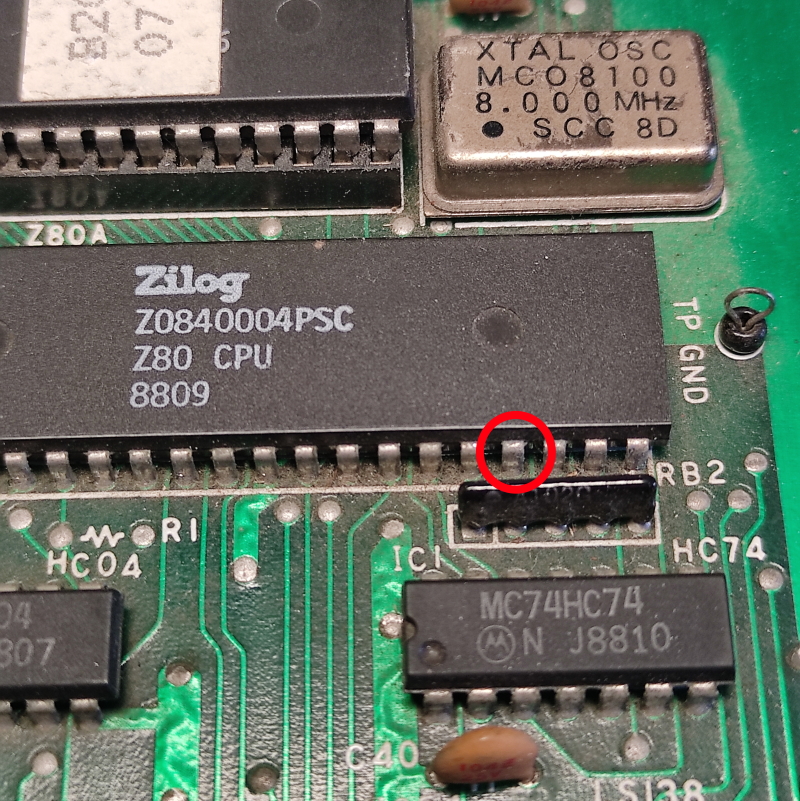
I found the fault really quickly. Starting at the CPU I checked all the signals on the Z80.
Everything was doing what it should be doing except for the /NMI pin (pin 17) which was stuck high all the time.

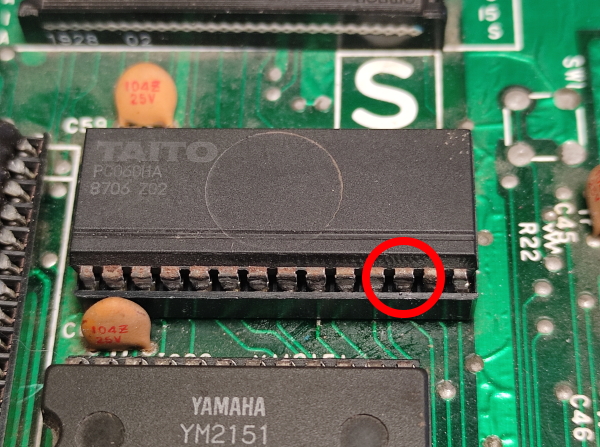
The NMI is used to signal to the sound CPU to start playing a sound. The signal is generated by the custom PC060 chip nearby on pin 12

I transplanted the custom from my Rainbow Islands PCB to test and the sound all came right back.
Here you can see and hear the /NMI pulse as a new sound plays

So now I’ve confirmed the device at fault what do I do for a replacement. I have no scrap boards with one available. Furrtek has recreated the operation of this device and Caius has made a CPLD replacement that uses this code.
I’ve recapped the sound section and Caius is sending me a replacement but for now I’m happy that this is working again.

 Posted by at 6:24 pm