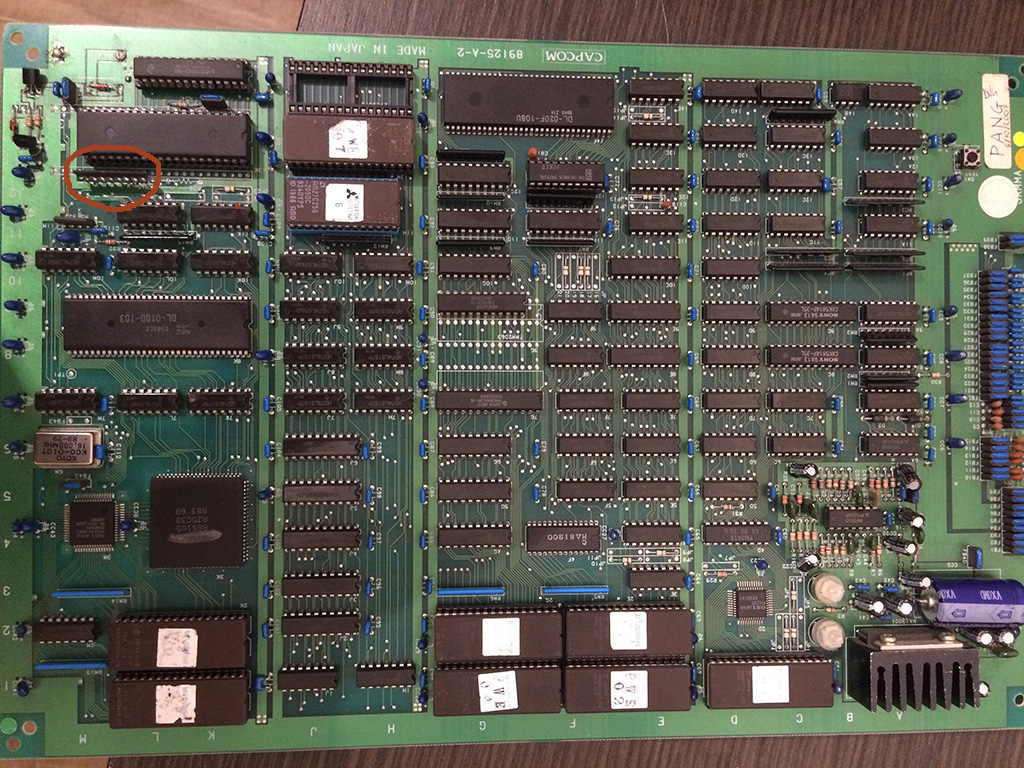
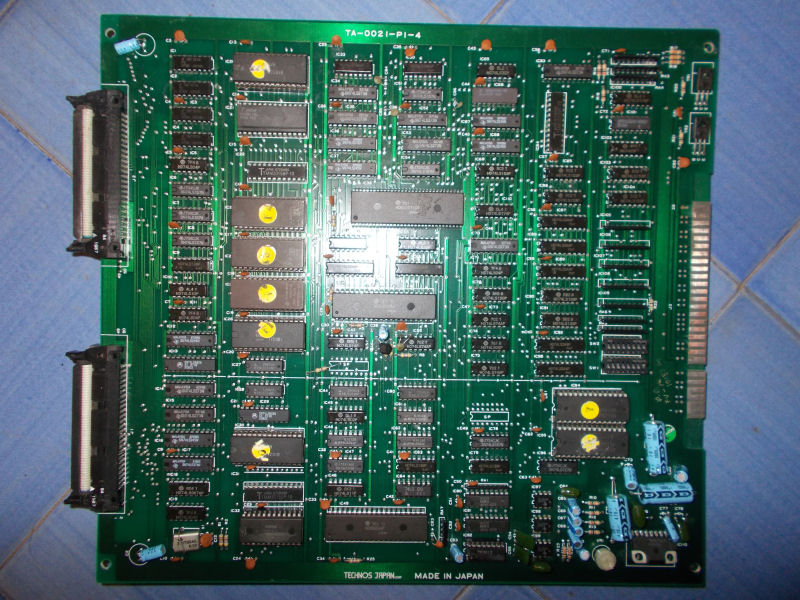
Got this game for a repair.
The pcb was missing one program rom and a graphic rom.
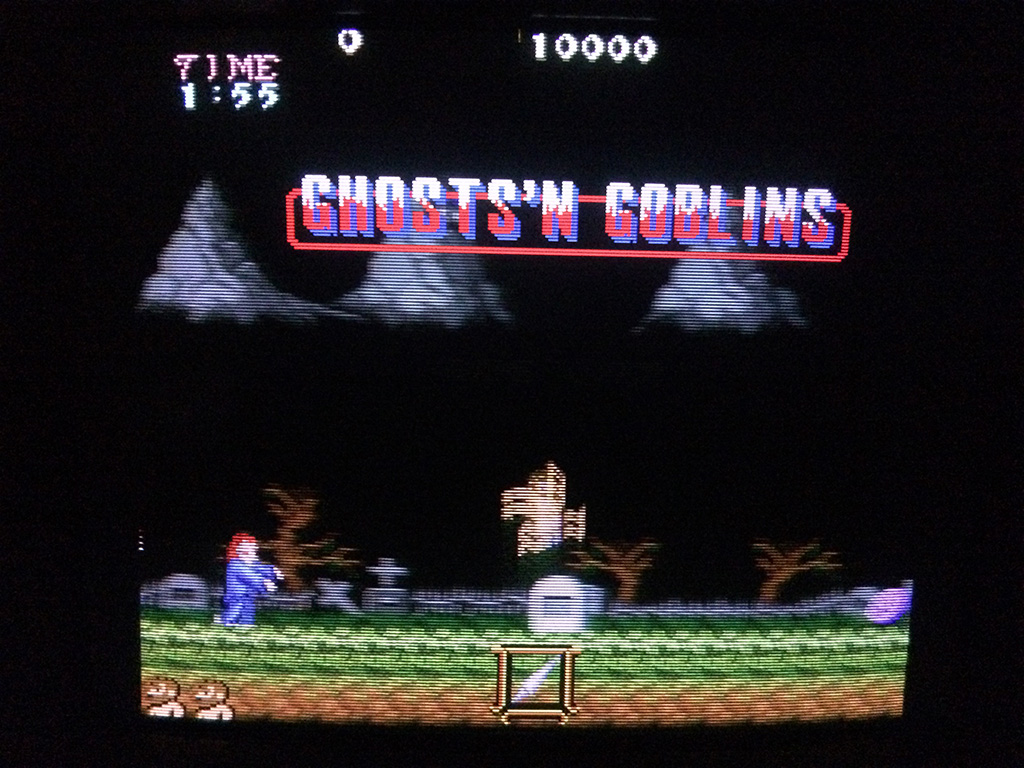
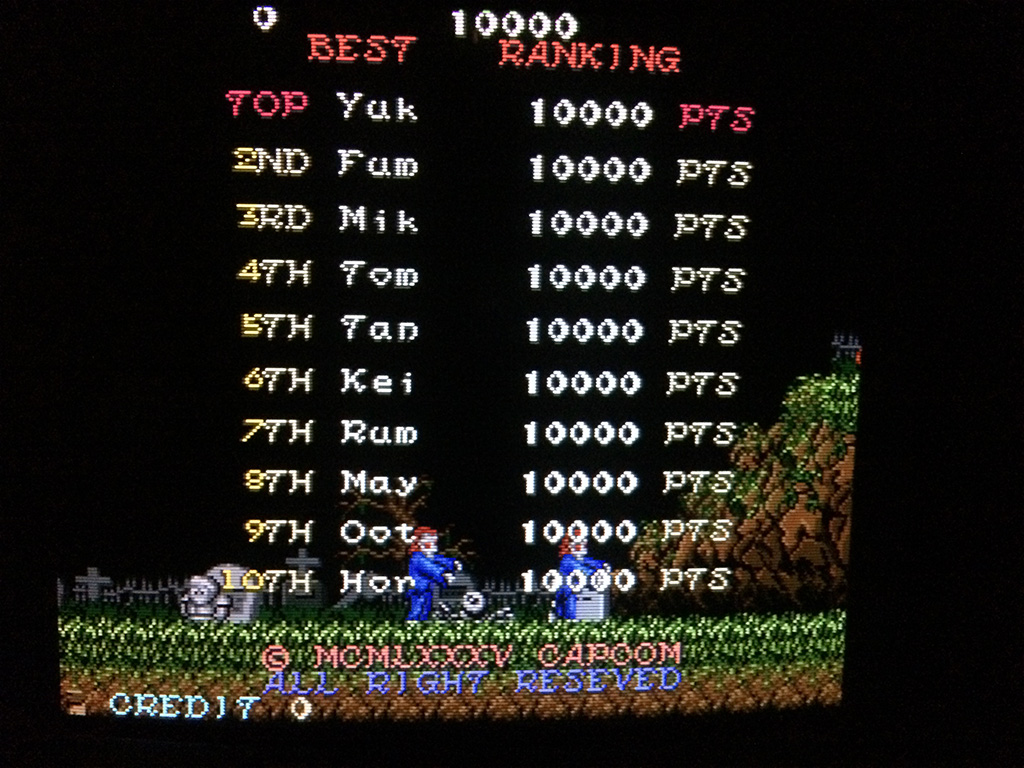
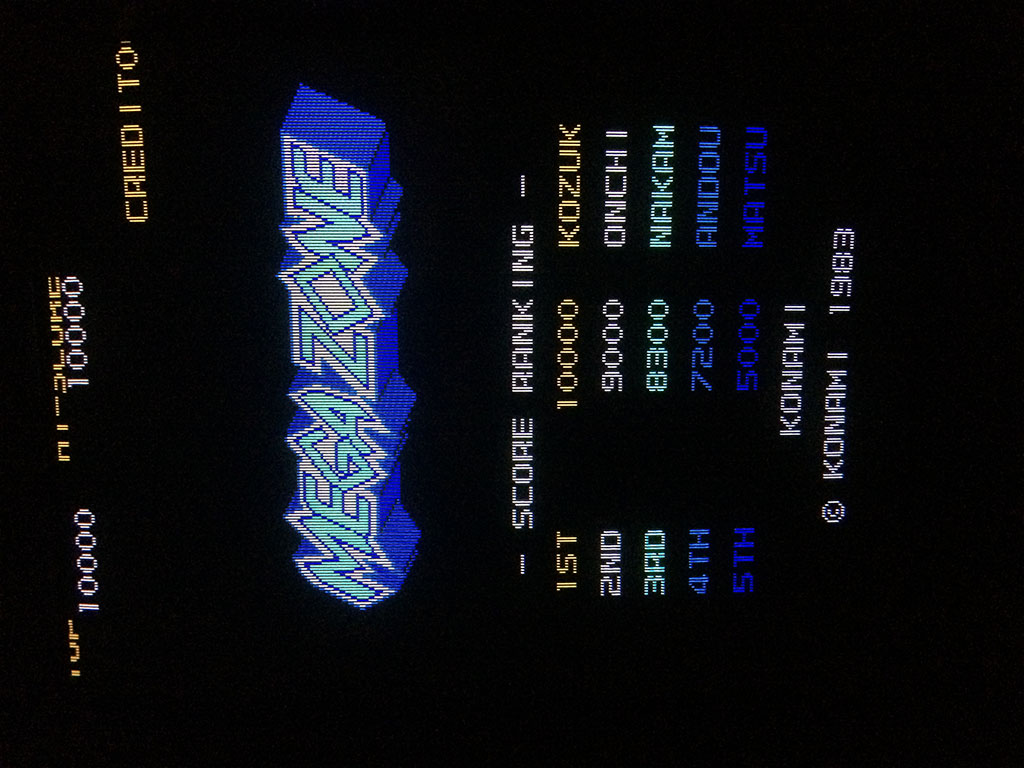
After checking which version was the game, I burned the correct eproms and I got this screen:
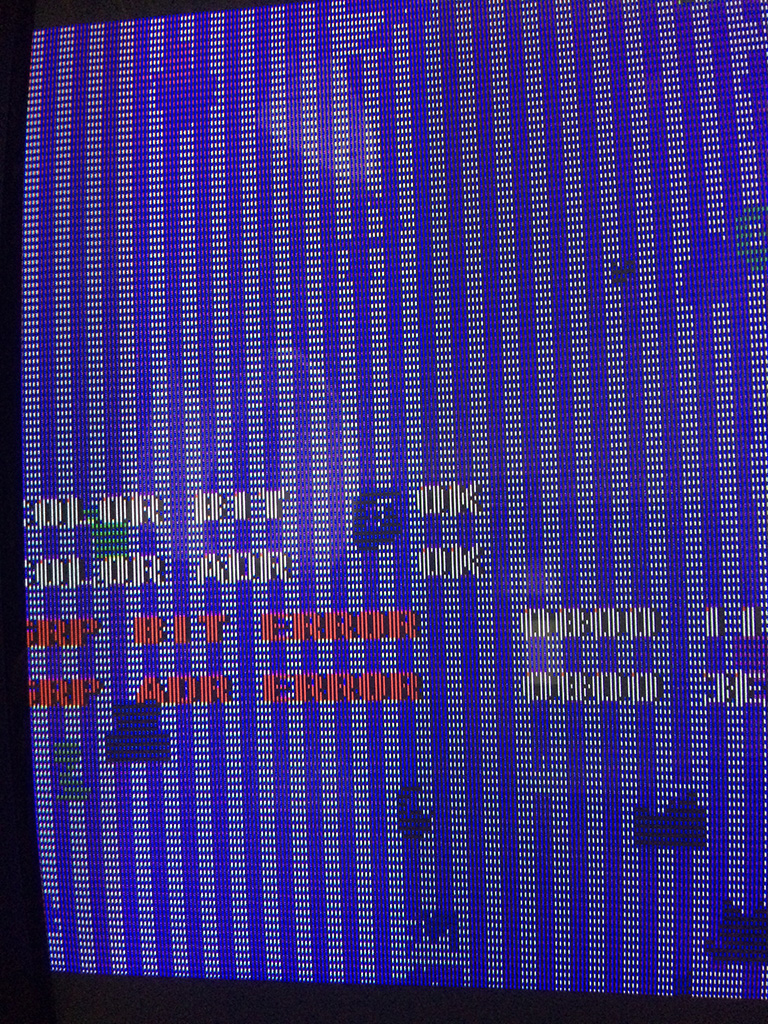
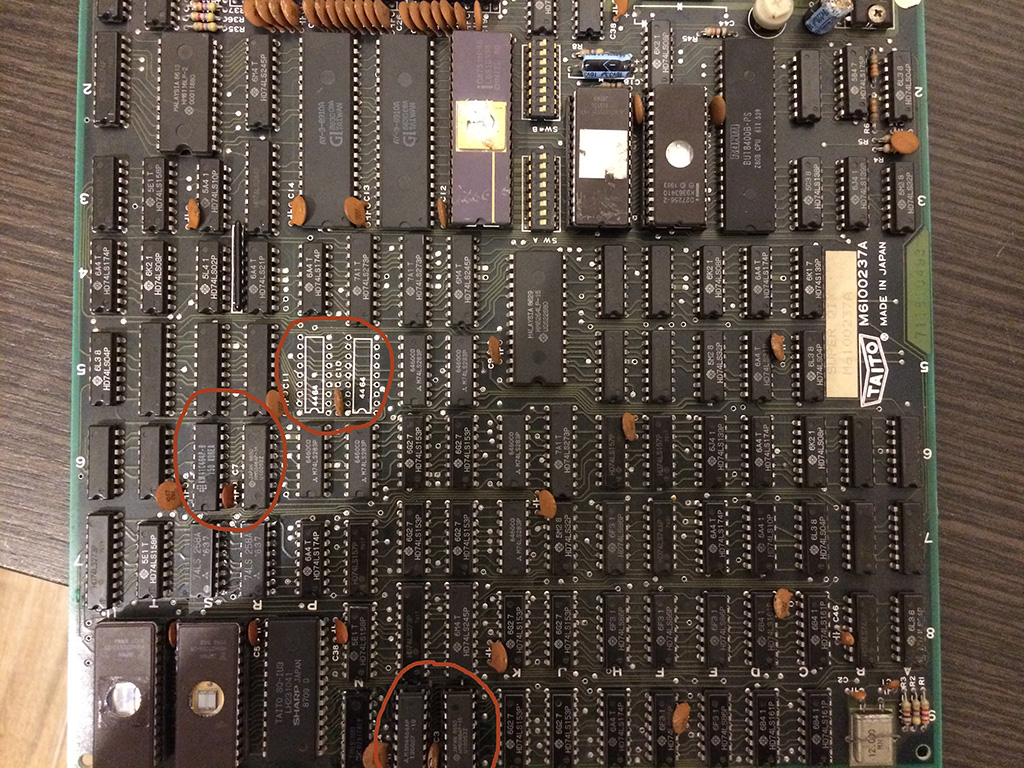
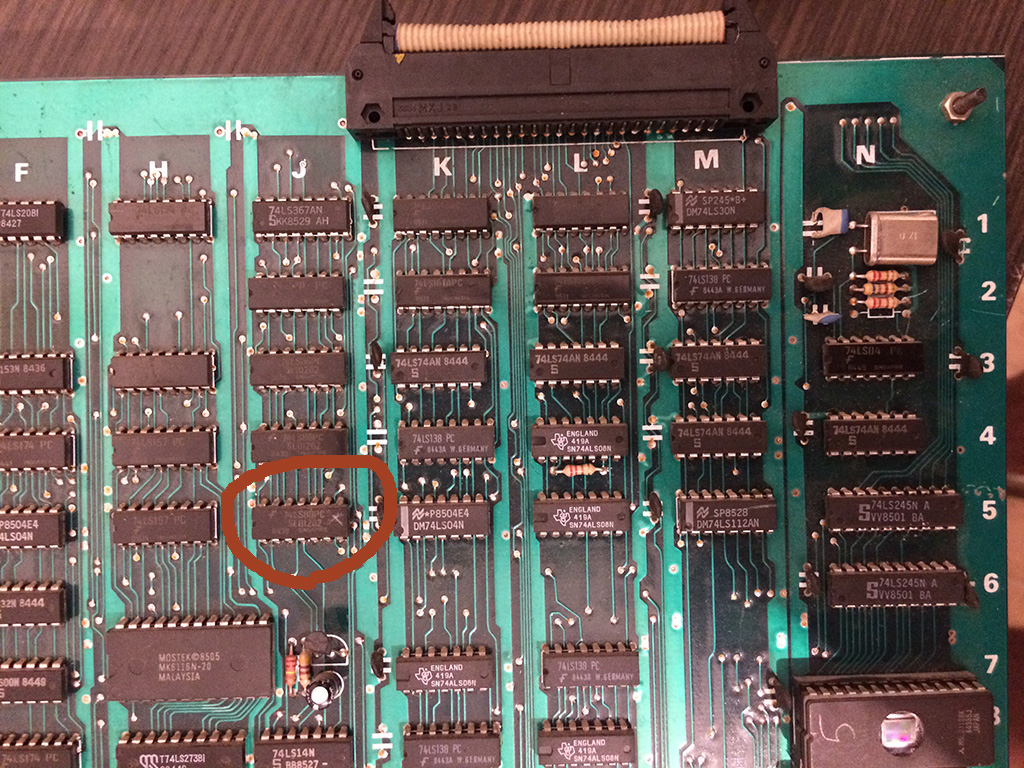
A ram was reported bad but I didn’t know which one.
There were 2x 6116 SRAMS and 6x DRAMS type 4464.
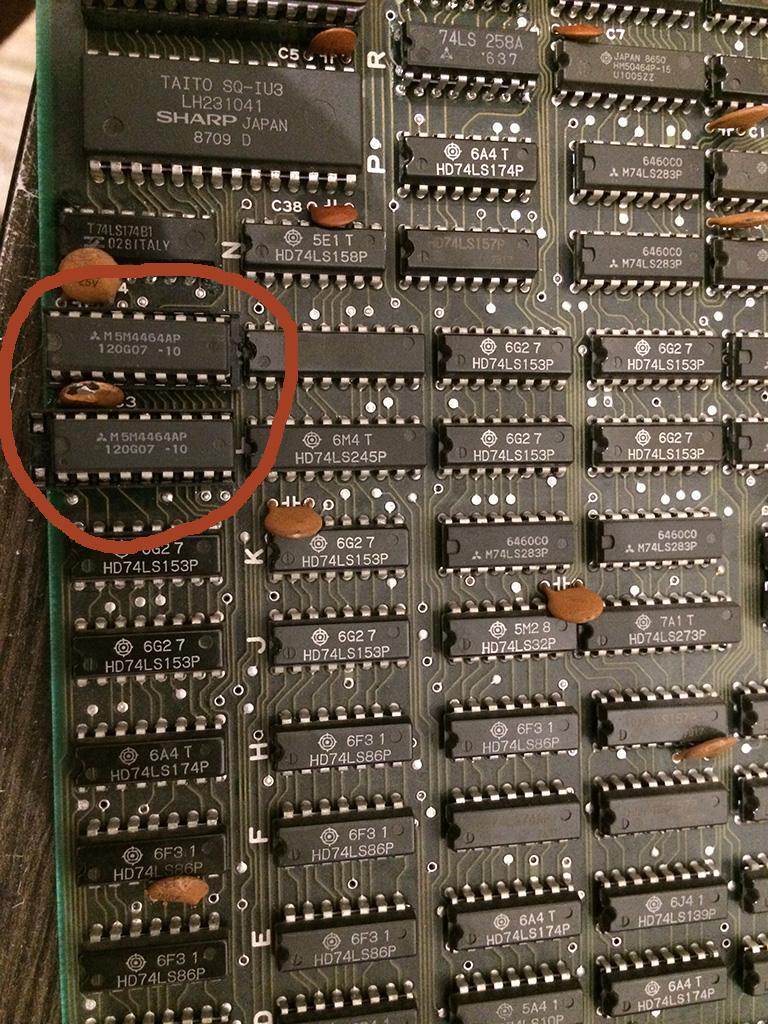
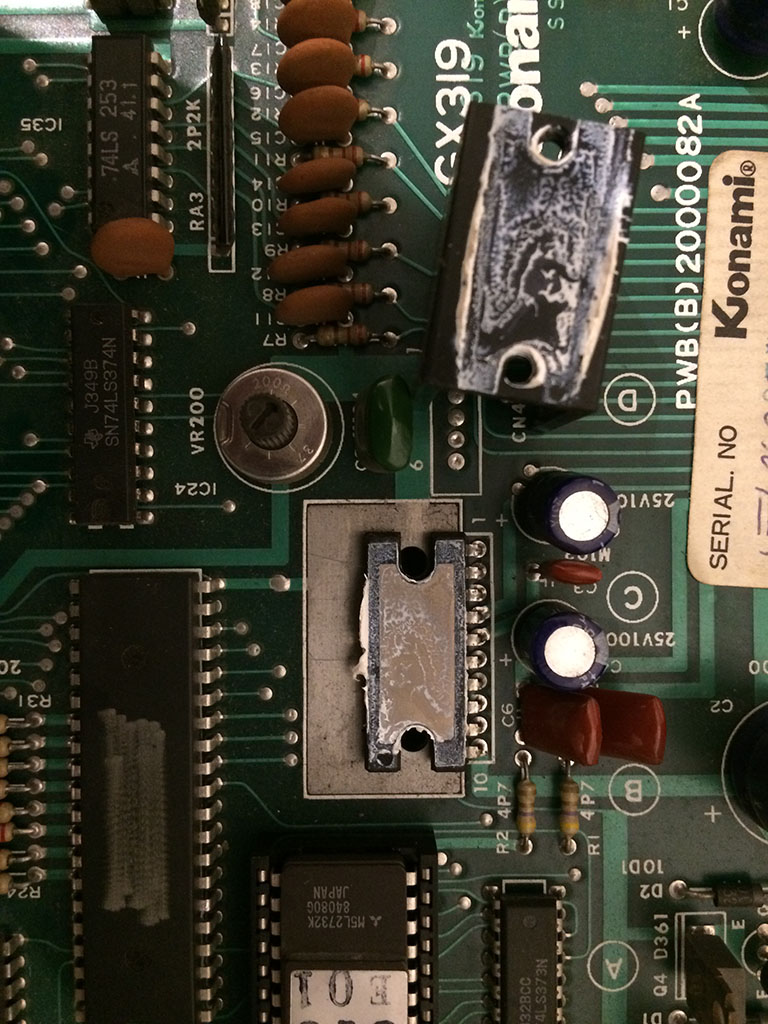
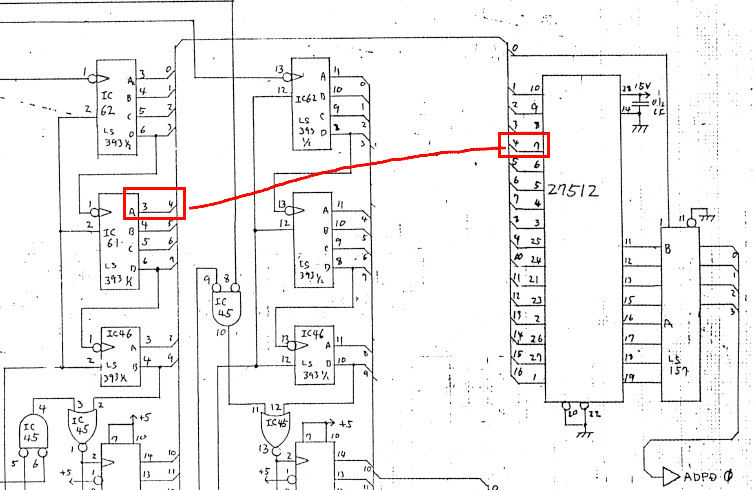
When the error message is shown, the game get stuck in a loop and continuously checks the status, therefore I discovered that shorting pins of the DRAM @9L and 9M changed the hexadecimal value of the error.
With a logic probe the signals were oscillating but I decided to desolder them and put some sockets and test other drams I had to see if the problem changed or better could be solved.
Please note that all the DRAMS I had were taken from dead boards and I had no way to test them out of circuit.
So I proceeded to place the sockets and installed some drams chip and I got always different bits until finally it passed the POST test!
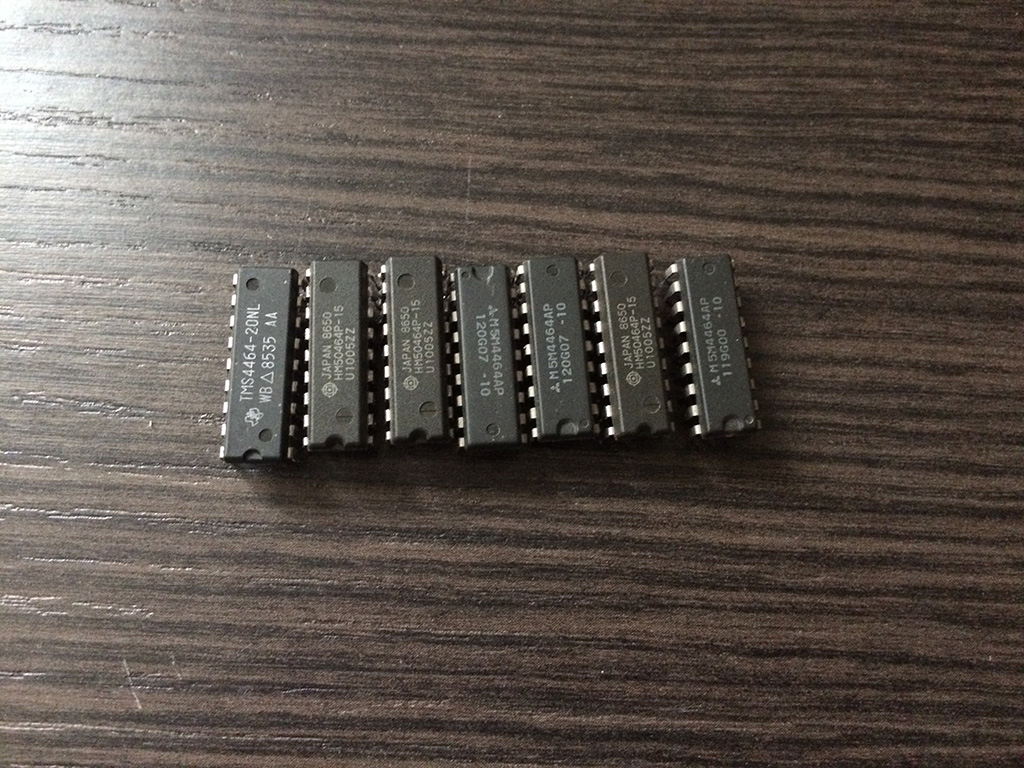
Turned out that I had several defective DRAMS chips and I took the chance to use Super Qix as a DRAM tester 🙂
Below are a collection of defective DRAMS, as you can see they are all from different brands…
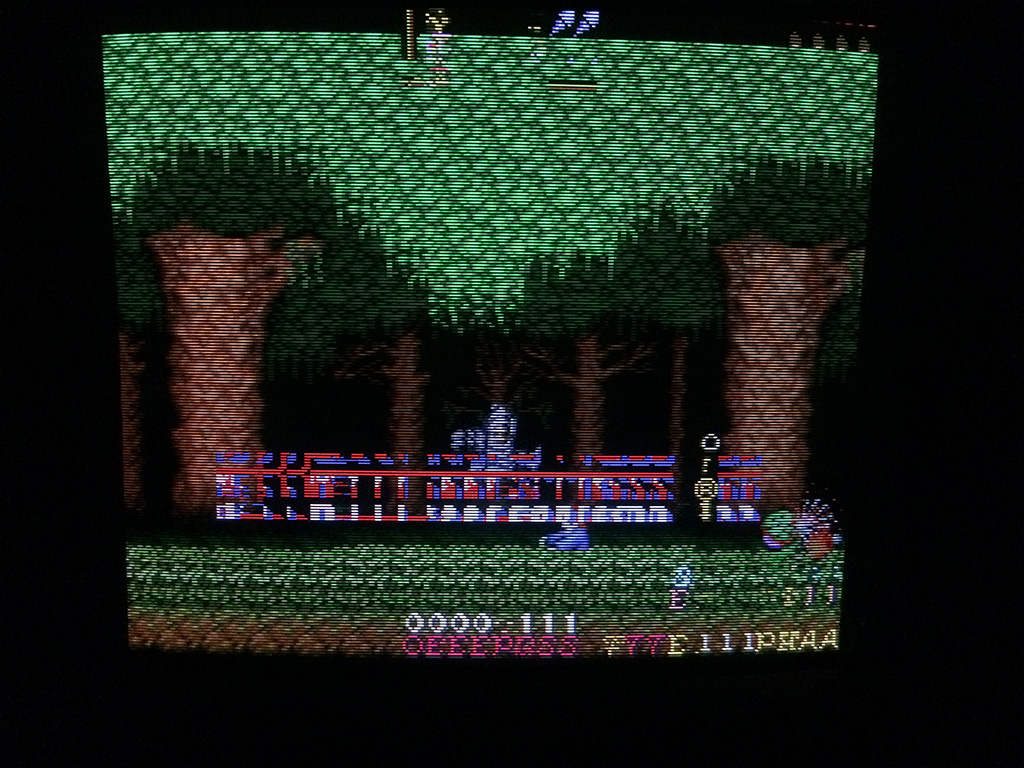
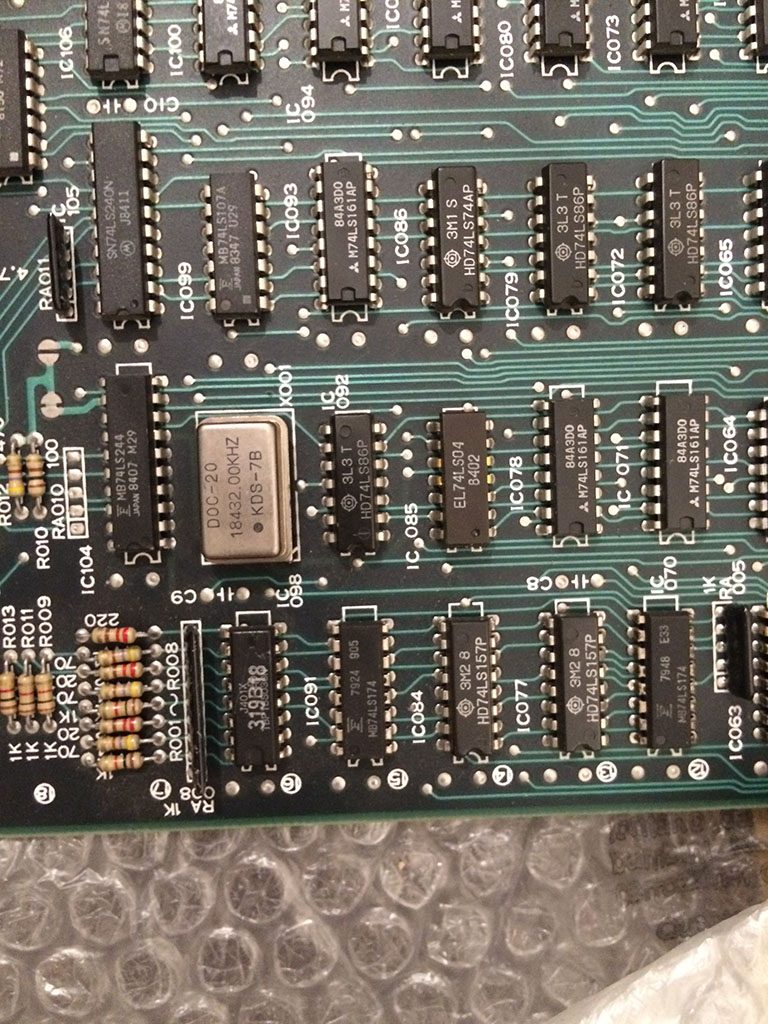
Back to Super Qix, , after changing the DRAMS, the game passed all the tests without further errors but I got this:
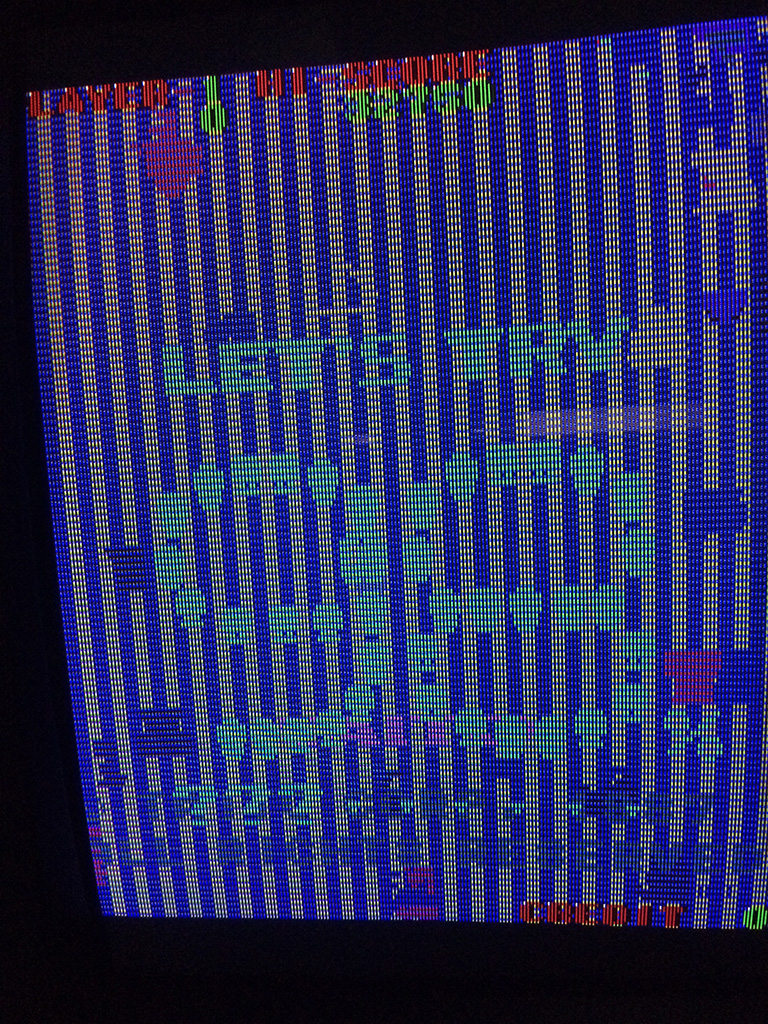
The game had still the gfx messed heavily even if the ram test was reported good.
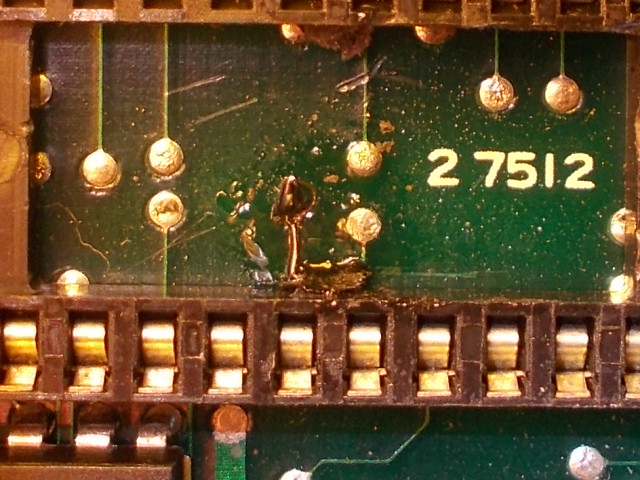
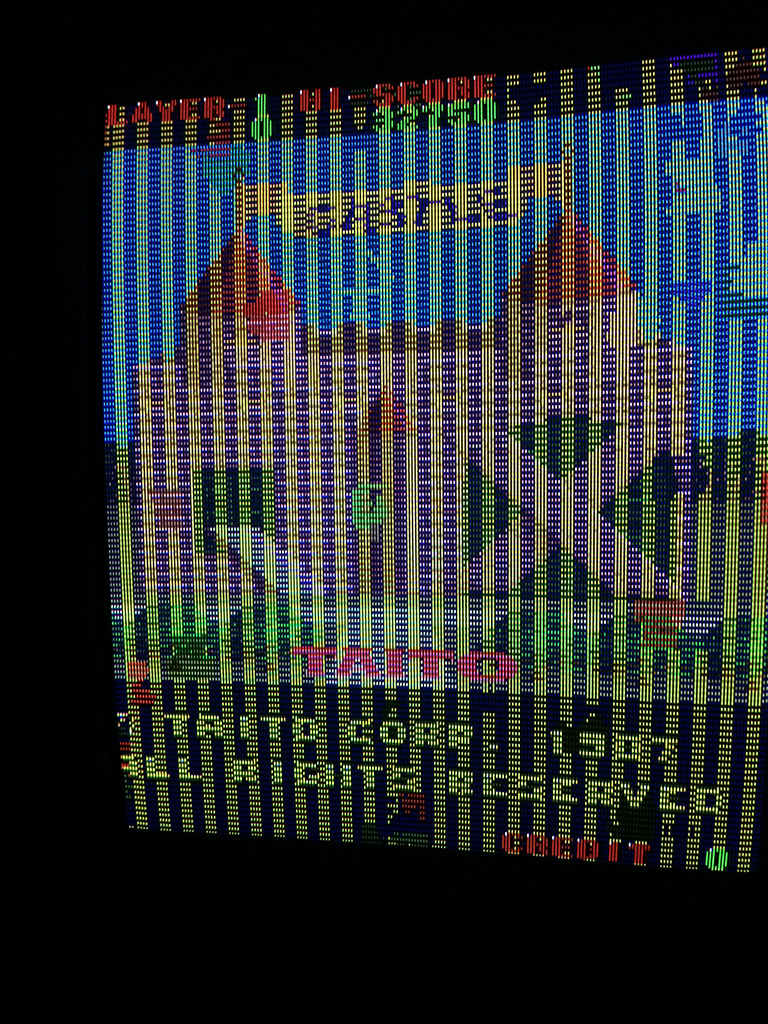
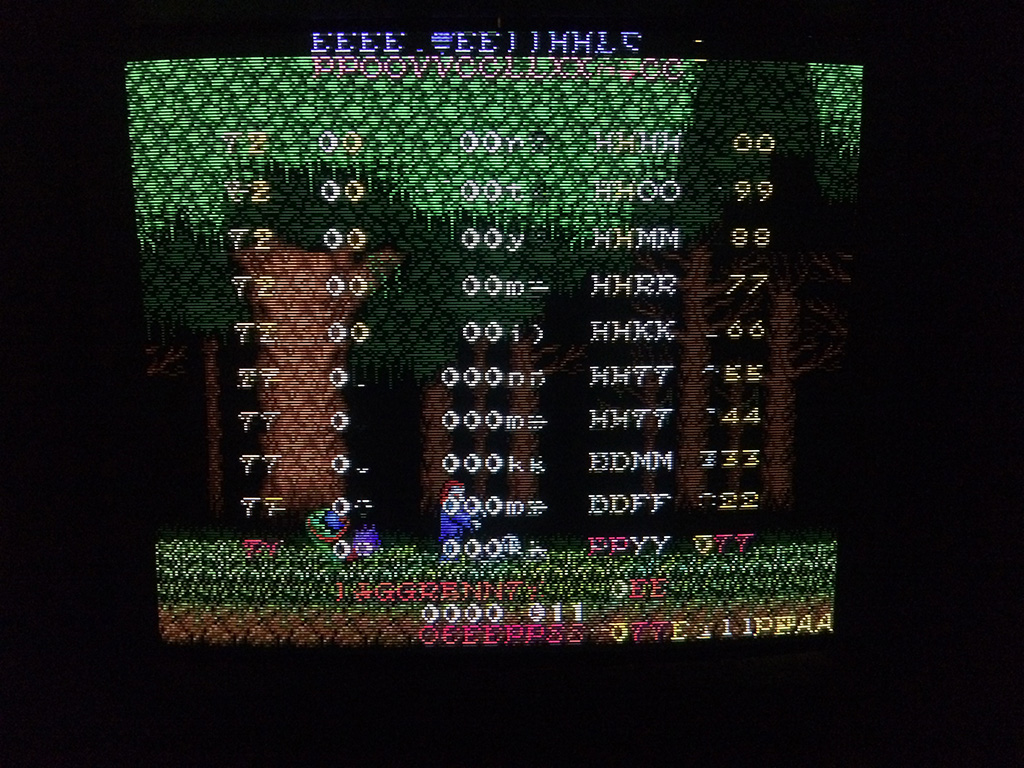
I shorted two pins of DRAMS @6S and 6R and I could see some better picture beneath the mess, so I decided to change also those two drams
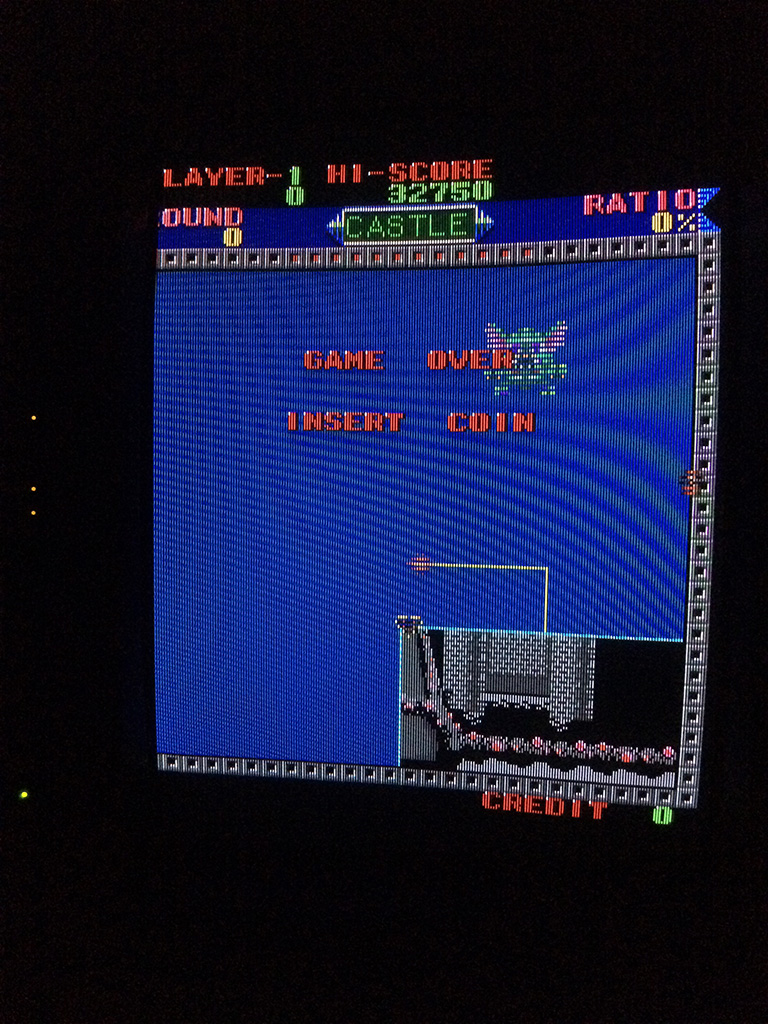
I started the game board without them in place and I got this:
It was a good sign but to be 100% sure there were faulty I placed them back on the sockets @9L and 9M and I got again the error on the post screen!
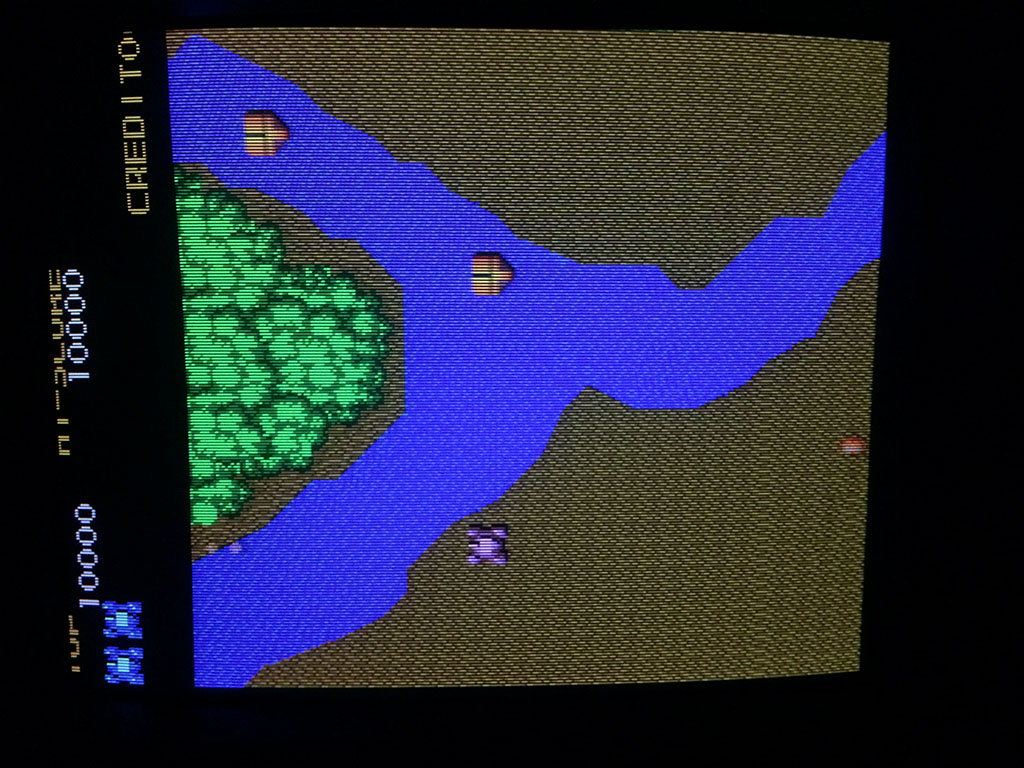
After placing two good drams I got this:
Decided to go straight to the next two drams @5P and 5M and replaced without any further thoughts and…..
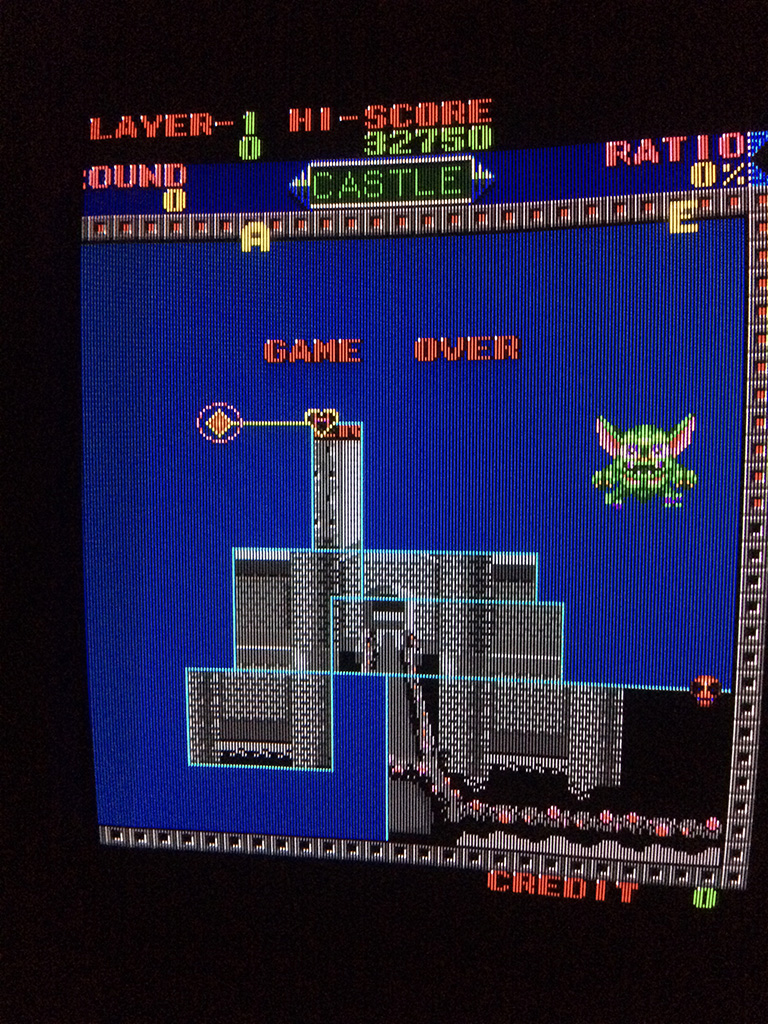
Problem 100% fixed! Game had no further problems
So turned out that the game had all the 6 drams faulty but the game checks only 2 Drams out of 6x.
The other checks are done on the color sram and program sram.
 ì
ì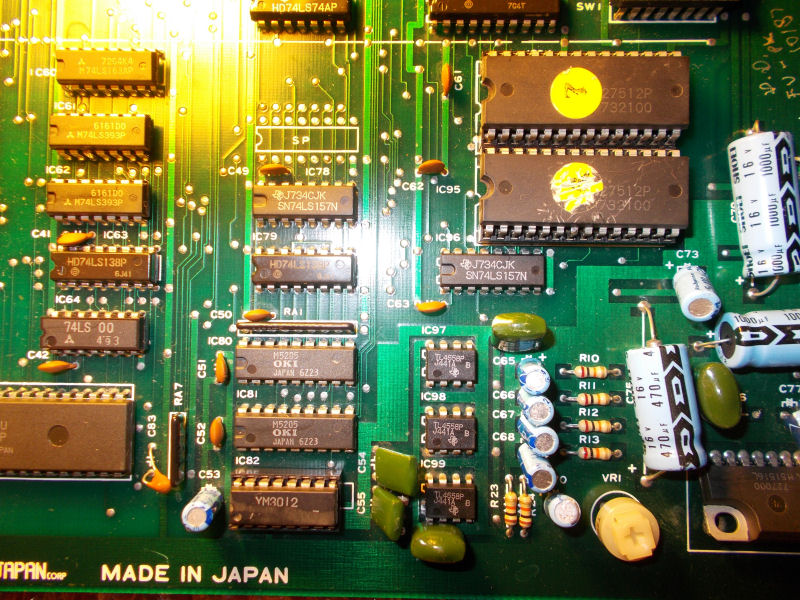
 :
: