Jan 242018
 

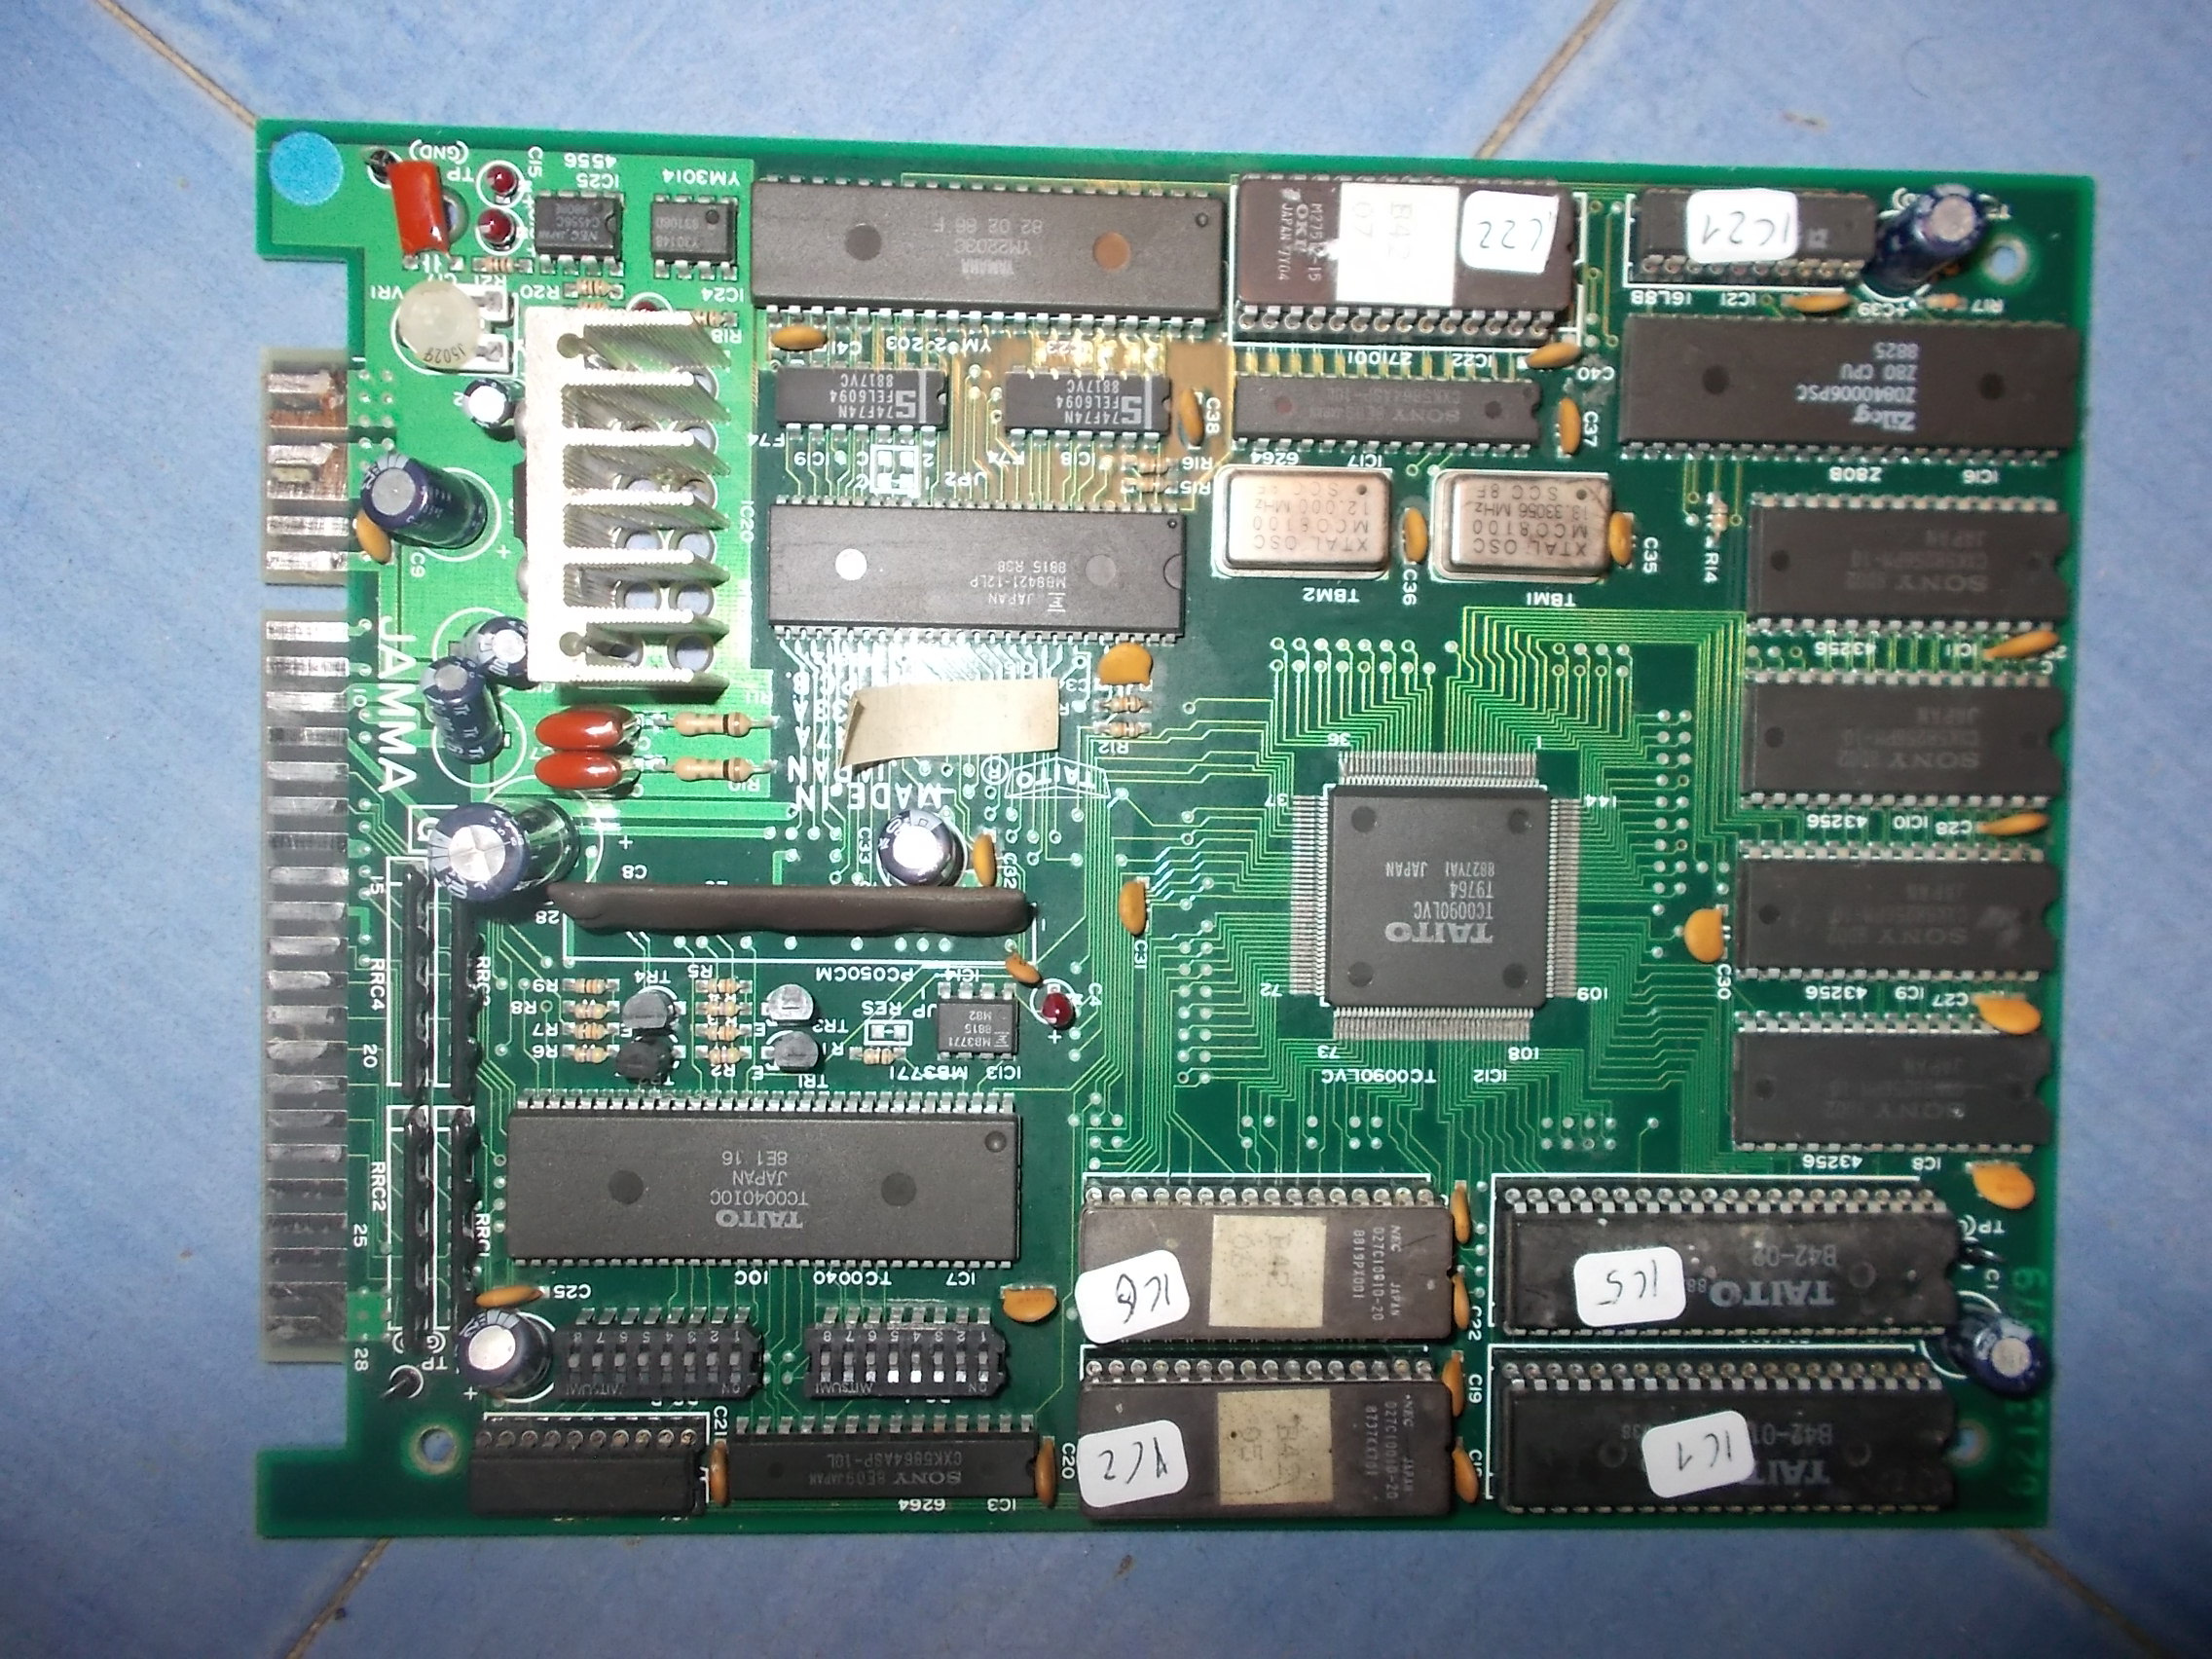
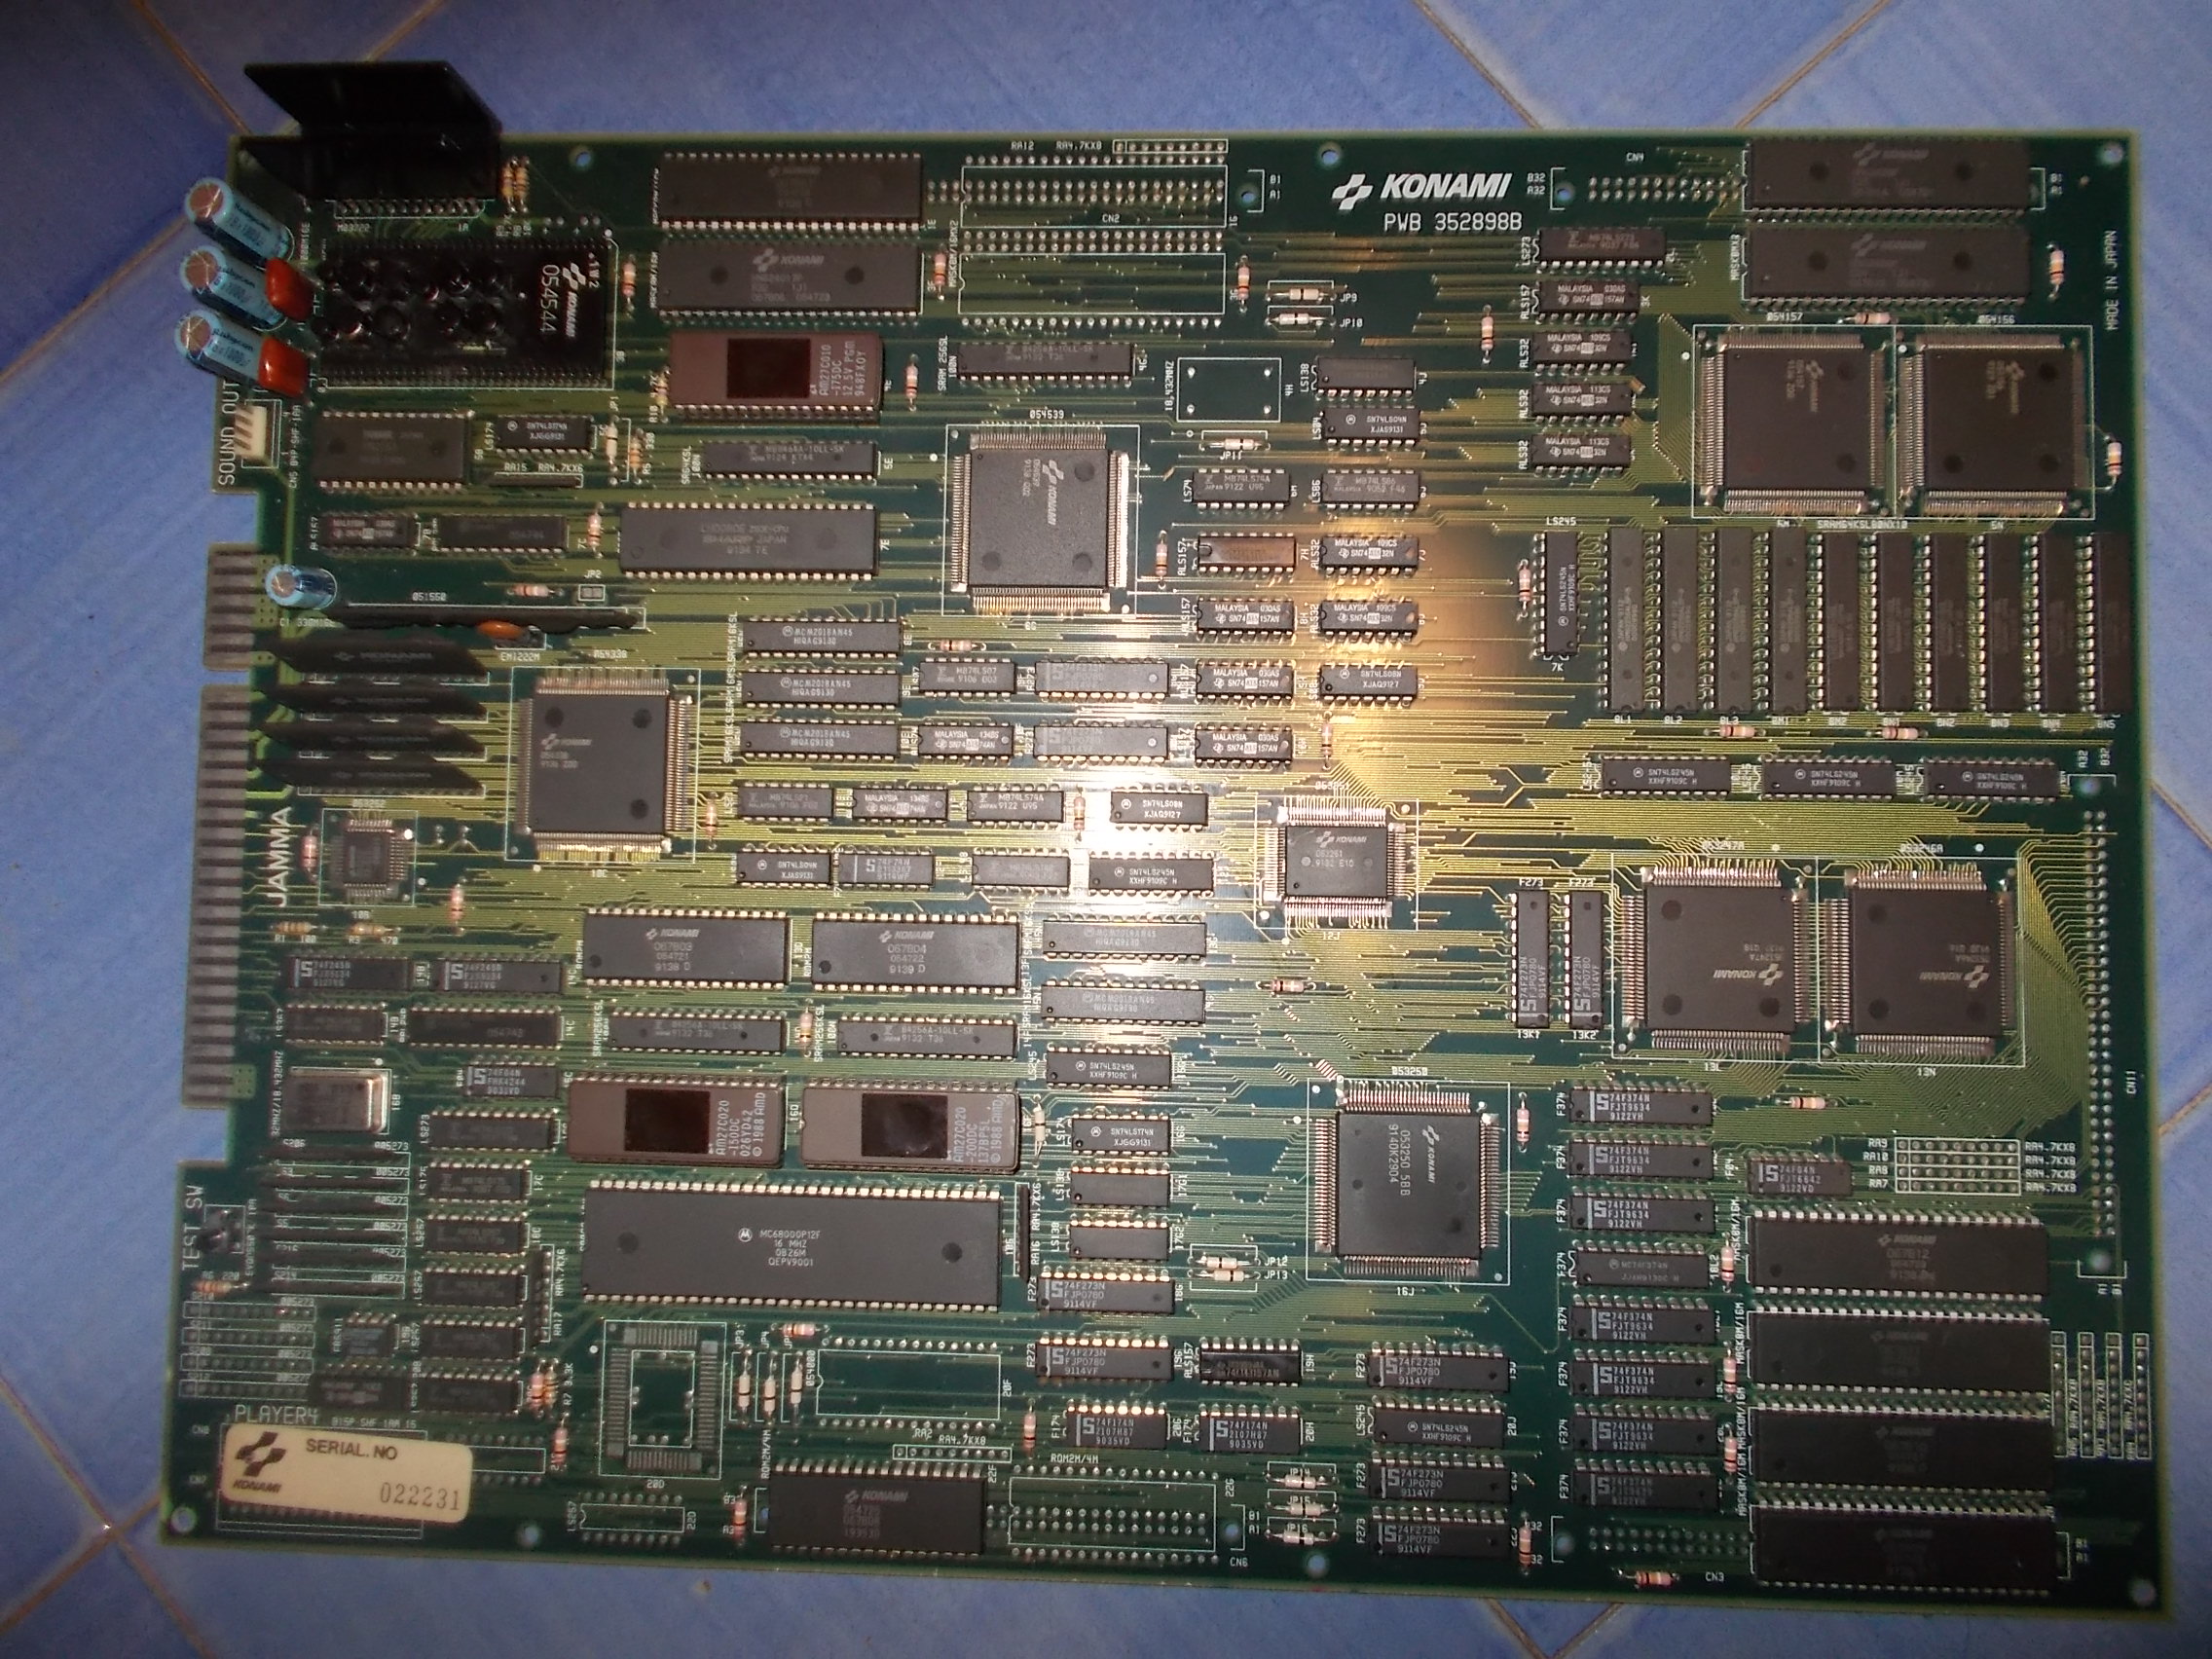
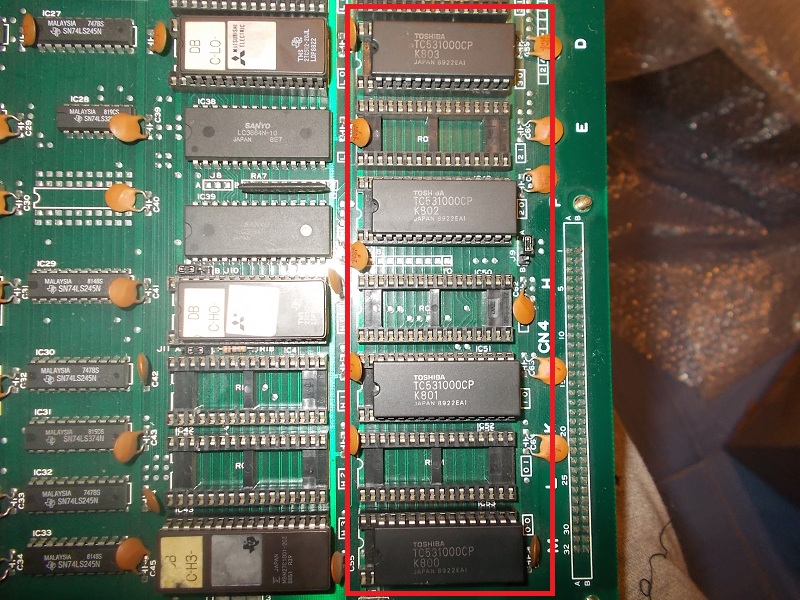
Received from Spain this Cadash PCB (it turned out to be an undumped Spanish version)

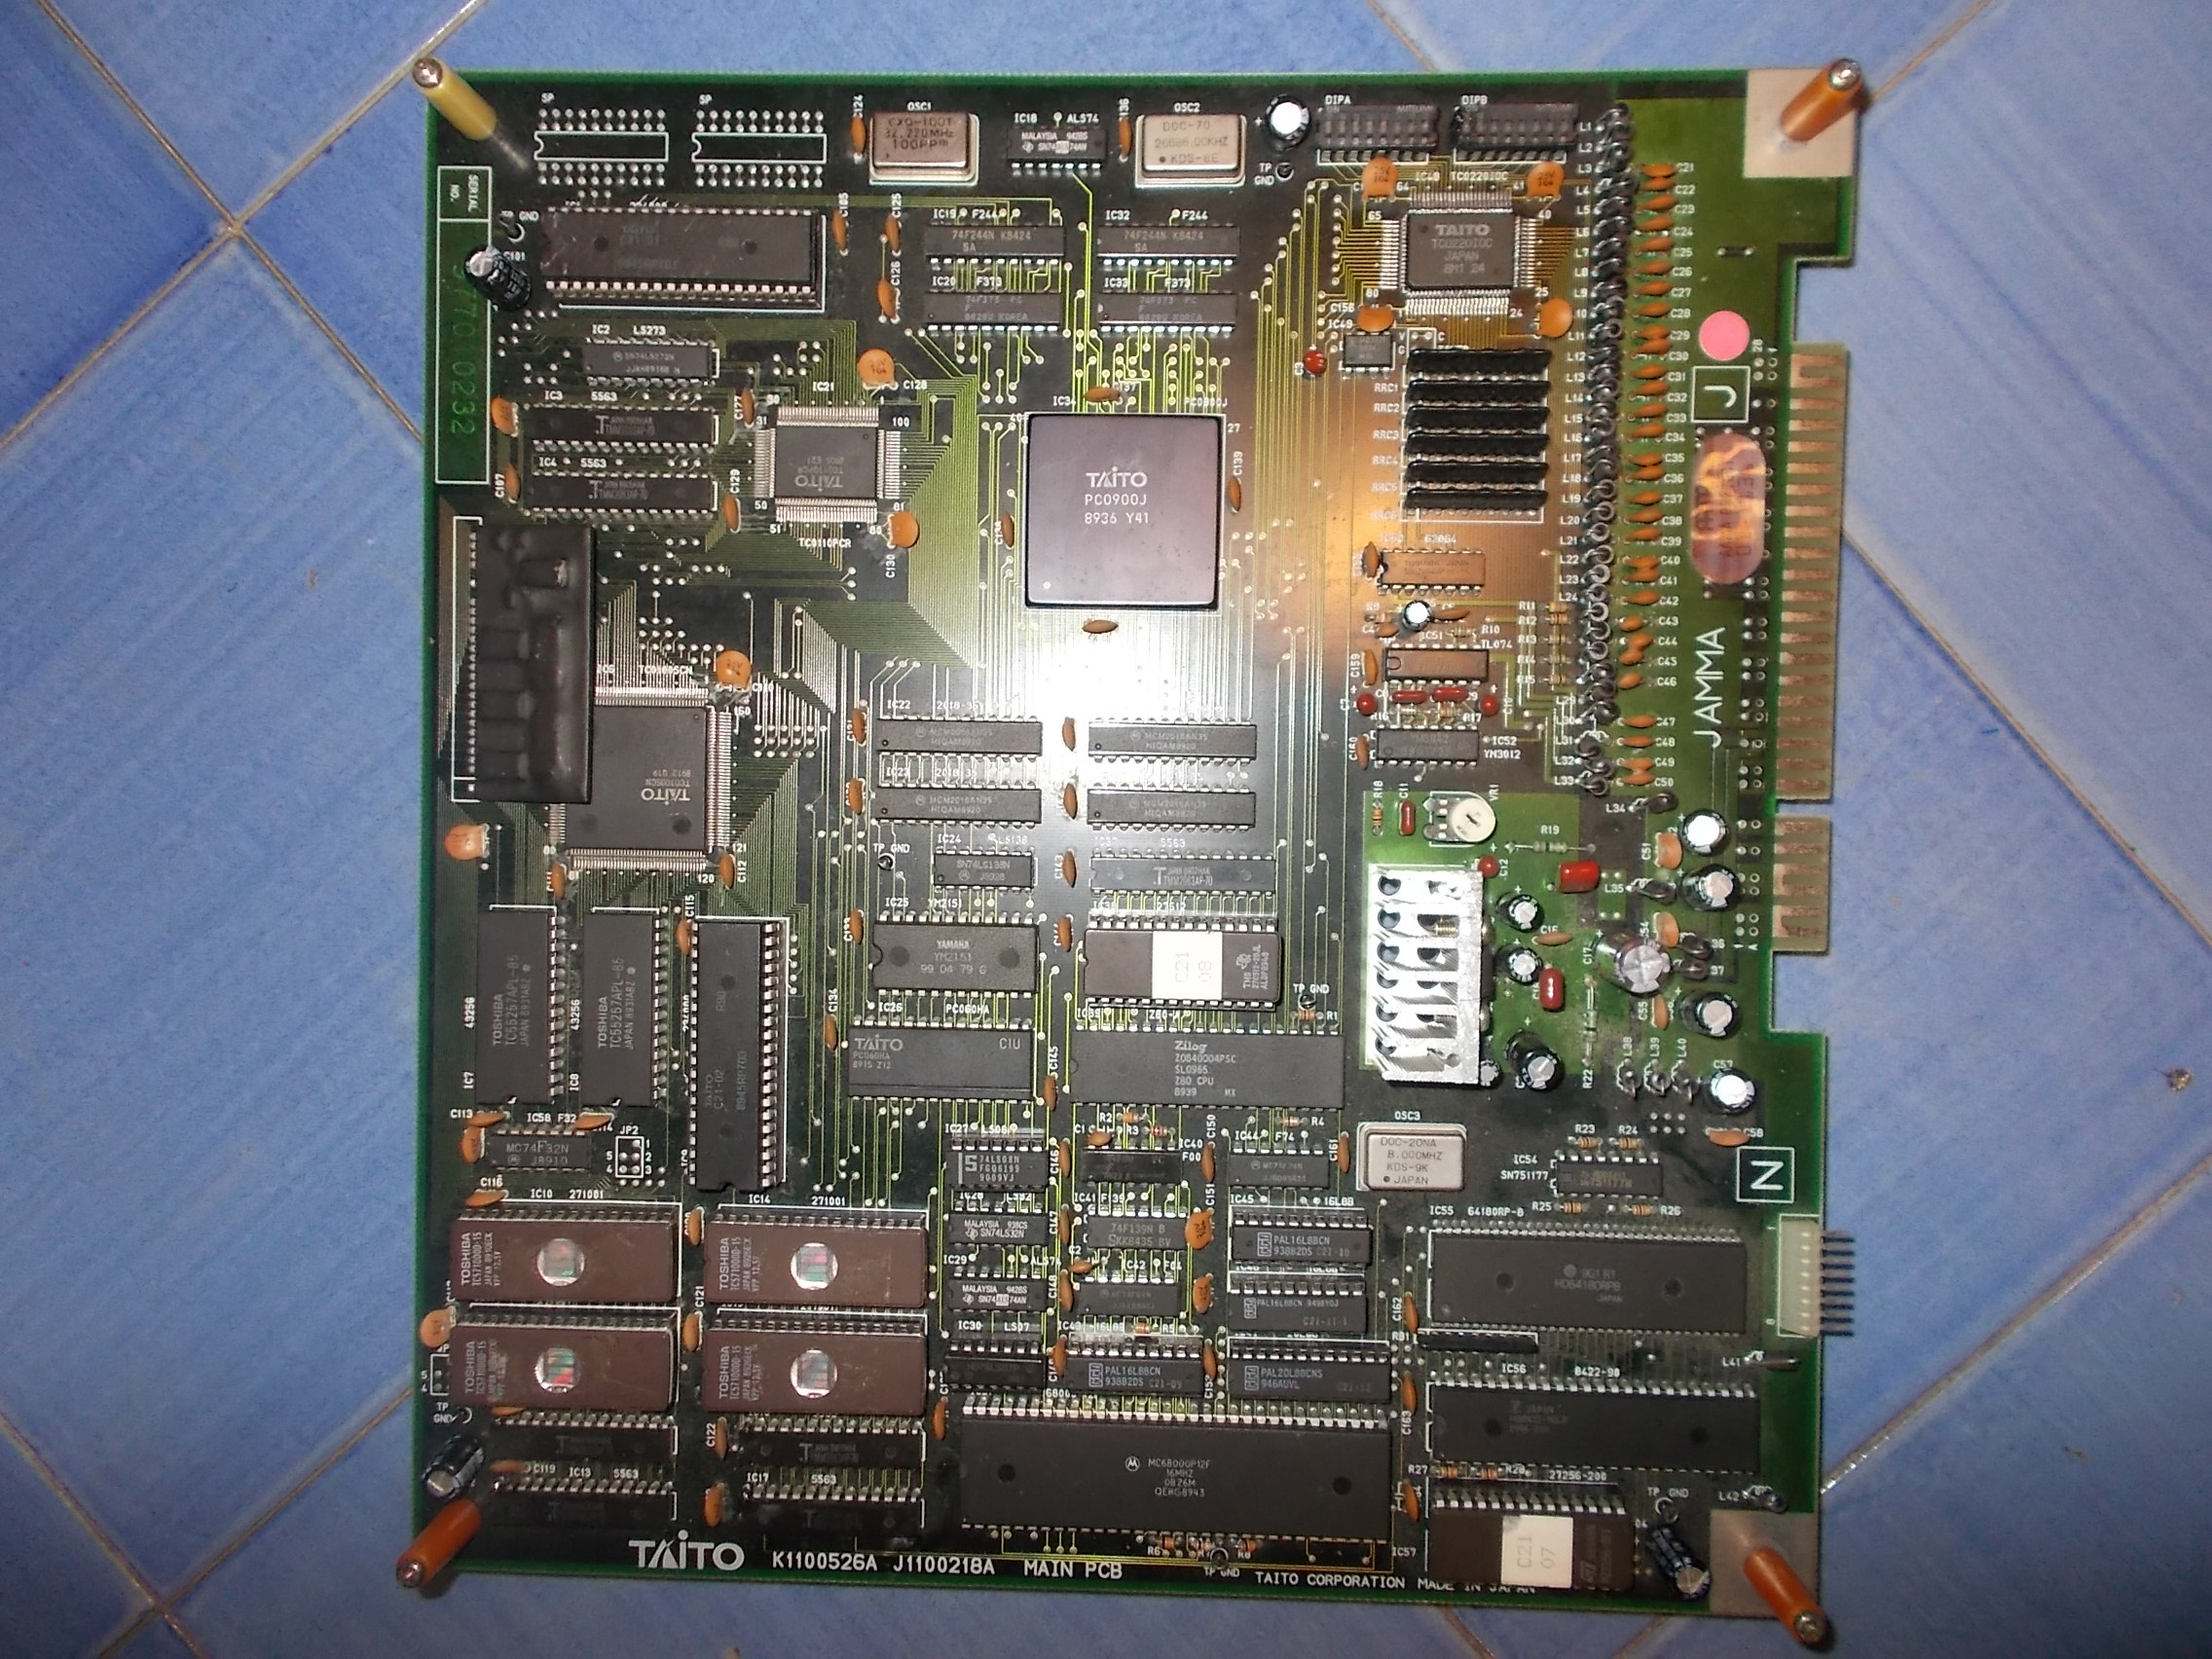
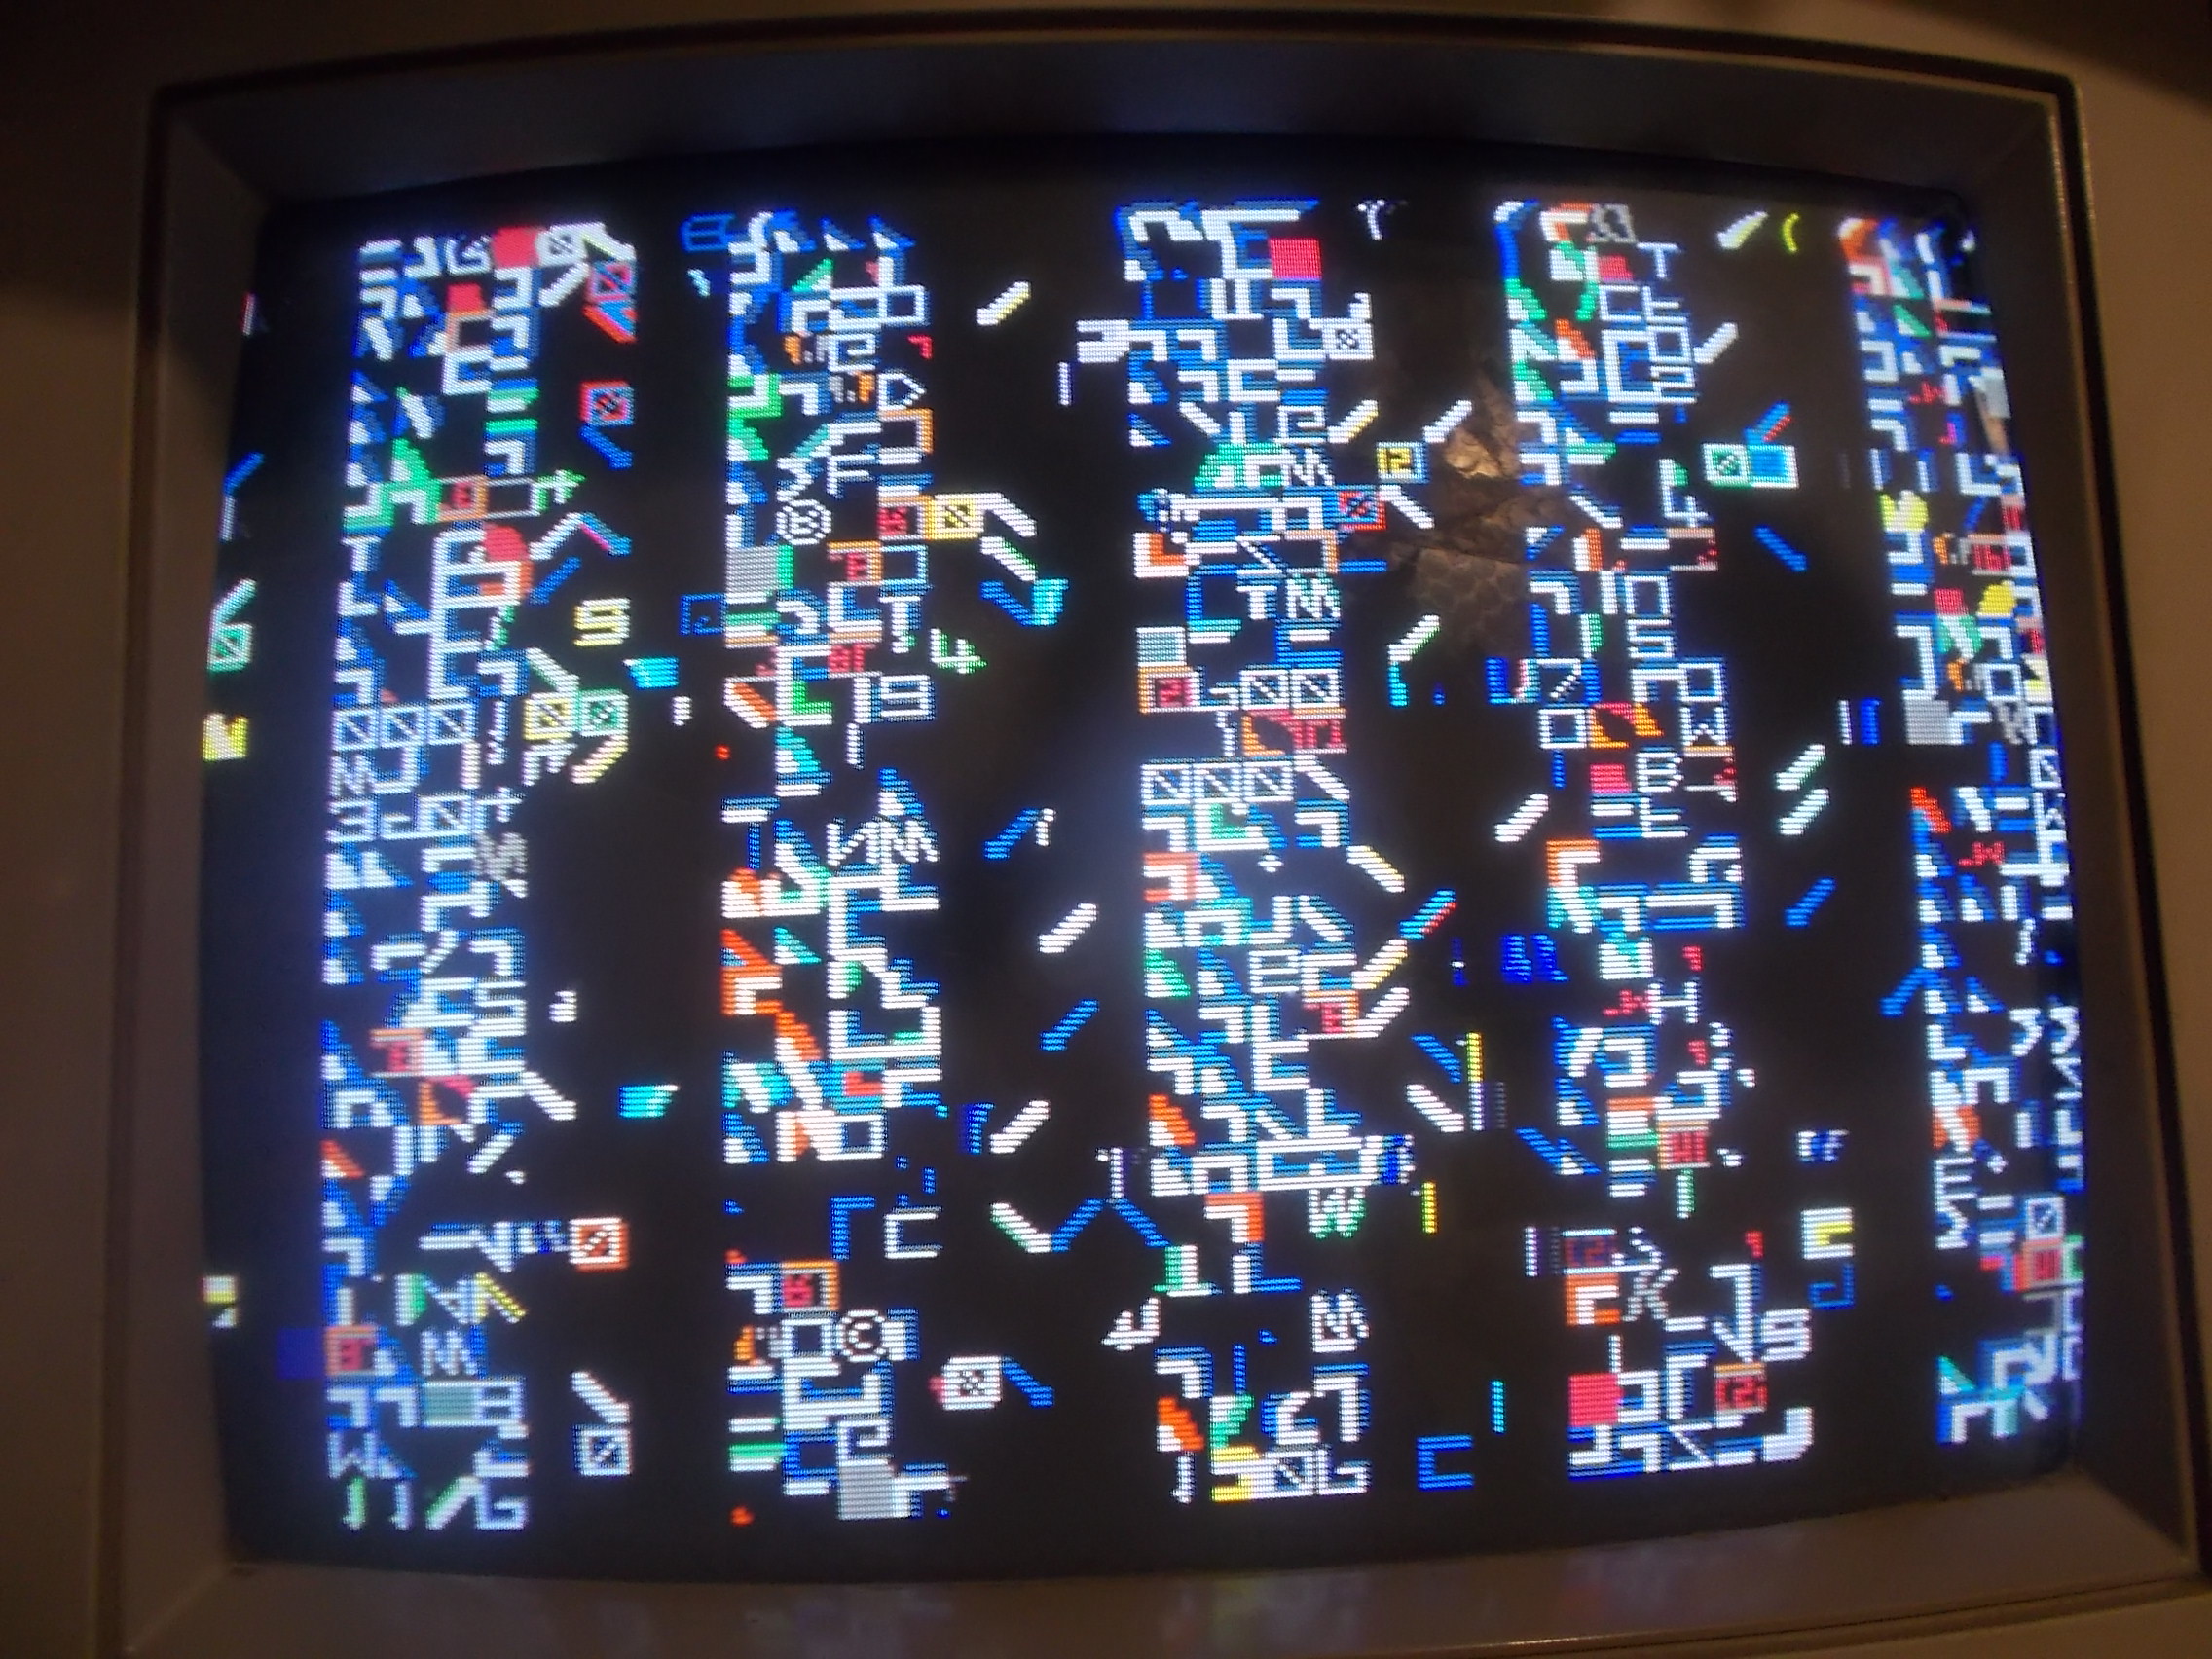
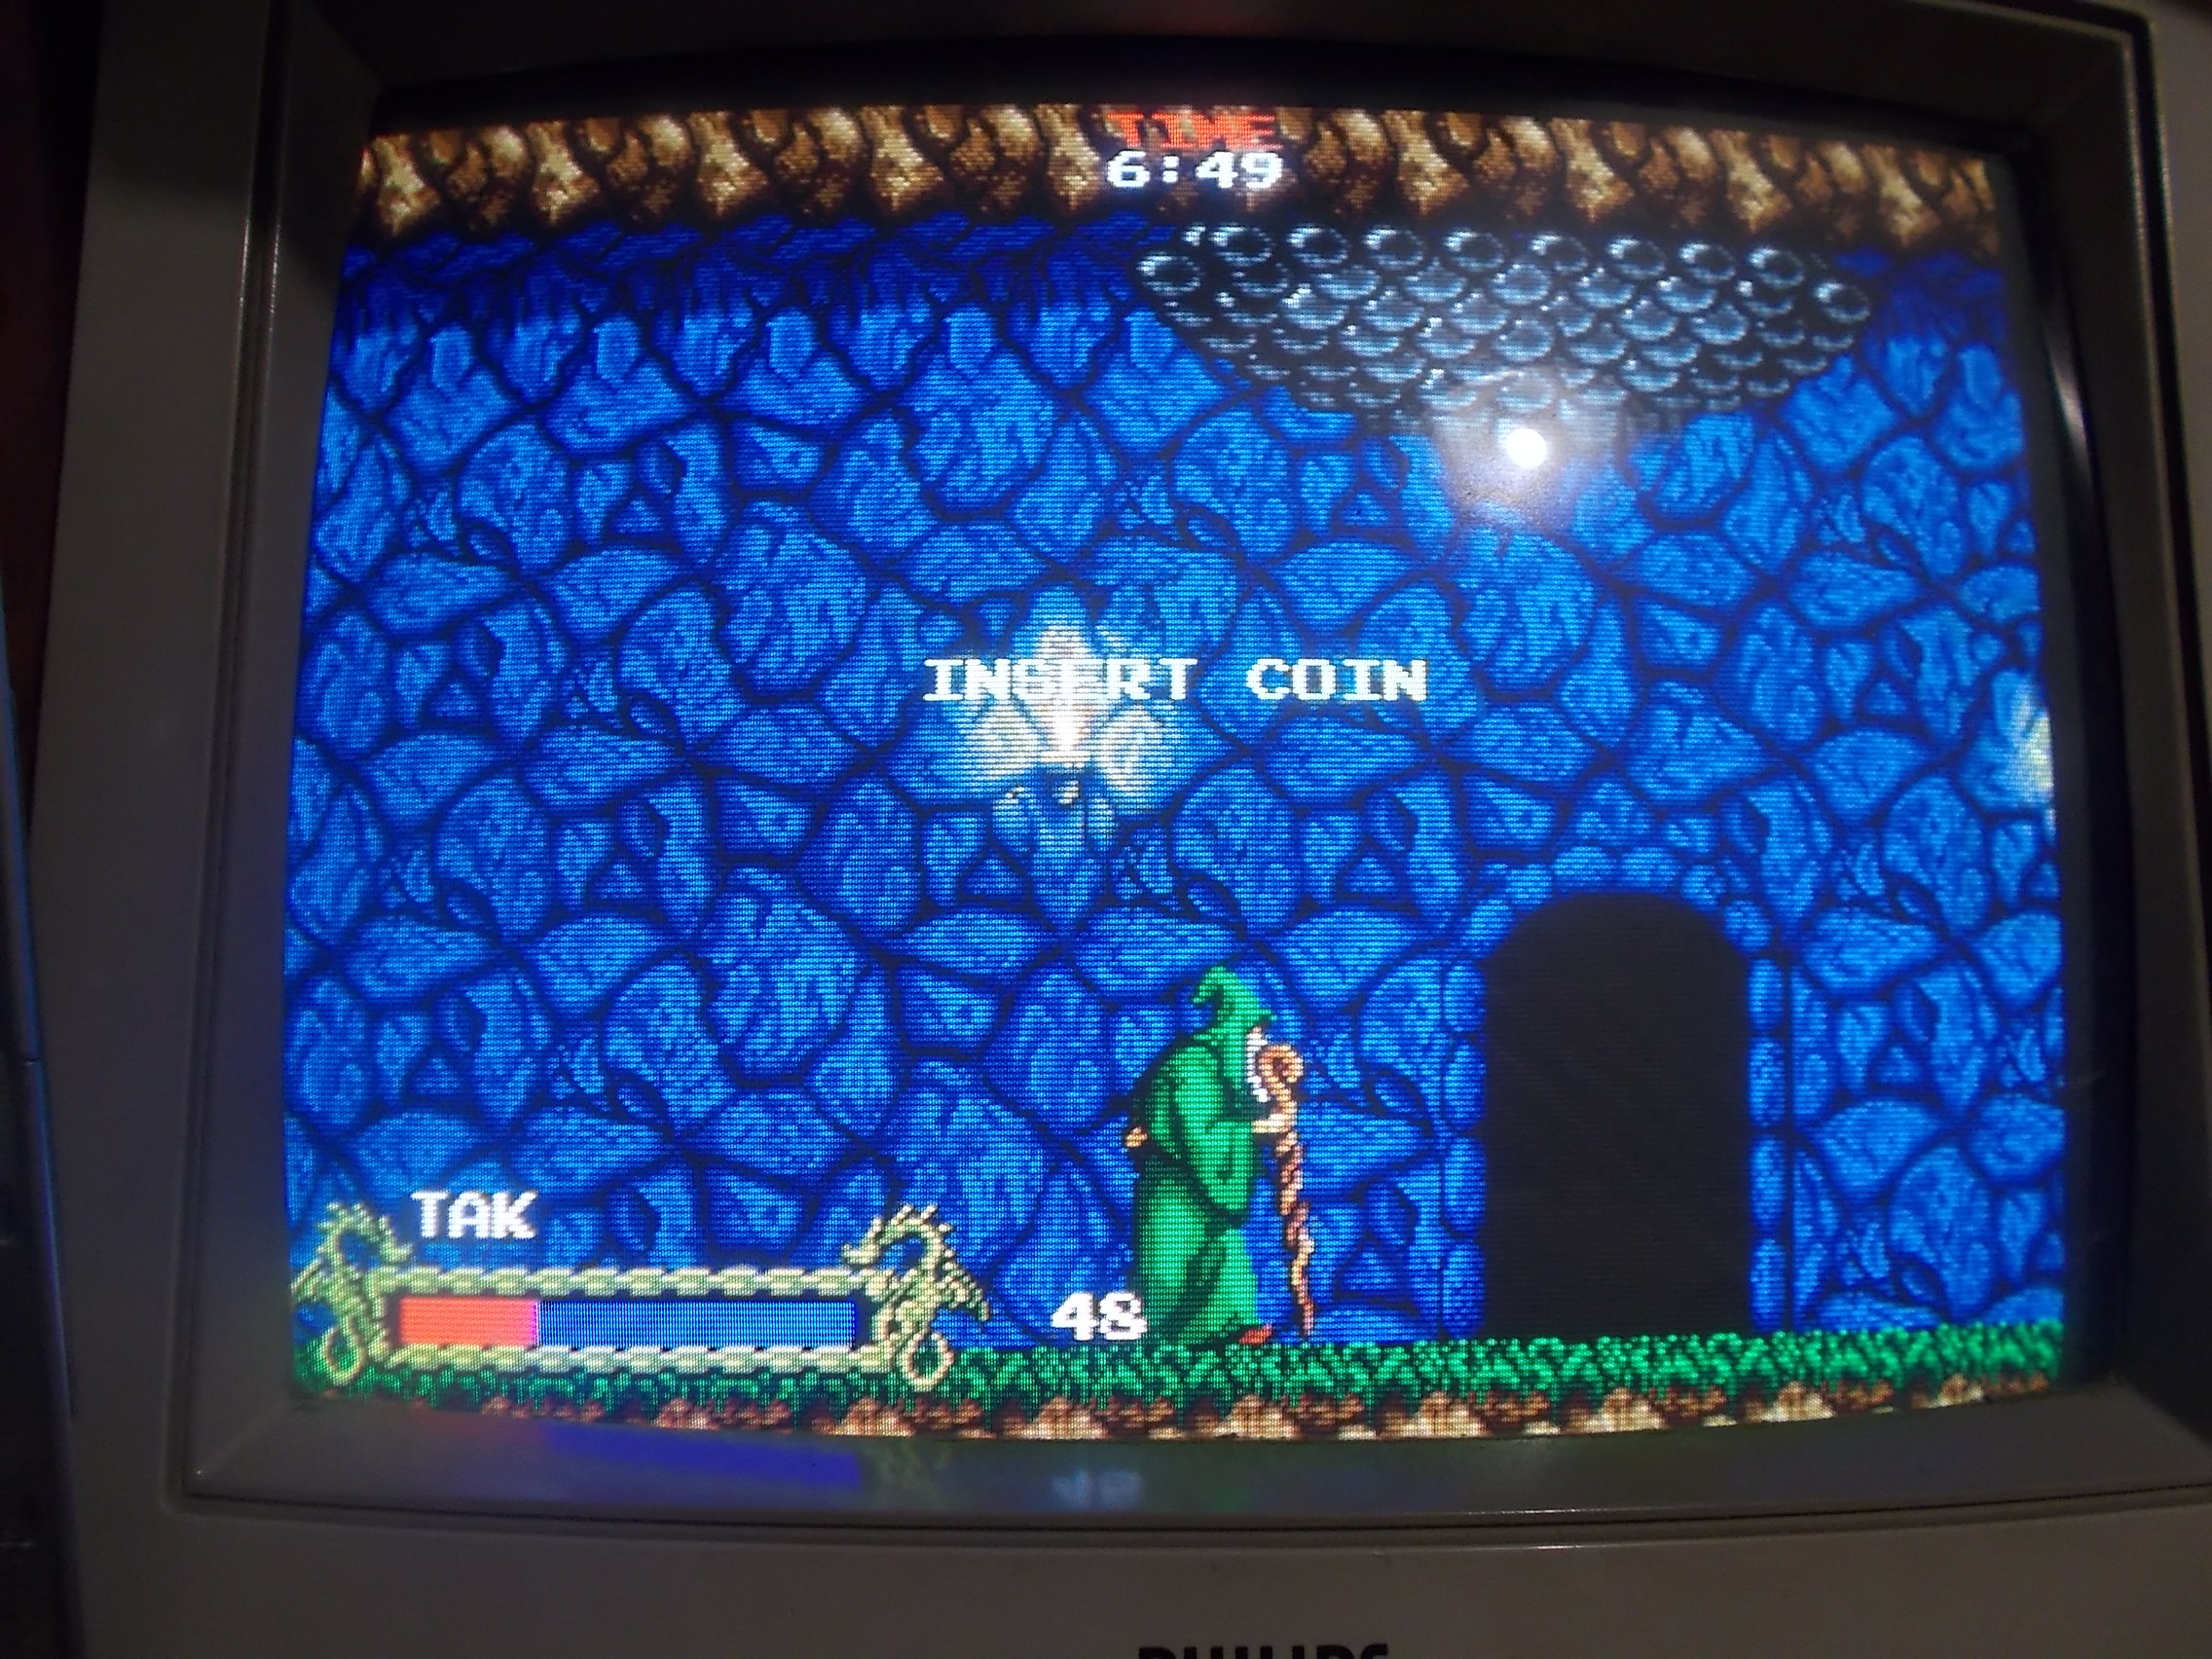
Board was stuck on a garbage screen :

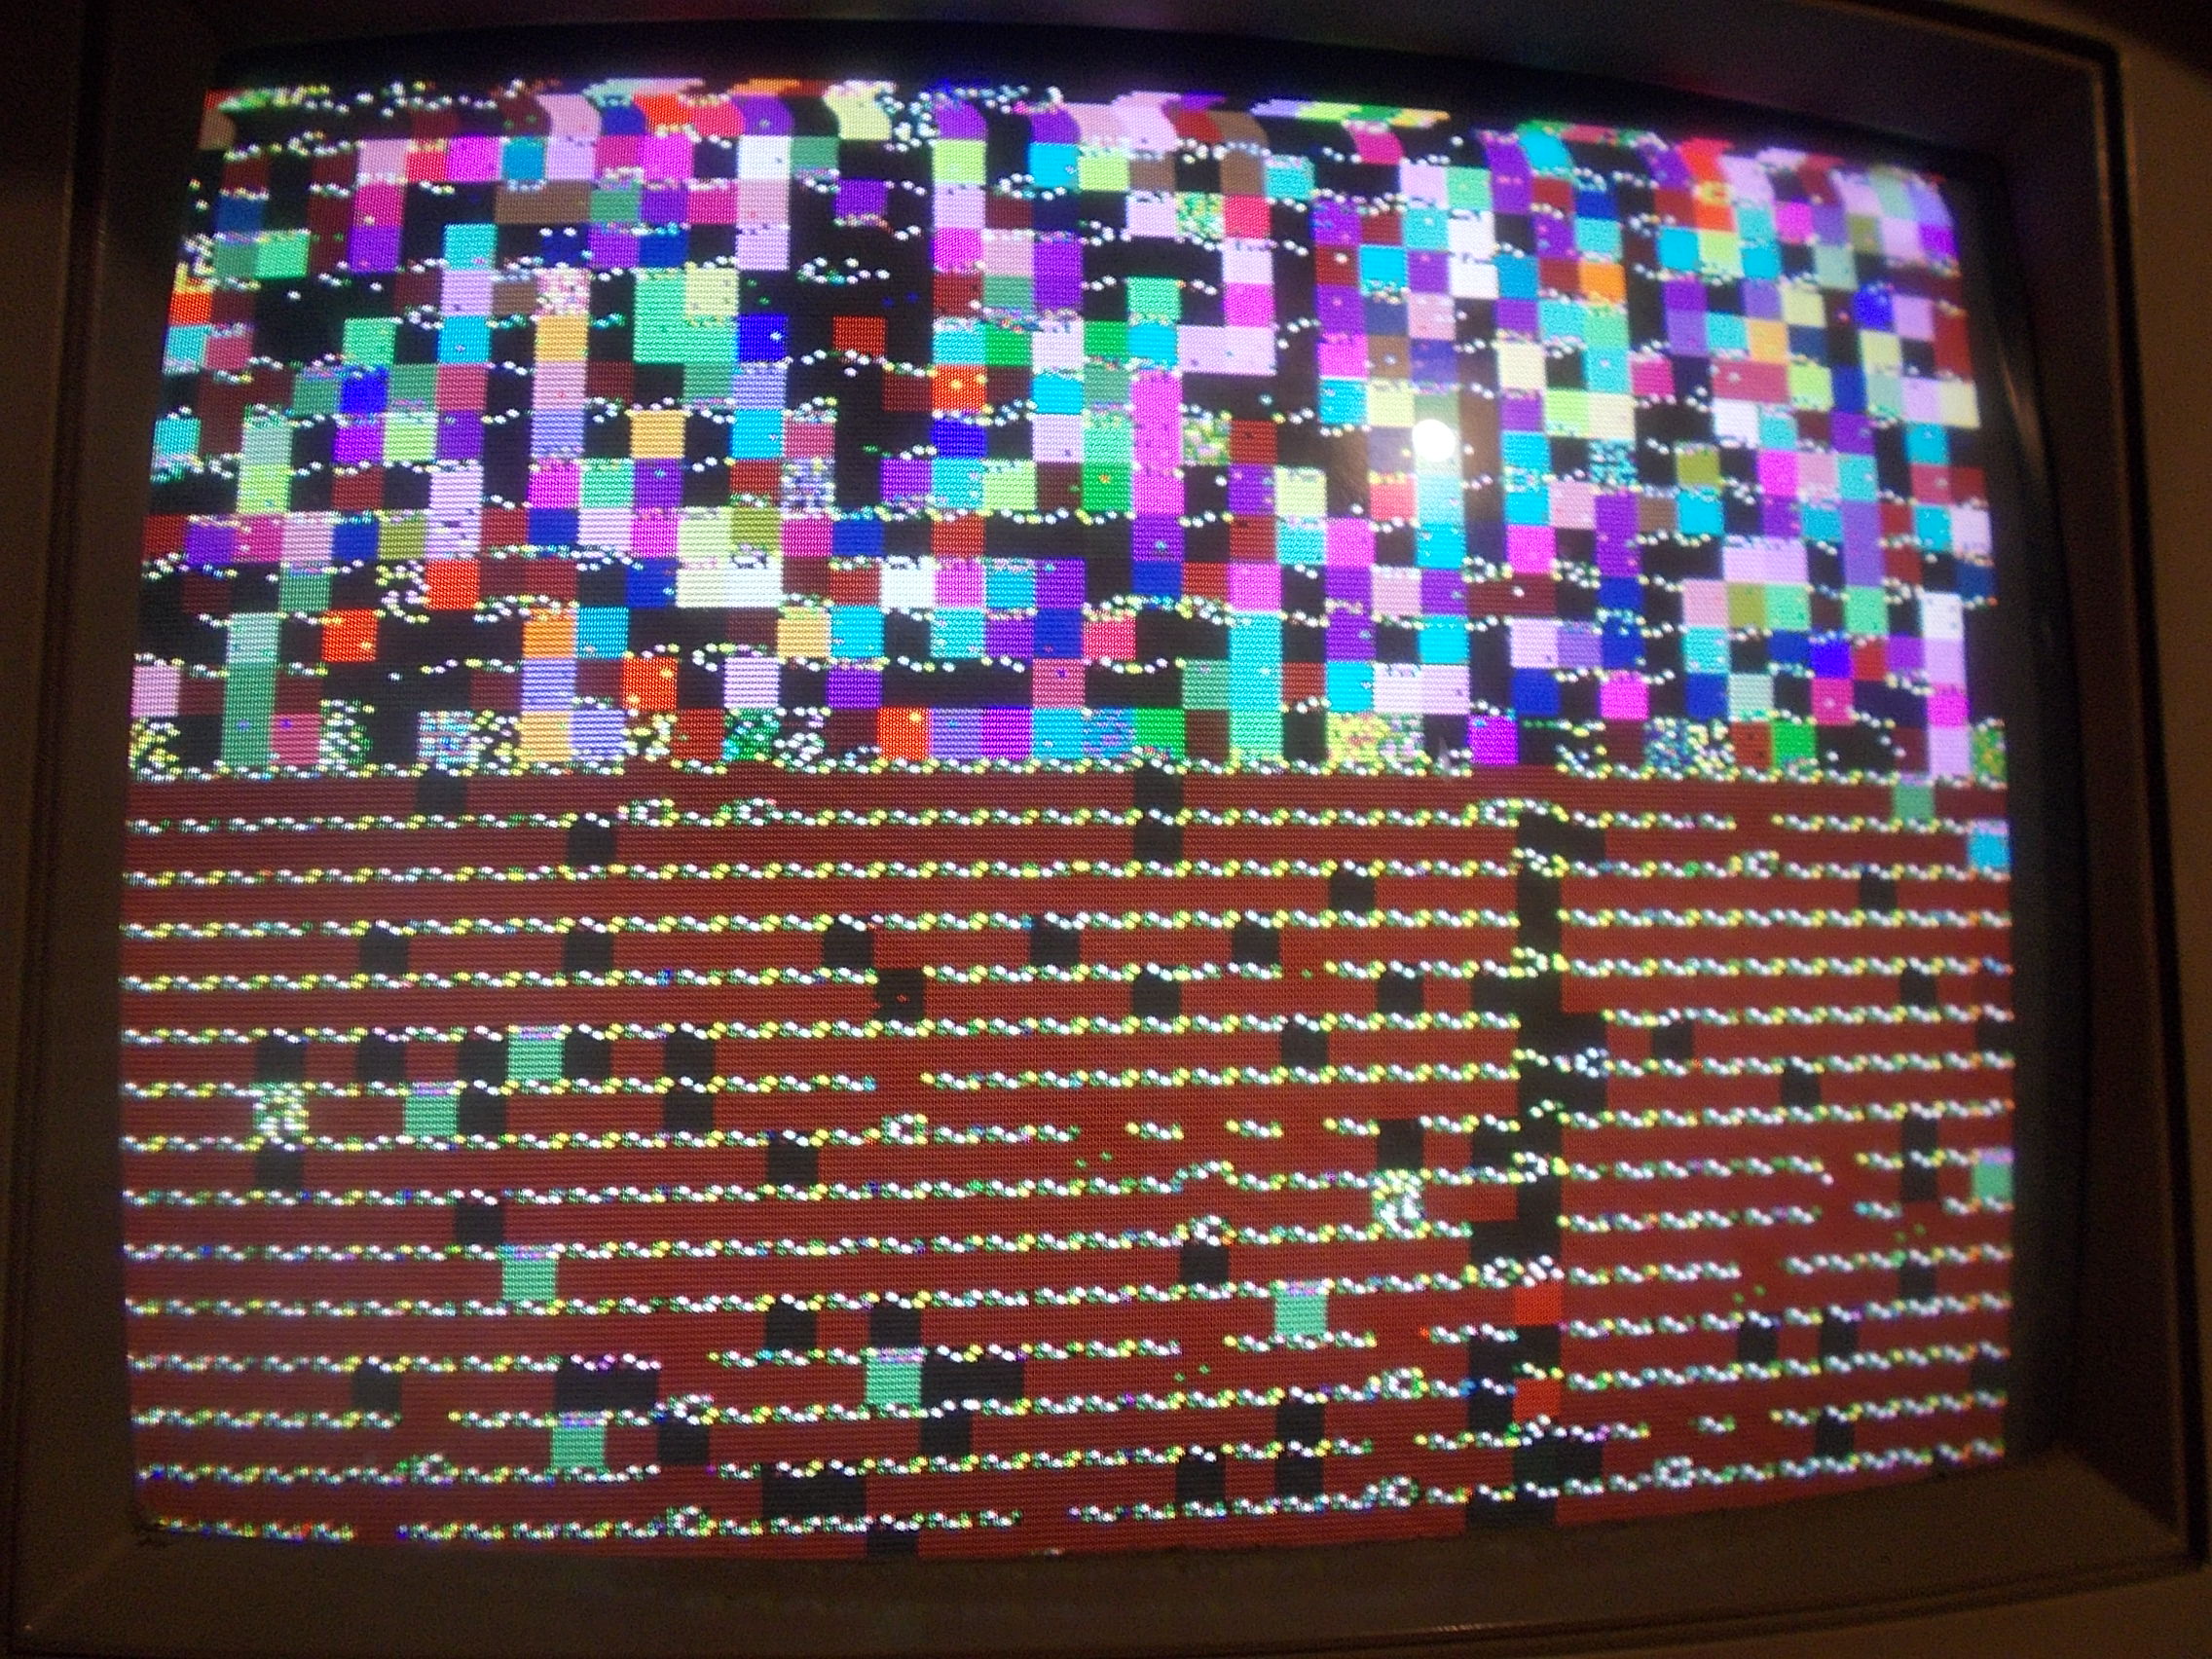
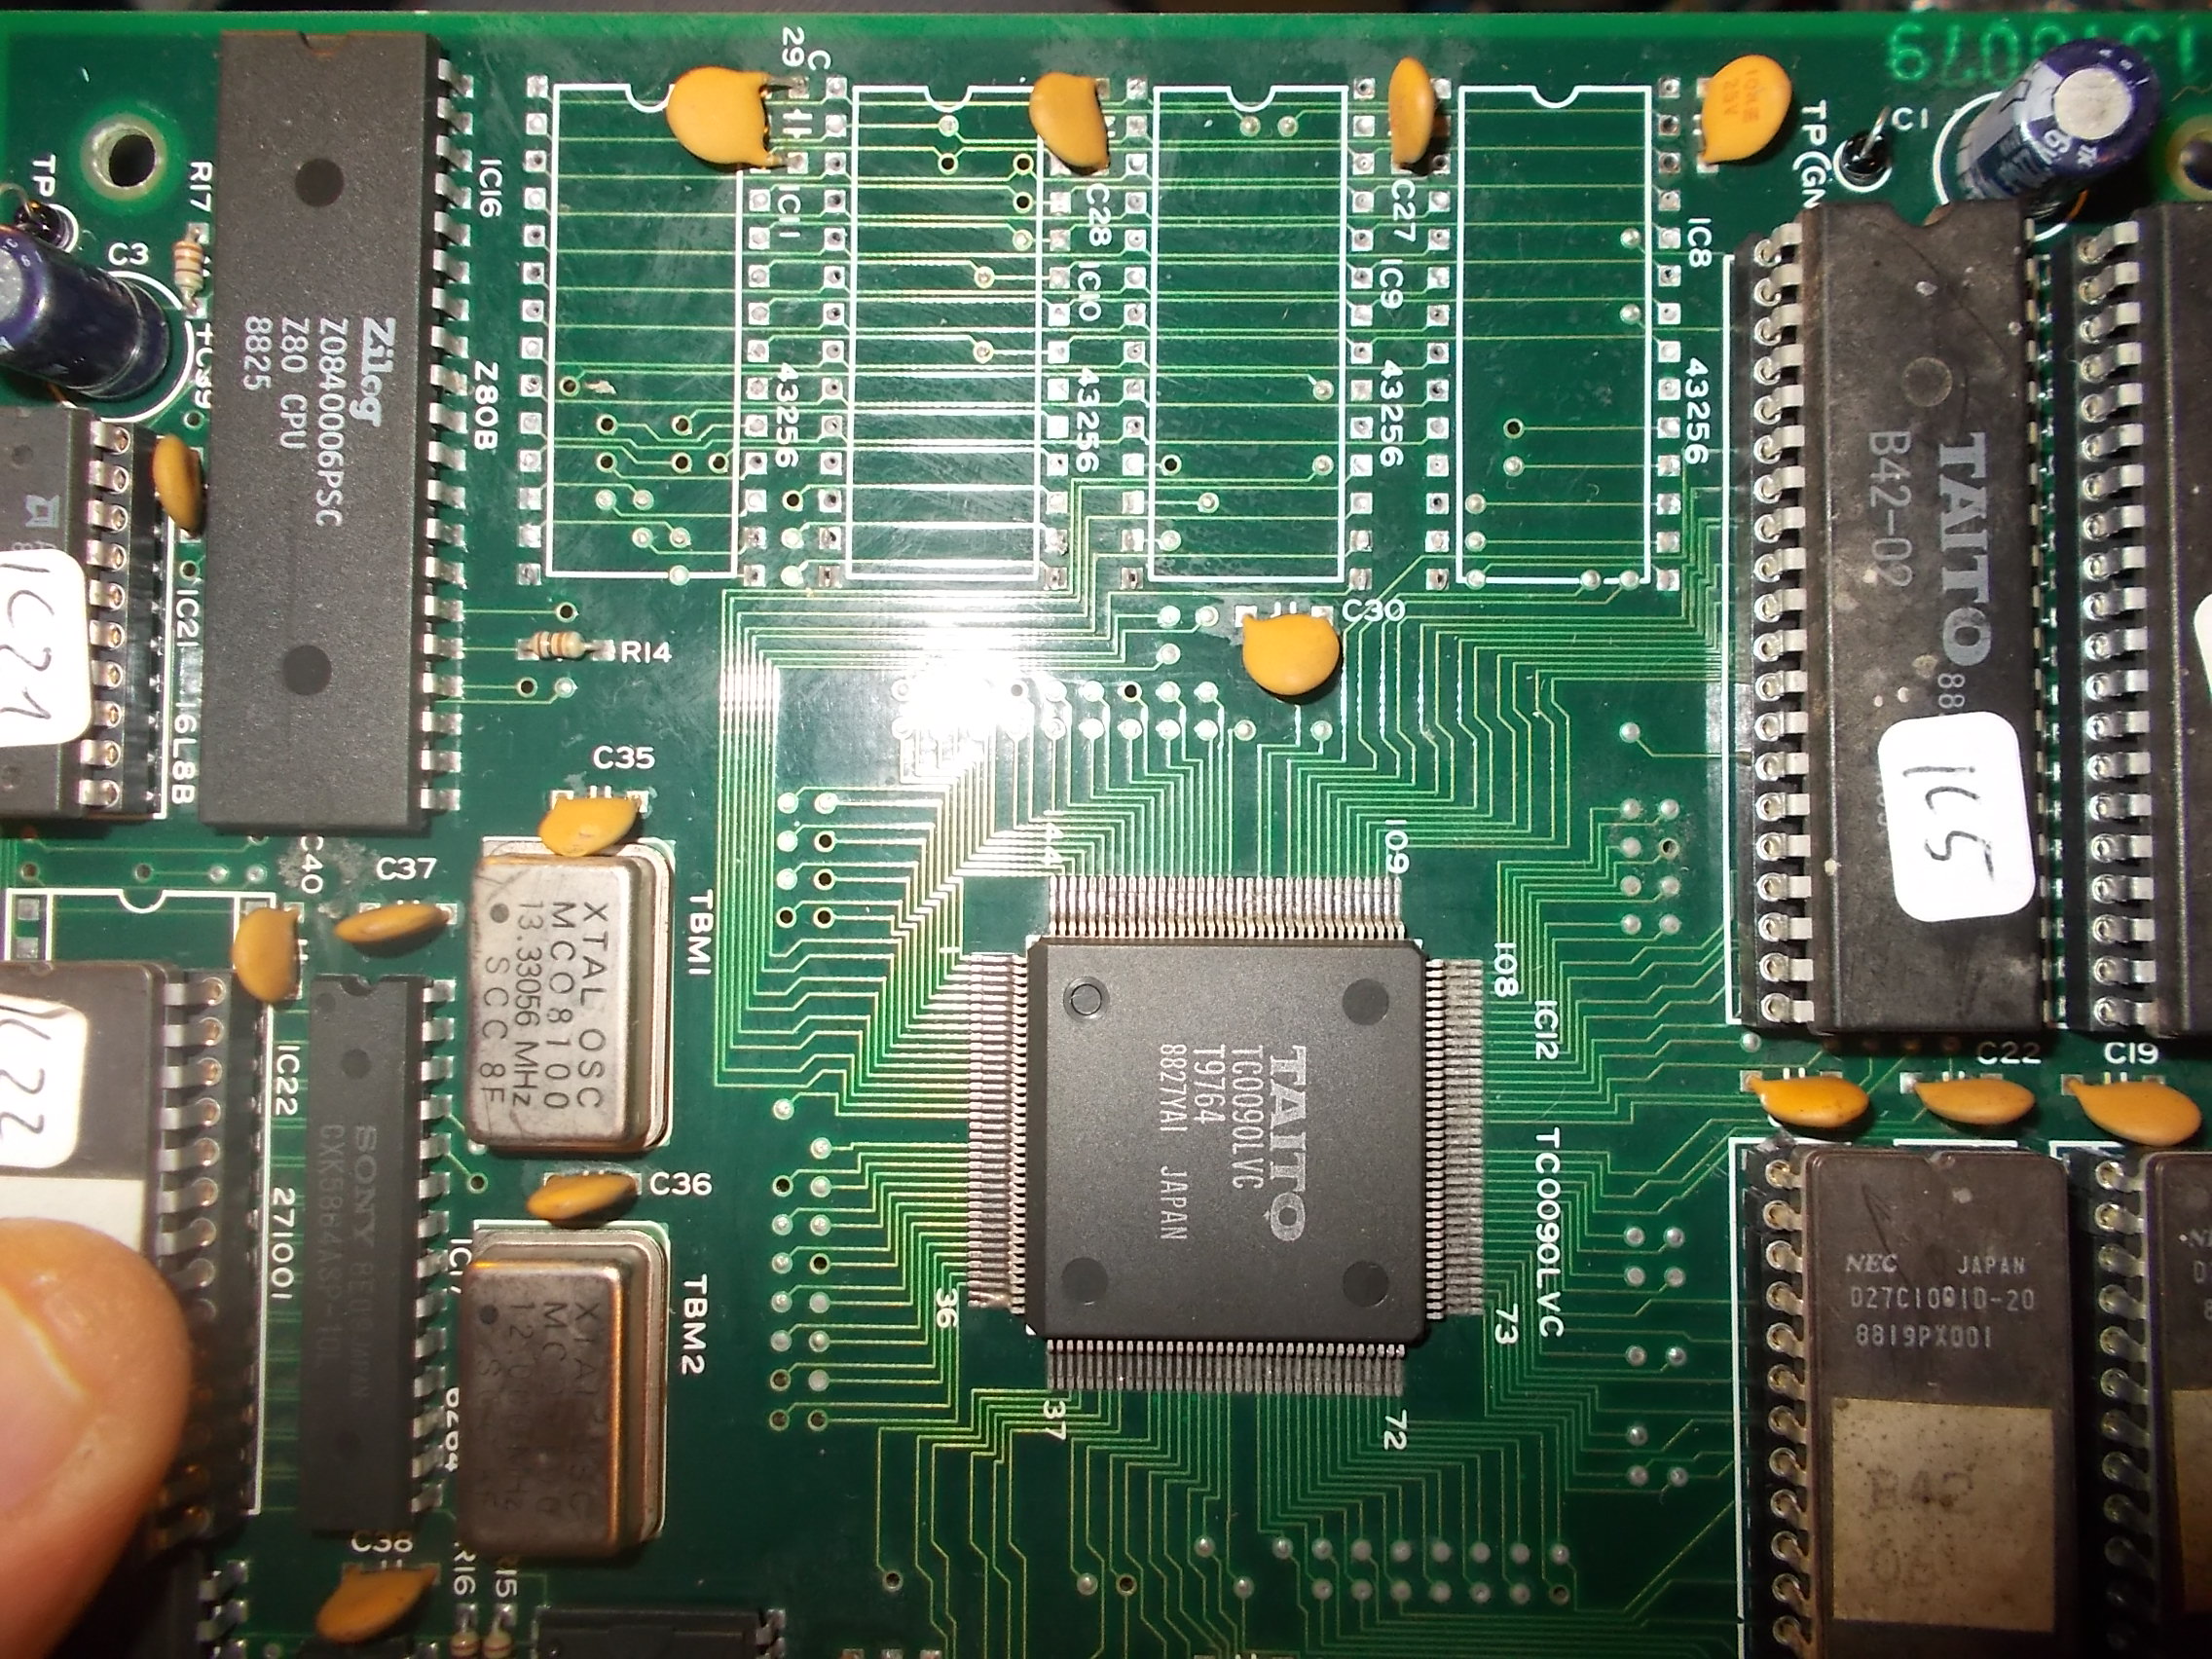
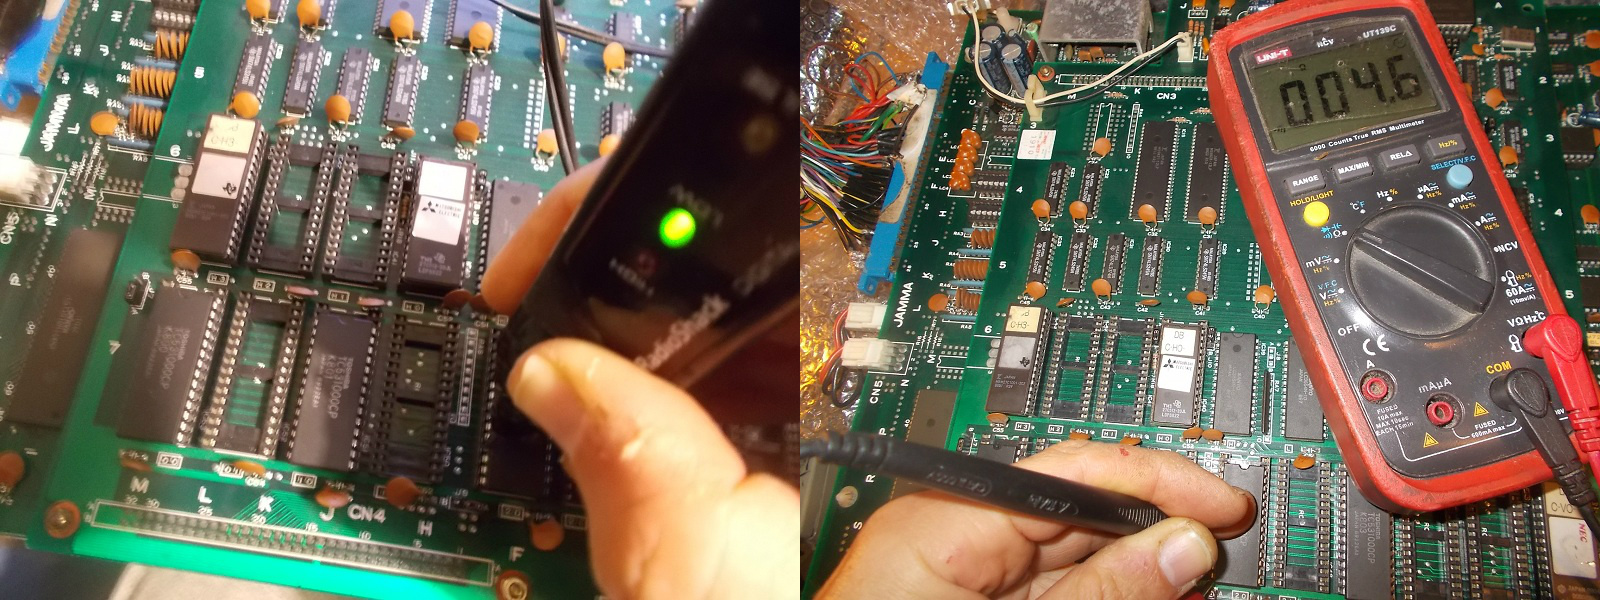
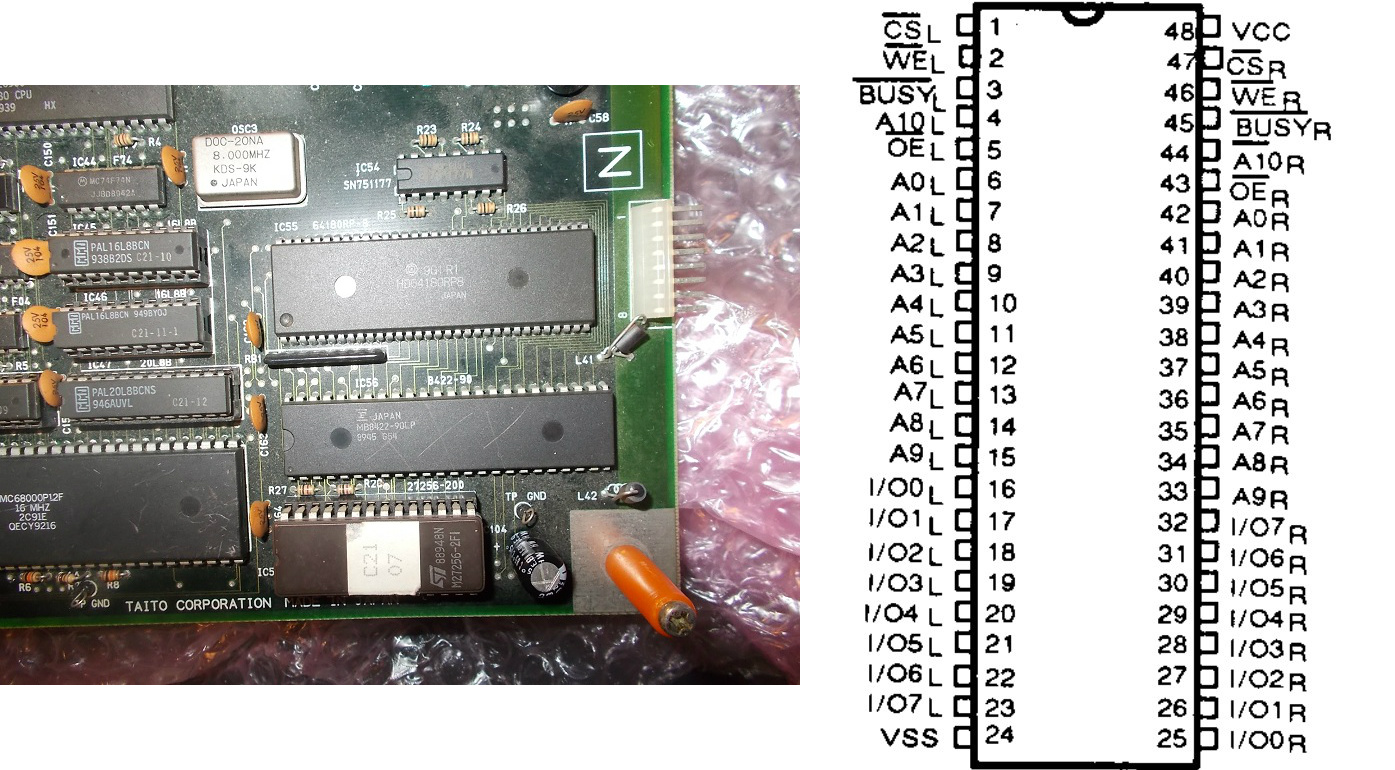
A clicking sound suggested that the watchdog circuit was active, infact both /HALT and /RESET lines of 68000 main CPU were going LOW and HIGH in an endless loop.At first glance I thouhgt the Taito custom ‘TC00220IOC’ (responsible of generating the master reset for whole system) was faulty since this is a very prone to failure part :

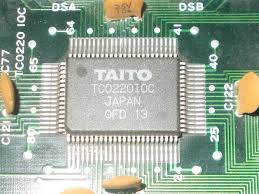
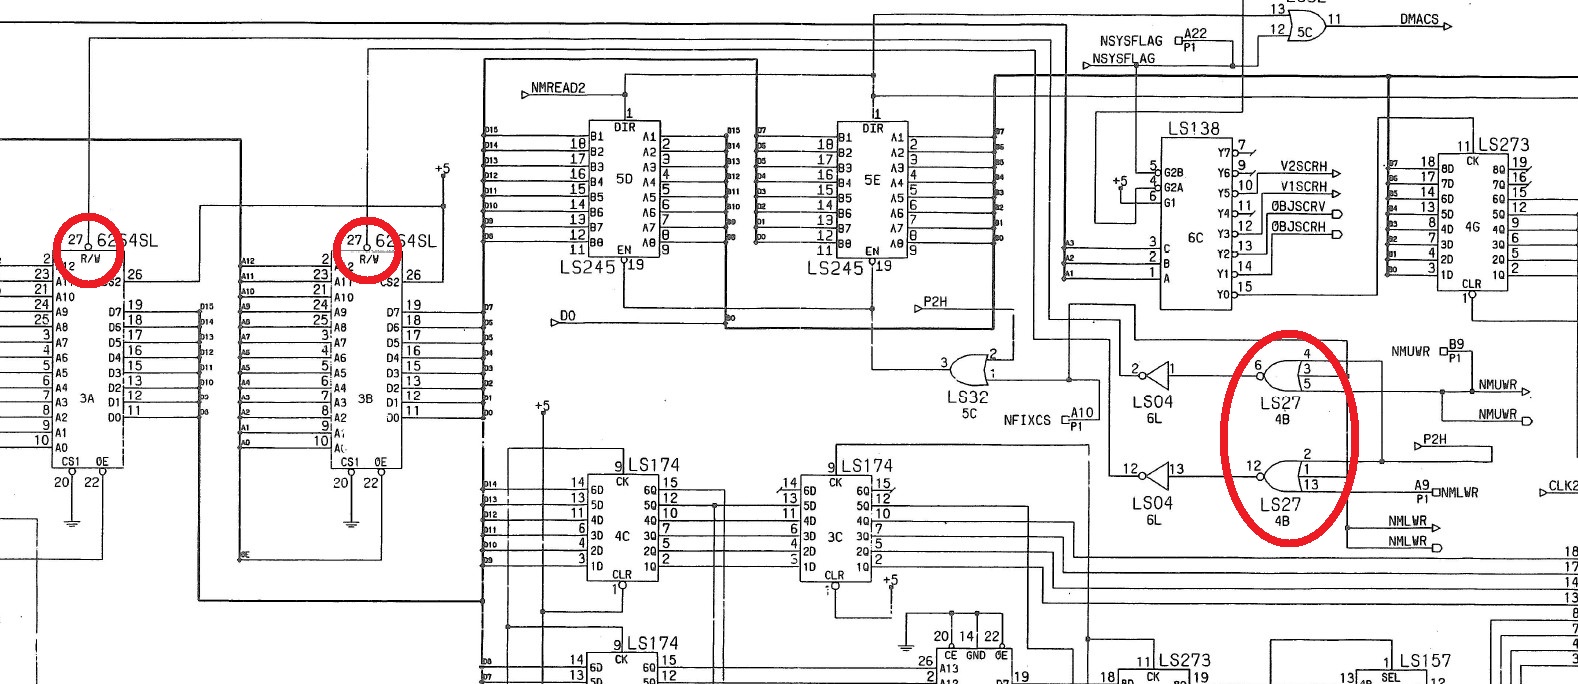
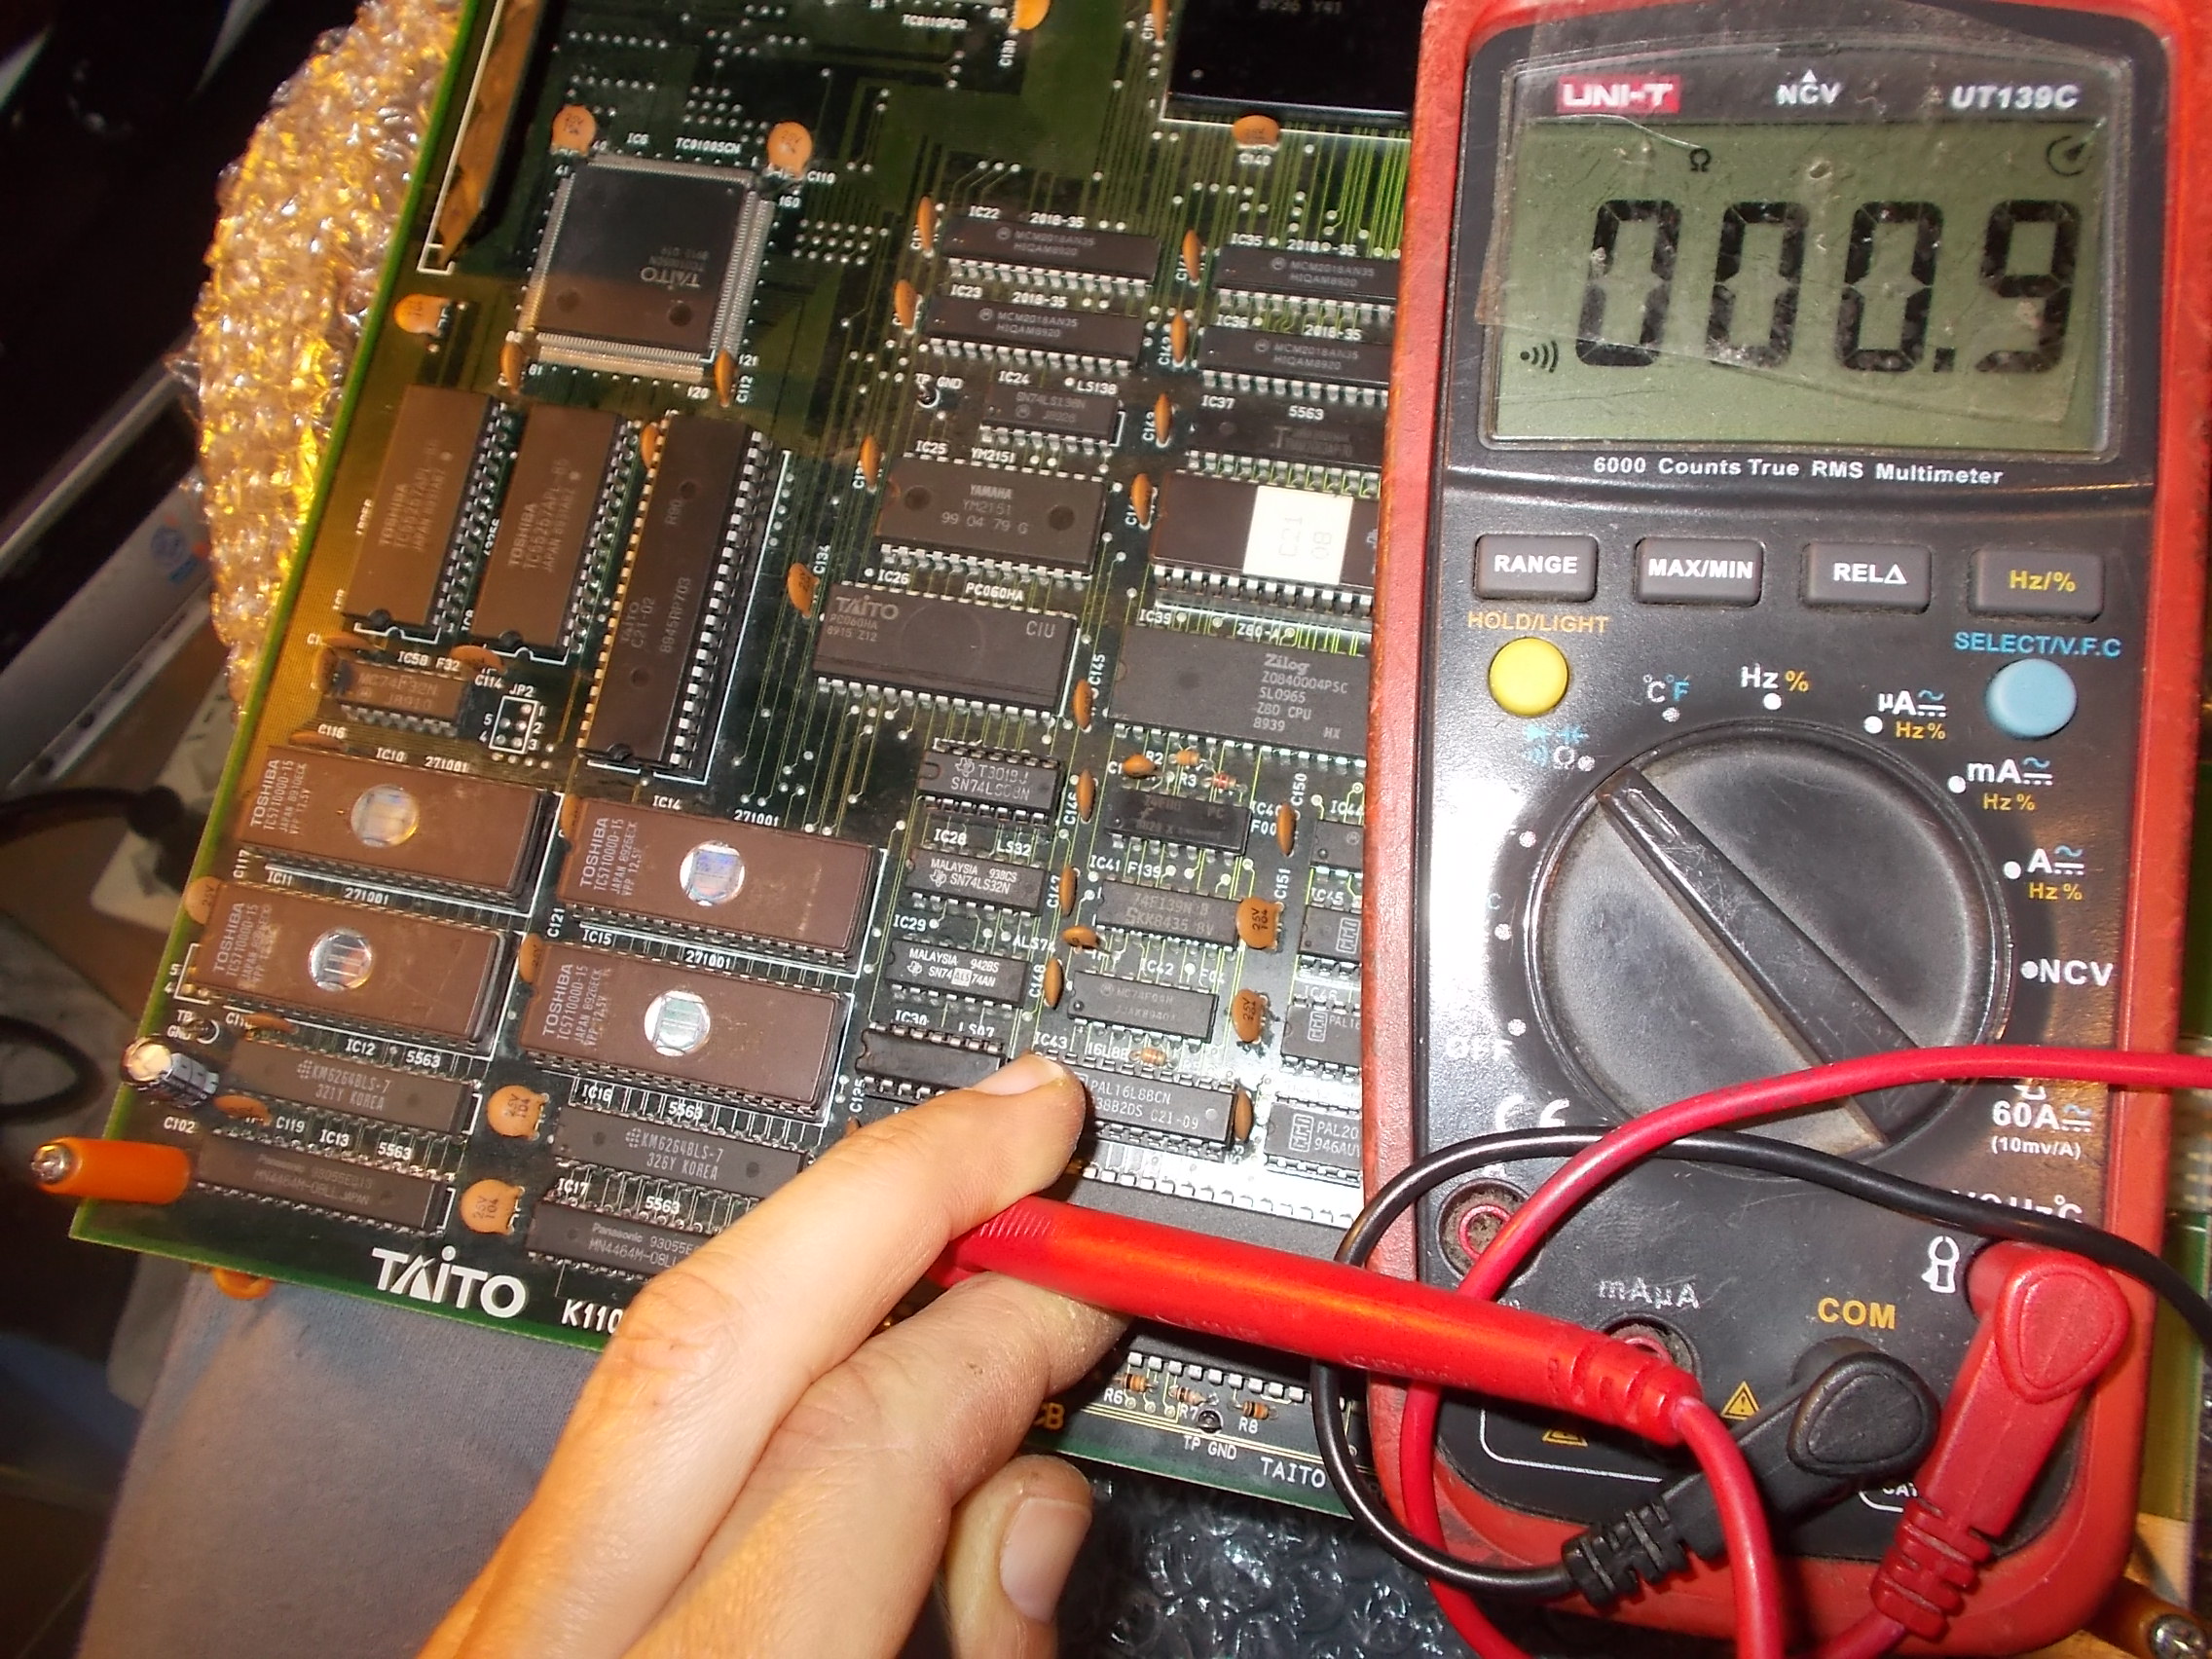
But I was wrong since I replaced it with no changes.Probing the 68000 CPU I found that data line D0 (pin 5) was stuck low, using a multimeter revealed it was shorted to ground:

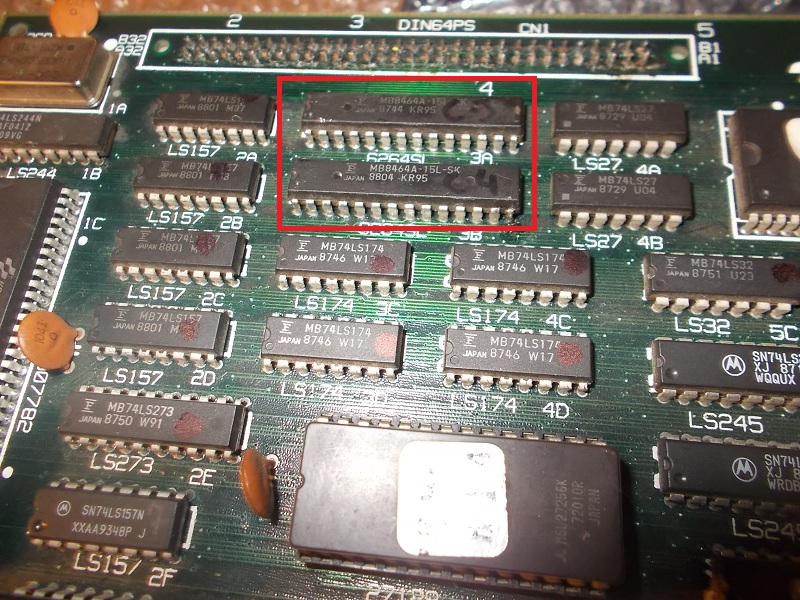
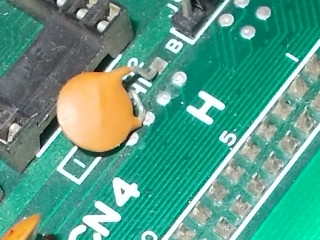
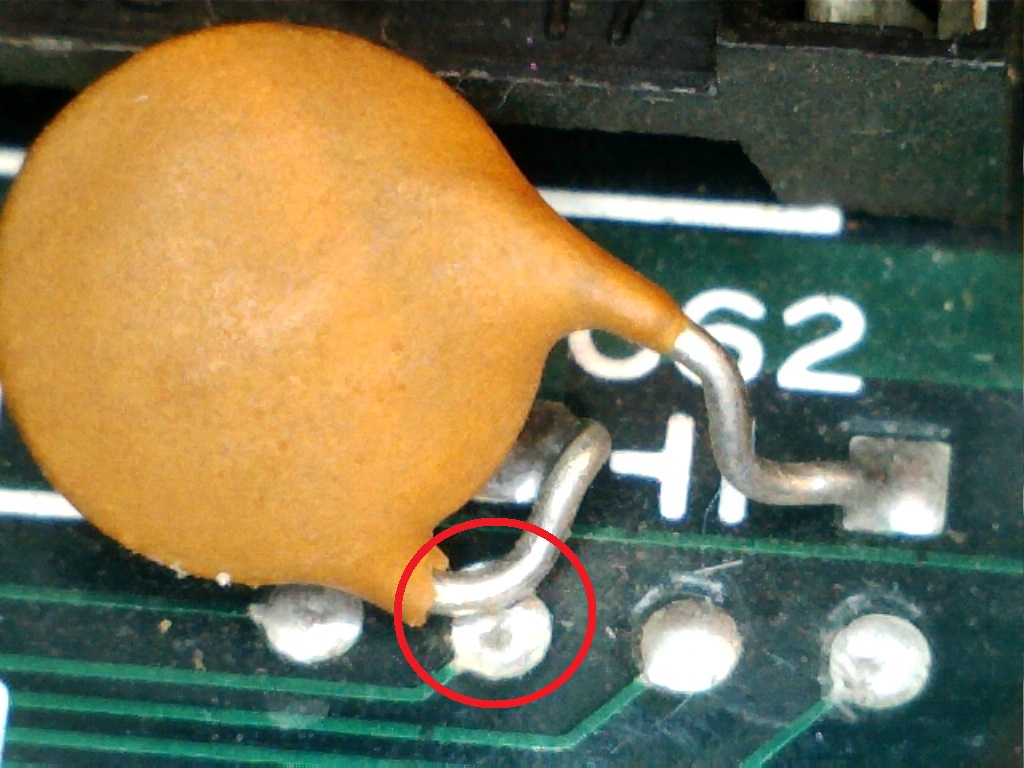
Looking at solderside I traced the pin back also to pin 25 of a Fujitsu MB8422 Dual-Port SRAM (part of linking mode circuit)

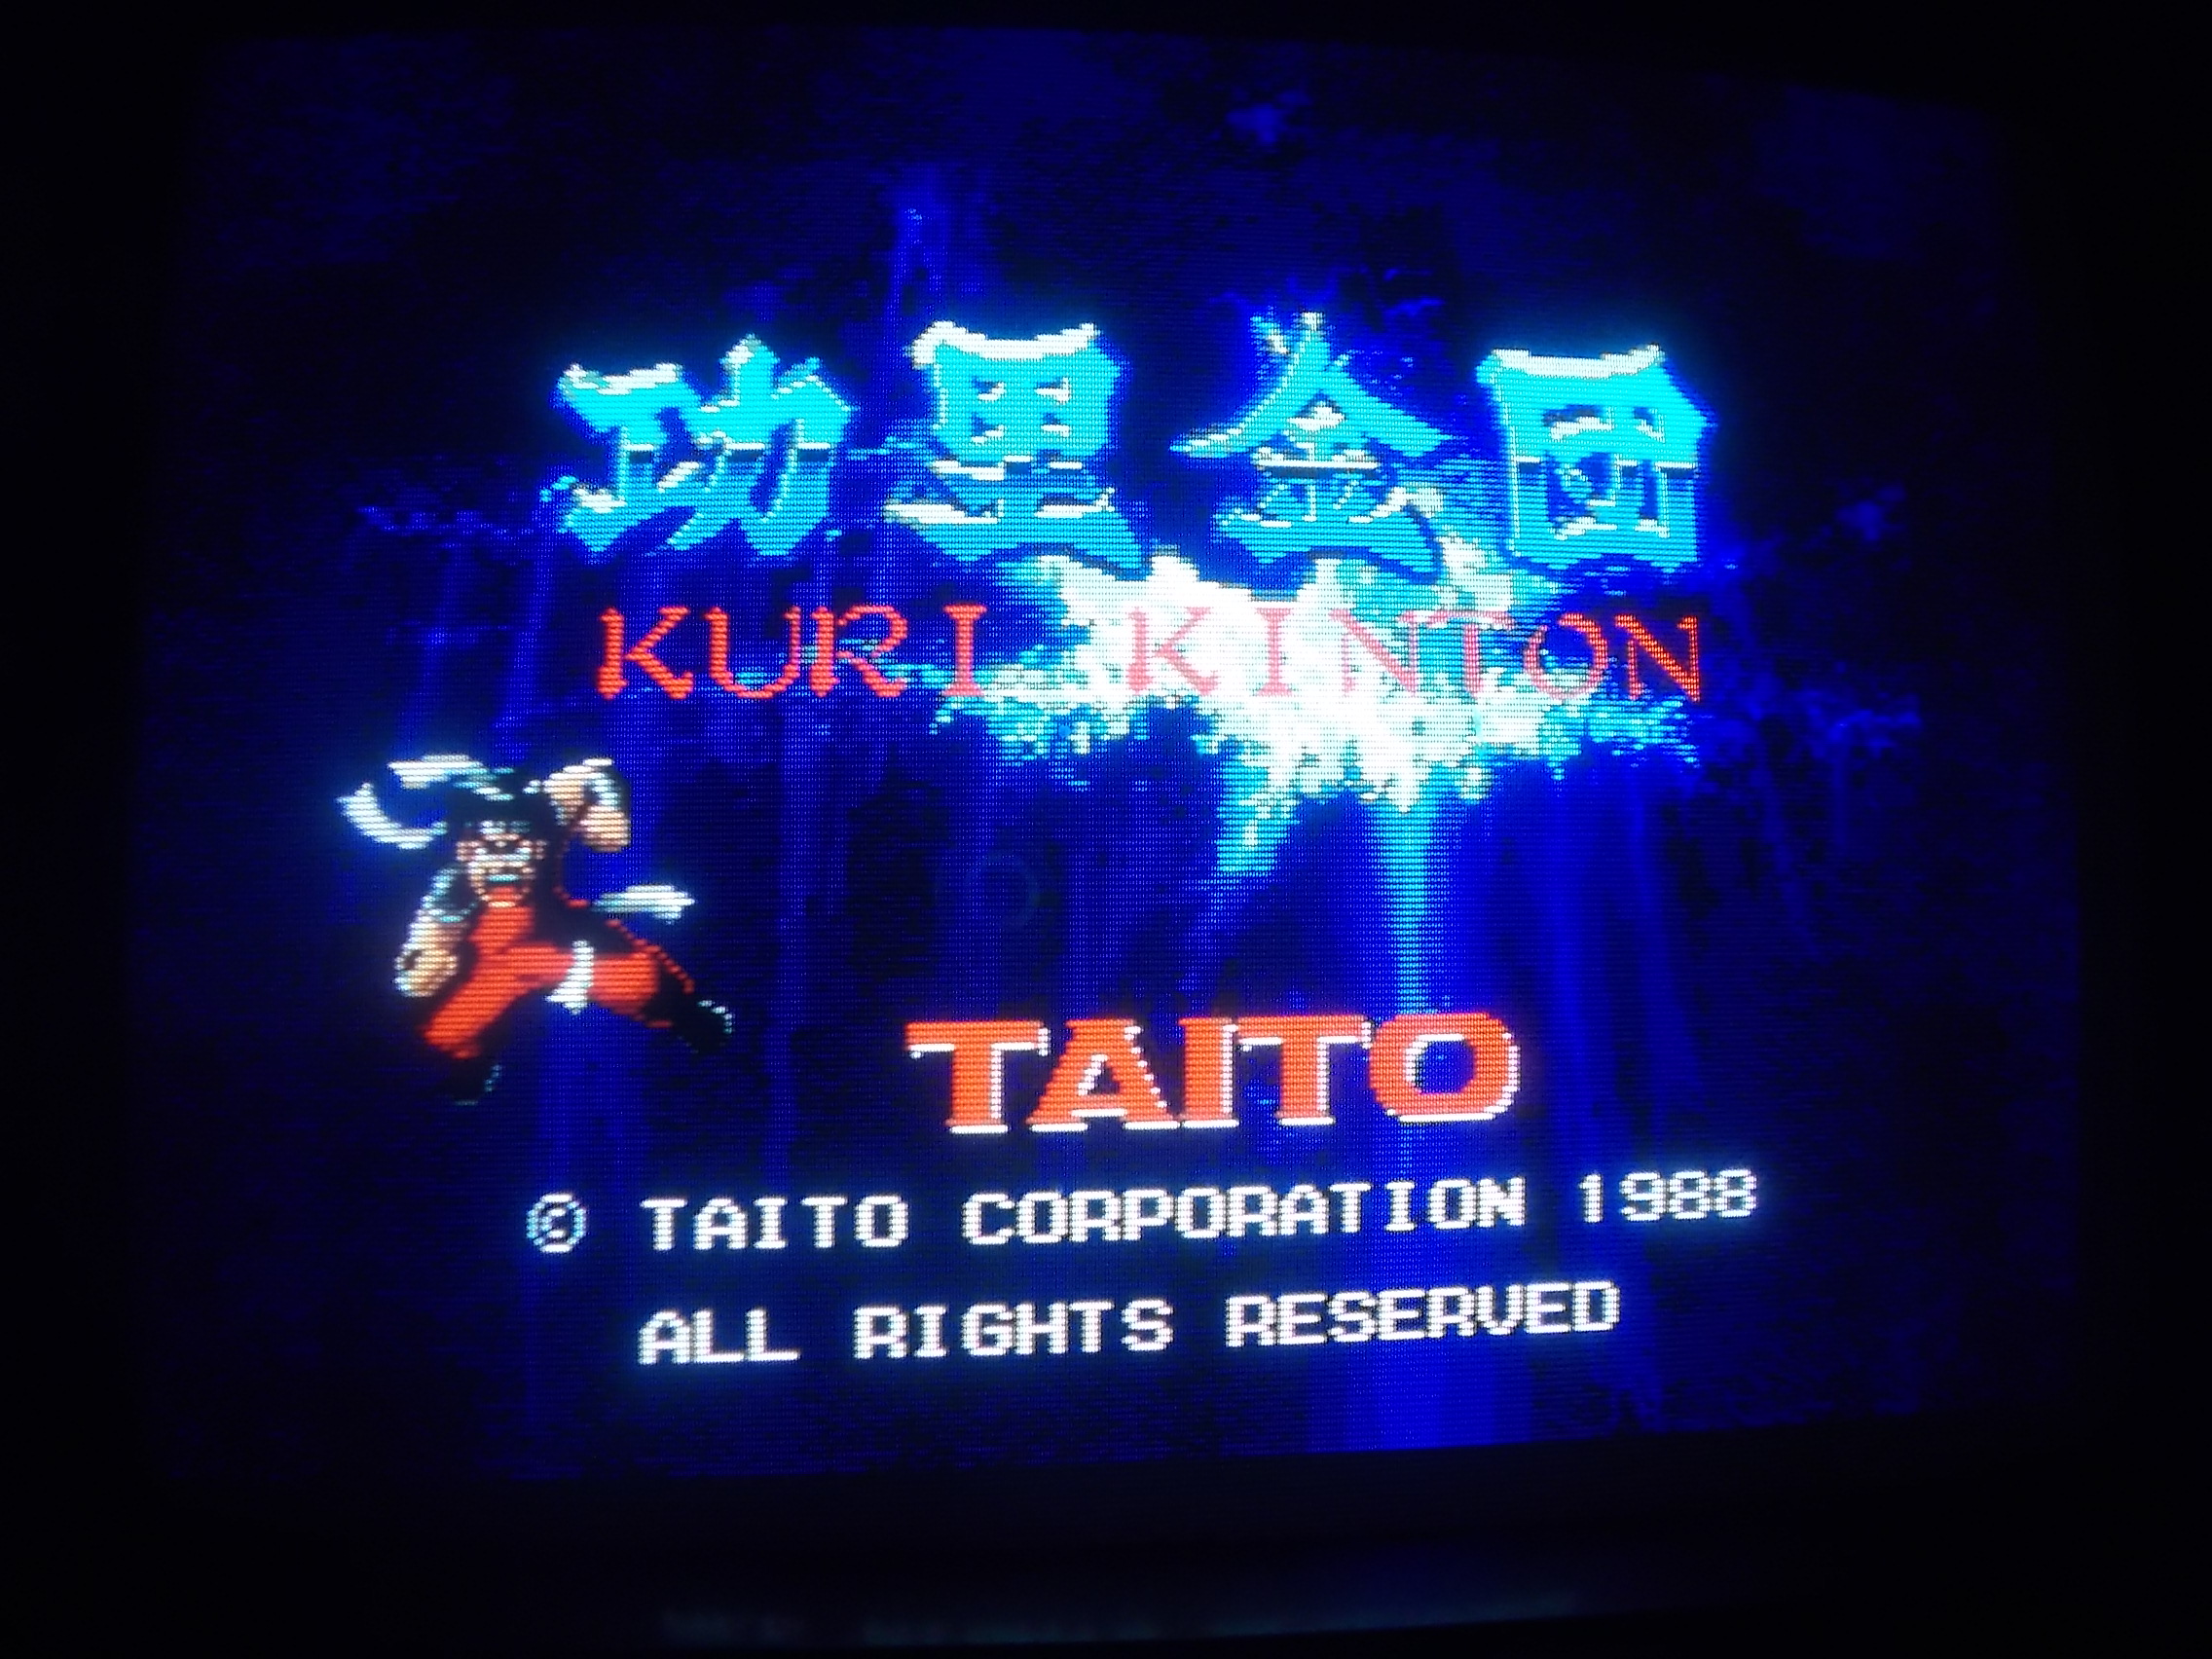
I cut the trace and the short was cleared (so the I/O pin of the MB8422 was internally shorted).Finally board booted into game:

But I noticed two problems : the buttons of the Player 1 were not responding and sound had rustles, you can hear it from this video :

As for first issue, using a logic probe revealed the relevant pins of JAMMA edge connector were stuck LOW :

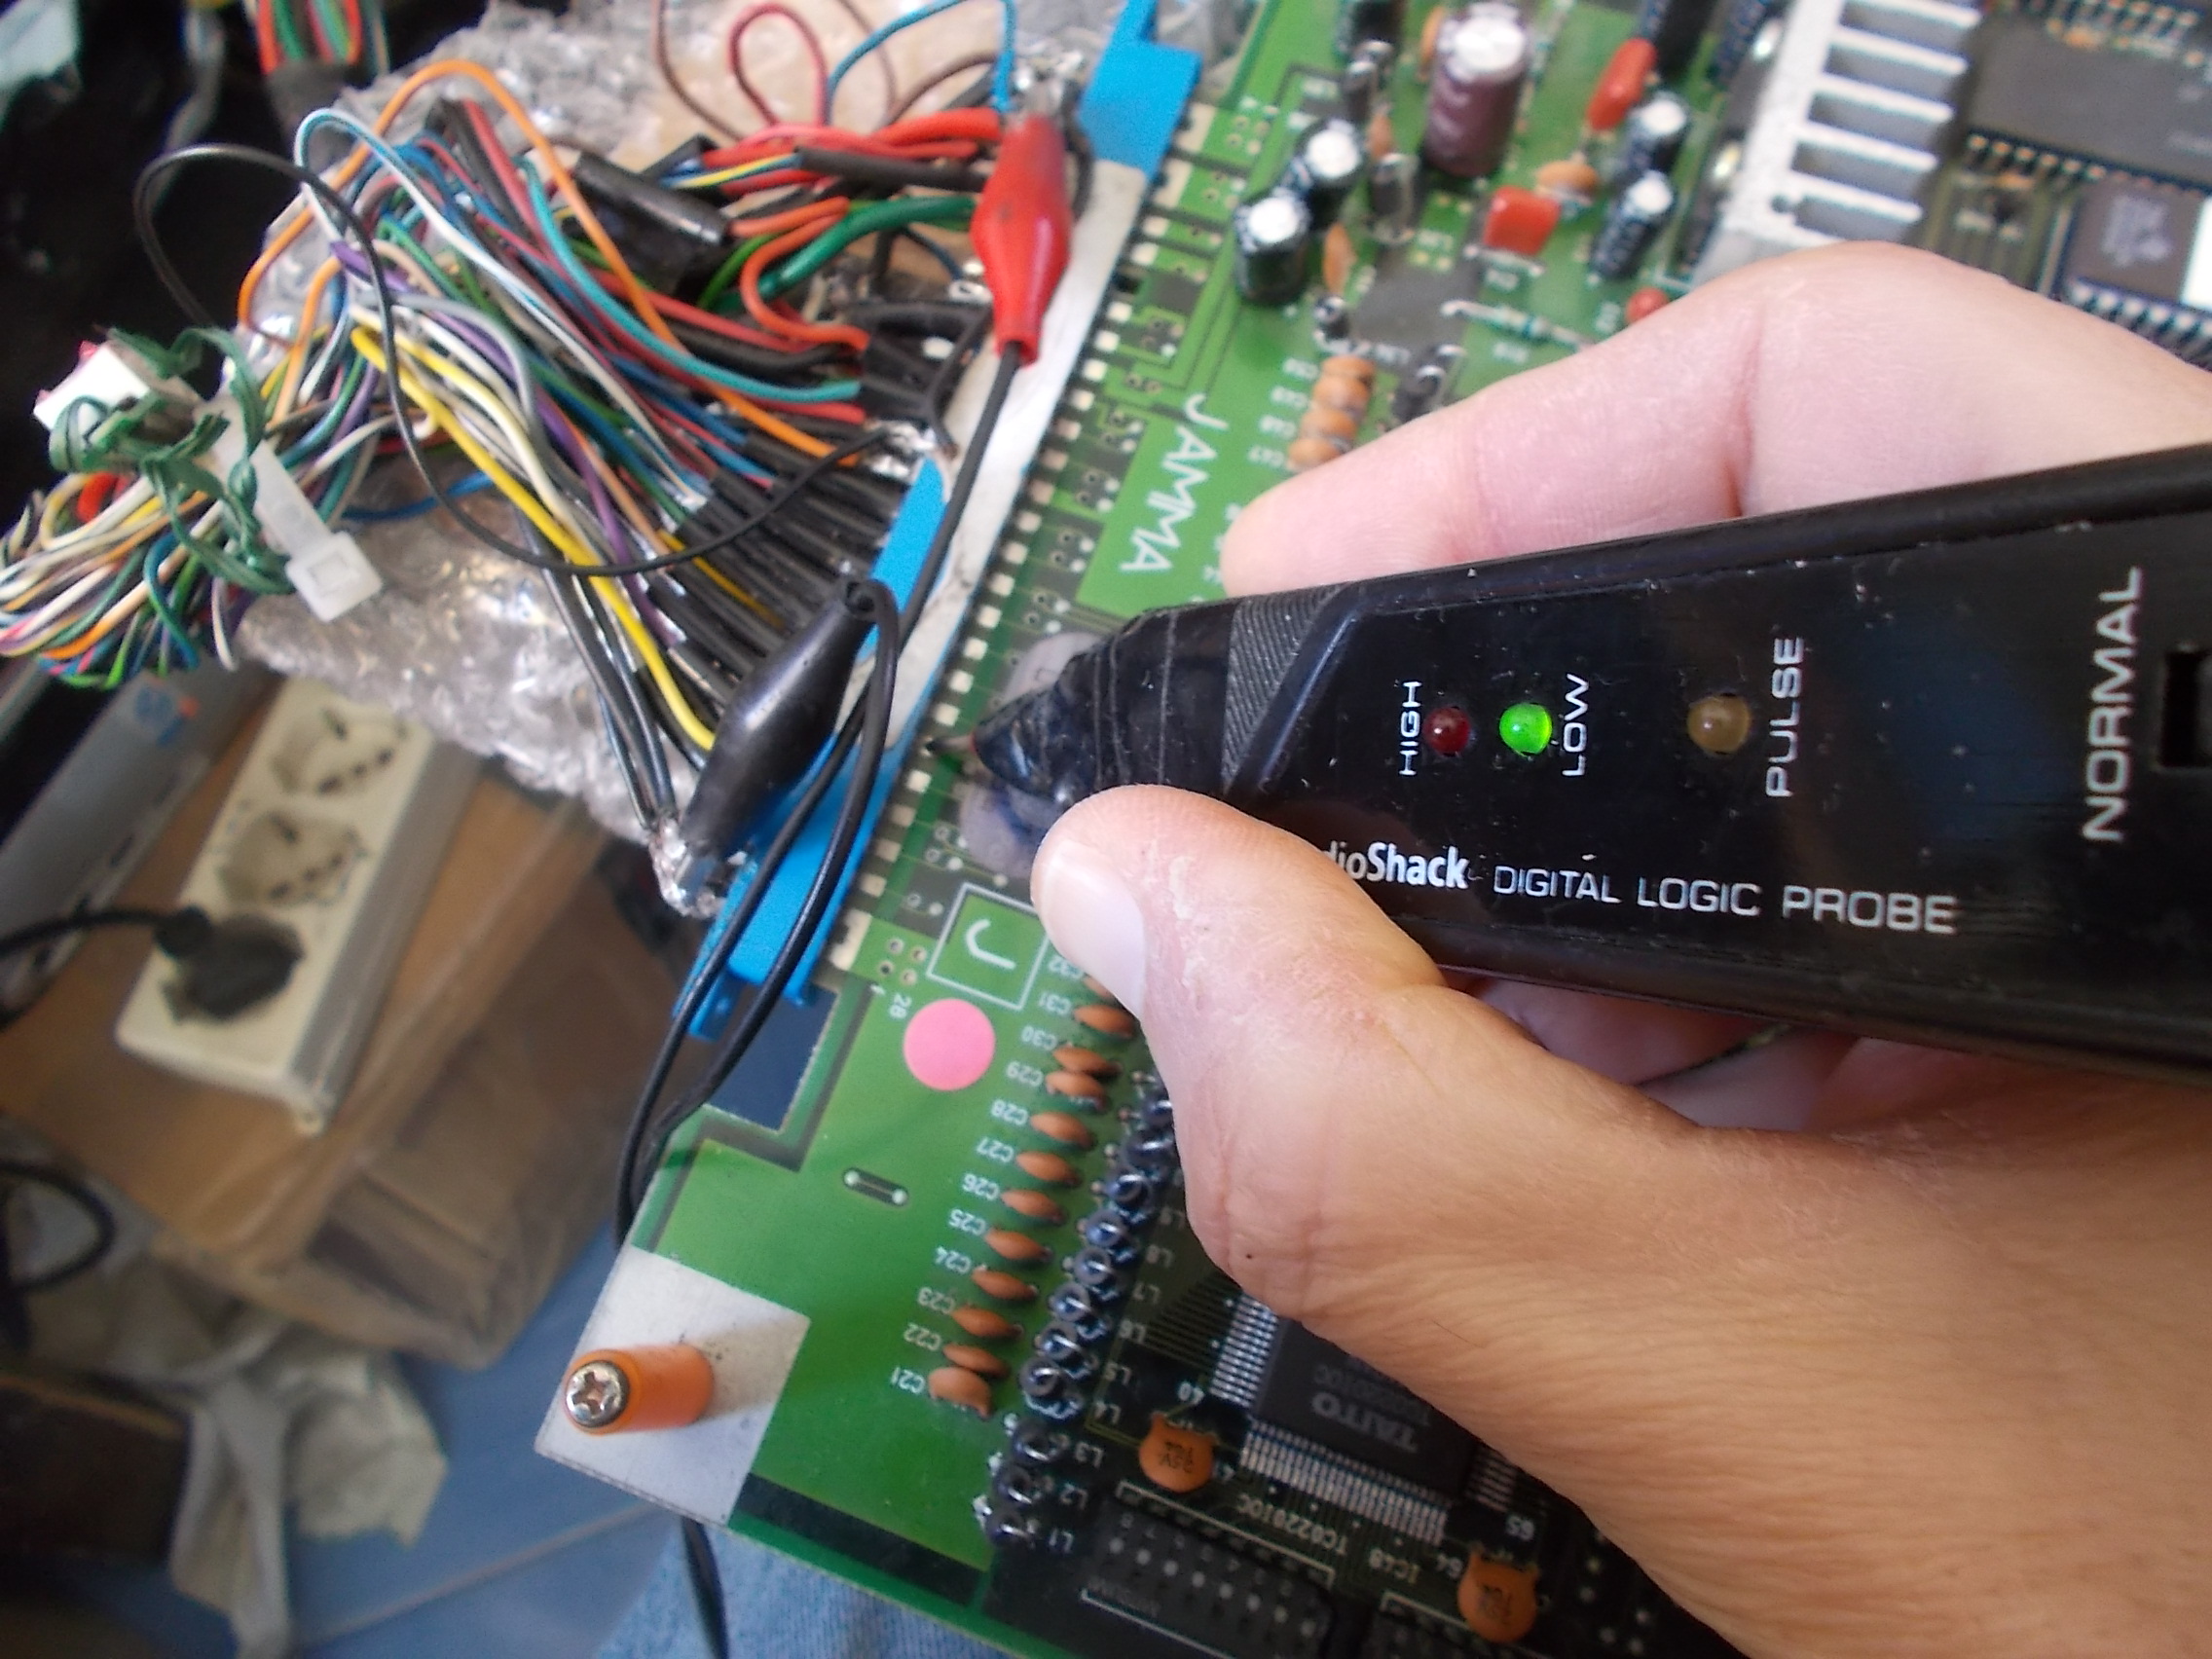
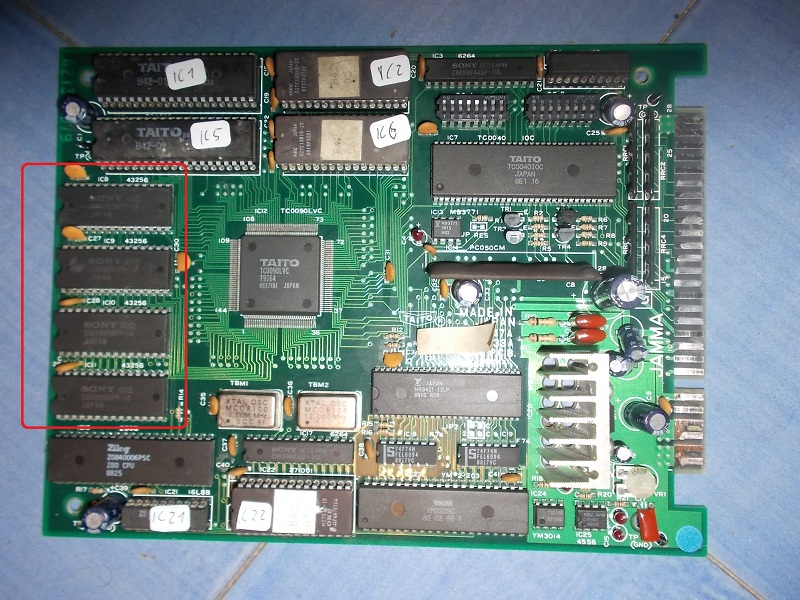
Inputs of an arcade board  must be HIGH when not activated, they are usually pulled in this state by resistors.Indeed, tracing back the pins of the three P1 buttons from JAMMA connector lead me to some custom resistor network:

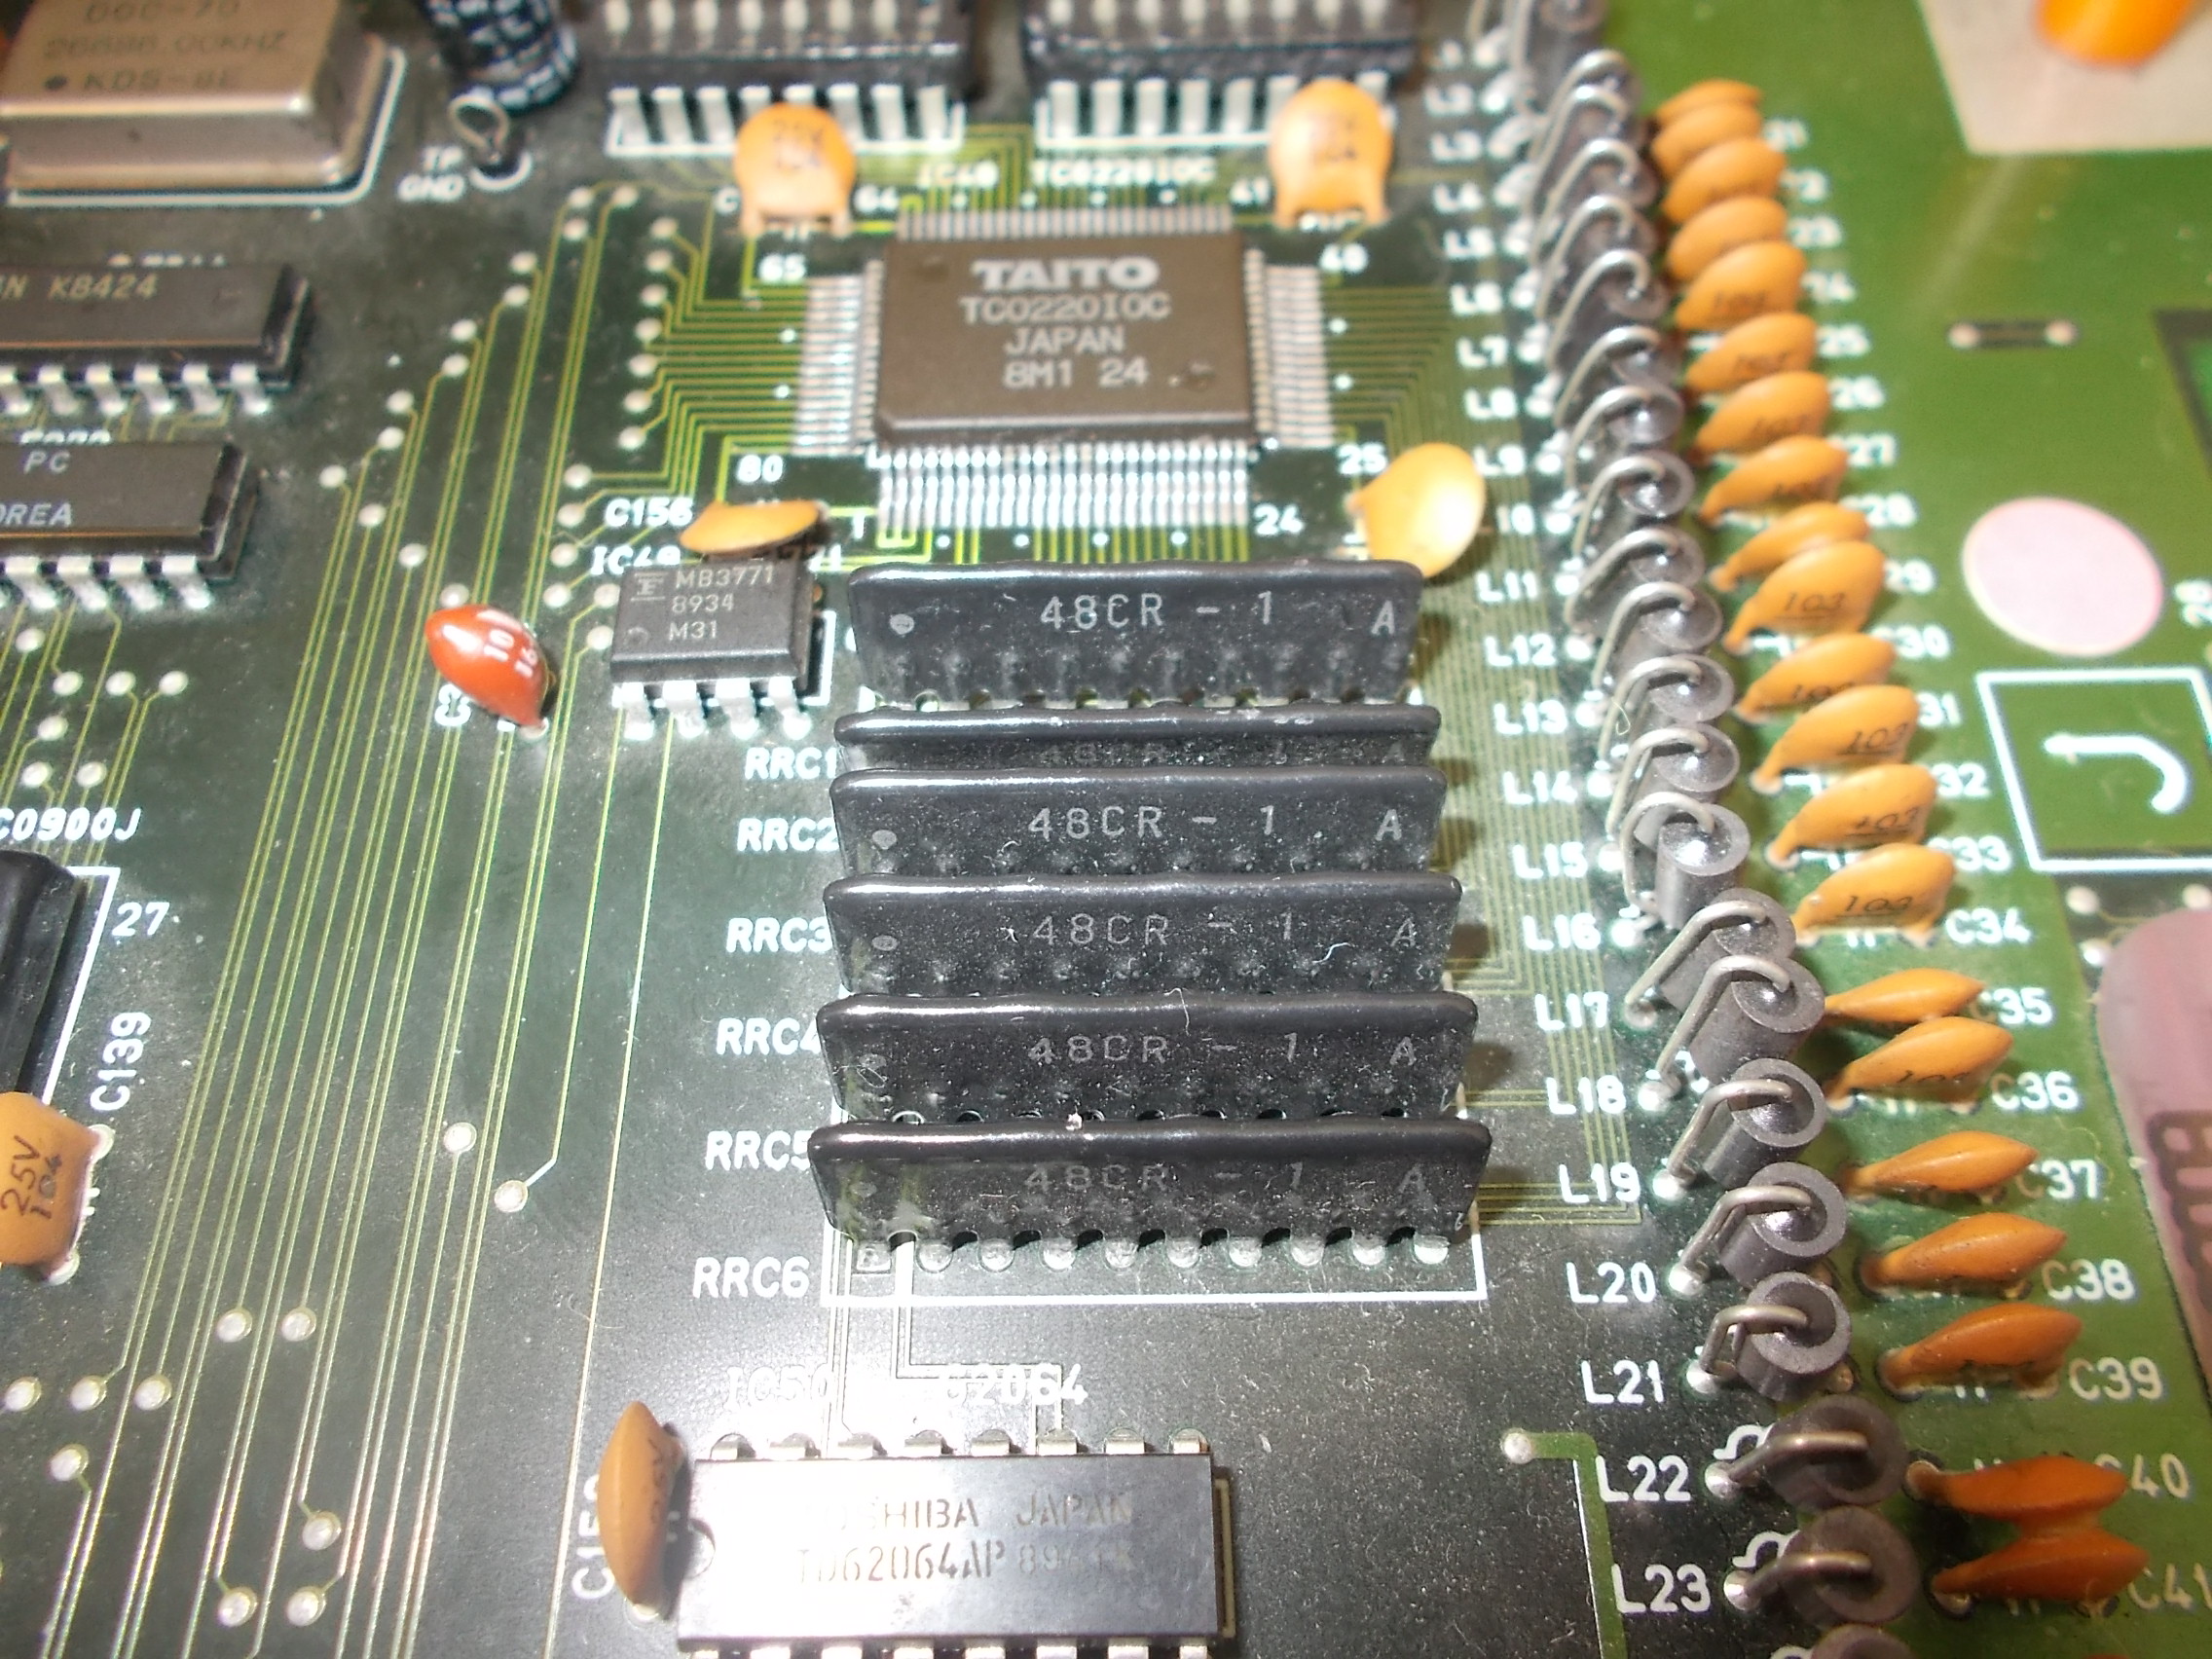
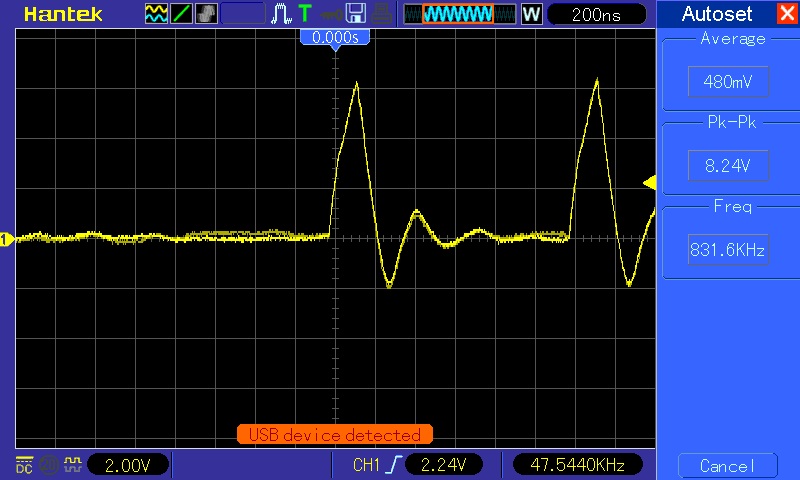
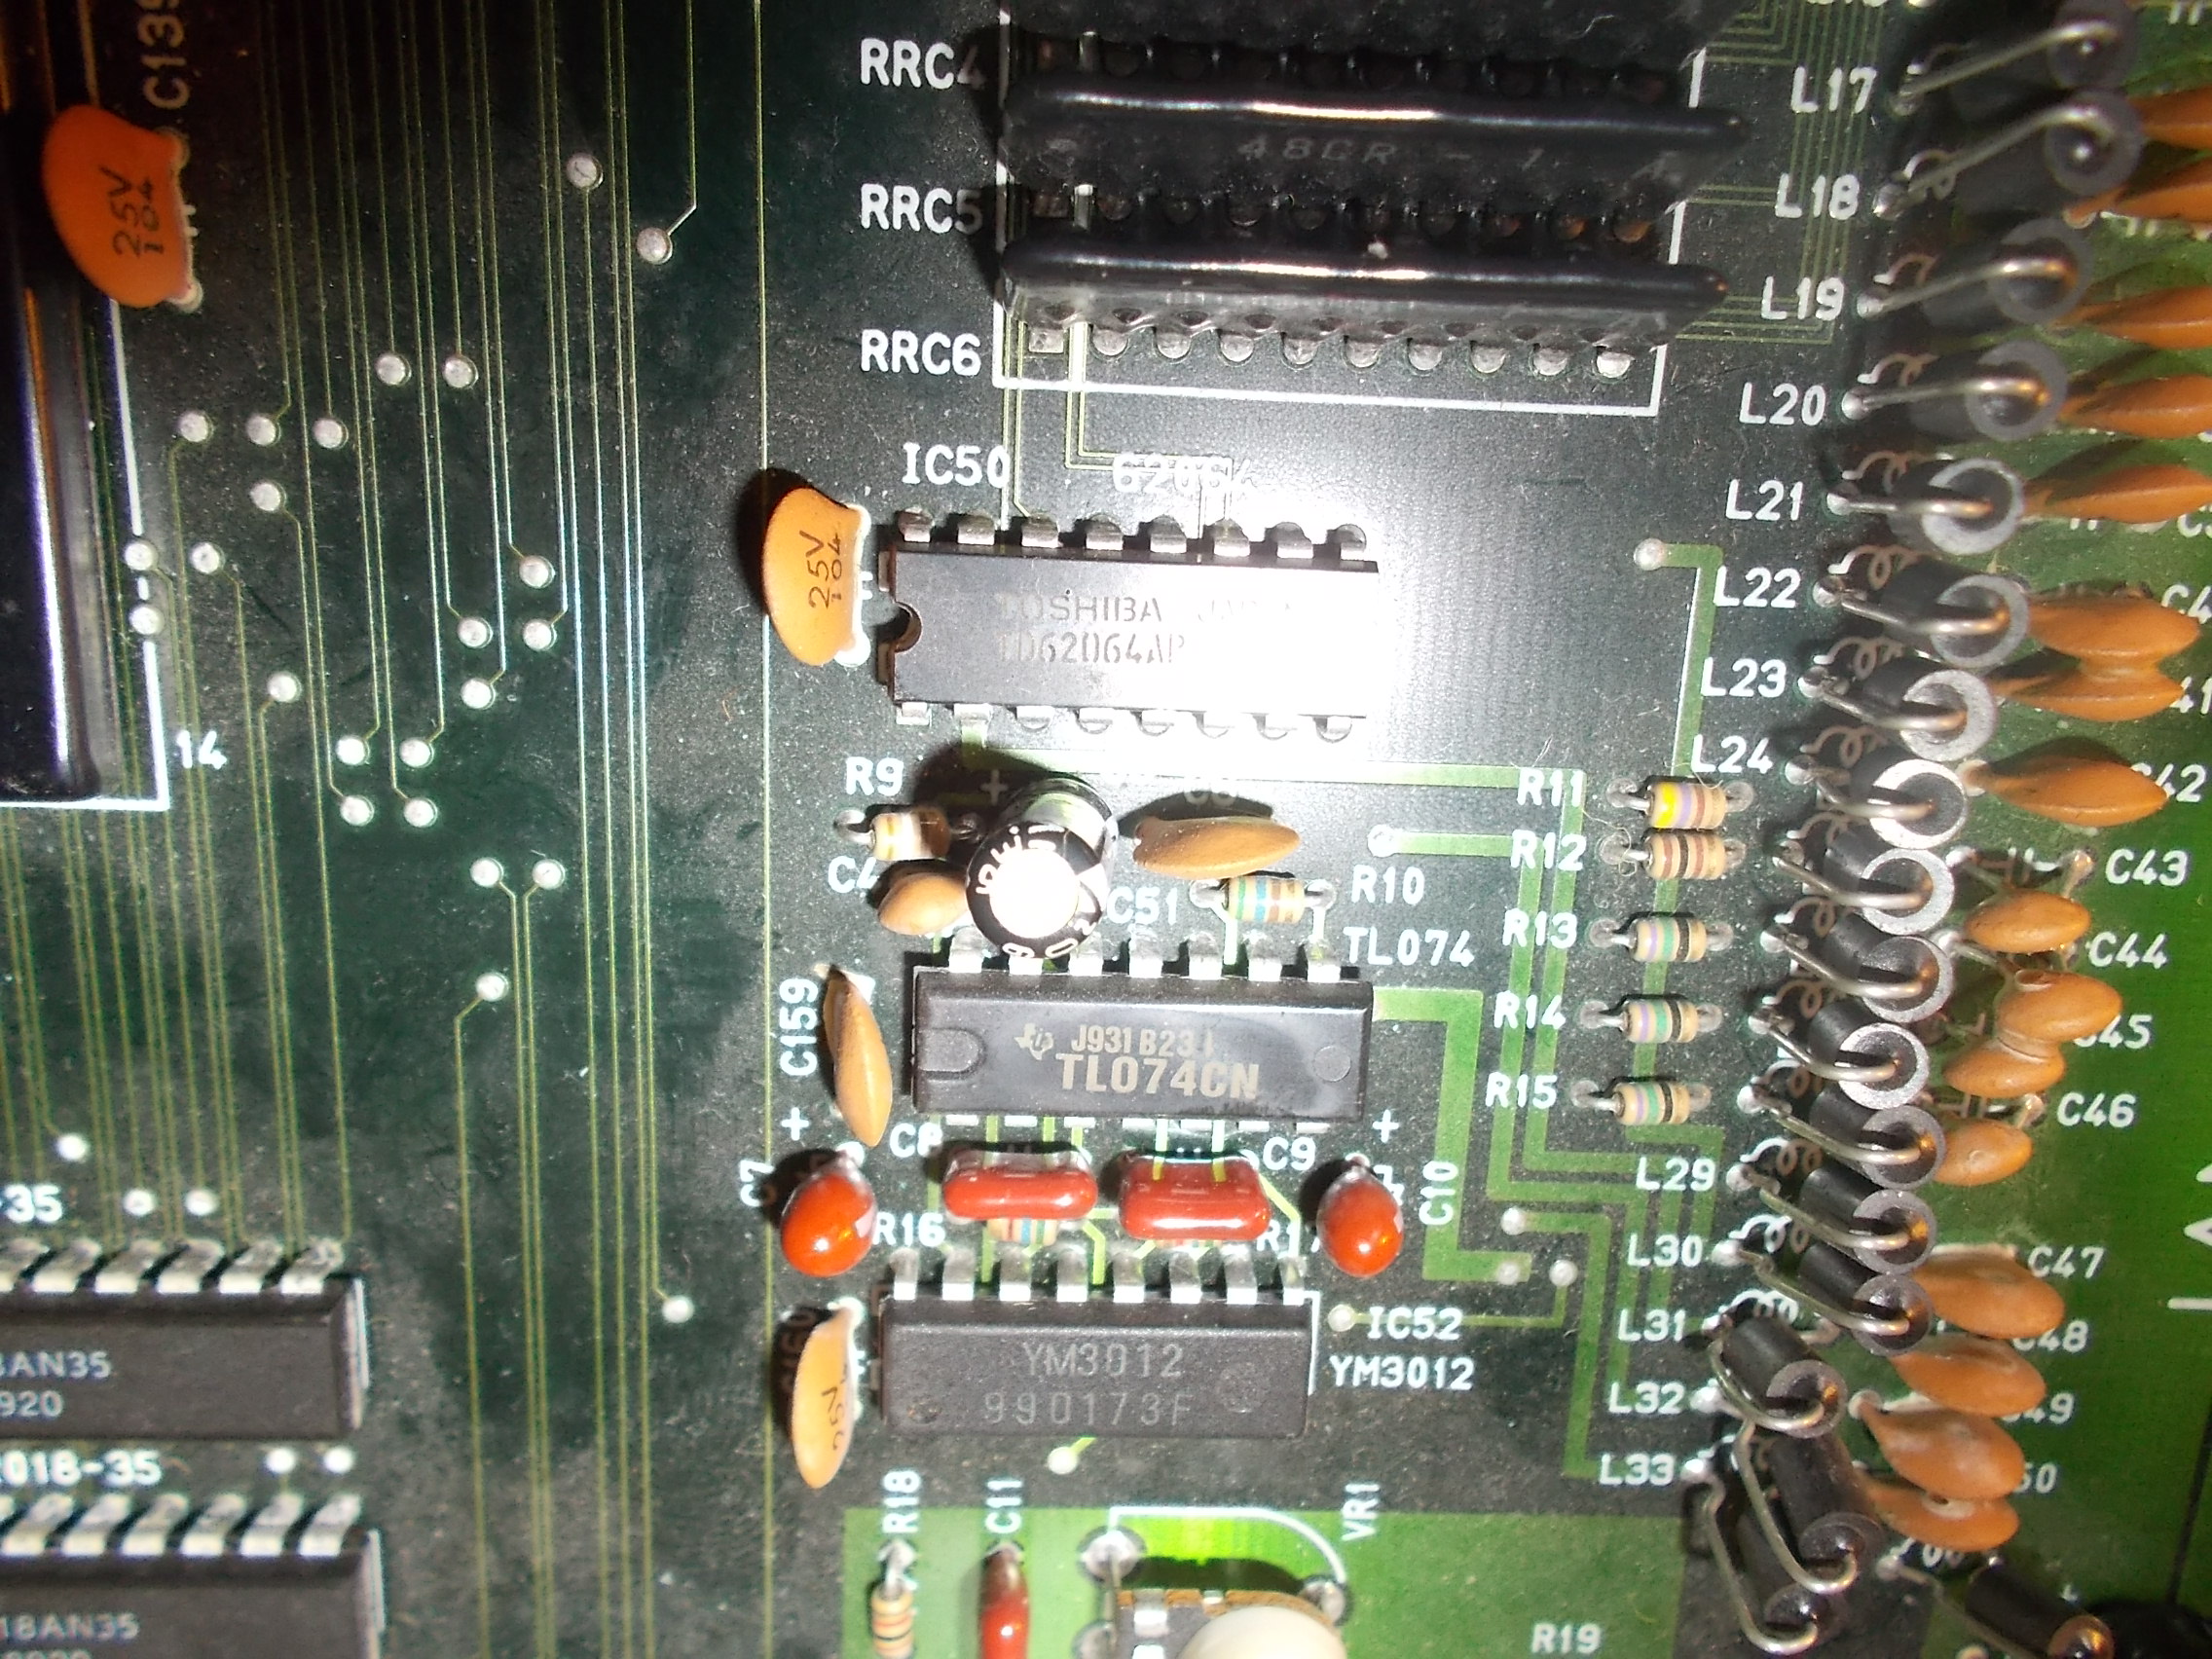
The array @RRC1 was the one involved so I removed and replaced it, this fixed the controls issue.As for sound, using an audio probe I figured out that the bad audio was coming out from the TL074 OP-AMP from Texas Instruments (which are really prone to failure, have replaced tons of them) 

Replacing it restored a crisp sound.End of job

 Posted by at 6:27 pm

Kuri Kinton repair log

 PCB Repair Logs  Comments Off on Kuri Kinton repair log
Jan 202018
 

Received from Austria this faulty Kuri Kinton PCB, an obscure fighting game manufactured by Taito in 1988 :

Board is very compact, hardware platform is called ” Taito L system” based on the the ‘TC0090LVC’ (a custom Z80), an all-in-one  CPU/system controller  which does everything  (game logic, tile handling, sprite handling, I/O handling, etc).At power up I was greeted by this scenario:

The game played almost blind, you could coin up but graphics were all scrambled.Ruled out the two GFX 4Mbit MASK ROMs, very few was left to probe.There are four 62256 SRAMs (32K x 8-bit) whose data/address busses are tied to the ‘TC0090LVC’ :

Probing them revealed unhealthy signals on data lines of some of them:

I decided to remove them all :

Actually only the ones @IC9 and IC10 failed the out-of-circuit testing:

Replacing them fixed board completely.End of job.

 Posted by at 6:42 pm

Xexex repair log #1

 PCB Repair Logs  Comments Off on Xexex repair log #1
Jan 162018
 

Received from Austria this pretty mint Xexex PCB:

According to the owner the board had only faint sound but actually it was not booting for me resetting on attract mode:

At a closer inspection I found some lifted pins of the custom ‘053250’ which I promptly reflowed :

Finally the board successfully booted but, as expected, with very low sound , you could barely hear it with volume set at maximum level though:

Obviously the culprit was the ‘054544’ hybrid audio module:

I removed it and changed all the electrolytic capacitors (repainting it as well)

This restored full sound.Then I thought this was the right chance to try out my reproduction:

Testing was successful :

 Posted by at 10:21 pm

Vulcan Venture repair log #2

 PCB Repair Logs  Comments Off on Vulcan Venture repair log #2
Jan 082018
 

Received from Spain this faulty Vulcan Venture PCB (export release of Gradius II on the glorious’ Konami Twin16 hardware) 

This is what I got once powered it up:

Graphics were all corrupted, you could barely recognize the self-test procedure which failed all the time causing the reset of the whole system in an endless loop.I focused my troubleshooting on VIDEO board:

Like the CPU board, also the VIDEO one was almost fully populated with Fujitsu TTLs  but before going thru them I started to probe the various RAMs.I found one 62256 @8L with dead outputs:

This finding lead to no improvement.So I fired up my logic comparators and started to probe TTLs.Sequentially I was able to locate these faulty ones, all of them on VIDEO board and from Fuitsu:

  • 74LS153 @9H


  • 74LS157 @2F


  • 74LS244 @5W

But the board was still not booting :

Shorting some data/address lines of two 6264 SRAMs @3A and 3B changed the garbage on screen so this was the path to follow, the problem was in the tilemap generation circuit which these RAMs are part of :

Probing the RAMs revealed that the R/W lines (pin 27) of both were stuck high, according to schematics these signals come from a 74LS27 @4B:


My HP10529A logic comparator confirmed troubles on two outputs of this 74LS27 which failed when tested out-of-circuit:

Now board succesfully passed the self-test and entered in game fully playable with sound but all graphics had very noticeale jailbars:

Most of graphics data is stored in four 4Mbit MASK ROMs:

While dumping them my programmer reported troubles for the ones @10L and 10M:


Replaced them with two 27C400 EPROMs fixed the issue and board completely.

Evil Konami (and Fujitsu) defeated again but war is not over.See you to next battle…

 Posted by at 5:56 pm

Dragon Breed repair log

 PCB Repair Logs  Comments Off on Dragon Breed repair log
Jan 052018
 

Received today from Germany some faulty PCBs for repair, there was this Dragon Breed boardset (on Irem M72 hardware)

Sprites were glitched with jailbars thru them:

Sprites data are stored in four 28 pin 1Mbit MASK ROMs (Toshiba TC531000) located on top board:

Due the fragile nature of these devices I was pretty sure that there was a faulty one but I was wrong since dumps turned out to be good.Analysing them with a logic probe I noticed that data line D0 (pin 11) of the MASK ROM @IC49 was stuck low, measuring its resistance to GND gave me only few Ohms:

Since device was good there was clearly something forcing the pin low, most likely a short (not ‘dead’ though).I traced the involved pin back until I came across to this scenario:

Here’s a close-up under a microscope:

The capacitor @C62 was bended and its terminal connected to GROUND  was accidentally lented on the pad of the trace tied to the data line.I straightened the capacitor, this cleared the short and hence sprites issue, simple but effective!Job done.


 Posted by at 7:29 pm