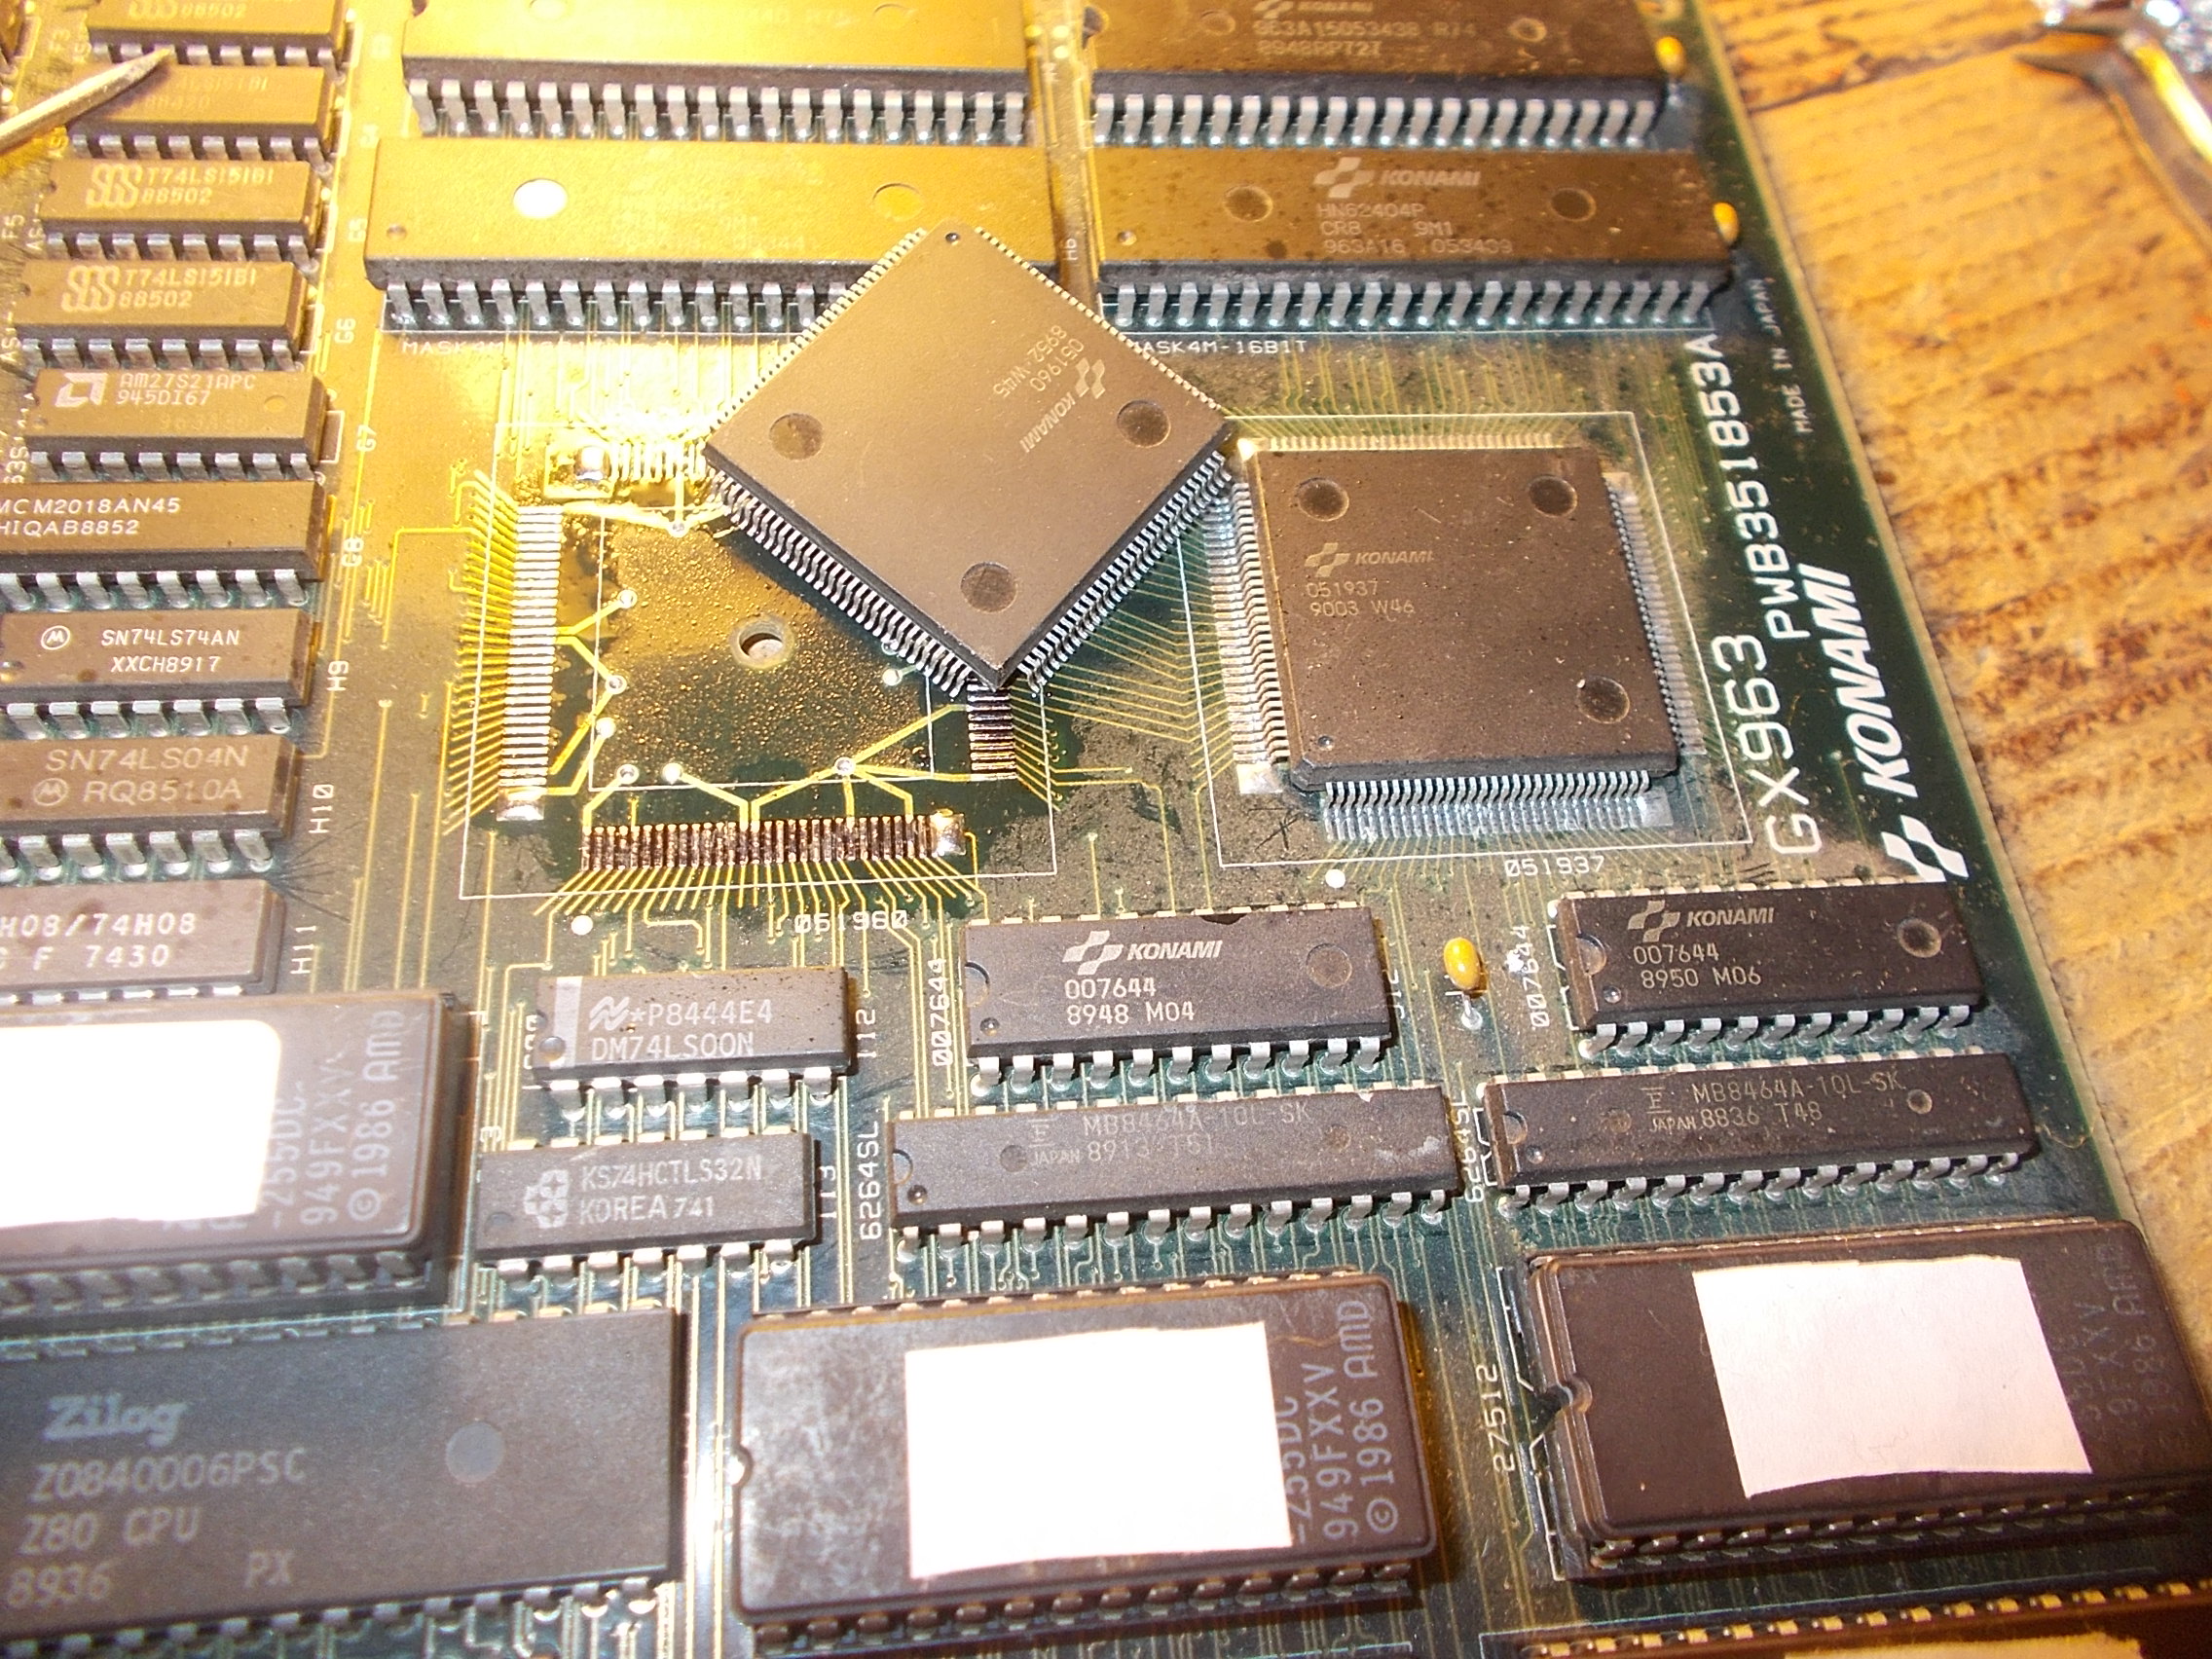
Received from France this mint Xexex PCB:
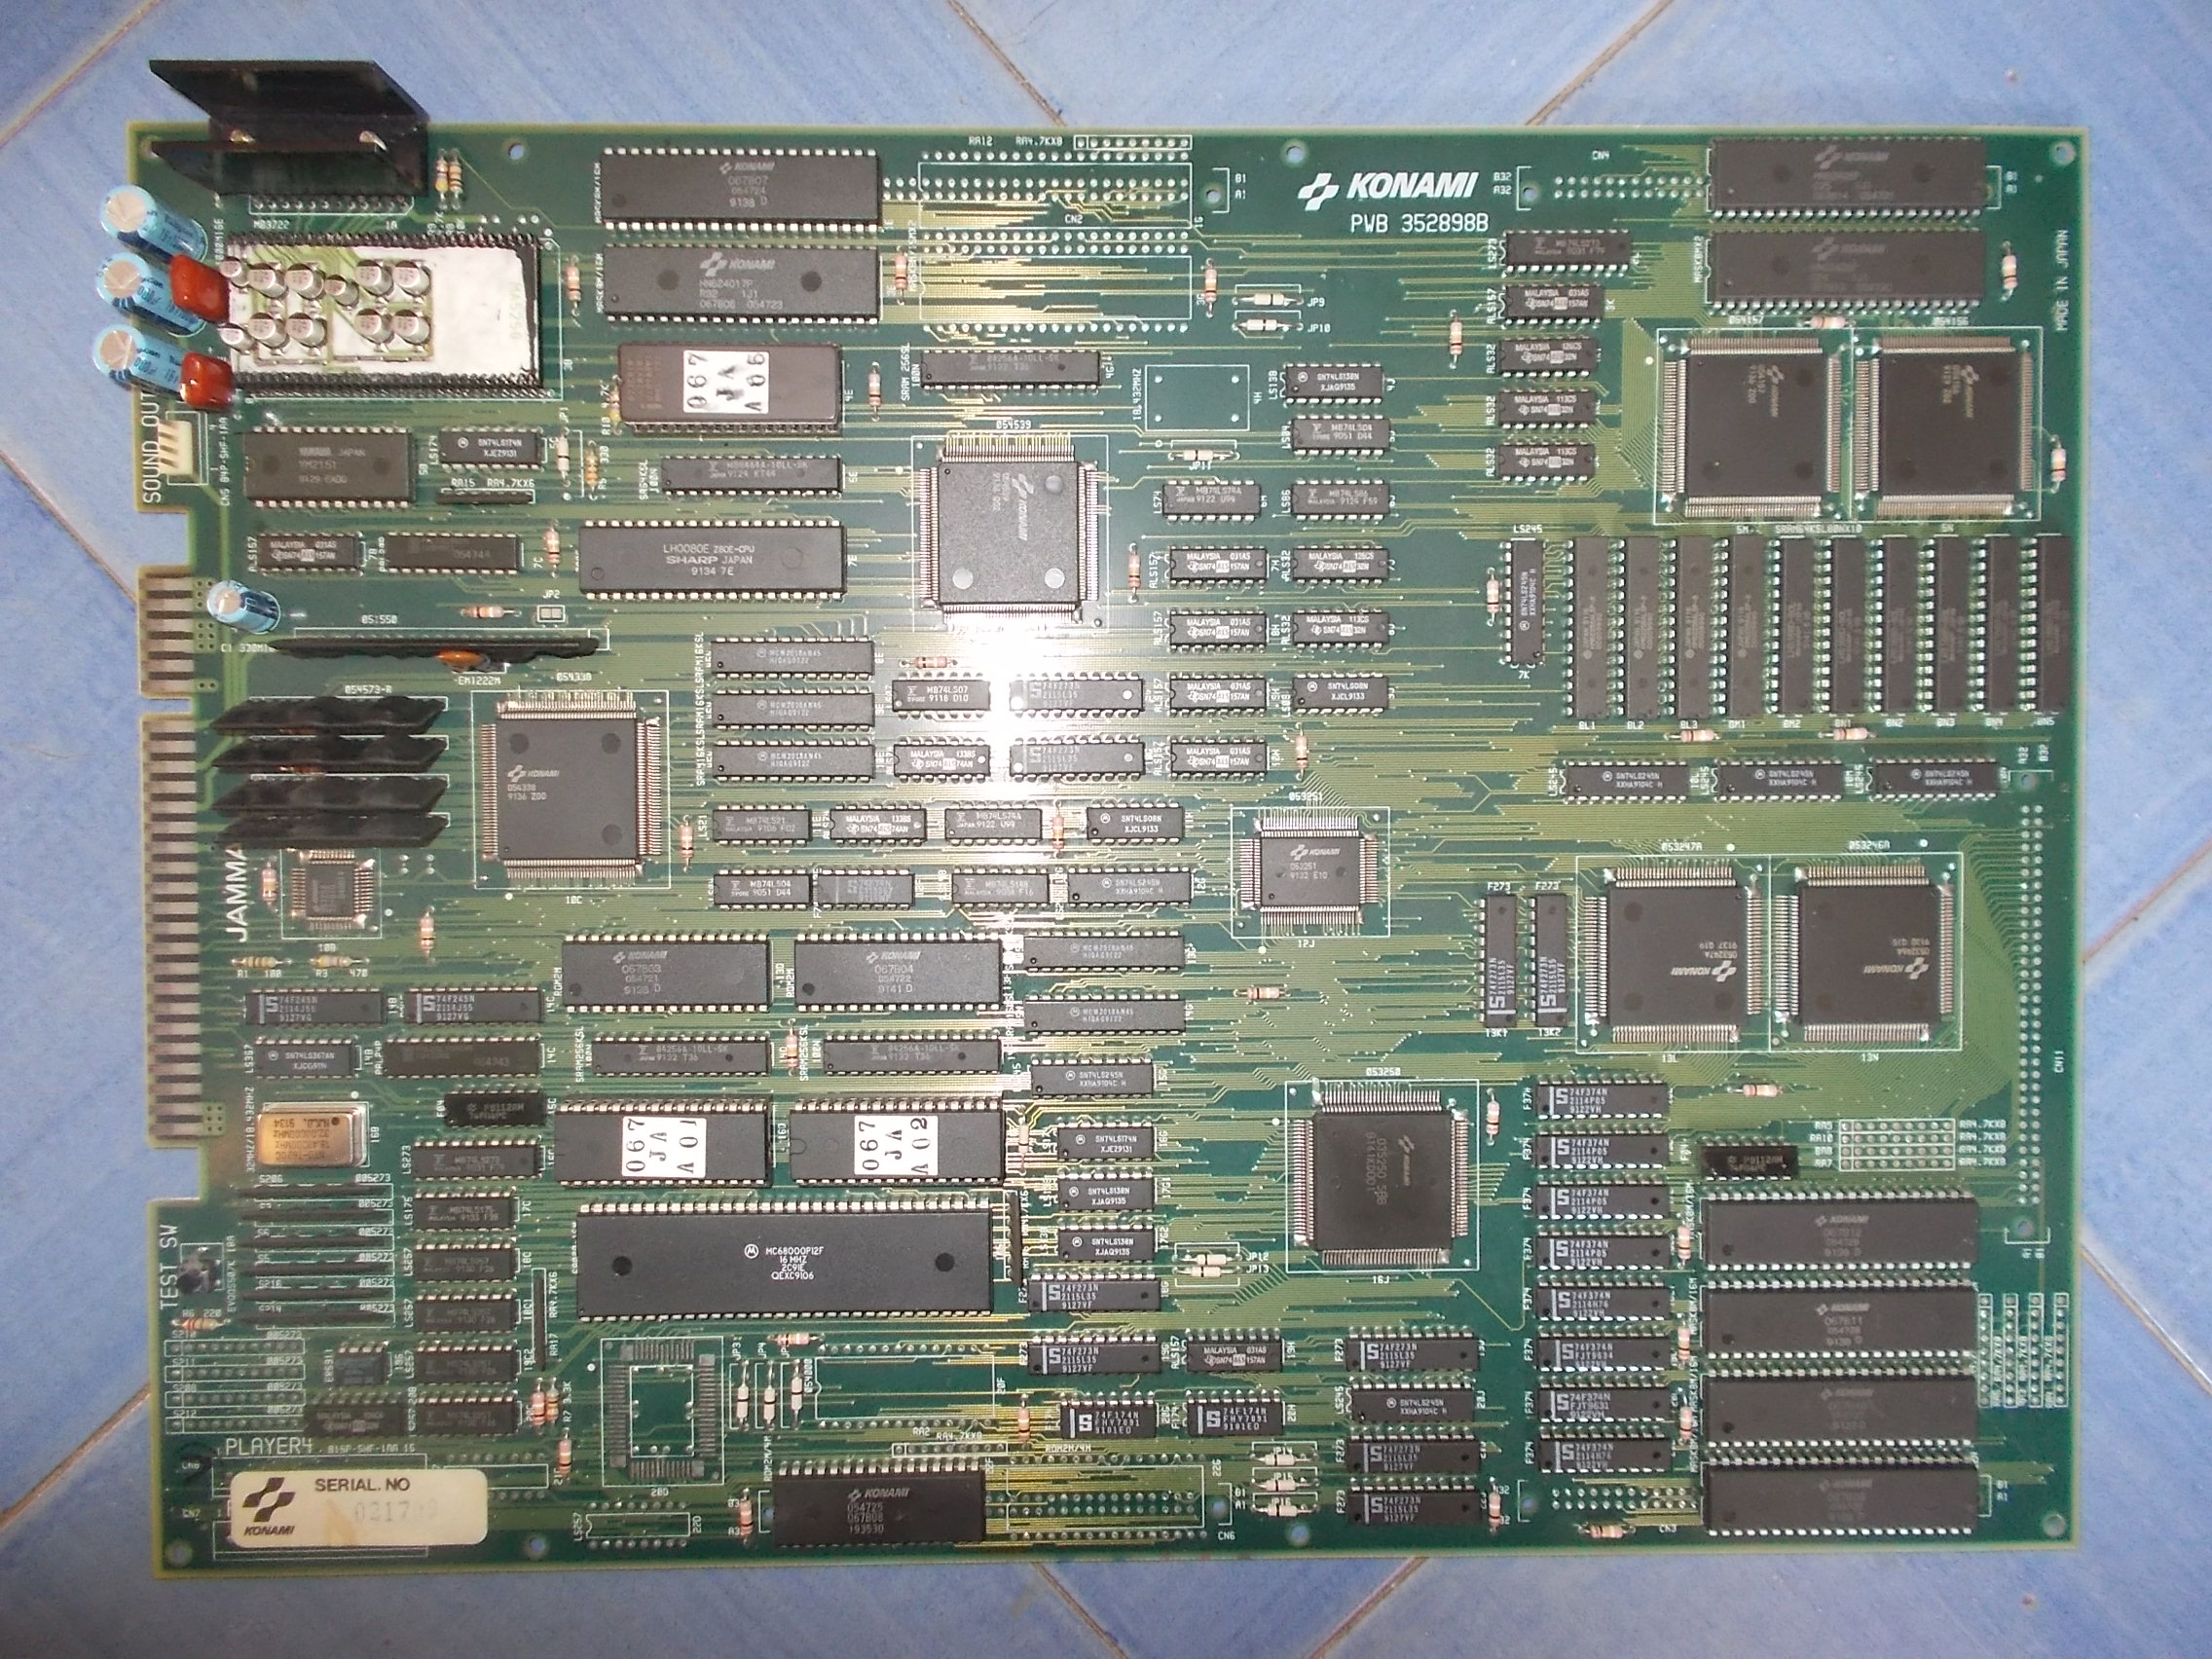
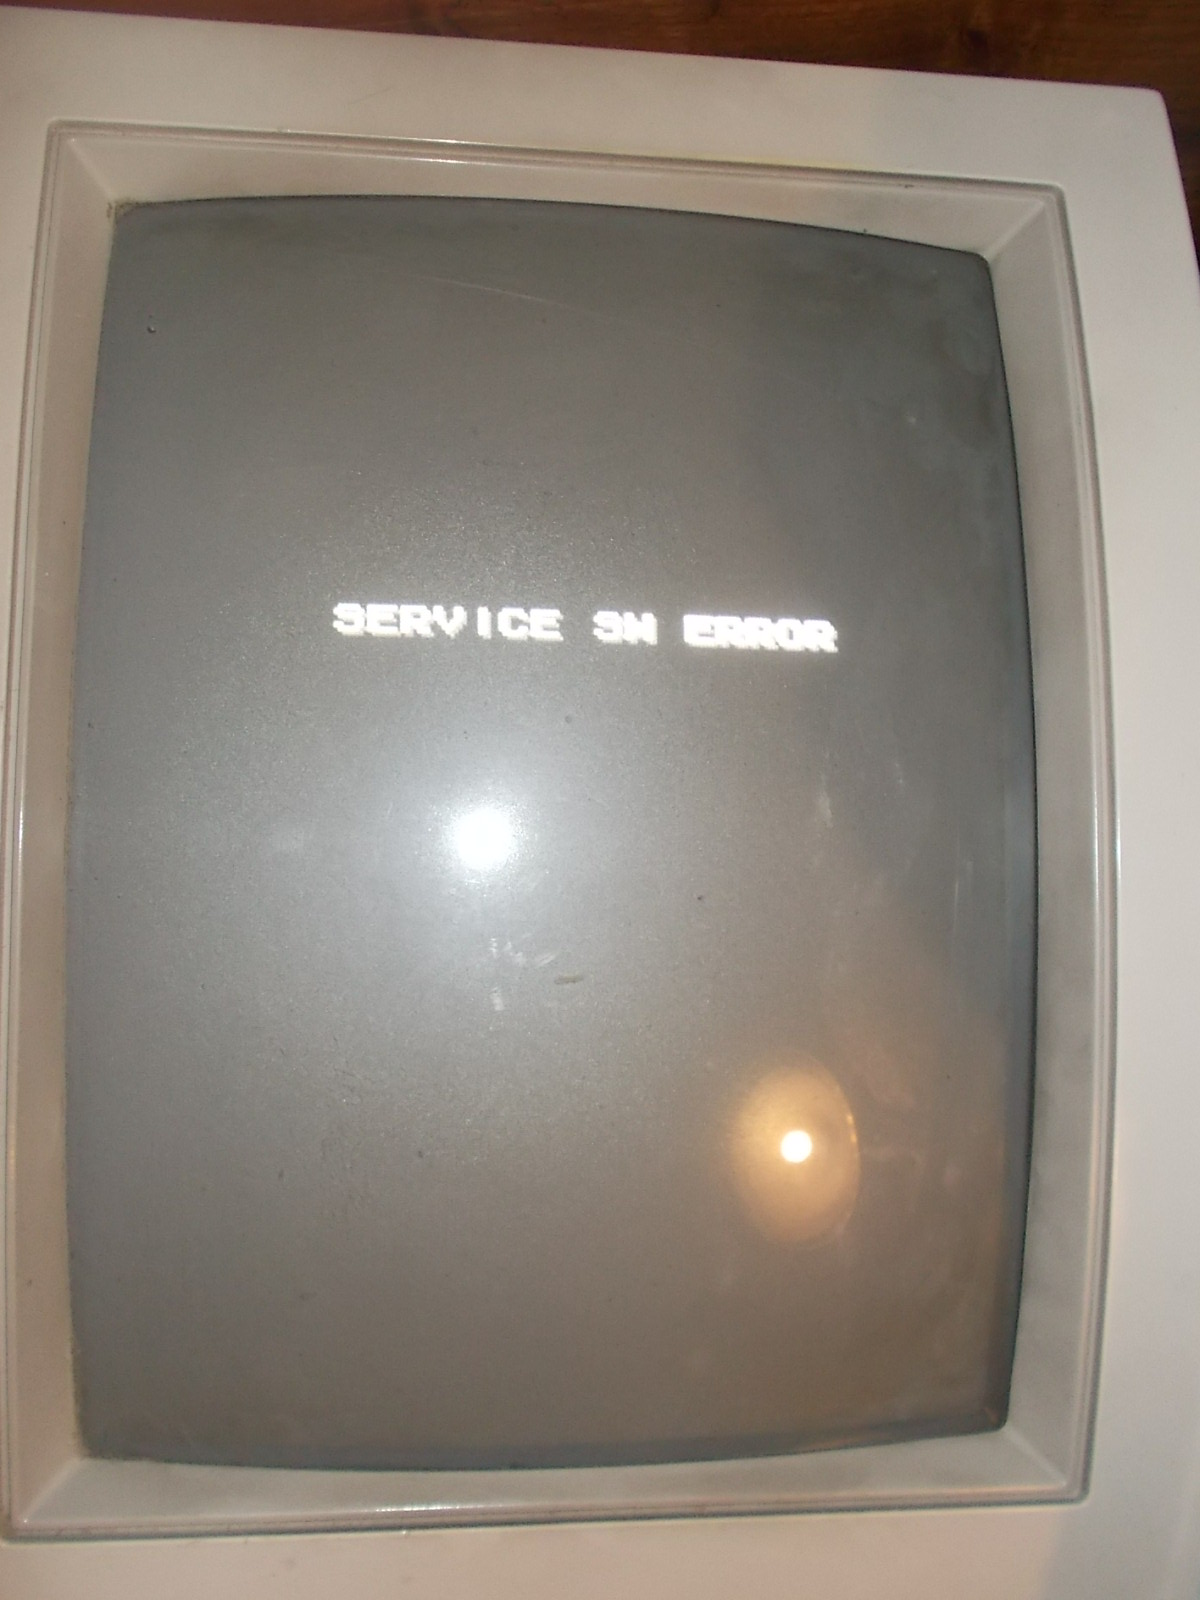
The board was bought from Japan as working but when arrived there was a noticeable sound issue, a loud buzzing noise present also at lowest volume level :
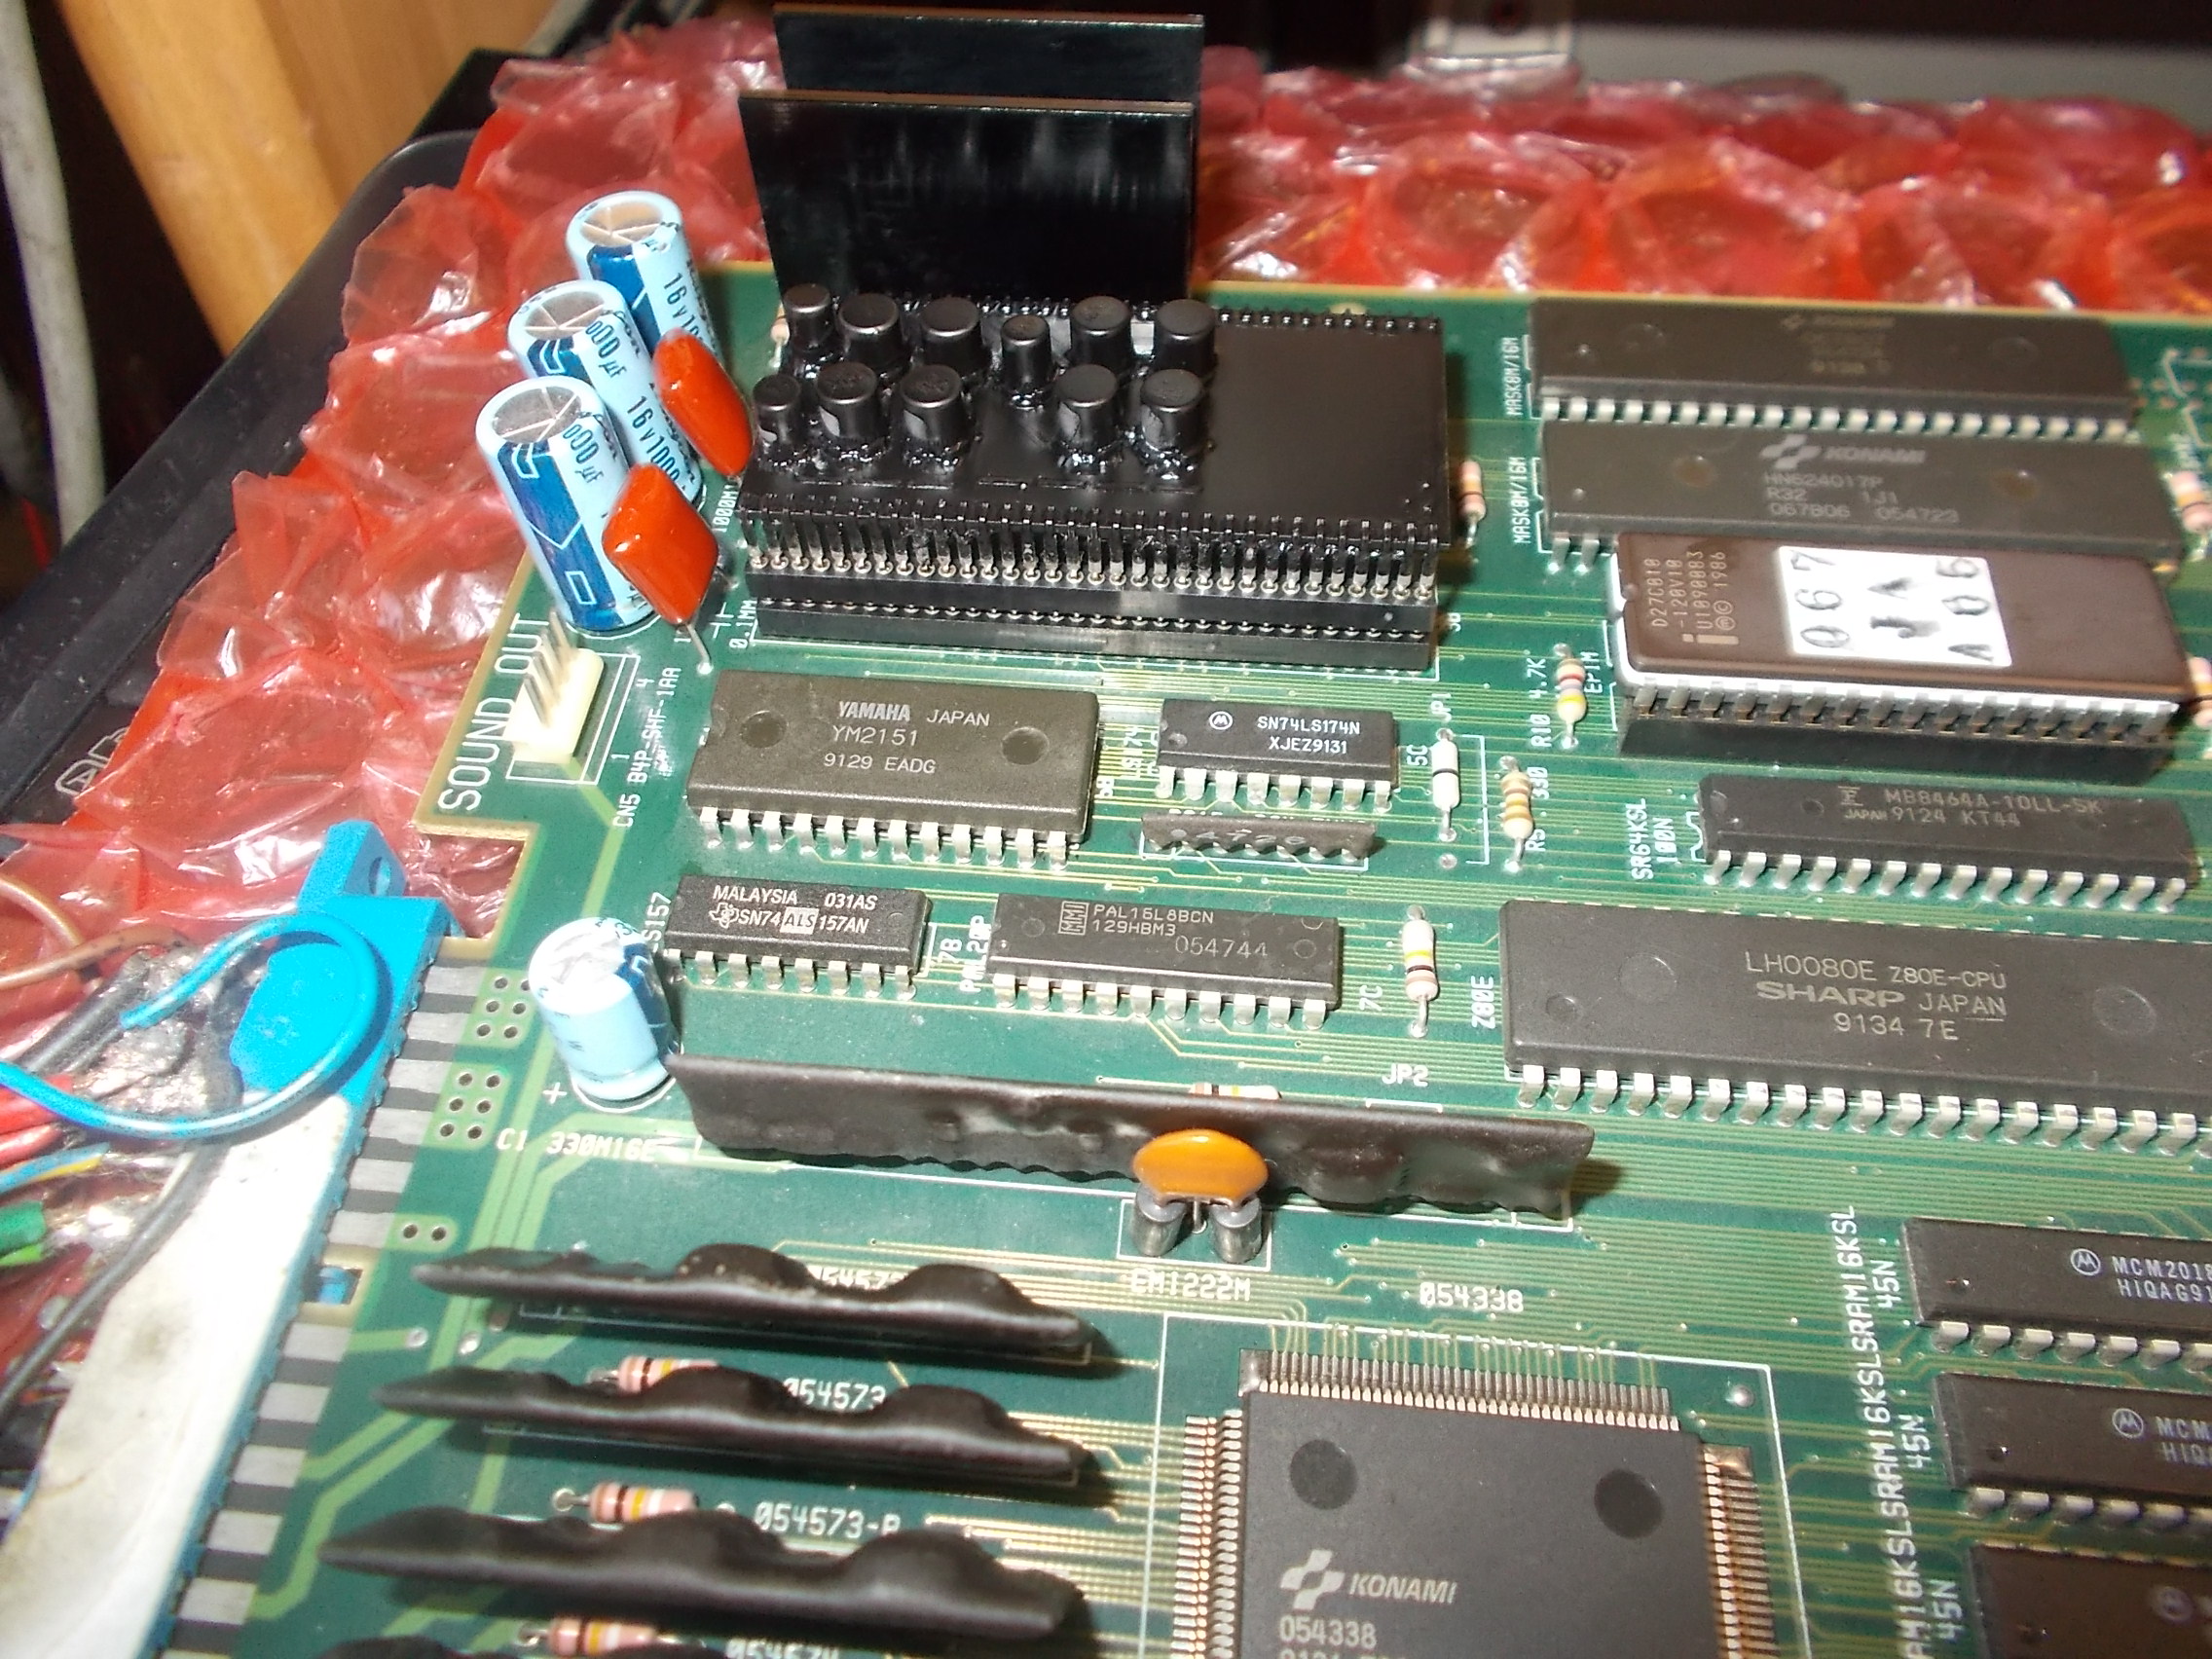
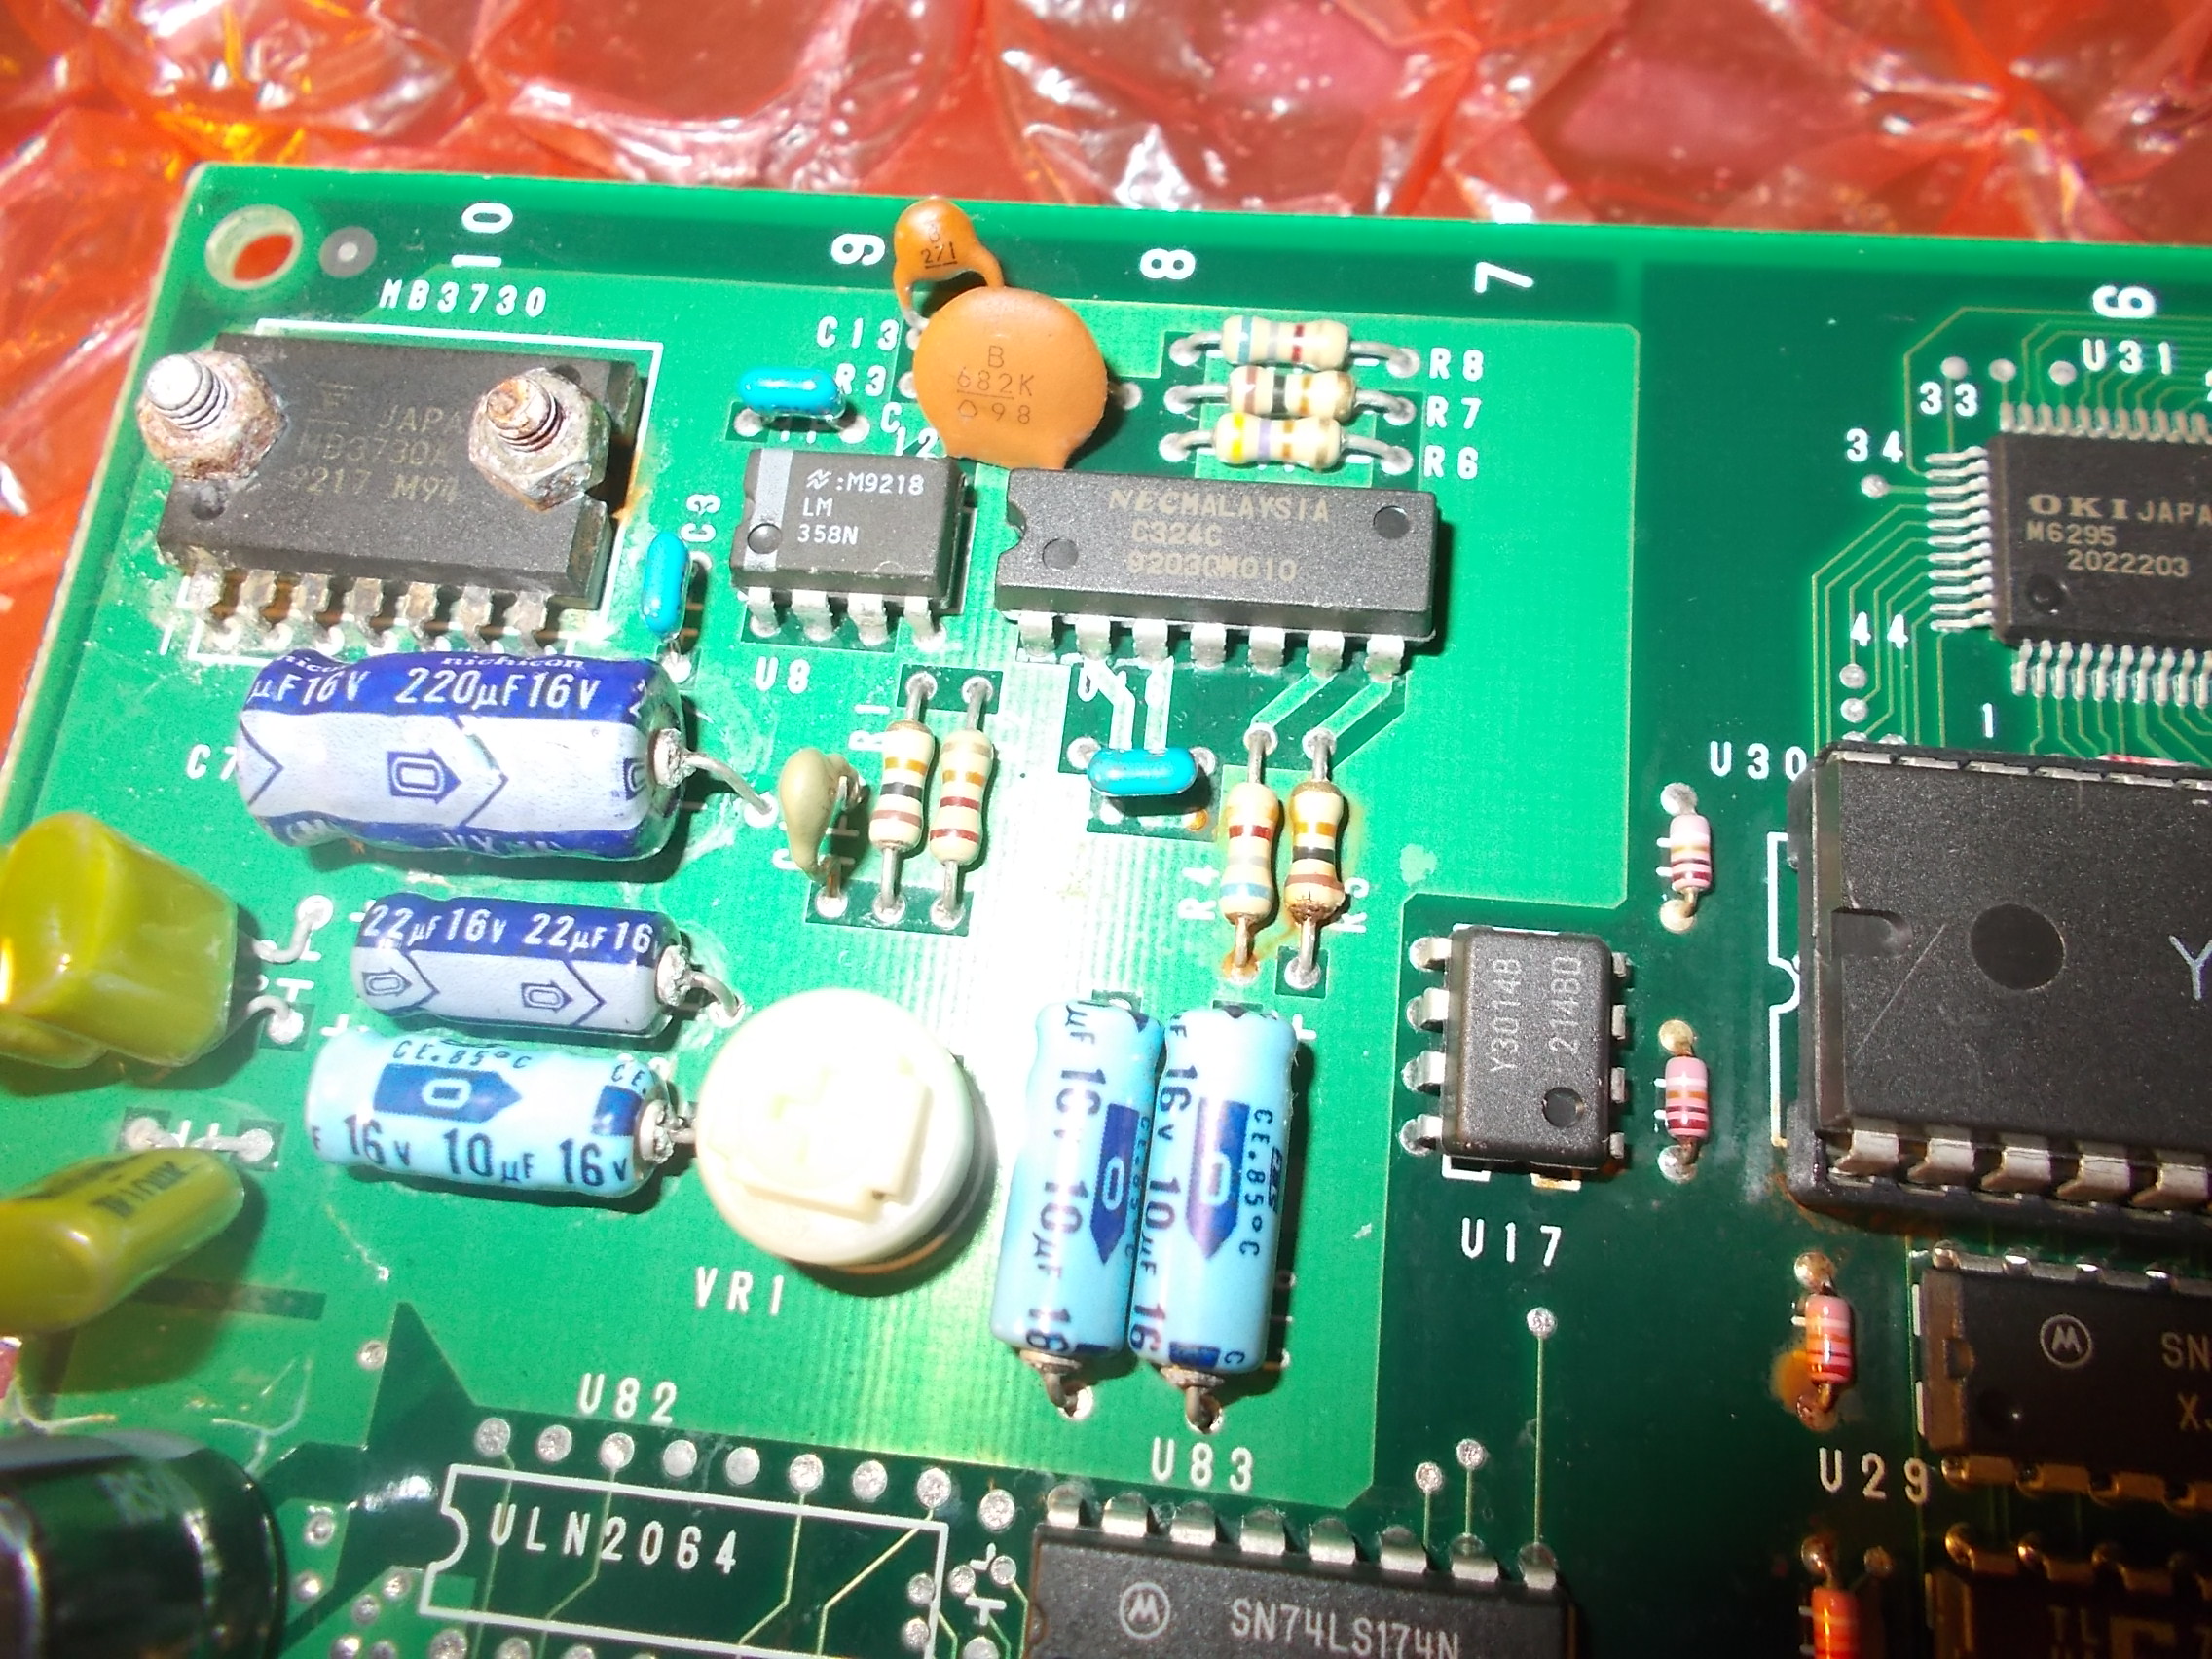
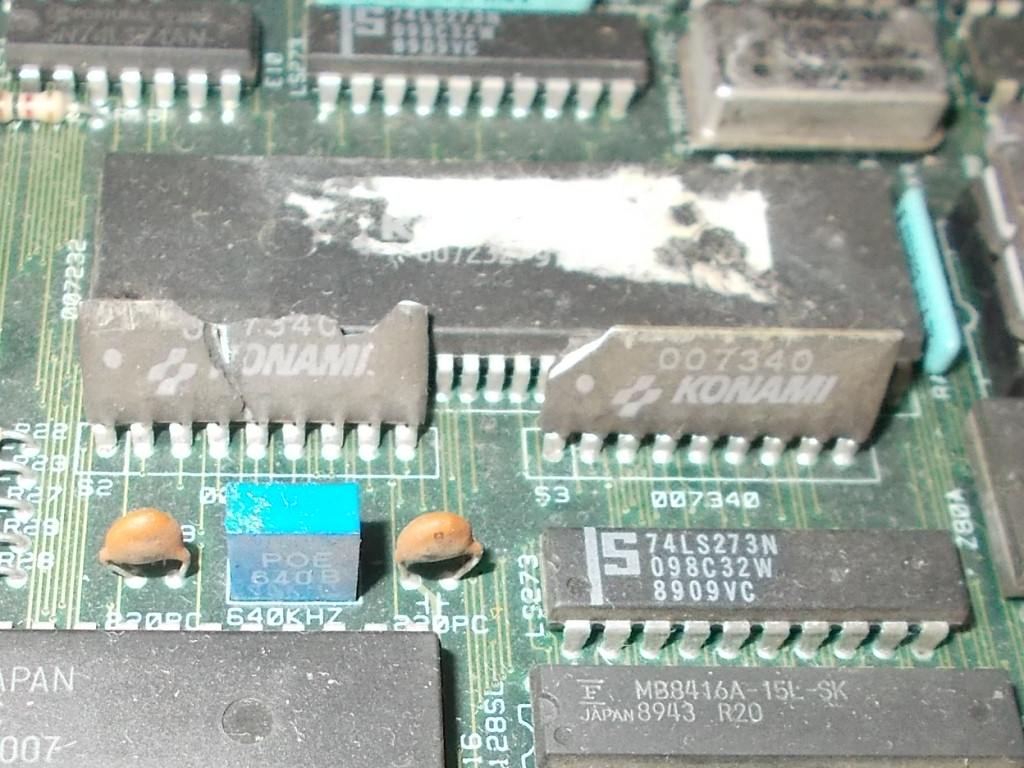
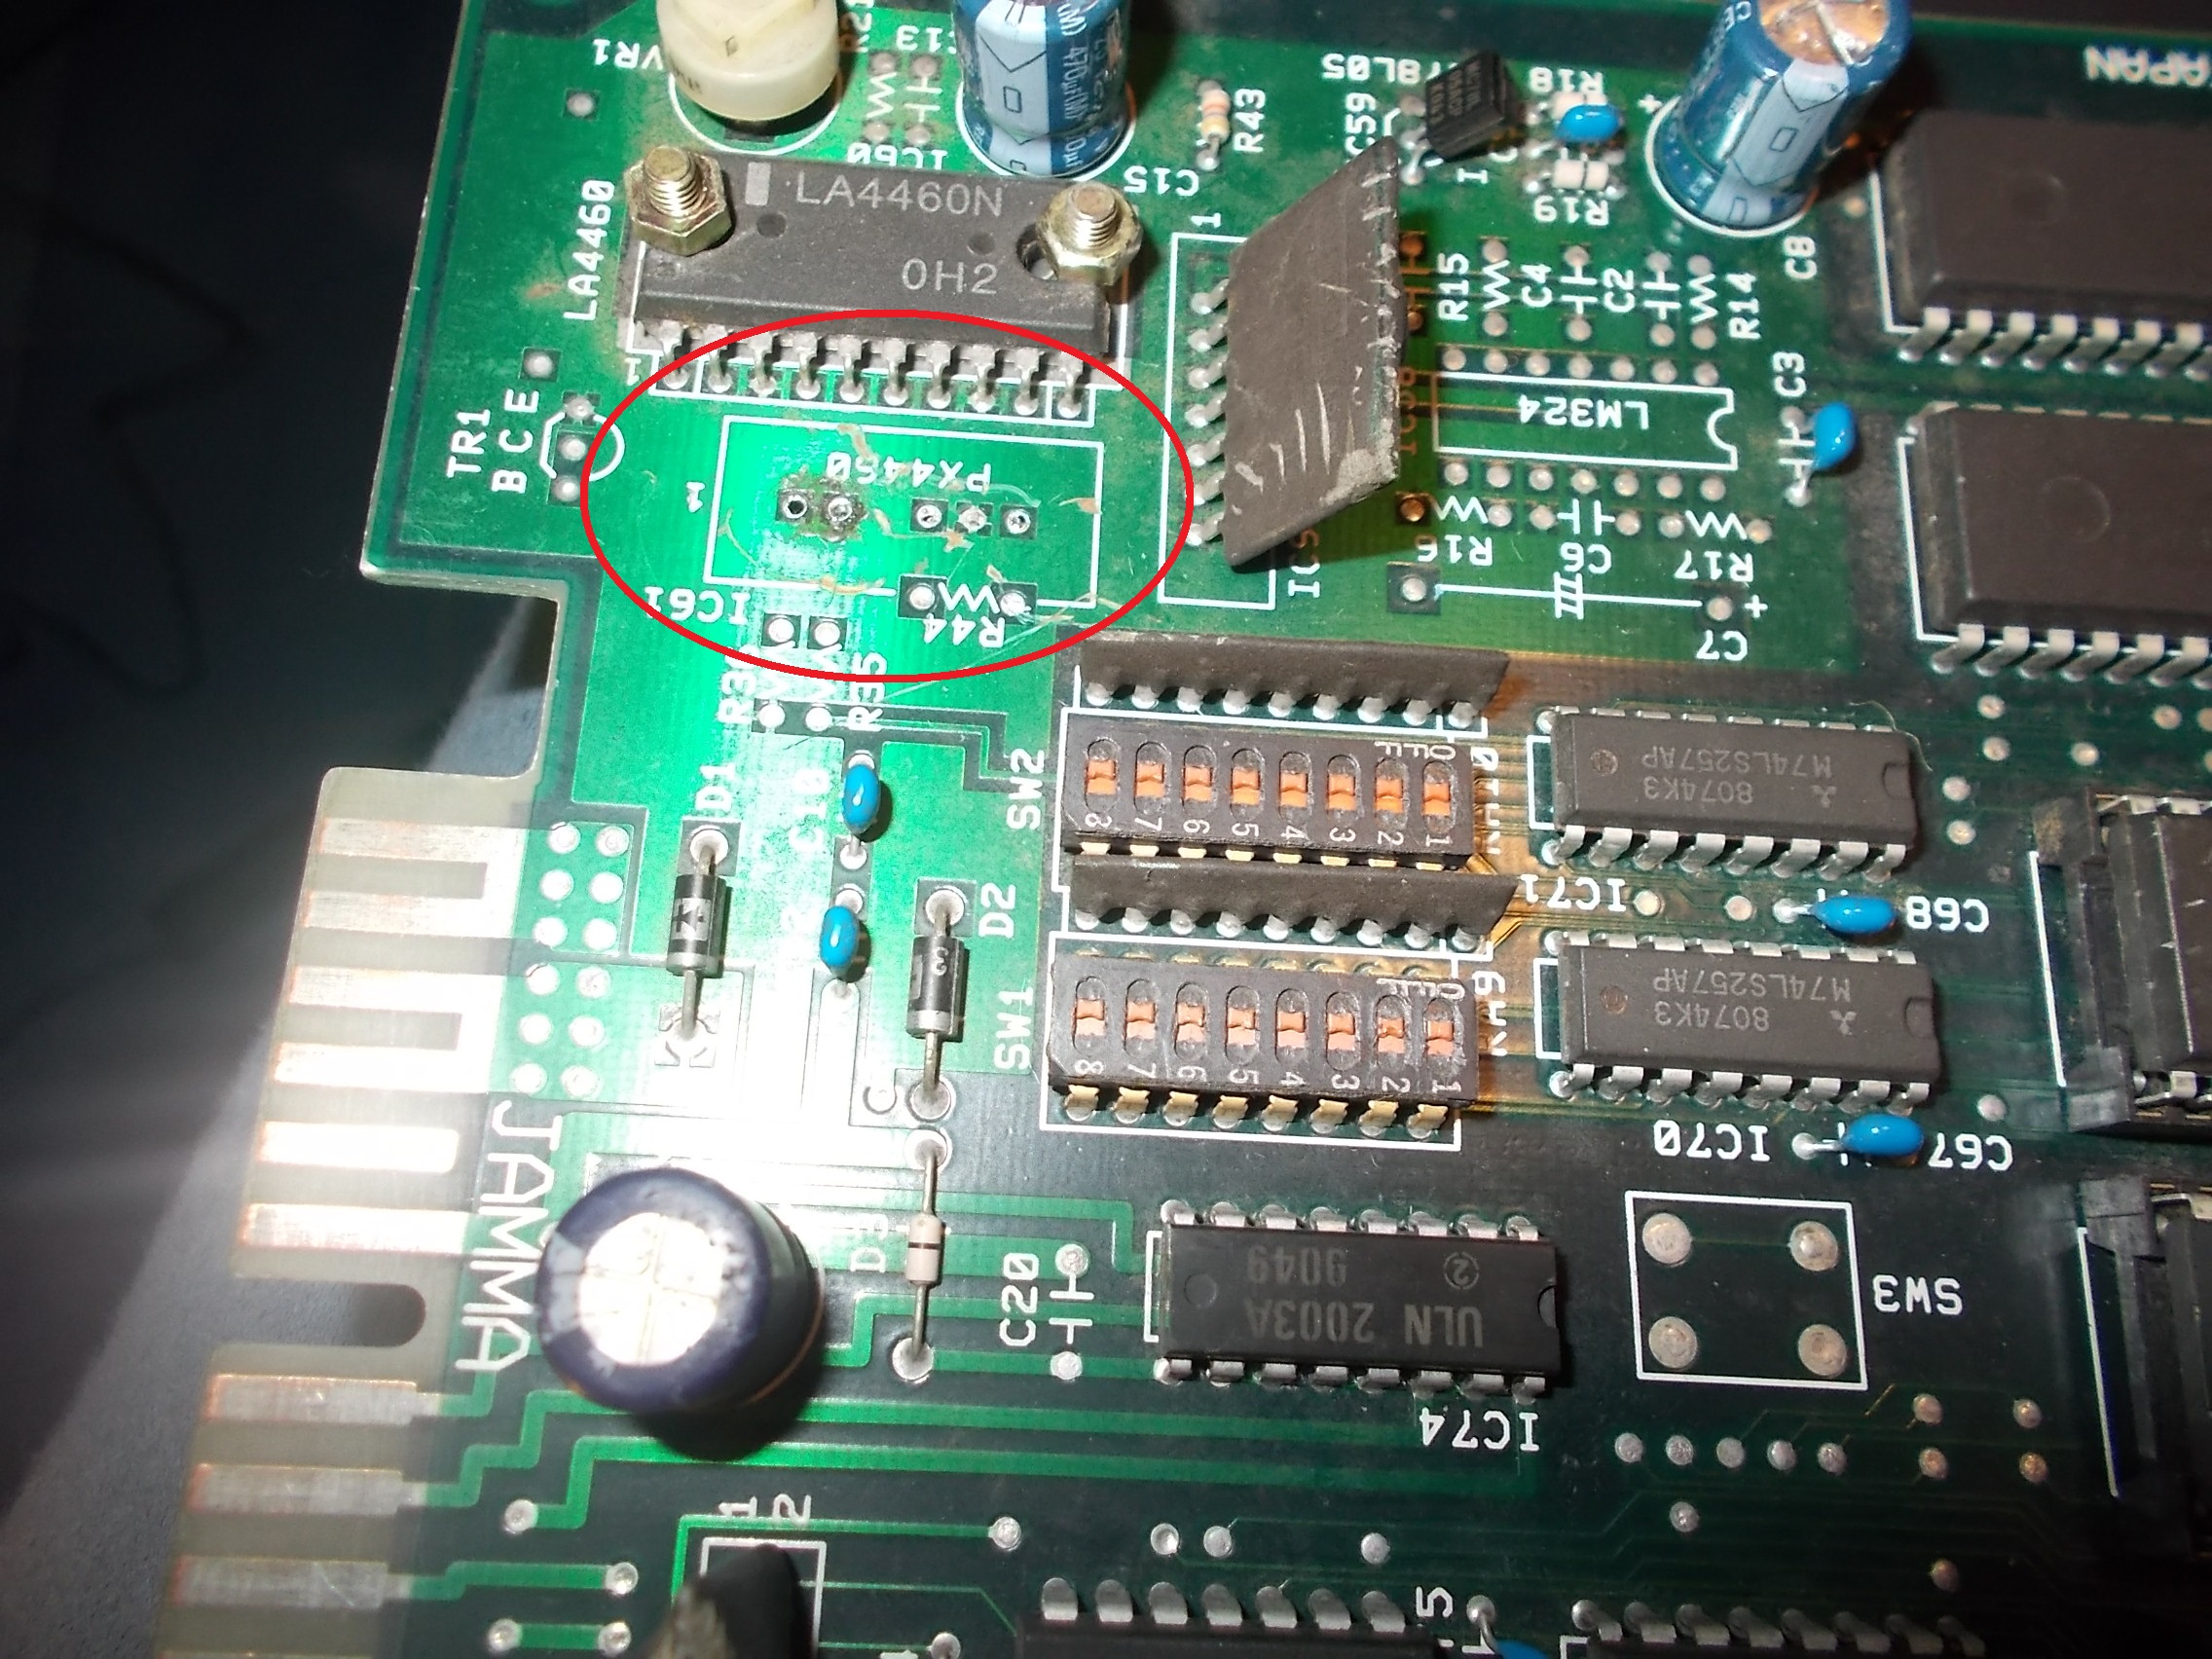
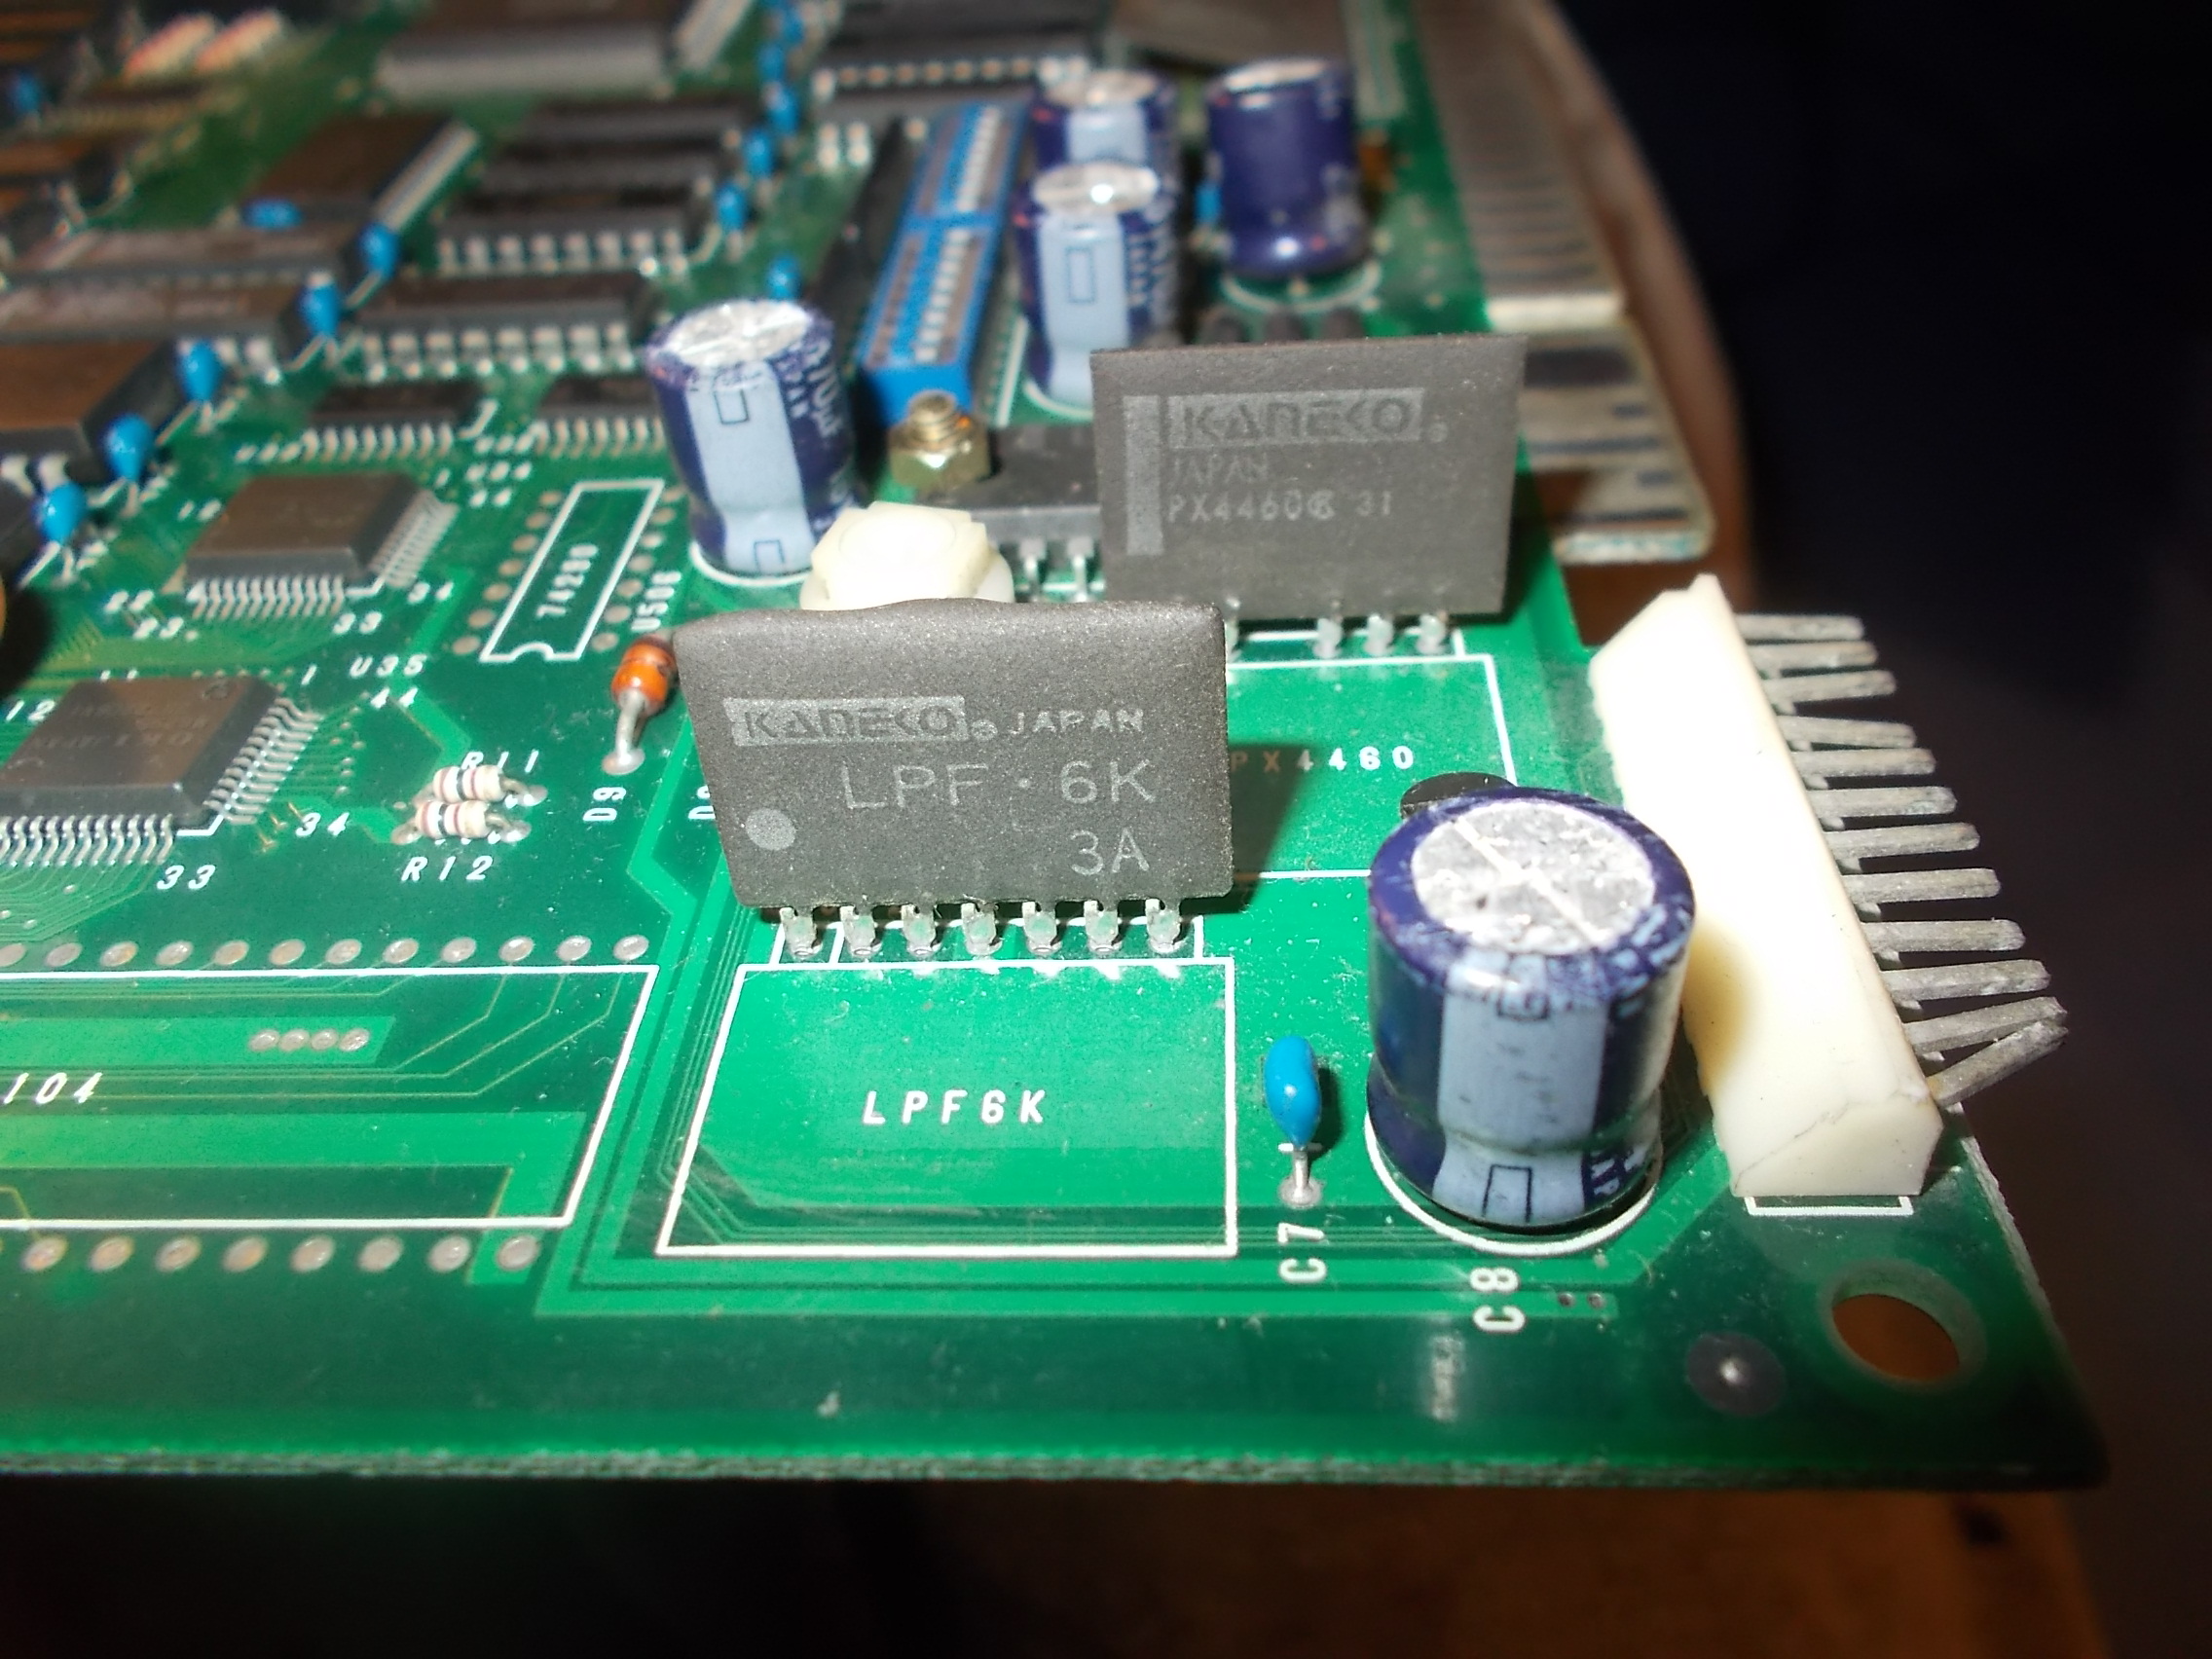
Obviously the culprit was the ‘054544’ audio module.Electrolytic capacitors on it were already replaced but this was not enough :
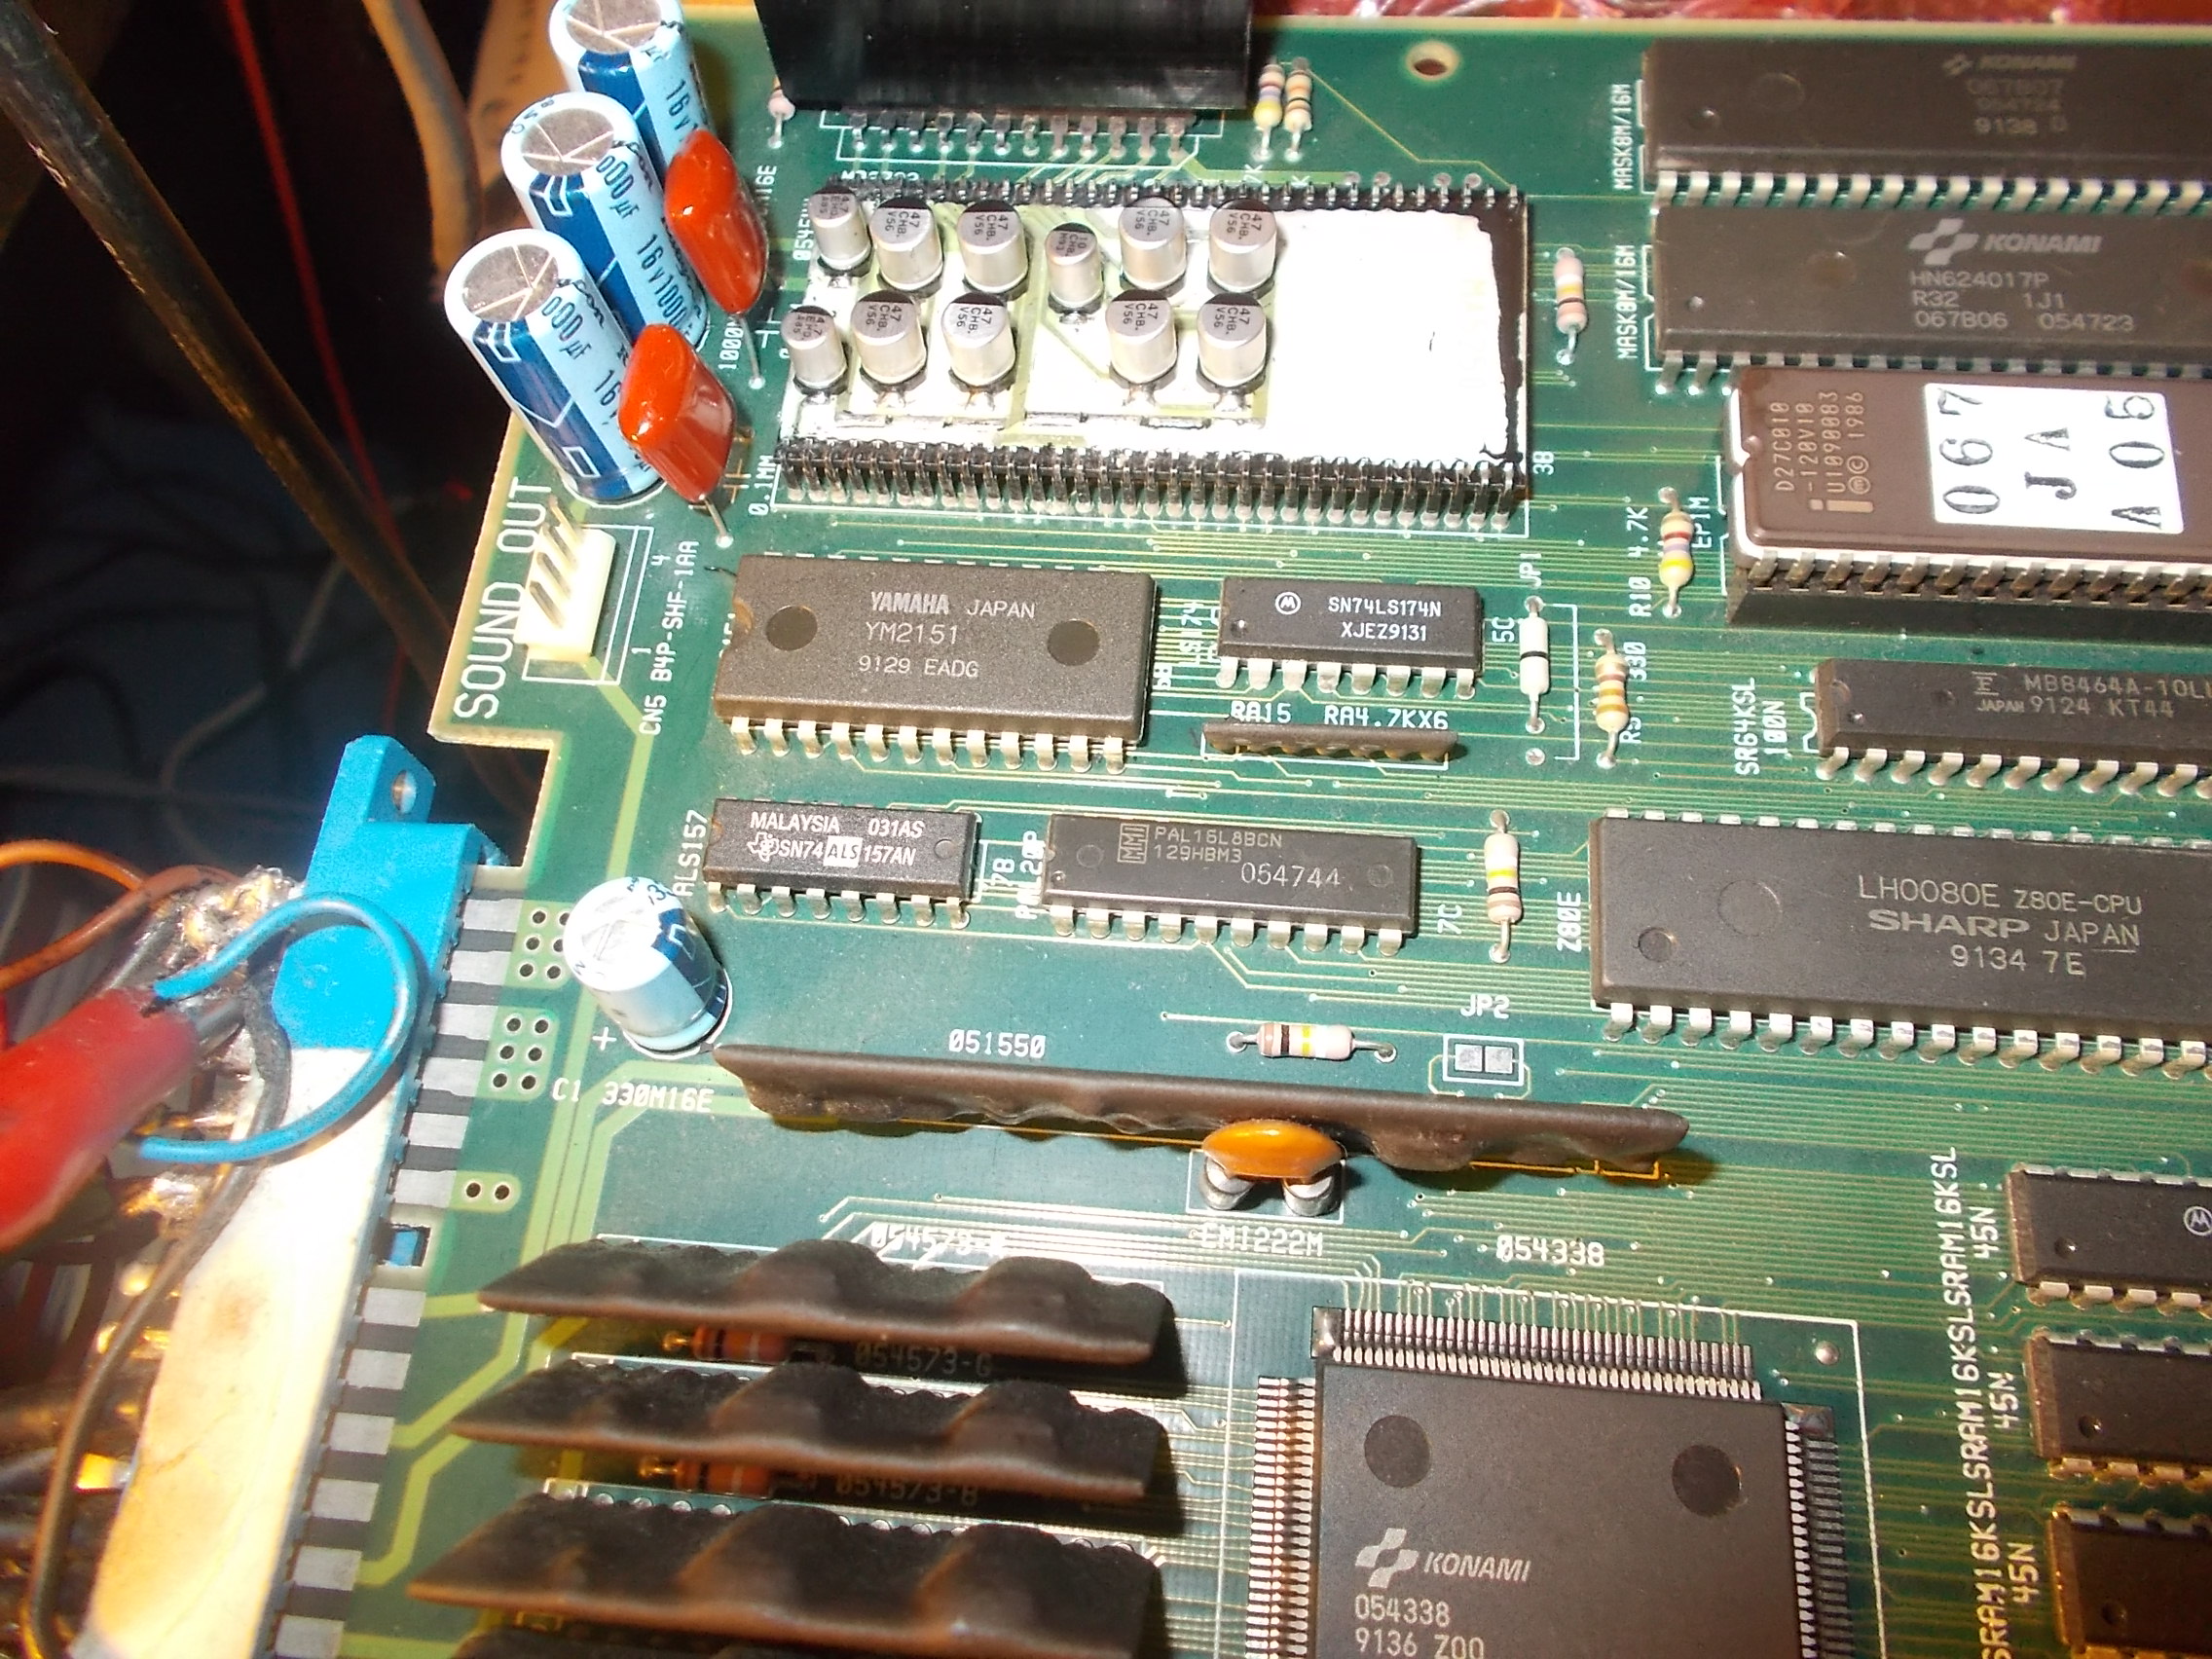
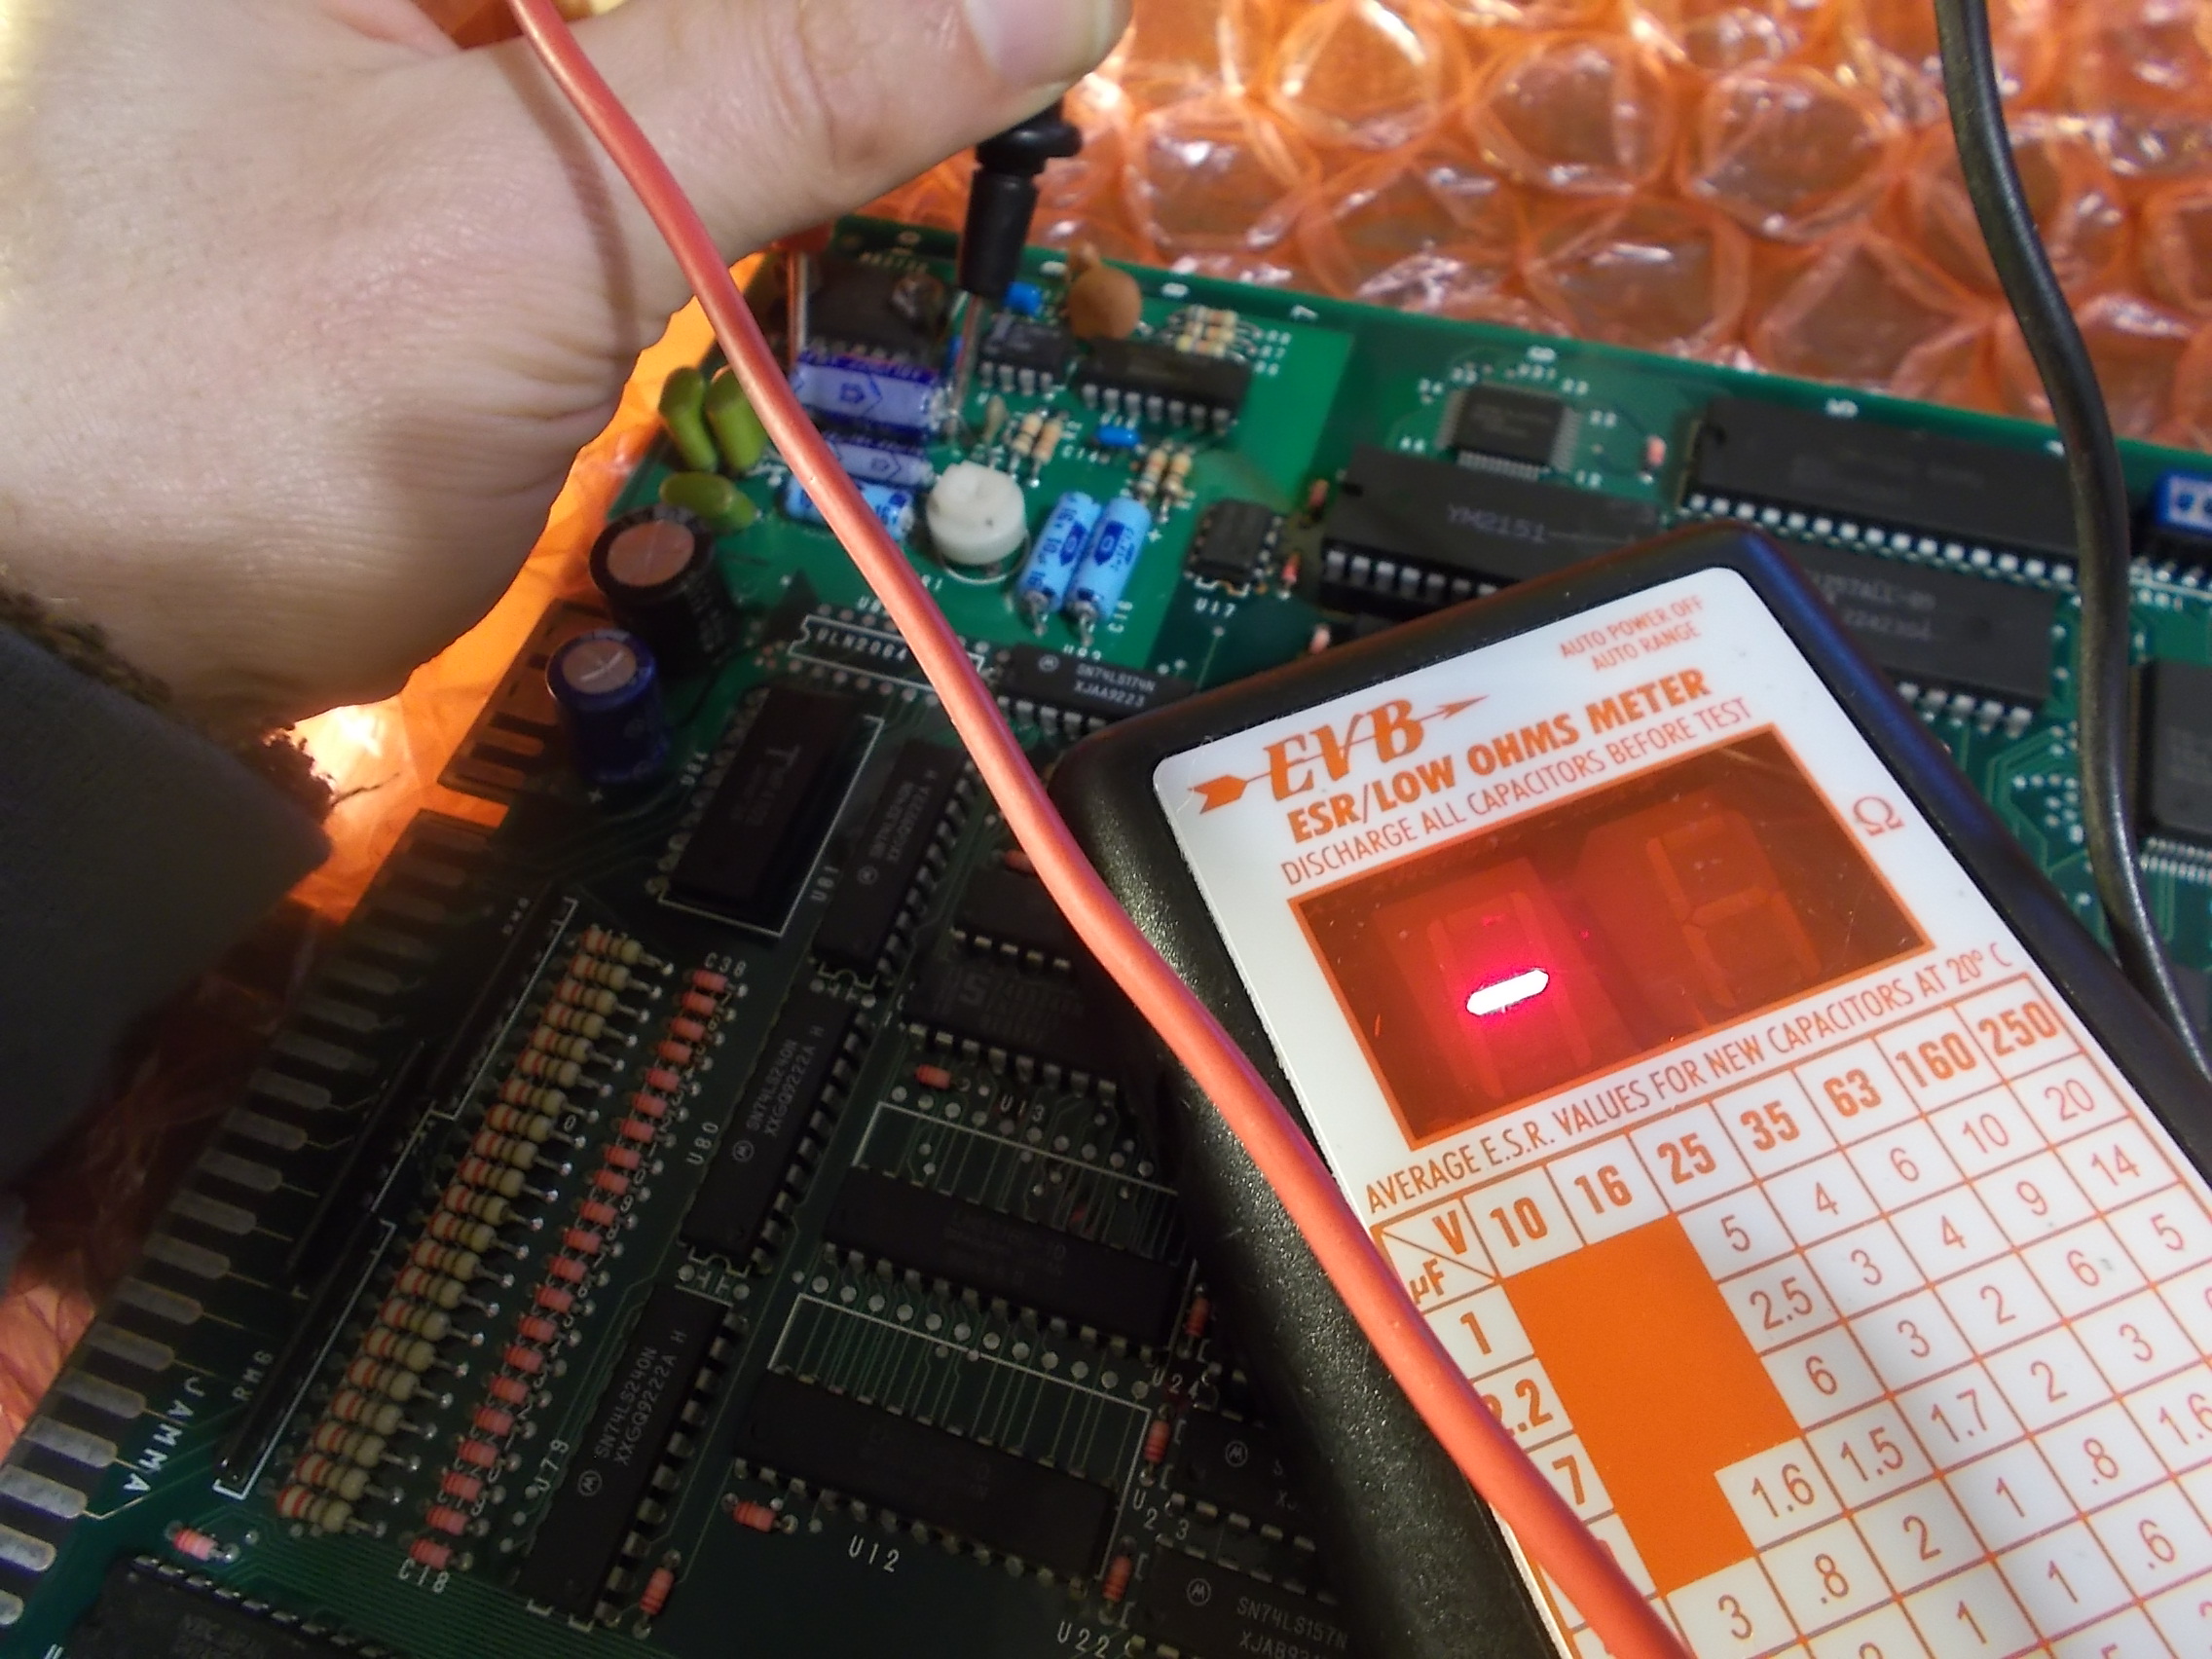
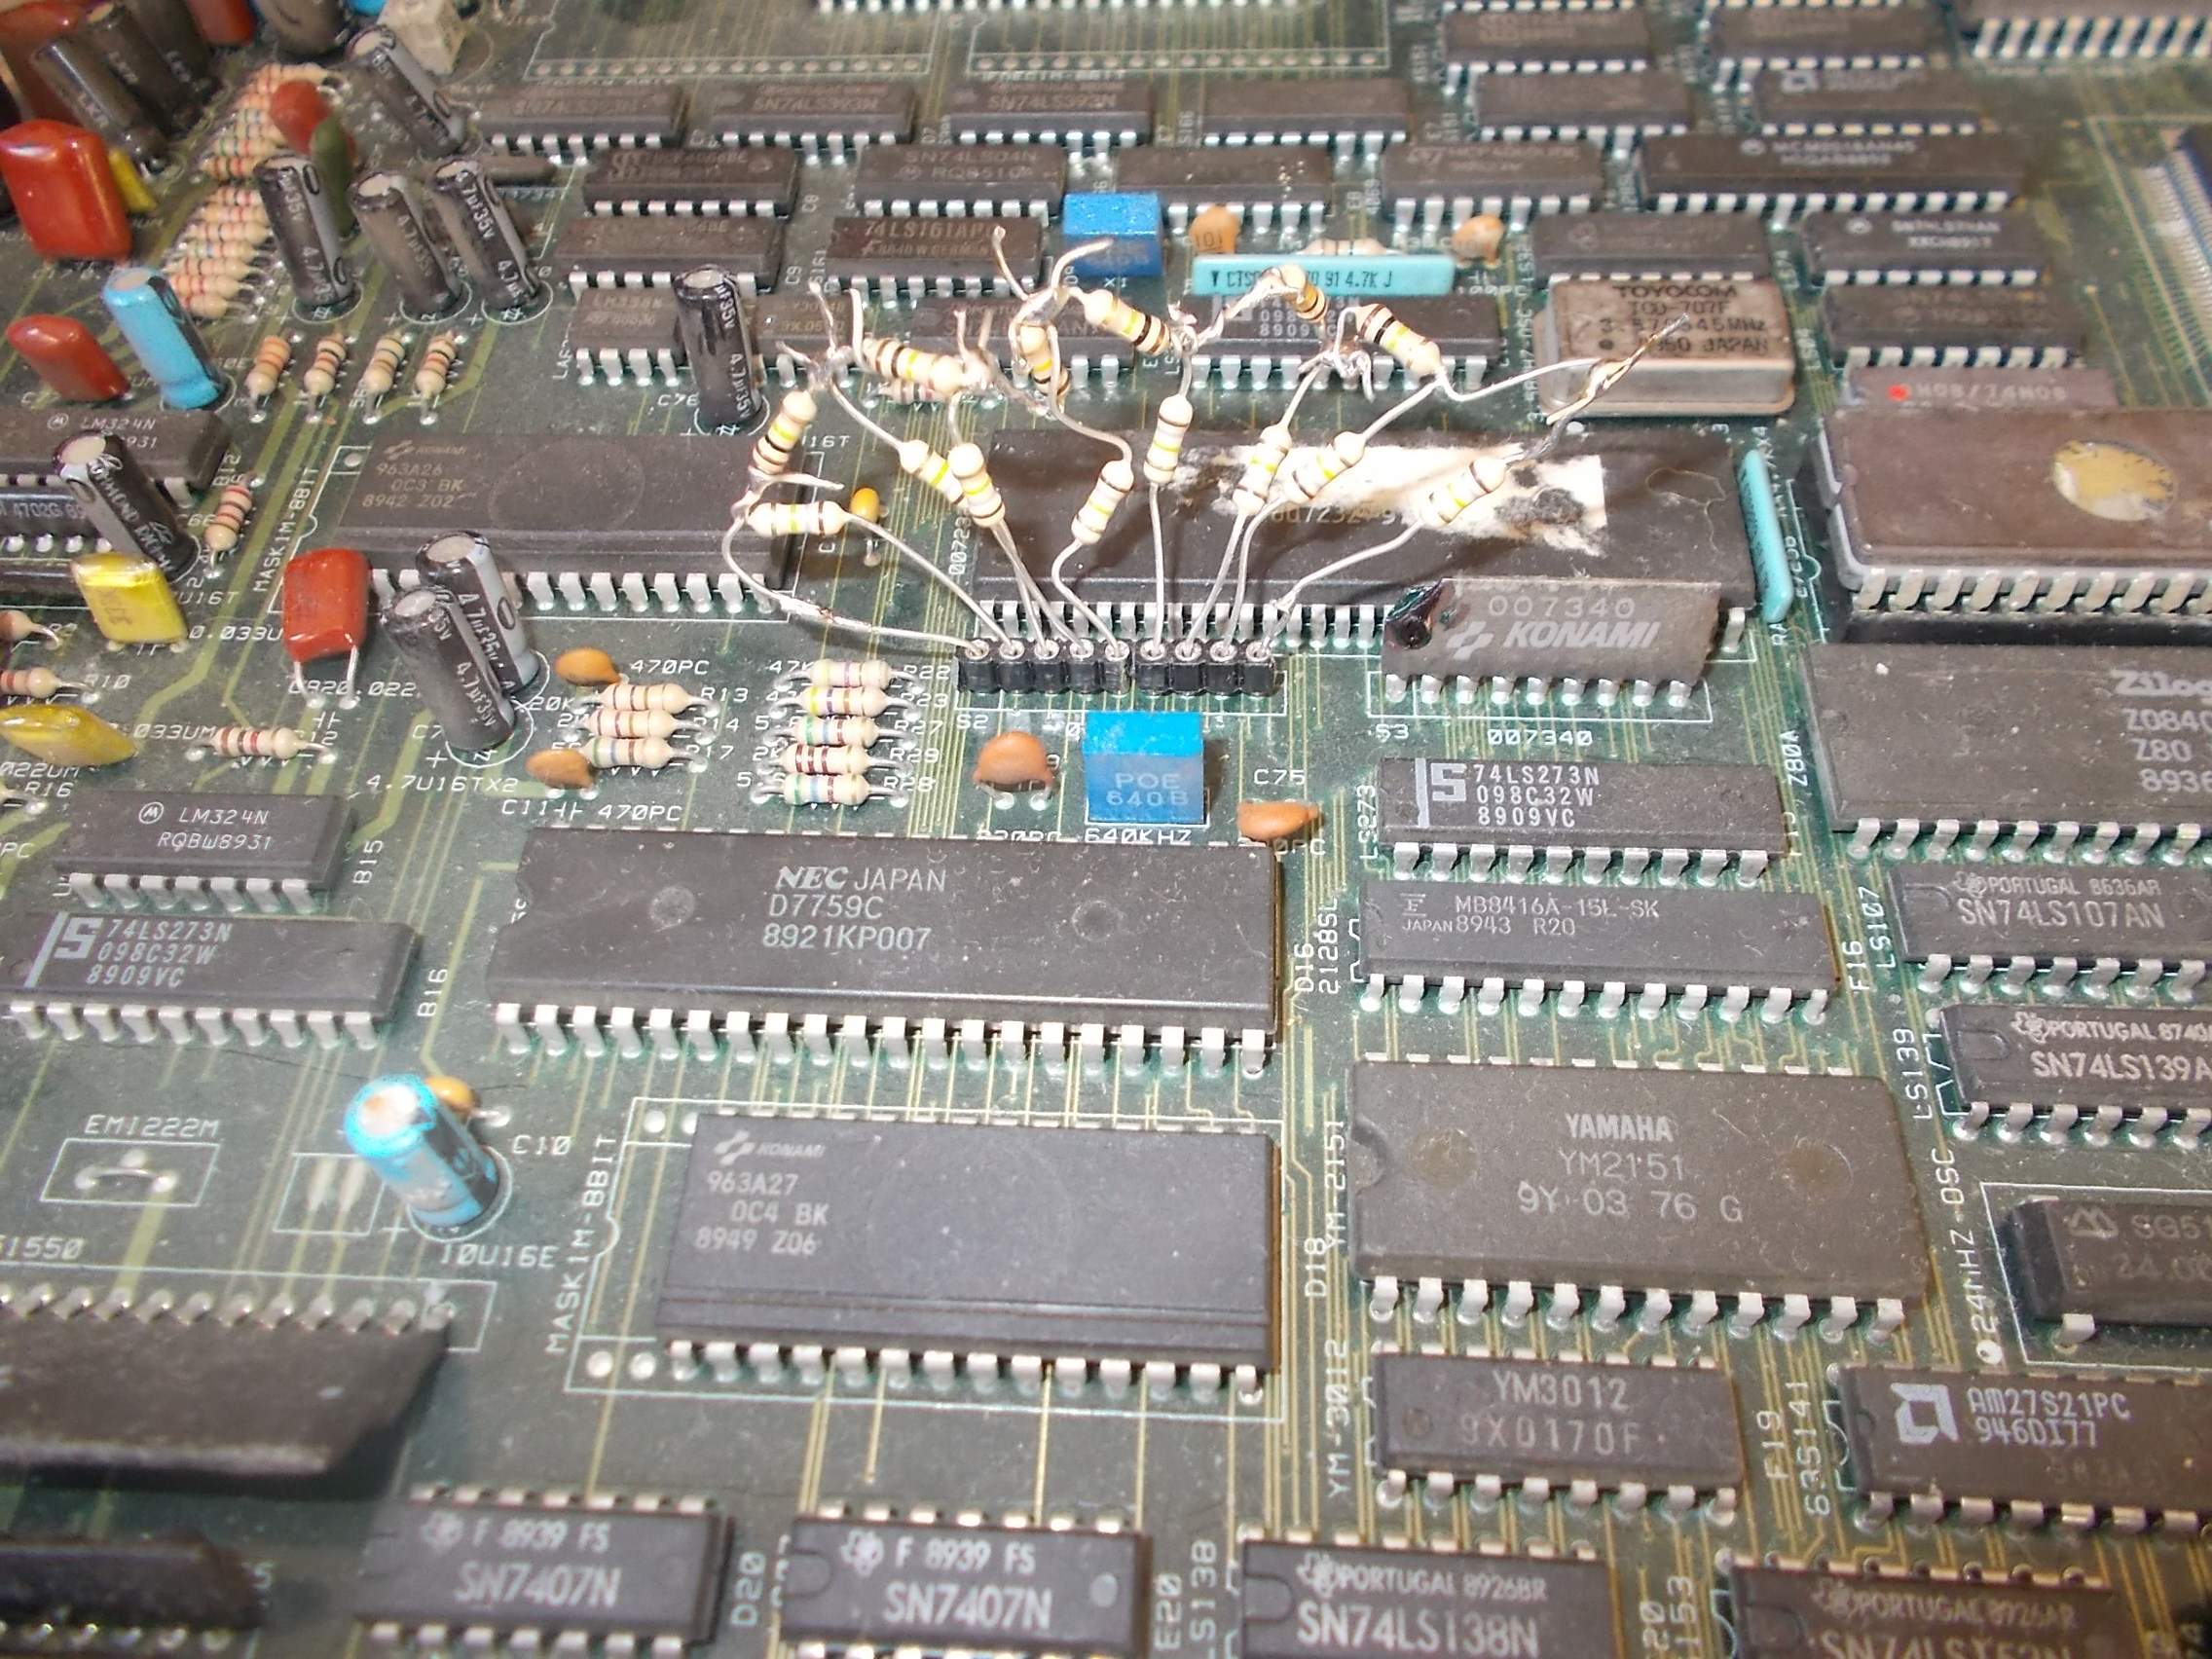
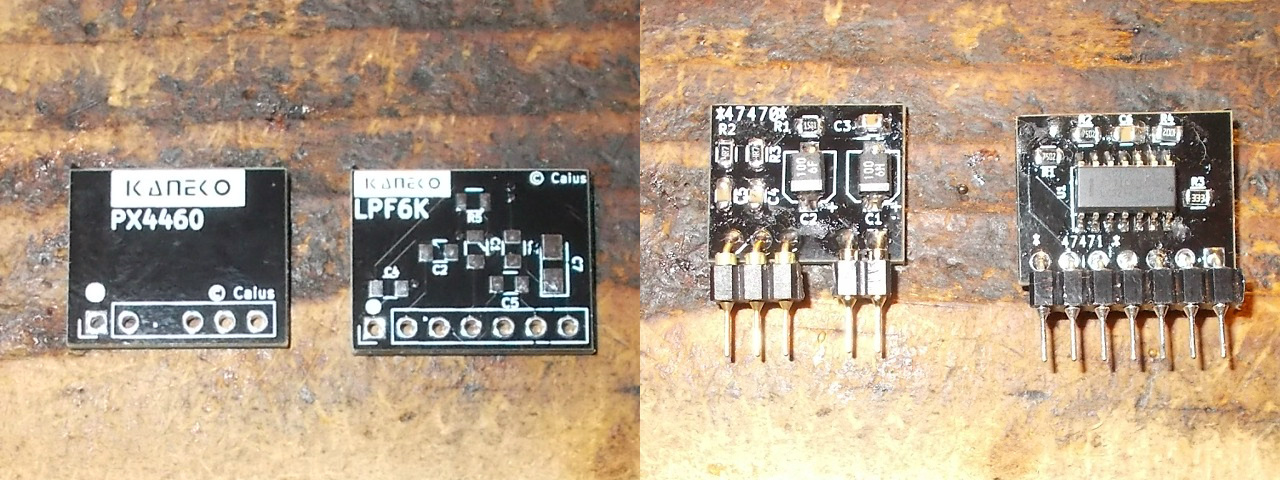
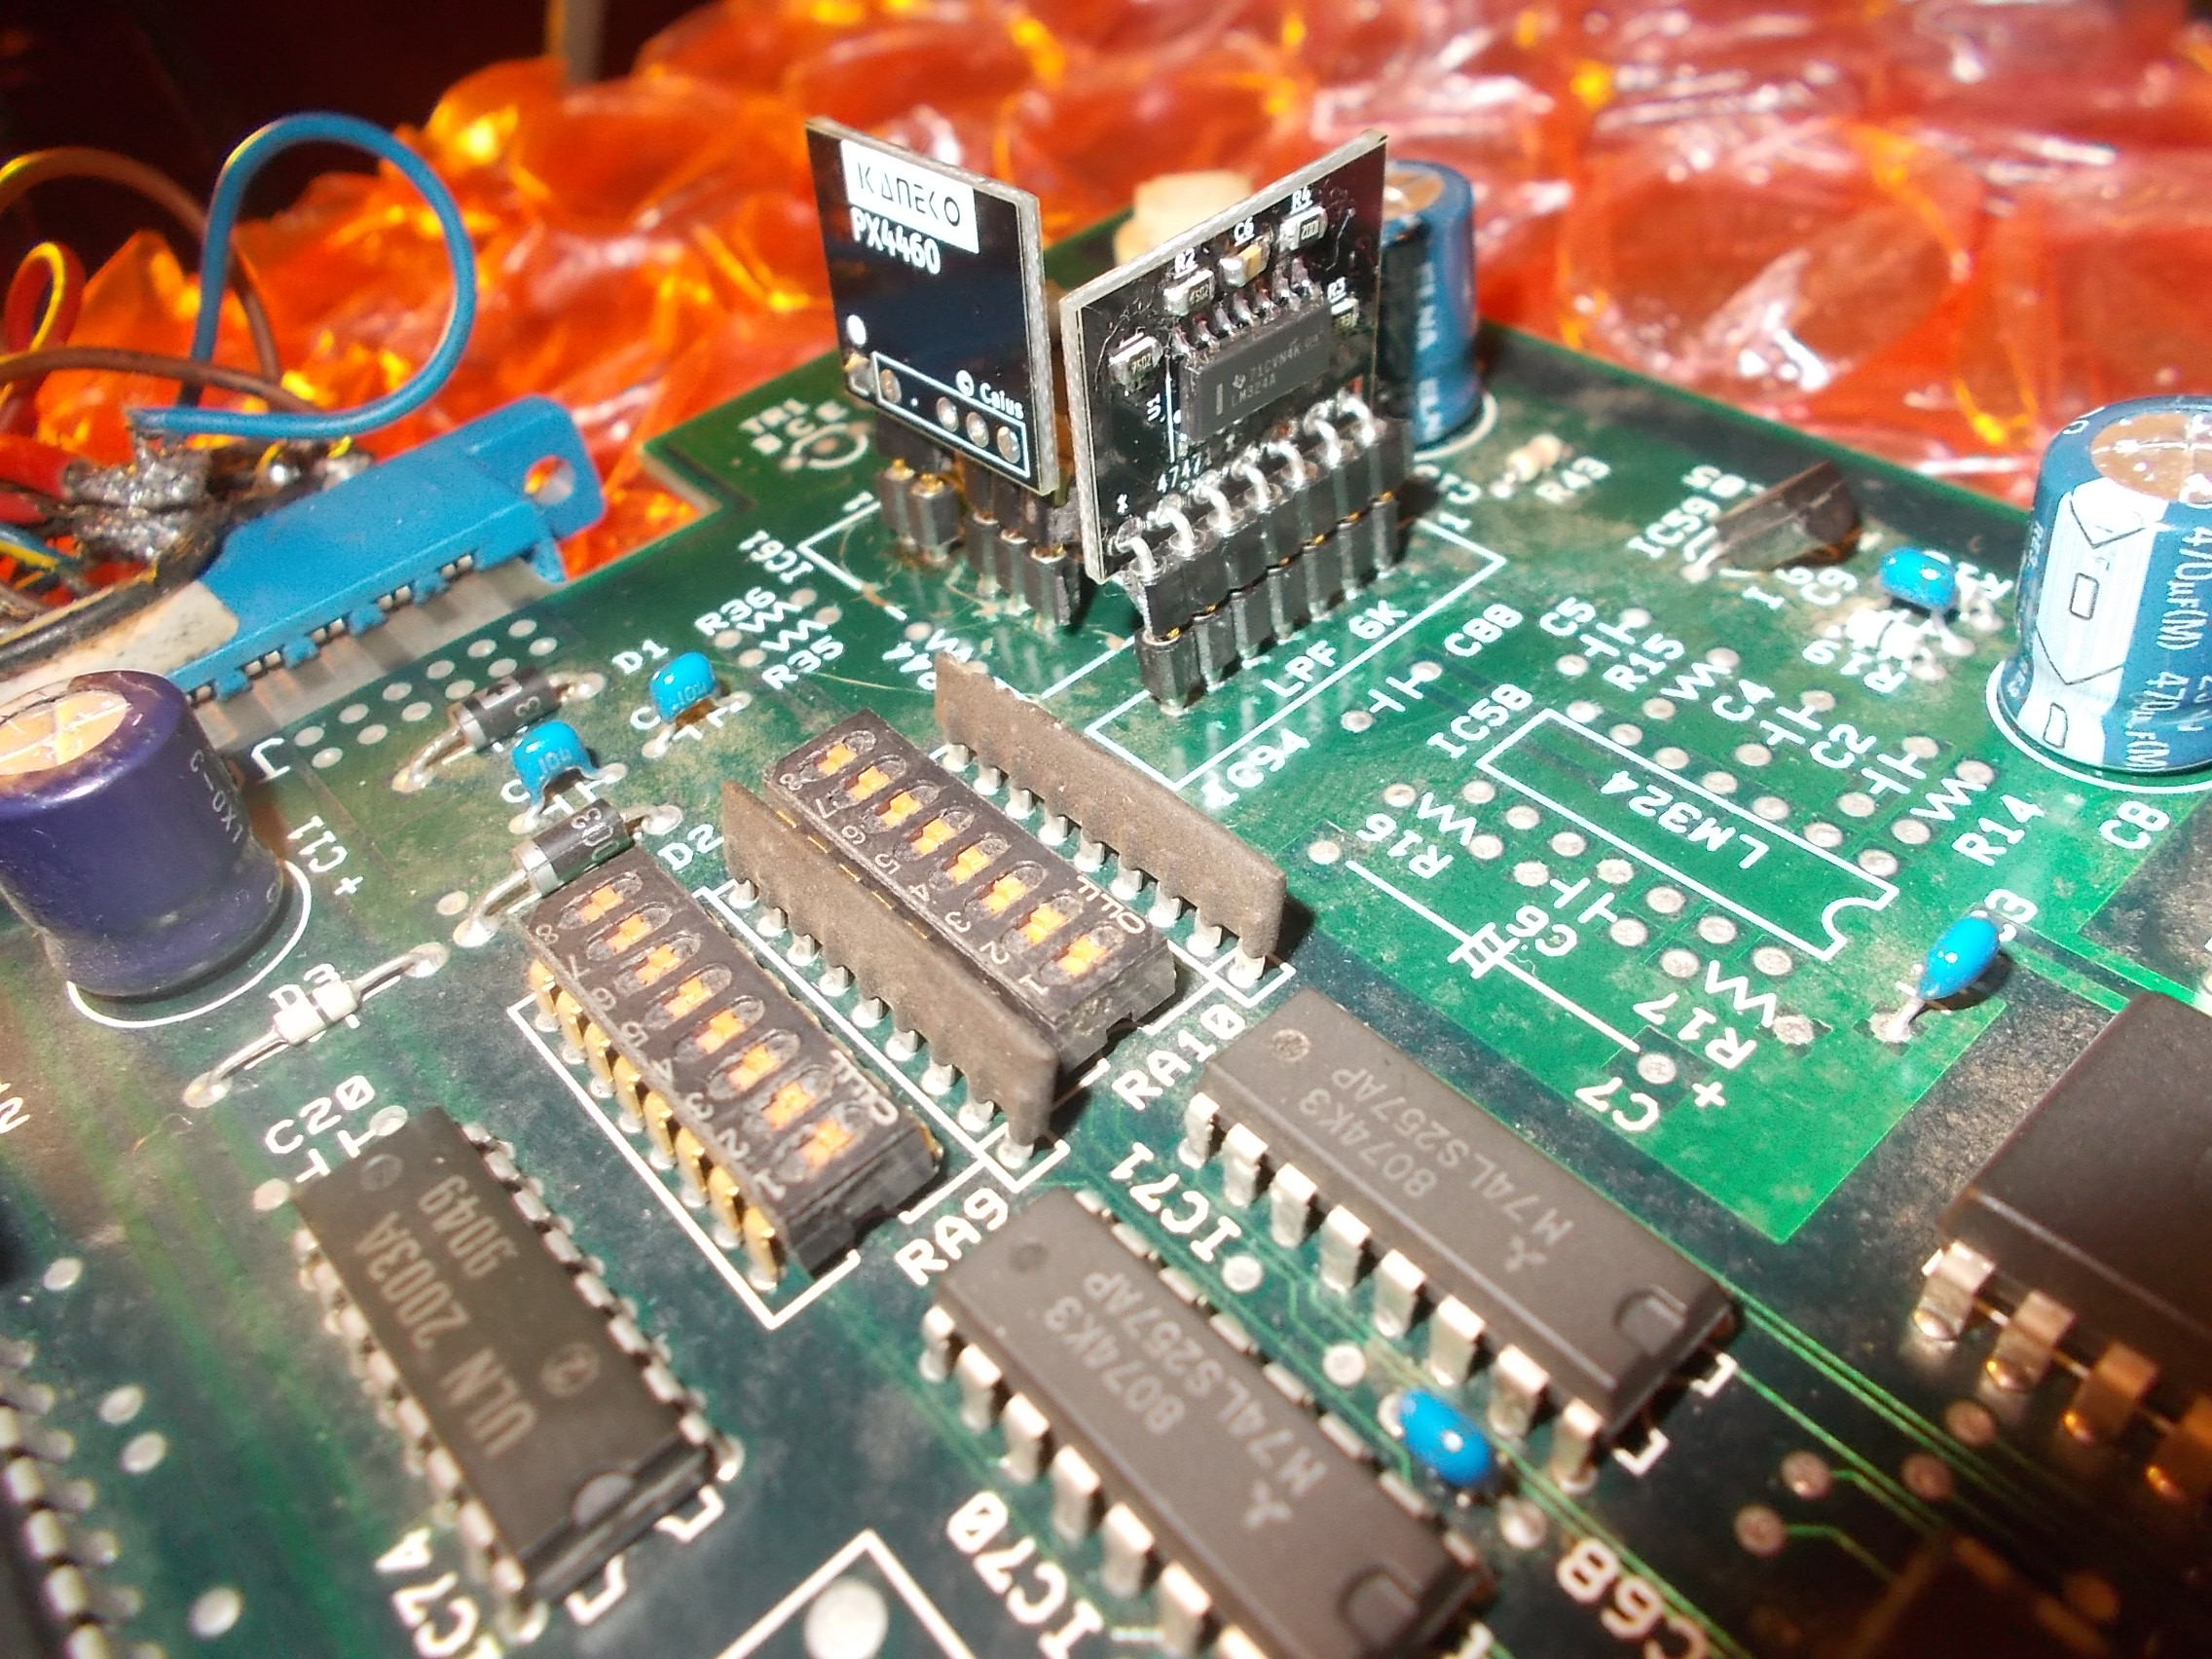
Most likely the probem was on the underneath of the module so I removed it and installed sockets:
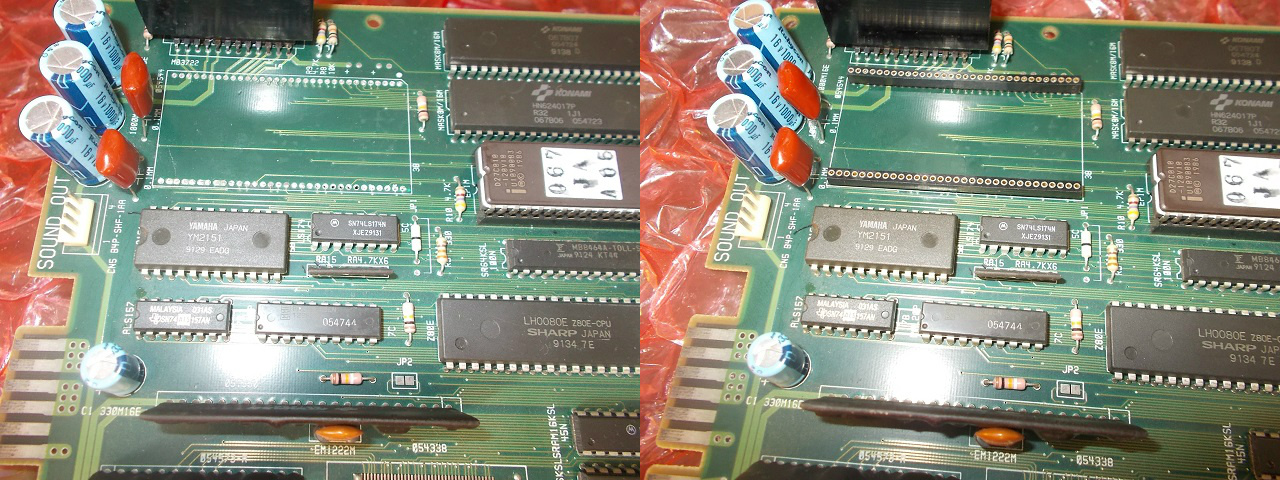
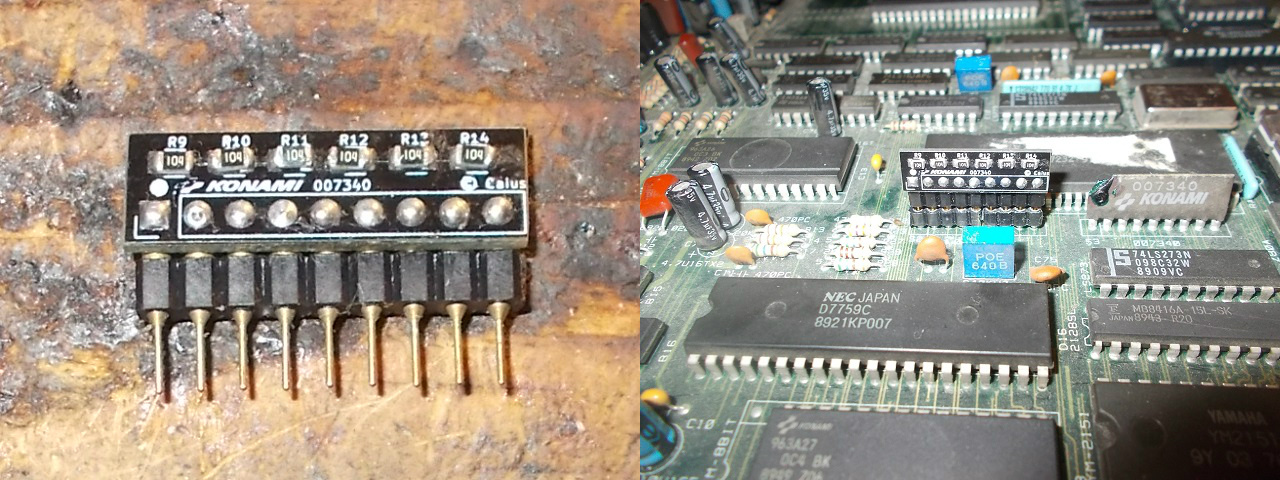
There was some corrosion on underneath but nothing really serious:
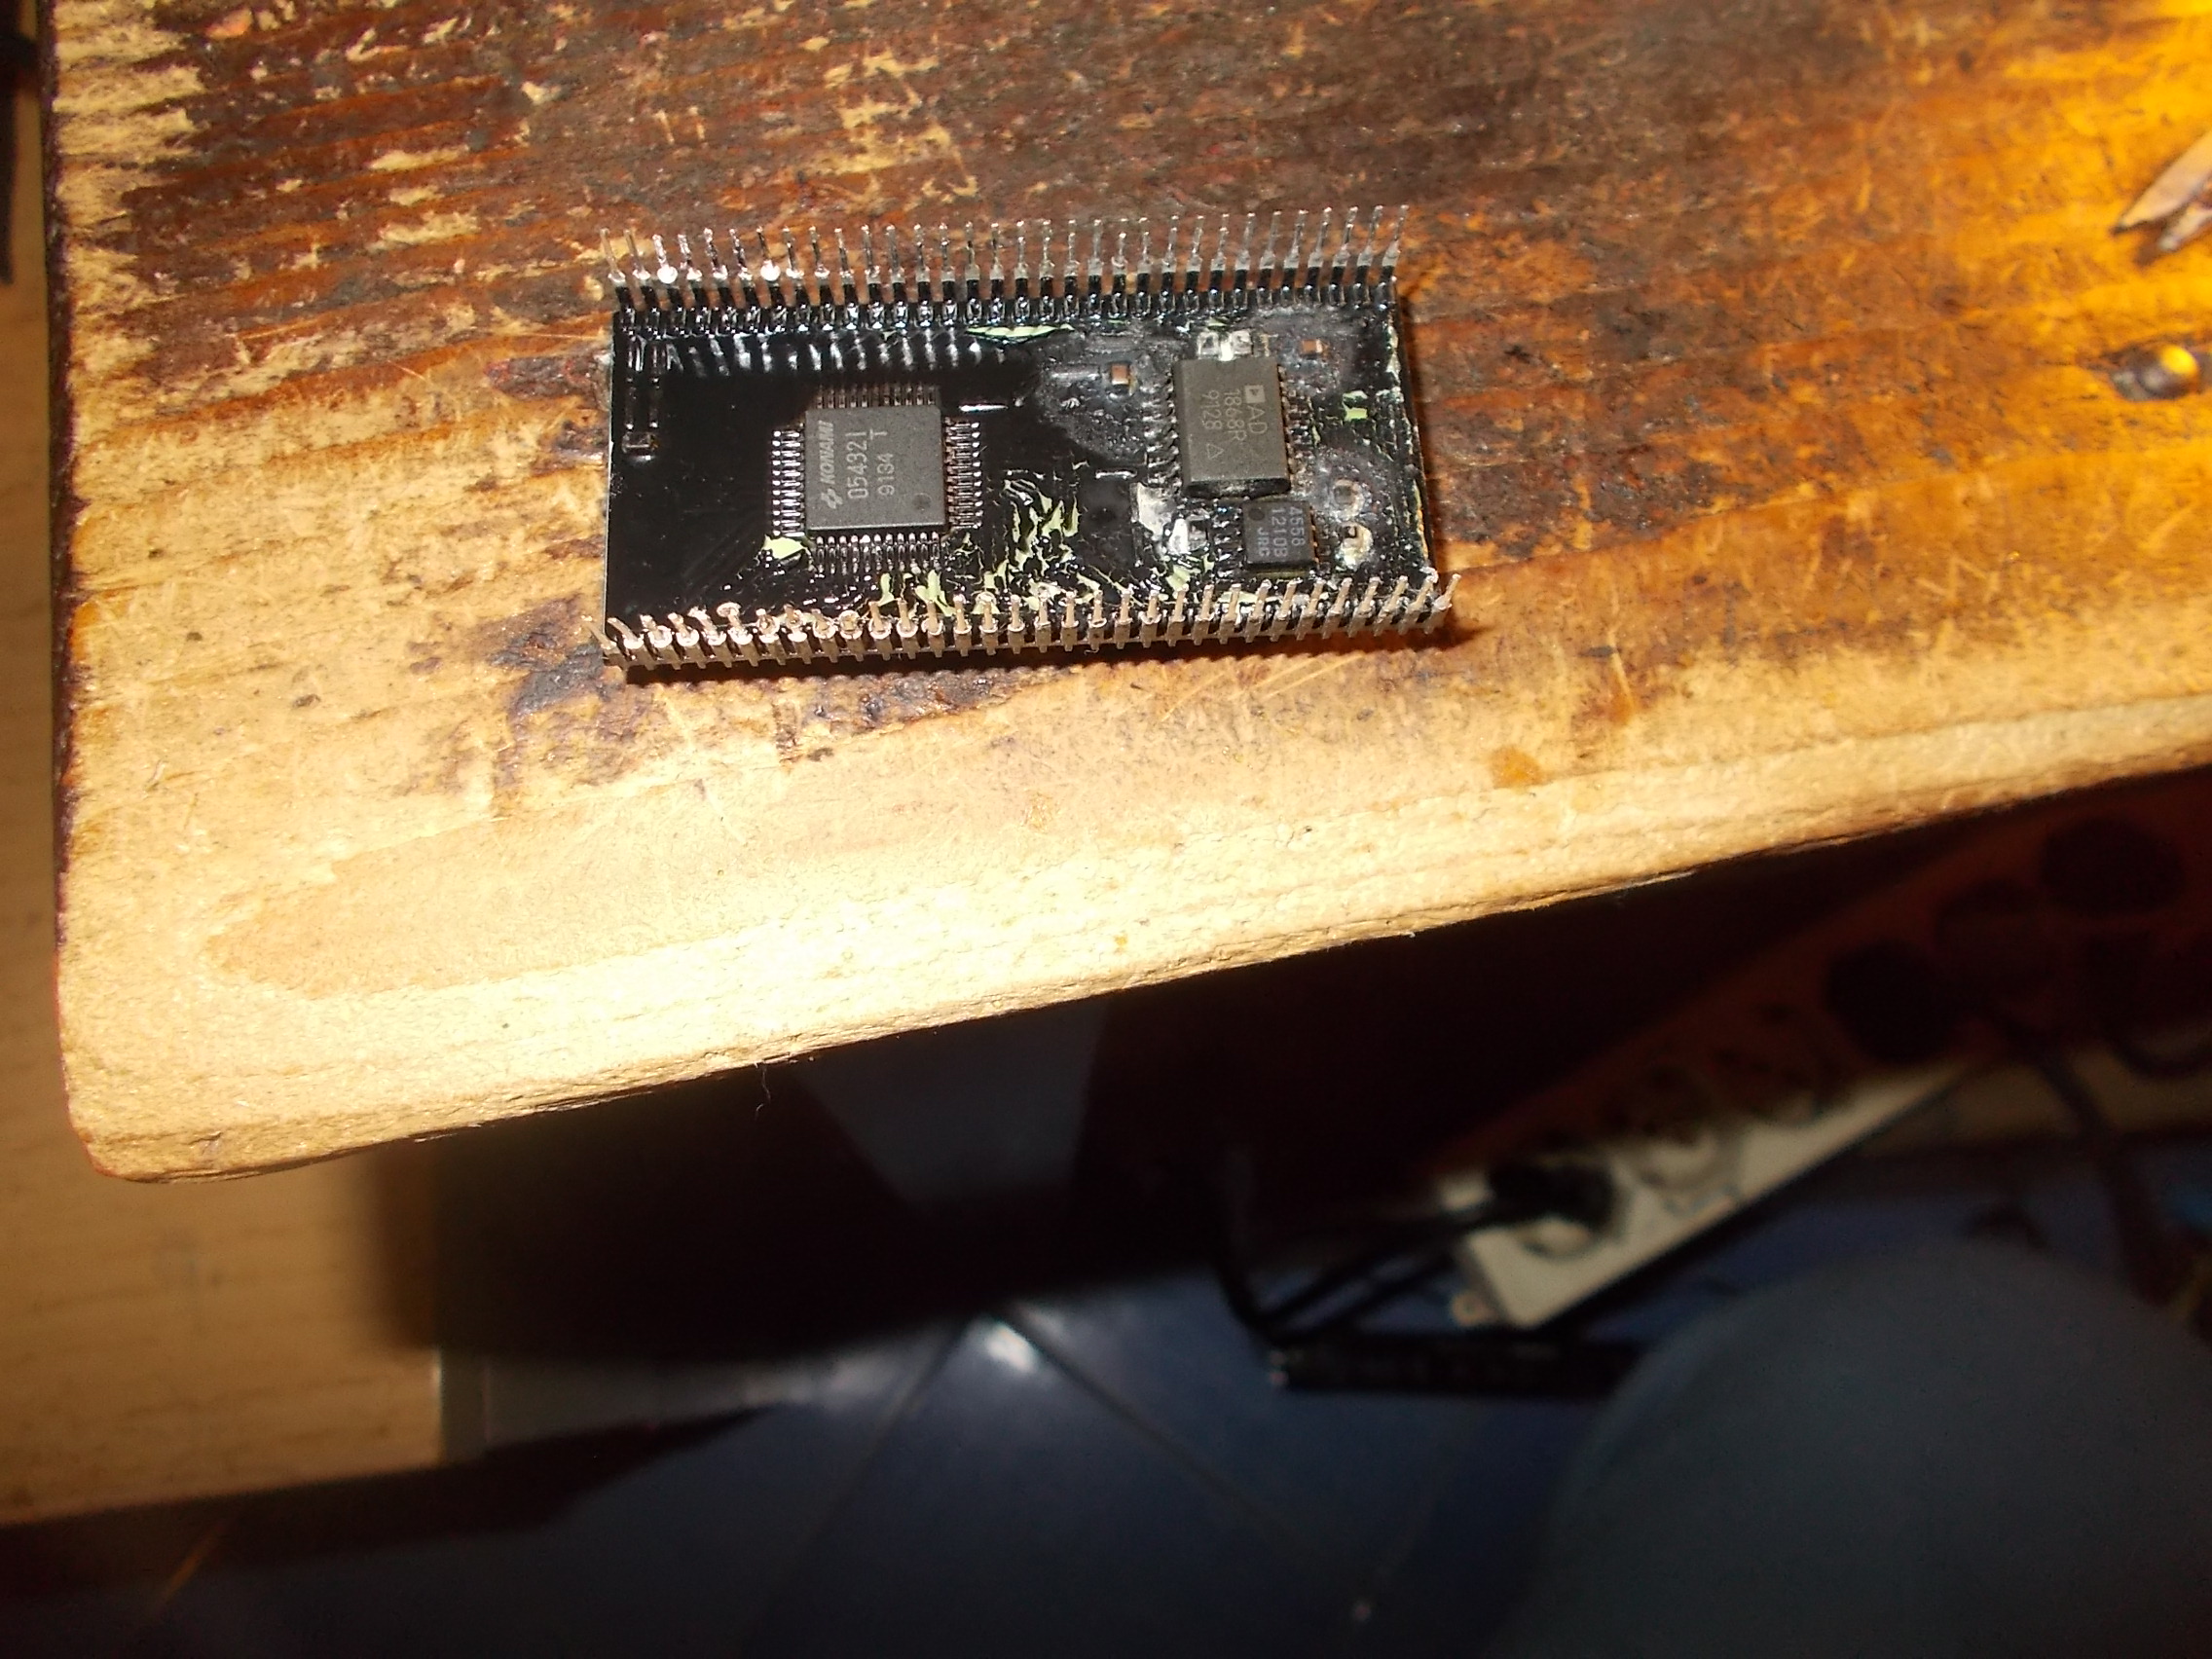
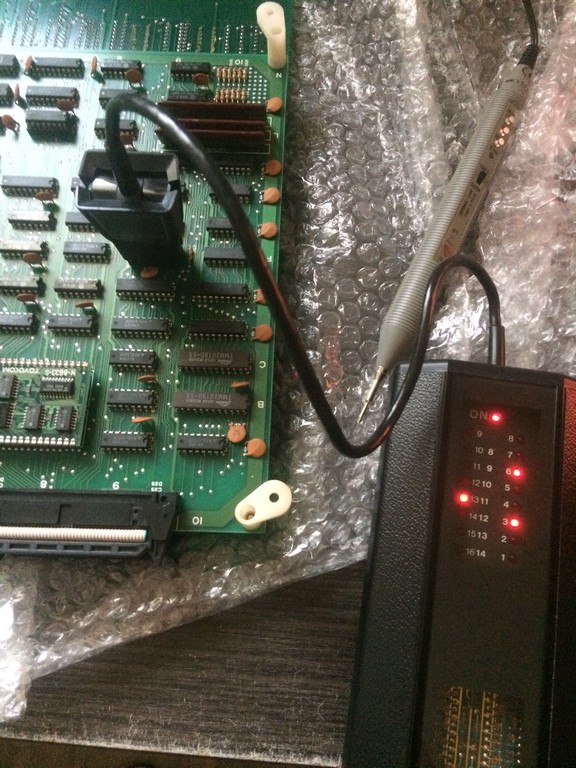
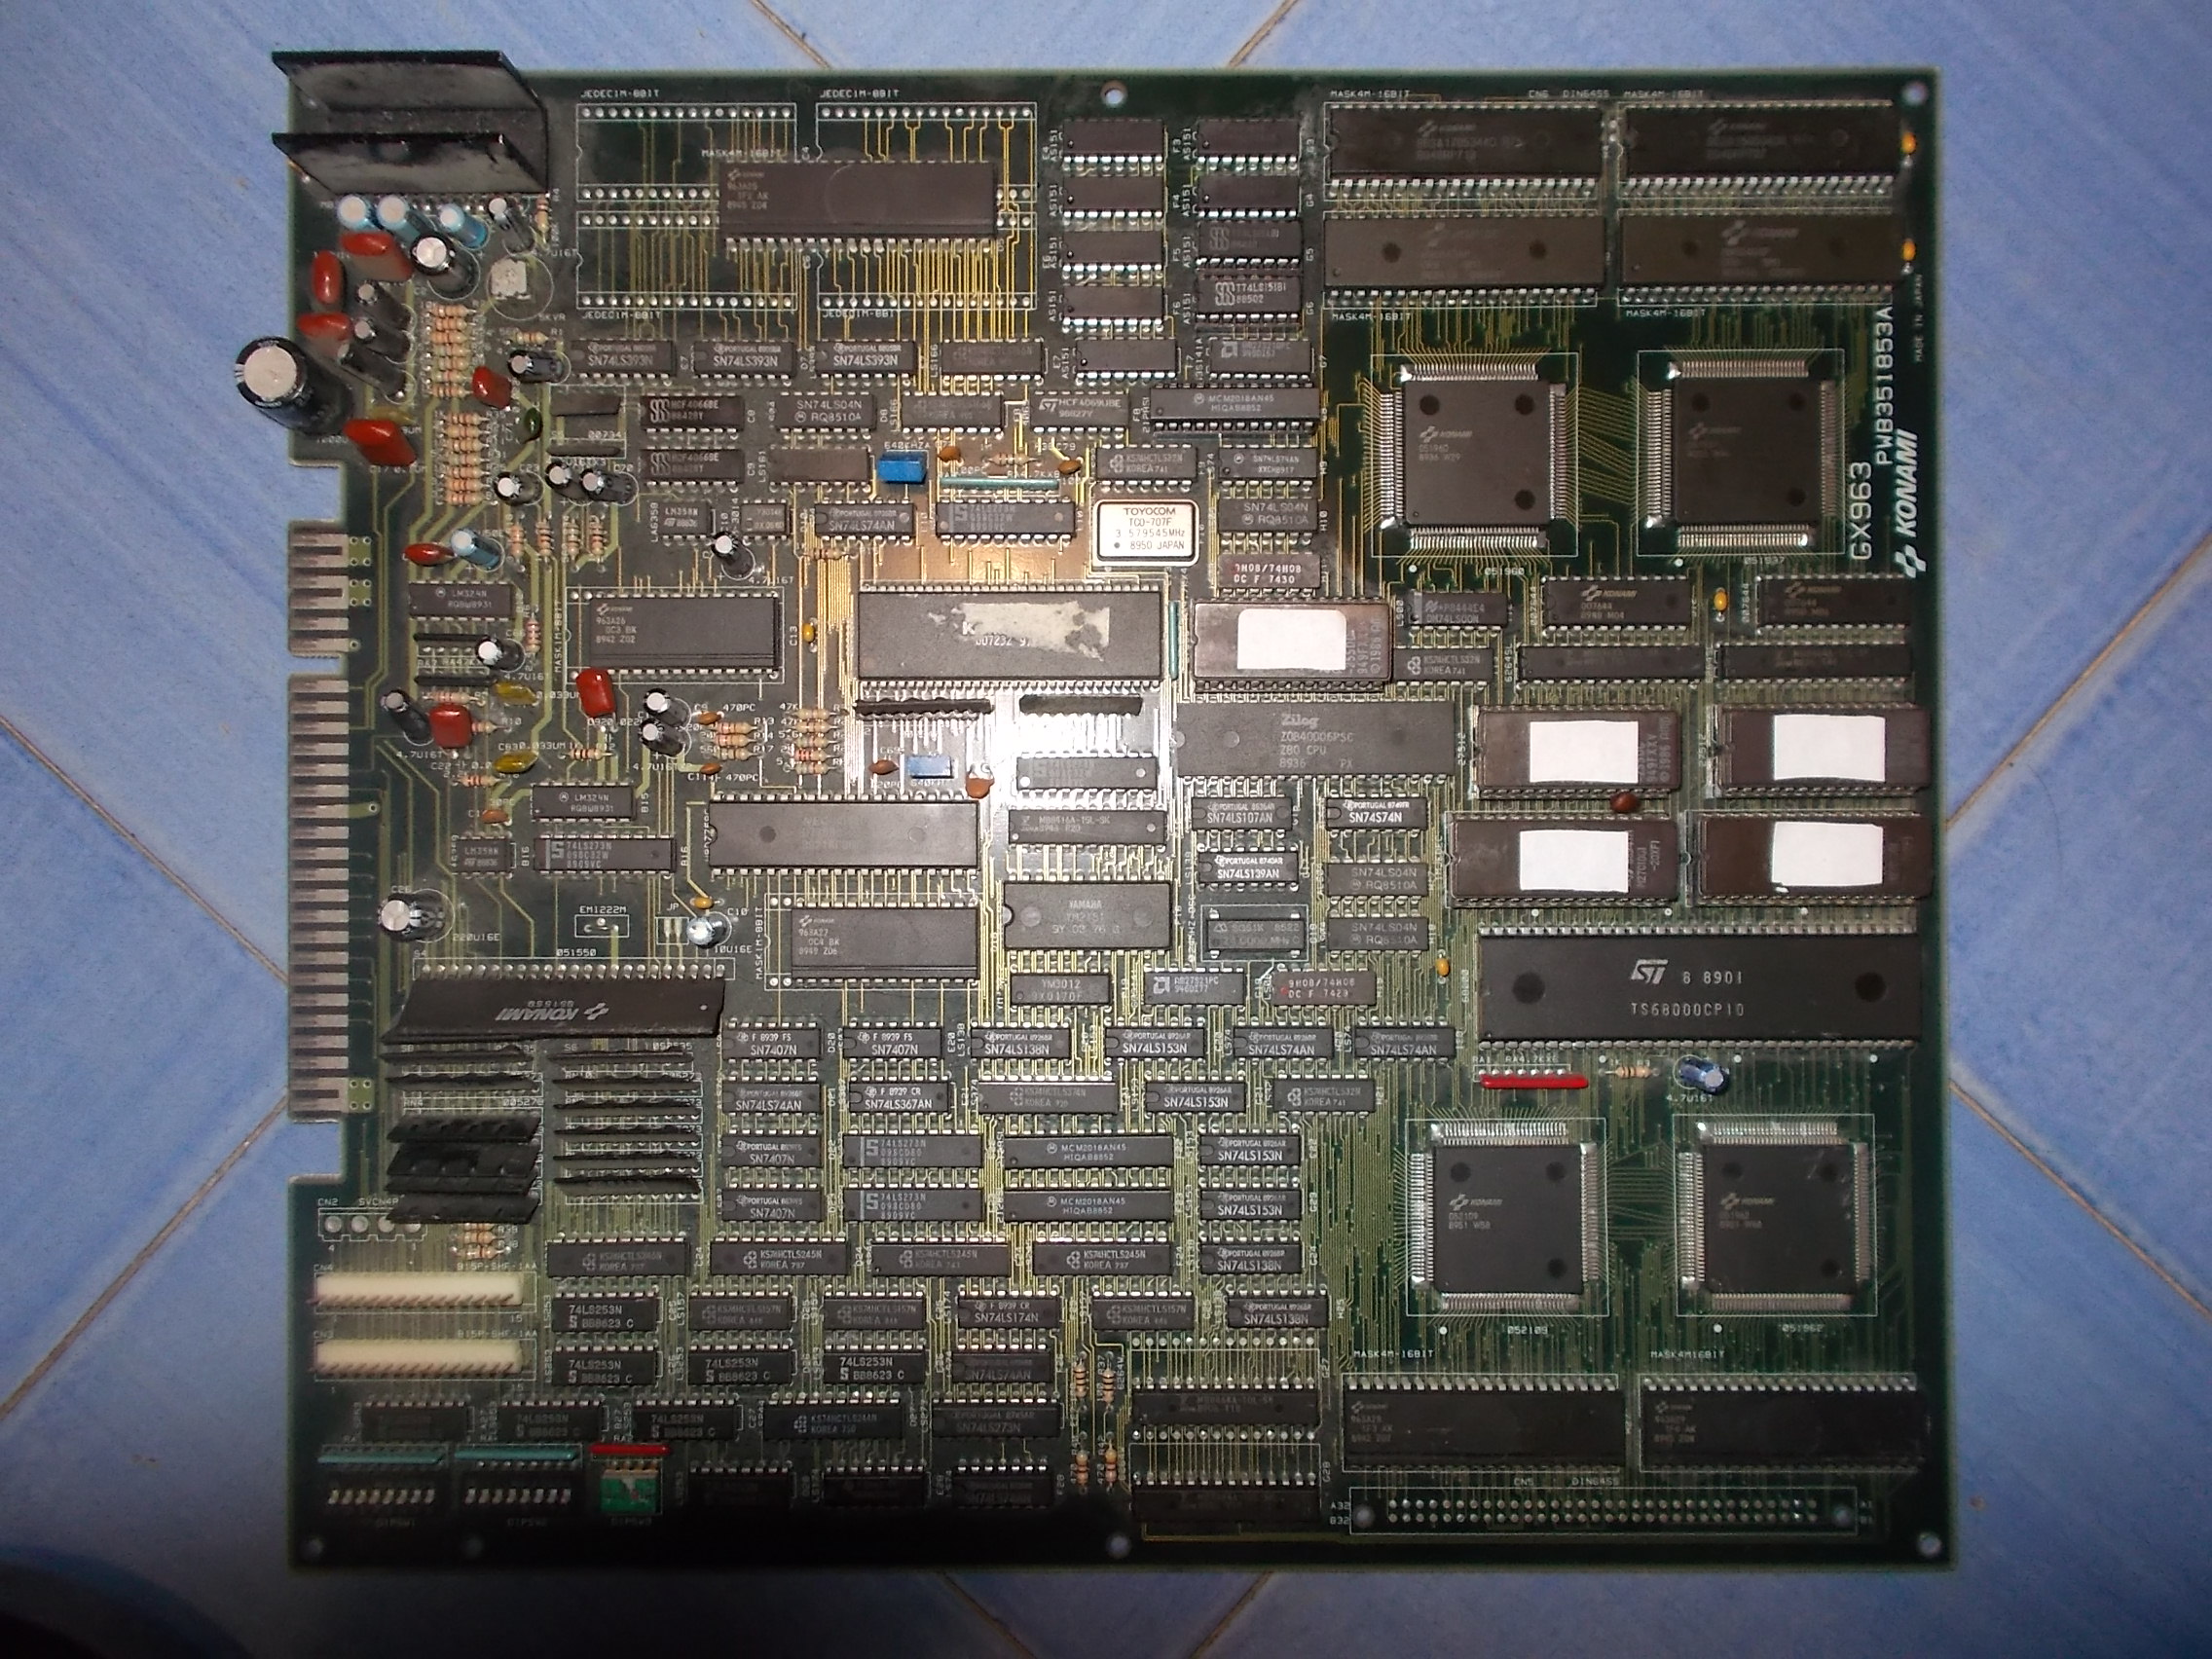
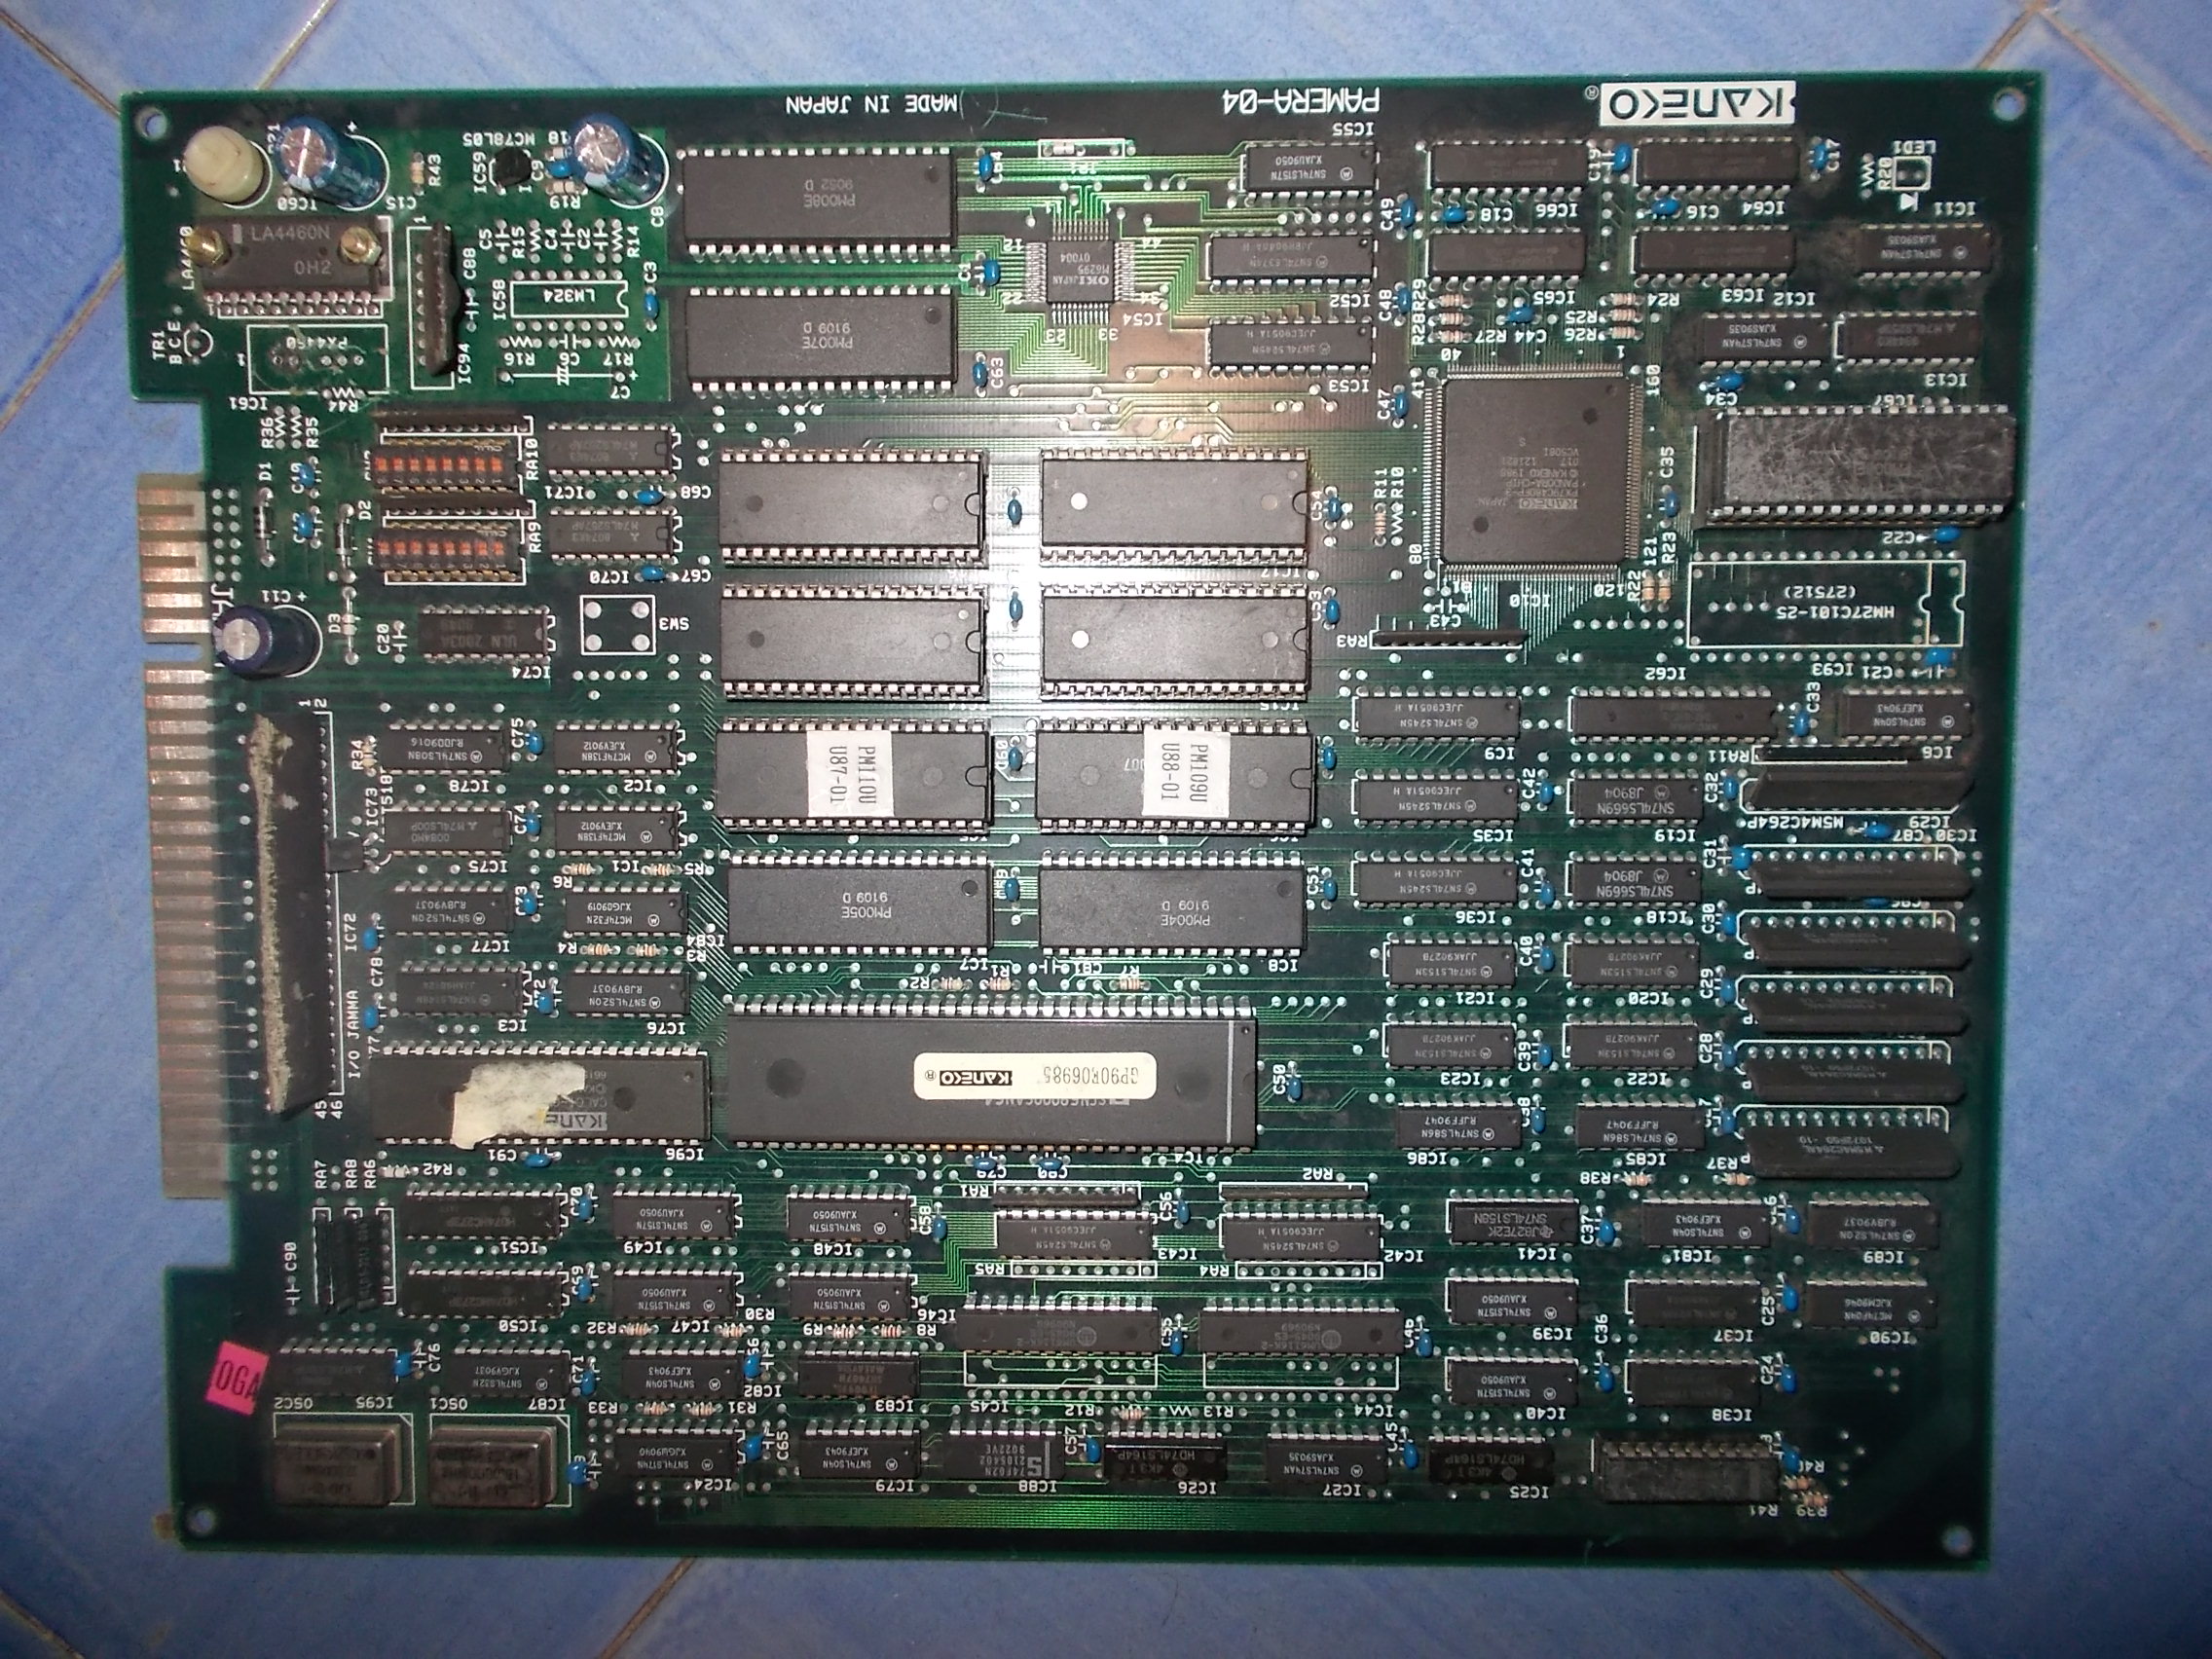
I decided to test the module on an X-Men PCB and it worked fine, audio was clean:
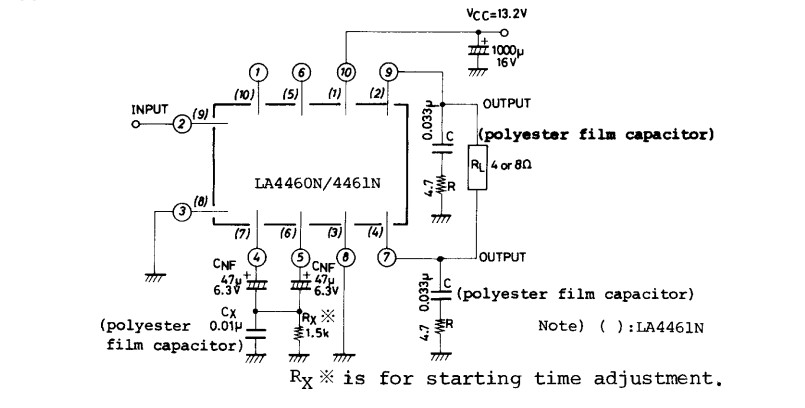
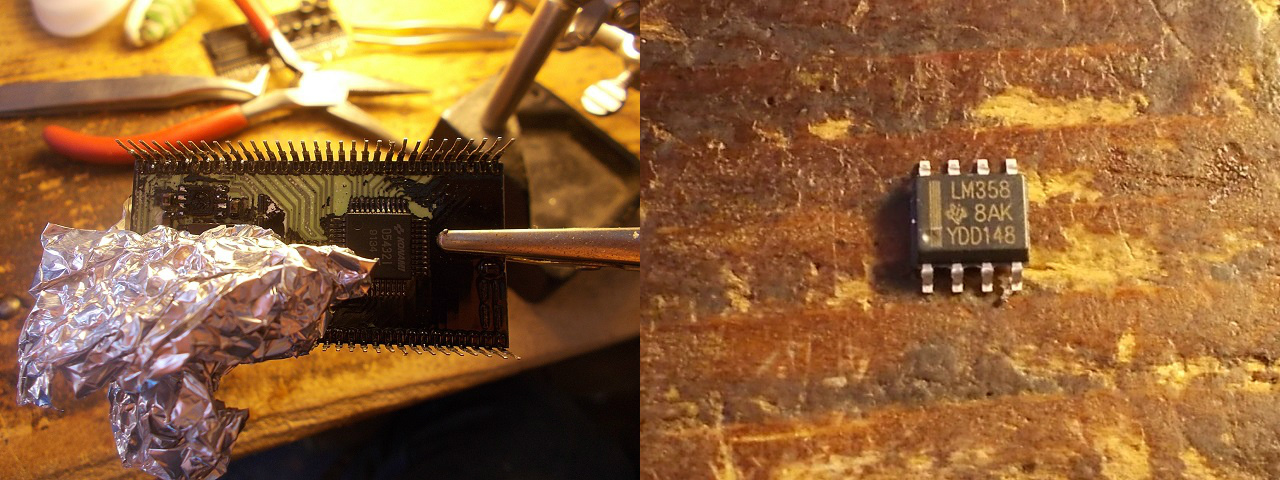
The technical reason why it worked is that X-Men doesn’t use the pre-amplification circuit of the module (a LM358 OP-AMP is present externally on PCB) while Xexex does.So the problem was the 4558 OP-AMP on underneath of the module.I removed it and replaced with an LM358:
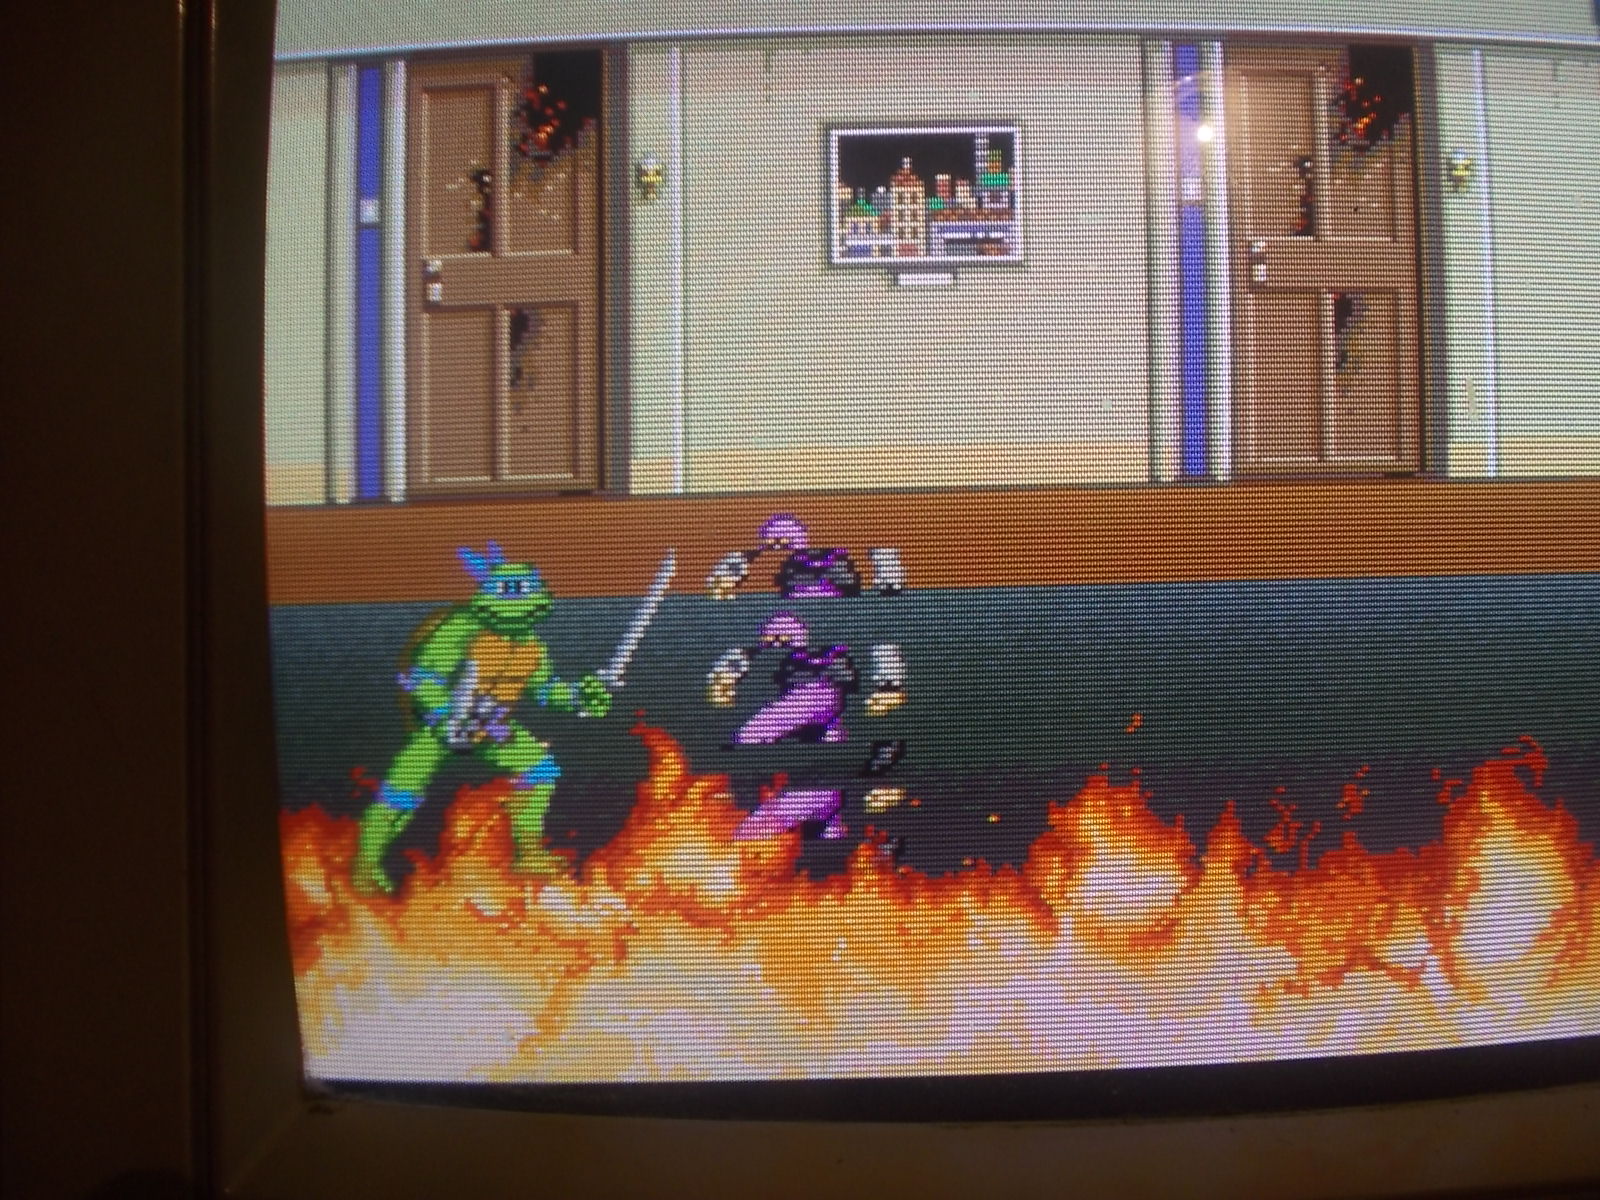
The buzzing noise was cut out:
Lastly I painted the module to finish the job: