Truxton repair log #4

 PCB Repair Logs  Comments Off on Truxton repair log #4
Aug 122018
 

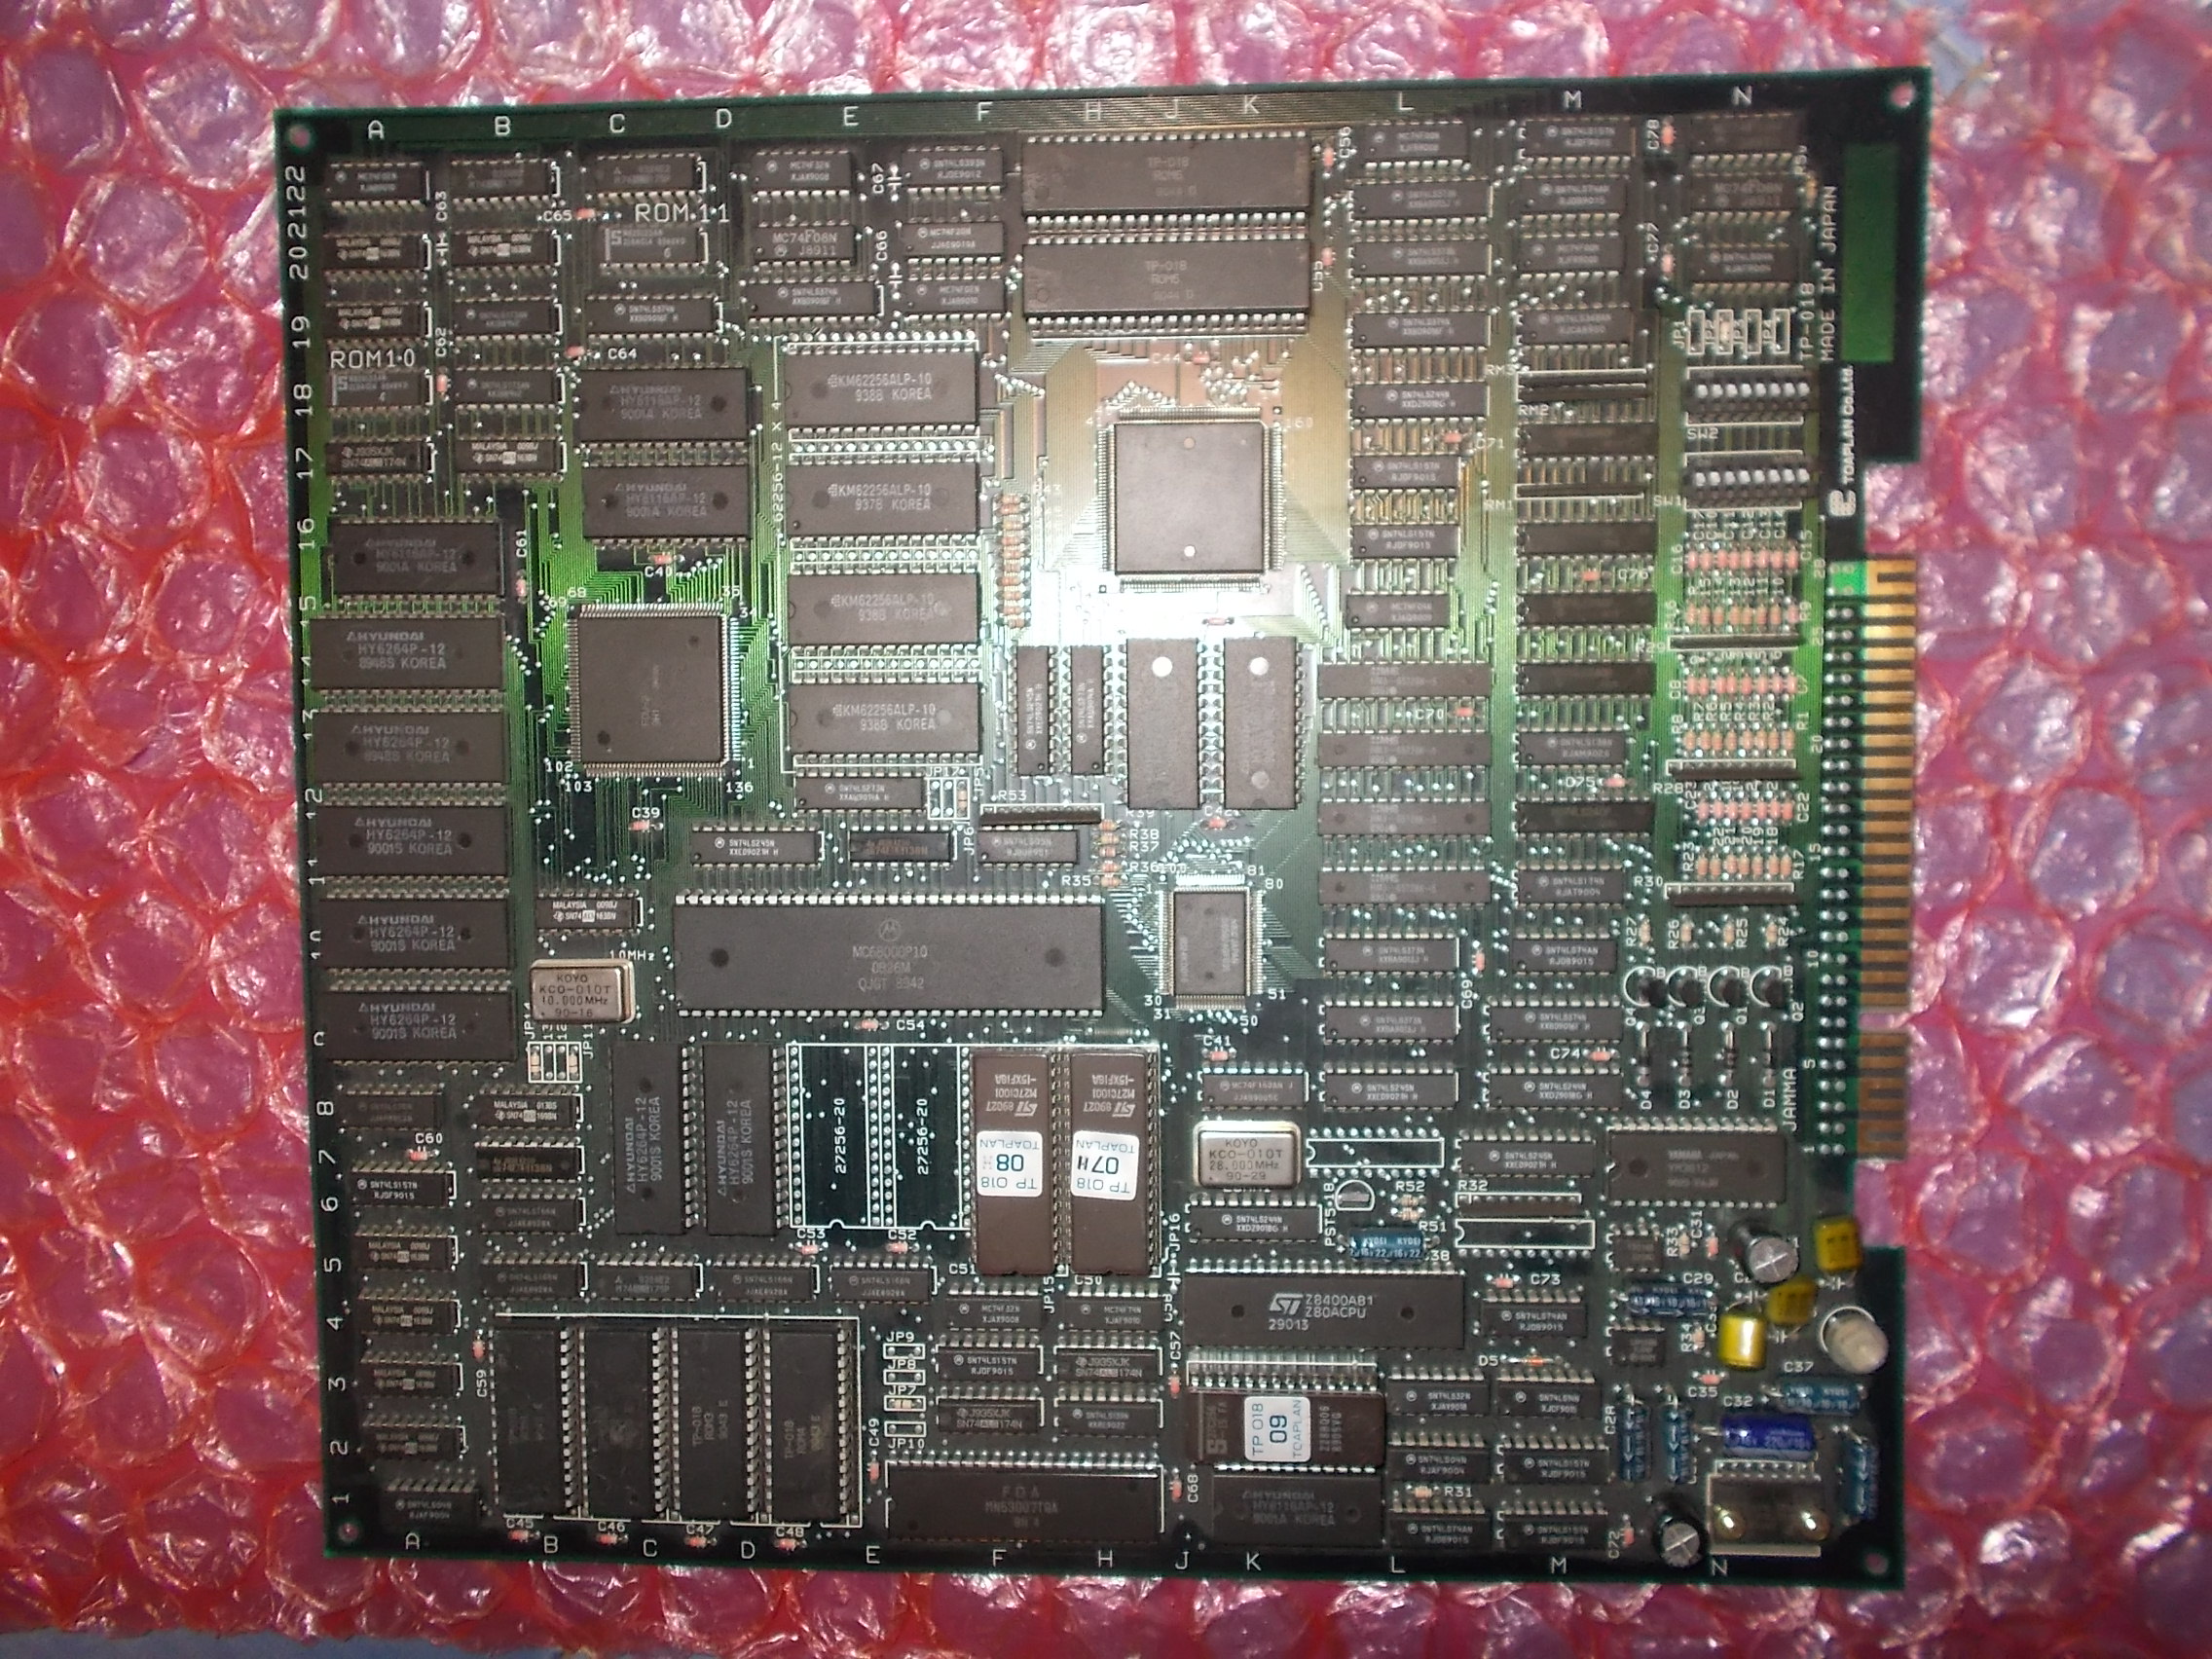
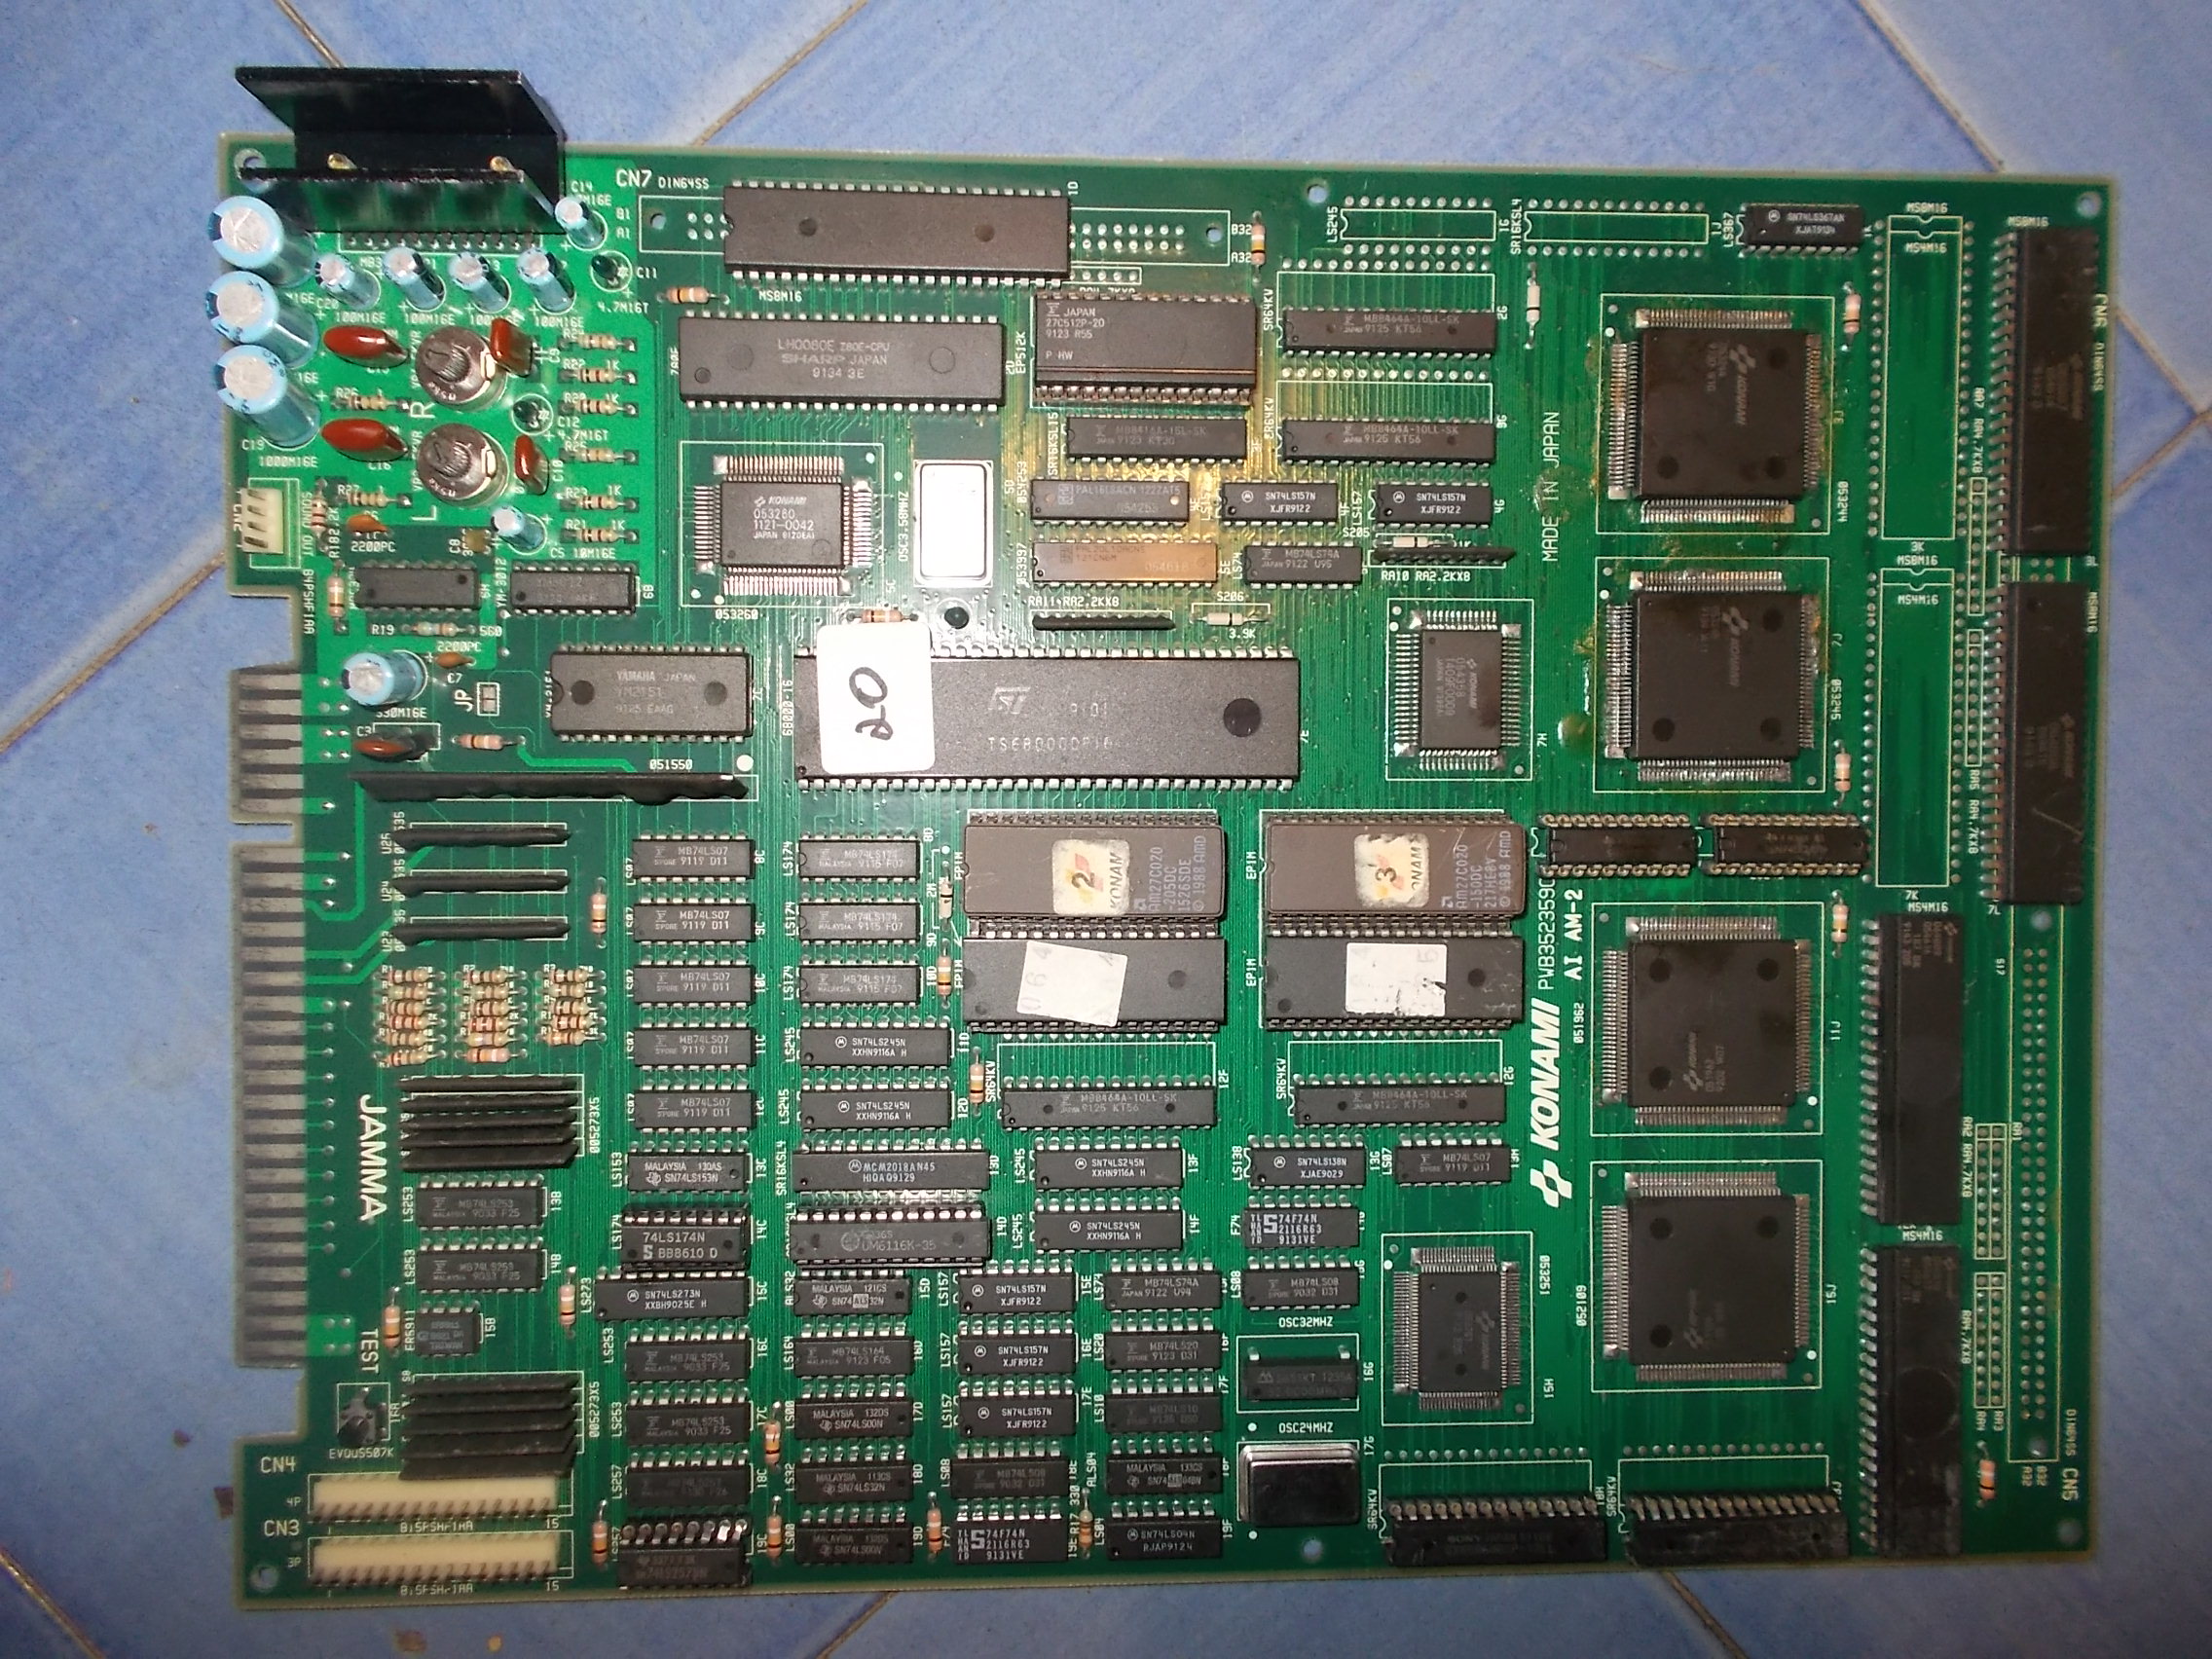
The Toaplan “bonanza” goes on with this Truxton PCB on the bench:

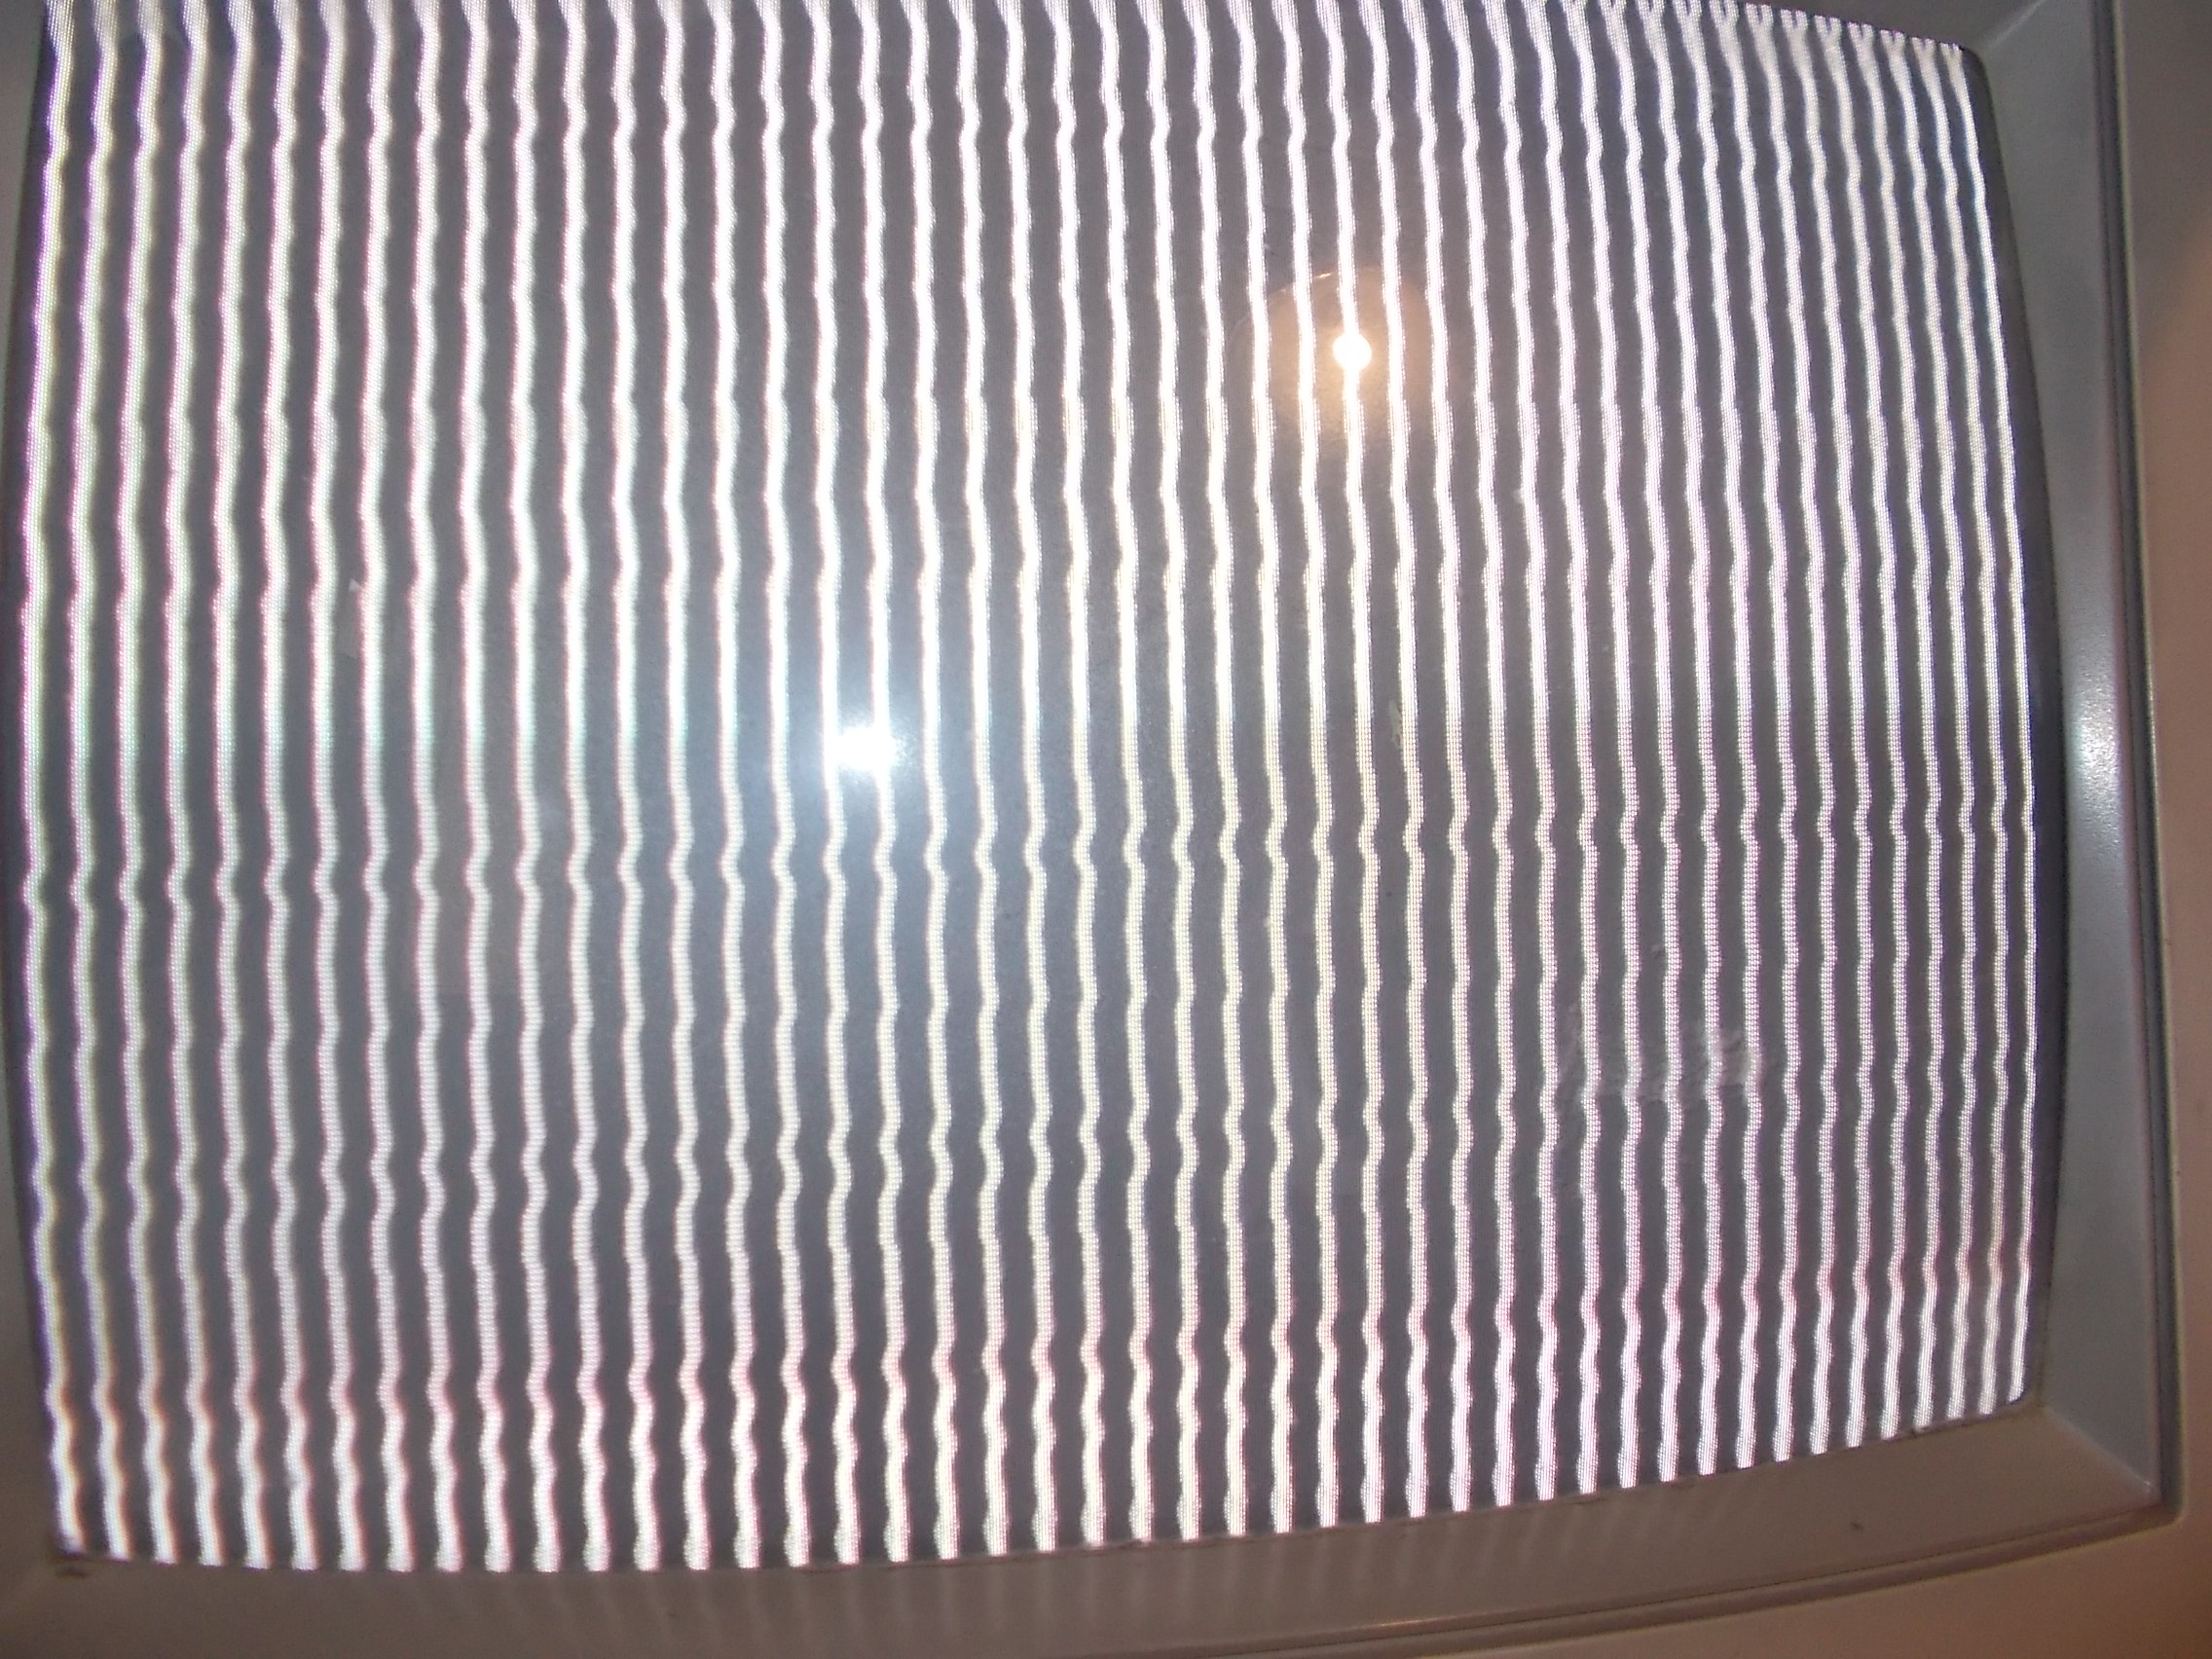
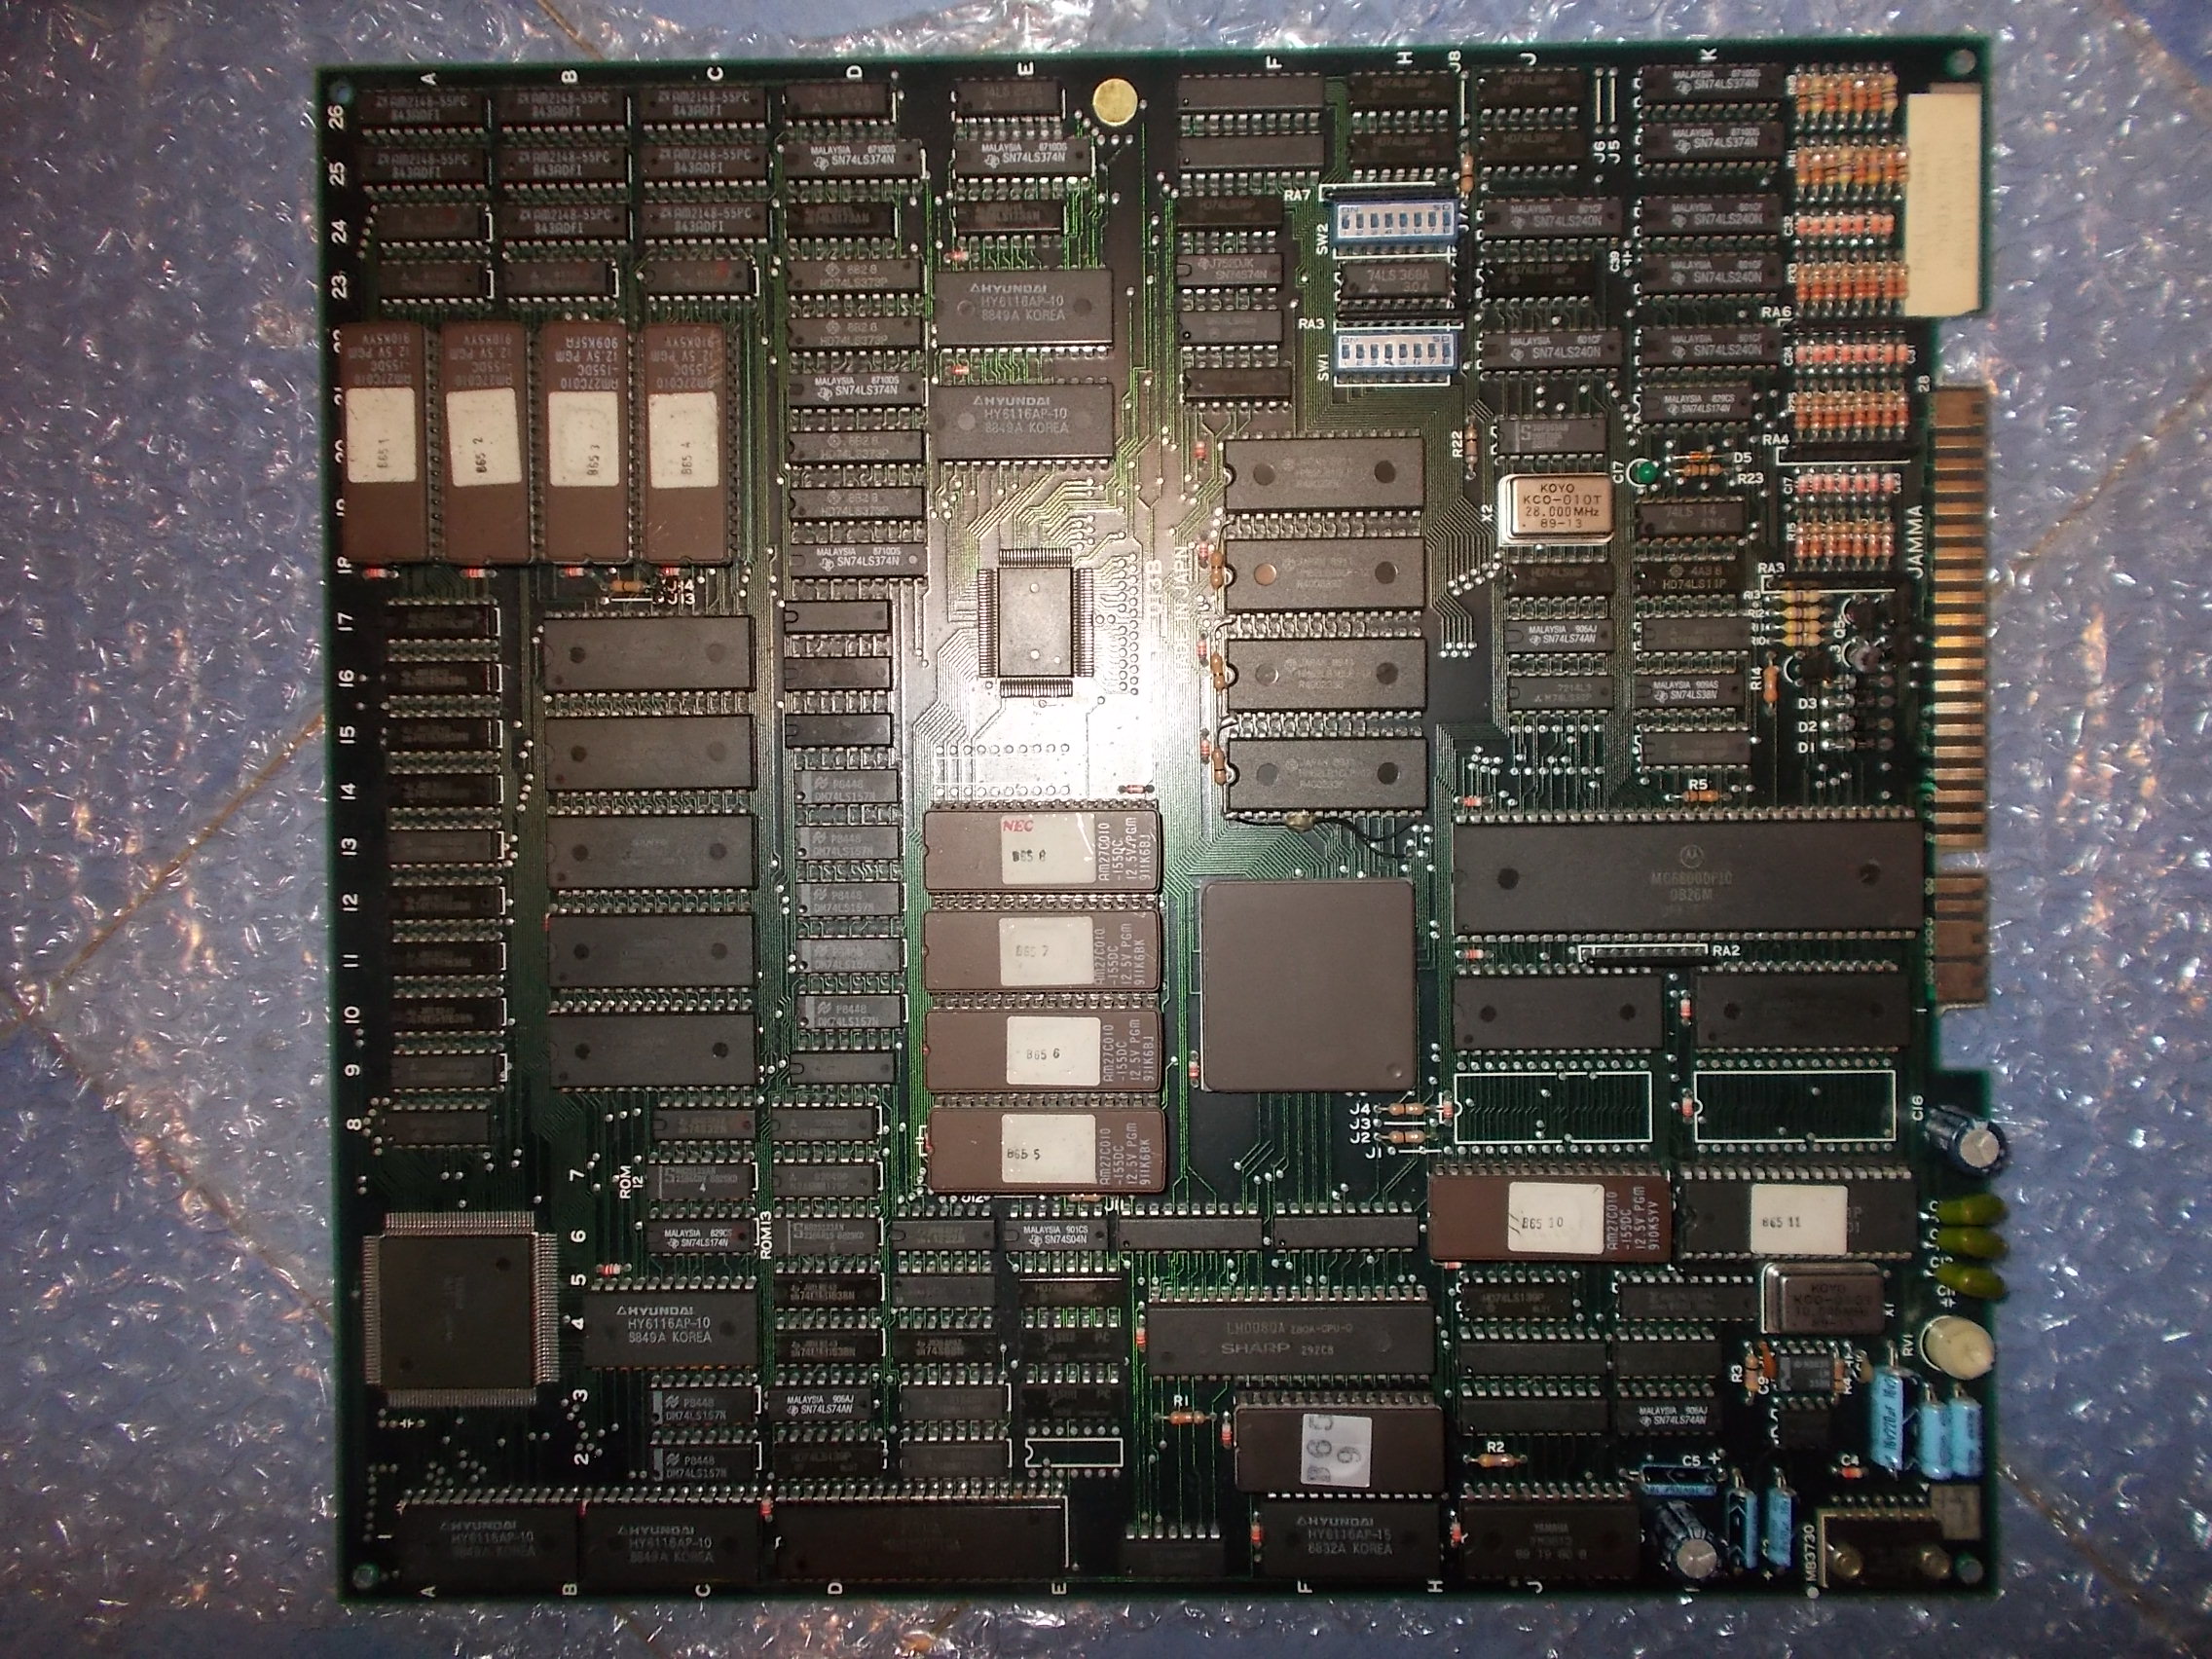
Board was booting into game but sprites were totally scrambled:

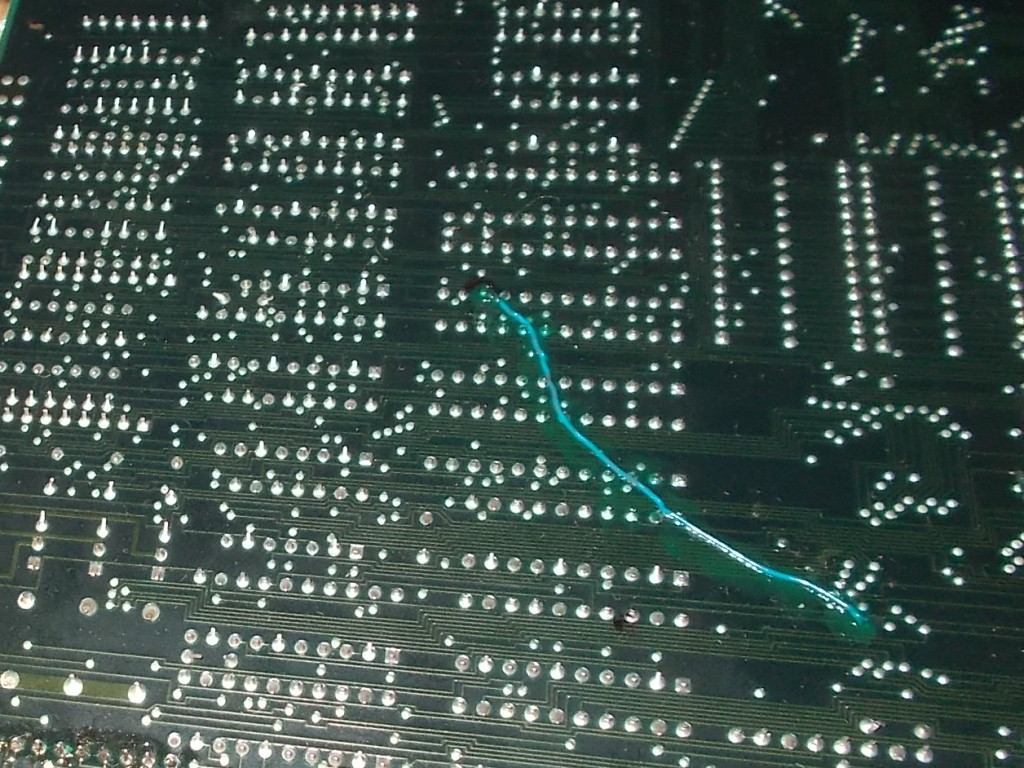
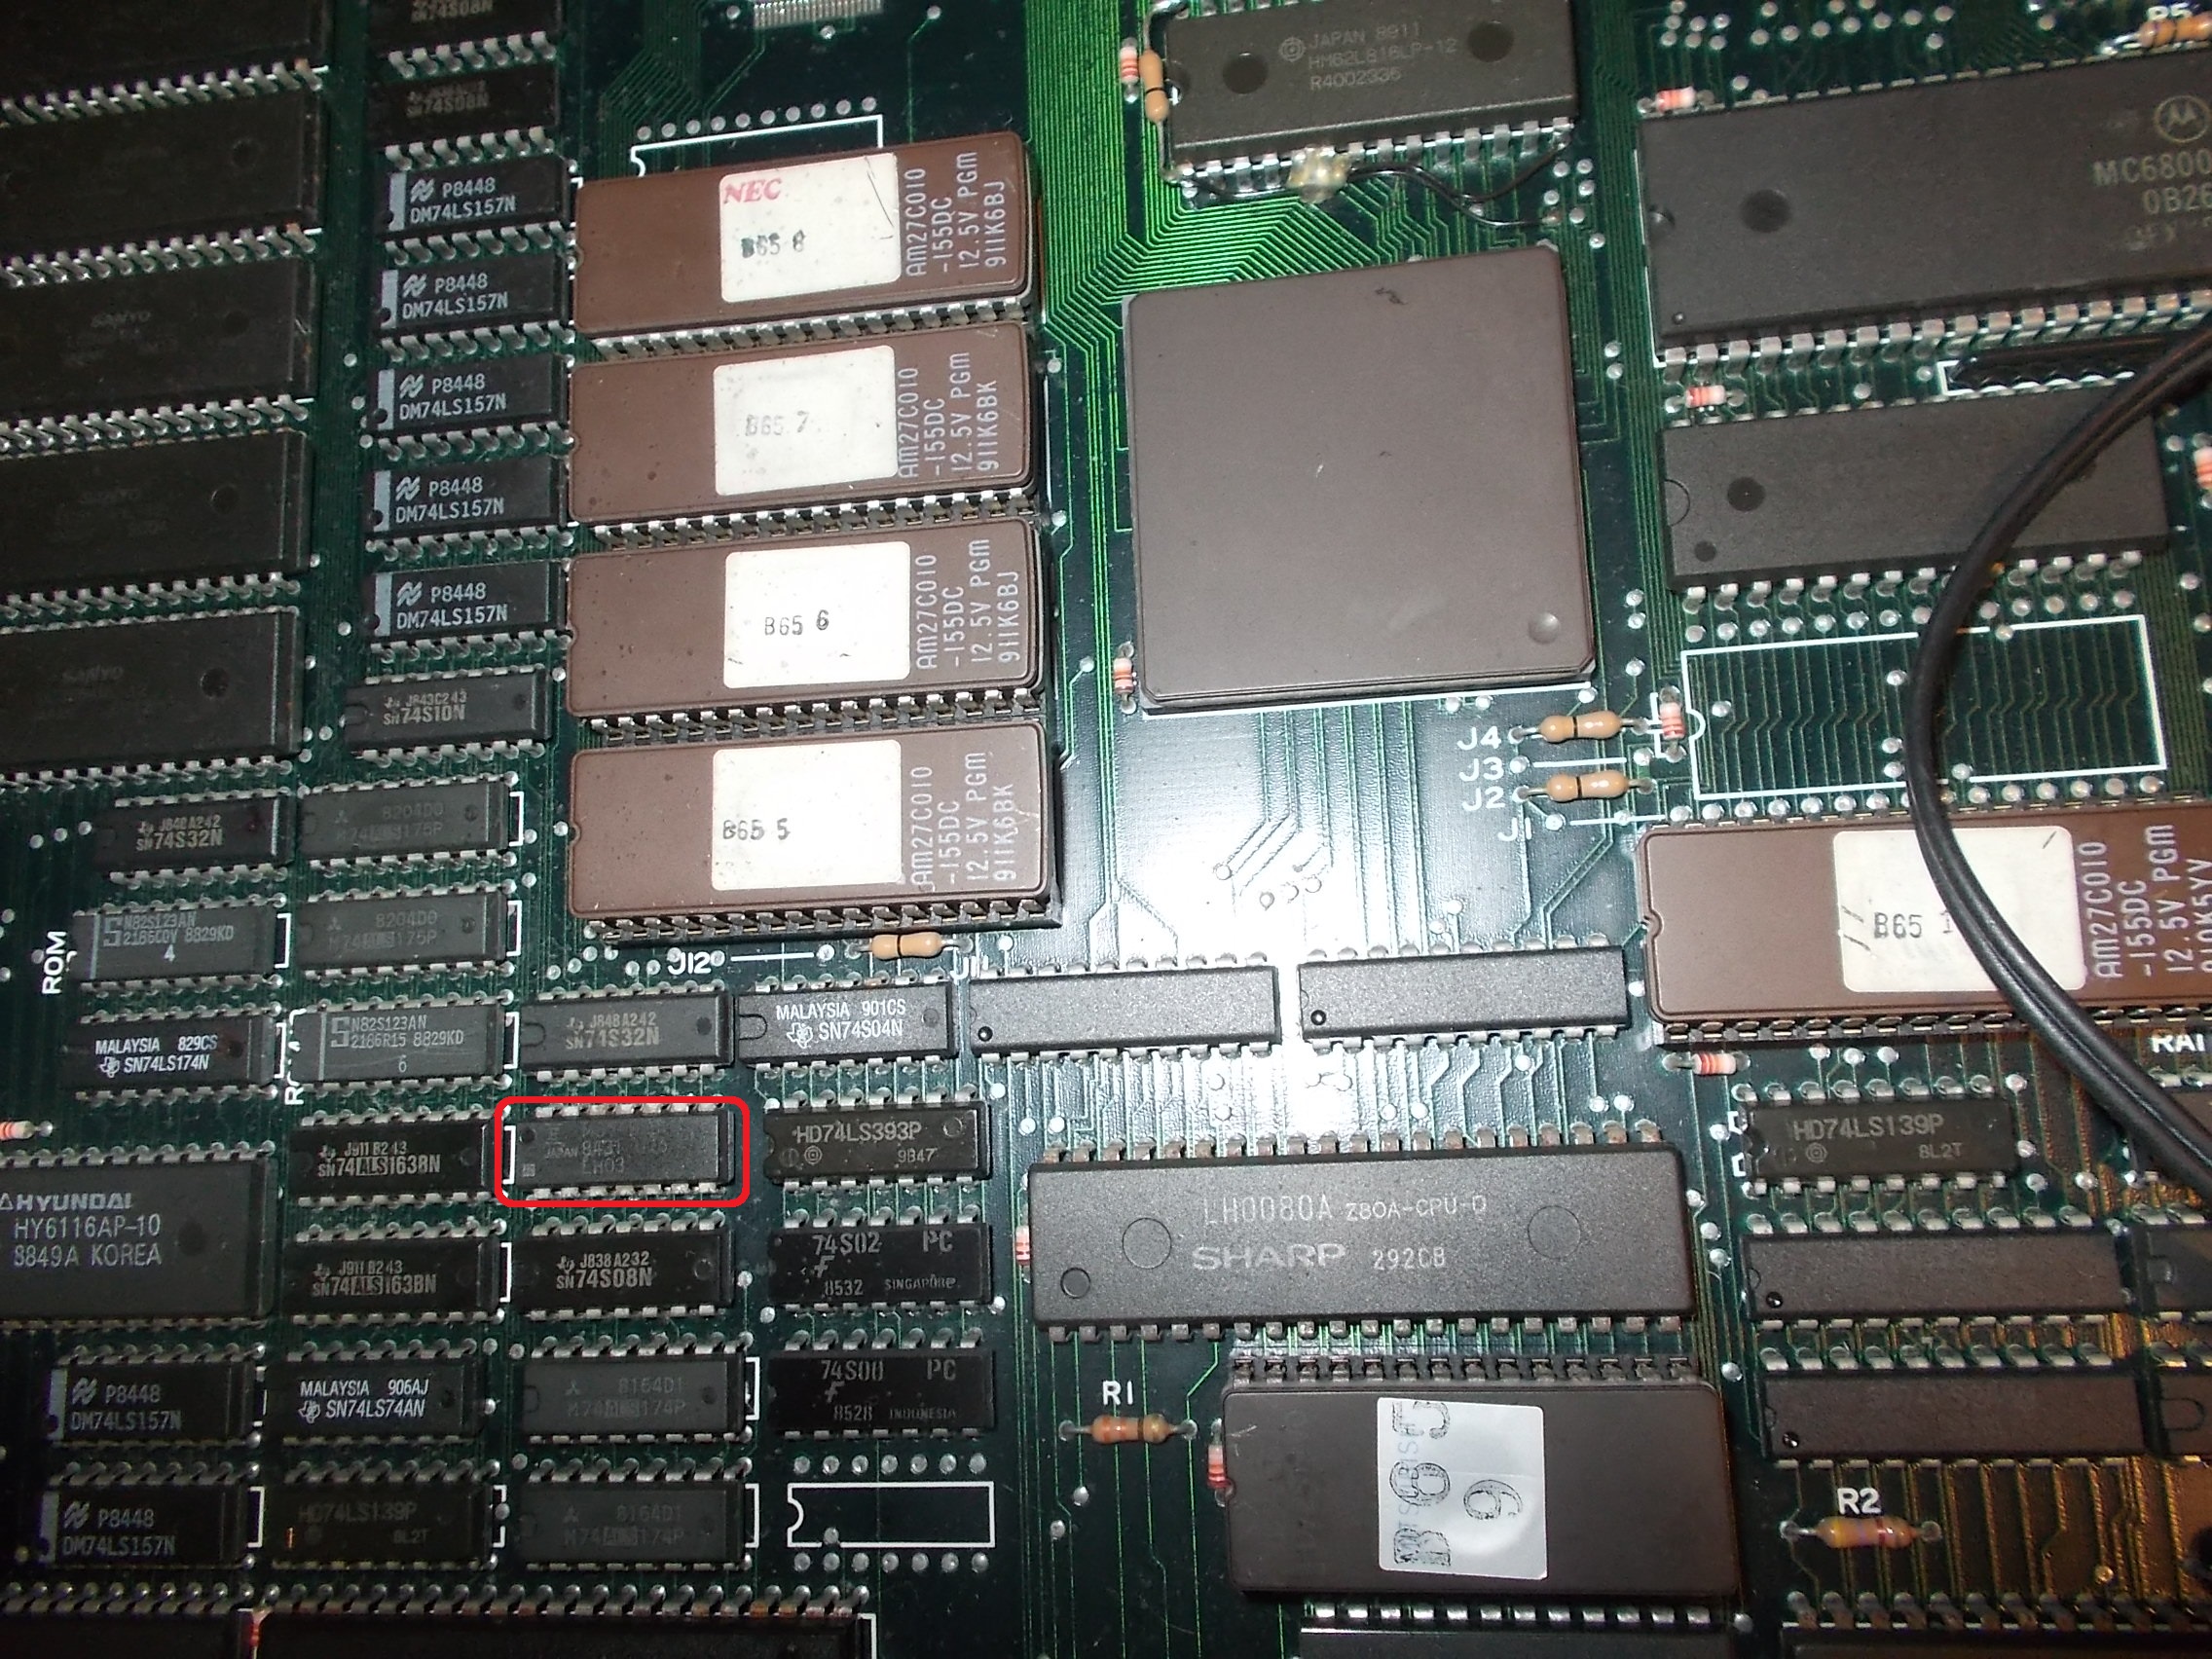
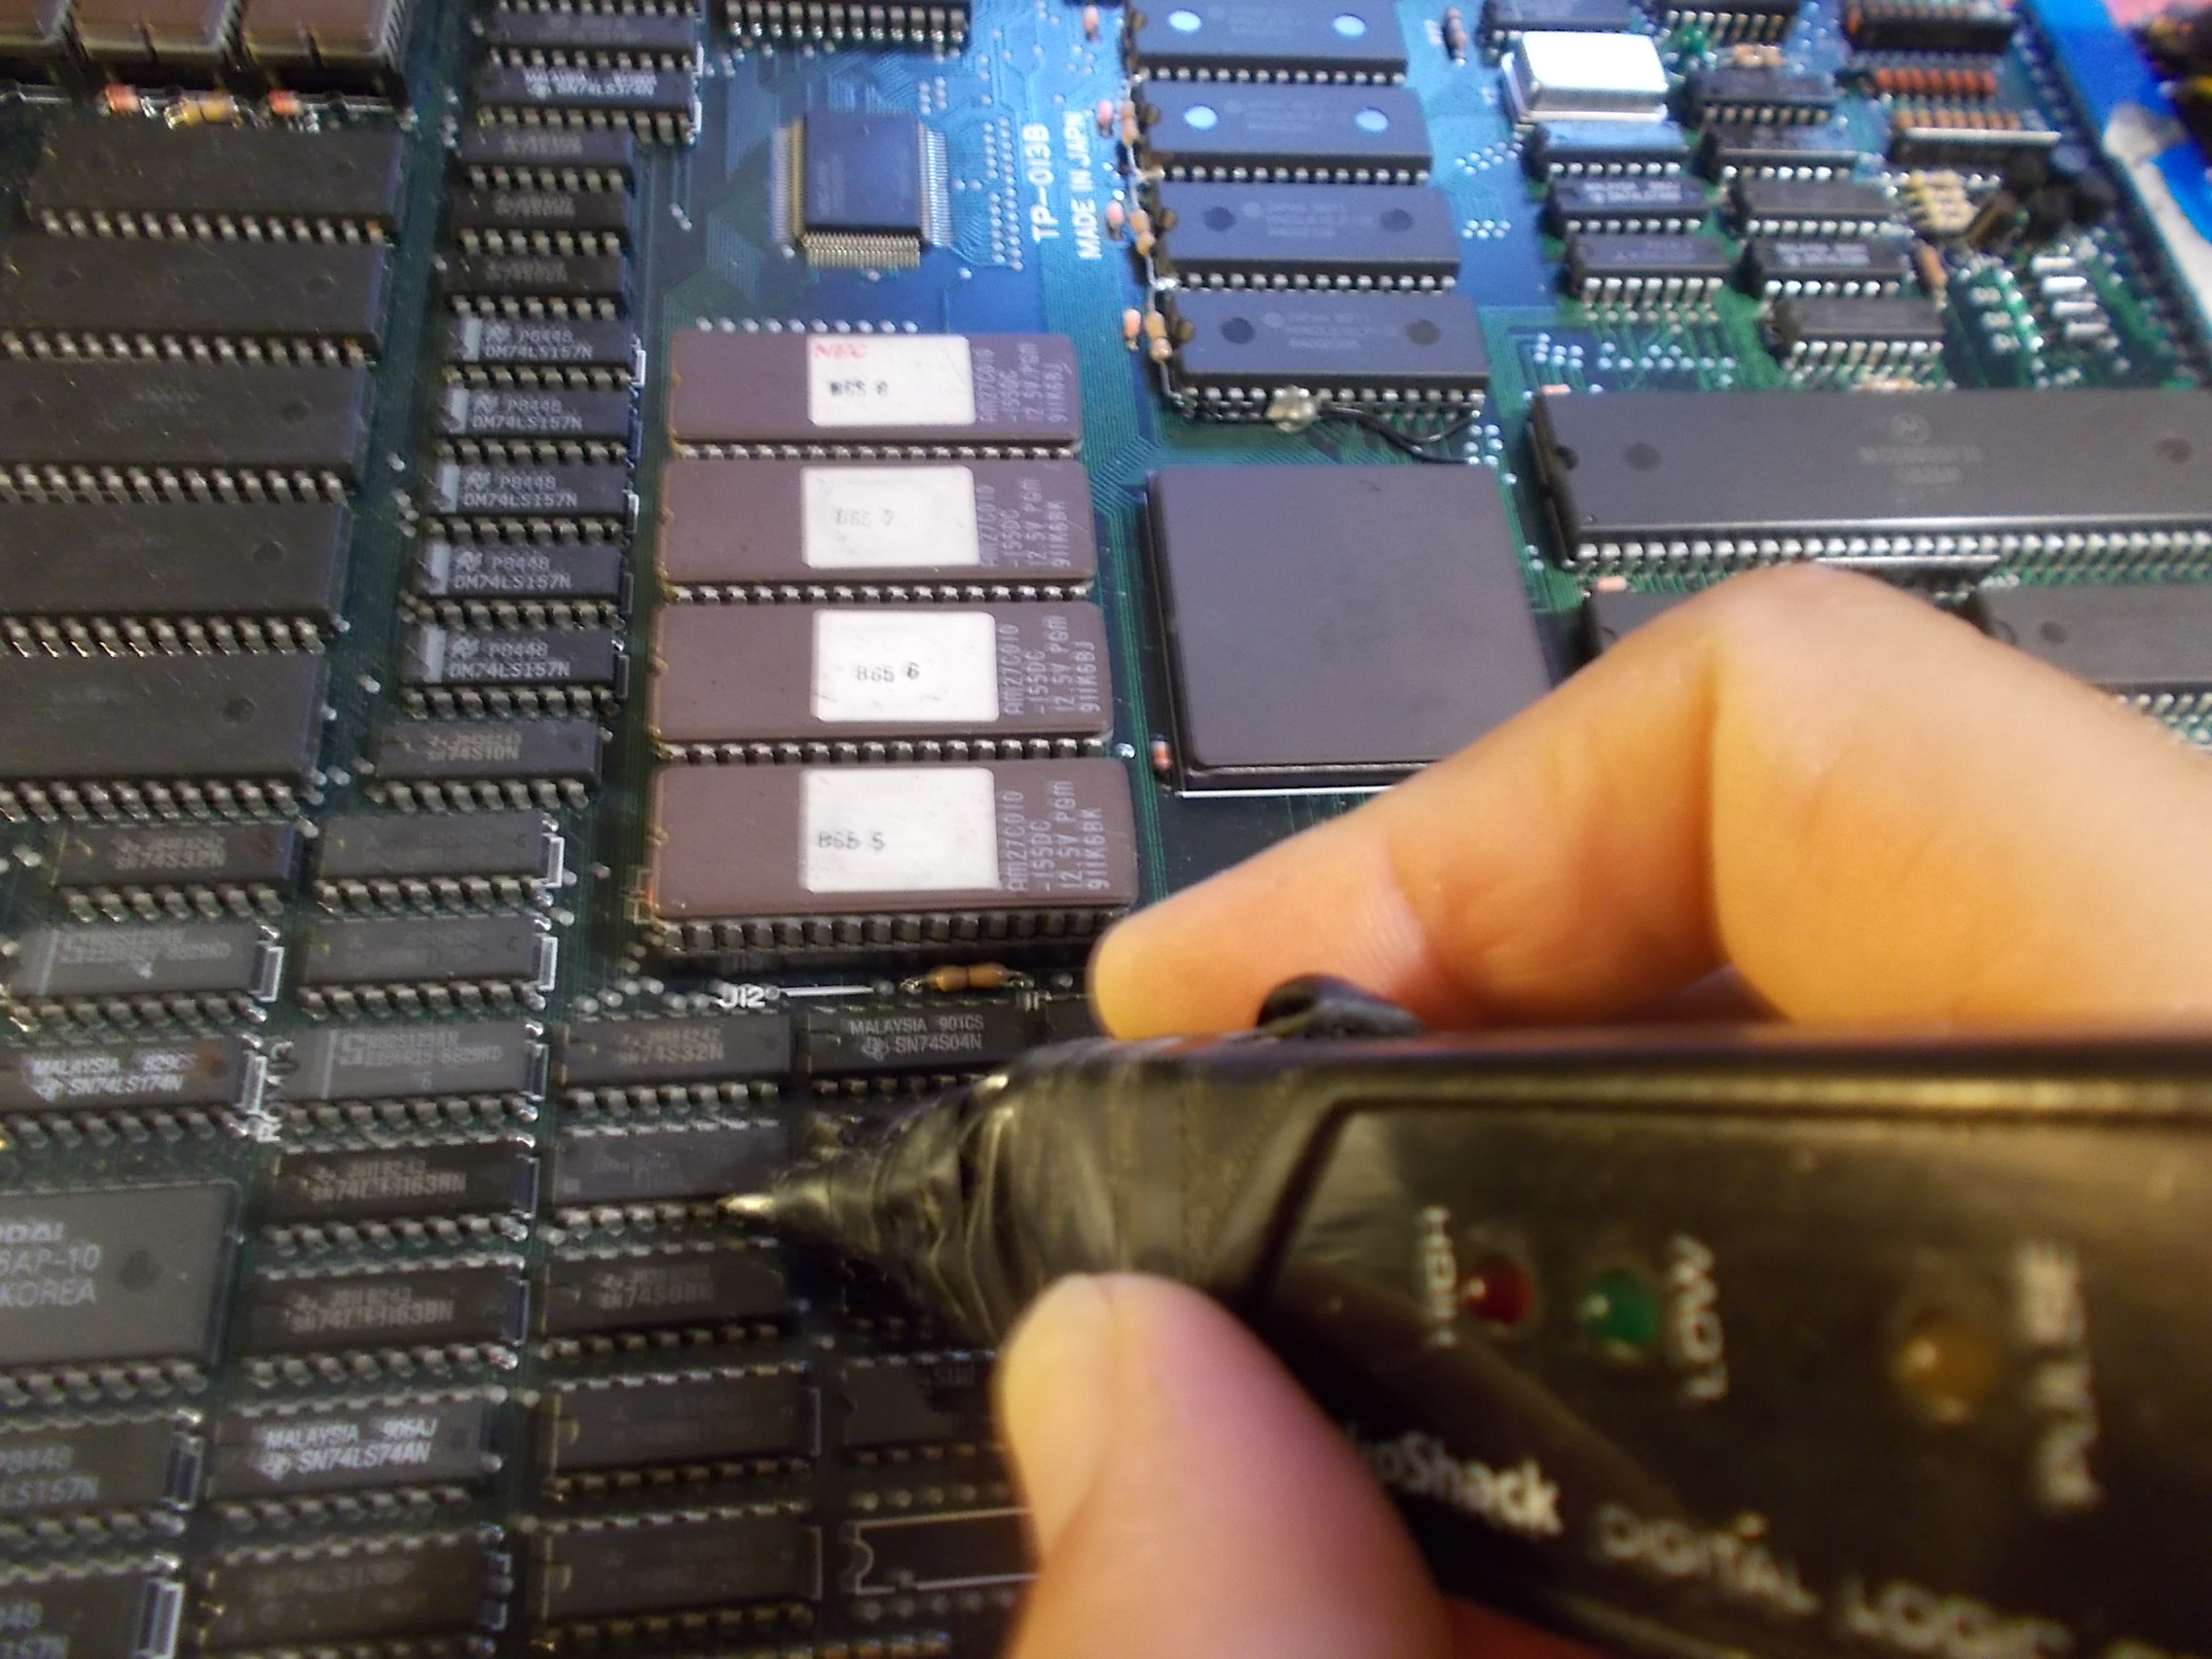
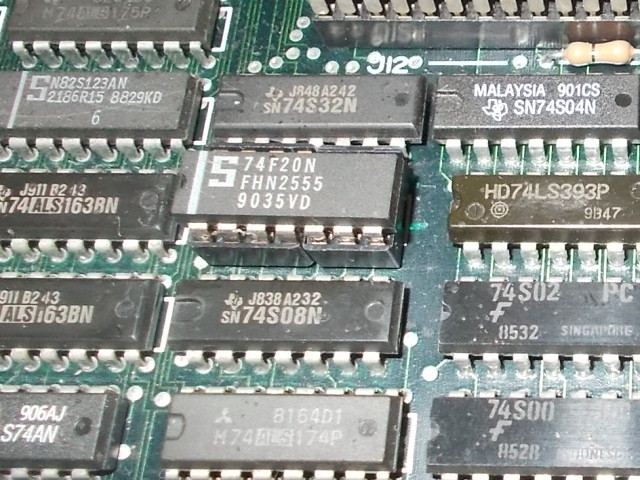
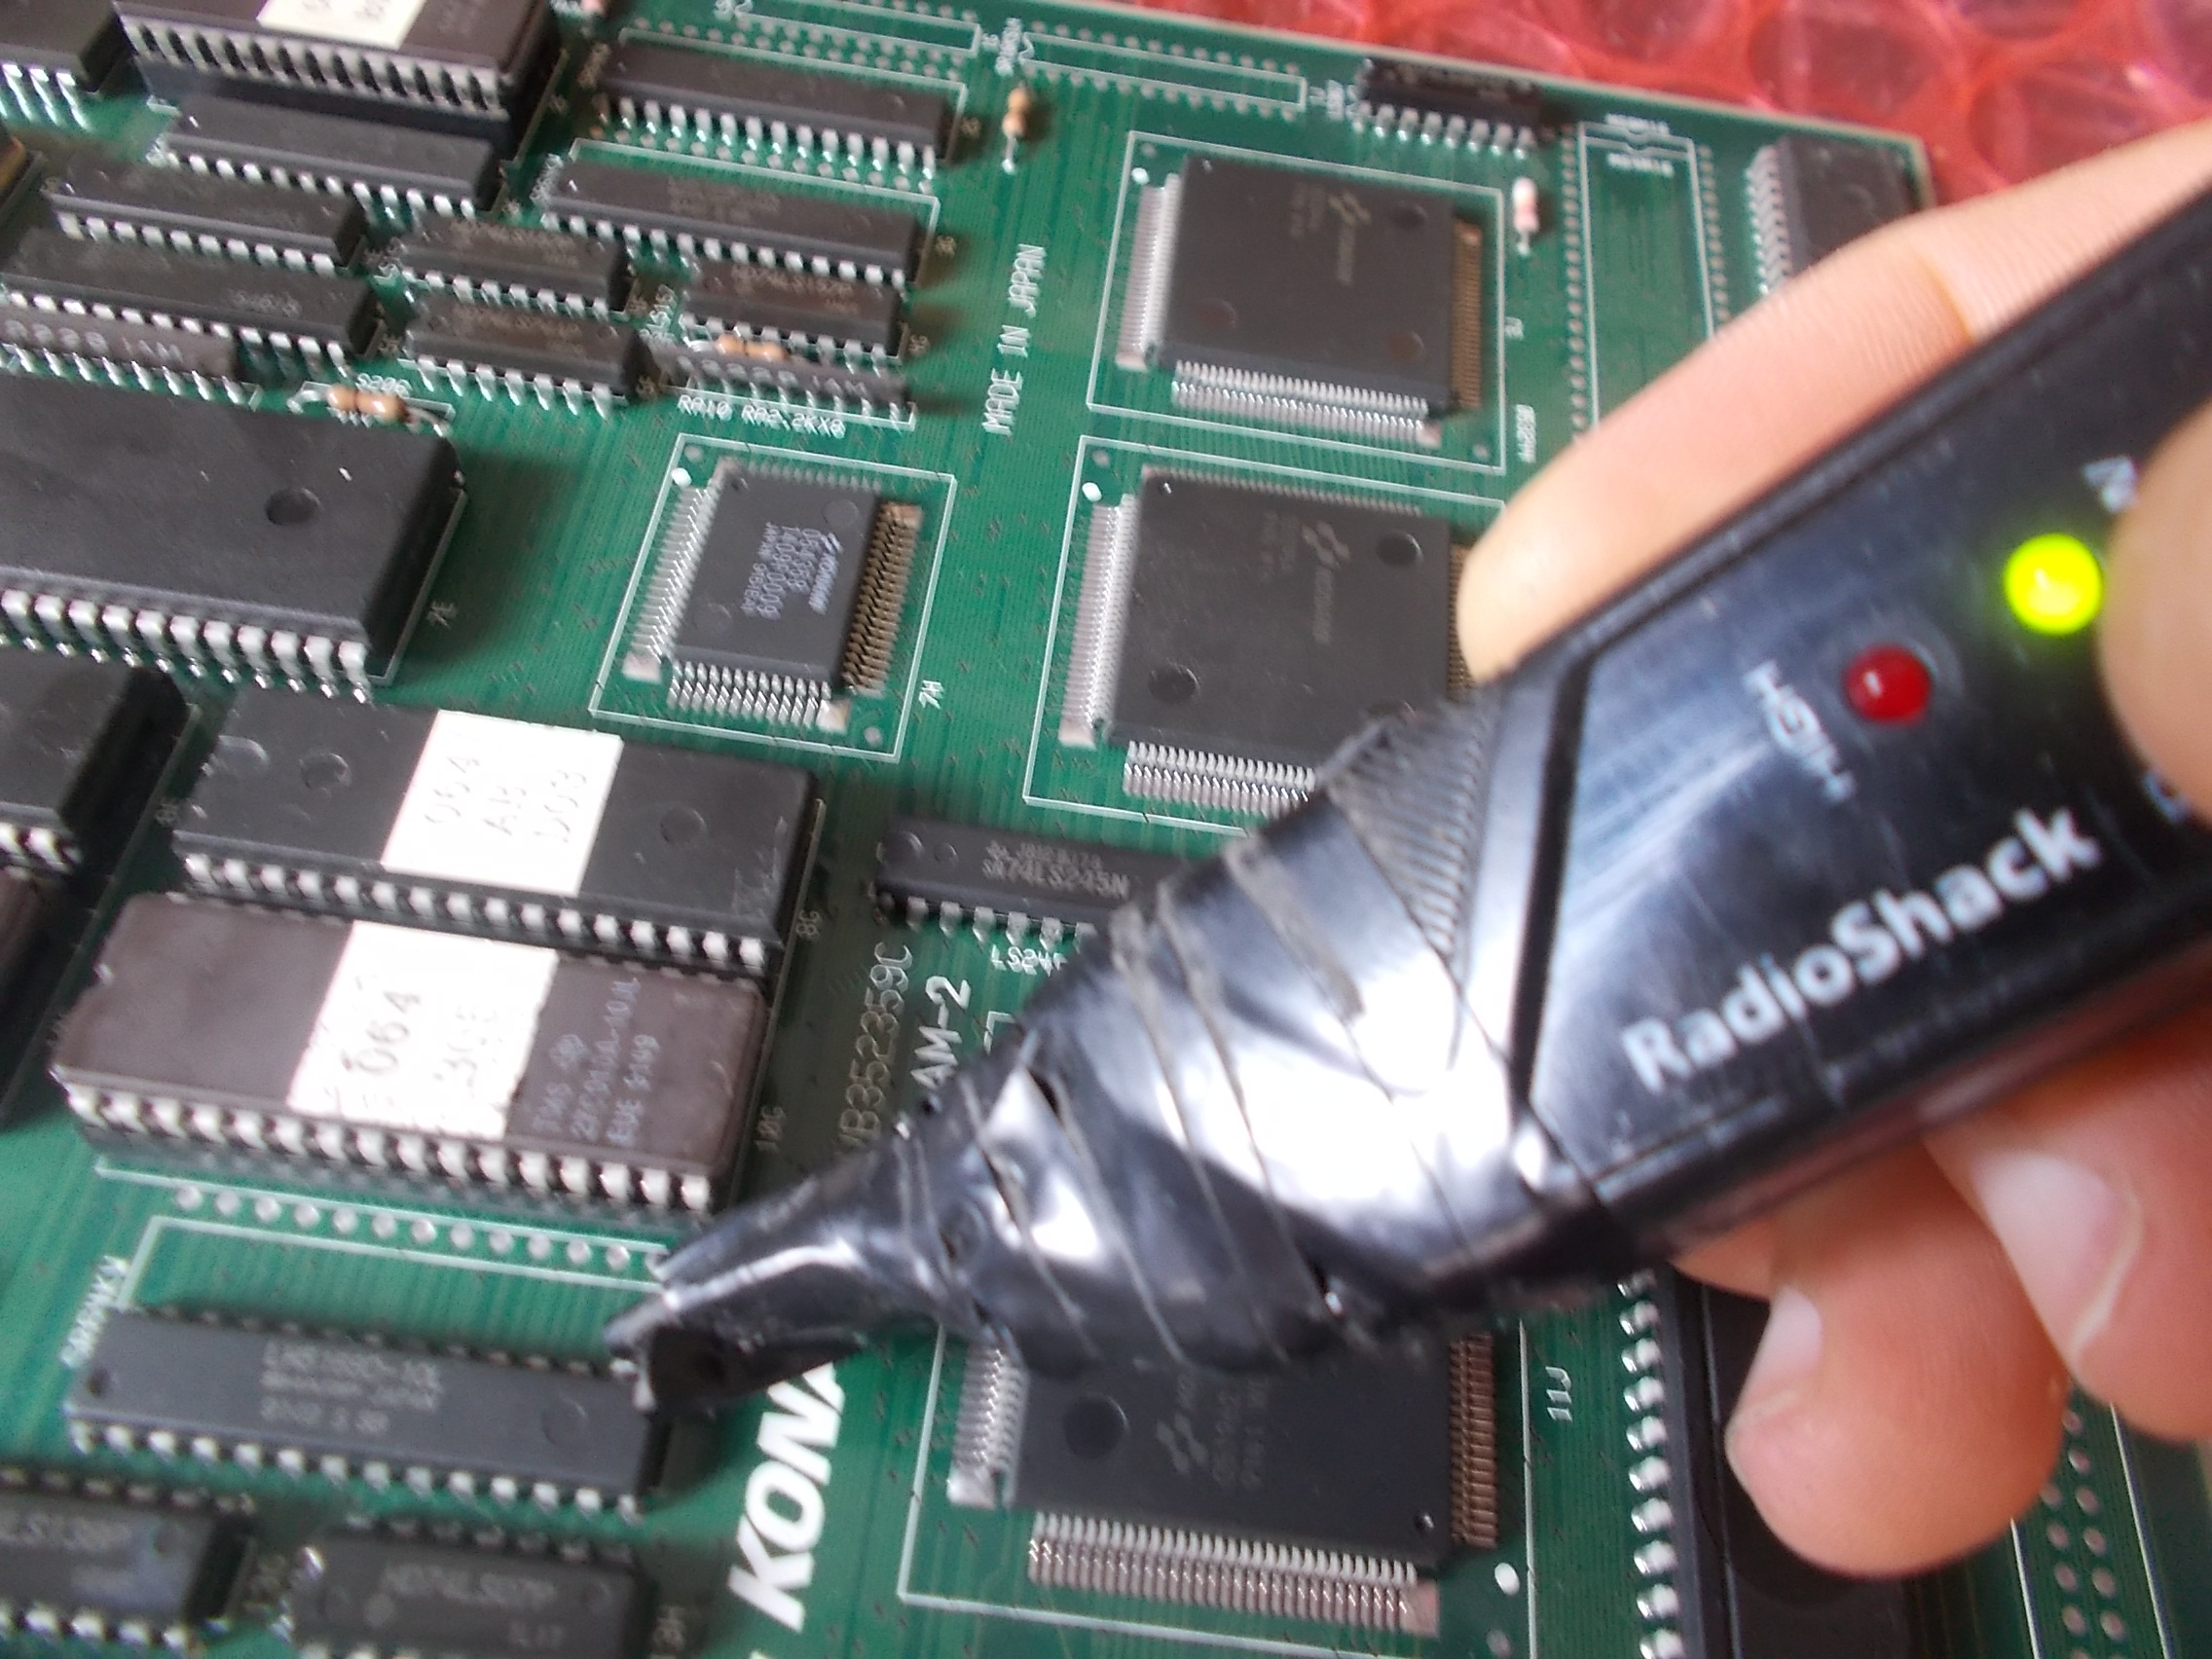
This seems to be a common issue on this hardware.Sprites generation circuitry is quite wide with many components involved (an ASIC, counters, four MASK ROM, RAMs, a couple of Bipolar PROMs, etc..).I made a quick check and found nothing abnormal until I probed a 74S20 (Dual 4-input NAND Gate) @5D :

Both outputs were floating:

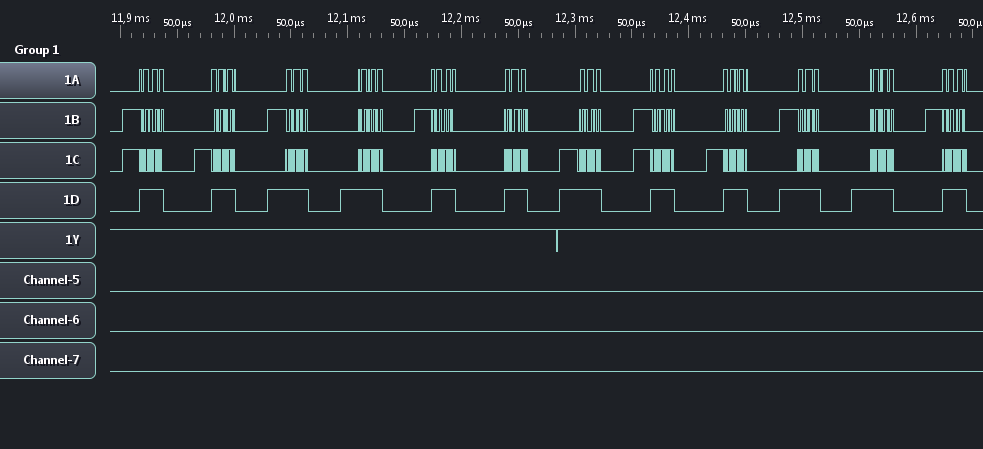
This was confirmed by logic analyzing :

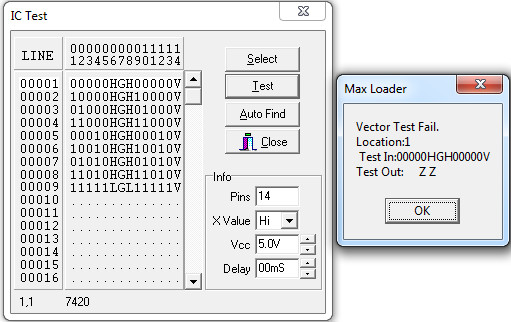
Chip obviously failed the out-of-circuit testing:

I pulled and it and replaced it with a 74F20 (‘F’ logic sub-family of 74 TTL series has more or less same delay propagation time of the ‘S’ one ) :

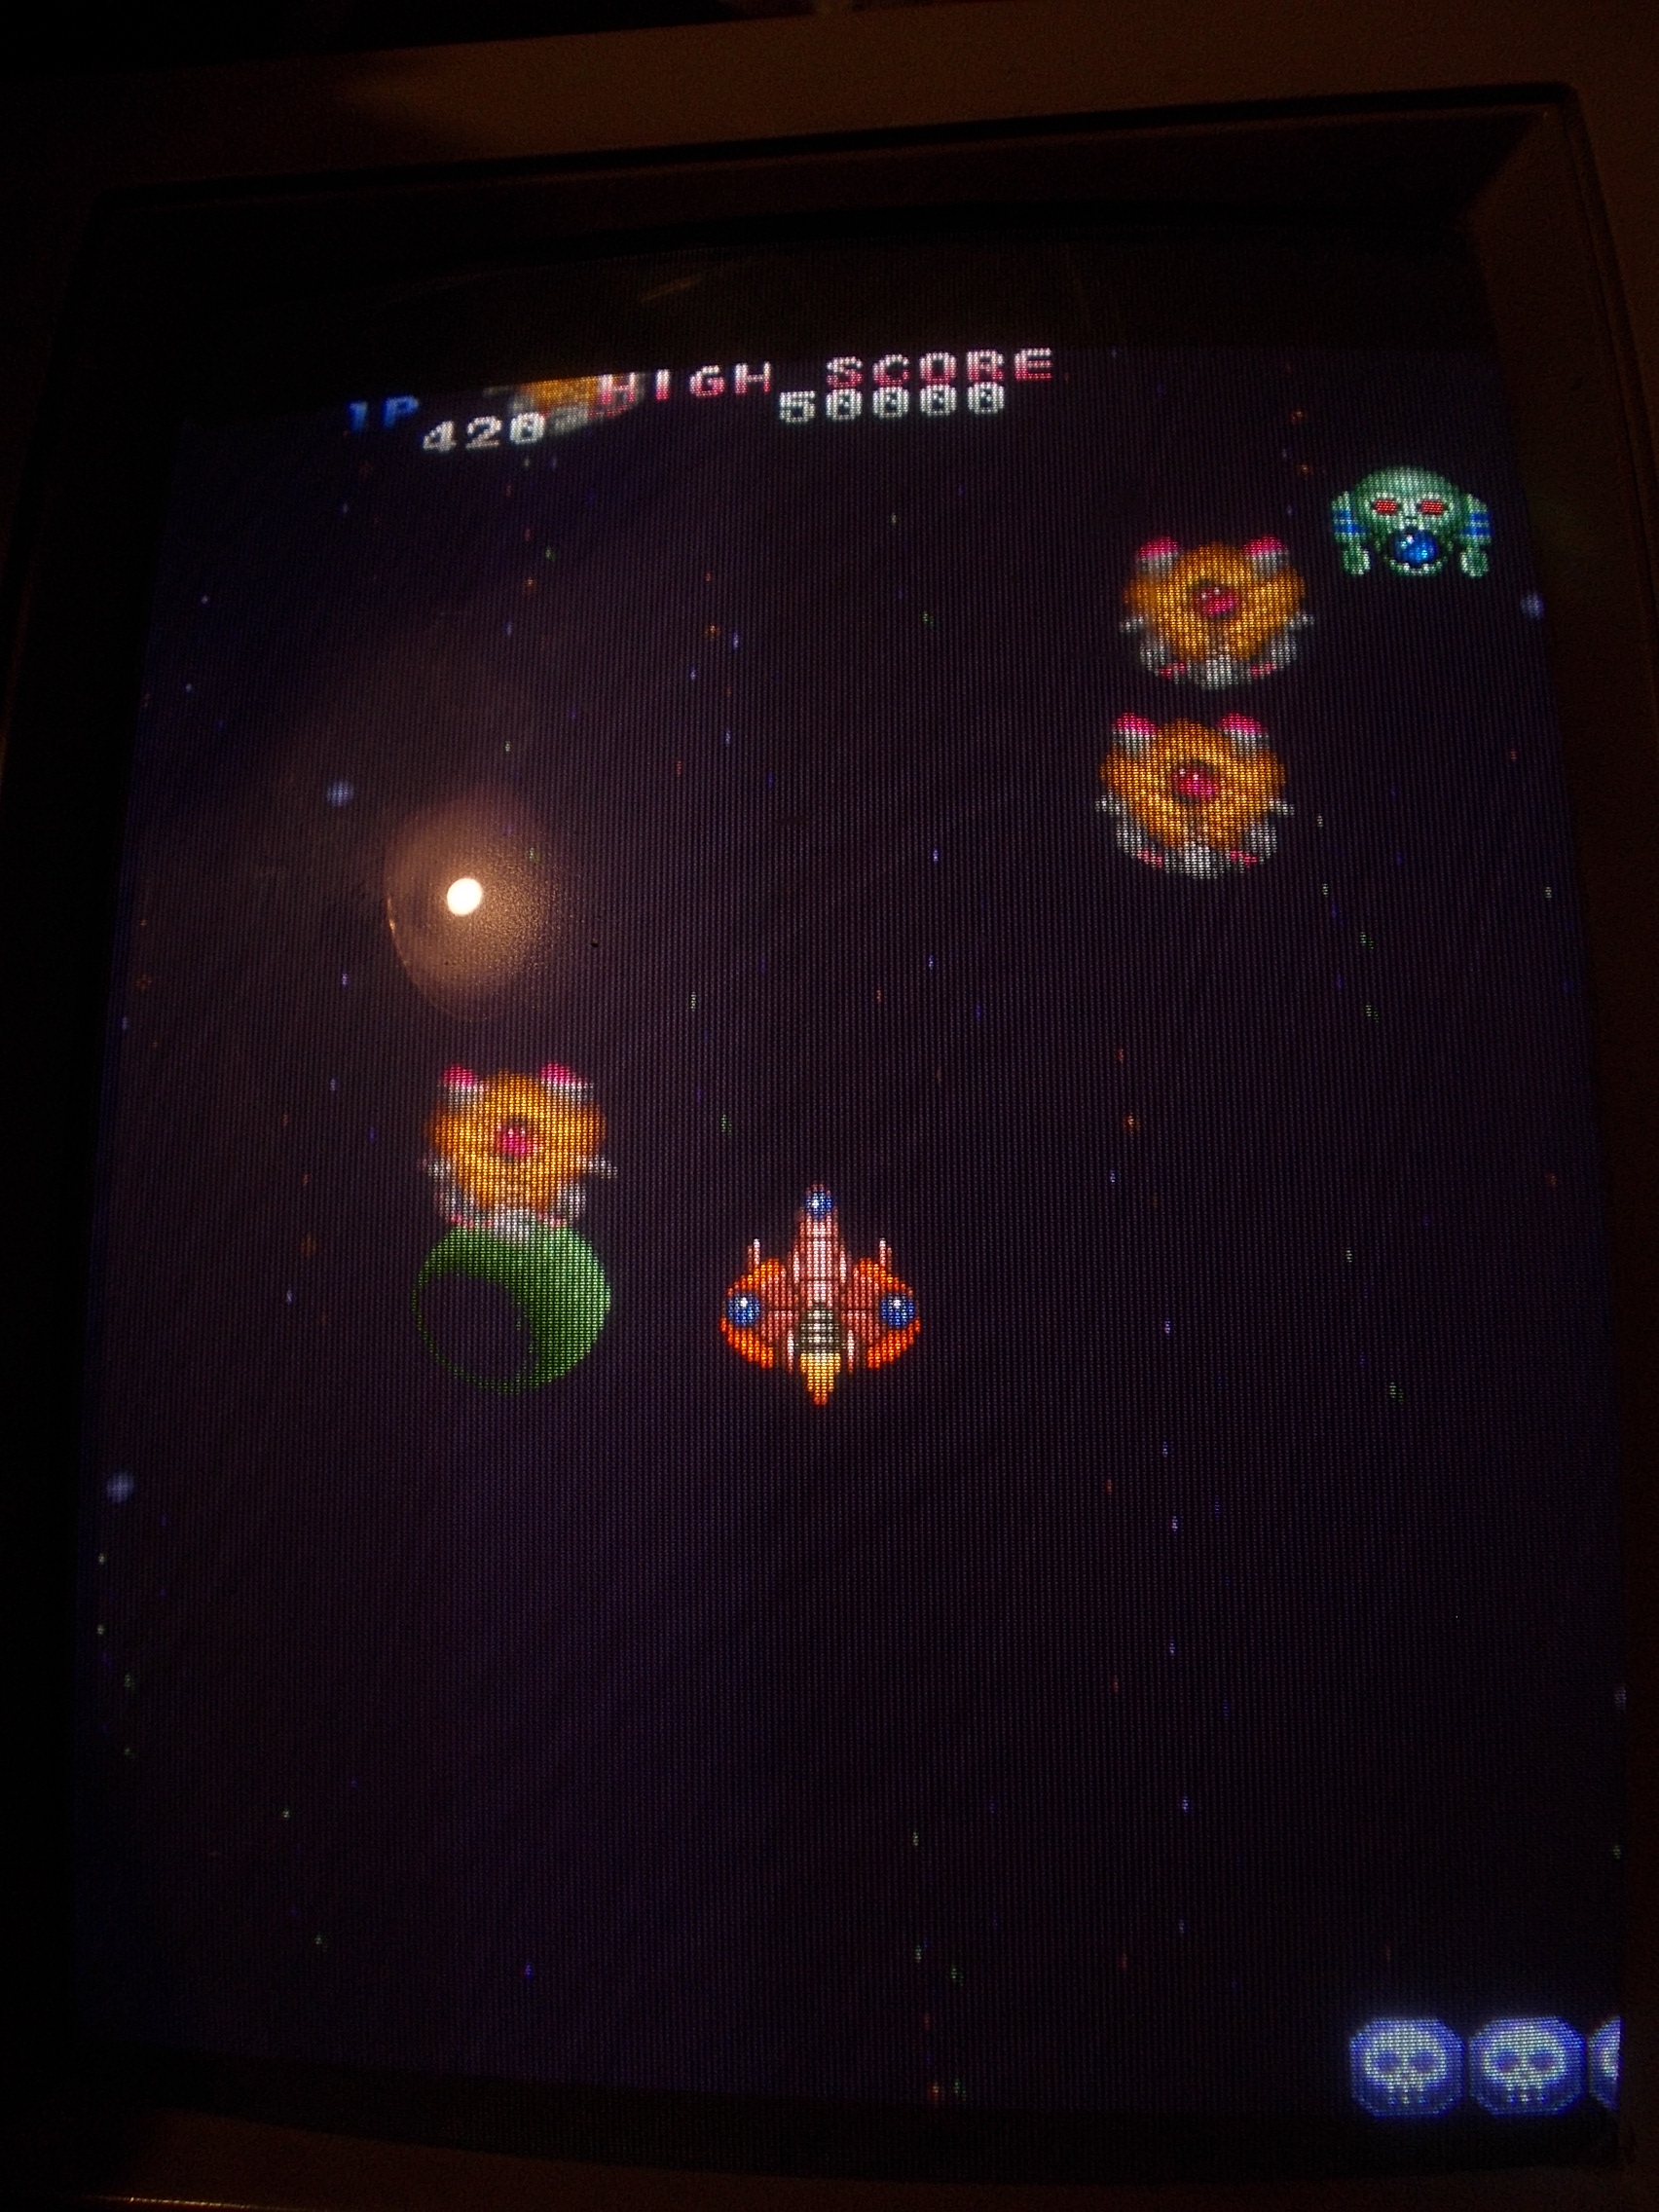
Sprites restored and board 100% fixed.

Just a quick note : although the marking of the faulty TTL was partially deleted, I could recognize its brand.It was the only Fujitsu TTL on the board!

 Posted by at 9:54 pm

Sunset Riders double repair log

 PCB Repair Logs  Comments Off on Sunset Riders double repair log
Aug 072018
 

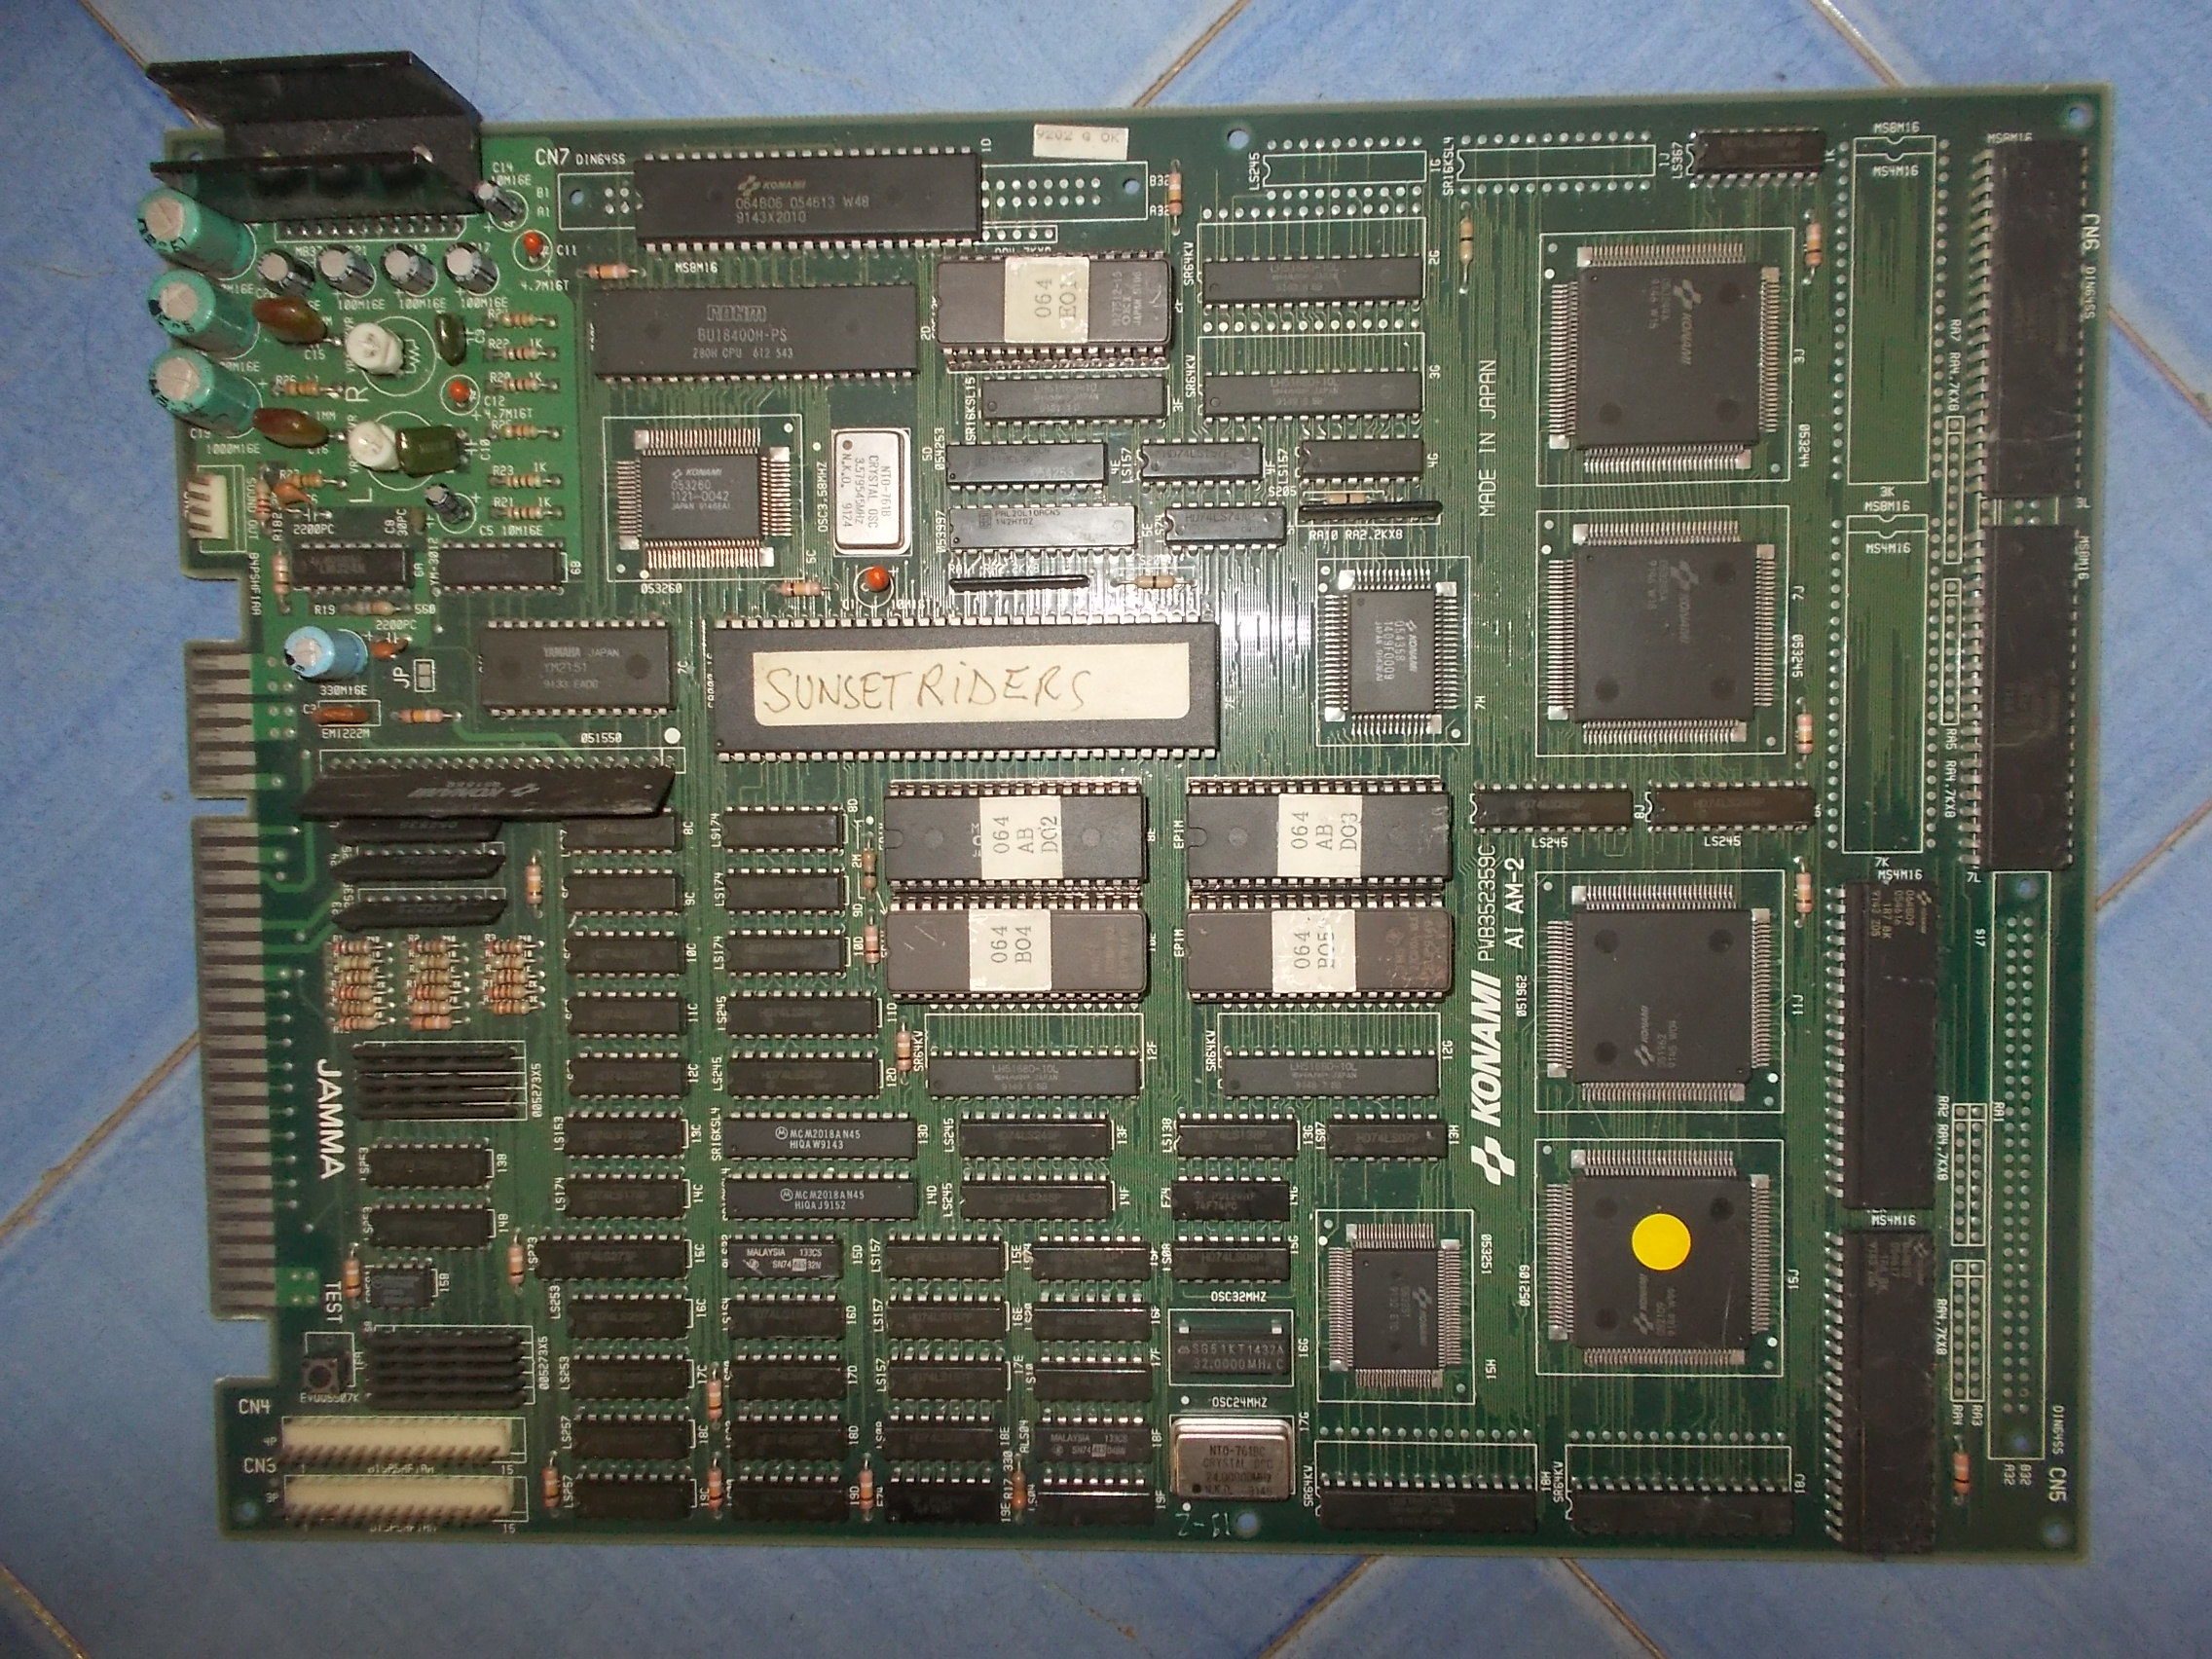
Recently I had two faulty Sunset Riders (by Konami) PCBs on the bench for repair.The first board came from Portugal:

Board was watchdogging in an endless loop, sign that no valid code was executing by main CPU:


Doing the usual check on CPU/RAM/ROM circuit revealed that a data line of a WORK RAM was stuck low:

Pin was almost shorted to ground:

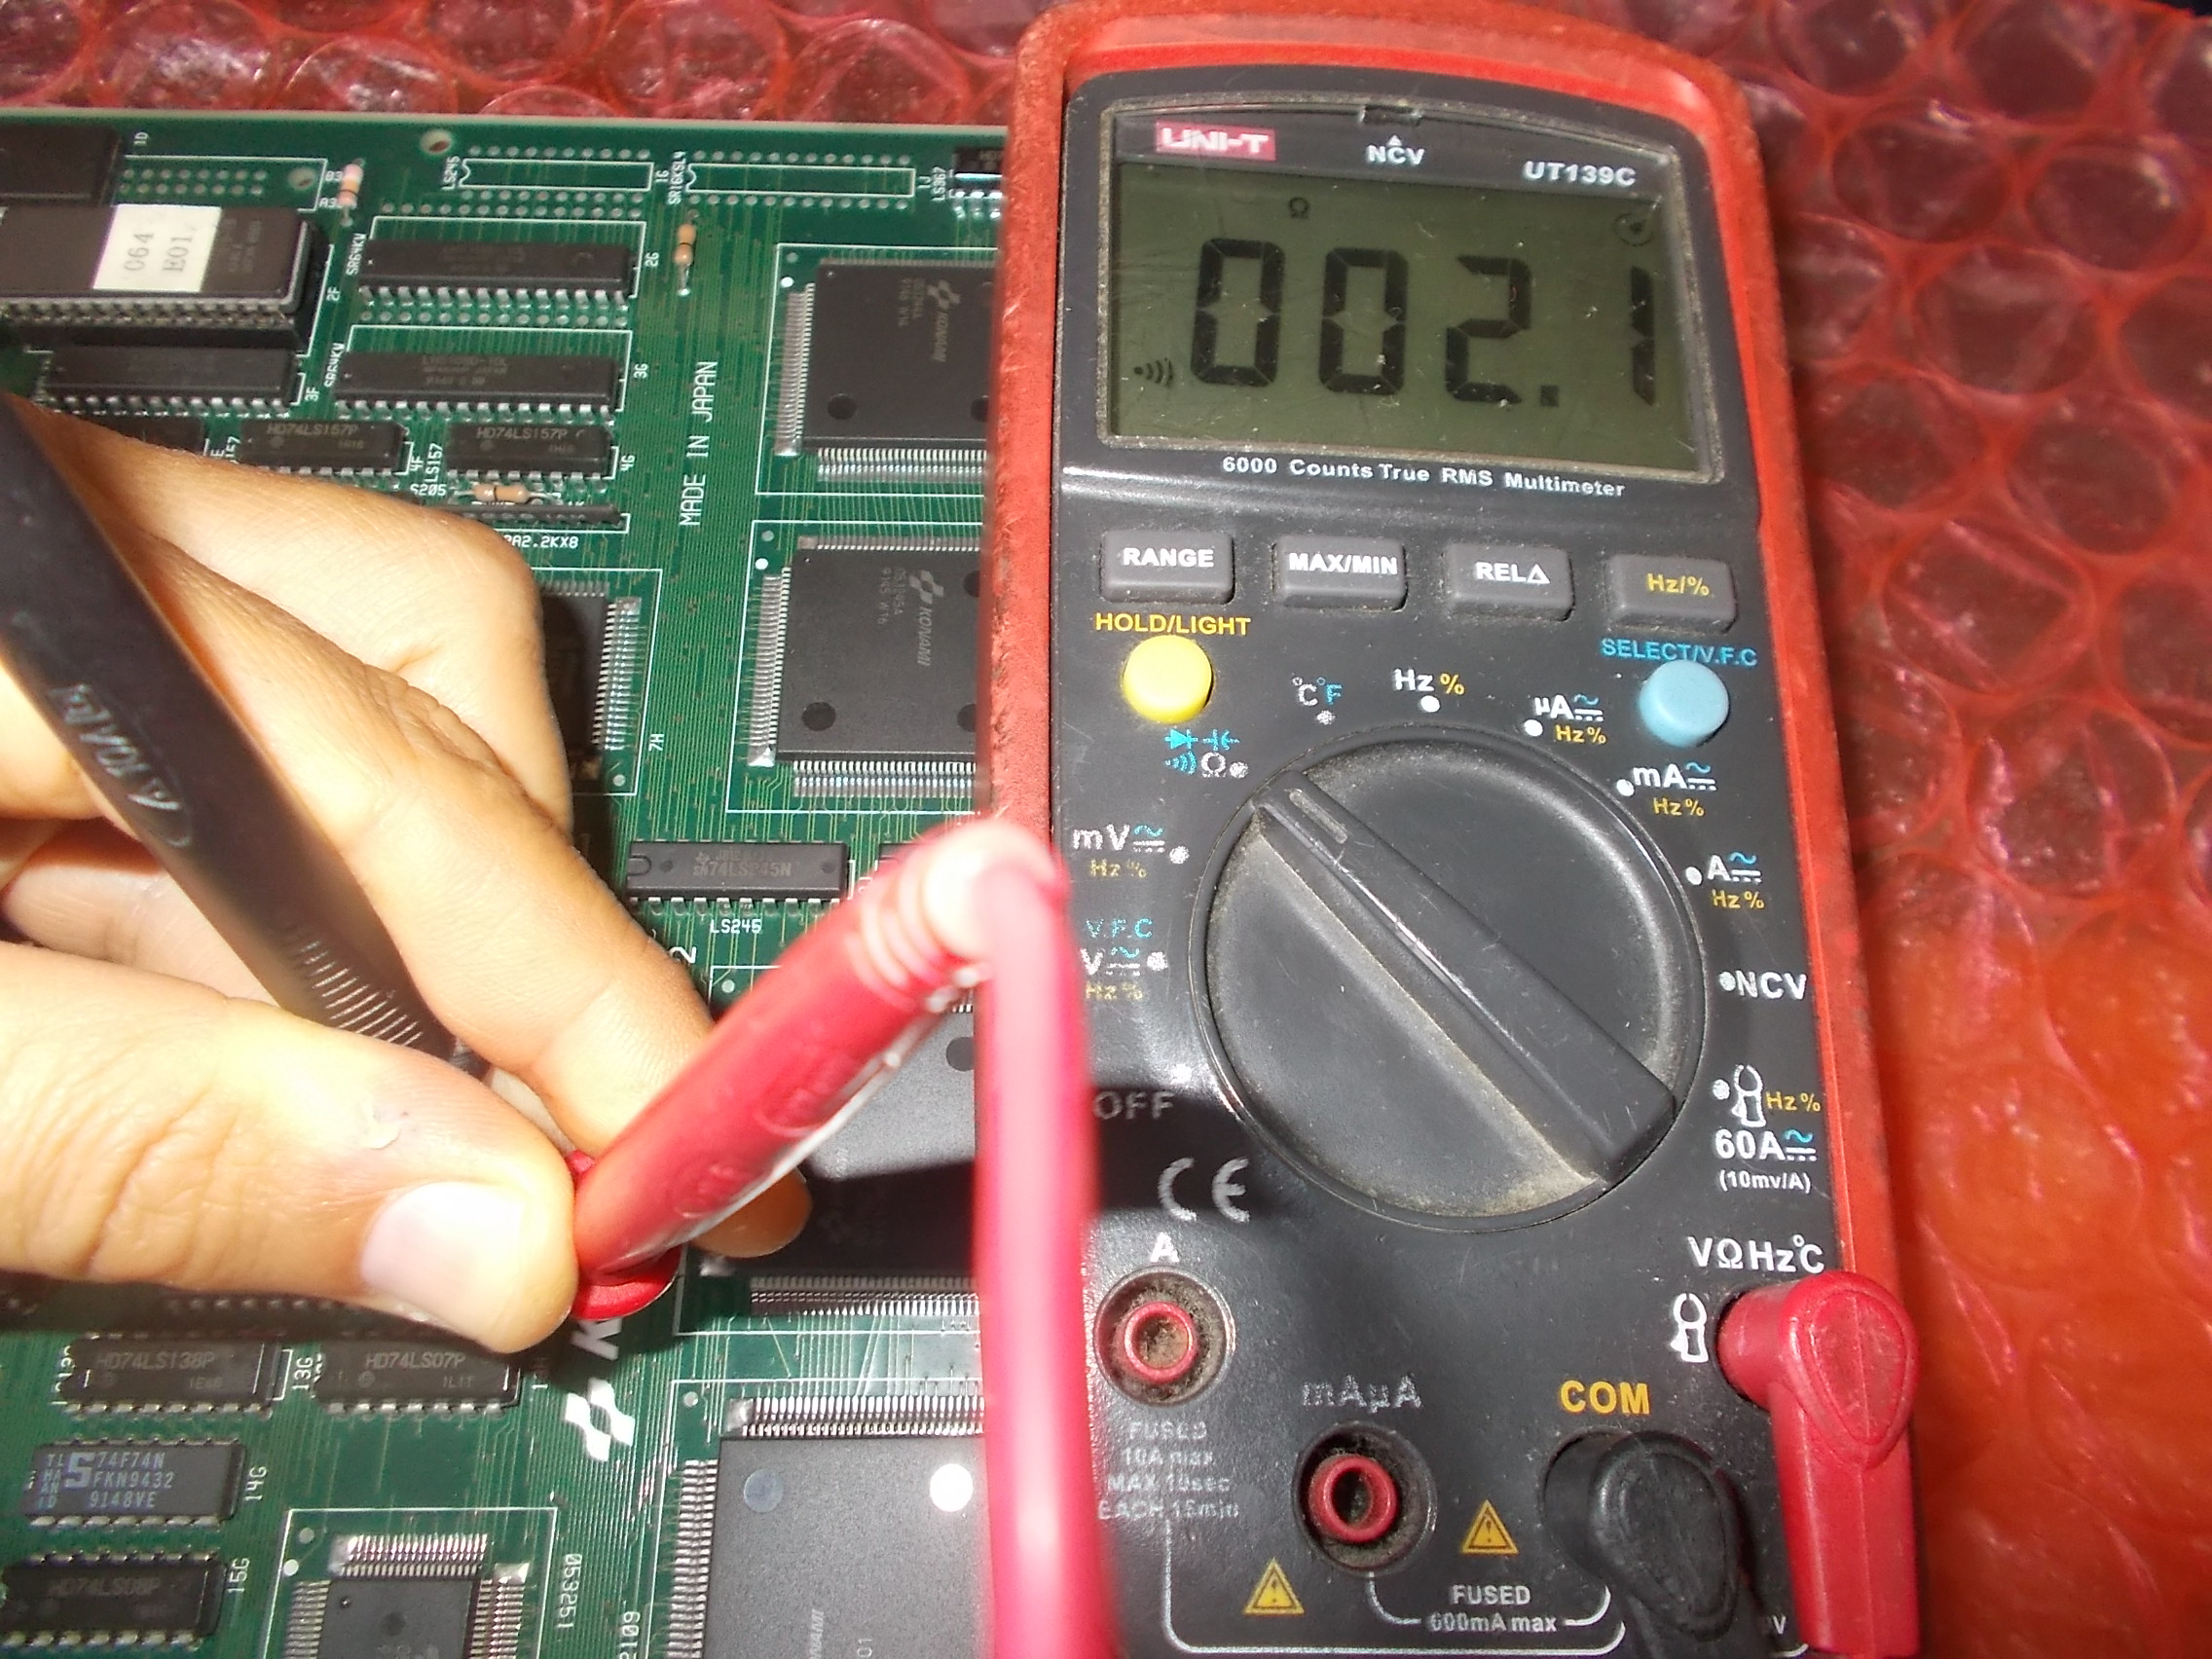
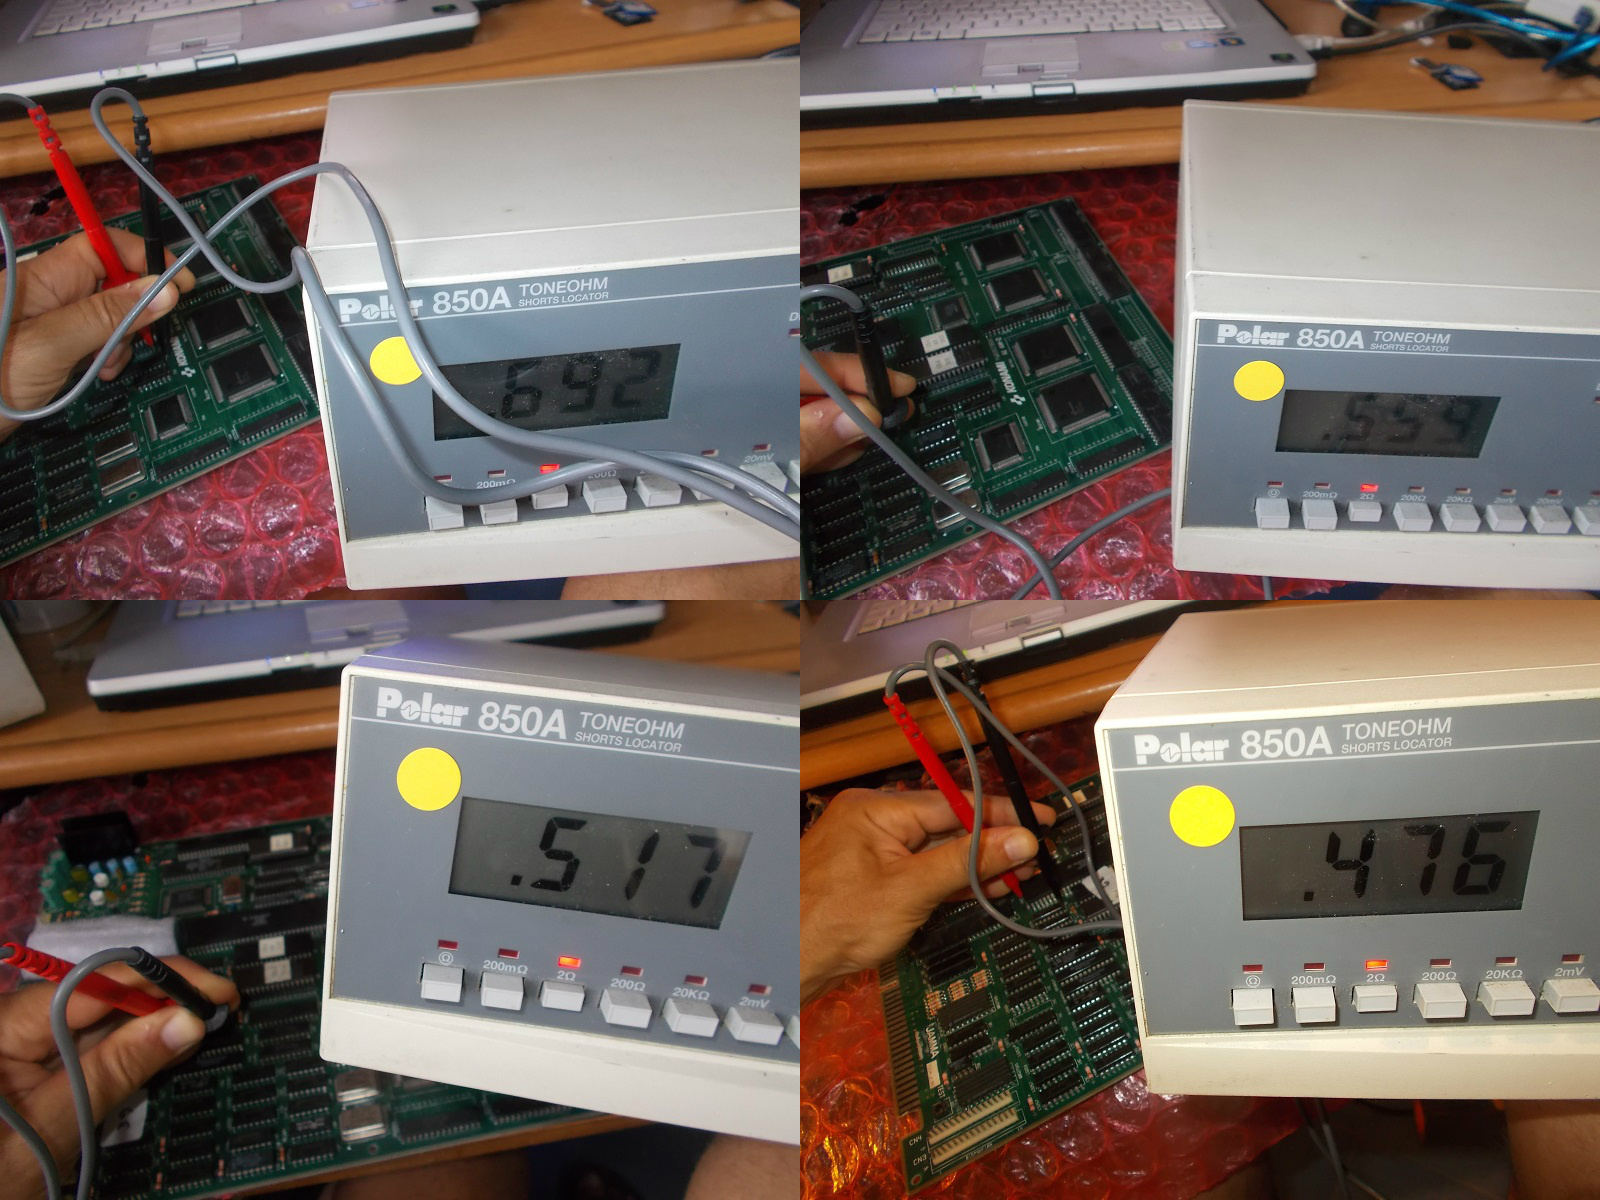
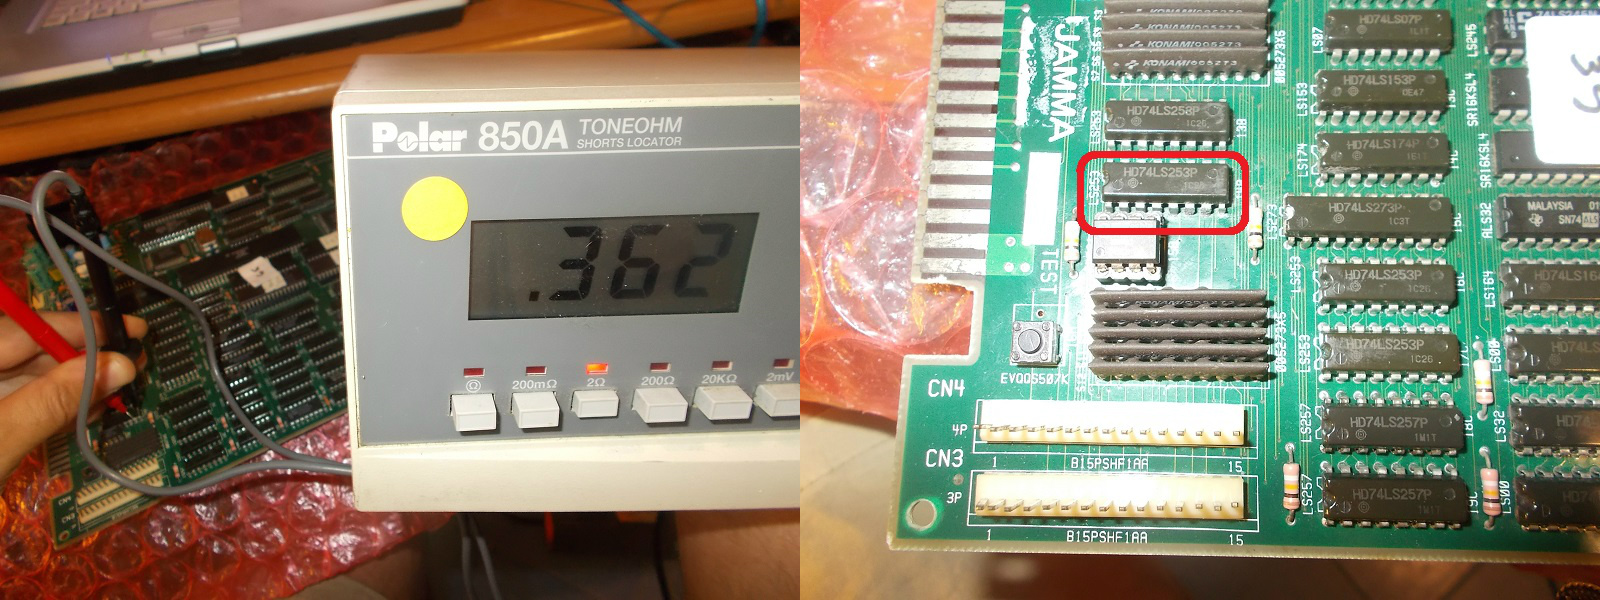
This is shared with main CPU (pin 1, data line D4) and other devices too.Using a short locator I measured resistance to GROUND of all common points:

The lowest resistance was on pin 7 of a 74LS253 @14B:

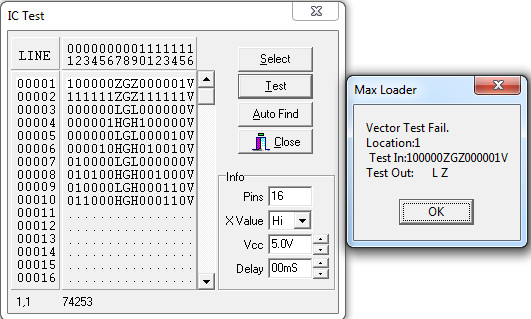
The IC failed the out-of-circuit testing:
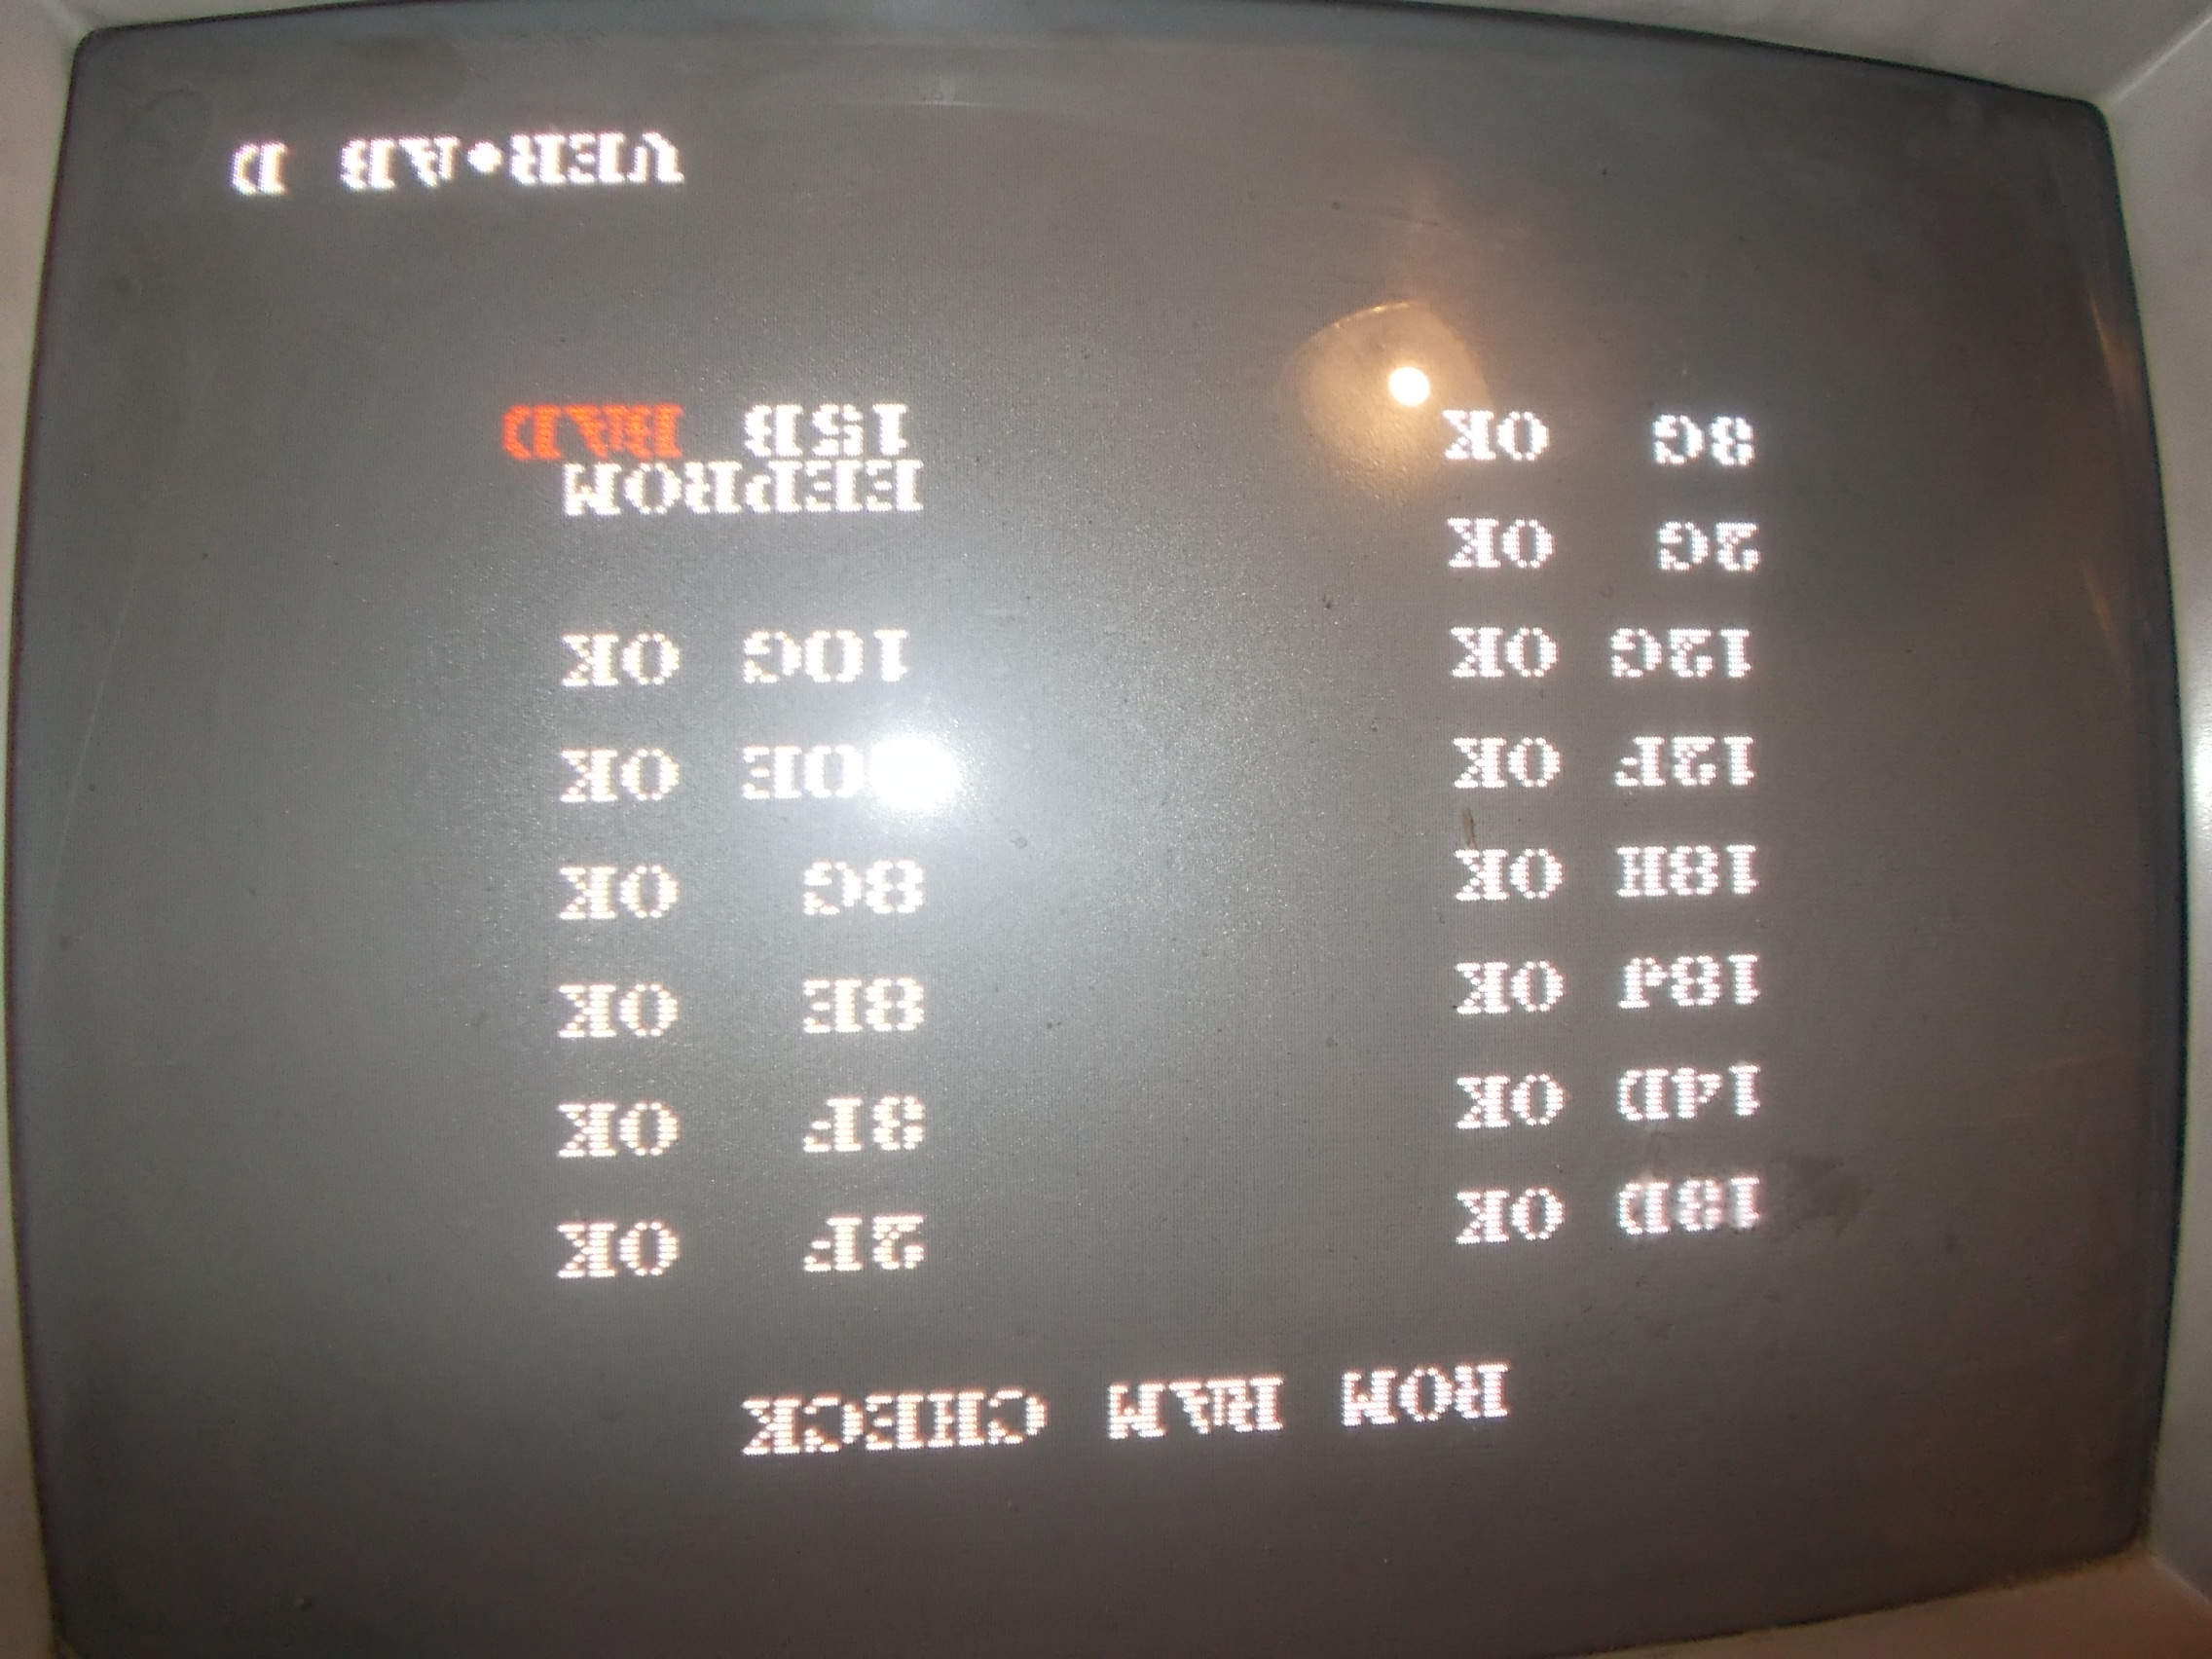
The board booted up but failed the POST showing a bad device @15B on an upside down screen:

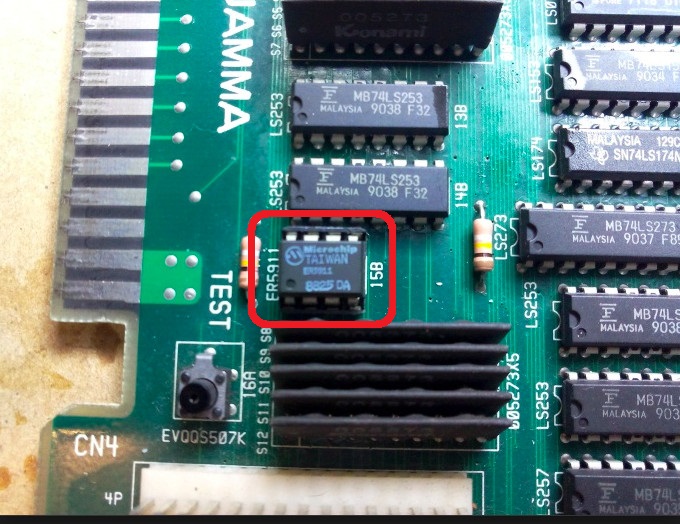
The device concerned is the ER5911 serial EEPROM :

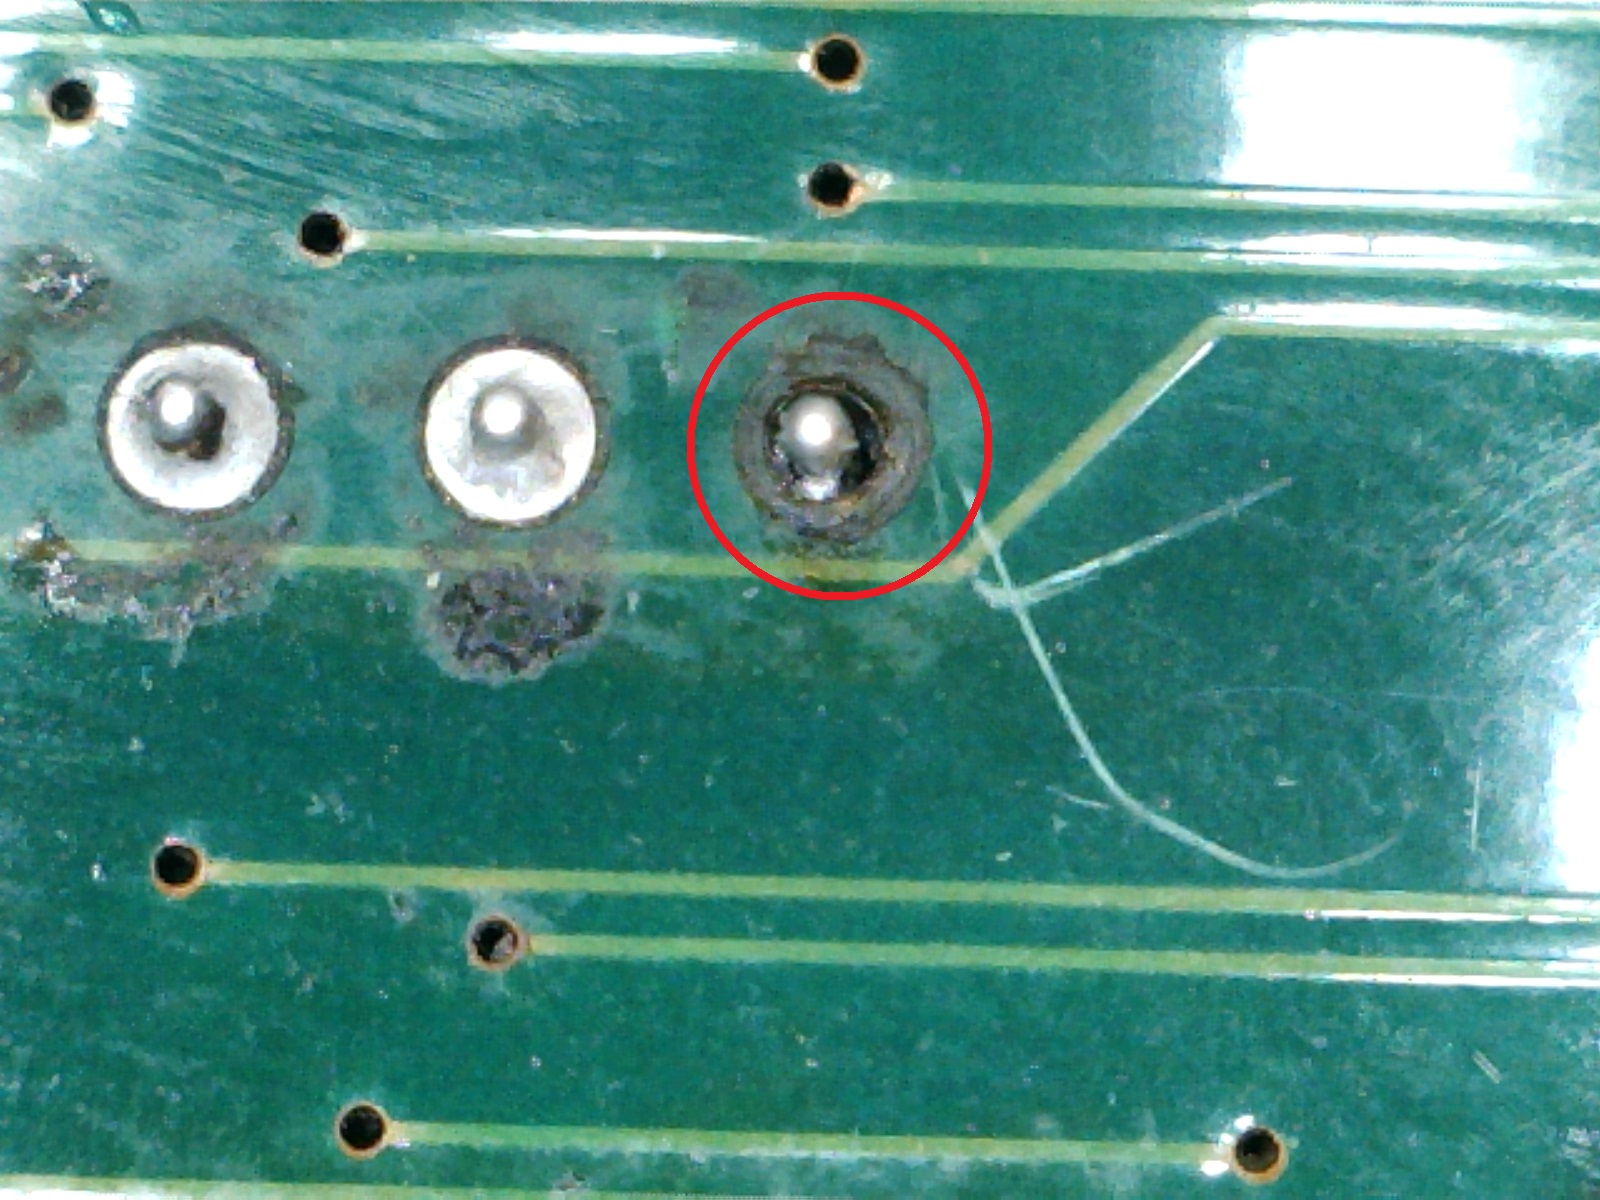
Someone previously replaced and socketed it but managed to rip the rivet of the pad of its pin 4 (which is the data bit output) which lost connection with the rest of board :

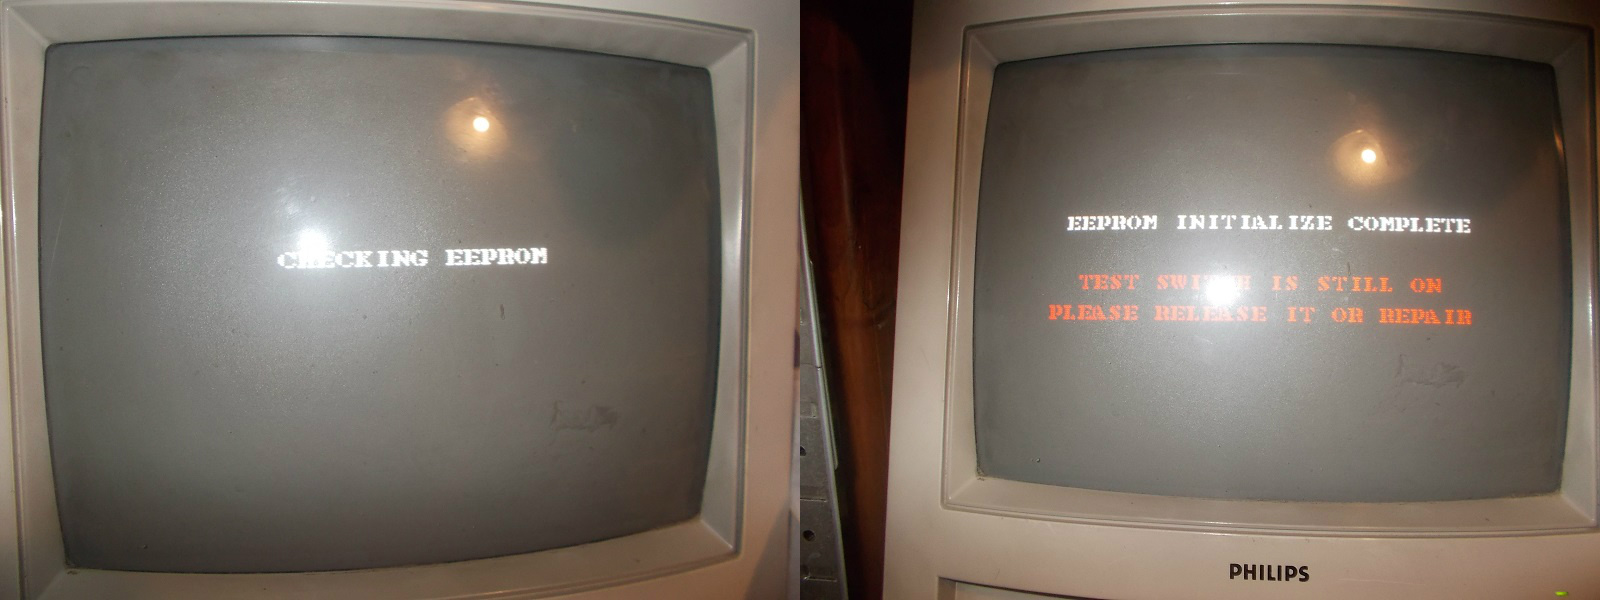
Once restored the connection I had to re-initialize the EEPROM:

After this the board successfully booted into game with no further issue.First board fixed.


The second board was in a lot of faulty PCBs I bought:

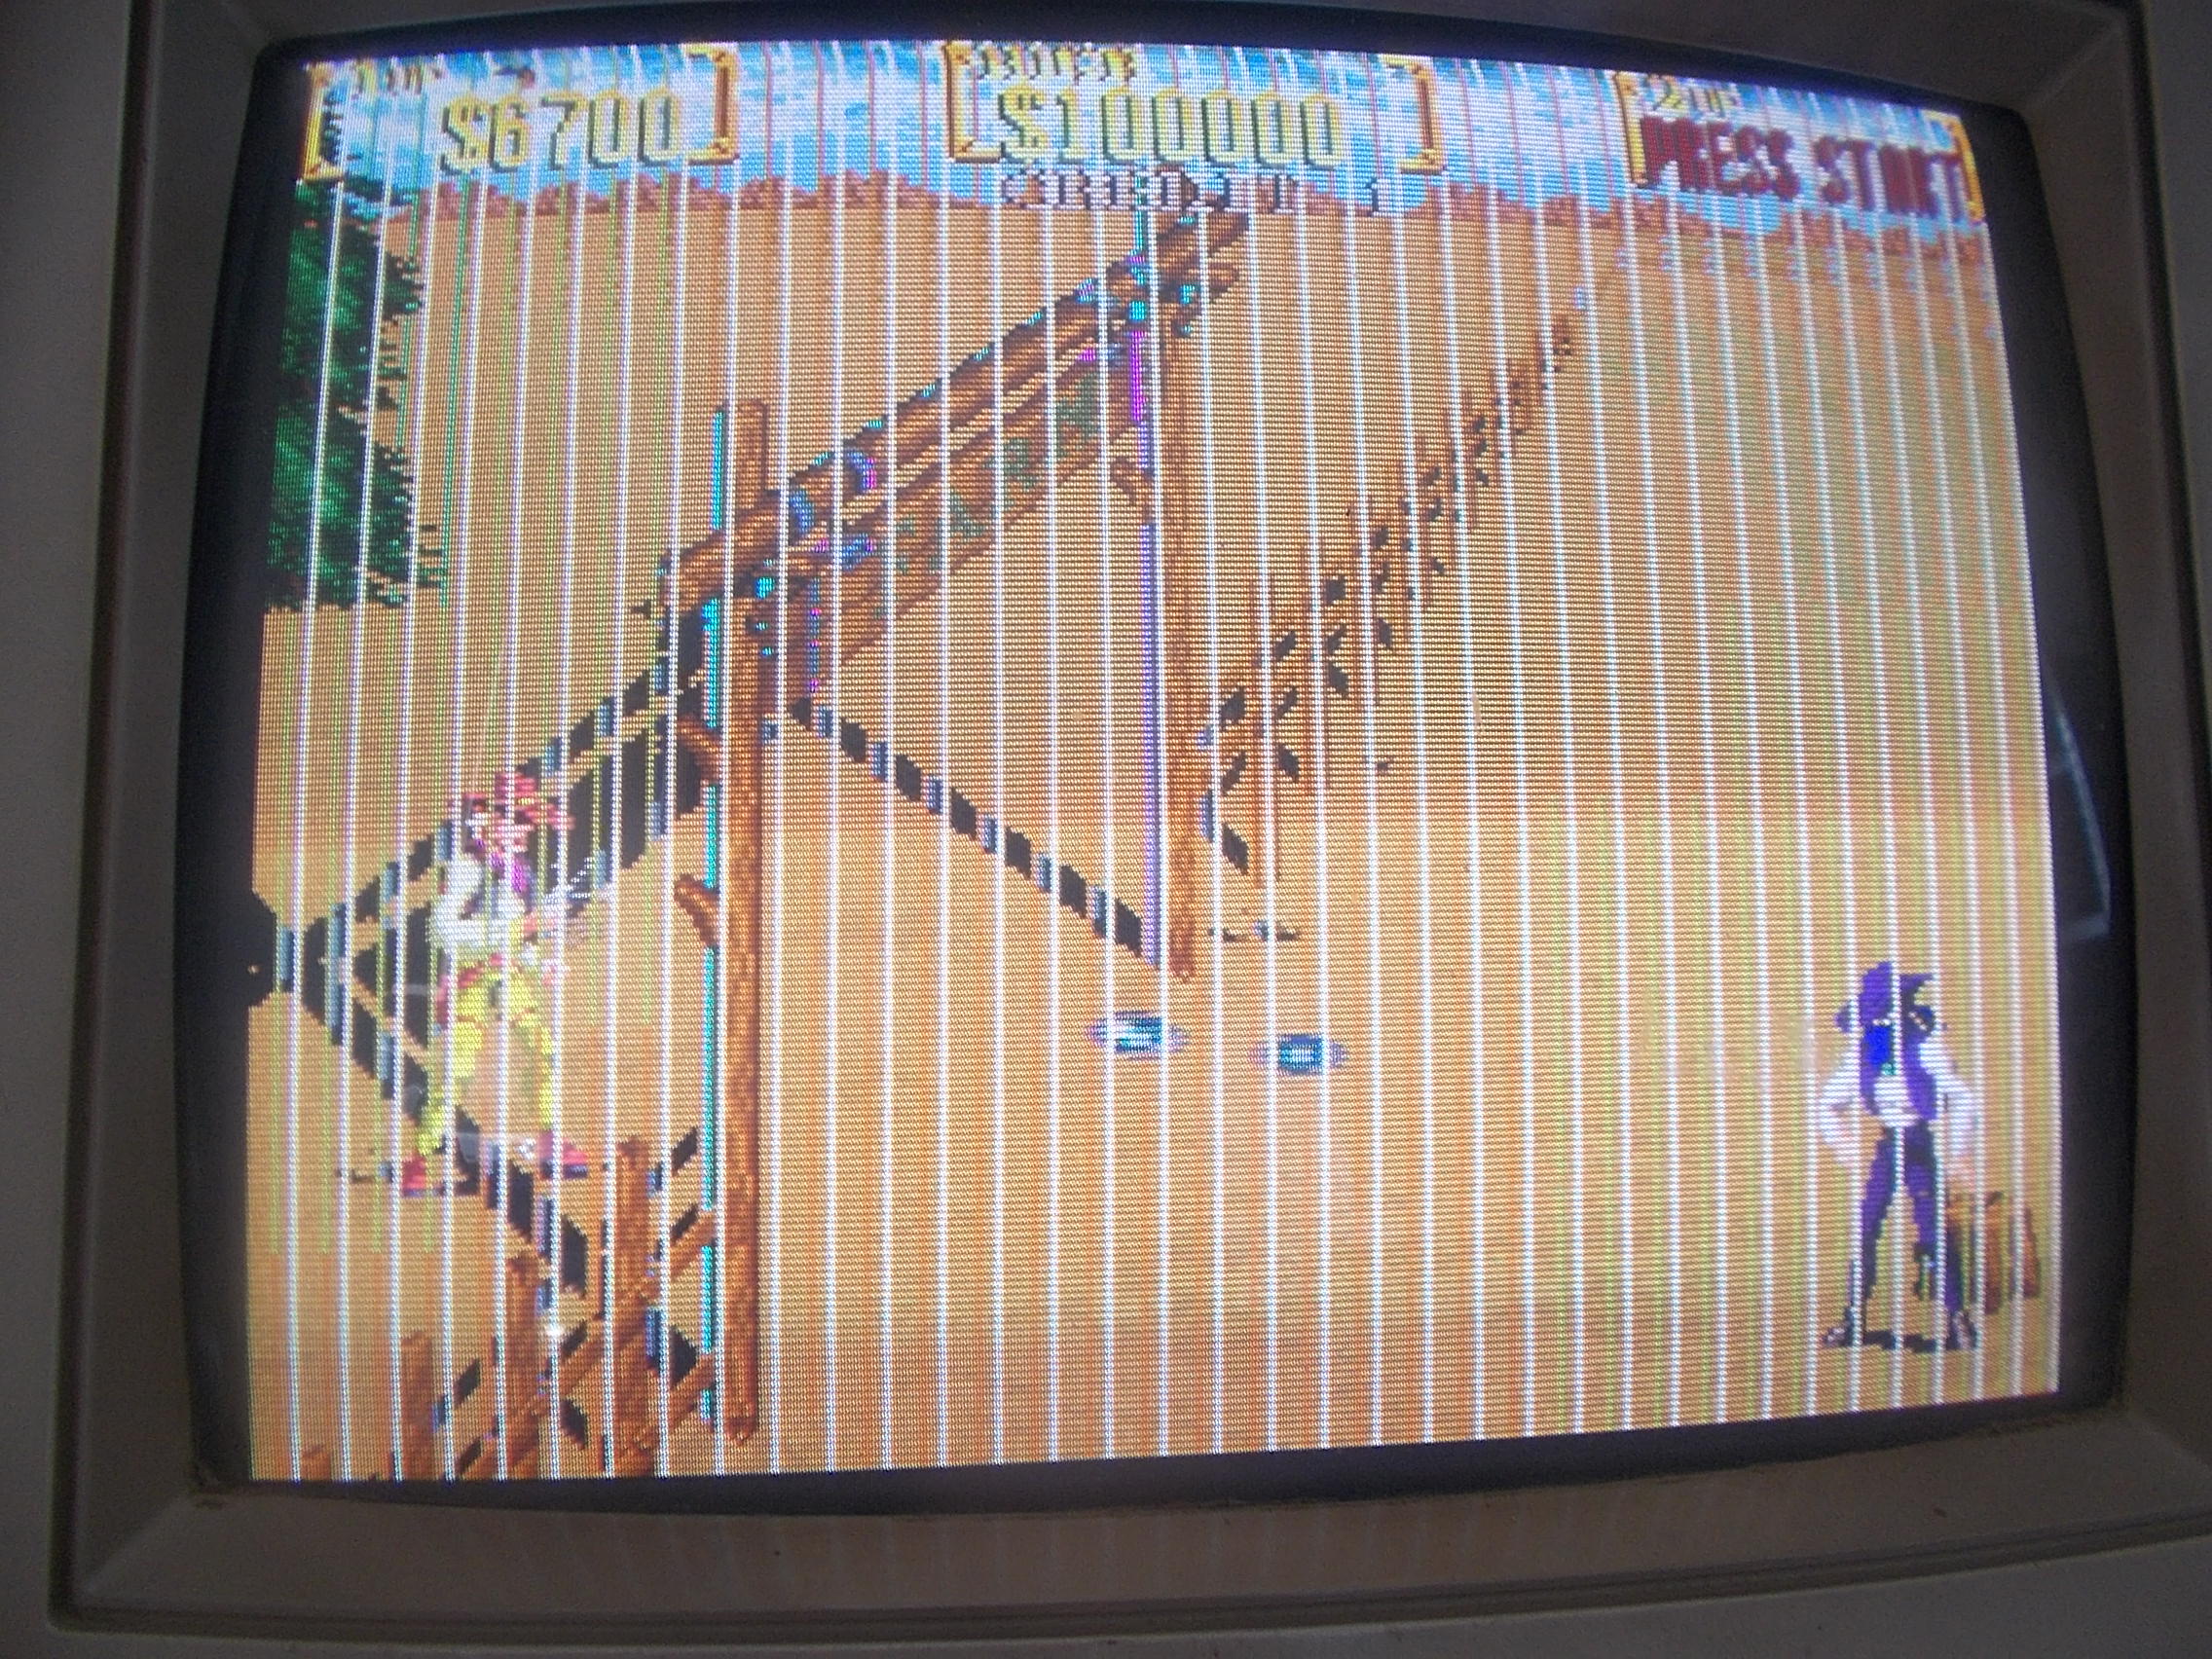
It booted up but jailbars were present all over the screen:

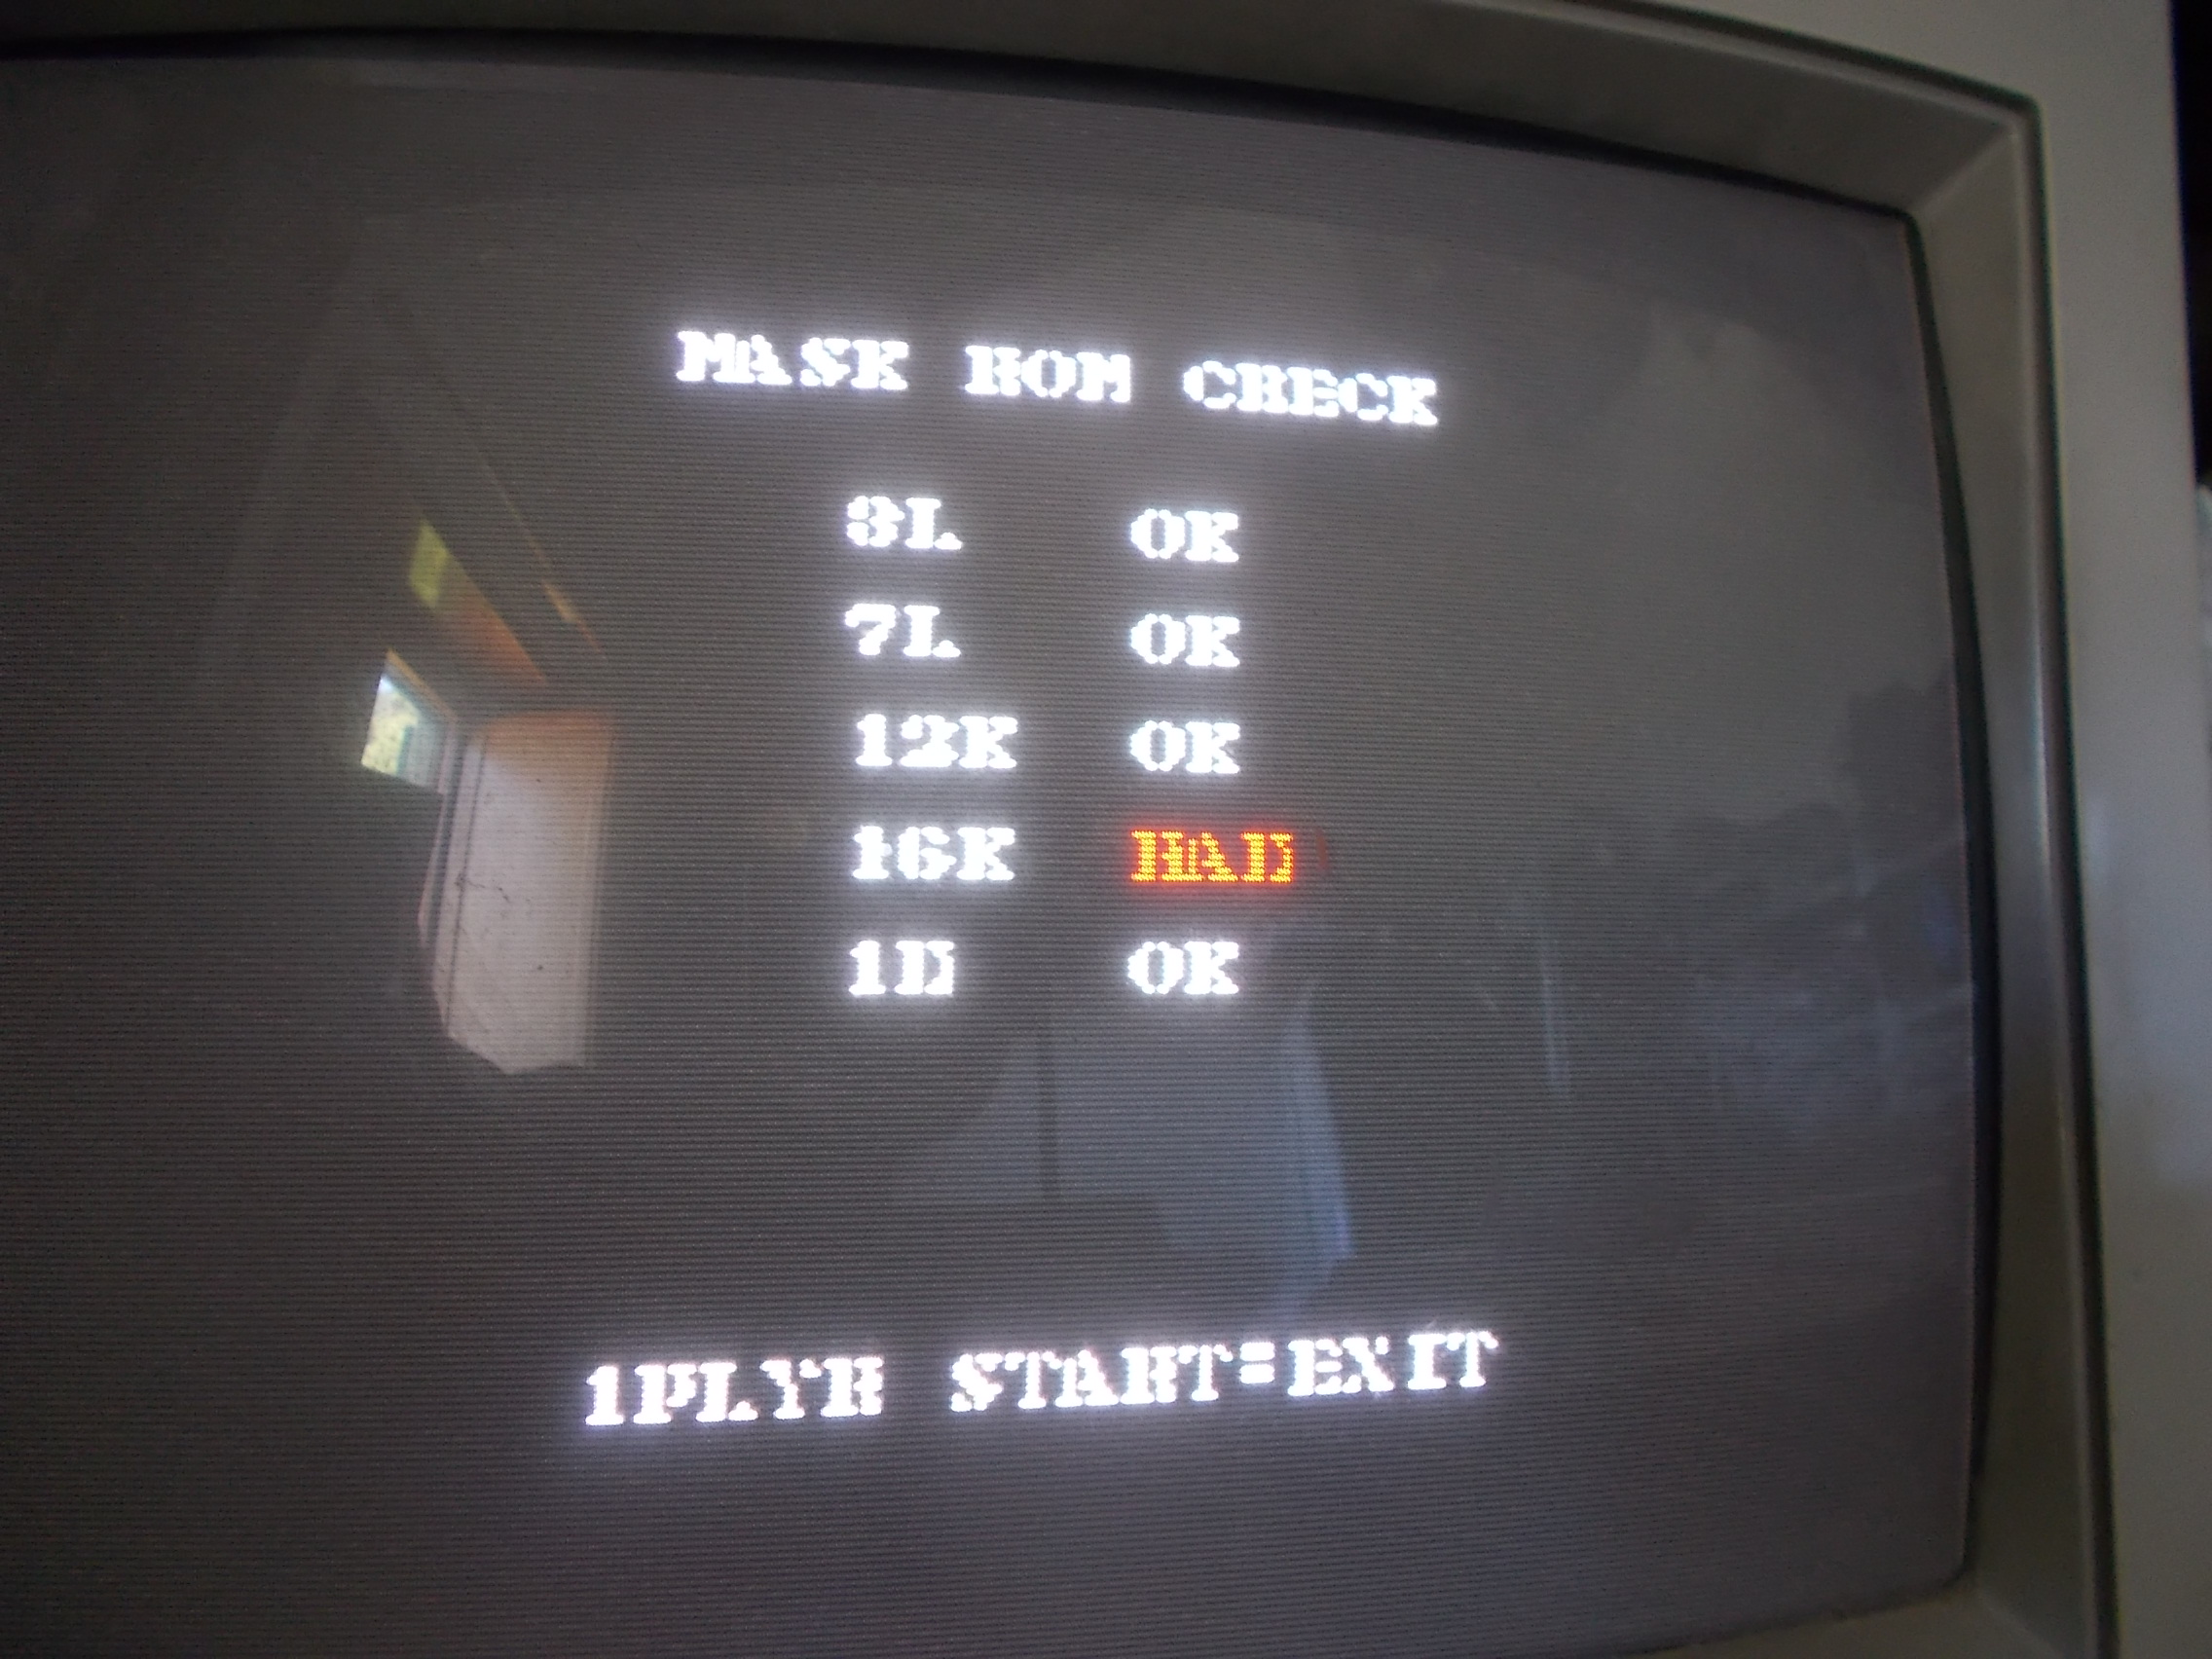
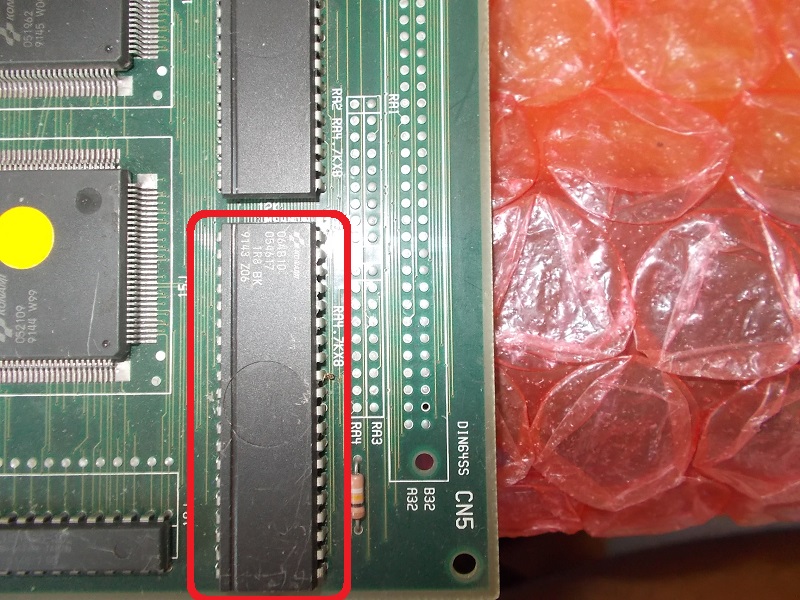
Lines are a clear sign that something is wrong with the graphics data (in this case the tilemap).I launched a MASK ROM check which found a bad device @16K:

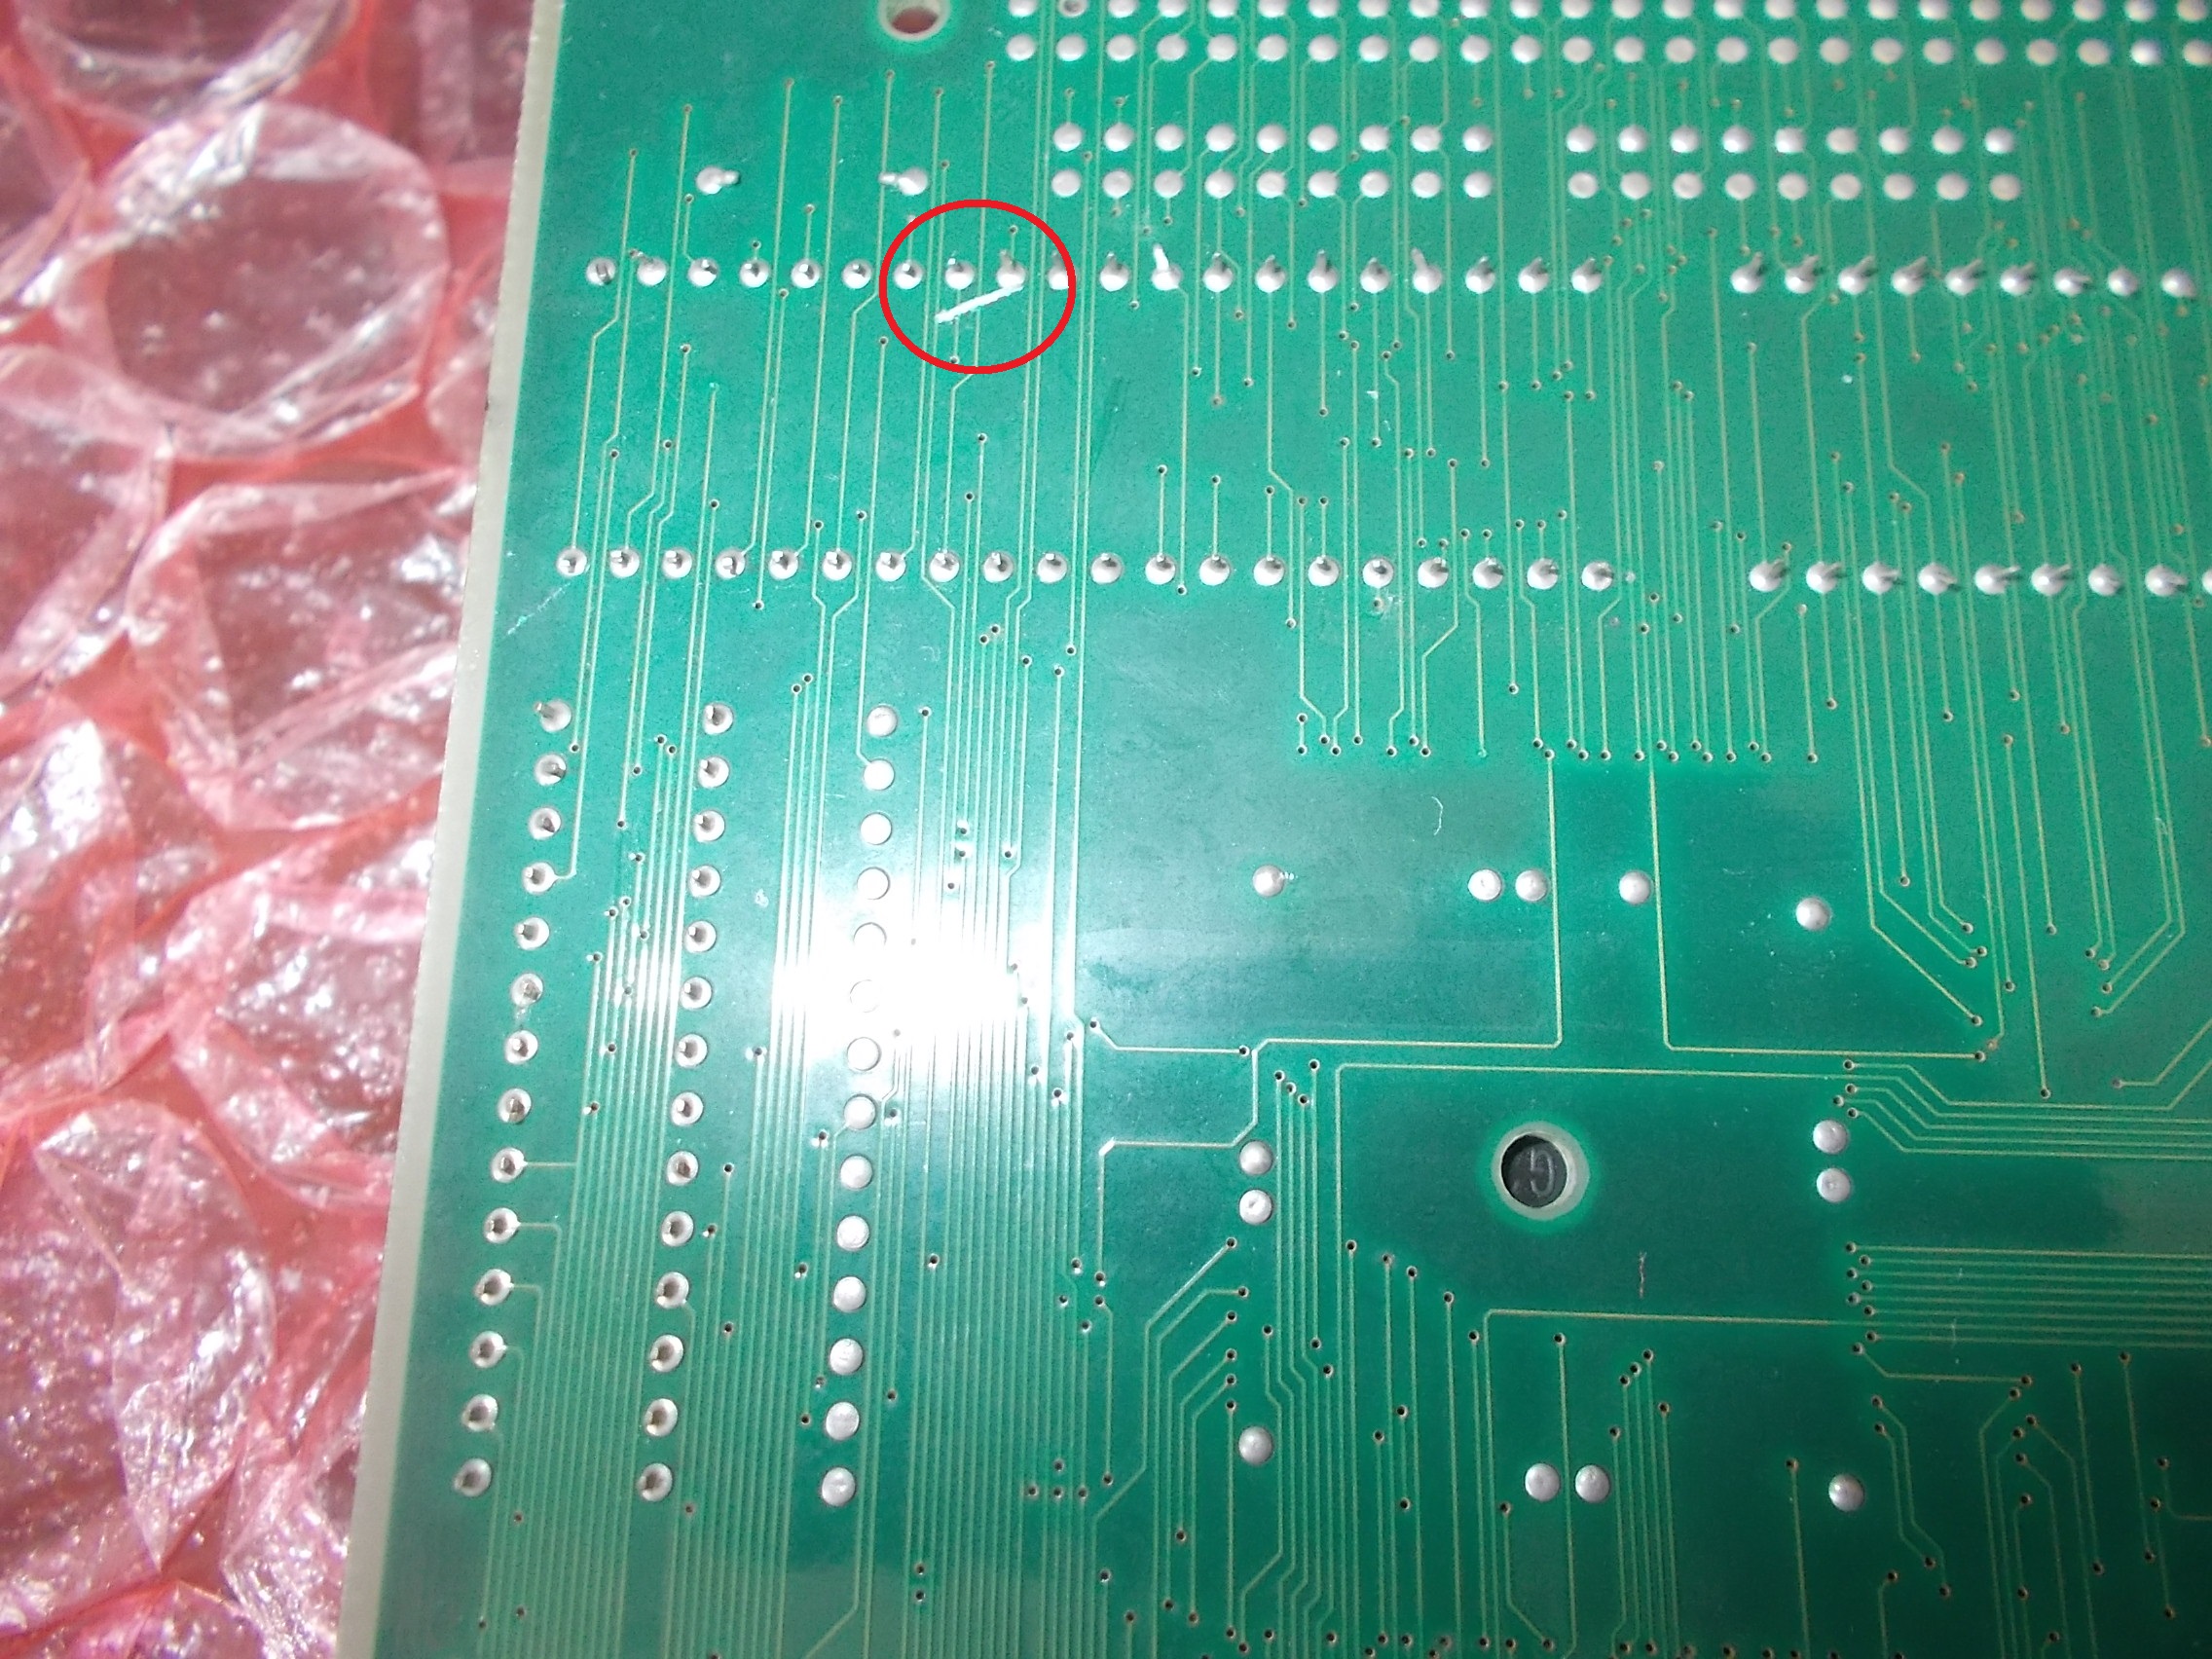
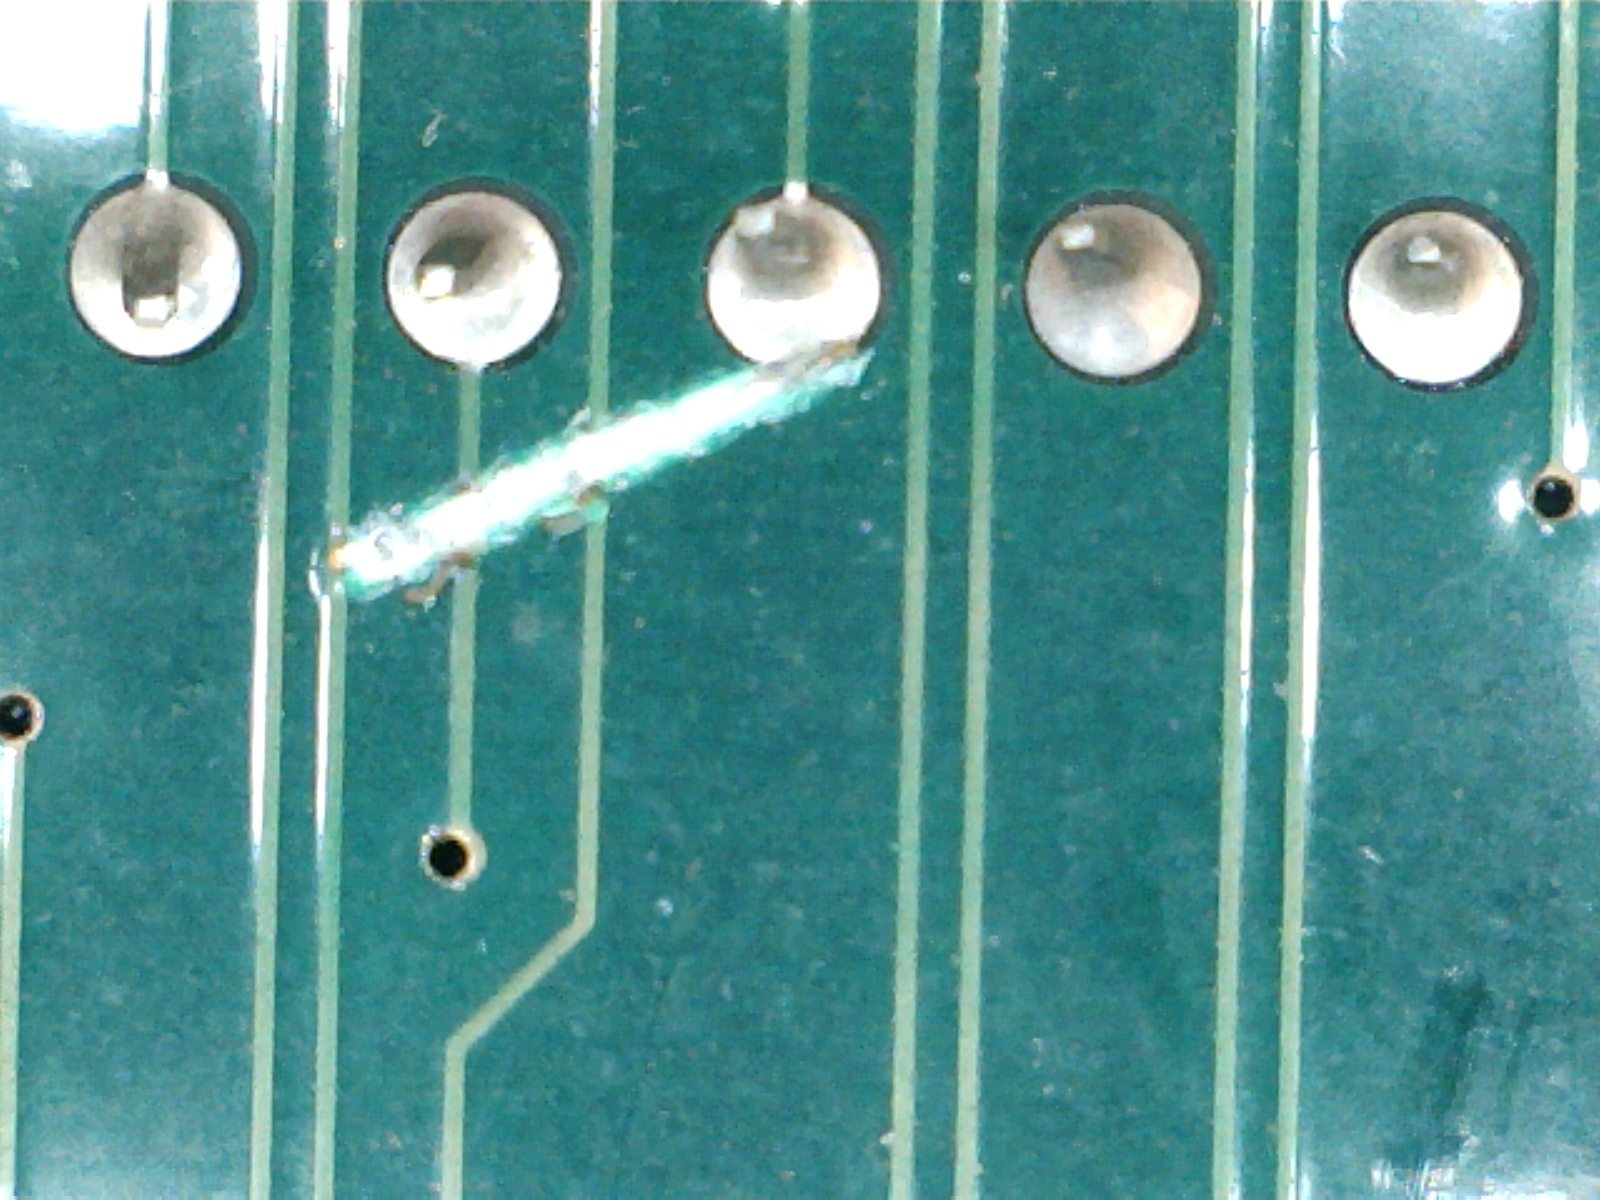
I was about to replace the device when I gave a look on its soldeside and found a deep scratch :

Under a microscope two traces appeared to be severed, they were indeed two data lines of the MASK ROM (pin 13 ‘D0’ and pin 28 ‘D7’).A quick check with a multimeter in continuity confirmed it.

I restored connections with some AWG30 wire:

No more complain of MASK ROM check :

Board 100% fixed and double repair accomplished.

 Posted by at 6:08 pm

Truxton II repair log

 PCB Repair Logs  Comments Off on Truxton II repair log
Aug 032018
 

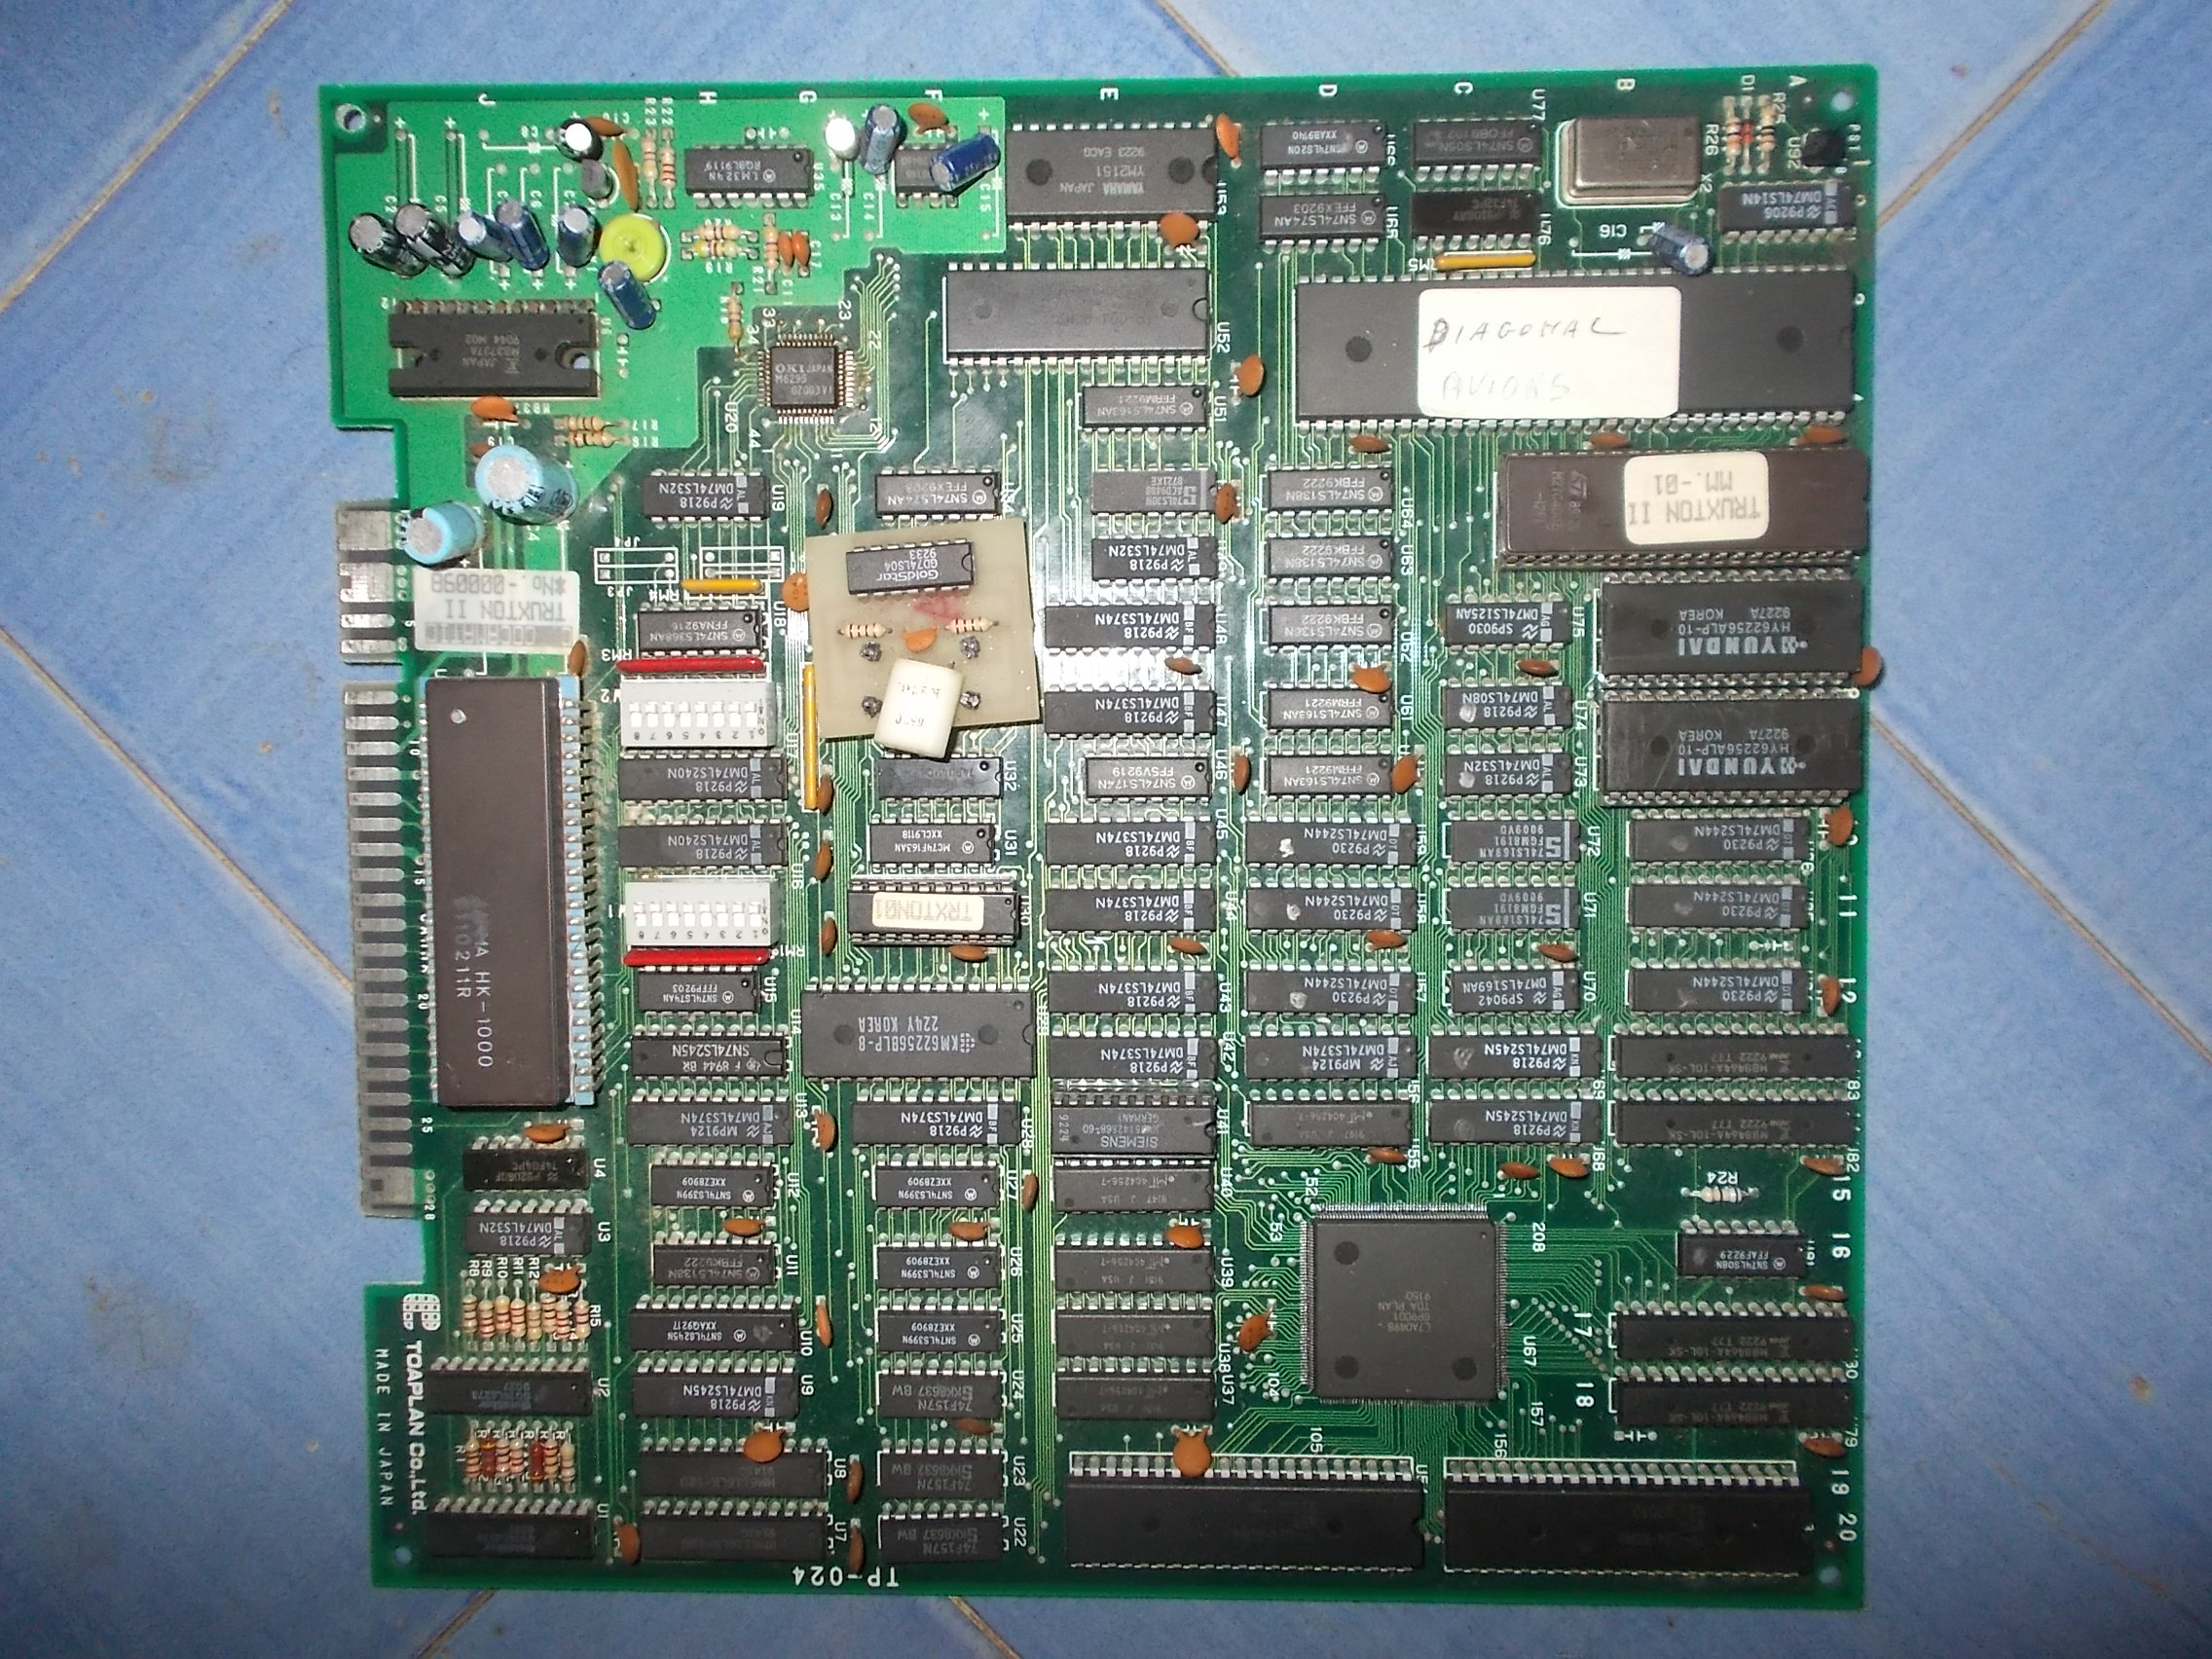
Yet another Truxton II PCB (overseas release of Tatsuin Oh) on the bench and always from Portugal :

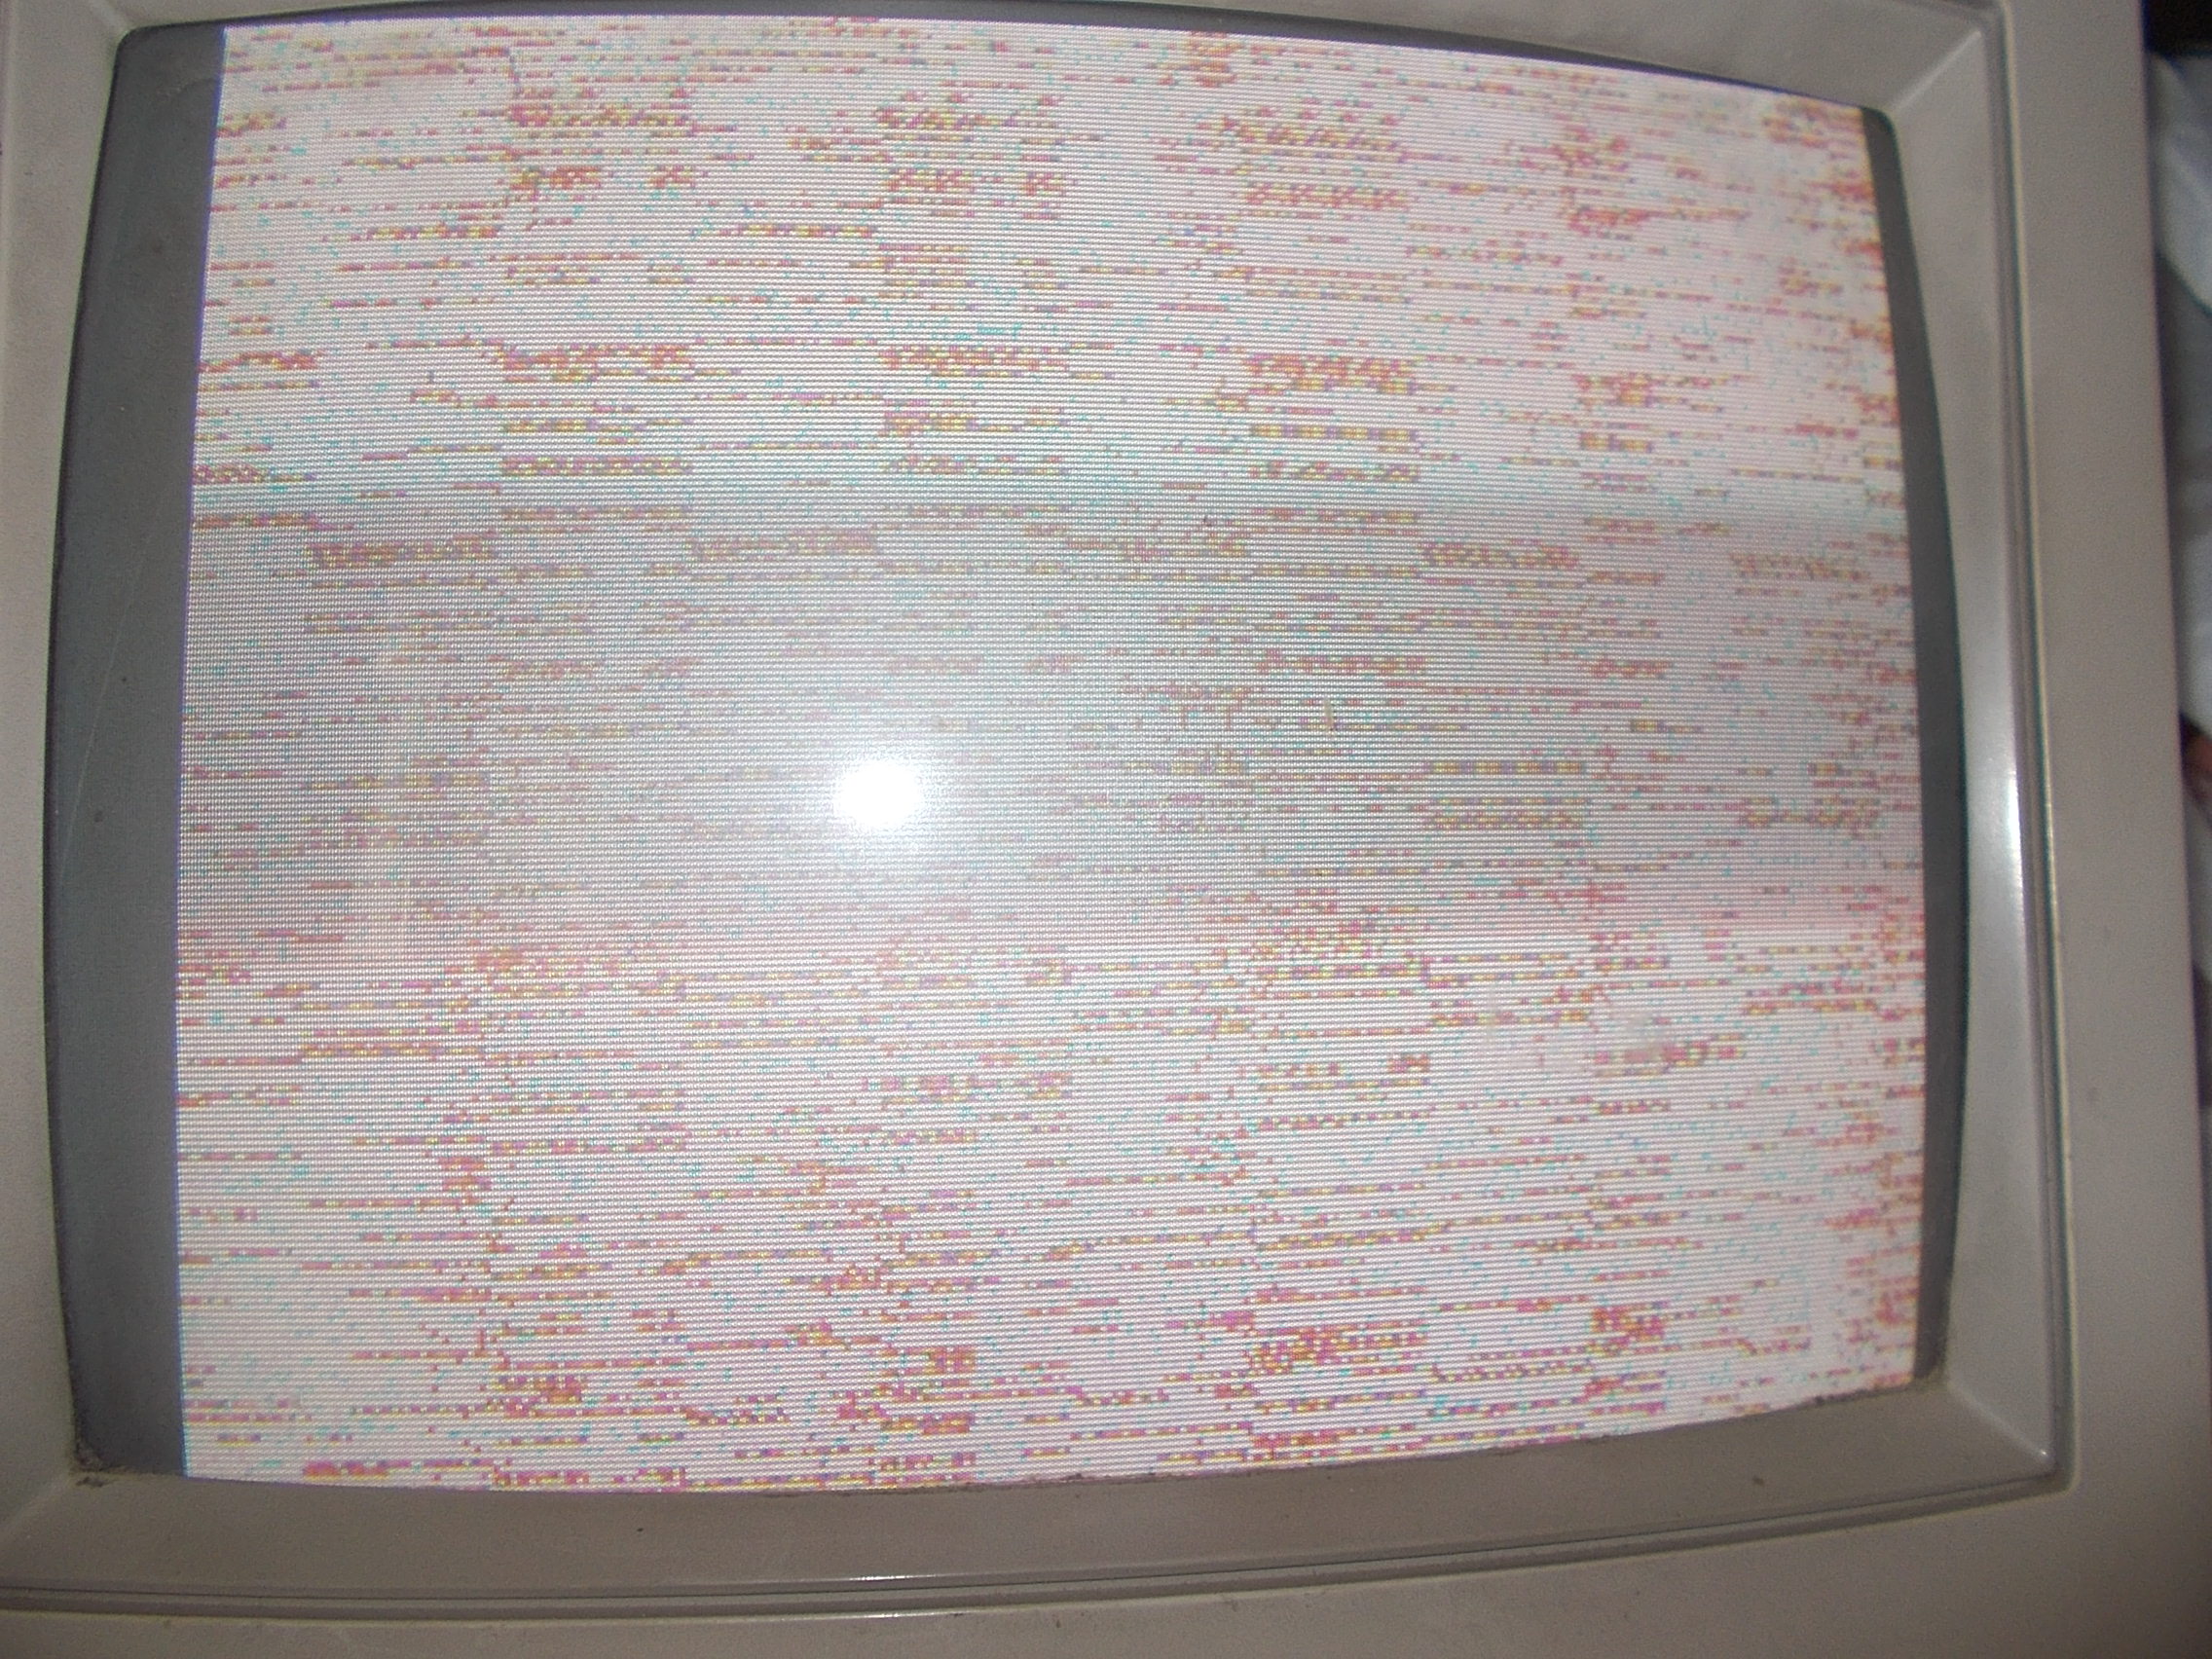
The board was stuck on boot on a colored striped static screen :

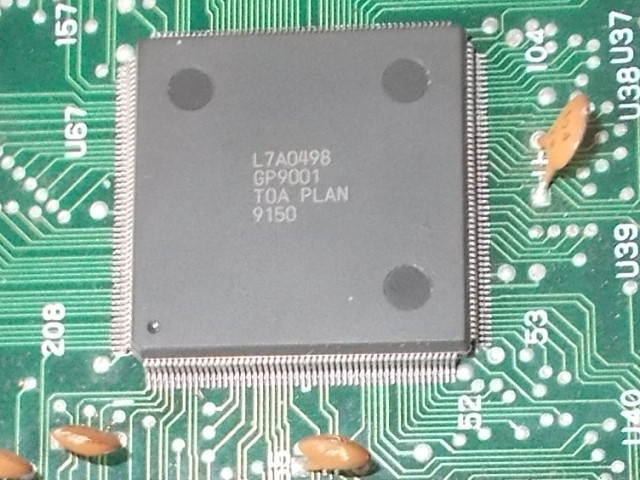
Main 68000 CPU was not running, both data/address bus were inactive.For first I checked the ‘GP9001’ custom GFX controller  (QFP 208 pin ) which is a common issue on hardware that use it:

I found some lifted pins:

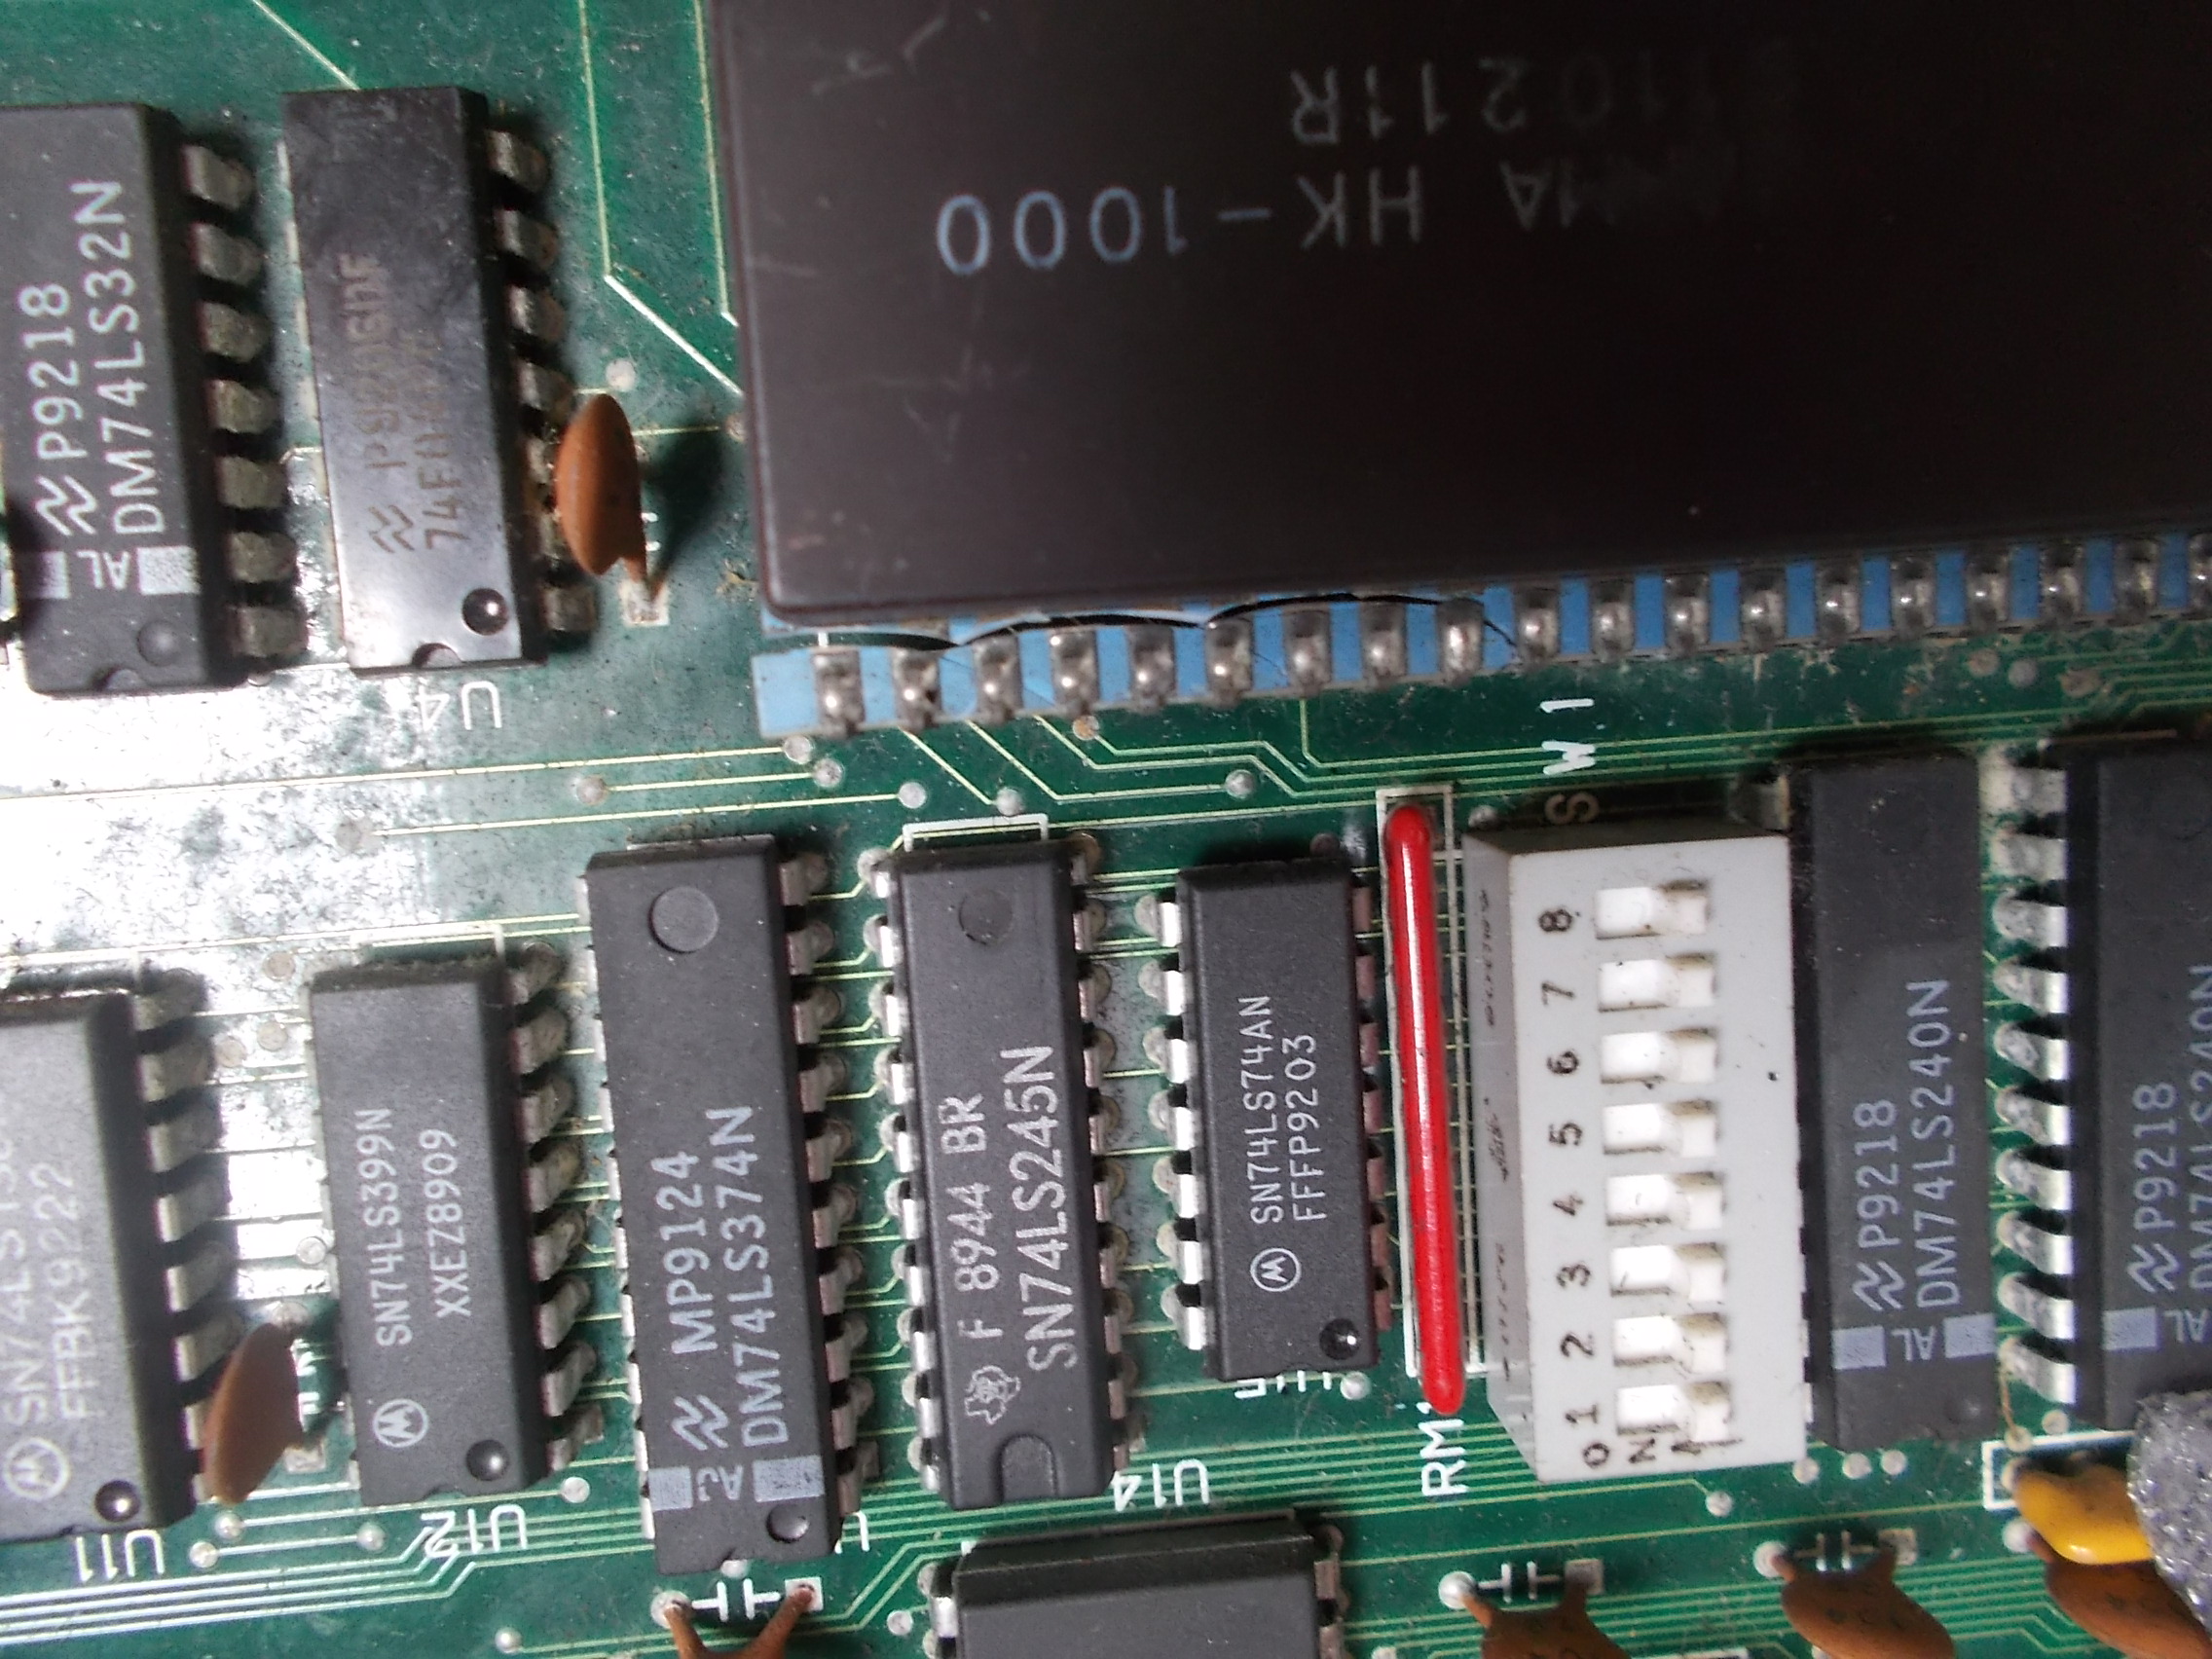
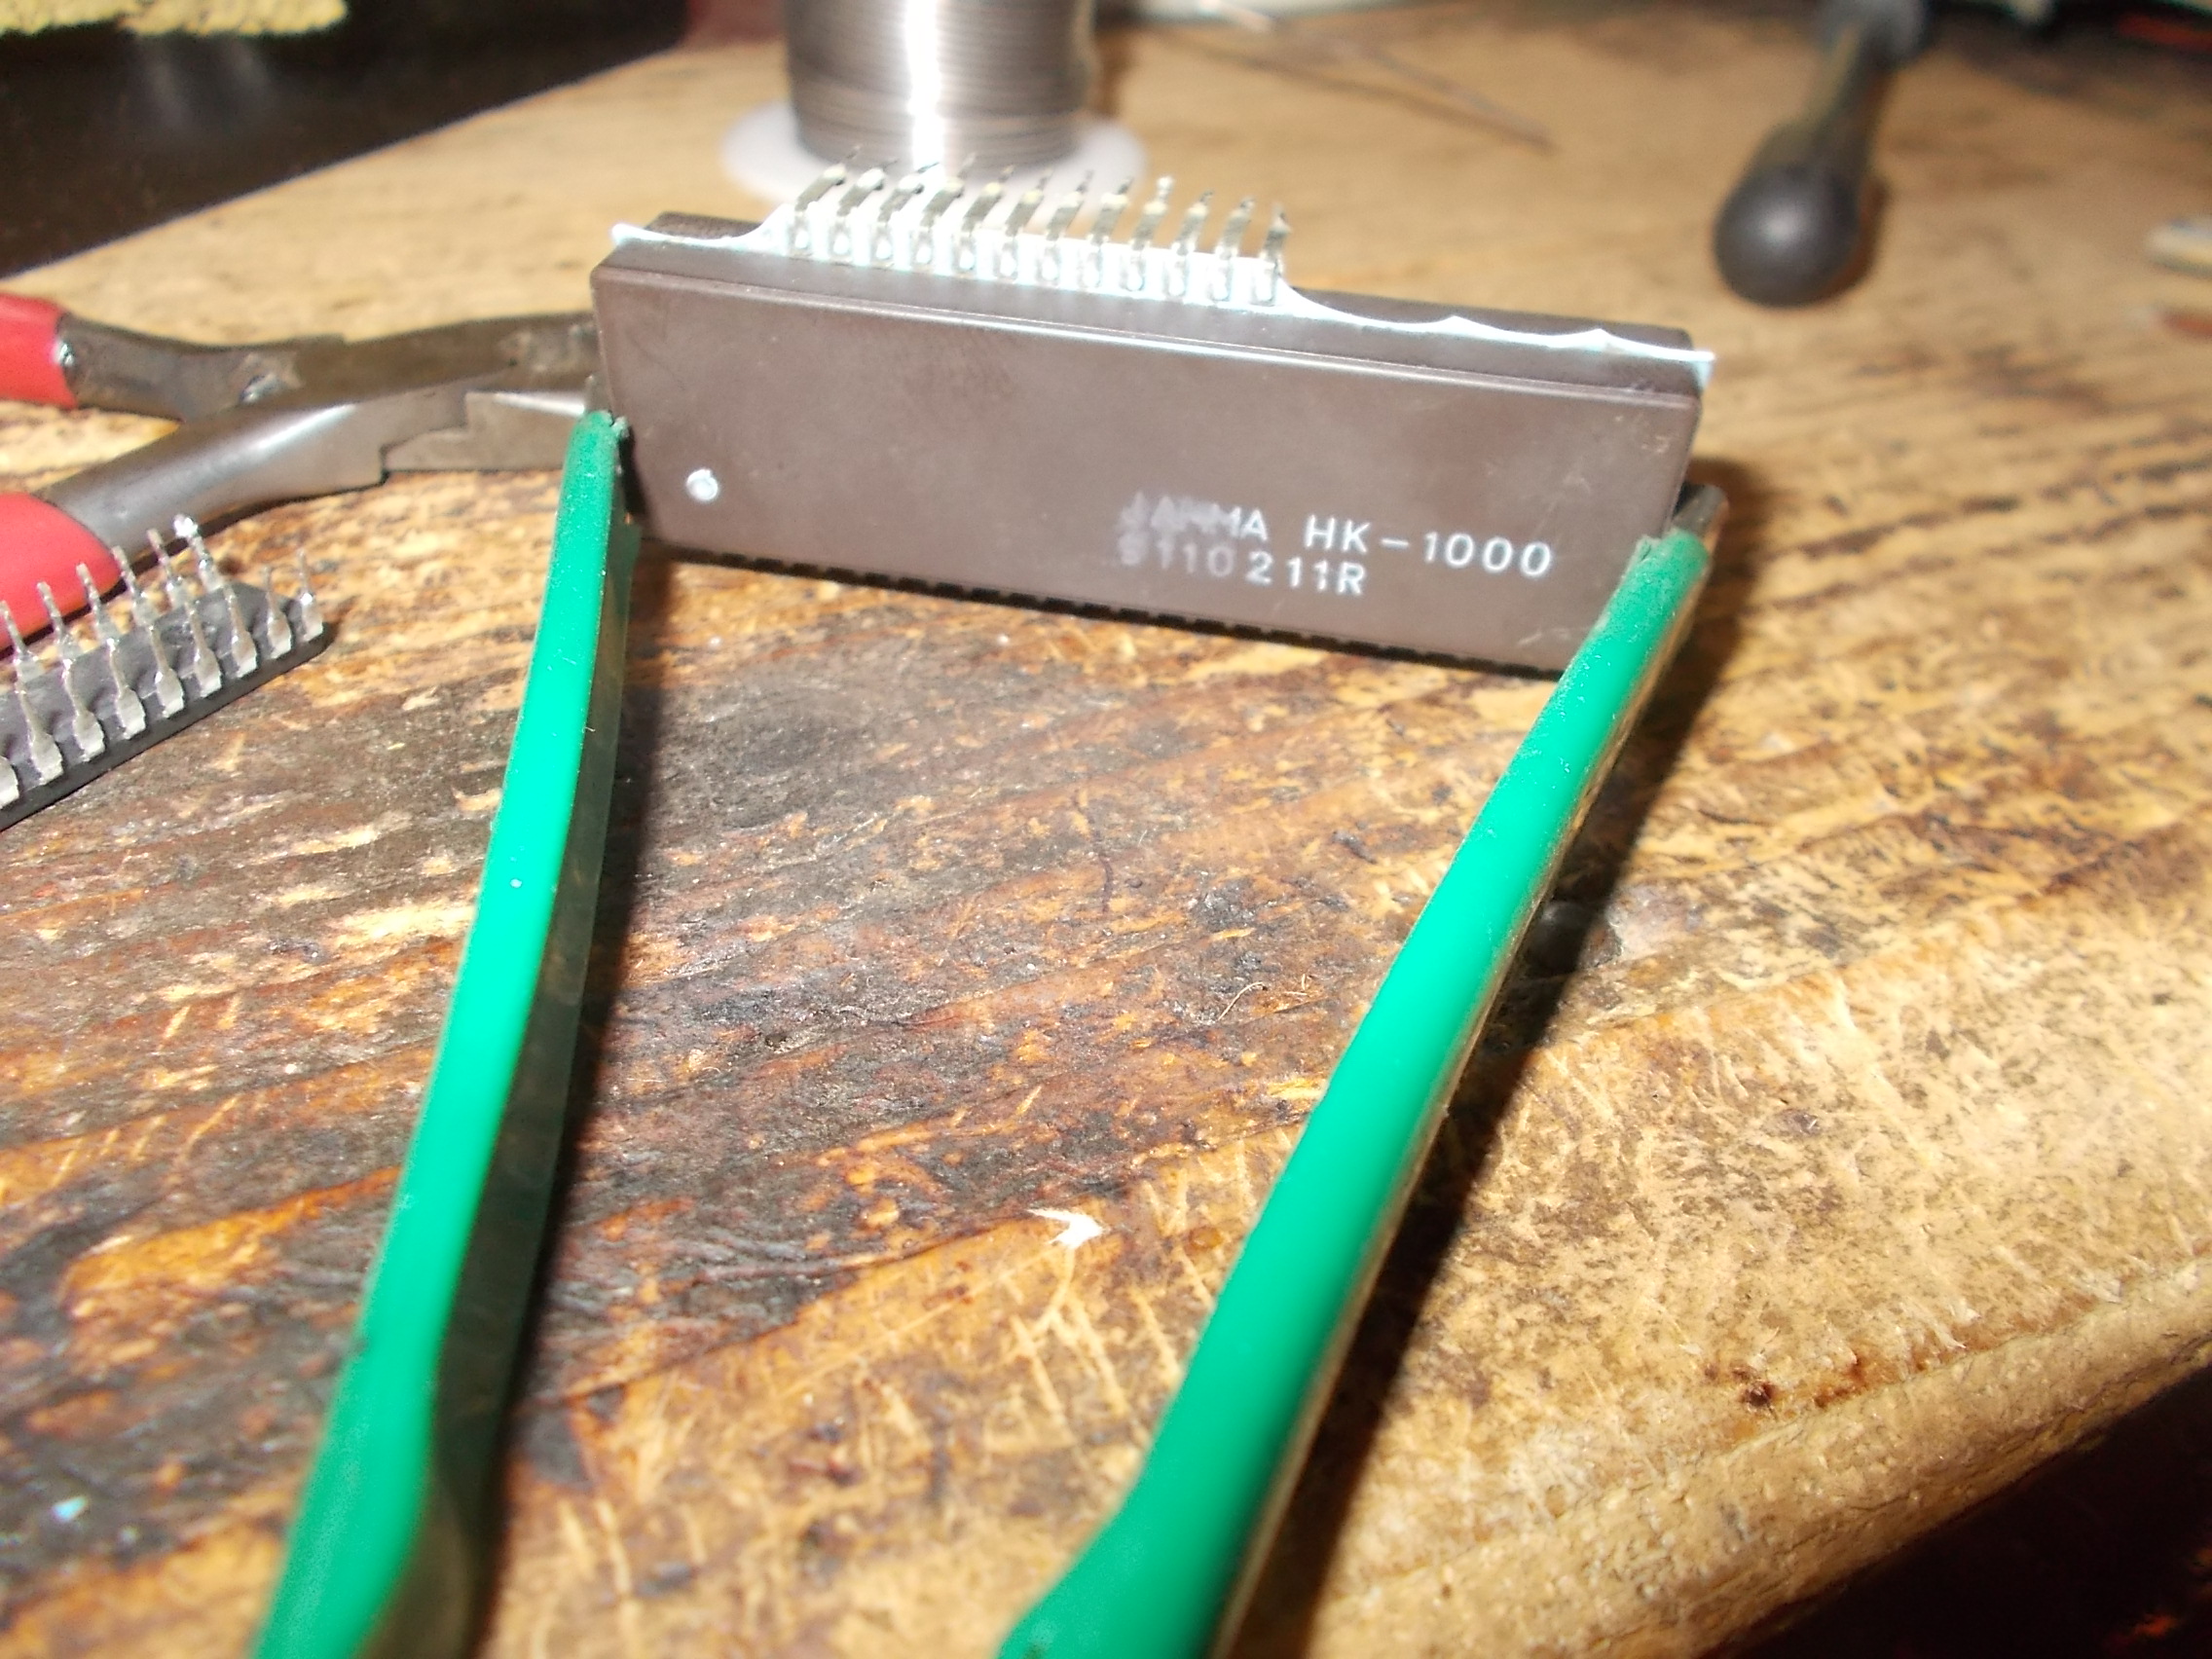
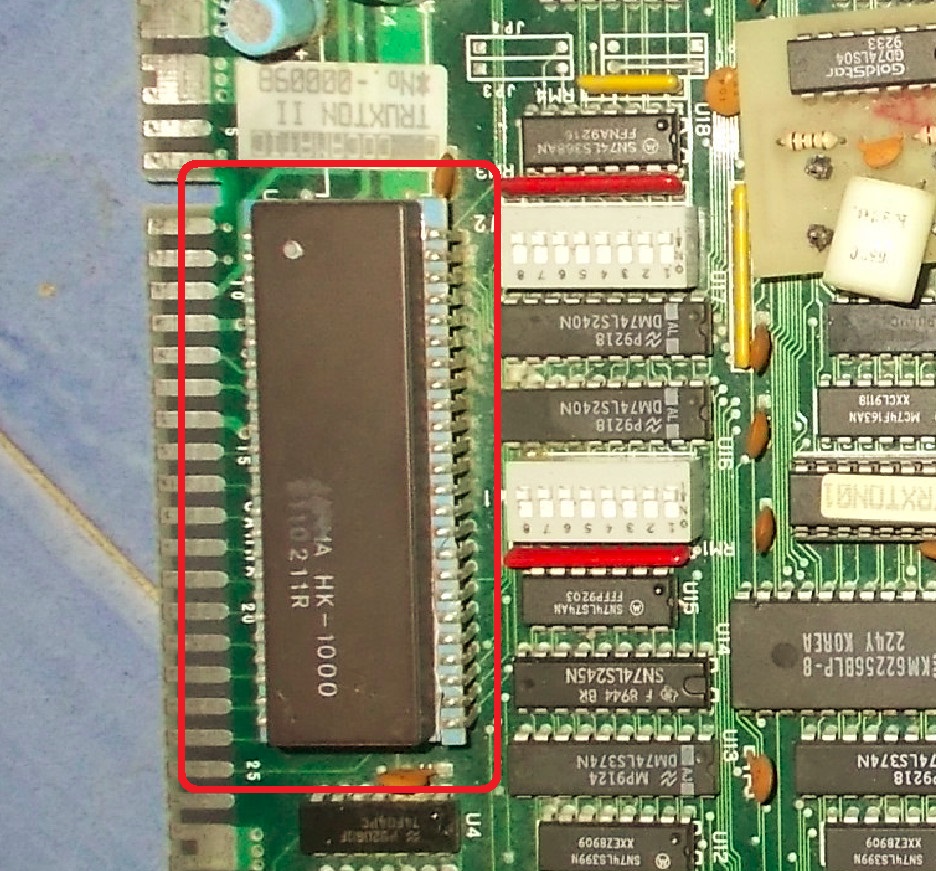
Reflowing them didn’t lead to any improvement.The board uses the ‘infamous’ custom ‘HK-1000’ custom (the early fragile ceramic revision) which handes inputs :

A closer inspection revealed the IC was damaged, some pins were broken at package insertion so beyond repair:

As said, the ‘HK-1000’ handles inputs but a faulty one can prevent the game to boot because some CPU address lines are used to generate the enable signals for it.I removed it:

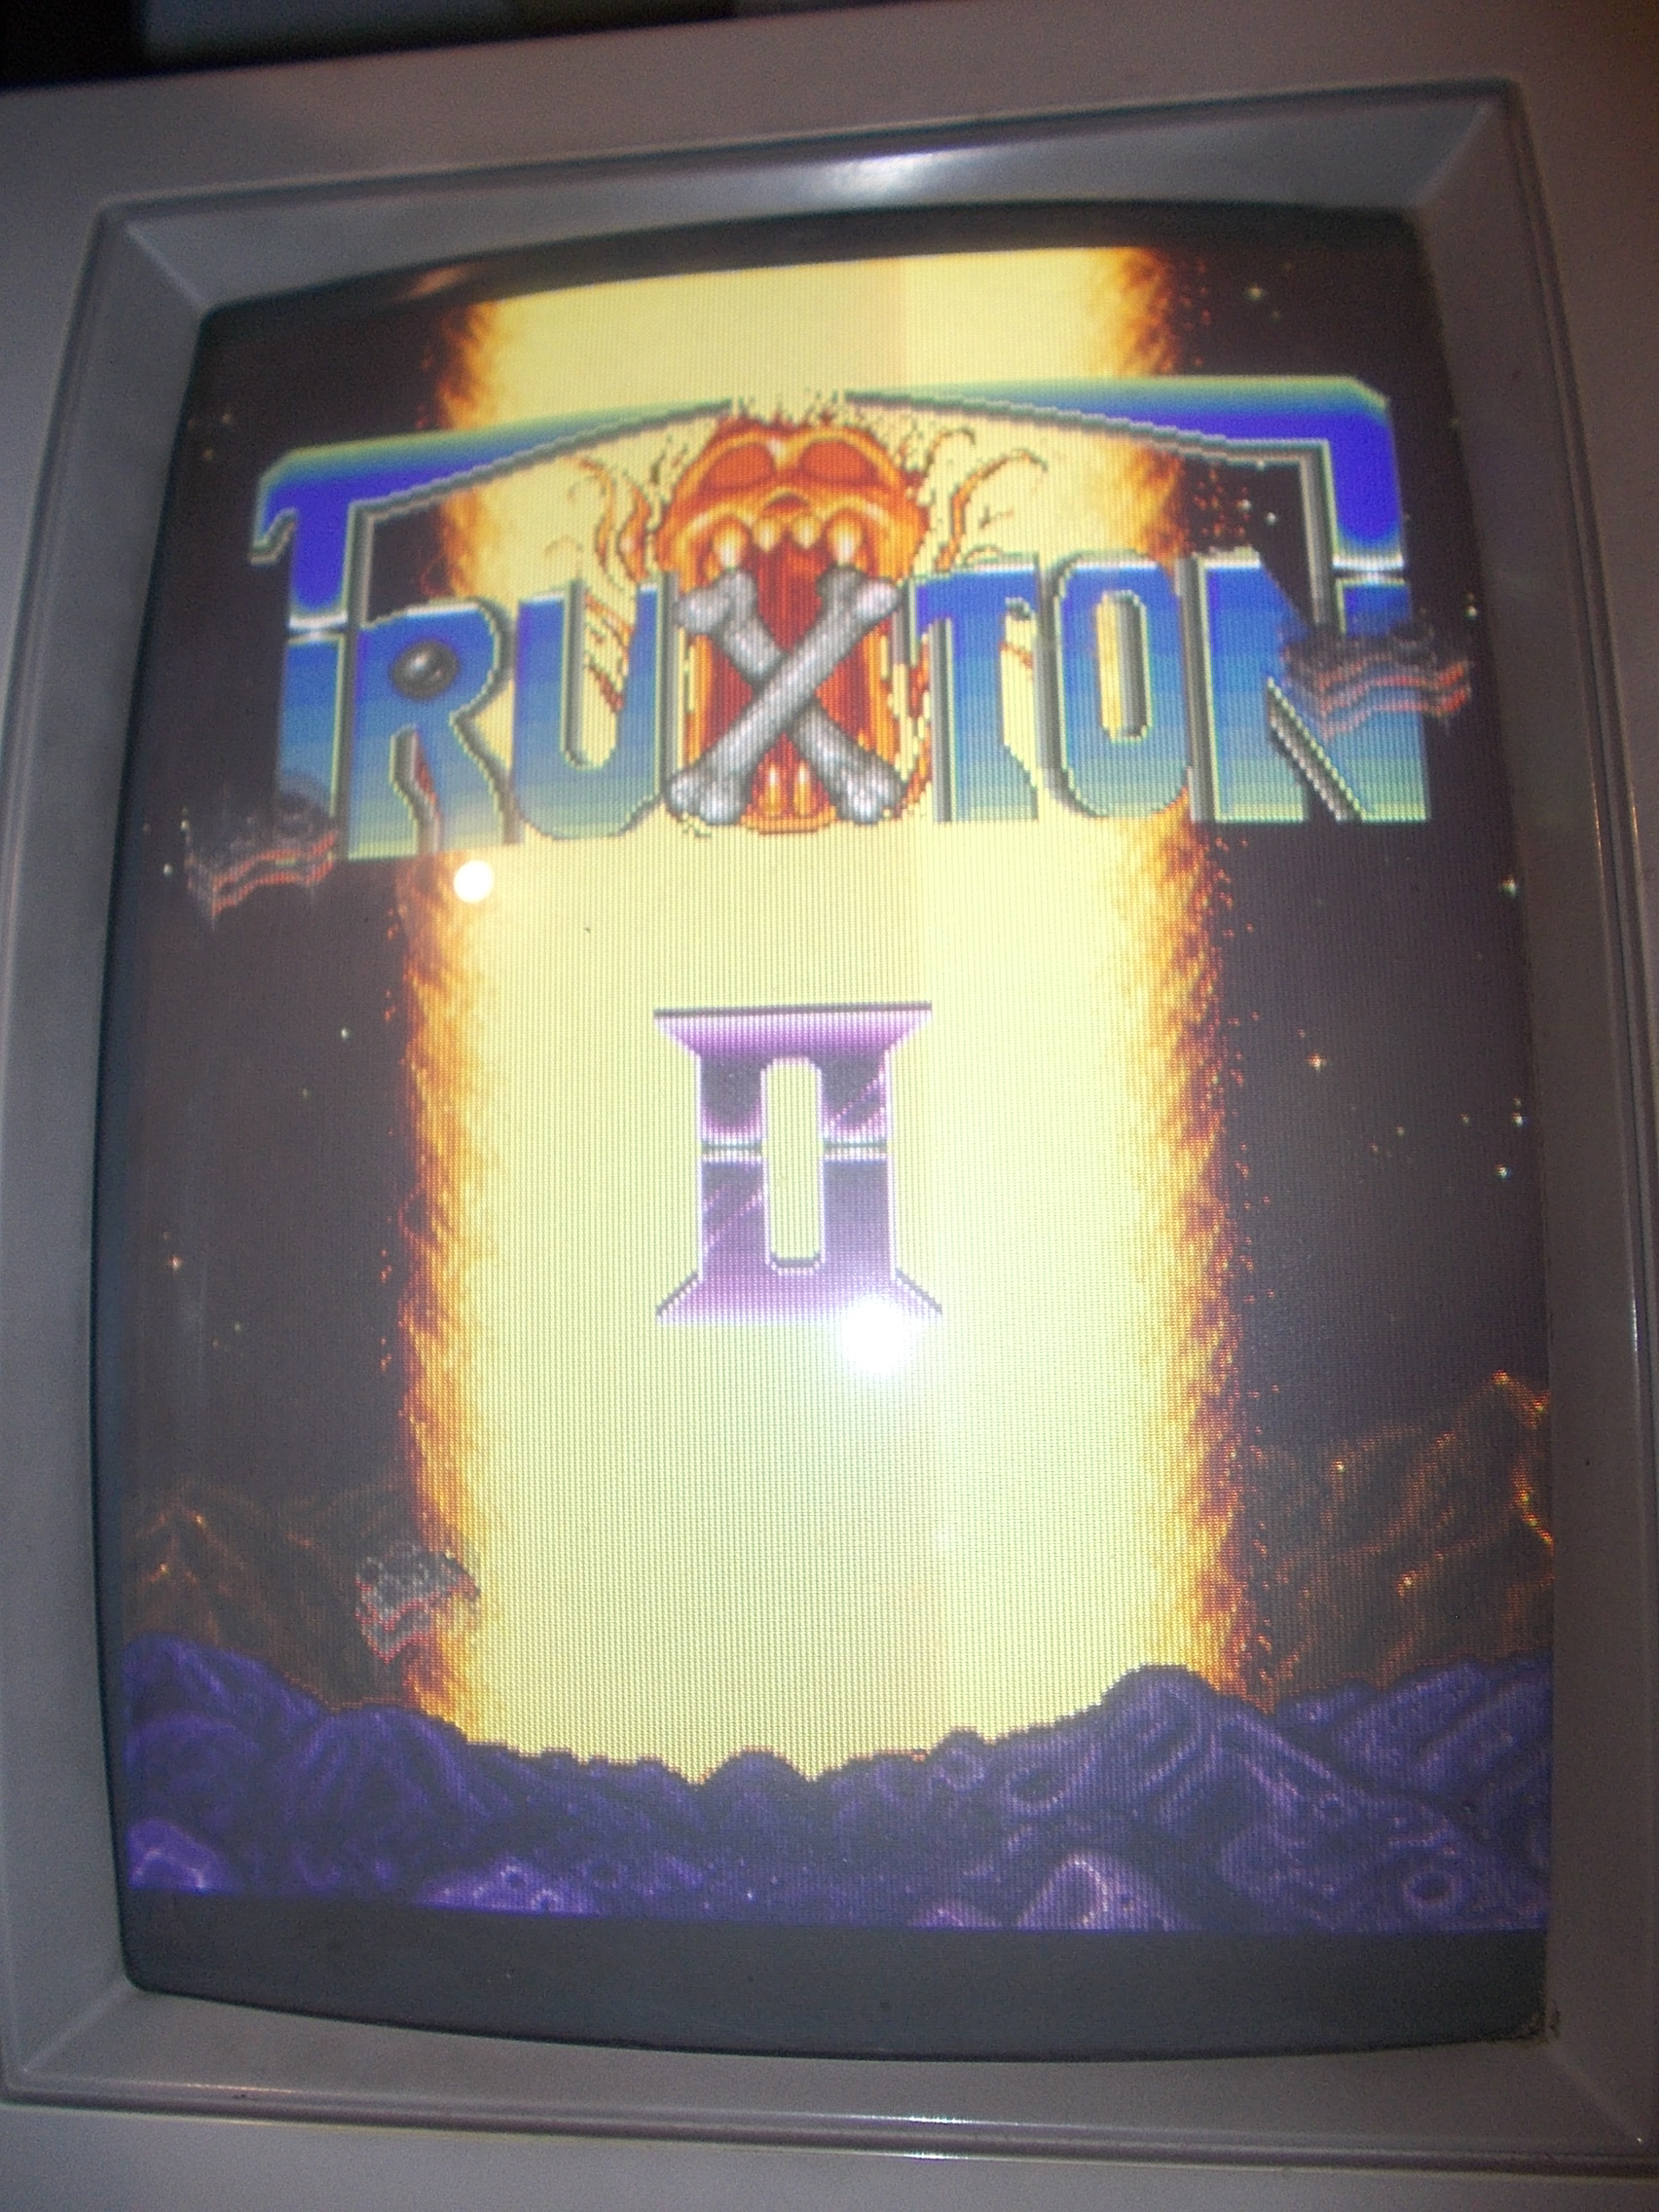
Without the custom the board successfully booted up but obviously game was not playable due not working controls:

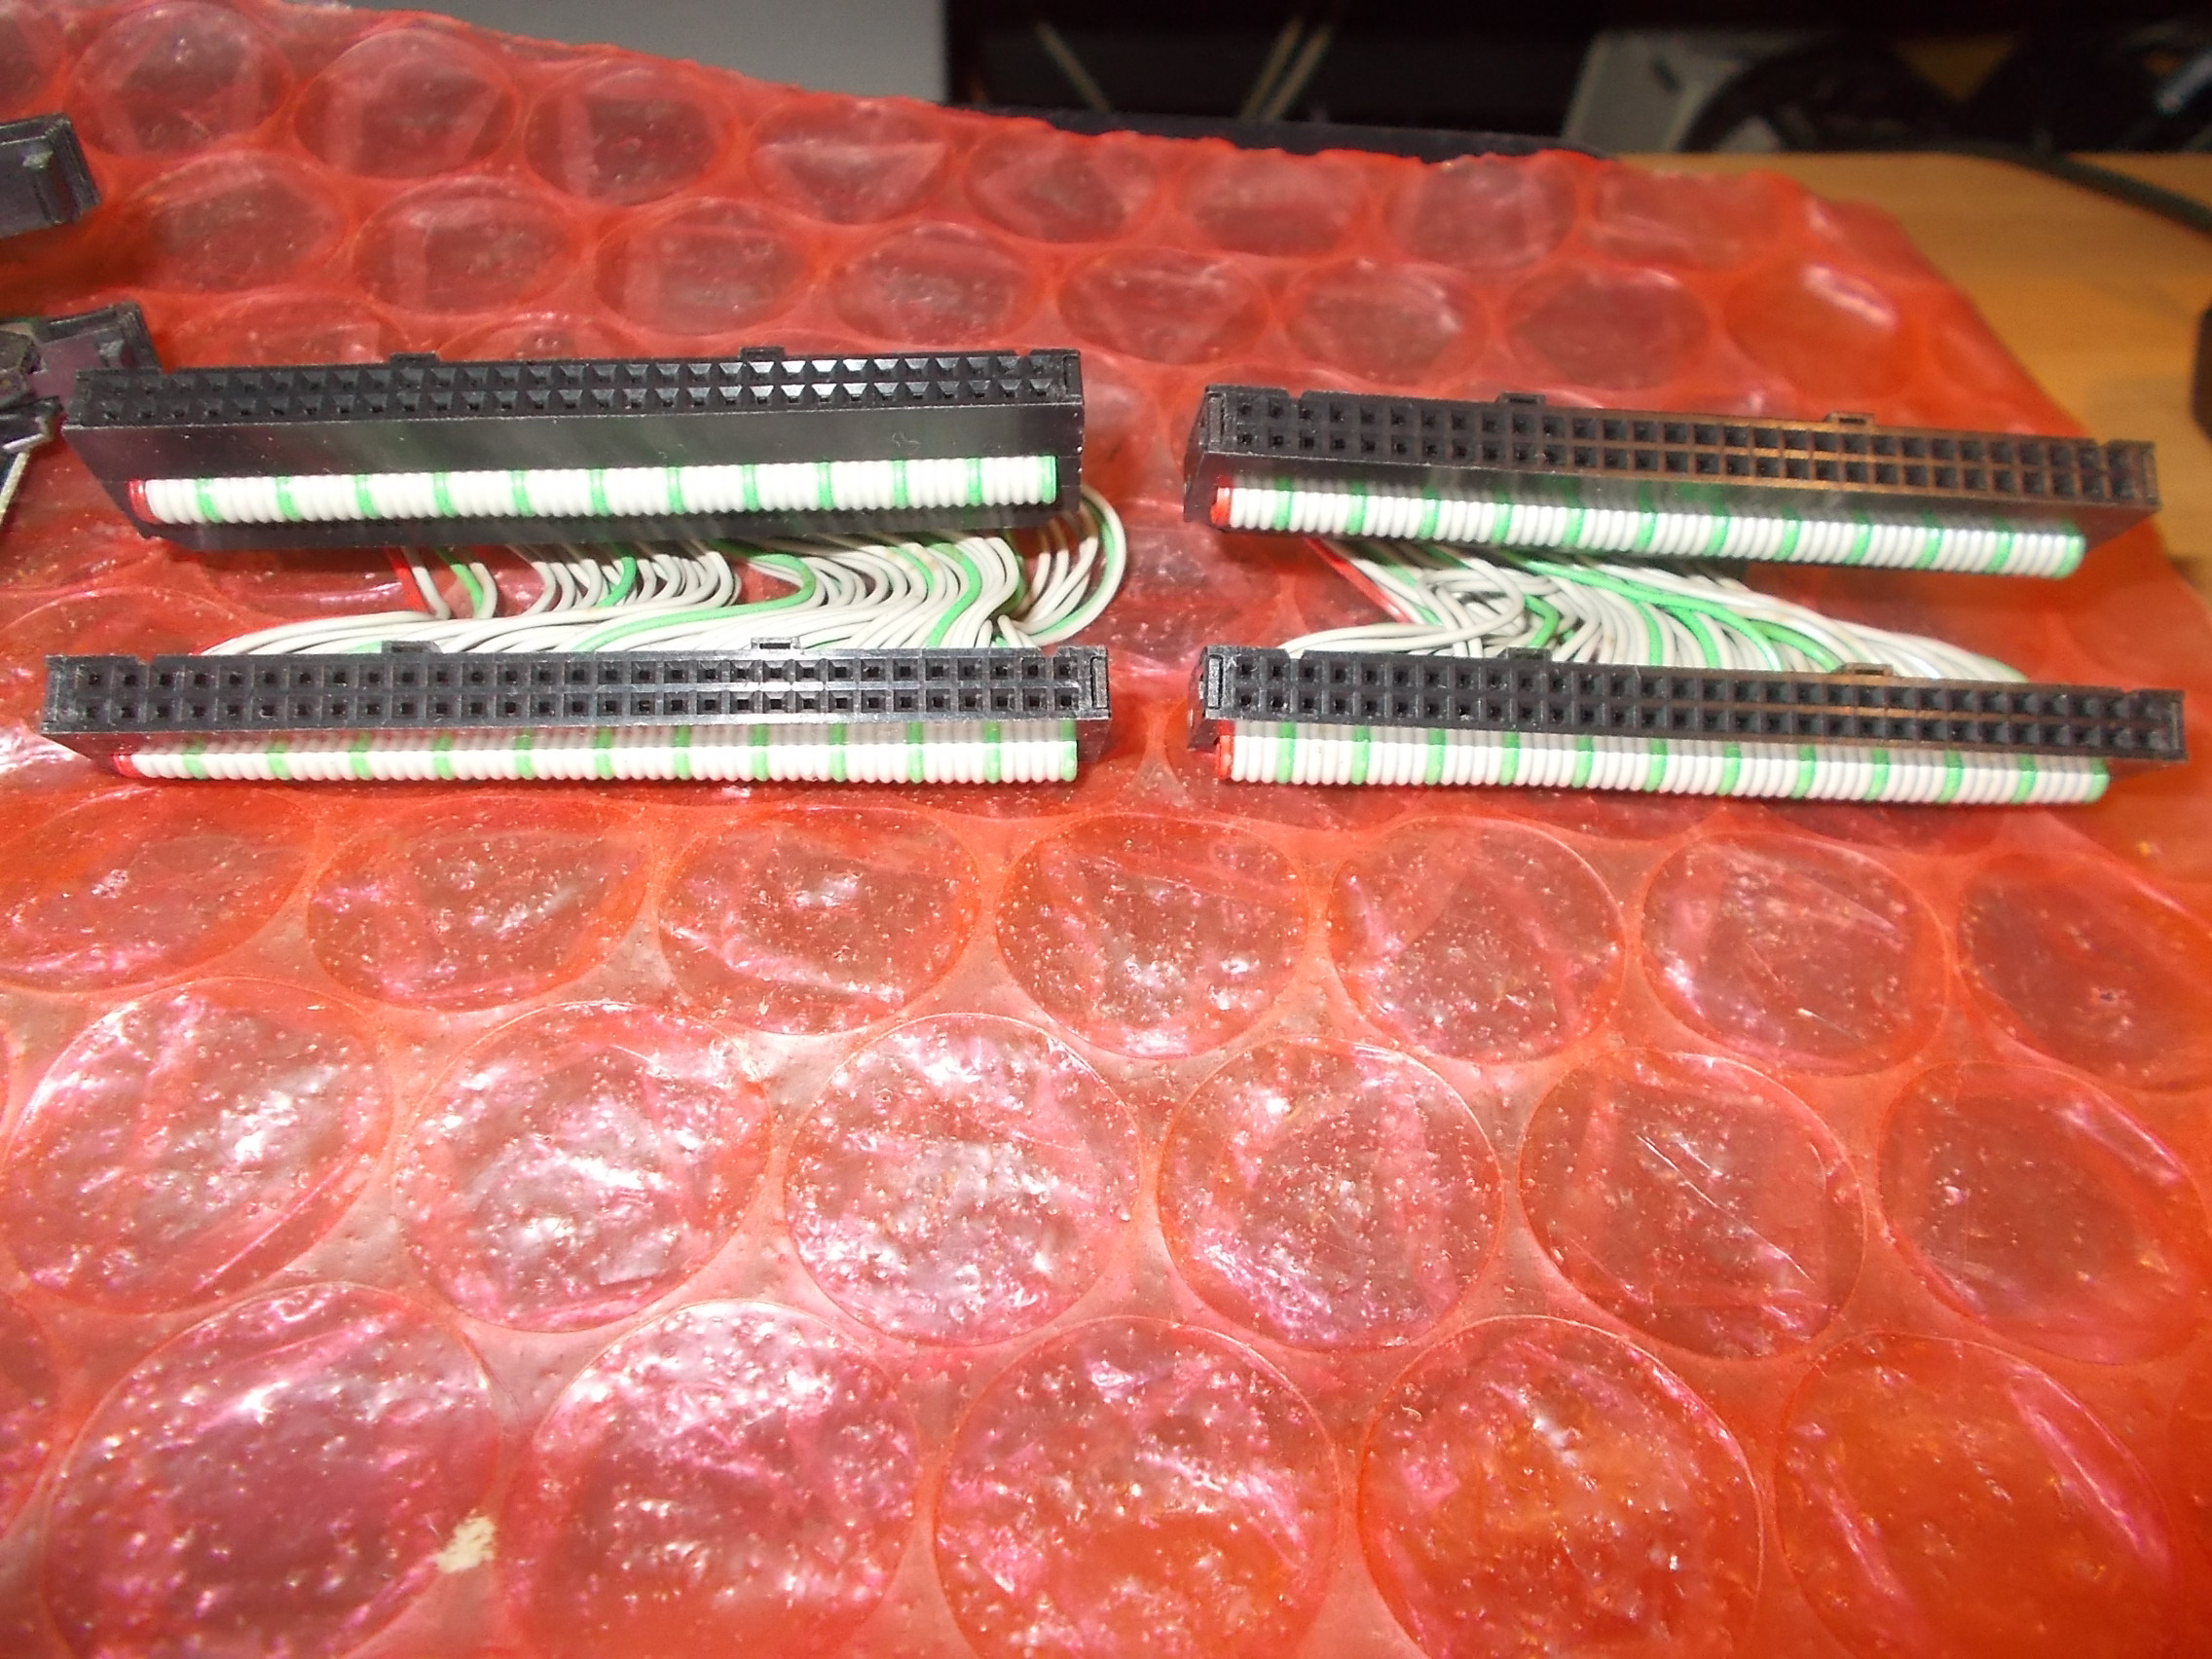
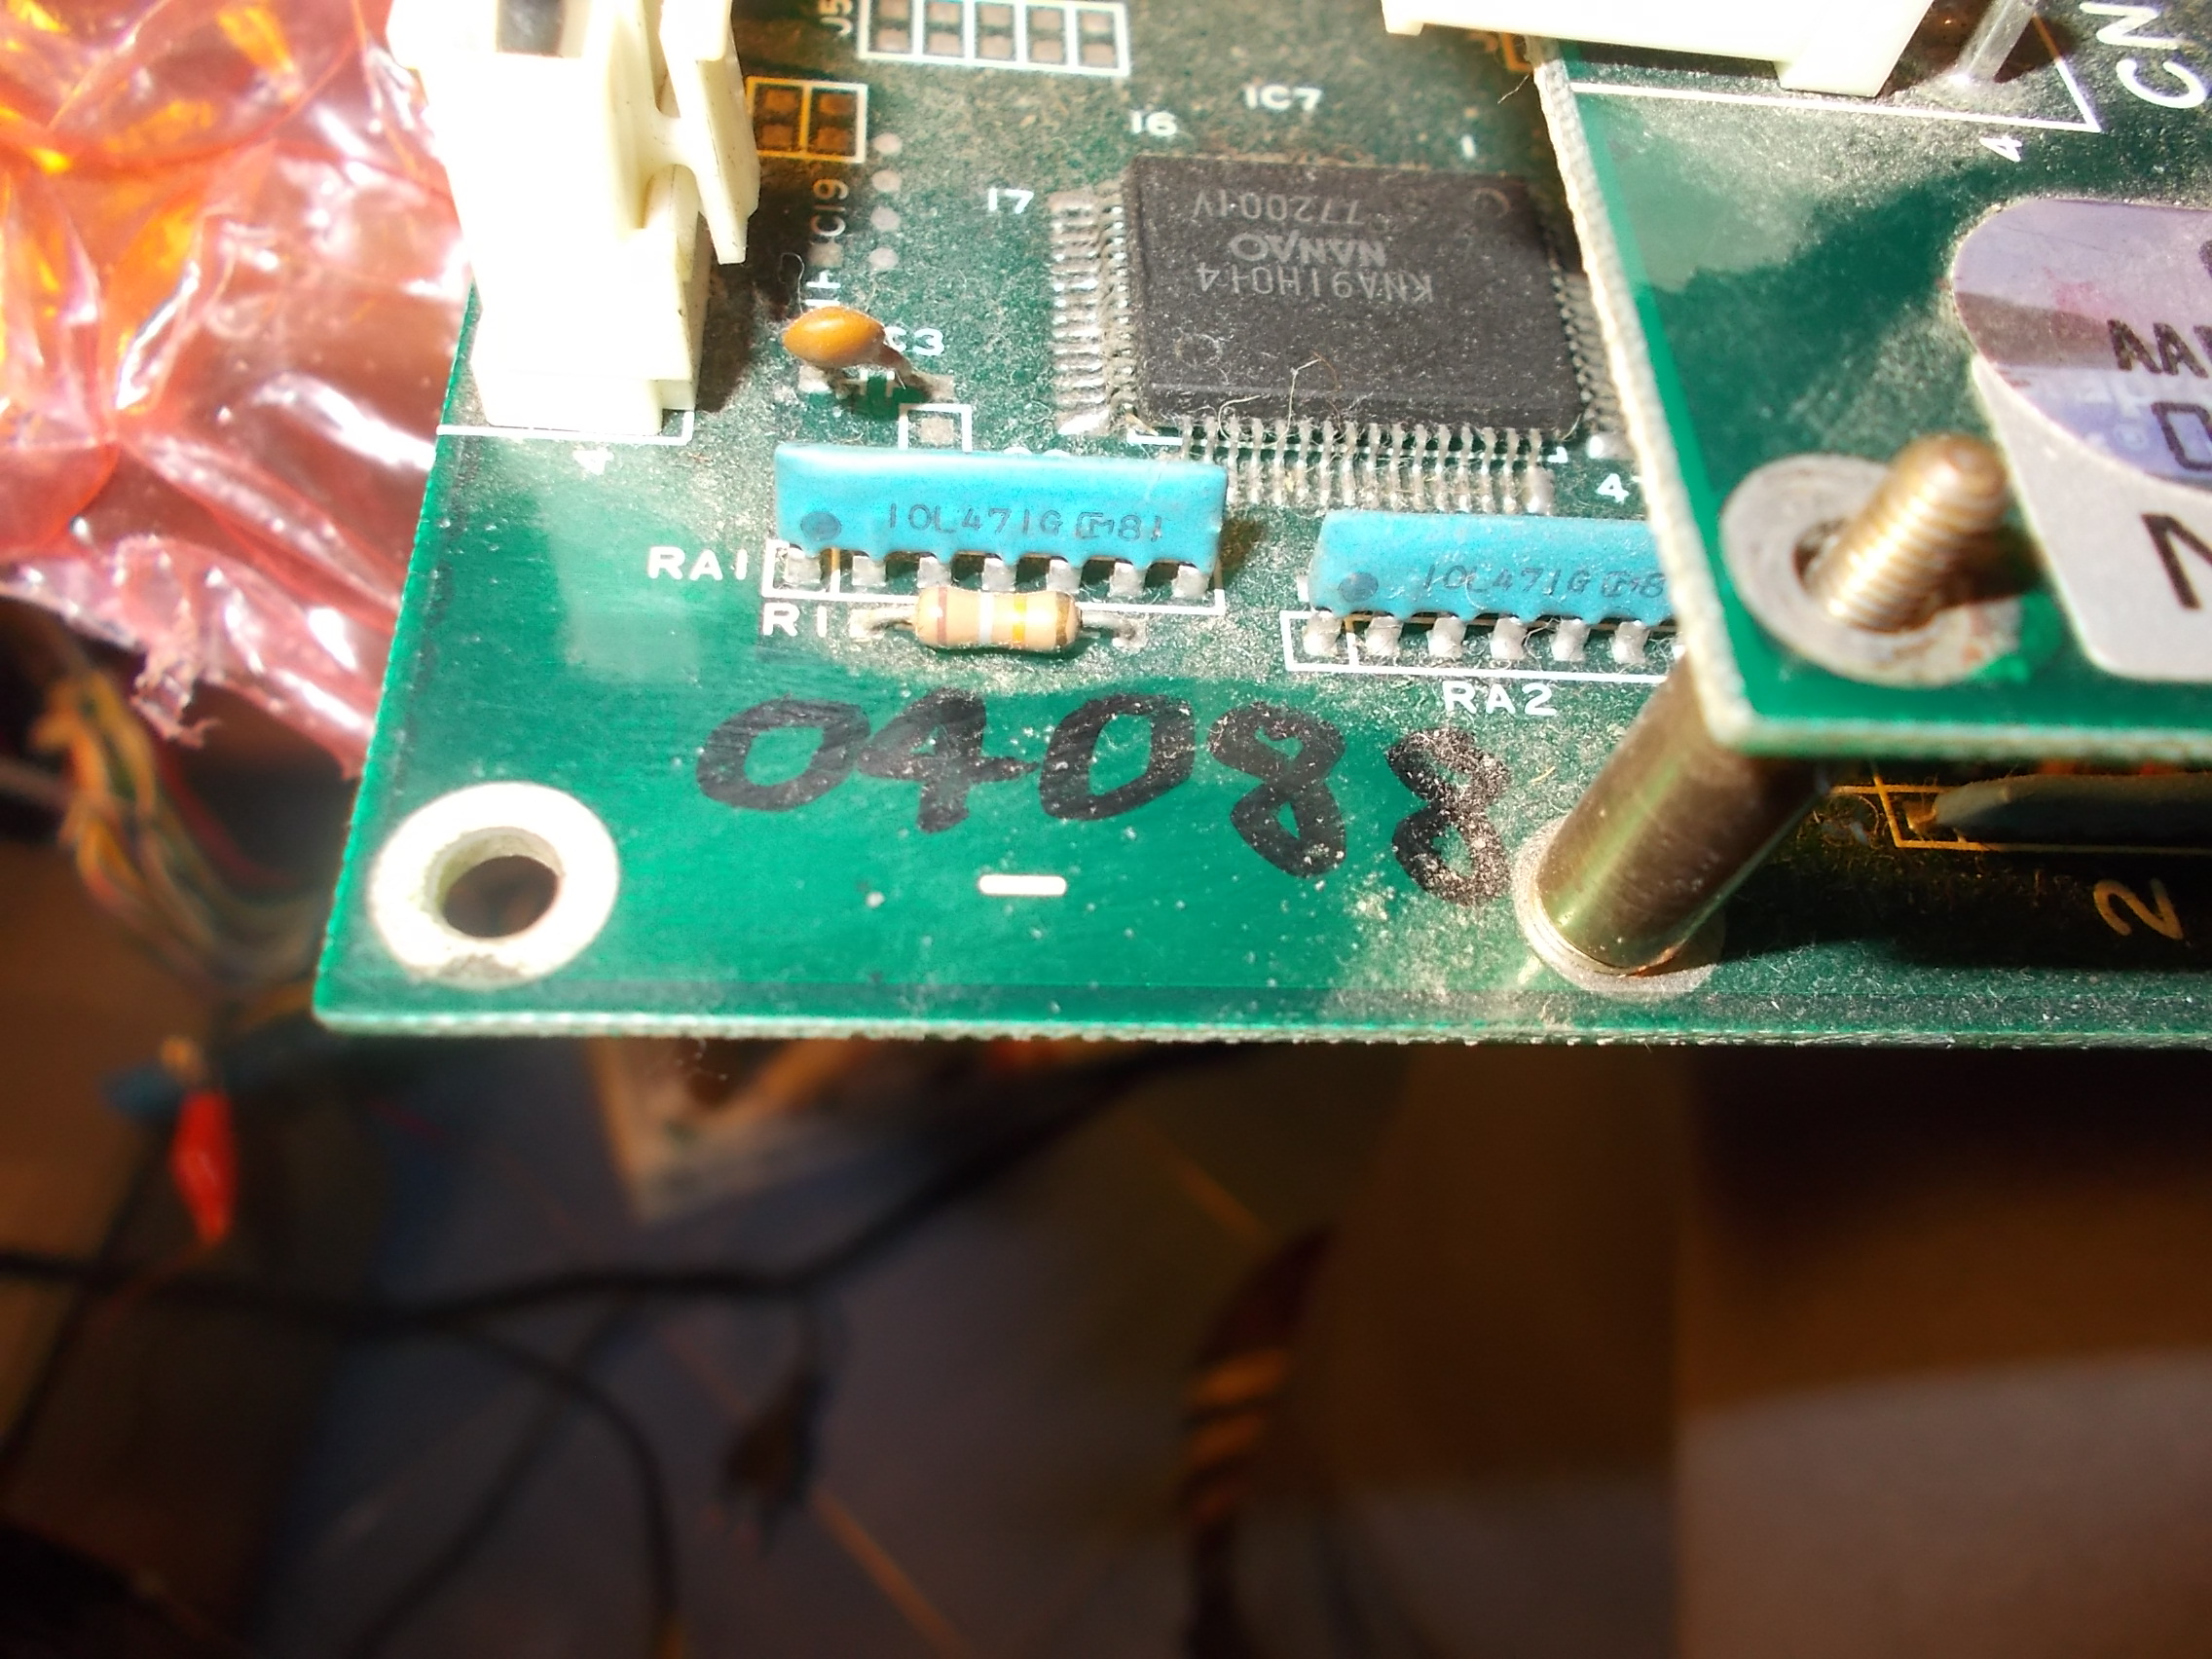
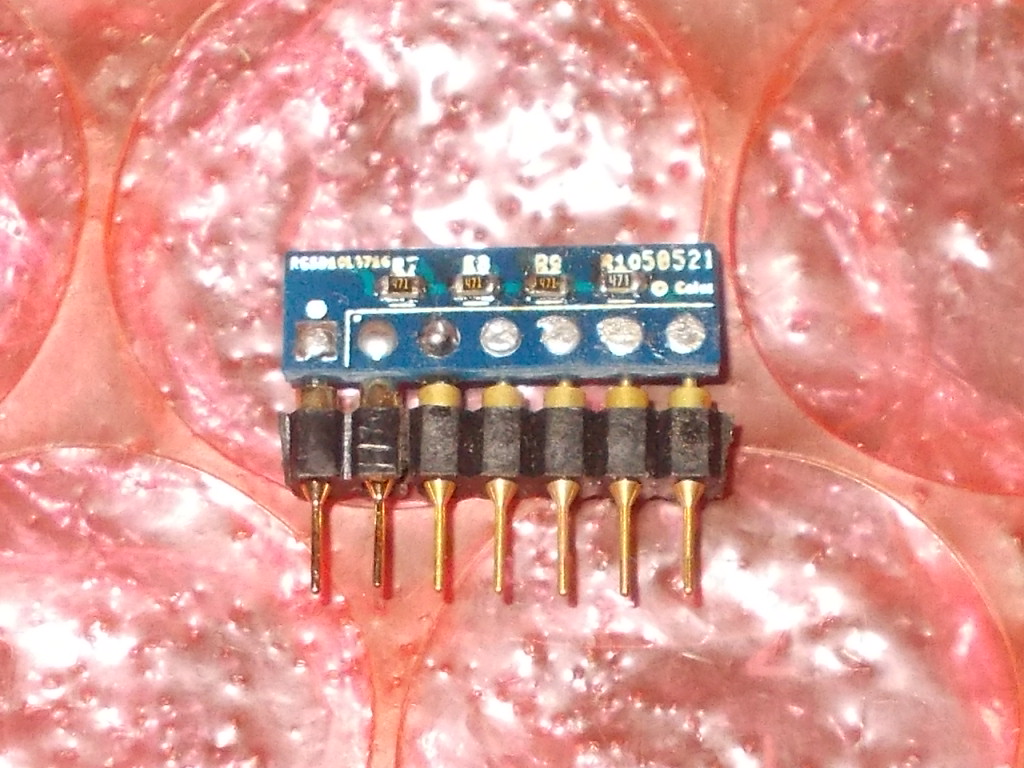
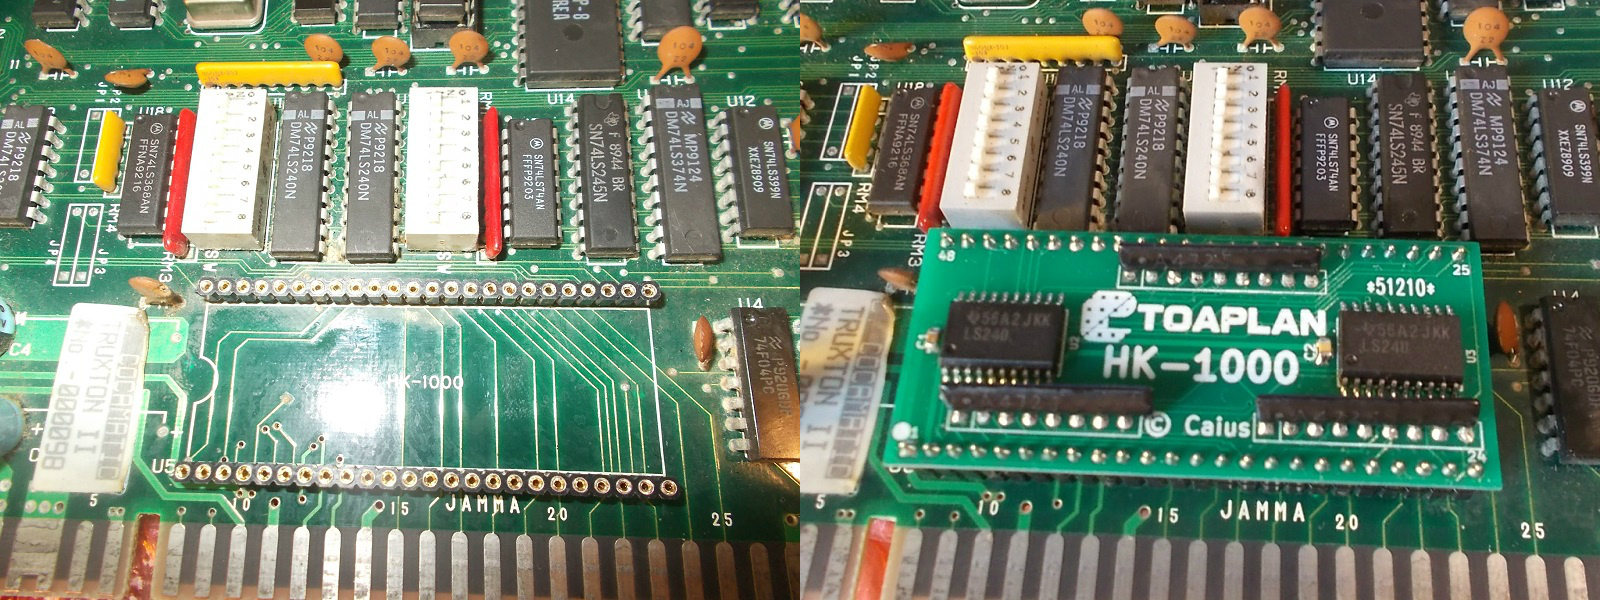
So I installed two strips of 2.54mm female machined pin headers in order to host a reproduction of mine:

The last issue I had to fix was some rustling background noise:

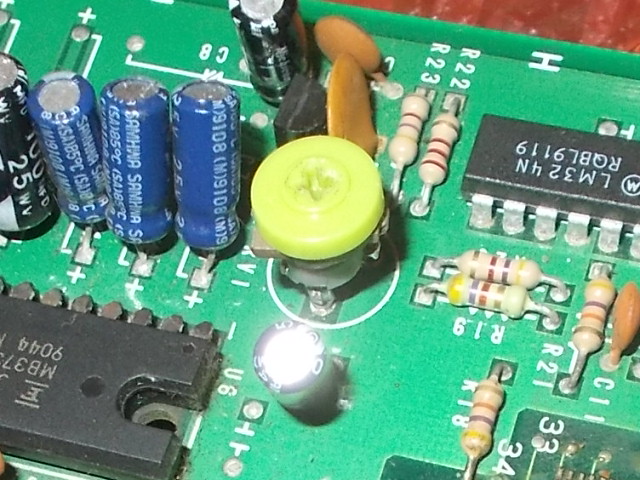
With the help of my audio probe I quickly figured out the sound was clean before reaching the 2.2K sound potentiometer :

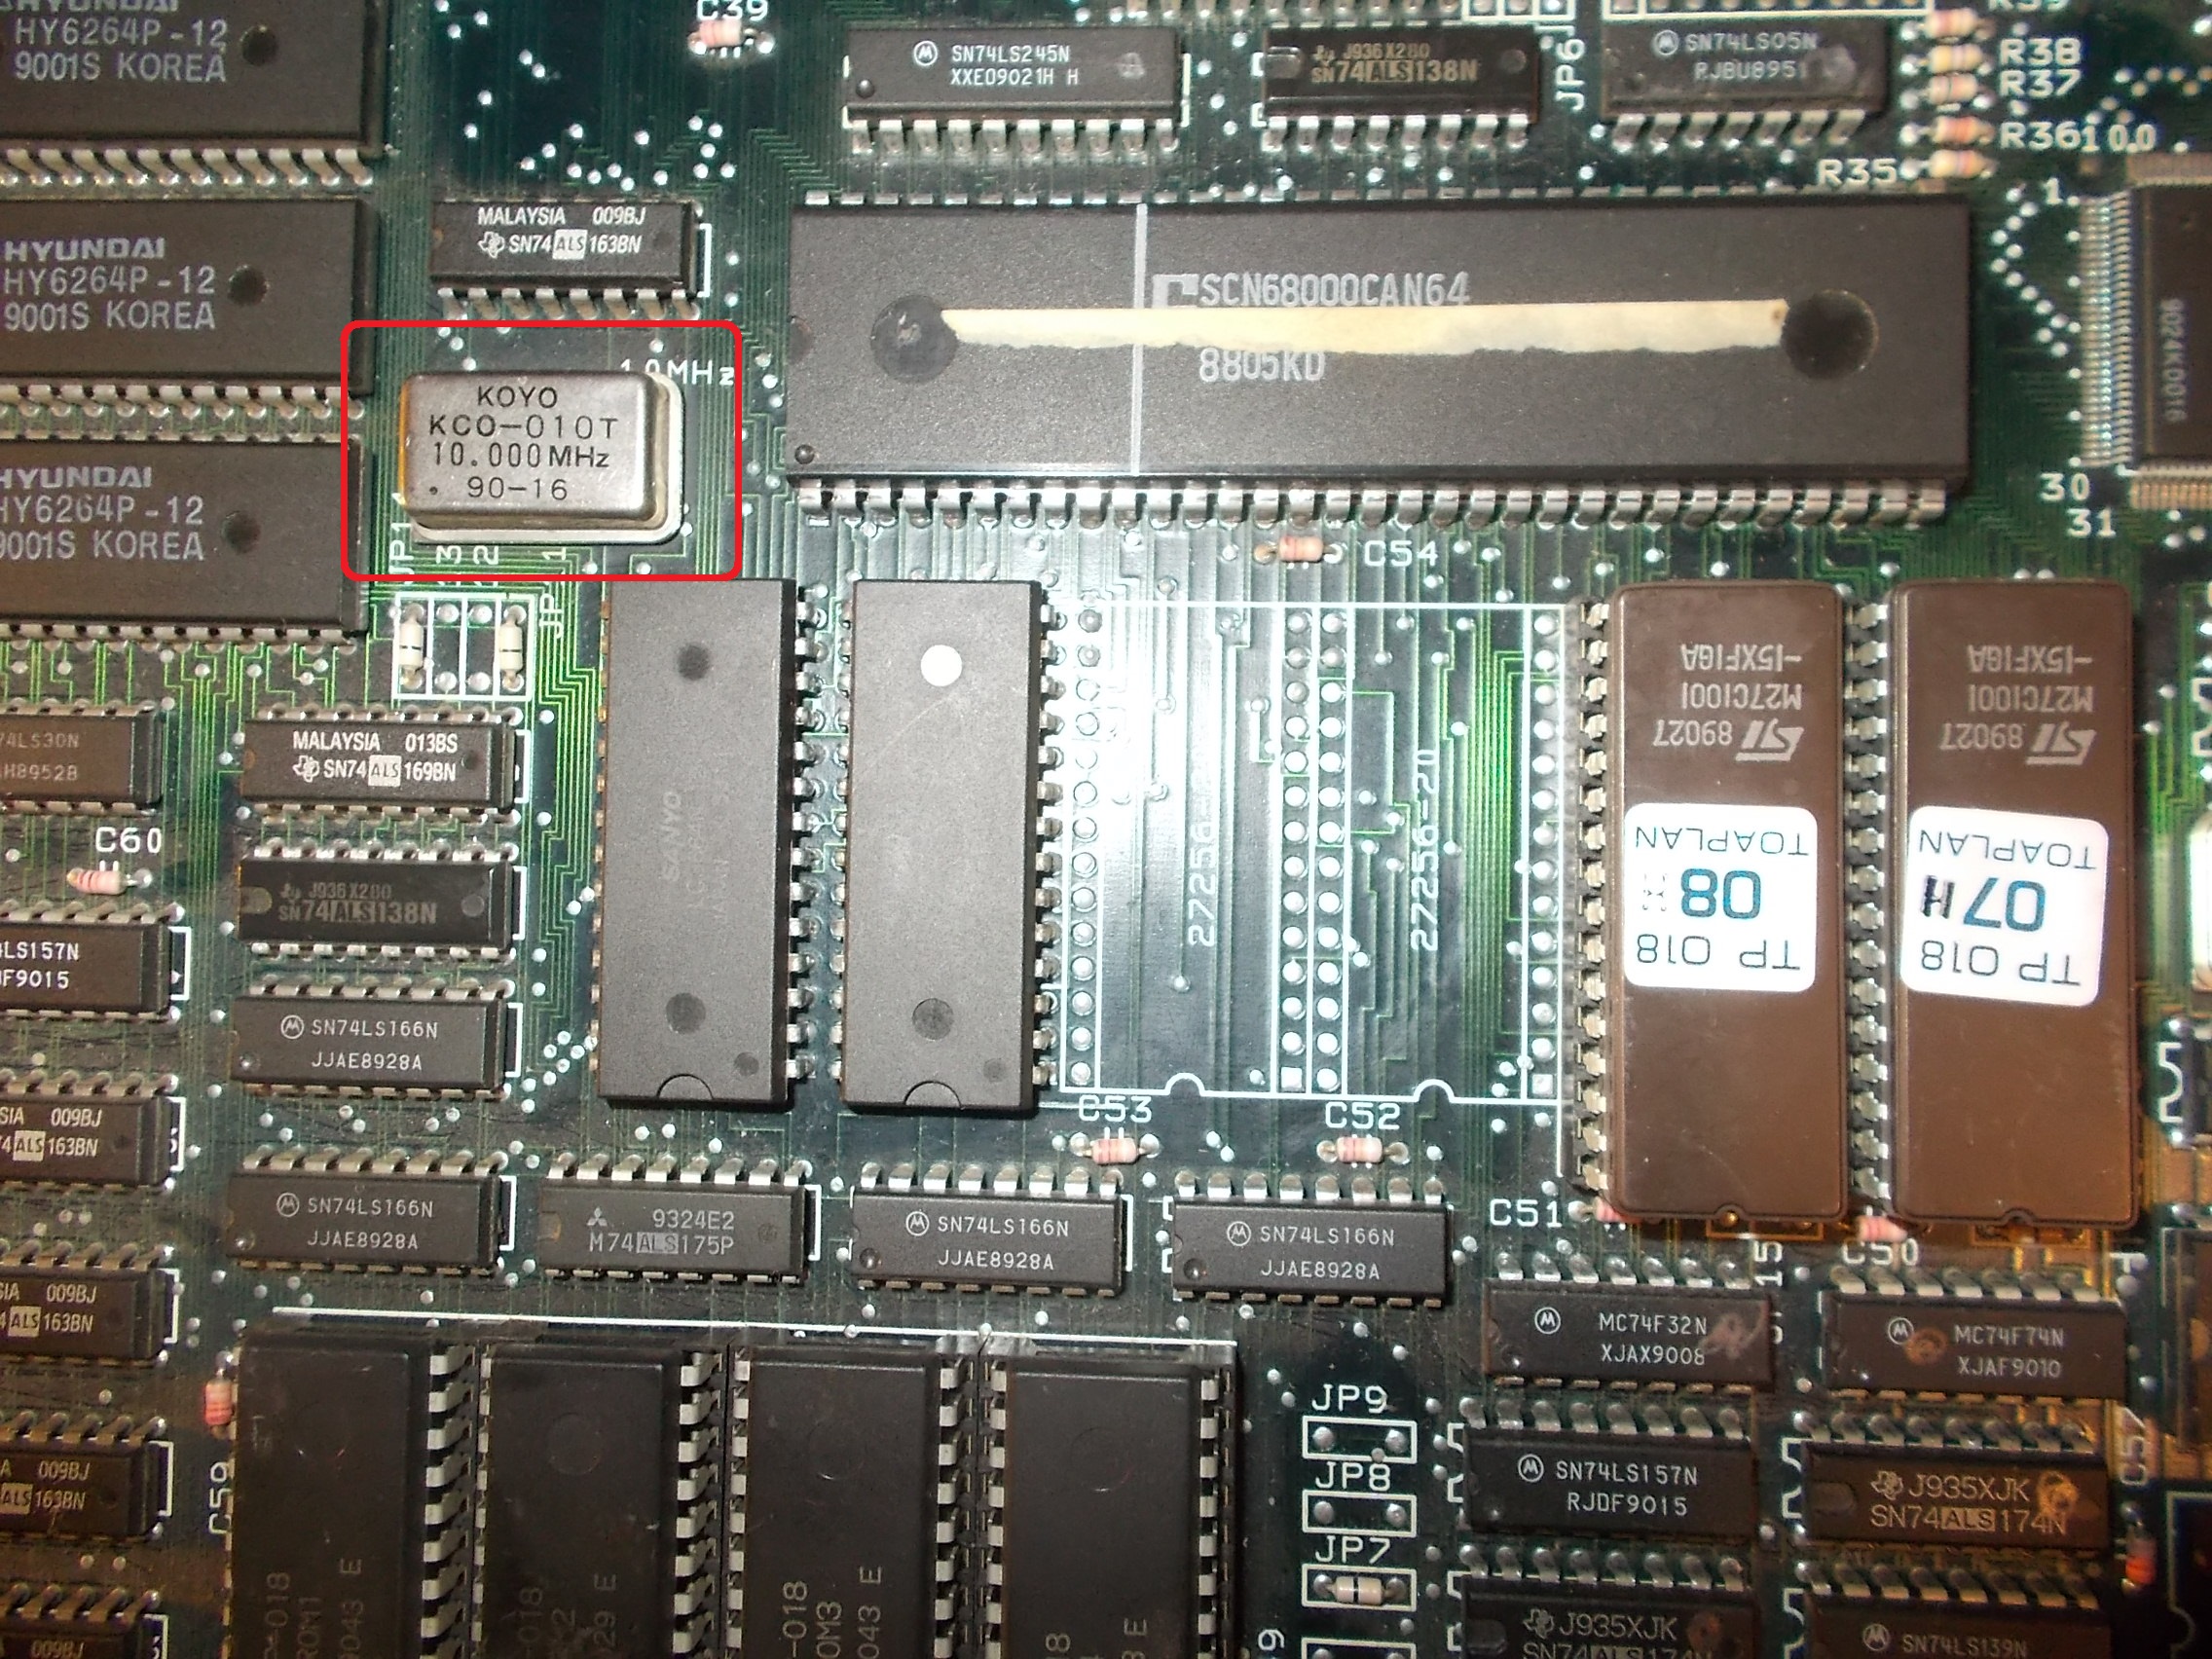
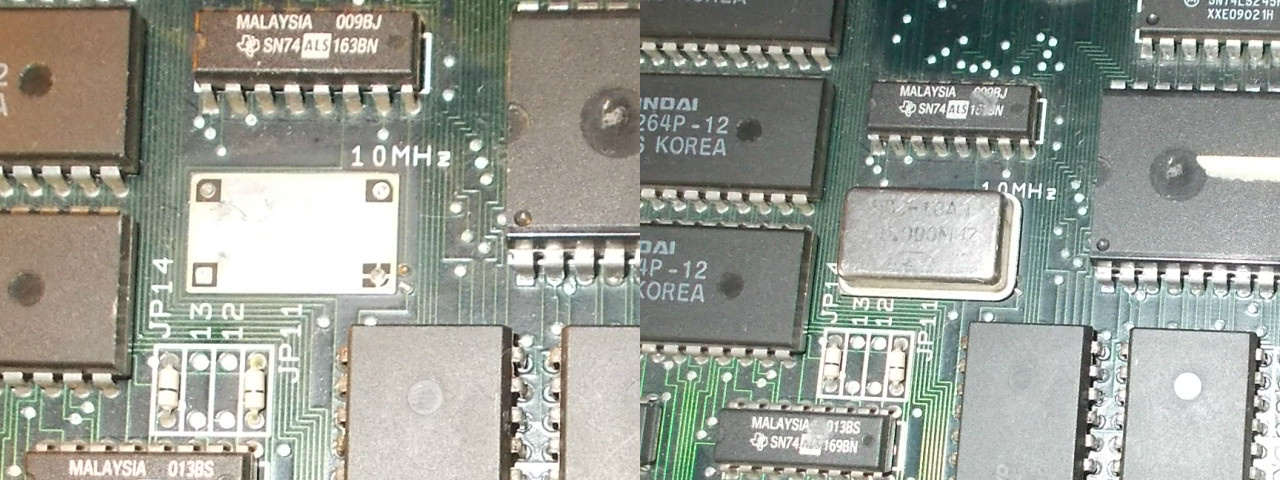
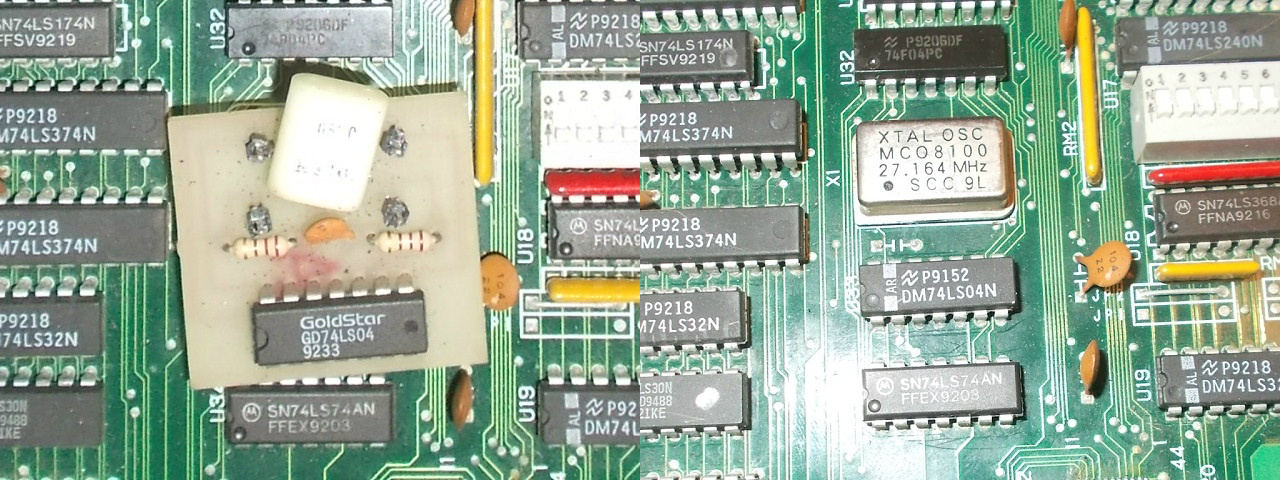
I replaced it and this restored a clear sound.As ‘icing on the cake’ I removed an ugly hack to use a quartz instead of an oscillator and installed  the proper part:

Yes, yet another Truxton II PCB fixed!


 Posted by at 10:46 pm

Tatsujin Oh repair log #2

 PCB Repair Logs  Comments Off on Tatsujin Oh repair log #2
Jul 282018
 

Another board from the ‘portughese’ box : Tatsujin Oh, a great shoot ’em up released by Toaplan and known outside Japan as Truxton II.

Board was booting but sprites were mostly missing and other GFX glitches present too:

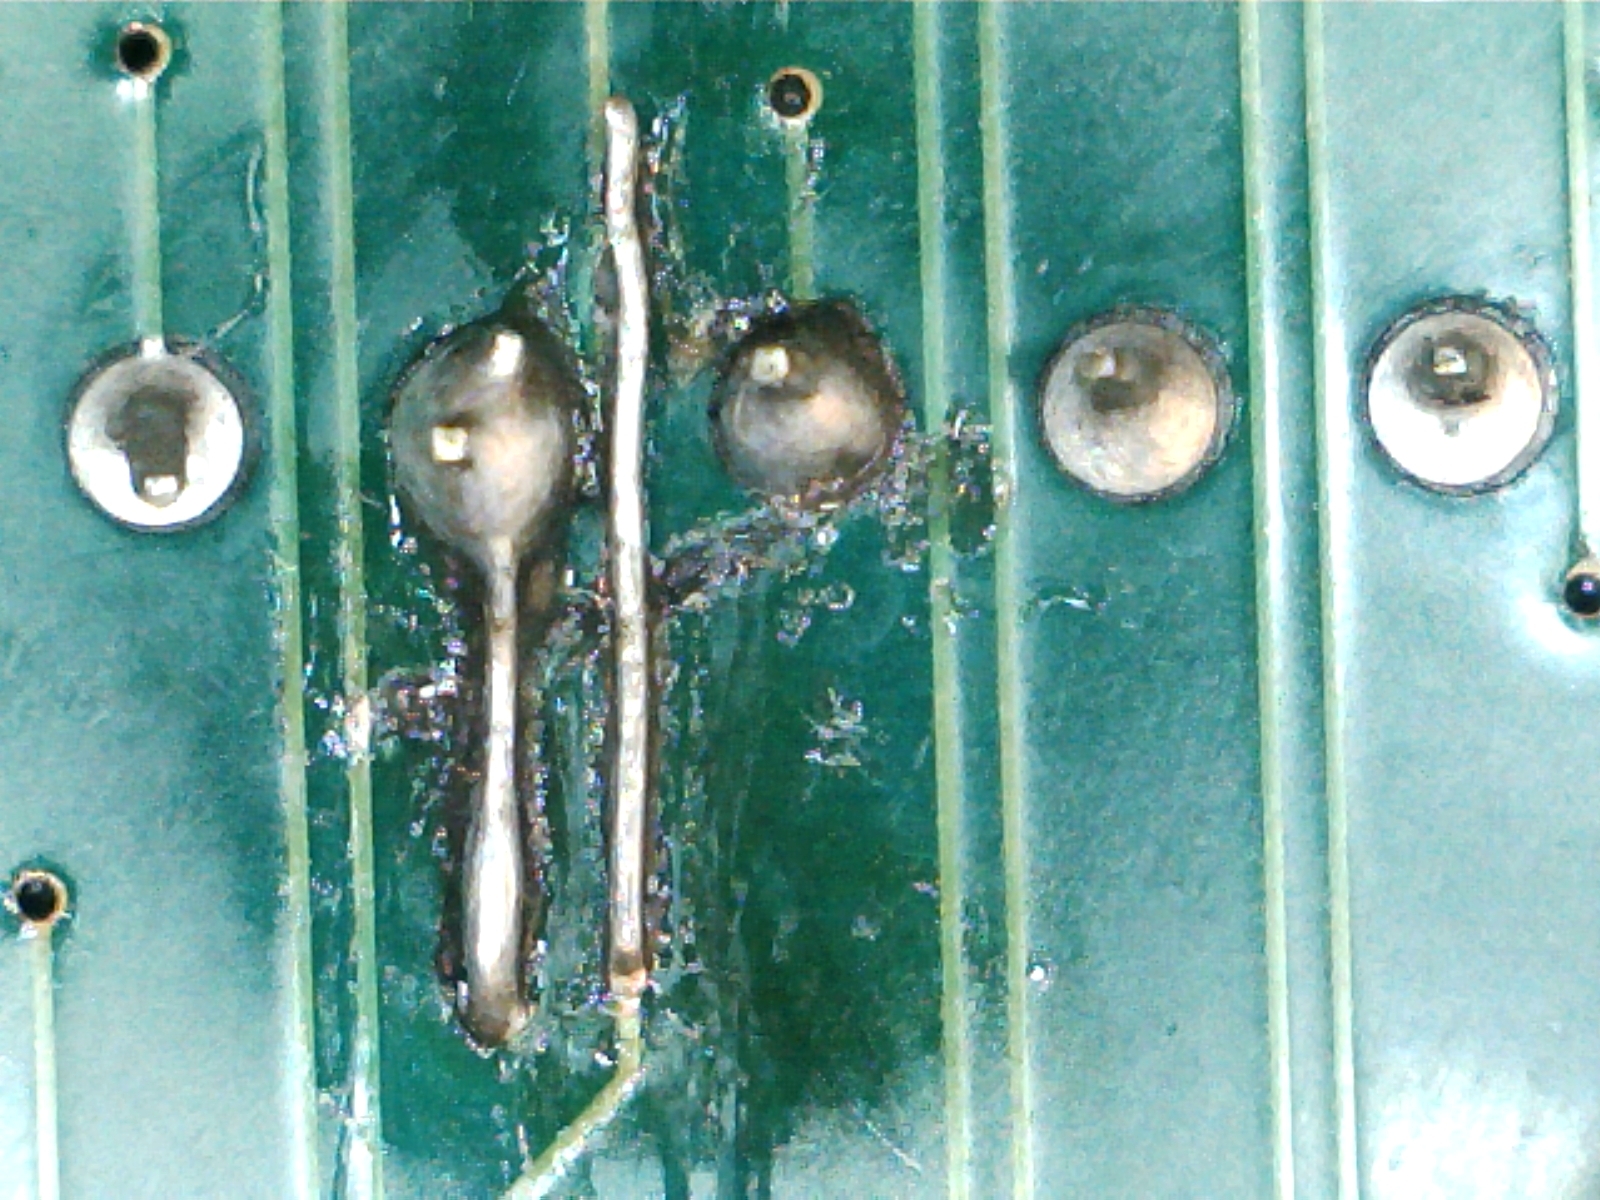
There was an obvious reason of this.The custom ASIC  ‘GP9001’ (which is the graphics controller of the system) was damaged : some pins were missing, other bridged, two traces going to it were ripped too.

Here’s a close-up under a microscope:

Given the extent of the damage the only possible solution was the replacement of the ASIC which is a very delicate operation (not for everyone…) because of  its package (208 pins in a QFP package with very fine pitch).For this purpose I’ve been sent by the owner a dead FixEight PCB as donor:

I removed the damaged part and cleaned the area preparing it for the trasplant:

The spare removed from the donor board :

After soldered it I took care of rebuilding the ripped traces using some AWG30 wire :

Testing was successful, board 100% fixed.


 Posted by at 12:22 pm

Metamorphic Force repair log

 PCB Repair Logs  Comments Off on Metamorphic Force repair log
Jul 252018
 

Received today from France this mint Metamorphic Force (Japan version)

I have been told by the owner that sound was missing.This was confirmed once powered the board up, it was mute:

The board uses the ‘infamous’ ‘054986A’ hybrid audio module which in this case showed sign of corrosion due to capacitors leakage:

Insted to try to repair it I decided, in agreement with owner, to use a reproduction of mine wich means a better reliability and lifespan:

I removed the old module and installed some 1.778mm female machined pin headers:

Lastly fitted the reproduction:

Sound was back loud and clear.End of today job.

 Posted by at 11:18 pm